3. Computer controlled cutting
This week we started working on computer controlled cutting. we start working on Vinyl and laser cutting after we were explained.
What is vinyl cutter?
A vinyl cutter is an entry level machine for making signs. Computer designed vector files with patterns and letters are directly cut on the roll of vinyl which is mounted and fed into the vinyl cutter through USB or serial cable. Vinyl cutters are mainly used to make signs, banners and advertisements.
How i get started with vinyl cutting?
After we get the idea of vinyl cutting we asked by our instructor to choose Silhoutte images to cut designs so i nevigated to this website from where i downloaded a picture to cut a design. the picture is shown below.

Second Design.
Instead of downloading my second design from any website i start creating my nickname in text form by using MS word and i saved it as jpg.As we can see the picture shown below.

Silhouette Studio
Silhouette Studio is a software which we can download and install in our system and its allows you to access or create designs and send them to a Silhouette cutting machine(vinyl cutter).
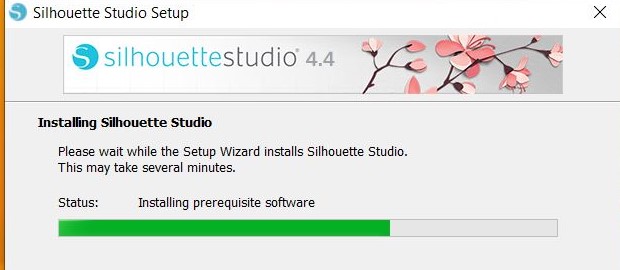
Downloading Silhouette Studio.
I started downloading Silhouette Studio from this website. After completing the download i installed the software in my system.
Printing Designs.
After instaling Silhouette Studio software i started working with software to print my designs which i downloaded and created Silhouette images(designs) in png format.
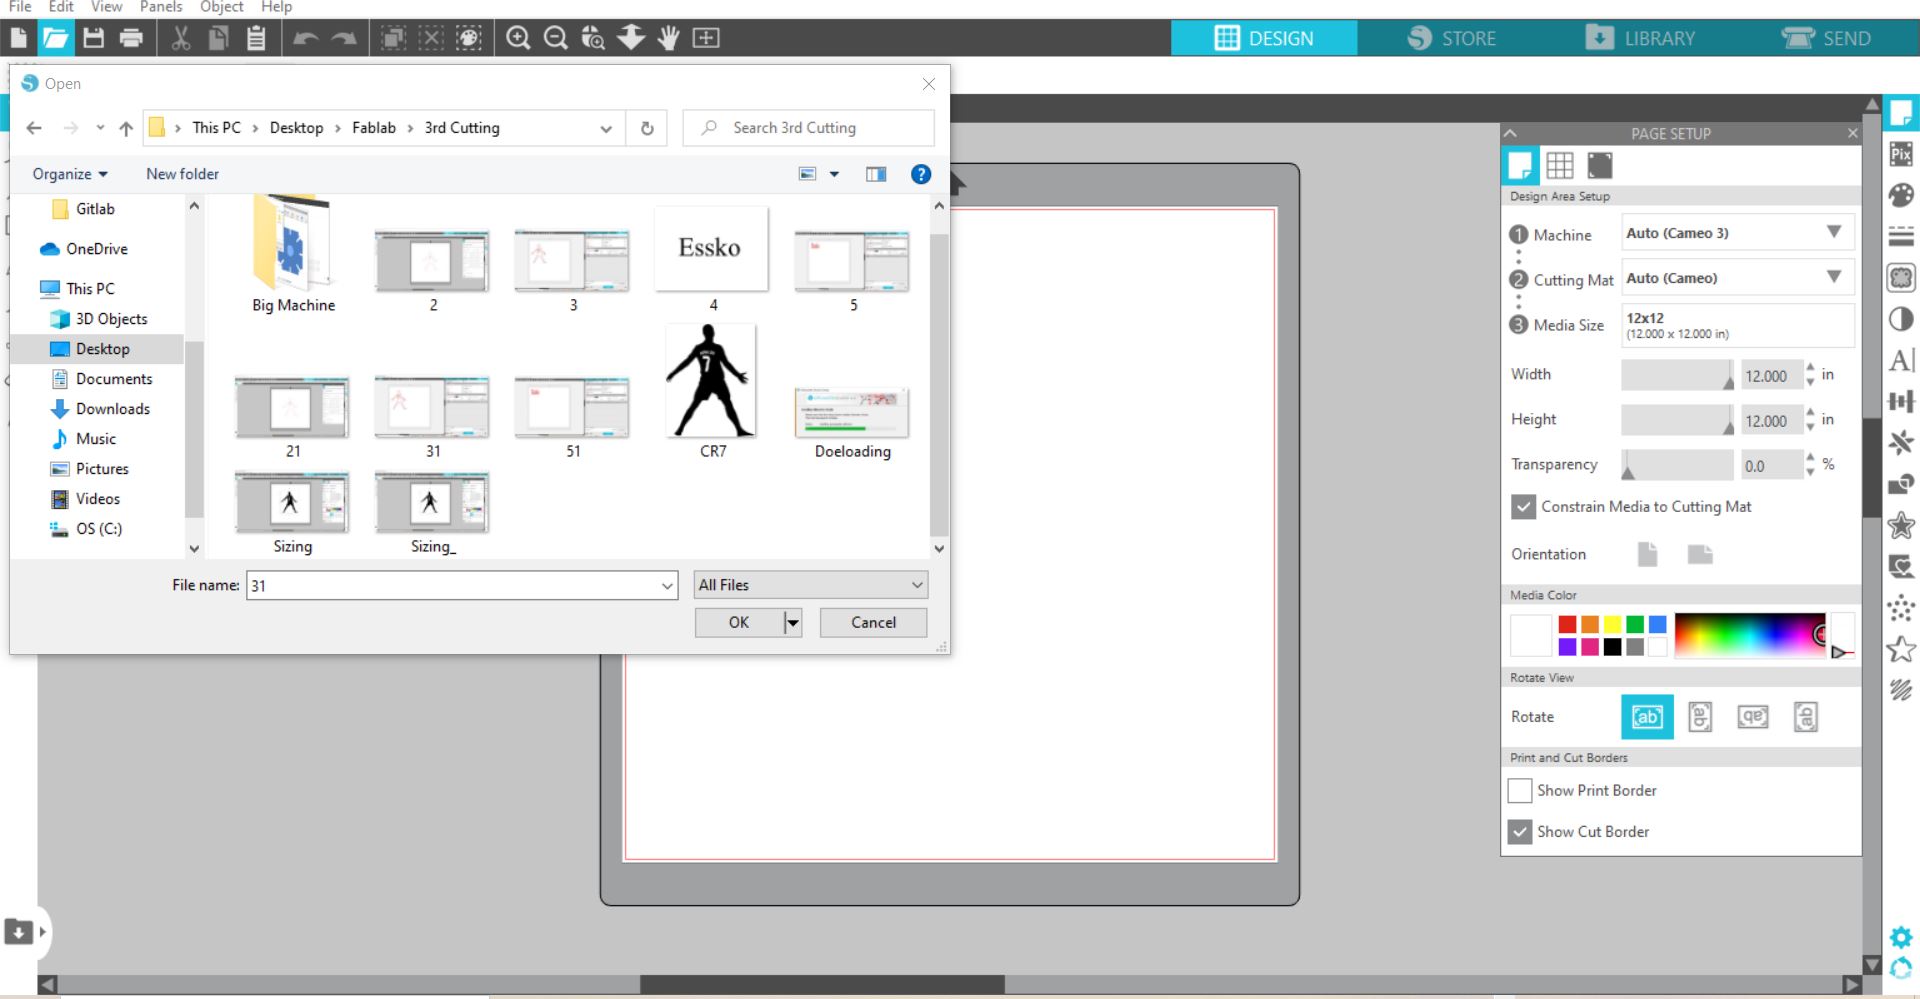
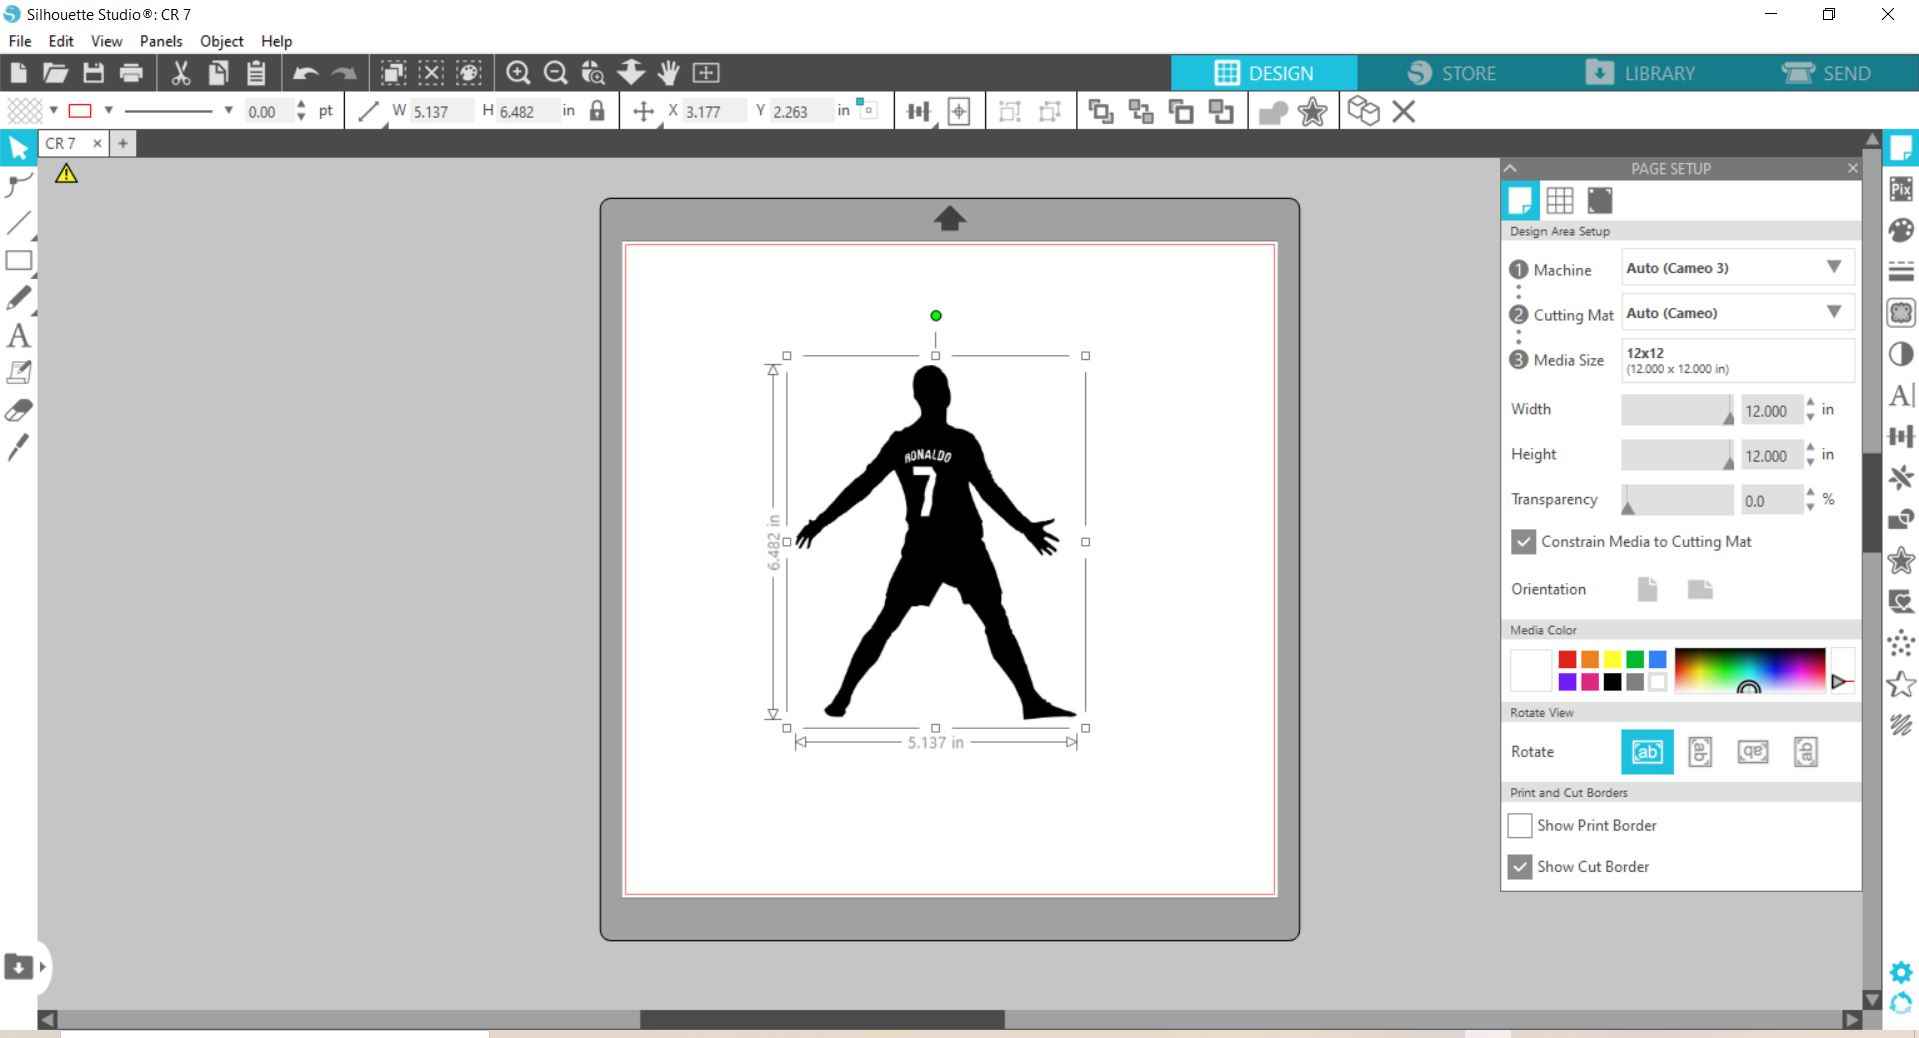
Uploading first Silhouette image to Cut.
working with software i uploaded my frist design on Silhouette Studio to send it to Silhouette cutting machine(vinyl cutter).
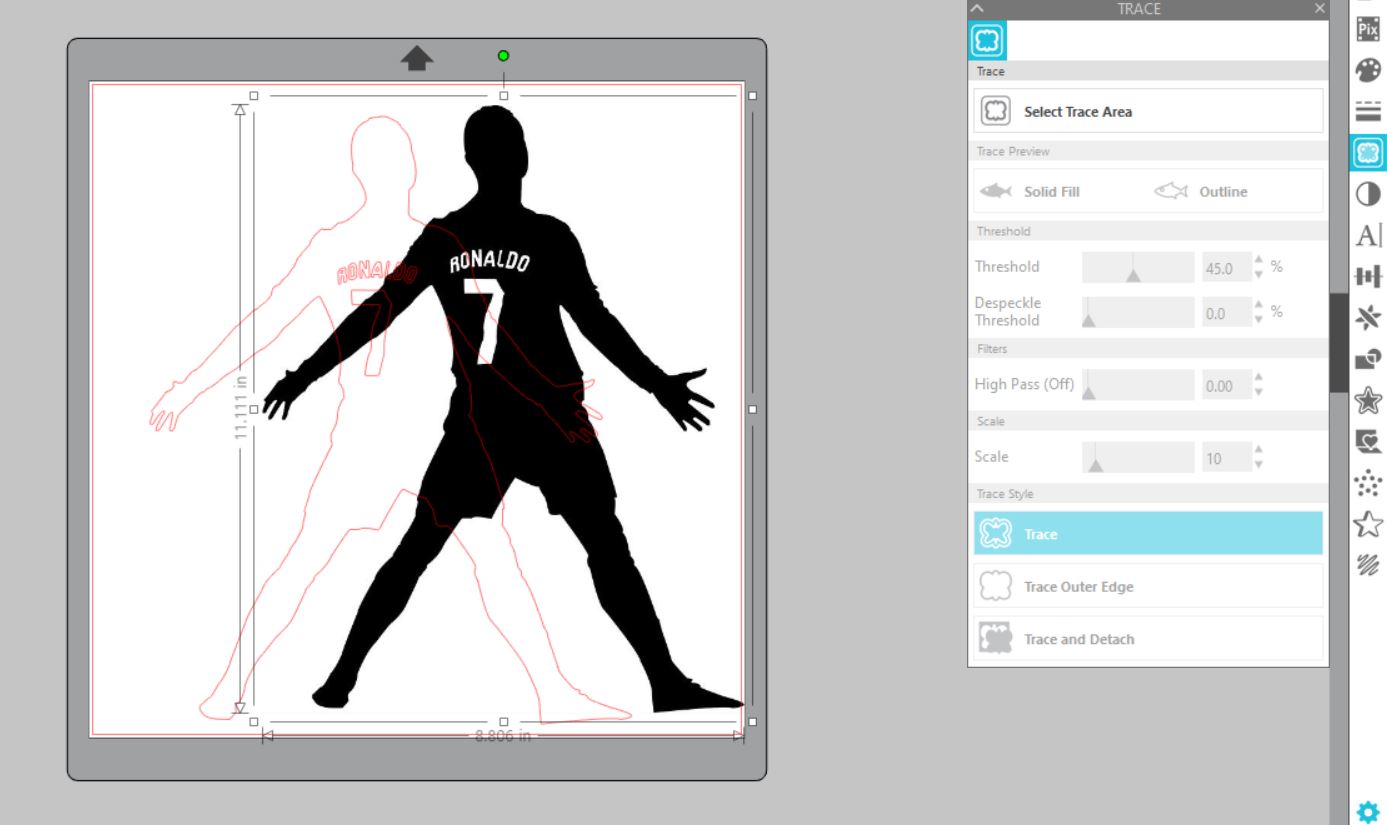
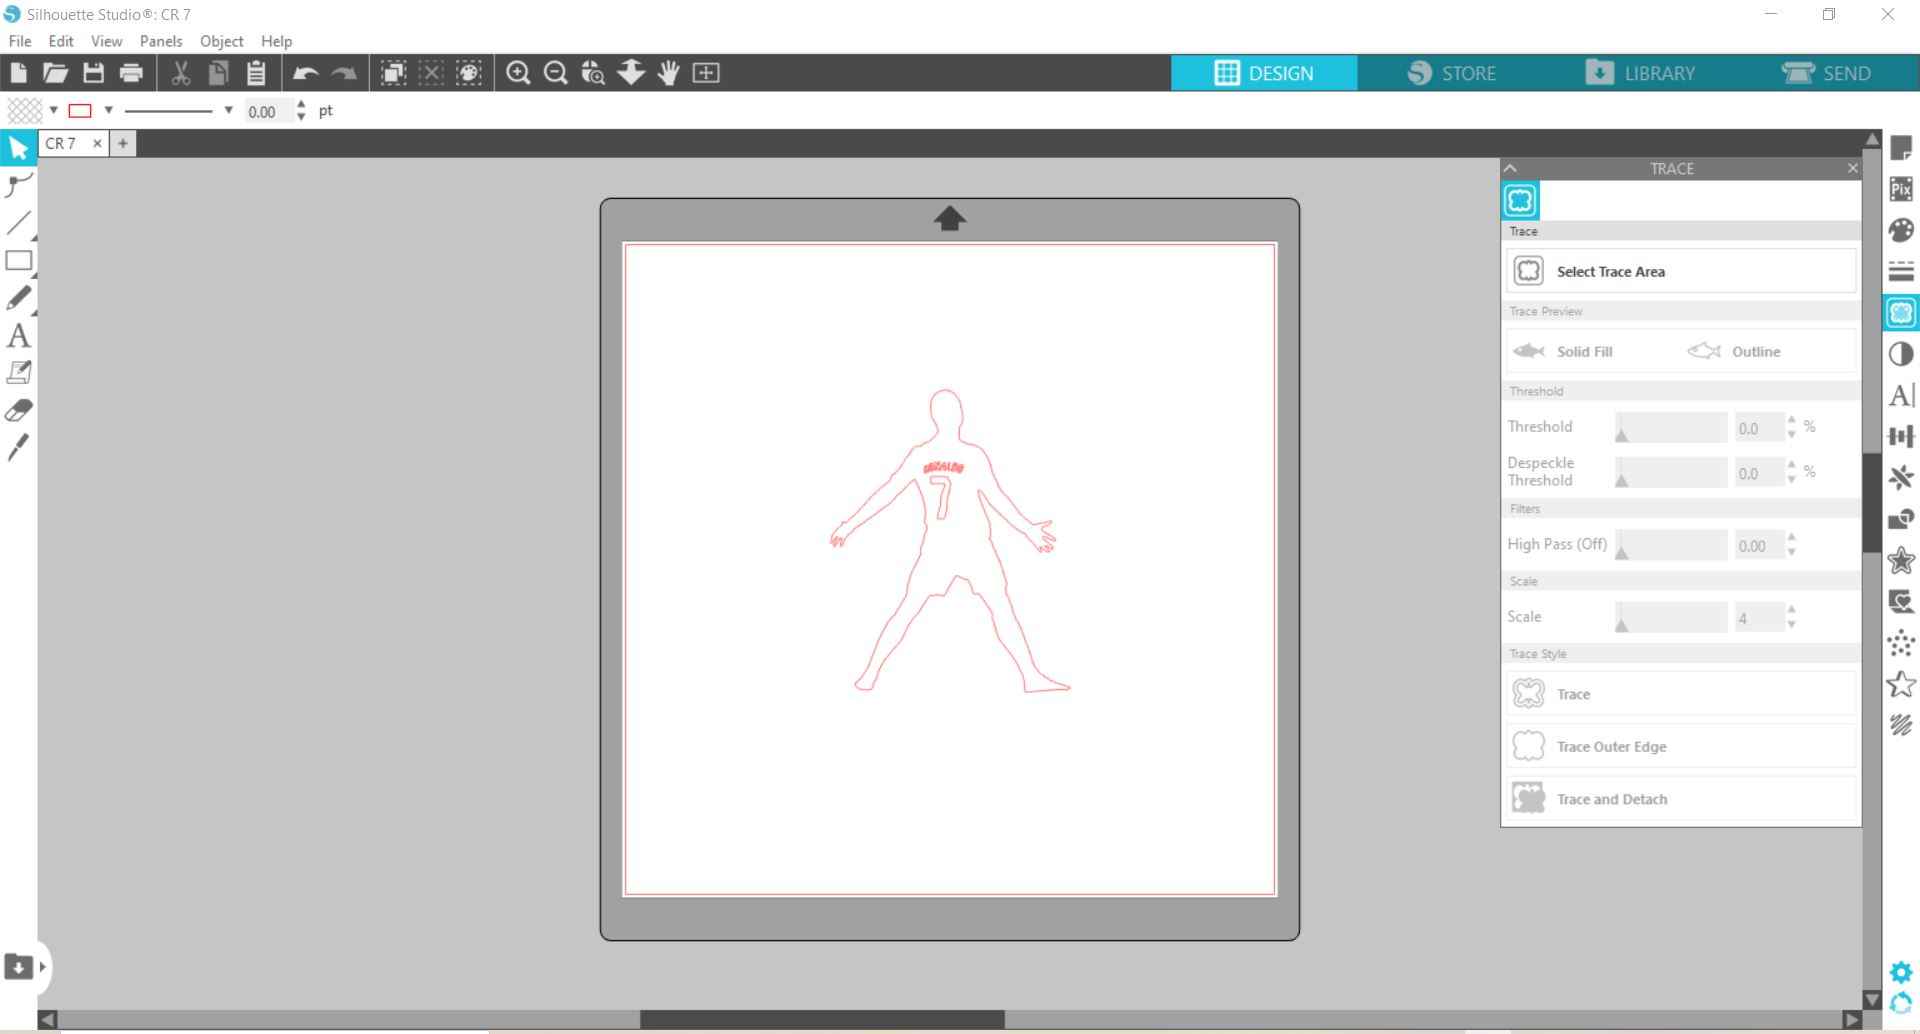
Selecting the trace area.
After i uploaded the image using Silhouette Studio function i tracd the lines of the image.
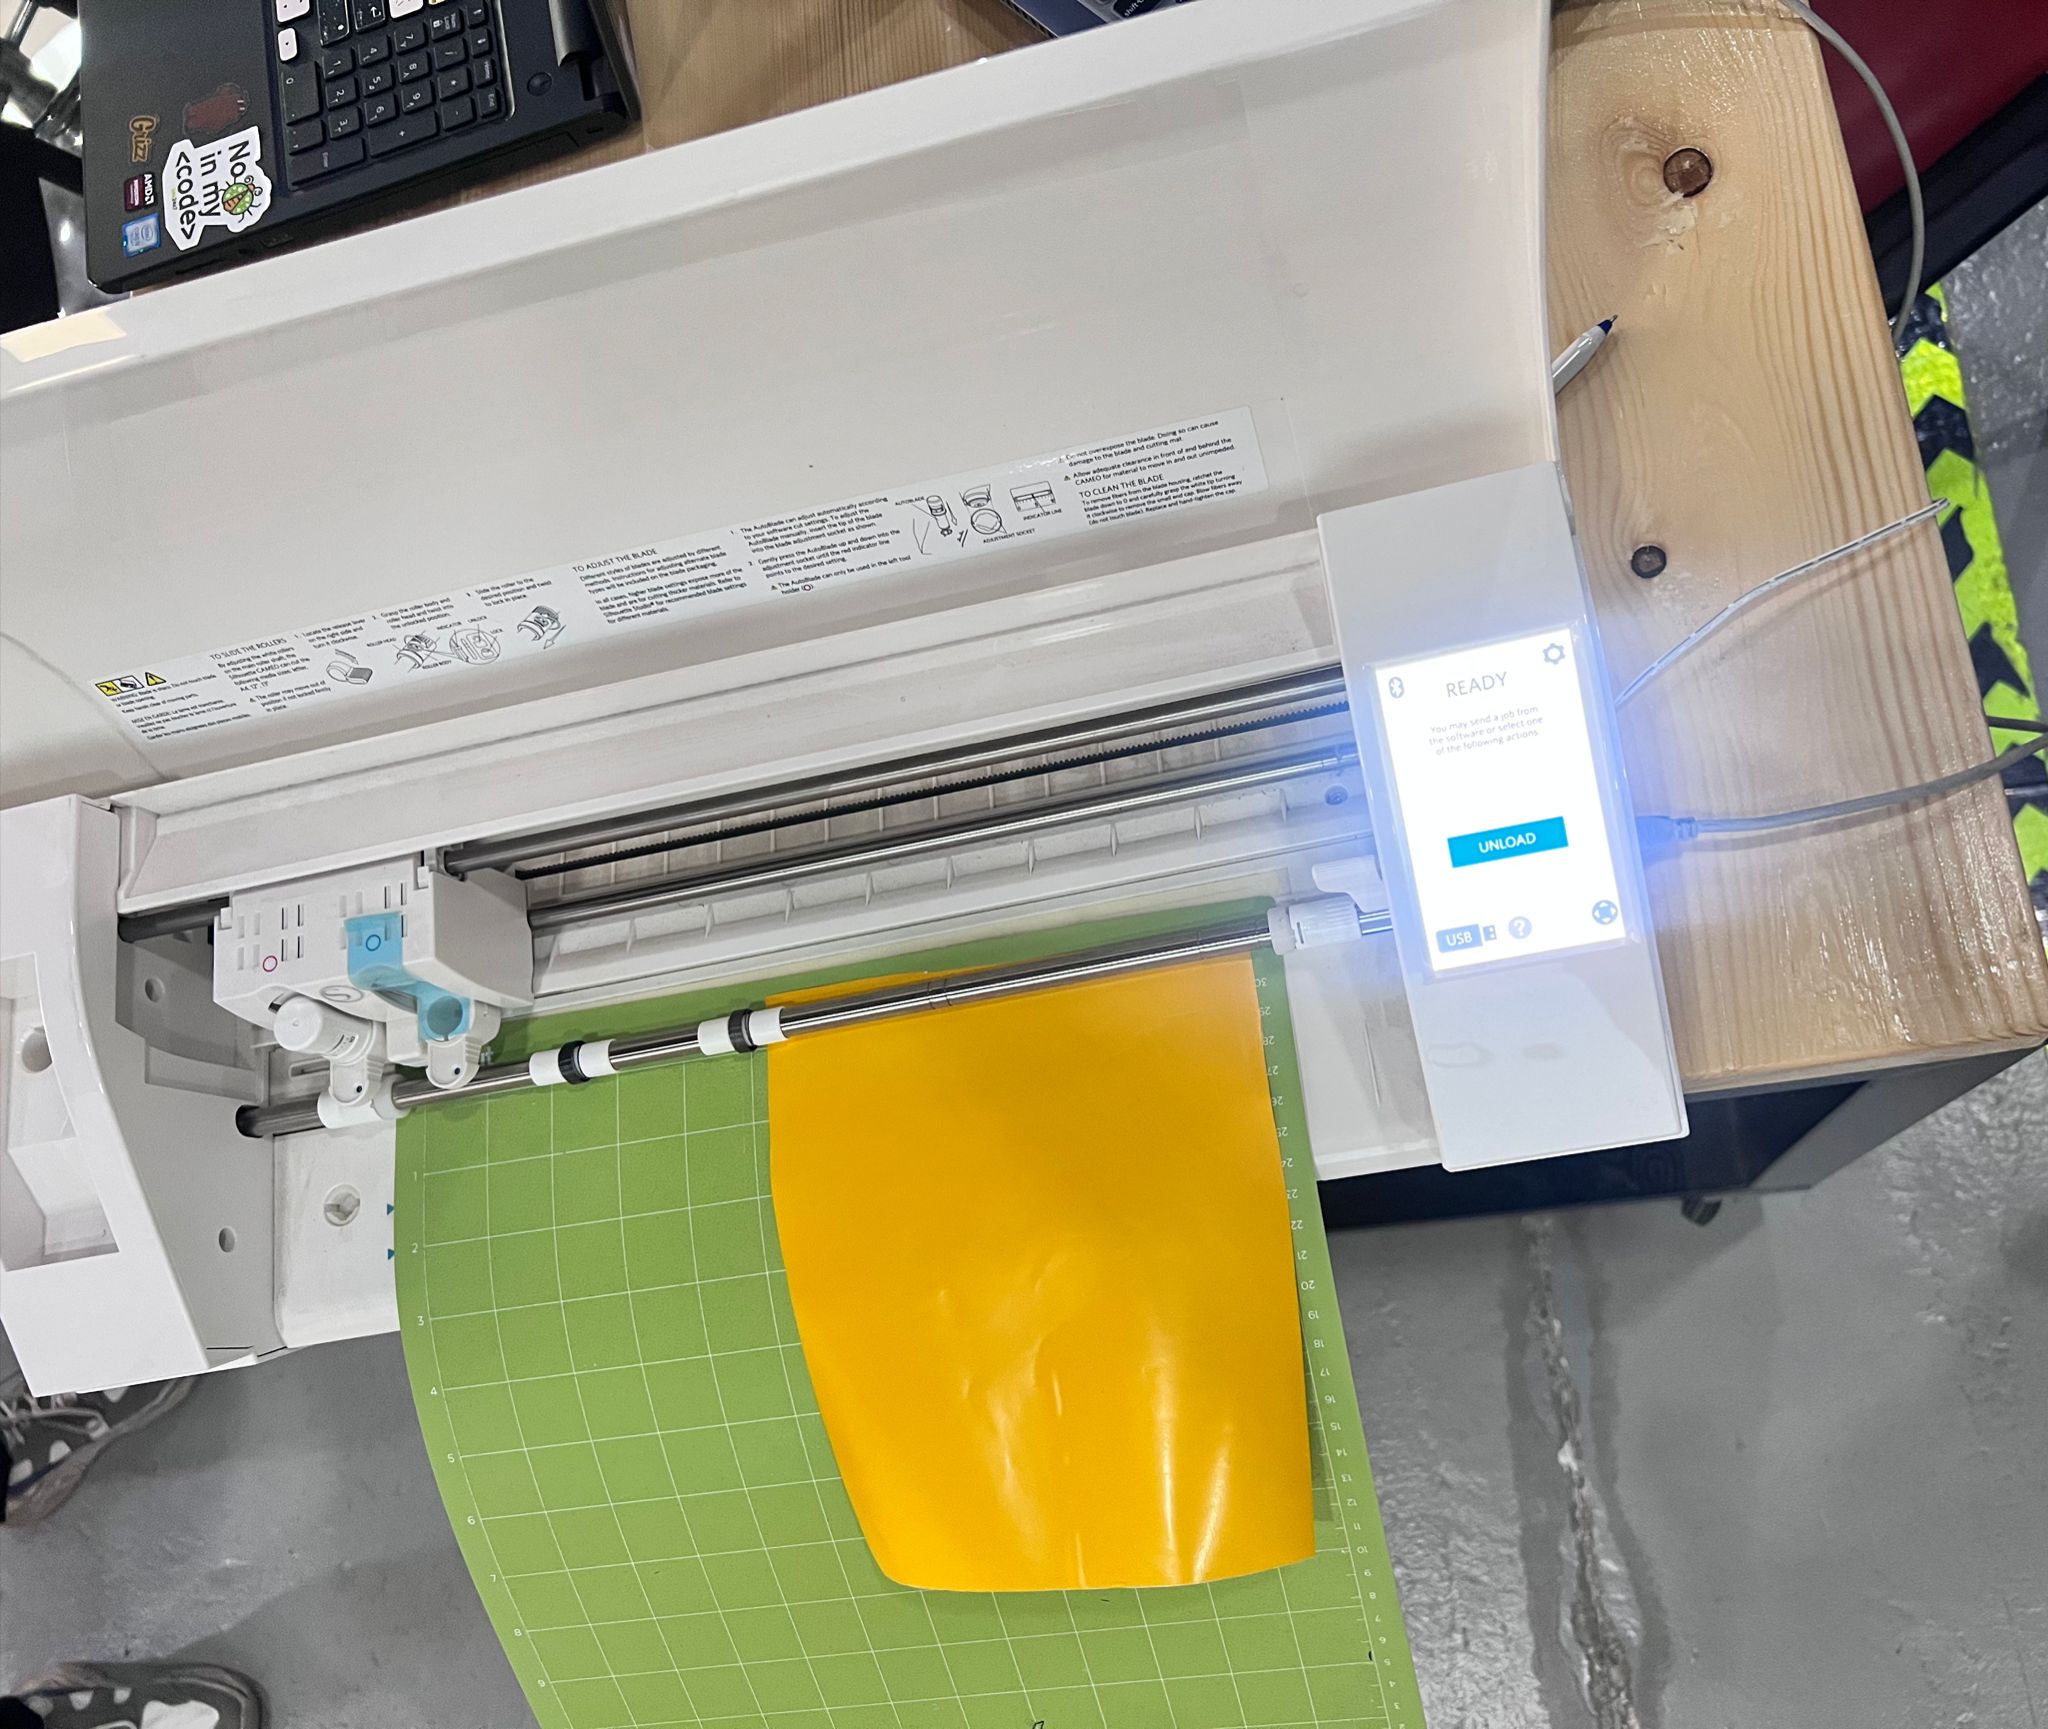
Adjusting sticker paper on vinyl machine.
After chosing the color of my sticker i adjusted the sticker paper on vinyl to print the design.
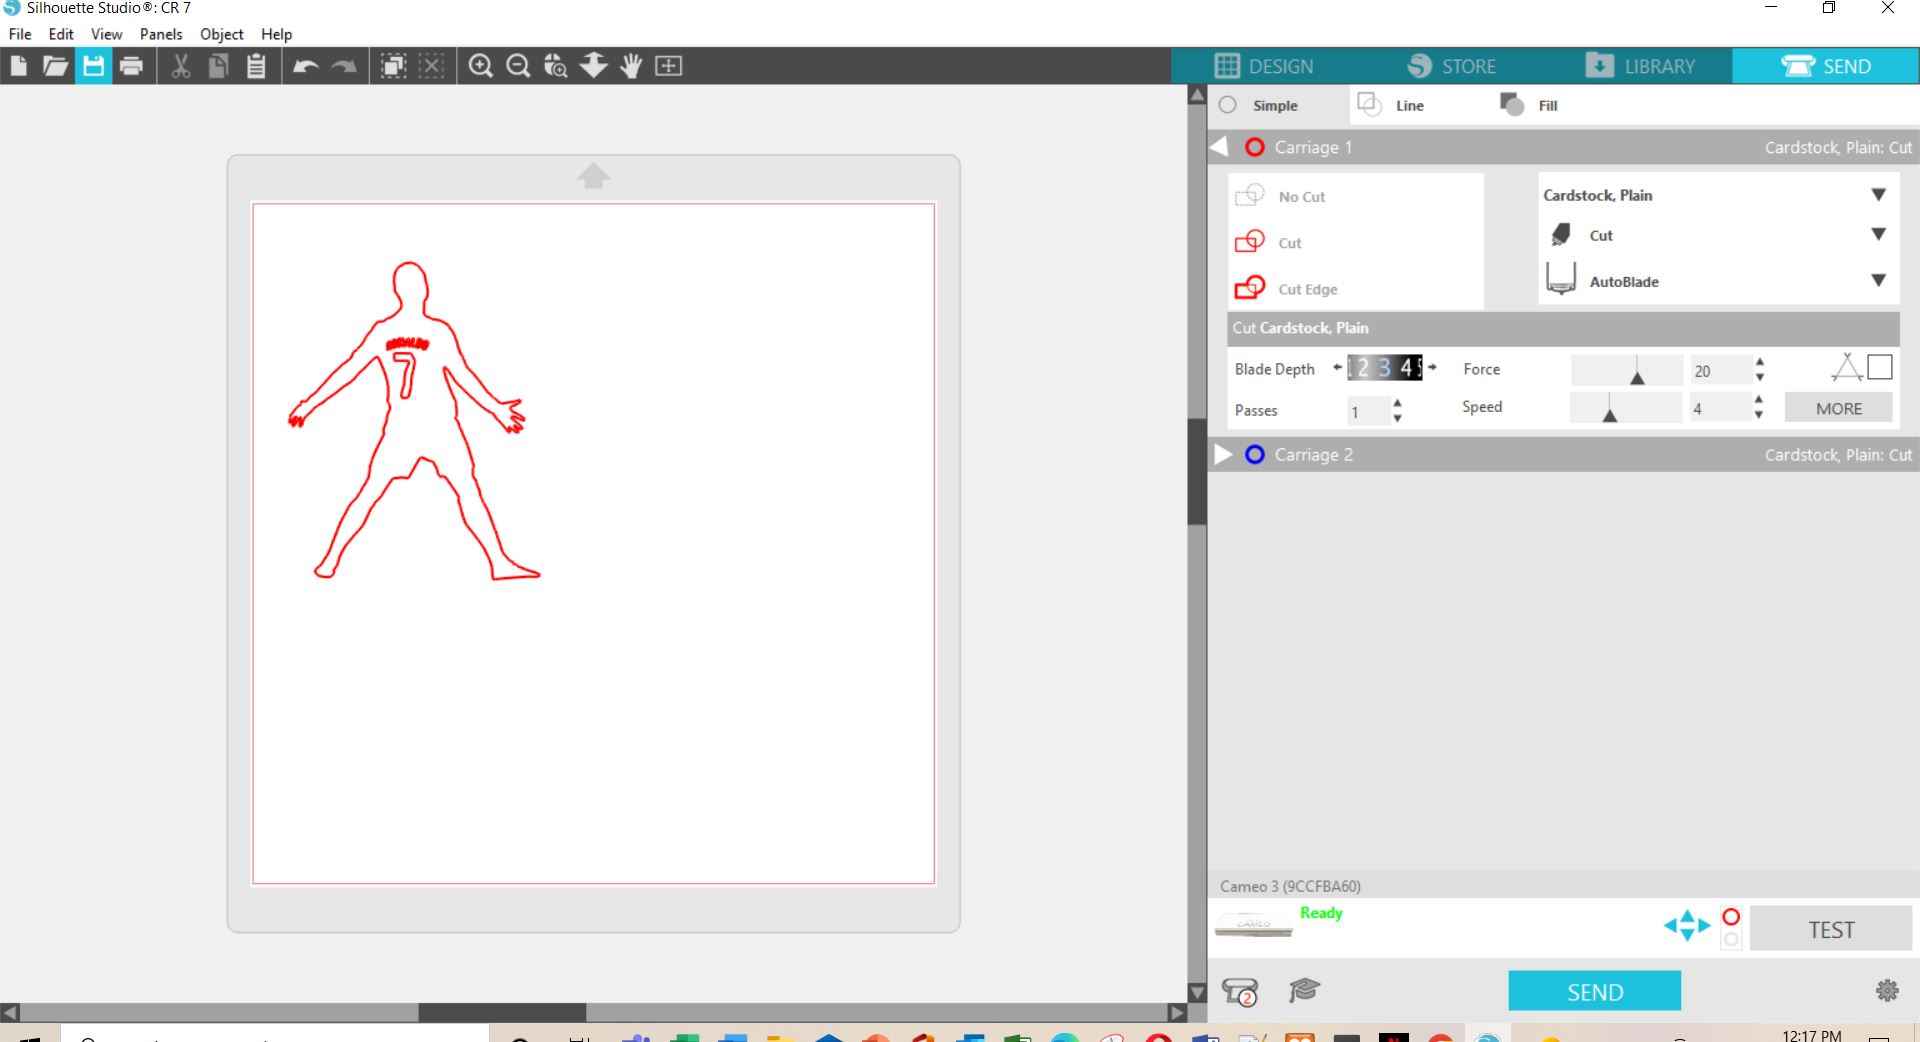
Sending the design to vinyl machine.
After adjusting the points and shape of design i clicked the send option (which is located on the right top) to send the the design to the vinyl Cutter machine. As we can see in picture below
Final result.
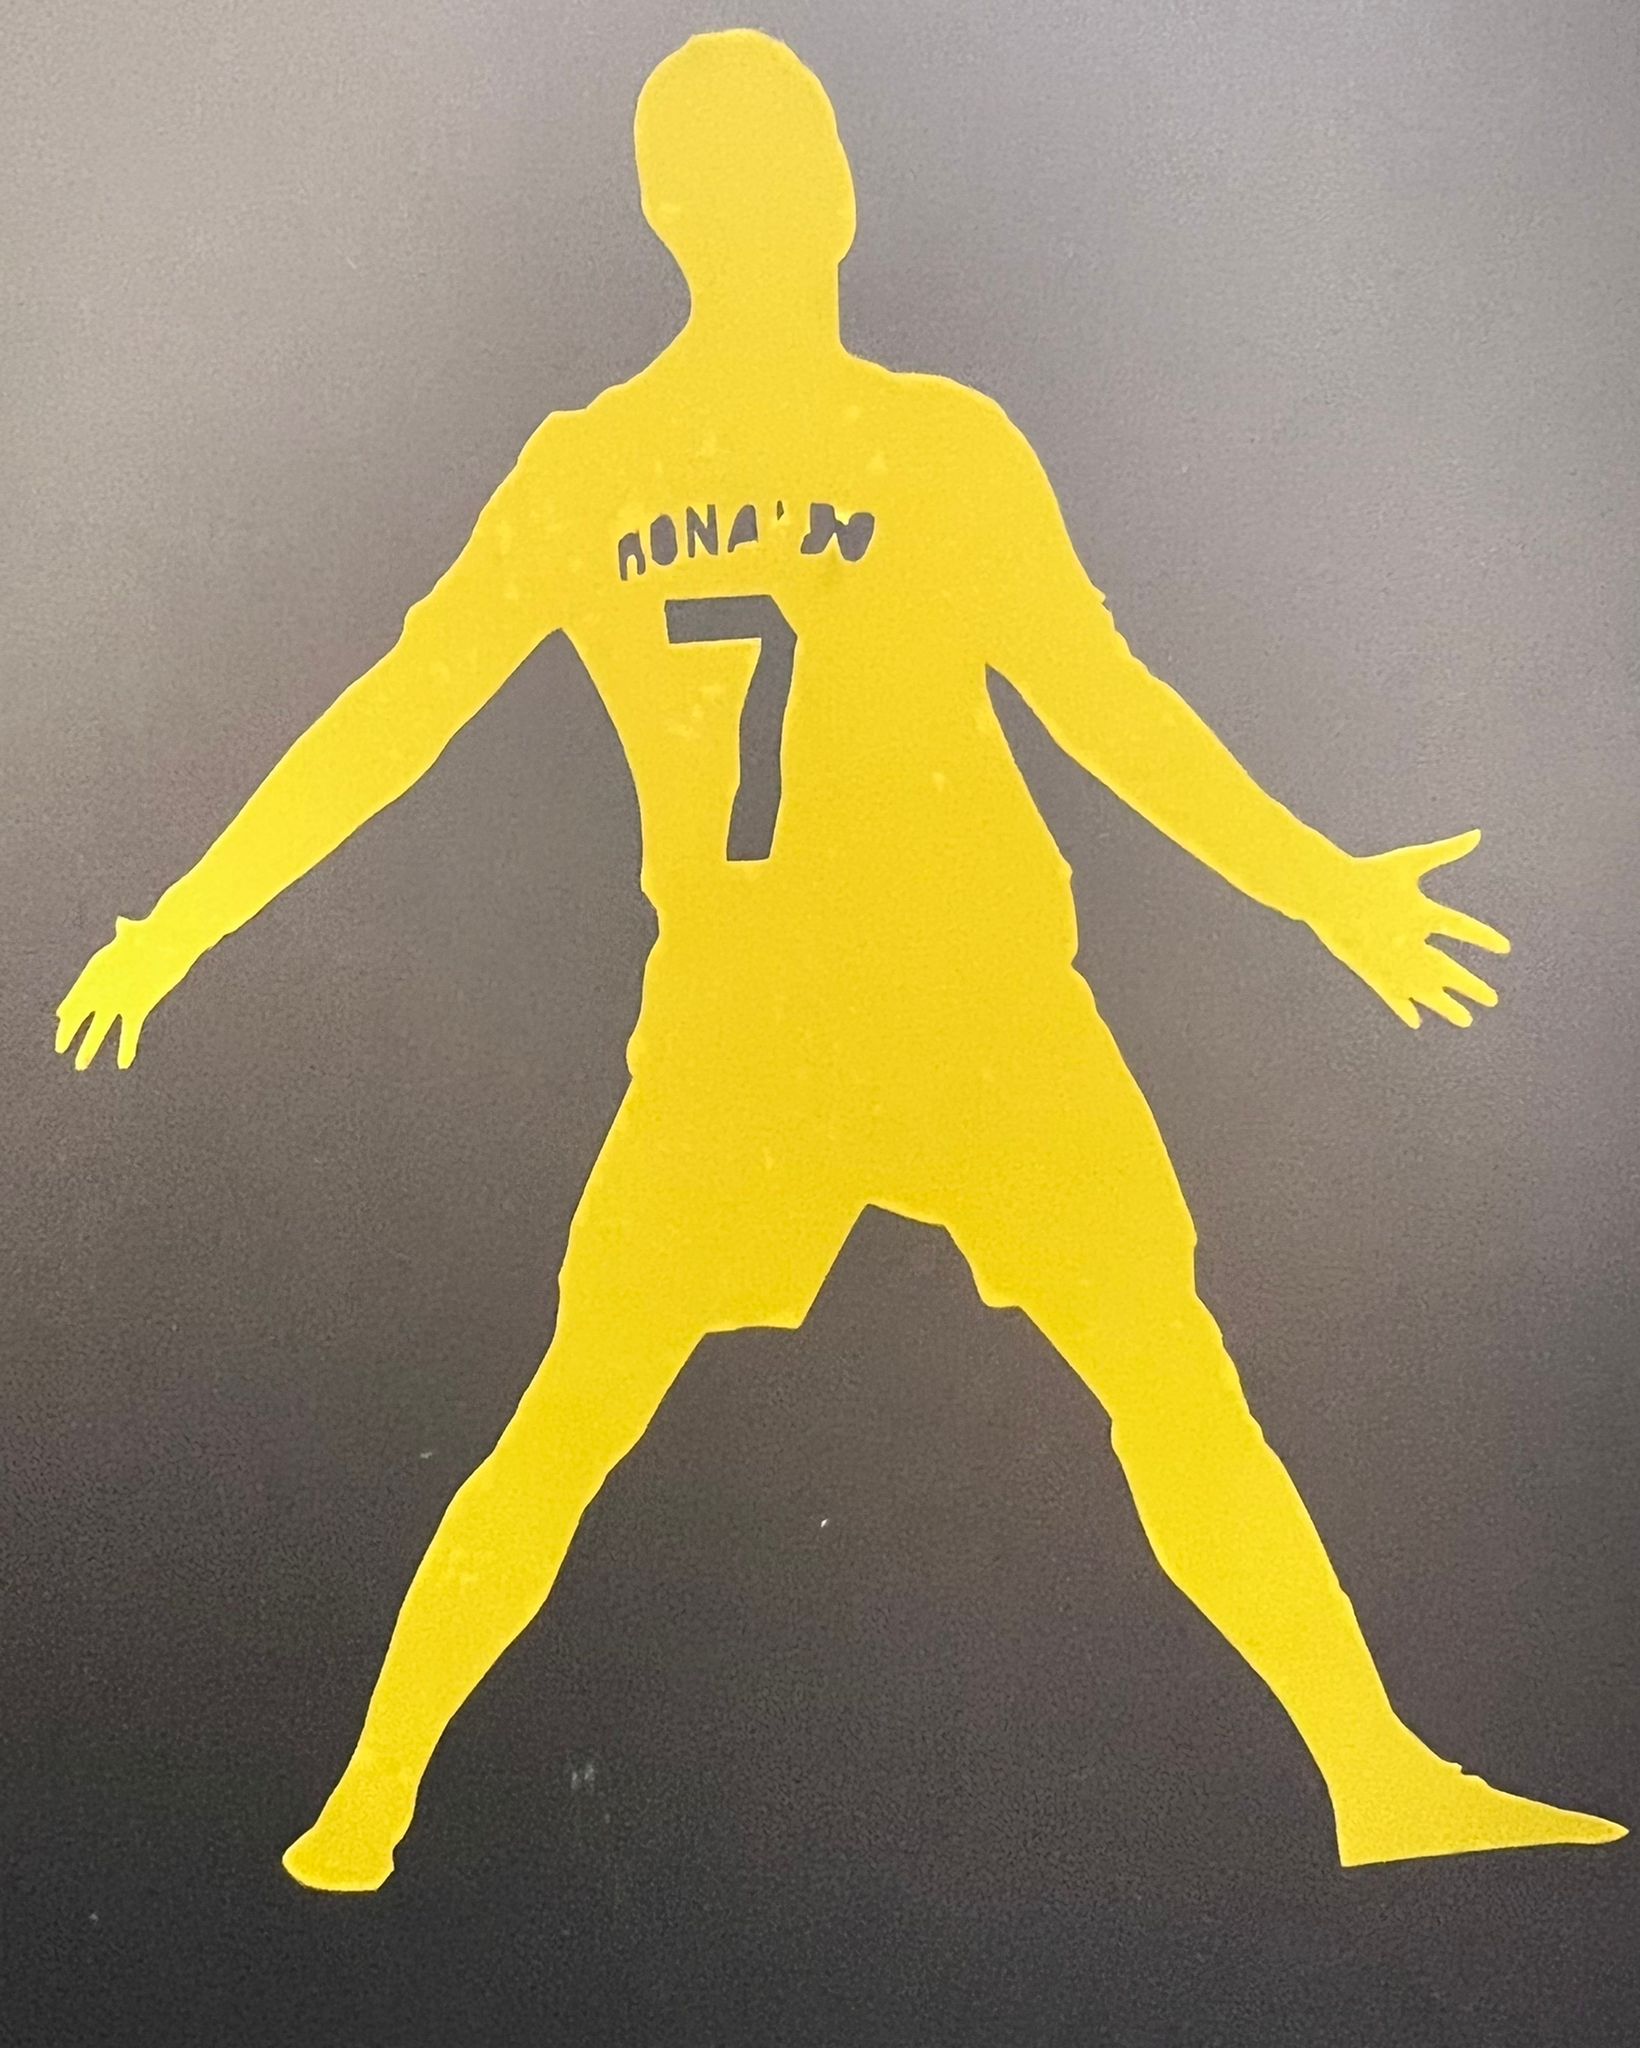
Second Design result.
I have followed the same steps for my second design to print it.

-
Laser Cutting machine.
This week we also started working on laser cutting. We started working in groups and also we got tasks individually to work on any object and cut it in laser cutting machine and assemble the picese to creat a rendom body or a shape.
What is laser cutting machine?
Laser cutting machines are a tool used in a wide range of industries for precision cutting and designing projects. The laser cutting machine emits a high powered laser beam to either cleanly cut or etch a specific design on materials such as steel, plastic or wood.
Group Assingment.
Individual Assignment.
For individual assignment we were asked to creat parametric shaps to made a press-fit kit.I started working on two different shapes using fusion 360 software.
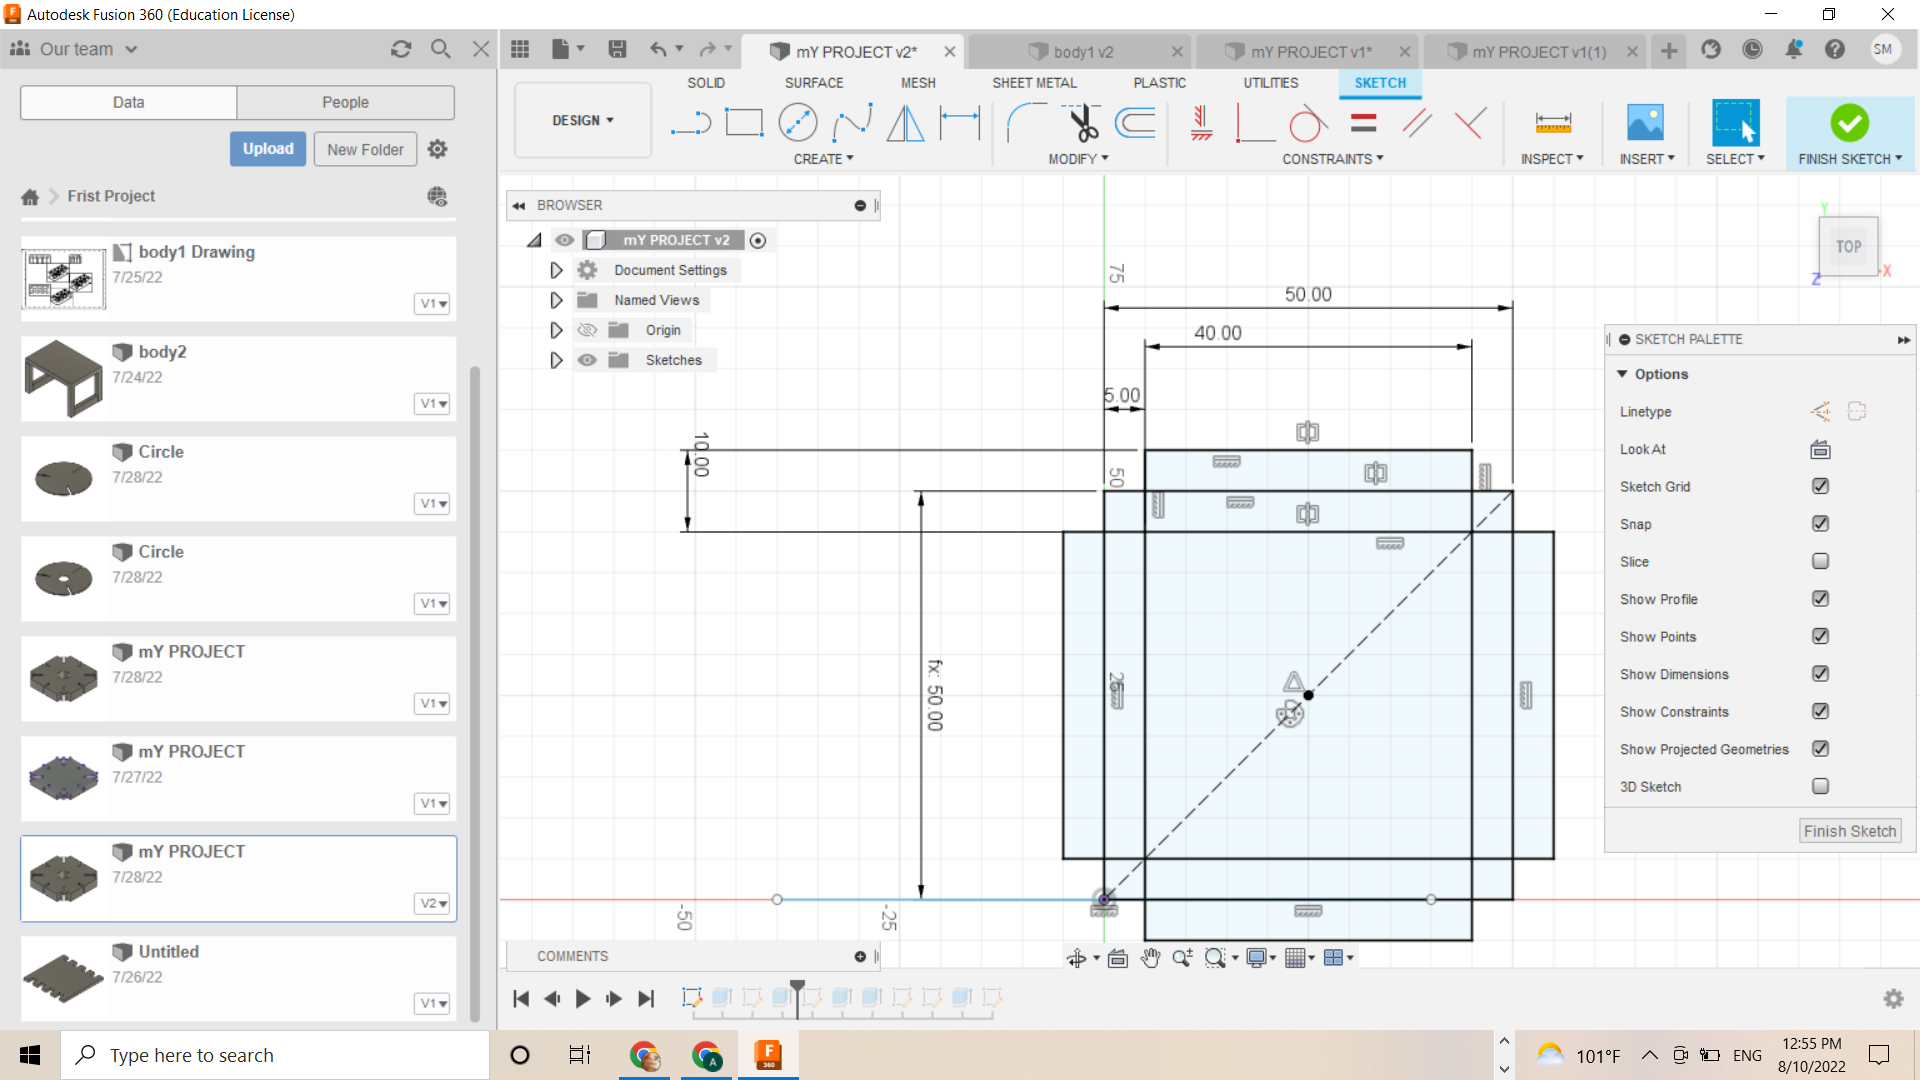
My first parameteric shape.
After chossing the shape i started setting the body parameters of my shape as we can see in picture shown below
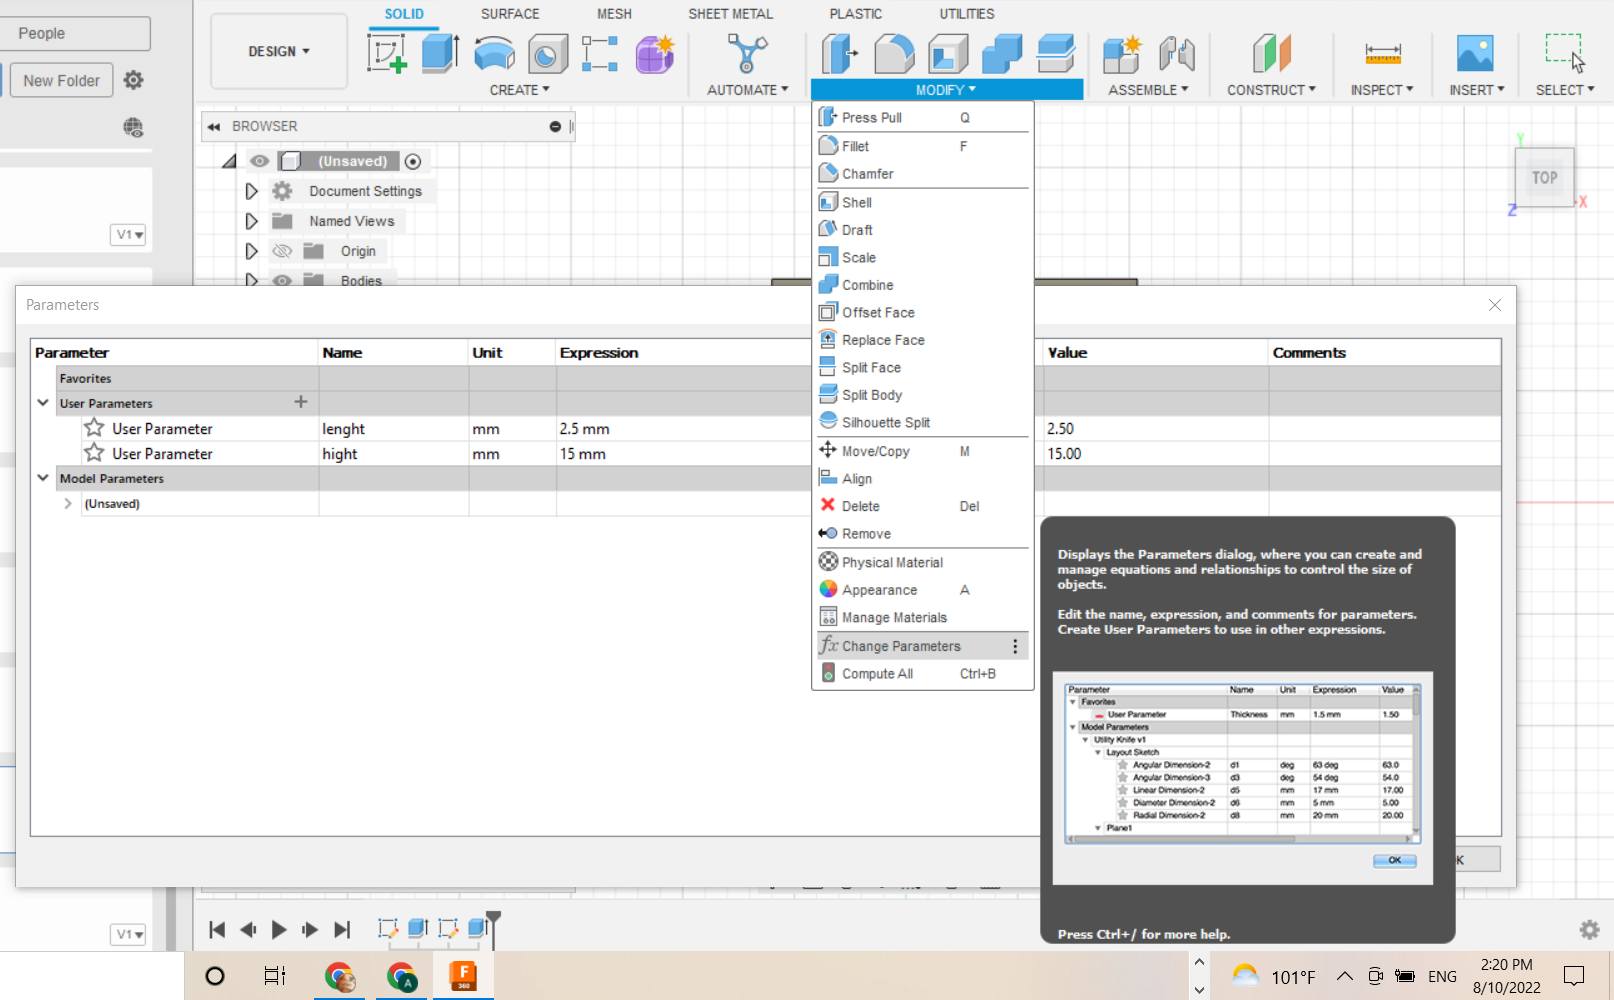
Setting the parameters for press joints.
After creating the shape i start setting parameters for press fit joint. I navigated to the modify bar and i chose change parameters option. After chosing option a new window popup on which i chose my parameters. I chose lenght 2.5 mm and hight 15 mm.

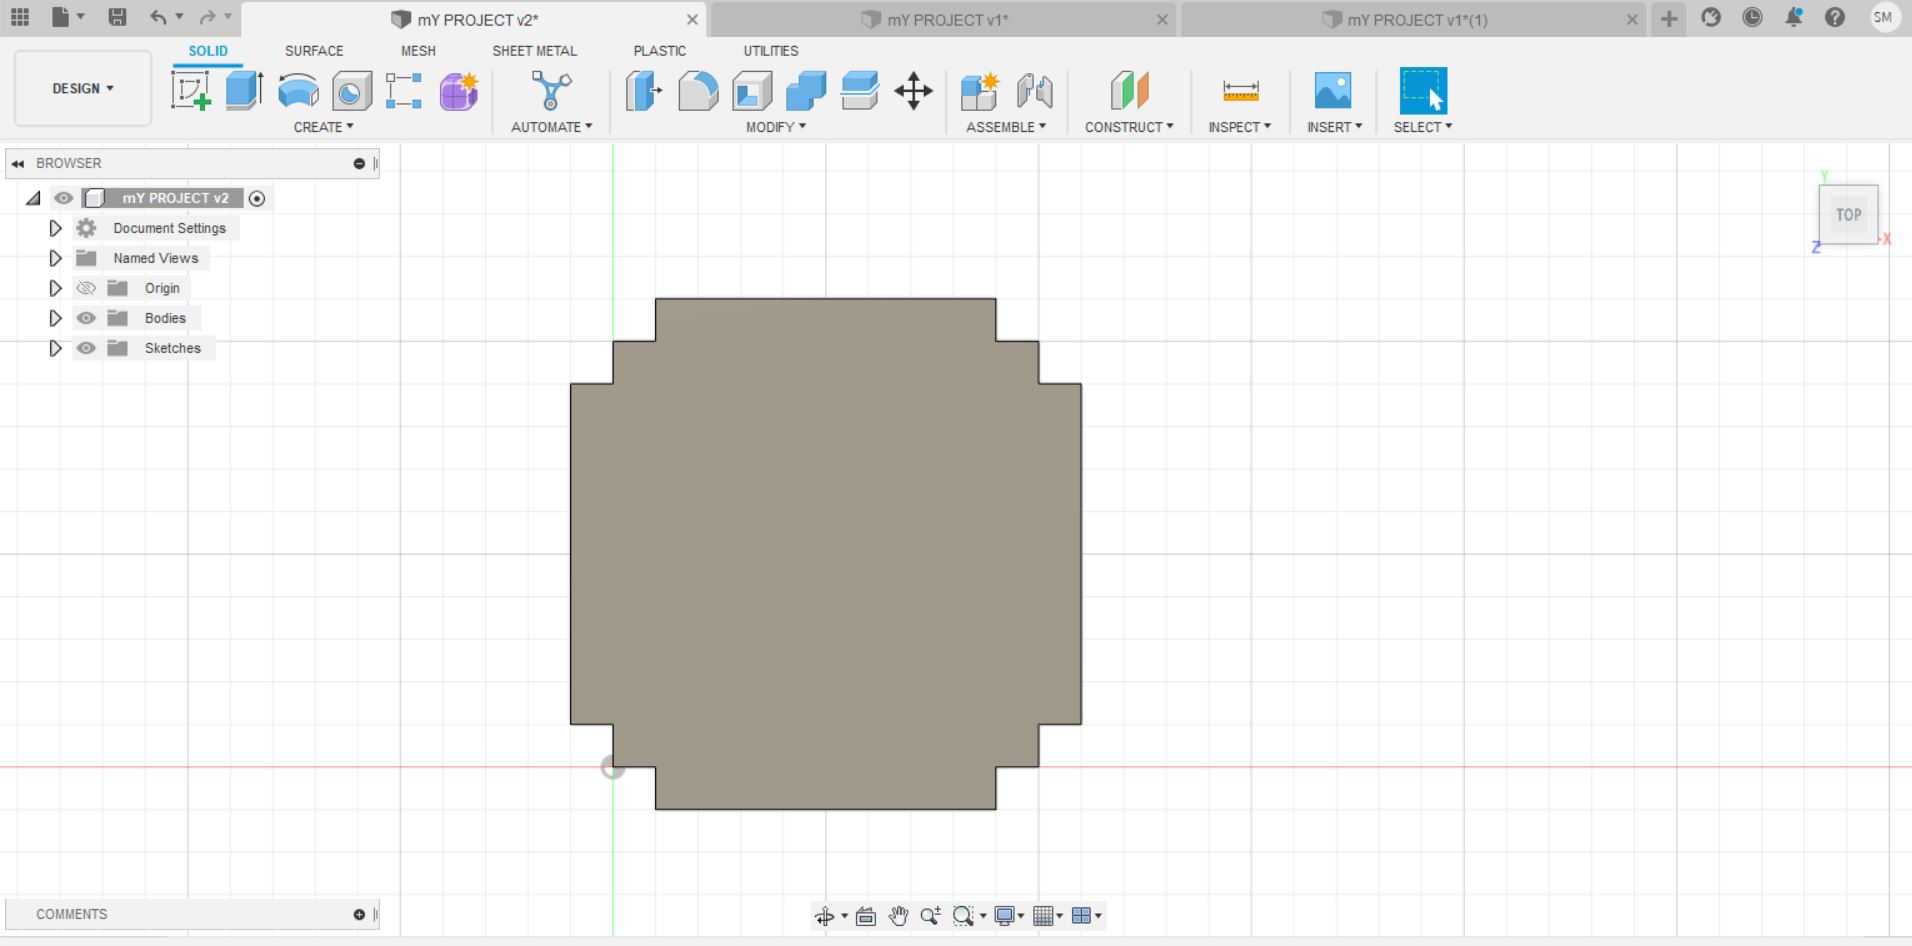
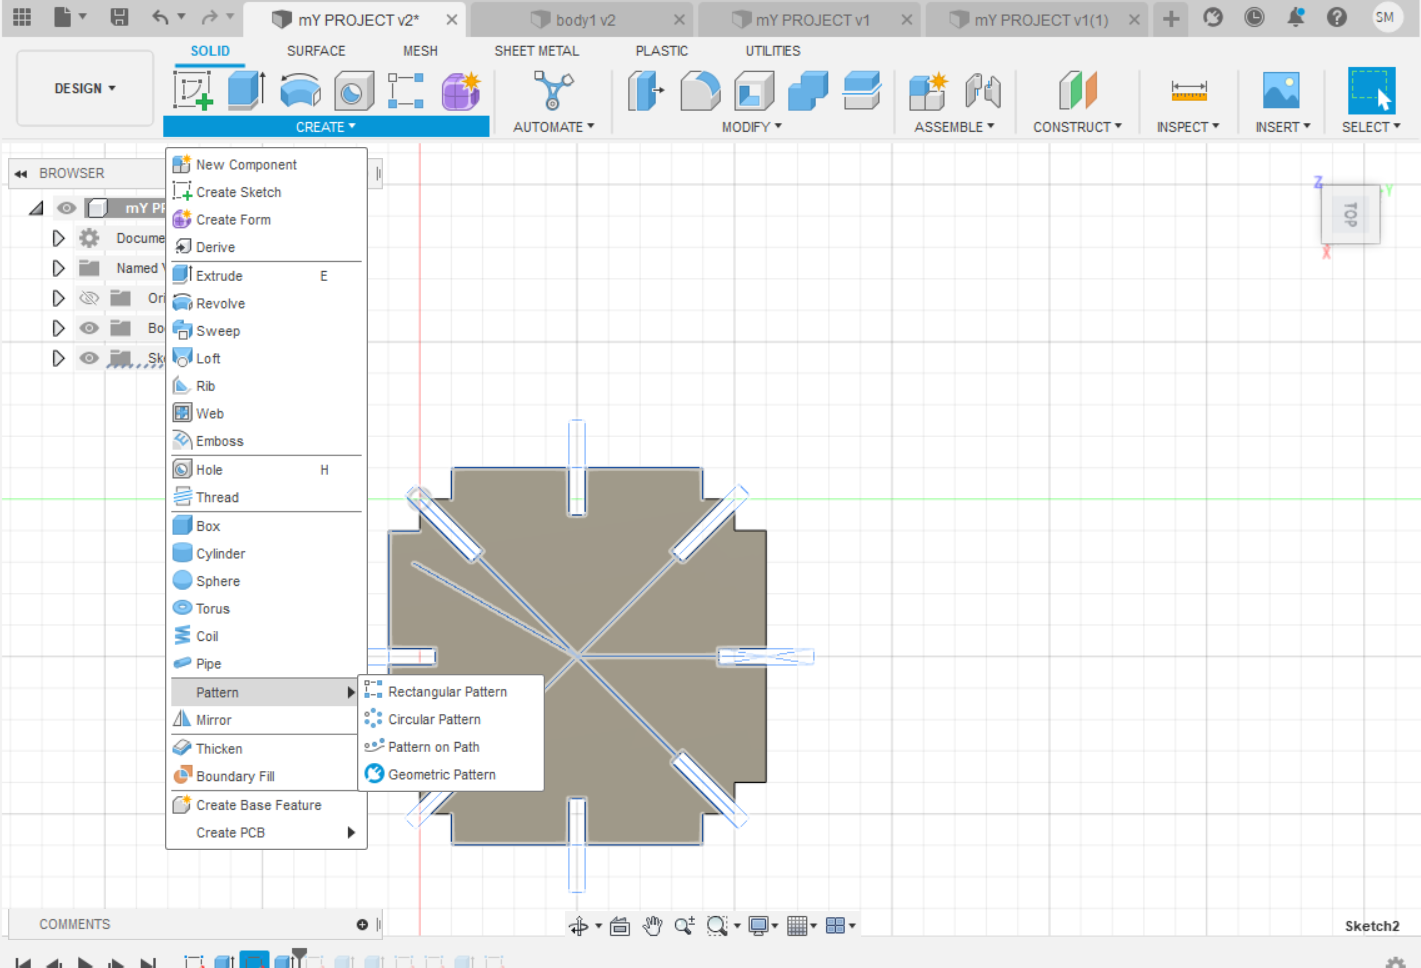
Cutting the pressfit joints.
After setting the parameters i chose the the different areas of my shape to cut them once by going to creat bar, pattern , recttangulare pattern for press-fit kit. As we can see in image shown below.
Extrude.
After going extrude process now as we can see my shape is ready with press fit joints for laser cutting.

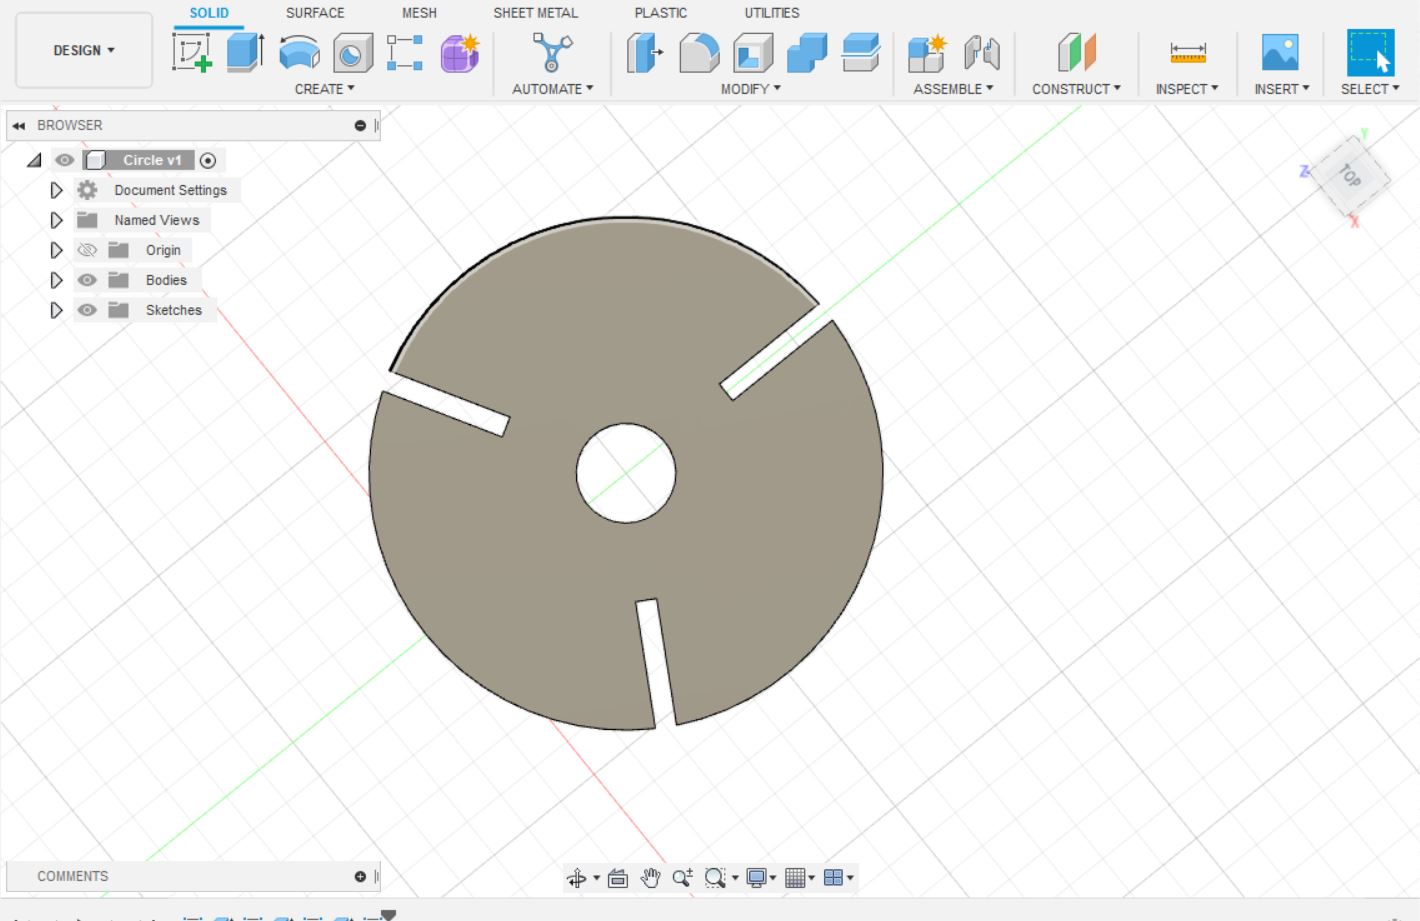
My second parameteric shape.
I followed the same steps to create my second shape which is circle shape as we can see in picture shown below.
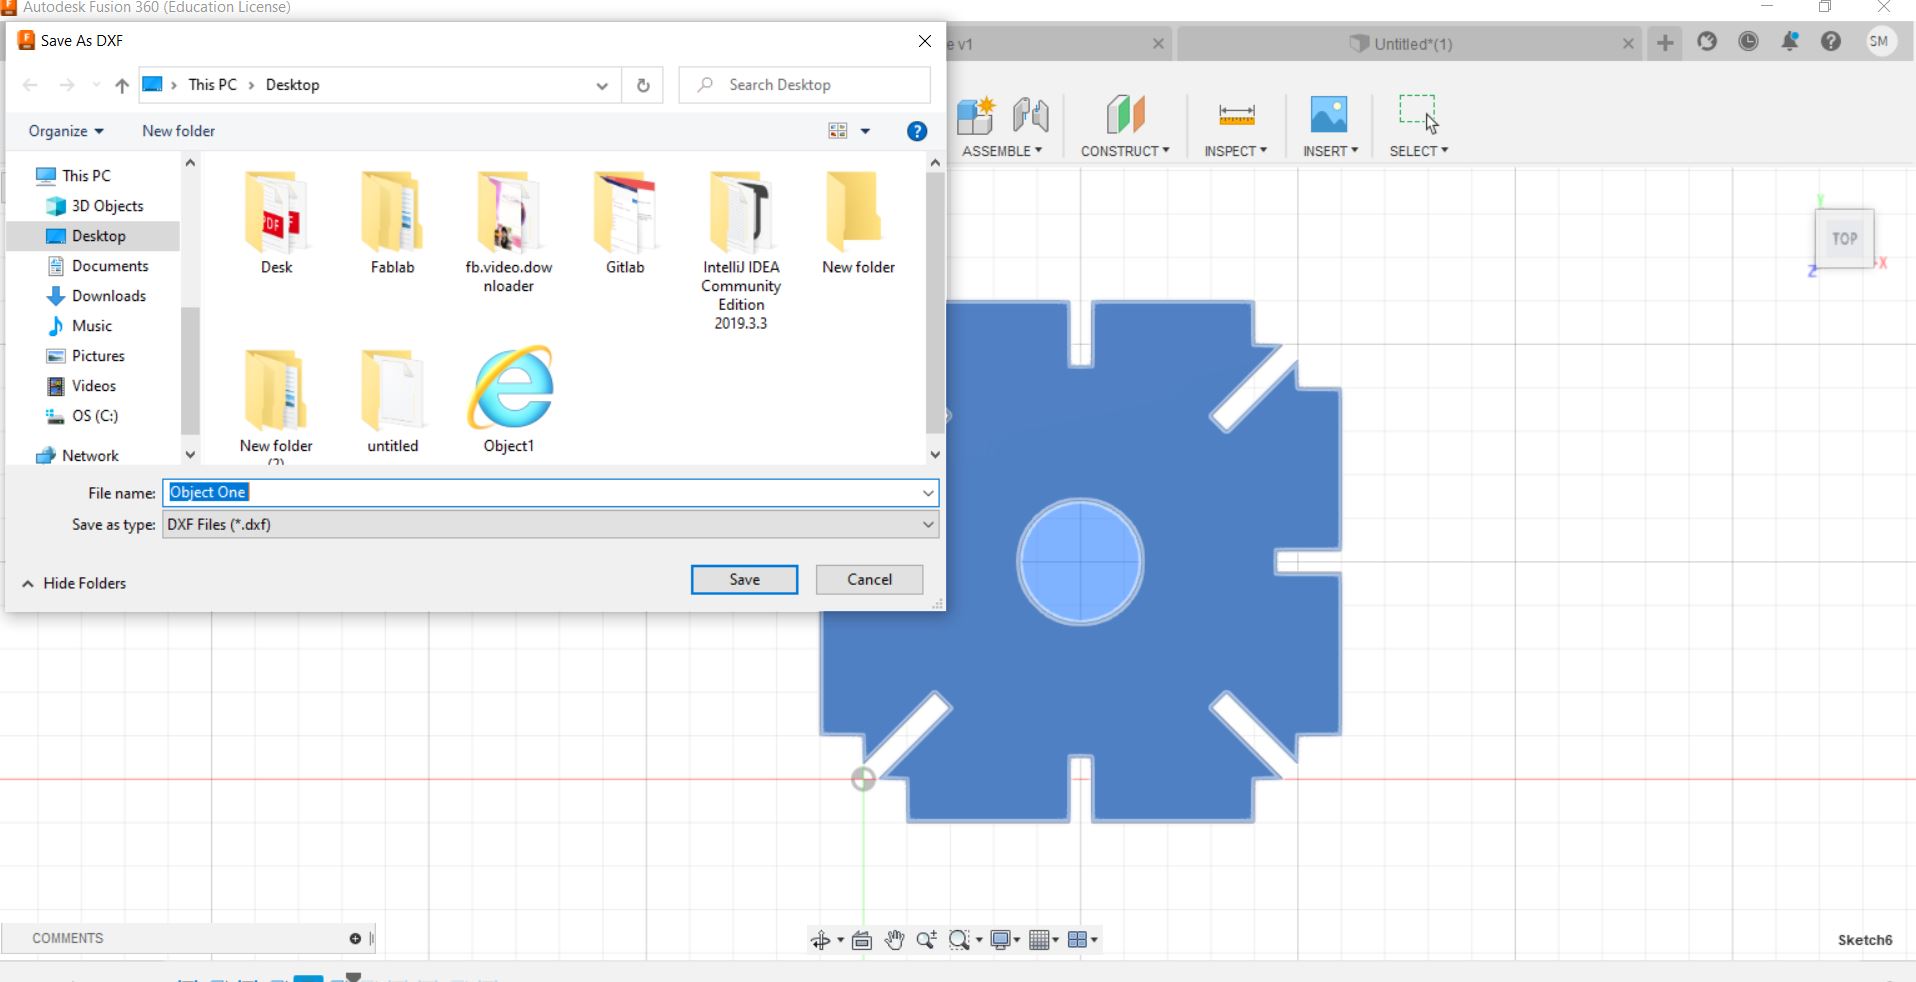
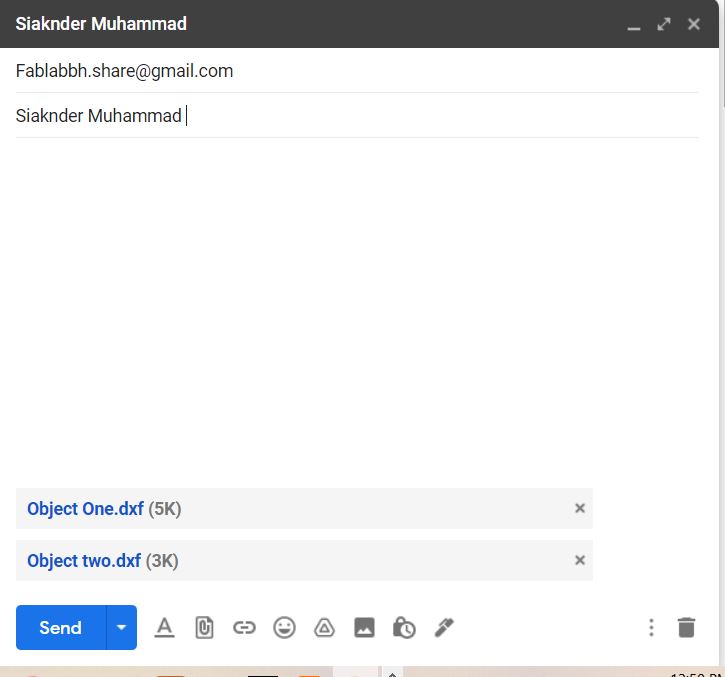
Sending the file to laser cutting machine.
After completing the shape i saved my files in stl format and sent the files to main system(computer) which is connected to laser cutting machine.
Setting files on main system.
After receiving and downloading files in main system i started to set and cut them on machine.
Setting power and speed.
I set the power to 35 and speed to 40 mm/s to cut my shapes with neat and clean lines as we can see in the picture shown below.

Sending files to laser cutting machine.
After setting power and speed i sent my files (shapes) to laser cutting machine by clicking on download button as we can see in the picture shown below.
Cutting the shapes.
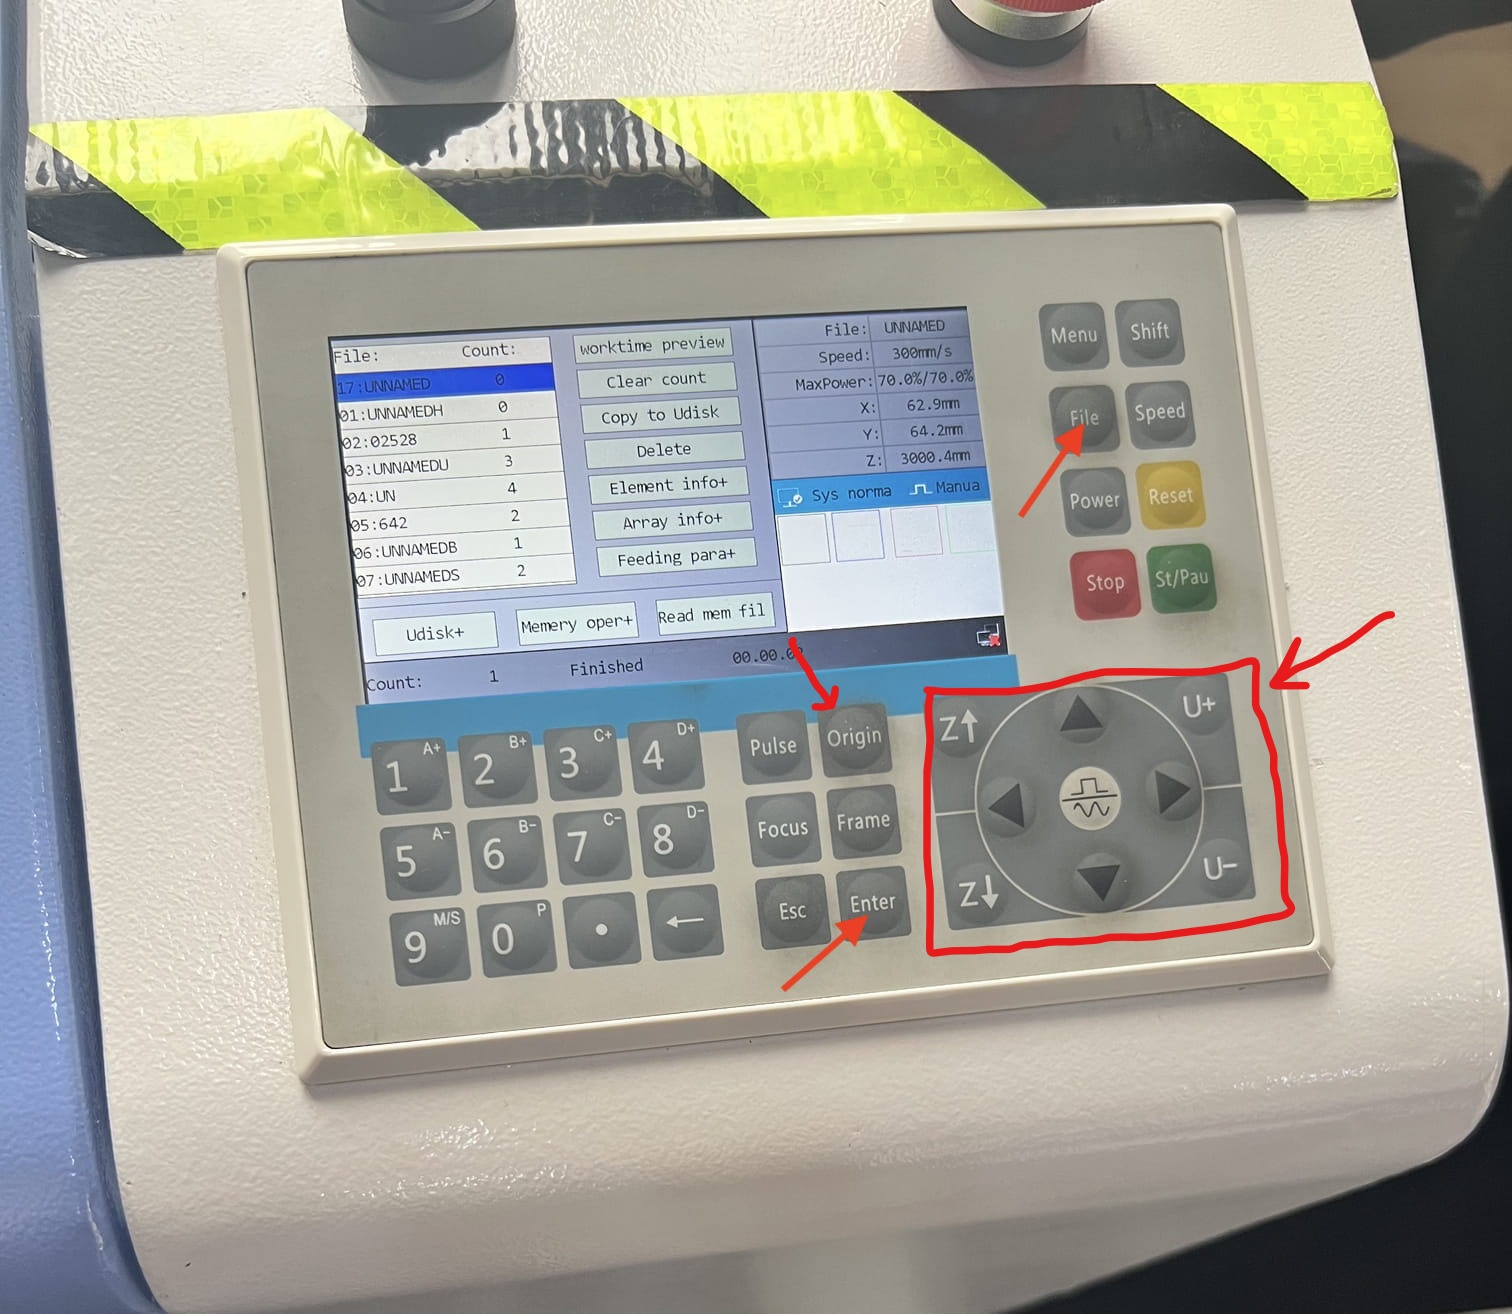
After downloading the shapes to adjust the laser on laser cutting machine by using the buttons and interface of the machine i chose my file and set the origin of the shapes by clicking the origin button and then i set the space between the material and the laser about 8mm so we can get neat cut on material.I pressed the enter button to start the process of cutting.
Cutting process.
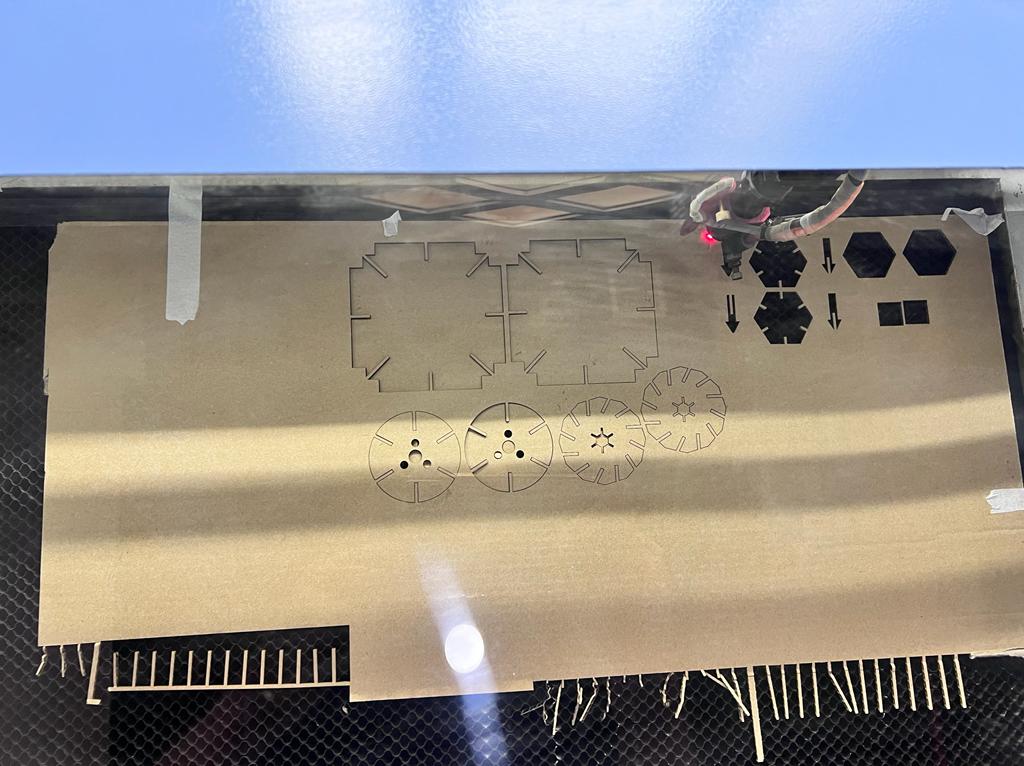
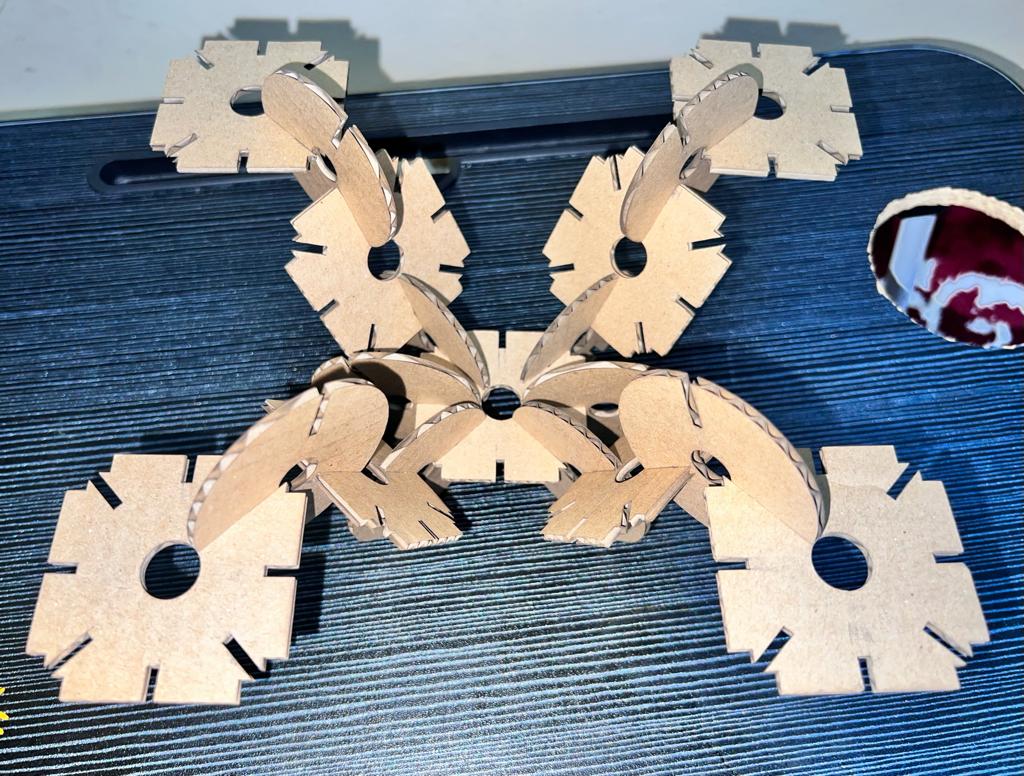
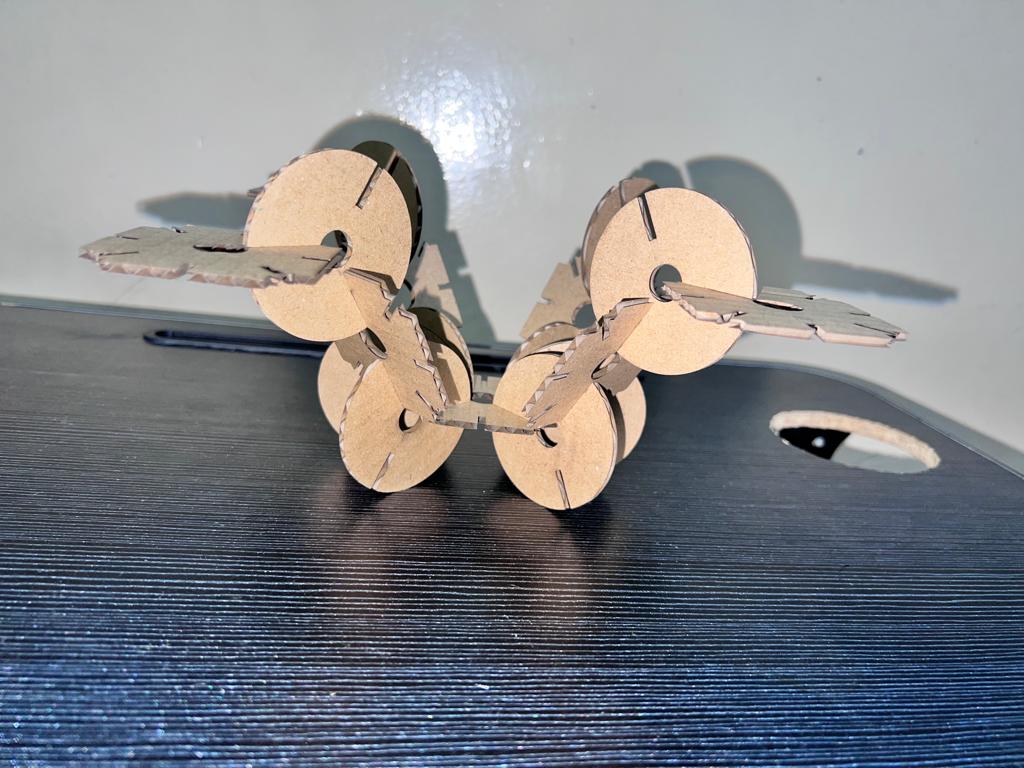
Final reasult.
After cutting and assembling the shapes through joints i made a rendom pressfit body.As we can see in the pictures shown below.