5. 3D printing and scanning
This week I worked on defining my final project idea and started to getting used to the documentation process.
Research
3D Printing
Additive manufacturing, 3D printing, or direct digital manufacturing: is the process of taking a design of a 3D object from a computer, dividing it into separate thin layers, and then building it layer by layer. In other words, it visualizes a 3D object as a set of layers that can be stacked or added together to form the object. It always starts with a base layer and then stack up each the layers one by one at time until the object is fully created.
some advantages of 3D printing
1- Complexity:Complex parts can be created including internal complex parts. 2- Sustainability:Variety of materials can be used and less waste is produced. 3- Light and strong parts can be created. 4- Can make personalized and customizable products according to consumer’s interest.
some disadvantages of 3D printing
1- 3D printers are costly. 2- Slow for mass production. 3- It can emmit harmful gasses. 4- Limited materials available for 3D printing. 5- 3D printed products require post processing. 6- Size building limitations.
types of 3D printers:
every type of 3D printer is designed according to the material they use to create the objects and its properties. Four common types of 3D printers are:
1- Photopolymer: they are polymers that are reactive to light. They change their properties (transform from liquid to solid) when exposed to light radiation like ultraviolet (UV) light or a visible spectrum of the electromagnetic spectrum.
examples of photopolymer
Types of photopolymer 3D printers include:
-
Stereolithography (SLA): it uses STL file type most commonly for printing objects. It uses focused UV light. A platform that moves up and down is submerged inside a reservoir of liquid resin sufficiently to make a thin layer of liquid resin on top of the platform. Then a laser scanner emits a laser beam to transform this thin layer of liquid resin to solid. The platform moves down by a piston as to create the consequent layers. It is known for its high-resolution fabrication which provides highly detailed finishes, smooth surfaces, and tight tolerances.
-
Digital Light Processing (DLP): it is similar to SLA where it produces photopolymer parts. Almost the only difference between DLP and SLA is that DLP printers uses a projected light source to build an entire layer at once instead of using laser that traces the layer as in SLA. In other words, DLP uses a digital projector screen where t captures an image of full layer across the entirety of the platform, thus it cures all the points or the full layer of resin at one time.
-
Polyjet: it also uses photopolymerization. But it uses materials that can be ink-jetted to build the layers of the object. It does not have a both of liquid resin like SLA. Rather, it contains the materials in separate cartridges and can mix the materials as it sprays them.
2- Granular: popular for making objects from plastics, metals, and even ceramics. It works by solidifying granular powder. It can create large (James Bond’s car in the movie Skyfall) objects and flexible artwork (full dress worn by model Dita von Teese). The granules can be solidified using different methods like: Binding the granule with bonding materials like glues, sintering (binding the granules by heating it below its melting point), or melting heating the powders above their melting point to combine them by creating a melt pool of material. It uses laser or electron beam to fuse the powder.
examples of granular
Examples of granular 3D printers include:
-
Selective Laser Sintering (SLS): it fuses nylon-based powder particles to form solid 3d printed object. The surface finish is rougher. But the finished product is relatively strong.
-
Direct Metal Laser Sintering (DMLS): used for metal fabrication. It blows metal powder into a laser or electron beam. Essentially DMLS process is same as SLS where SLS uses polymers, glass, and ceramics where else DMLS is applied to metal alloys.
-
Electron Beam Melting (EBM): as the name suggests, electron beam is utilized to melt layers of powdered metal to create the object and the object is placed in vacuumed chamber. It is used to melt metals including cobalt chrome, steel powders, nickel alloys, and titanium alloys.
-
Multi Jet Fusion (MJF): a powder-binding printer that uses ink-jet sprays to apply a binder that rapidly solidifies into the powder bed.
3- Lamination: lamination first cuts out each individual layer using a knife or laser that shapes the cross-section of the object and then stick each layer atop the other using type of adhesive or glue. It can use metal foils, plastic sheets, and even common paper.
4- Fused Deposition Modeling (FDM): perhaps it is the best-known type of additive manufacturing. It uses STL files same as SLA. Thermoplastic filament is fed through a hot extruder with a small nozzle and then, after it is melted, is squeezed to create an object. The process is much like squeezing out a toothpaste. It builds up the layers and the object can rapidly cool at ambient temperature. The process can be also called fused filament fabrication (FFF), since the term fused deposition modeling (FDM) is trademarked.
Scanning
Optical scanning can be used to capture existing objects and convert it to a digital object/ electronic copy so it can be modified or just re-invented using a 3D printer. It can be utilized for unique artworks and designs that cannot be easily modeled in a computer.
Limitations of optical scanning
1- It can only outline the outer shape of an object. Though, ultrasound imaging or CT scan data can be used to capture the outer shape and the internal shape of an object.
2- They can miss scan a high reflectivity or transparent objects
some types of scanners
-
Laser scanning: uses laser to scan the object’s surface. The information of the scan is collected via sensor. This type of scanning provides the digital information as a triangulated mesh of the object which can be customized or repaired using a CAD software.
-
Probing: uses coordinate measuring machines (CMM). Meaning that it utilizes a probe to sense a series of points on object’s surface to create a digital form of it. It is more efficient in determining geometric objects.
-
Photogrammetry (photography): analyzes several photos taken for an object from different sides to create a digital 3D model. Some advantages of photogrammetry include the capability of constructing 3D models of large objects. Plus, capturing colors and sometimes even the texture of the object.
Group Work
In this link you will find the learning outcomes of testing the 3D printers and desing rules of the printers used.
Task-1 Scanning using photogrammetry
1- Search for Qlone application in your apple store or google store, install and open it. 1

2- Click on the plus sign. 2

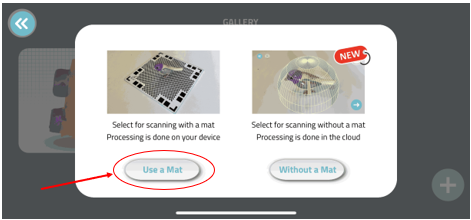
3- You have two choices to scan an object that is either with or without a mat. Using a mat is always preferable as it enhances the result of the scanned object. 3
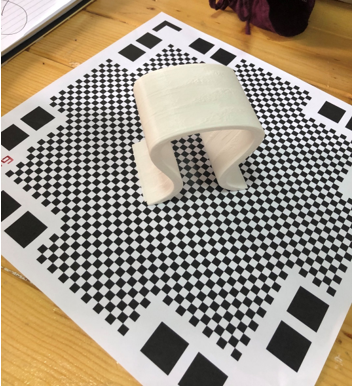
4- Place an object at the center of a plain mat. Note that the bigger the object you have a bigger mat you will need. 4

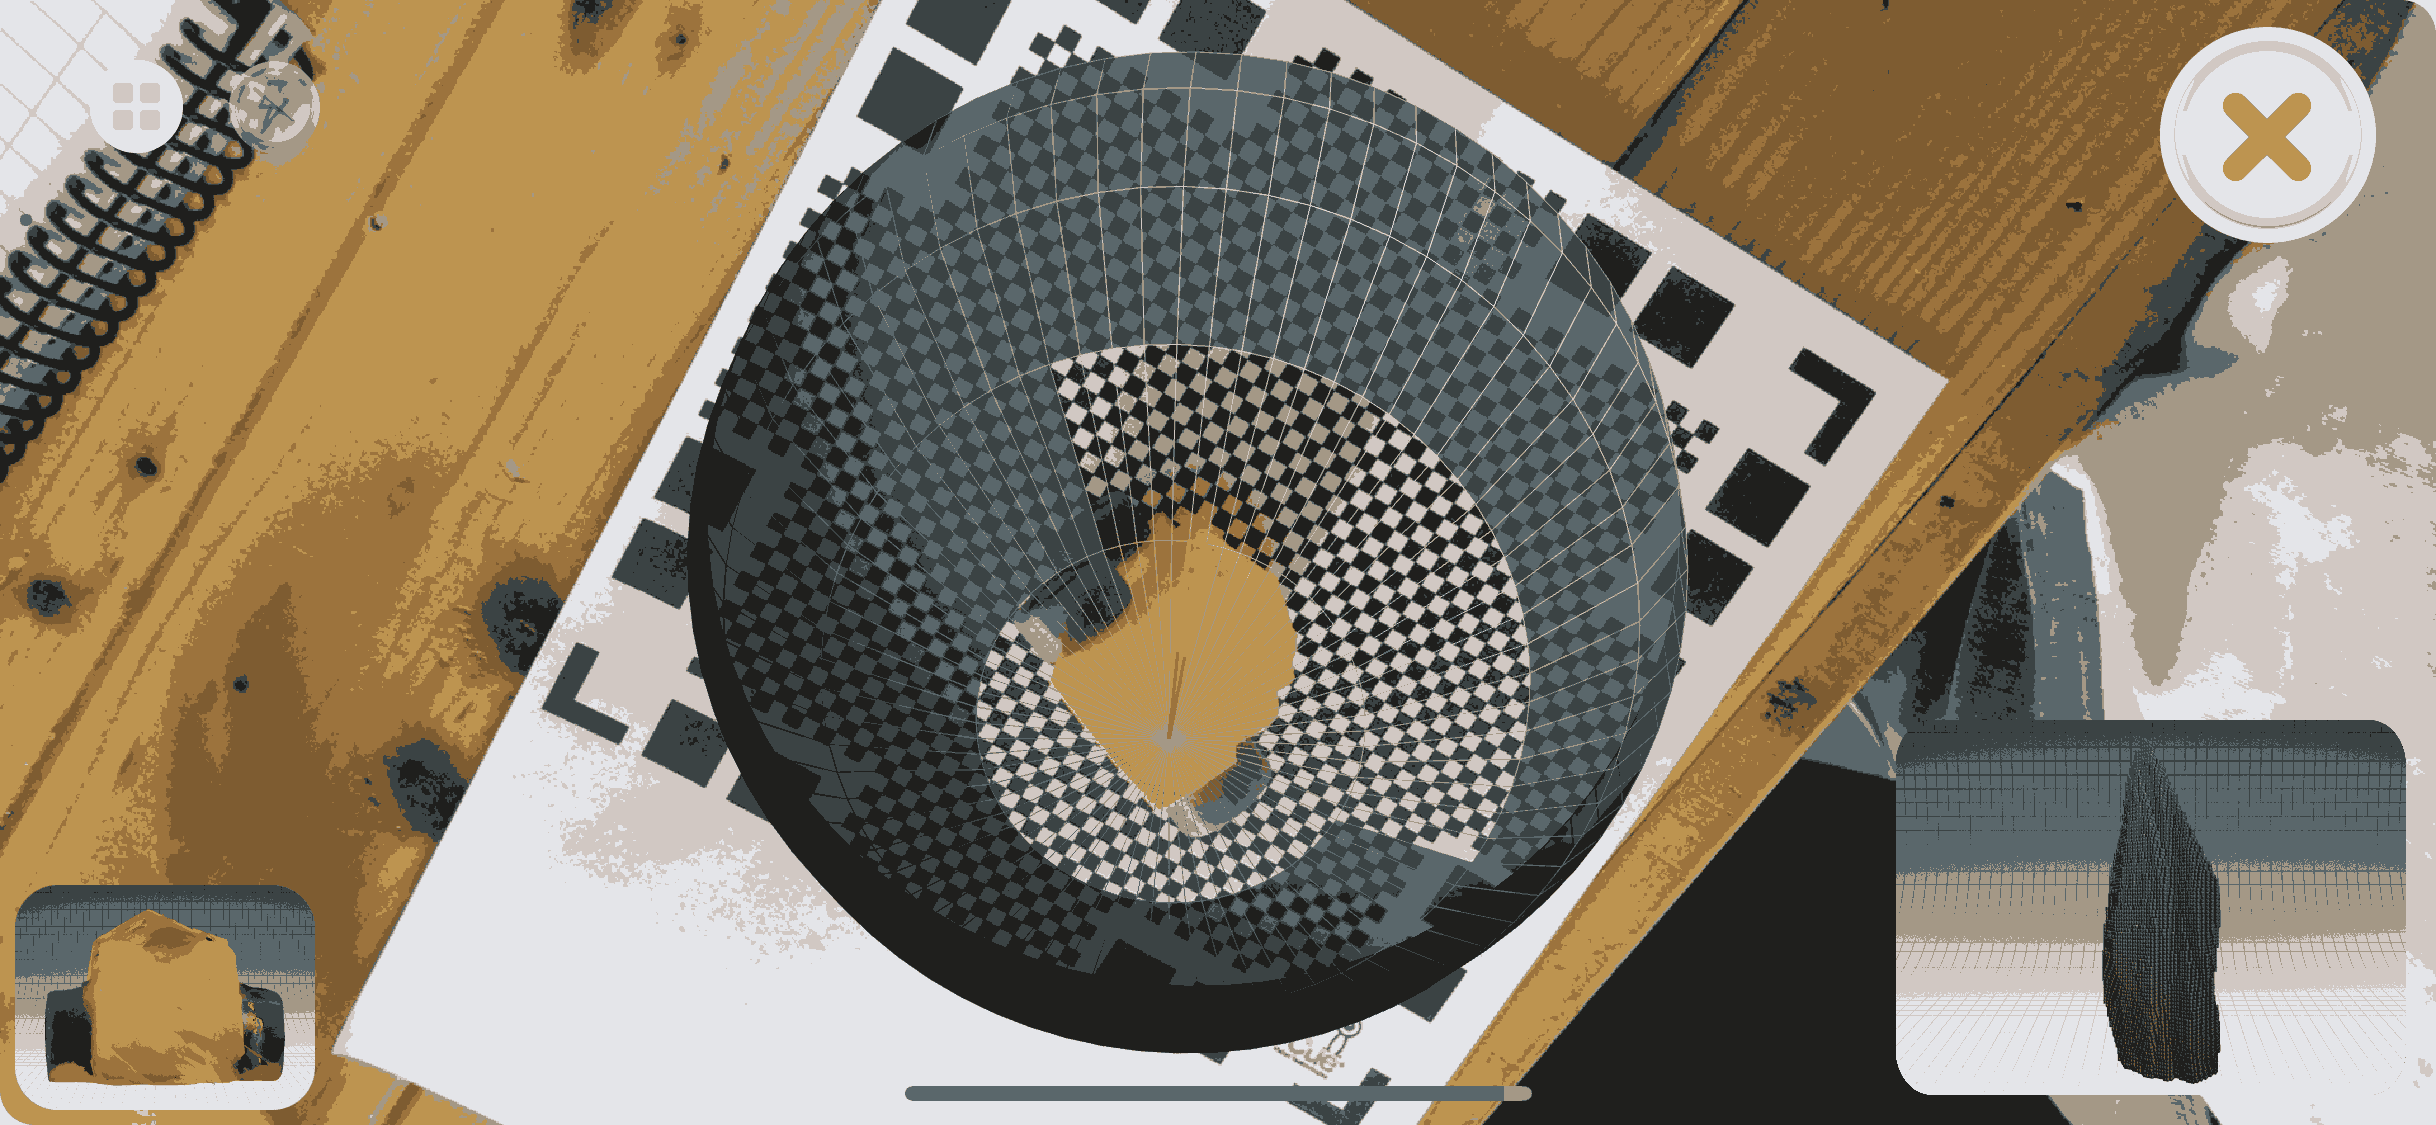
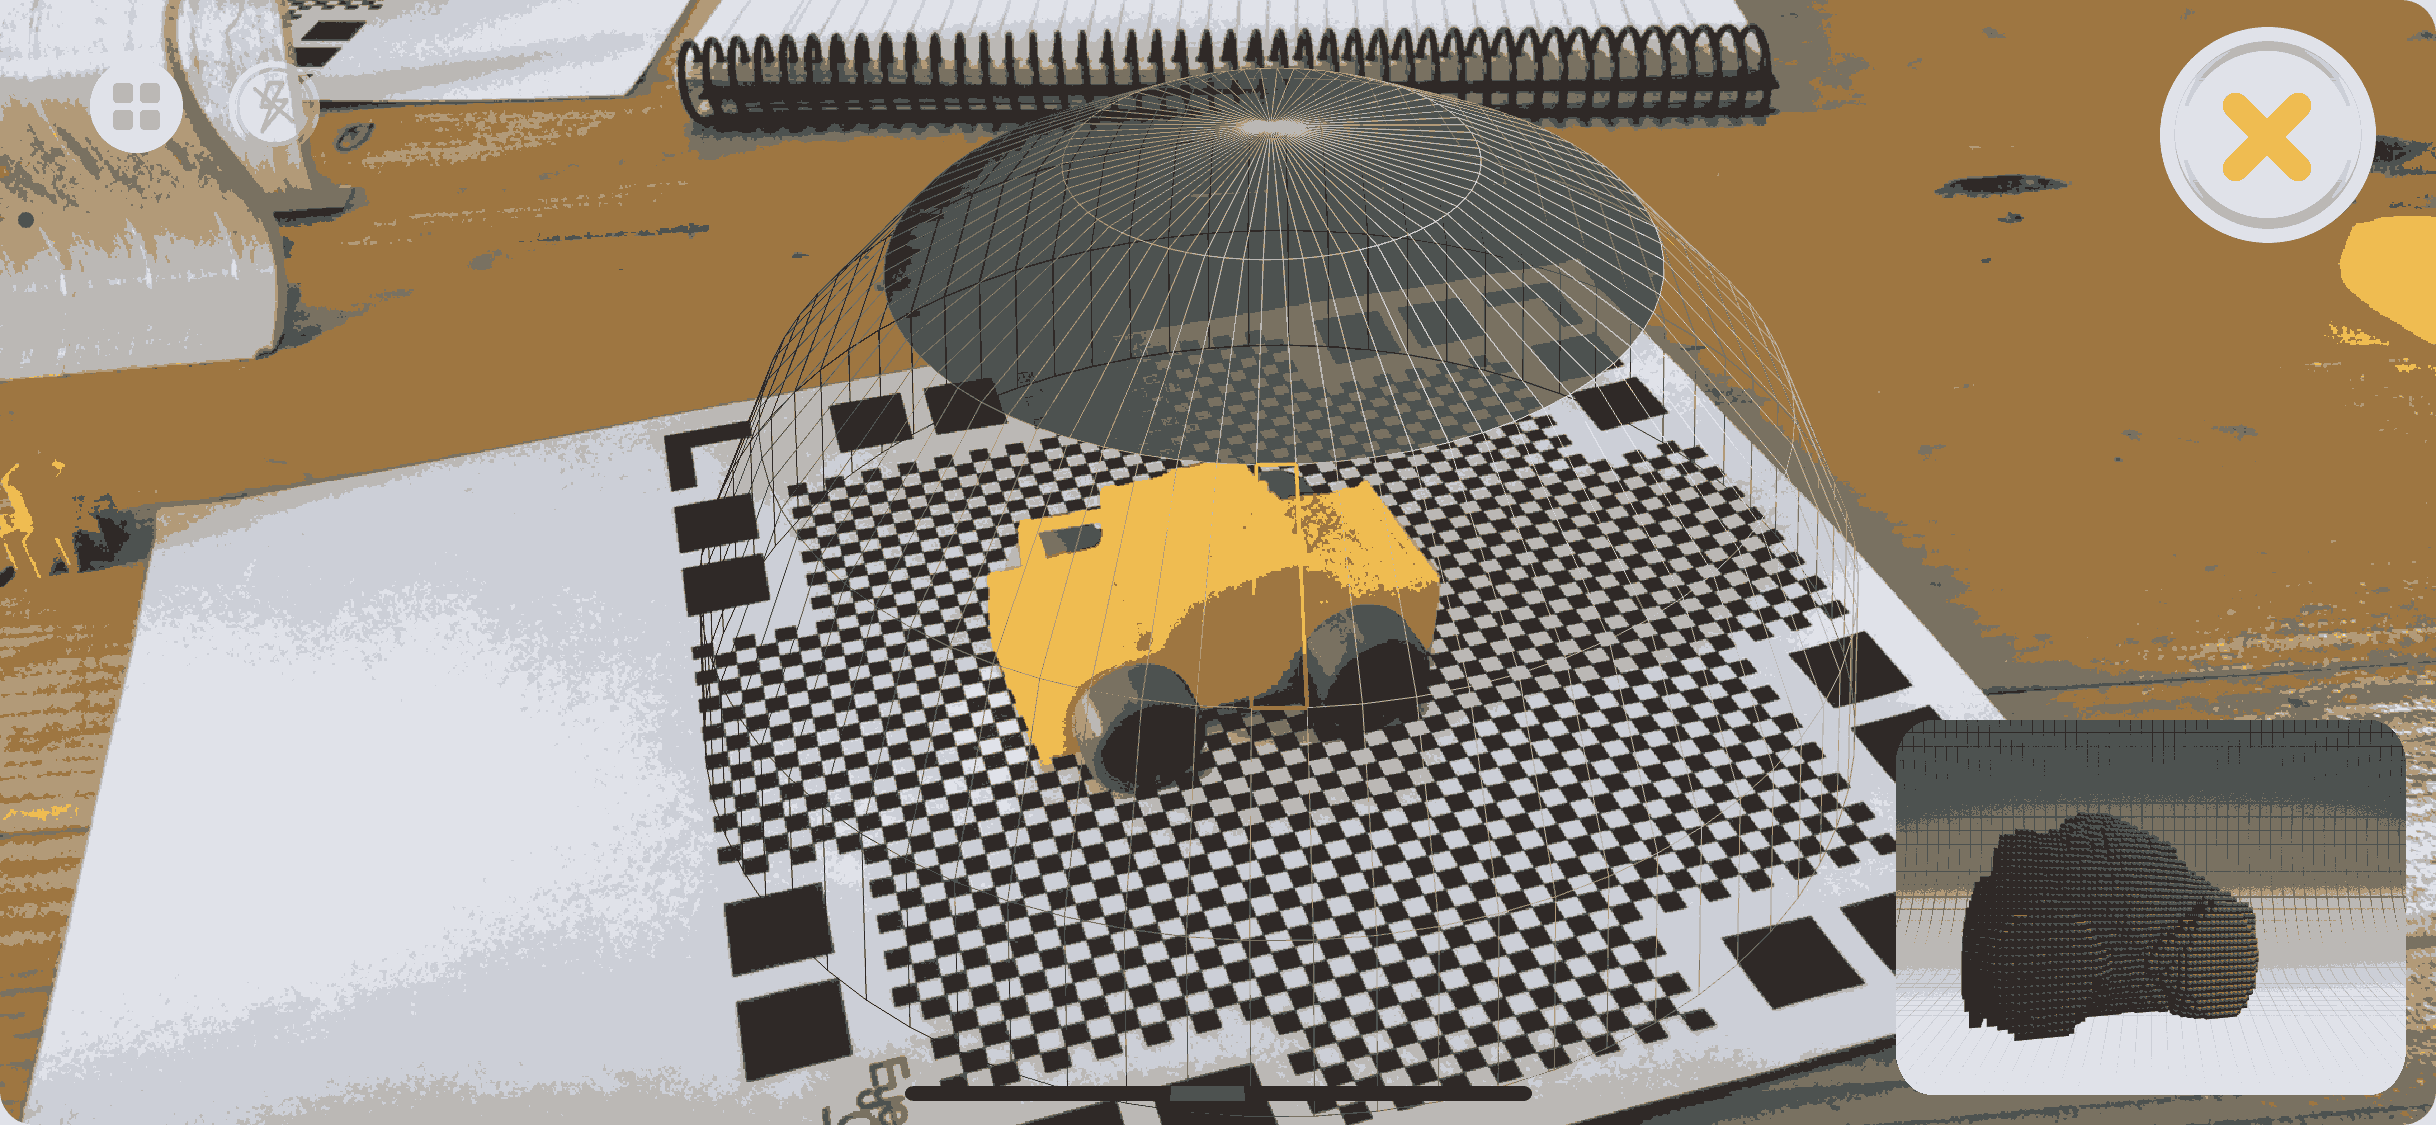
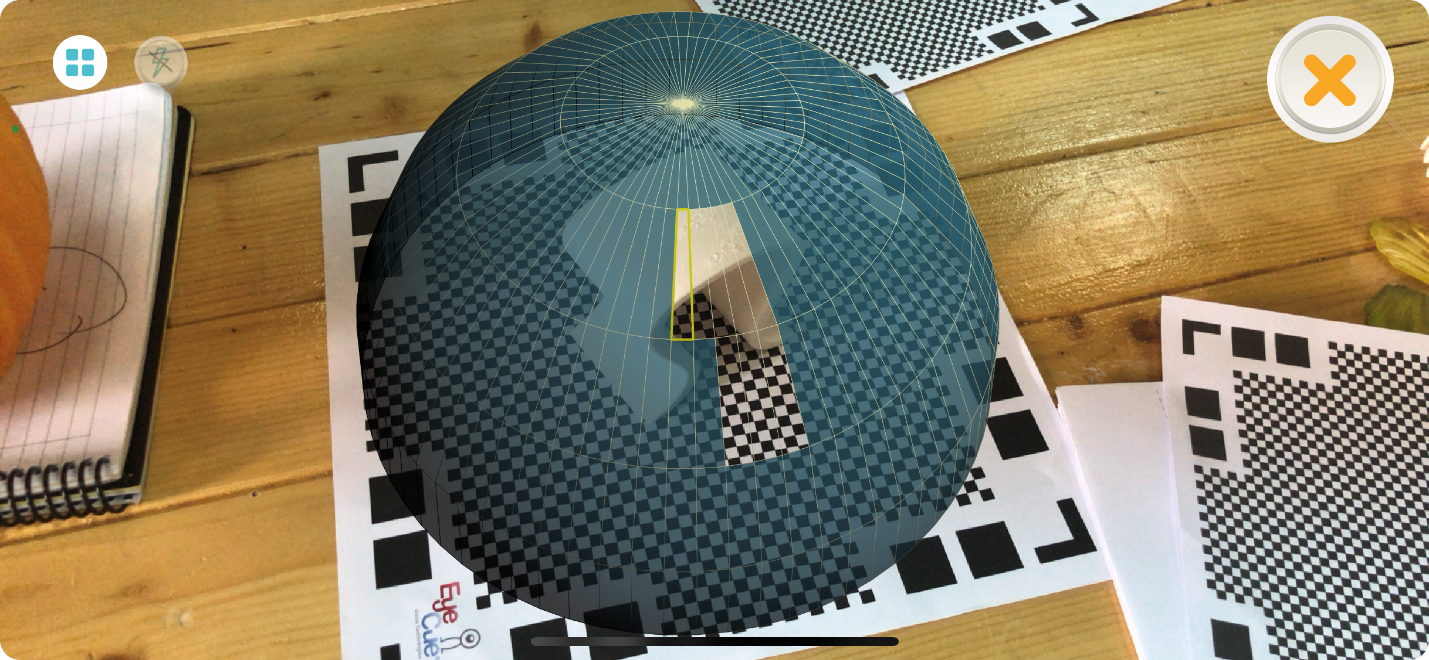
5- Direct your smart phone’s camera towards the object. A dome shape should appear covering the object. If it is not appearing then try to move the camera further or closer to the object. 5
6- When the dome appears, you can start scanning your object either by moving the camera around it or by rotating the object for the scanner to calculate the points all over the object.
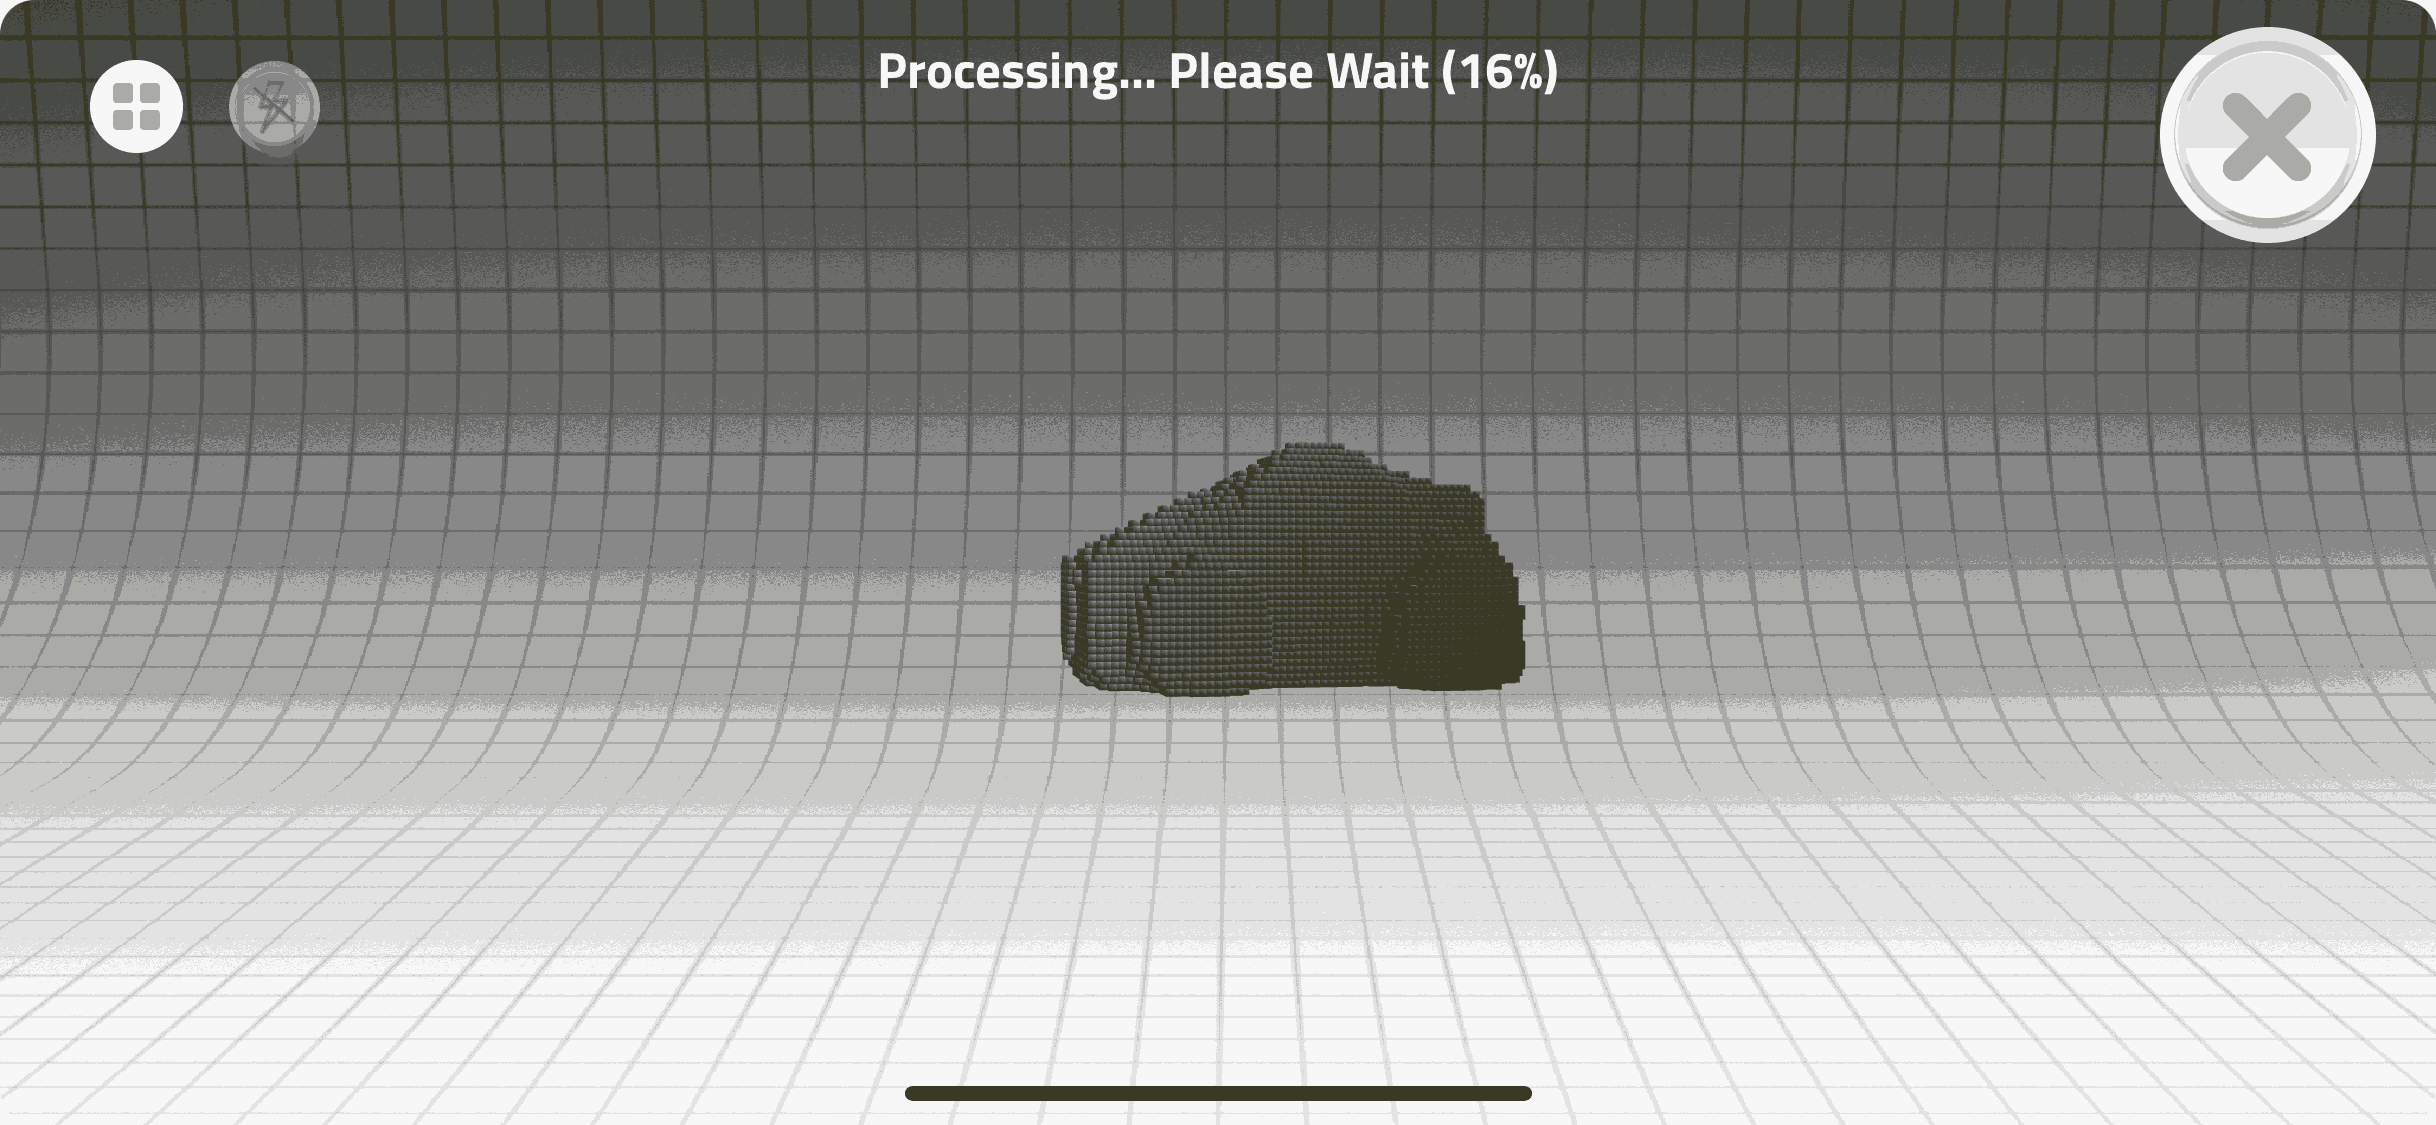
7- When done, the application will process the scanning and will give the final result. 6 , 7
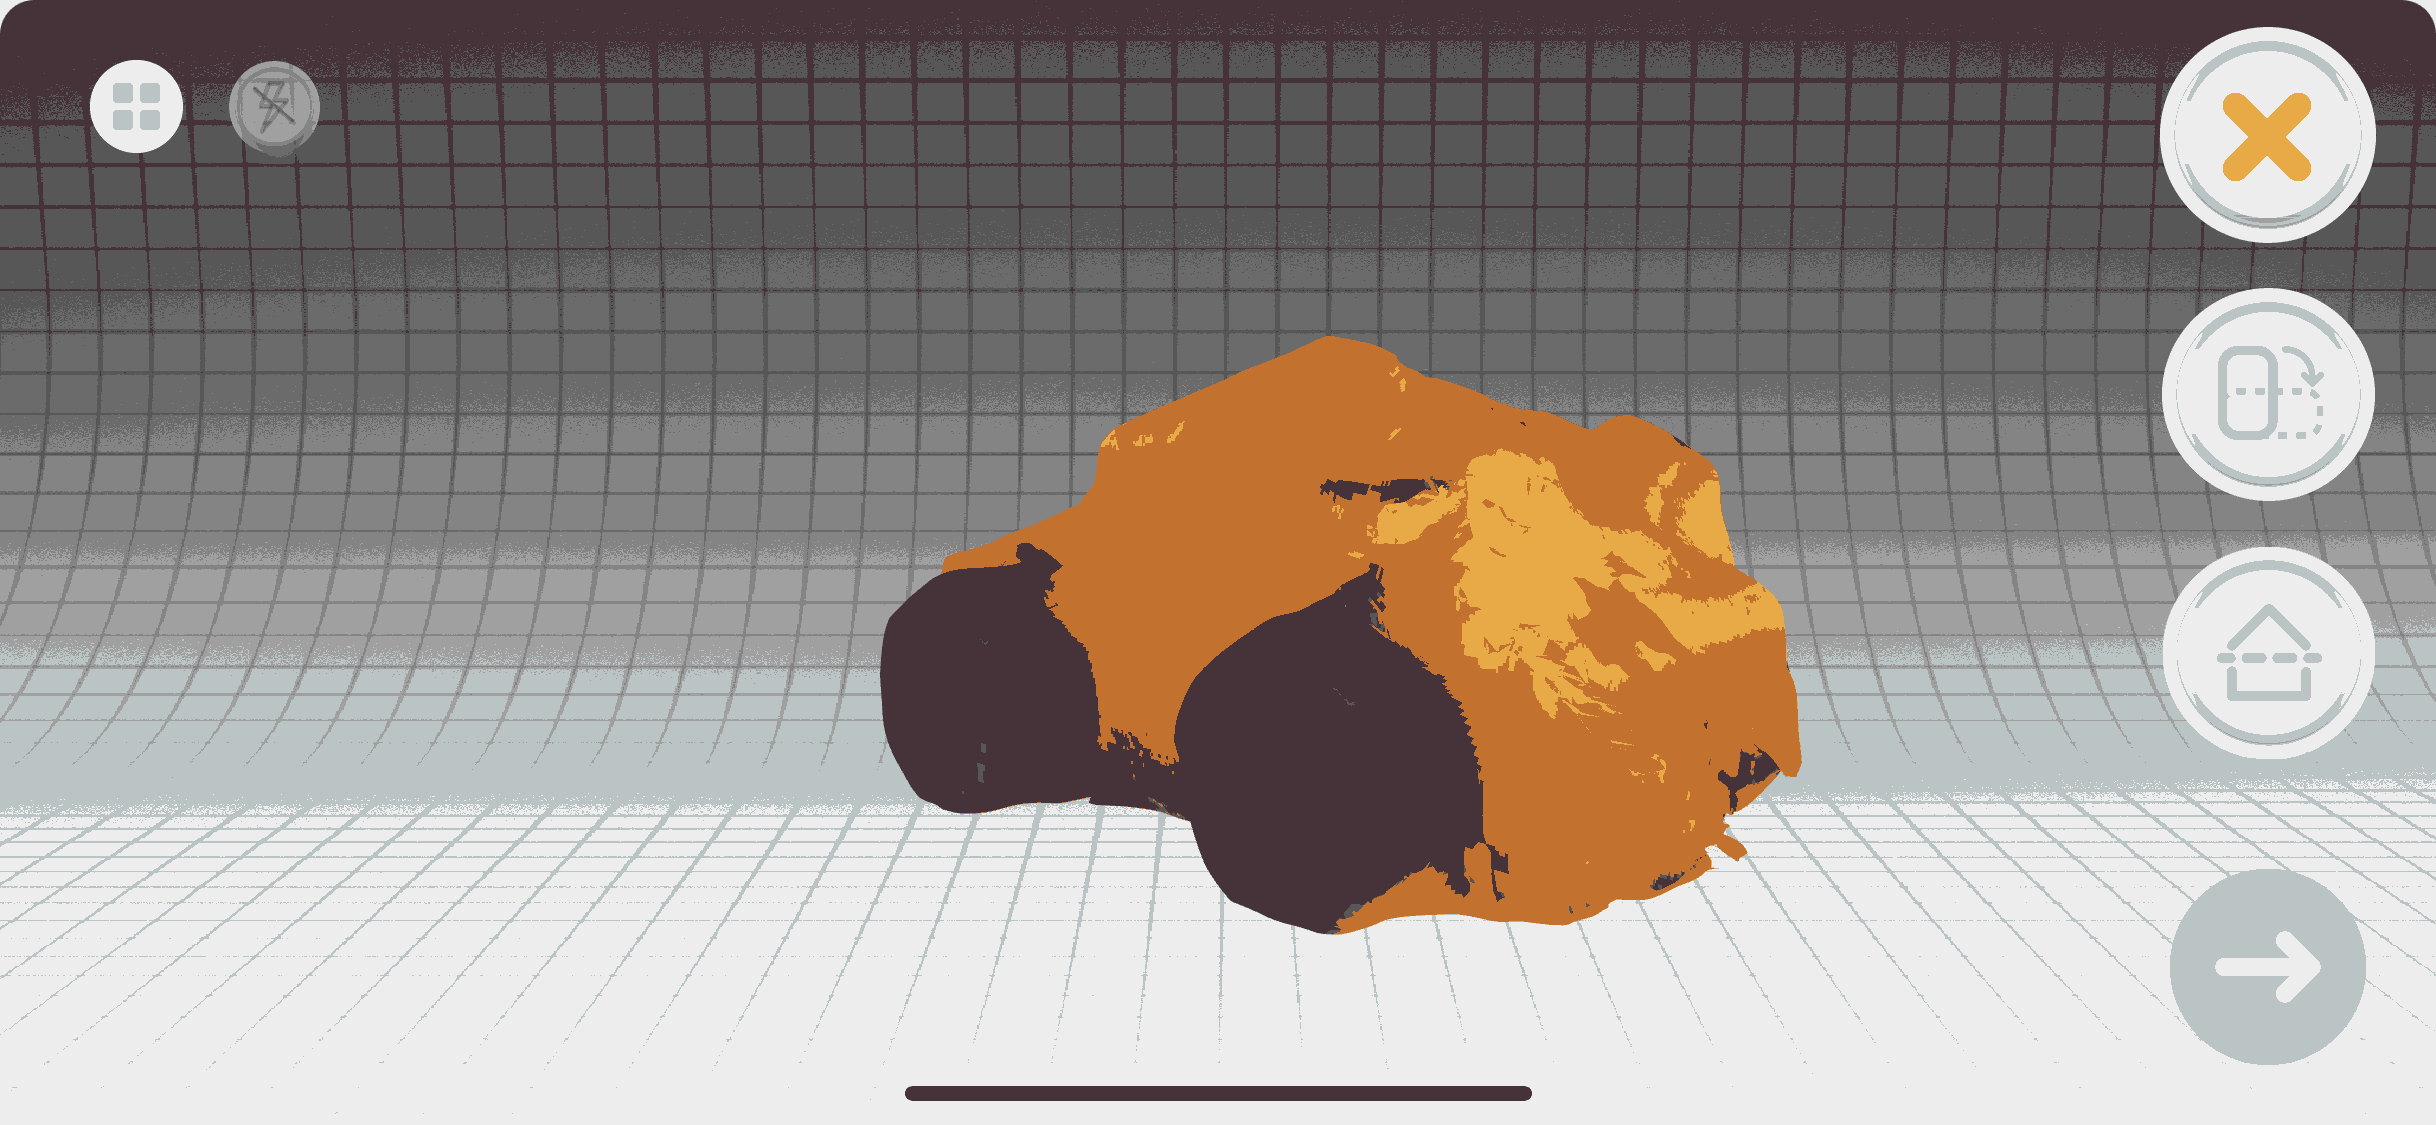
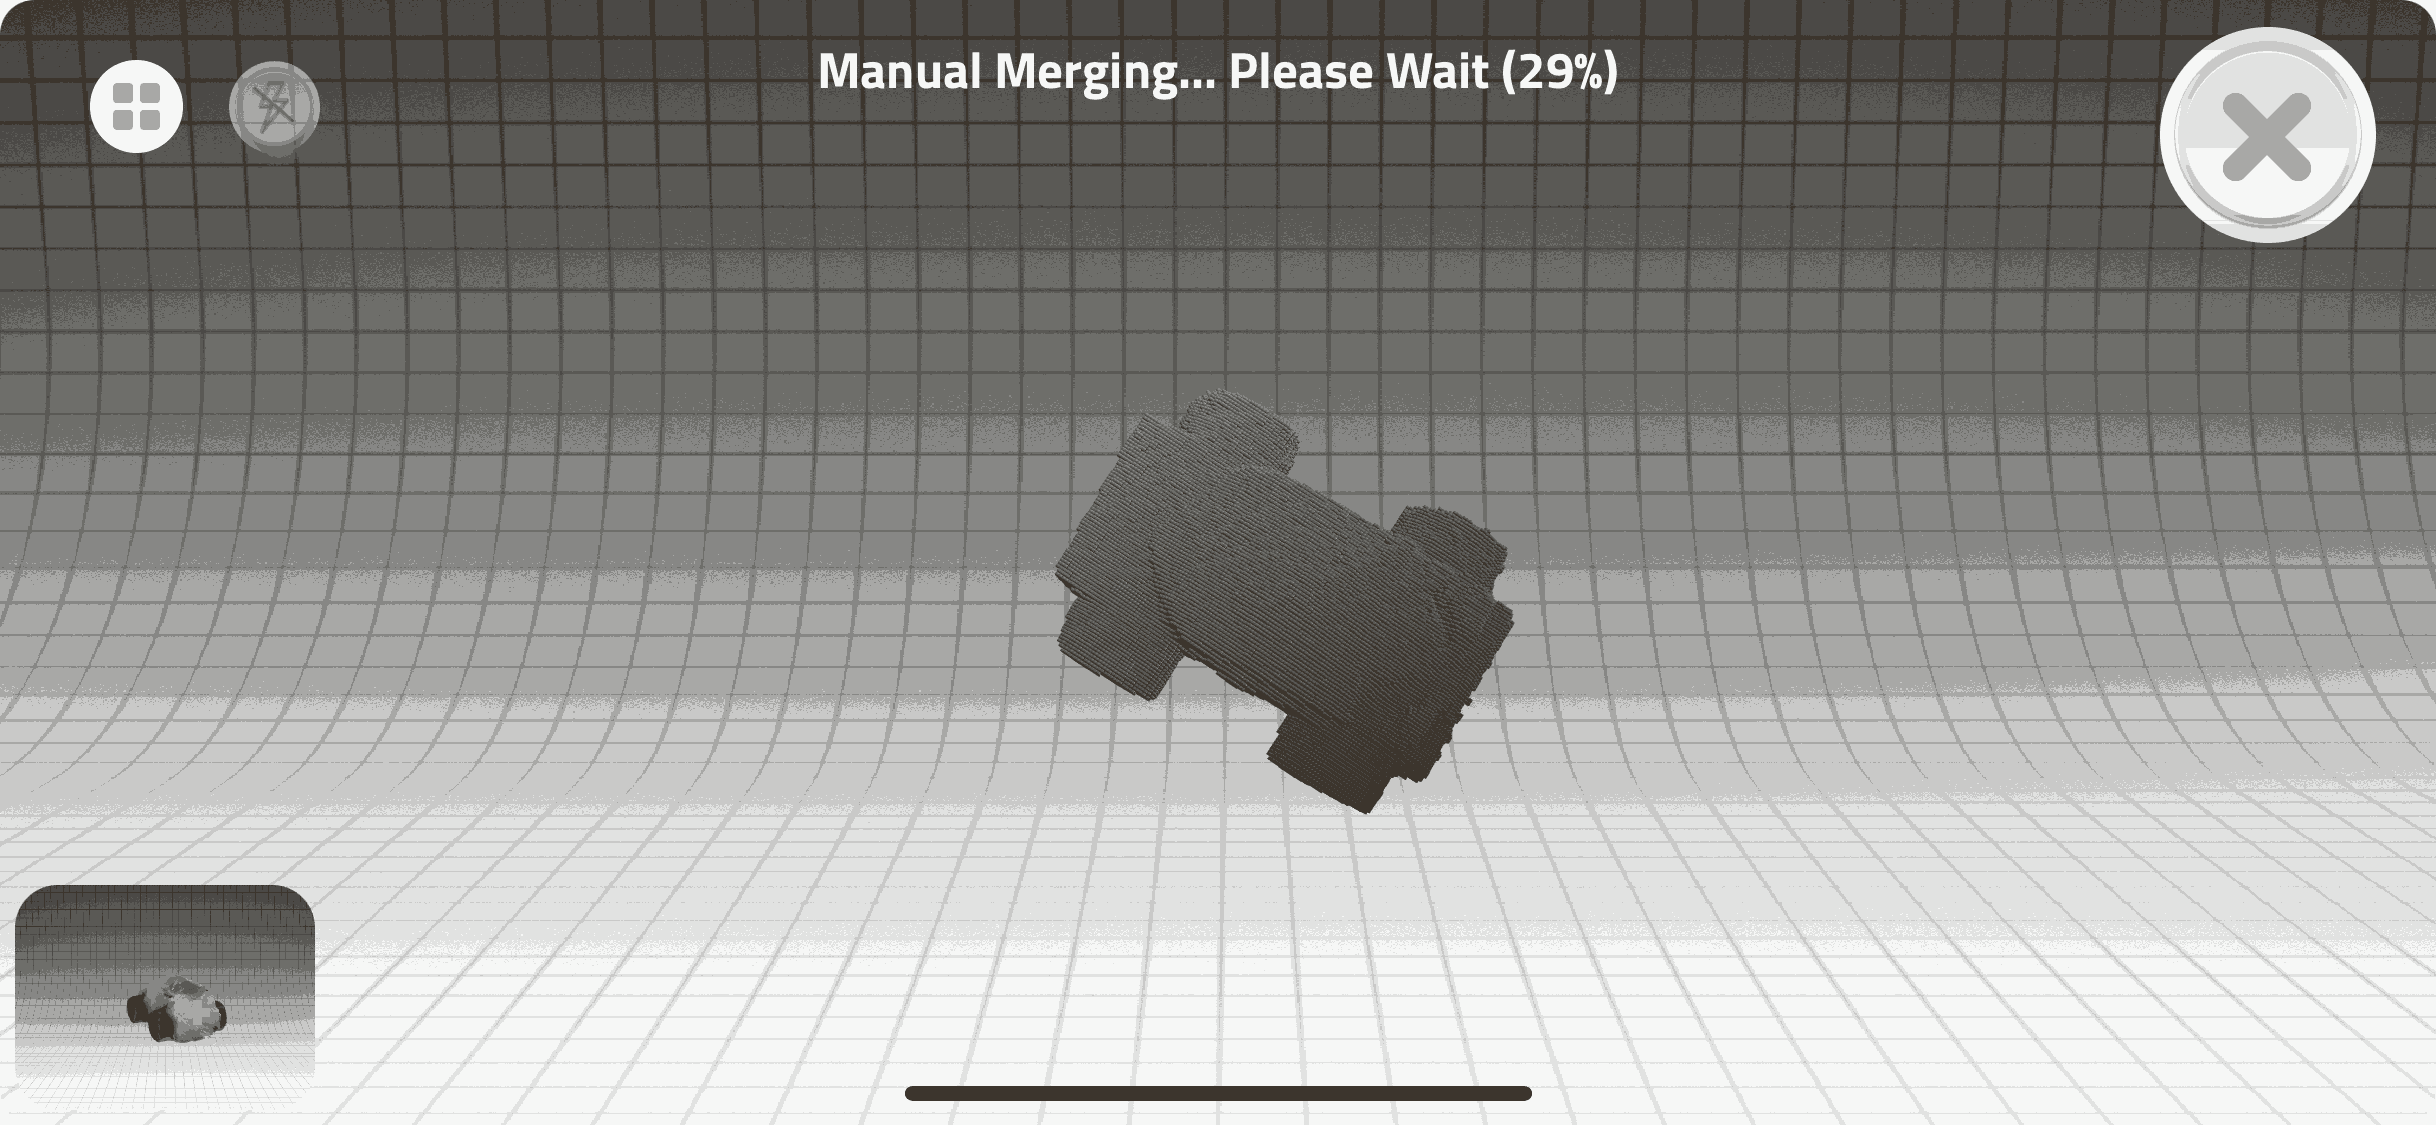
8- If the final result is not satisfactory then you can take another scan for the object and merge the scan with the previous scan to give better results. 8 , 9, 10

9- You have to scan now a second object. 11 , 12 , 13, 14

Task-2 (Scanning yourself)
1- Sit on a chair facing the scanning device (which is Xbox 360 Kinect in this case). Make sure the chair is a rotating type.
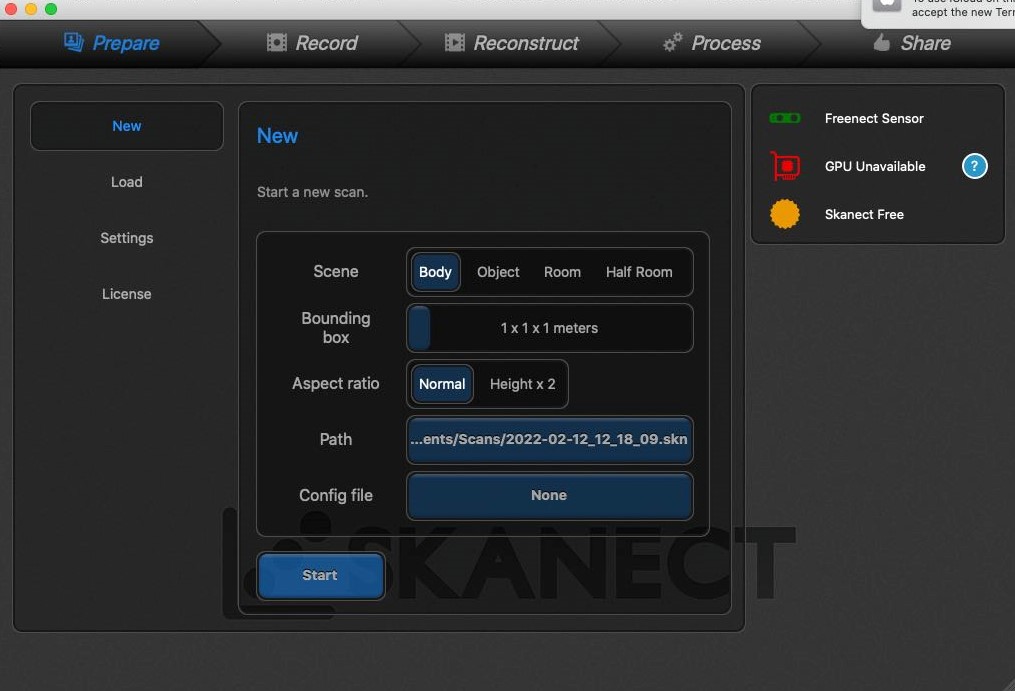
2- Open Skanect and select body, the bounding box needed, and the aspect ratio. Then click on start. 15
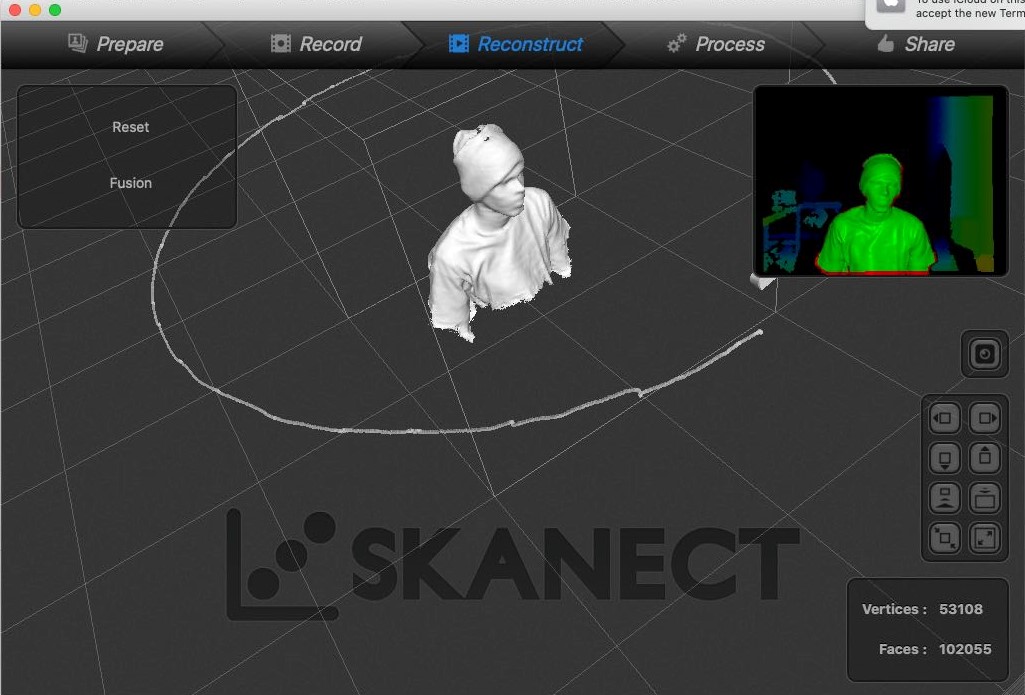
3- When the recording starts, start rotating around yourself slowly. The device will scan you. You can see that the device scanning using infrared light (the red image), depth sensor (the green image), and video camera (the normal image). 16

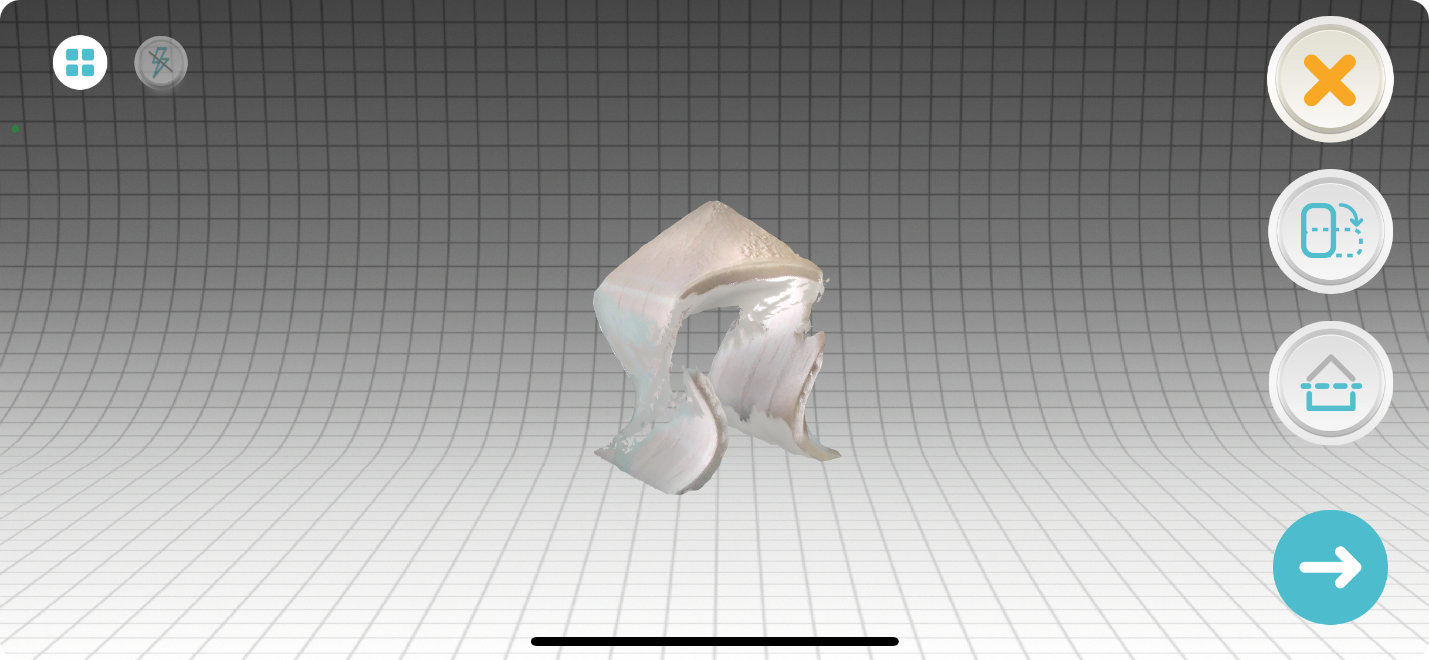
4- Once done the scan will appear. 17
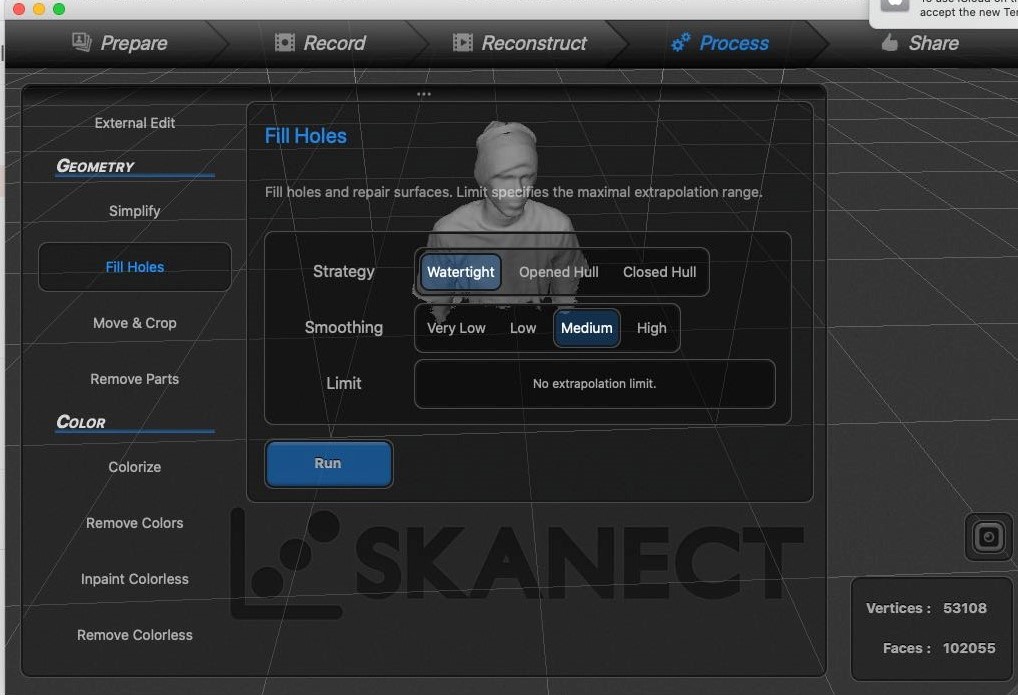
5- Sometimes, parts of the body are not defined by the device for some reason. The device will recognize these defects as holes which can be filled. Other features are also provided (on the left-hand side) by the software SKanect to edit the scan like colorizing, smoothing, removing parts, move and crop, etc. 18
Task-3 (Design and 3D print an object)
1- Make design to be printed on the 3D printer using any 3D software design.
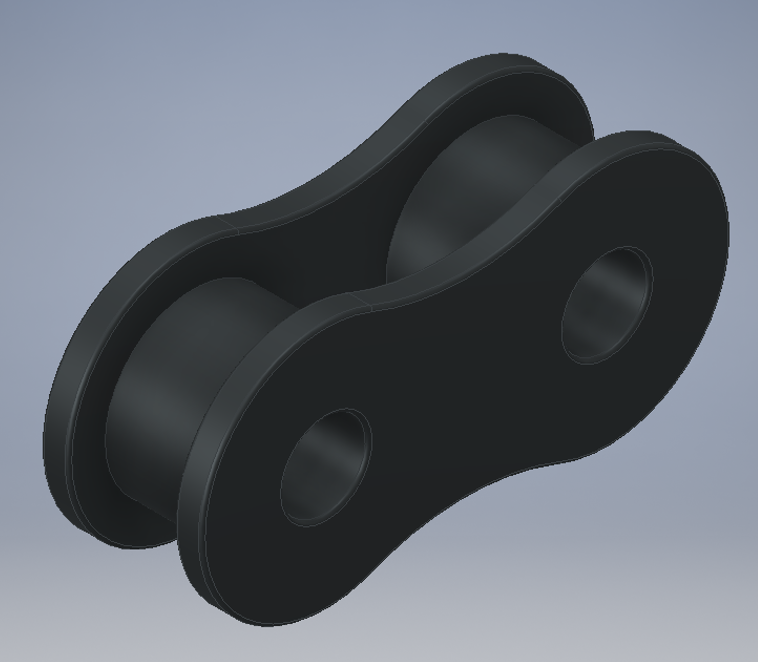
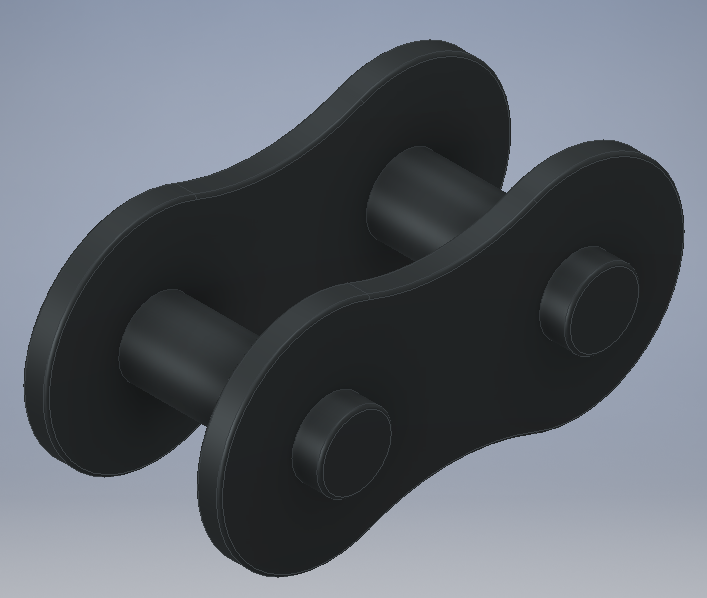
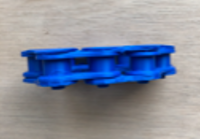
2- I used Autodesk Inventor and made a simple bicycle roller chain. You can click on this link to see how it is done using Inventor Autodesk. The chain is simply made of two parts. 19 , 20
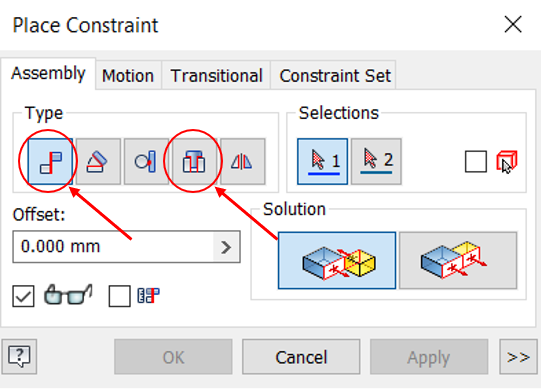
3- After making thee chain parts, they were assembled using two constraints which are mate with offset and insert constraints. 21
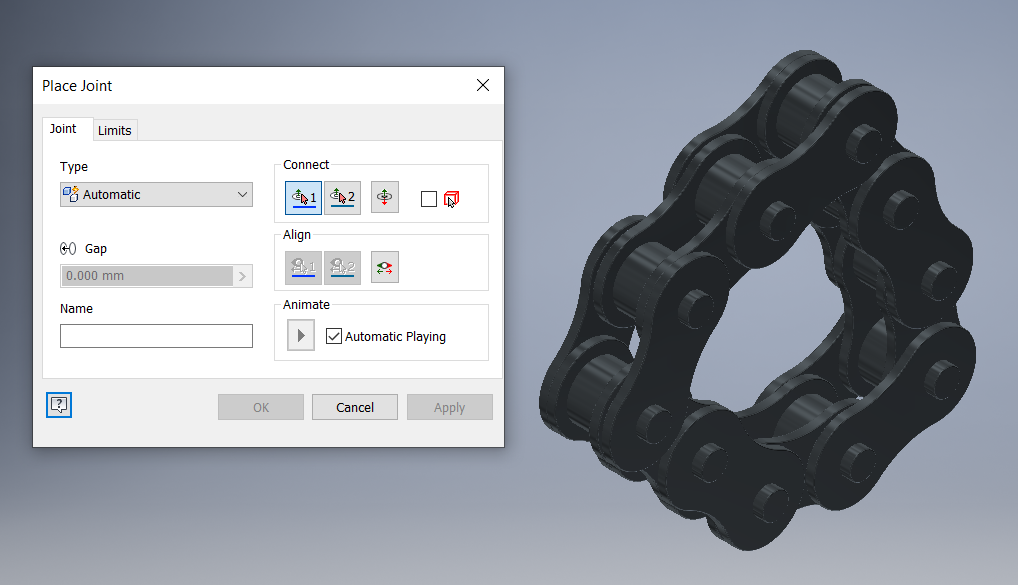
4- To connect the final link to the first link you can use joints function and then using the two constraints again. 22
5- Save the file as stl. And send it to fablabbh.share@gmail.com.
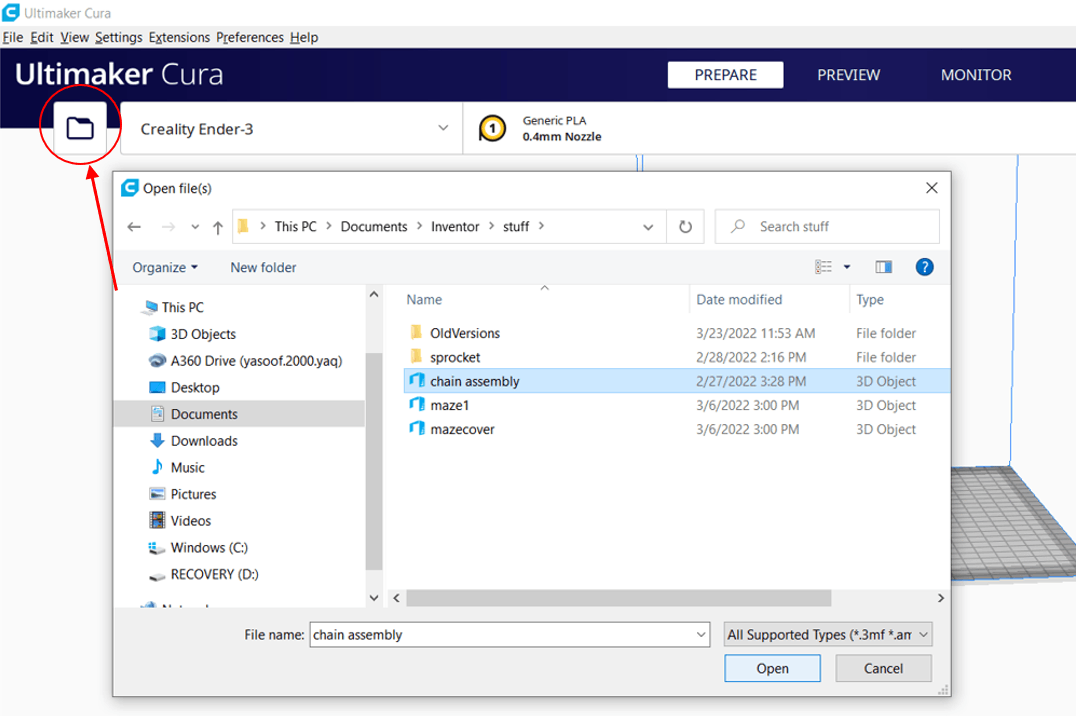
6- Open the stl. file in Ultimaker Cura software.
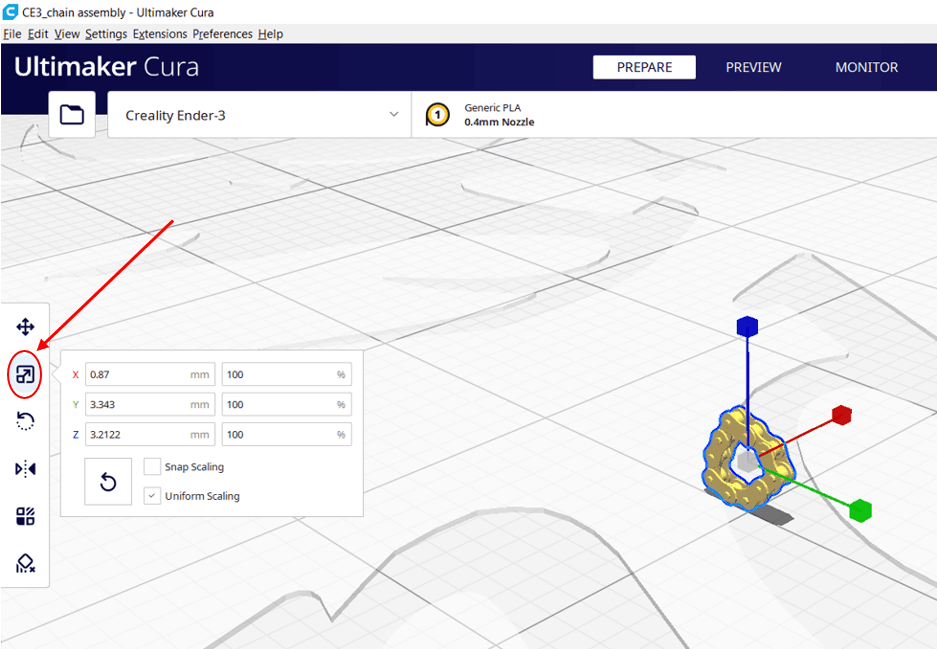
Problem in step-7
7- The exported file was very small. So, it had to be scaled.

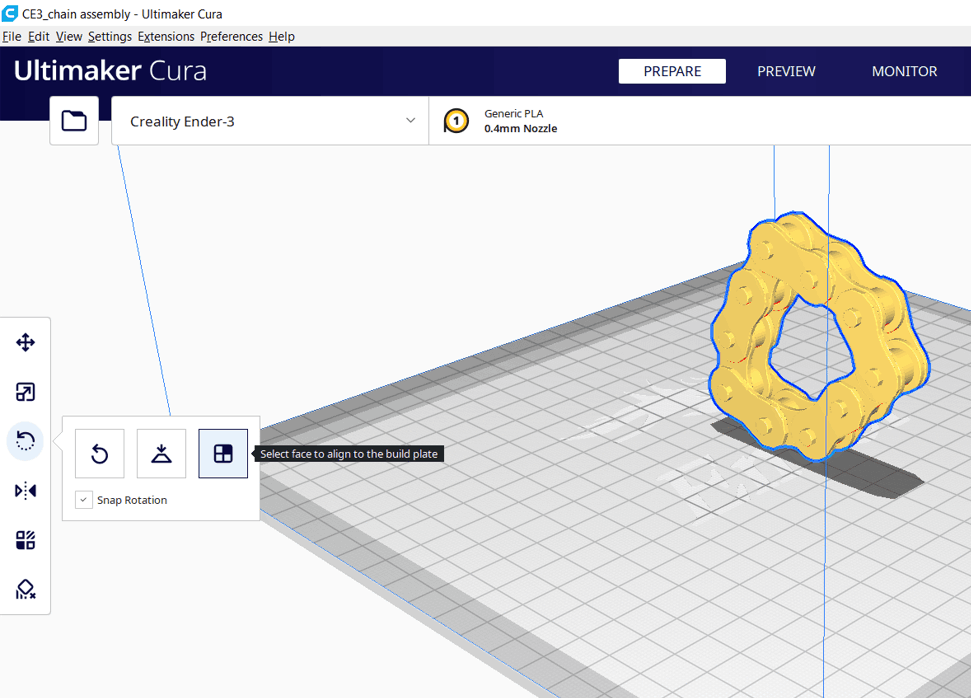
8- Then, the object was rotated.
9- Finally, click on slice, then print. 28

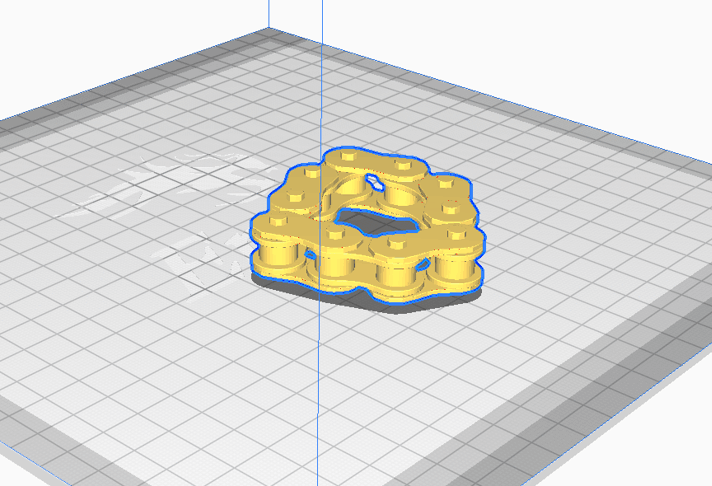
Problem in step-10
10- Take hero shots of the final product. The printed chain was a failure. The chain parts were all sticked together. This can be due to the very tight gaps between the chain parts. It also should not have been printed horizontally.


Design files and Useful links
- My Chain assembly
- Chain
- Chain Link
- The youtube video that helped me make the chain
- 3D Printing for Dummies
- What are the Advantages and disadvantages of 3D Printing