9. Embedded Programming
This week I worked on an electrical chip called Arduino nano for different application using two different programming software.
Arduino
Arduino is described as an electrical open source that has easy hardware and software to be used. Arduino boards can read inputs like light on a sensor, robotics, movement of a button using a finger and turn on and off an LED light. The used chip is called Arduino nano and it can be connected to a PC using a mini-B USB cable. The main difference between an Arduino nano and Arduino UNO is the size difference and the connection cable. Arduino UNO uses greater space on the system and used to build electronic projects whereas Arduino nano is usually for beginners that are not familiar with technical platforms. Both boards come in pin configuration. Due to the small size of Arduino nano it is really flexible and it has a wide variety of application.
Arduino Pinout
This is the Arduino nano pinout which is considered a guidance for using the Arduino. The pins are divided into digital, analog and power pins. Nevertheless, some pins have a secondary function. Digital pins are any pin that starts with the letter D (i.e. D0 TO d13). In a similar fashion, analog pins are the pins that start with the letter A (i.e. A0 to A7). Power pins are 5V, 3.3V, GND, RESET, Vin, IOREF, AREF. 5V and 3.3V supply 5V and 3.3V to the connected like input or output modules that will be covered later. GND is the ground pin, RESET is the reset pin which refreshes the Arduino, Vin is a DC jack input voltage, IOREF is the input and output reference voltage and AREF is the ADC reference voltage where 0-5V is inserted to use the pin for analog conversions. Pulse Width Modulation, or PWM, is a technique for getting analog results from digital pins. PWM pins in the Arduino are D3, D5, D6, D9, D10 and D11.

Arduino Coding programs
Arduino IDE
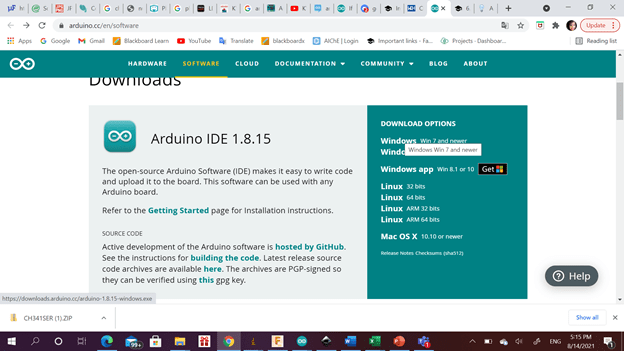
The first program to use is called Arduino IDE. It is free and simple to use. It has useful tools specially for beginners such as examples. Arduino IDE is downloaded as following. First, the used windows is chosen.
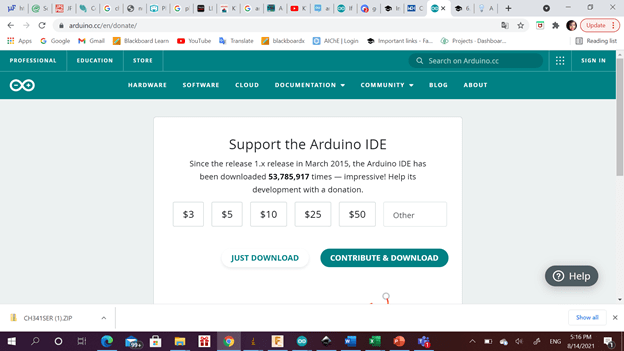
Then just download option can be clicked.
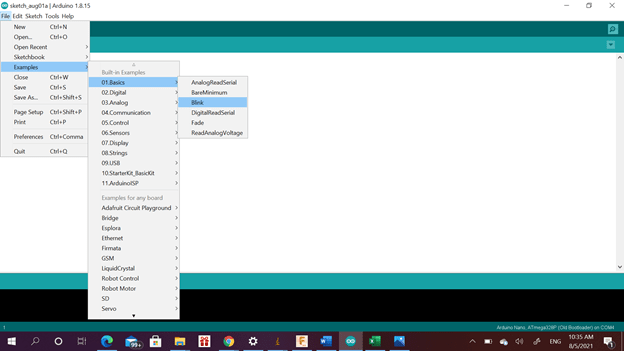
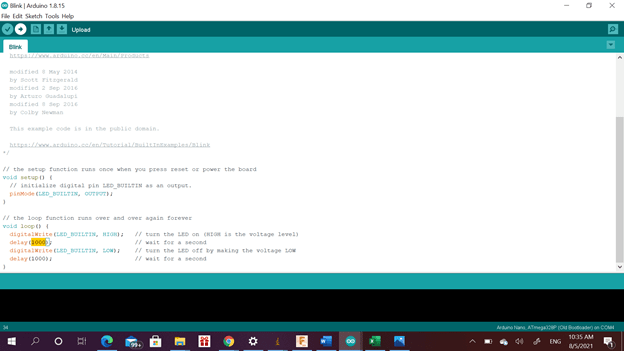
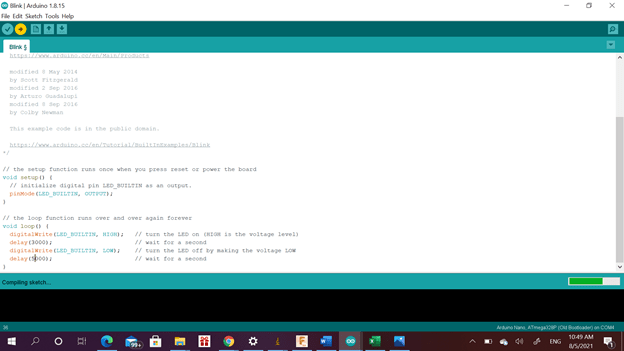
There are three levels easy, medium and hard. I was able to complete both easy and medium. The easy task was to do a blink in the chip. The chip was connected to the PC and from file>examples>basics>blink, the following code was obtained. First, both times of low and high light was adjusted to 1 second but then it was changed to different values. High means that the light is going to work for the defined time and low means that it is going to close for another defined period.
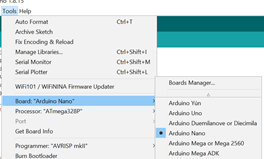
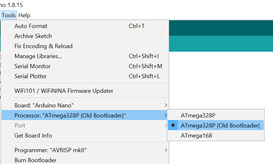
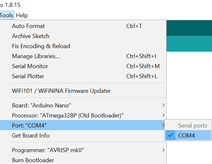
The board type, processor and port location was chosen from tools before sending the code.
The arrow icon on the top of the page was clicked to send the code to the chip. A green bar appears to indicate the downloading pace.
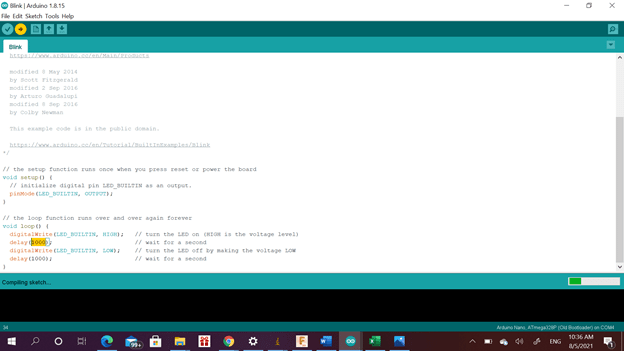
The time which the light is on was adjusted to 3 seconds whereas the time which the light is turned off was adjusted to 5 seconds.
Medium level
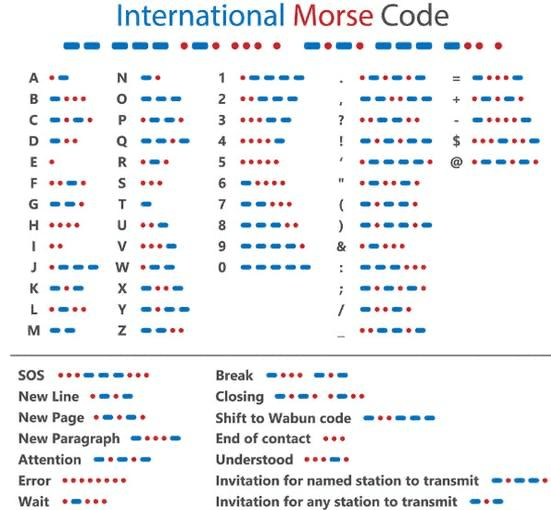
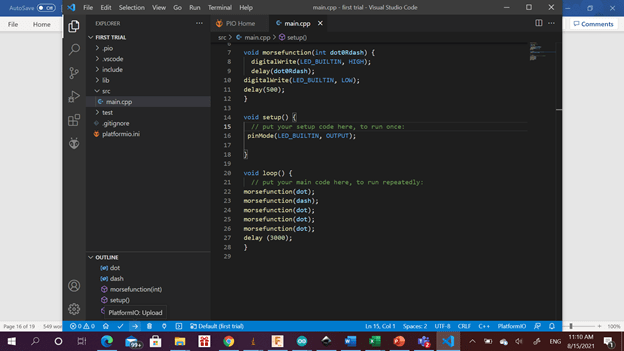
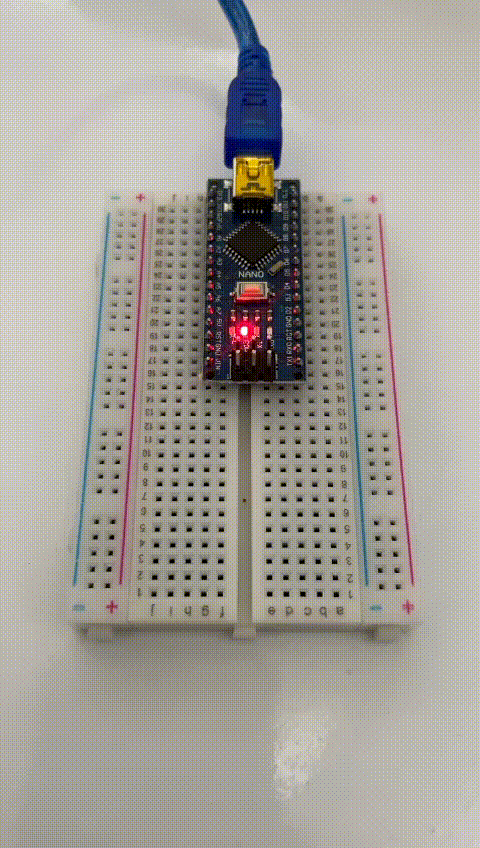
In the medium level, morse code should be used to send a signal using a code. Morse code is an alphabet or code in which letters are represented by combinations of long and short light or sound signals. Dot is a fast blink while dash is longer blink. Morse code can be used to communicate using encrypted code.
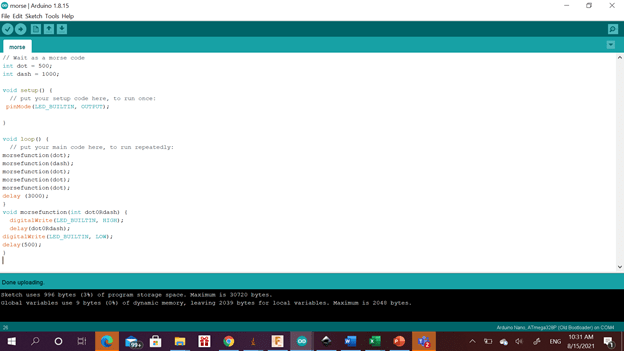
The following code is used to represent the word wait: First, dot and dash time durations were defined. Then a loop was constructed to present the required dot or dash signal in a correct order. At the end a loop was constructed to guide the light to turn on or off with respect to the defined time and dash and dot. A delay of 3 seconds was introduced at the end of the message to declare the end of message and to split between the repetition of the message.
Visual studio code
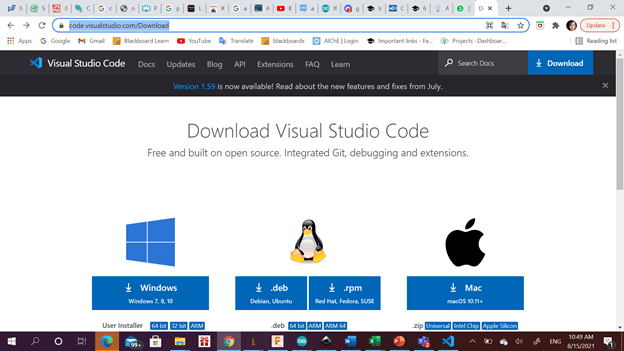
Visual studio code is a free powerful source code editor. It is very useful for different languages. These are the steps to download the software. First visit their website and choose the suitable downloading software.
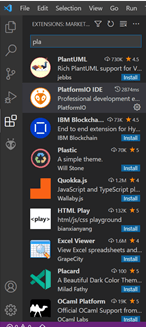
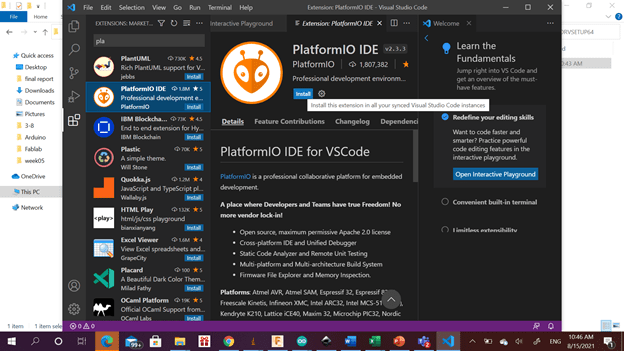
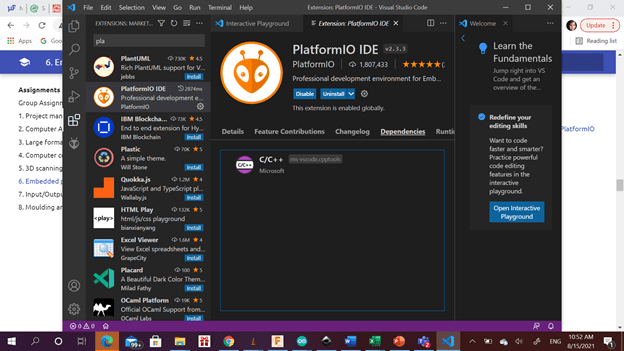
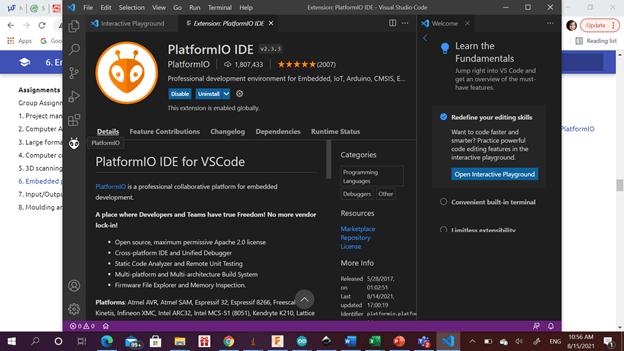
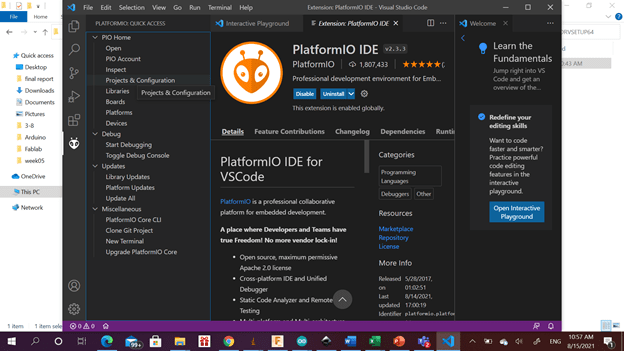
Once the software is downloaded, the needed extention can be downloaded using the 4 squares icon on the left. PlatformIO IDE is chosen since the used language is C++ which is the same language used in Arduino IDE .
The alien icon on the left is used to open the installed extension.
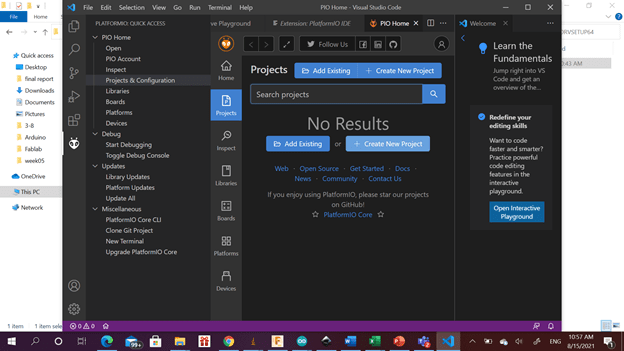
Then to open a new project click projects and configuration on the left then click on create new project.
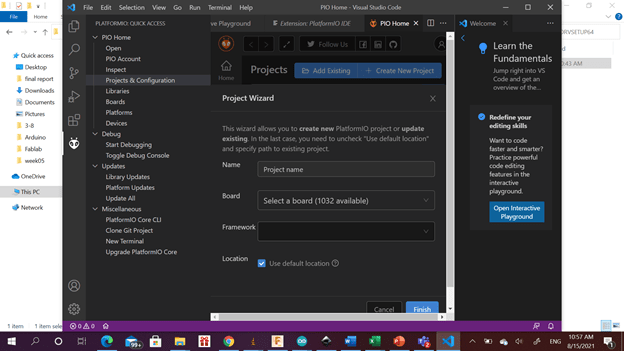
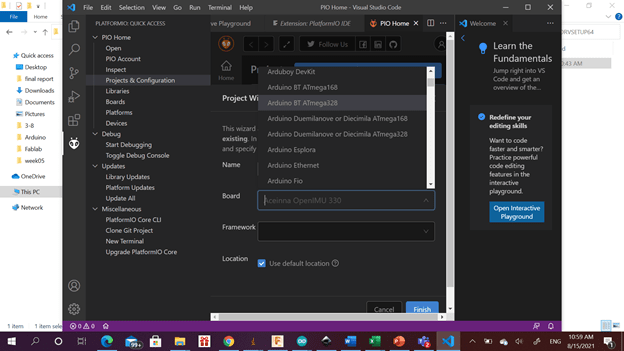
the name of the project, board and framework type should be filled.
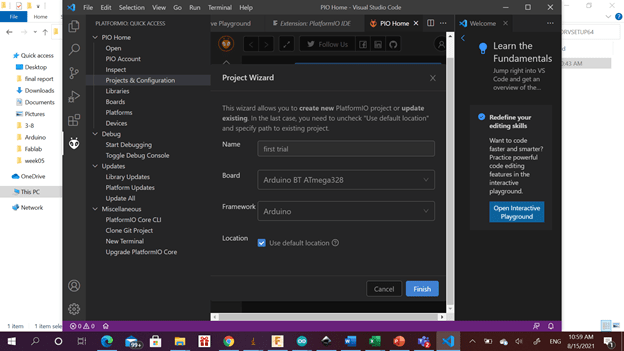
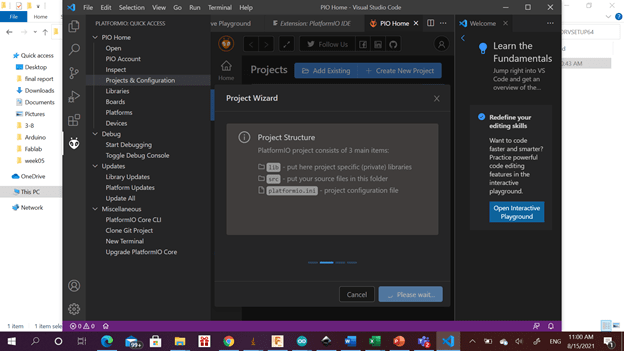
After filling the former information and clicking on finish you will need to wait for a while.
A new window will open for you click on src then main cpp.

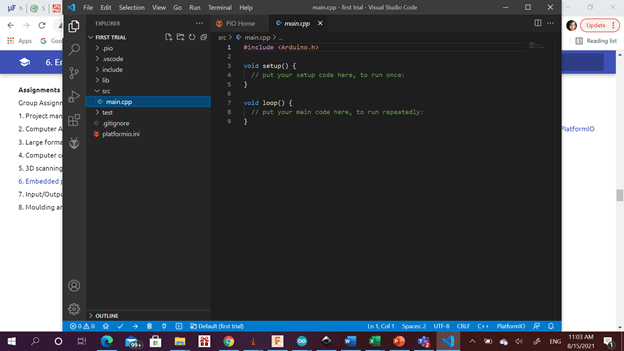
The same code used in the previous program was used here.
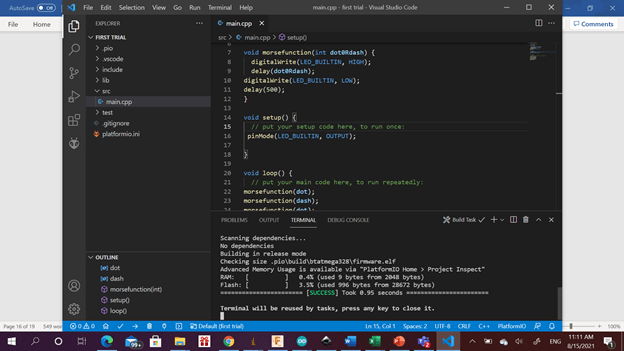
The code is then downloaded to the chip using the arrow icon at the bottom.

The code was successfully downloaded to the Arduino as indicated in the following picture
Useful links
Morse code
// Wait as a morse code
int dot = 500;
int dash = 1000;

void setup() {
  // put your setup code here, to run once:
 pinMode(LED_BUILTIN, OUTPUT);

}

void loop() {
  // put your main code here, to run repeatedly:
morsefunction(dot);
morsefunction(dash);
morsefunction(dot);
morsefunction(dot);
morsefunction(dot);
delay (3000);
}
void morsefunction(int dot0Rdash) {
  digitalWrite(LED_BUILTIN, HIGH);
  delay(dot0Rdash);
digitalWrite(LED_BUILTIN, LOW);
delay(500);