11. Molding and casting
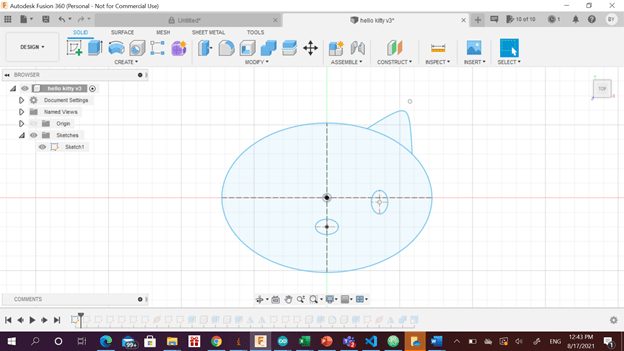
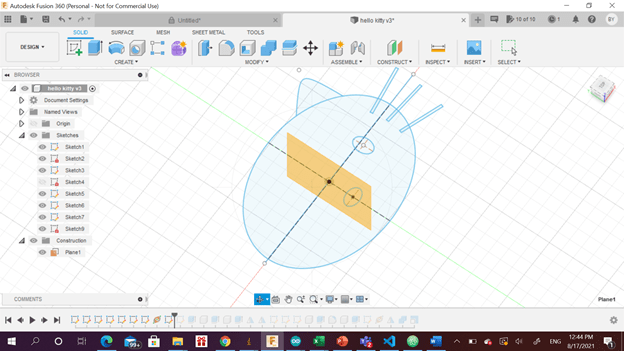
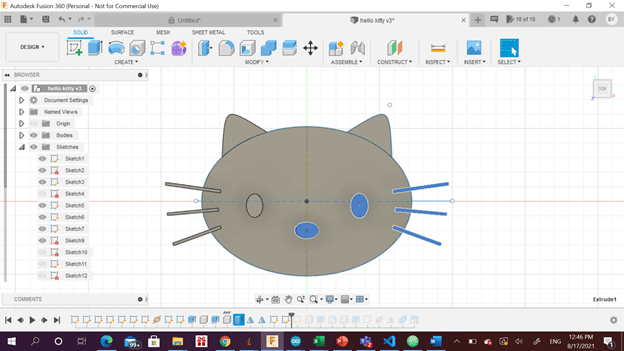
The focal aim of this week is to create a mold and try different casting materials. First, a design meeting the required specifications was done. A hello kitty character design was constructed from scratch. The first sketch contains three oval shapes. One for the face and one for the eyes and one for the nose. In addition to line created to complete the ear.
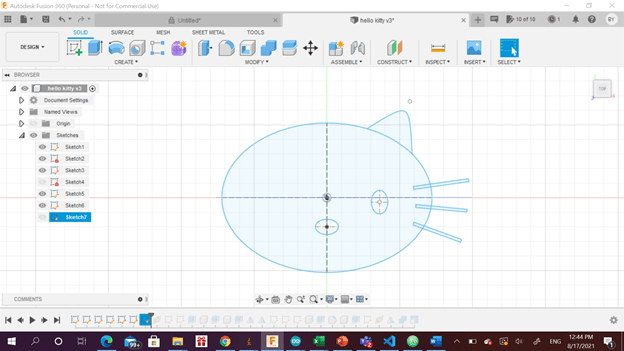
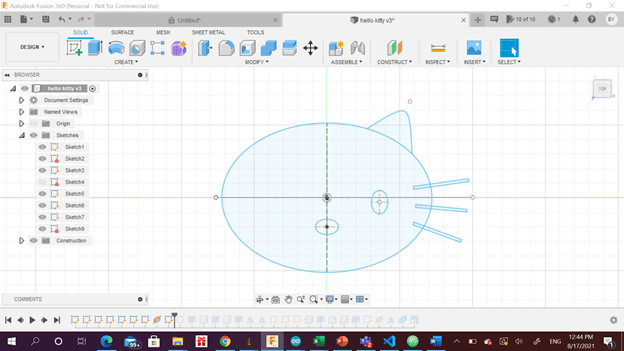
Then, the cat mustache was done by drawing rectangular shapes and rotating them by specific angles.
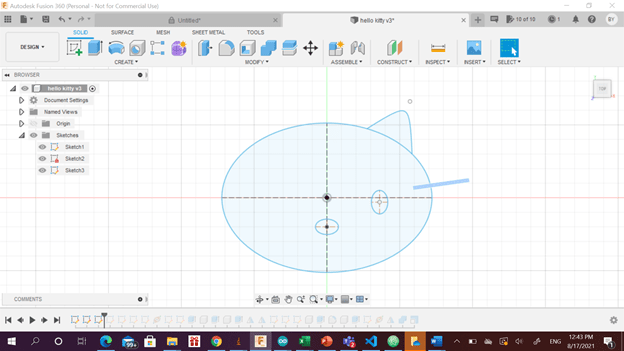
A line was drawn in the middle to create a plane along the constructed path.

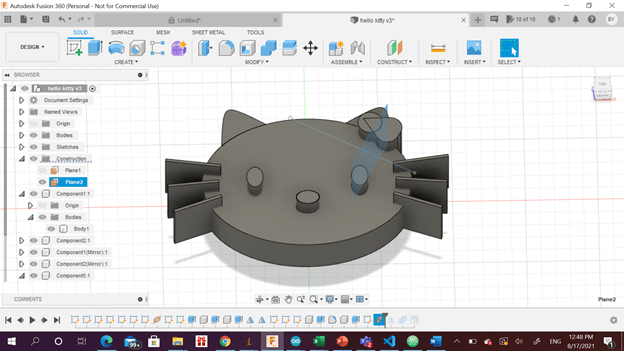
The created sketch was extruded by creating new component. The same procedure was repeated with the ear as well. Creating the main face body and ear as individual component will help in the coming steps.
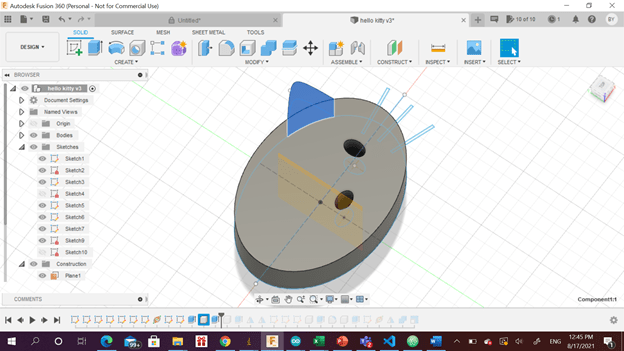
The nose, ear and mustache were extruded higher than the main face.
A mirror was created to repeat the face component perfectly.
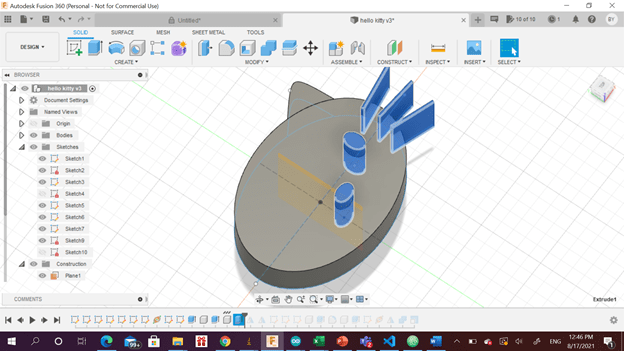
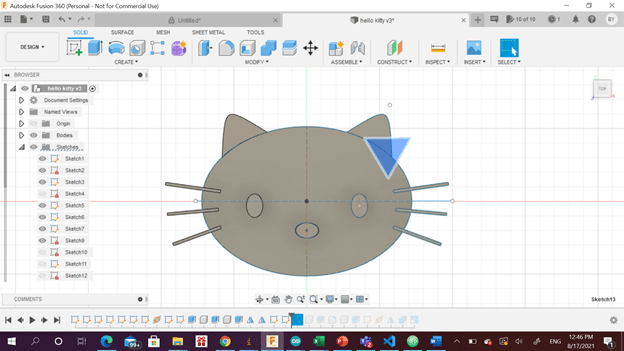
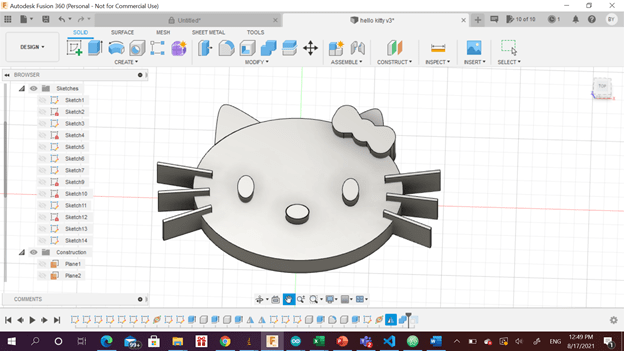
To create the ribbon, a triangle was sketched using polygon option where the edges was defined as 3 to create a triangle shape.

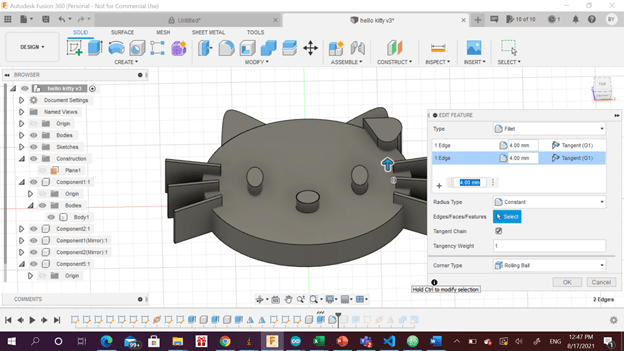
A fillet was used for two angles of the extruded triangle to give it a rounded shape. After that, a circle was sketched and extruded.
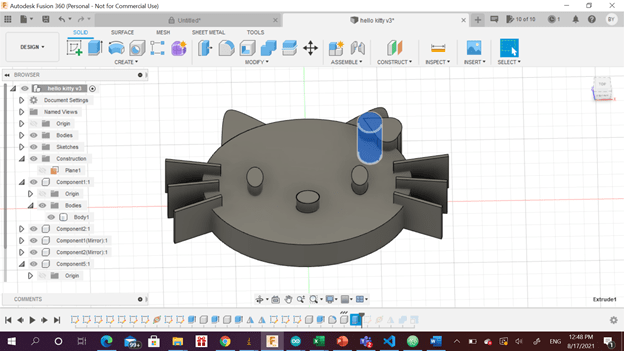
The same steps followed up to create a mirror were repeated here to create the other side of the ribbon.

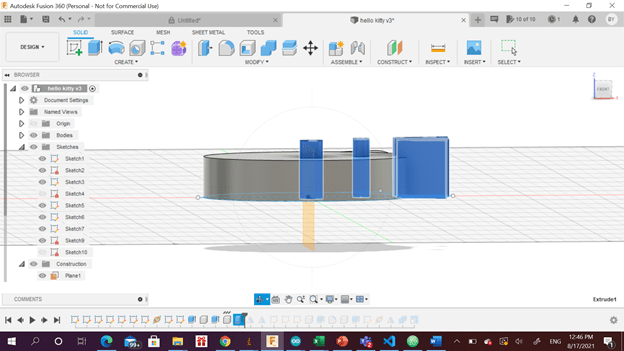
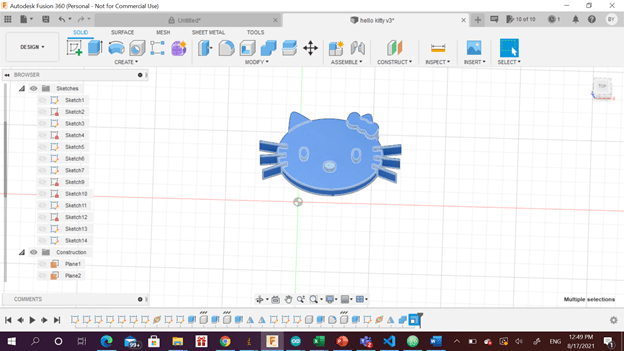
Finally, the ribbon objects were combined and the design was scaled down to meet the design size requirement.
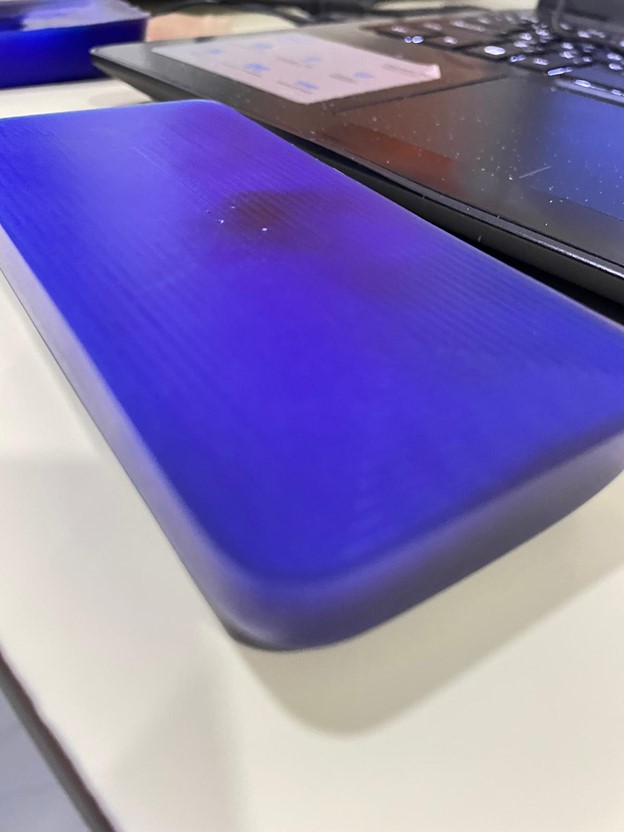
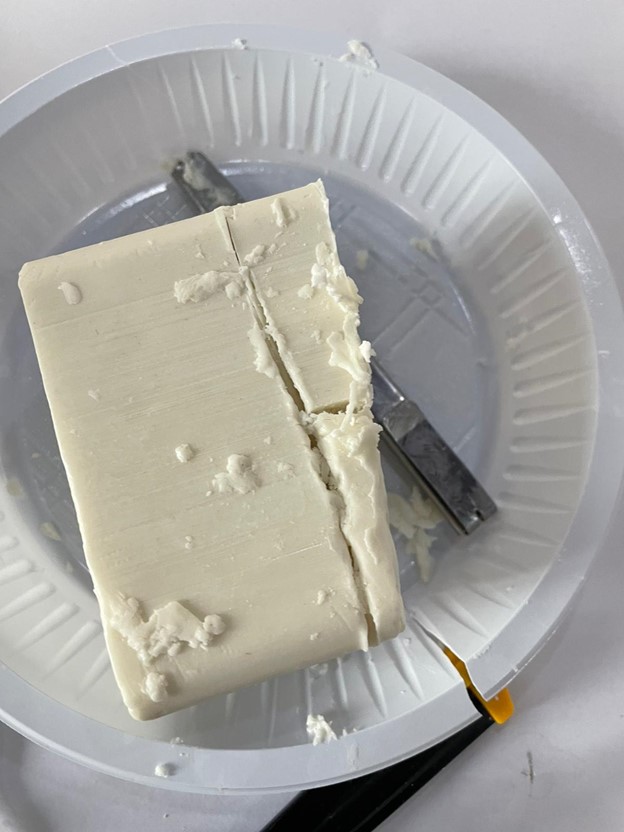
A solid wax piece was used was melted to be cut into small pieces. After the heating process, the the surface and edges were uneven. Thus, it was surfaced and leveled properly using CNC milling machine. The piece before surfacing.

The piece after surfacing.
My design was combined with my collogue design to save one of the wax pieces. The size of the design was measured automatically by the software.
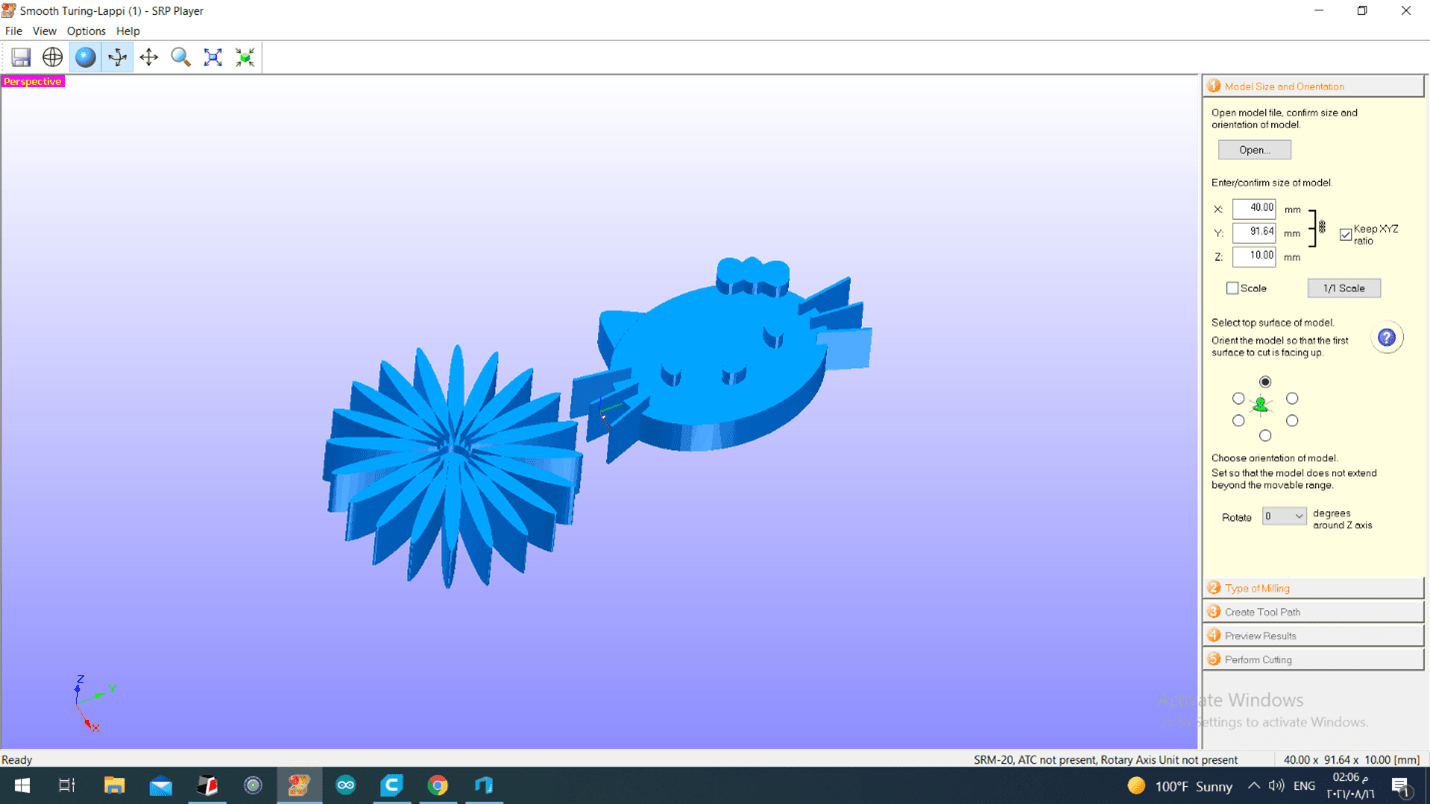
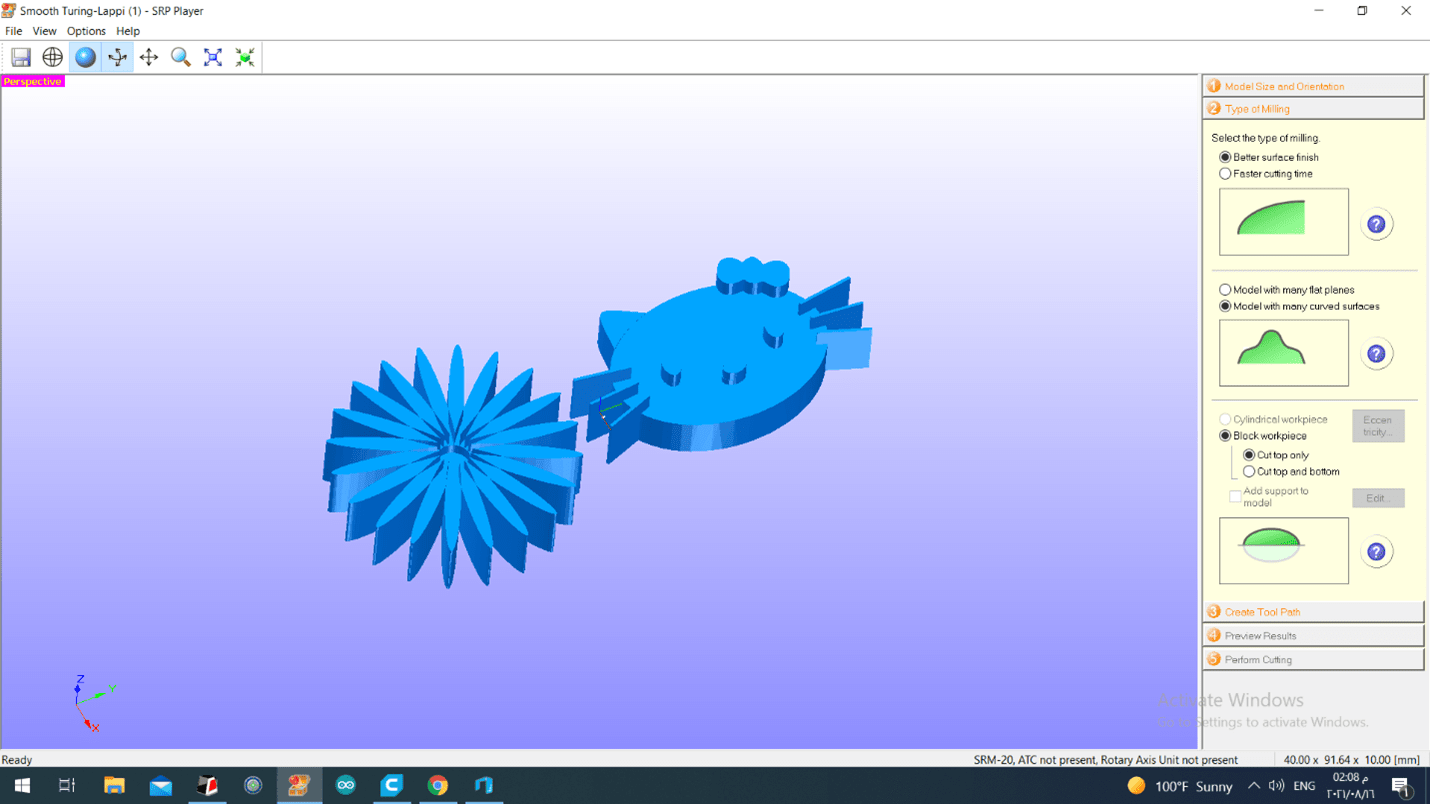
better surface finish was chosen so that the machine takes its time to do the job rather than doing it quickly. This provides better quality. Since my design has curves I have chosen model with many curved surfaces. The design was created based on the ability of the device to cut the top only. So, the former option was chosen in the settings.
The next step is to create a tool path, where the measurements of the surfaced blue wax piece were identified.
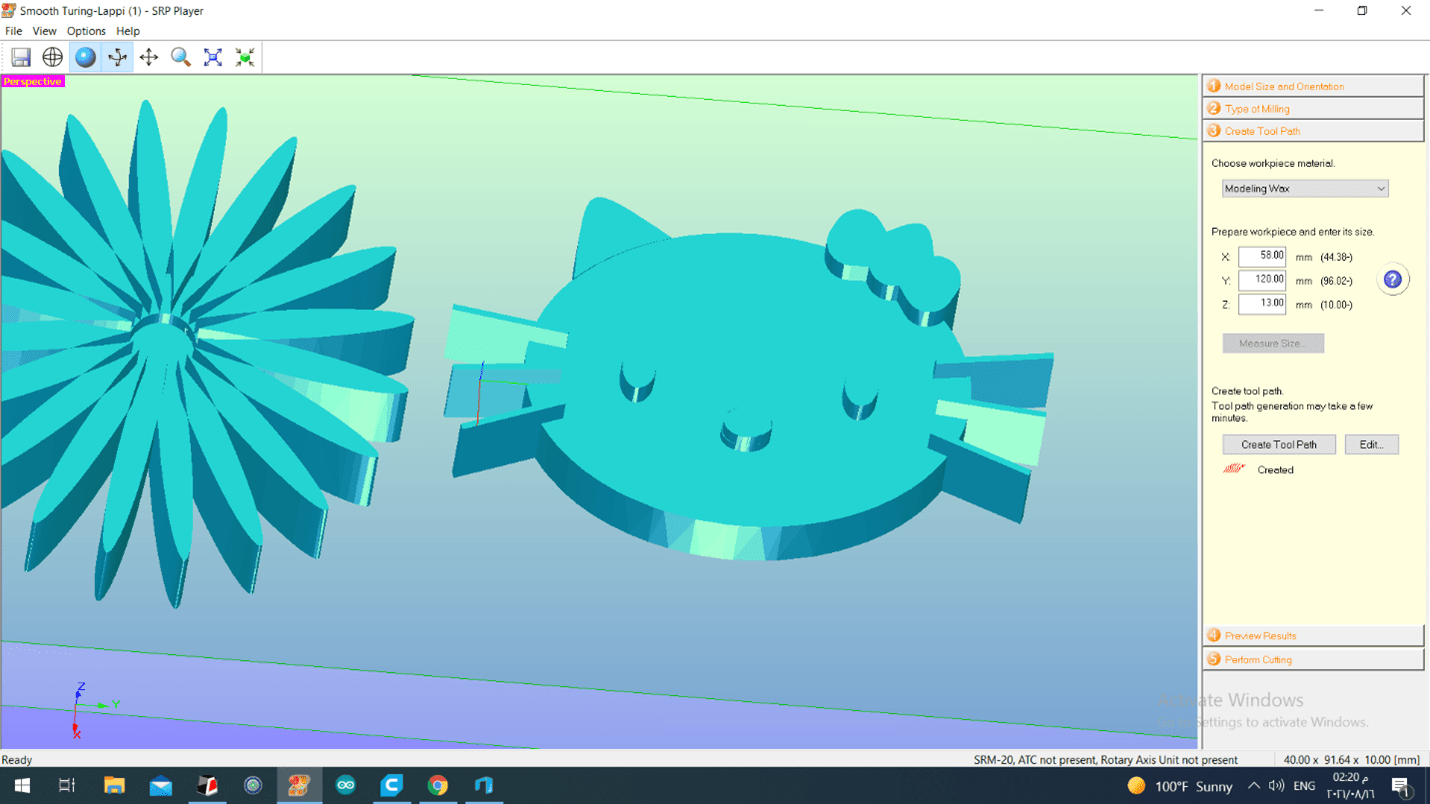
When cutting using CNC milling machine, there are two options to cut, roughing and finishing. Rouging is an operation where large amount of the material is removed whereas finishing is the process followed by roughing to achieve the final geometry of the desired shape. The tool path was edited and a square frame of 5 mm around all edges was made. The suitable drill bet for both roughing and finishing were chosen. The drill bets used for roughing and finishing are 1/8 and 1/16 inch respectively.

After creating tool path the processing takes few minutes to process.
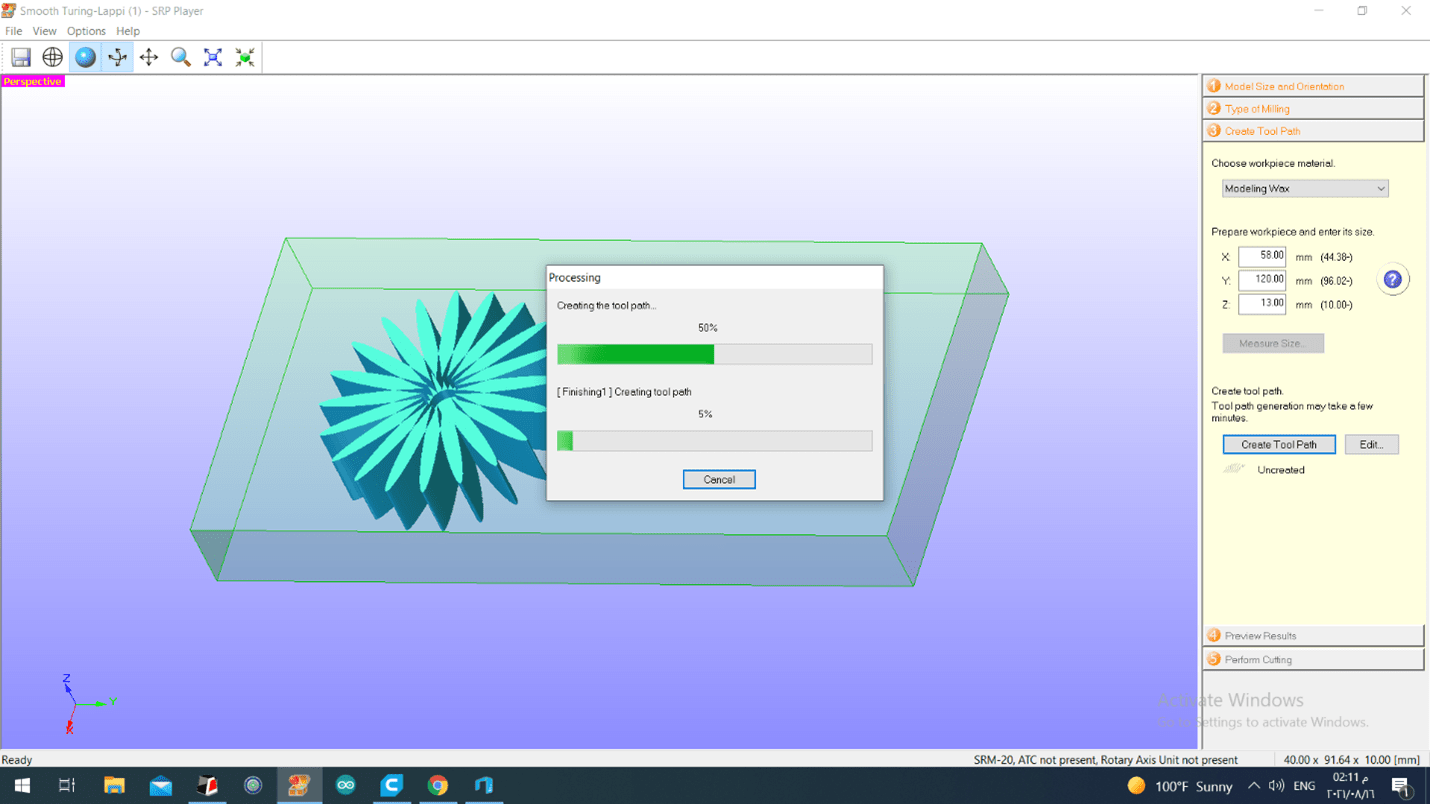
The time needed to cut the design was estimated to be 1.8 hours.
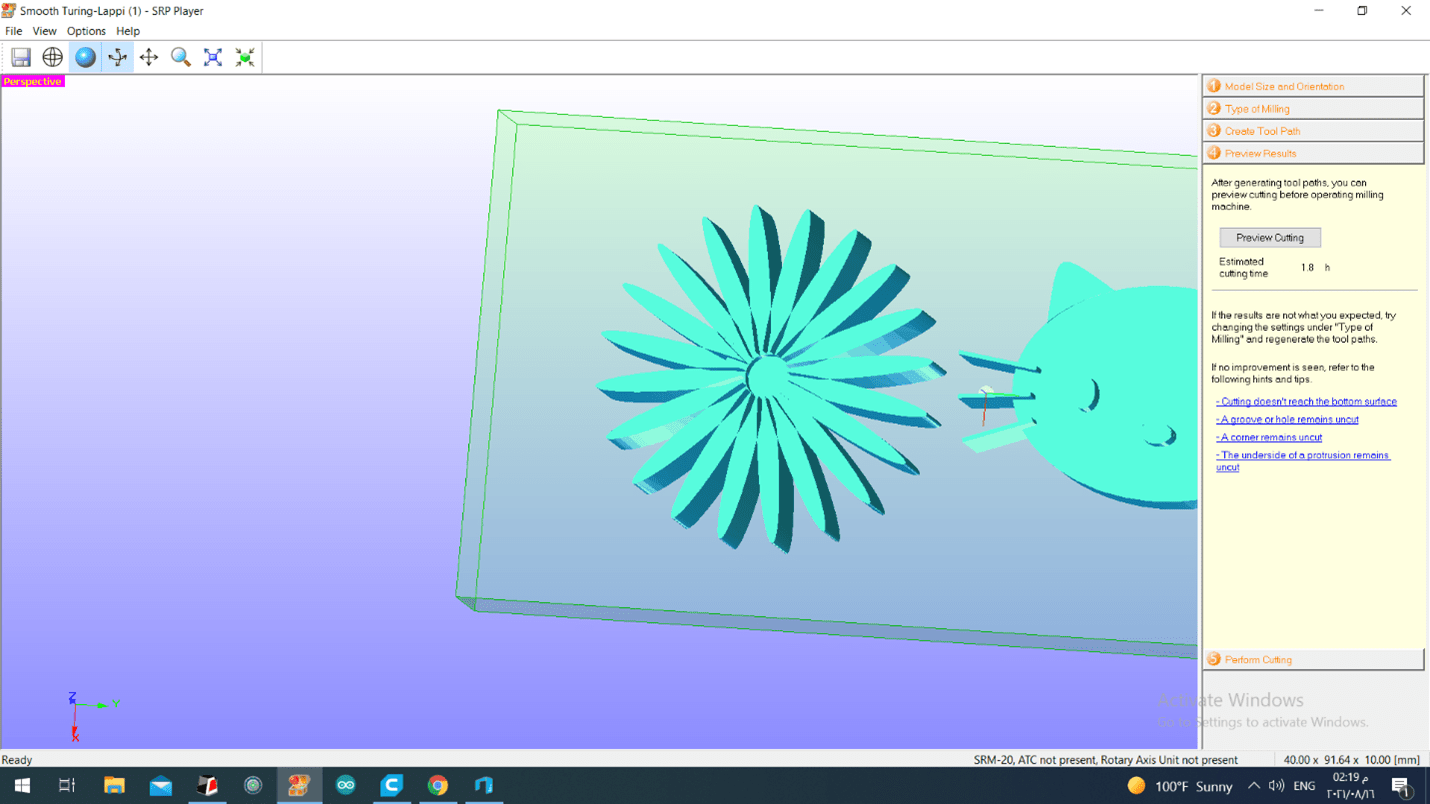
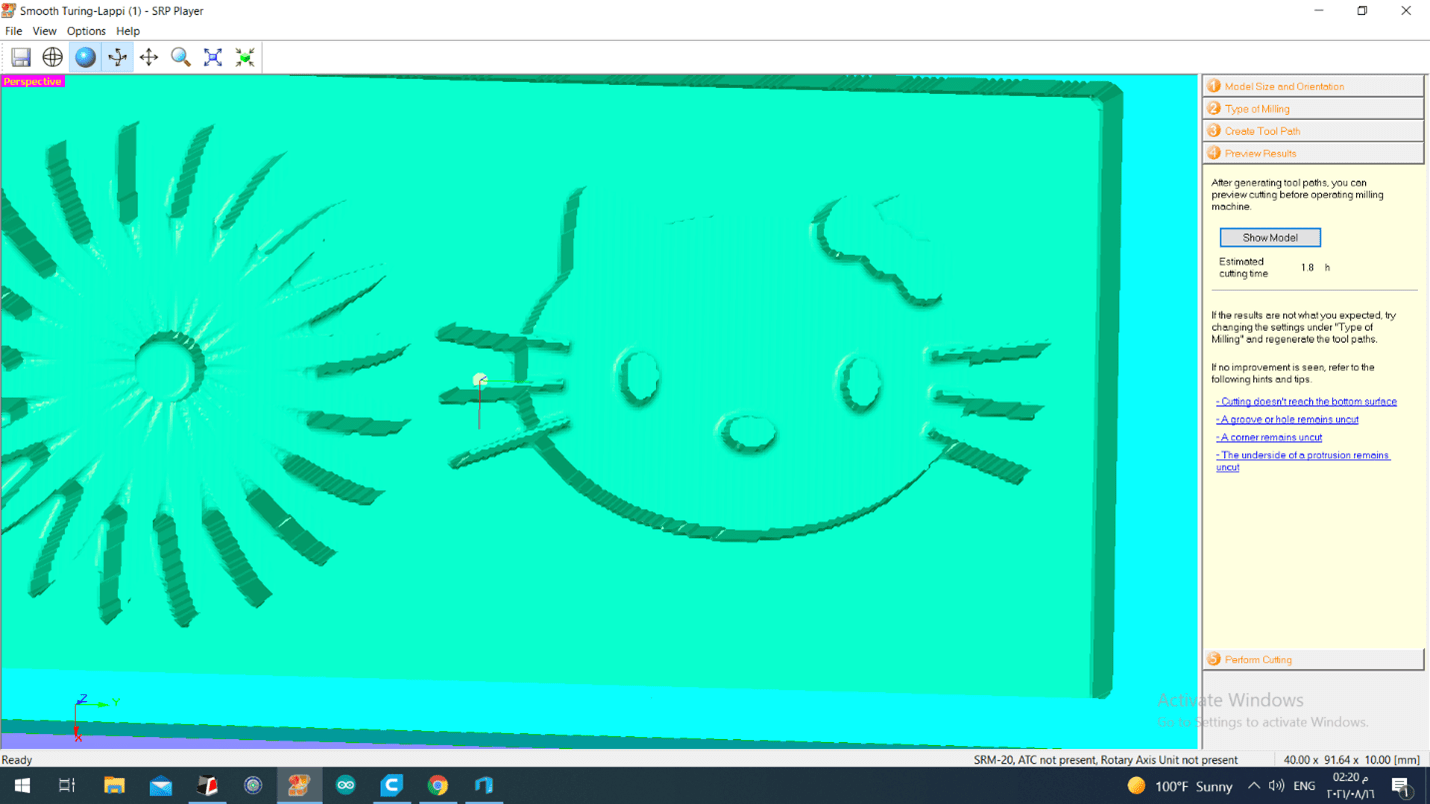
This is how the piece will be cut.
The work piece centre was marked on the brick. The brick was stuck using a tape to prevent any movement of the brick while cutting. The drilling bet location was set on the brick centre point using Vpanel. The location of the drilling bet on x,y and z axis can be controlled. Continue gives a big step, 100 gives 1 mm step, 10 gives 0.1 mm step and 1 gives 0.01 mm step size. Once the desired location is reached on x and y axis, the x/y button on the right is clicked to set that location as the origin. The same procedure is followed for z axis. Nevertheless, when working with z axis, we should be careful in order to prevent any bet breakage. When we reach near the brick on z axis, the drill should be further stepped down using gravity. This can be done by unlocking the bet and leaving it to full exactly as needed with the help of gravity and then lock it again.
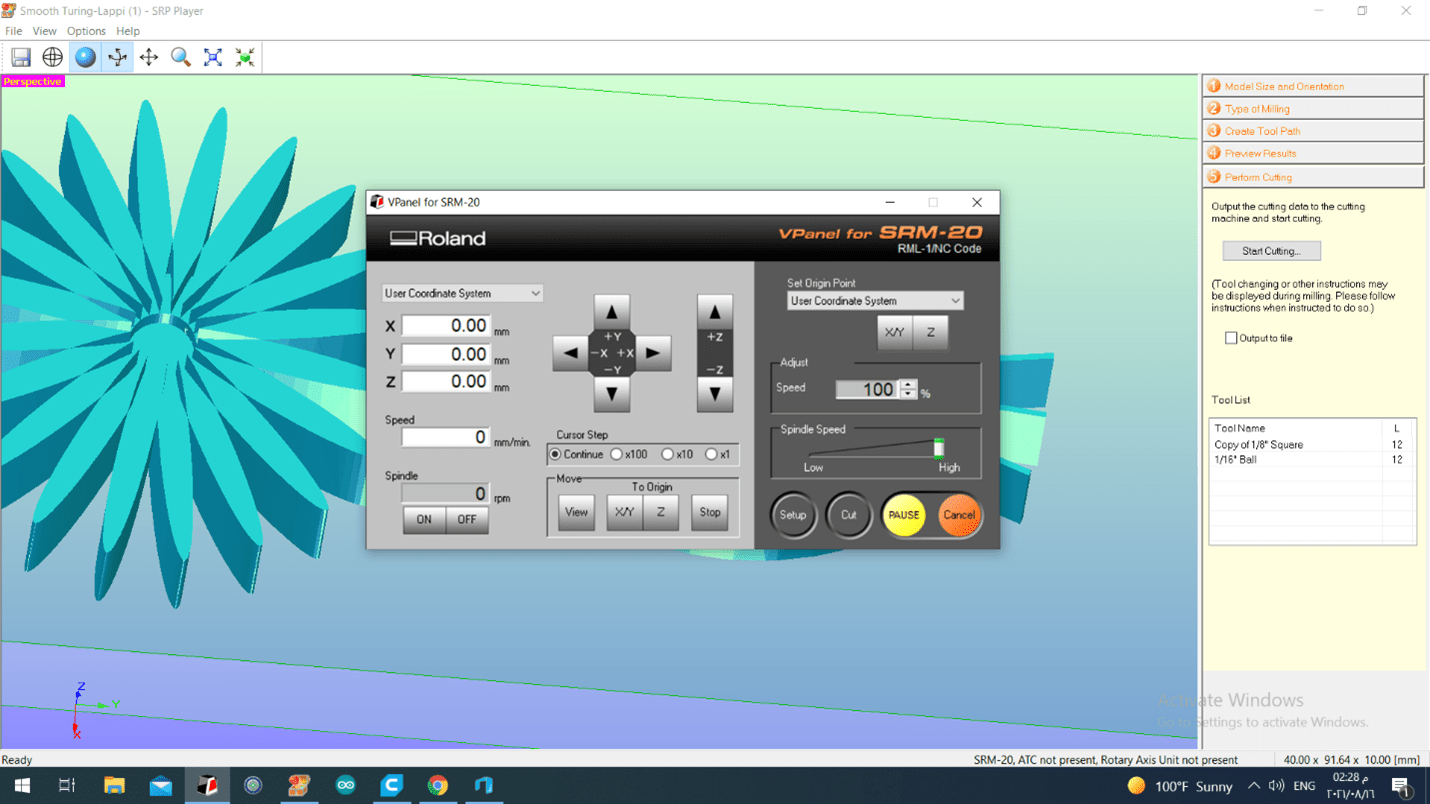
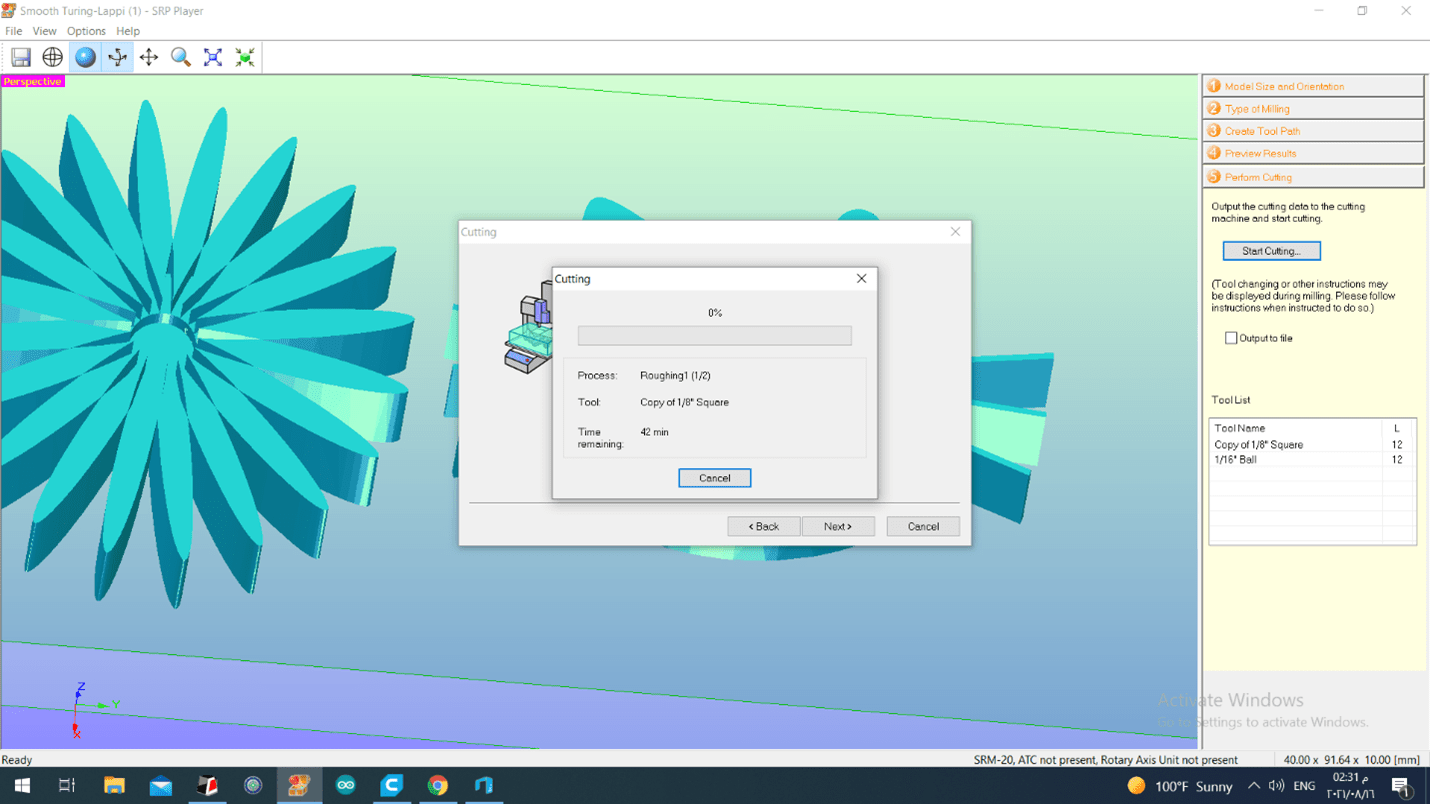
Once the origin on all axis is set, the cutting procedure can be started using start cutting button.
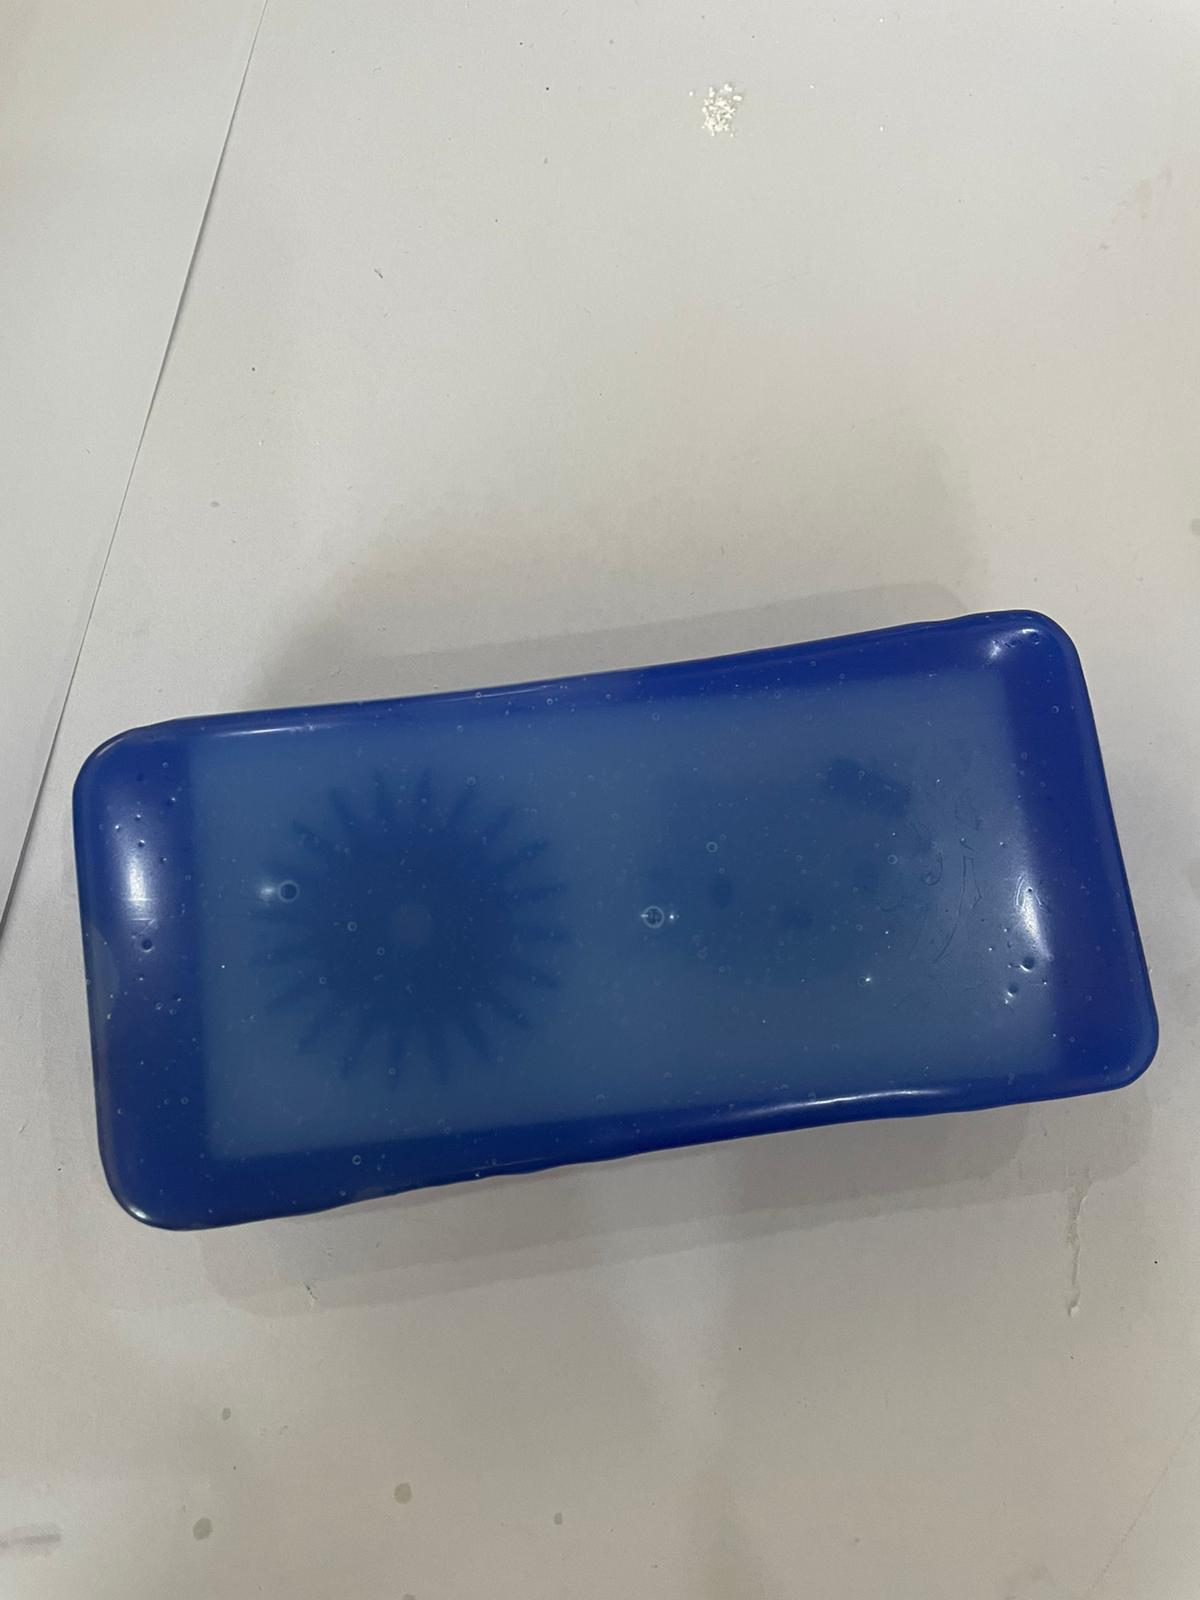
This is the final result of cutting.

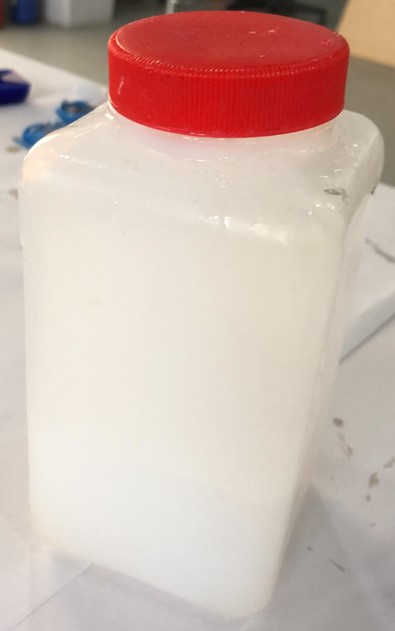
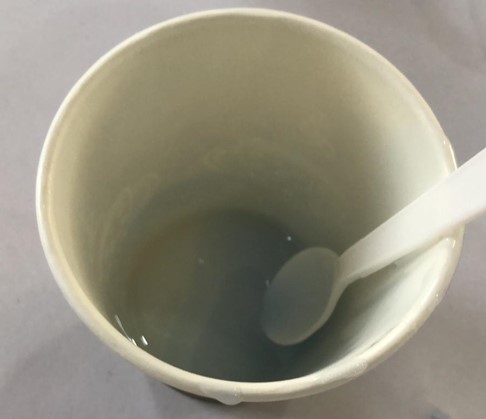
A solution of silicon was prepared to pour it into the engraved brick. The first ingredient was a colorless silicon solution whereas the second was a blue silicon solution. 1:1 weight ratio of both ingredients was added, mixed slowly to prevent bubble formation, poured into the cut brick and left for about five hours to dry completely. The solutions were weighted using an electrical balance. Once it’s ready, it was pulled out of the brick.
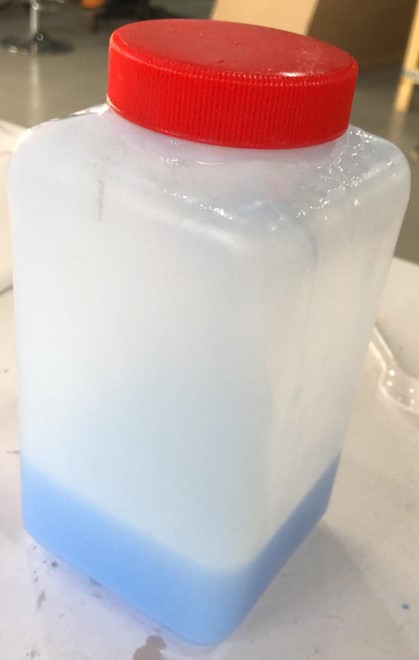
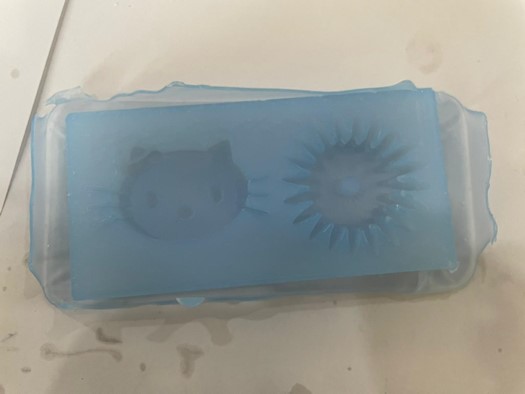
This is a picture of the mold when it was dry.
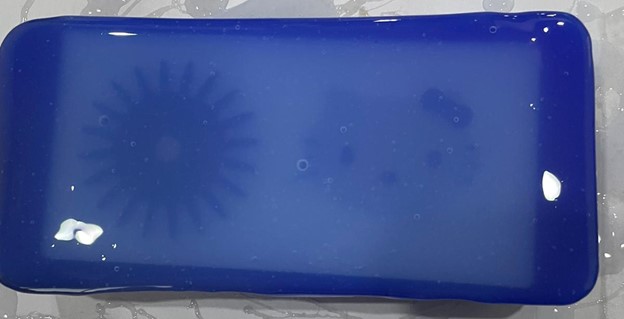
The mold after pulling. The mold is ready to use.
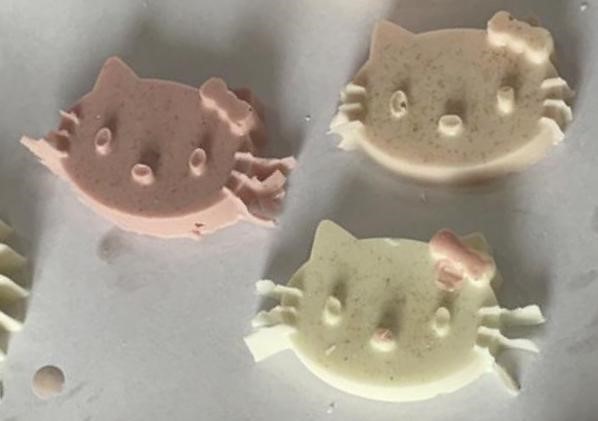
Soap was used to do the casting. A small quantity of soap was heated in the microwave for 10 seconds. Then, scent and food color can be added to it. Soap was poured into the mold and after 10 minutes, your customized soap is ready to use.
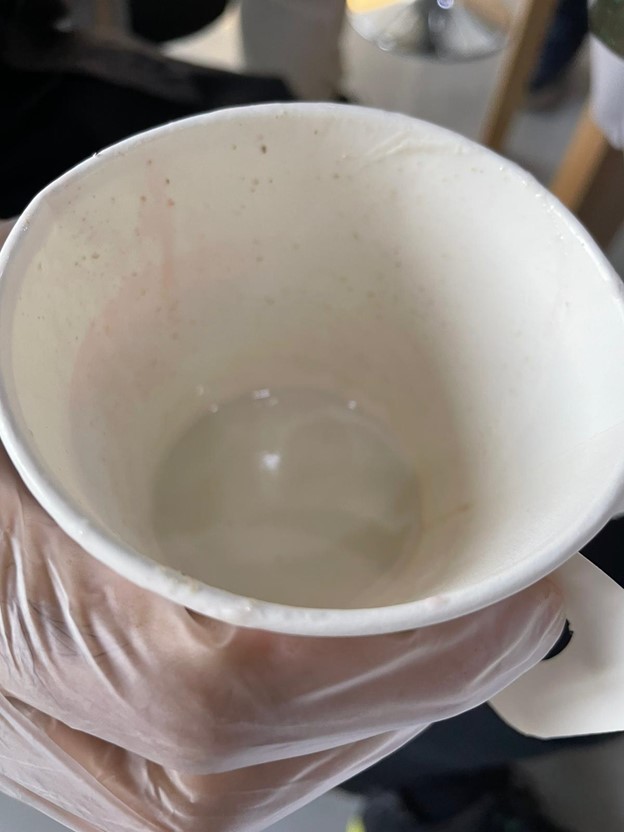
The final result of Oatmeal soap can be seen in the following picture.
The safety data sheets of all the used material and a comparison between them can be found in the group assignment attached below.
Molding and casting group assignement