6. Embedded programming
This week I worked on studying Arduino nano micro controller and trying to do some modification on the light embedded on the board.
Research
Microcontroller is simply a small computer. It contains processor (computer brain), random access memory (ram) and input/output peripherals. Arduino board can read input and convert it to output based on programmable code written to it. It is programmable through Arduino programming language. Arduino software is open source and free to download. It is possible to use other developing platform such as visual basic.
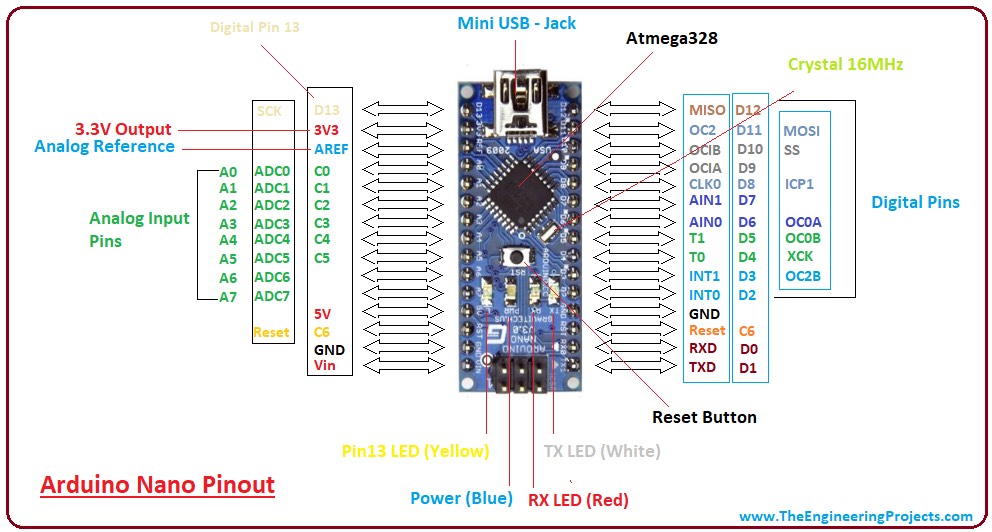
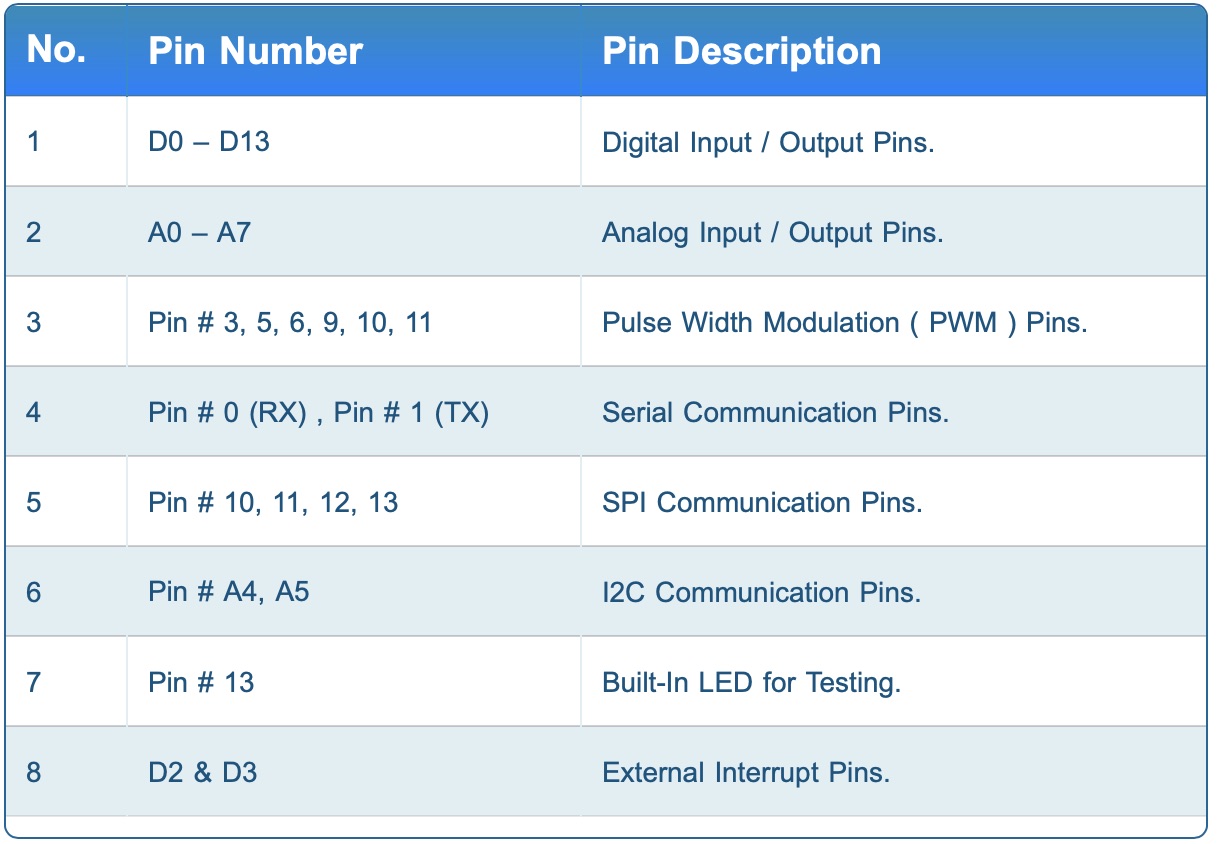
The images below shows components and pins of arduino nano microcontroller.
Analog vs Digital signal in Arduino
Analog signal can have various values between 0 and 5 Volt while digital signal have only high and low values. Analog and digital pins can be programmed as input or output.

Arduino program setup and Blinking example
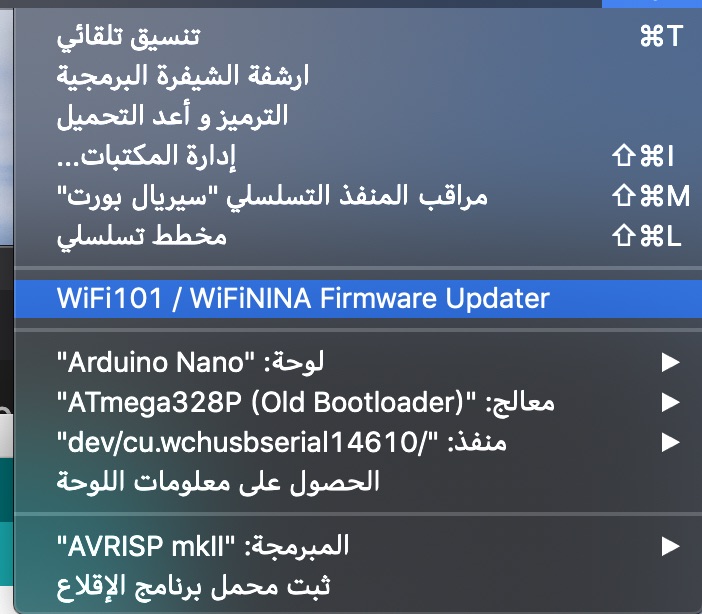
Board type is Arduino nano. CPU is old bootloader. I tried the new one but it did not work. The usb port used must be selected.
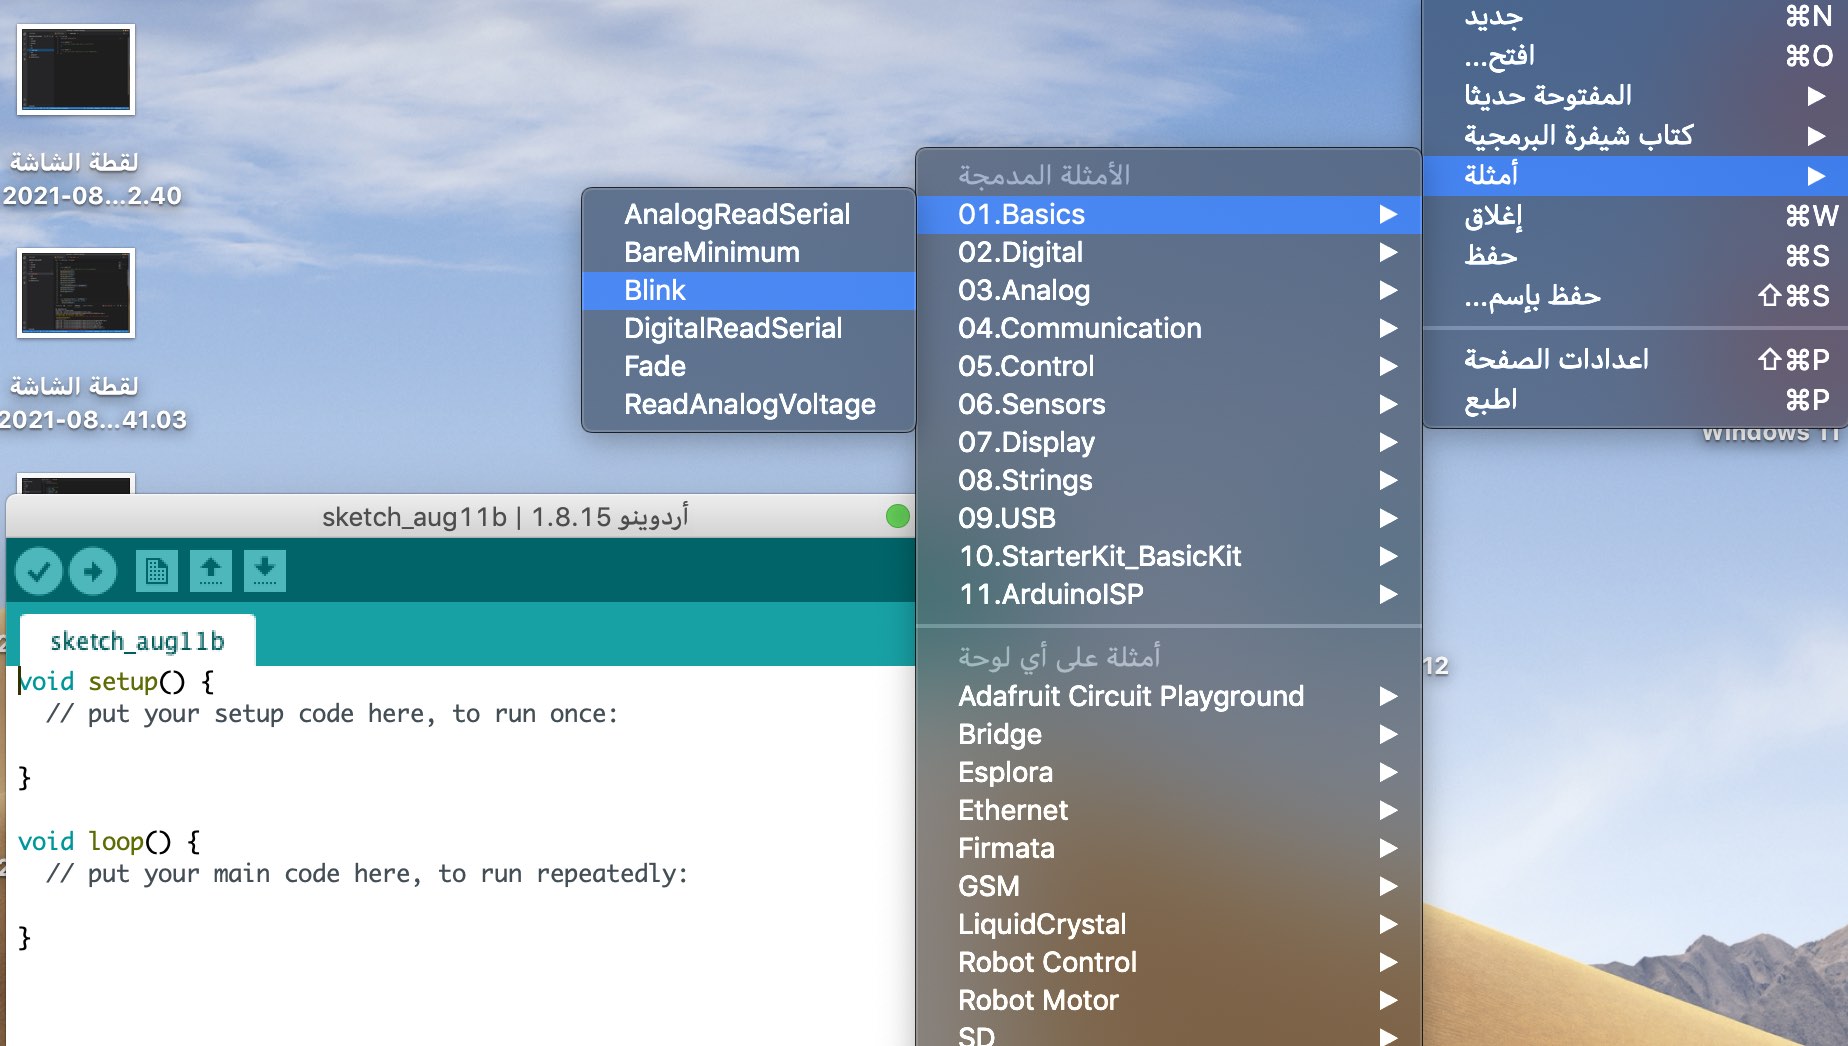
Blinking code uploaded
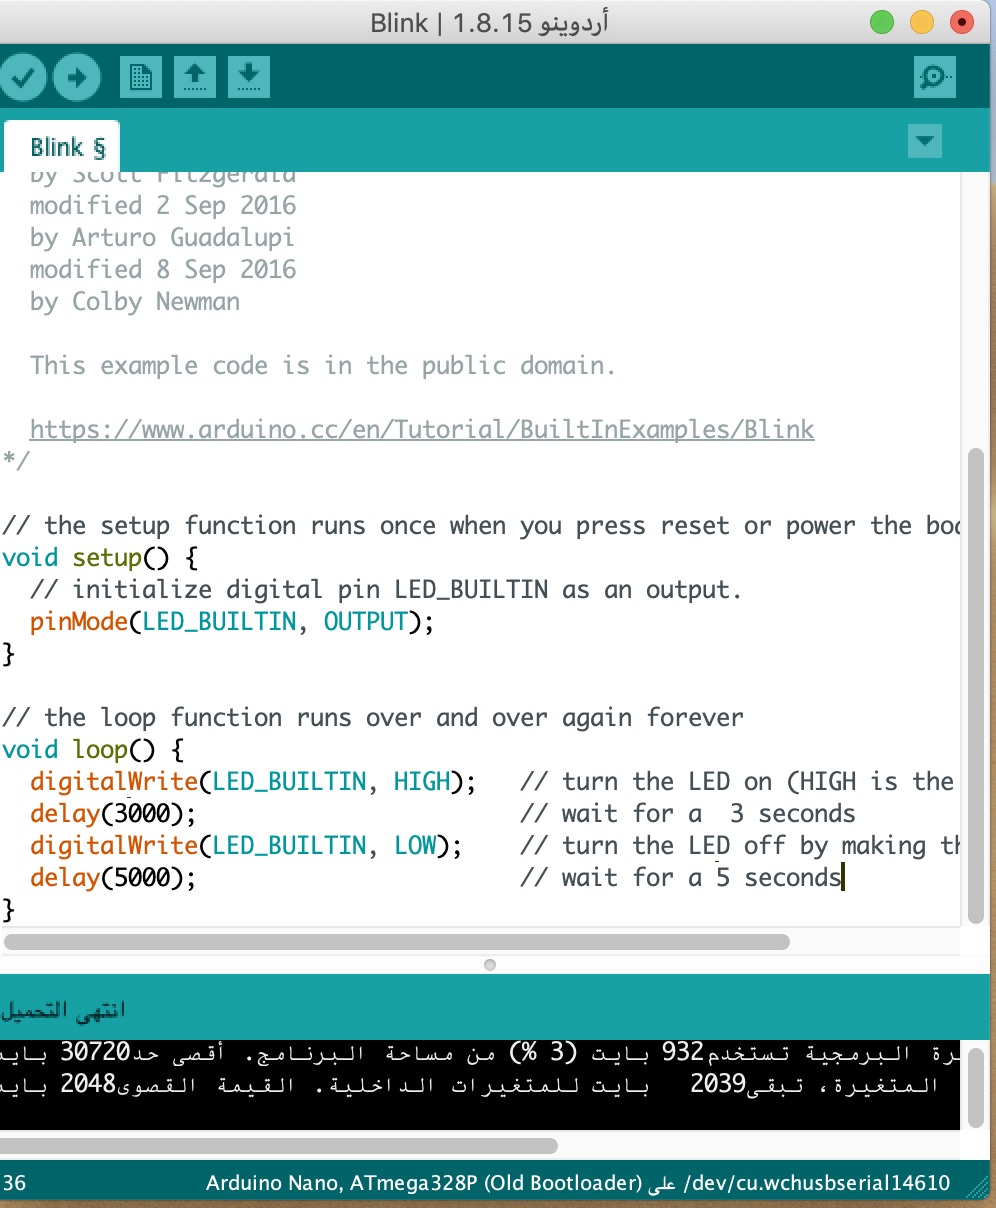
Code Example for Blinking
void setup() {
  // initialize digital pin LED_BUILTIN as an output.
  pinMode(LED_BUILTIN, OUTPUT);
}

// the loop function runs over and over again forever
void loop() {
  digitalWrite(LED_BUILTIN, HIGH);   // turn the LED on (HIGH is the voltage level)
  delay(3000);                       // wait for a  3 seconds
  digitalWrite(LED_BUILTIN, LOW);    // turn the LED off by making the voltage LOW
  delay(5000);                       // wait for a 5 seconds
}
In this code digital signal is sent as an output from pin 13 in Arduino nano to built in red led light used for testing. Digital signal have two different values which is high (turn on the light) and low (which turns off the light). This code has been adjusted by changing the delay time (measured in milliseconds).

Morse Code
Morse code was used long ago to communicate and send messages. Image below shows internation morse code as letters
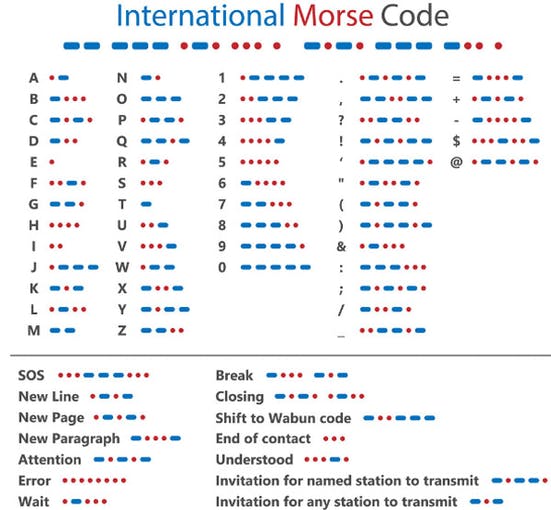
As an example I wrote SOS word as a morse code and send it to Arduino microcontroller.
Visual Studio + Platformios - ide extension
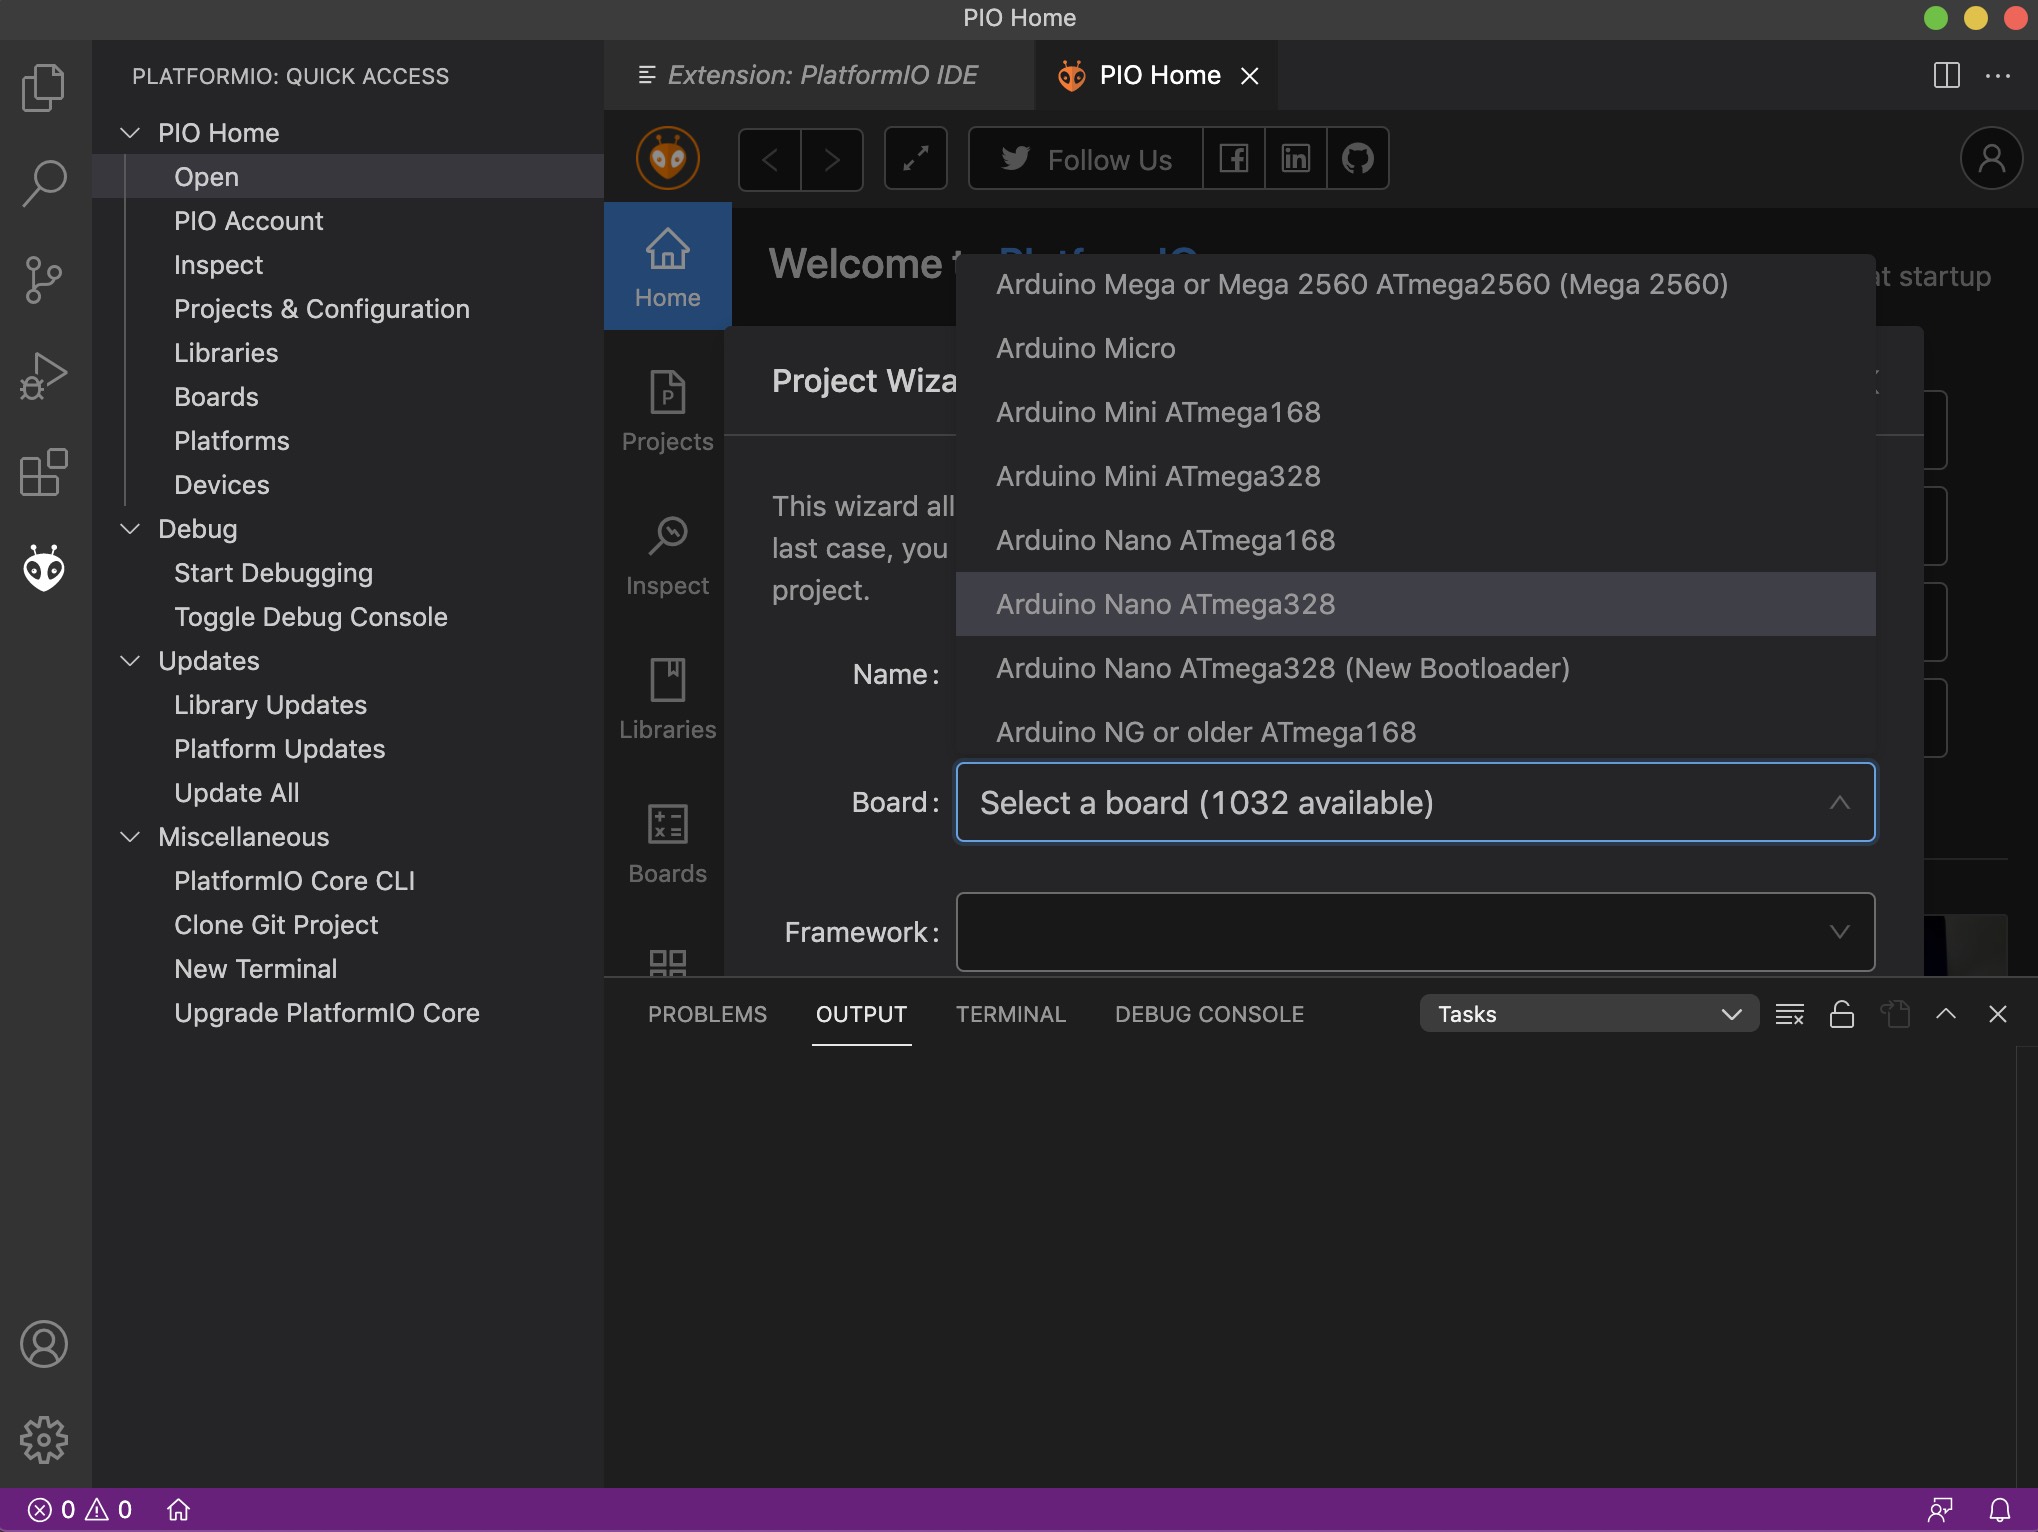
I tried to use Visual studio developing program to program Arduino nano board. Platformio - ide extension must be installed before to make visual studio able to read Arduino board.
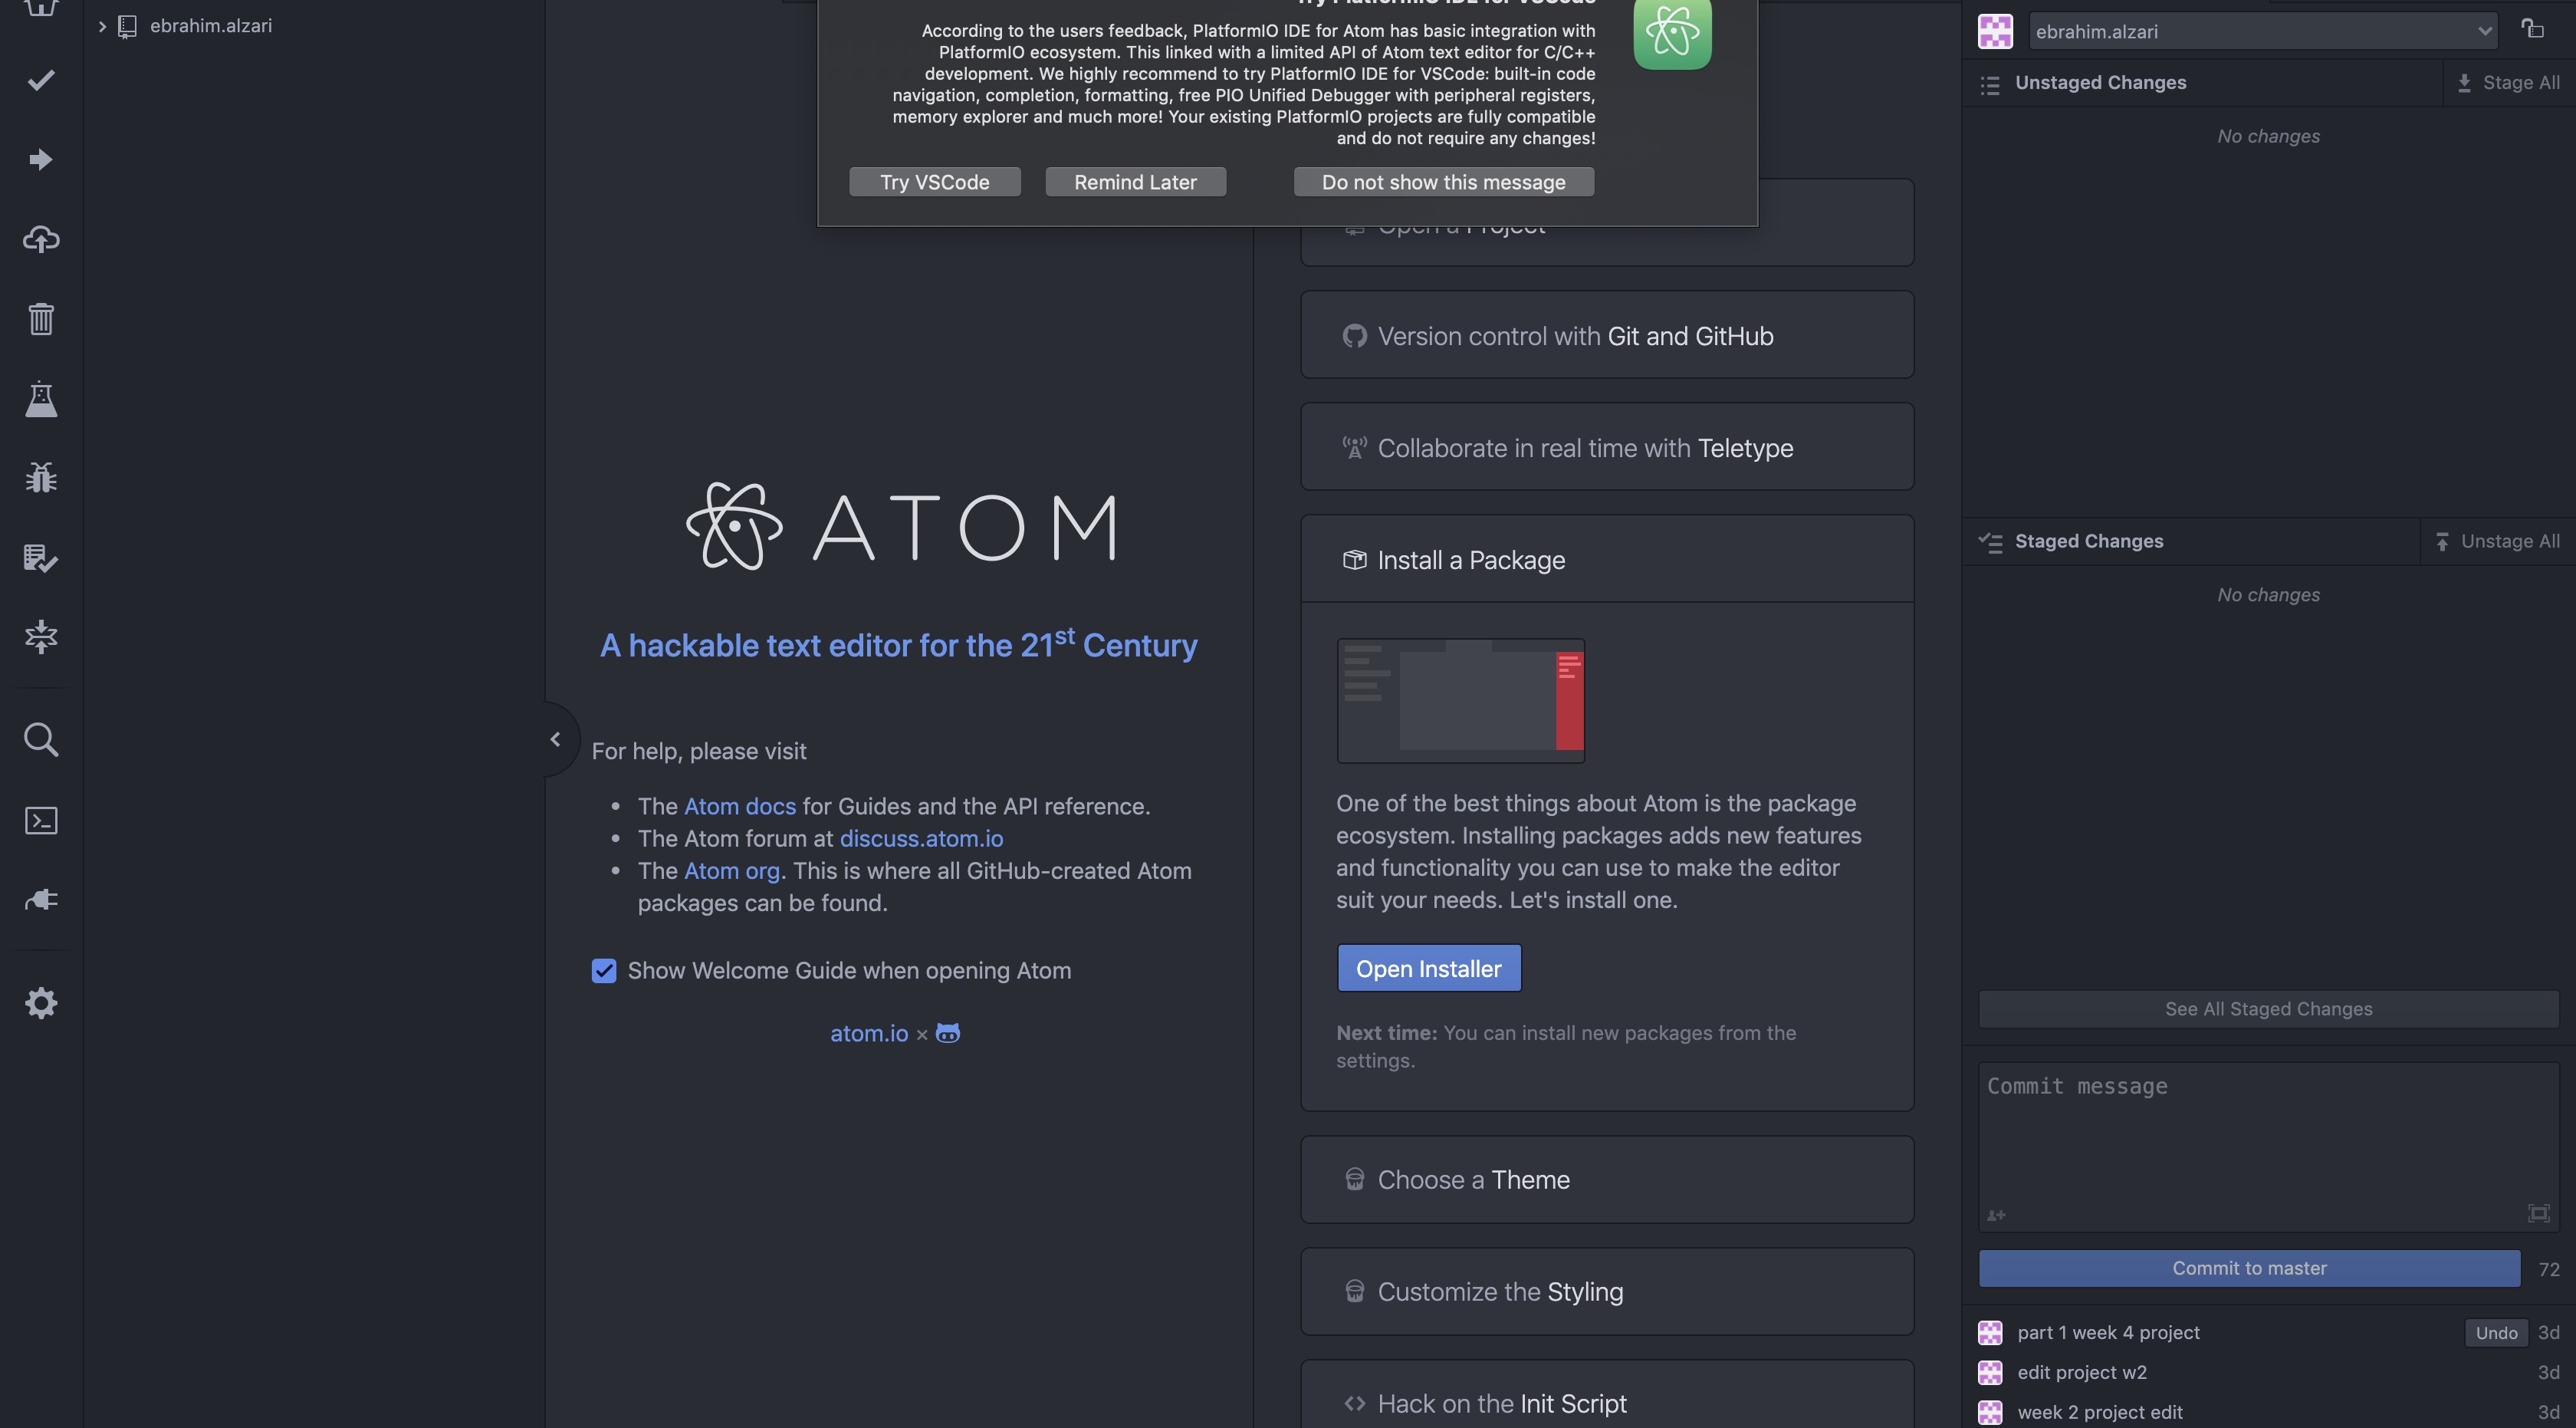
At the beginning I tried using Atom. However, Atom suggested using visual studio.
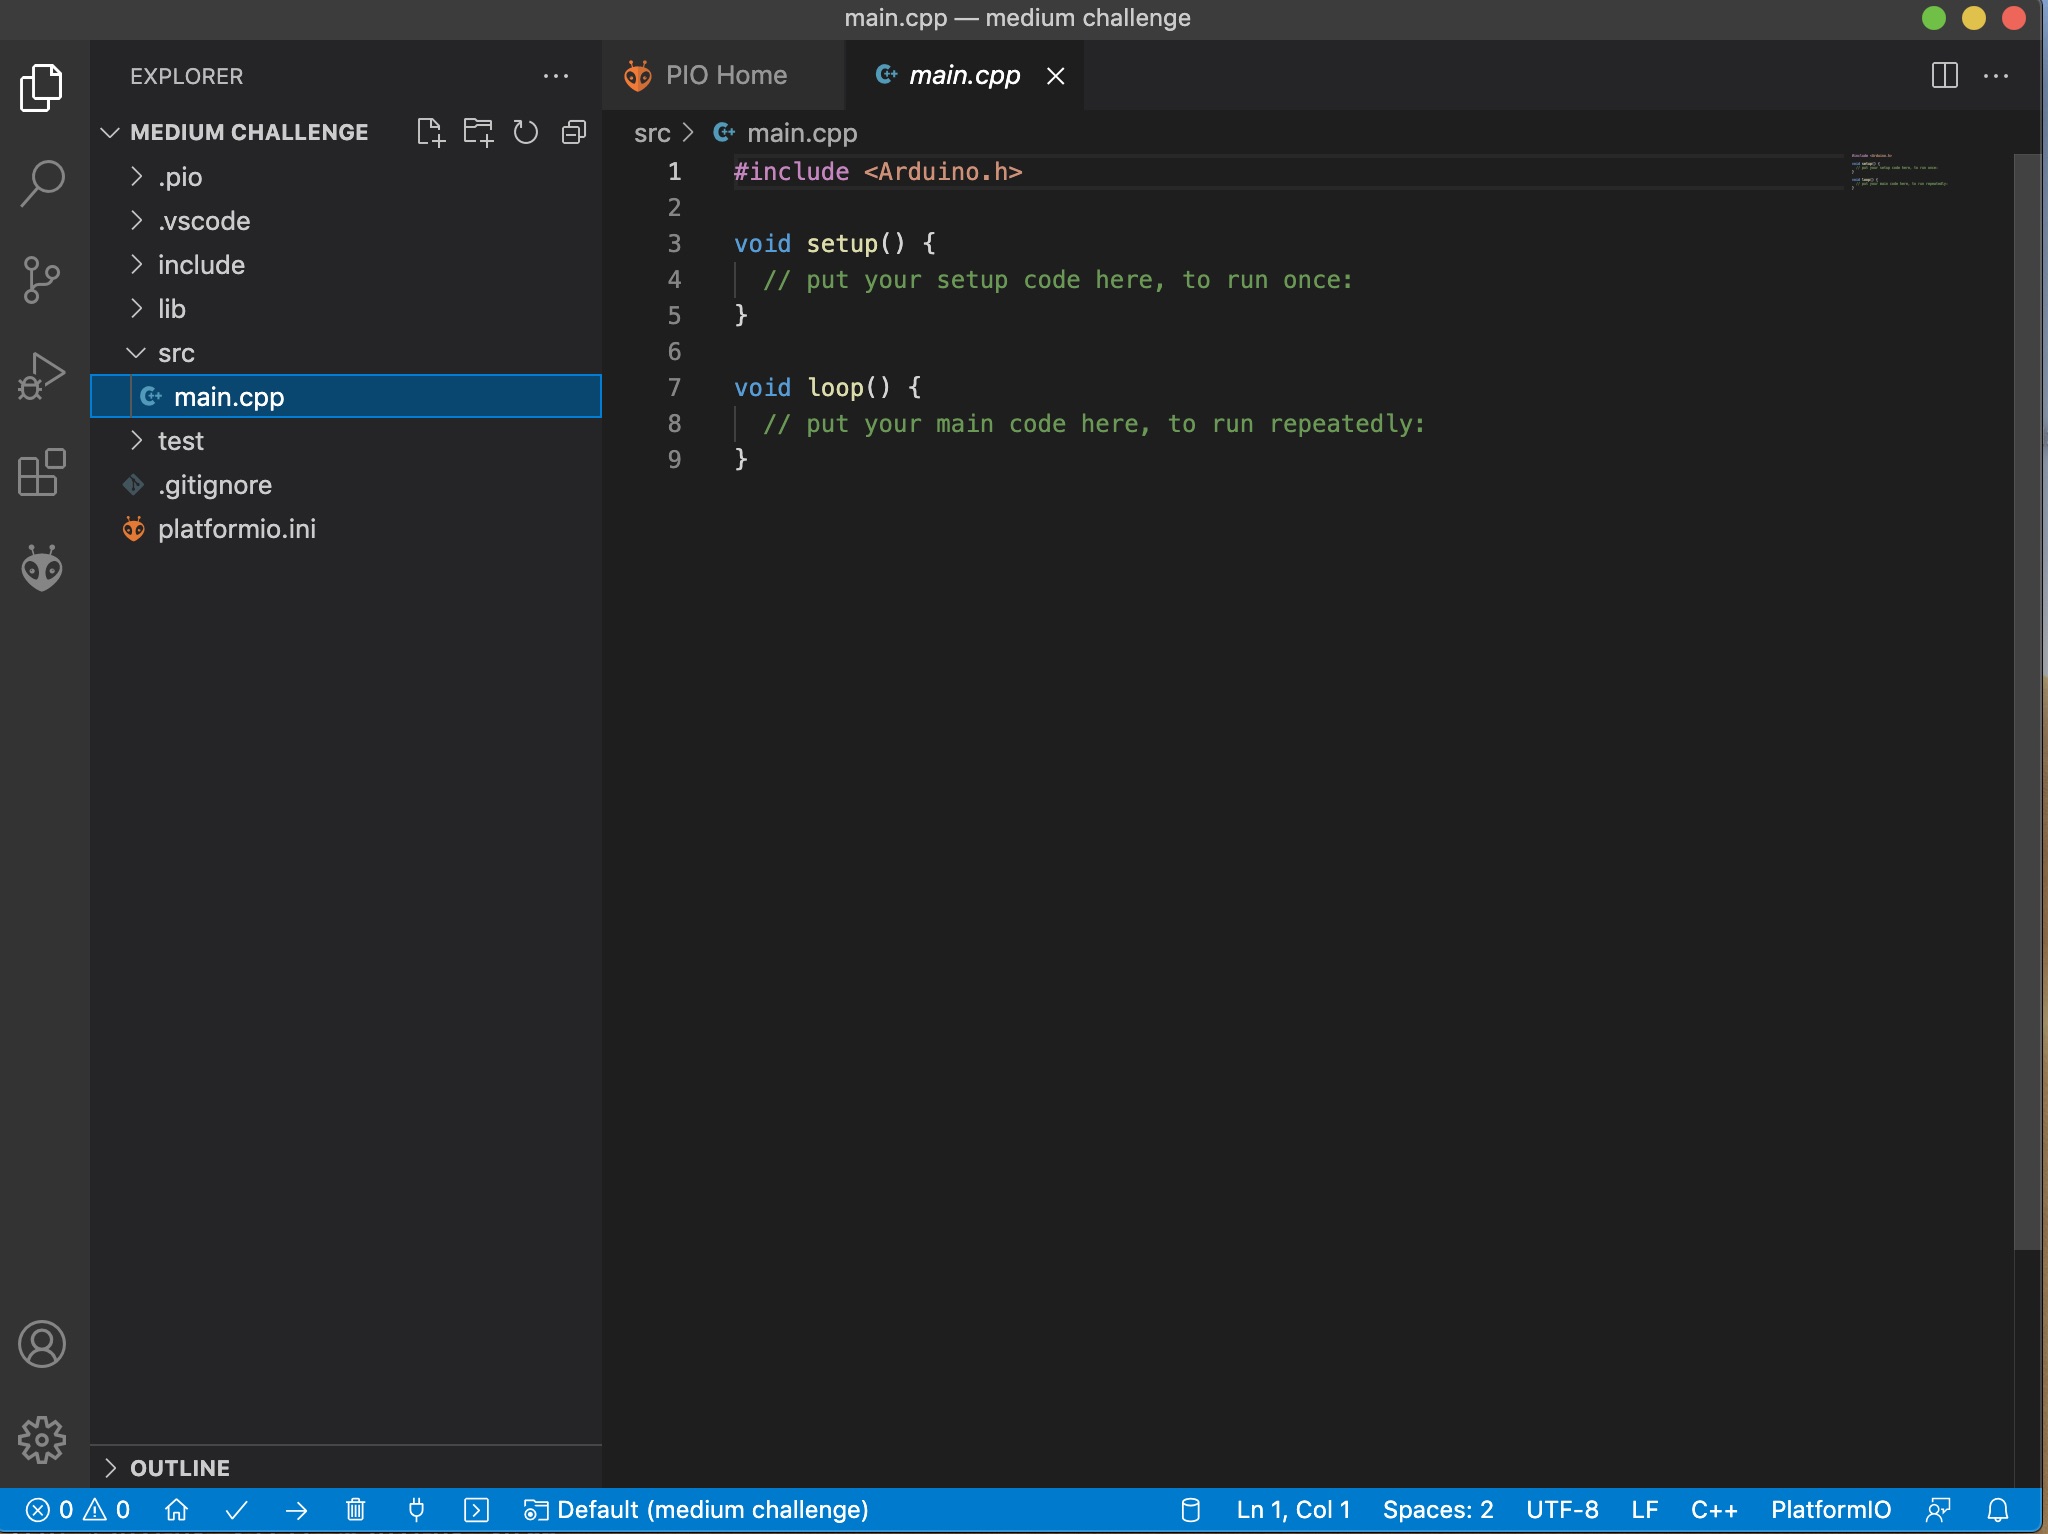
I opened new project and selected board type
Unfortuantelly when I tried to copy the same code after including Arduino.h it did not work and I got the following error.
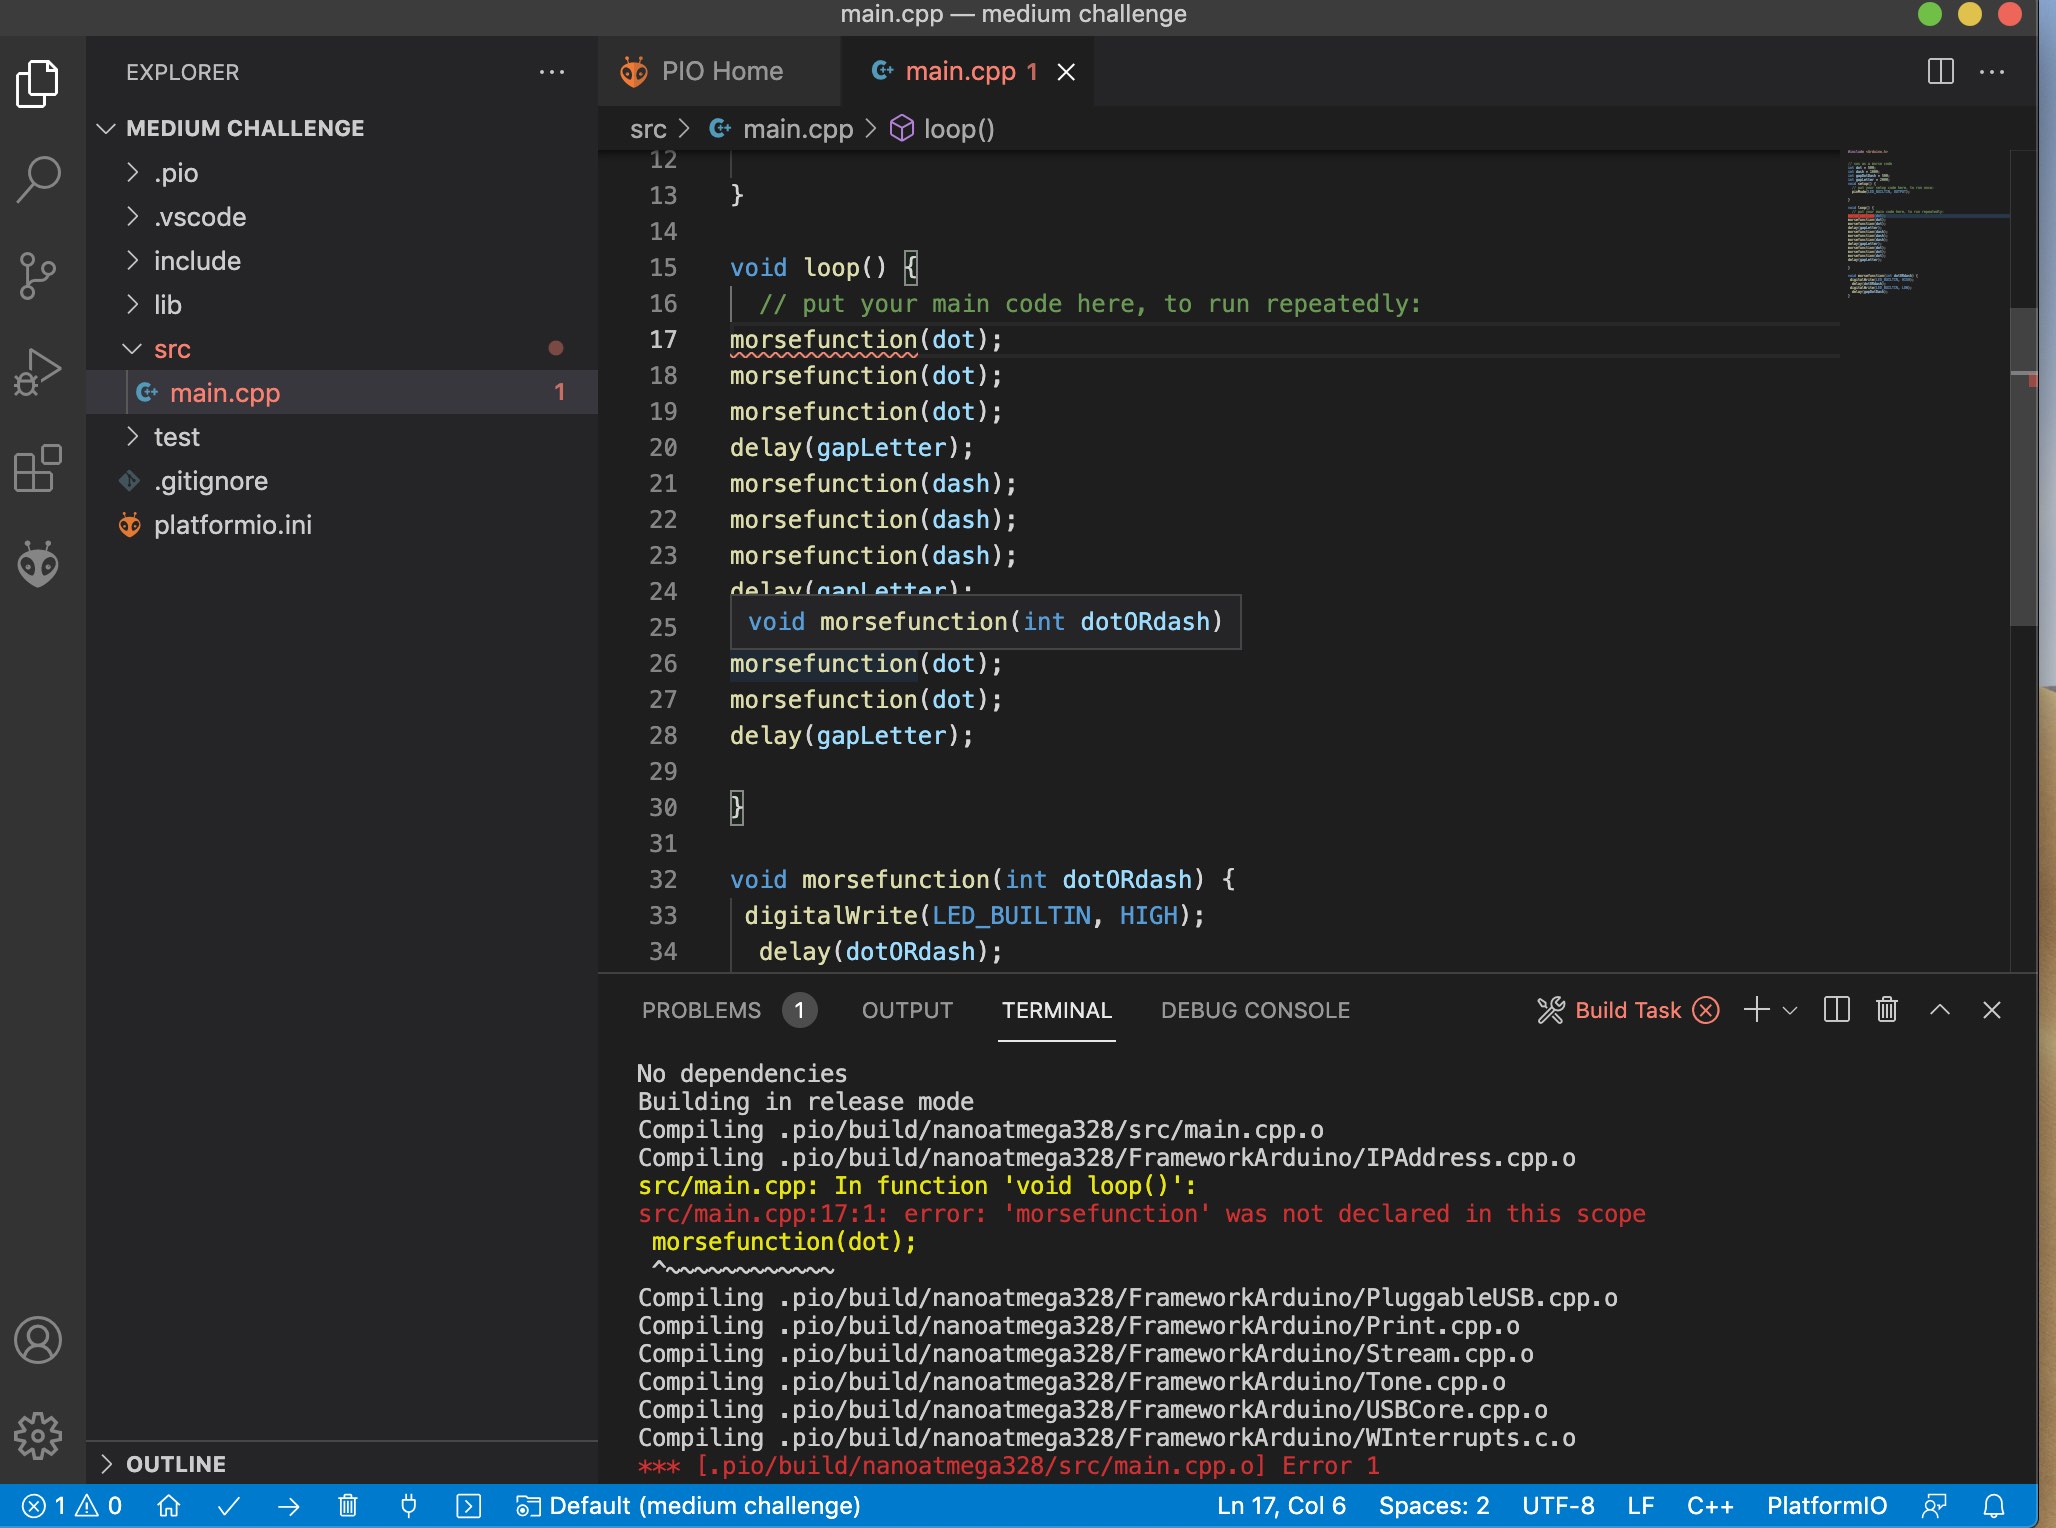
To get around this error, I moved function code above.
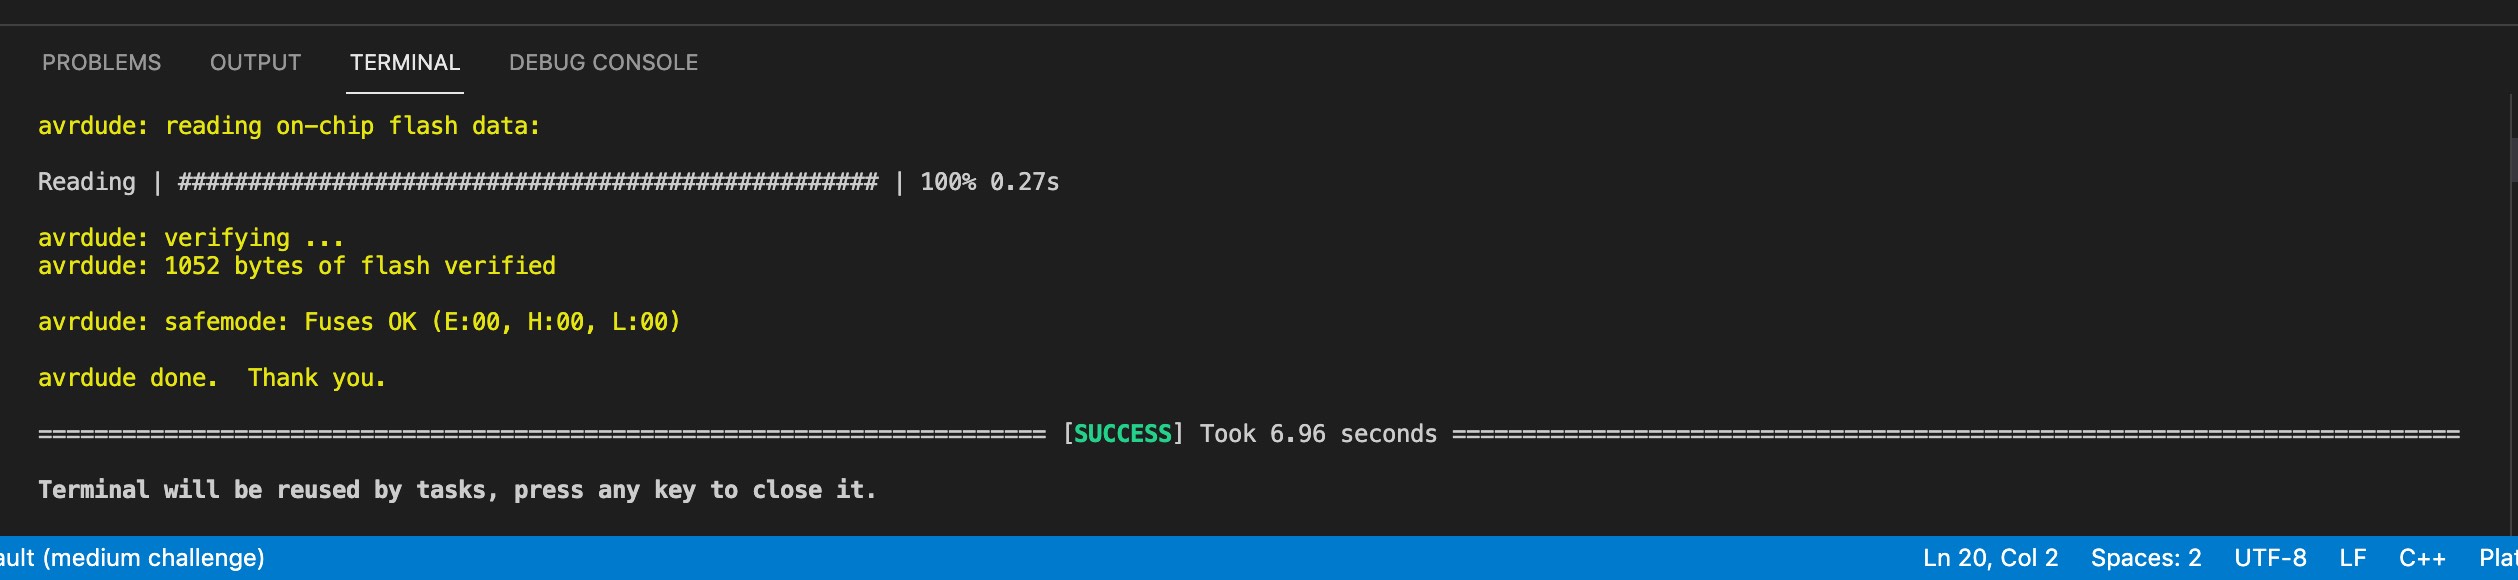
Uploaded successfully to the board
Useful links
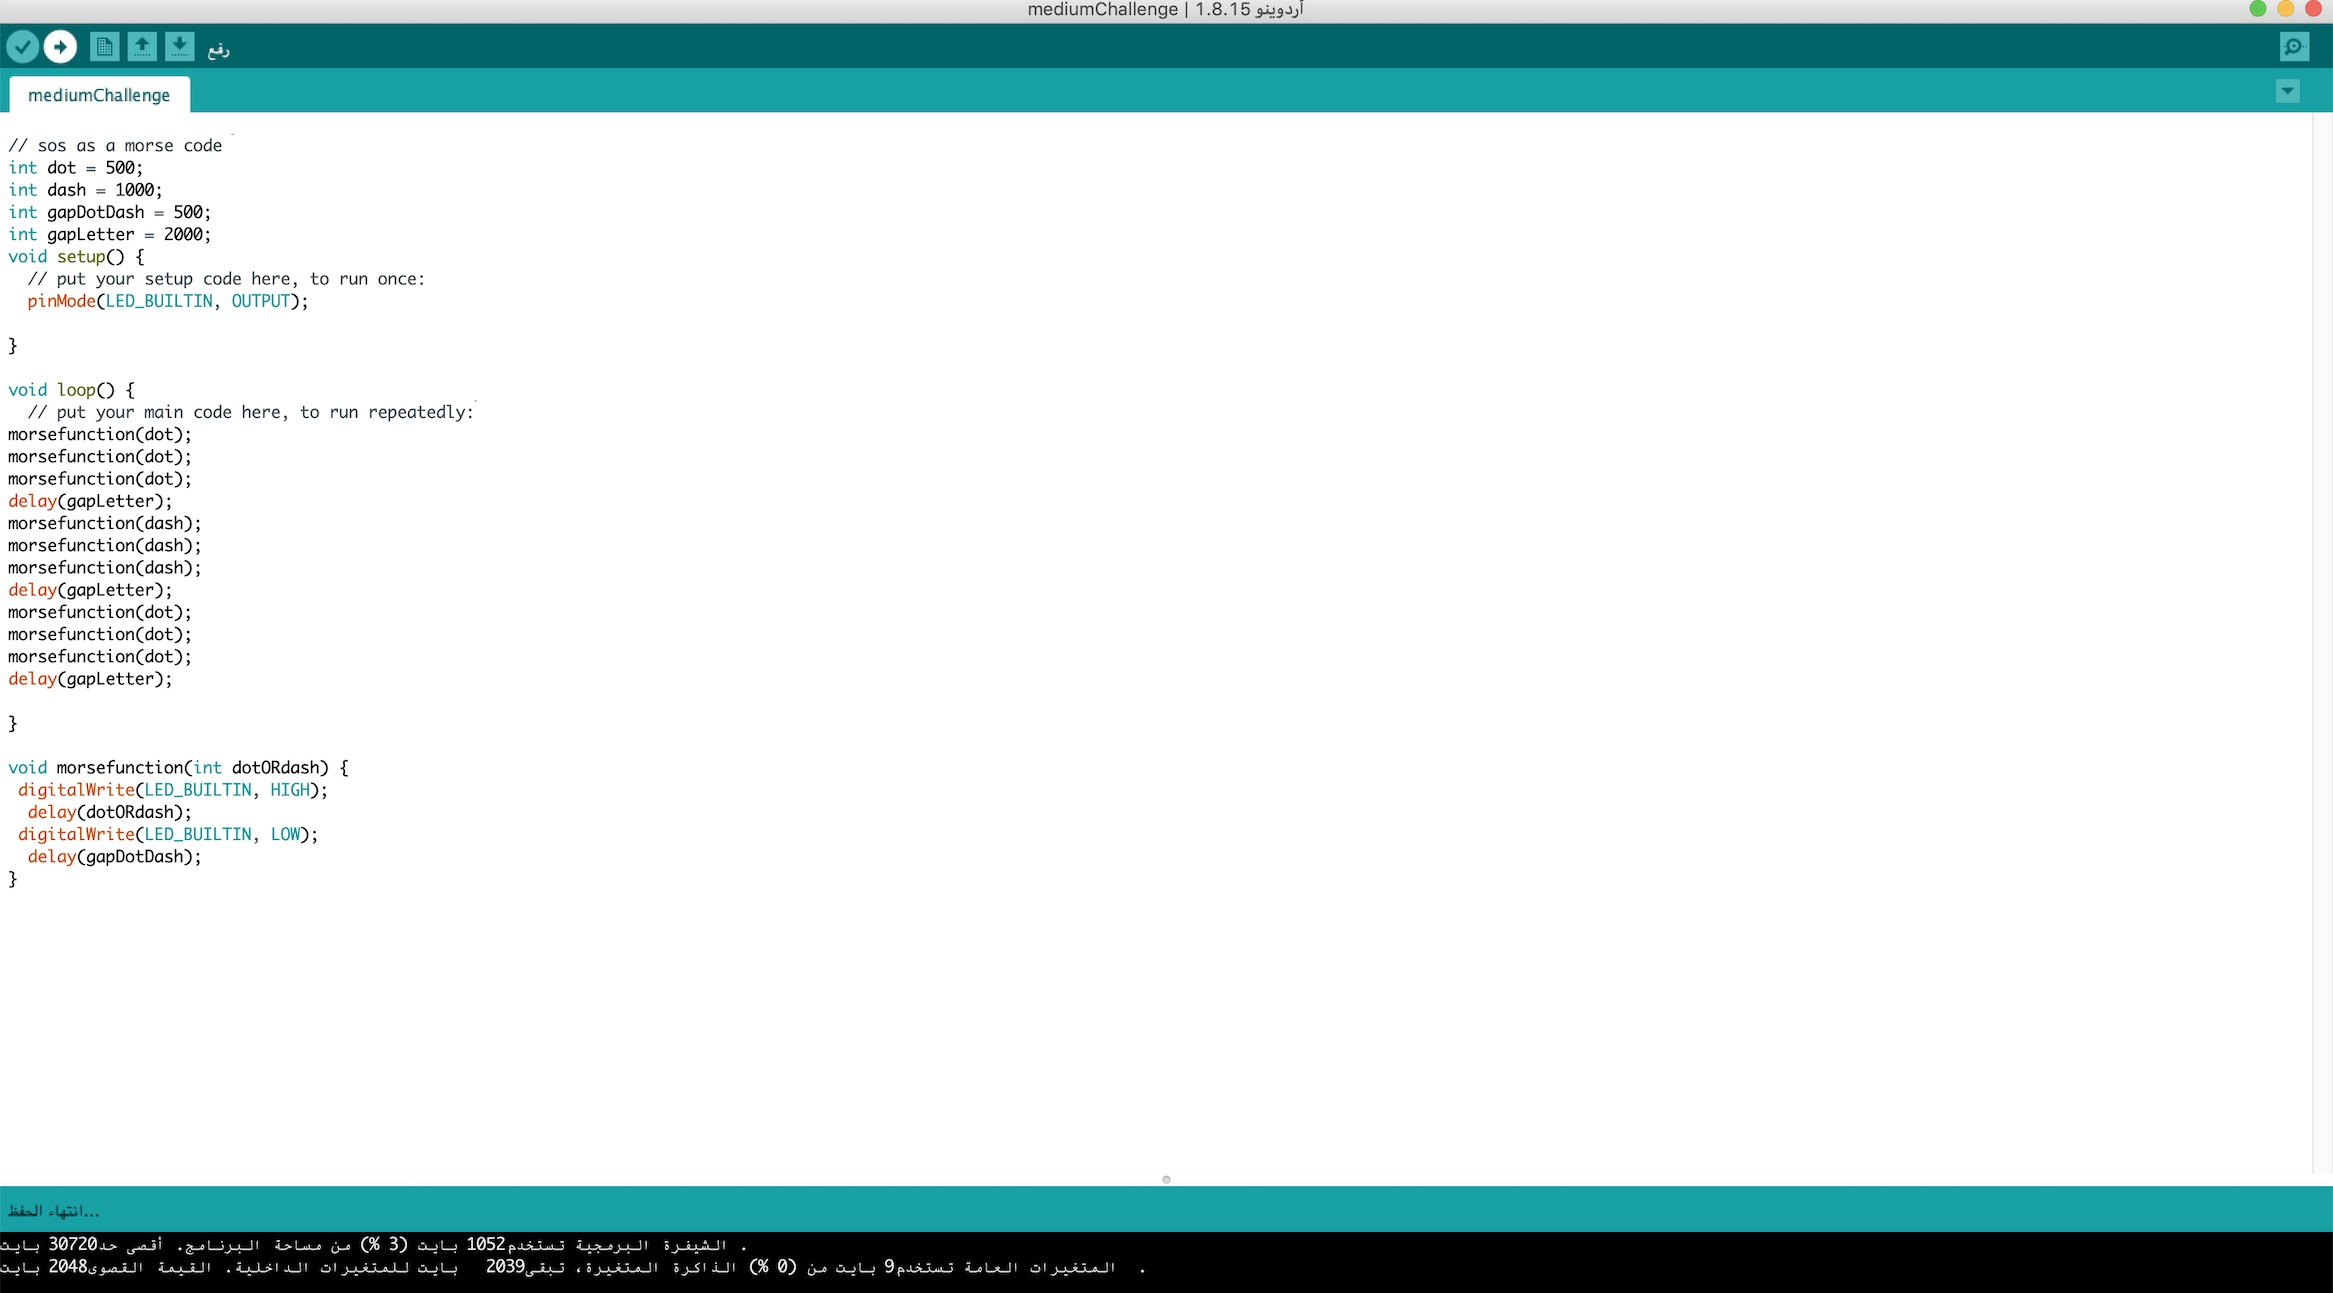
Code in Arduino programming software
// sos as a morse code
int dot = 500;
int dash = 1000;
int gapDotDash = 500;
int gapLetter = 2000;
void setup() {
  // put your setup code here, to run once:
  pinMode(LED_BUILTIN, OUTPUT);

}

void loop() {
  // put your main code here, to run repeatedly:
morsefunction(dot);
morsefunction(dot);
morsefunction(dot);
delay(gapLetter);
morsefunction(dash);
morsefunction(dash);
morsefunction(dash);
delay(gapLetter);
morsefunction(dot);
morsefunction(dot);
morsefunction(dot);
delay(gapLetter);

}

void morsefunction(int dotORdash) {
 digitalWrite(LED_BUILTIN, HIGH);
  delay(dotORdash);
 digitalWrite(LED_BUILTIN, LOW);
  delay(gapDotDash);
}
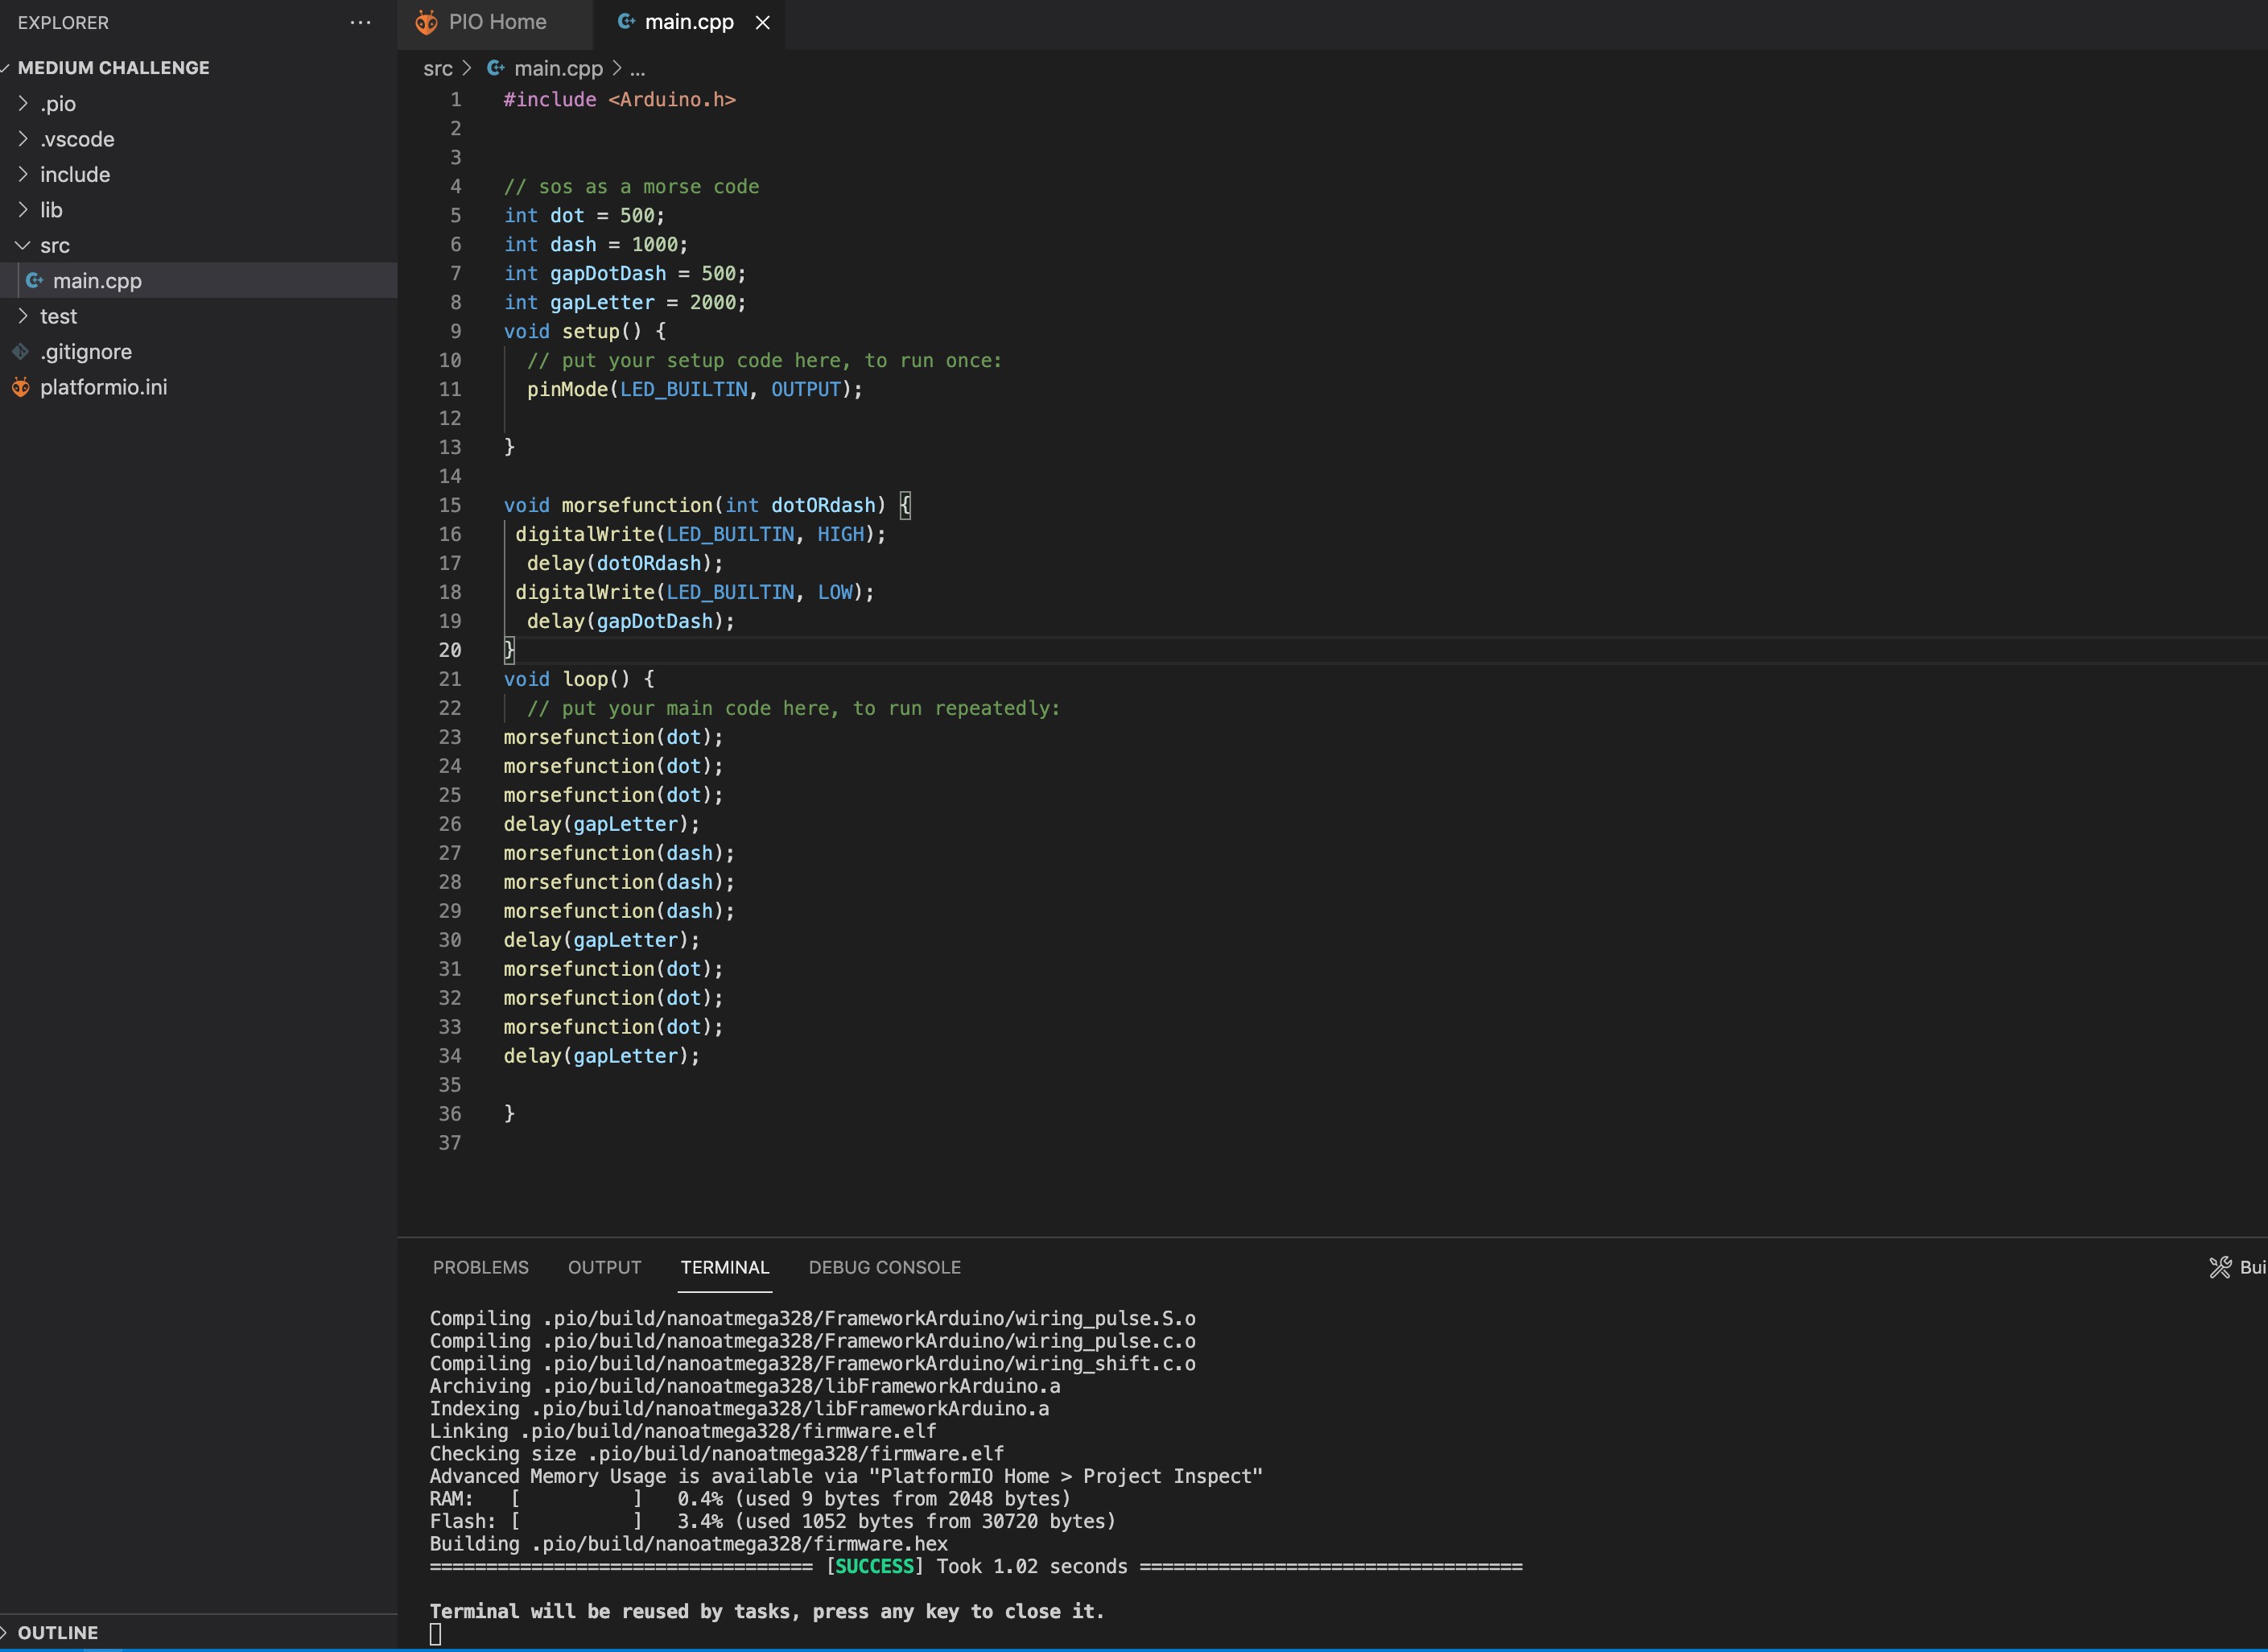
In this code morsefunction is created to turn light on and off with certain gap based on morse code. For dot light is on for 0.5 second and for dash ligh is on for one second. After turning light on for dot or dash, the light must be turned of for 0.5 second. This function is called in the loop as a dot or dash based on the letter morse code. After each letter there is a gap for 2 seconds.
Code in Visual Studio
#include <Arduino.h>

// sos as a morse code
int dot = 500;
int dash = 1000;
int gapDotDash = 500;
int gapLetter = 2000;
void setup() {
  // put your setup code here, to run once:
  pinMode(LED_BUILTIN, OUTPUT);

}

void morsefunction(int dotORdash) {
 digitalWrite(LED_BUILTIN, HIGH);
  delay(dotORdash);
 digitalWrite(LED_BUILTIN, LOW);
  delay(gapDotDash);
}
void loop() {
  // put your main code here, to run repeatedly:
morsefunction(dot);
morsefunction(dot);
morsefunction(dot);
delay(gapLetter);
morsefunction(dash);
morsefunction(dash);
morsefunction(dash);
delay(gapLetter);
morsefunction(dot);
morsefunction(dot);
morsefunction(dot);
delay(gapLetter);

}