

This week was all about Computer-Aided Design (CAD)! I decided to explore a few different software options – two for 2D design and two for 3D – to get a feel for what's out there and what works best for me. It's all part of figuring out how to bring my ideas to life digitally.
Plus, I'm starting to think about my final project, which will involve [ Briefly describe your final project idea here - e.g., "a self-watering plant system with custom-designed components." ]. So, I'll be trying to model some parts of that project as I explore these different CAD tools.
Inkscape is a free and open-source vector graphics editor. It's great for creating scalable vector graphics, which are perfect for things like logos, illustrations, and anything you want to resize without losing quality.
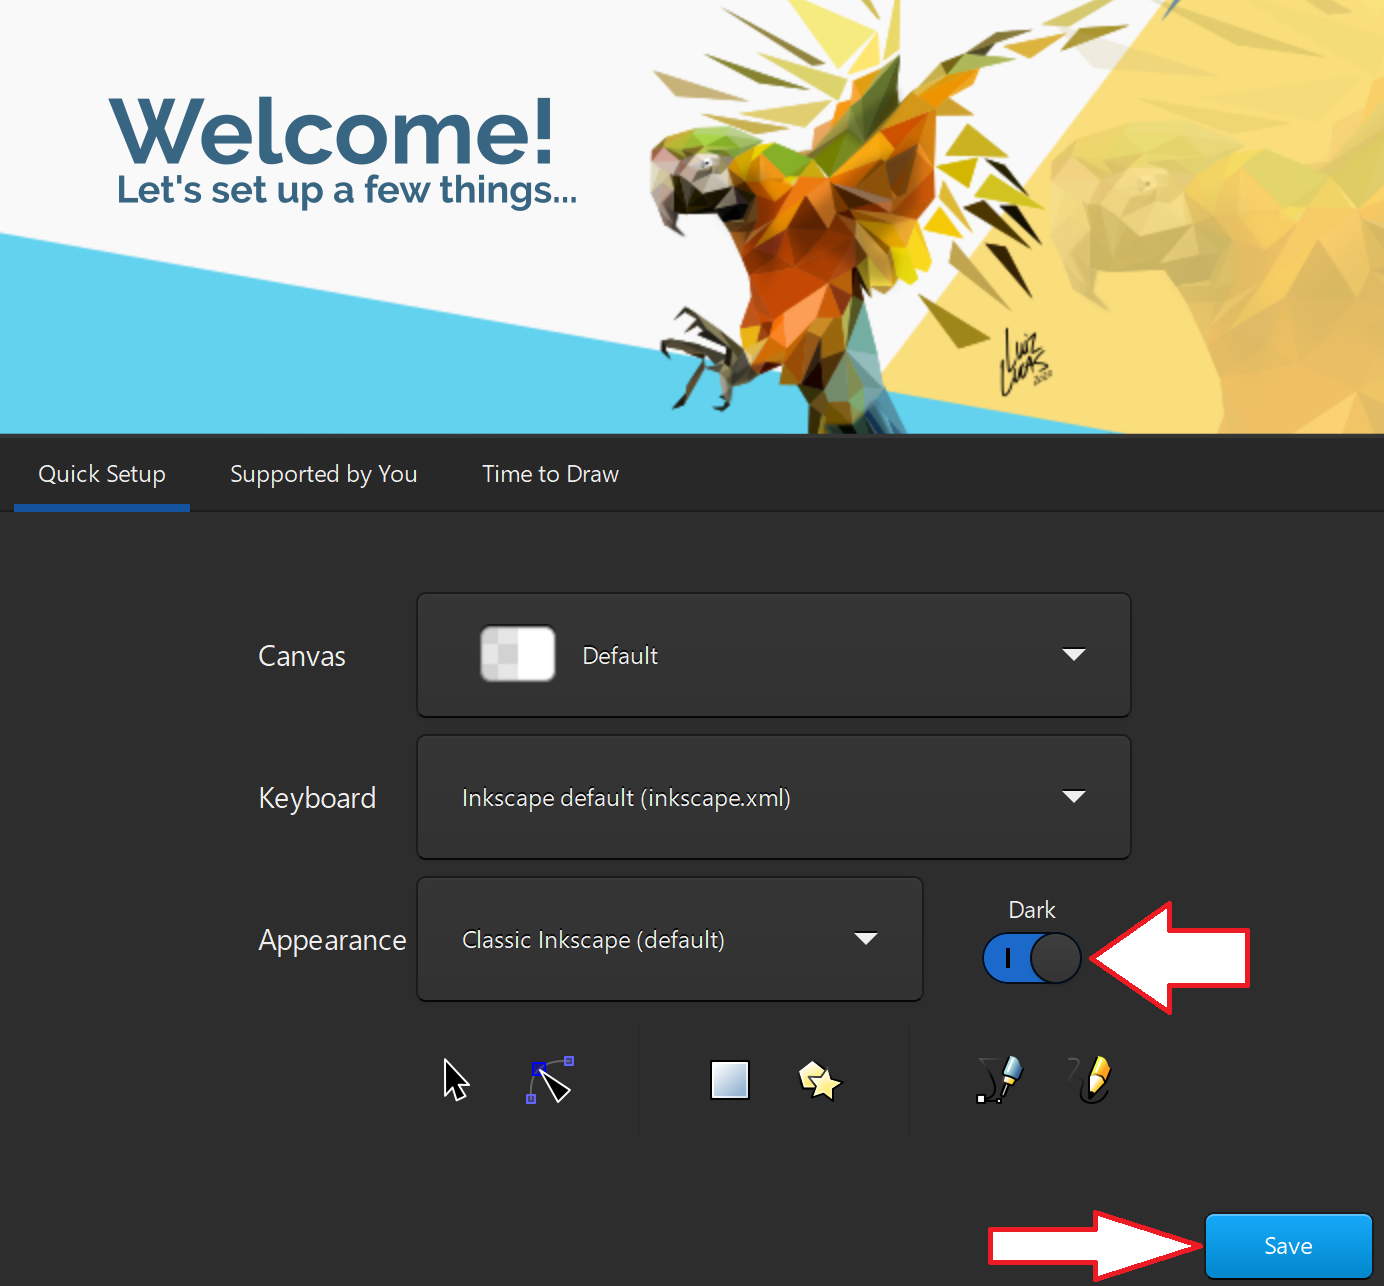 After installing Inkscape, I took the time to configure the application to suit my personal preferences before diving into my design work. This initial setup was crucial, as it allowed me to tailor the workspace and tools to enhance my creative process.
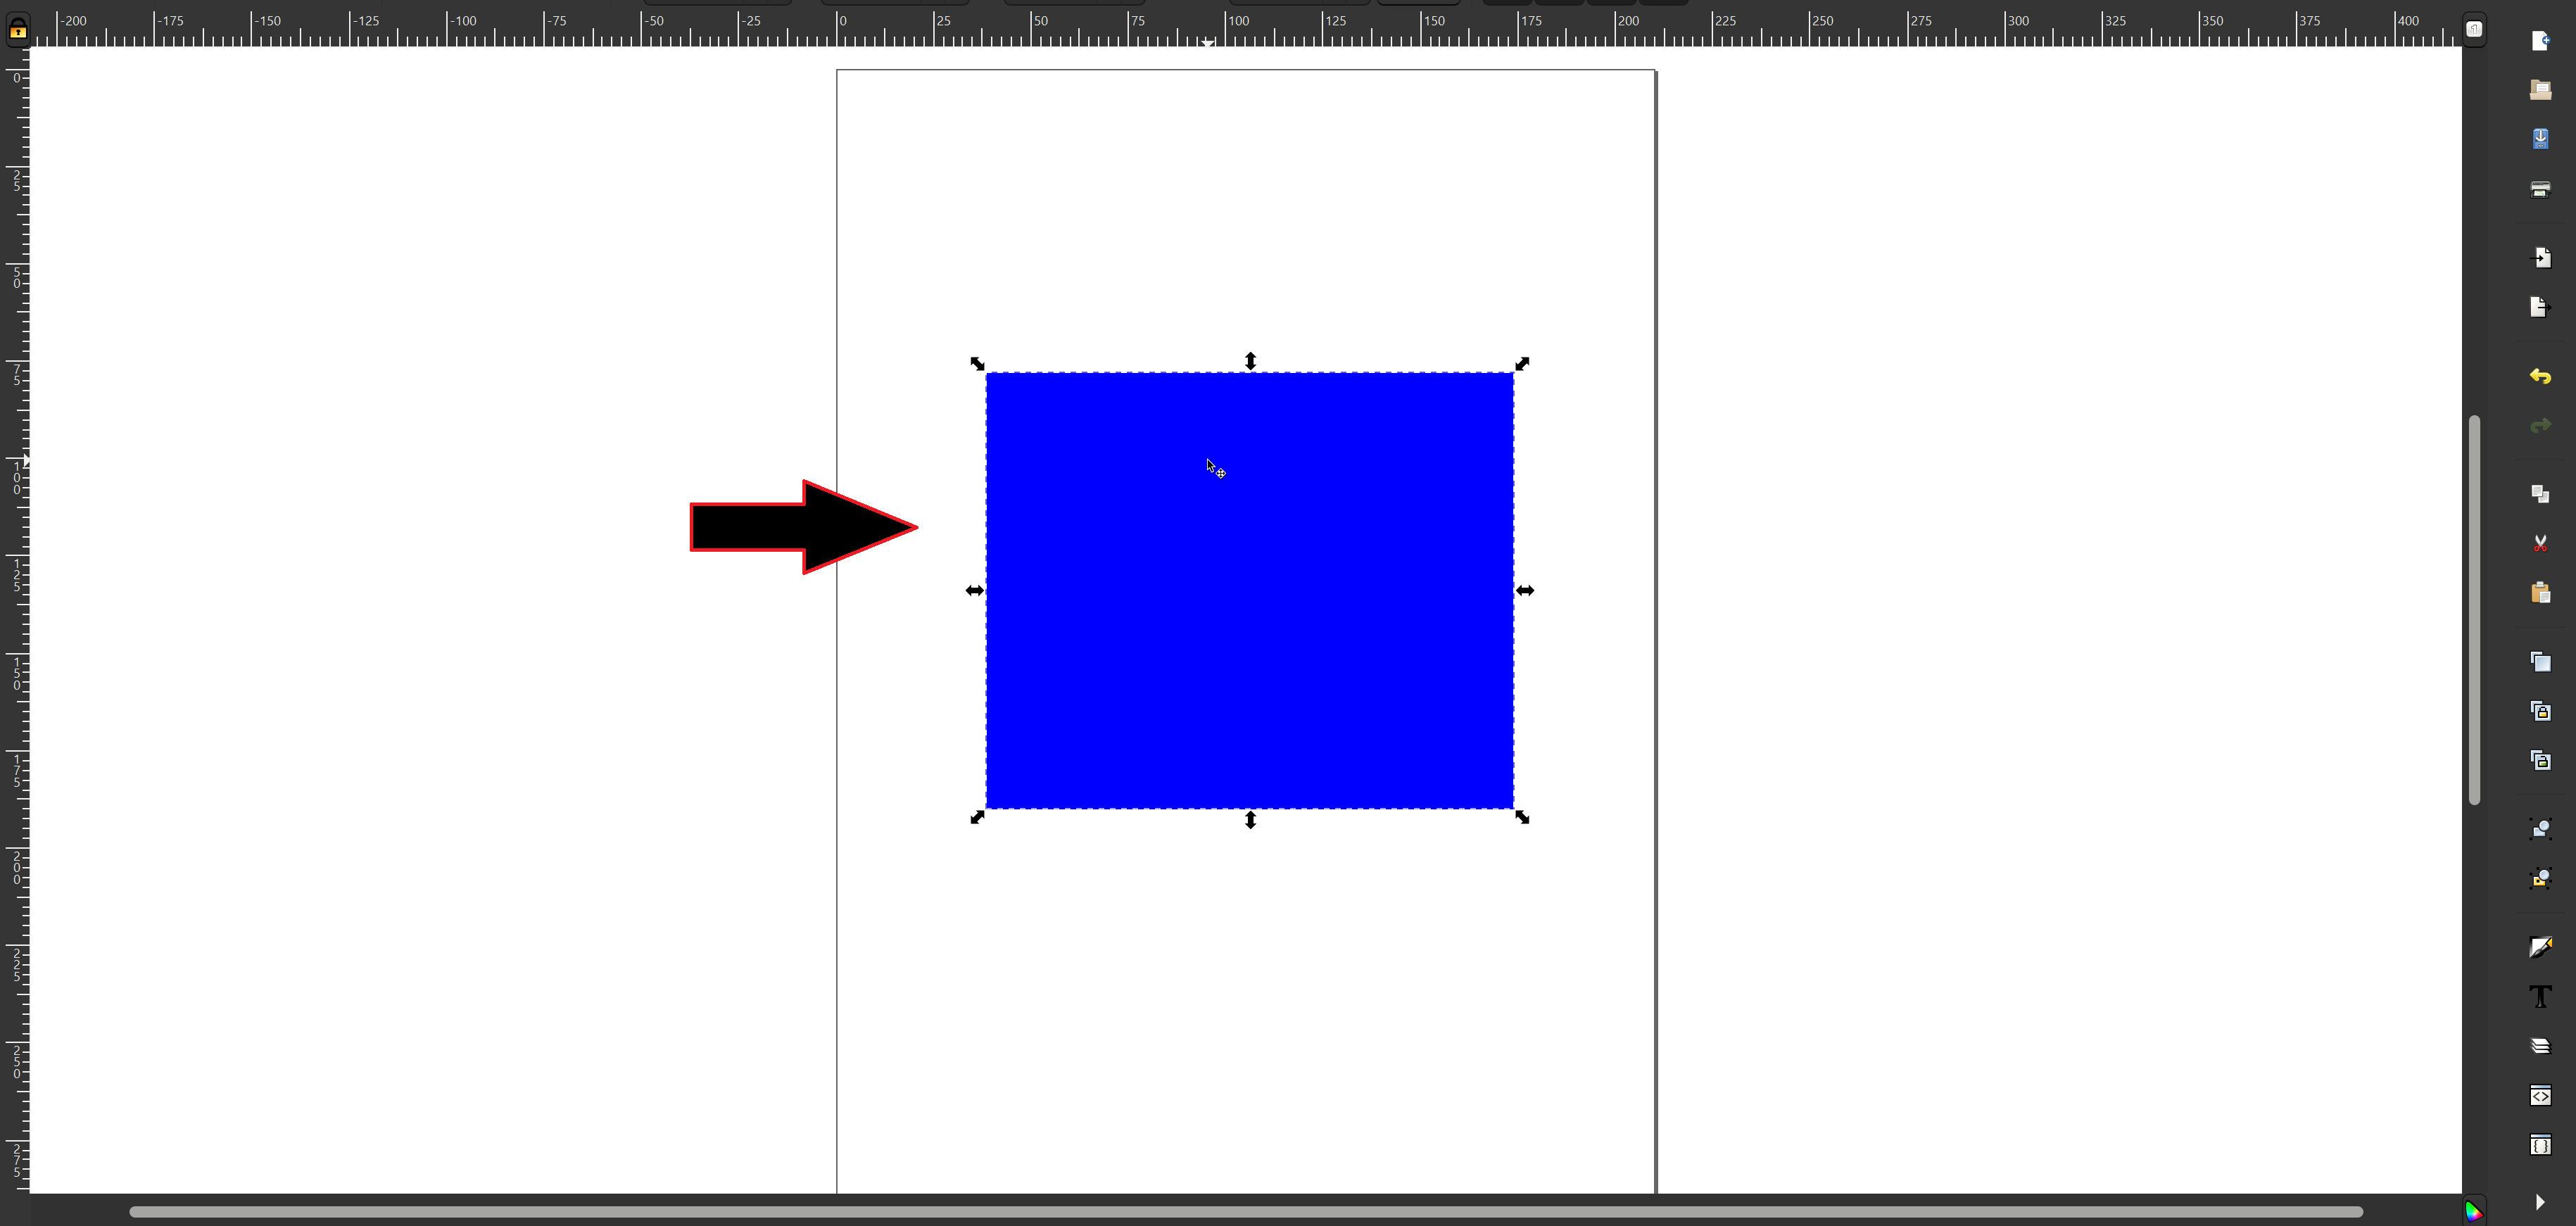
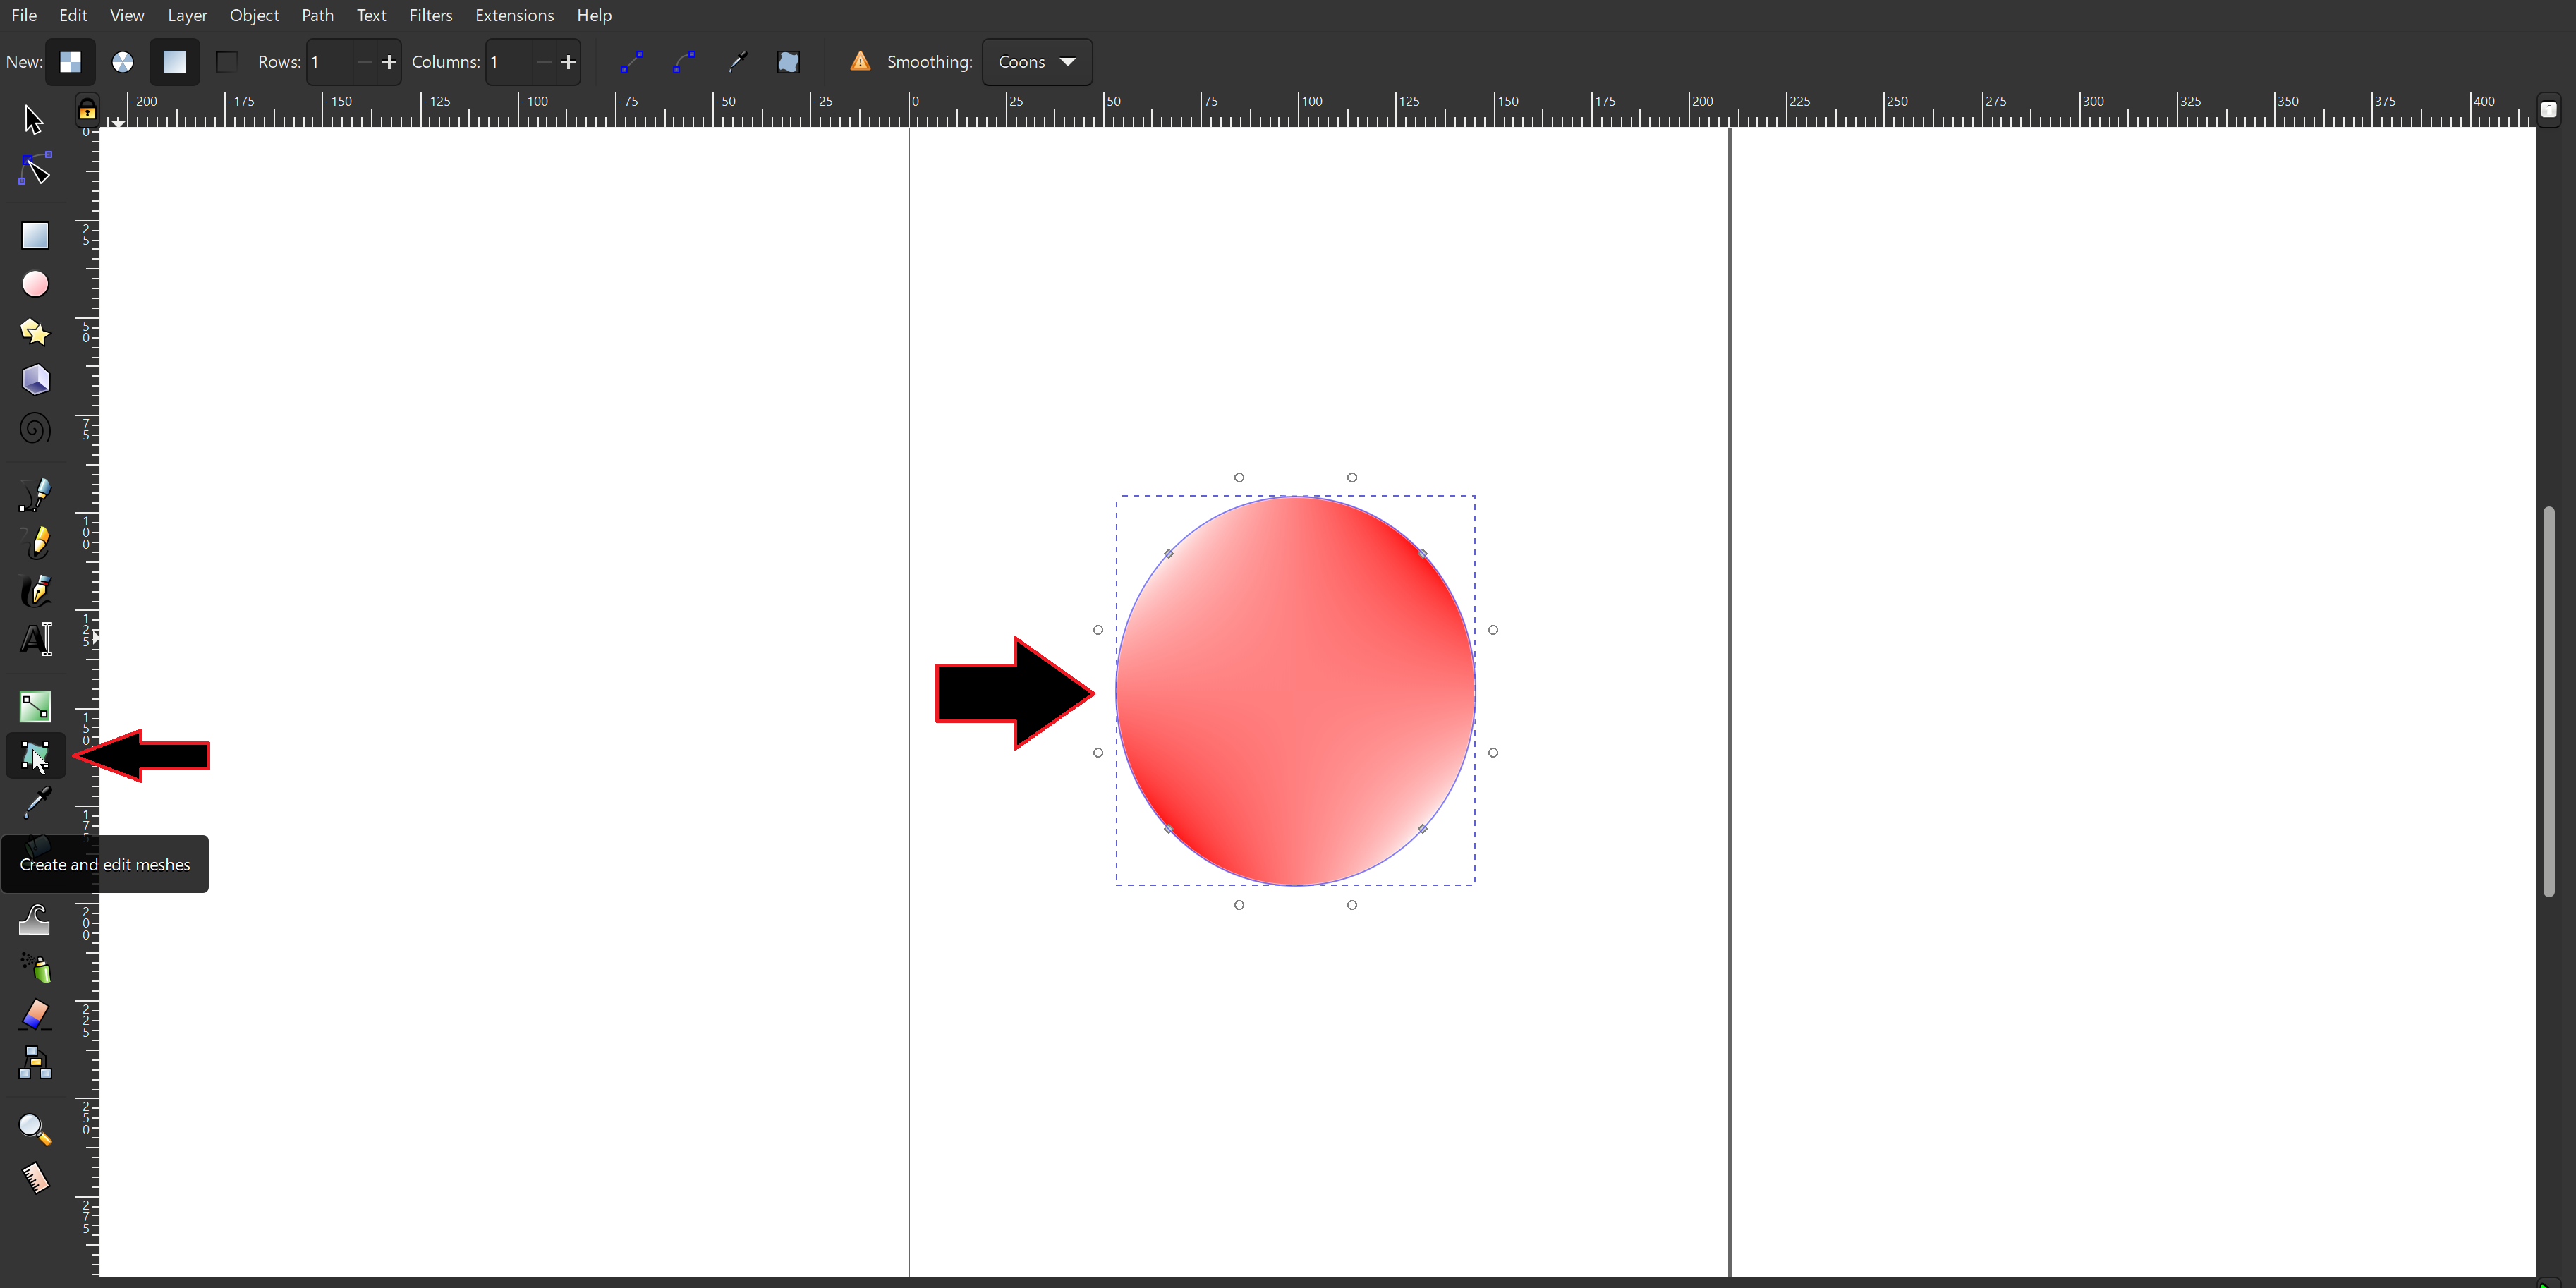
Once I was comfortable with the configuration, I began exploring the various tools available on the left side of the interface. Each tool offers unique features that facilitate different aspects of vector graphic design, and I was eager to test them out.

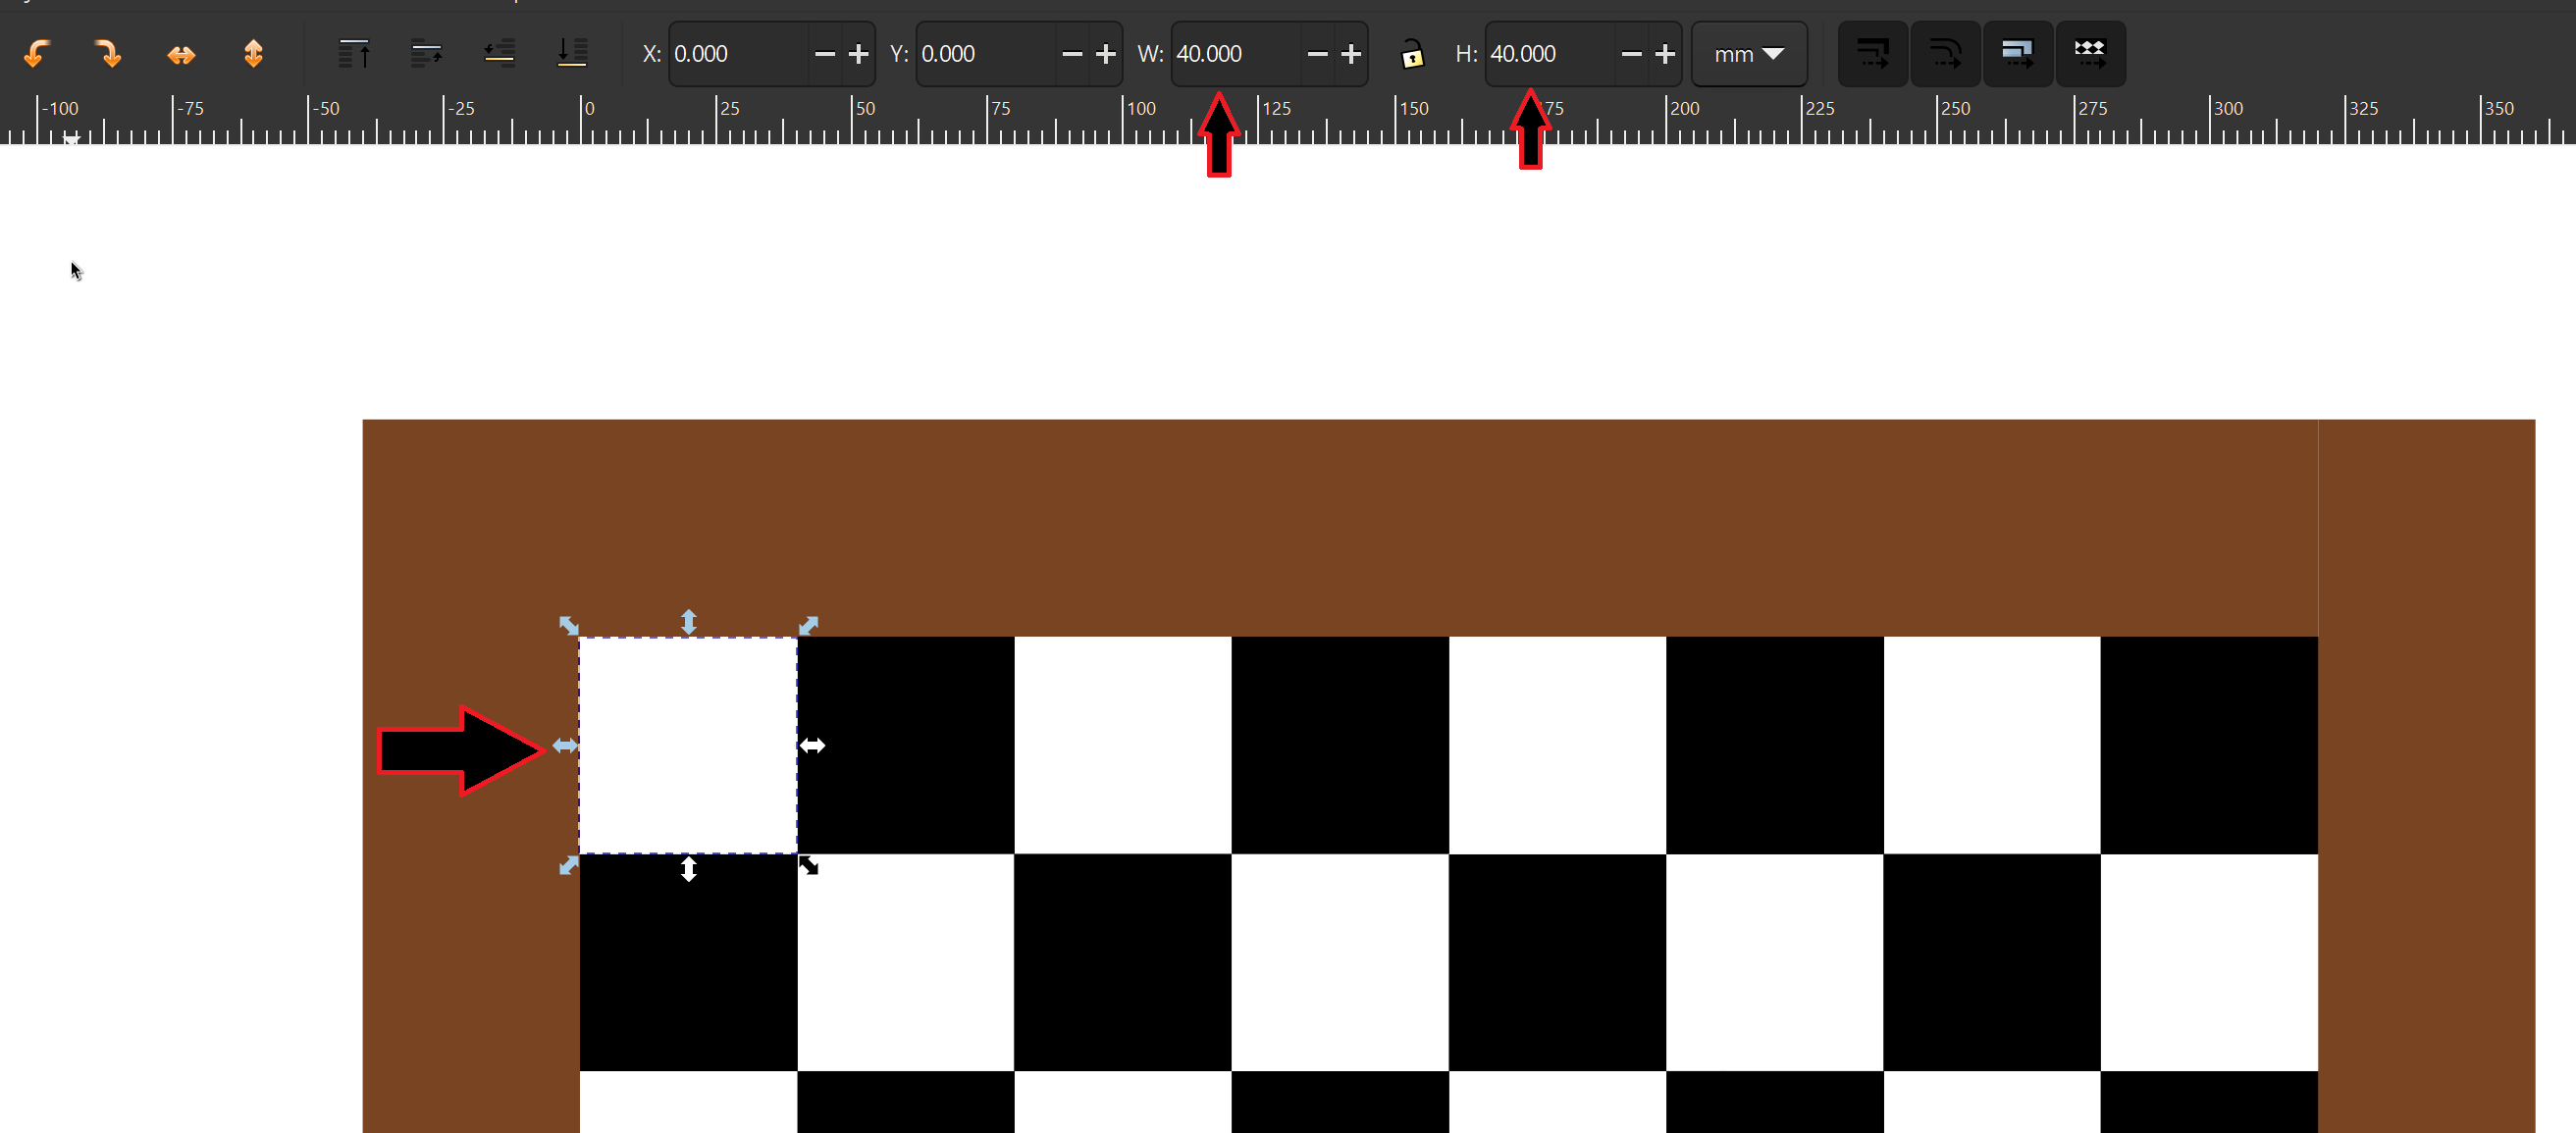
My first endeavor was to create a square with specific measurements that I had chosen. This exercise helped me familiarize myself with shape manipulation and measurement settings in Inkscape. I appreciated the precision it offered, allowing me to input exact dimensions, which is vital for achieving accuracy in my designs.
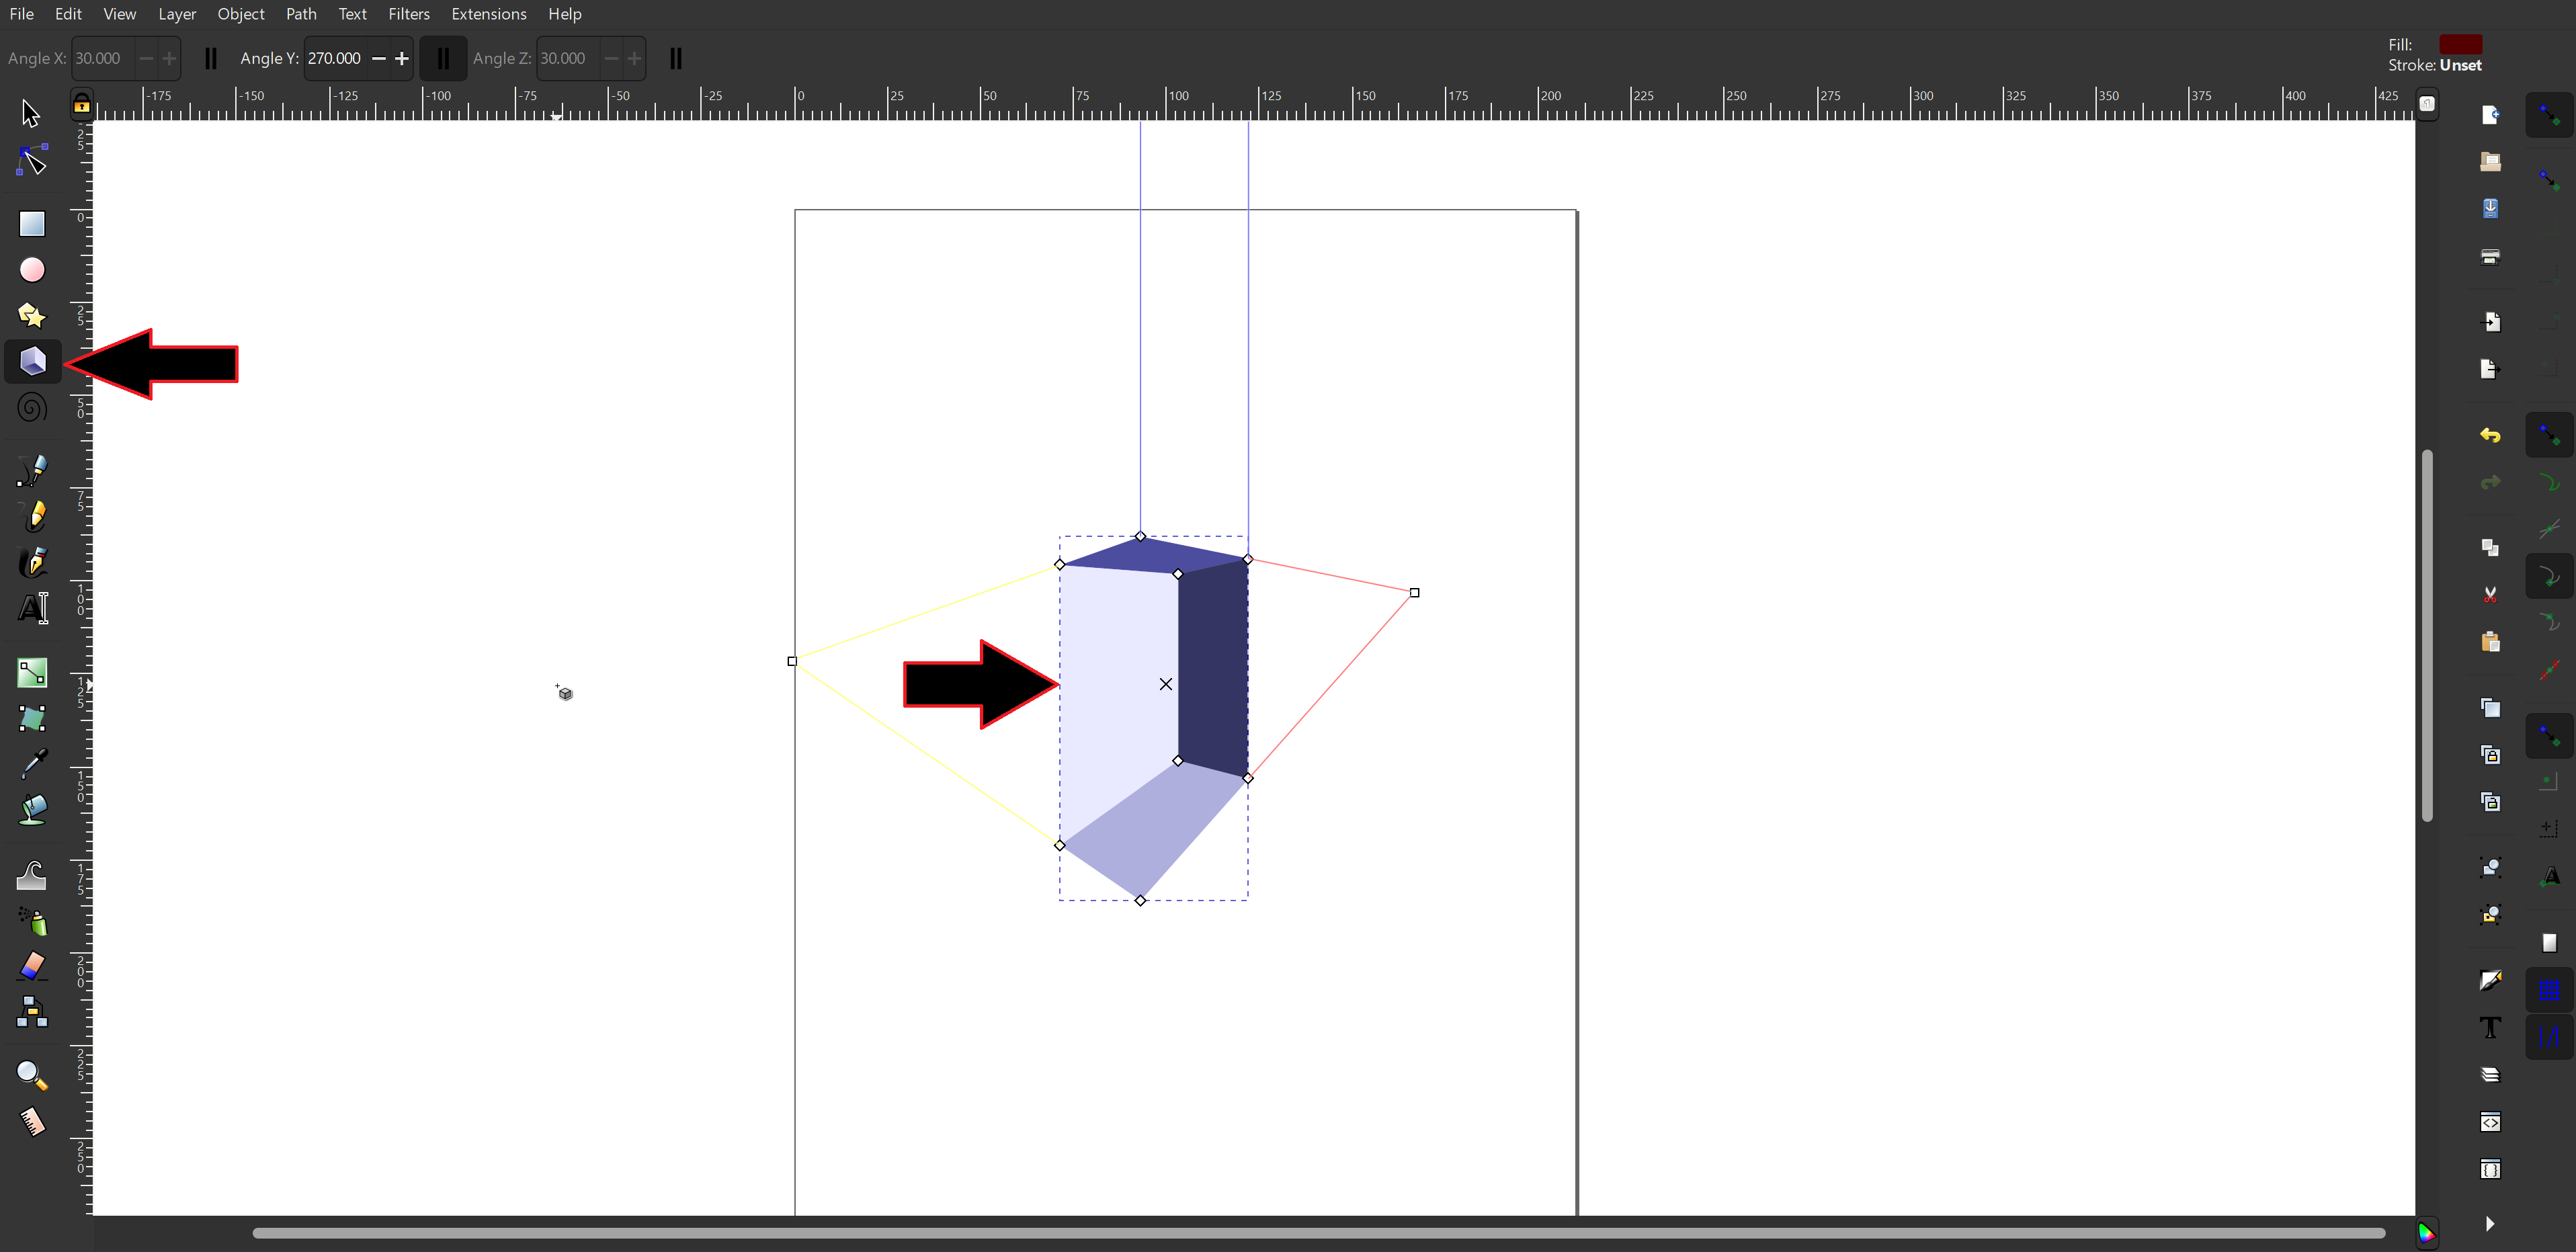
Next, I ventured into creating a 3D shape. This aspect of Inkscape was particularly intriguing, as it enabled me to shift the shape around the canvas and manipulate it to represent my ideas visually. I experimented with different angles and perspectives, enjoying the flexibility that the software provided. This exploration opened up new avenues for creativity, allowing me to visualize concepts in three dimensions.
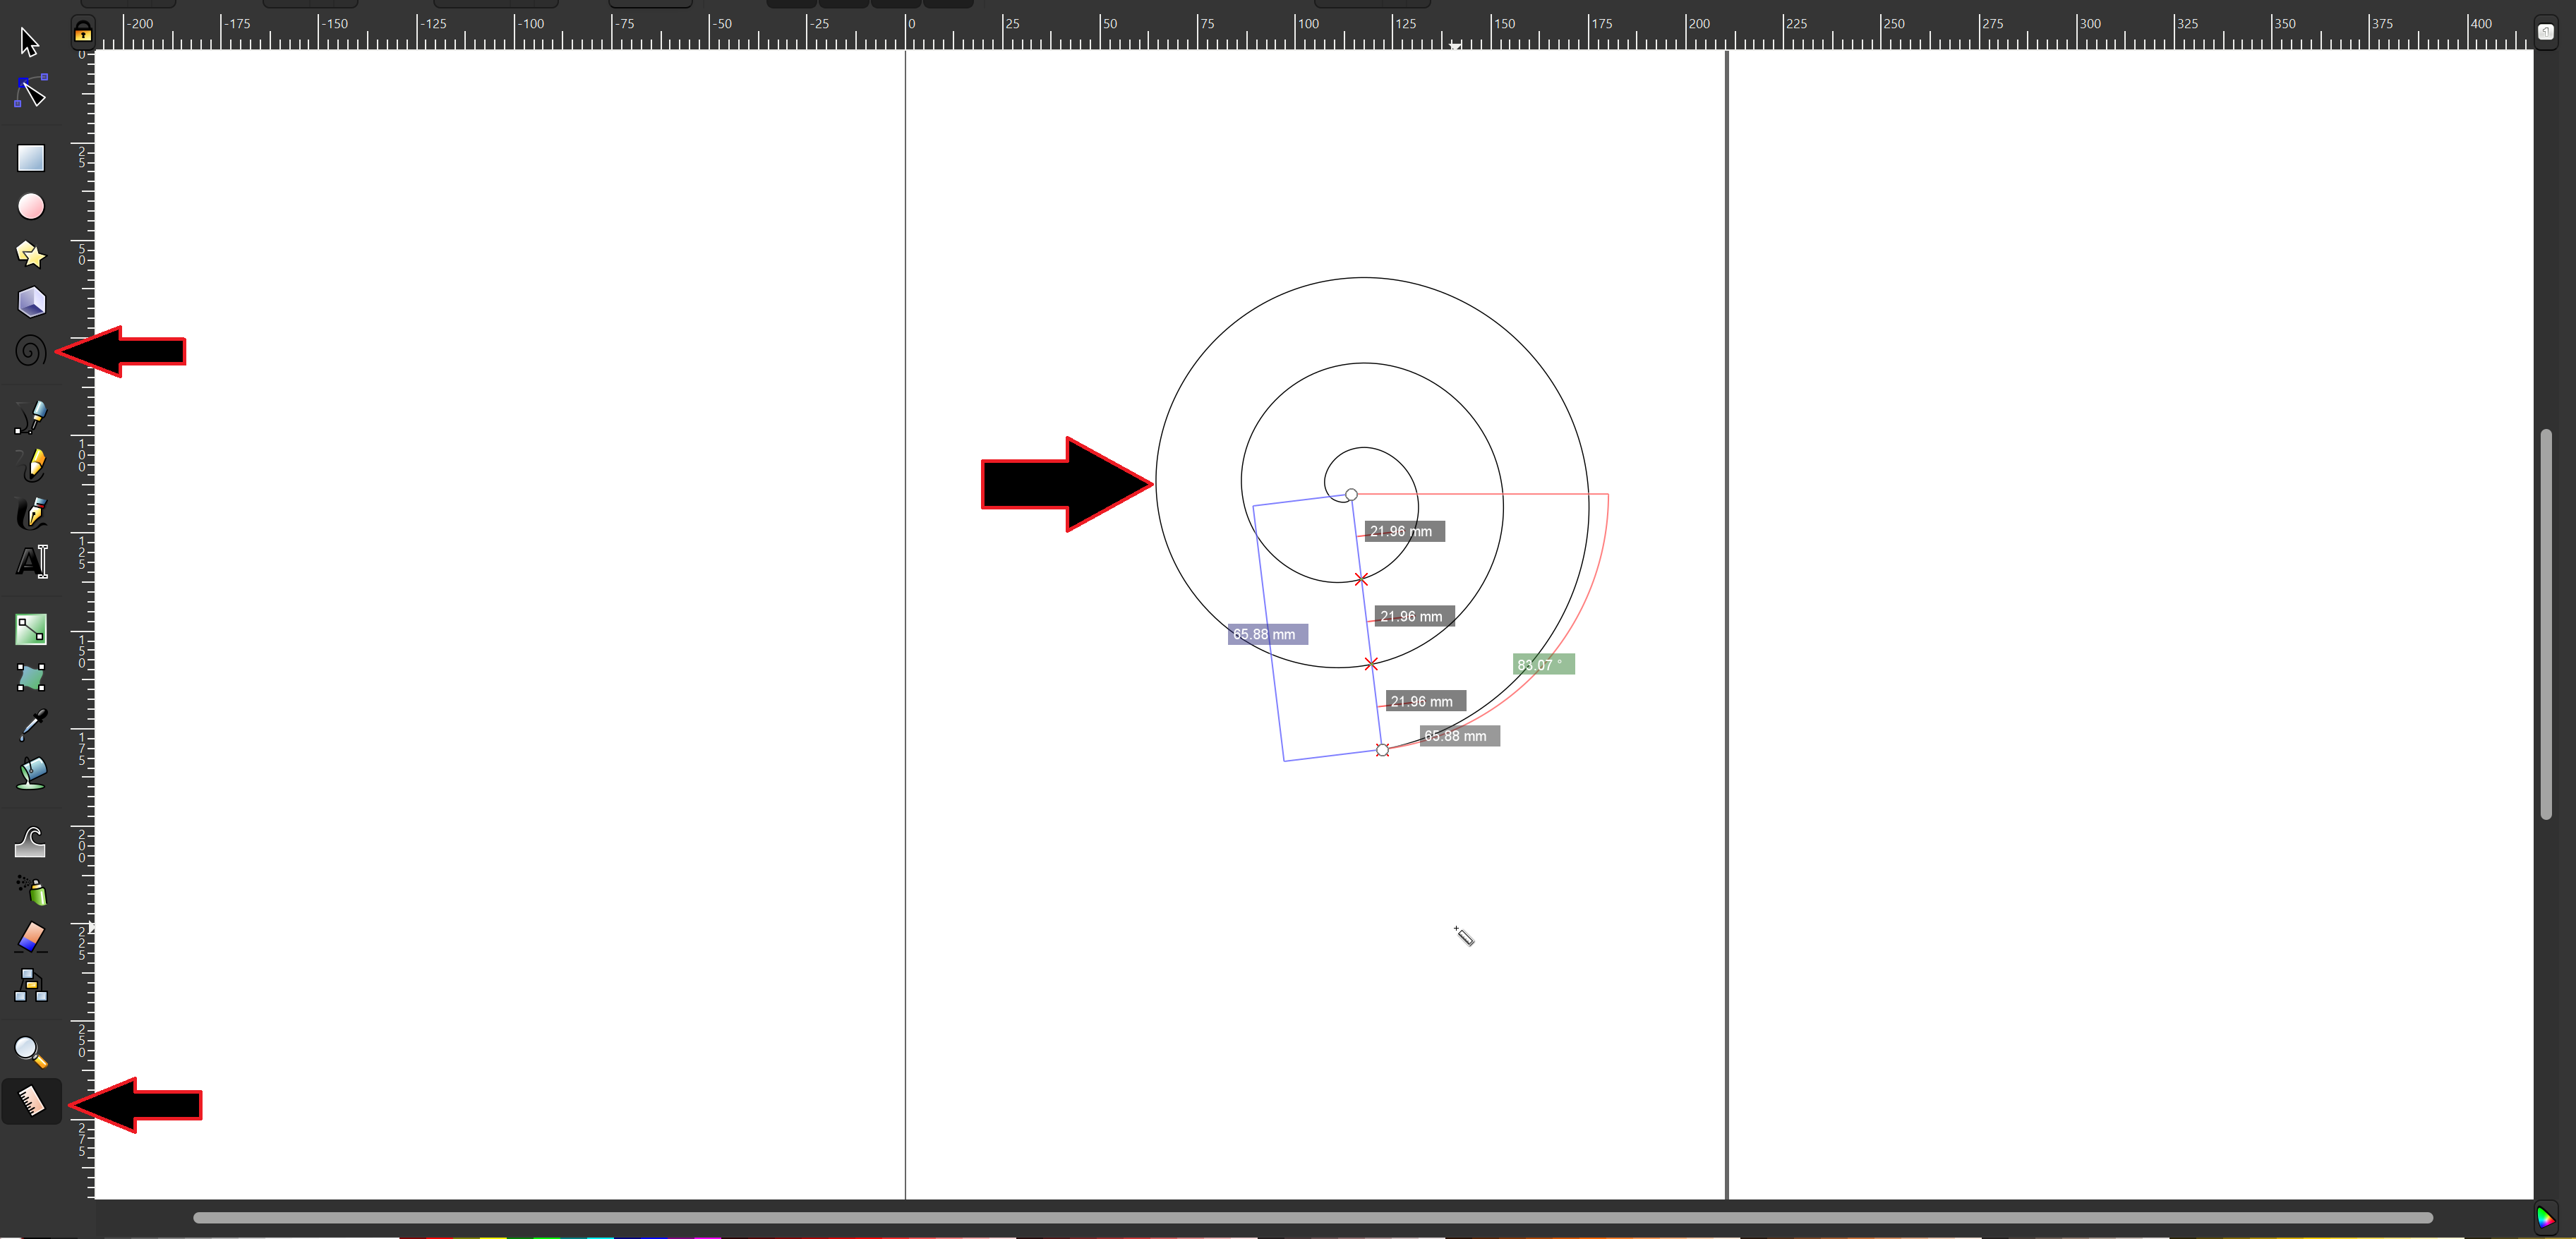
Another tool I found particularly fascinating was the ability to create cyclical round lines. This feature is especially useful for certain designs, as it allows for dynamic and fluid shapes. I played around with the line thickness and fill options, discovering how to enhance the visual appeal of my designs. The ability to fill these shapes with colors or patterns added depth and interest, making them more engaging.
Overall, my initial experience with Inkscape has been both enlightening and enjoyable. The combination of precise shape creation, 3D manipulation, and the versatility of line design has sparked my creativity and encouraged me to explore further. I look forward to delving deeper into the software's capabilities and refining my skills as I continue my design journey.
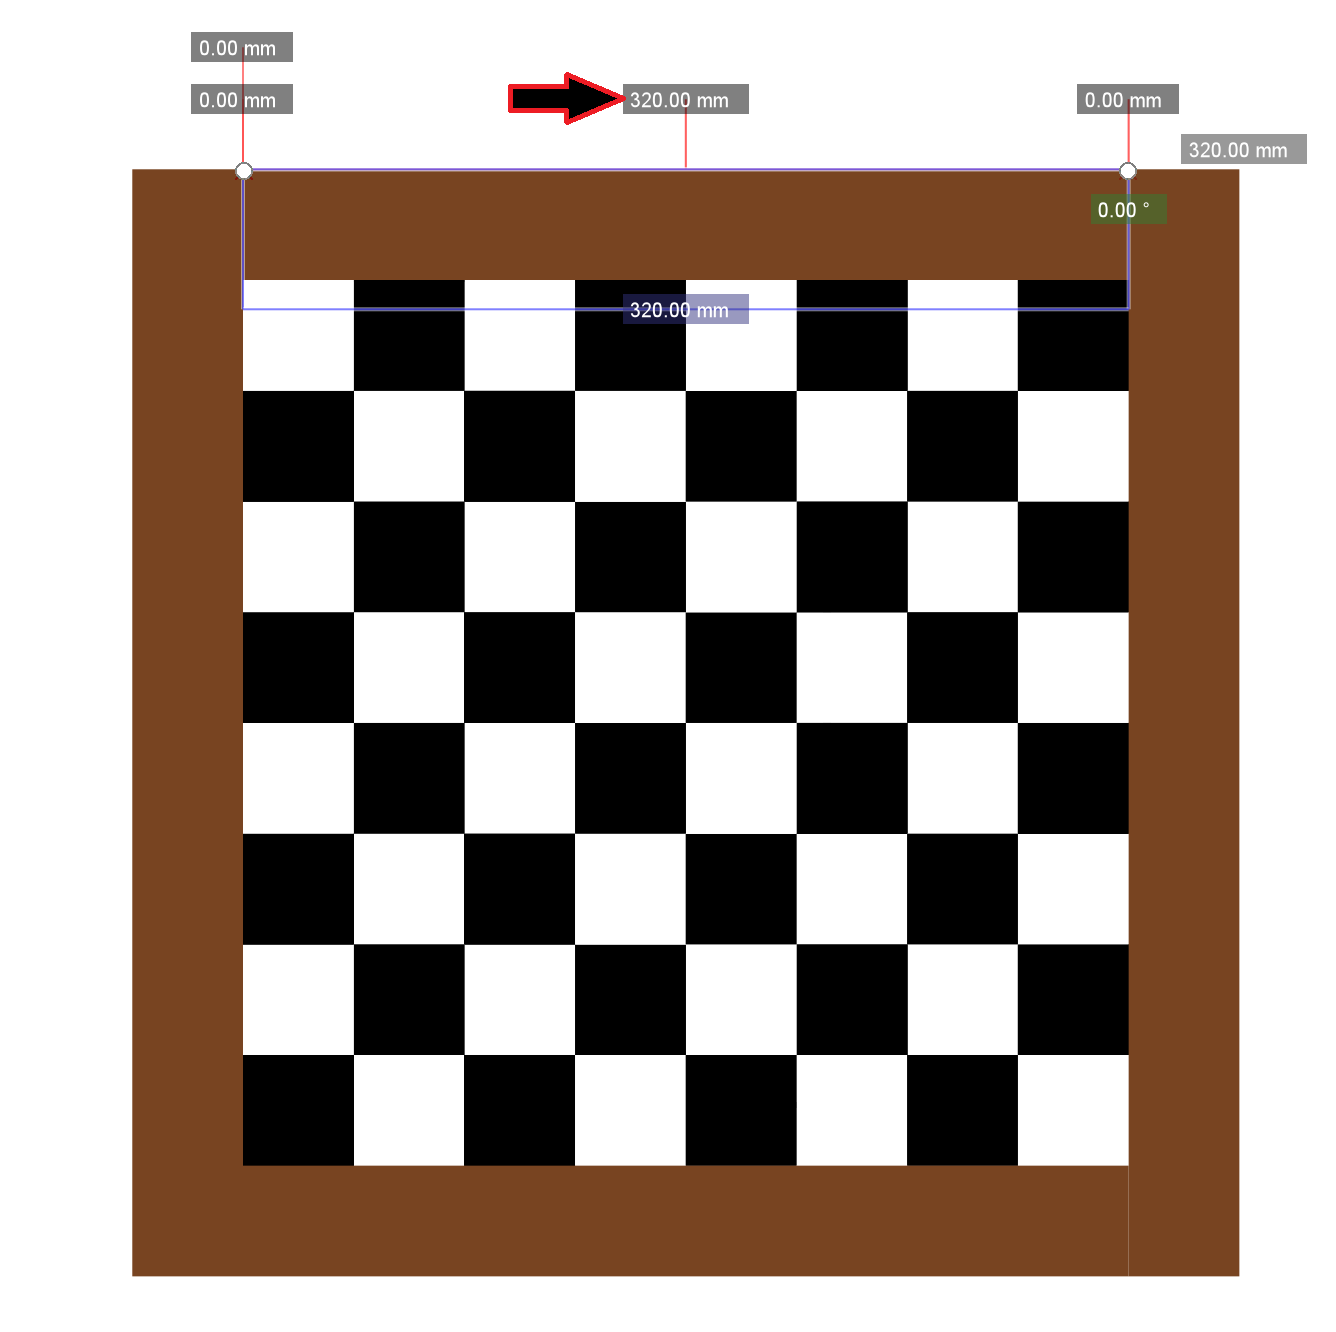
This week, I set an exciting goal: to design a chessboard. The classic alternating squares offered a chance to test my Inkscape skills while exploring symmetry and pattern design. I began by creating the first square, carefully selecting its dimensions to ensure it fit well within the overall layout.
Once I had the initial square, I used the duplication tool to efficiently create the grid pattern characteristic of a chessboard. As I arranged the squares, I focused on a classic black and white color scheme, enhancing both visual impact and gameplay.
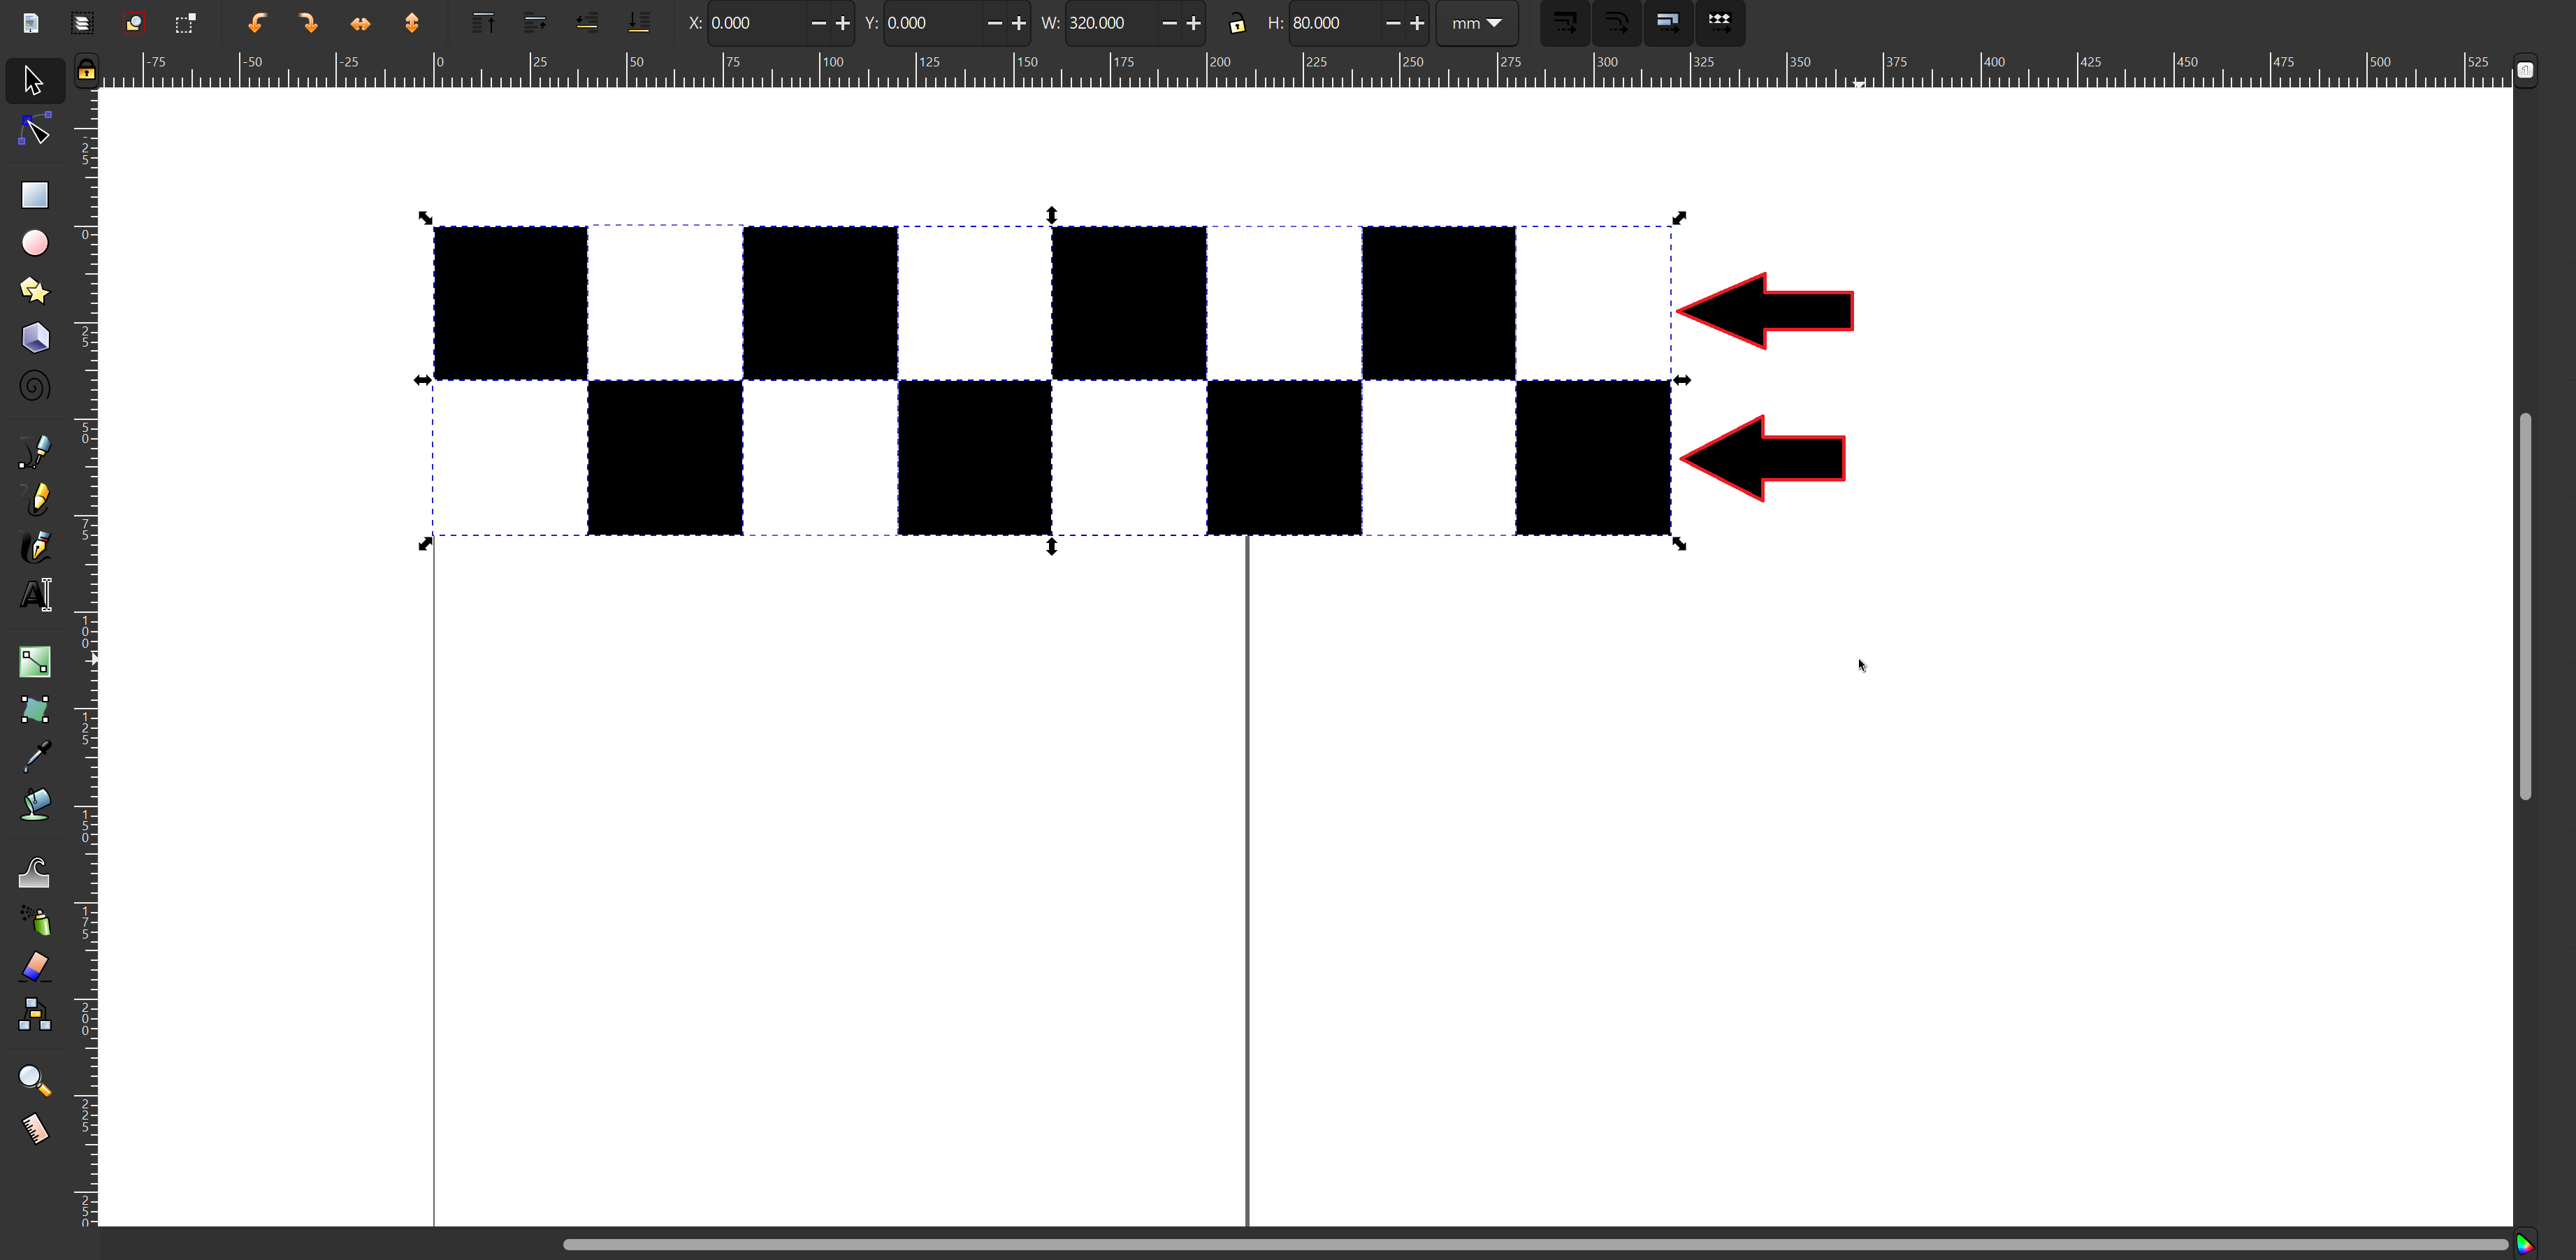
Now that I’ve successfully arranged the squares for my chessboard, it’s time to enhance its visual appeal by adjusting the colors to create a more recognizable design. I chose a deep black for the darker squares and a bright white for the lighter ones, embodying the classic chessboard aesthetic.
As I filled in the squares, I ensured they alternated in a checkerboard pattern, which is essential for authenticity. Using Inkscape’s fill tool made this process efficient, and seeing the stark contrast between the black and white brought the design to life.
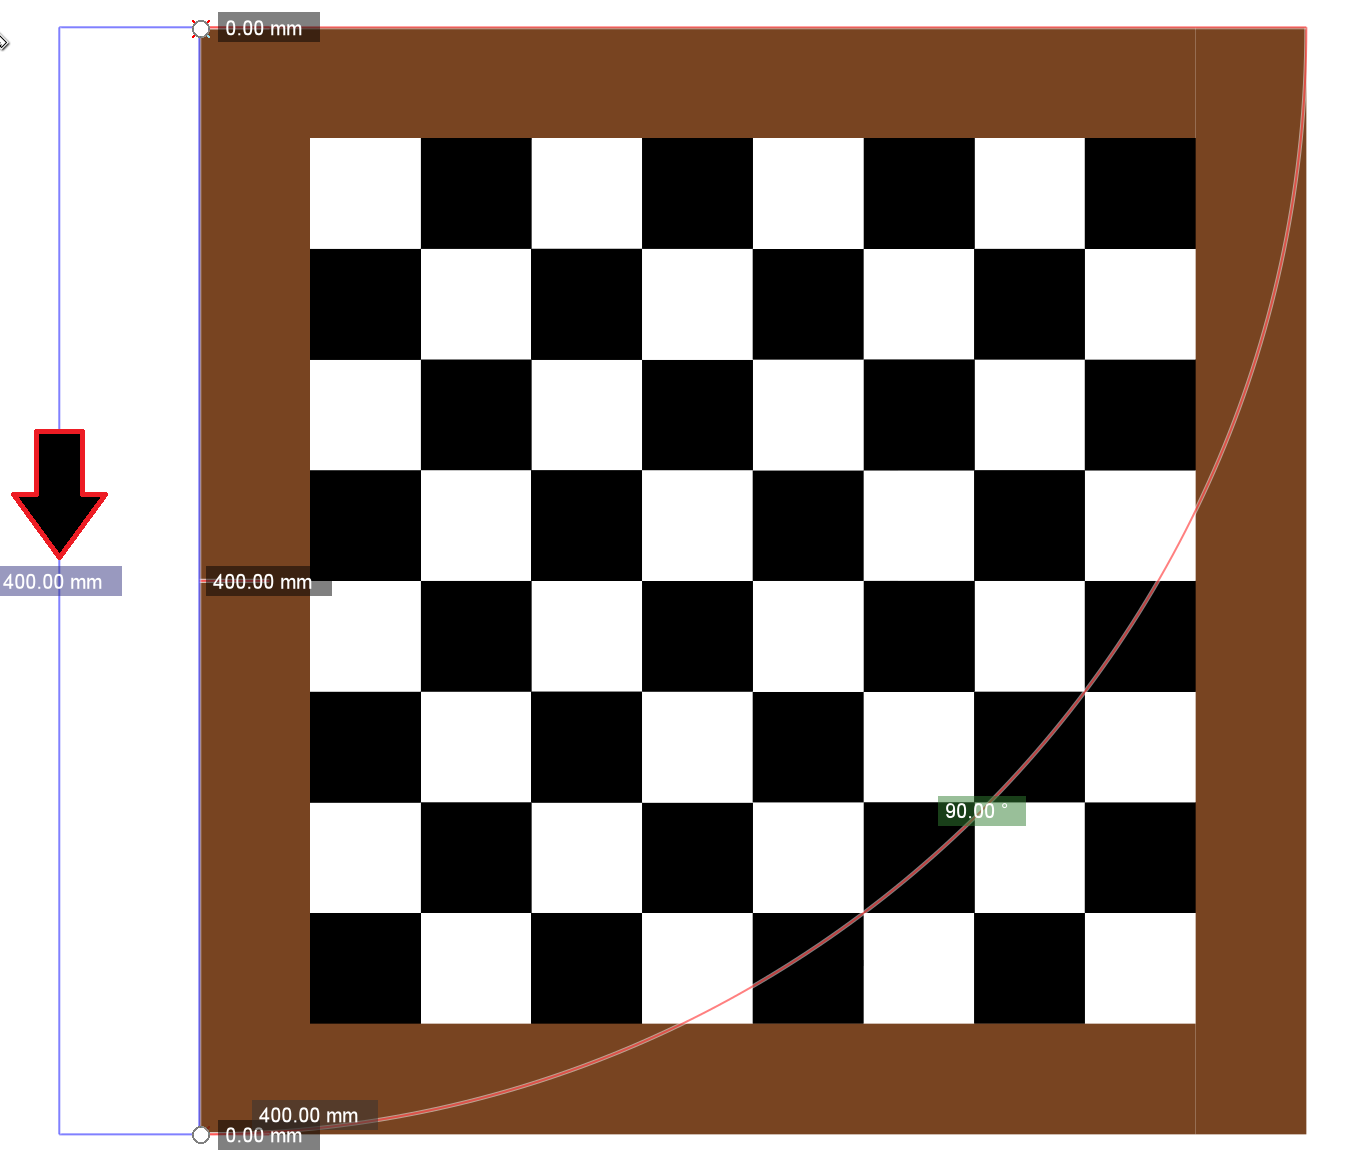
To add further depth, I considered incorporating a subtle texture, such as a wood grain effect, to make the board more visually interesting. Additionally, I thought about adding a border around the chessboard to define its edges and enhance its overall look.
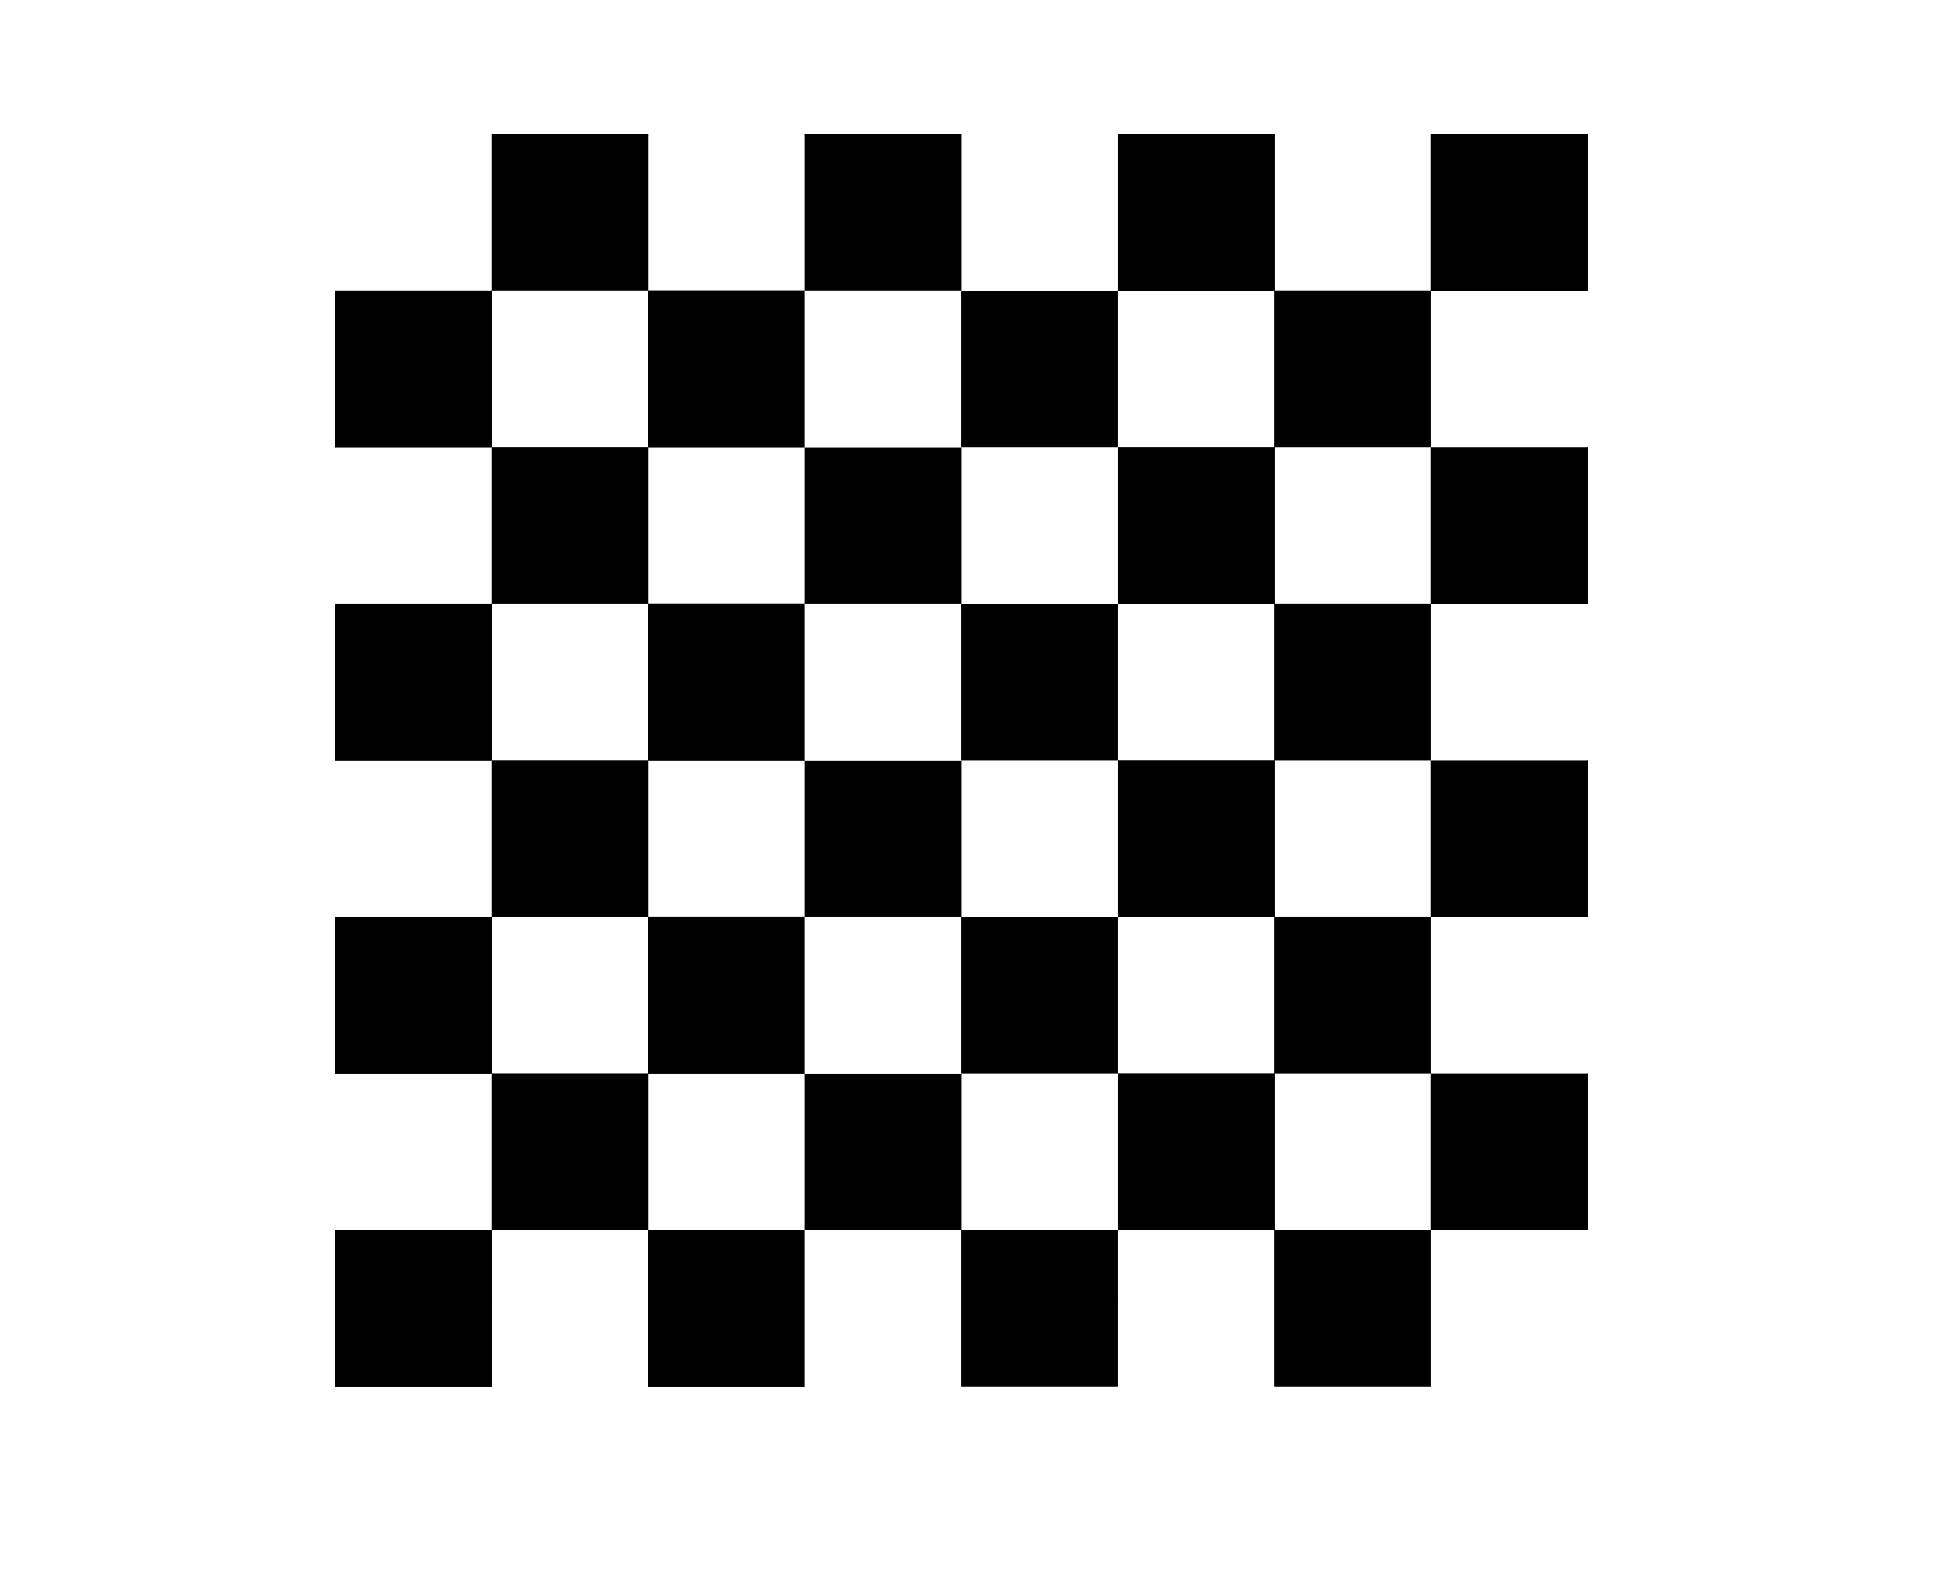
With the color scheme for my chessboard established, my next step is to add a border and fine-tune the measurements. The border will enhance the aesthetic and provide a defined edge that frames the board beautifully.
I measured the dimensions to ensure the border complements the squares without overpowering them. After selecting a harmonious color for the border, I created it to draw attention to the classic checkerboard pattern.
Download My Design: Chess.svg
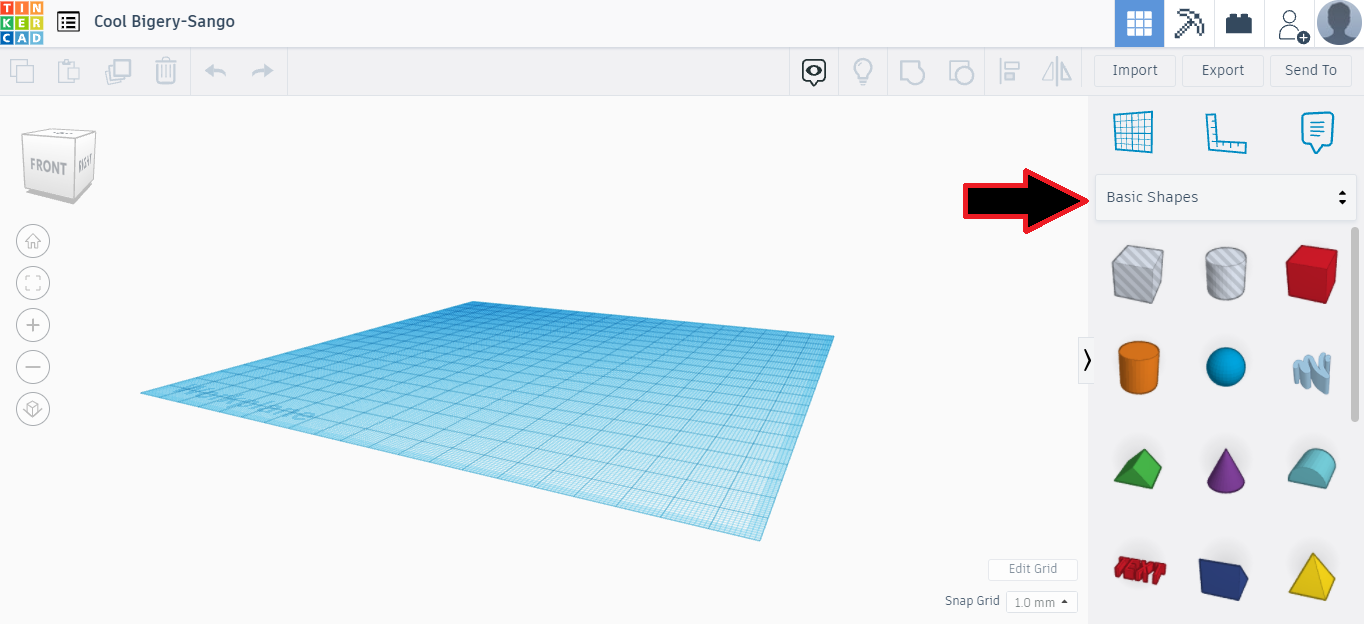
Tinkercad is a free, online 3D modeling program that runs in a web browser. It's a great platform for creating models for 3D printing and a good entry-level introduction to constructive solid geometry.
I'm already pretty familiar with TinkerCad, so it was easy to jump right in. Like with any new application, I started by testing out the tools and getting a feel for things.
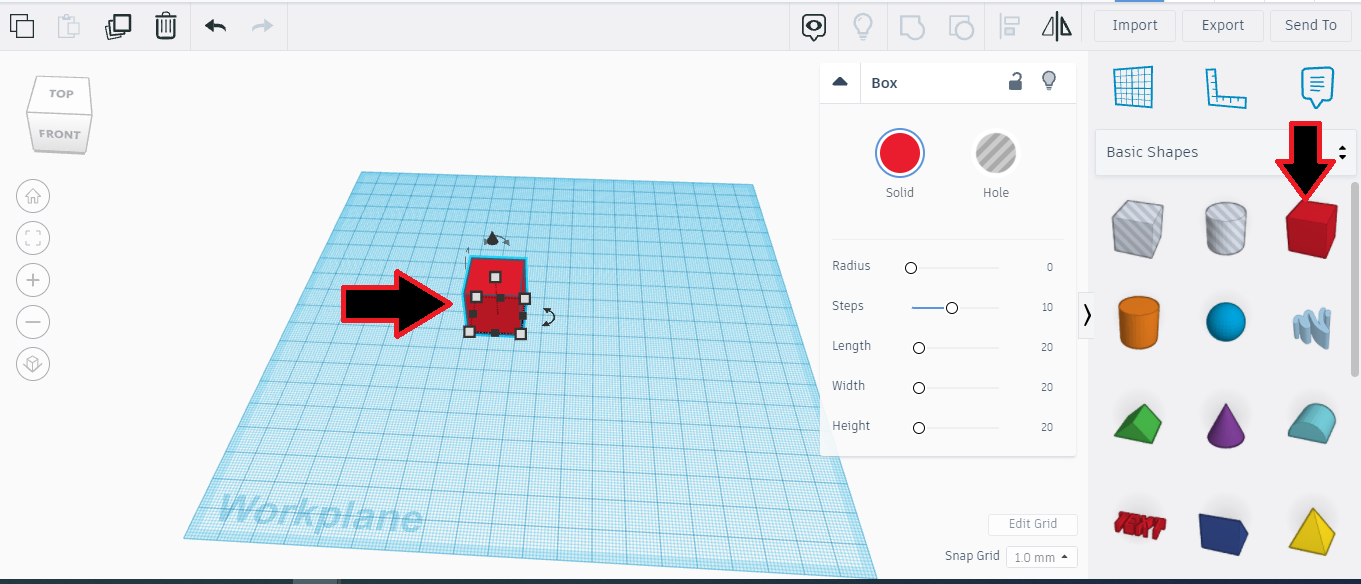
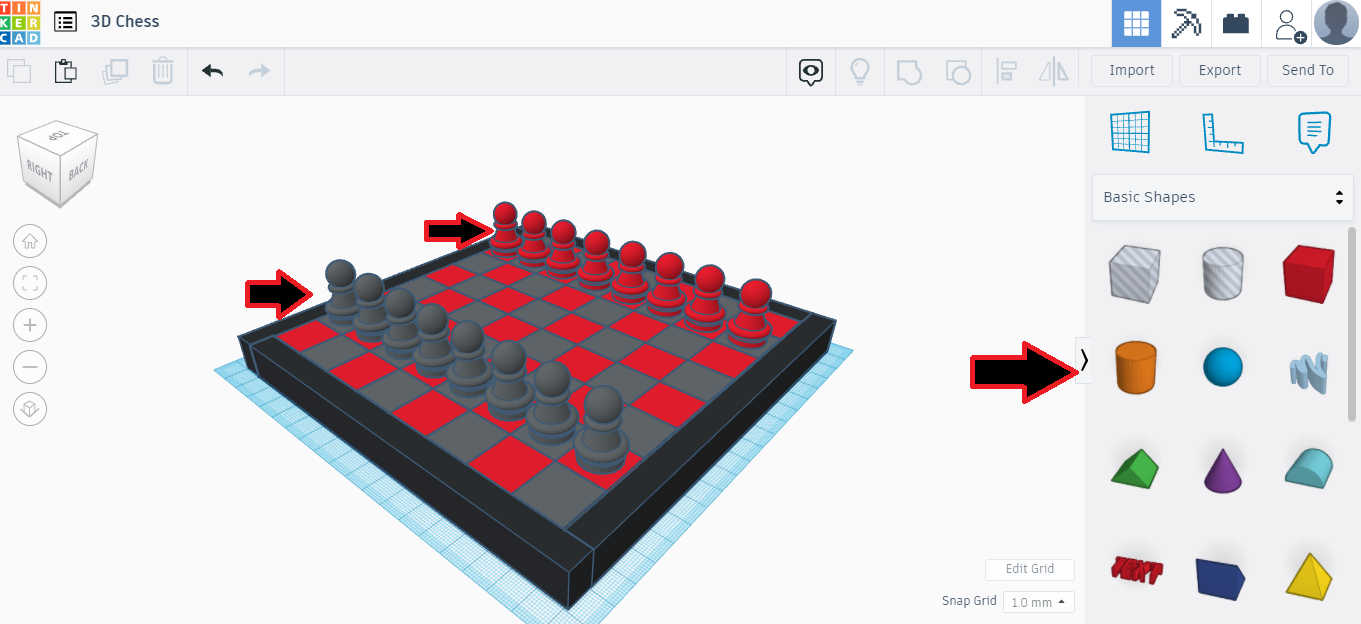
My aim with TinkerCad was to create another chessboard, but this time in 3D! I started with a cube and added the right measurements. Then, I duplicated the cube until I had the basic chessboard grid.
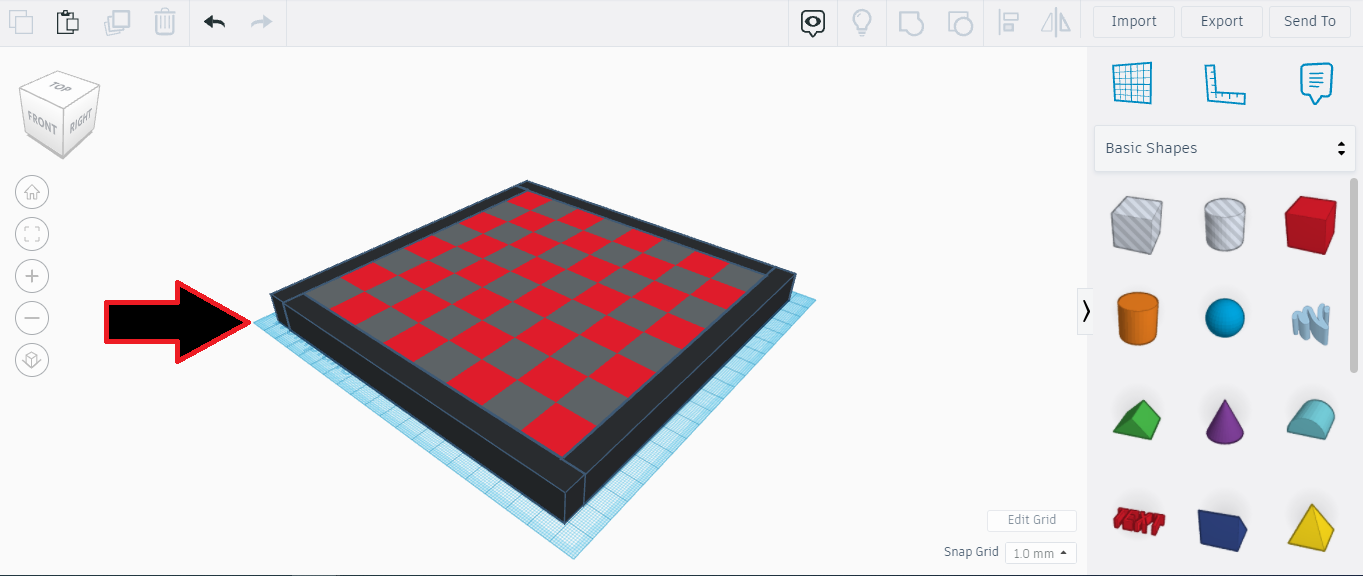
For making the chess soldier figure, we used the method of group and hole. First we have to choose the shapes that represent each layer in the soldier figure. Try to measure it and add them all on each other, until they look fit. Then we attempt to group them and start to duplicate them.
Download My Design: Chess.stl
Edit on My Design: TinkerCad Link
Fusion 360 is a cloud-based CAD/CAM tool for collaborative product development. It combines industrial design, mechanical engineering, and machine tool programming into one software solution. It's a more powerful tool than TinkerCad, so it's great for more complex designs.
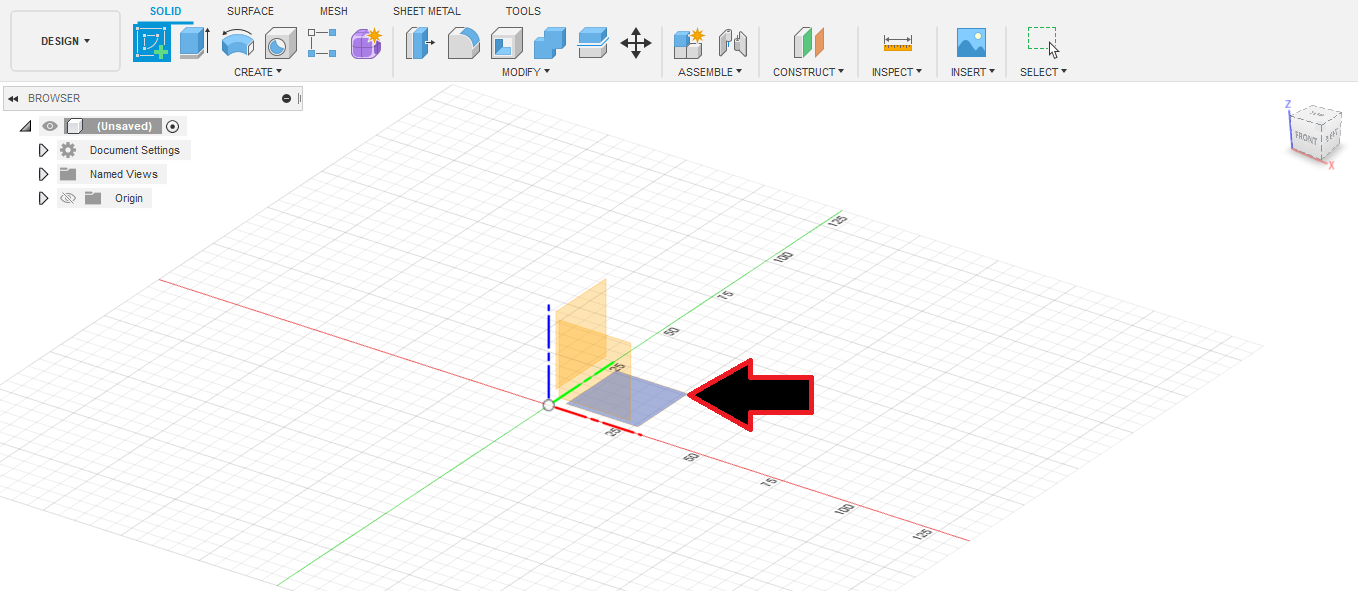
 The most important part of Fusion 360 is the Sketch. In the beginning you select it to and the position you want to draw in. The application has multiple engineering tools that can be used to help you design and draw and extrude whatever you want.
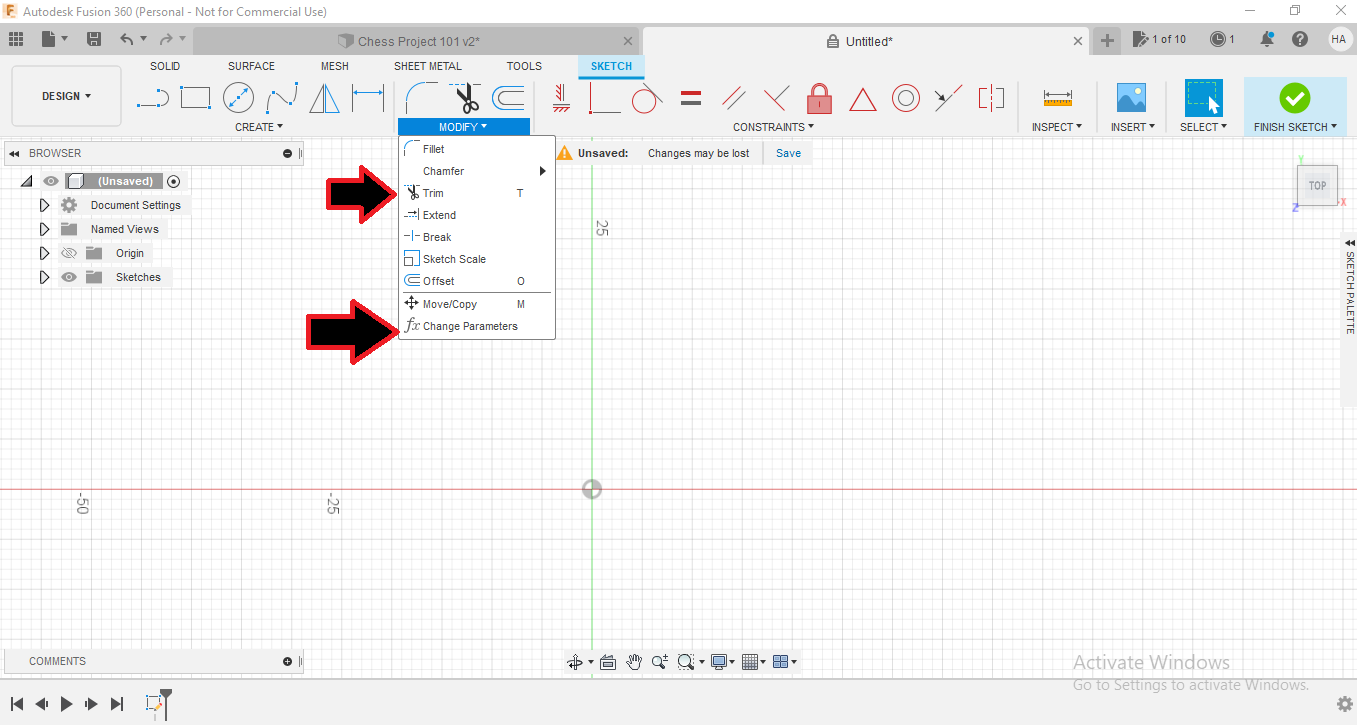 One of the best tools to be used in Fusion 360 is the Change in Parameters function. Its able me to pre-set up multiple measurements under different tag names. For example you can set-up the thickness of the design you work on to 20mm and later if you need to change it, you just change the thickness to the new value and it will automatically change it to all part of the design you used thickness in.

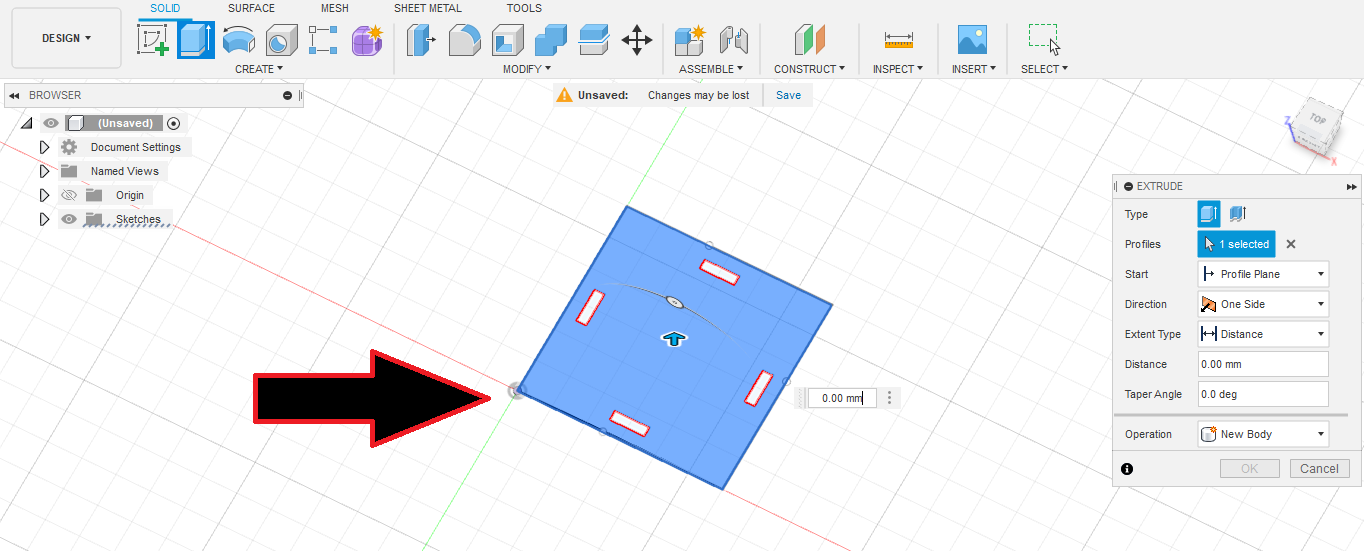 Other amazing tool you can use in the Fusion 360 is the Extrude function. What the Extrude function does is transforming your 2 dimensional sketching to 3 dimensional view, by adding value to z-axis into your drawing.
This function helps alot to display the final design of your work, plus it can help other functions to work better. Such as cutting and joining.
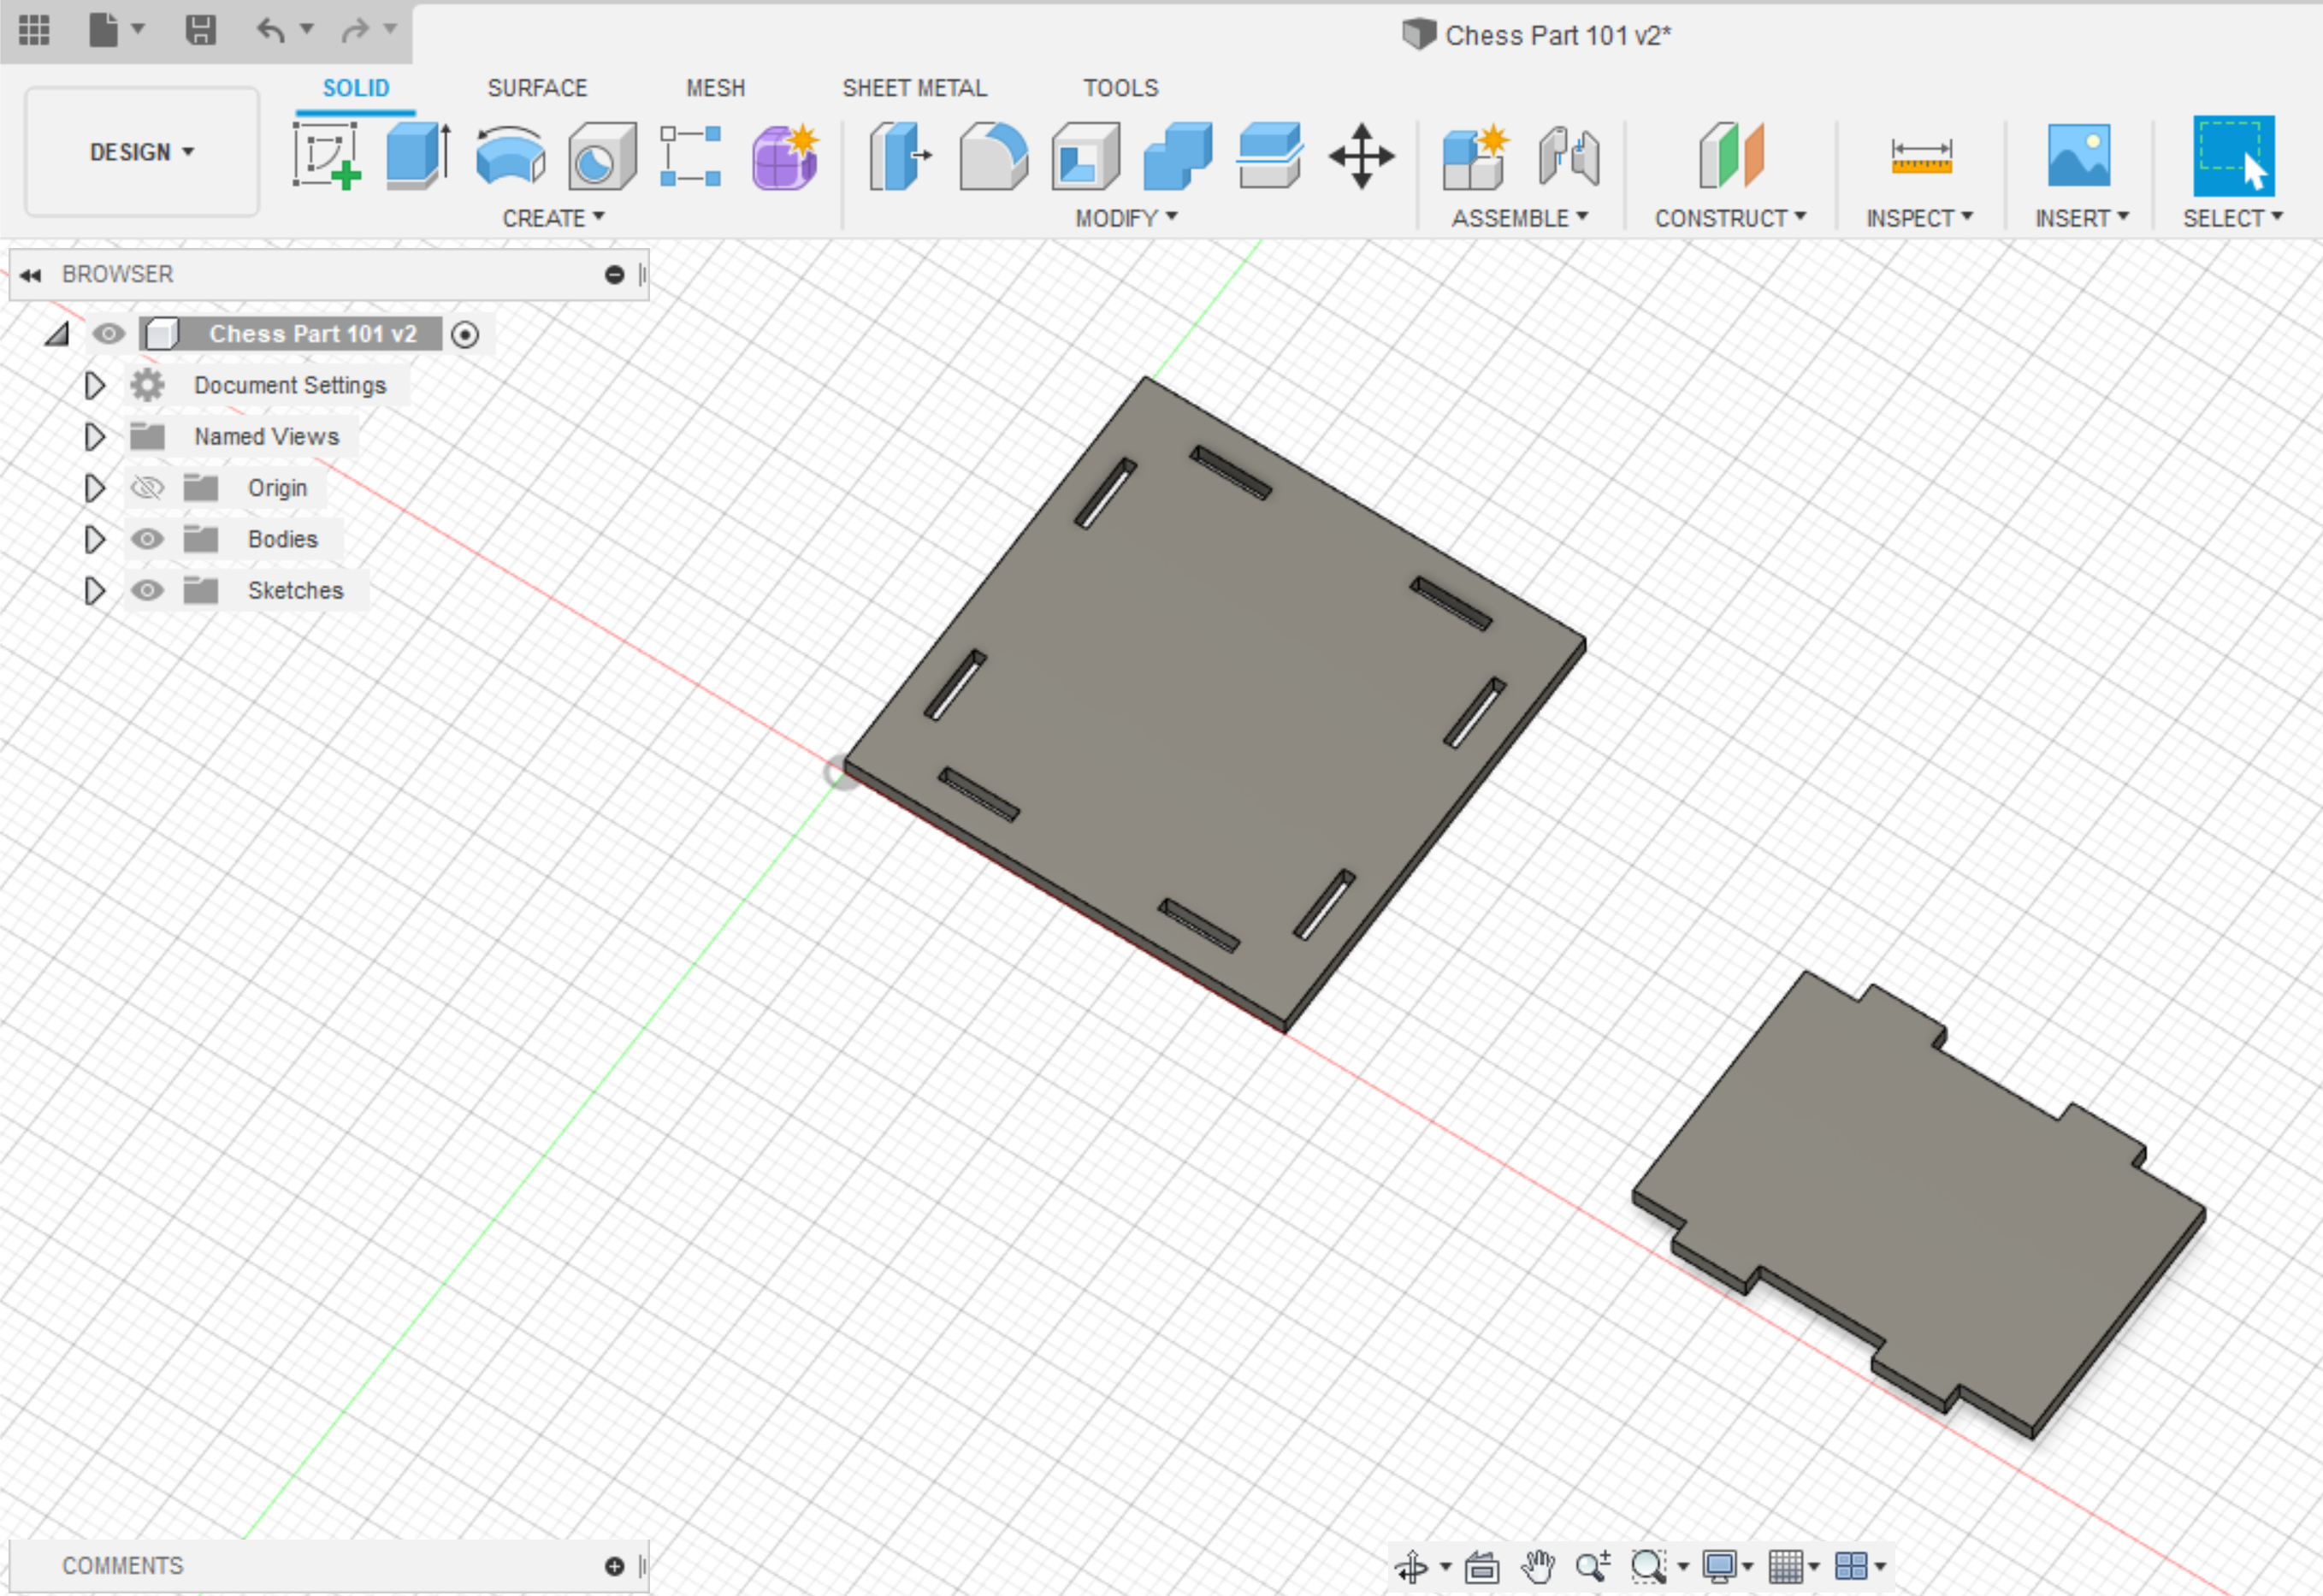
Download My Design: Test.stl
Edit on My Design: Test.f3d
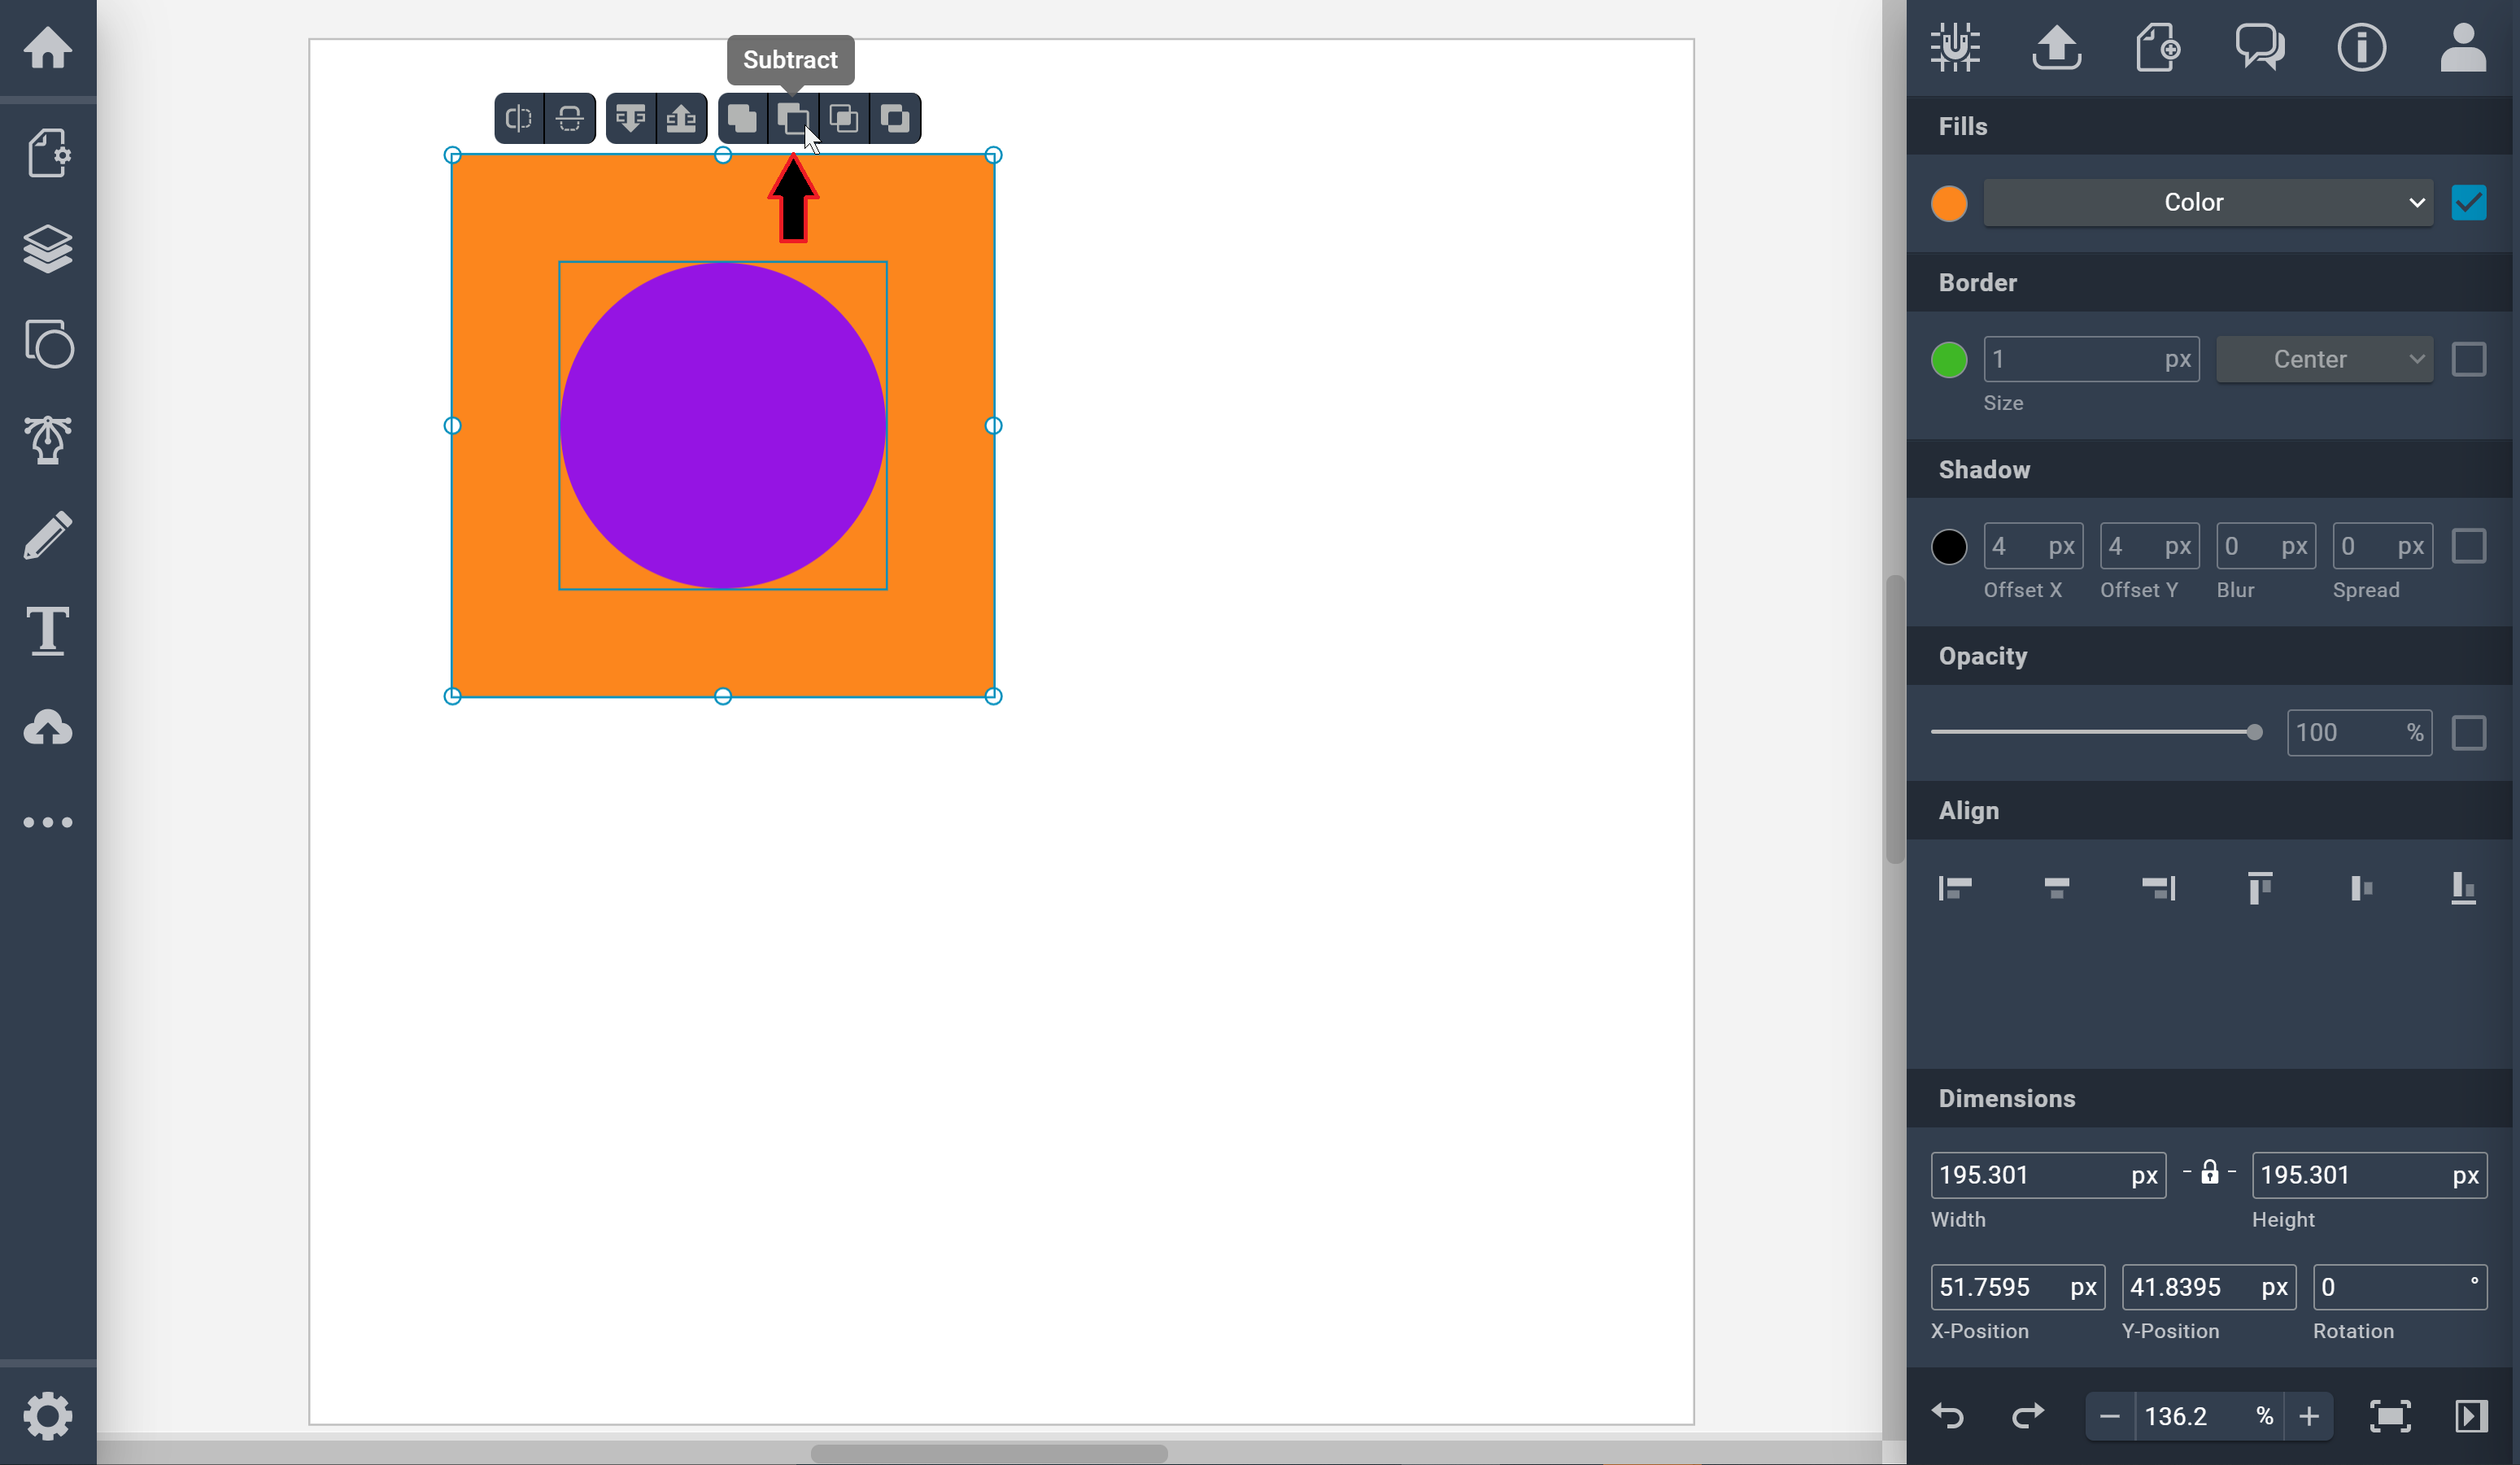
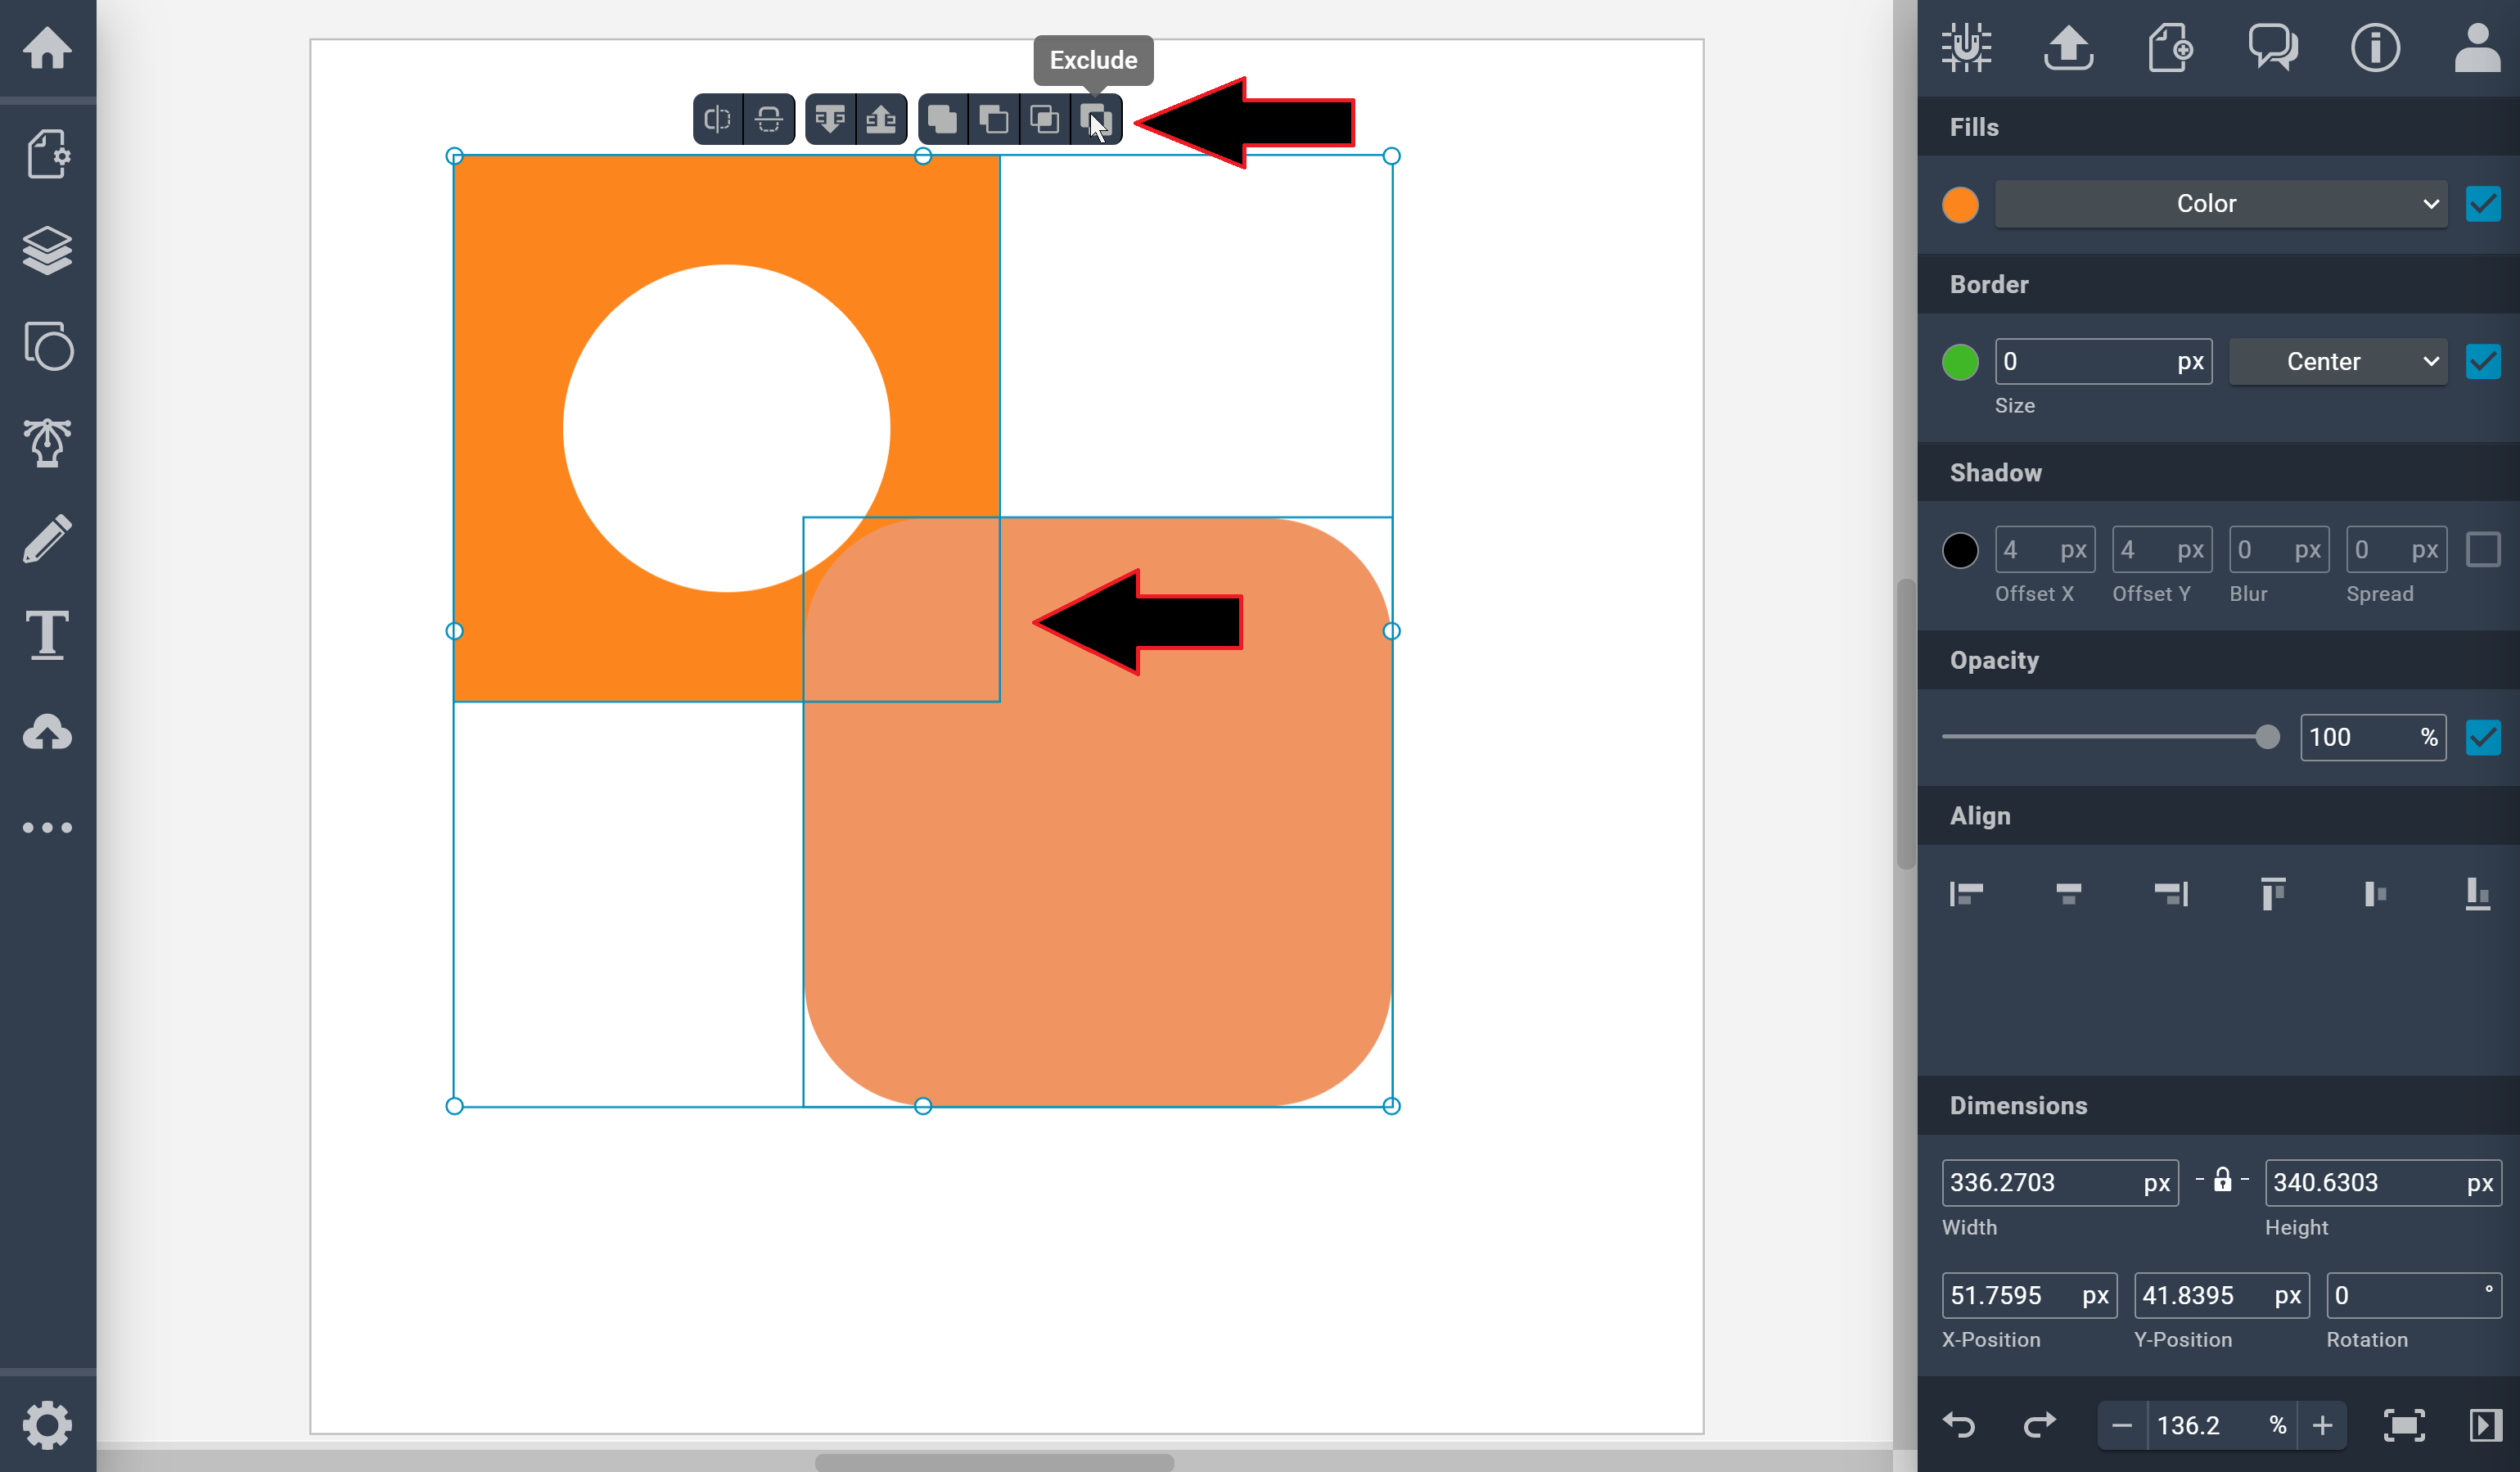
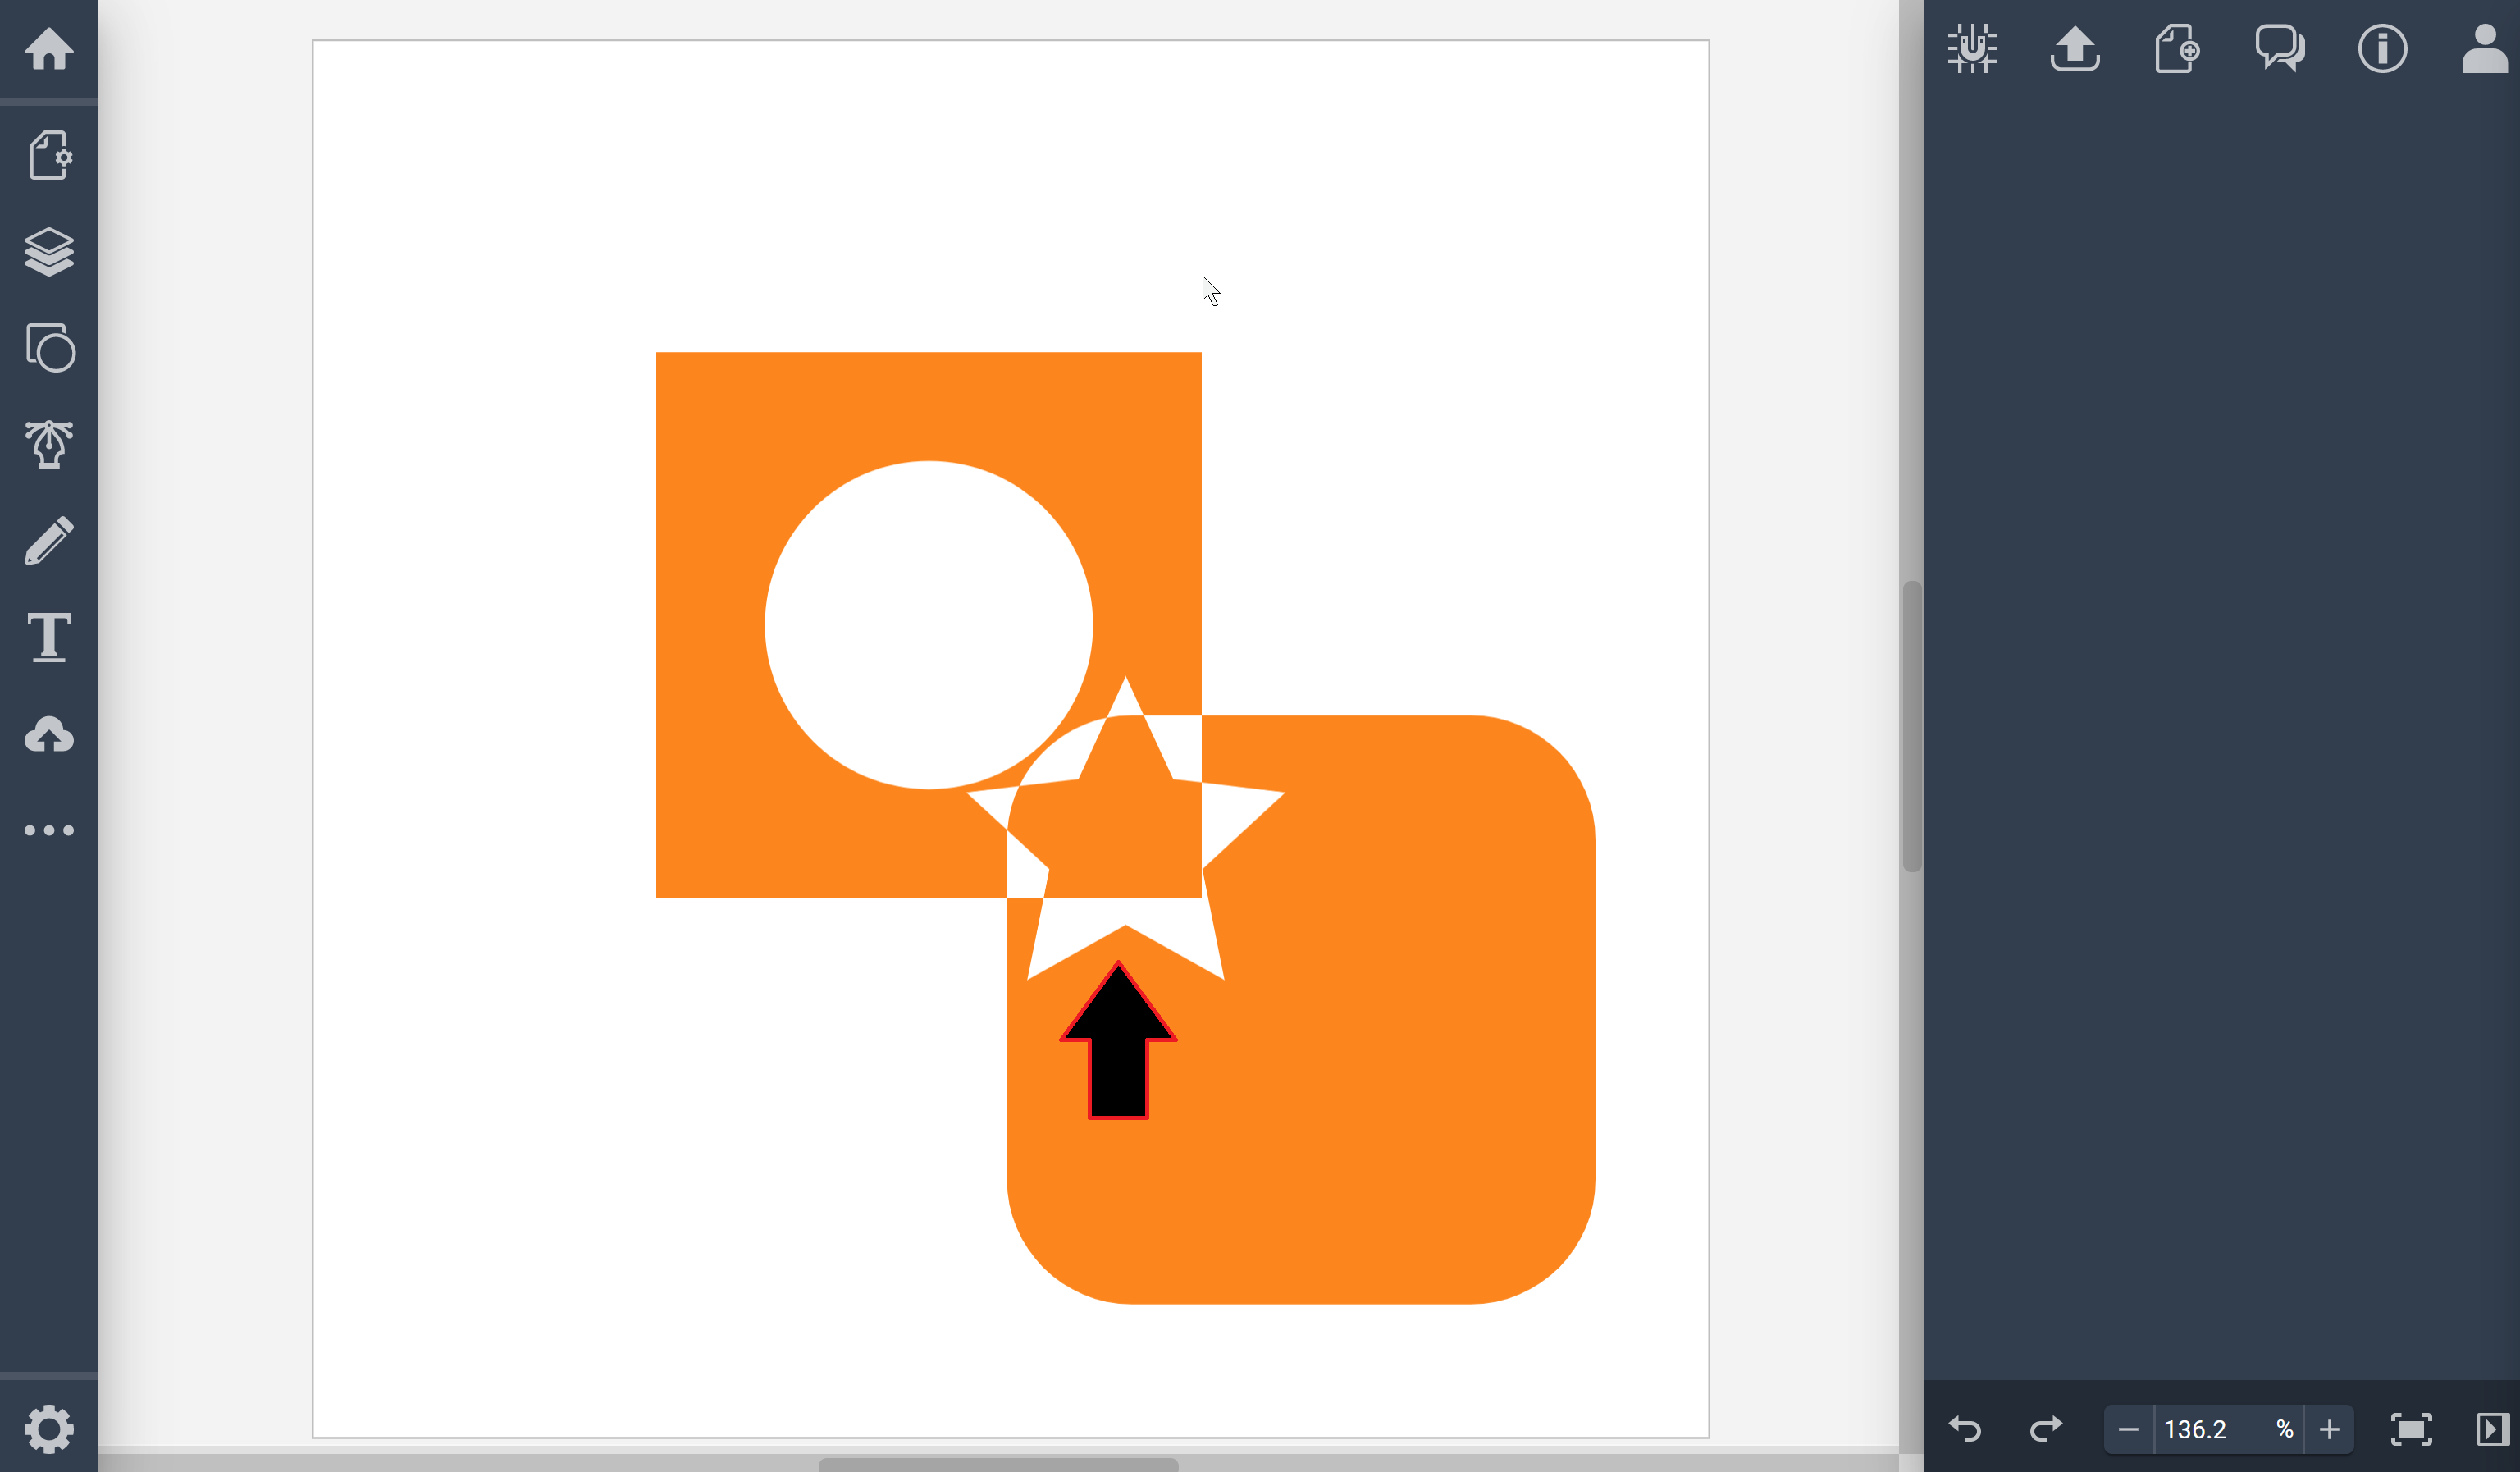
Vectr is an online 2D software application. It can be used to Exclude, Intersect, Subtract & Unite/Add. It has multiple engineering functions to calculate & shape the dimensions. It's a good option for simple 2D designs that don't require the complexity of Inkscape.
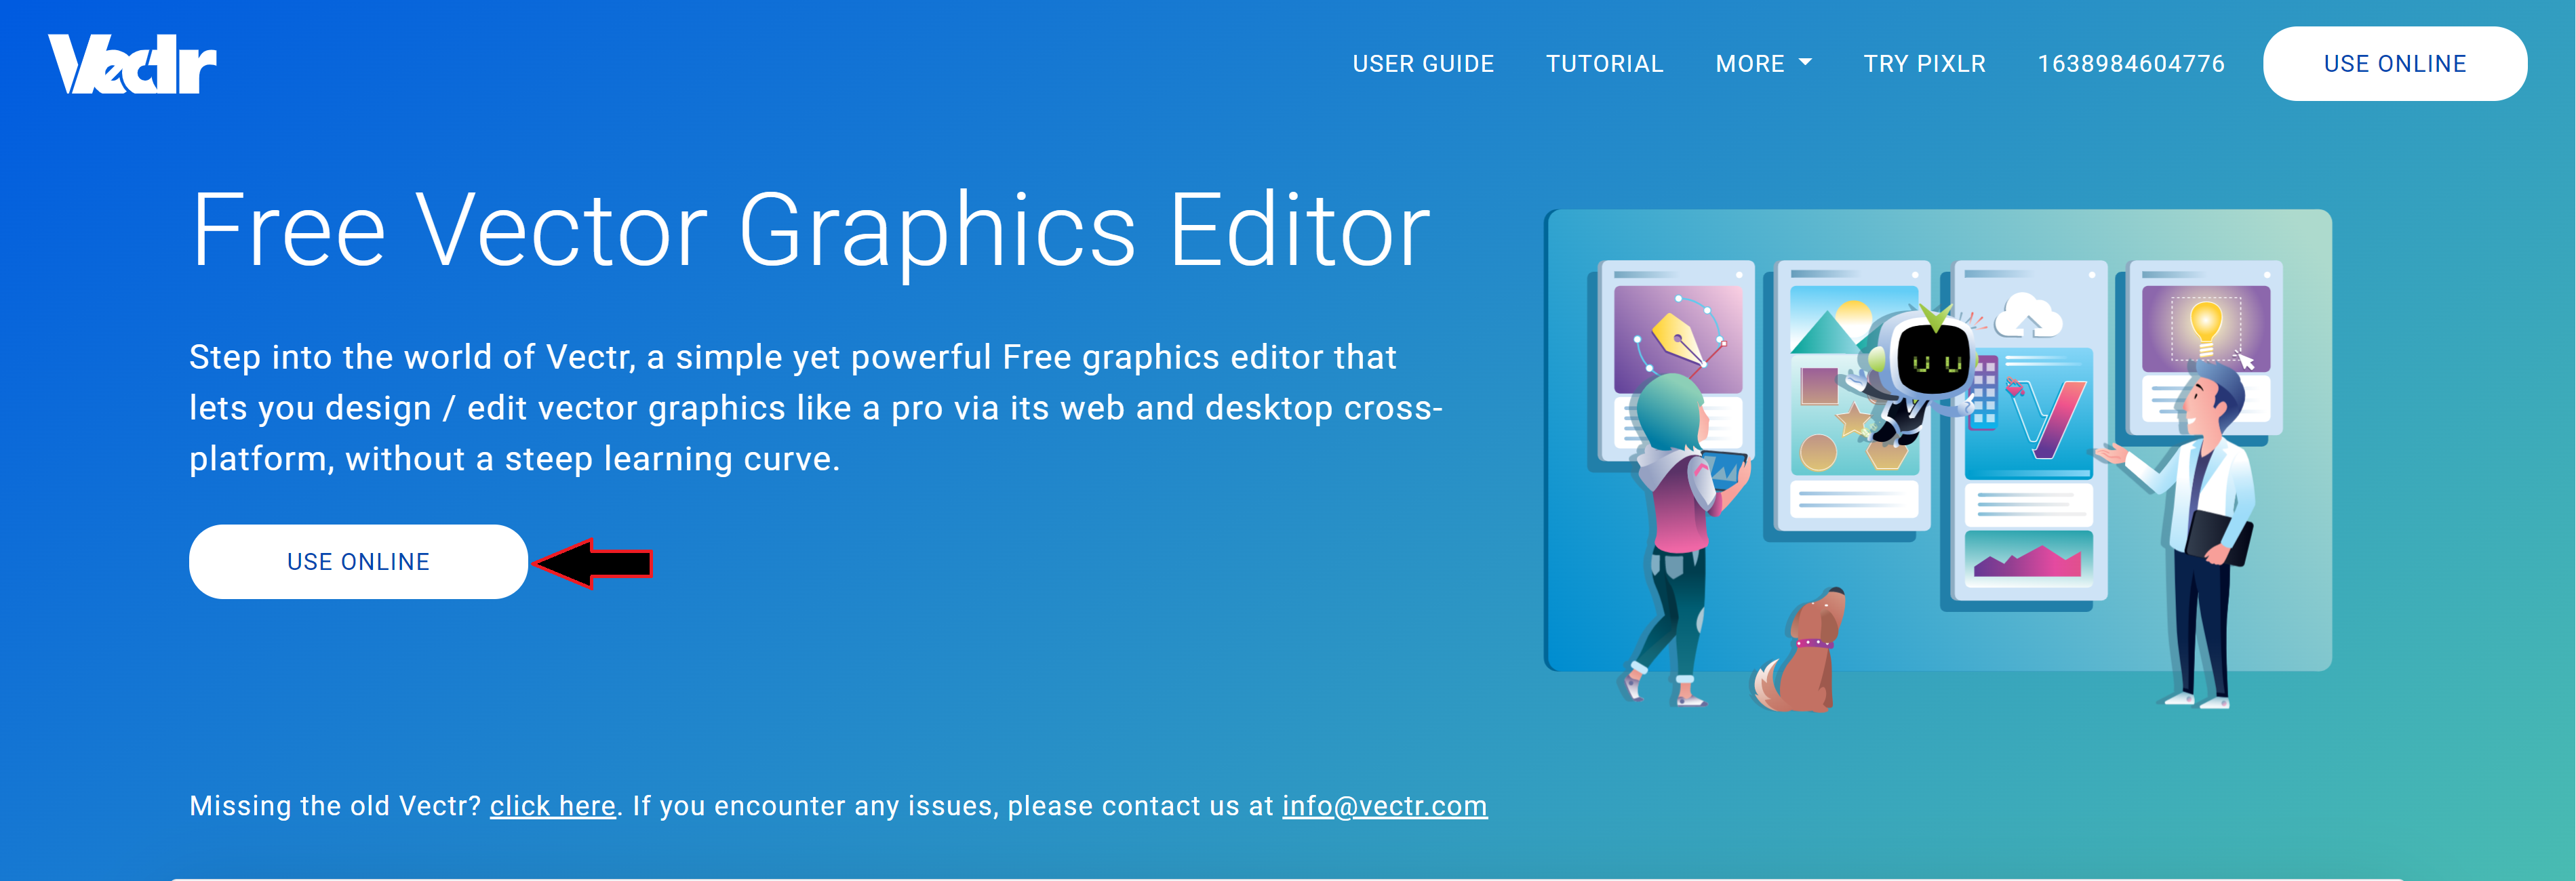 You can access this application by going to their website and click on Use Online. Once you did it will take you to this blank page were you can start sketching and inserting multiple shapes.
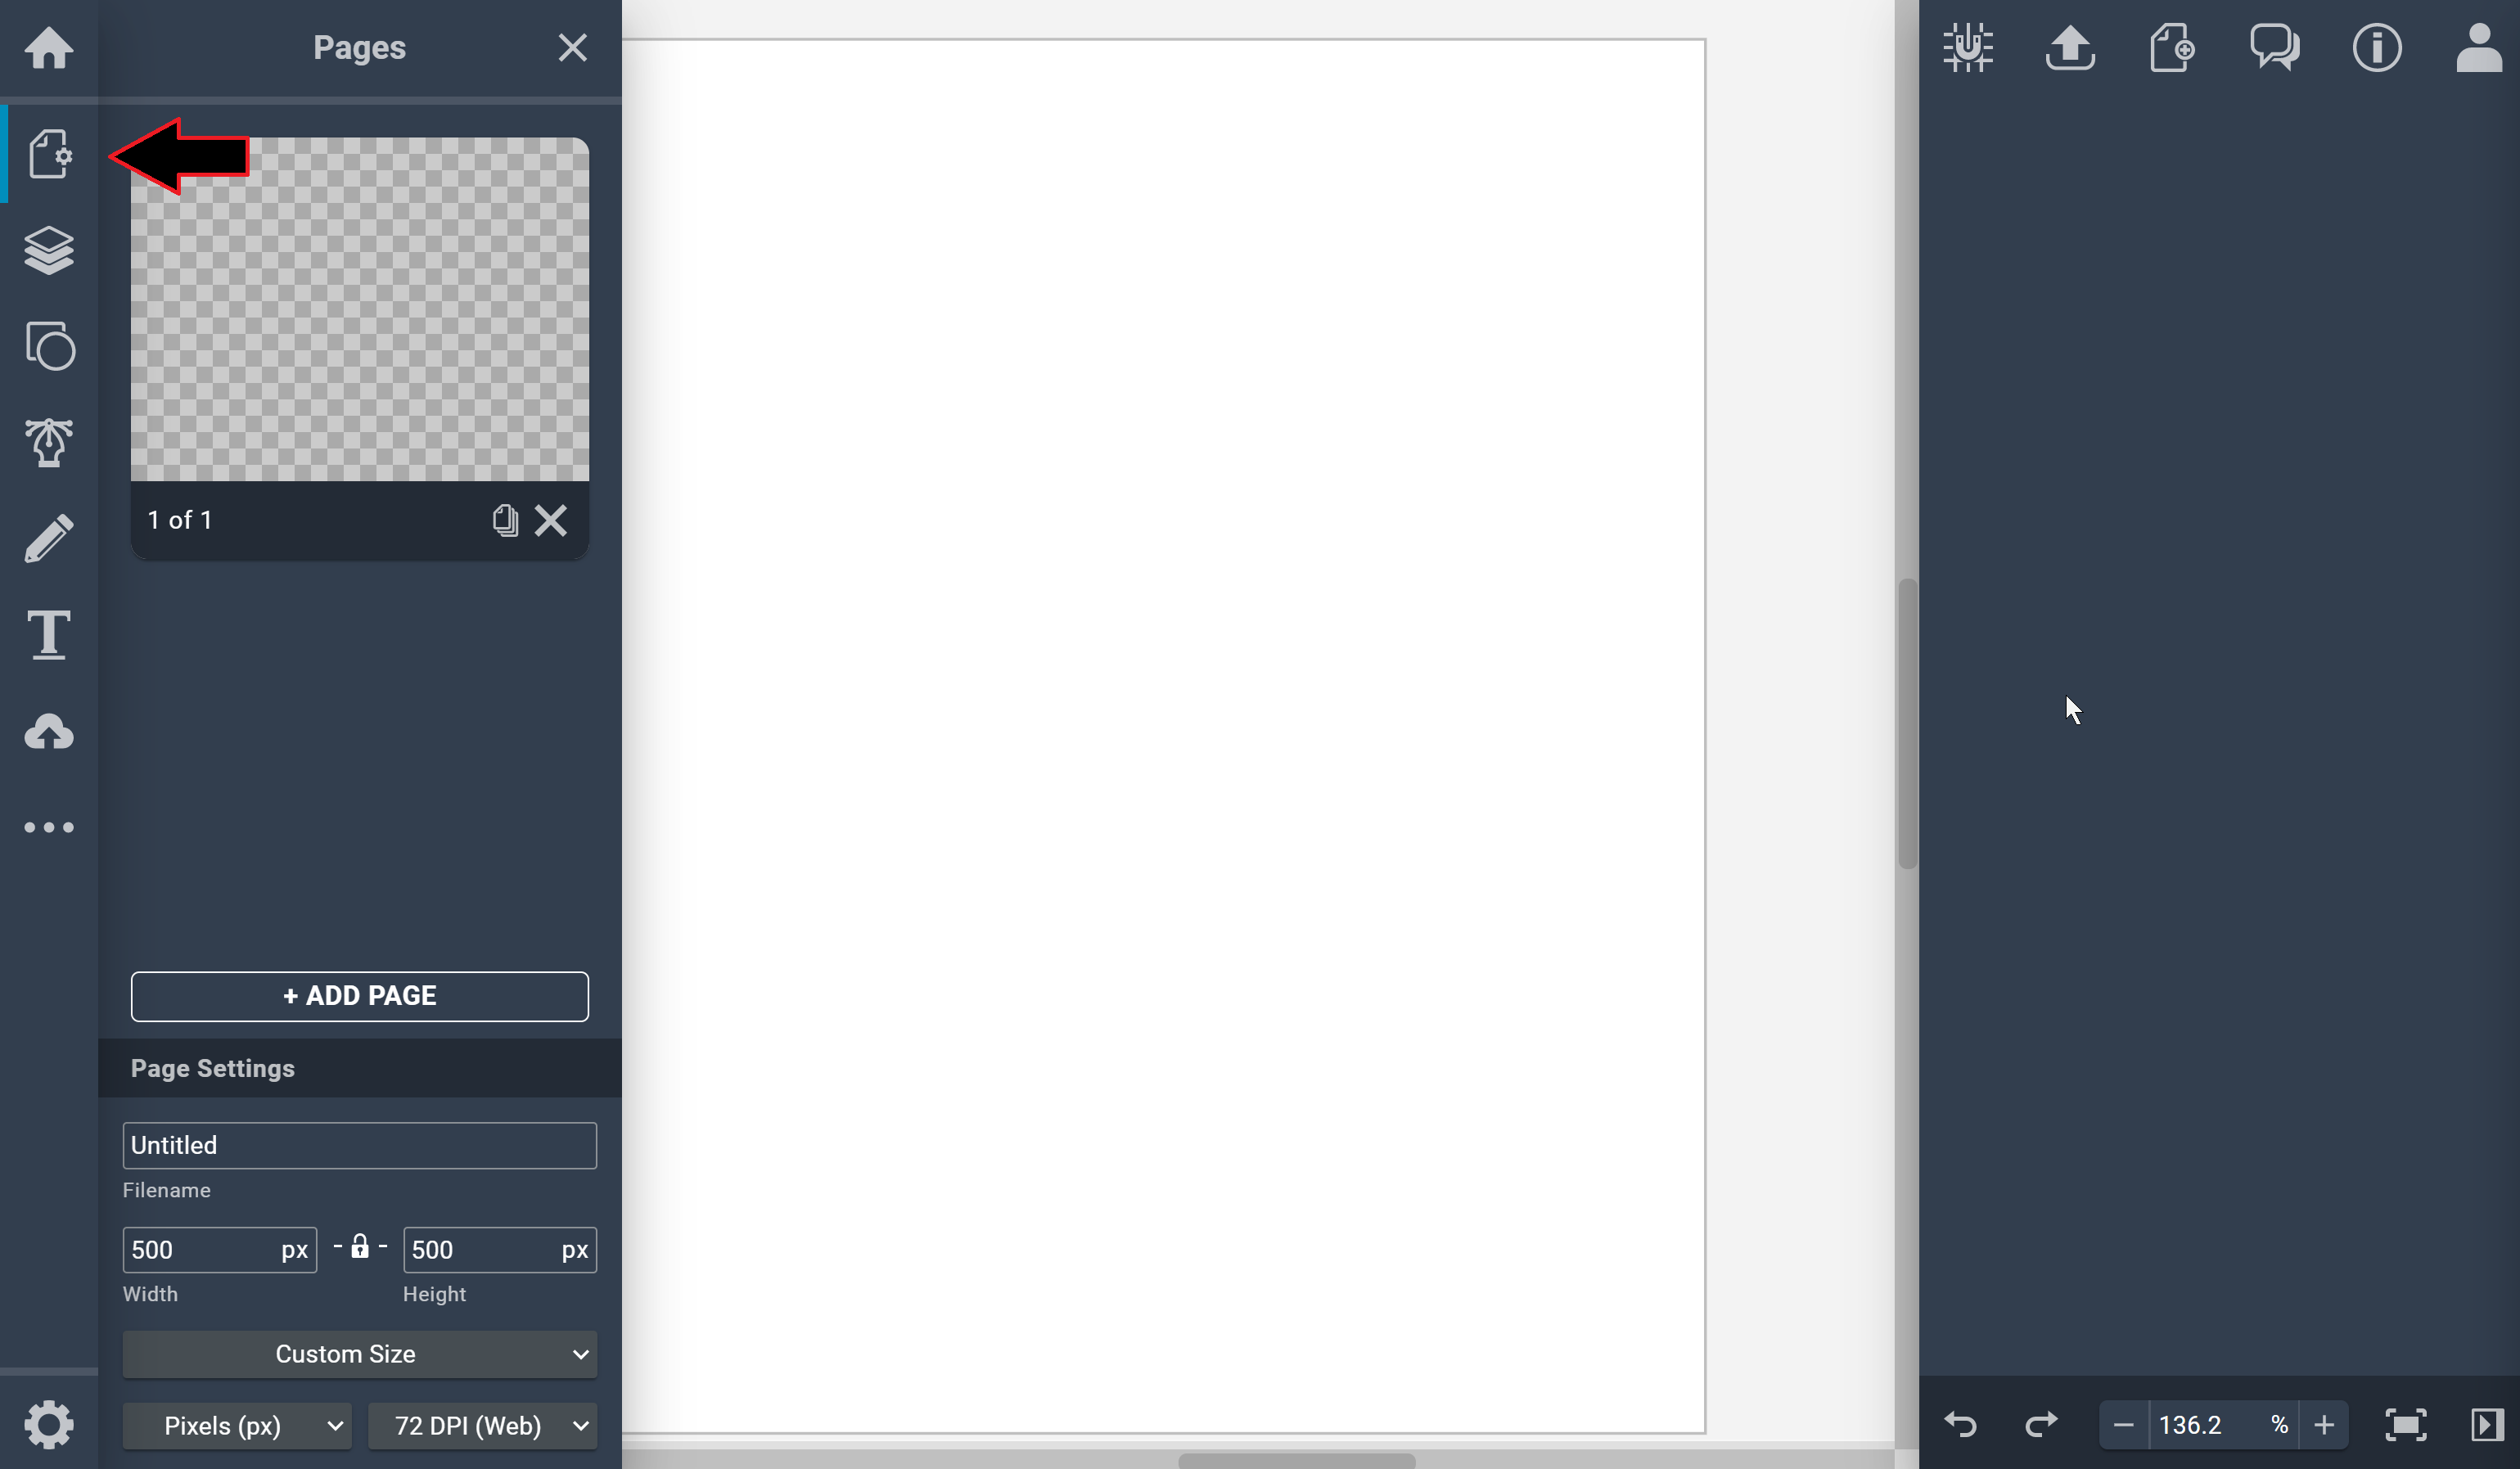
The first tool you can use is the Pages, were you can add multiple pages to work on and you adjust the size of the your going to design on.
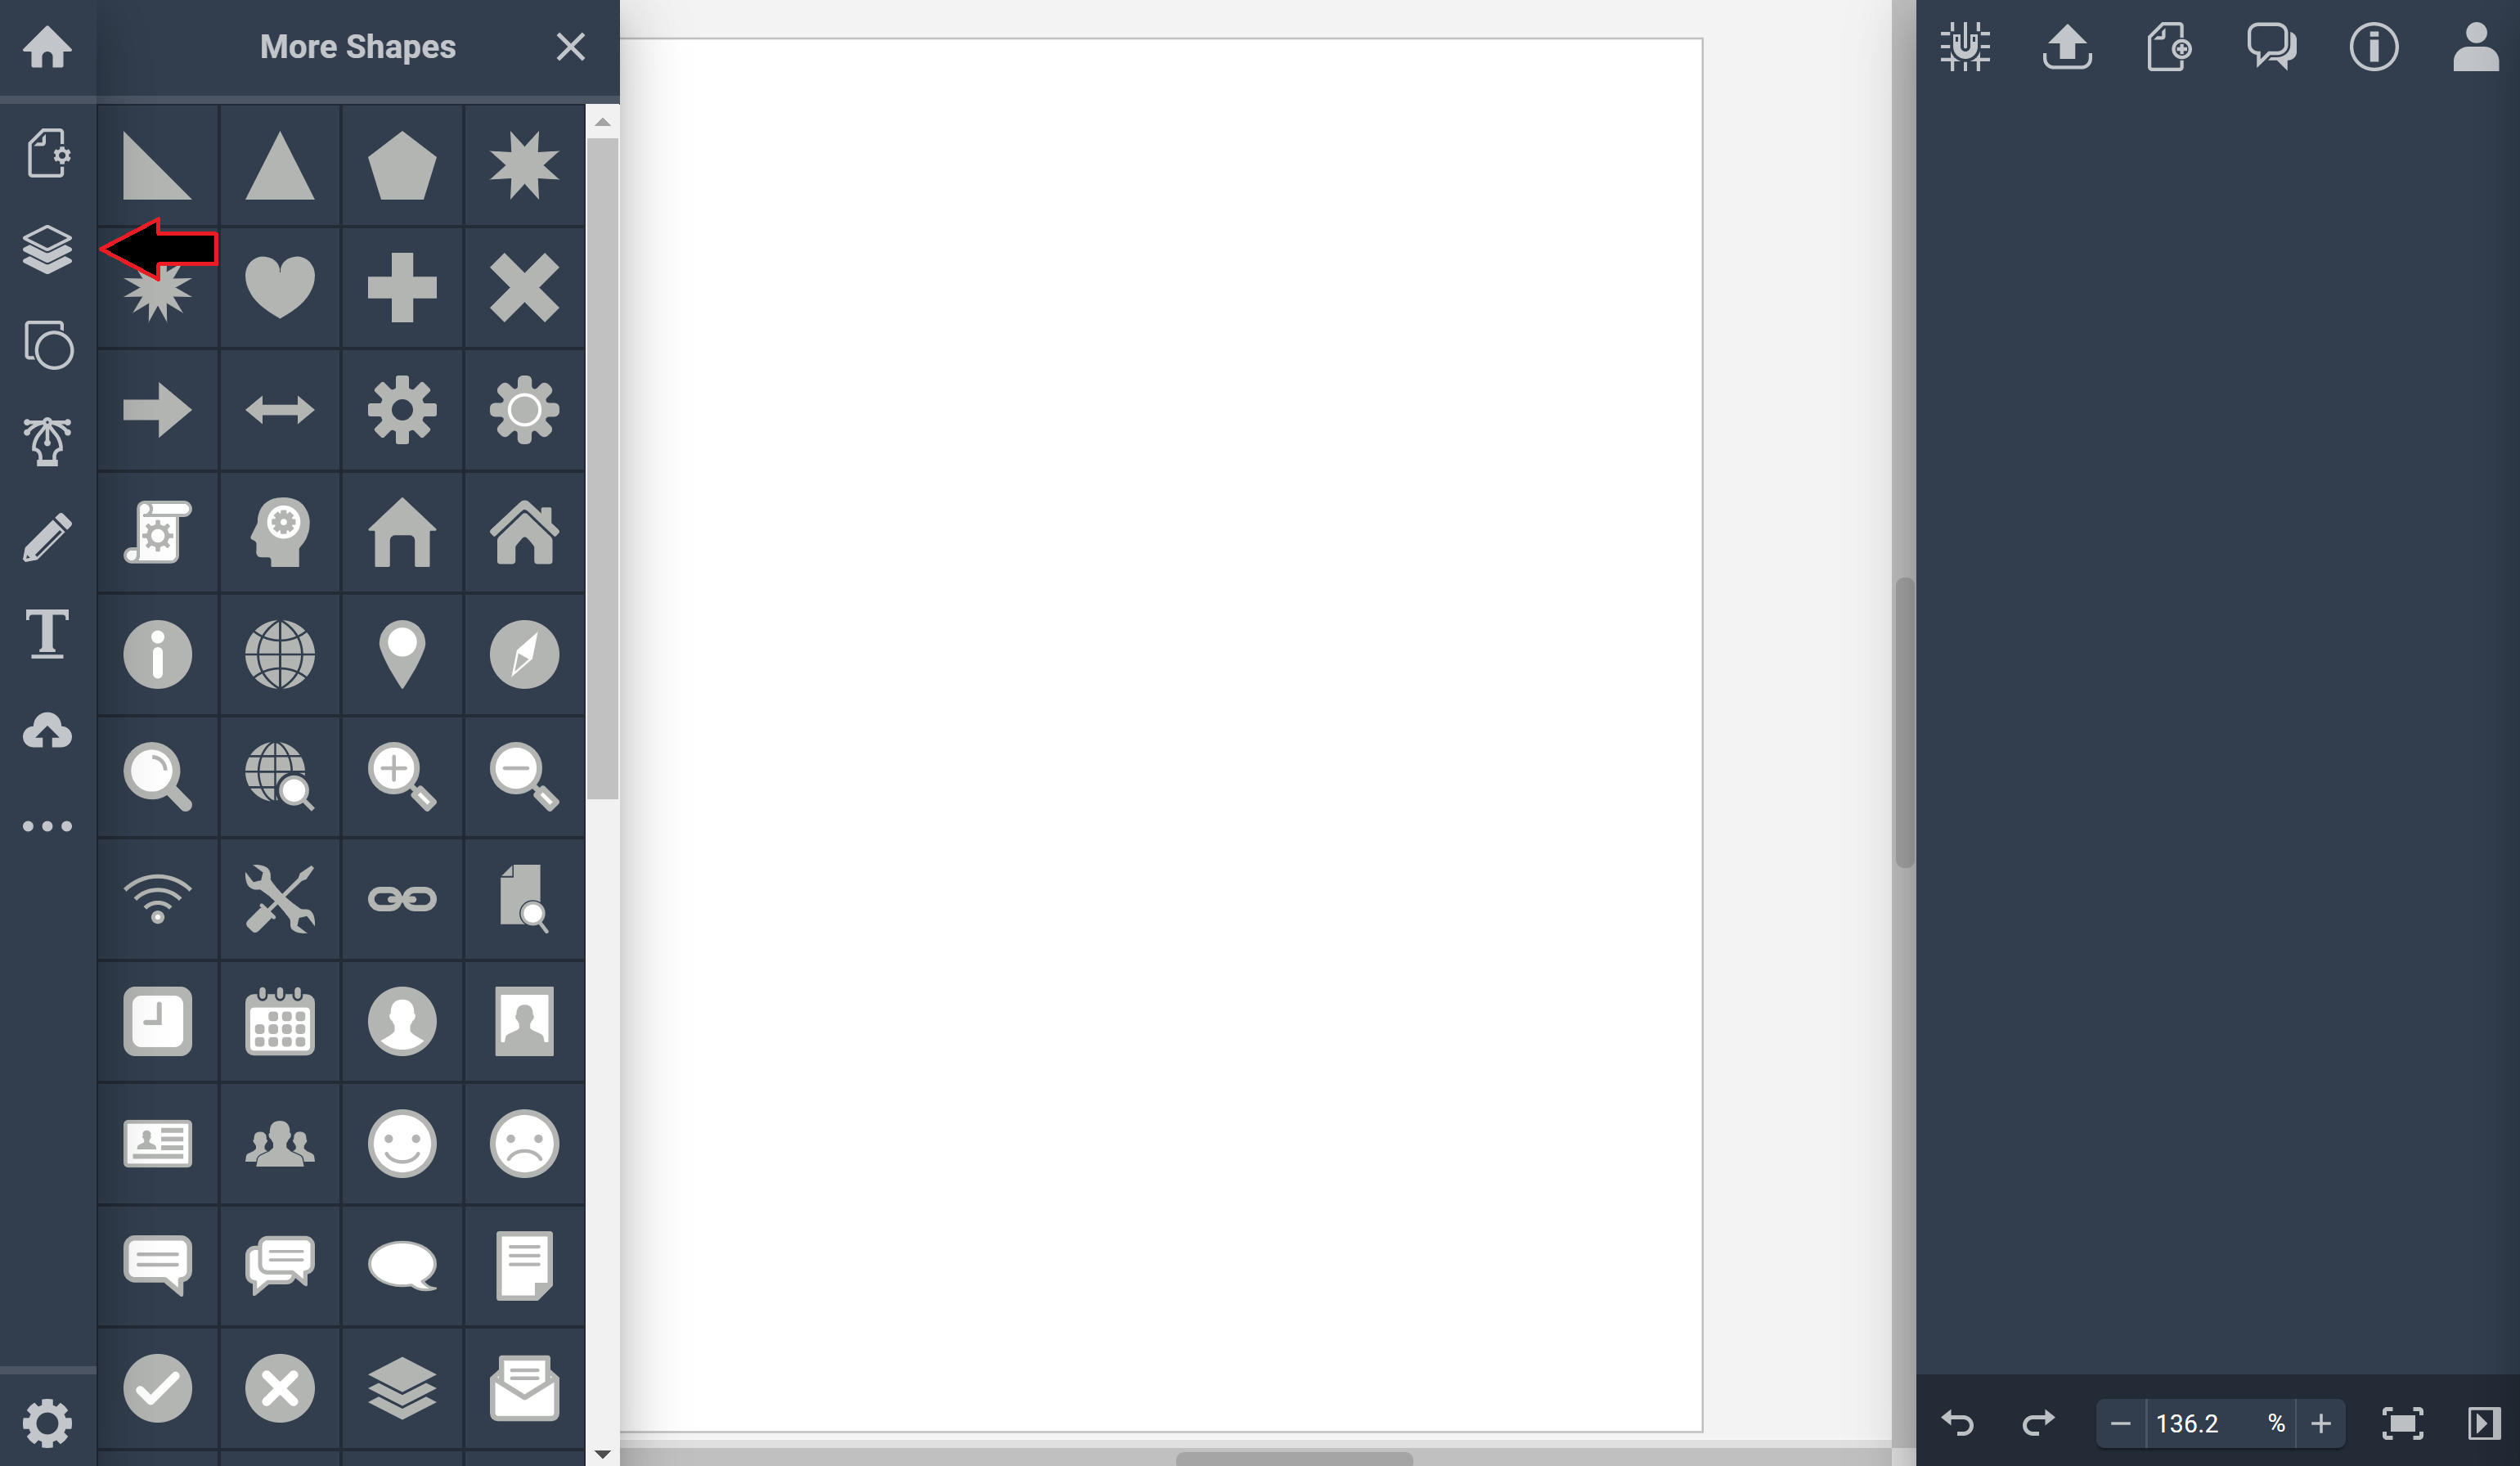
The second function is the shapes function, were you can choose around multiple shapes to help you in your design.
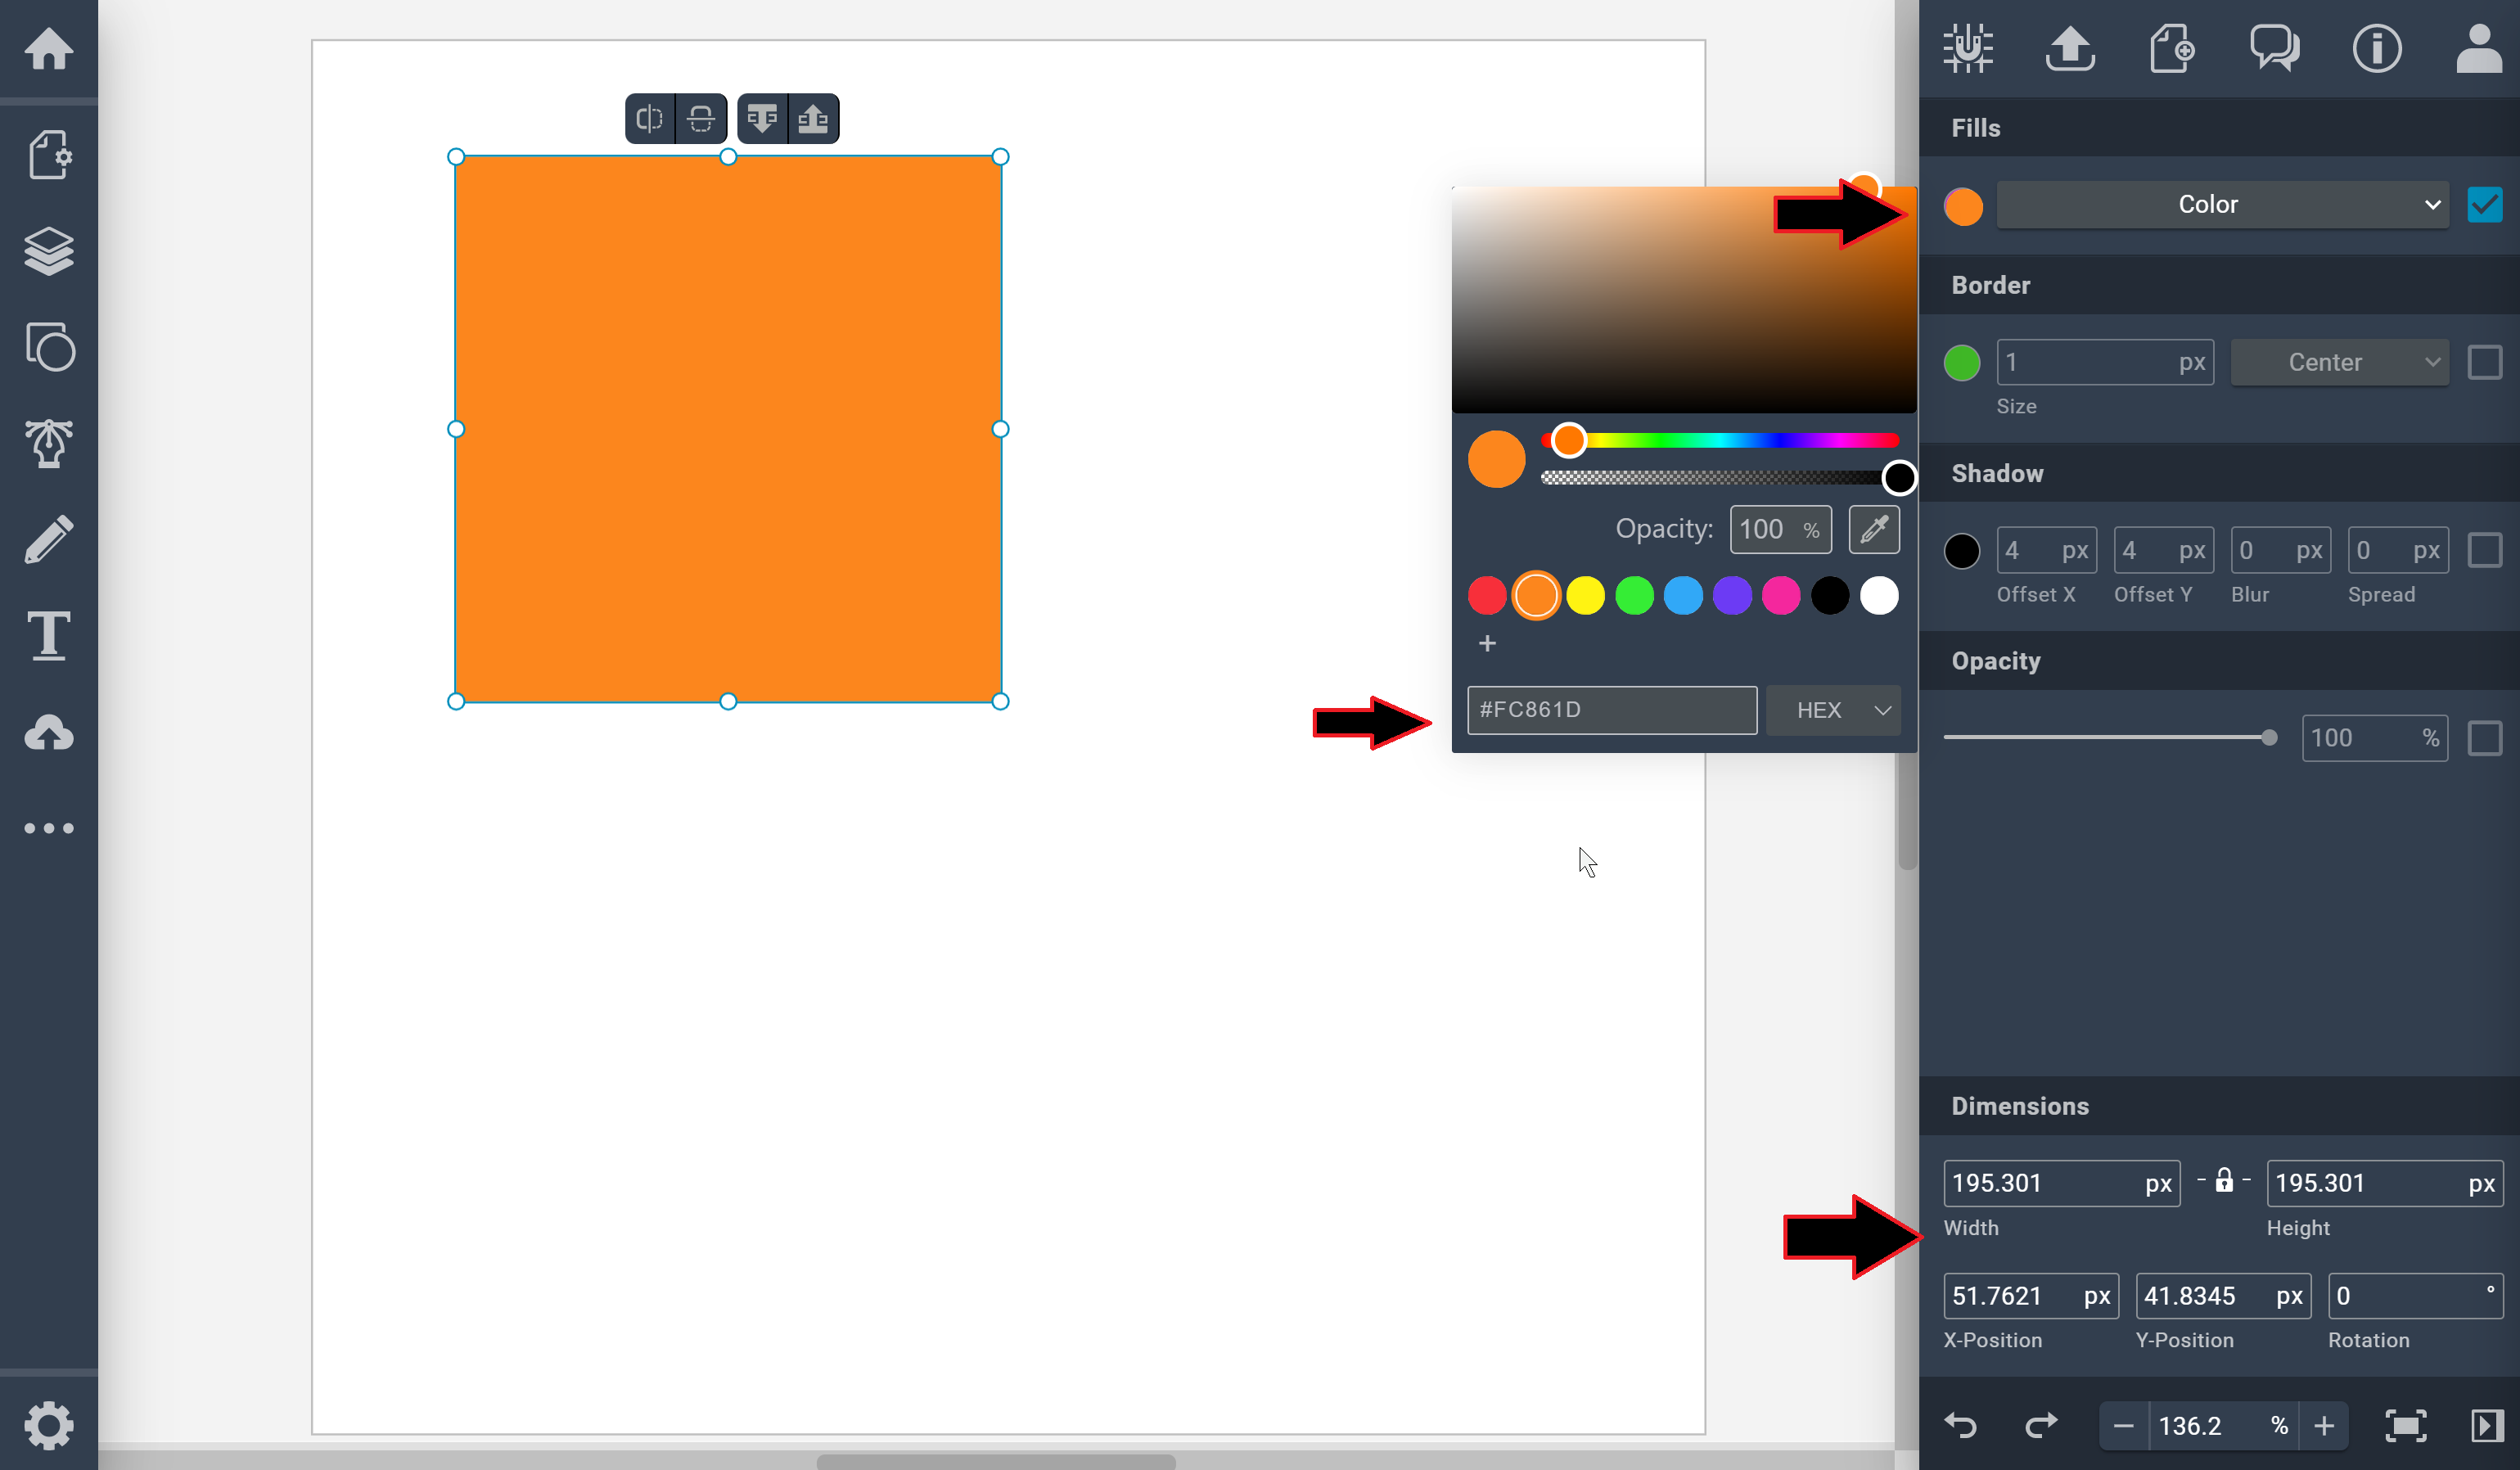
Once you choose your deign you can change its color, border, shadow, opacity and dimensions. What's good about it you can change as much details as possible to align it with your design.
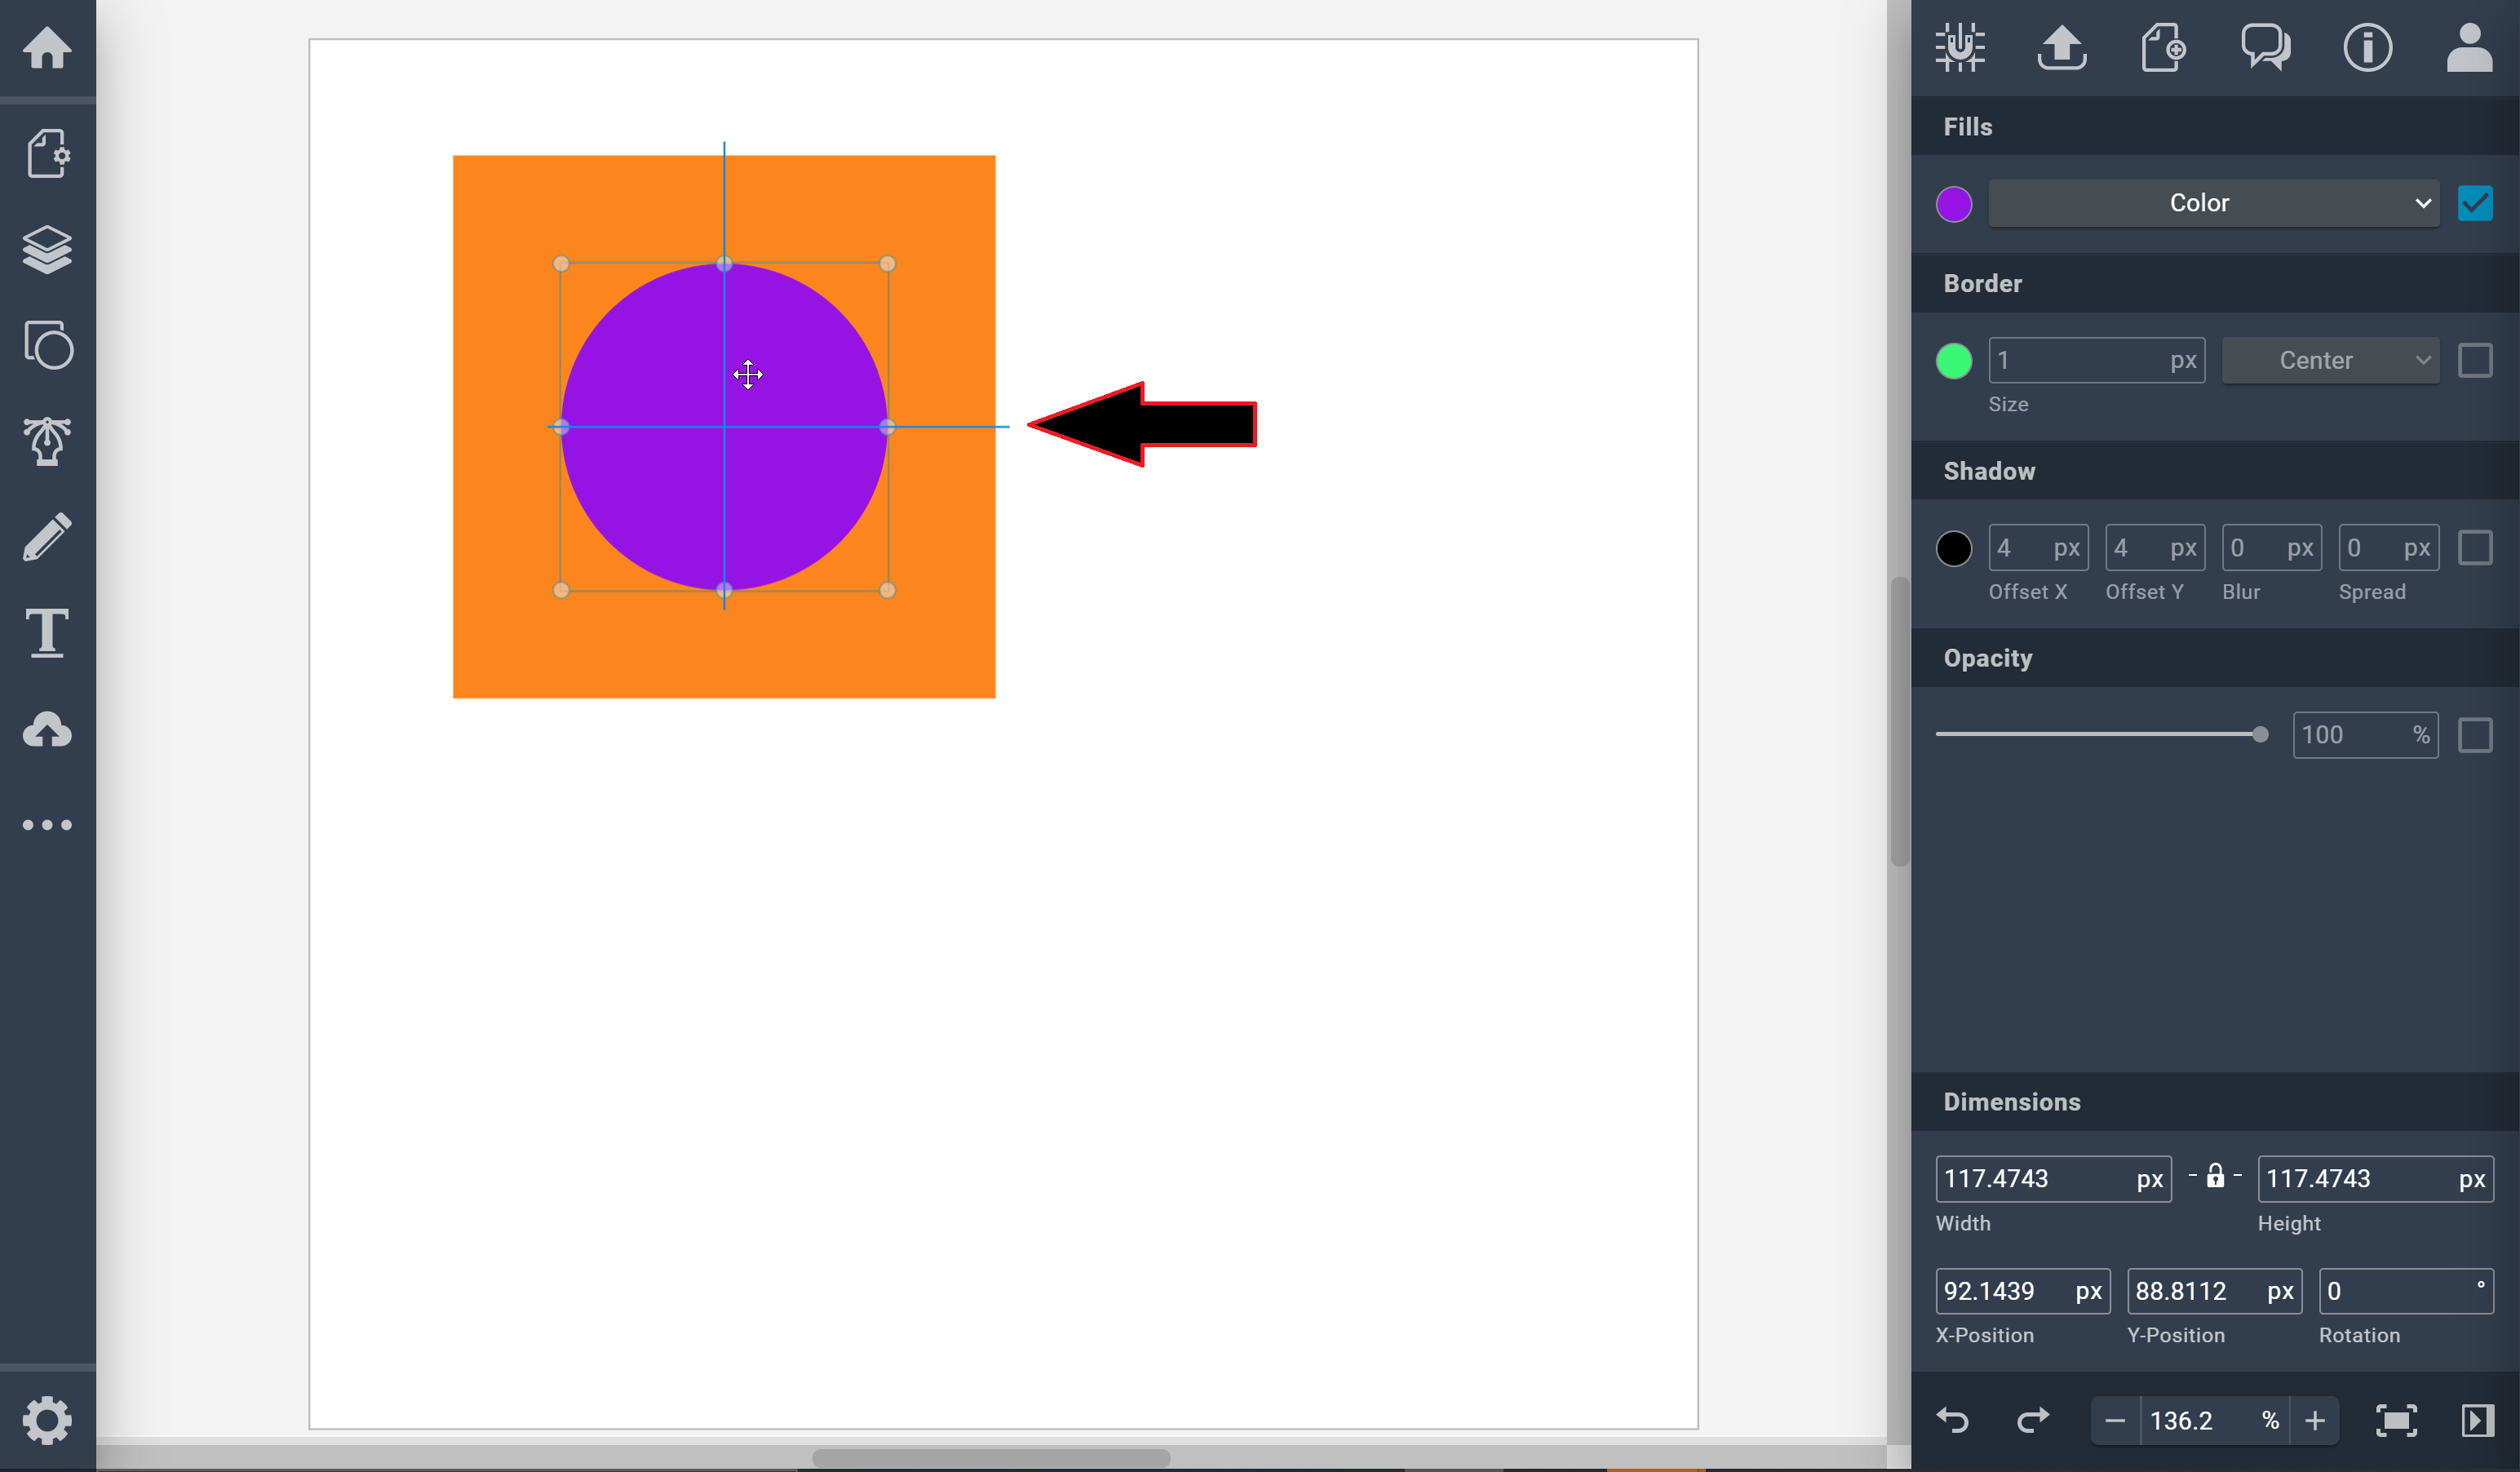
One of the main functions that Vectr application is using alignments of shapes, were it can help to adjust shapes in the right position you want.
These are multiple examples of using the main functions in Vectr such as:
From the pictures below it will shows you how it will loos like after try to subtract and exclude different designs on each other.
In the end this application is really easy to use and plus it can download your designs in SVG file to be used in different cuttings machines and designing applications.
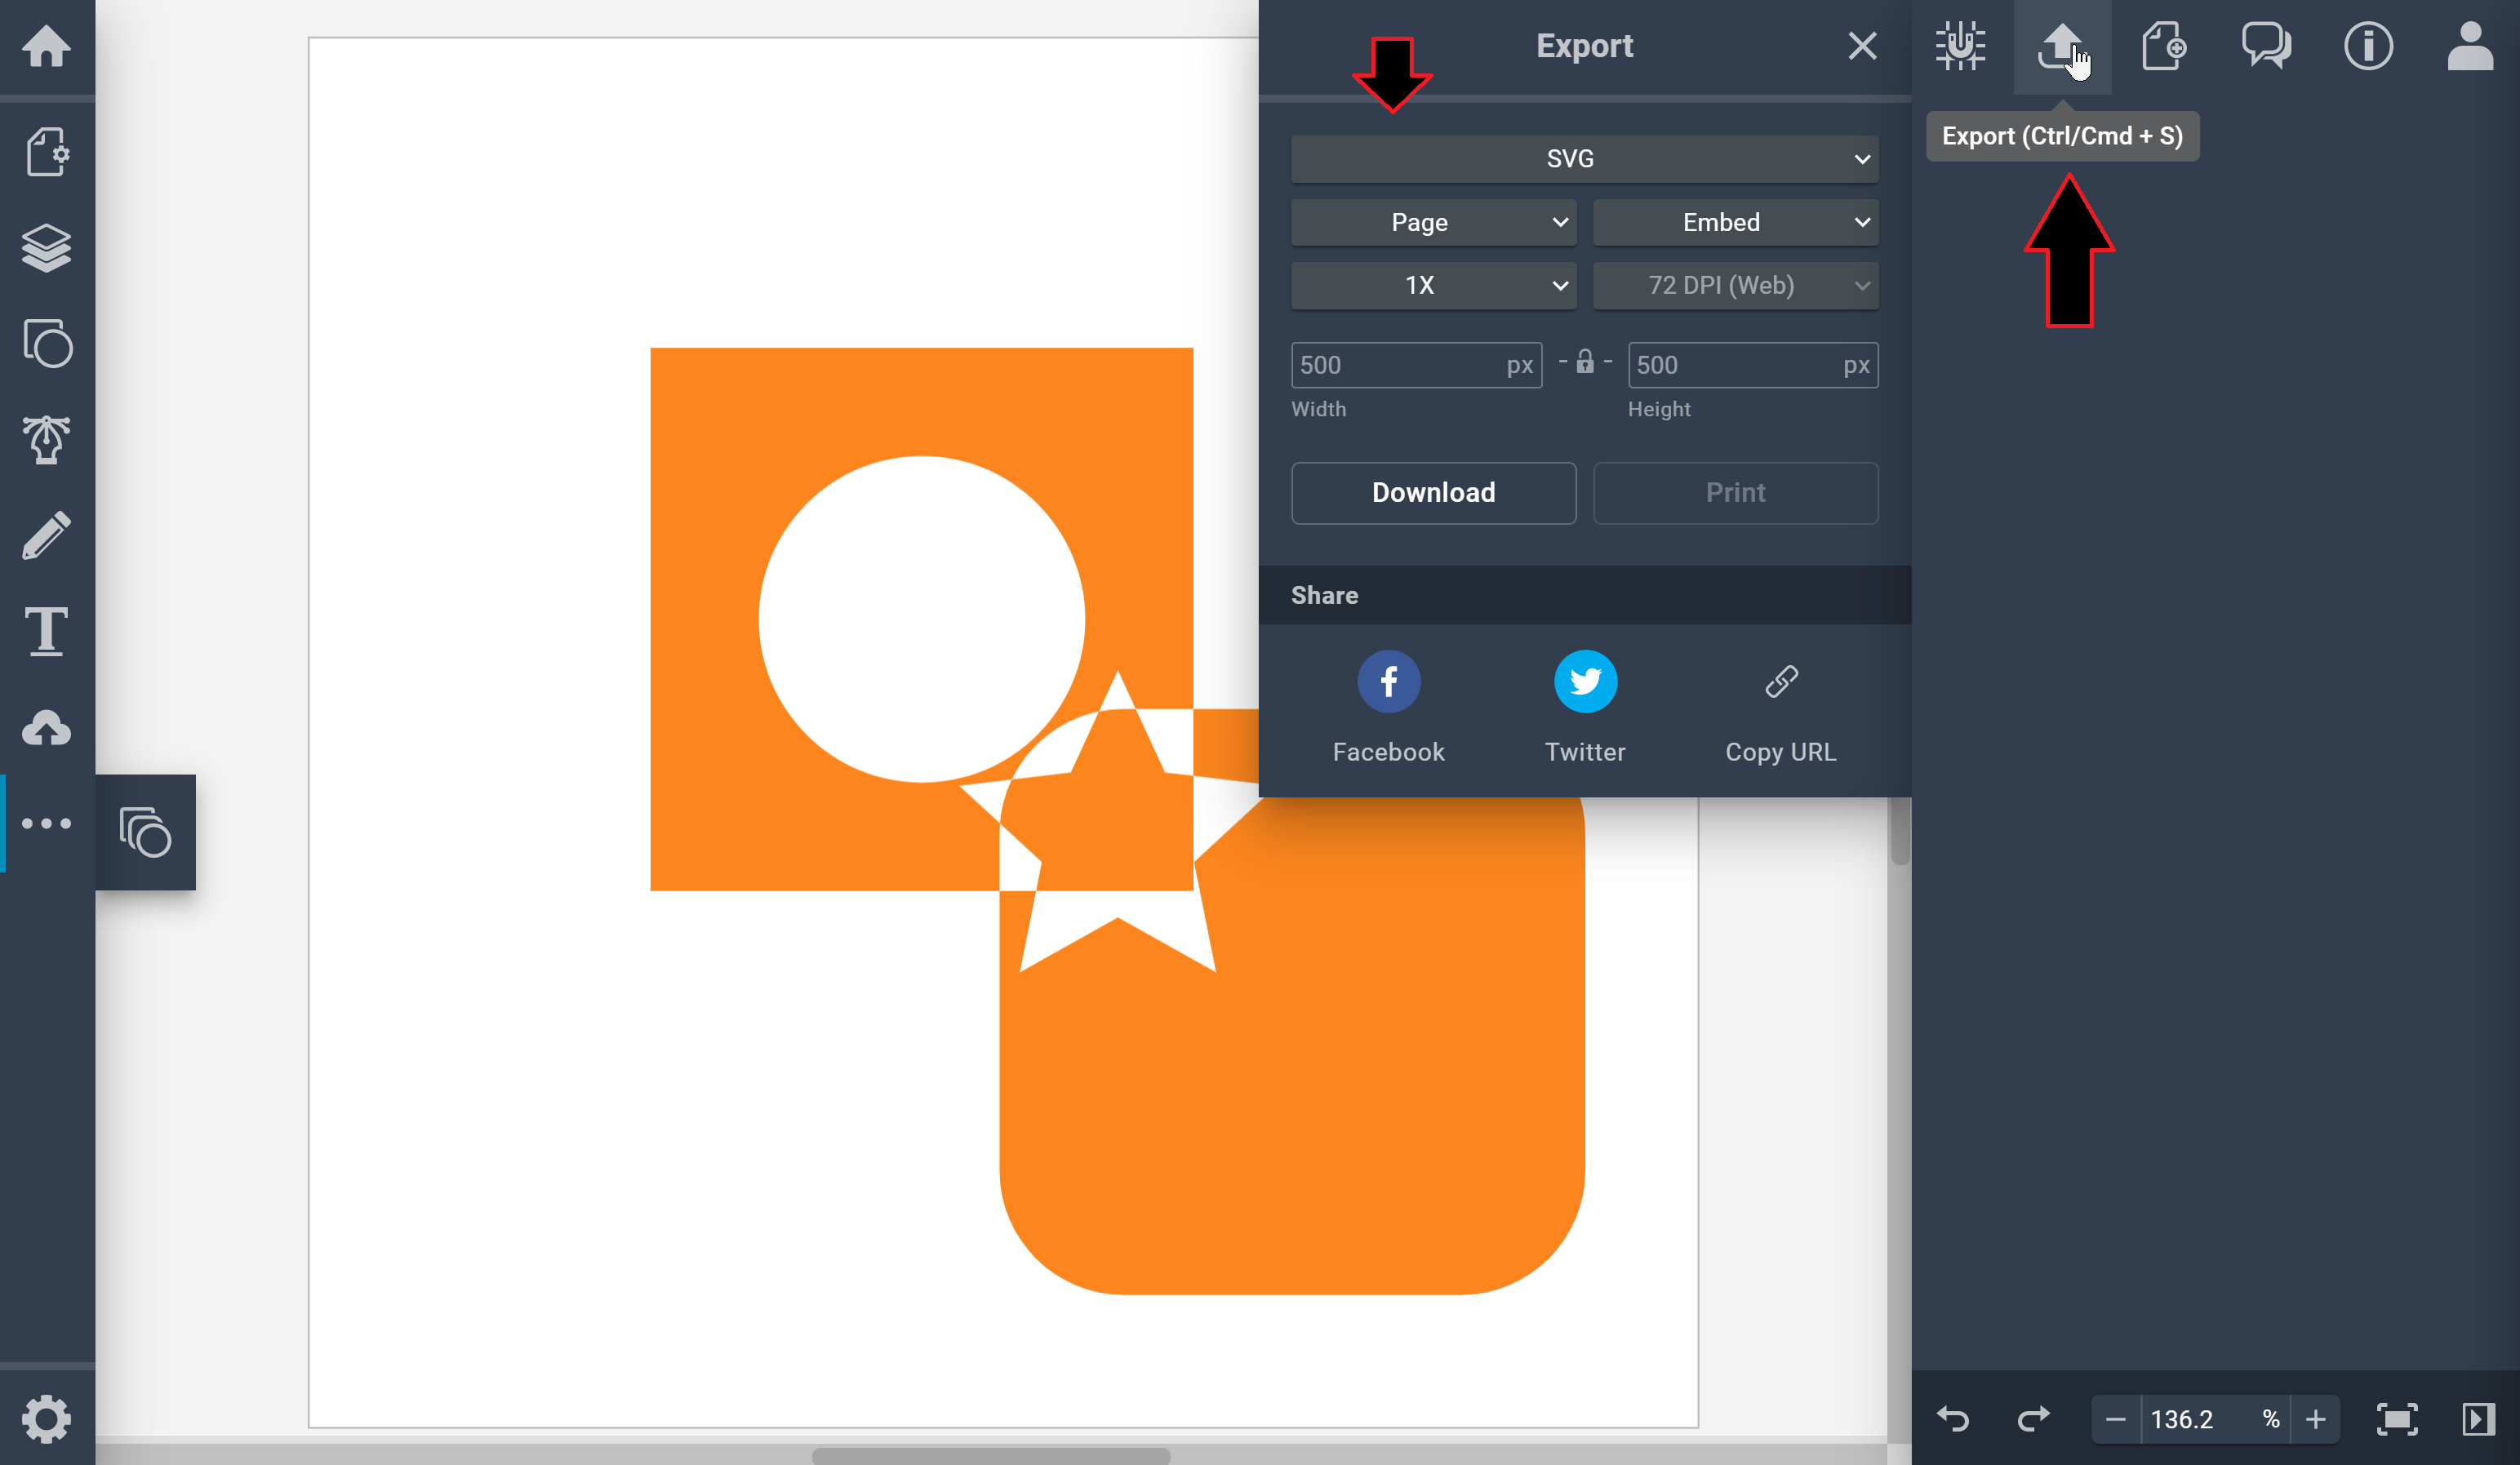
Download My Design: Random.svg
To keep my page loading quickly, I've compressed all the images. I used [ Mention the tool/method you used for image compression, e.g., "TinyPNG" or "ImageOptim" ] to reduce the file sizes without sacrificing too much quality. For example, the image of [ Mention a specific image and its original and compressed size, e.g., "the Inkscape interface was originally 500KB, but after compression, it's only 200KB." ].
Since I didn't have any videos this week, I didn't need to worry about video compression. But if I did, I'd probably use [ Mention a video compression tool/method, e.g., "Handbrake" ] to reduce the file size while maintaining reasonable video quality.
This week was a whirlwind tour of the CAD world! I learned a lot about the different software options available and how to use them to create both 2D and 3D designs. I'm excited to continue exploring these tools and using them to bring my final project to life!