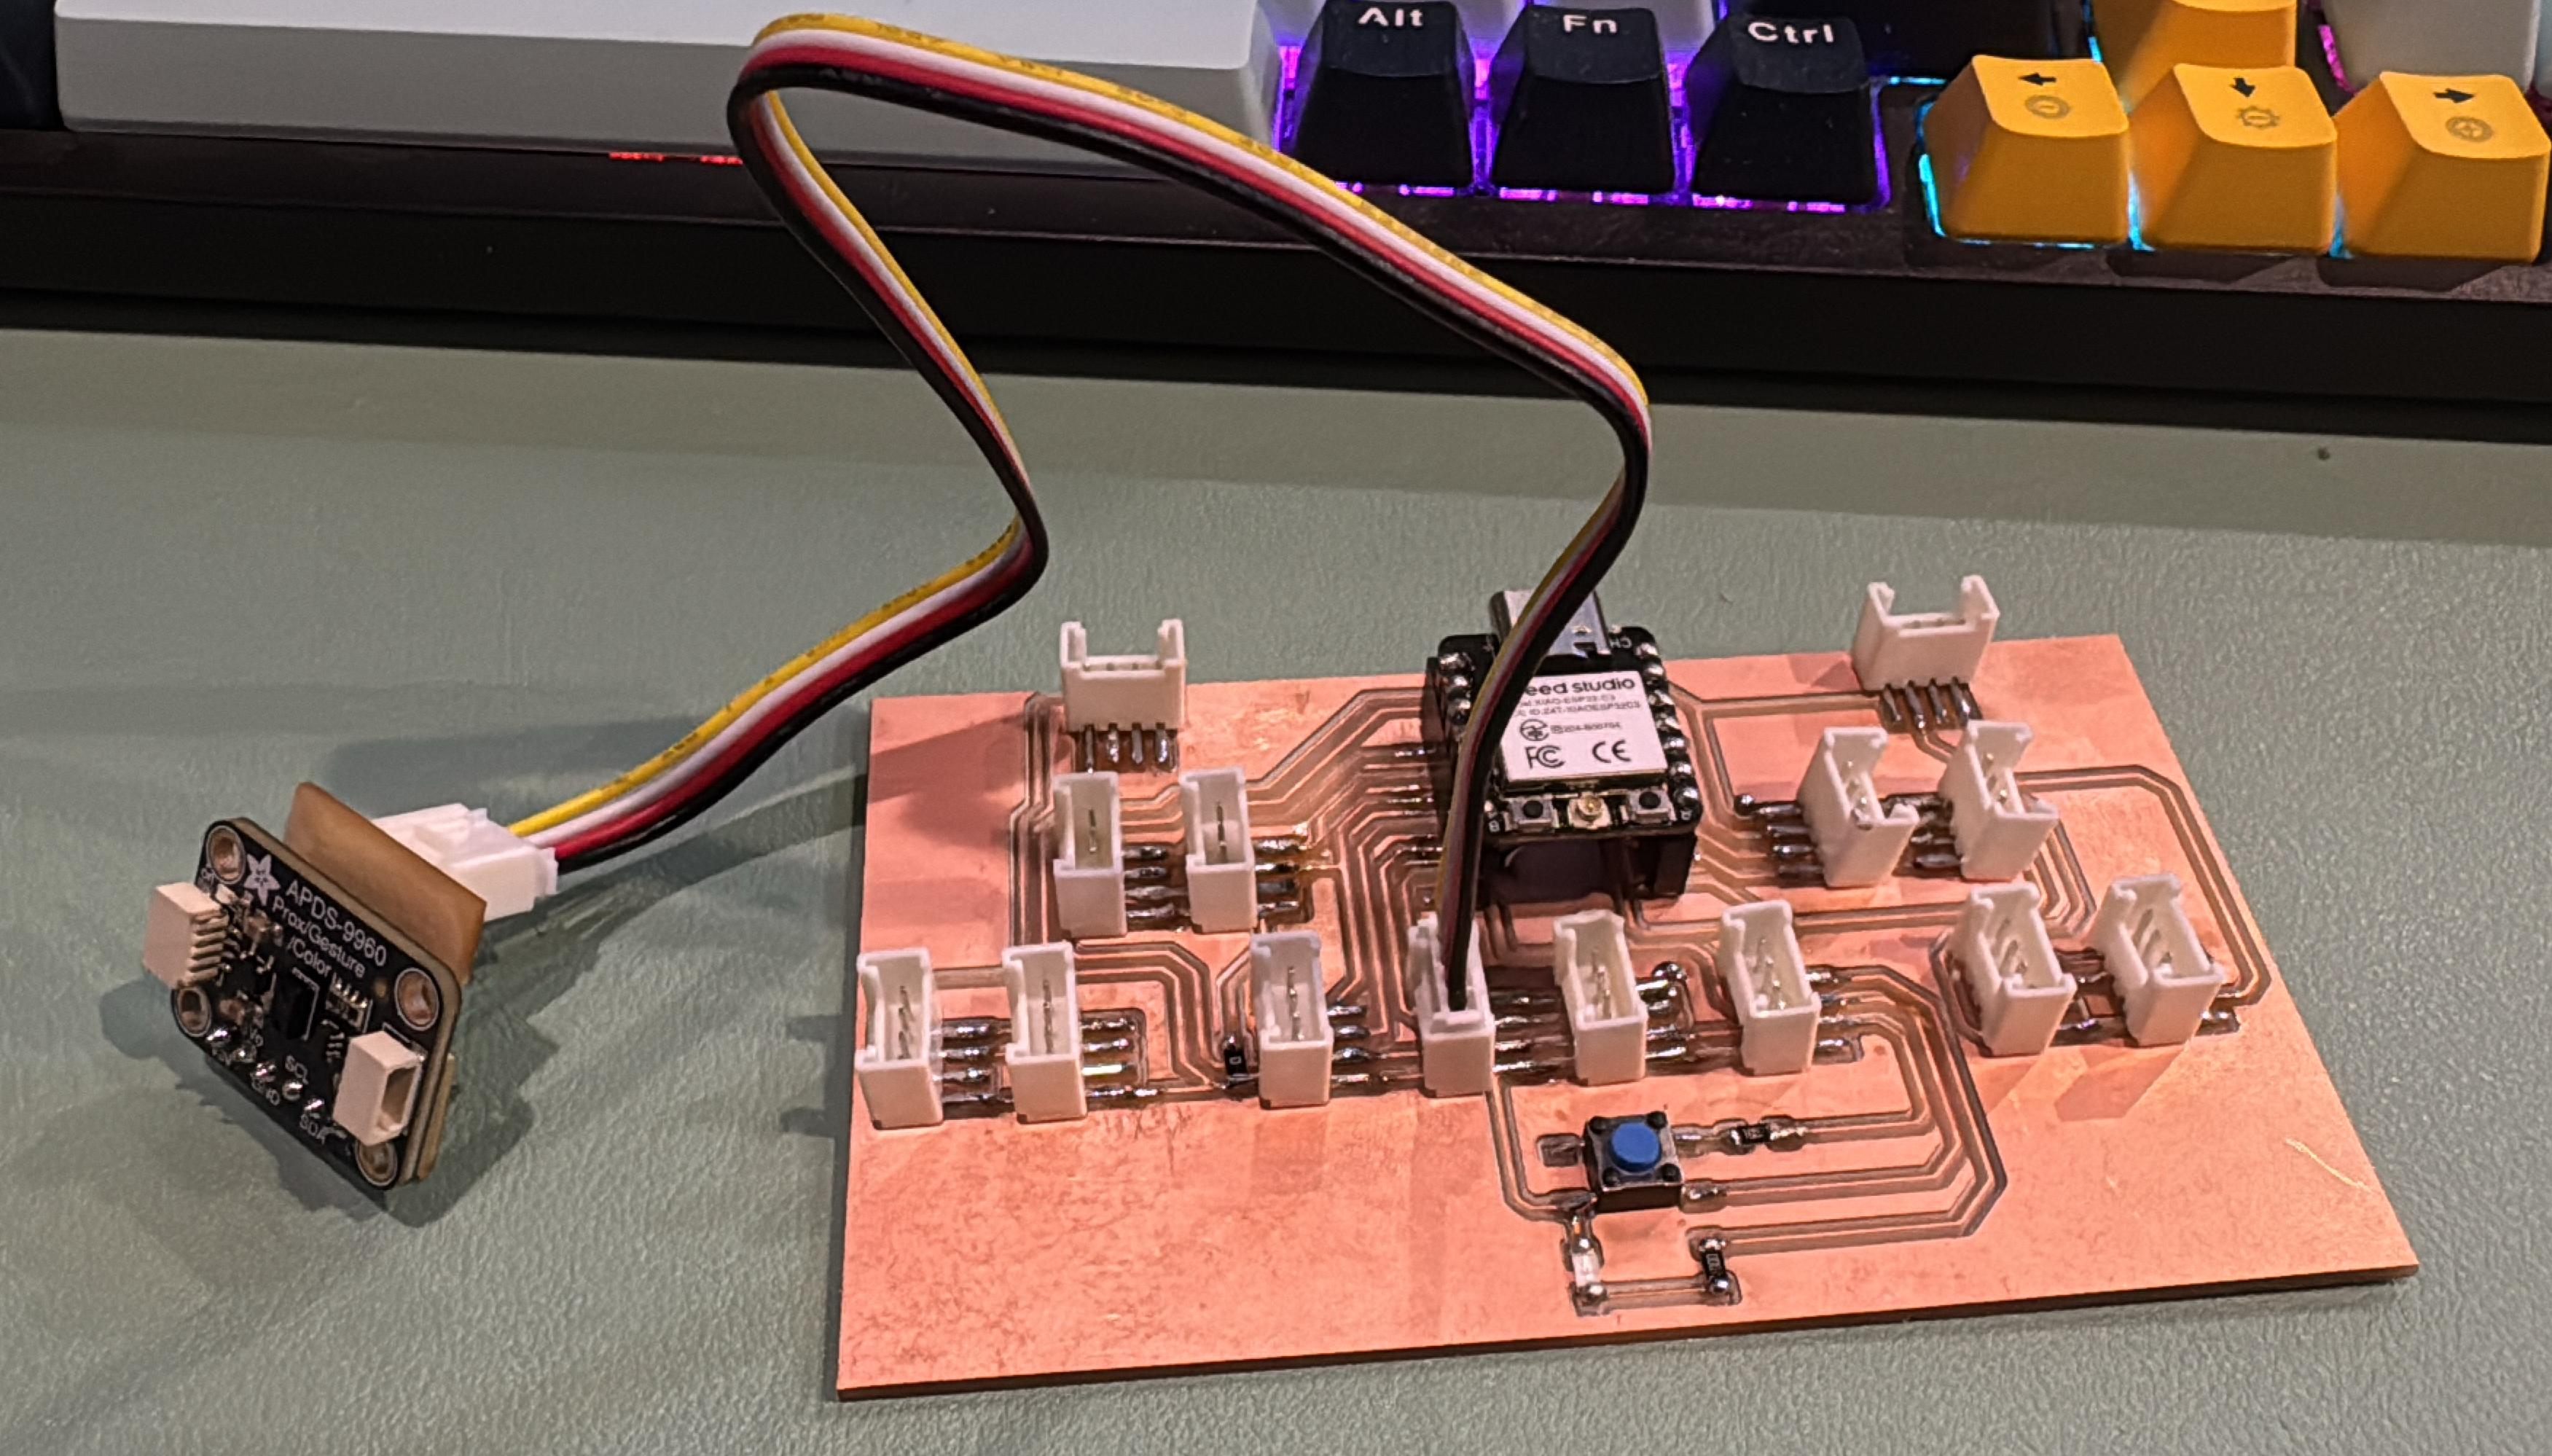
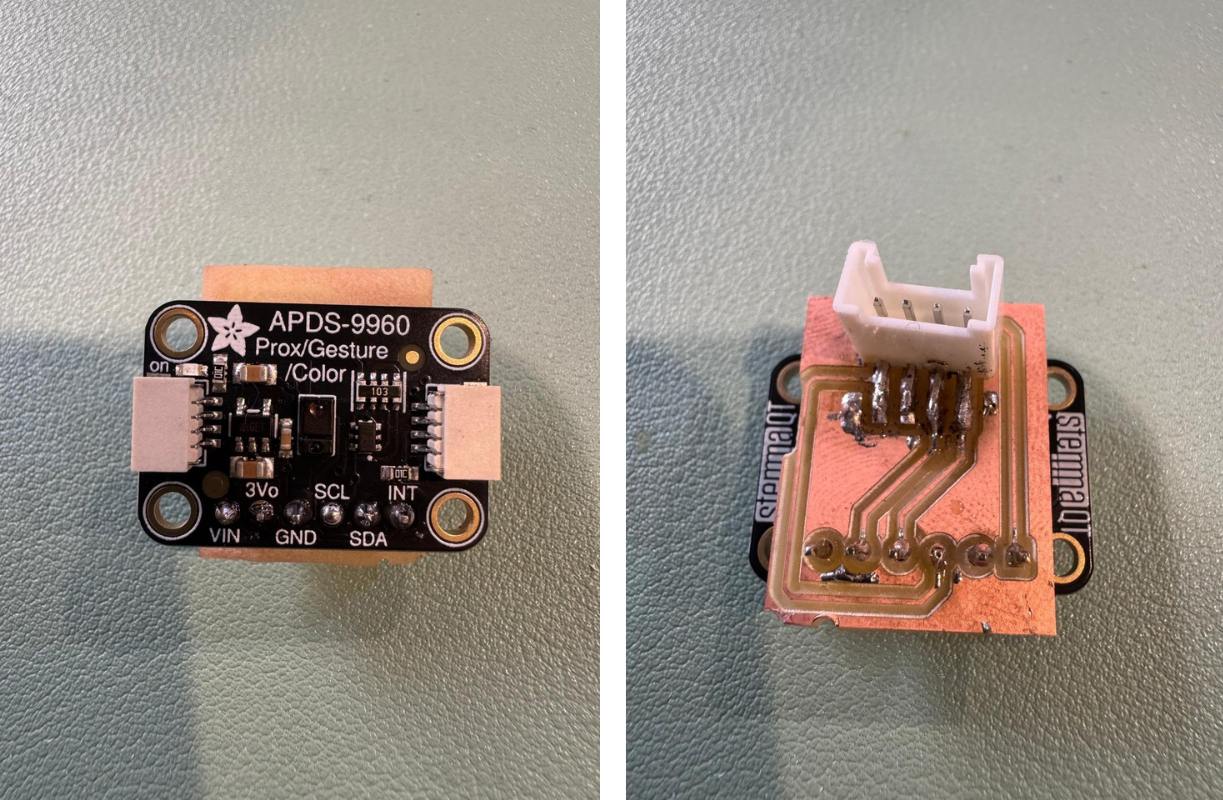
This week, I focused on using an input sensor with the custom board I previously designed. I chose the APDS-9960 sensor, which is capable of detecting color, proximity, gesture, and ambient light. It’s compact, powerful, and perfect for interactive applications.
I used the same Grove-style shield I created earlier — based on the XIAO ESP32C3 — which includes Grove connectors that make connecting sensors really easy without messy wiring. My goal was to plug in the APDS-9960, read values from it, and get a better understanding of how microcontrollers interact with physical sensor data.
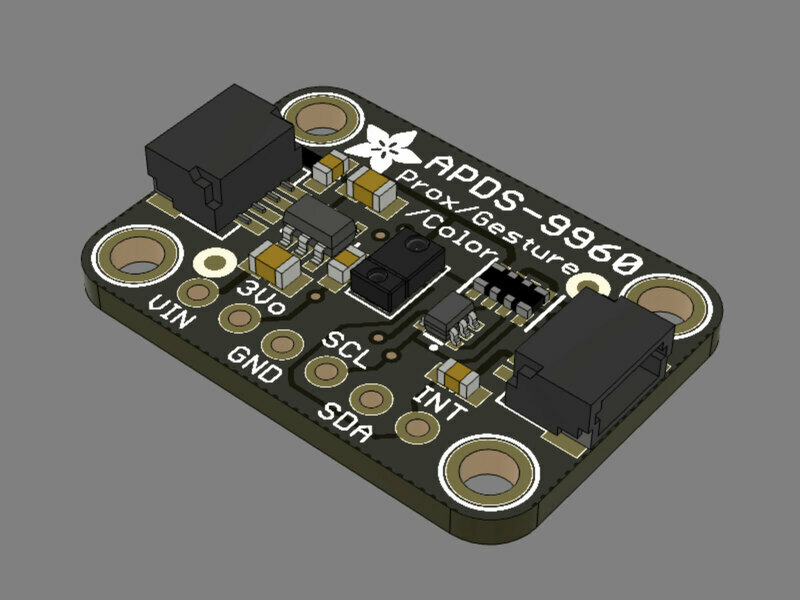
I picked the APDS-9960 mainly for its multi-functional features, but for this week’s test I focused specifically on the color sensing capability.
I connected the sensor to one of the Grove ports on my board — since the APDS-9960 communicates using I2C, it routes SDA and SCL straight to the microcontroller without any extra setup. Before powering up, I quickly checked the wiring with a multimeter just to be safe.
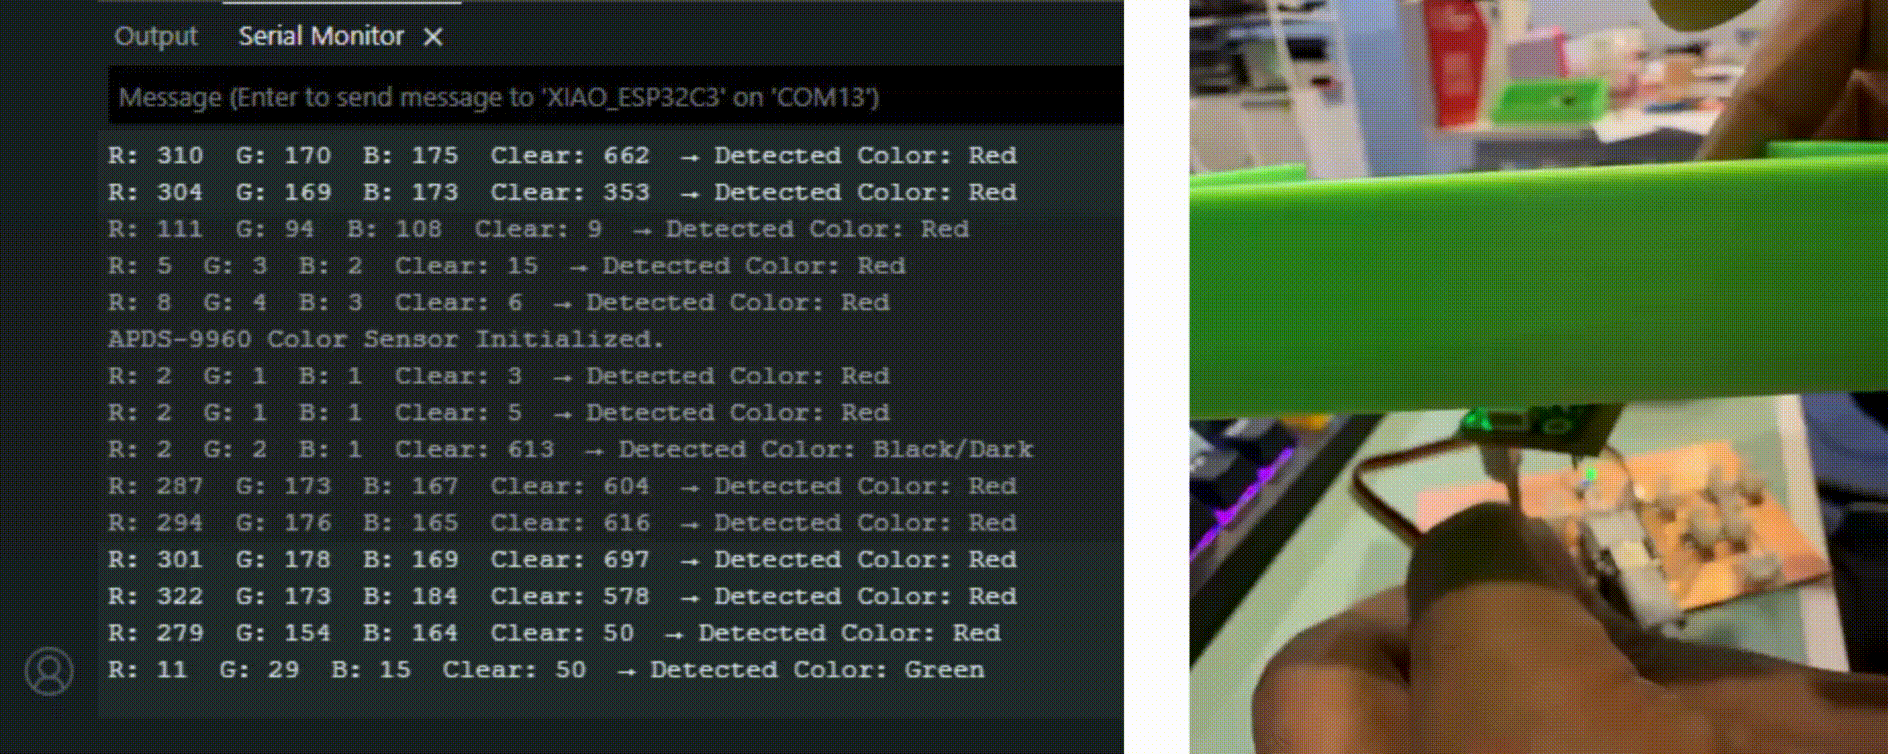
For the code, I used the Arduino IDE and the SparkFun_APDS9960 library. I wrote a sketch to read red, green, blue, and clear light values and printed the results in the Serial Monitor — plus a little logic to guess what color the sensor was seeing based on RGB values.
#include <Wire.h>
#include <SparkFun_APDS9960.h>

SparkFun_APDS9960 apds;

void setup() {
  Serial.begin(115200);
  Wire.begin();

  if (!apds.init()) {
    Serial.println("APDS-9960 initialization failed!");
    while (1);
  }

  Serial.println("APDS-9960 Color Sensor Initialized.");
  apds.enableLightSensor(false); // RGB mode only
  delay(500); // Let sensor settle
}

void loop() {
  uint16_t r, g, b, c;

  if (apds.readRedLight(r) && apds.readGreenLight(g) && apds.readBlueLight(b) && apds.readAmbientLight(c)) {
    Serial.print("R: "); Serial.print(r);
    Serial.print("  G: "); Serial.print(g);
    Serial.print("  B: "); Serial.print(b);
    Serial.print("  Clear: "); Serial.print(c);

    String detectedColor = detectColor(r, g, b);
    Serial.print("  → Detected Color: ");
    Serial.println(detectedColor);
  } else {
    Serial.println("Error reading color values.");
  }

  delay(1000);
}

String detectColor(uint16_t r, uint16_t g, uint16_t b) {
  if (r > g && r > b) {
    if (r > 200 && g > 100 && b < 100) return "Orange/Yellow";
    return "Red";
  } else if (g > r && g > b) {
    if (g > 200 && r > 200) return "Yellow";
    return "Green";
  } else if (b > r && b > g) {
    return "Blue";
  } else if (r > 150 && g > 150 && b > 150) {
    return "White/Light";
  } else if (r < 50 && g < 50 && b < 50) {
    return "Black/Dark";
  } else {
    return "Unknown";
  }
}
This setup let me see the color data update live in the Serial Monitor, and it was a great way to understand how RGB intensity translates to human-readable color.
Sensor Focus: I worked specifically with the color sensing function of the APDS-9960. During my testing, I observed that:
Unexpected Behavior: One thing that stood out was that when I pointed the sensor into open air (i.e., "nothing"), it still returned a strong red reading.
This is likely due to:
Easy Connectivity: Using the Grove connector made everything extremely convenient. No jumper wires, no breadboarding — just plug in the sensor, upload the code, and start testing.
Key Takeaway: This test helped me understand how sensor readings directly relate to real-world conditions, and how microcontrollers process that data in practical applications.