3. Computer controlled cutting
Laser Cutting Machine:

Group work:
The group work was divided to 2 tasks, practical one for determining the best power and speed of the laser, you can see our work in Salman’s page.
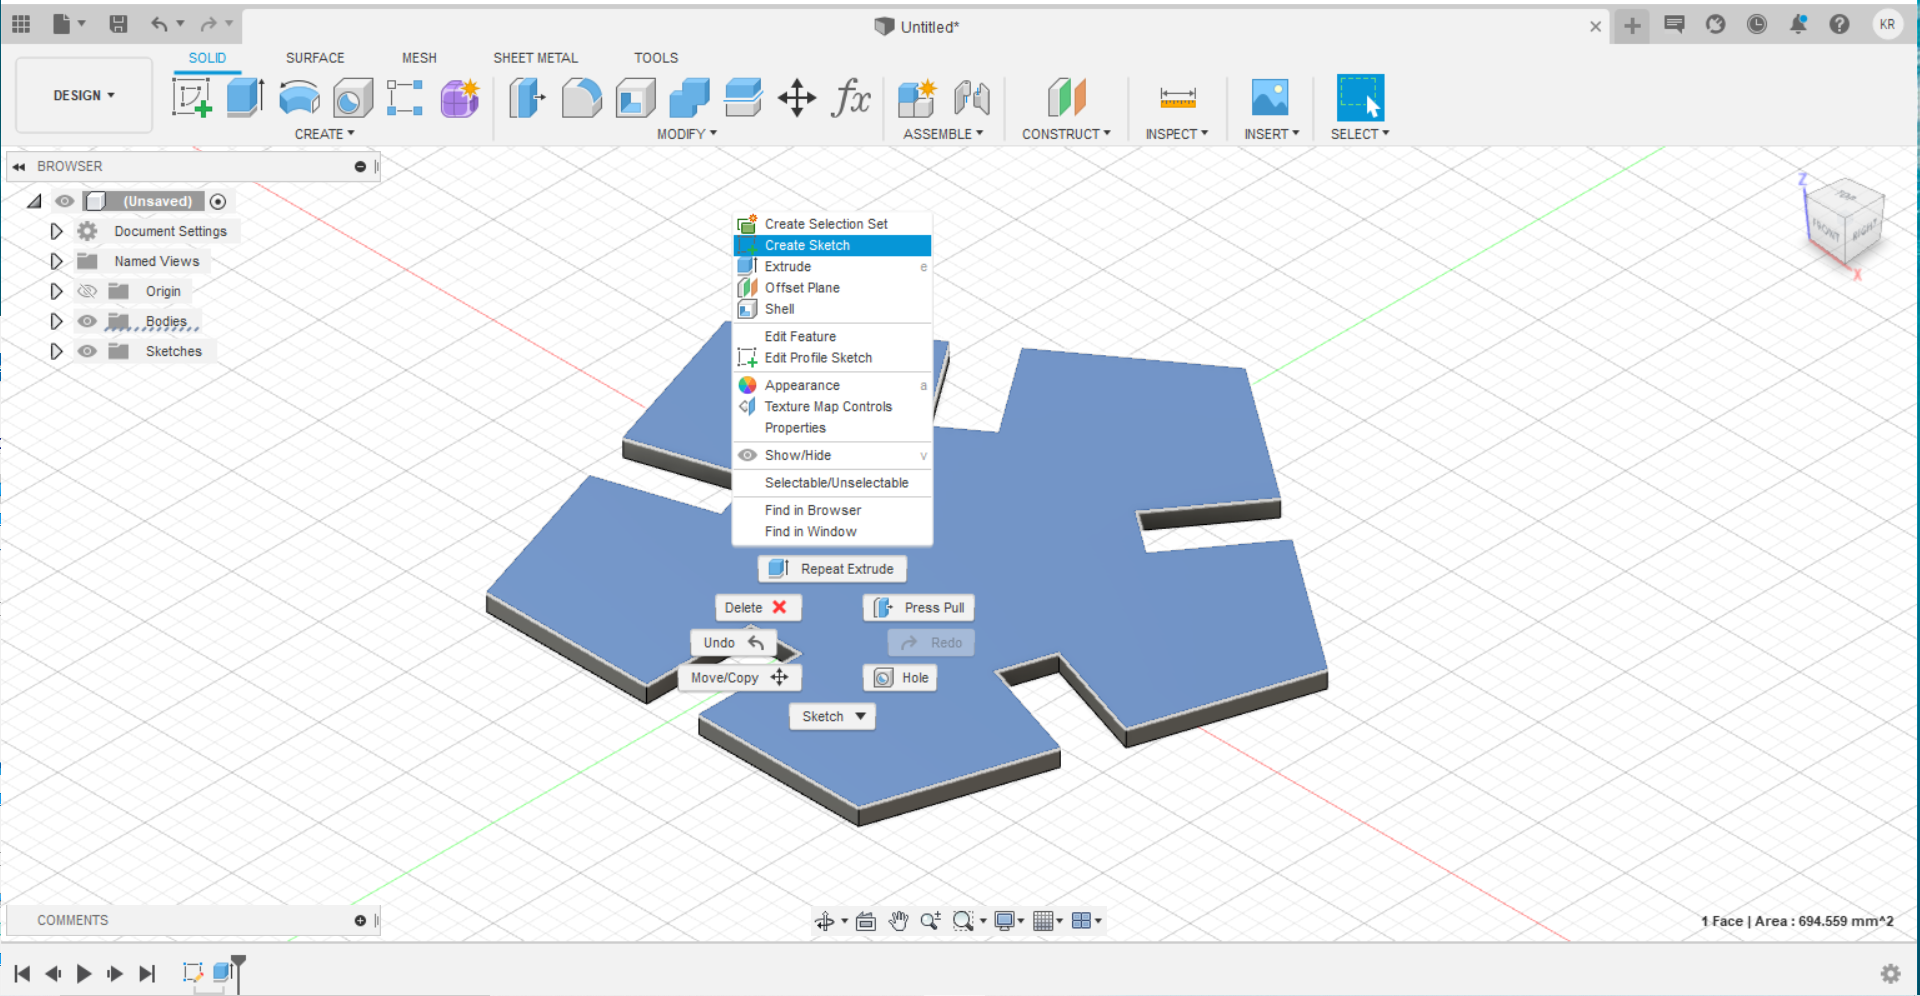
The other task was to make a design to check the thickness of what we will cut using laser. This process was done because the laser burns from the material more than what we want, so this basically makes the slots wider.
In these following images I’ll show you the work we did for this: 1. Starting with a large rectangle, inside it many small rectangles (which they will be slots).
In this step, I learned how to use some tools in Fusion 360, which they are Dimension and Line.
Briefly, Dimension is to adjust the dimensions of a shape of how it’s far from other shapes. It can be used for angles too! Line is to draw anything you want using lines. For shortcuts, click on letter D to call Dimension and letter L to call Line.
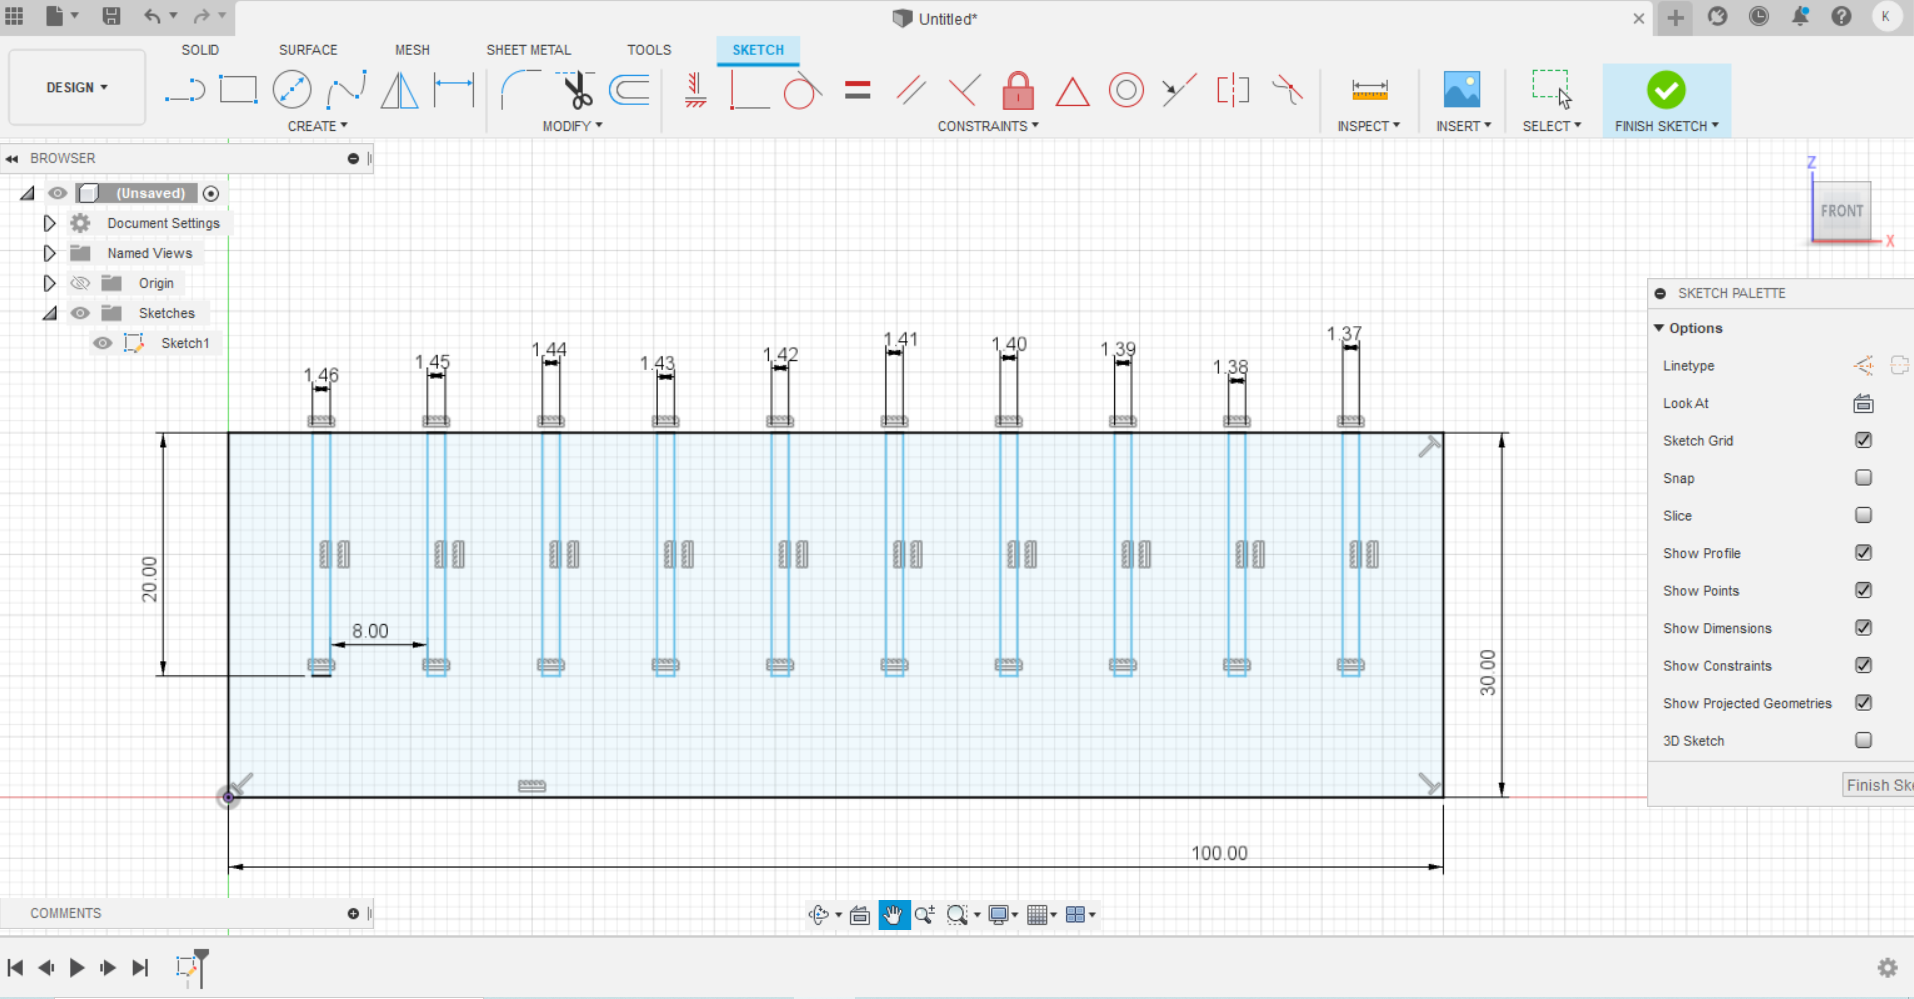
- After removing the small rectangles, and extrude the final shape, we got this:

Individual work:
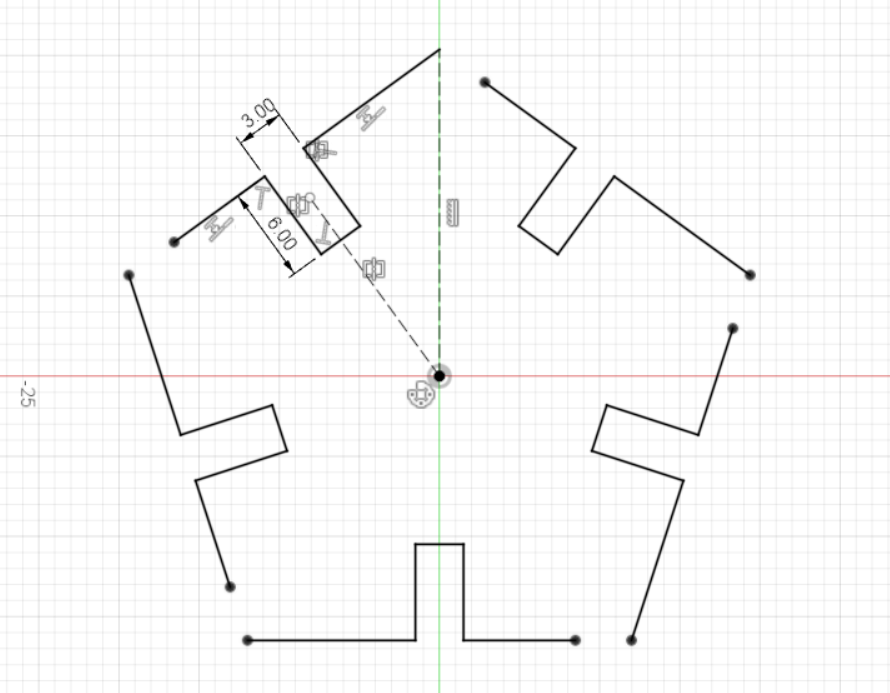
The Individual task was to make a parametric design, which means to if you change some of its dimensions it will conserve to its shape. And to make a press-fit designs, you can fit them together.\ The idea I worked for with my friend Sayed Ali, is to make a classic football using pentagons and hexagons connected with joints.\ At first, to design our parametric designs of pentagons, hexagons and joints, we need to learn about constraints in Fusion 360. This tutorial is so clear and great to start with: constraint tutorial.
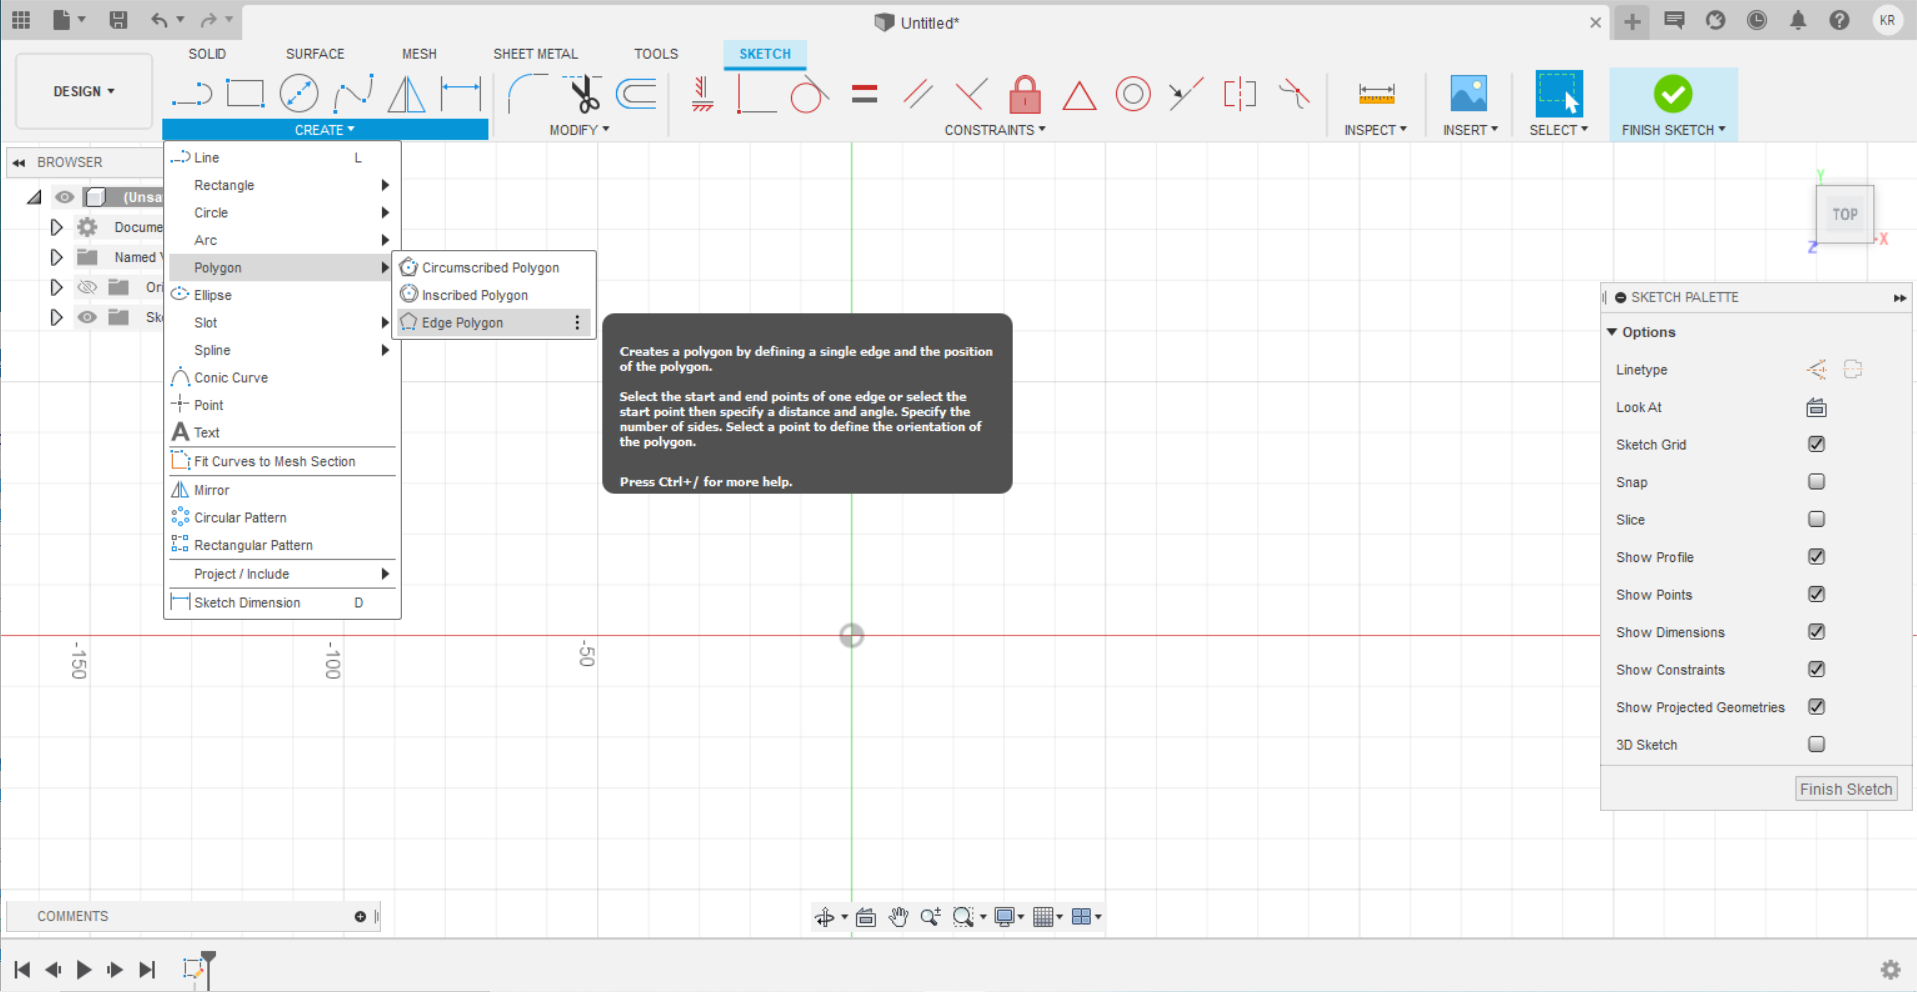
Here is the steps to make the parametric design of pentagon: 1. Draw a regular polygon, using polygon function as illustrated.
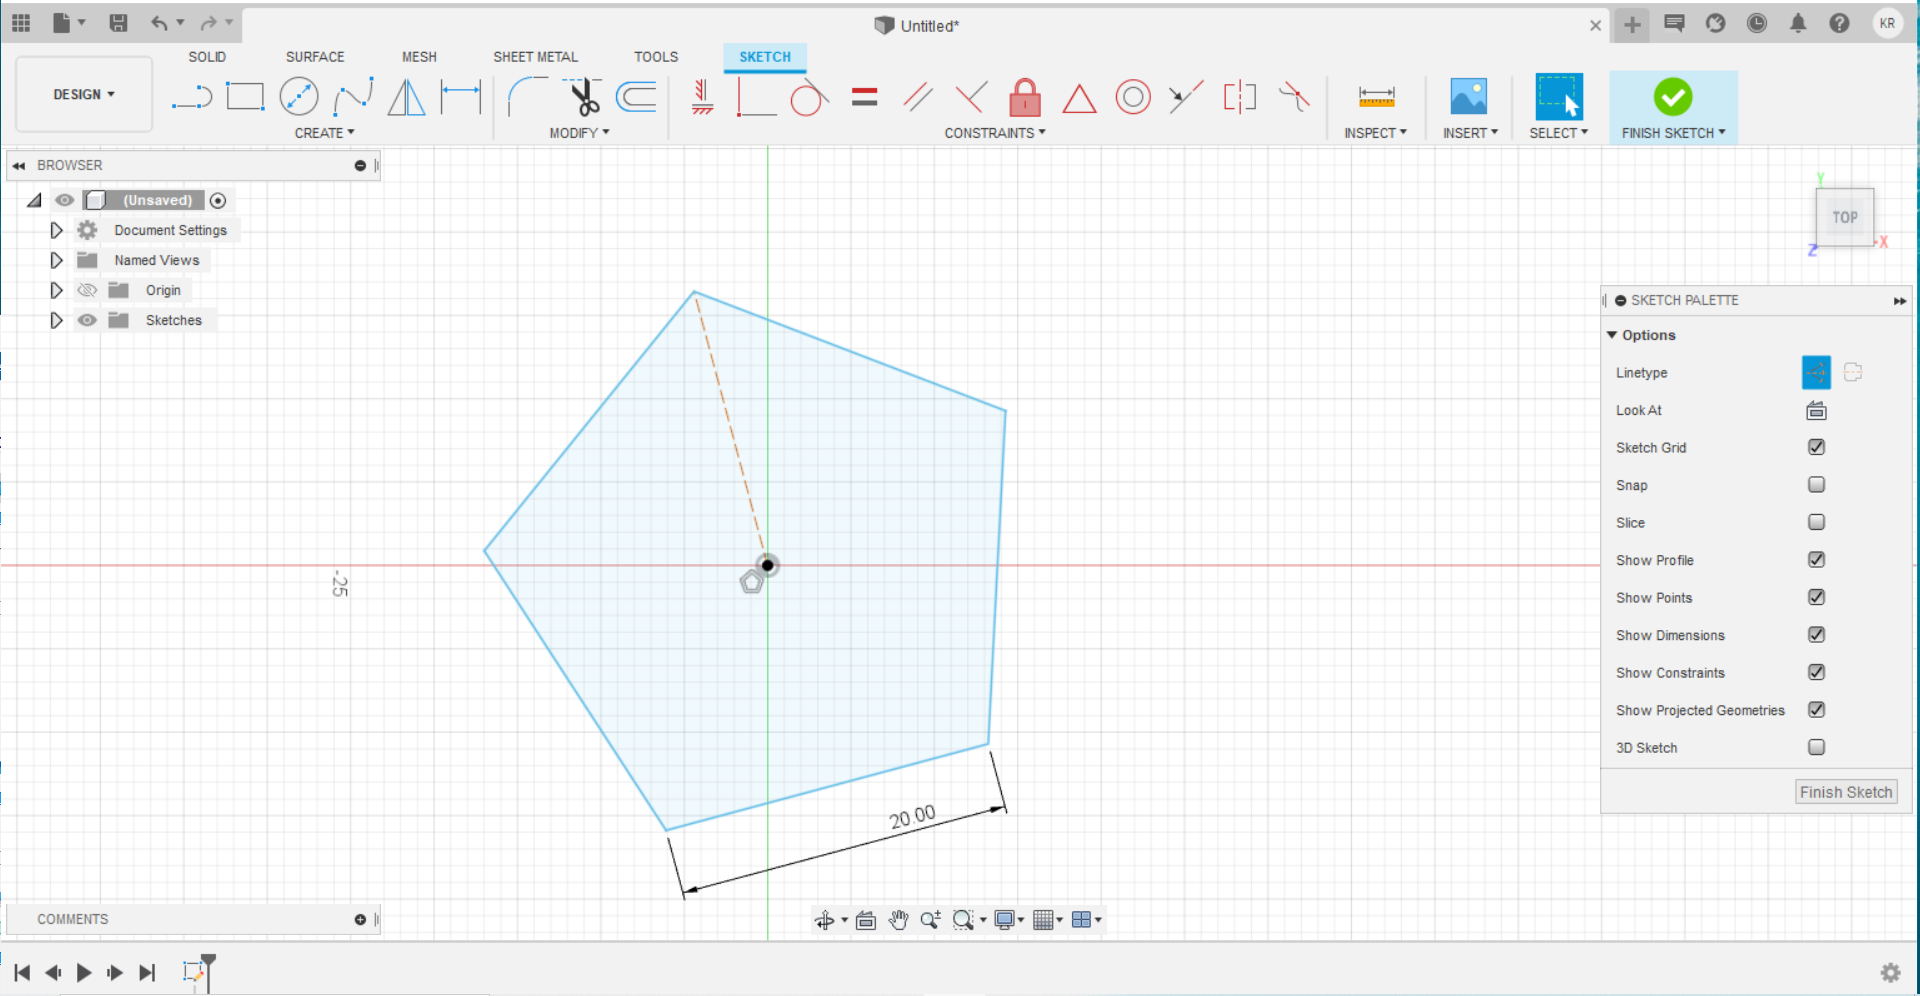
- Draw a construction line, from the origin to a vertex. The construction line is orange, that means it is not “well defined”.
- To well define the construction line, I use a constraint called Vertical/Horizontal which makes any line vertical or horizontal. Then I draw another construction line from the origin to the mid point in one edge, then make a rough 3 connected lines.
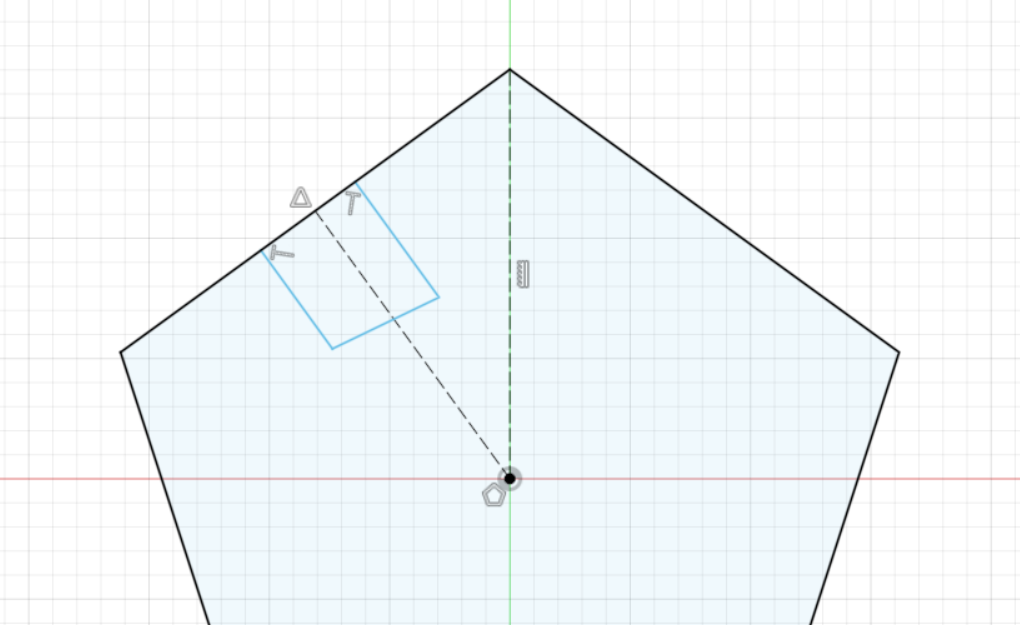
- These 3 lines will make my slot, I need to modify them. So I used perpendicular and symmetry, shown by red and green arrows respectively.
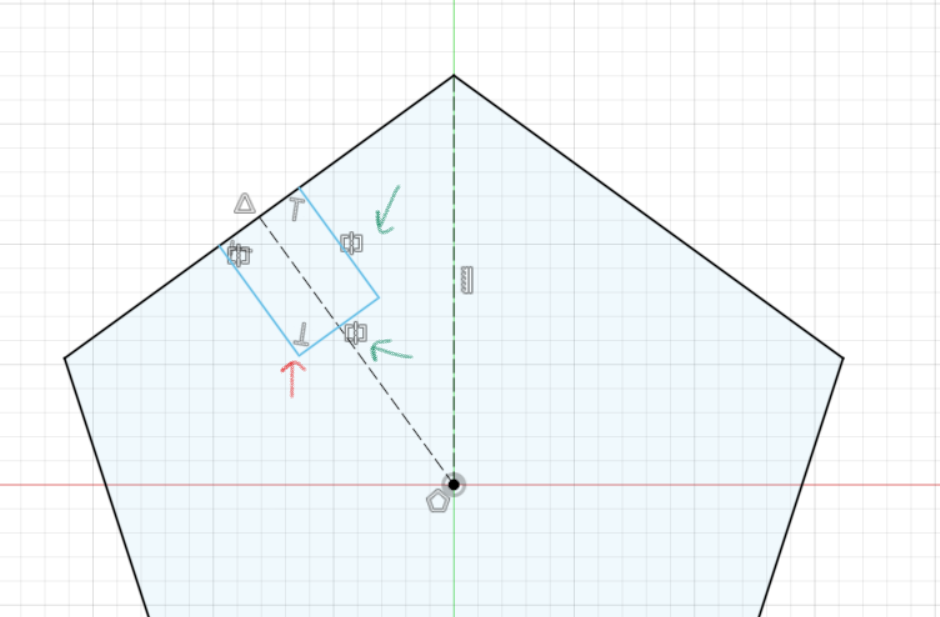
- Now, I remove the edge of polygon I work with, then connected the slot lines with the rest of the pentagon making the slot open. Now a critical constraint must be used, which is colinear. It makes the two new lines parallel with each other and on the same line!

- Now, I removed other edges and keep the one I worked with. I defined the dimensions of the slot.
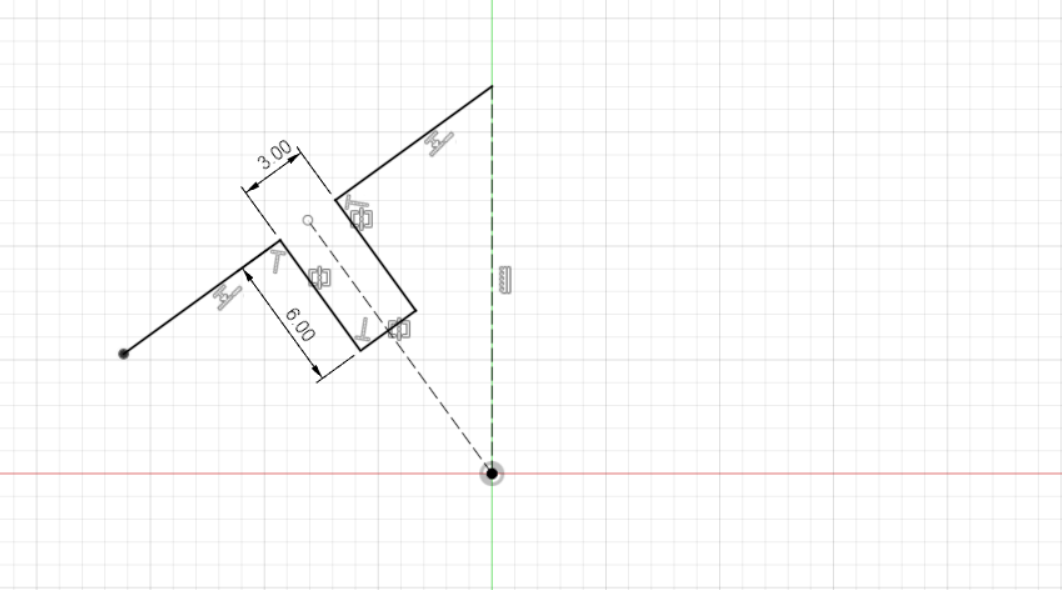
- Circular Pattern, I used this to rotate repeat my work on a circular pattern around a point I choose and the times I want.

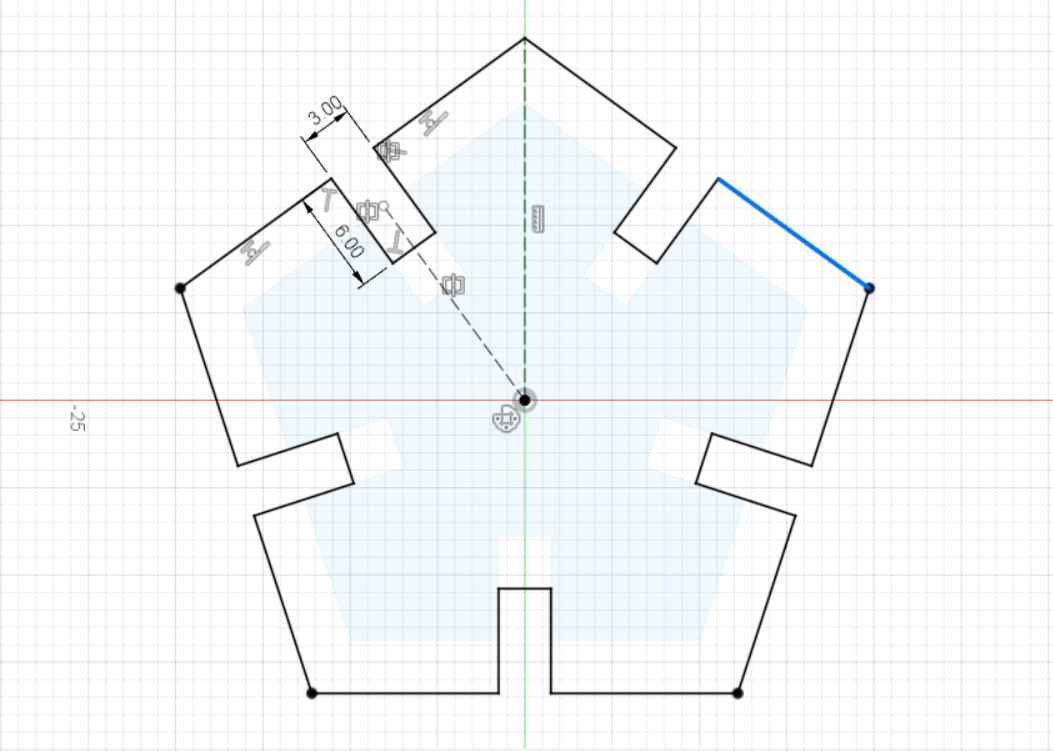
- Finally, finished!
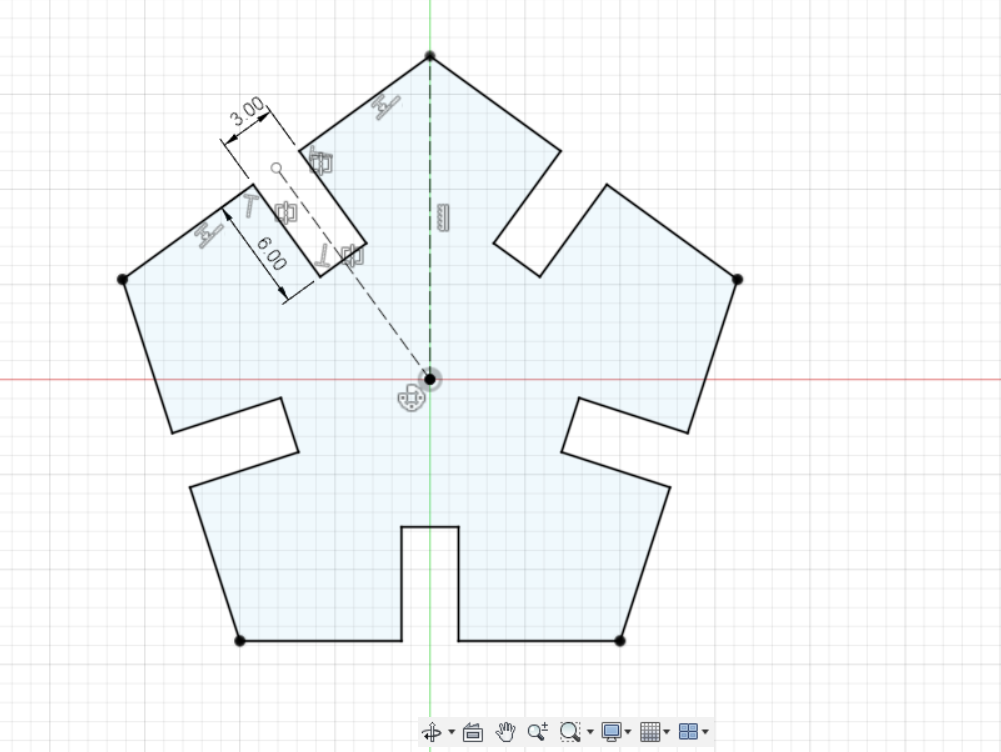
- Don’t be so happy, there a problem that you cannot change its size.
- The solution is to use another constraint, which is coincident. Now it’s beautiful!
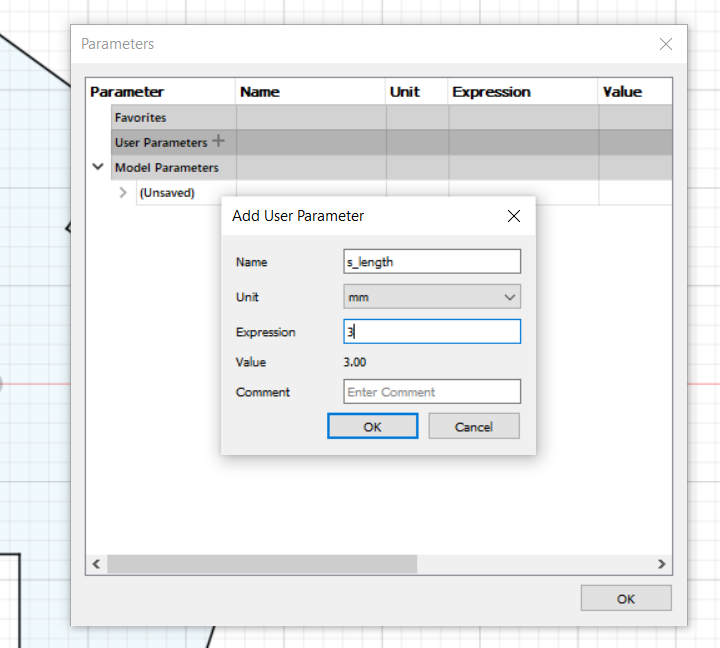
- Adding parameters, to make it parametric and easy to adjust dimensions.
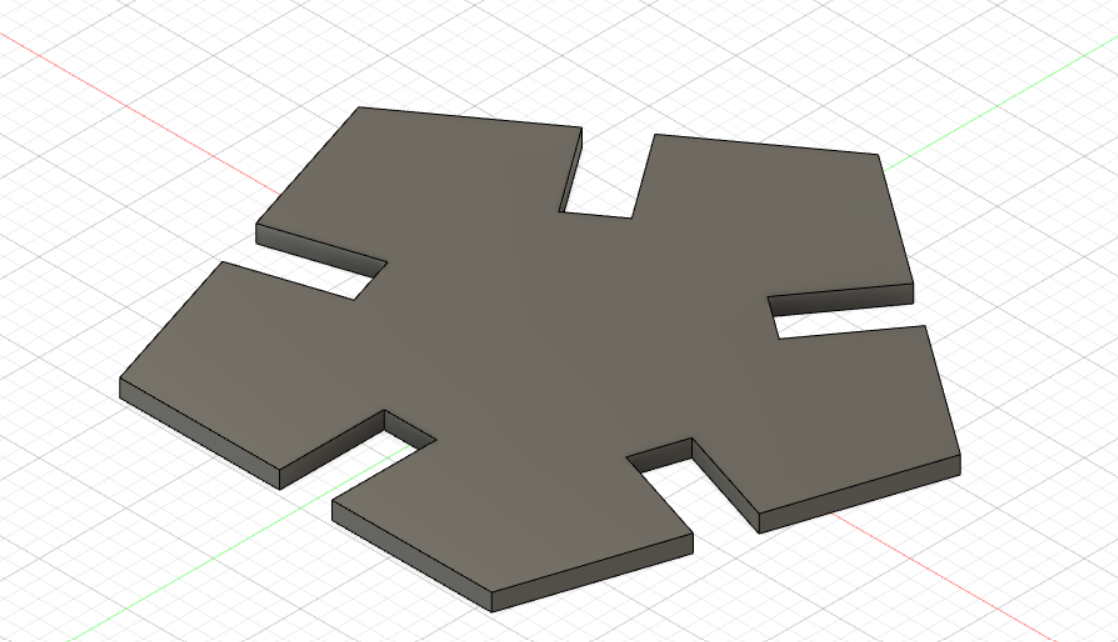
- Extrude the sketch.
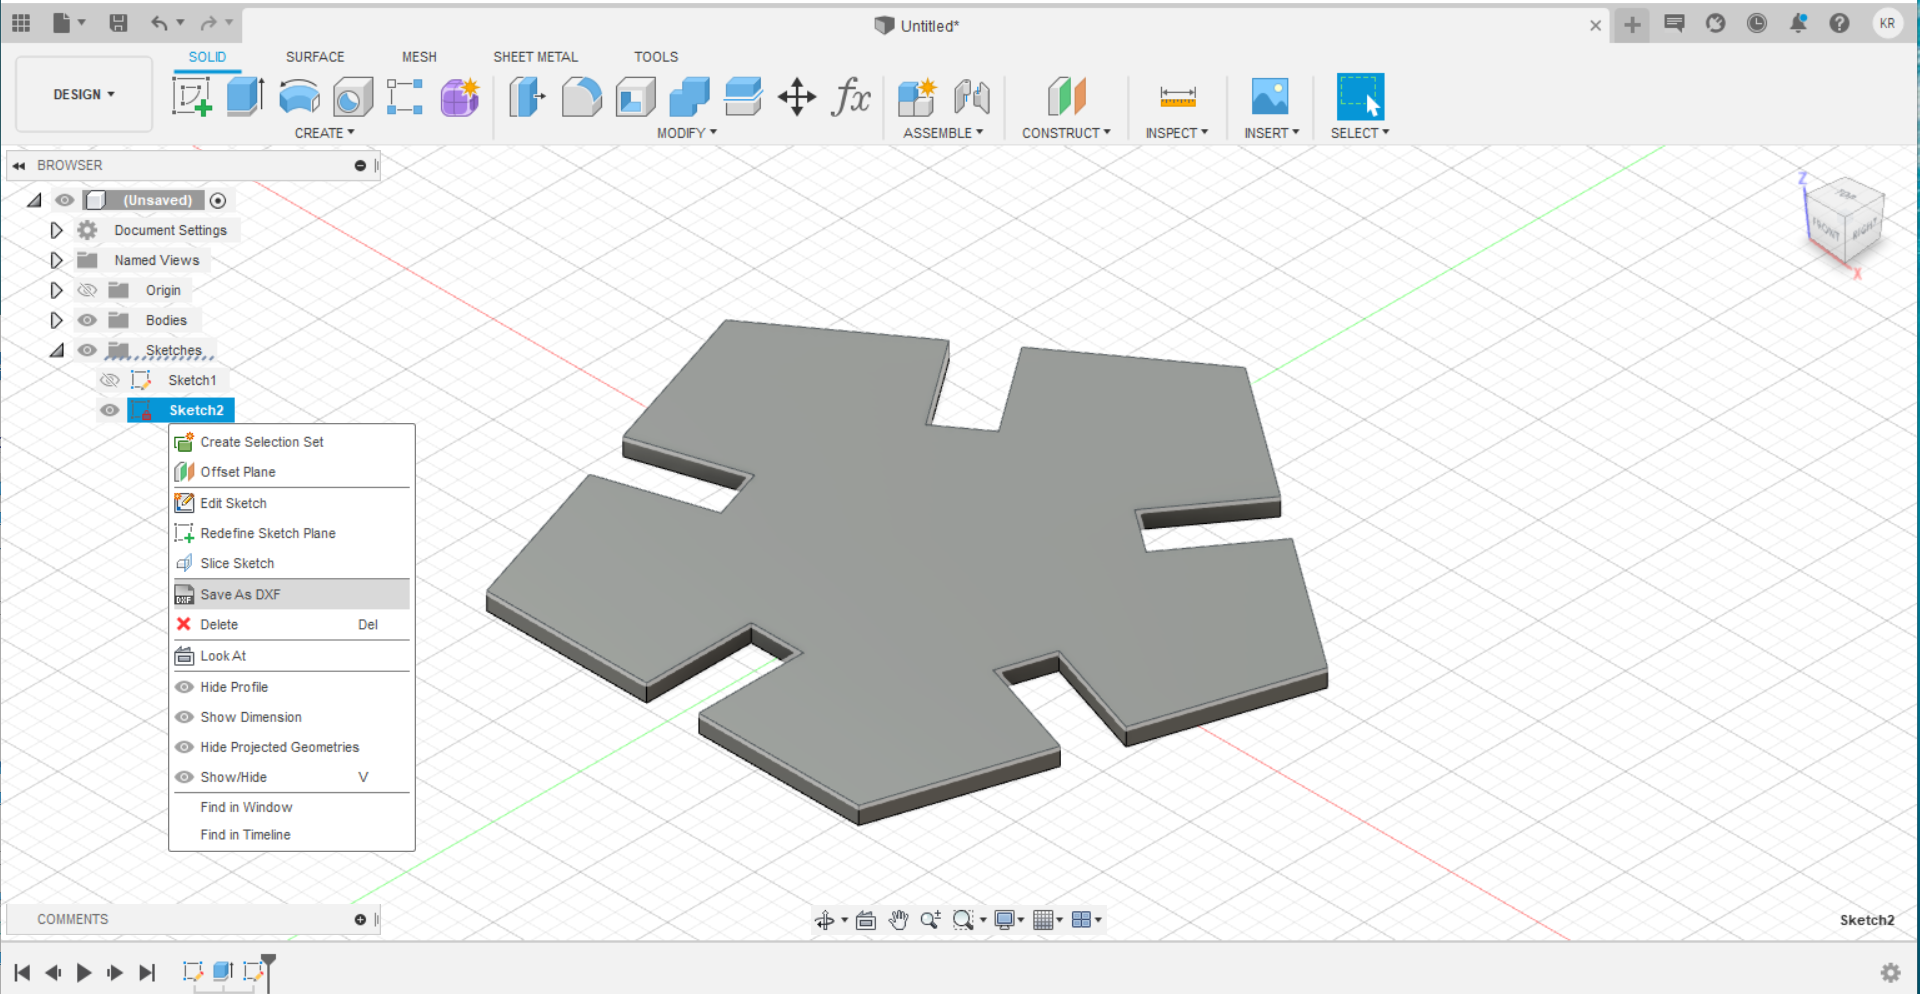
- Then, I create a new sketch above the design to get rid of the construction lines because I don’t want then to appear in the dxf file.
- Then, I exported the design as dxf file.
- Now repeat the above steps to make the hexagon.
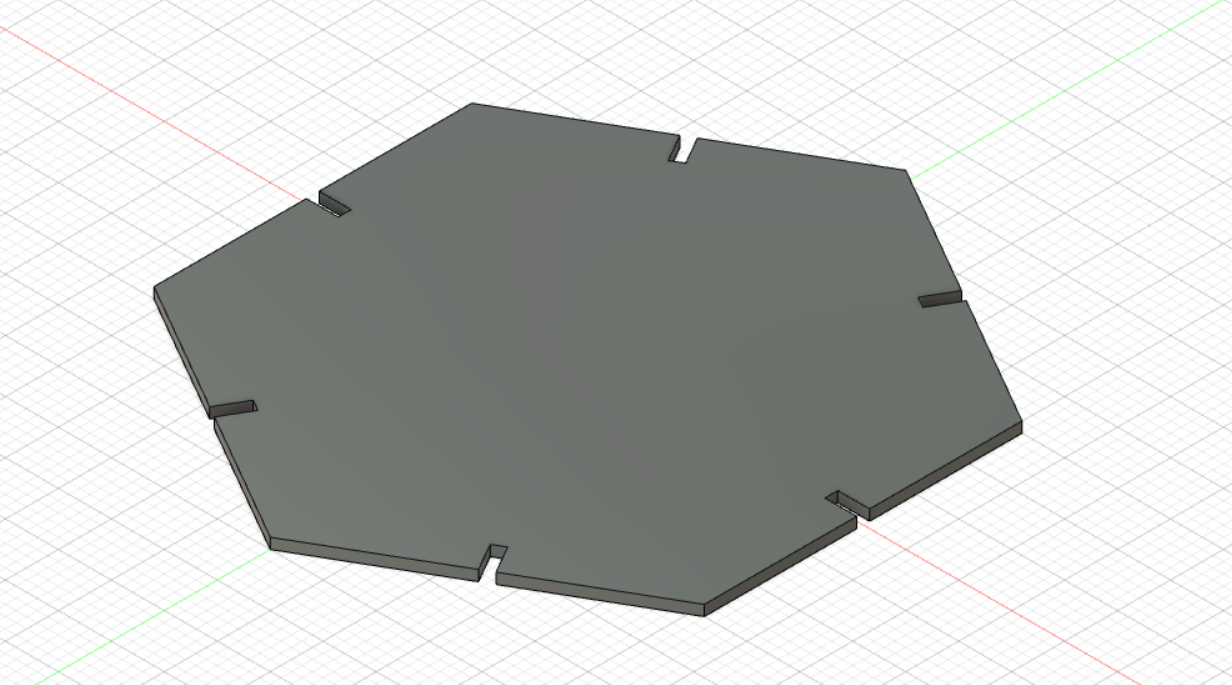
- For joints, it’s similar, with little differences. First, I didn’t use circular pattern, instead I used mirror. And I add a constraint to the angle here. You can see more details for joints in Sayed Ali’s page.

Final Results!!!
Design Files:
-
Joint:\ H-H dxf file\ H-P dxf file\ f3d file
Vinyl cutting
First, we started with downloading the cricut software. Be careful! It’s CRICUT not CIRCUIT!!
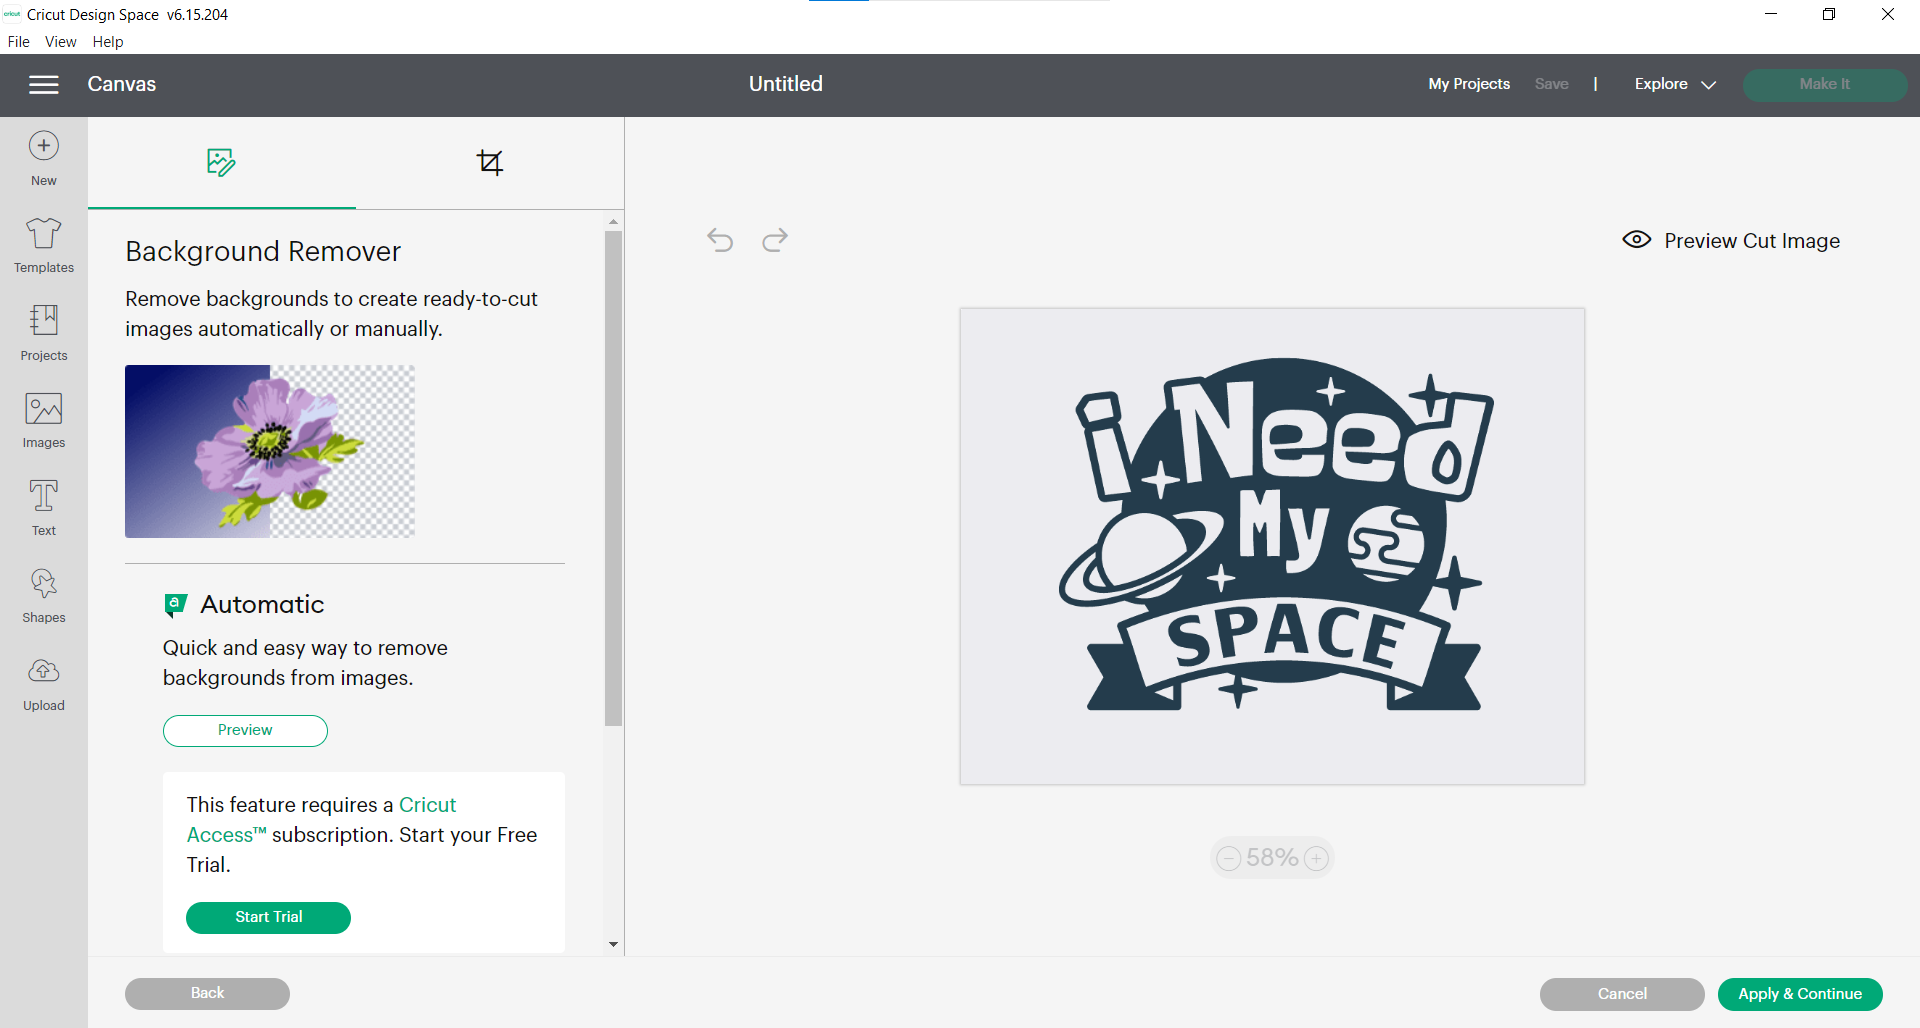
After opening the program, choose new project:
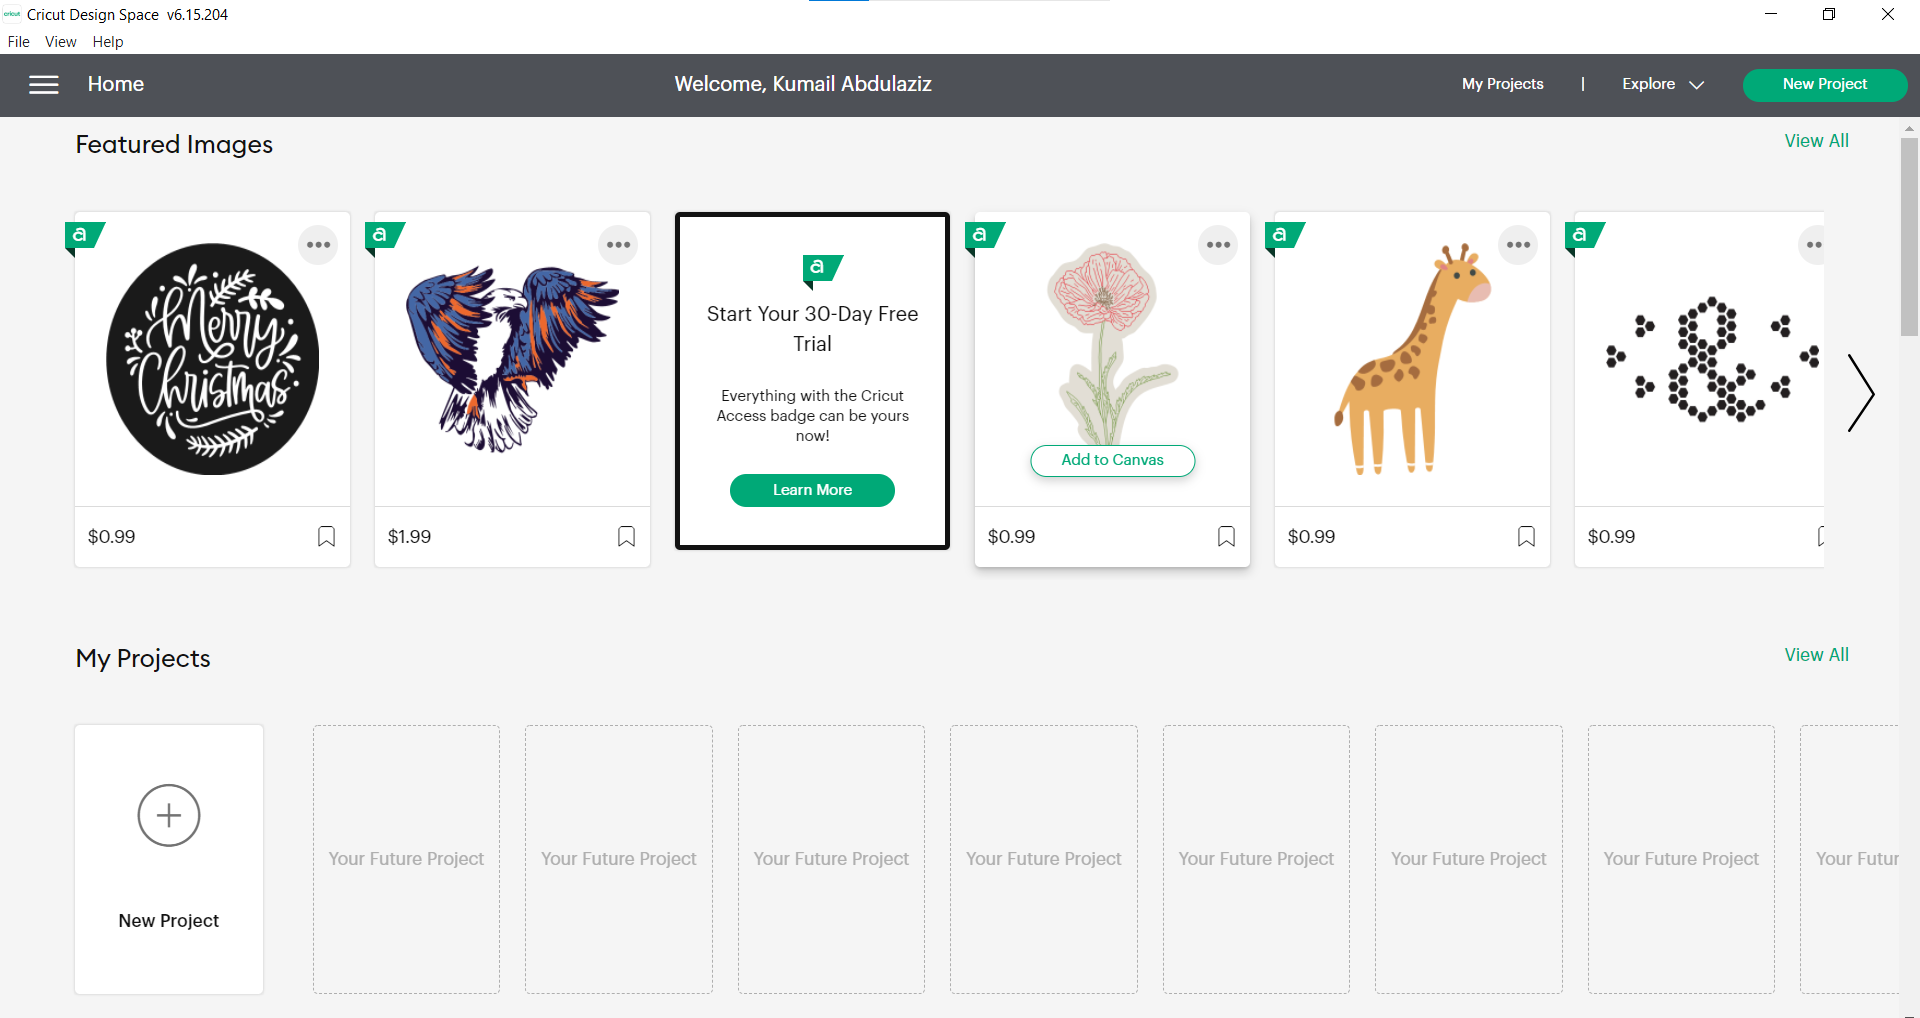
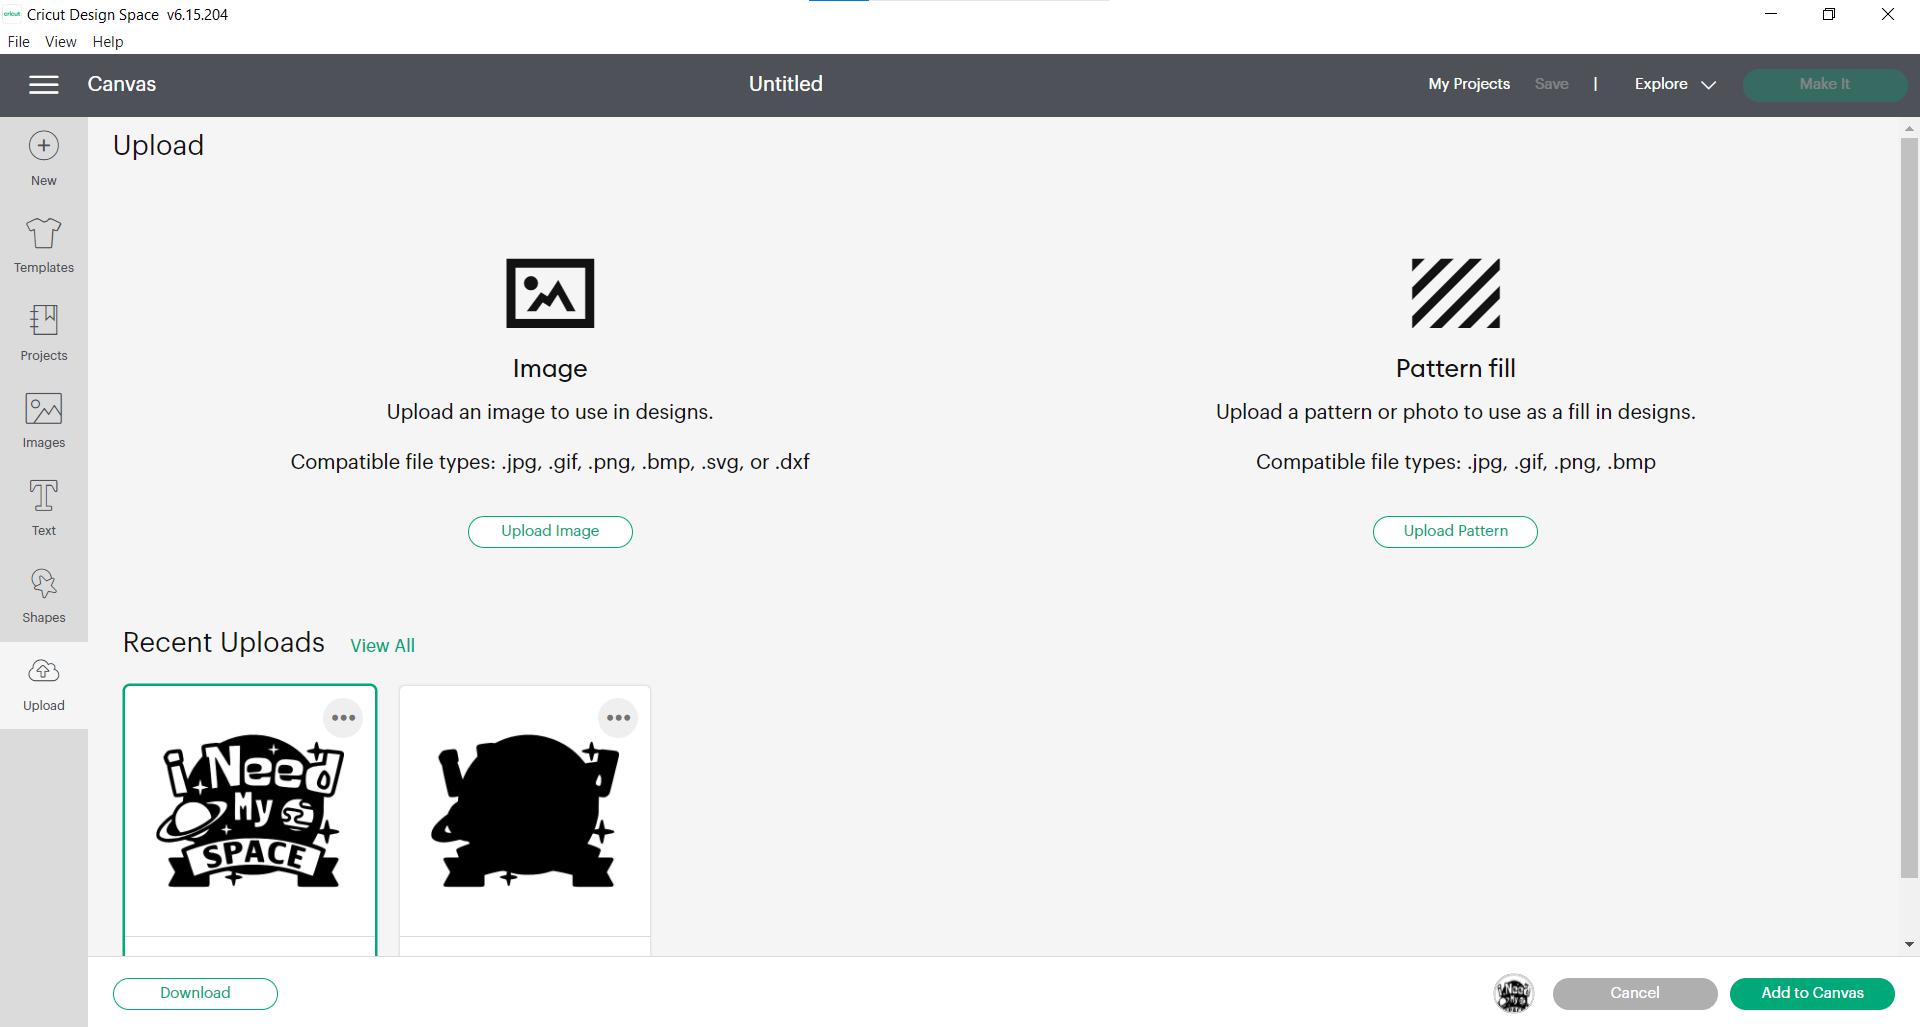
Then, click on upload to upload the design you want:

Next, is to upload the image you want, for me the one I choose is from here:
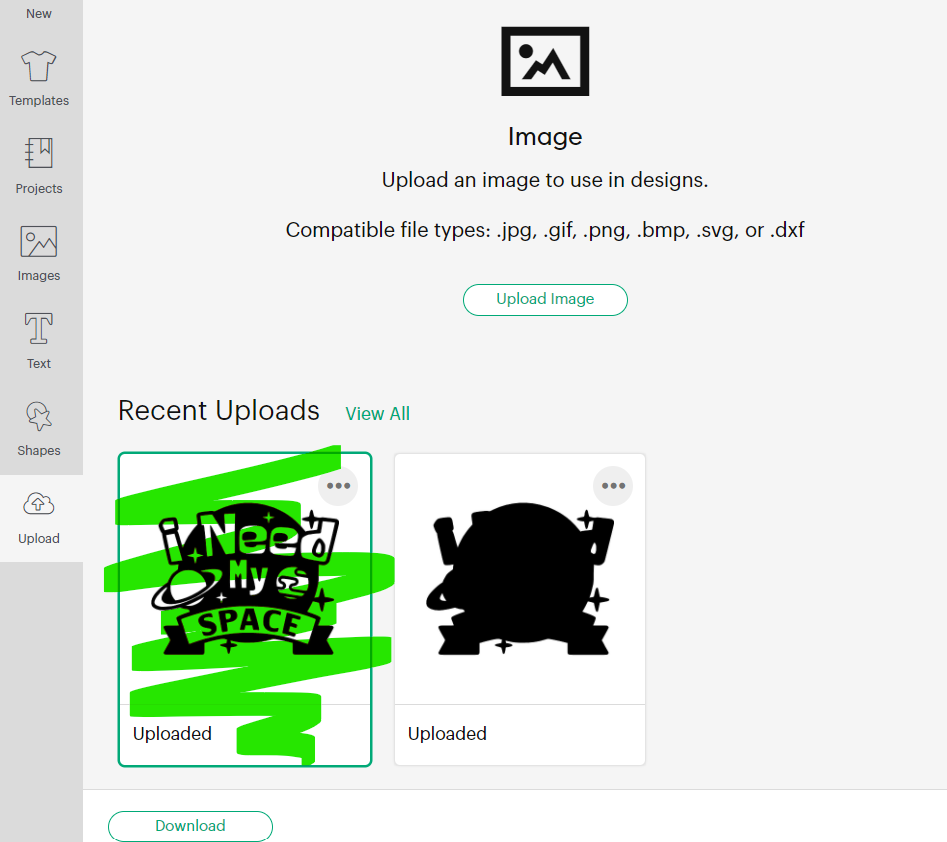
I already uploaded mine before, so I just take it from recent uploads:
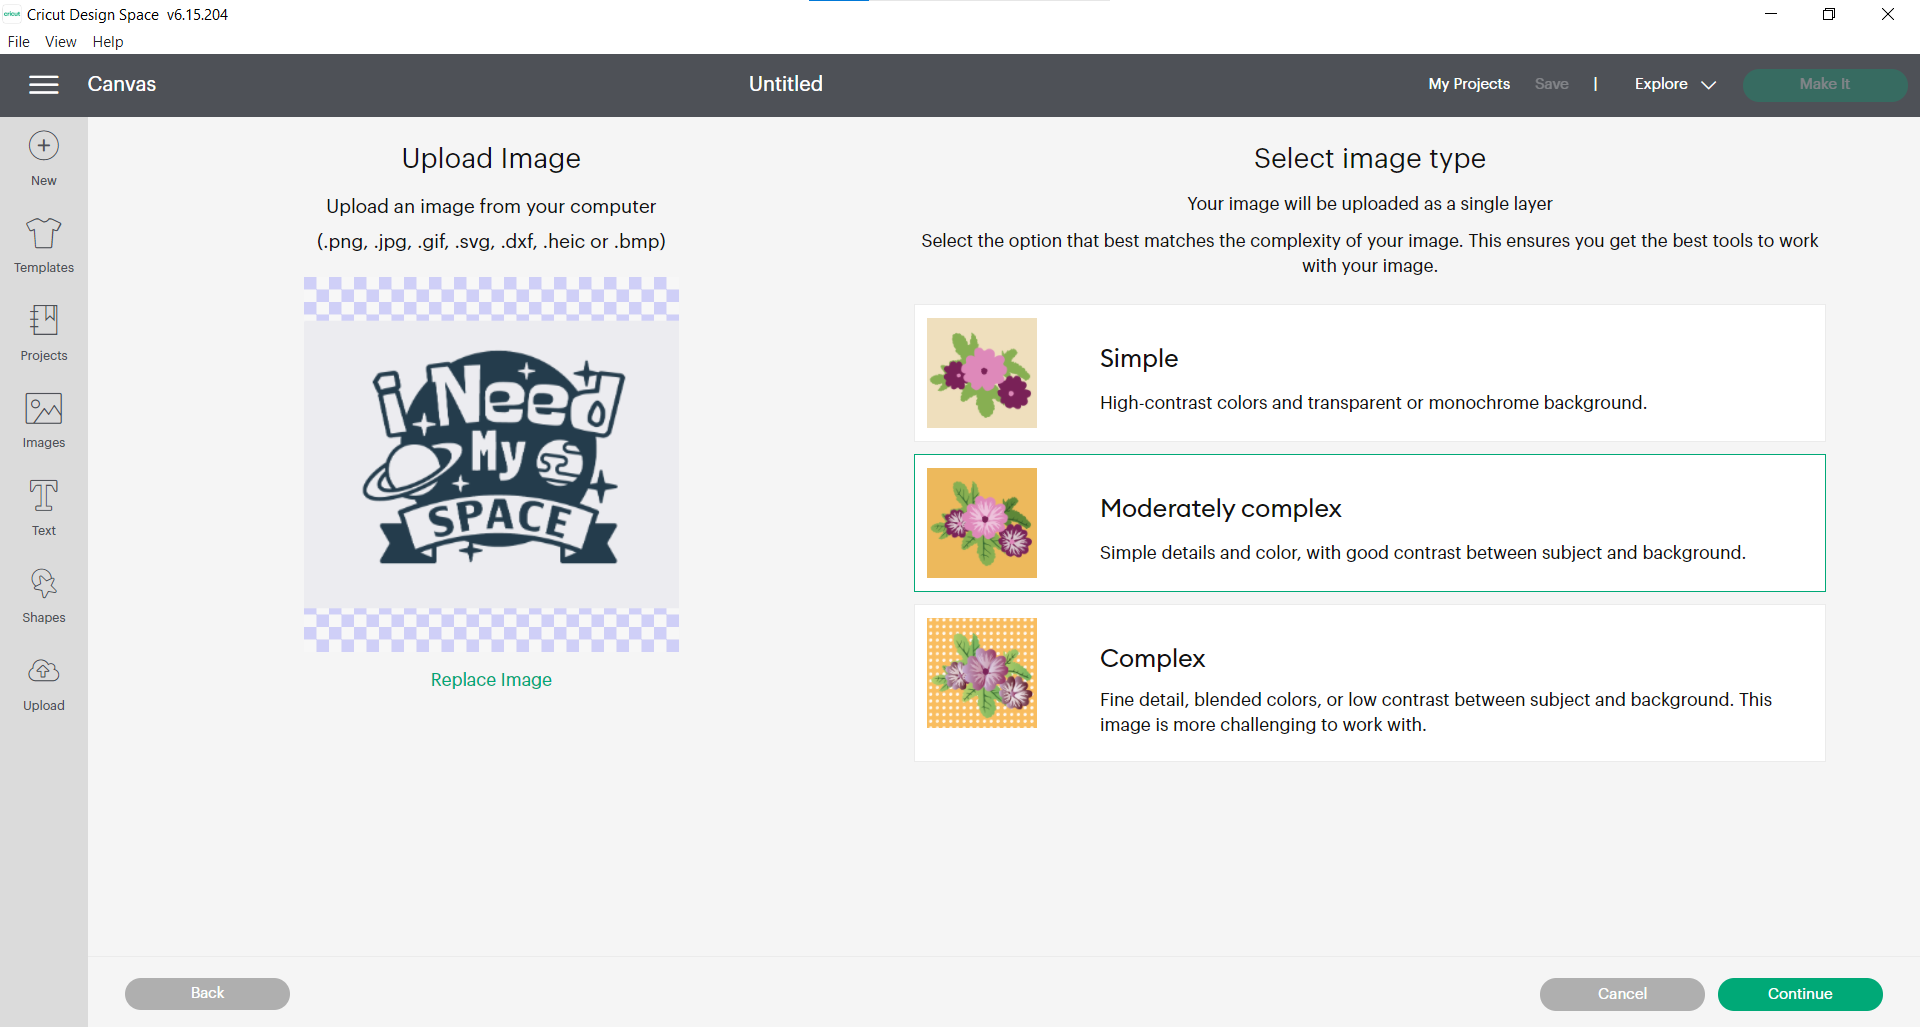
The mode of cutting must be chosen, for me it was moderately complex:
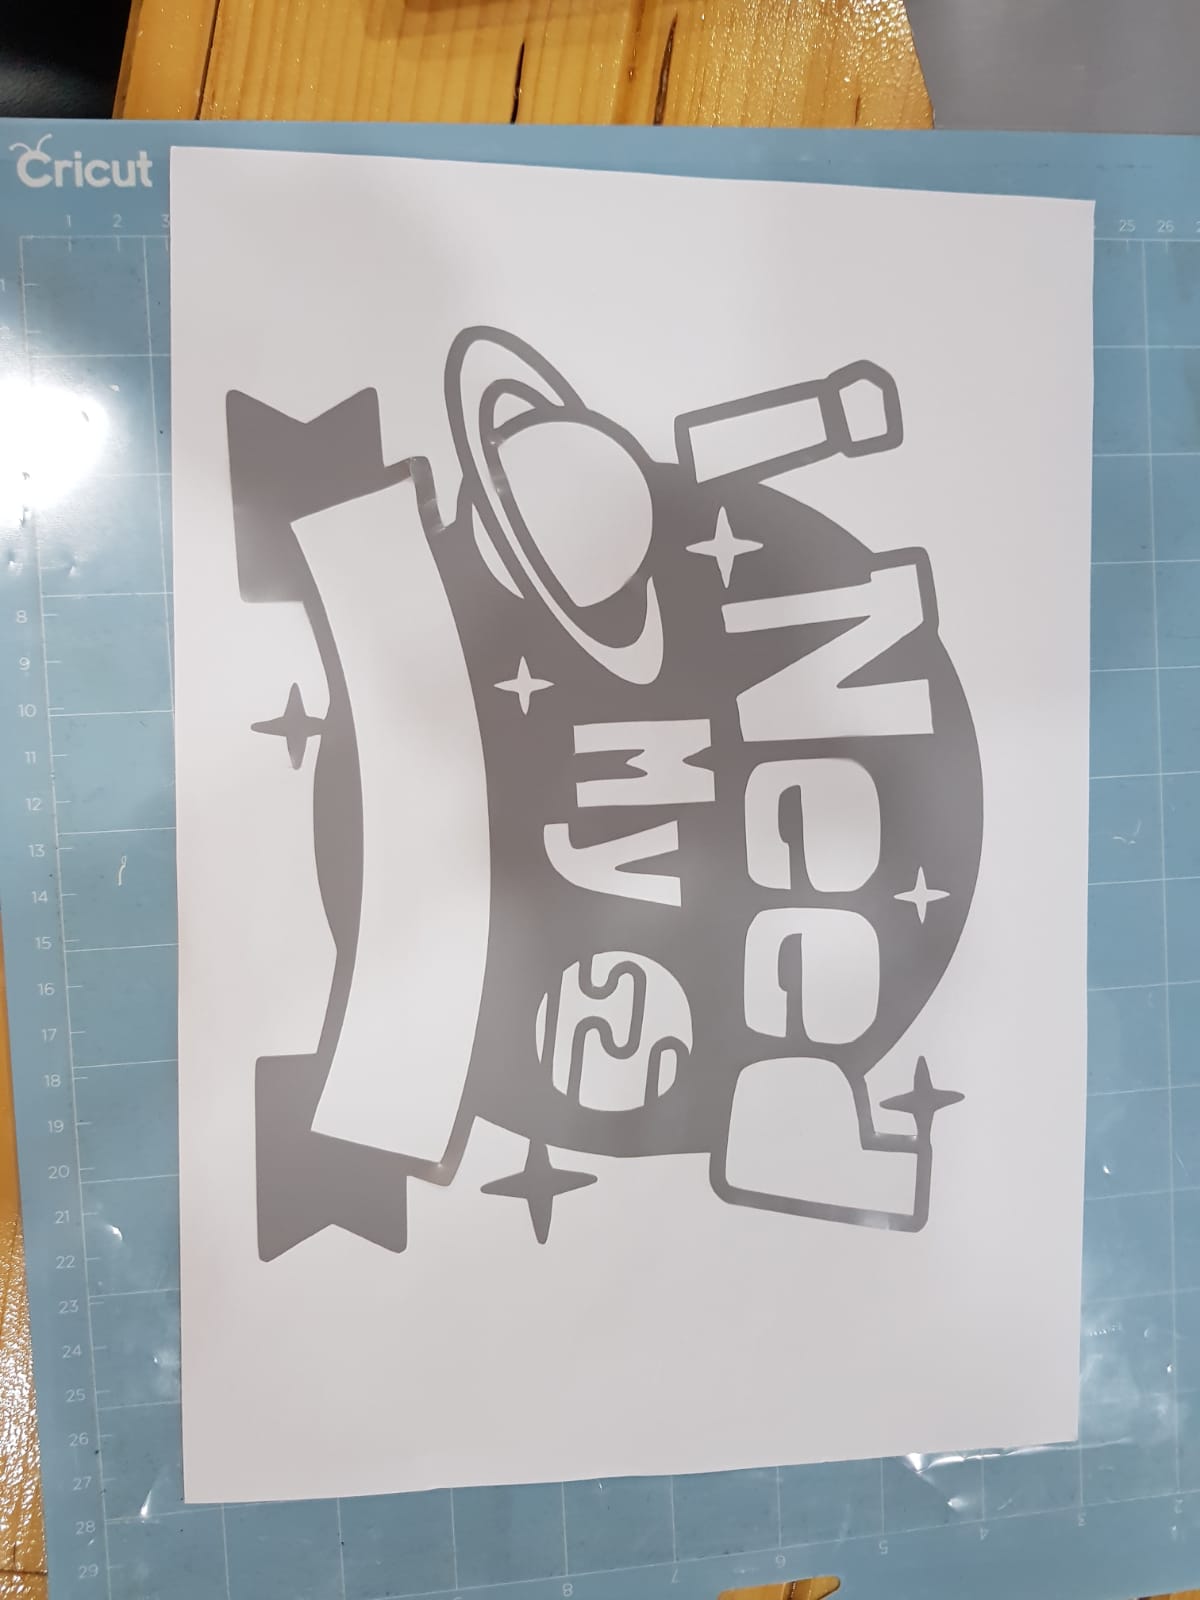
Cut the areas you don’t want:
Adding it to canvas:
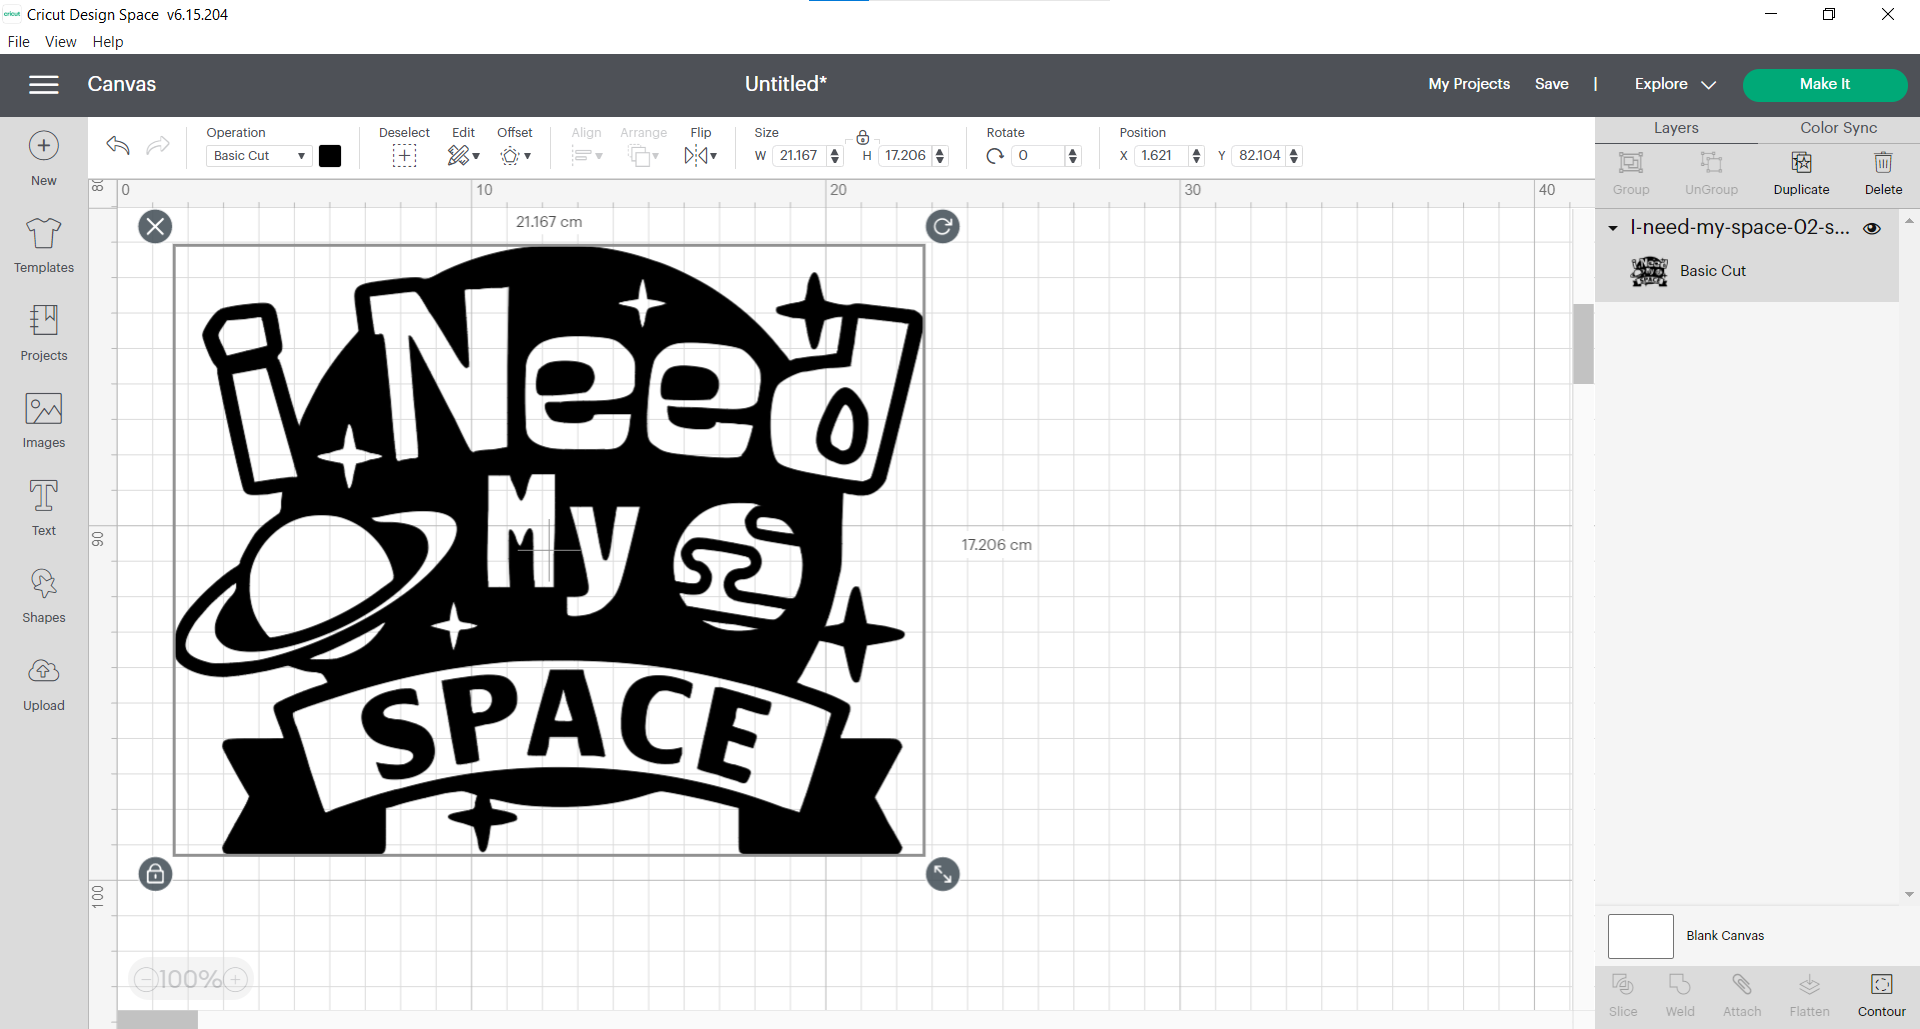
After editing it, changing its position or its size, it’s time for cutting!
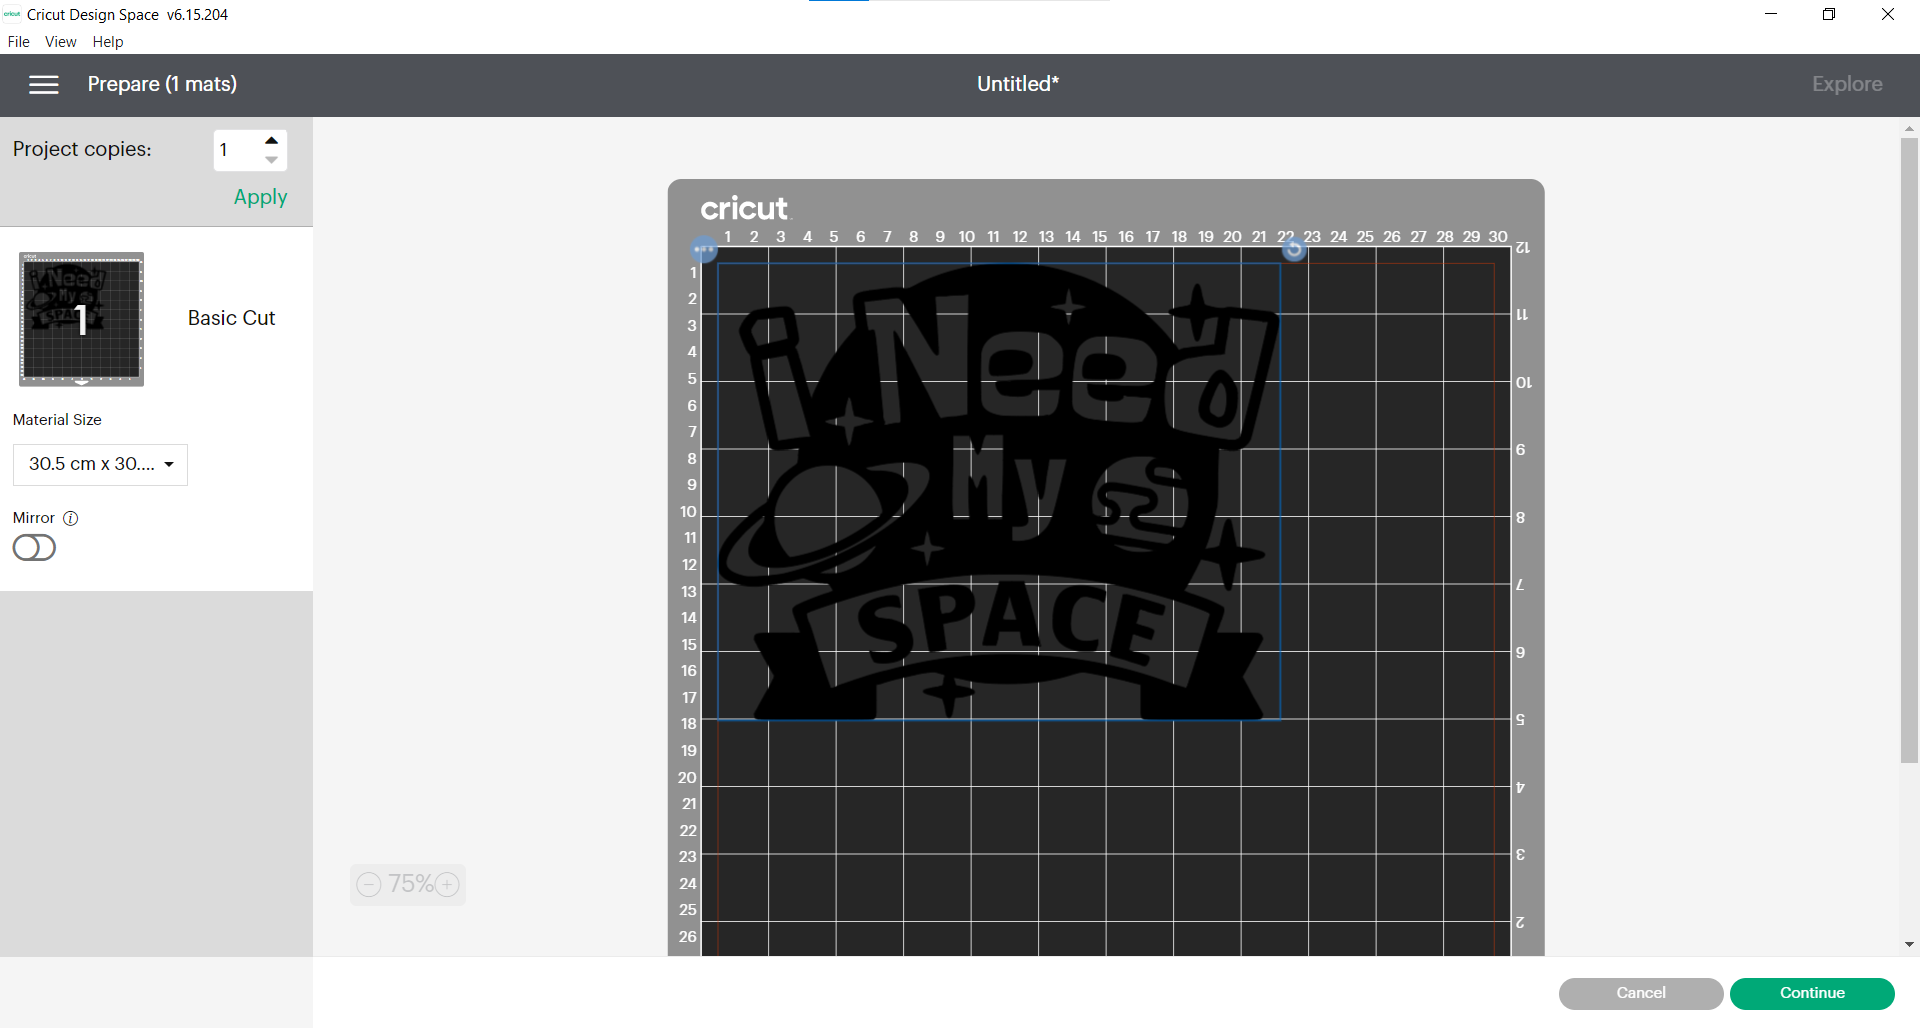
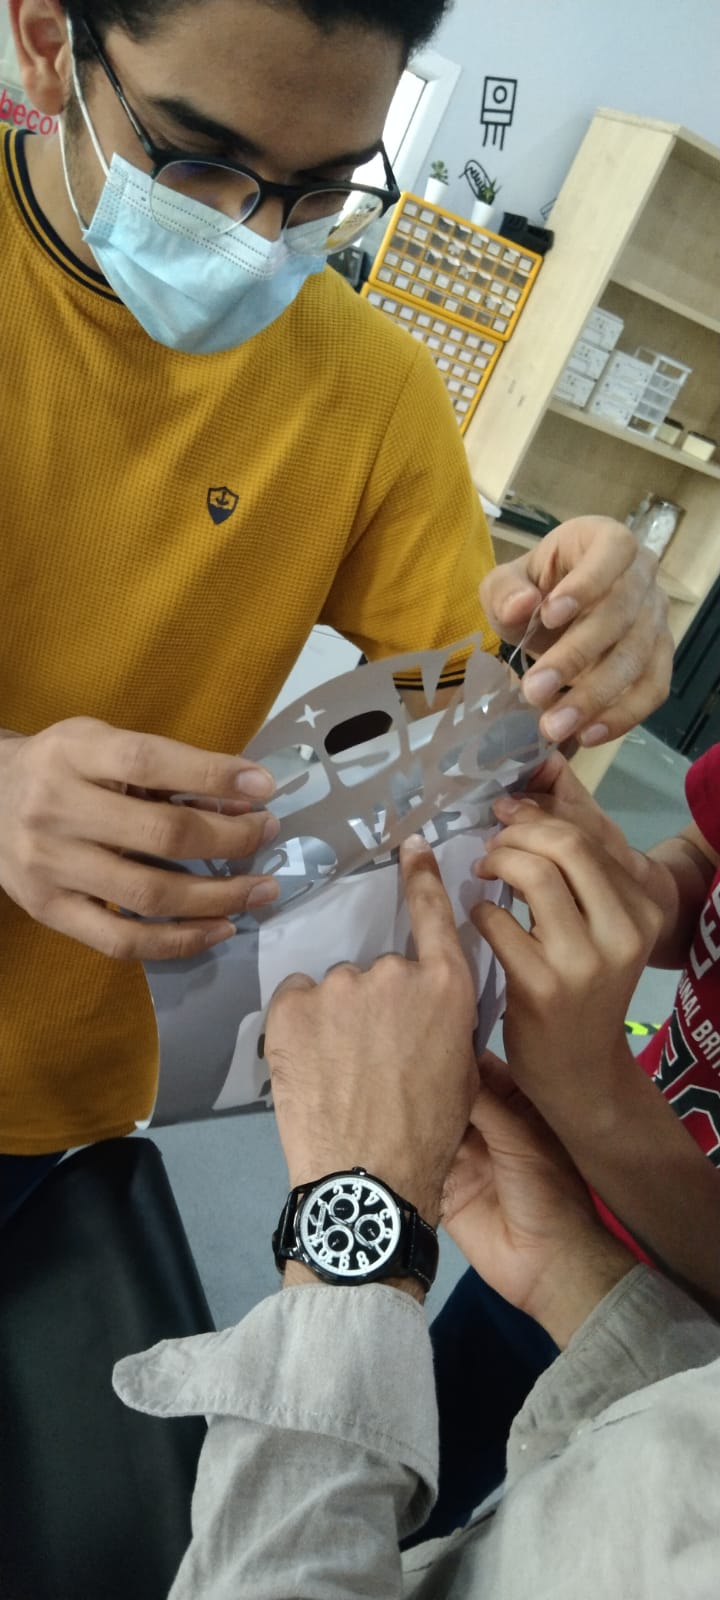
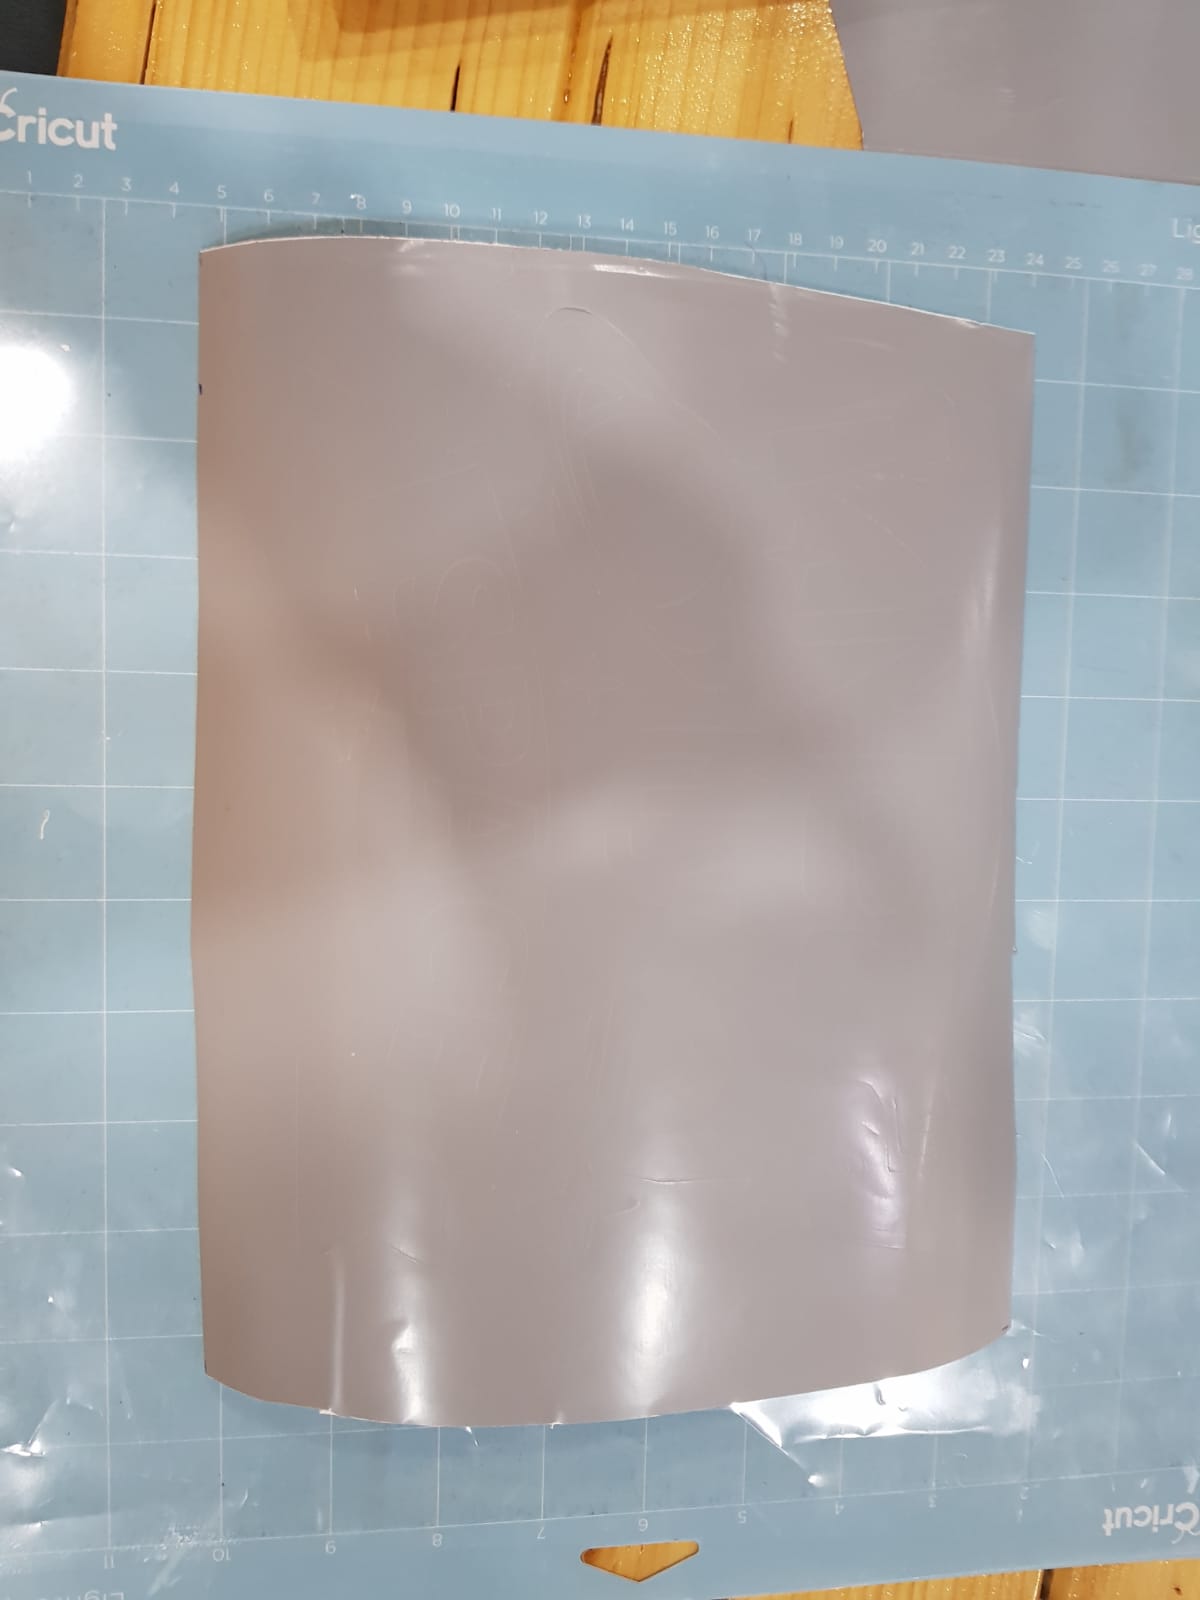
Put the vinyl properly in the grid board, then into cutter machine properly:
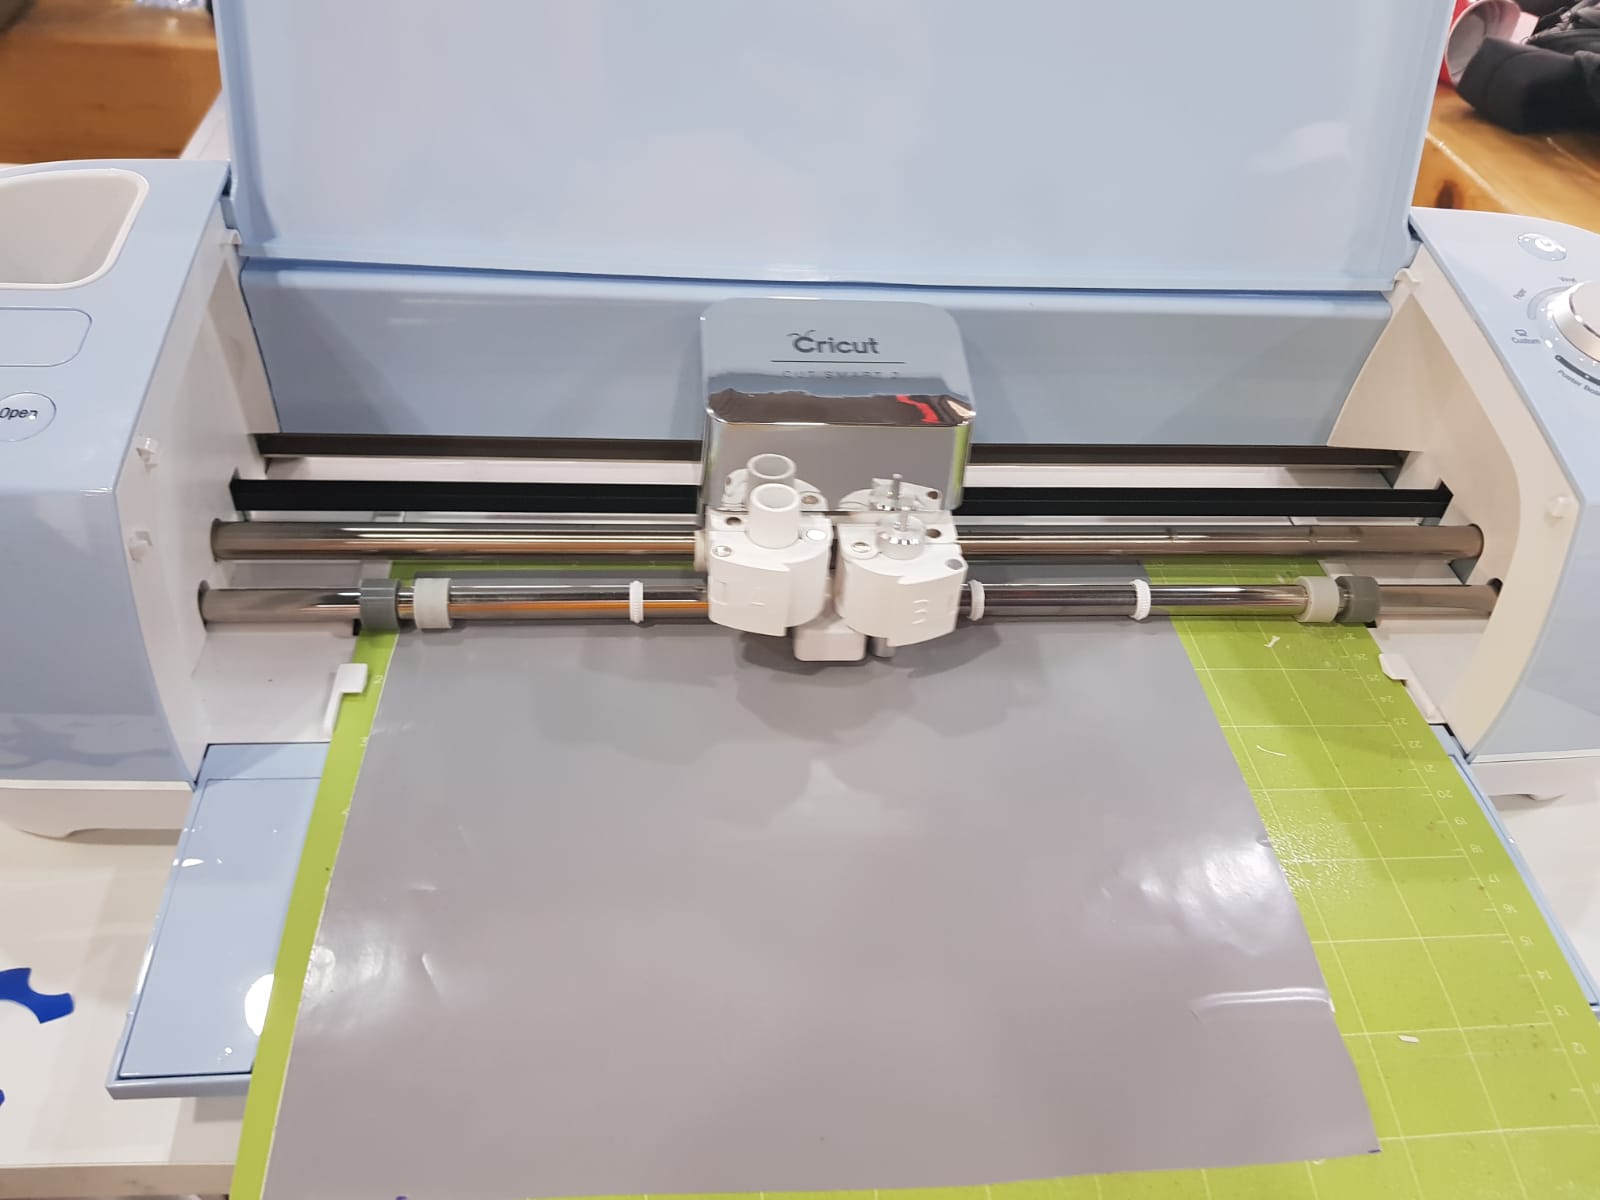
After a while, it’s finished:
Removing the unwanted areas:
Quick notes:
I faces some issues through this process:
First I didn’t remove the unwanted areas properly, so after the 1st attempt it was ugly! In the 2nd attempt, I use the same vinyl BUT I put it again on the same position as before, and it works!
Secondly, my sticker was thin and big, so it was hard to remove, but colleagues helped me remove it without any problems.