5. 3D printing and scanning
3D Printing
Group Assignment:
Group assignment was in two parts, the first one to learn about 3D printer and its prints, and we saw some samples of 3D printing that learn us about angles and filling and so on. Check Tefla’s page for that.\ Then, we have to print something to learn how to do it by ourselves, check Sayed Ali’s page to see how we did it.
Individual Assignment:
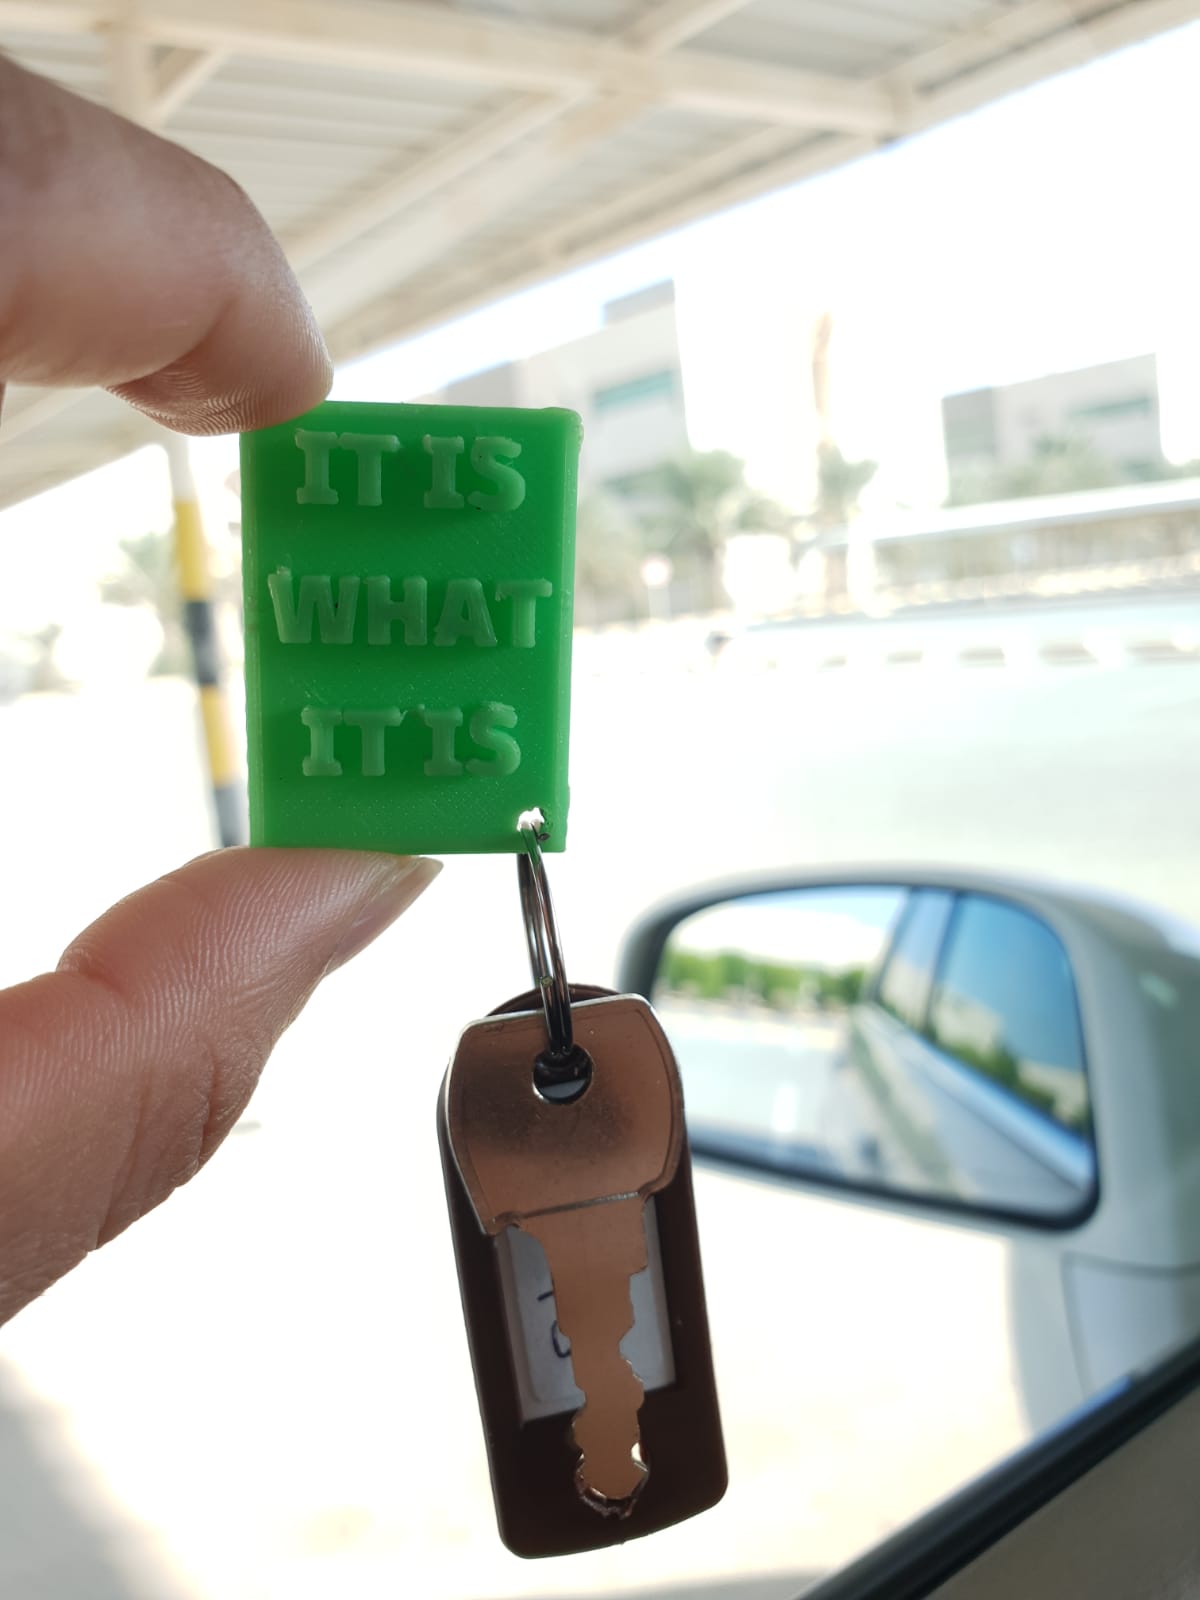
The individual assignment was to make design on my own, then try to print it. I decide to make 2 designs, which they are a Desktop Name and a Gyroscopic Keychain. This the final results of them:
|Desktop Name|
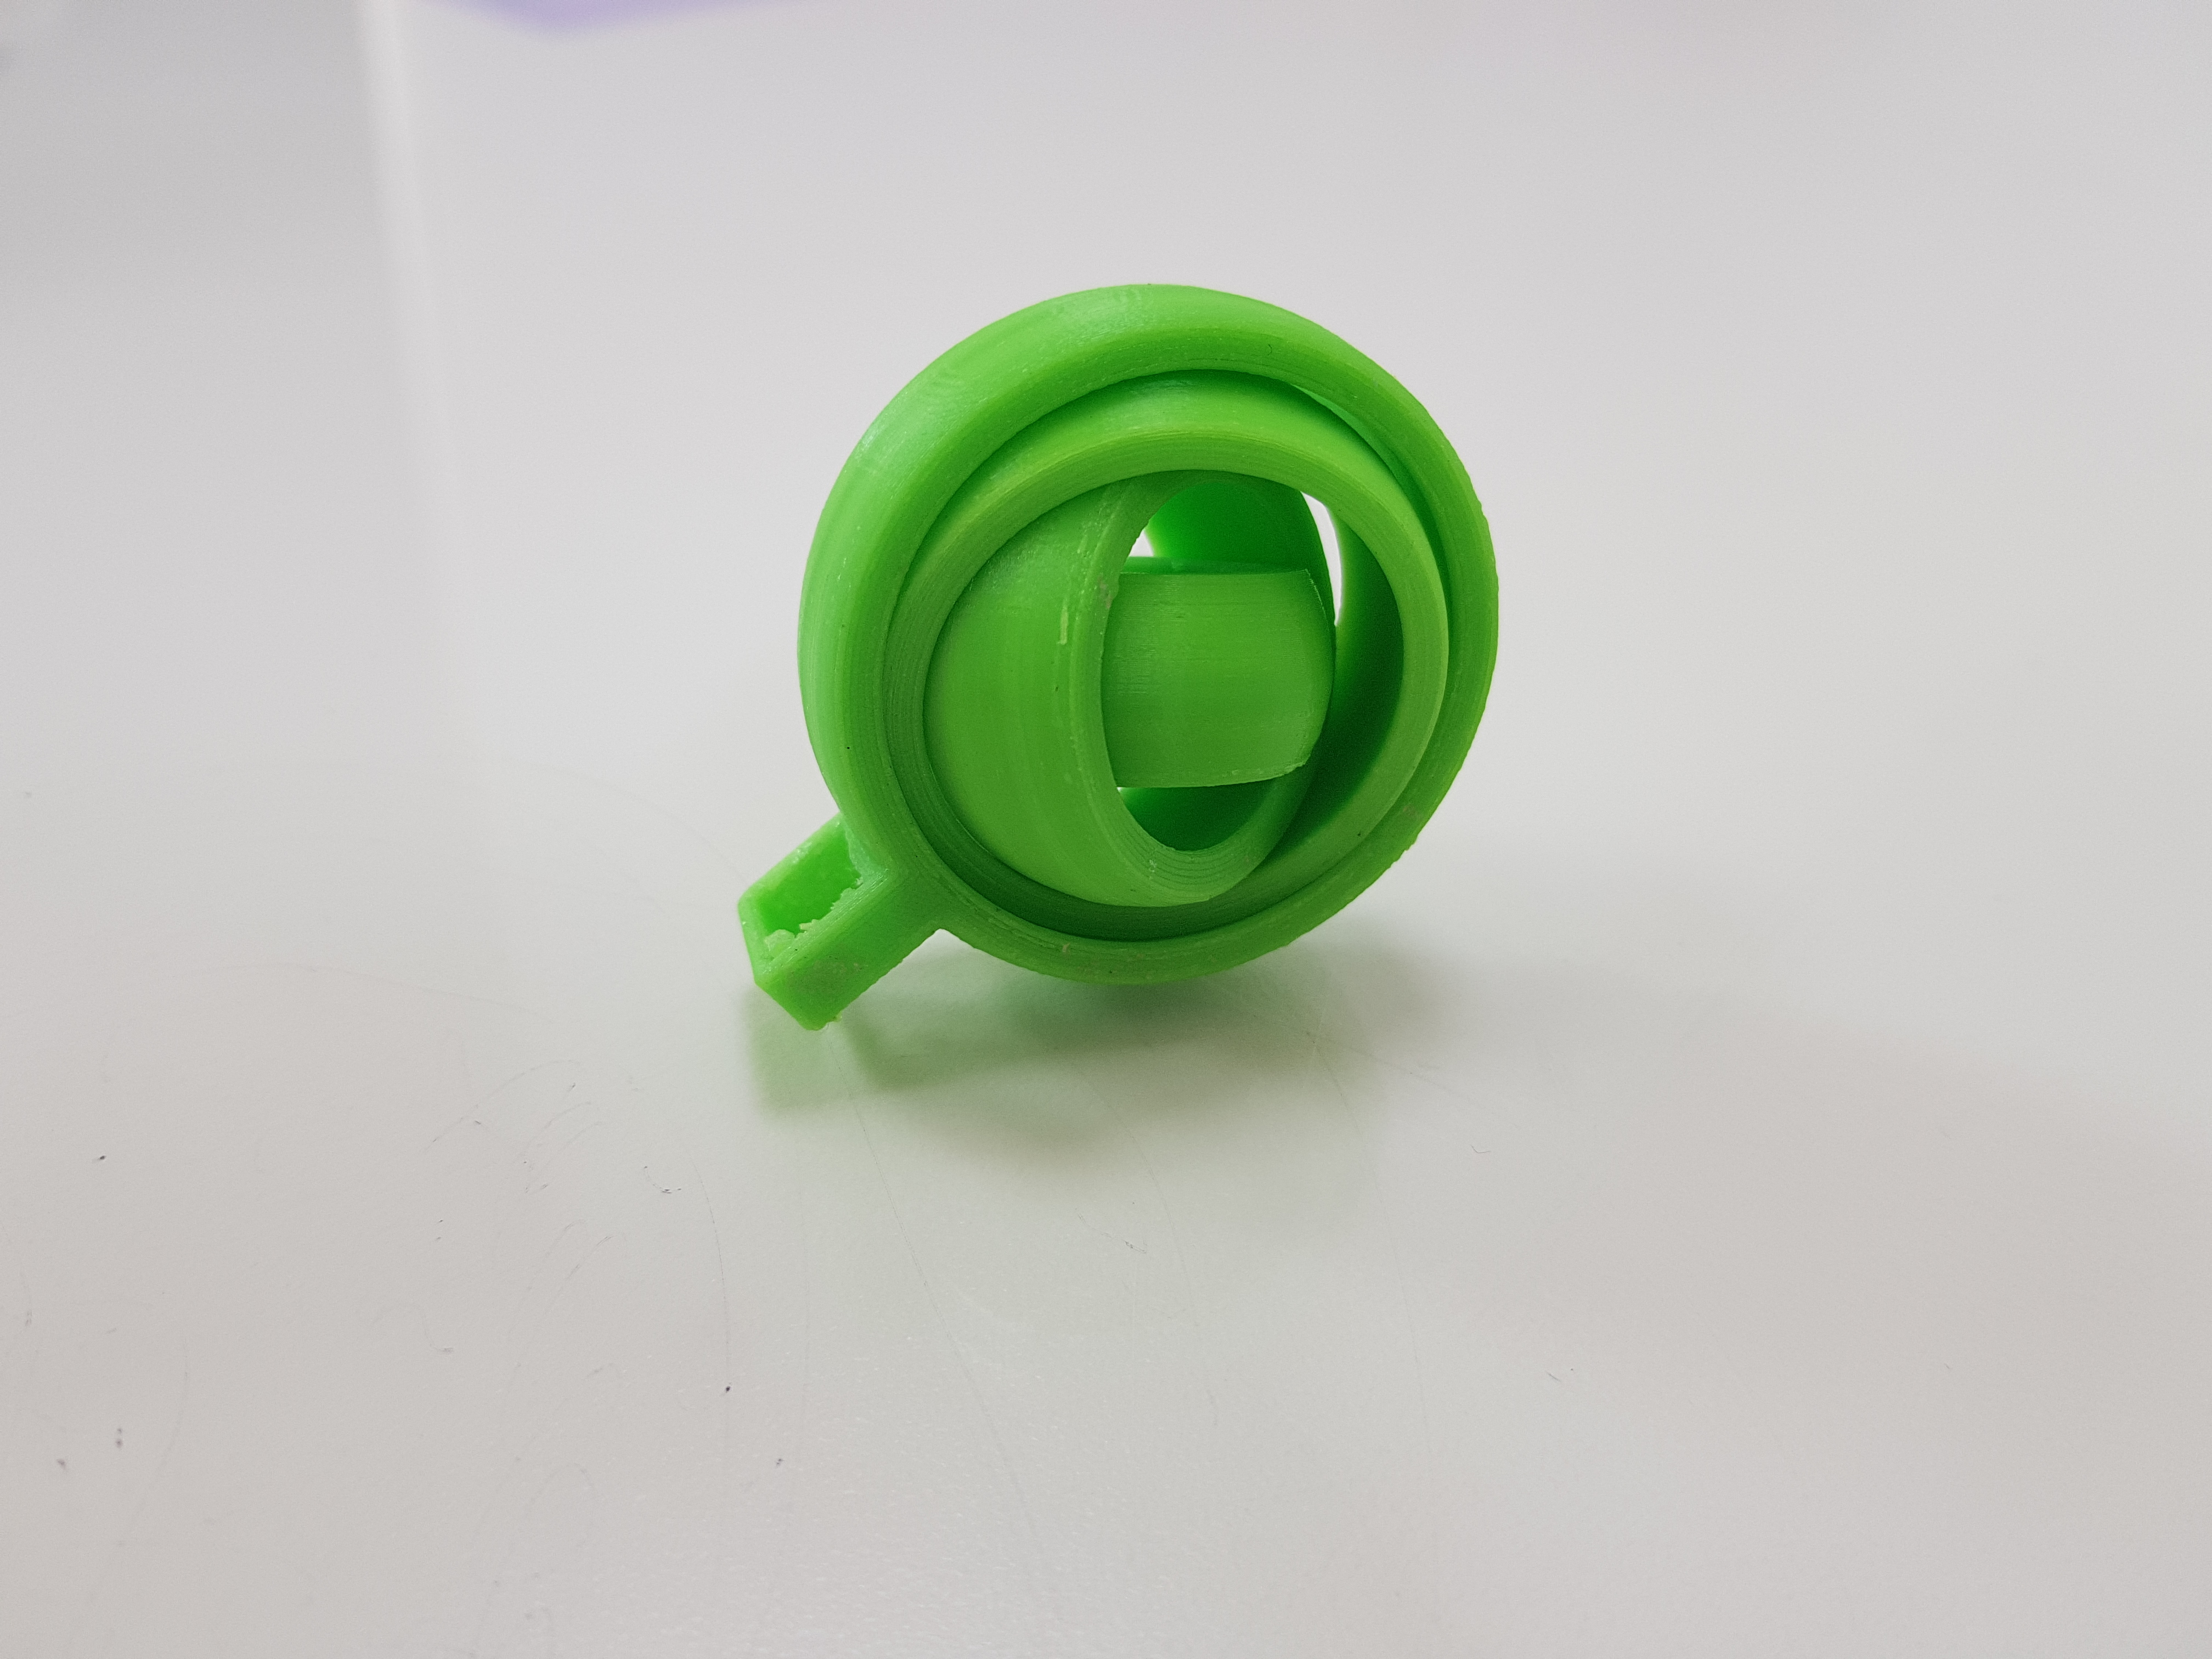
|Gyroscopic Keychain|
I printed mine designs with my friend, see it here.
You can see that, the prints are good and accurate, but there is a mess between them. There is thin threads of filament between prints.\ This happens because the extruder go back and forth between prints, it’s printing layer by layer for all print simultaneously.\ To avoid this, we can make the printer to print each design from A to Z then start the other designs. Be careful, and orient your designs properly or then you will ruin the printer.
Another thing I want to enlighten it, is the supports. Sometimes, parts of your design needs support to be printed well. So you naively choose the support settings from the slicer software to be automatic.
This is step may cause disasters later. Support is good to ensure the stability of your design, but if it be more stick to the design and as strong as design. Then, You cannot remove them easily. Consider the infill of your supports, their locations and is it necessary or not.
For example, my Gyroscopic Keychain, has a support at where you should put your keys. It was so much hard to remove it, I couldn’t remove all of it. Then, you need special tools to the job for you.
This guy gives some ways to make 3D prints, and to remove the unwanted material:
Here is an important thing if you want different slicing settings for only one design, and other designs have other settings.
1. Click on the last icon: Support Blocker

-
Go to per model, then choose normal:
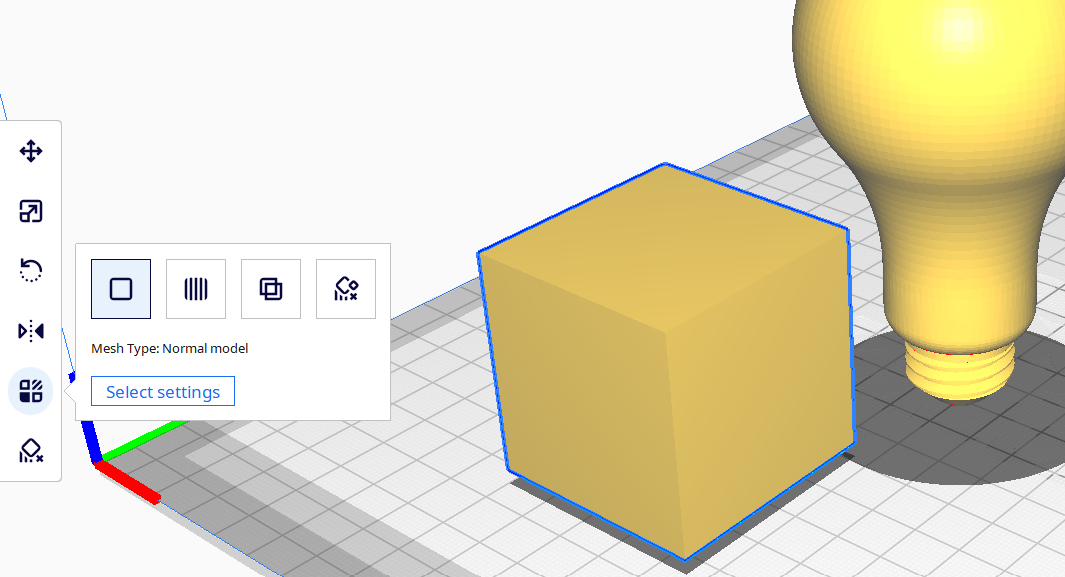
-
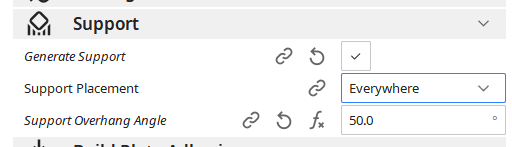
Change the settings you want it to be different:
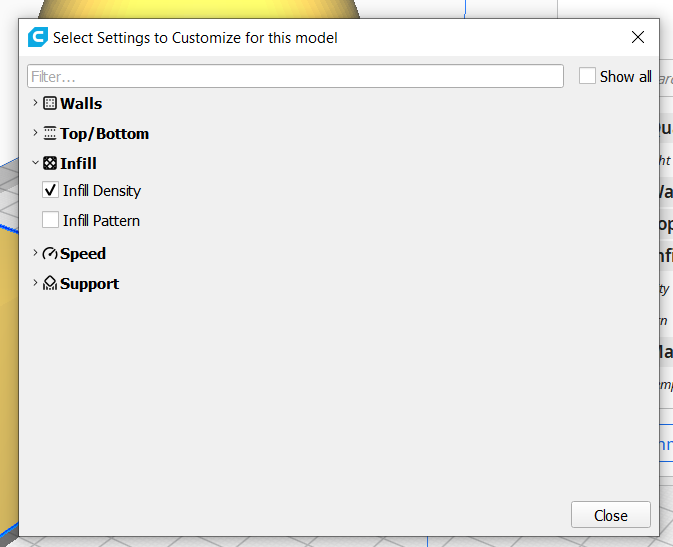
-
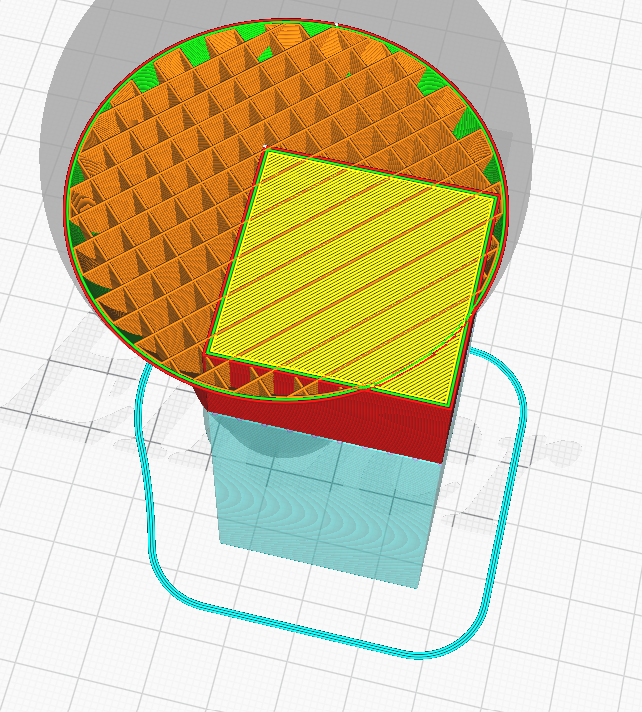
This the result of changing the infill to 100% in the box, but 10% elsewhere:
Desktop Name Design
For more details, see the tutorial in useful links section.
1. Make a box from the menu:
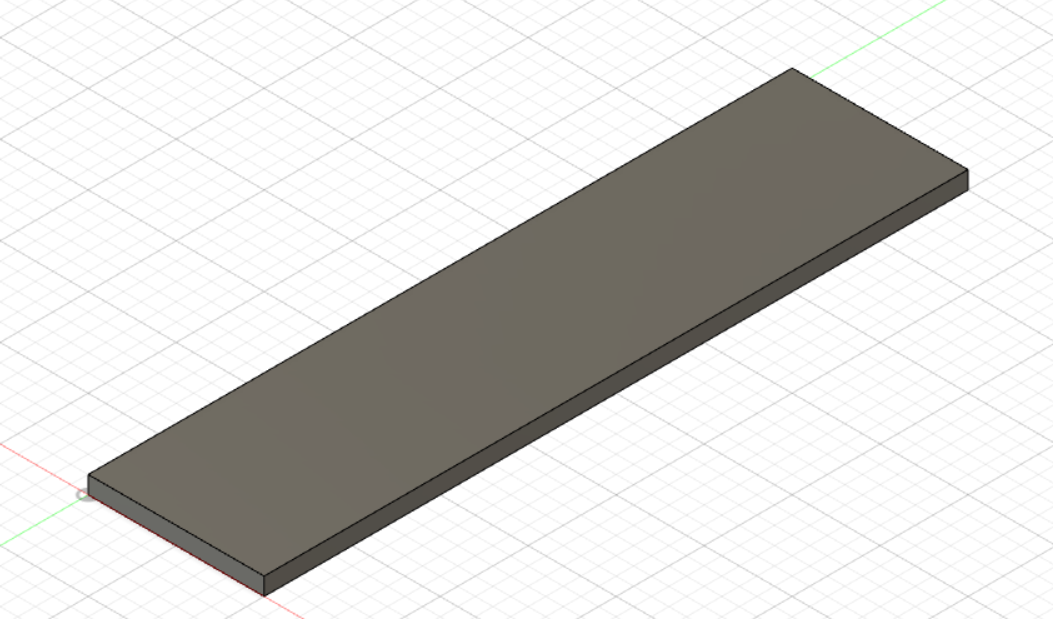
-
Open a sketch and write on it by text:
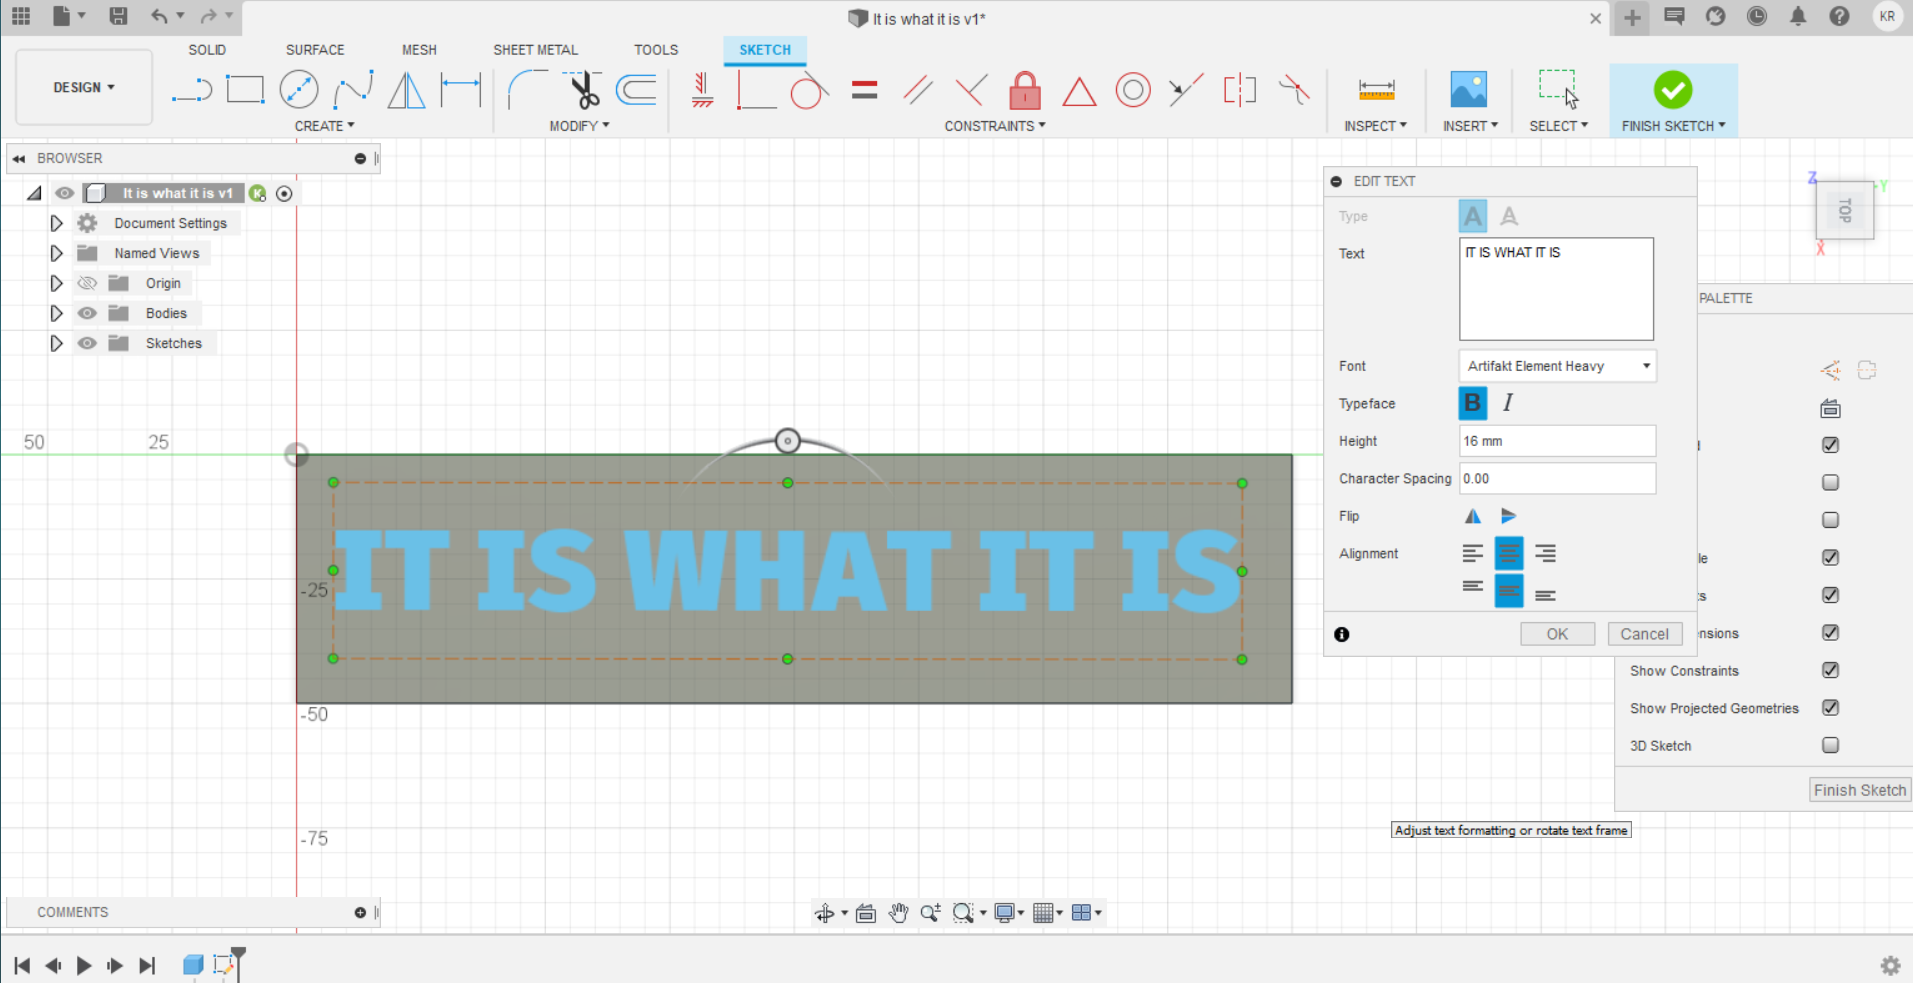
-
To make the text extrudes following a certain line, I used sweep:
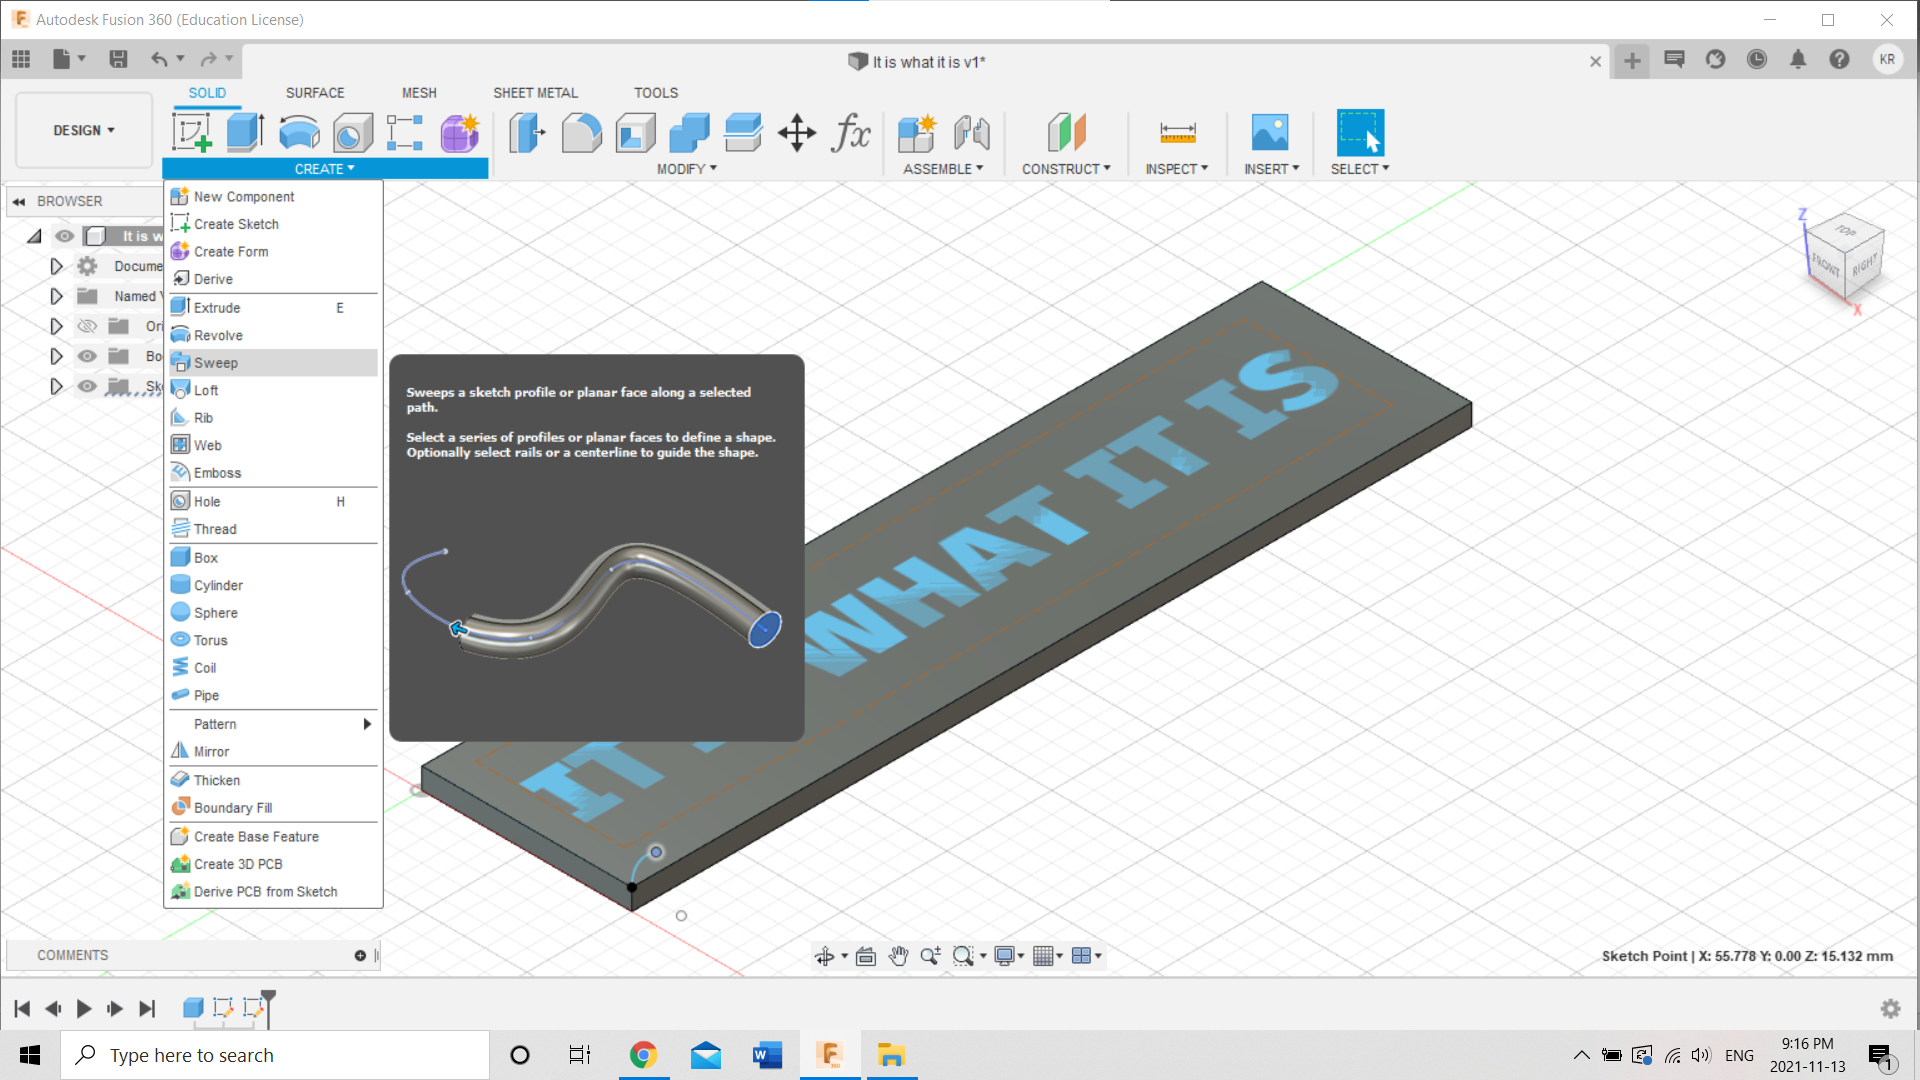
-
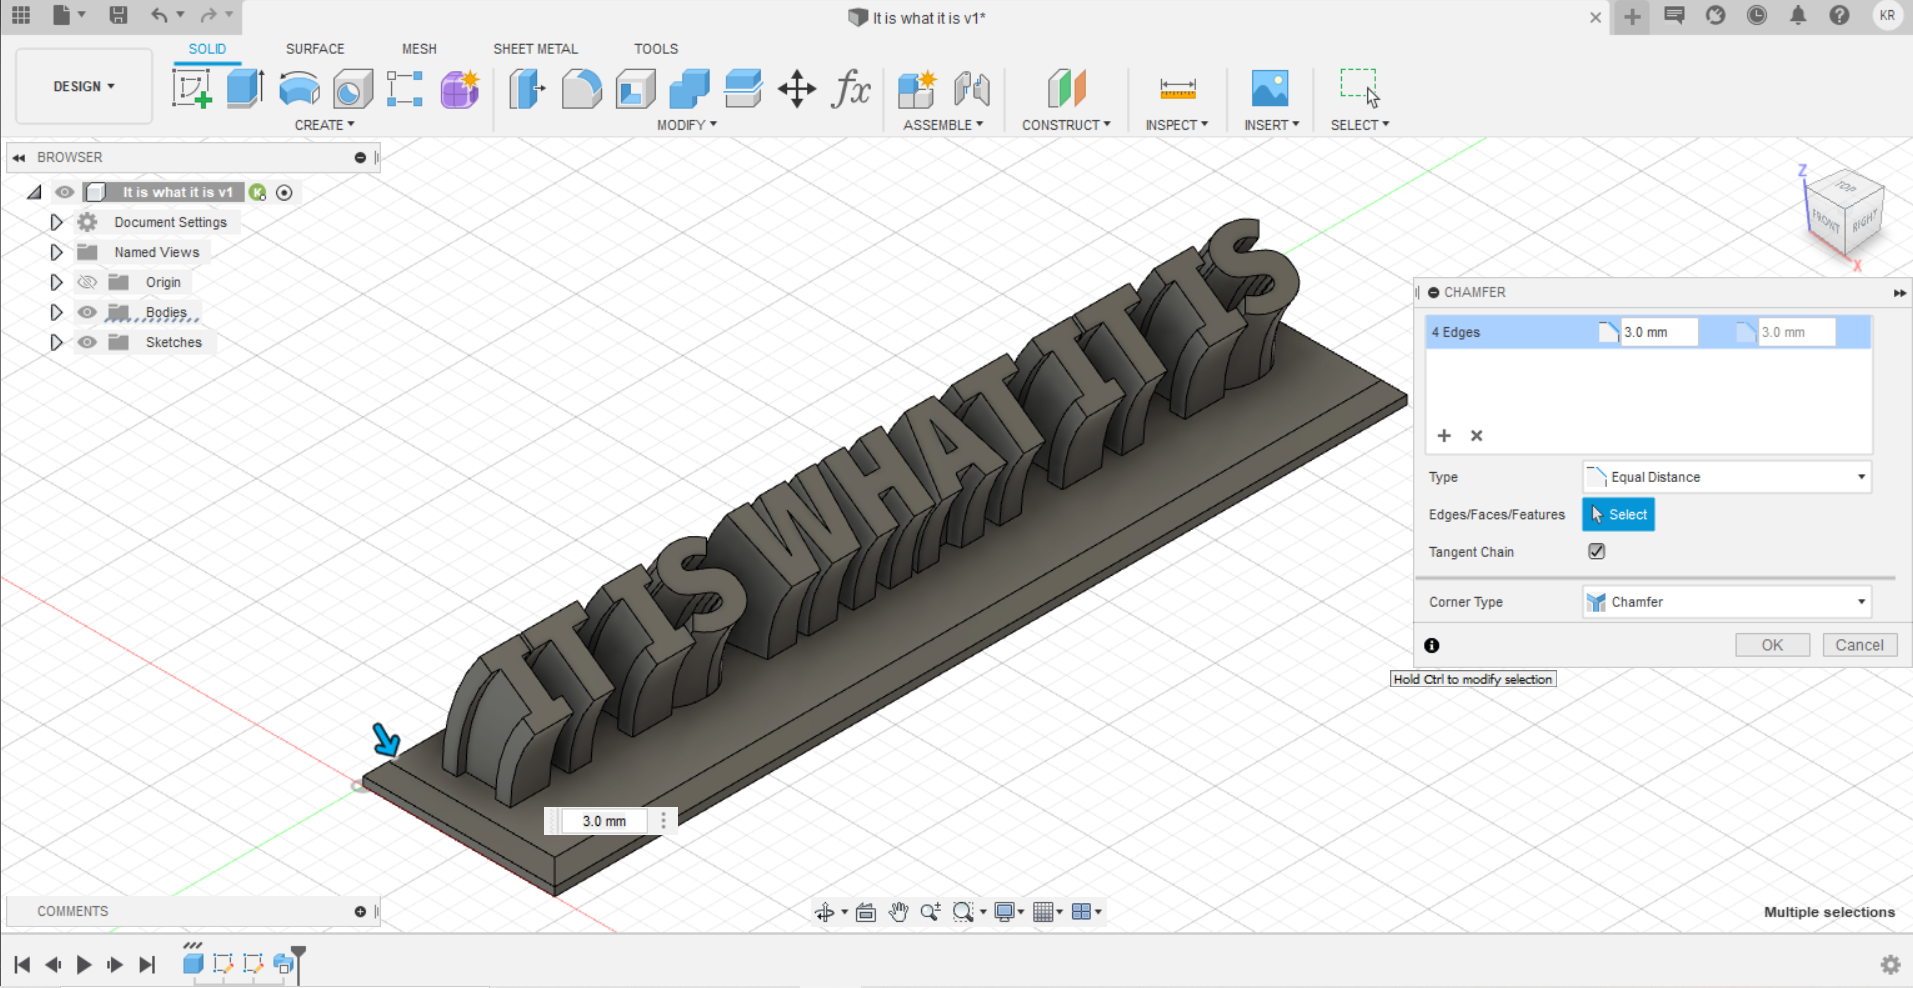
The result:
Gyroscopic Keychain Design
For more details, see the tutorial in useful links section.
1. Open a sketch draw a vertical line to be the axis of symmetry, and draw a circular arc:
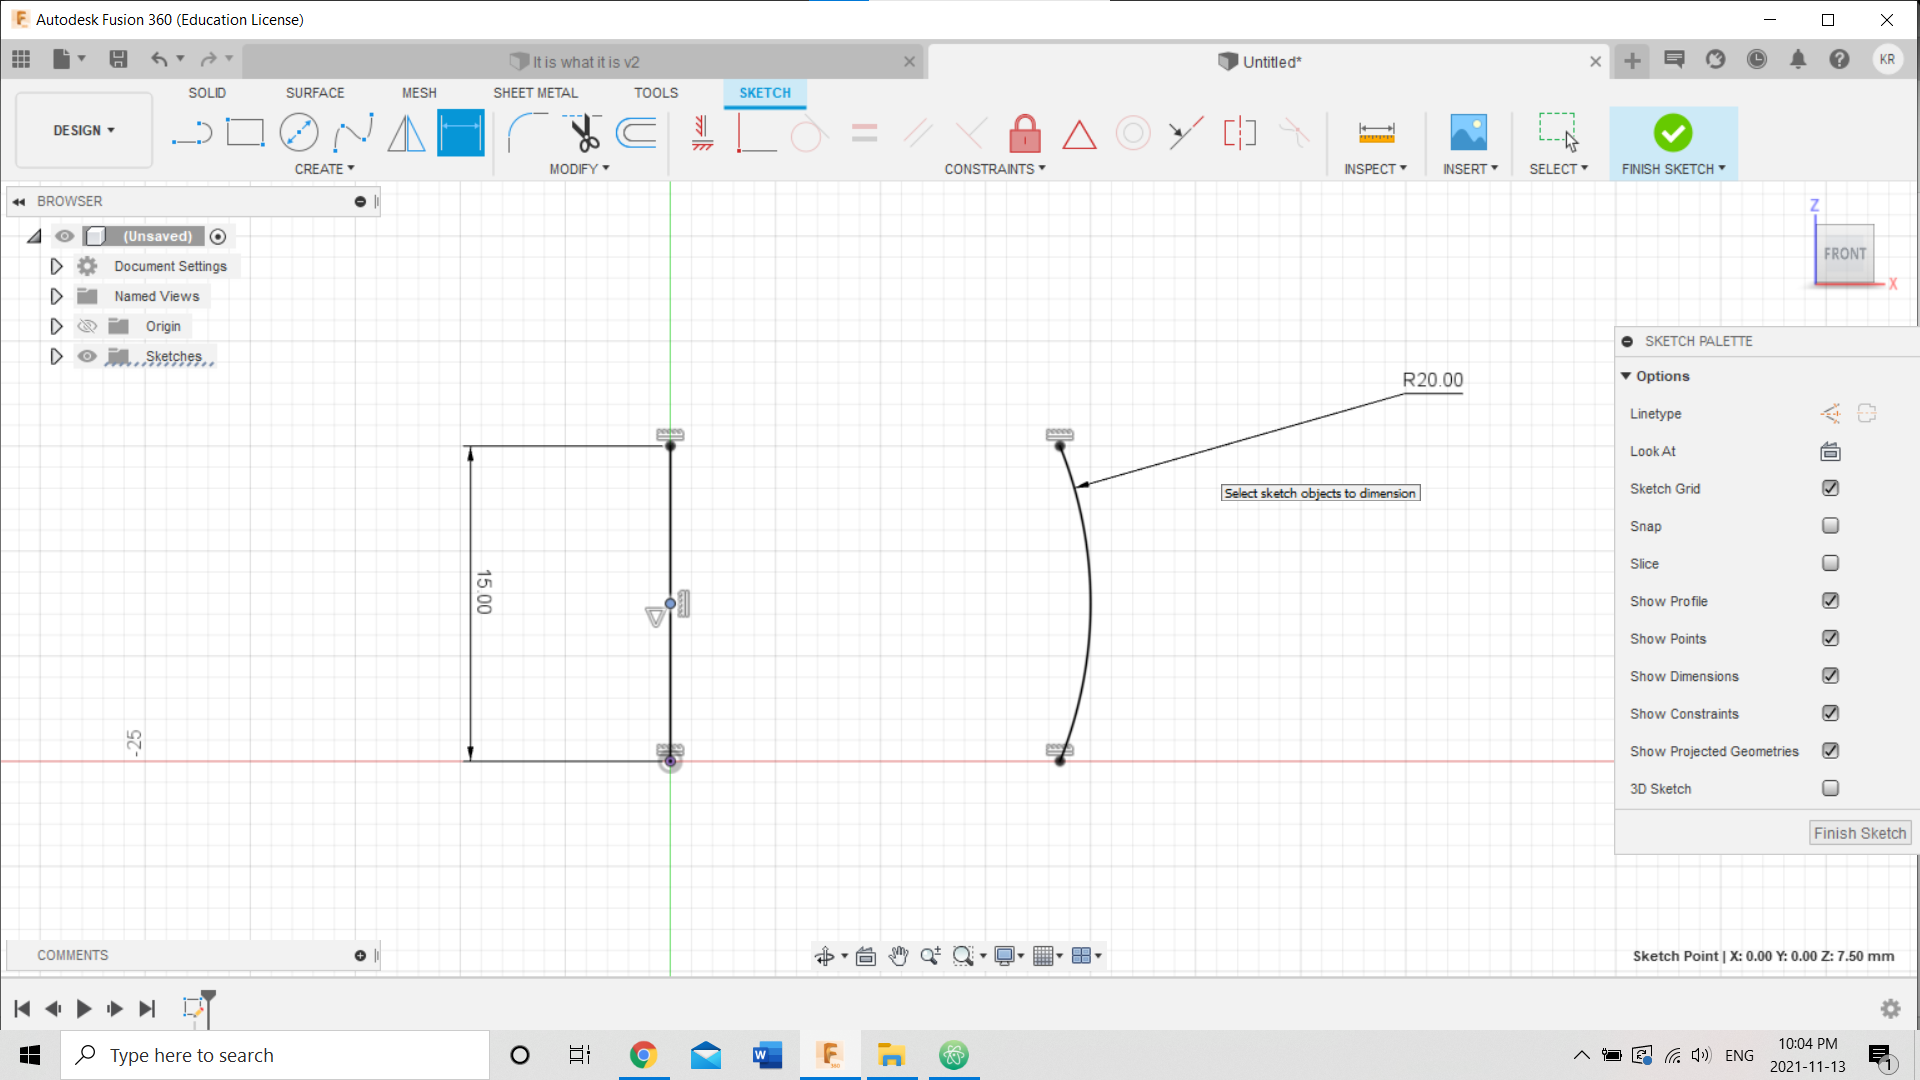
-
Draw another circular arc with the offset tool, then draw horizontal lines to close the shape:
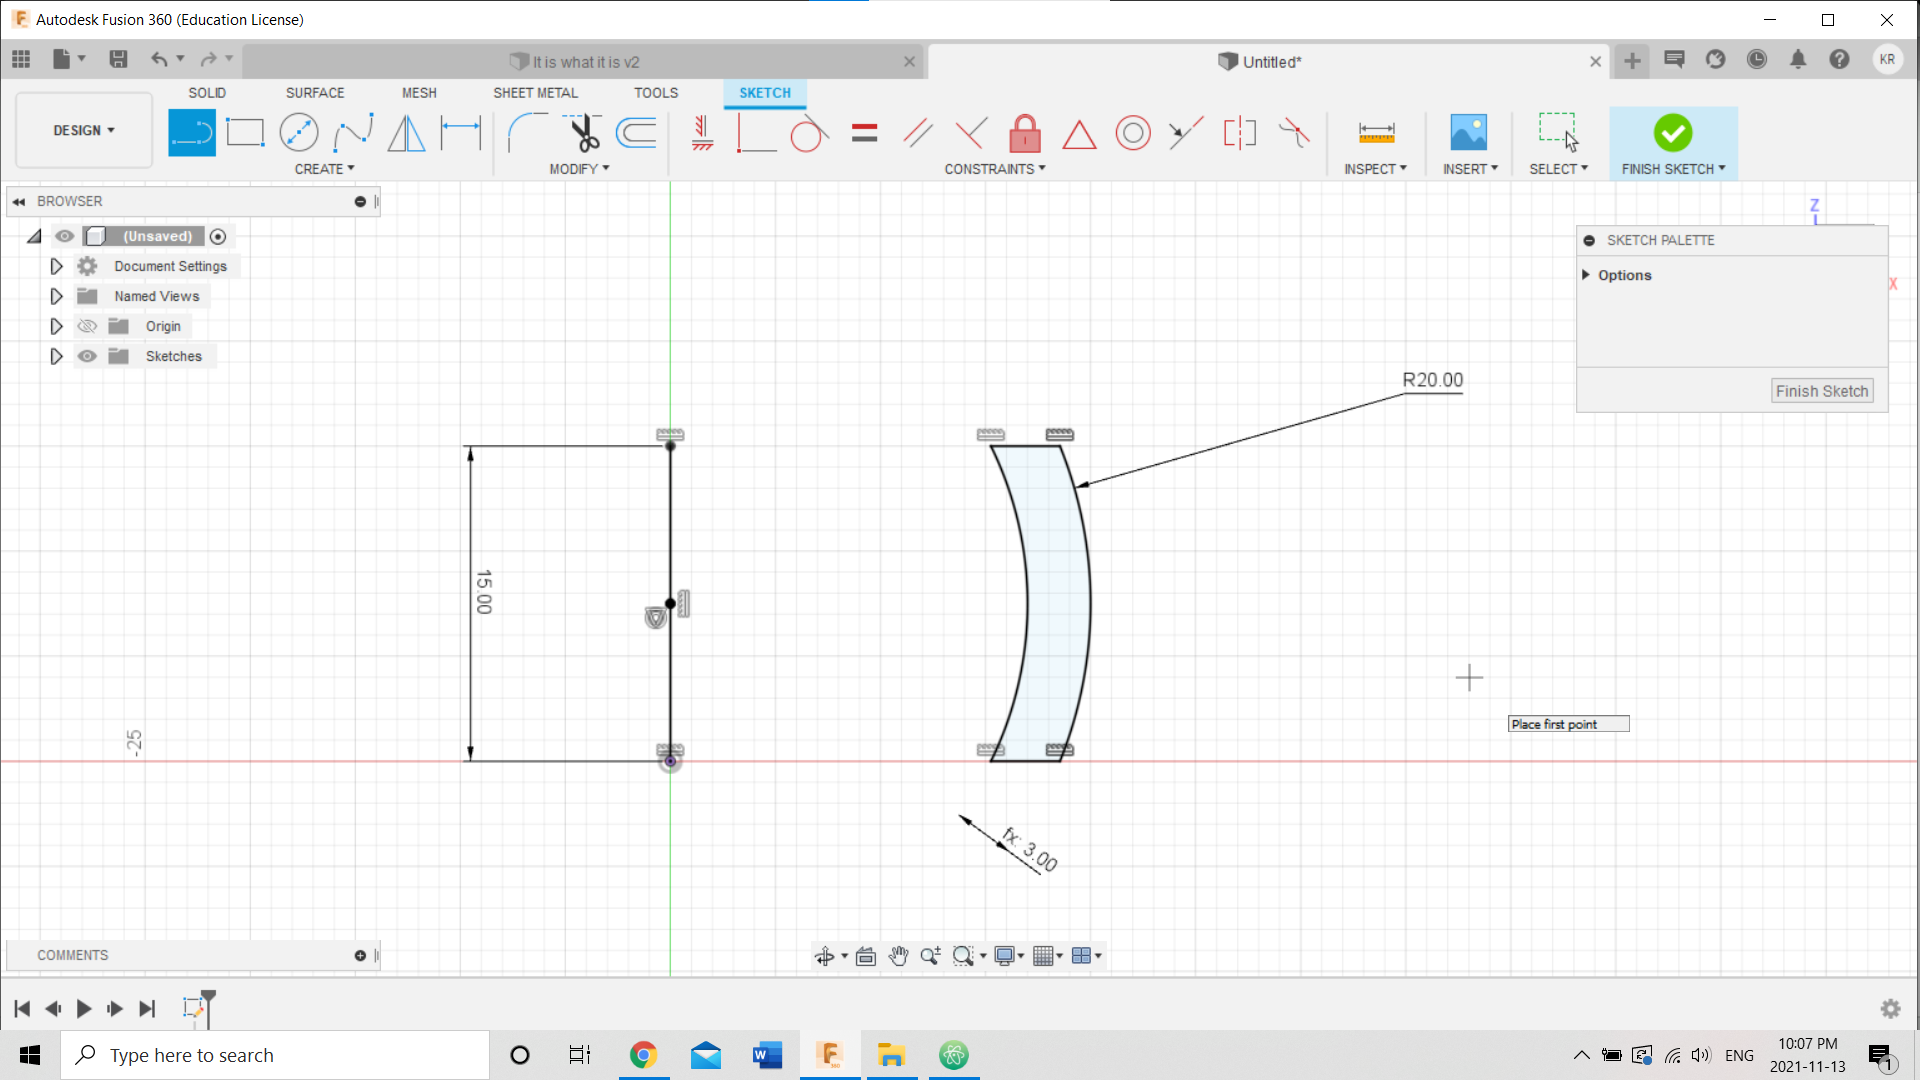
-
The sketch is ready:
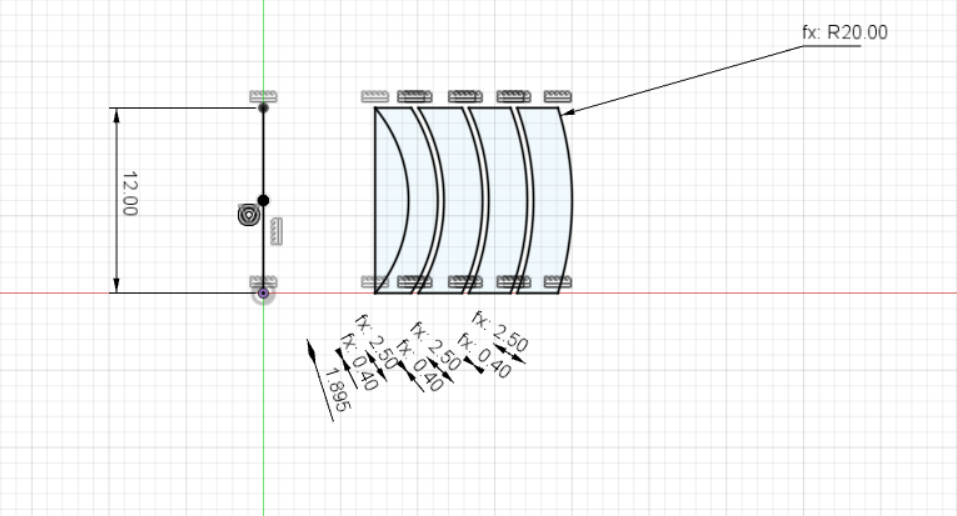
-
Use revolve tool to revolve the sketch:
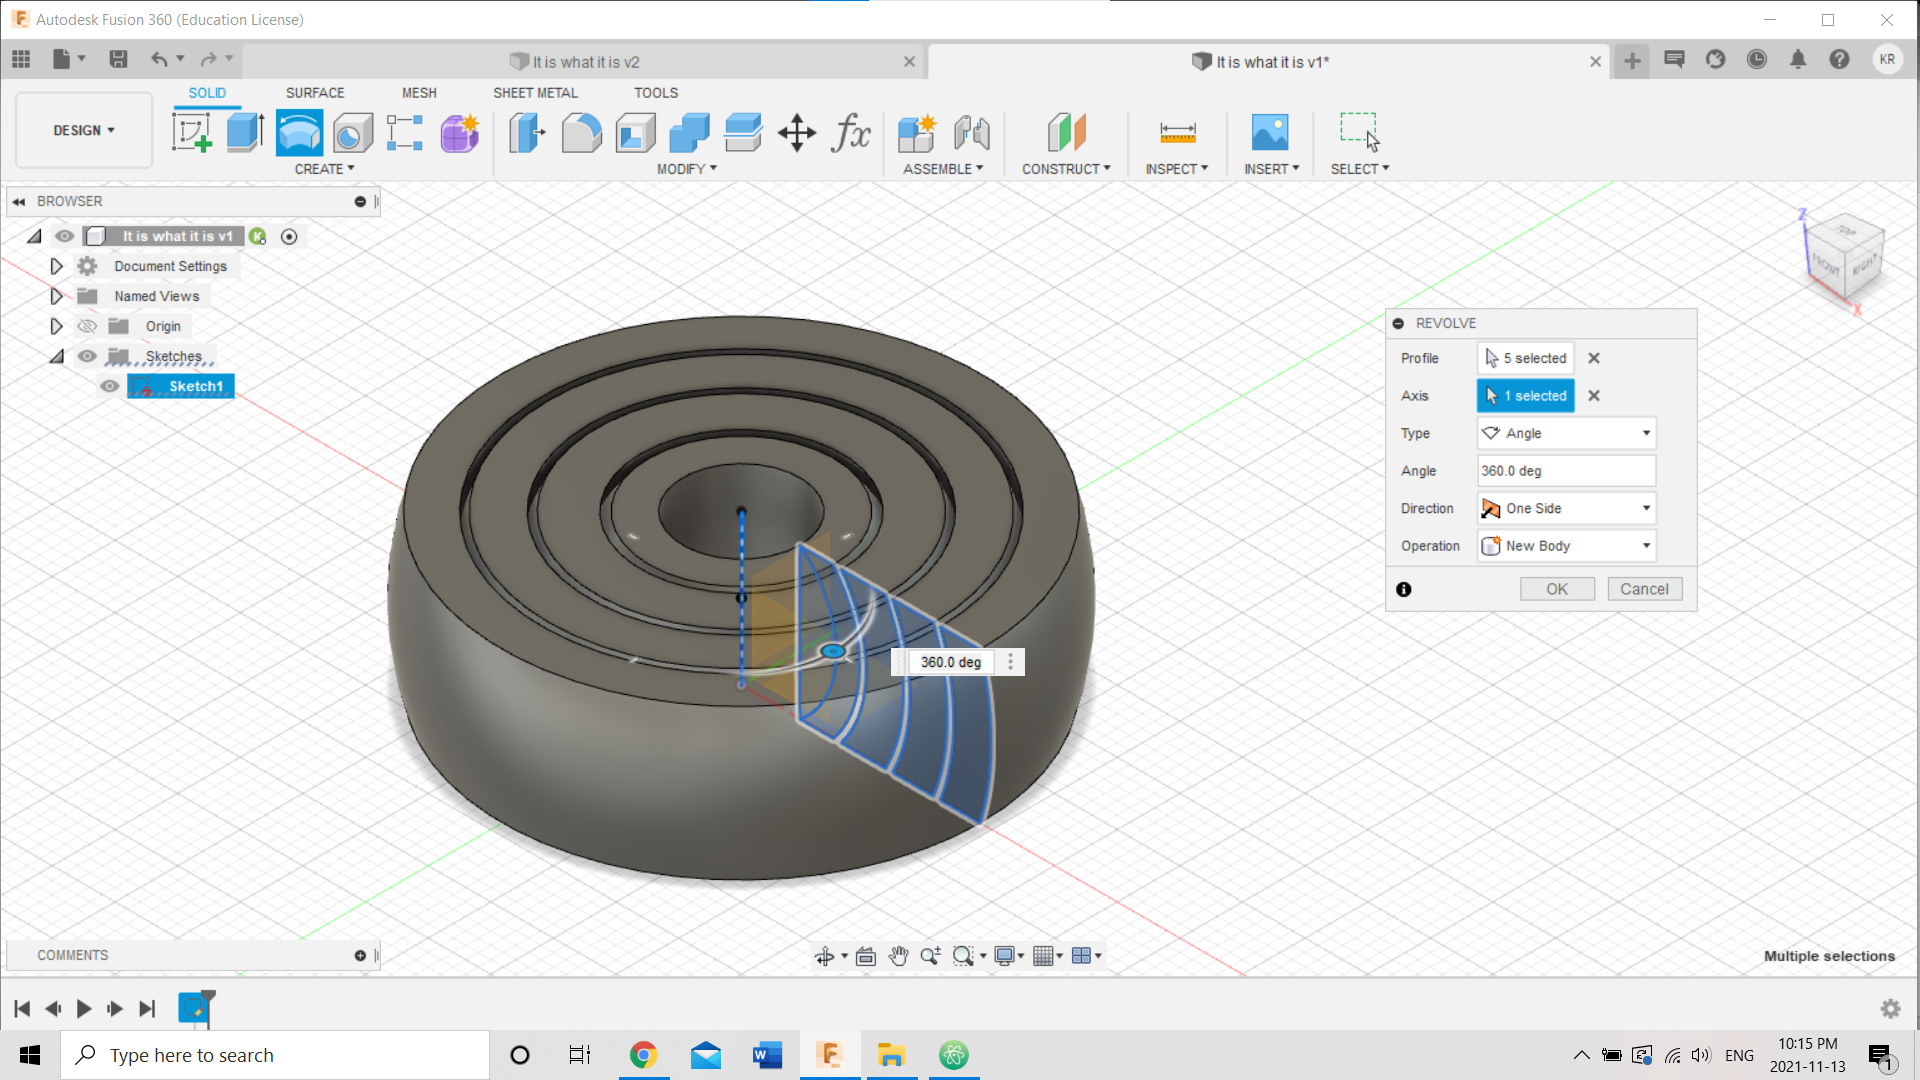
-
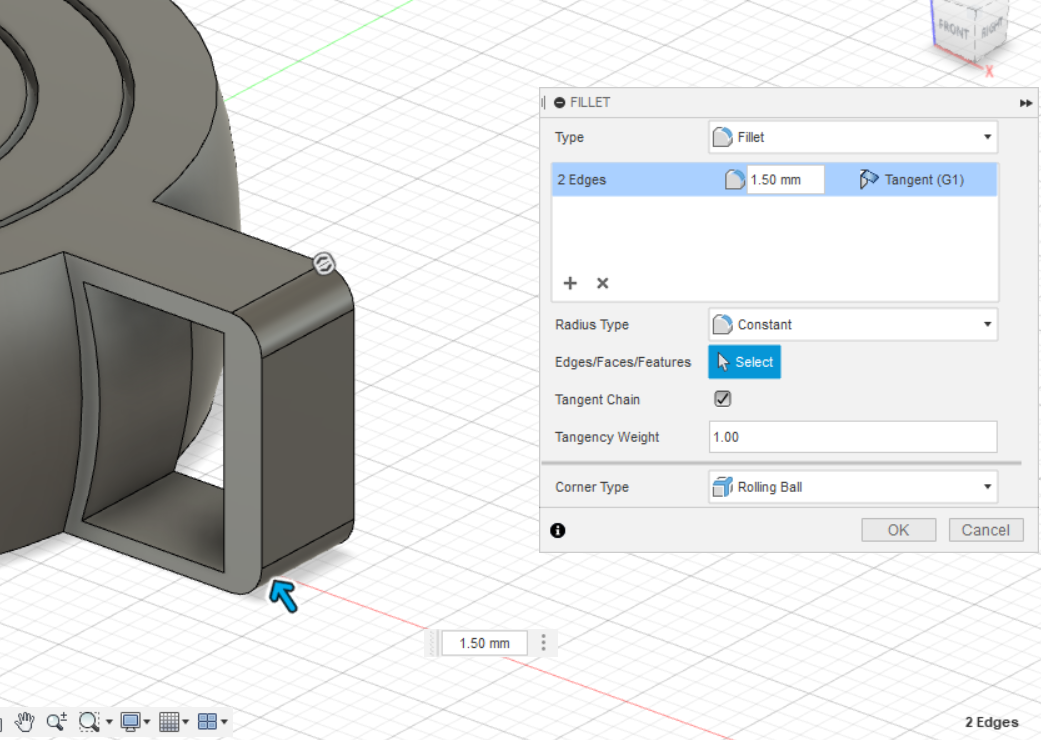
Last steps to make the handle:
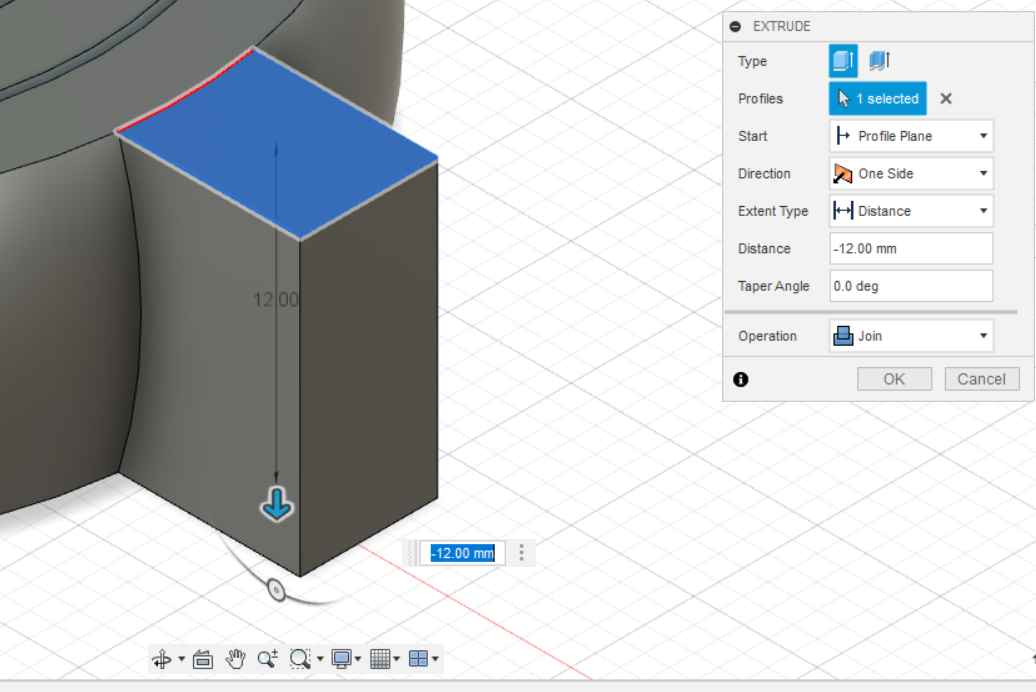
-
It’s ready!
3D Scanning
In 3D scanning, we learn 2 ways to do it. First is by Qlone application in phone, the second is by Xbox360 kinect.
Qlone:
 It is easy to use, we need to download the application, then taking photos for what you want to scan.
This is my attempt, I choose this:
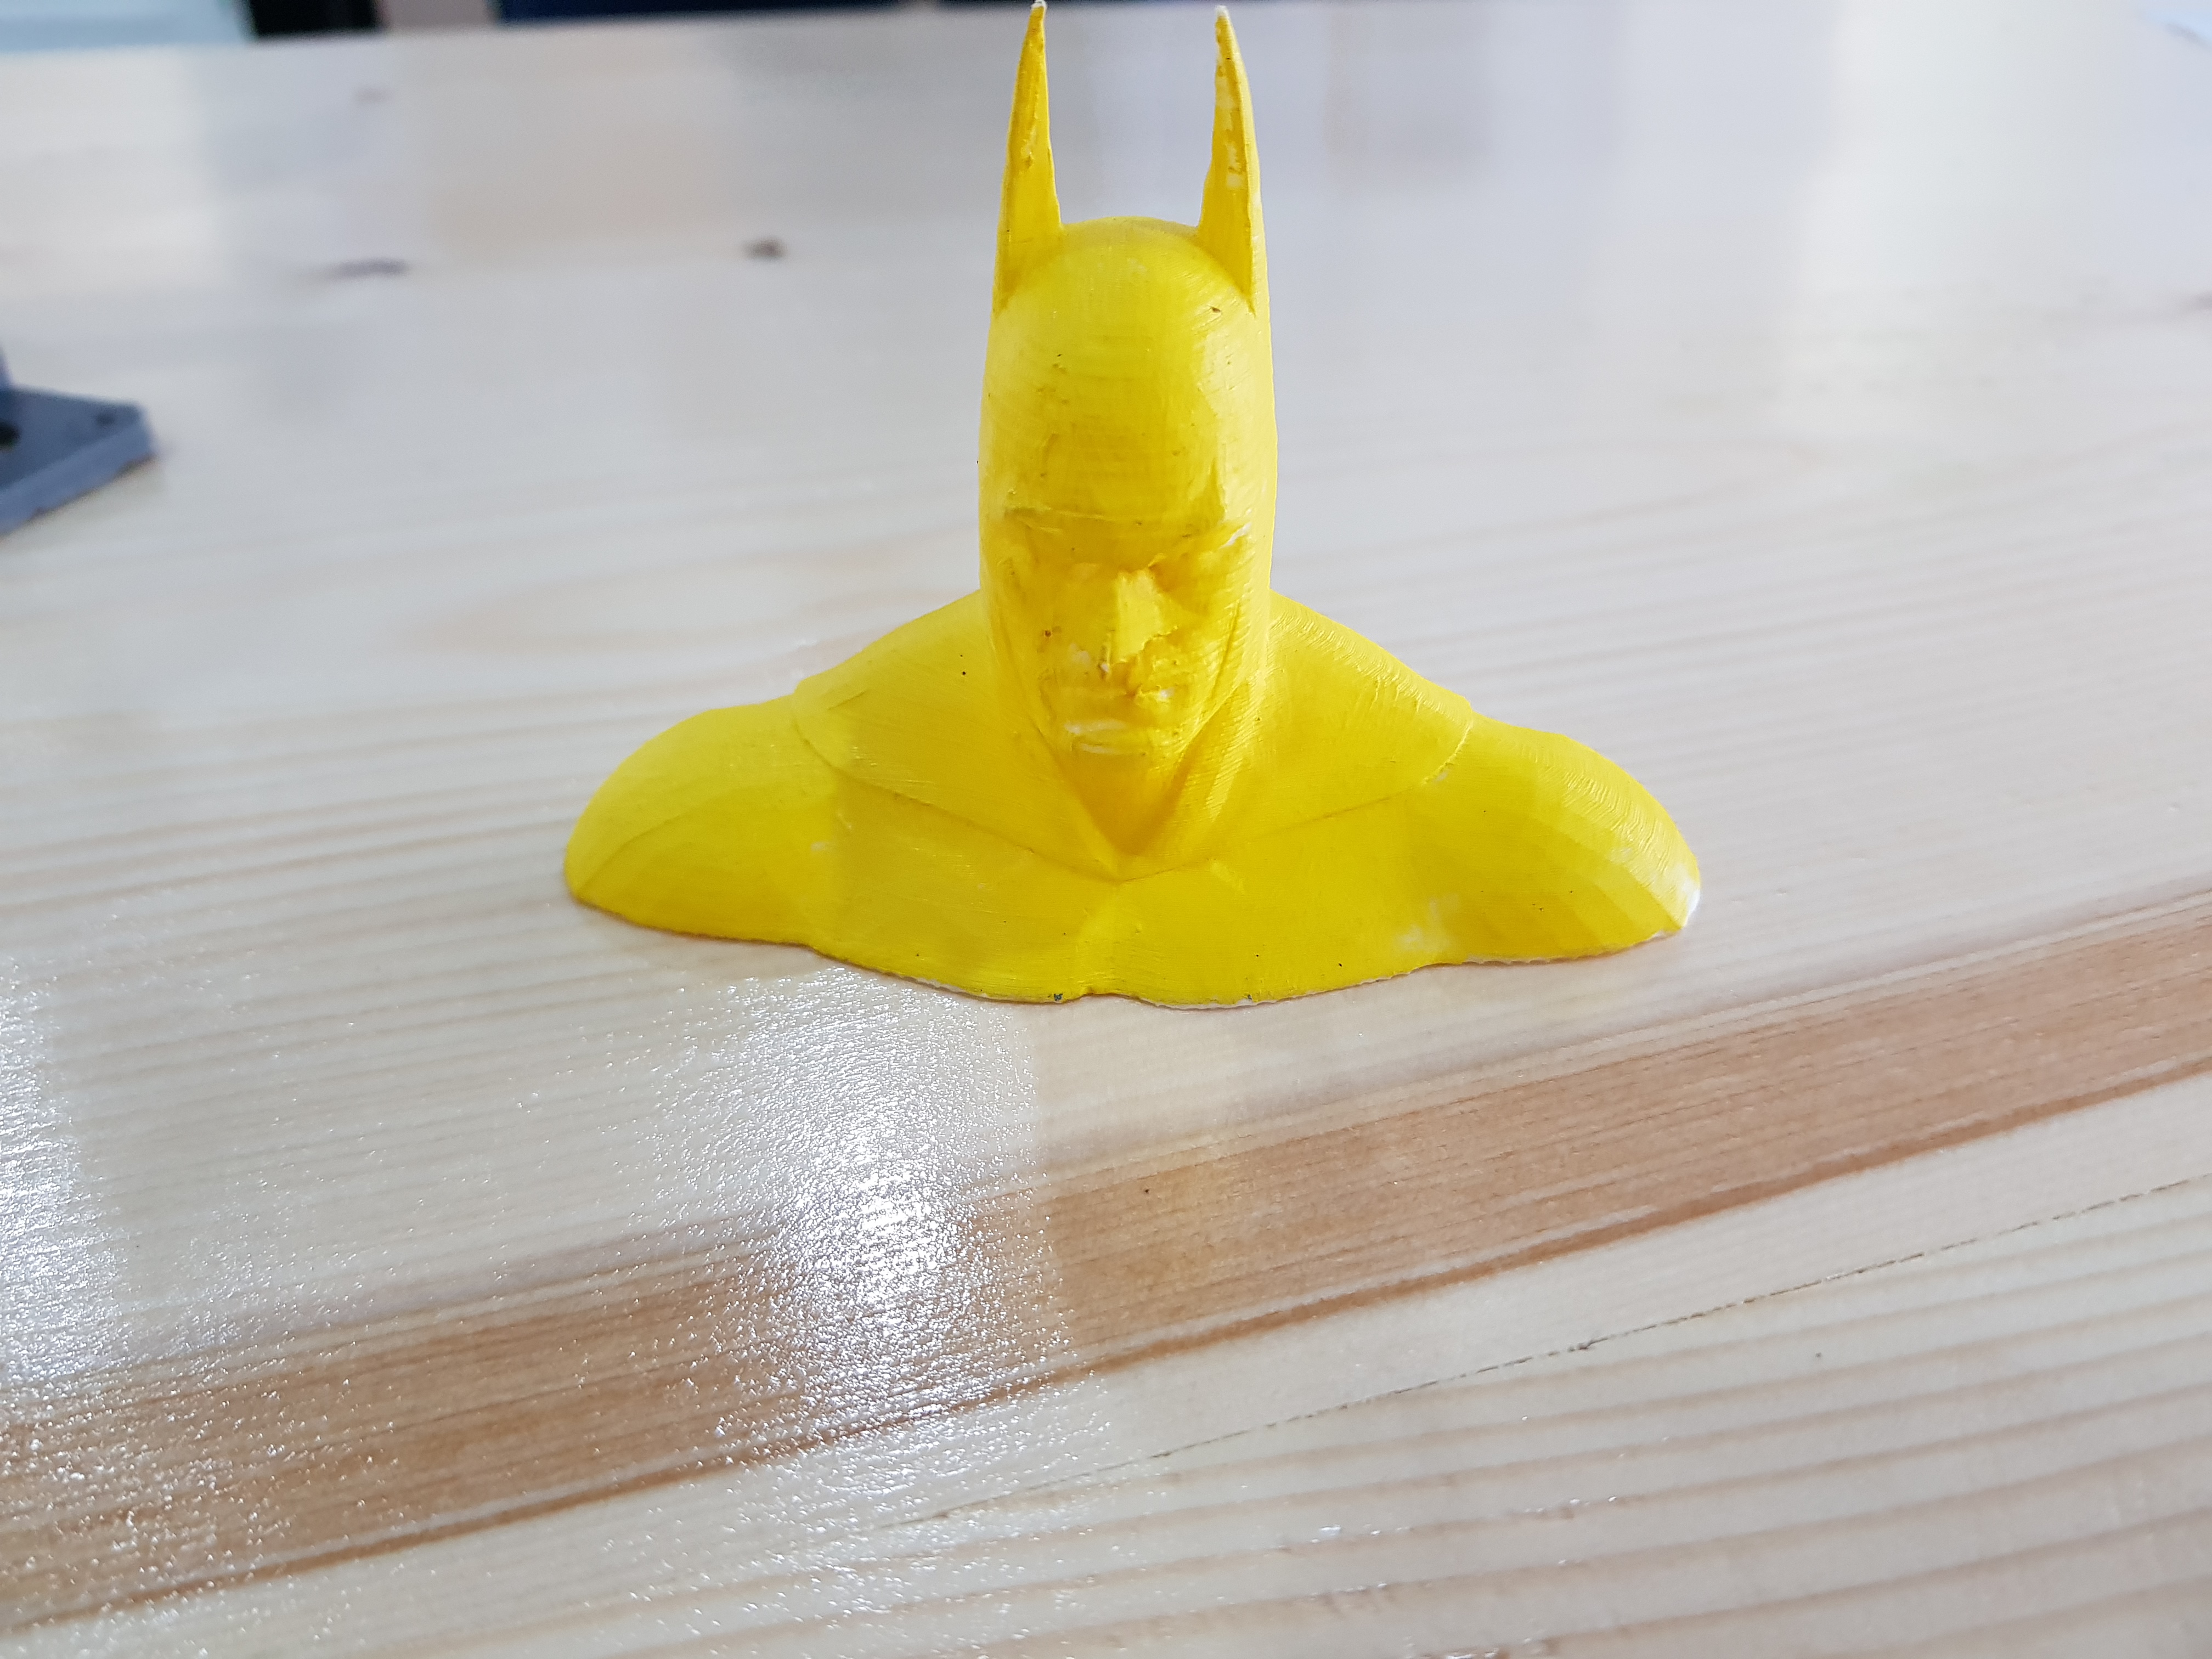
to scan to this:

I want to comment on the result 3D scan, it’s good enough for a quick first try on 3D scanning, but it’s clear that there is some limitations for Qlone. It can detect the details precisely, the overall shape good, but the Physiognomy is a disaster!
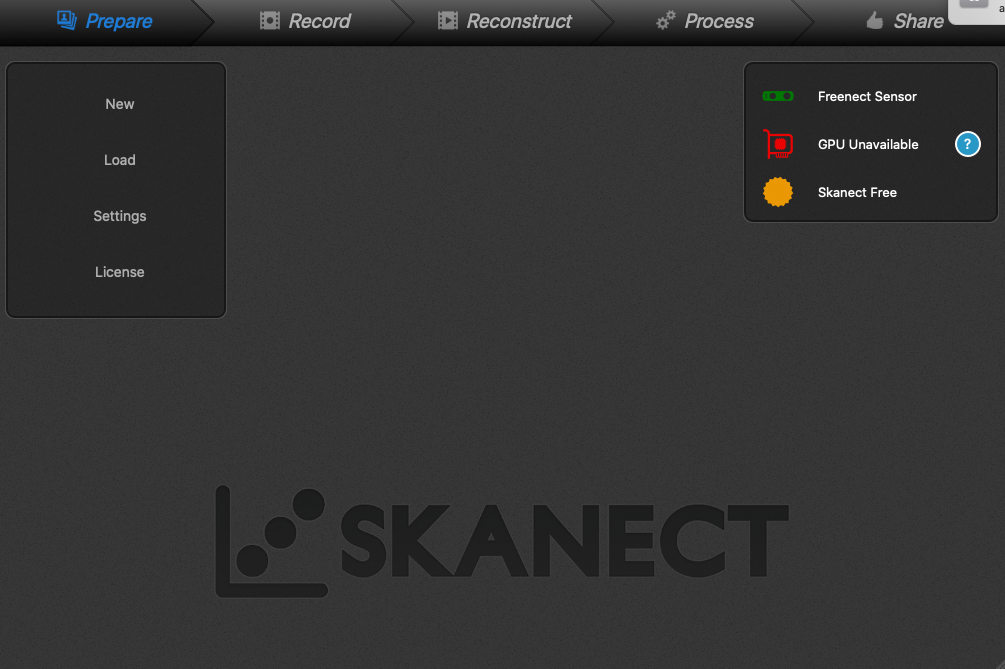
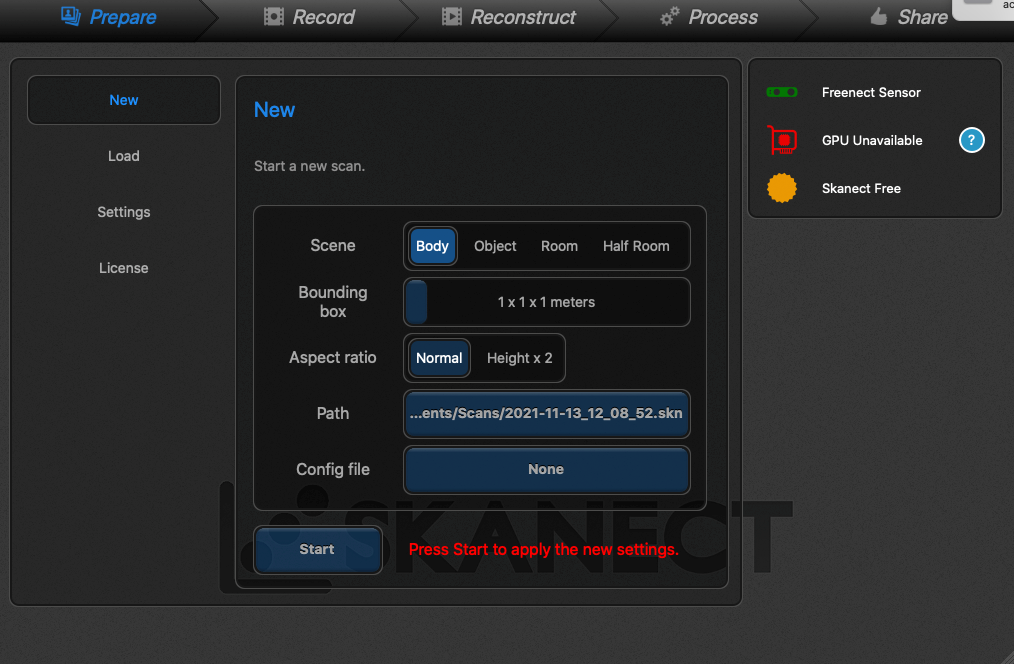
Xbox360 Kinect:
In this way, I have to scan myself, since I can rotate easily instead of object :)
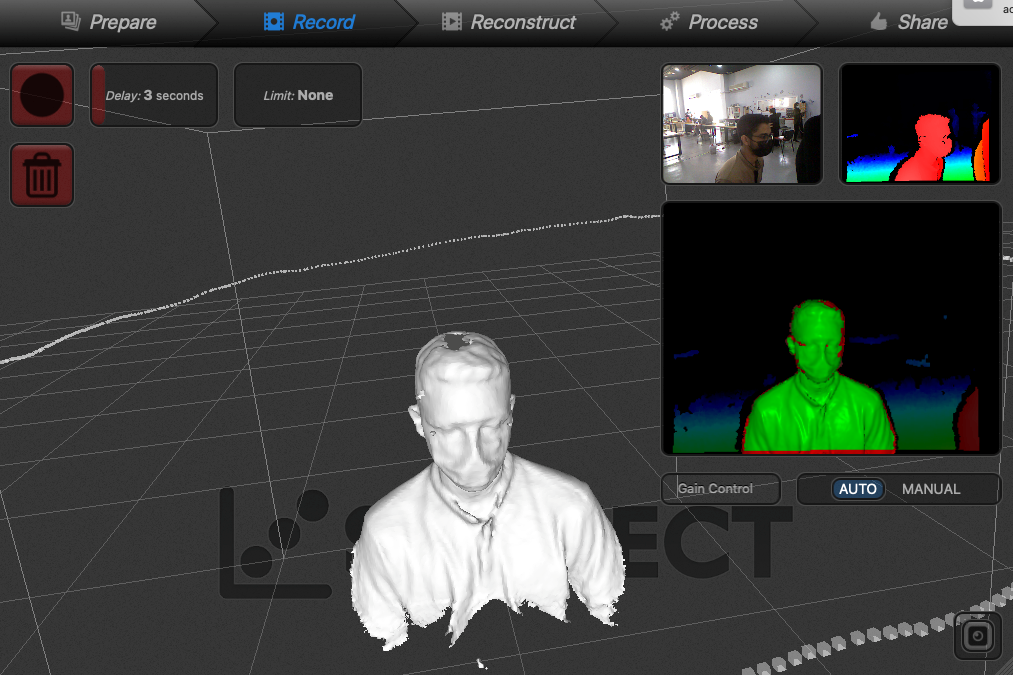
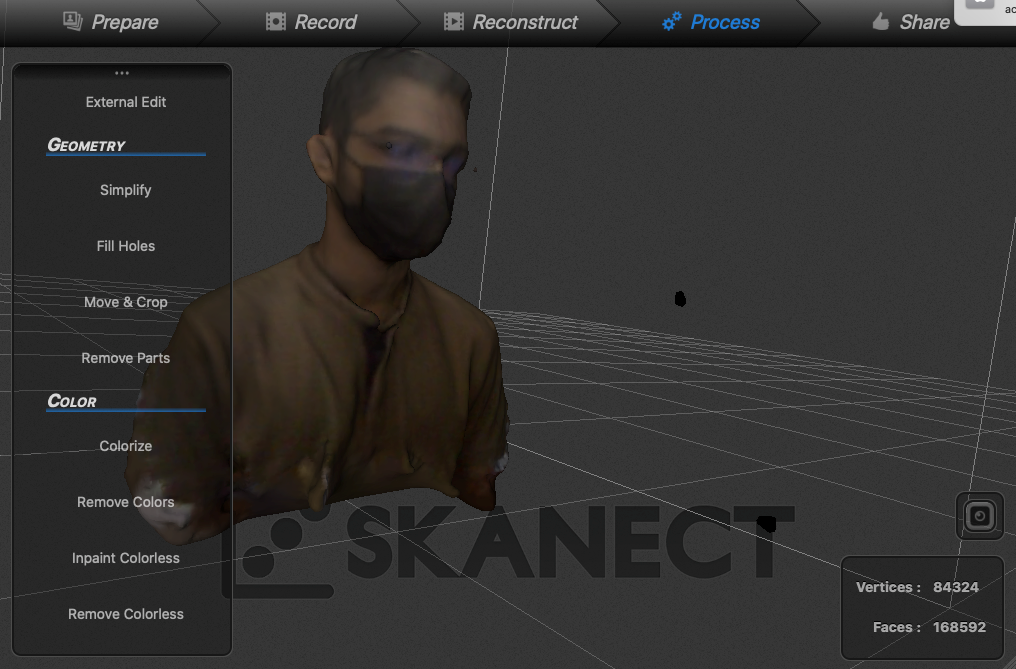
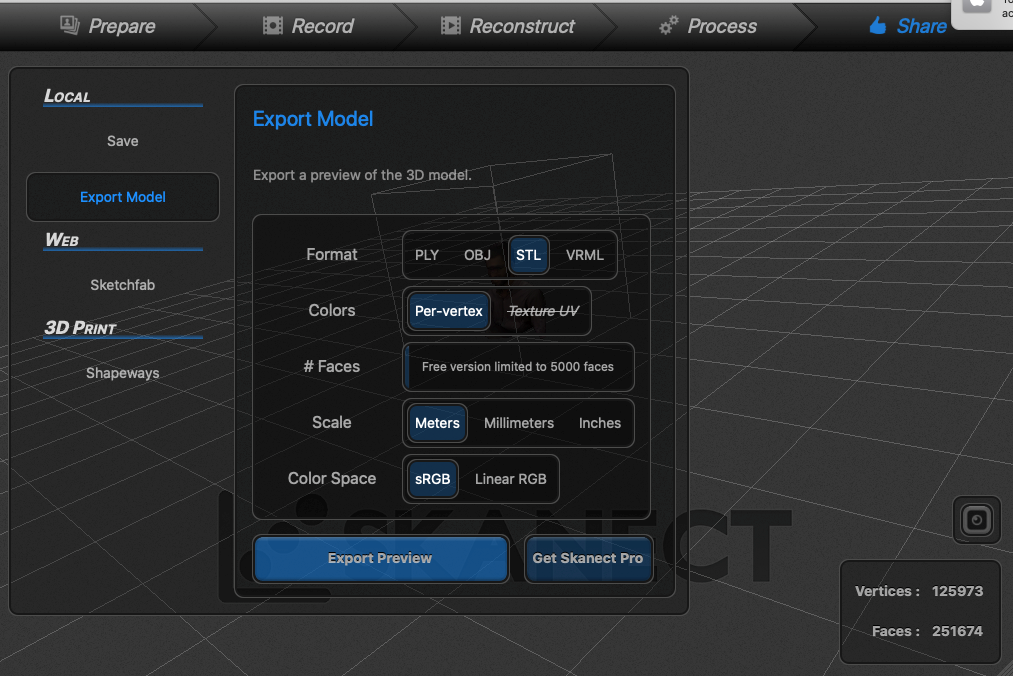
Now, I can print myself, but I won’t.\ Kumail
I have to comment on this result also, you can see that the uncolored scan has nothing says it’s me, but the colored one it’s clear that is me!\ I can conclude that, even Xbox360 Kinect cannot detect the details correctly.\ For example, it cannot sees what’s behind the glasses by IR waves, but the camera can see it, that’s why you can see my eyes on the colored scan not the uncolored.
Useful links
- Desktop Name tutorial:
- Gyroscopic Keychain tutorial:
-
A good channel for 3D printing: Here
-
Design files: