5. 3D printing and scanning
individual tasks
3D Scanning :
In this part we worked with two methods of scanning , the first method is Scanning by phone the second method if Scanning by computer and we used deferent programs for both of them .
Scanning by phone :
In this method I used two applications that can help me to scan by phone :
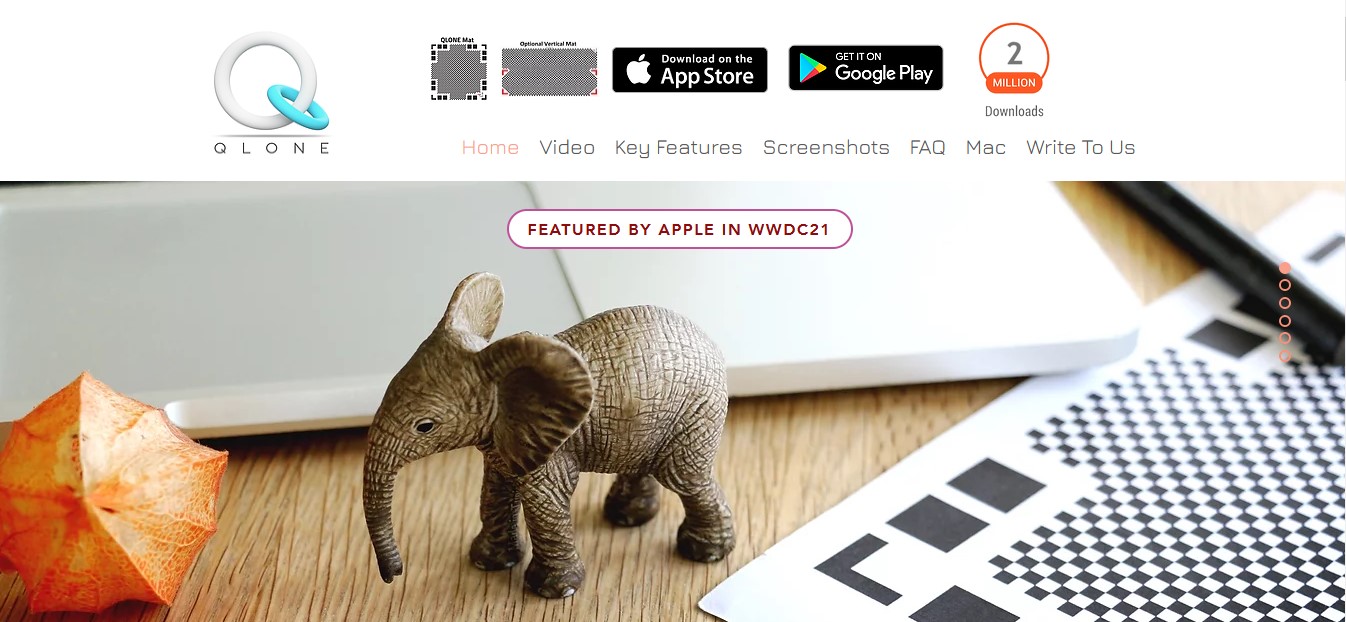
Qlone 3D scanner
the first application I used in this method an application called Qlone 3D scanner
 The application
The problem of the application
but unfortunately the application did not work with my phone I think it is because of my phone camera.
I had a problem that the camera did not work well , like this :
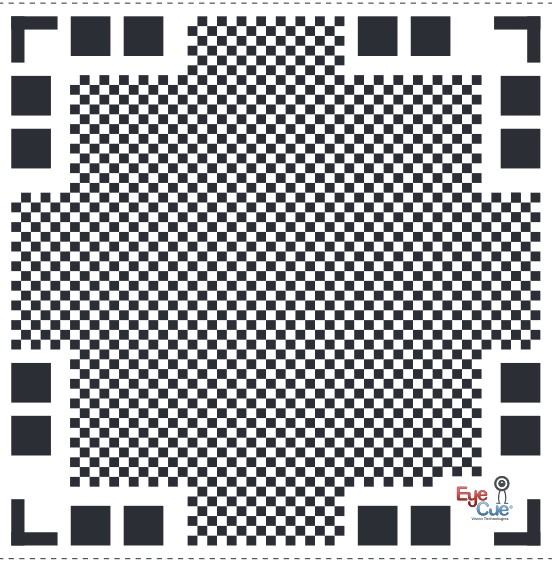
 The application was so easy to a level that you have just to put any object in a special paper to let the phone understand the dimensions of the object and to take a video around it.
The special paper
The application was so easy to a level that you have just to put any object in a special paper to let the phone understand the dimensions of the object and to take a video around it.
The special paper
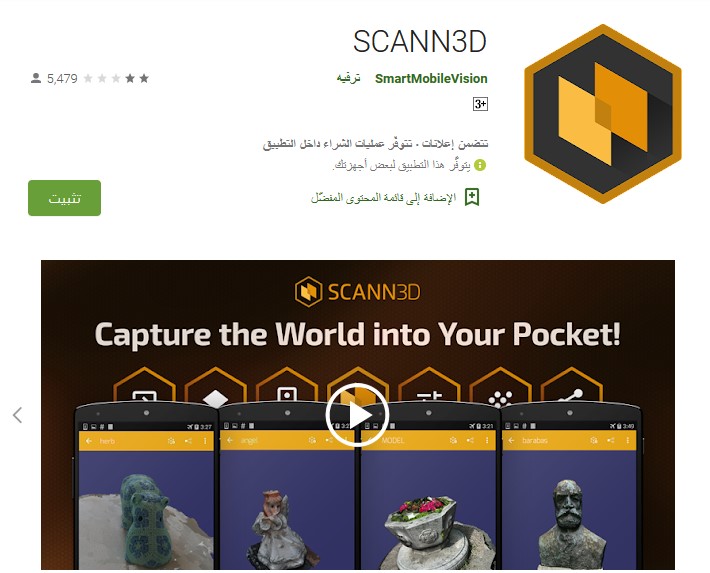
SCANN 3D
I tried to use a second application called SCANN 3D
 The application
it was a bit harder than the previous one , because there is no special paper can make the demotions clear , all what I had to use is taking a punch of photos all around the object , in the same distance .
The application
it was a bit harder than the previous one , because there is no special paper can make the demotions clear , all what I had to use is taking a punch of photos all around the object , in the same distance .
The problems of the application
# The first problem :
The first problem in the application is that it includes the surface which the object on while scanning . I think it is normal because there is nothing can tall the application about the dimensions, so the application will not know which object should it take .
# The second problem :
The second problem was about how the application is analyzing the photos , because sometimes two sides of the object became similar .
I think it because of the complexity of the object itself and specially if there are two sides without a big difference between them , the application will not realize the difference . and it will make the two sides similar .
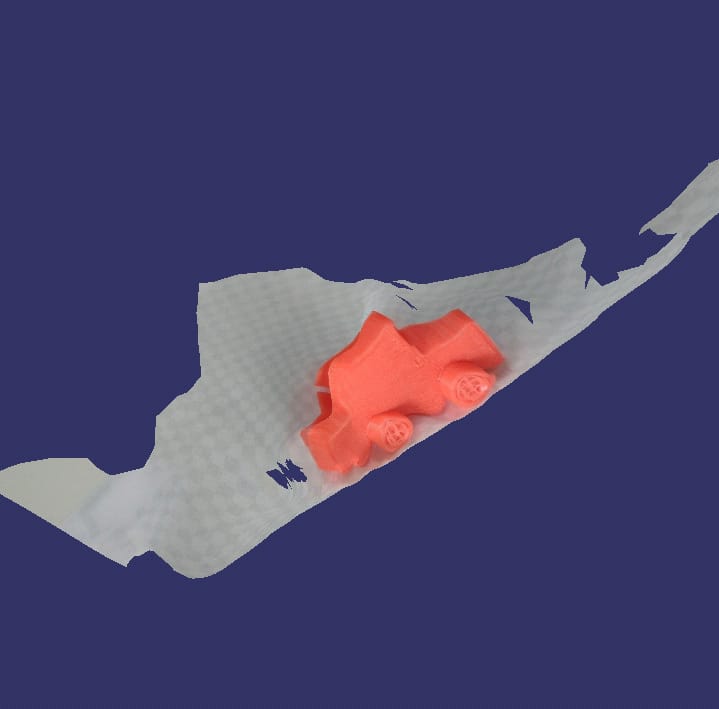
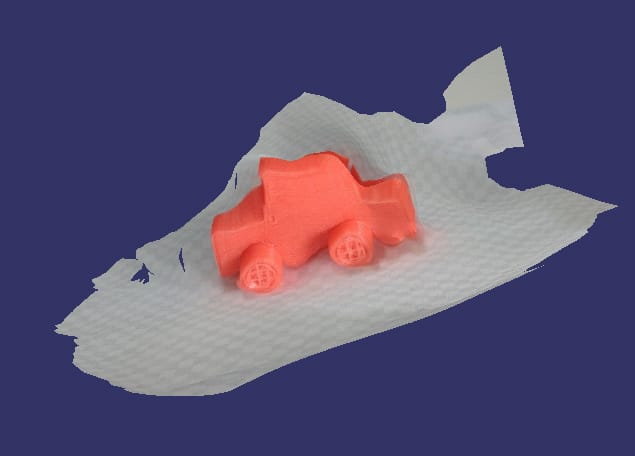
Scanning by computer :
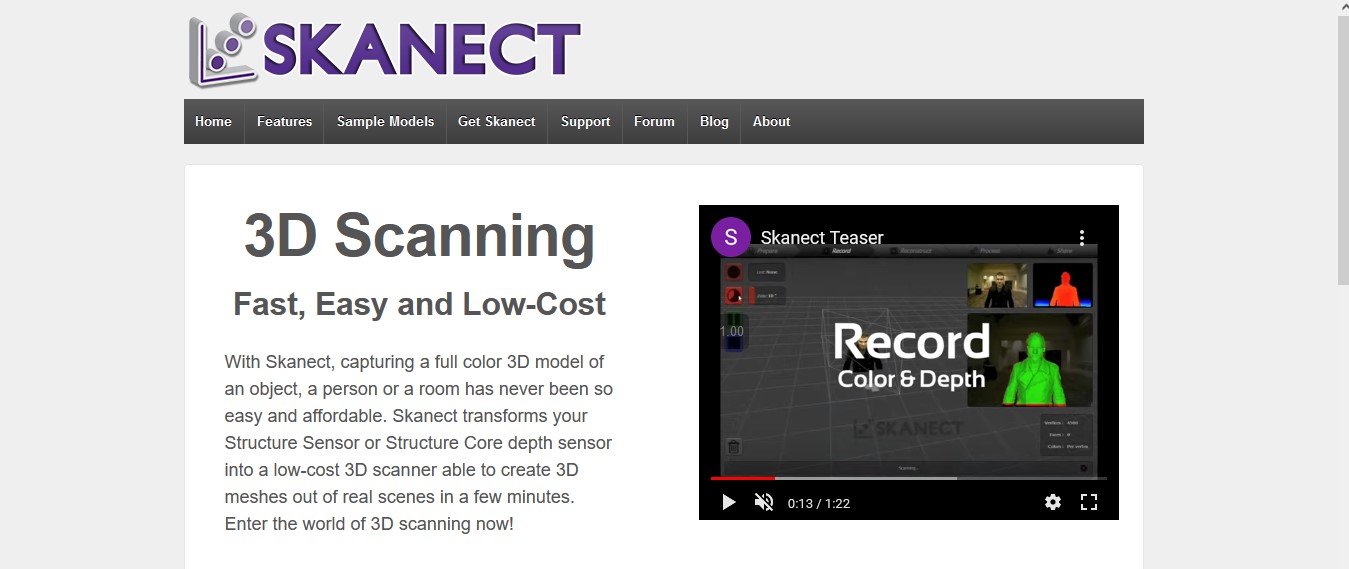
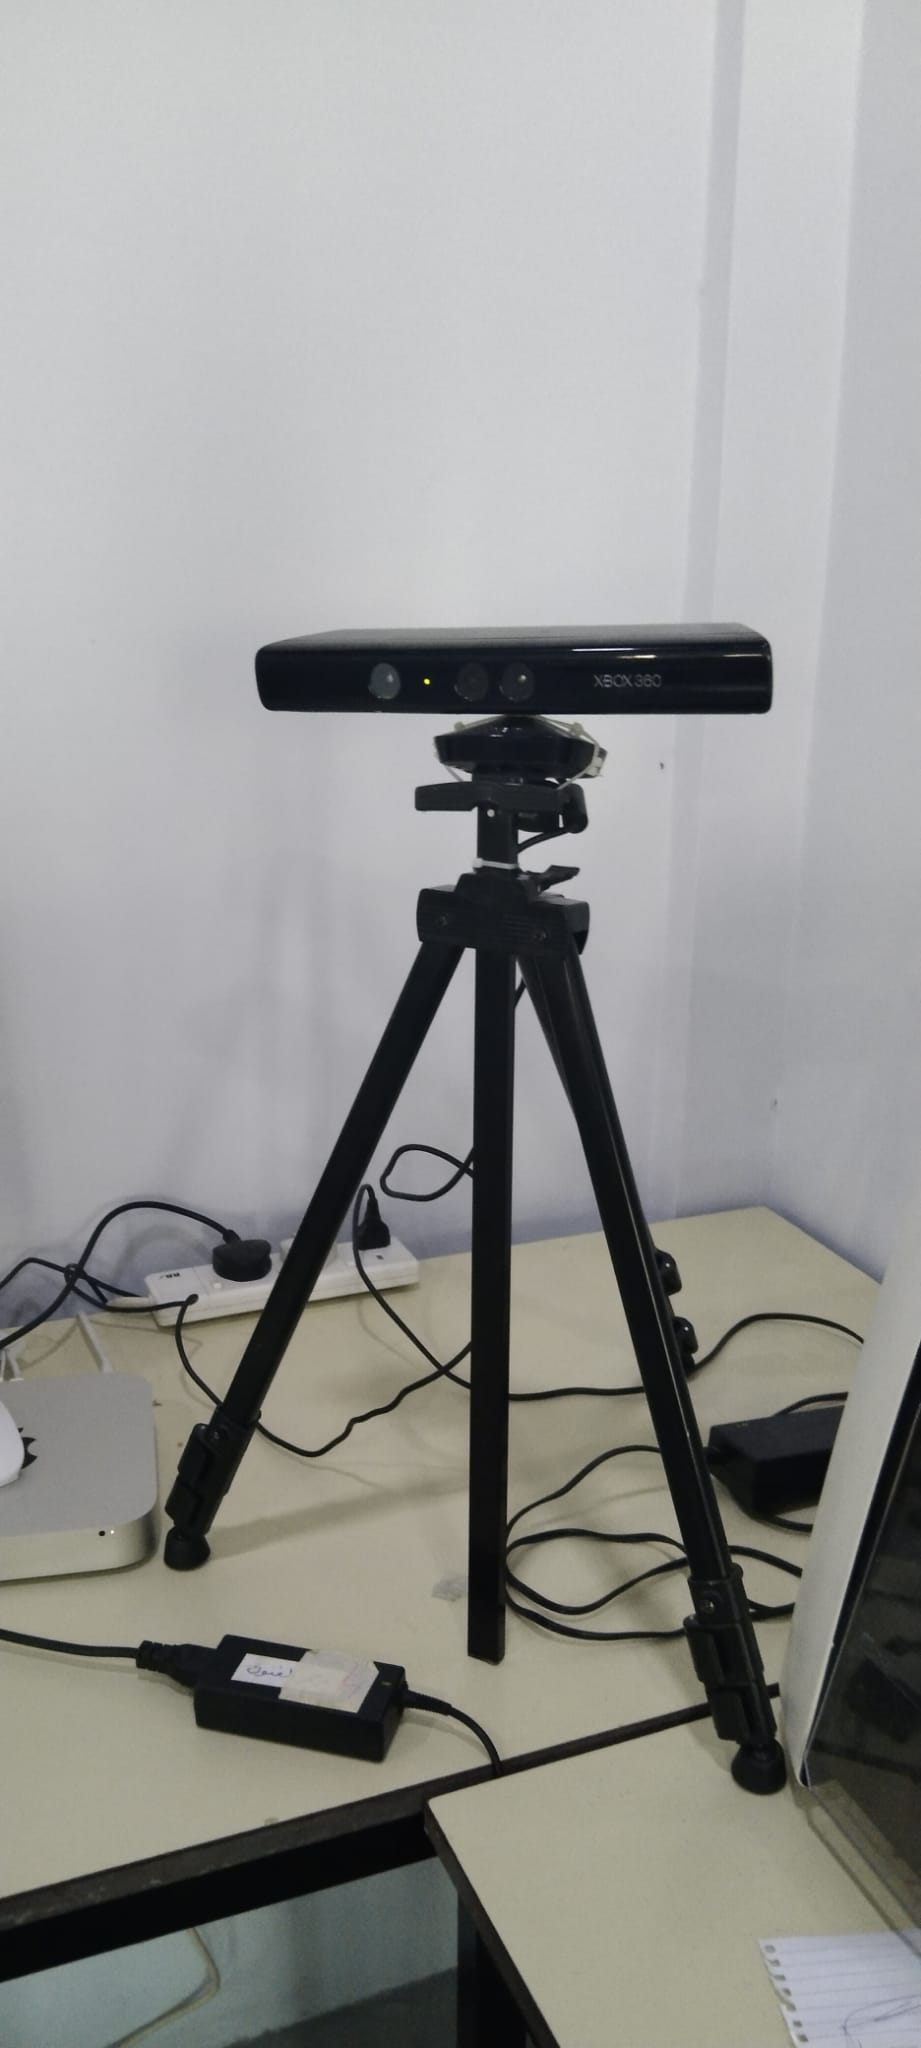
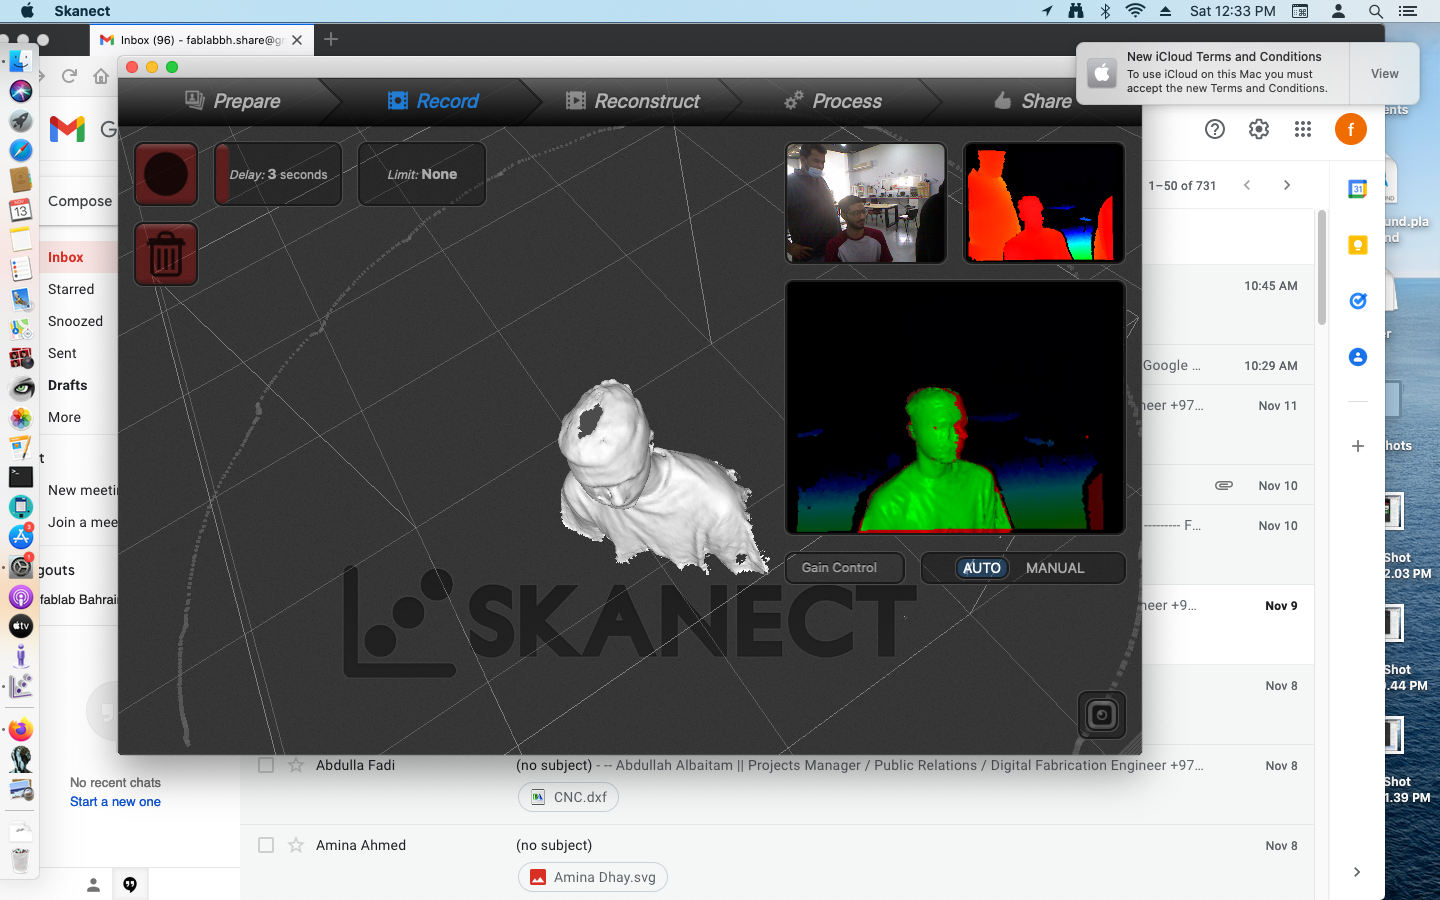
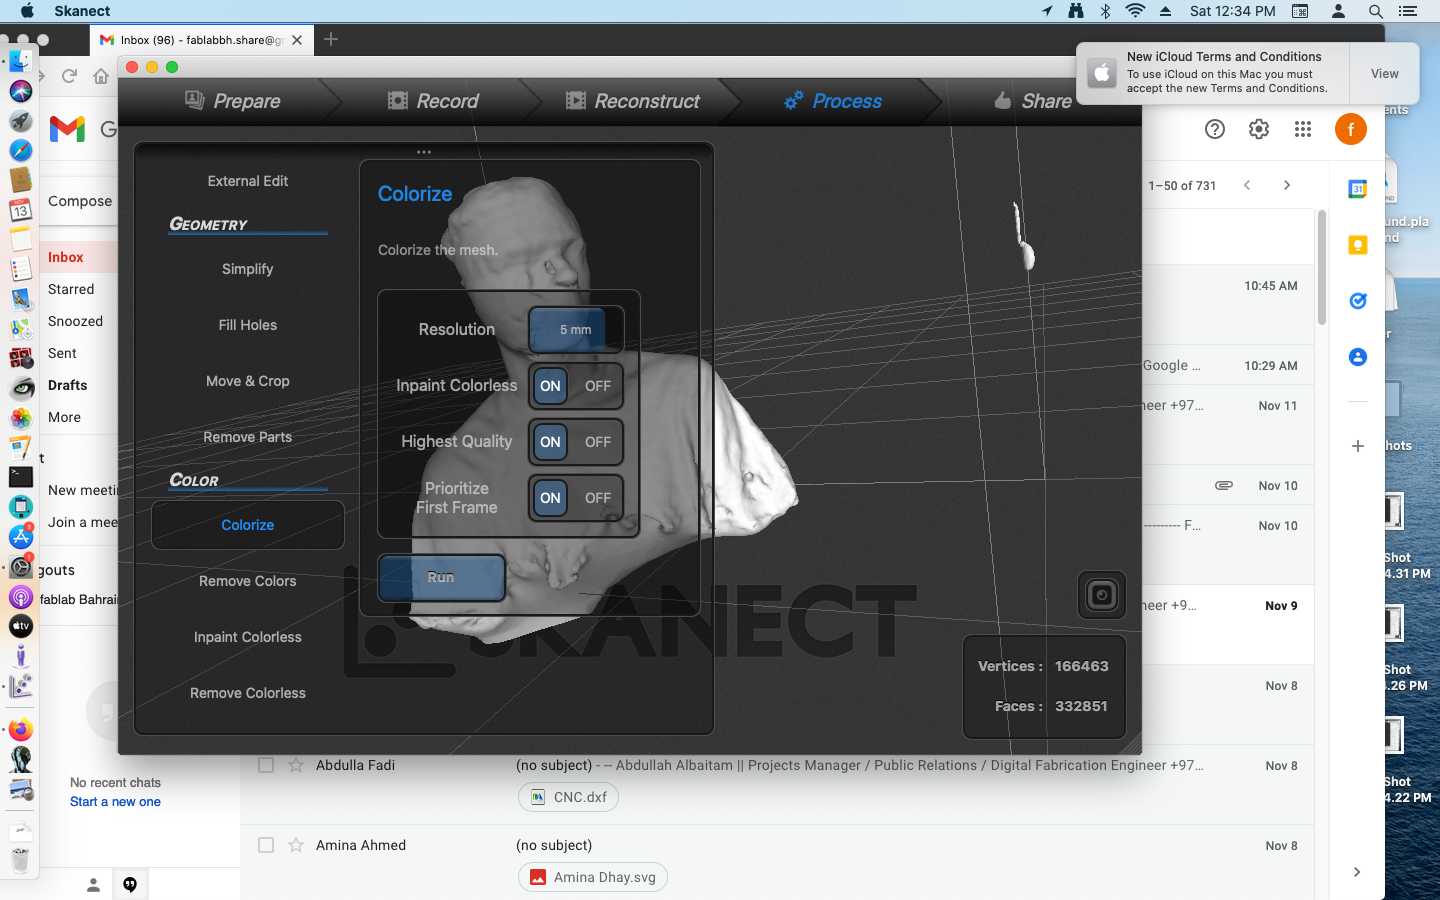
The second method that I used for scanning is scanning by computer and we used a software called SKANECT this software uses the xbox 360 kinect to record the objects .
xbox 360 kinect
The software was too easy because whole the instructions were provided , all what I had to do is to follow them
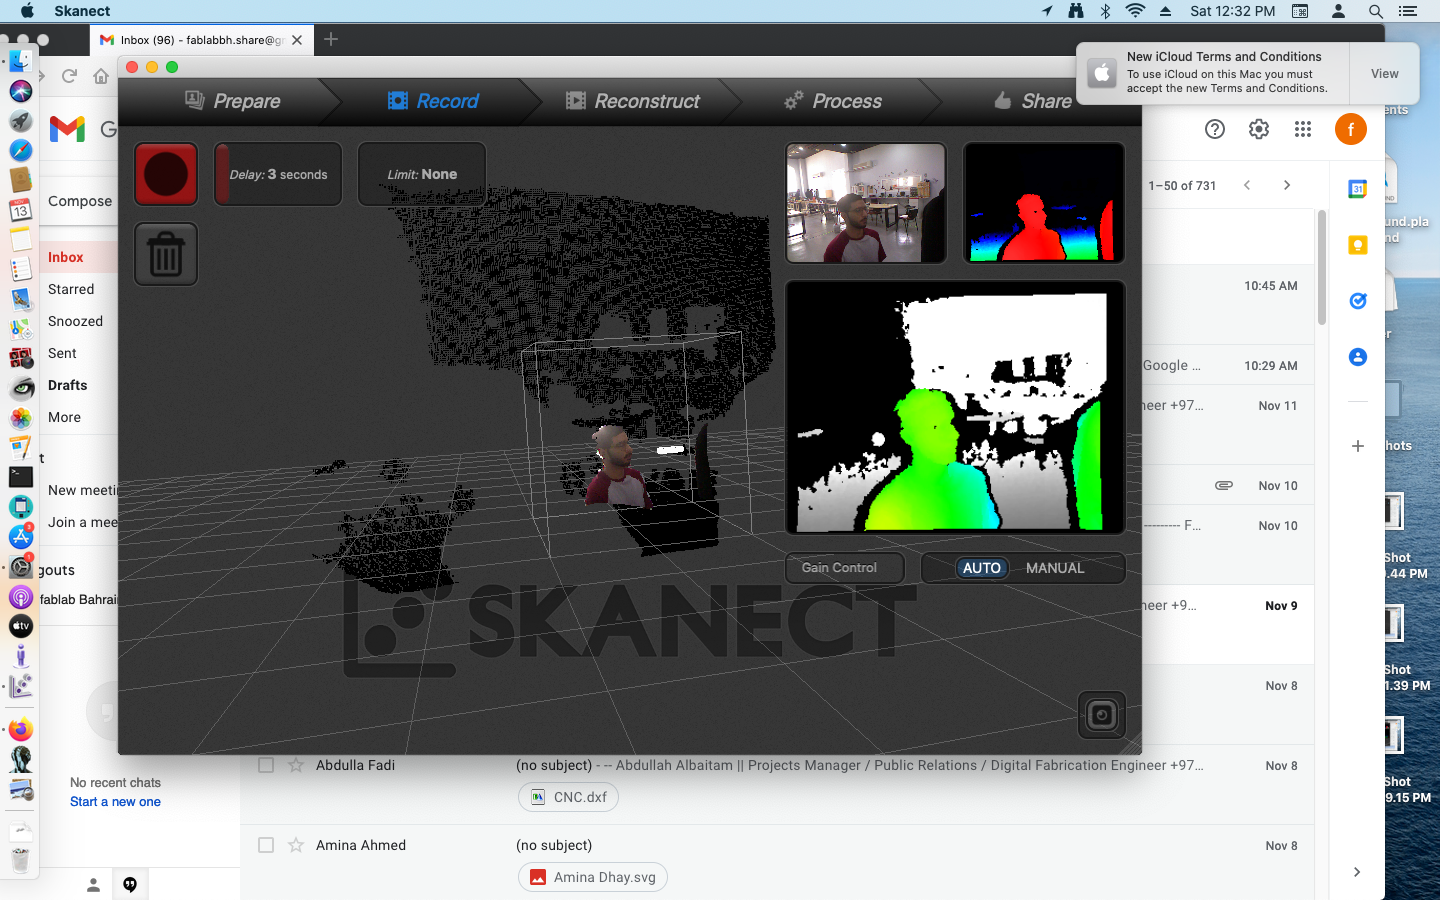
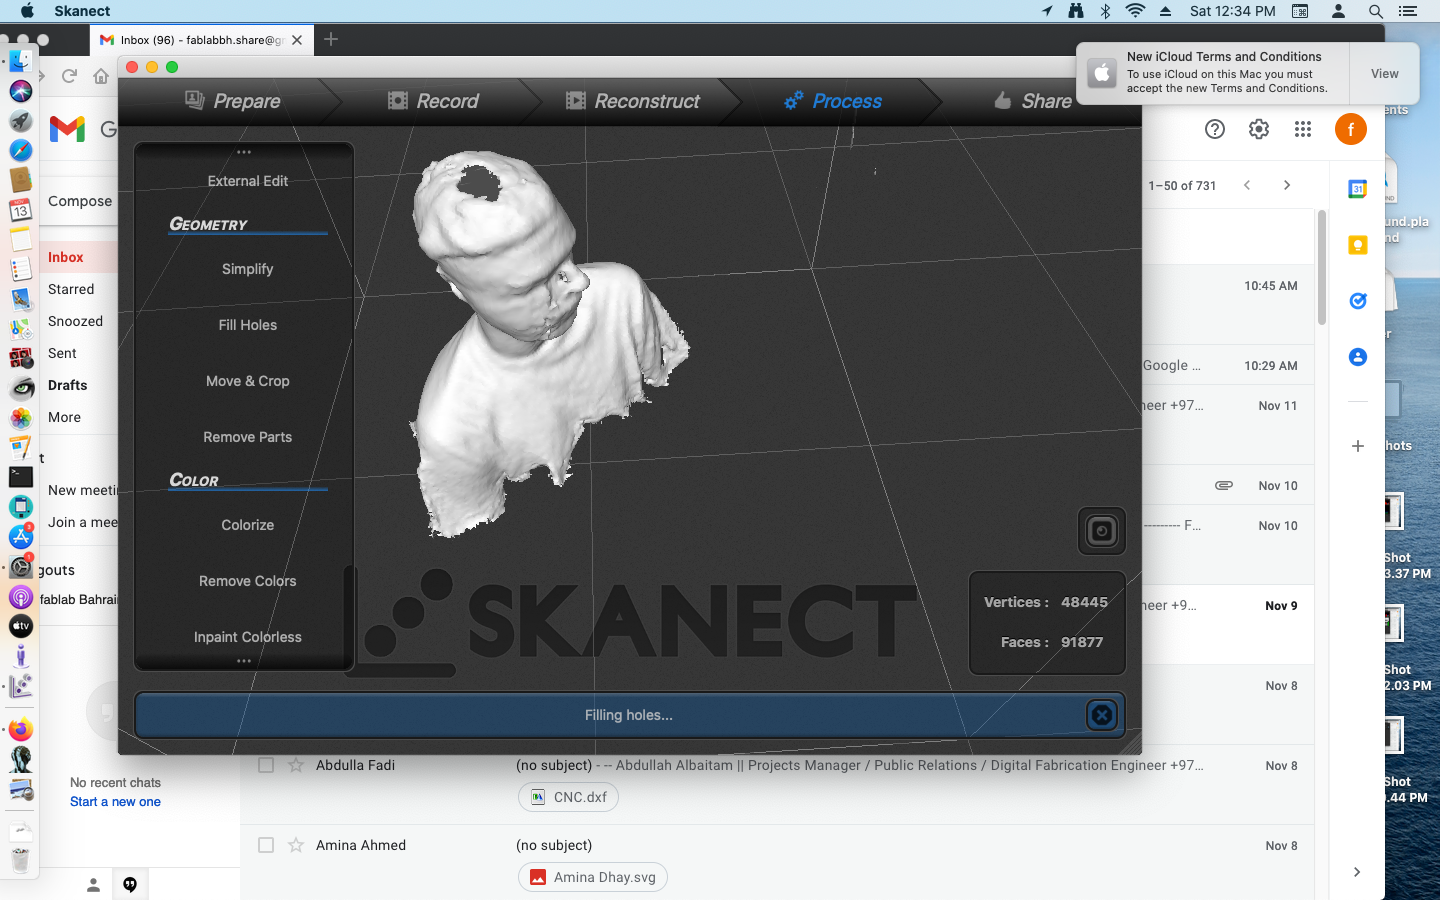
There were some of the body the kinect did not reach , so they were presented by holes ;
Here I had to press fell holes so I can be sure that the body is completed :
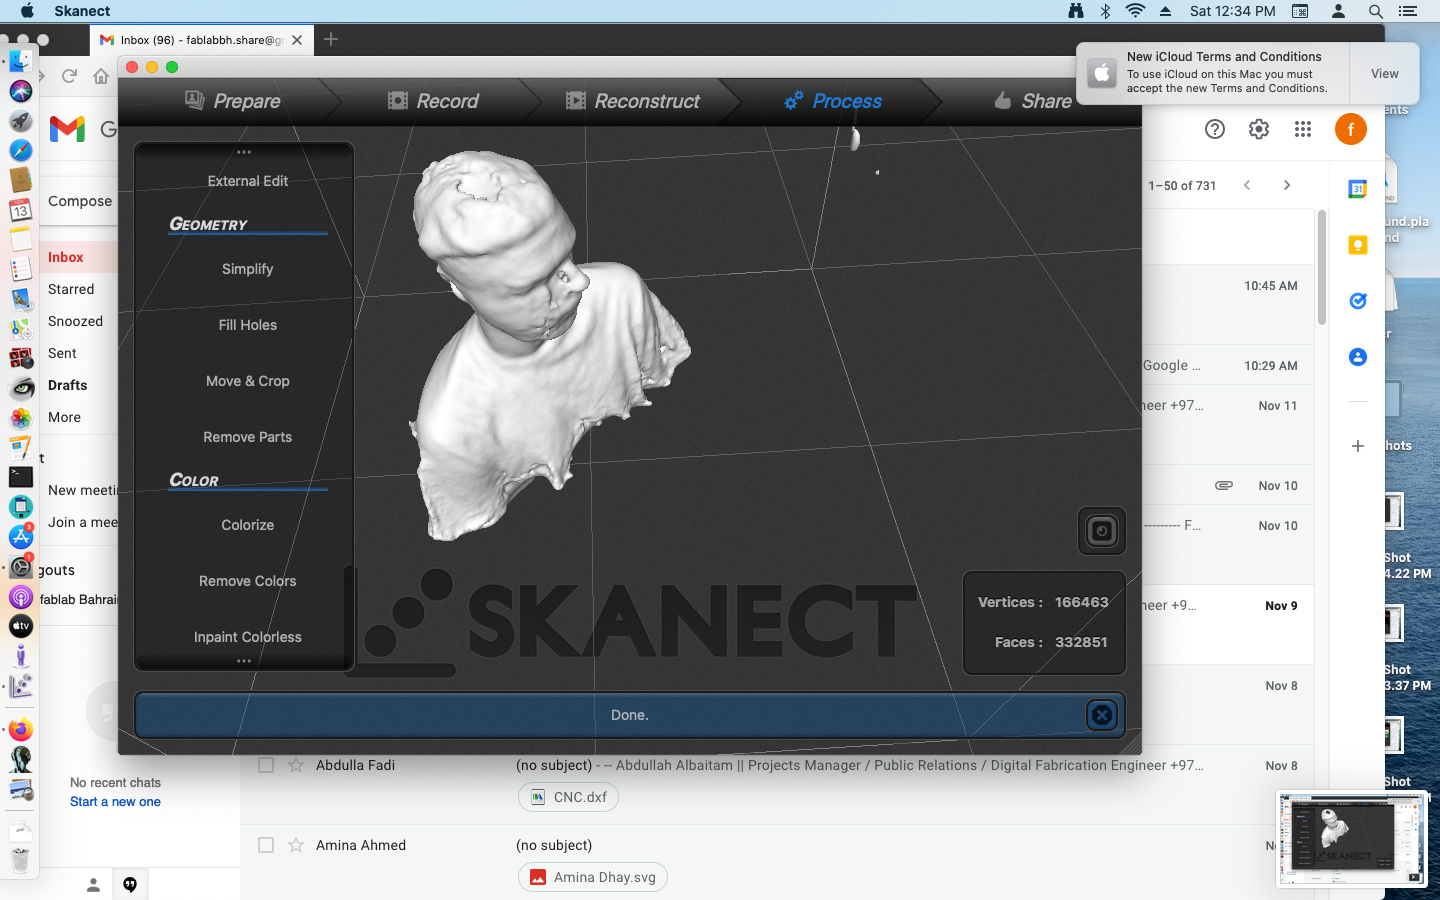
Then we colored the body , the final result was a bit messy because I had to turn around myself and I could not find the starting point :

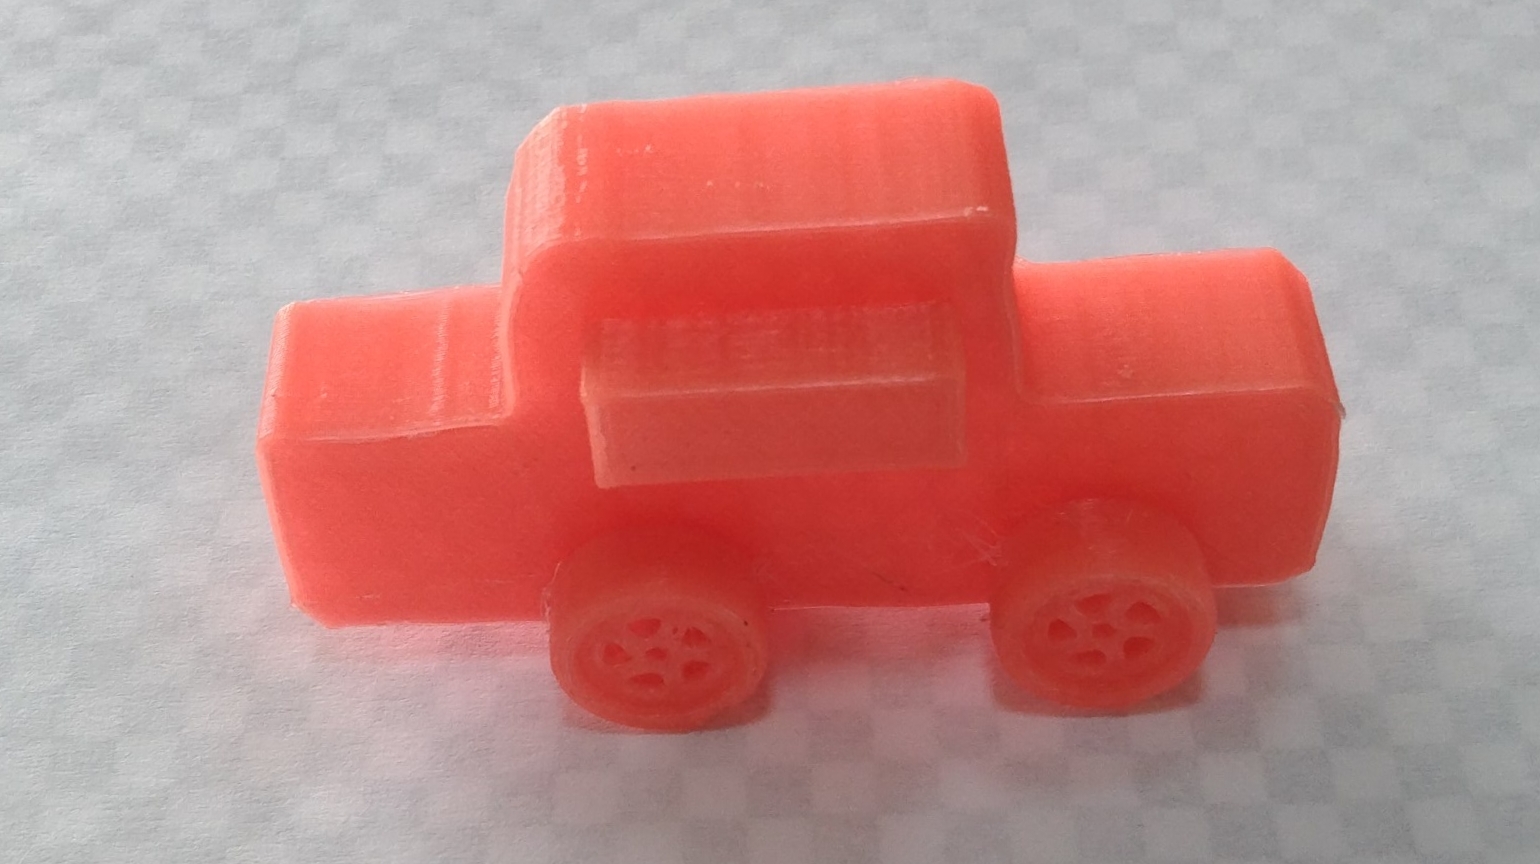
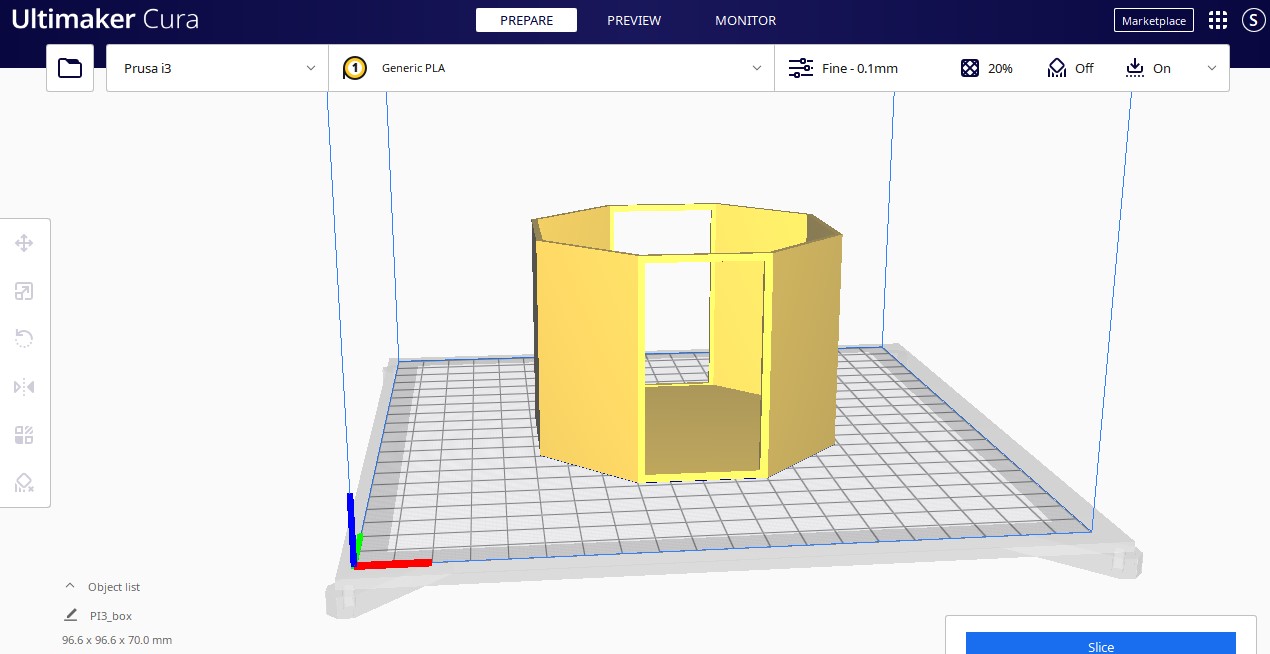
3d printing :
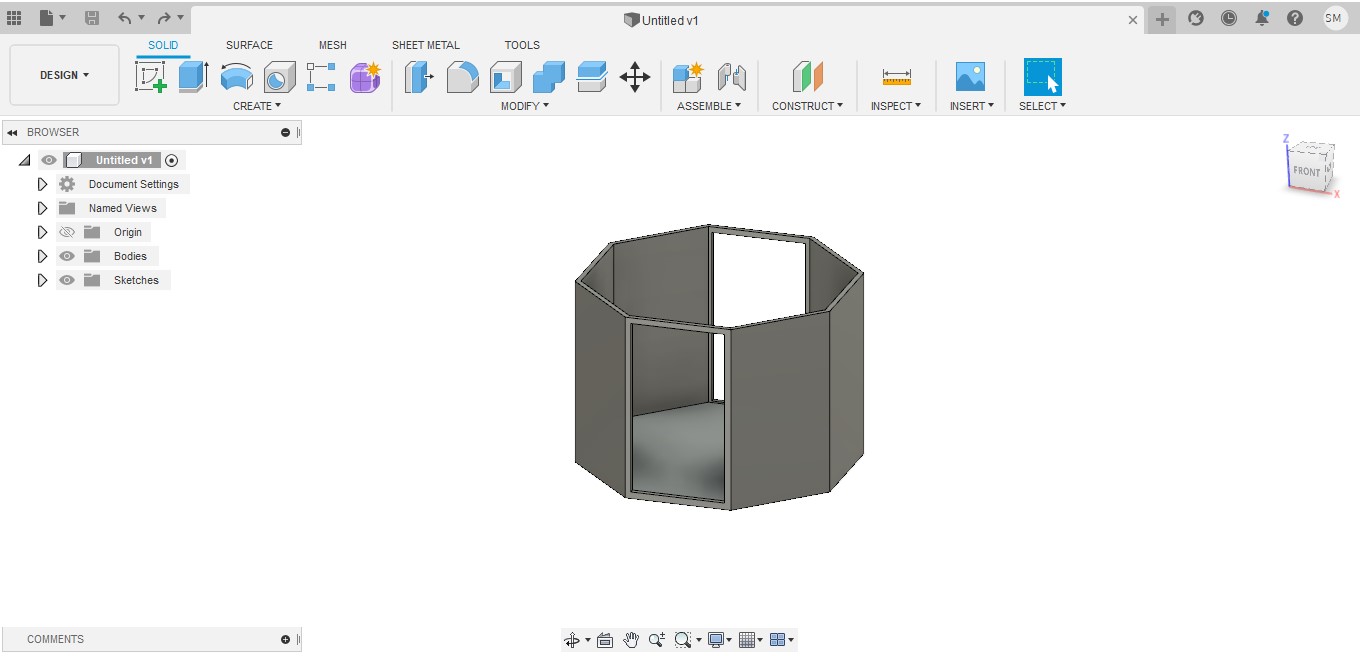
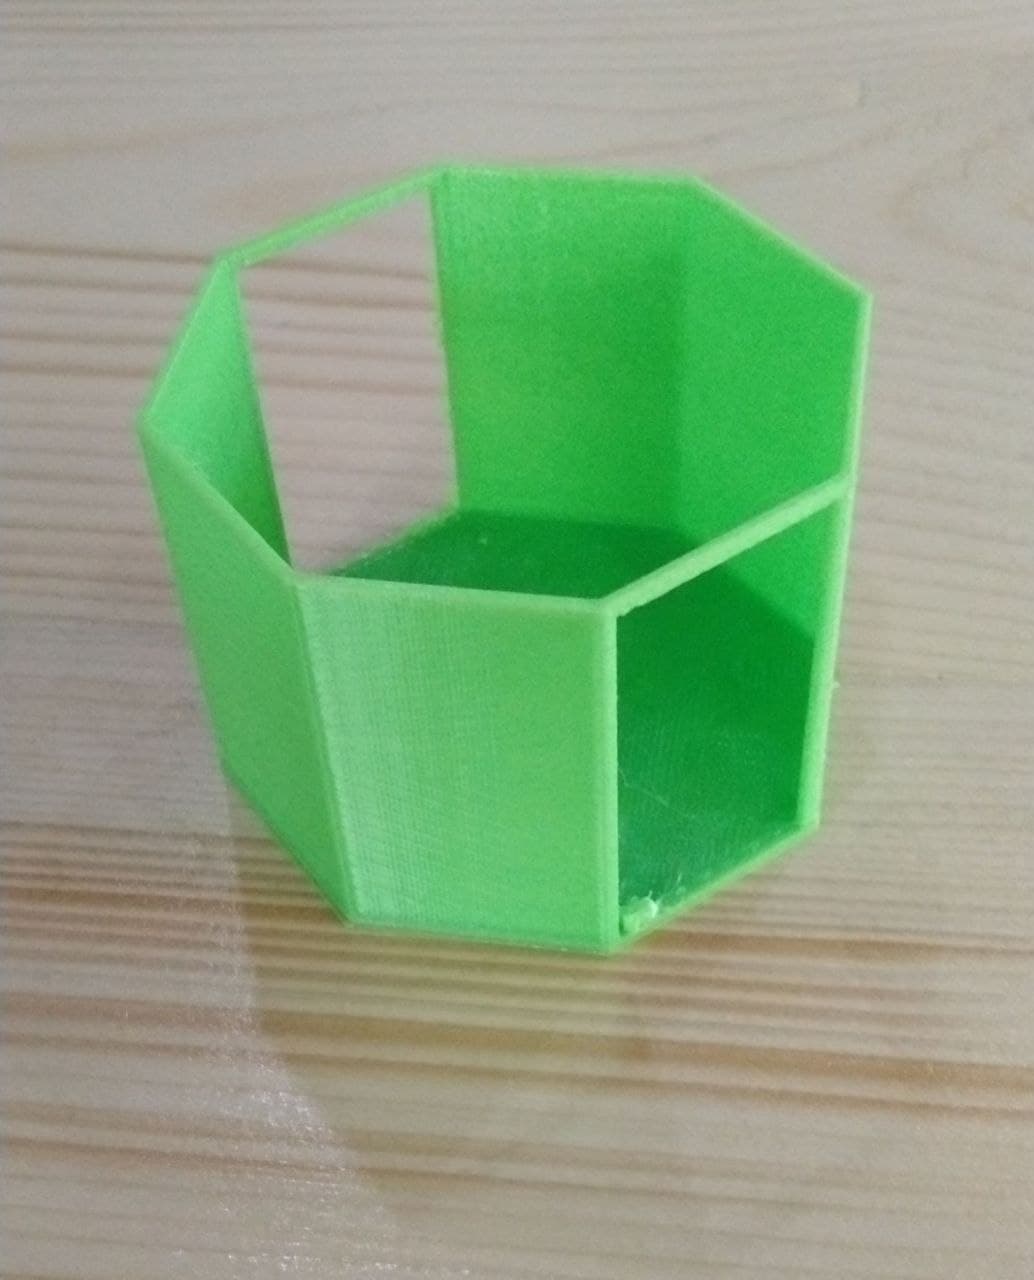
In this part I made a quick design just to test the 3d printing machine the design was a box with holes inside it , a thing can not the laser cutter do it .
For the printing part I used a machine called Prusa
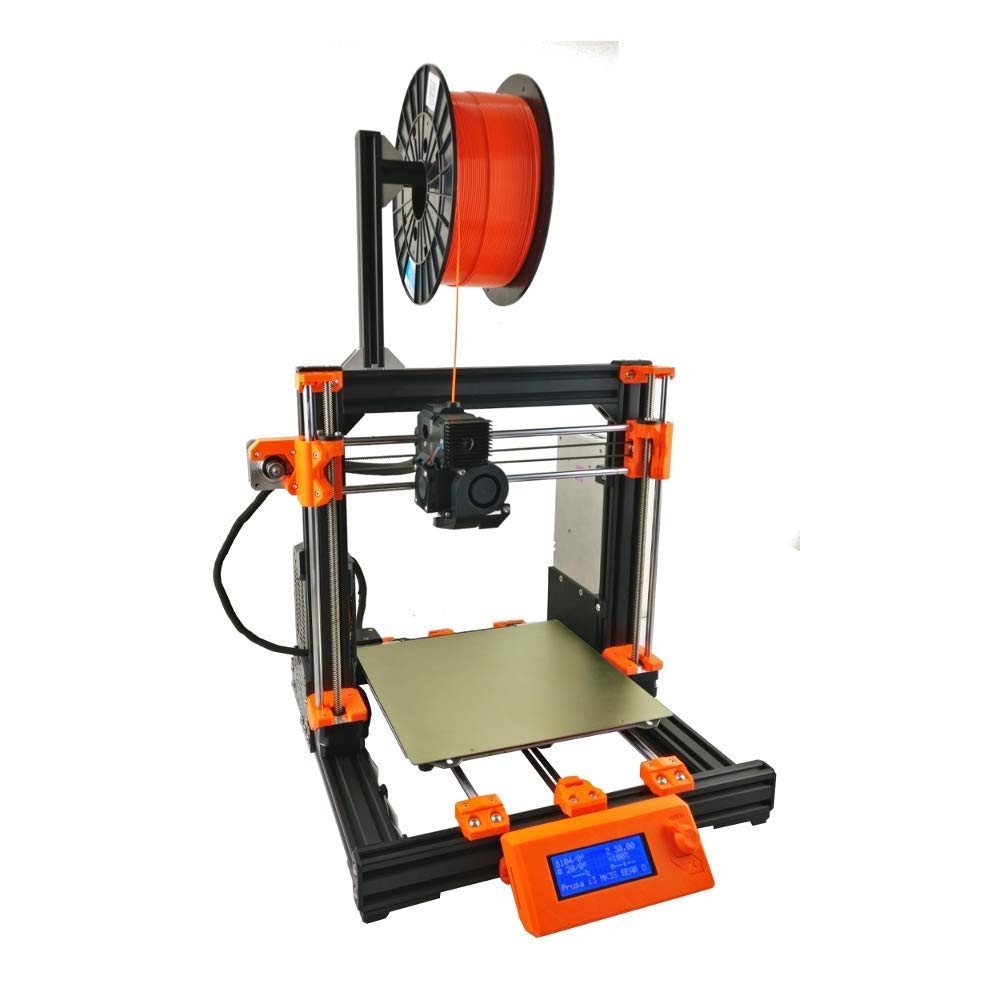 this machine has a lot of features like :
1- High-Quality Parts
2- Removable Print Sheets
3- Slice with Prusa-Slicer
more features can be found Here
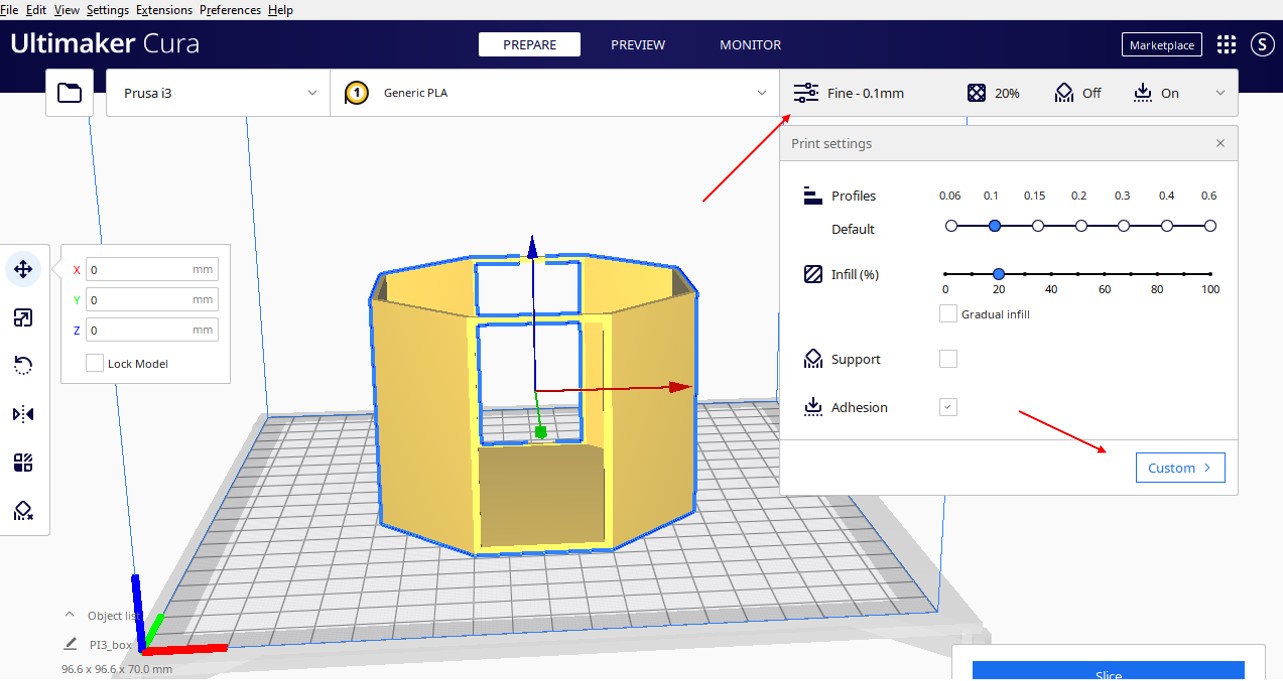
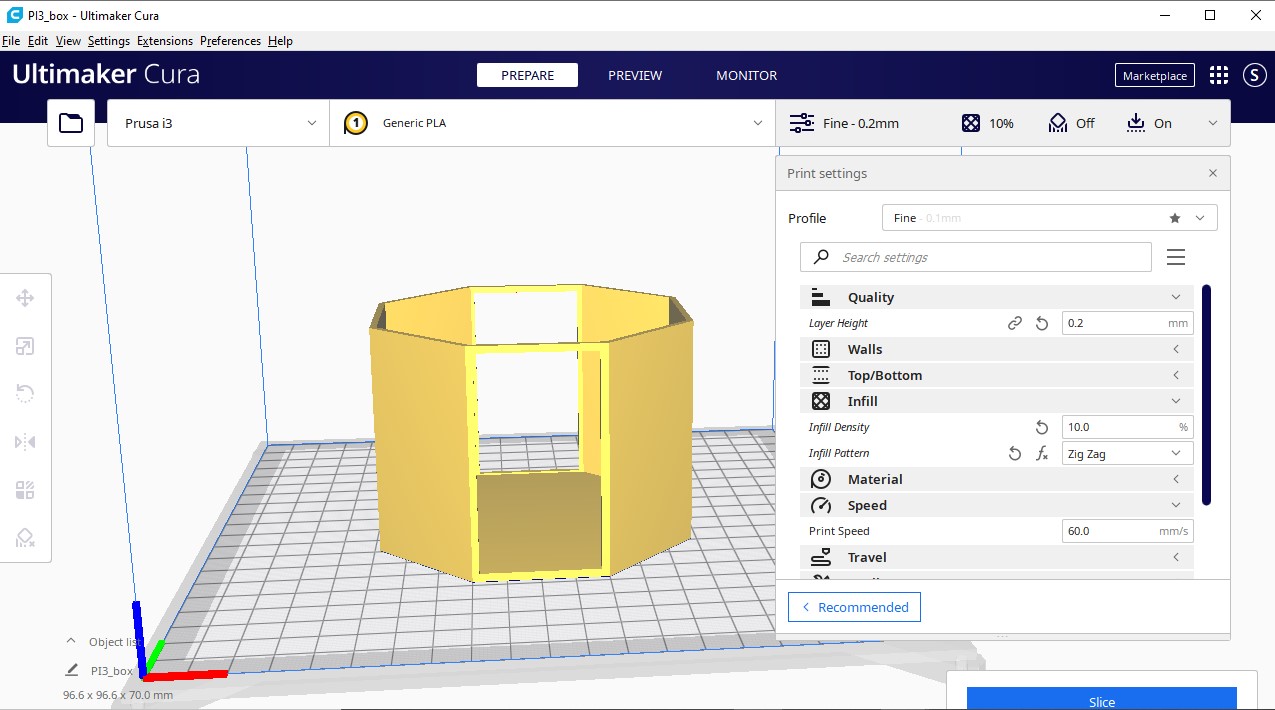
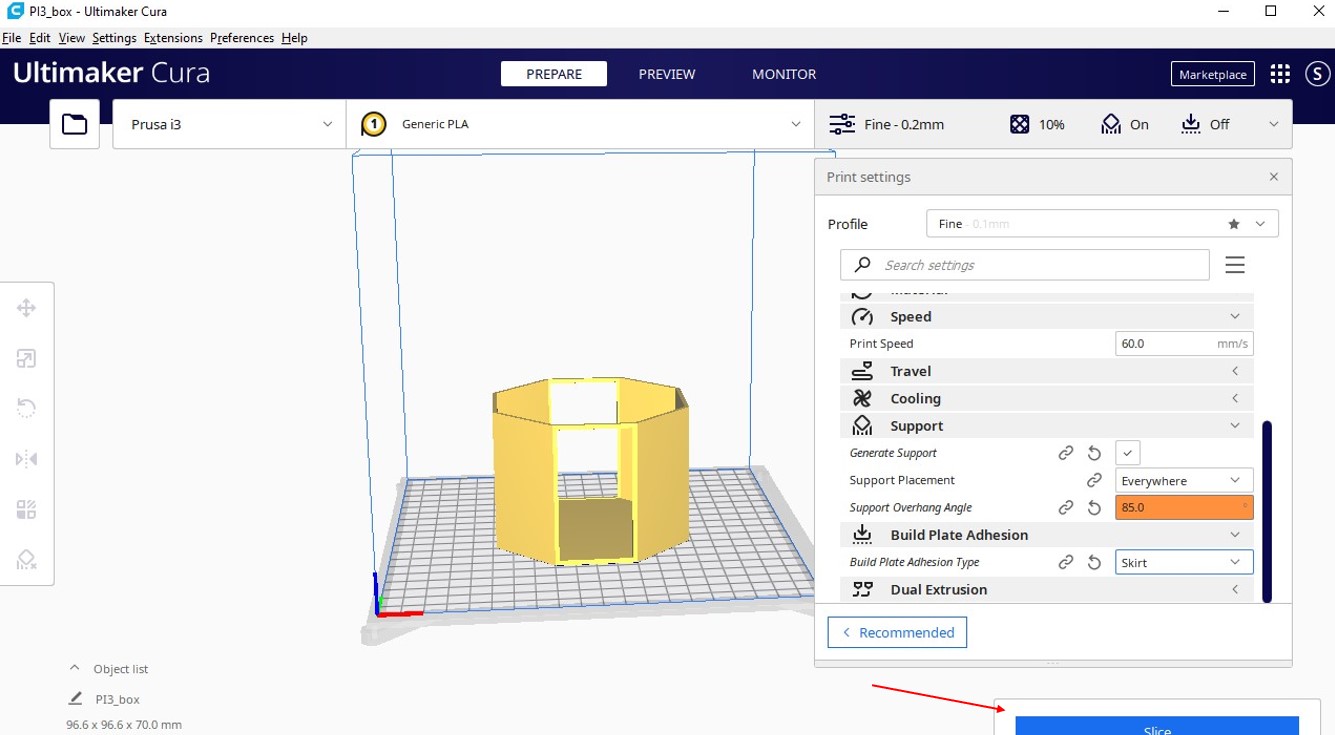
I used I program called Cura to slice the design
I imported my design as STL file*
I edited the printing setting The quality : means the thinness of each layer , because the less thickness the more quality but it will take more time .
The speed : I put the speed of the machine as 60 mm/s.
Infill : means the filling inside the design to give it more strength , I put it 10% and the way of filling is Zigzag .
The support : I chose everywhere ang the maximum angle of the support is 85 .
Build plate adhesion : are the layers around the design , I chose Skirt .
after editing the sitting , I clicked to slice .
The final result :
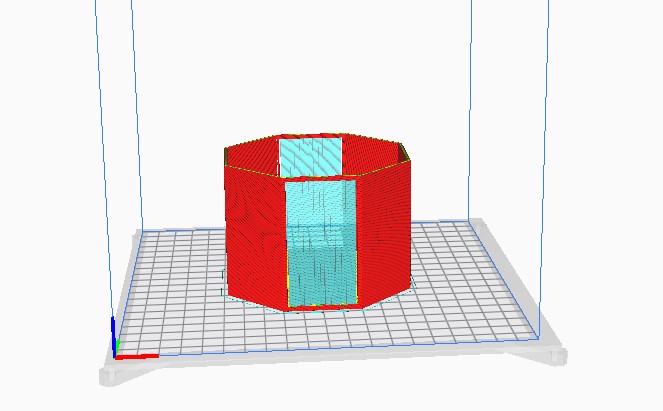
I send my design to machine through CD card :

printing result
the design files
group tasks
The group task was two parts , the first part is about learning how the machine works and details about 3d printing as my partnerTeflah mentioned , The second task was the first 3d object that we had to print as s group work ,and the whole process is mentioned in the page of my partner Teflah mentioned