8. Molding and casting
In this week I learned the molding and casting mechanism , the week was enjoyable , because the casting part was similar to the CNC Machine week .
Safety
Proper ventilation Make sure there is fresh air entering a room when working with resin. Open a window or use a fan if necessary.
Wear disposable gloves I prefer nitrile gloves since they are less likely to react with the resin. If you have super sensitive skin, you might consider coating your hands with a barrier cream first.
Wear protective clothing Resin can soak through clothing and irritate your skin. Resin drips will also not come out of clothing. Designate items as resin only Silicone baking molds can make great resin molds too, but once used for resin, they should not be used for food again. The same goes for mixing containers and utensils.
Wear a respirator Resin safety applies to resins besides epoxy, including polyester and polyurethane. Wear a NIOSH approved respirator for fumes and make sure it fits properly.
Note: A product safety data sheet (SDS) will detail whether or not you should wear a respirator when using the resin. However, if you feel safer wearing one even if the SDS does not suggest it, then do it. You can never be too safe! Wear safety goggles If a resin requires respirator use, you need to wear safety glasses as well. You should also wear these if you are sanding the resin or using power tools.
Clean up spills immediately While it’s inconvenient to stop in the middle of a project to clean up a resin spill, it’s better than getting some on yourself later or having an unknowing person get it on him or herself.
When sanding resin, wear a particle mask or respirator For light sanding, a particle mask is probably sufficient, but if you’re using a belt sander, grinder or buffing wheel, a respirator may be more appropriate since the resin will be more aerosolized.
Exercise care with solvents If cleaning up a resin spill on the skin, don’t use a ketone or chlorinated based product. This will only put the resin deeper into your skin. Use only soap and water.
The induvial task :
First of all , I decided to design a diamond . and I searched about how to make a diamond in fusion 360 , I found this tutorial in YouTube :
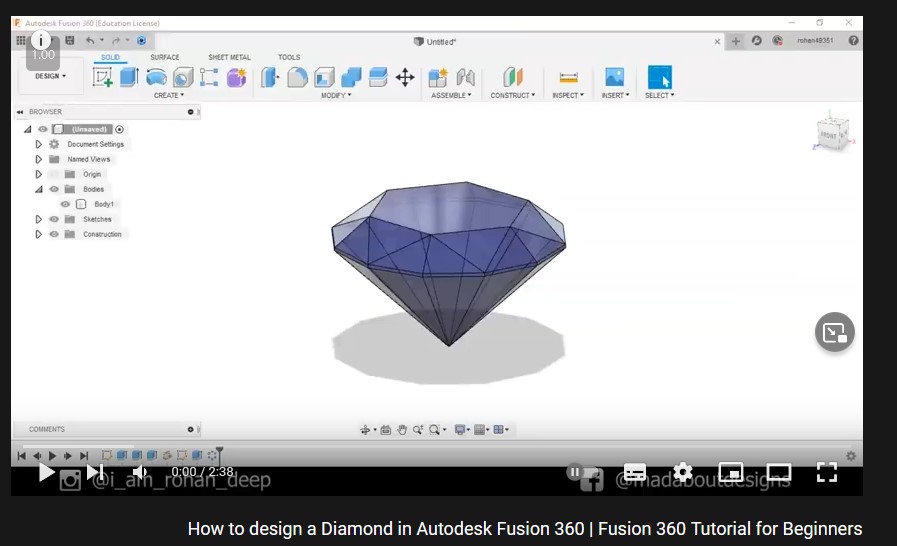 The tutorial
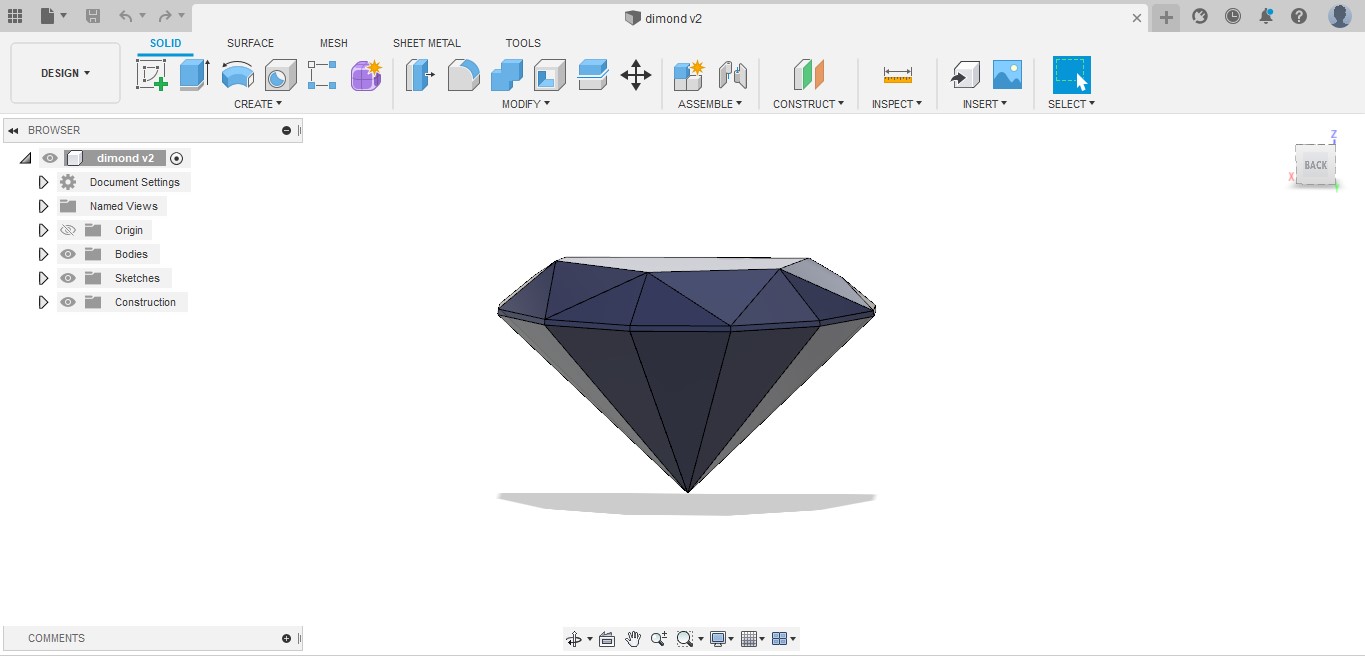
I follow the video step by step and I was able to make this :
Important note :
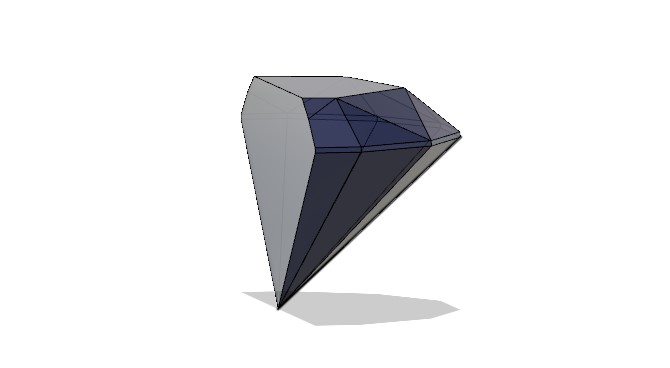
If your design is 3d one , you have to cut it to a half and it has to be without inner designs , because the milling machine only mill from up to down (vertically) , and it can’t reach some places .
and because of this , I cut the diamond to a half :
Milling part :
We used a program called SRP player :
 The role of this program is to adjust the design on a way to mill the design on the board.
The dementias of the diamond was in a more bigger than the board :
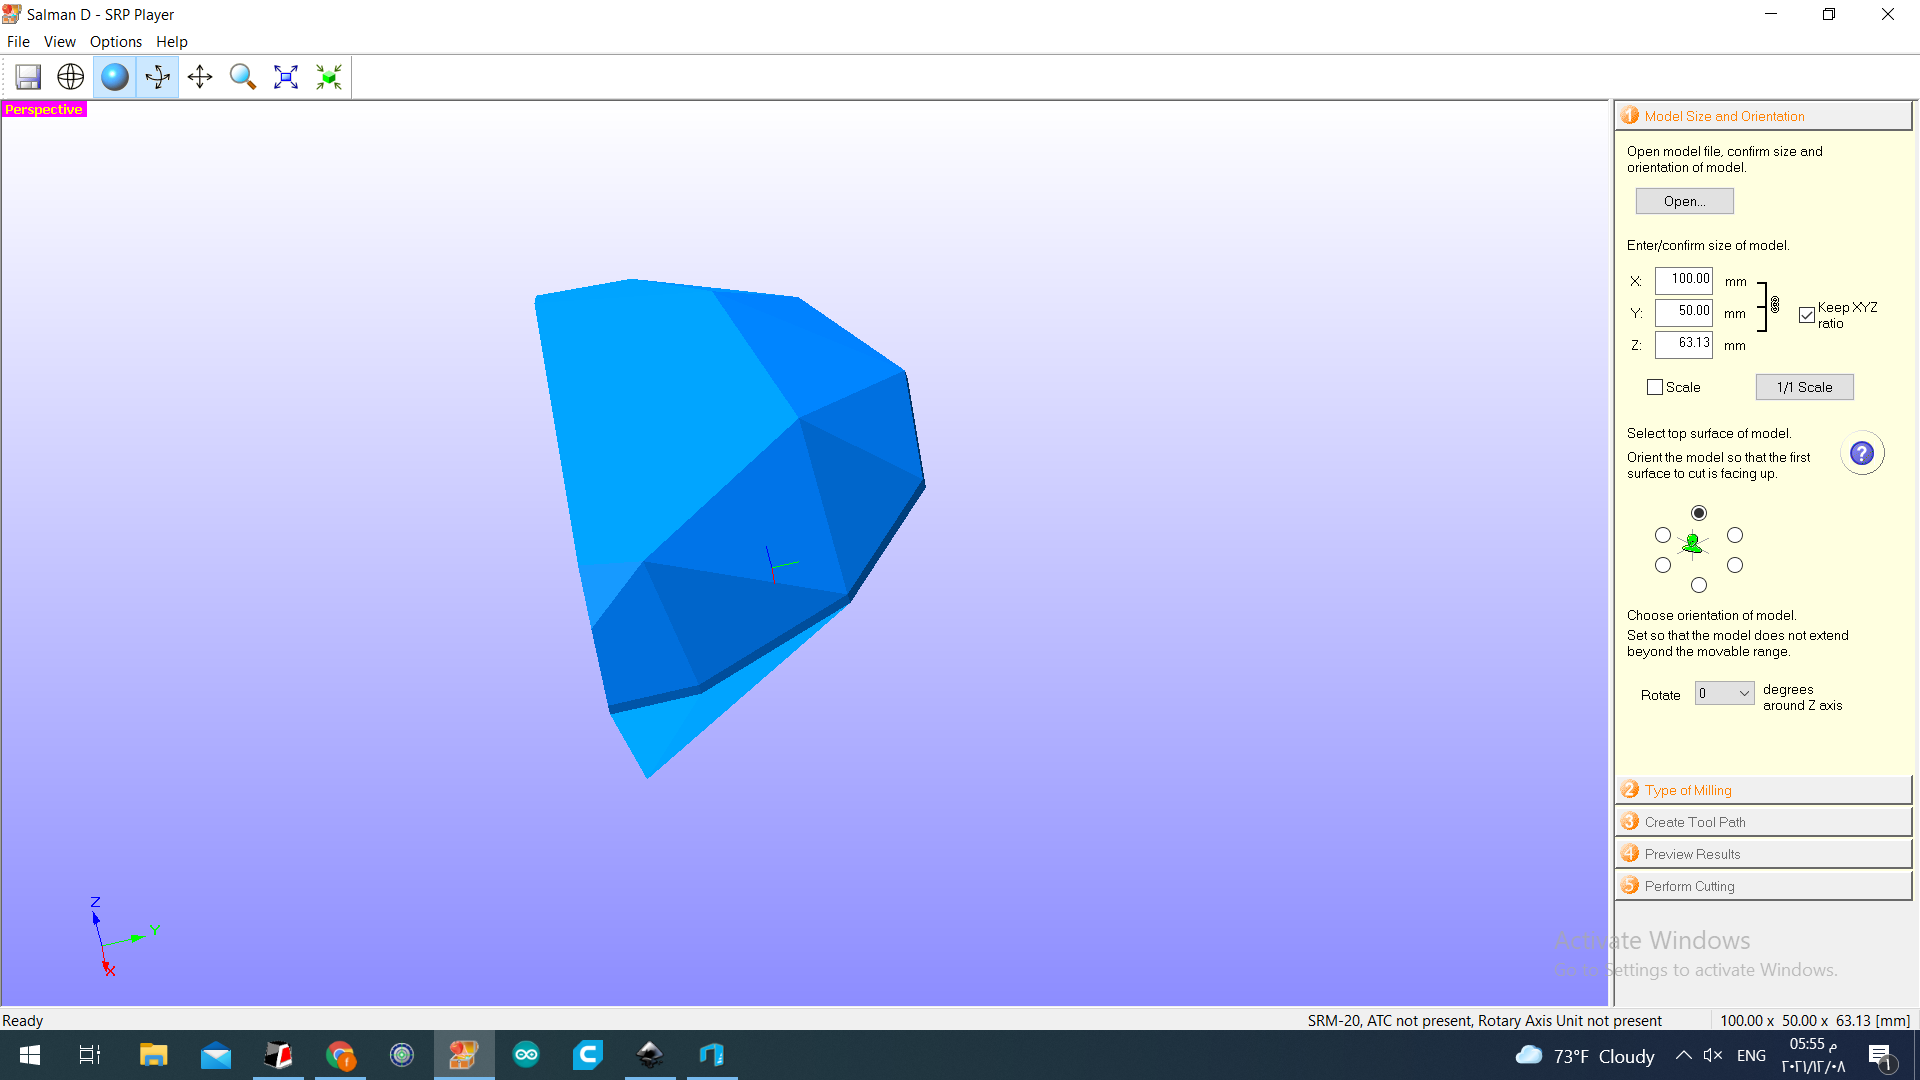 I started to adjust the design but the diamond shape became to bad
I used TINKERCAD to adjust the design
I started to adjust the design but the diamond shape became to bad
I used TINKERCAD to adjust the design
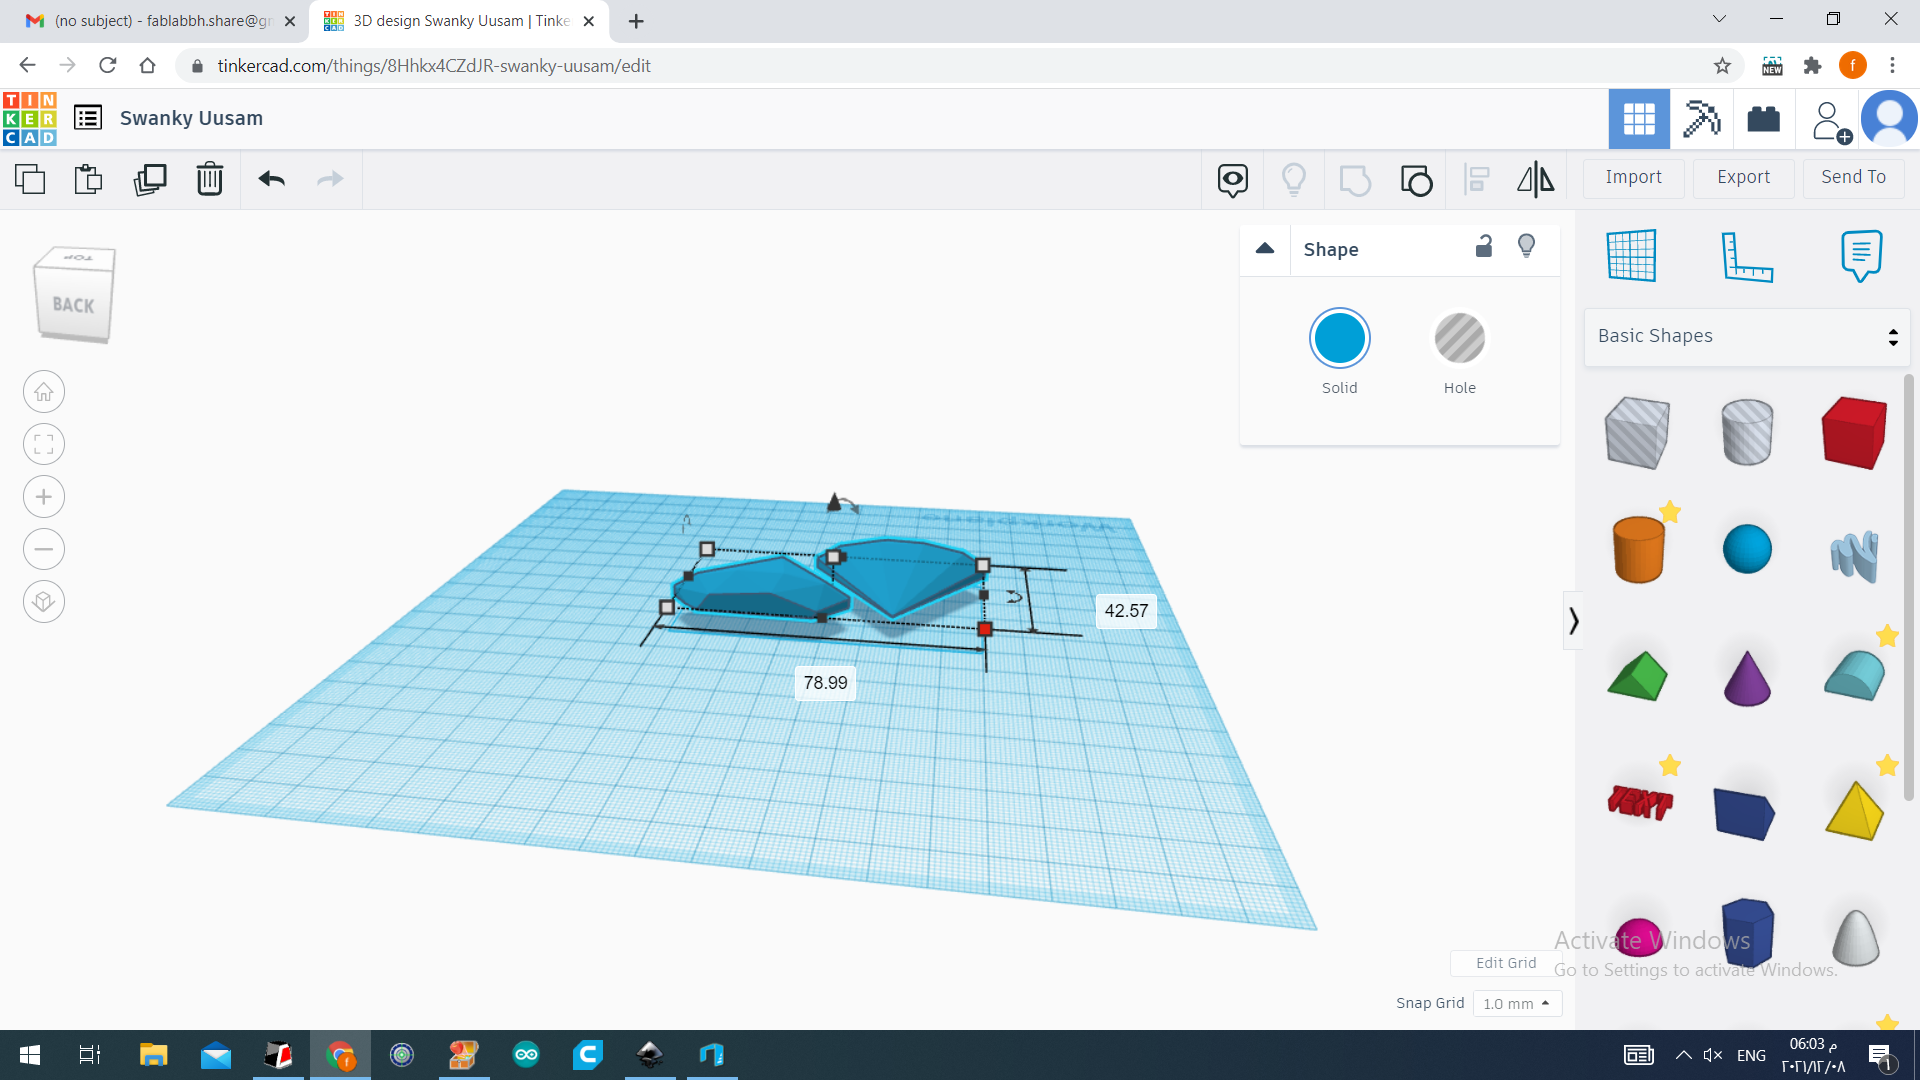
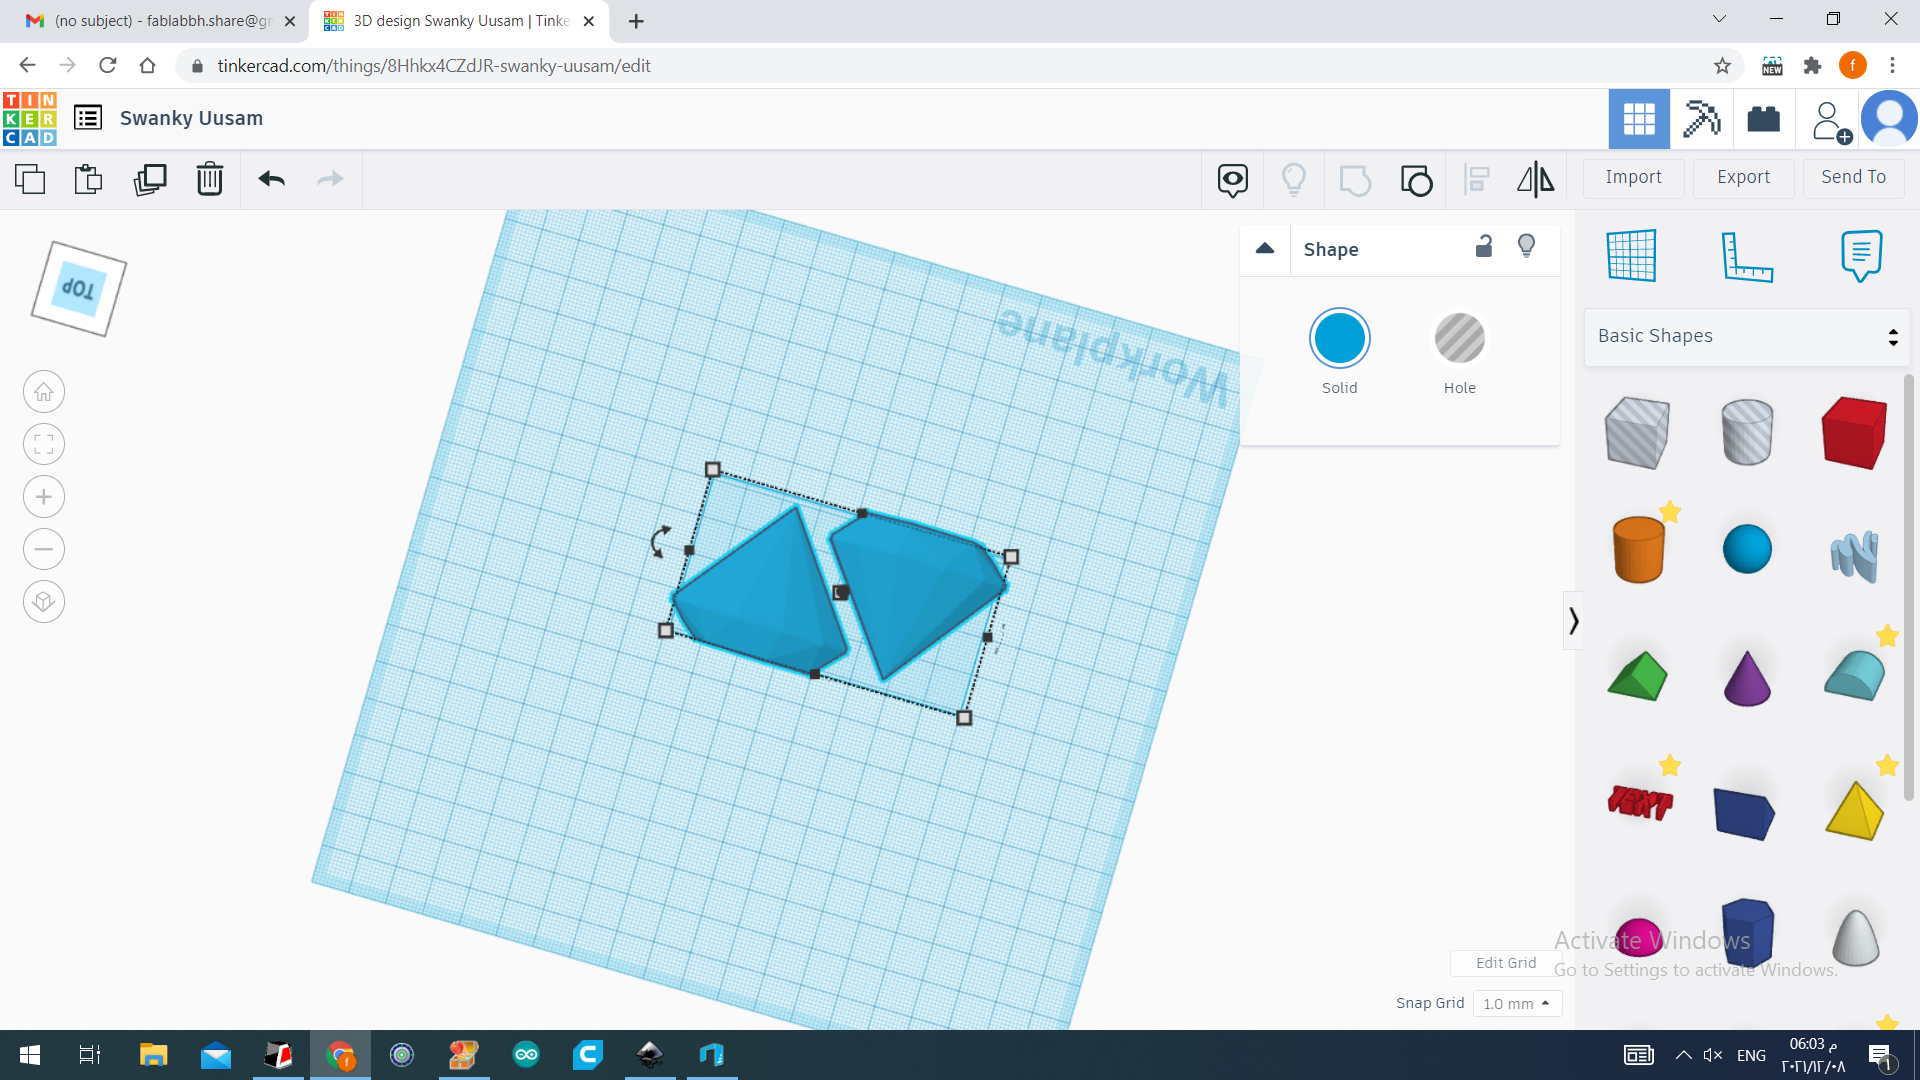
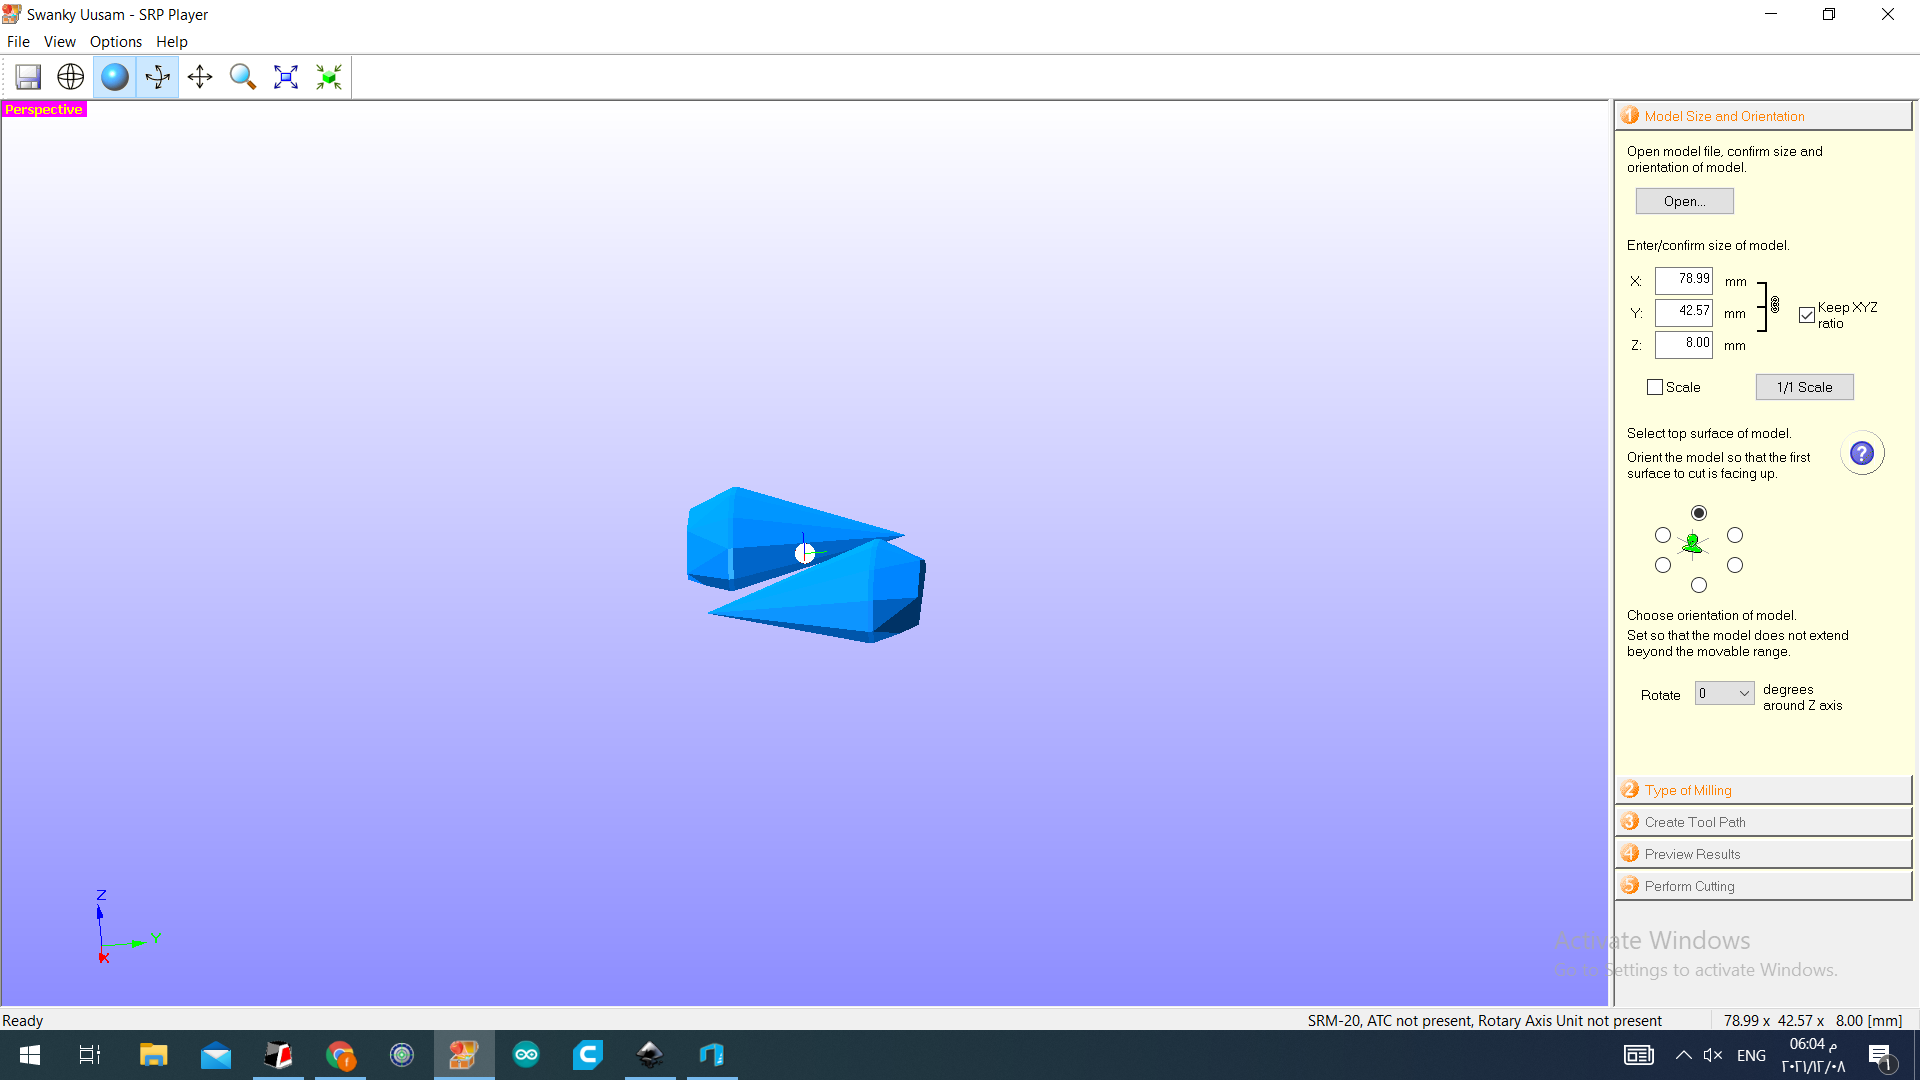
then the dimensions became like that and the shape of the diamond was amazing :
Here we have the type of milling :
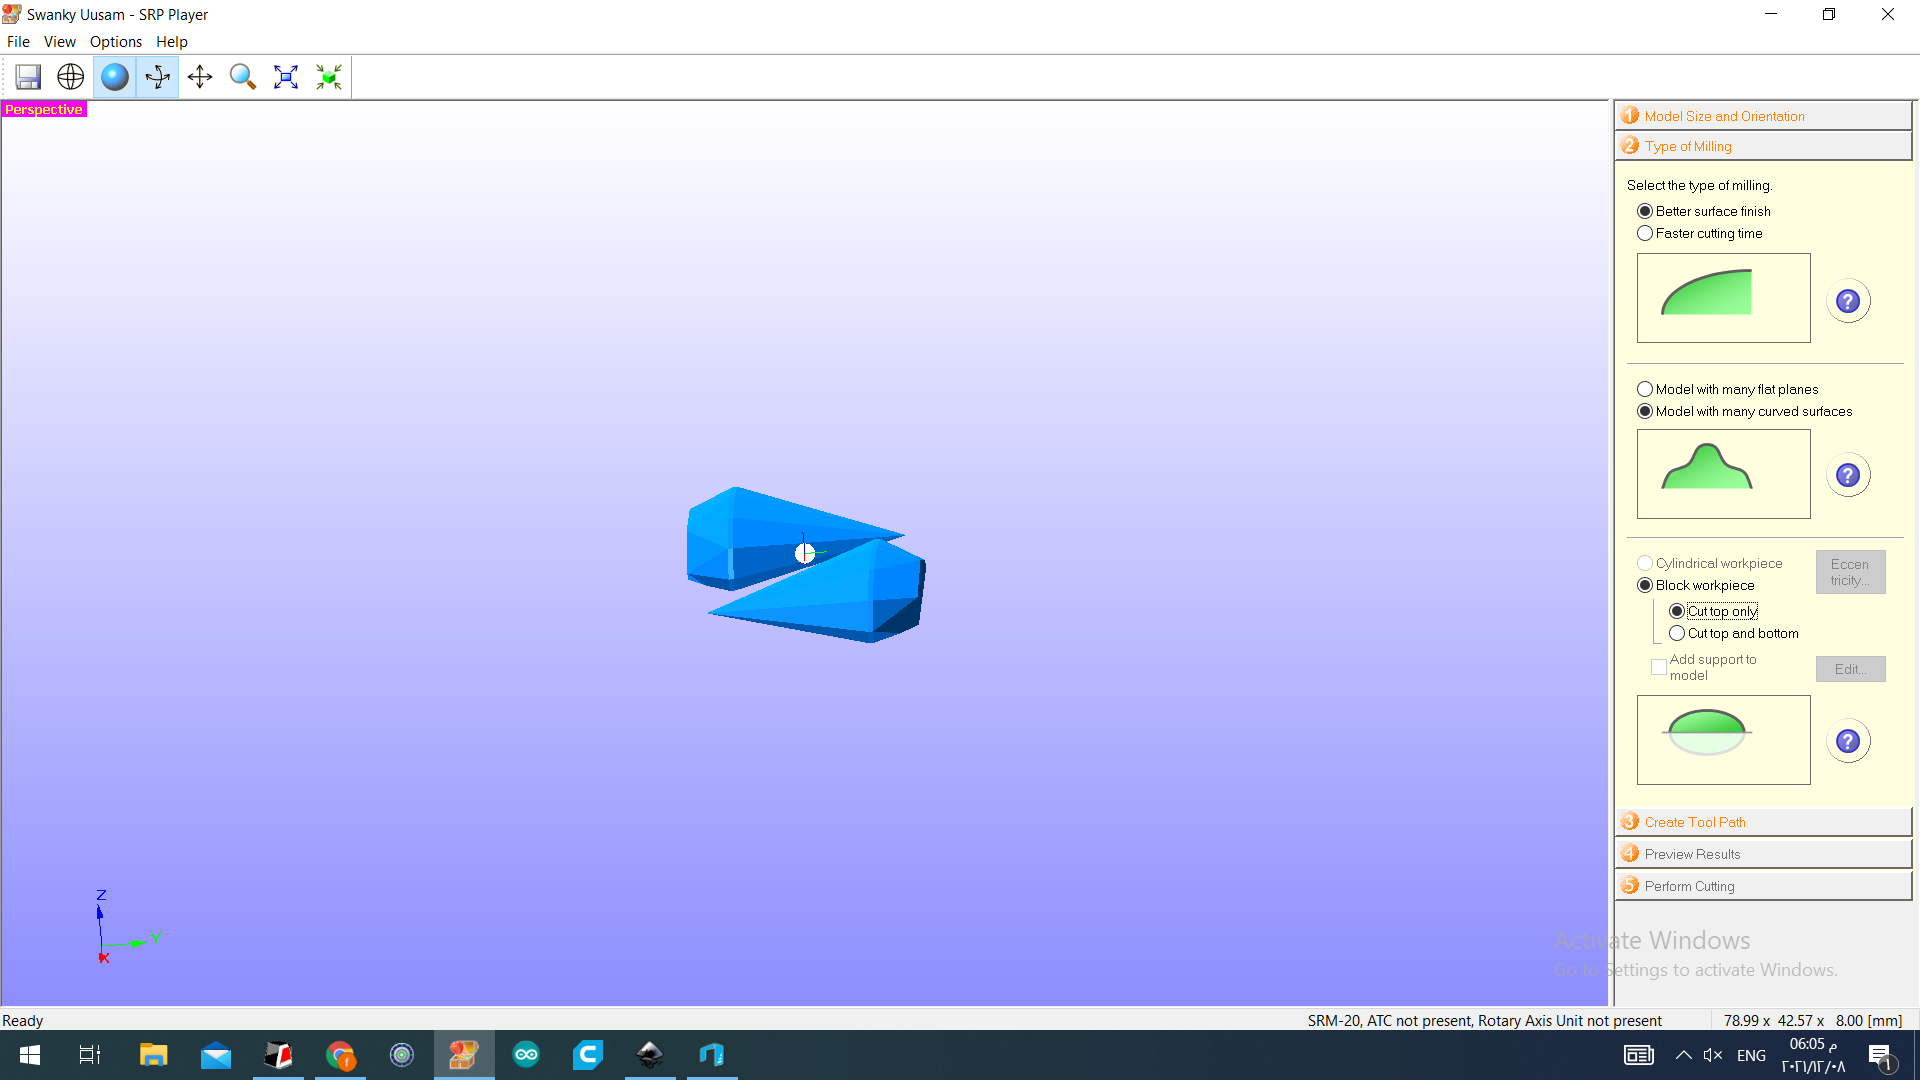 I chose better surface finish , it took time but the result deserved .
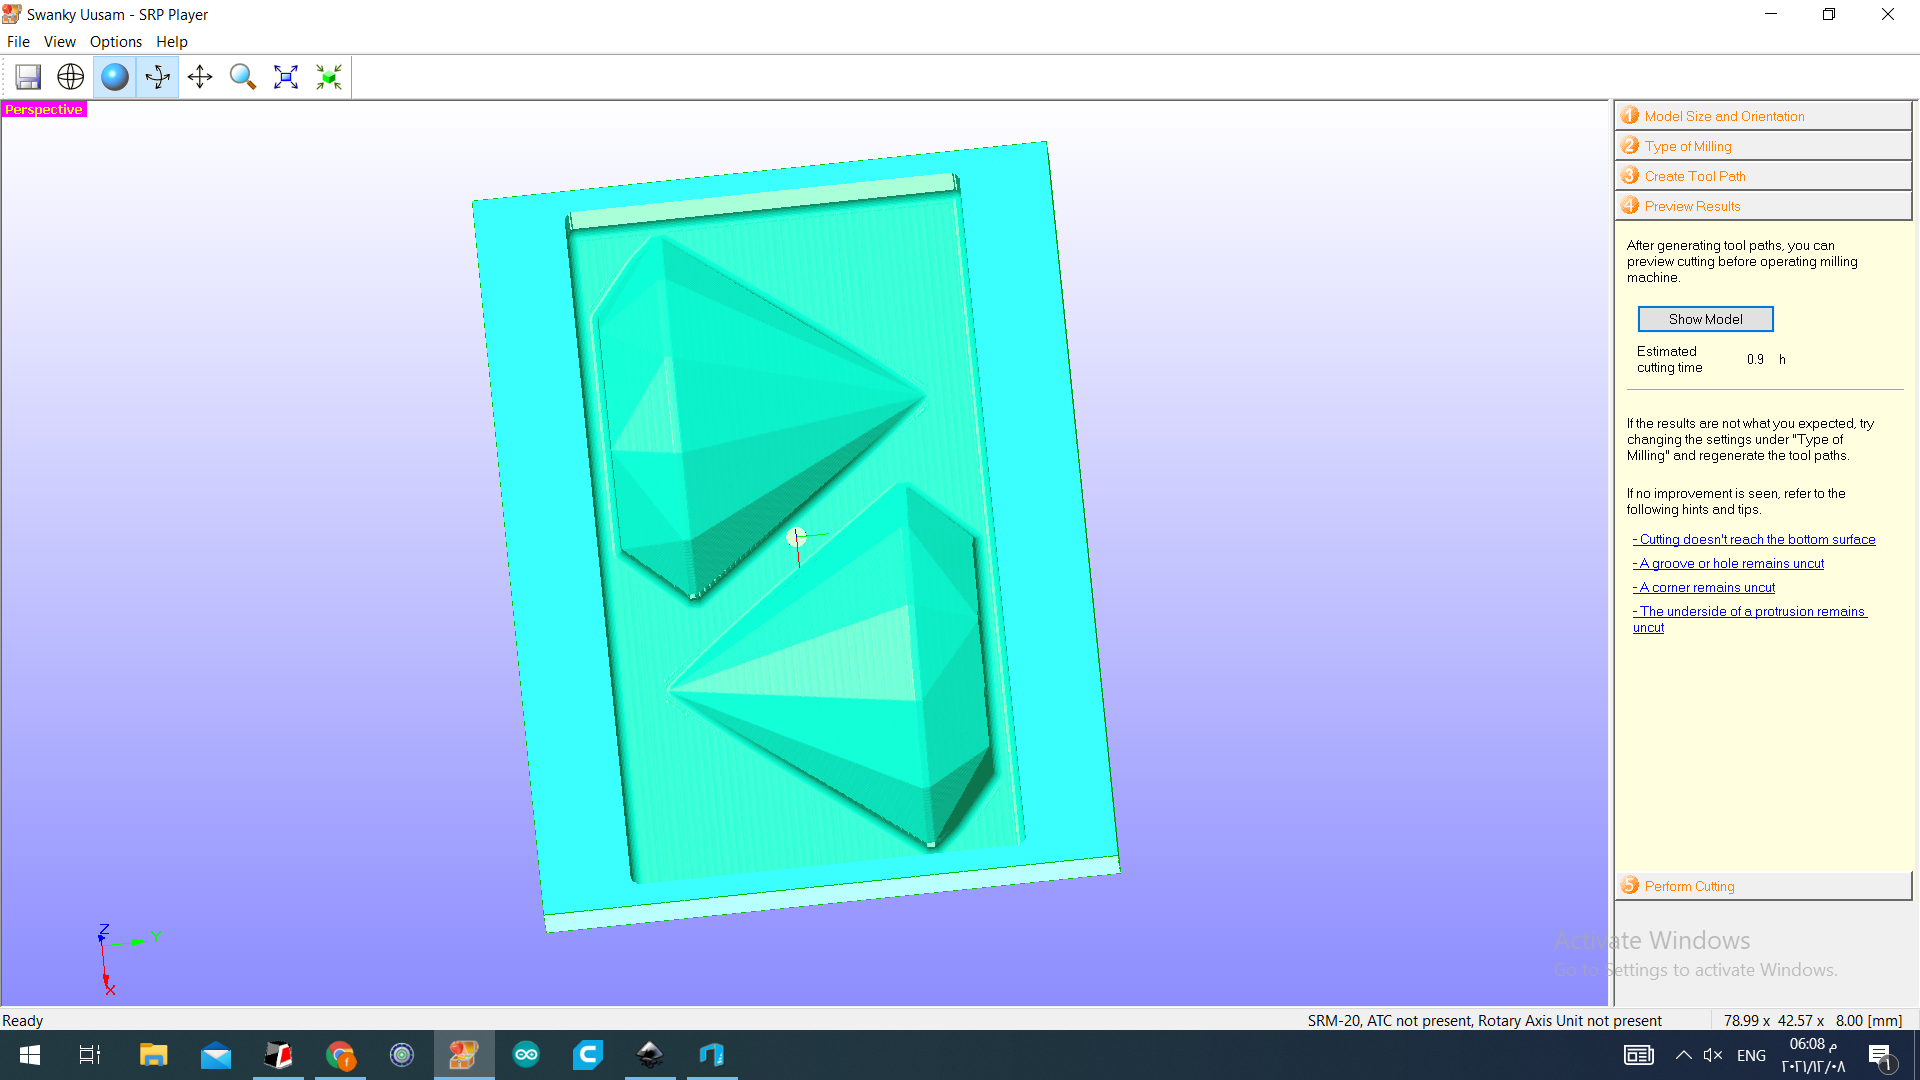
Here I created the tool path :

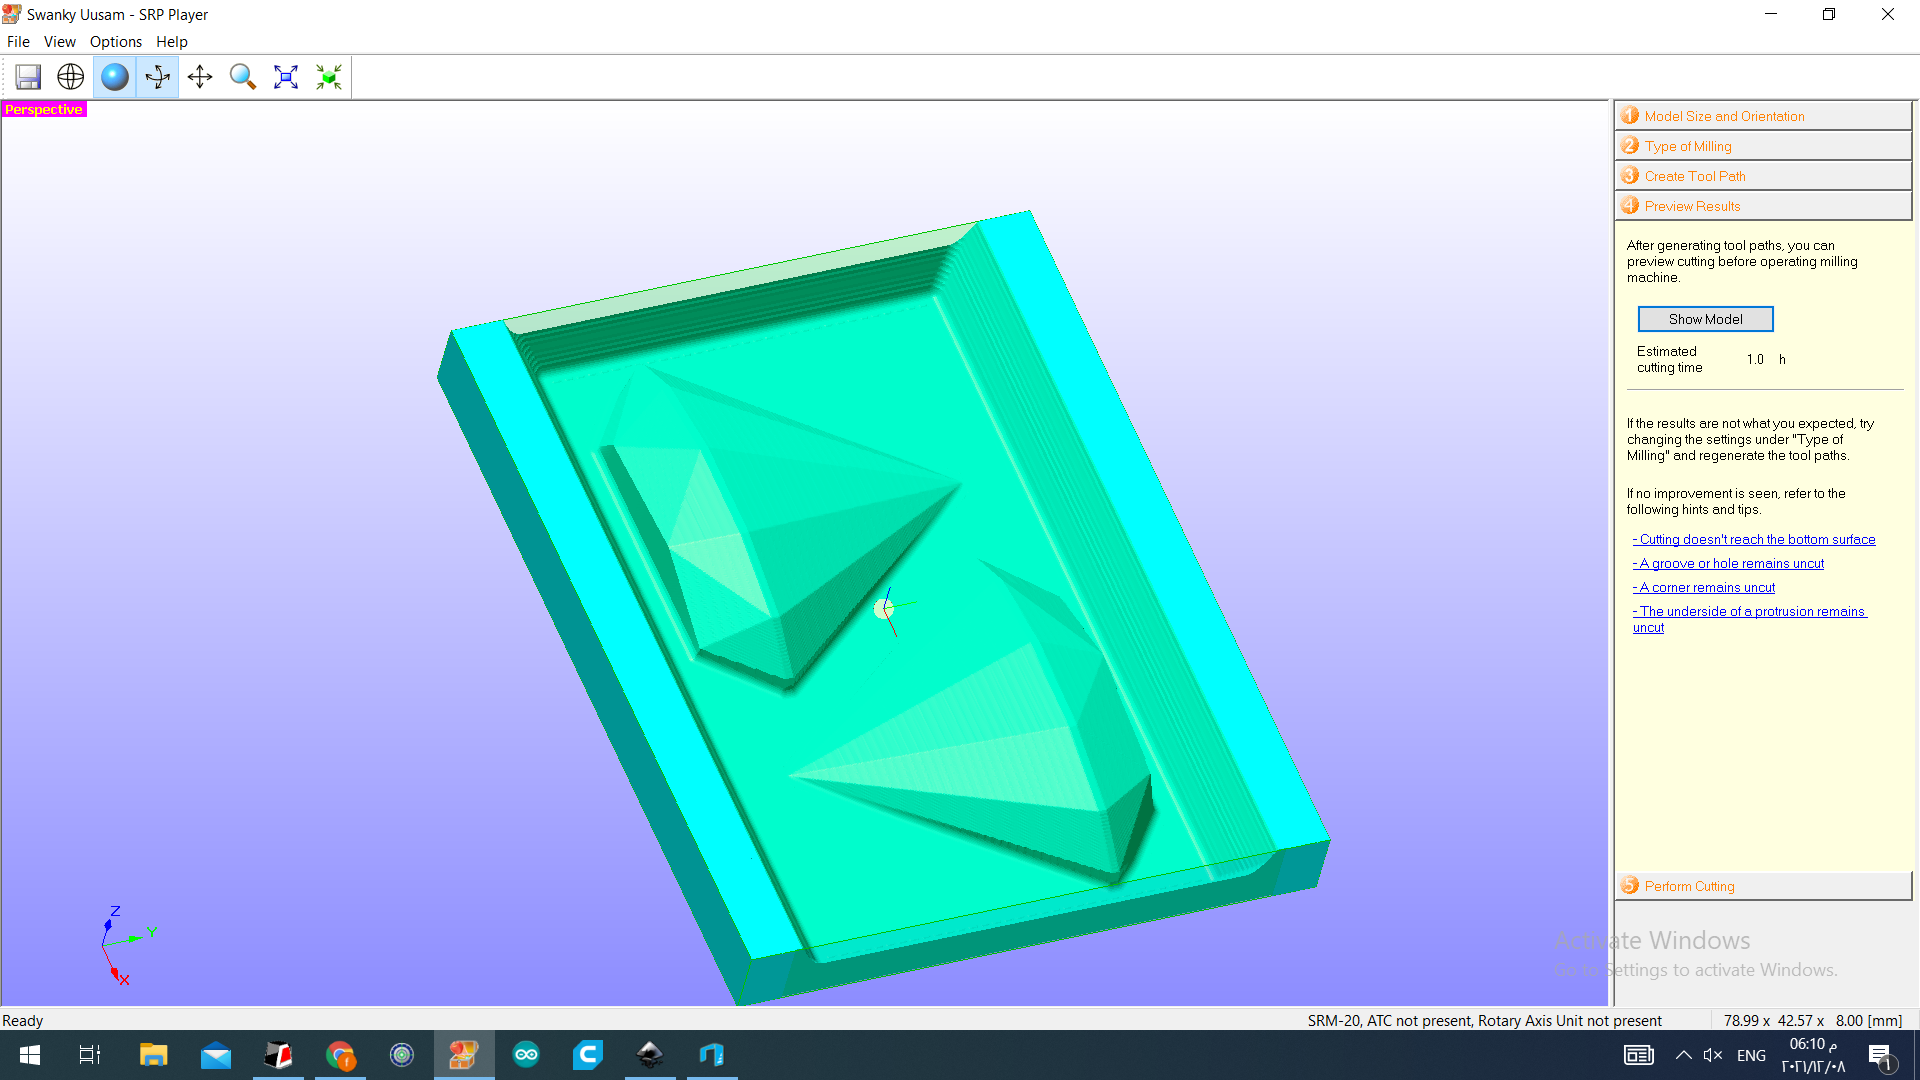
The result was like this :
 But I felt if I kept it like this , then I will not be able to take the mold off easily
so I decided to make a small slope at the edges :
But I felt if I kept it like this , then I will not be able to take the mold off easily
so I decided to make a small slope at the edges :
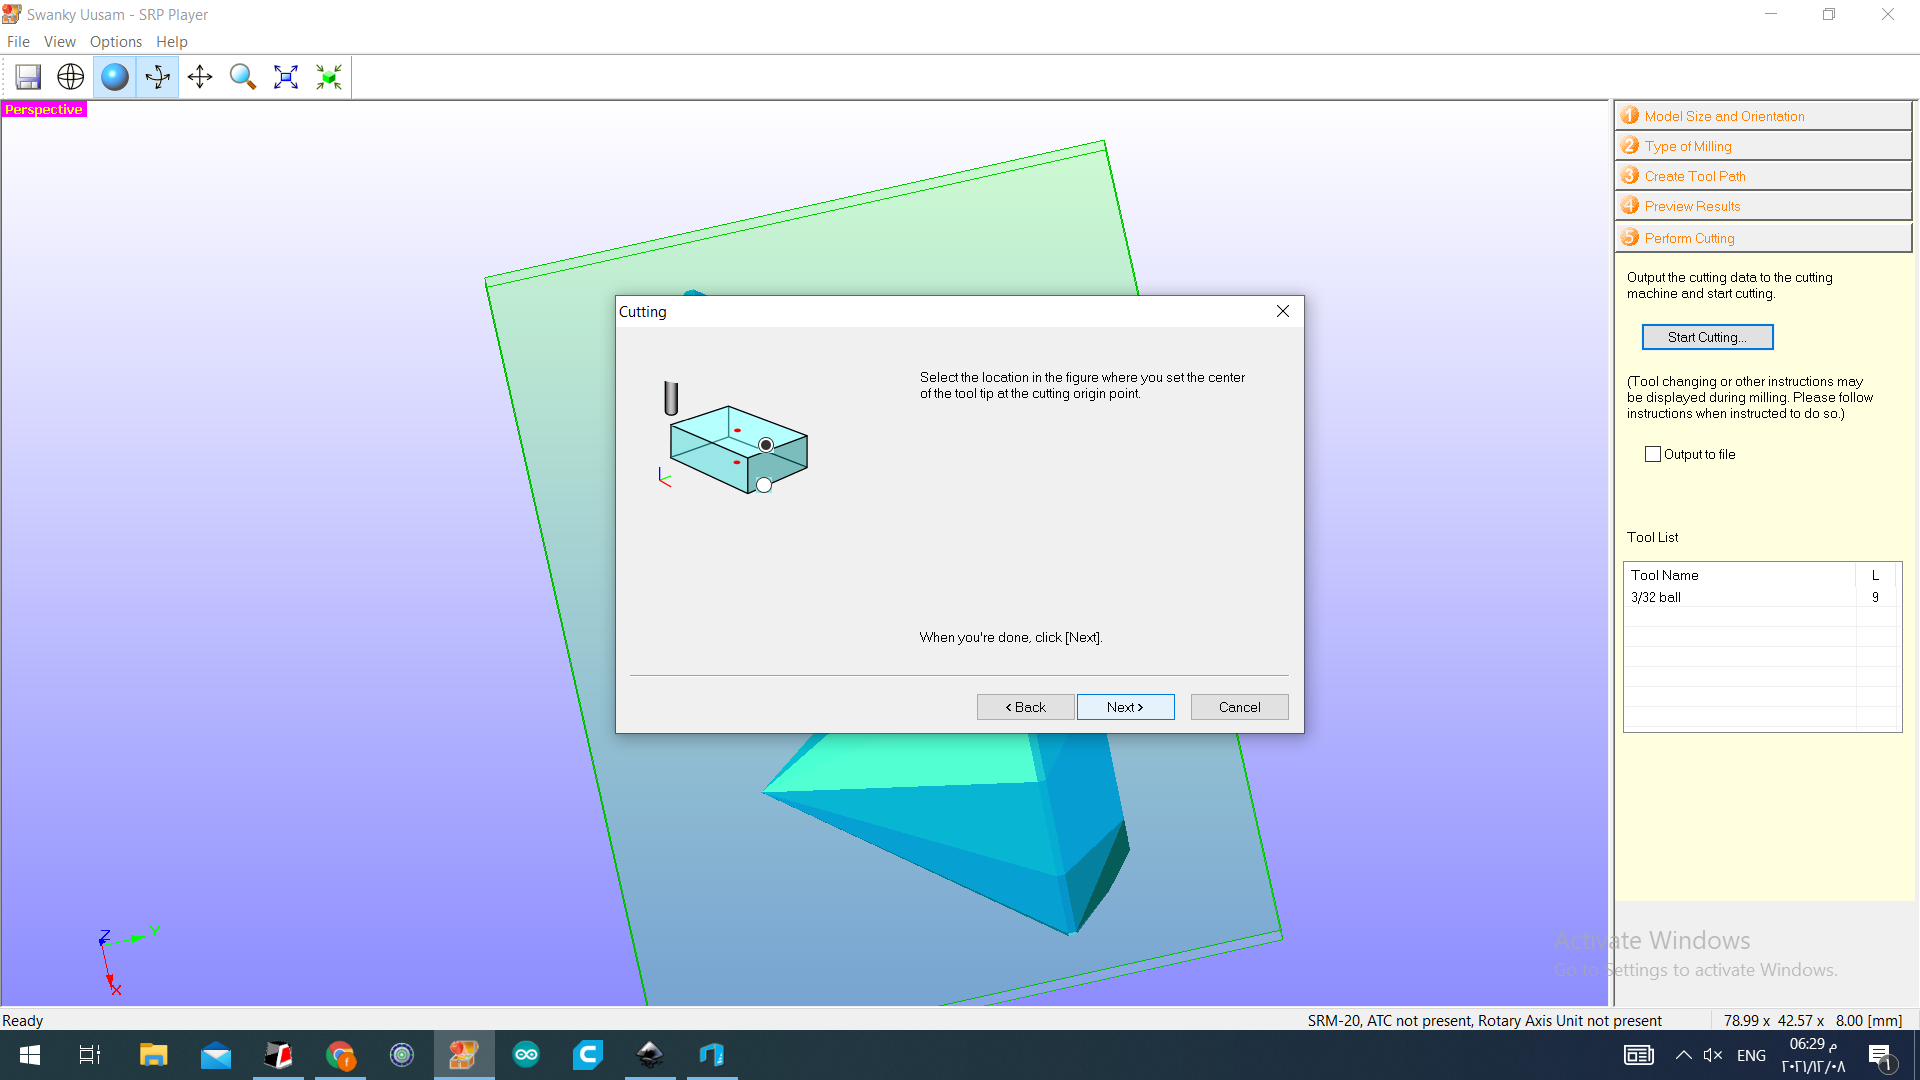
Here we have to define the origin :


Before defining the origin I had to draw a center point on the board , so I can the define the origin easily :

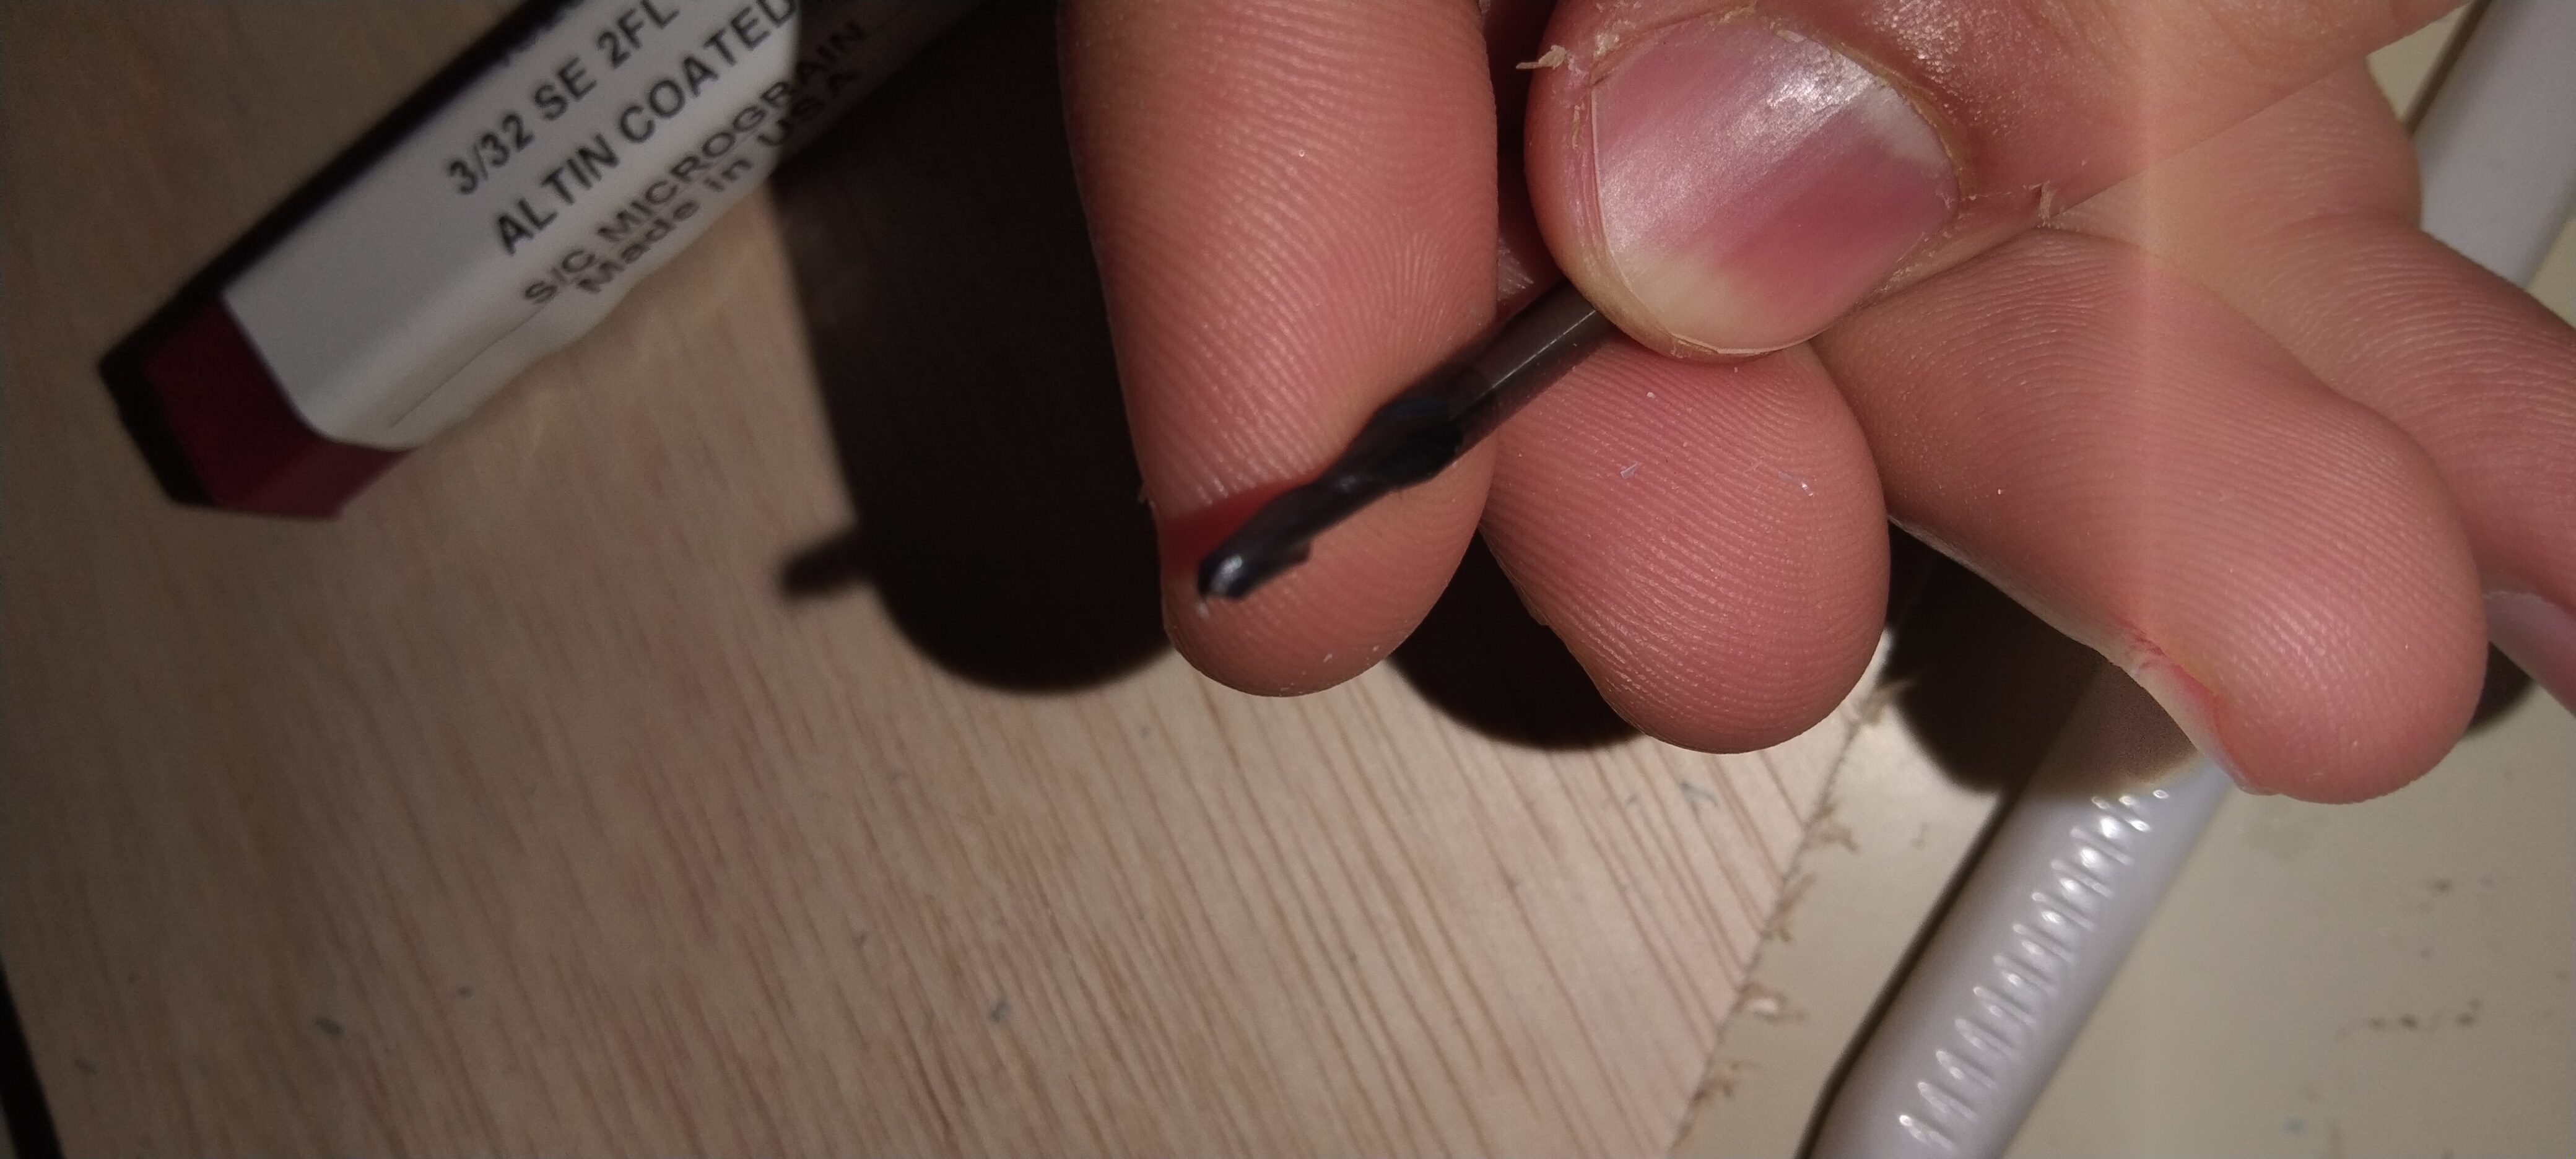
The program said that , I have to use 3/32 bit size :
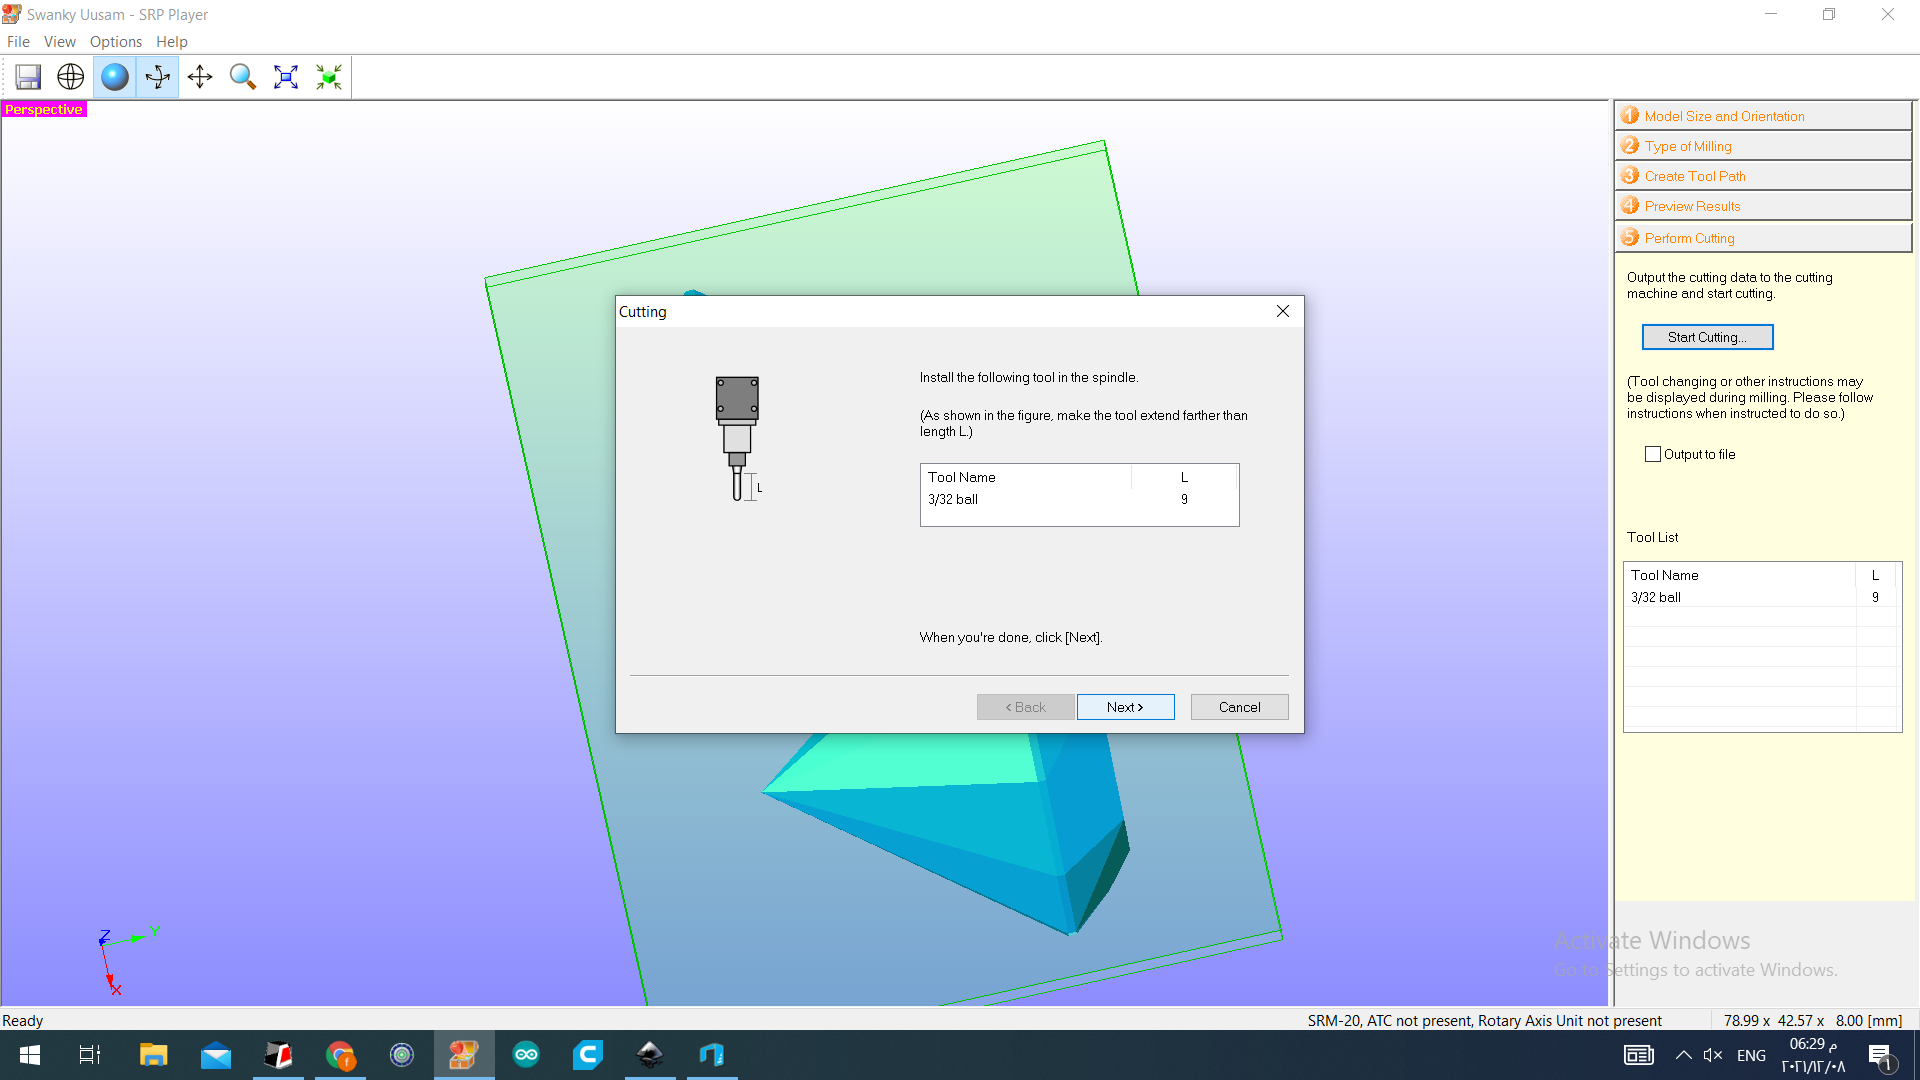
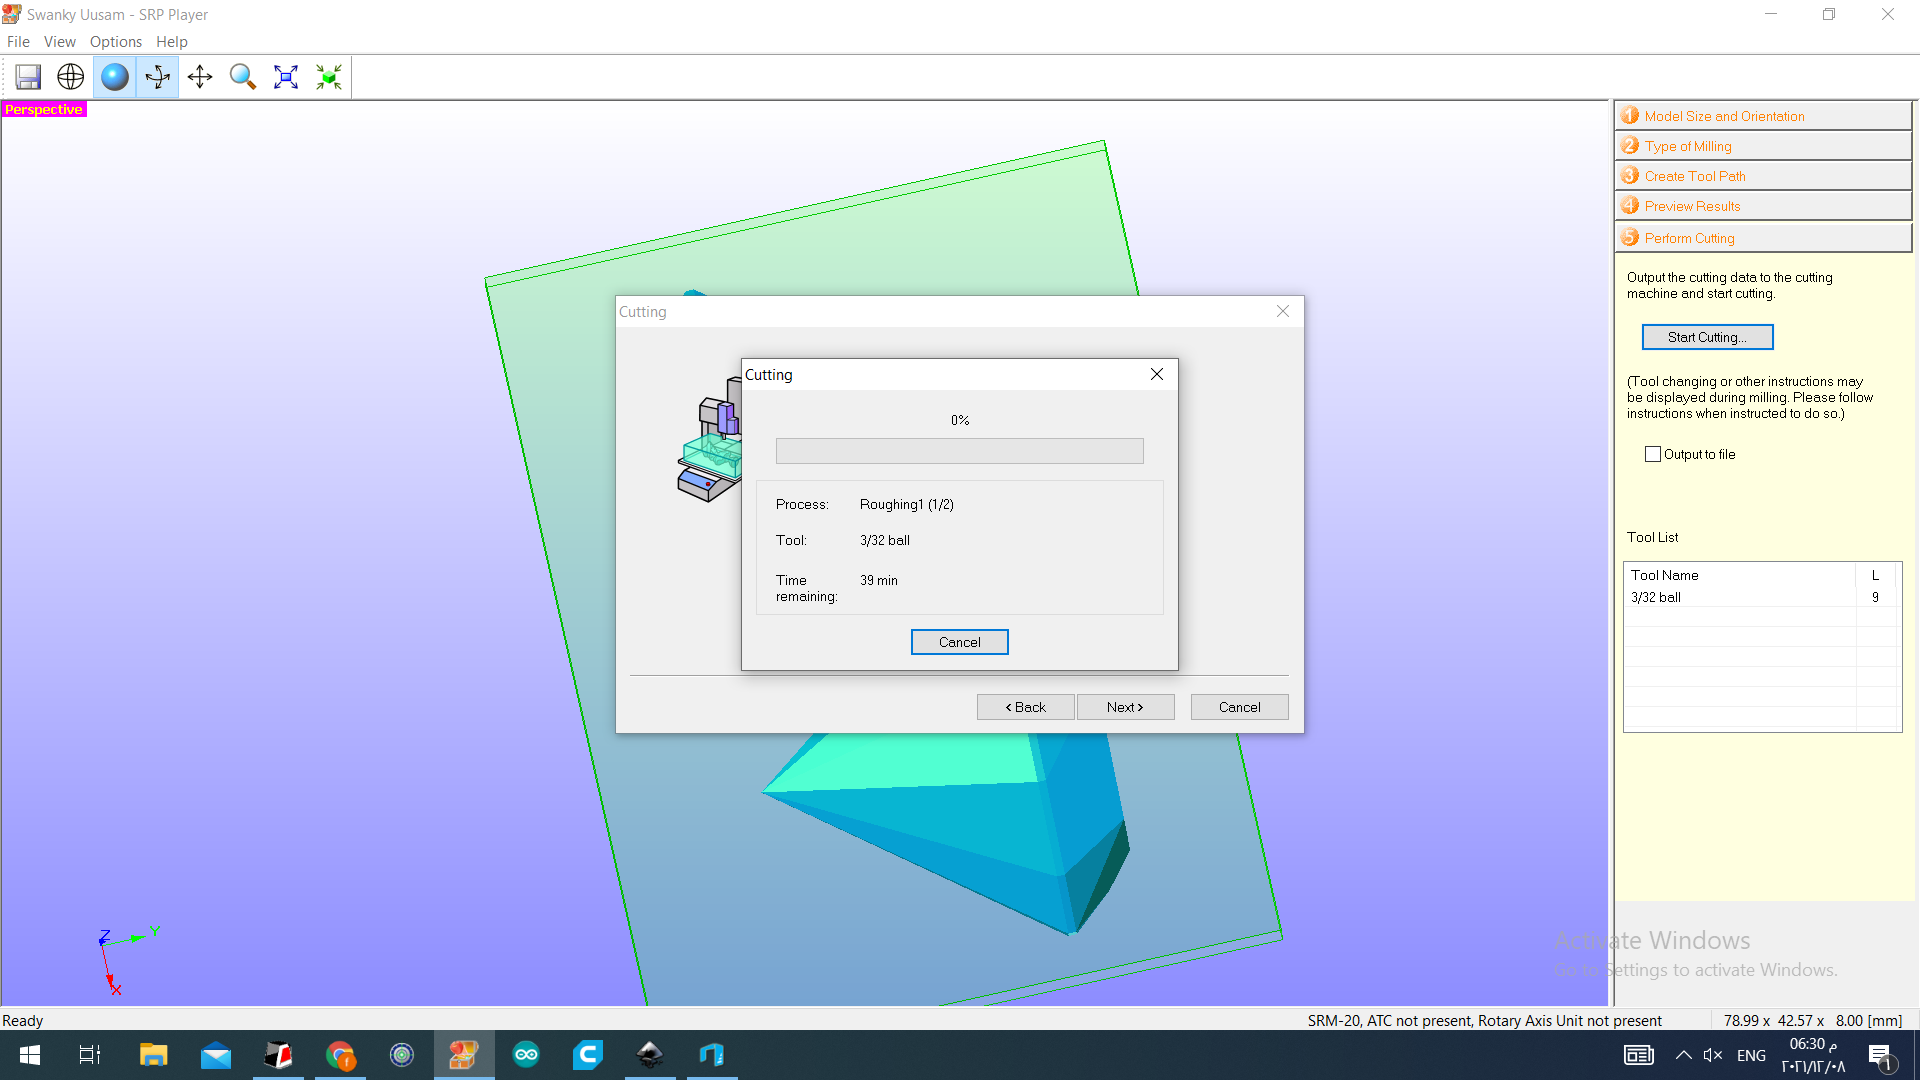
Cutting process :
Milling result
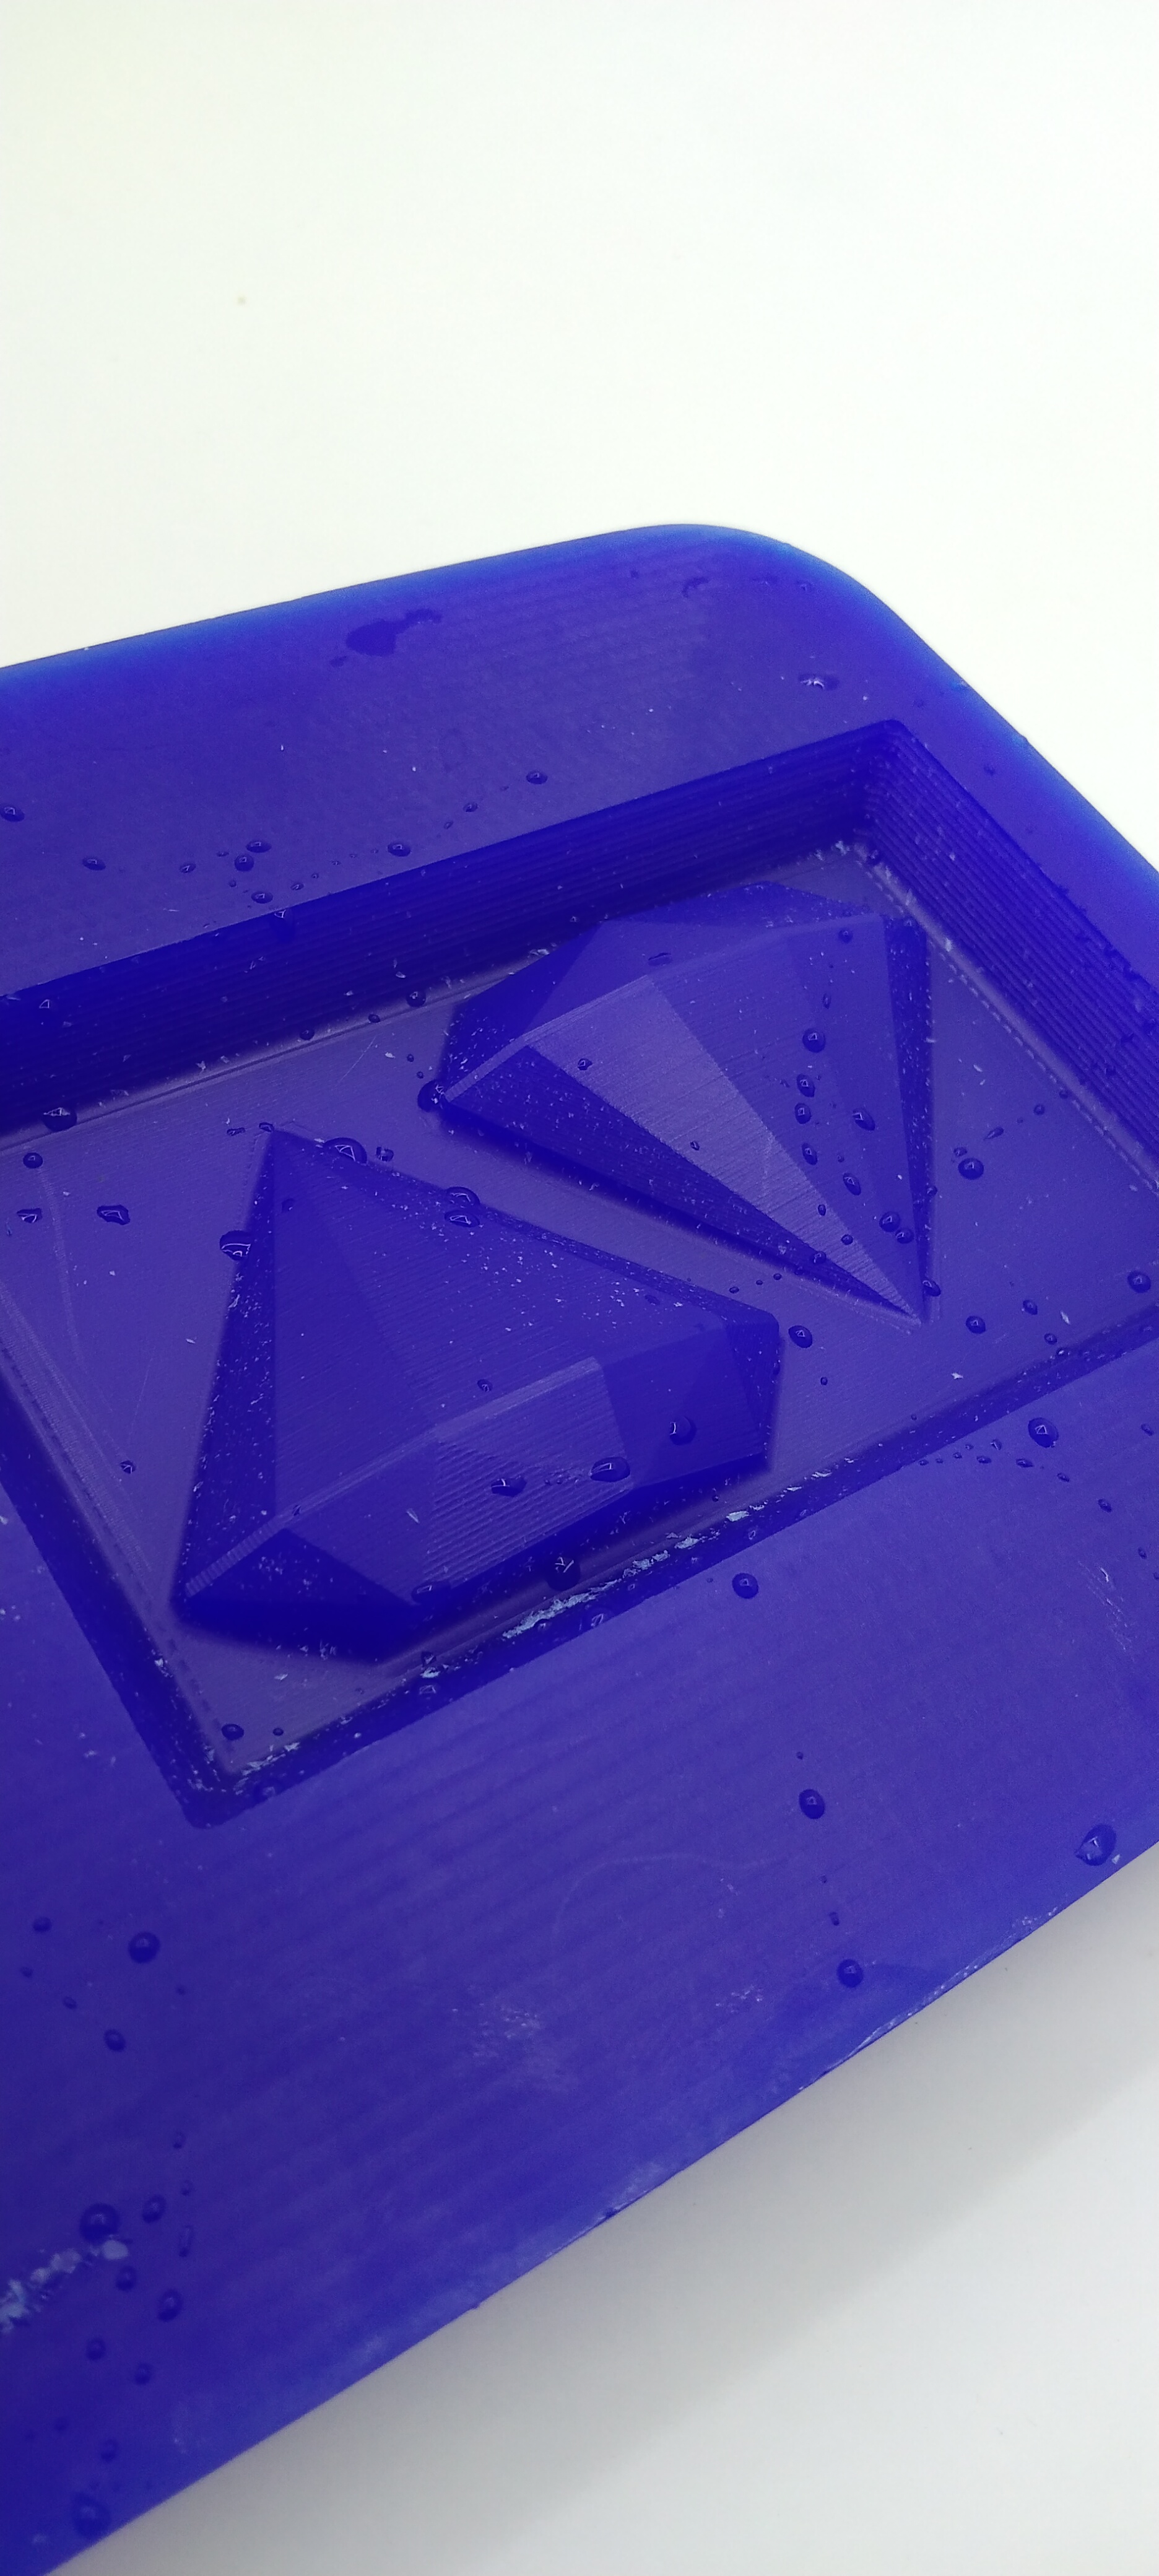
The result was above the expectations :
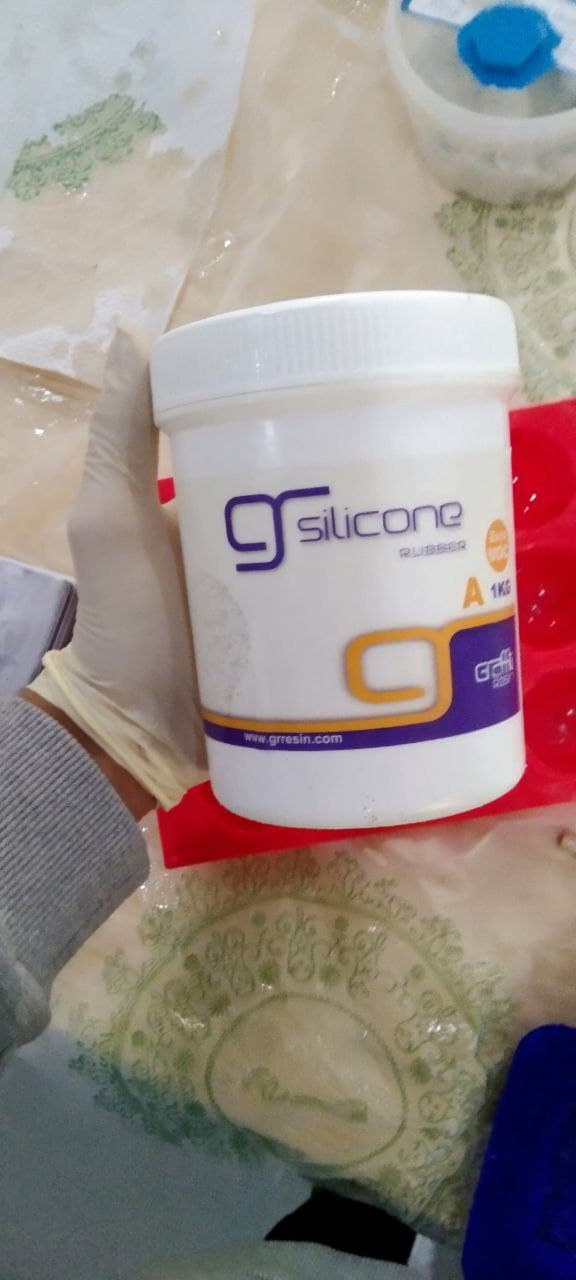
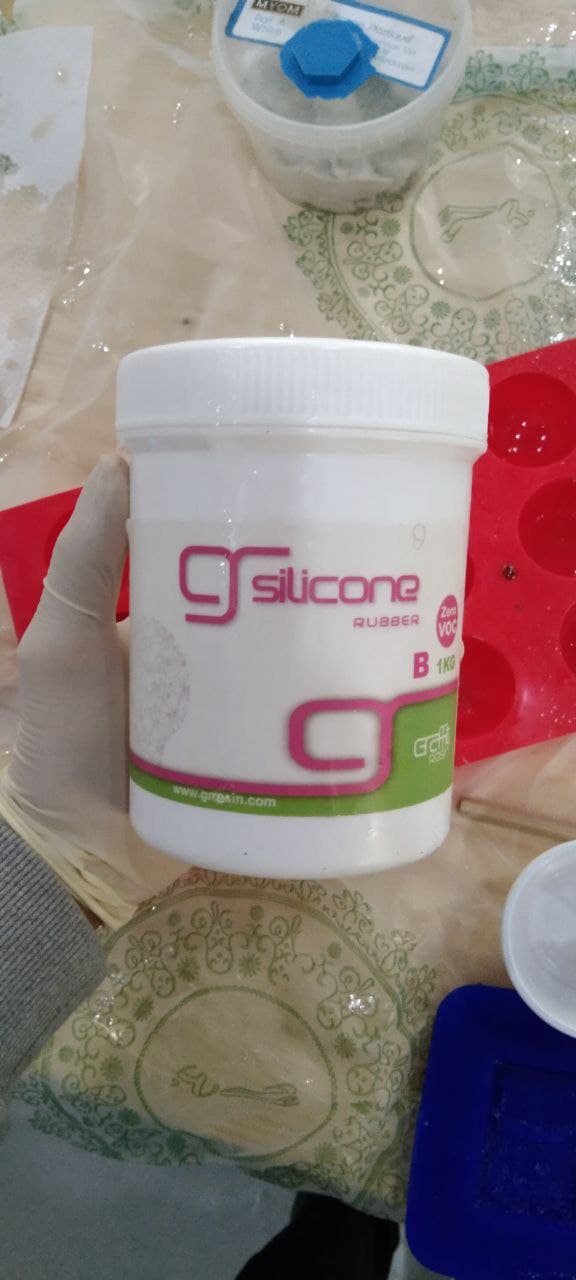
Molding part :
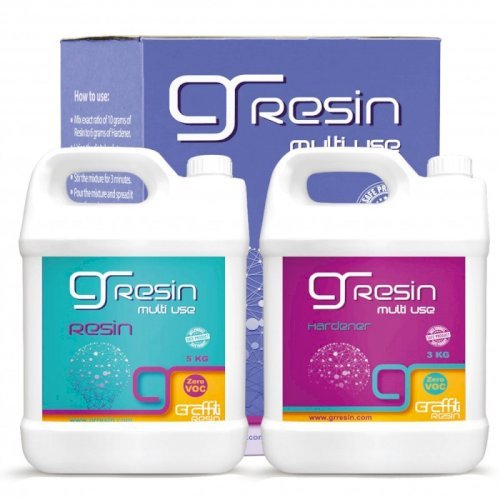
To make a mold through the board that I made I needed LIQUID SILICON RUBBER with ratio 1:1
and I used these liquids :
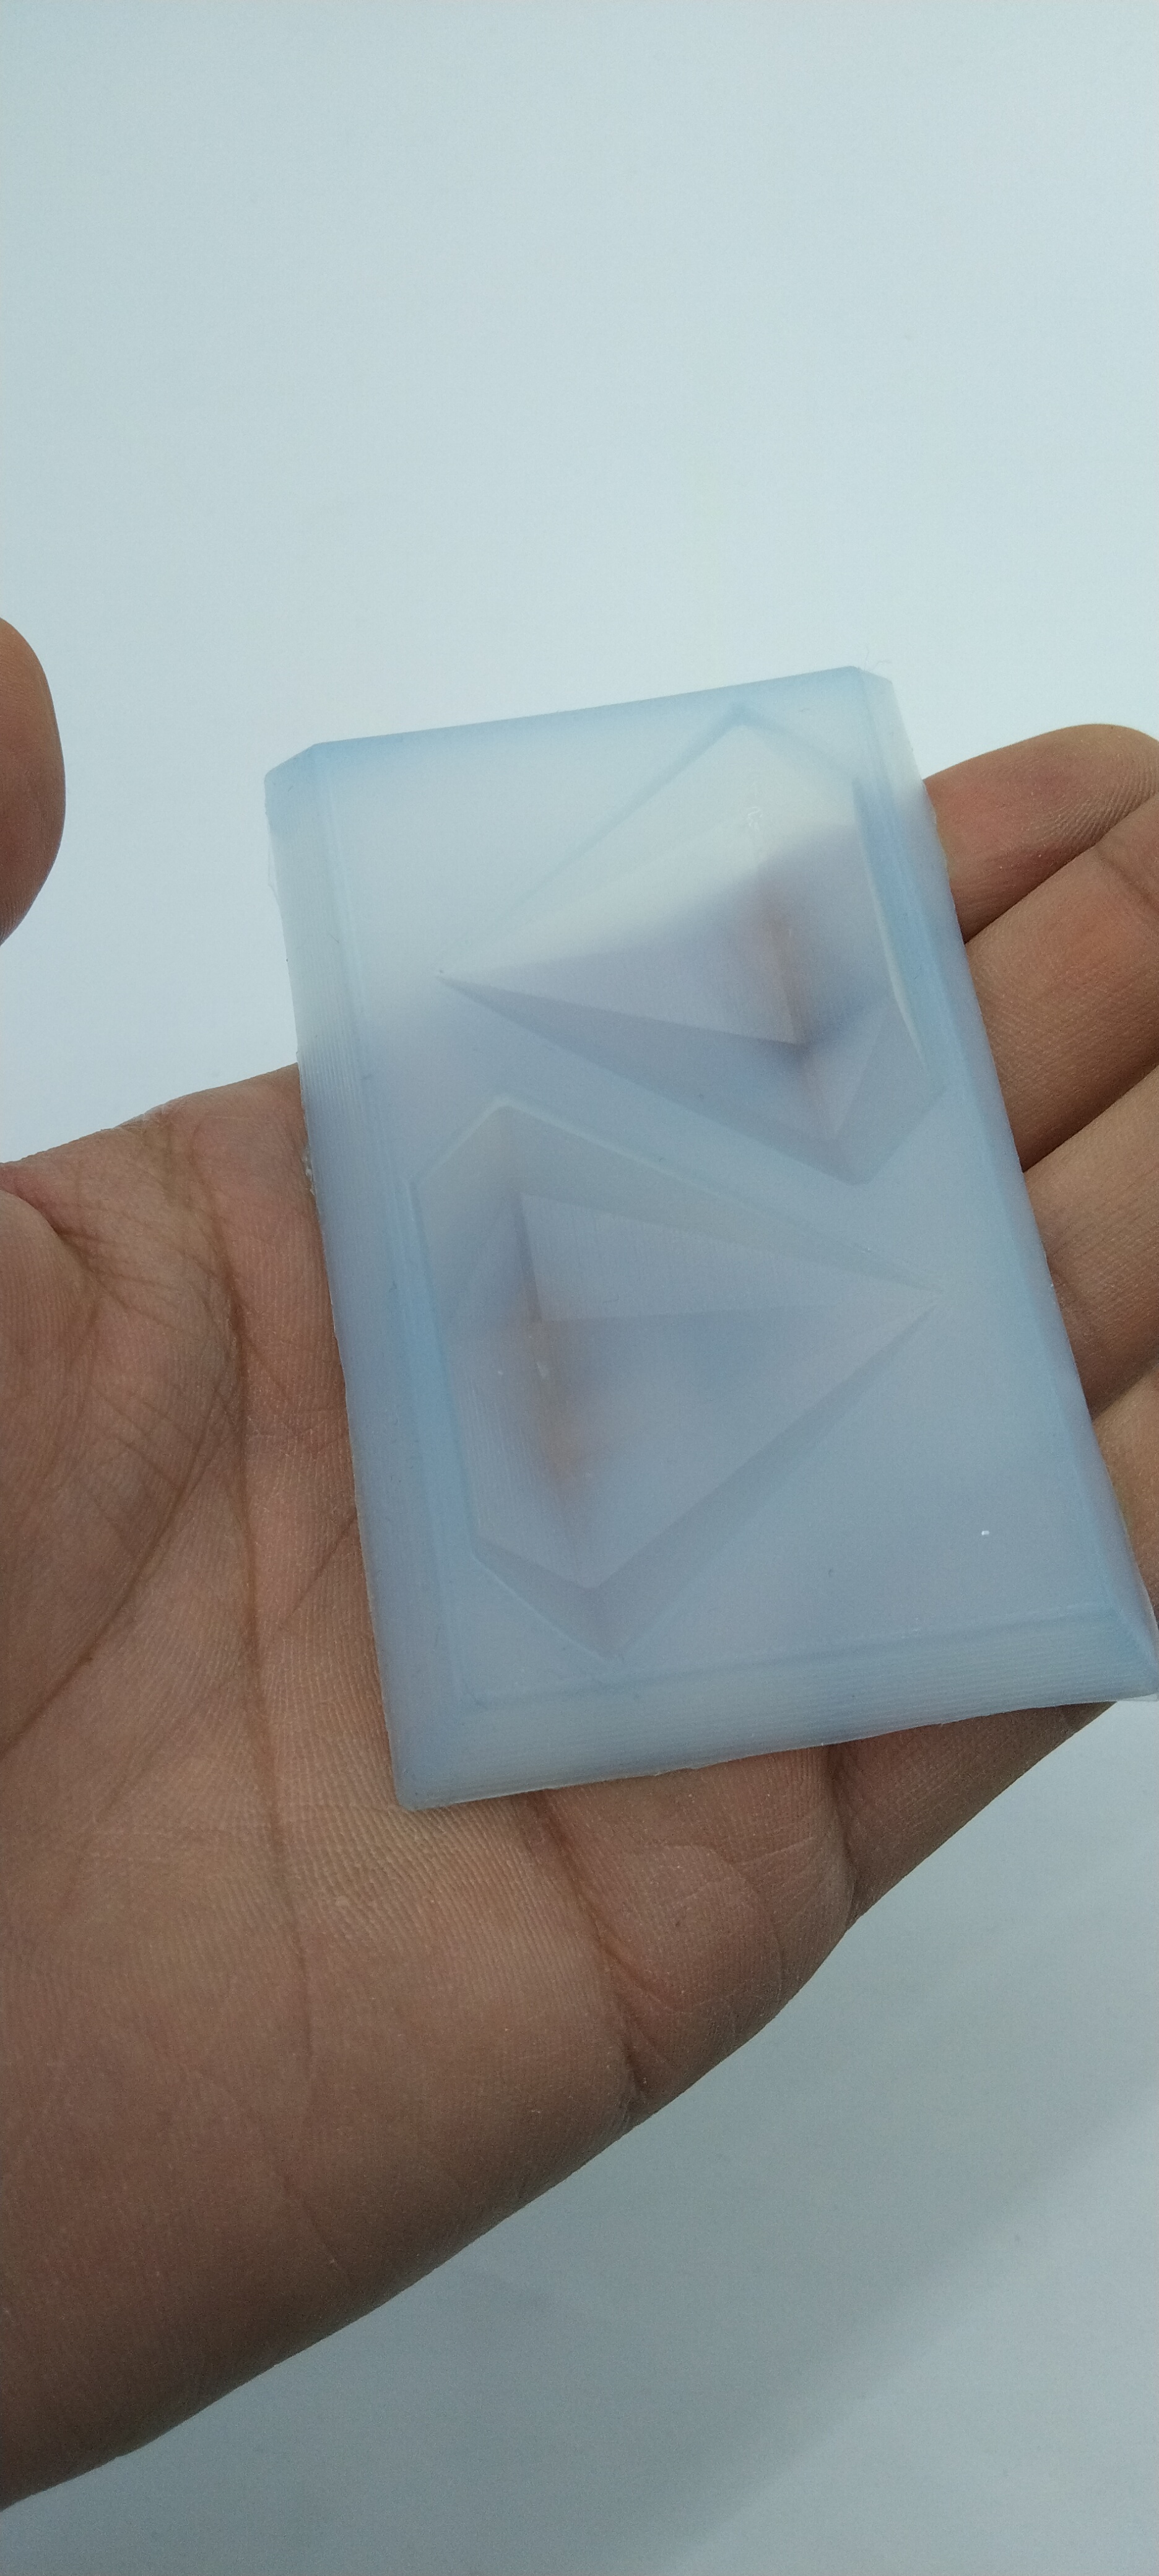
After that I let it to dry about 24 hour , then it became like this :
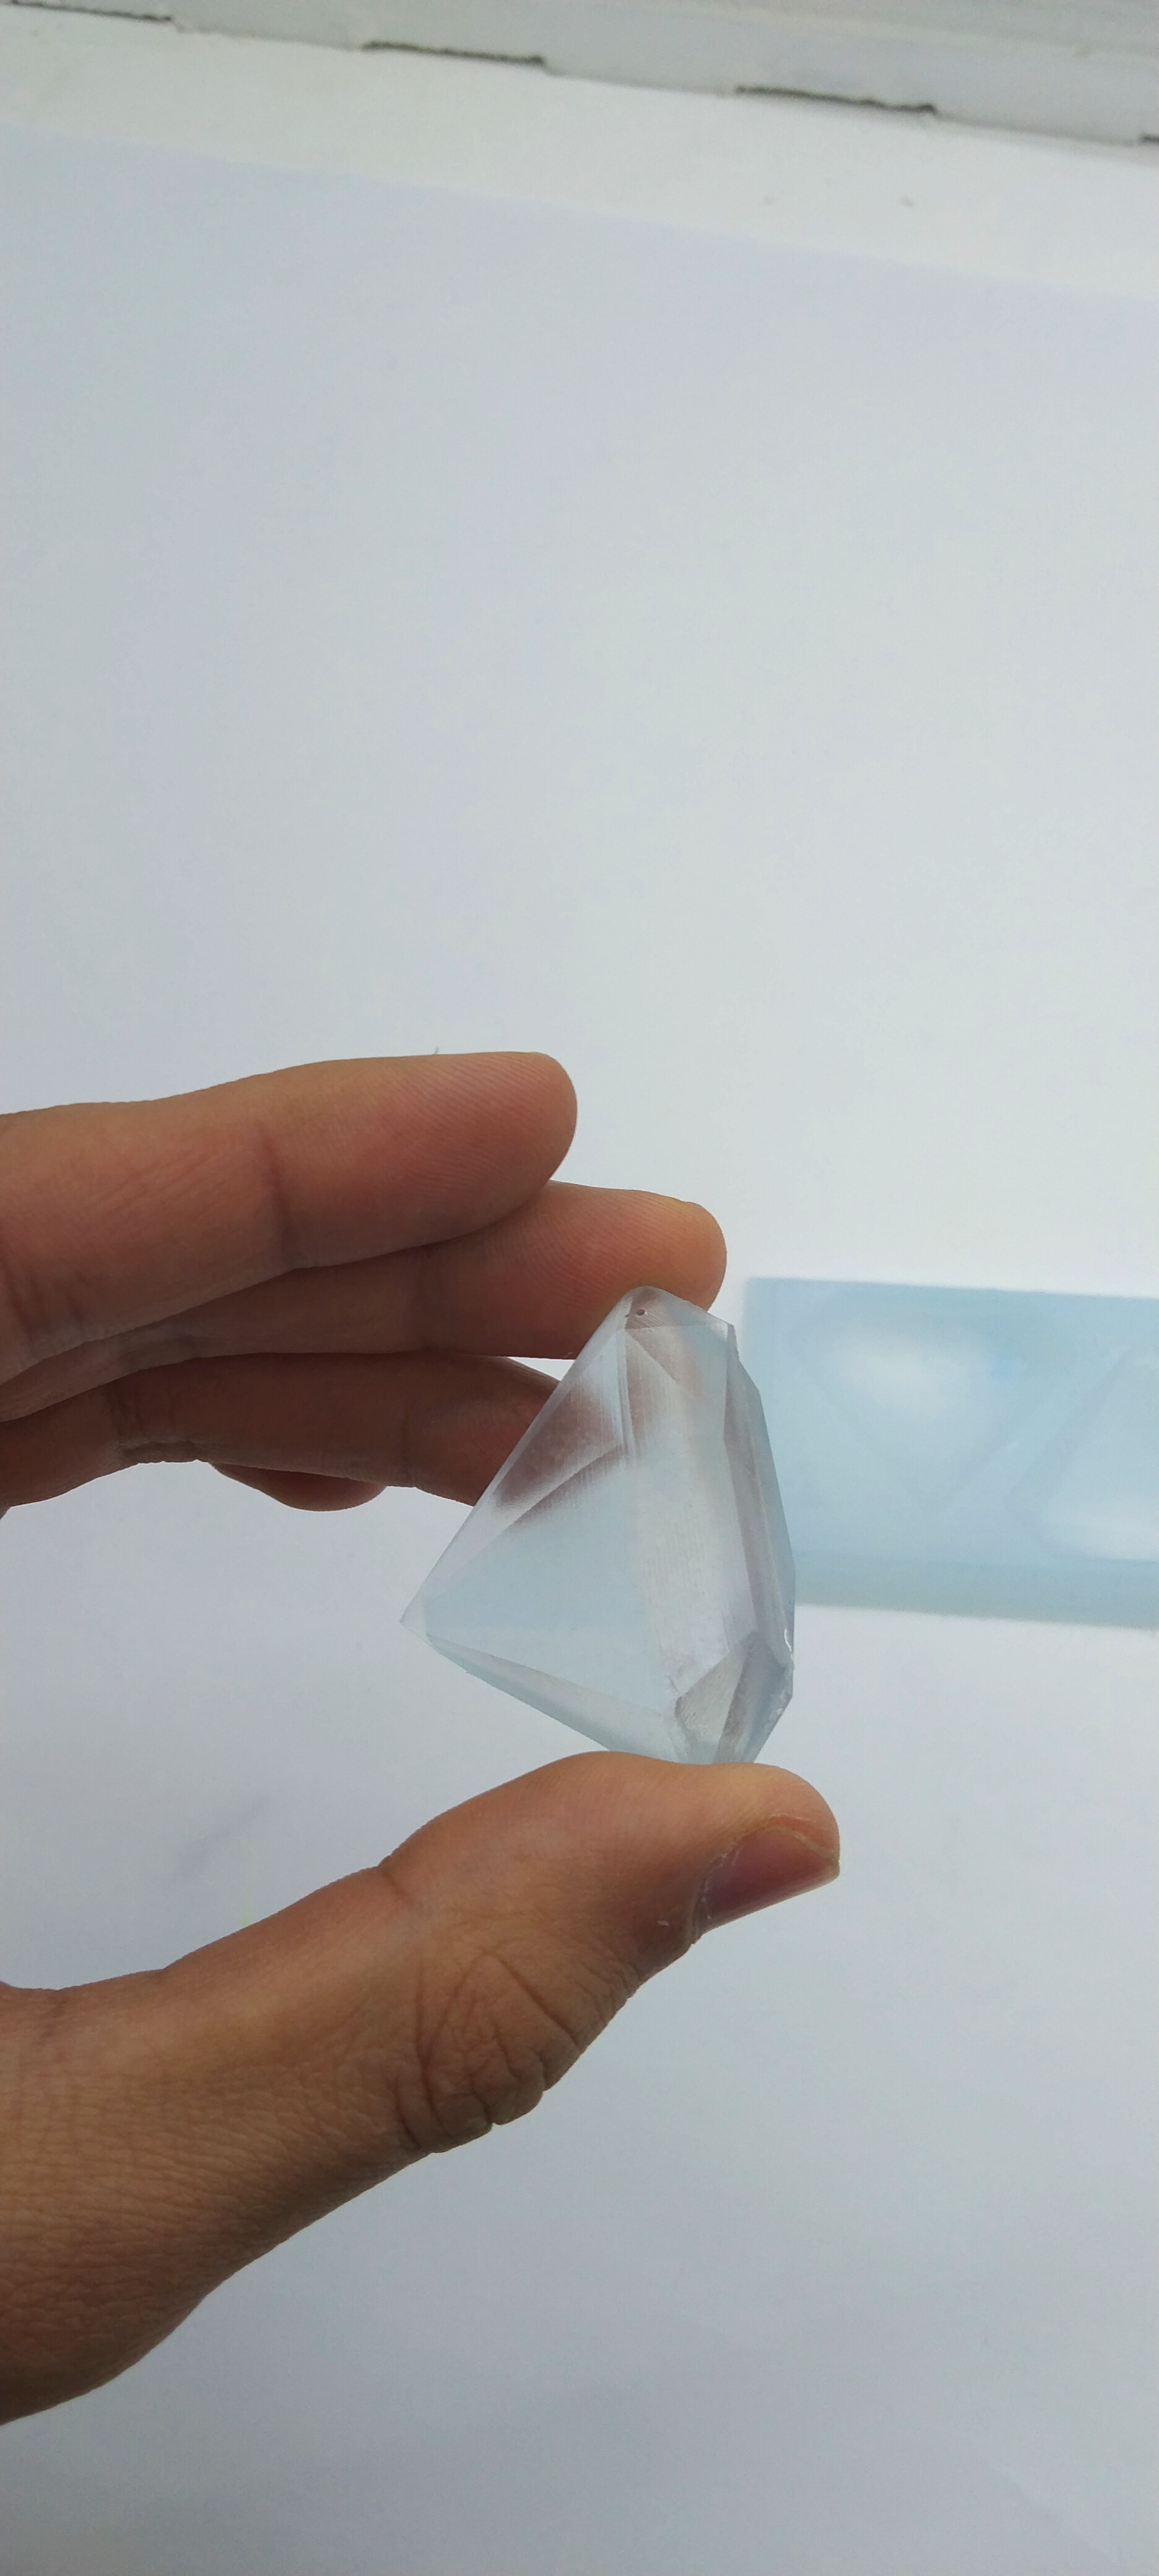
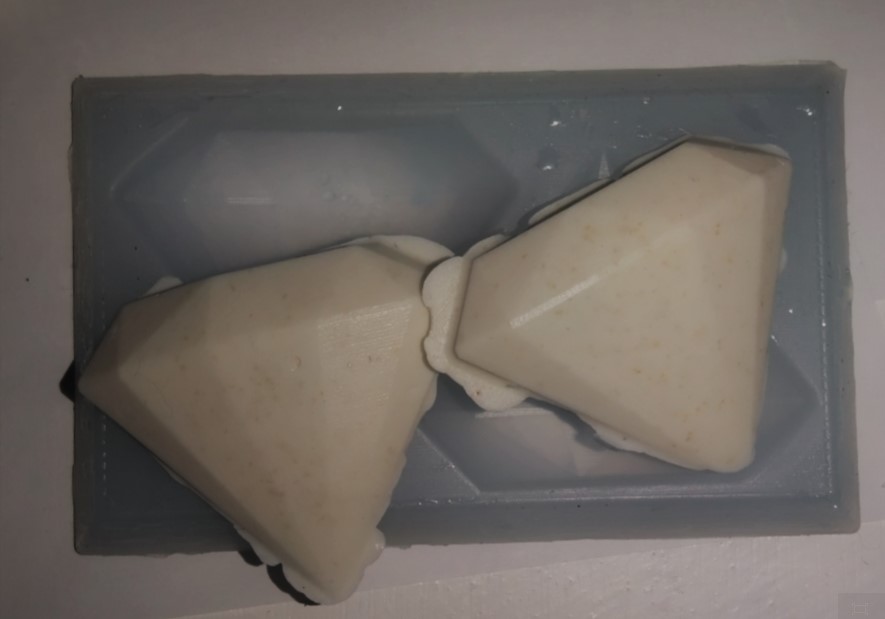
casting part
For casting part I used soap , and I melt it in the microwave , then I put the melting soap in the mold
The result:
The Group Task :
In the group task I used the same mold that I made , but in this time instead of the soap we used resin , but it was more harder from the ratio side
because it was 2:1 two for the resin and one for the hardener .
After I put the mixture in the mold , I let it to dry about 24 hour
The result: