7. Moulding and Casting
This week I deigned a mould, milled it and used it to cast a piece. ALso, we reviewed multiple moulding and casting materials and compared between them.
What is Moulding & Casting?
Moulding or molding is the process of additive manufacturing by shaping flexible raw material using a rigid frame called a mould. A mould is the opposite of a cast. A release agent is typically used to make removal of the hardened/set substance from the mould easier.
Casting is a basic moulding process as it requires the least amount of complex technology. Plastic is simply heated so it turns into a fluid, and then transferred into a mold. It is left to cool and the mould is removed.
Group Assignment
For the group assignment we reviewed the safety data sheets for each of the moulding and casting materials and compared test casts with each of them and here is the link.
| Material | Dry Putty | Gypsum | Resin |
|---|---|---|---|
| Result |  |
 |
 |
| Working Time | ~ 15 min | ~ 10 min | ~ 45 min |
| Cure Time | ~ 2-4 h | ~ 1 h | ~ 2-24 h |
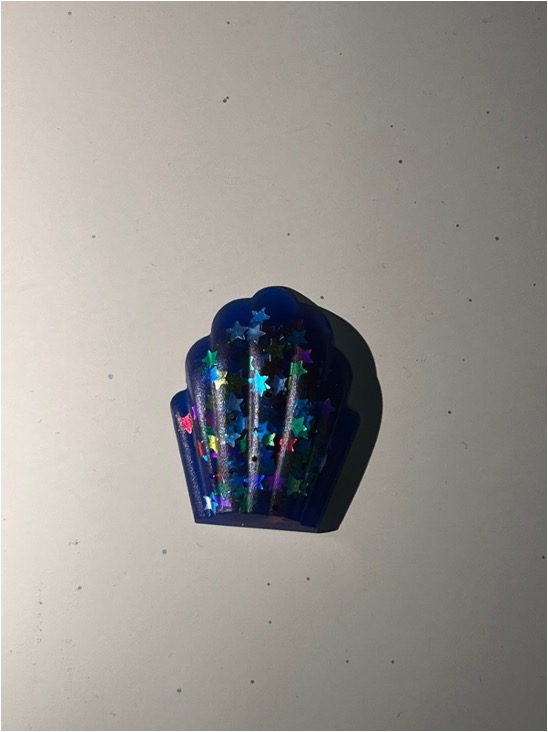
| Comment | Dry Putty is very easy to work with but you have to be careful while dealing with it after it dried because it might be damaged easily. | Gypsum is pretty easy to work with, and it cures pretty quickly too. | Resin is a really strong and simple material that looks excellent when it’s shiny or matte. |
Indiviual Assignment
For the individual assignment we had to design a 3D mould, mill it, and use it to cast parts. Remember to keep the design 2.5 D with no undercuts, but don’t keep it flat as you shouldn’t be able to cut it with the laser cutter.
The requirements for the design size are as follows:
- Smallest gap: 1.6mm (That’s the smallest milling bit)
- Design height max: 8mm
- Design width and length max: 60mm
Design in Fusion360
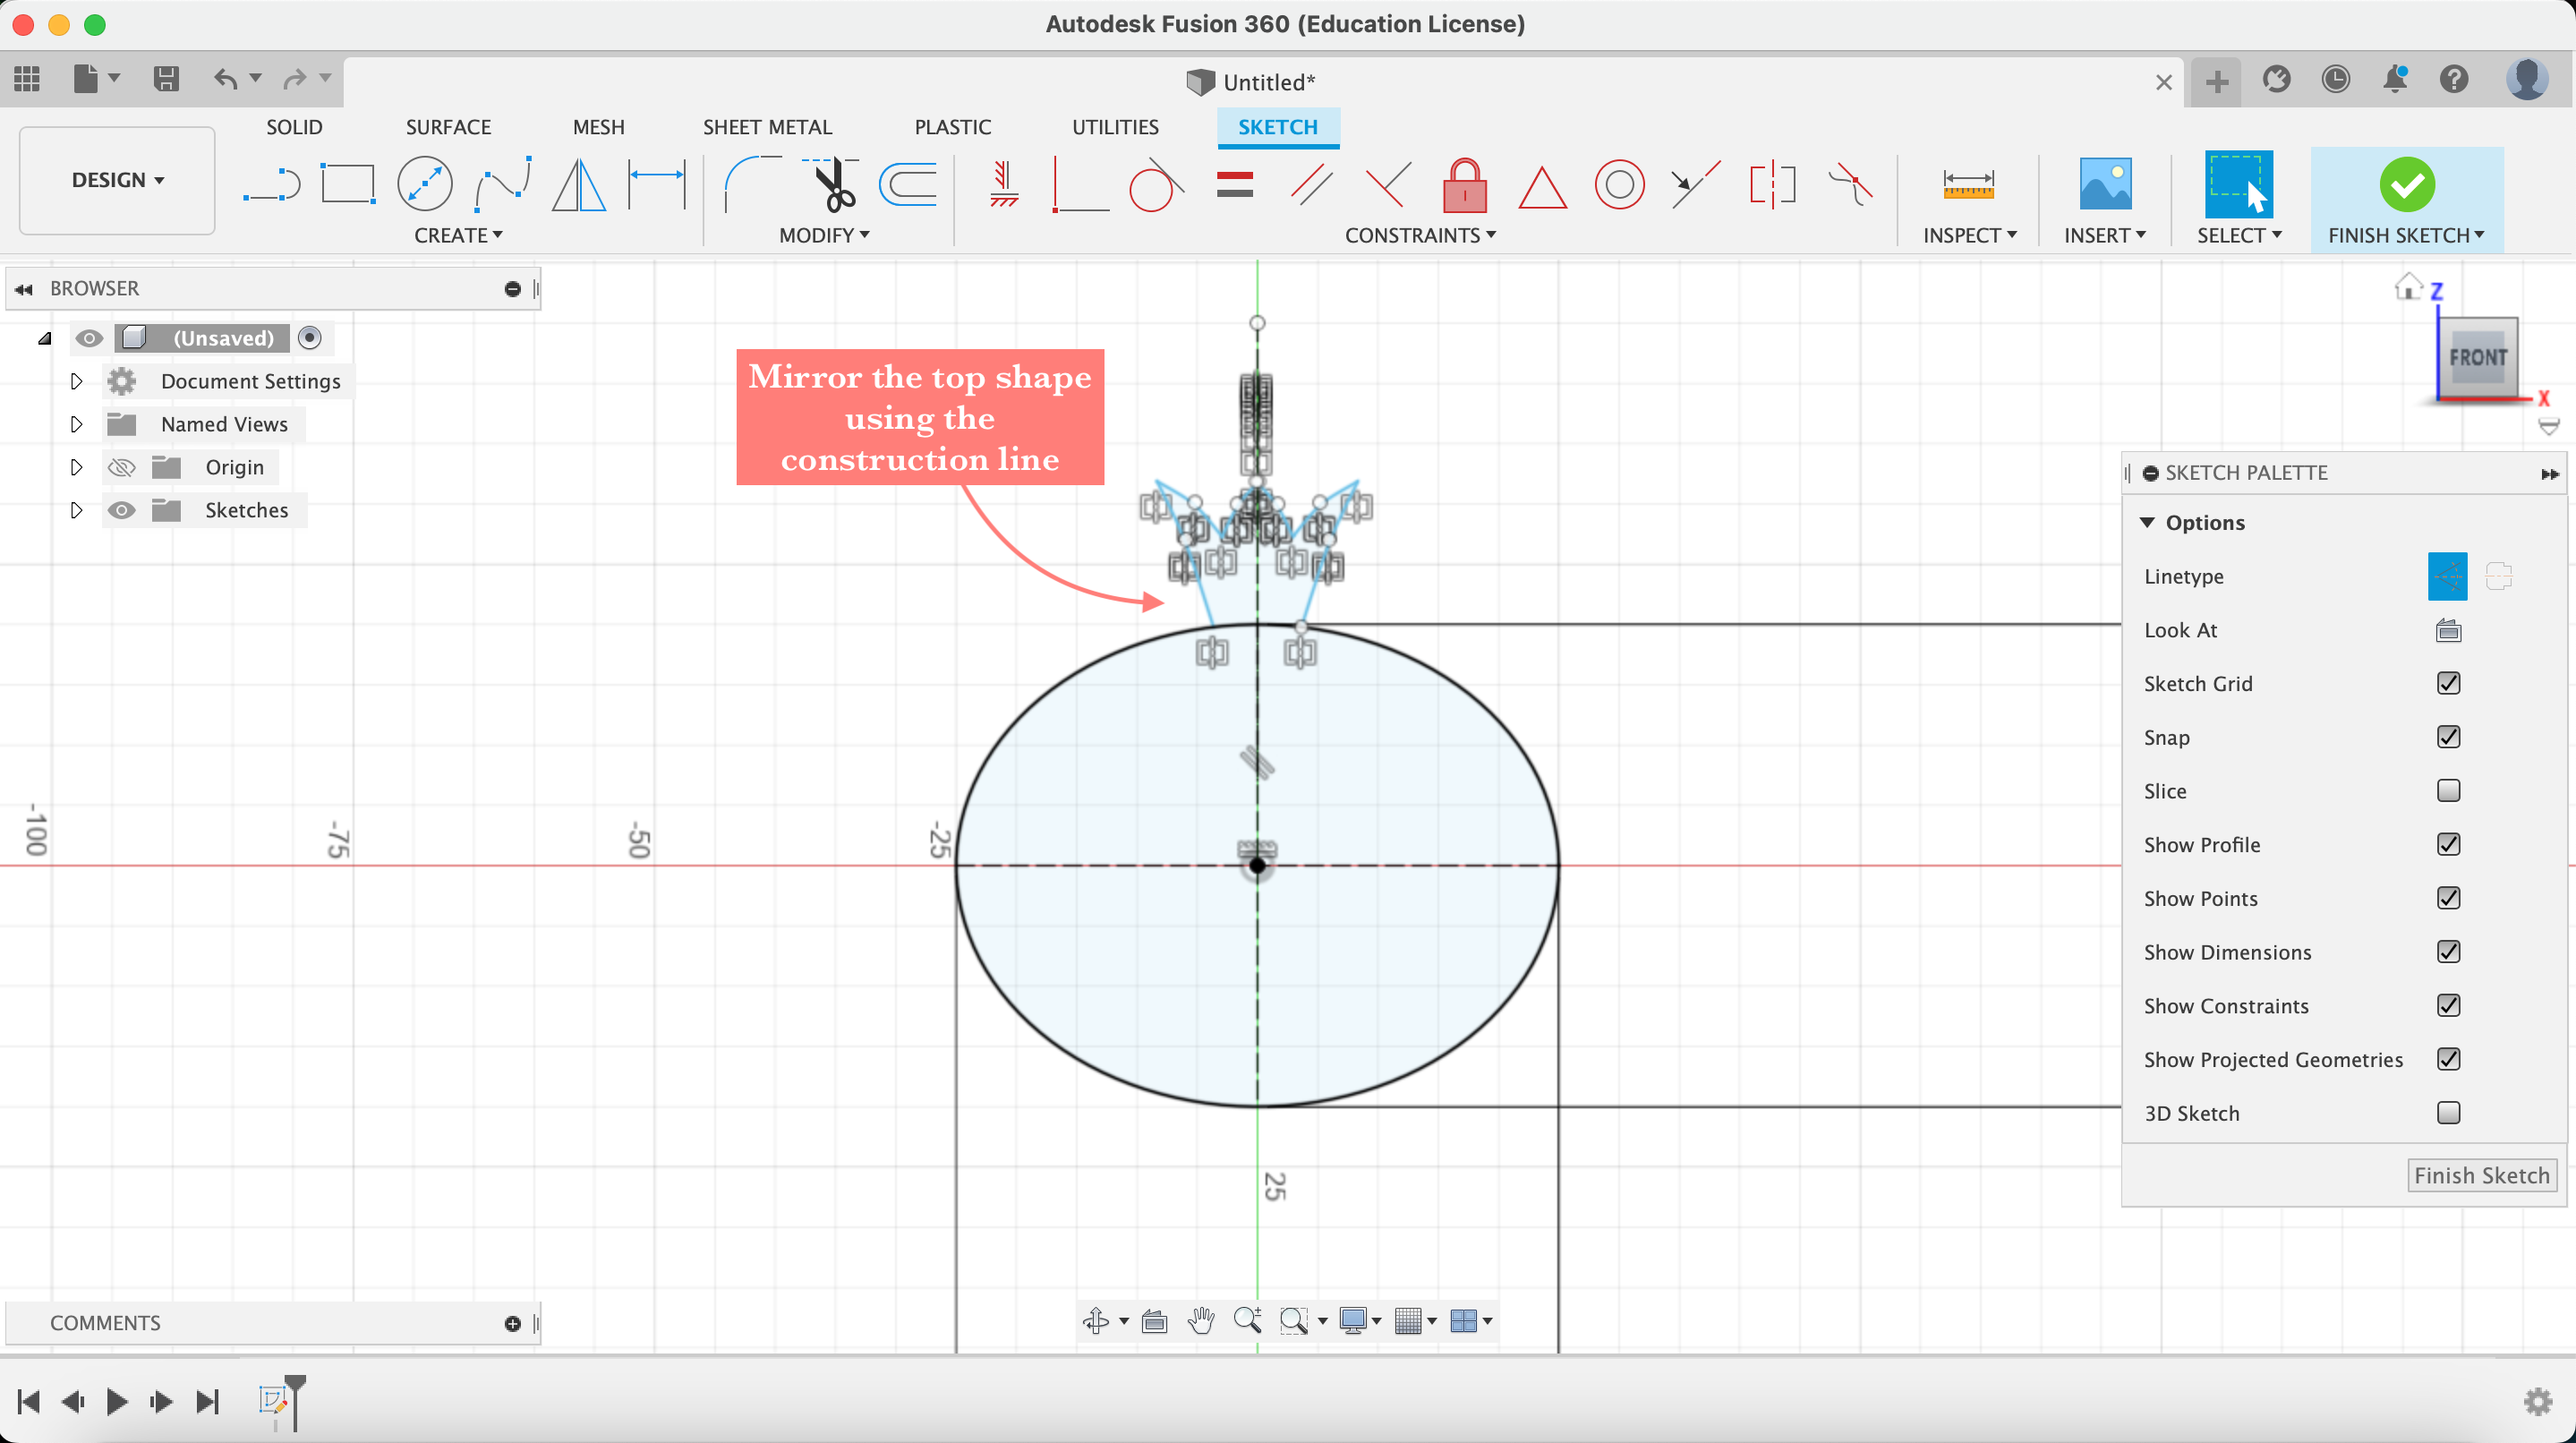
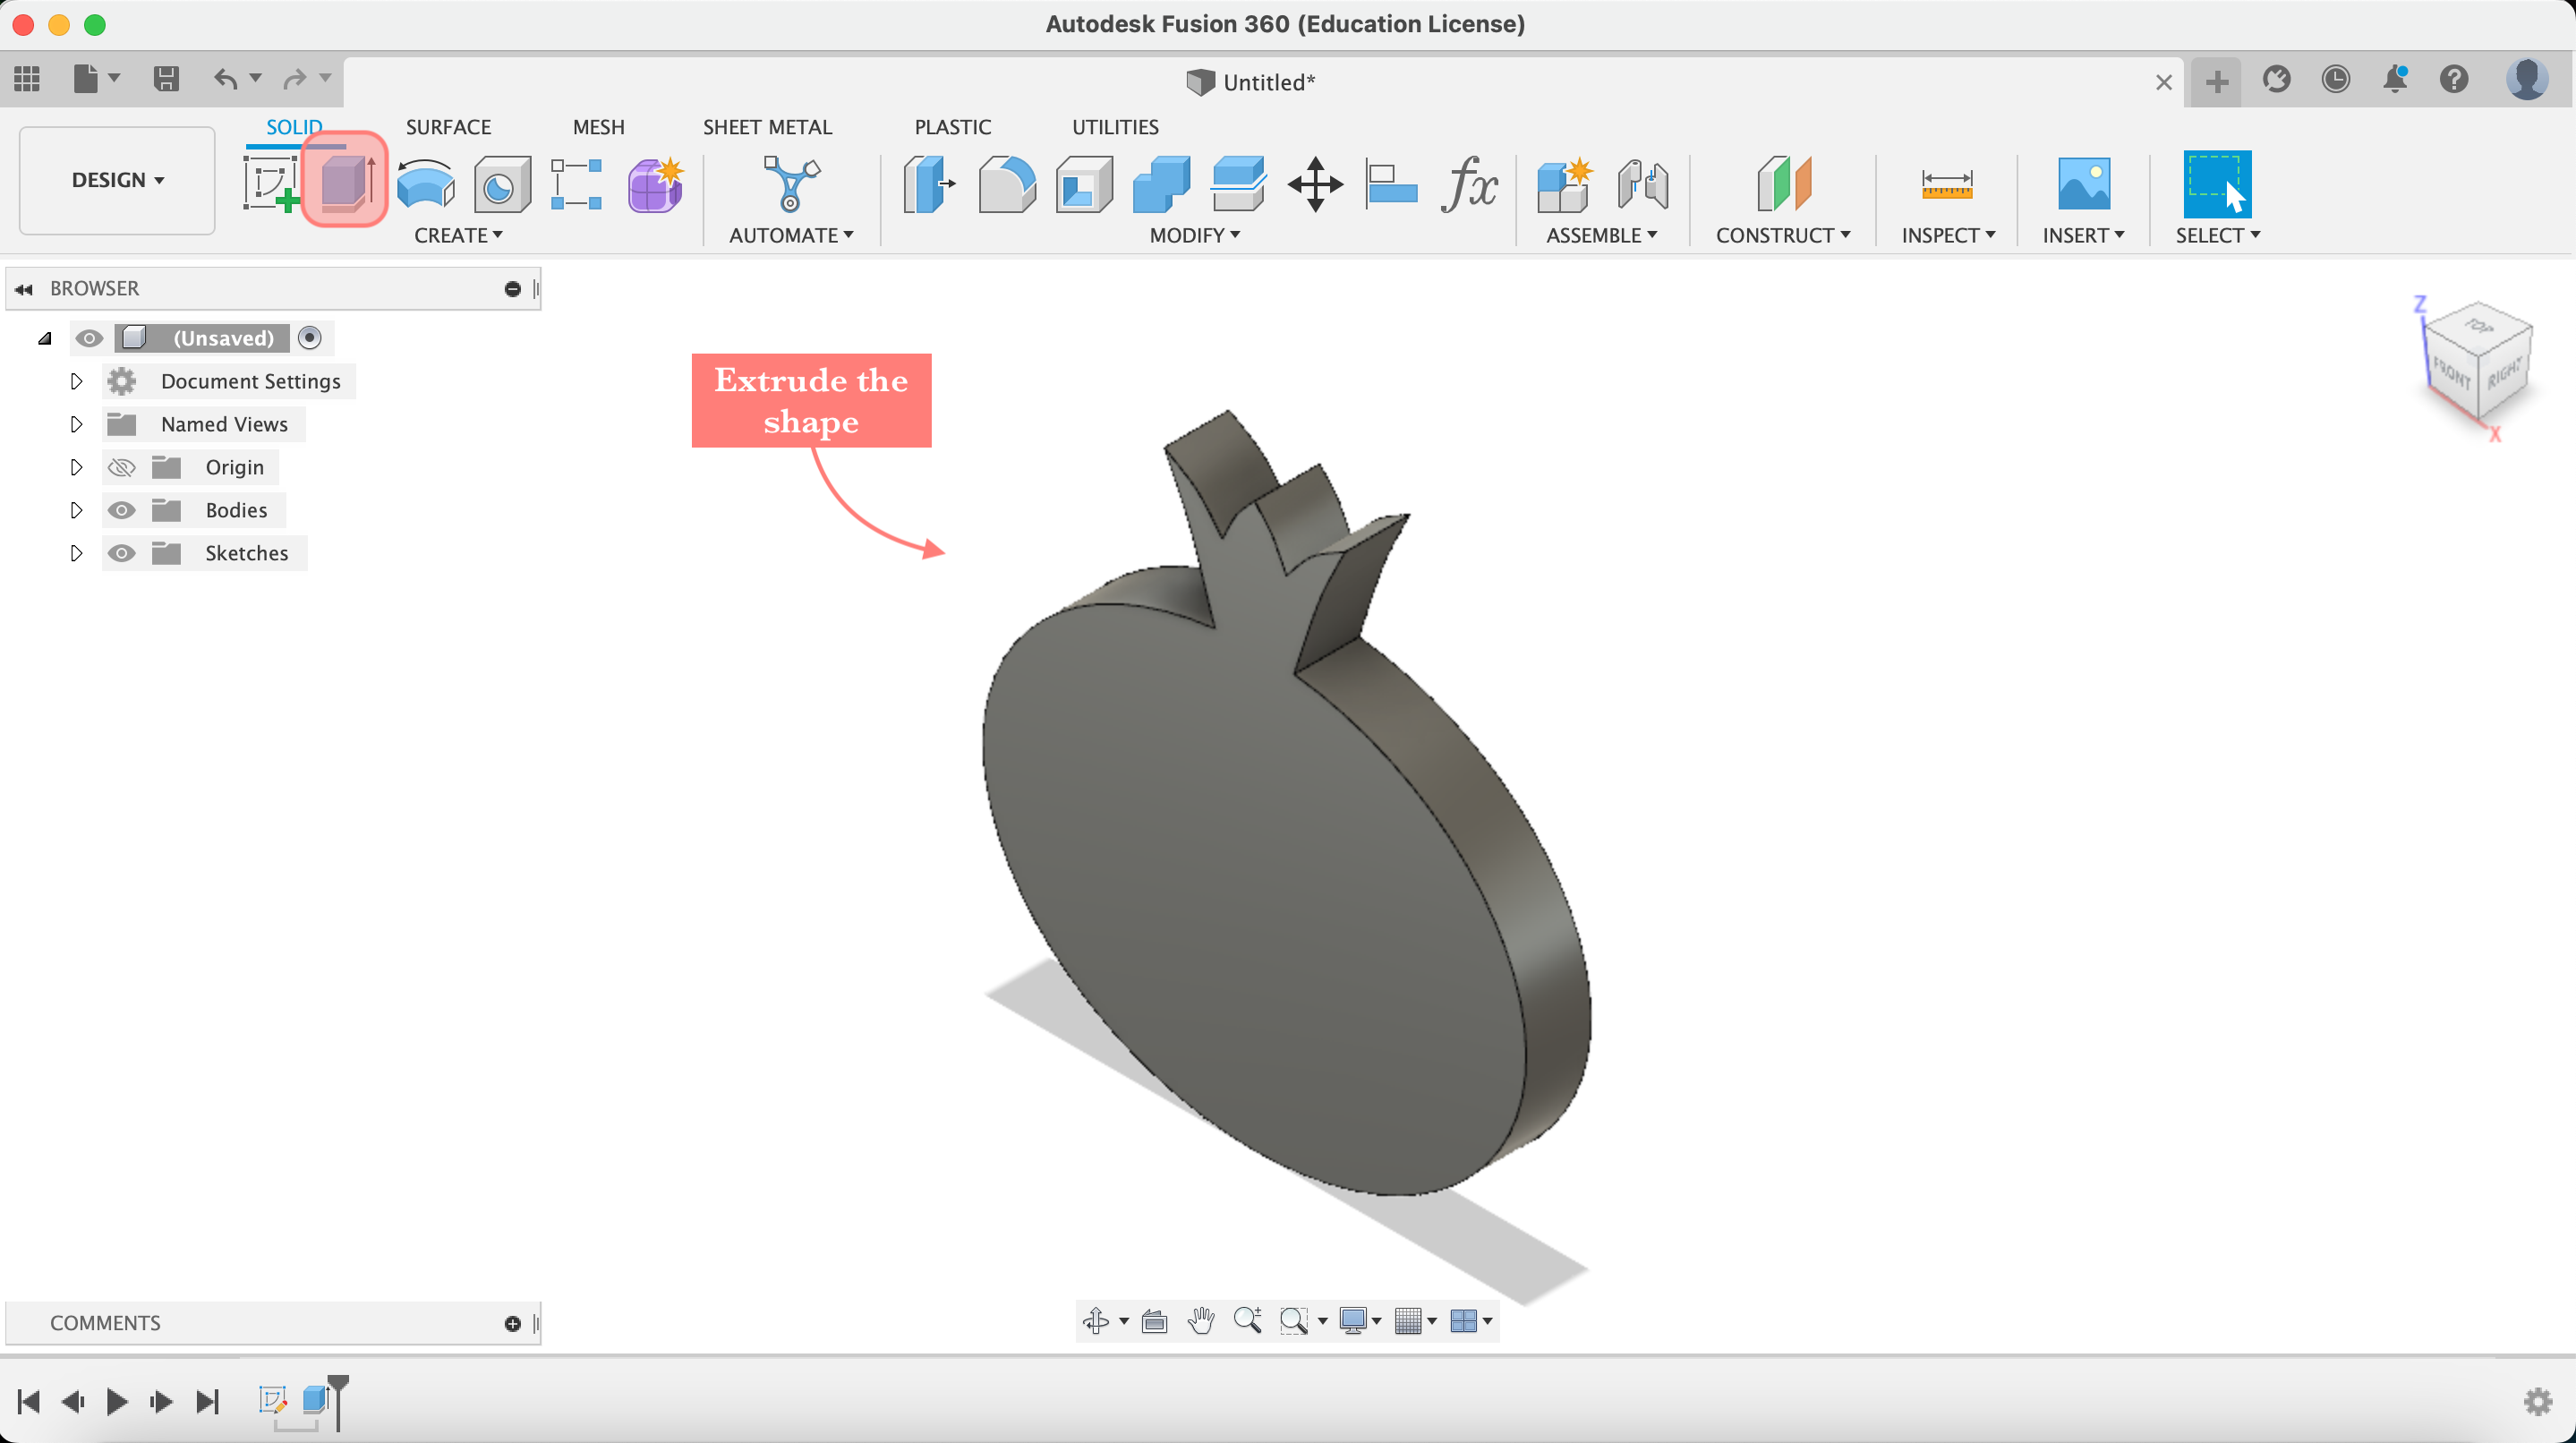
I decided to make a small pomegranate 🍎 using Fusion360.
- Step 1, create a circle, size 55 by 40 mm

- Step 2, create the top part of the pomegranate using the line

- Step 3, create a construction line

- Step 4, mirror the top part using the construction line
- Step 5, exrude 6mm, since the wax block is 8mm
- Step 6, fillet the edges to make it smoothe
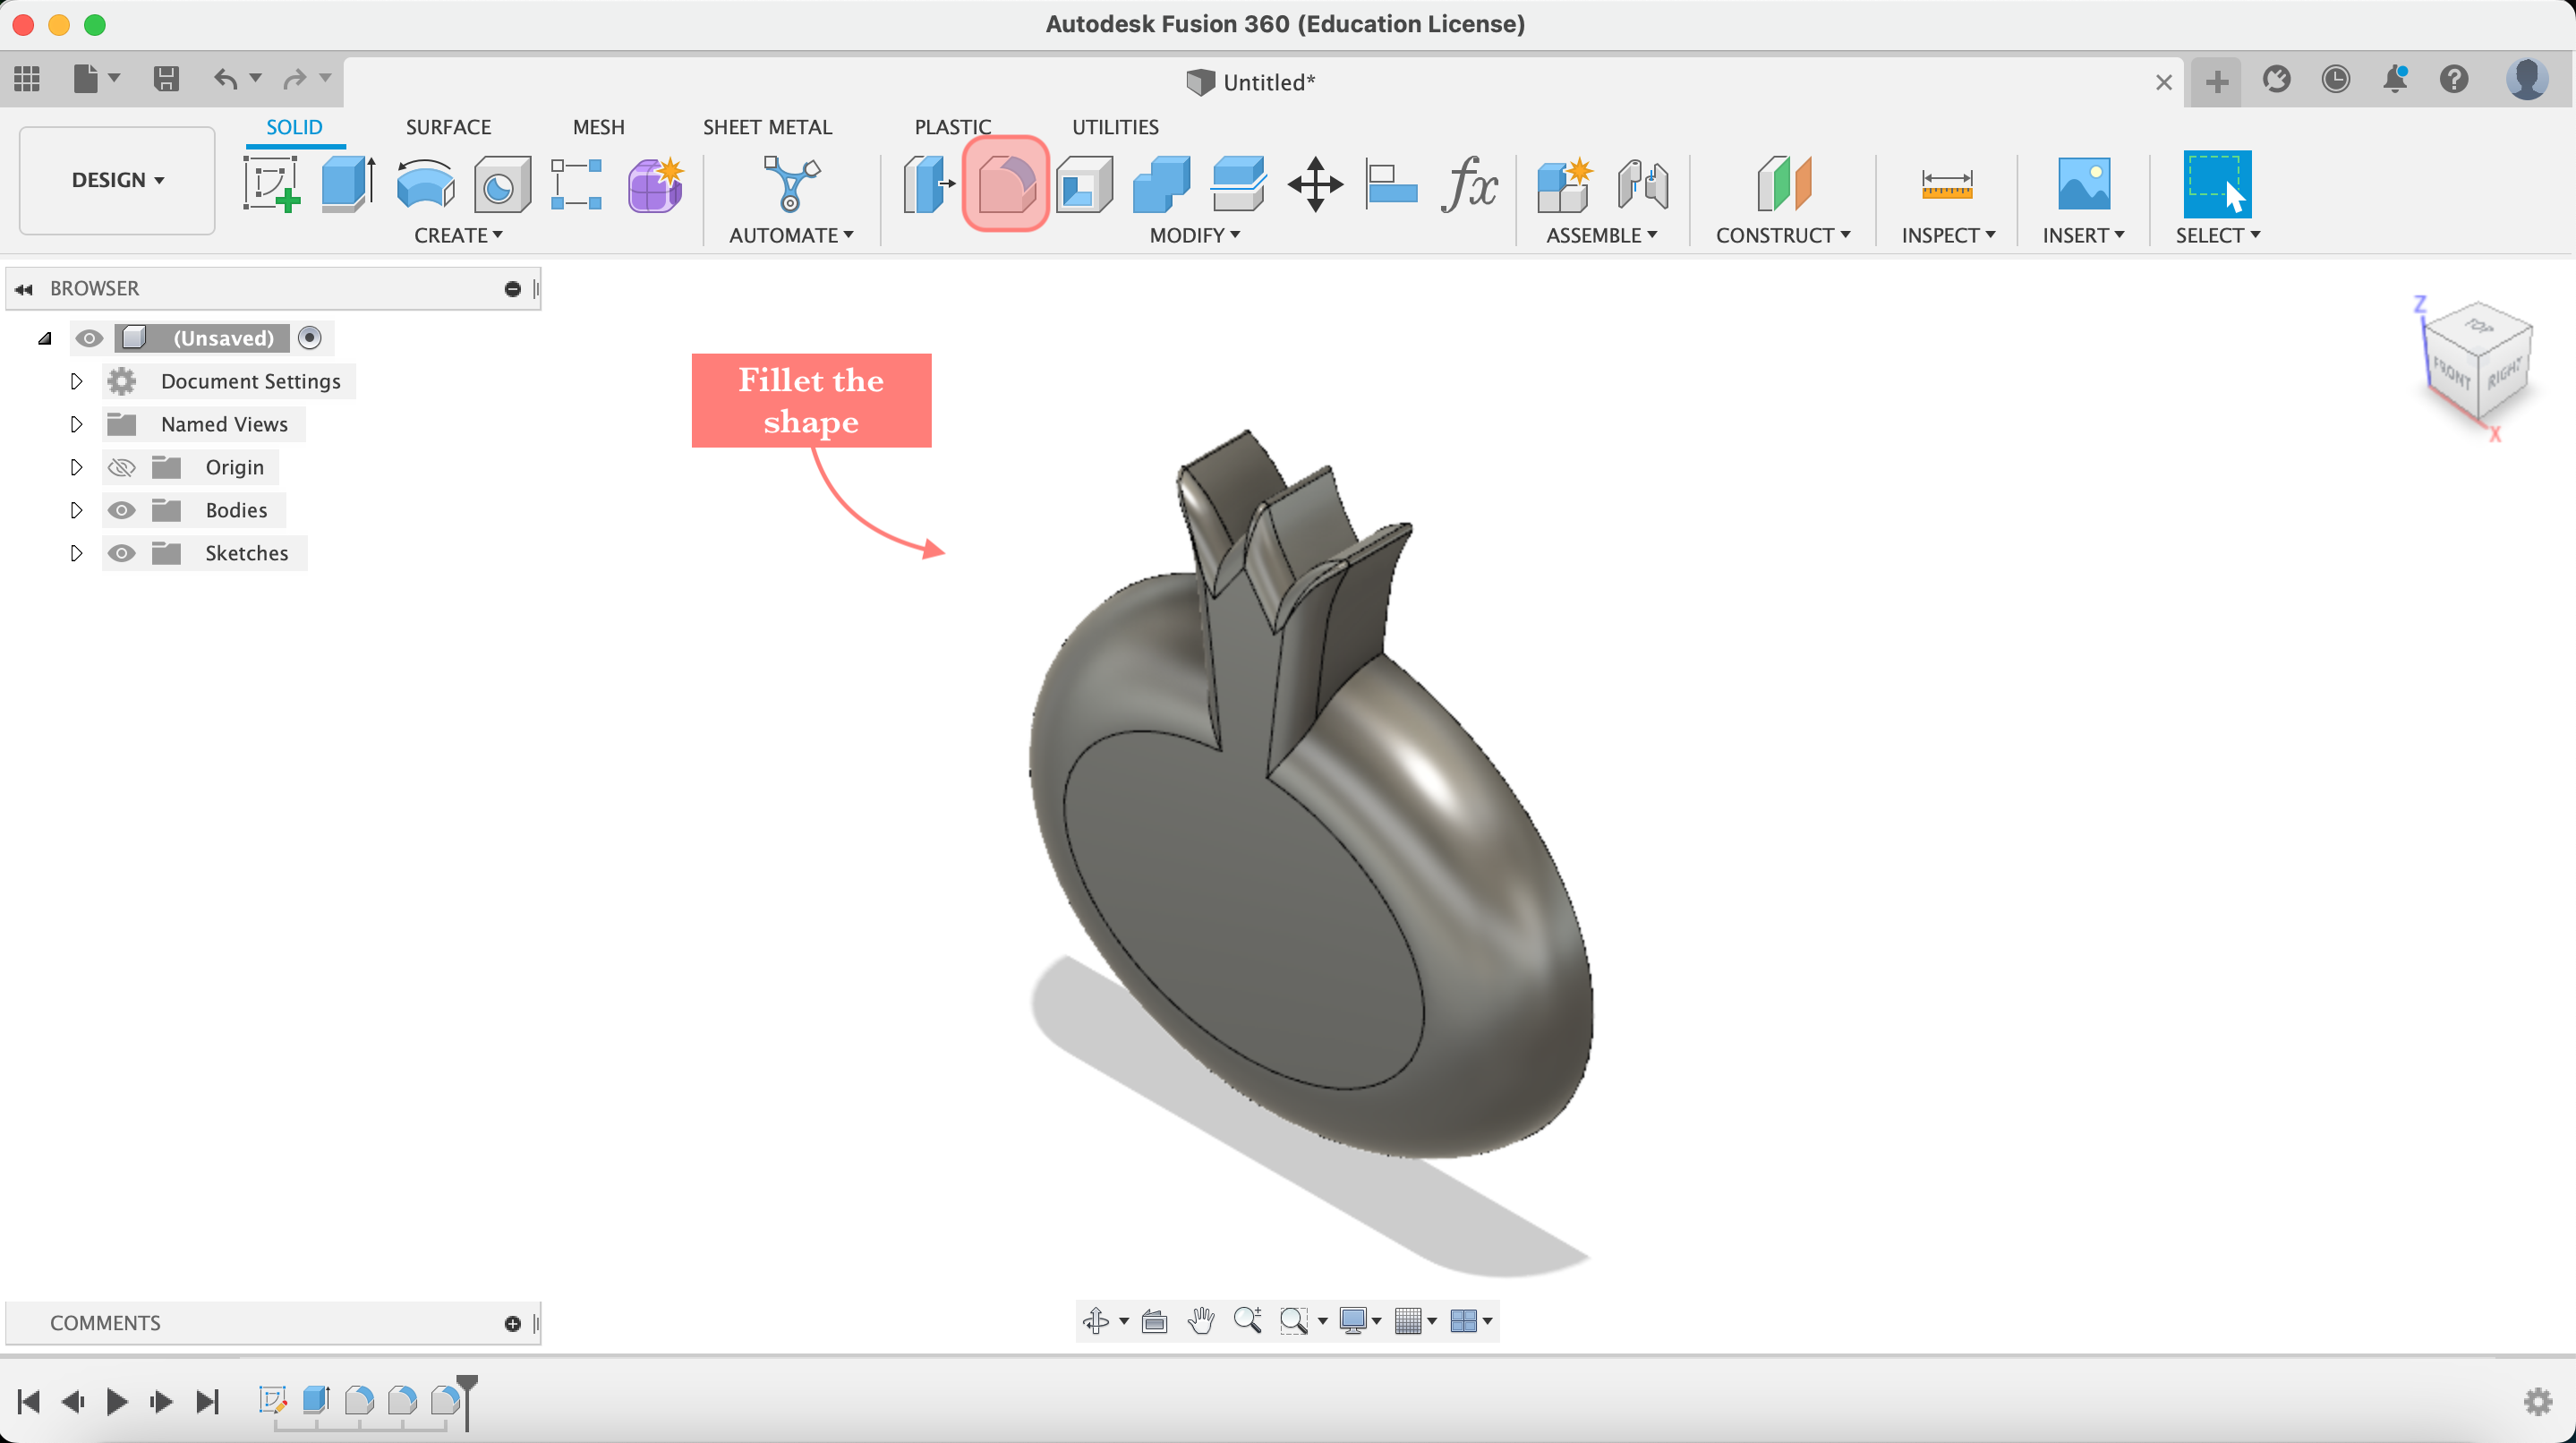
This is how the pomegranate 🍎 tured to be in Fusion360. And you can download the stl file 🍎 from here.
Making The Mold
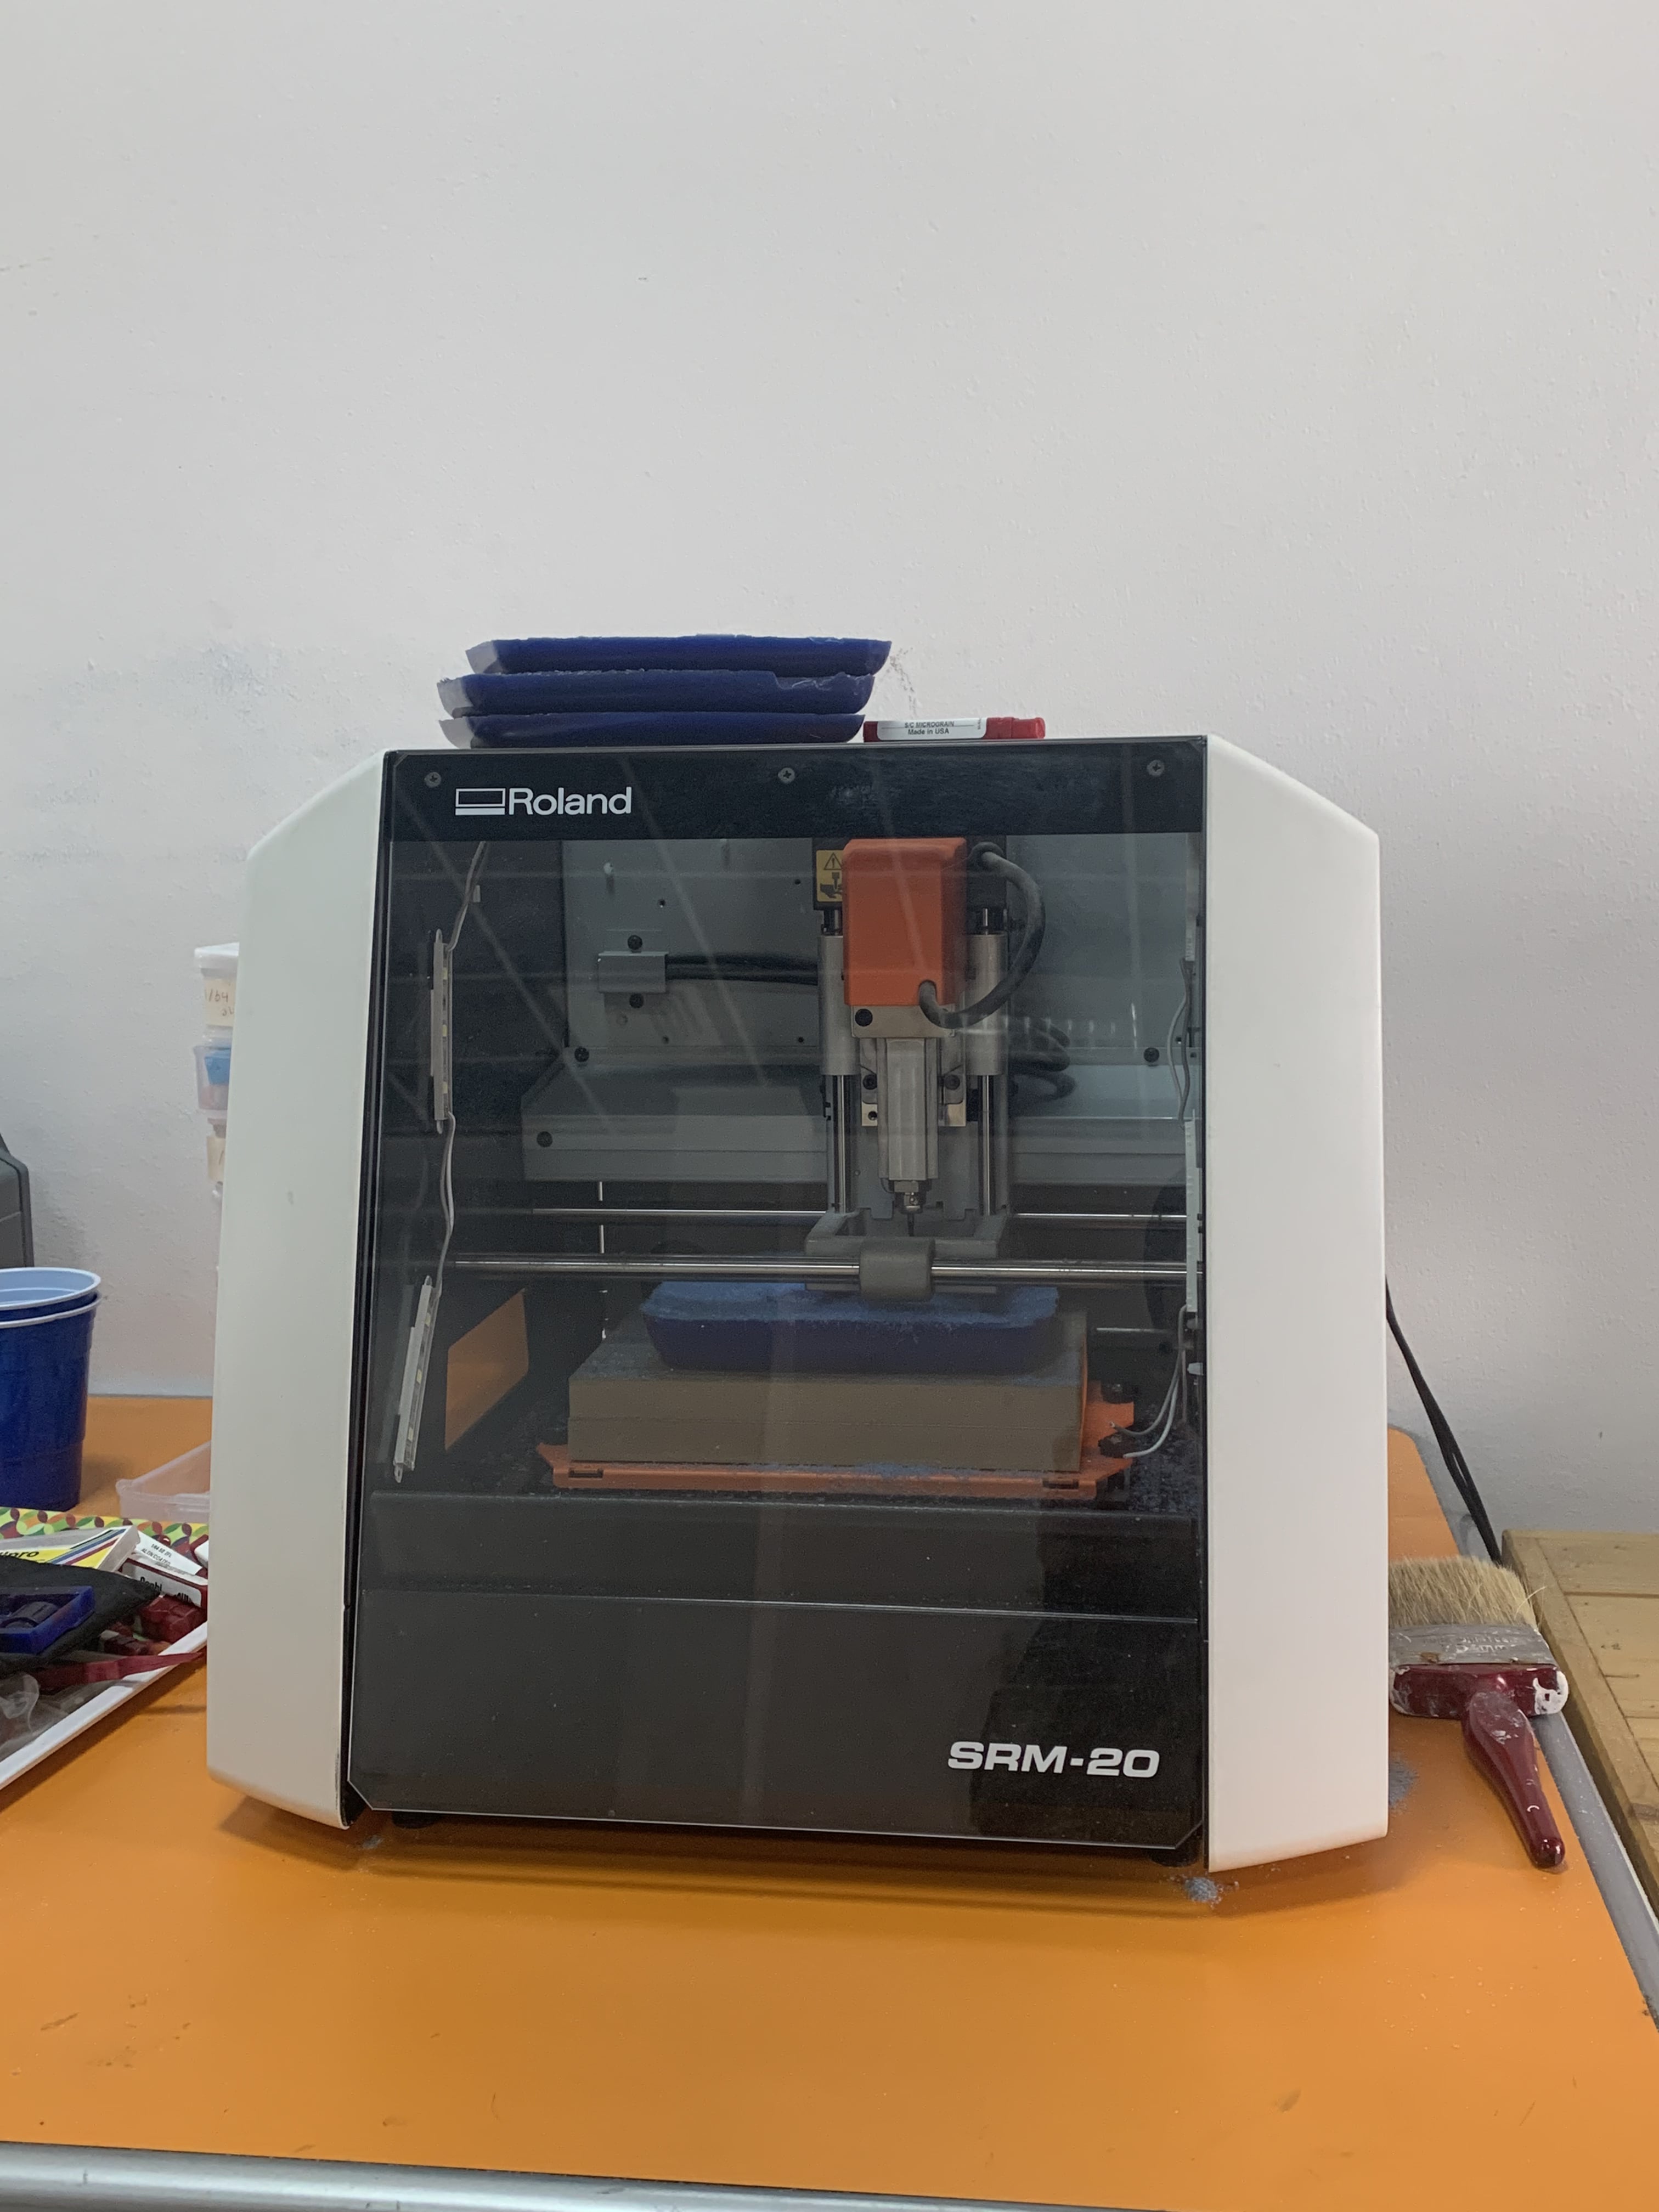
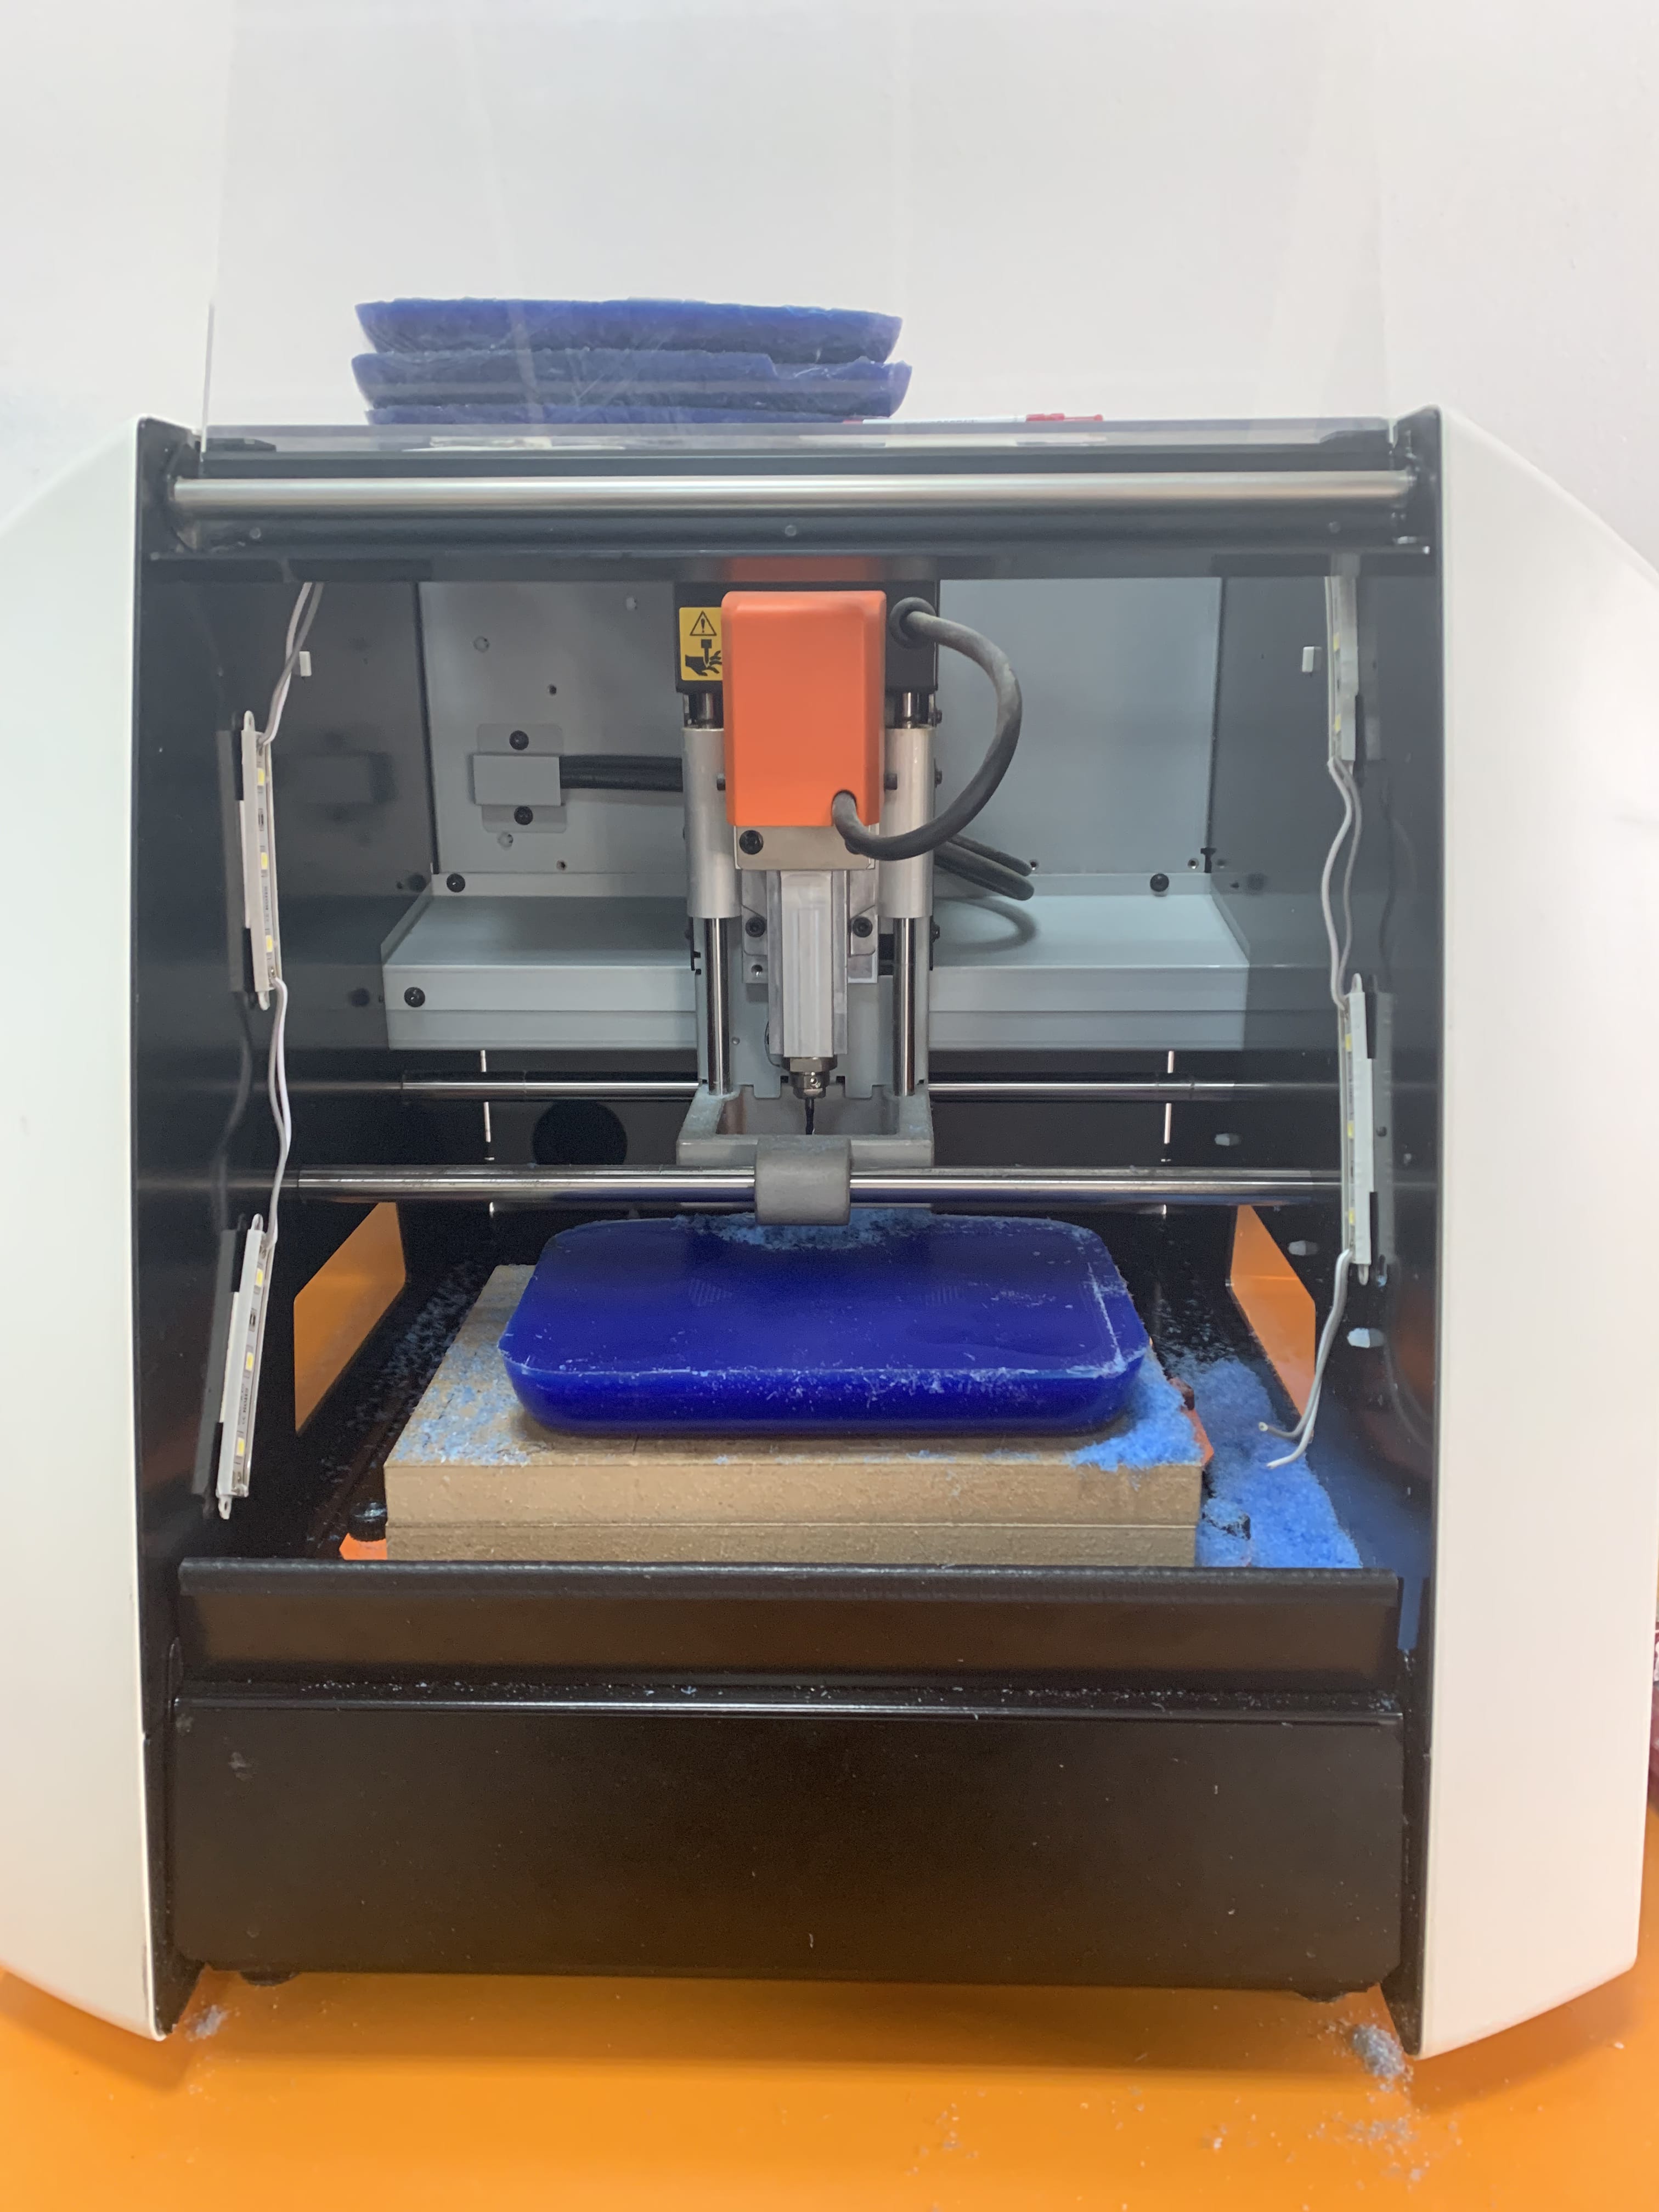
To make the mold we are using this machine. It is Roland SRM-20 Compact 3D Milling Machine, and we are milling a block of wax.
Here are some of SRM-20 Milling Machine Highlights:
- Cuttable Material: Resins such as Modeling Wax, Chemical Wood, Foam, Acrylic, Poly acetate, ABS, PC board
- X, Y, and Z Operation Stroke: 203.2 (X) x 152.4 (Y) x 60.5 (Z) mm
- Table Size: 232.2 (X) x 156.6 (Y) mm
- Operating Speed: 6 – 1800 mm/min
This is the computer attached to the machine, where we program the machine.

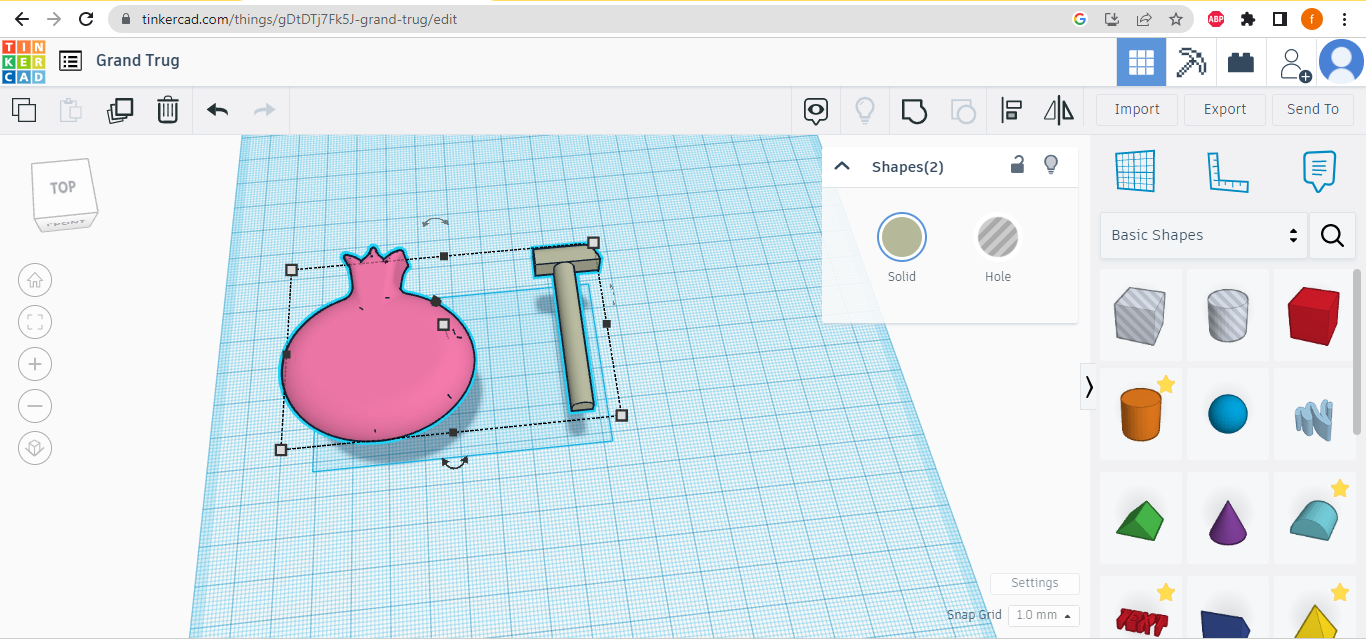
- Step 1, we gathered my design stl file and one of my colleague designs in TinkerCad, then we saved it as stl again
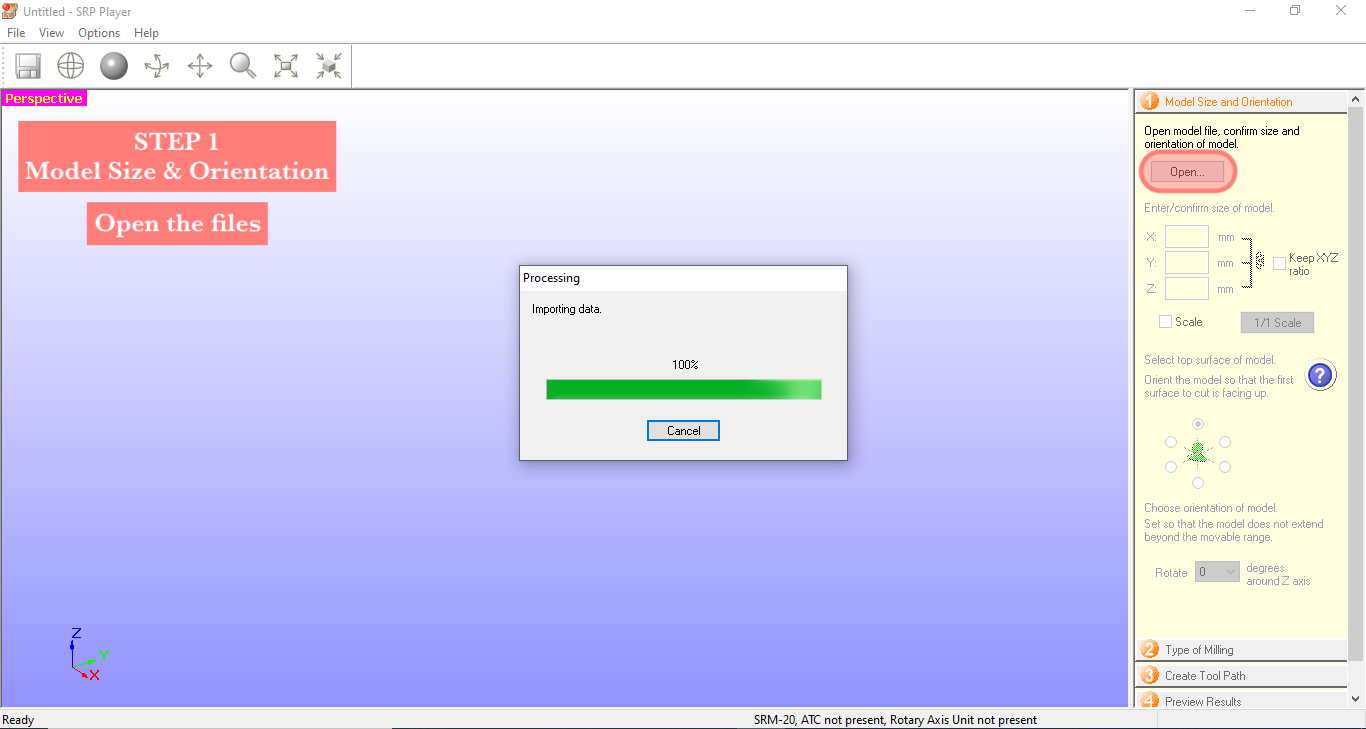
- Step 2, now on the machine’s program there are five easy steps to follow, STEP 1 is the mold size and orientation, open the stl file
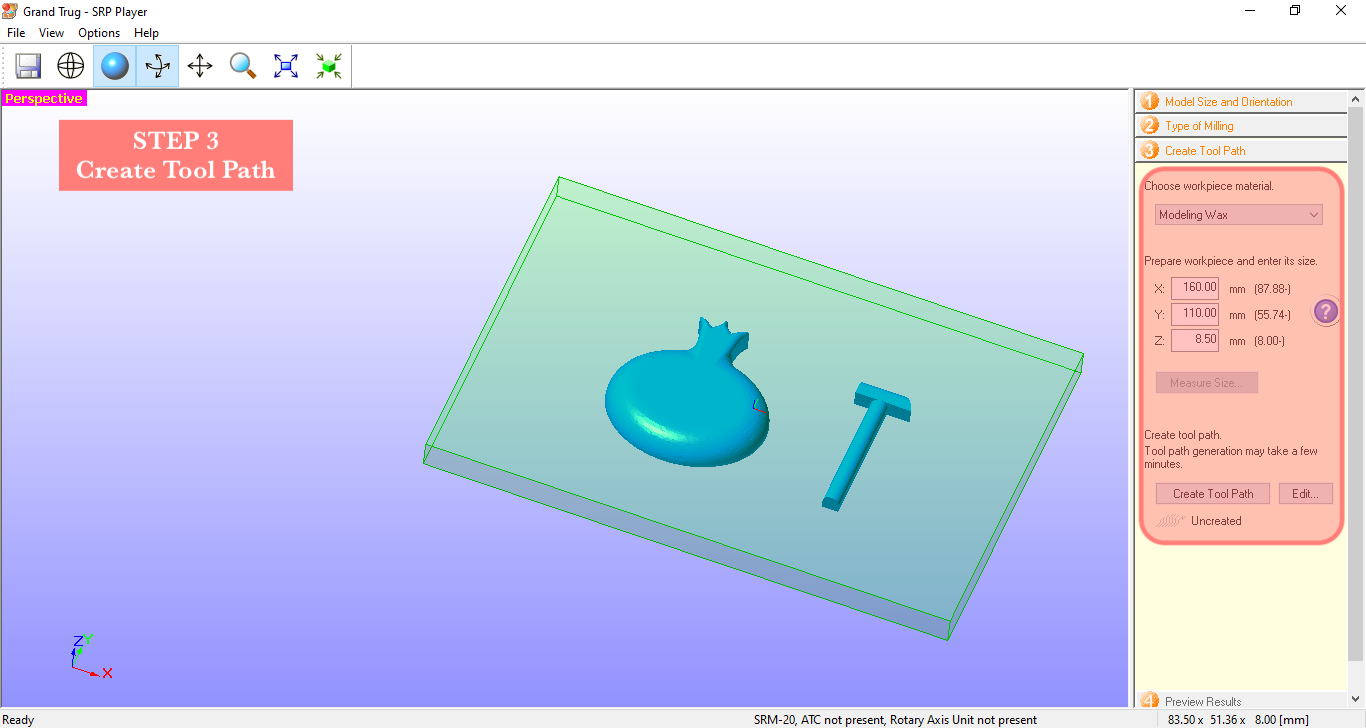
- Step 3, still in STEP 1 make sure and confirm the size of the design, compare it with the size of the wax block to be cut

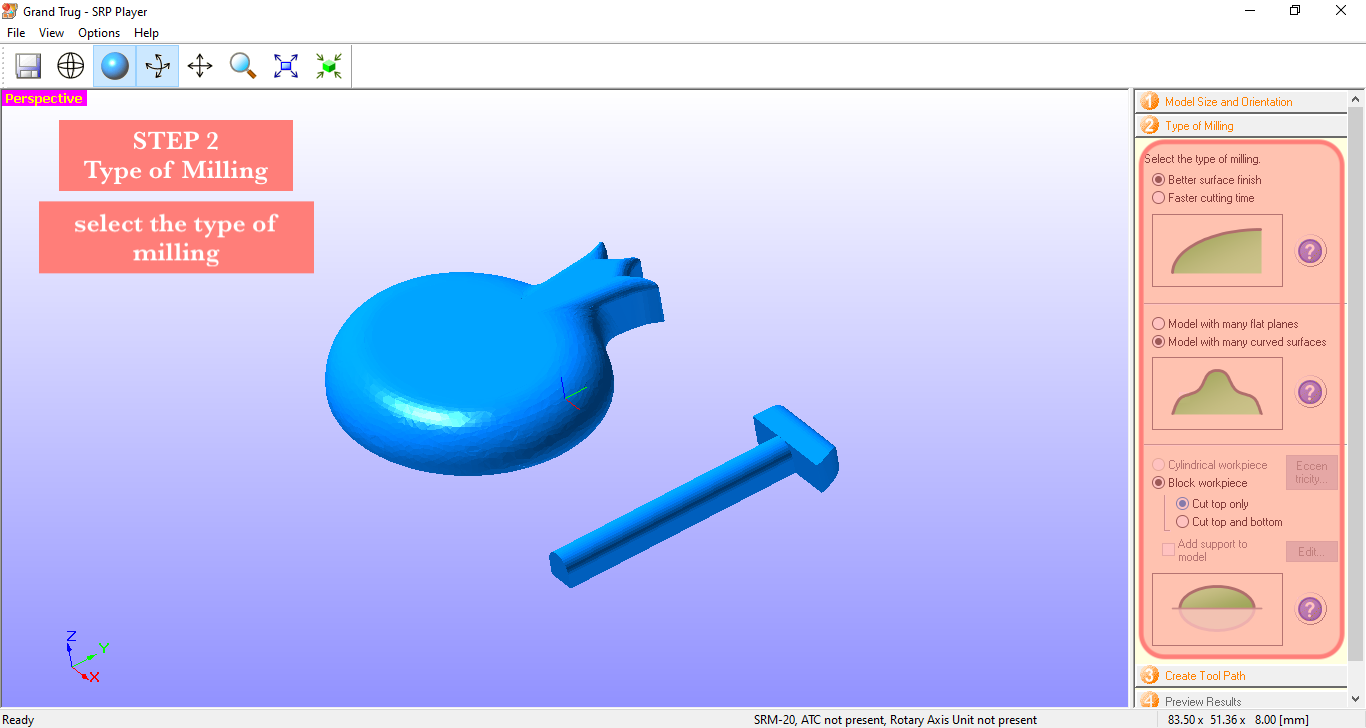
- Step 4, moving to STEP 2 to choose the type of milling
- Step 5, moving to STEP 3 to create the tool path
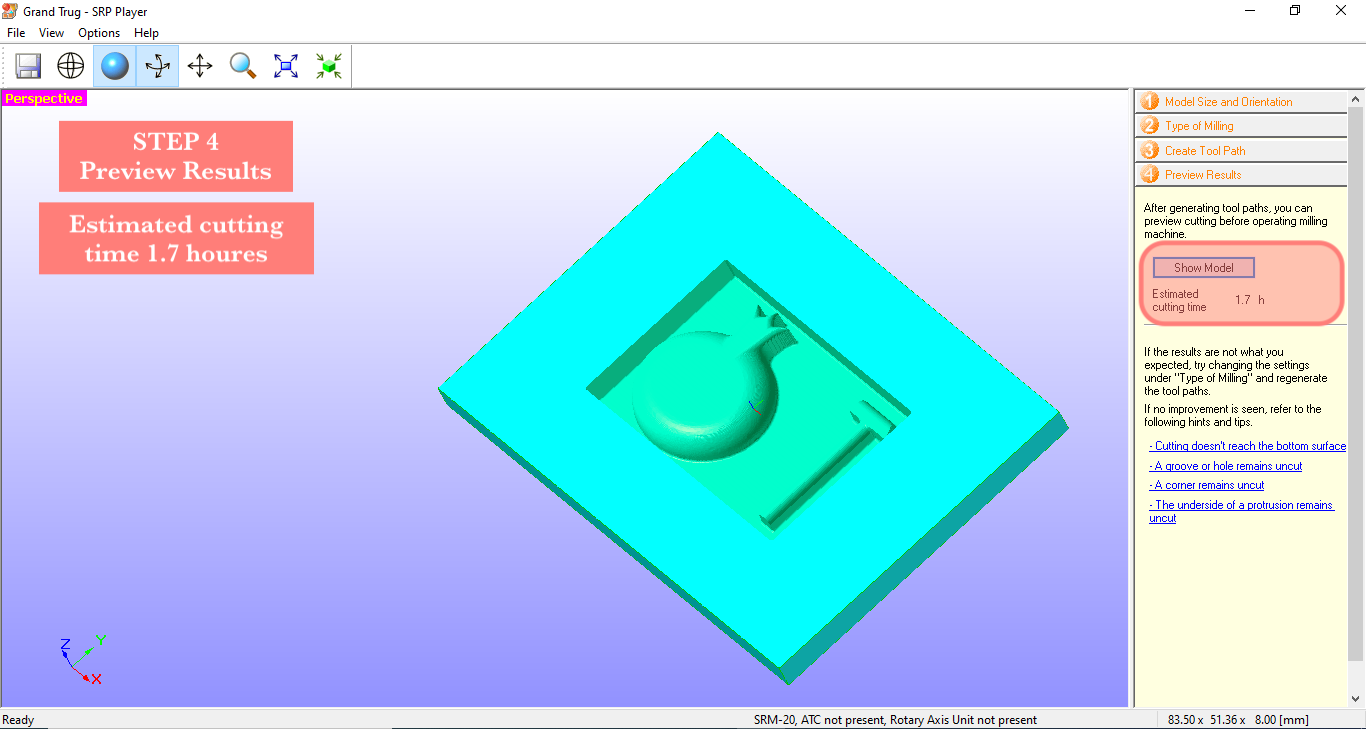
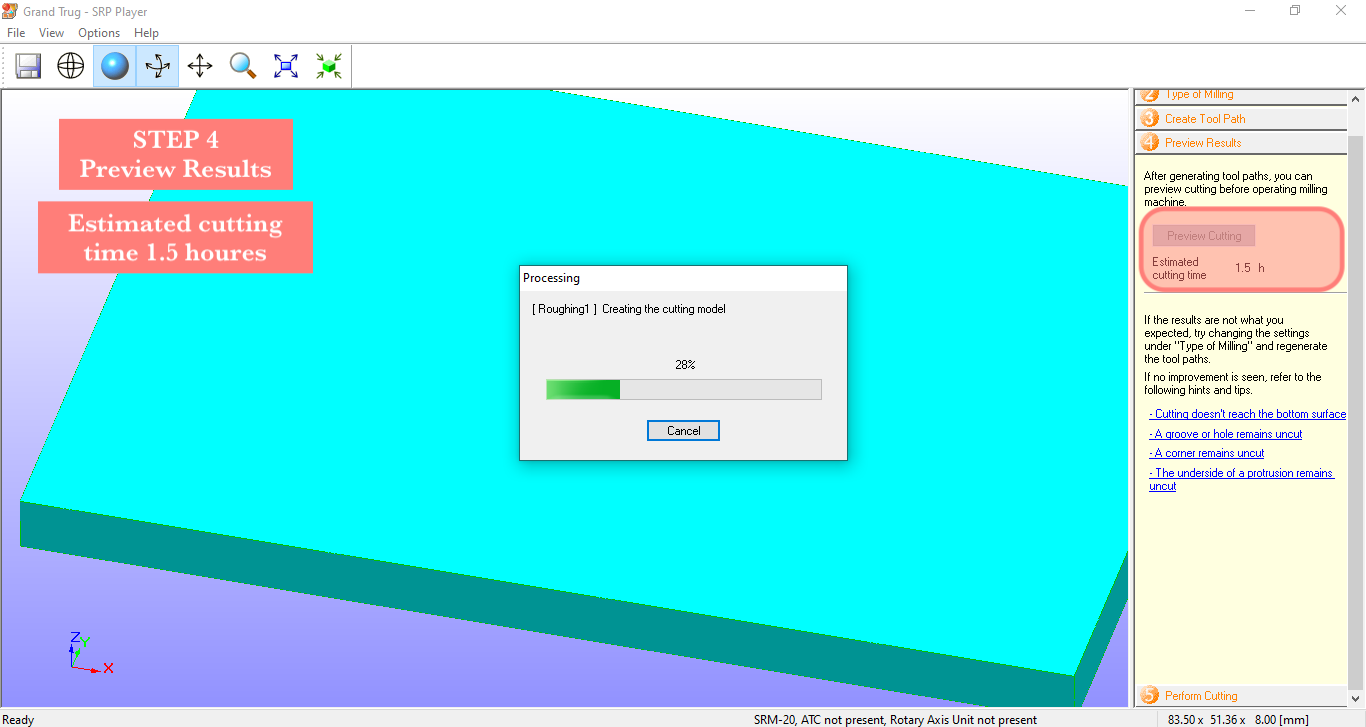
- Step 6, moving to STEP 4 viwing the result, the estimated milling time was 1.7 h
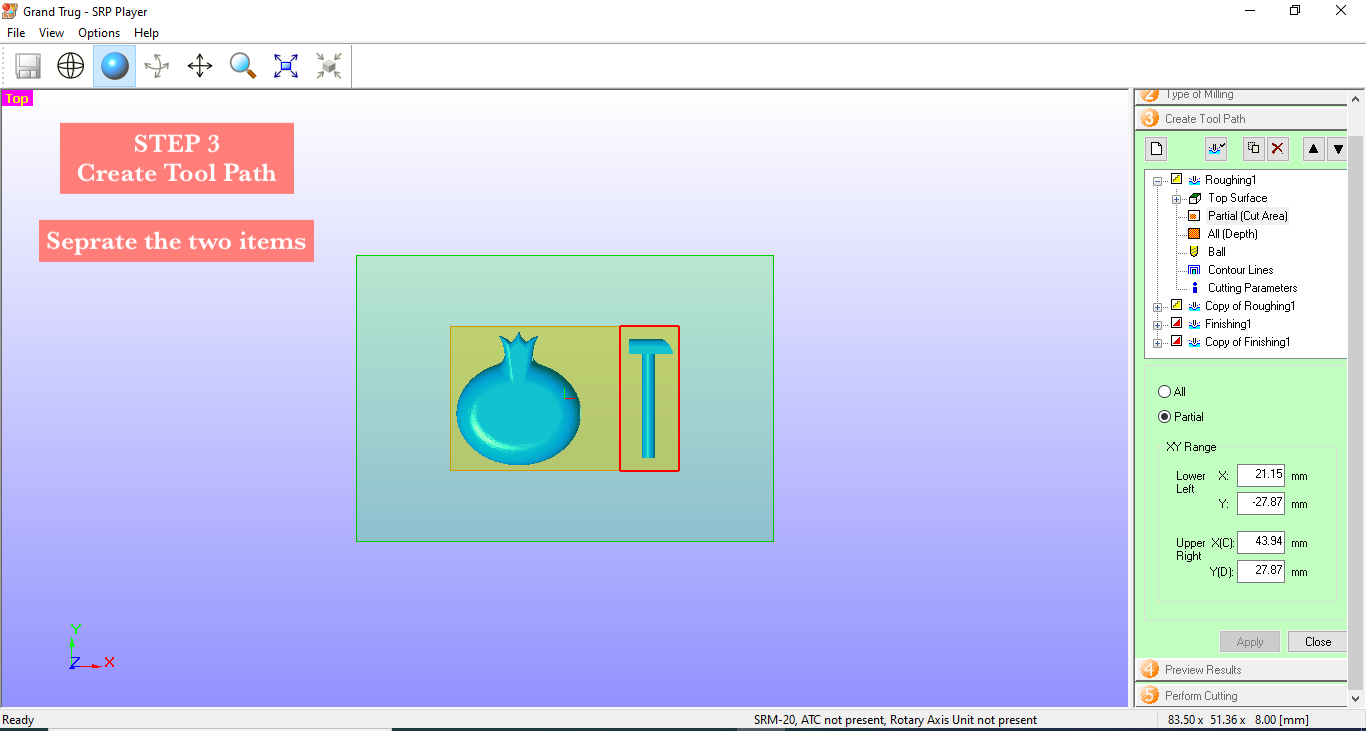
- Step 7, to decrease the milling time we decided to seprate the two designs, so we went back to STEP 3
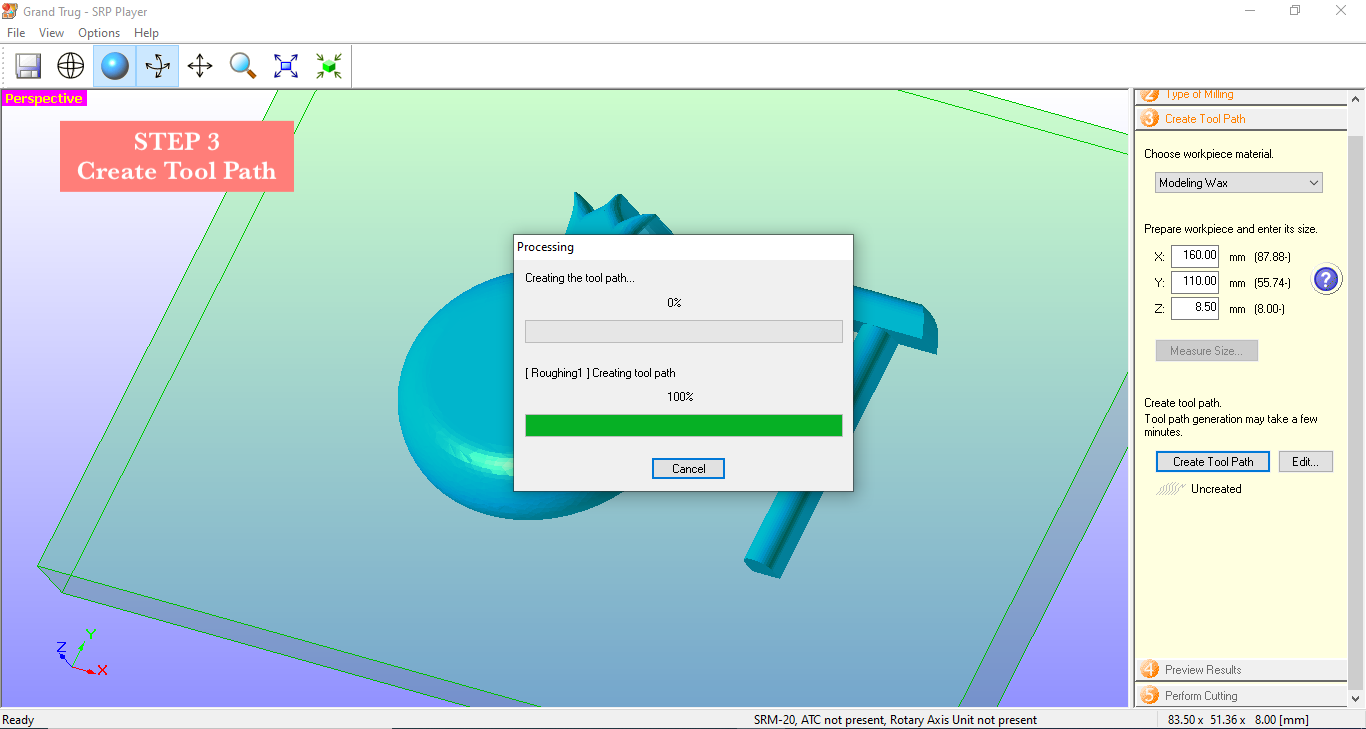
- Step 8, create the tool path again
- Step 9, in STEP 4 again the estimated cutting time was 1.4 h

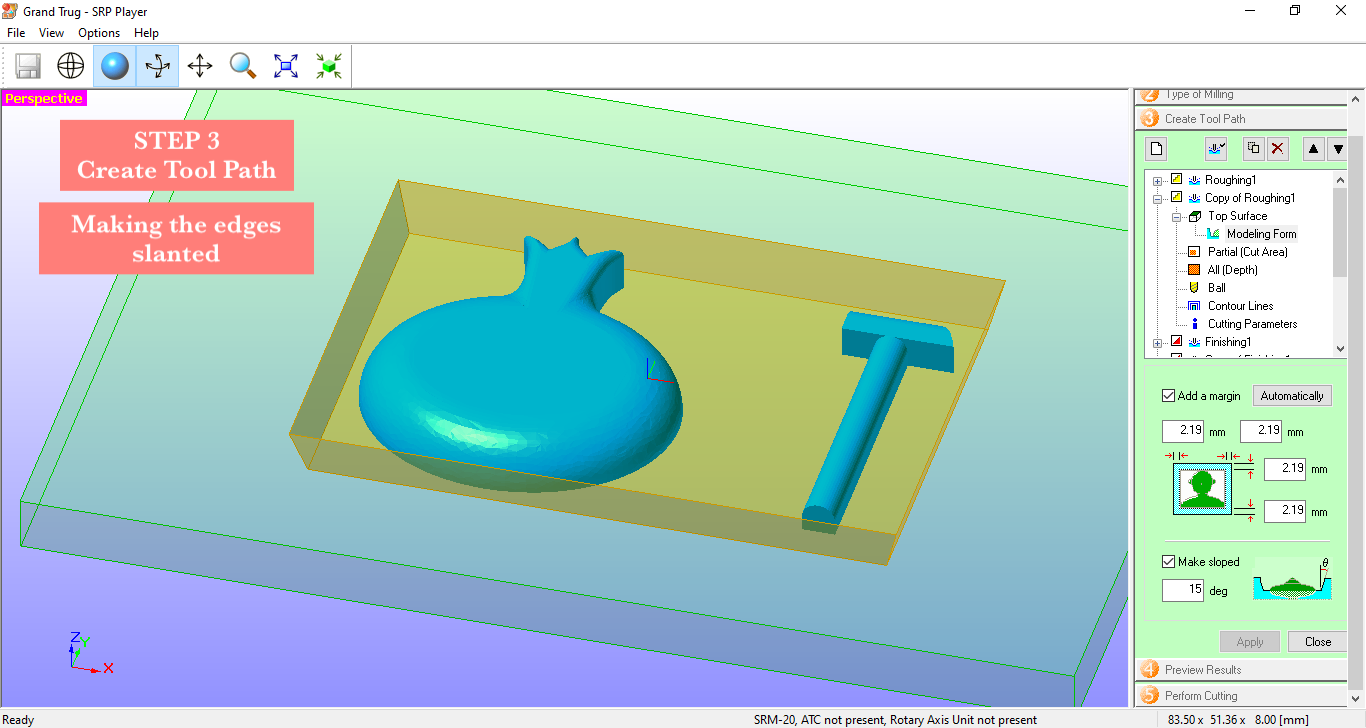
- Step 10, going back to STEP 3 and slanted the edges to make the mold easier to deal with
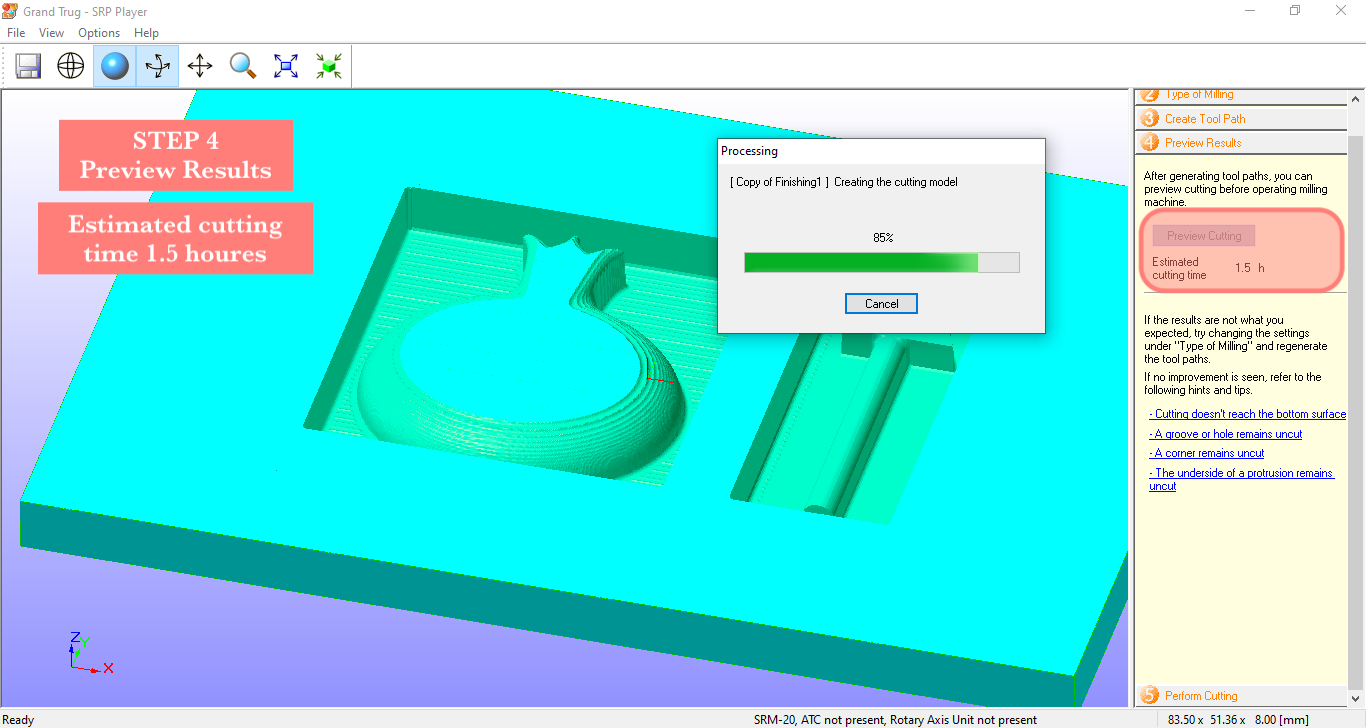
- Step 11, in STEP 4 agian the estimated cutting time was 1.5 h
- Step 12, before the final step; STEP 5, on the VPanel (Operation Panel) set the zero origin point of the machine, give it the starting point and make the drill pit as close as possiple to the wax block but not touching
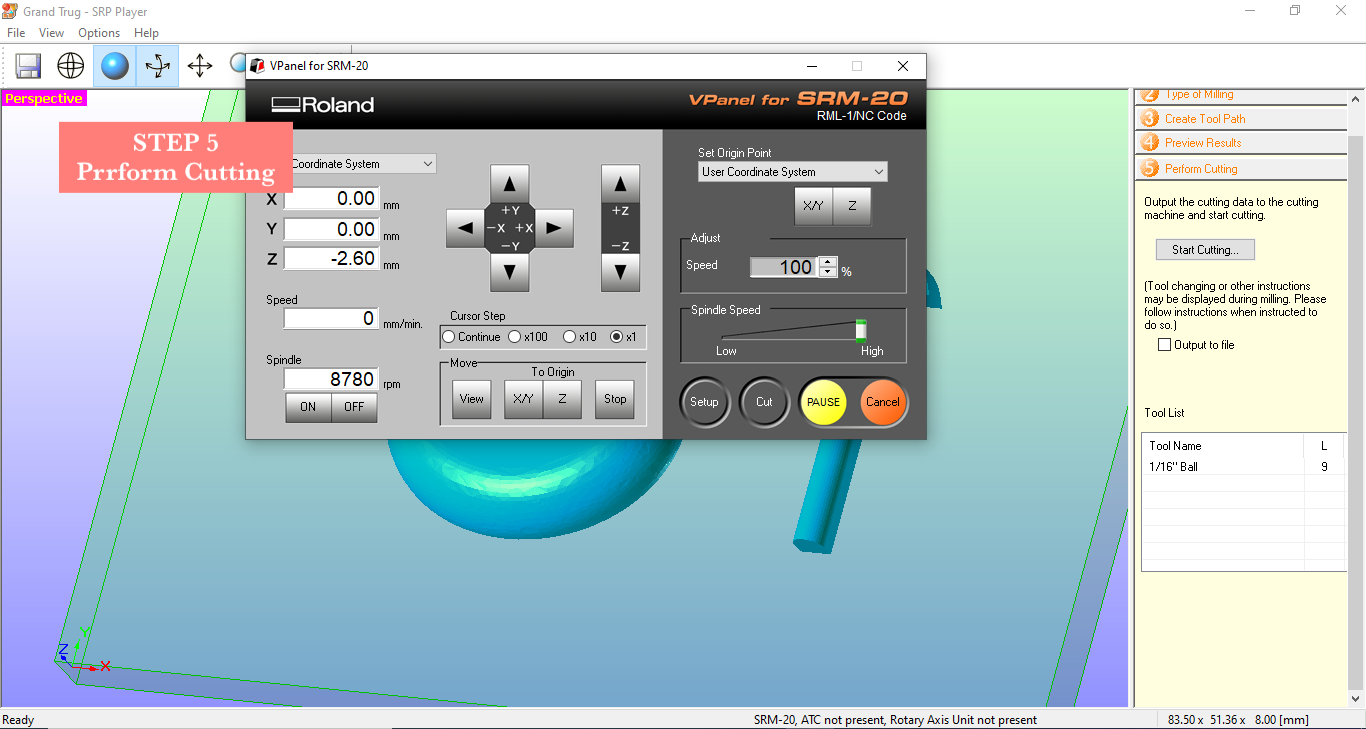

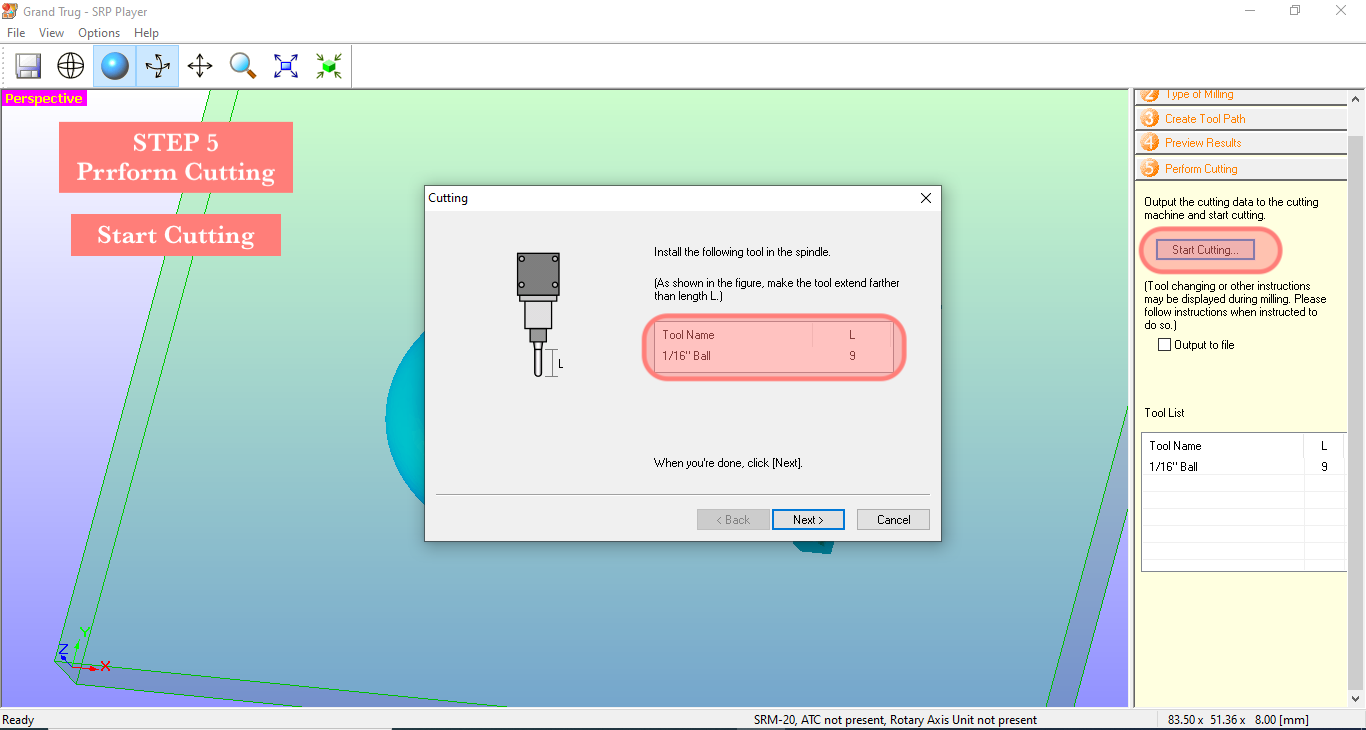
- Step 13, in STEP 5 click start cutting, make sure of the drill pit you are using, we are using 1/16’‘ L drill pit

The machine cutting
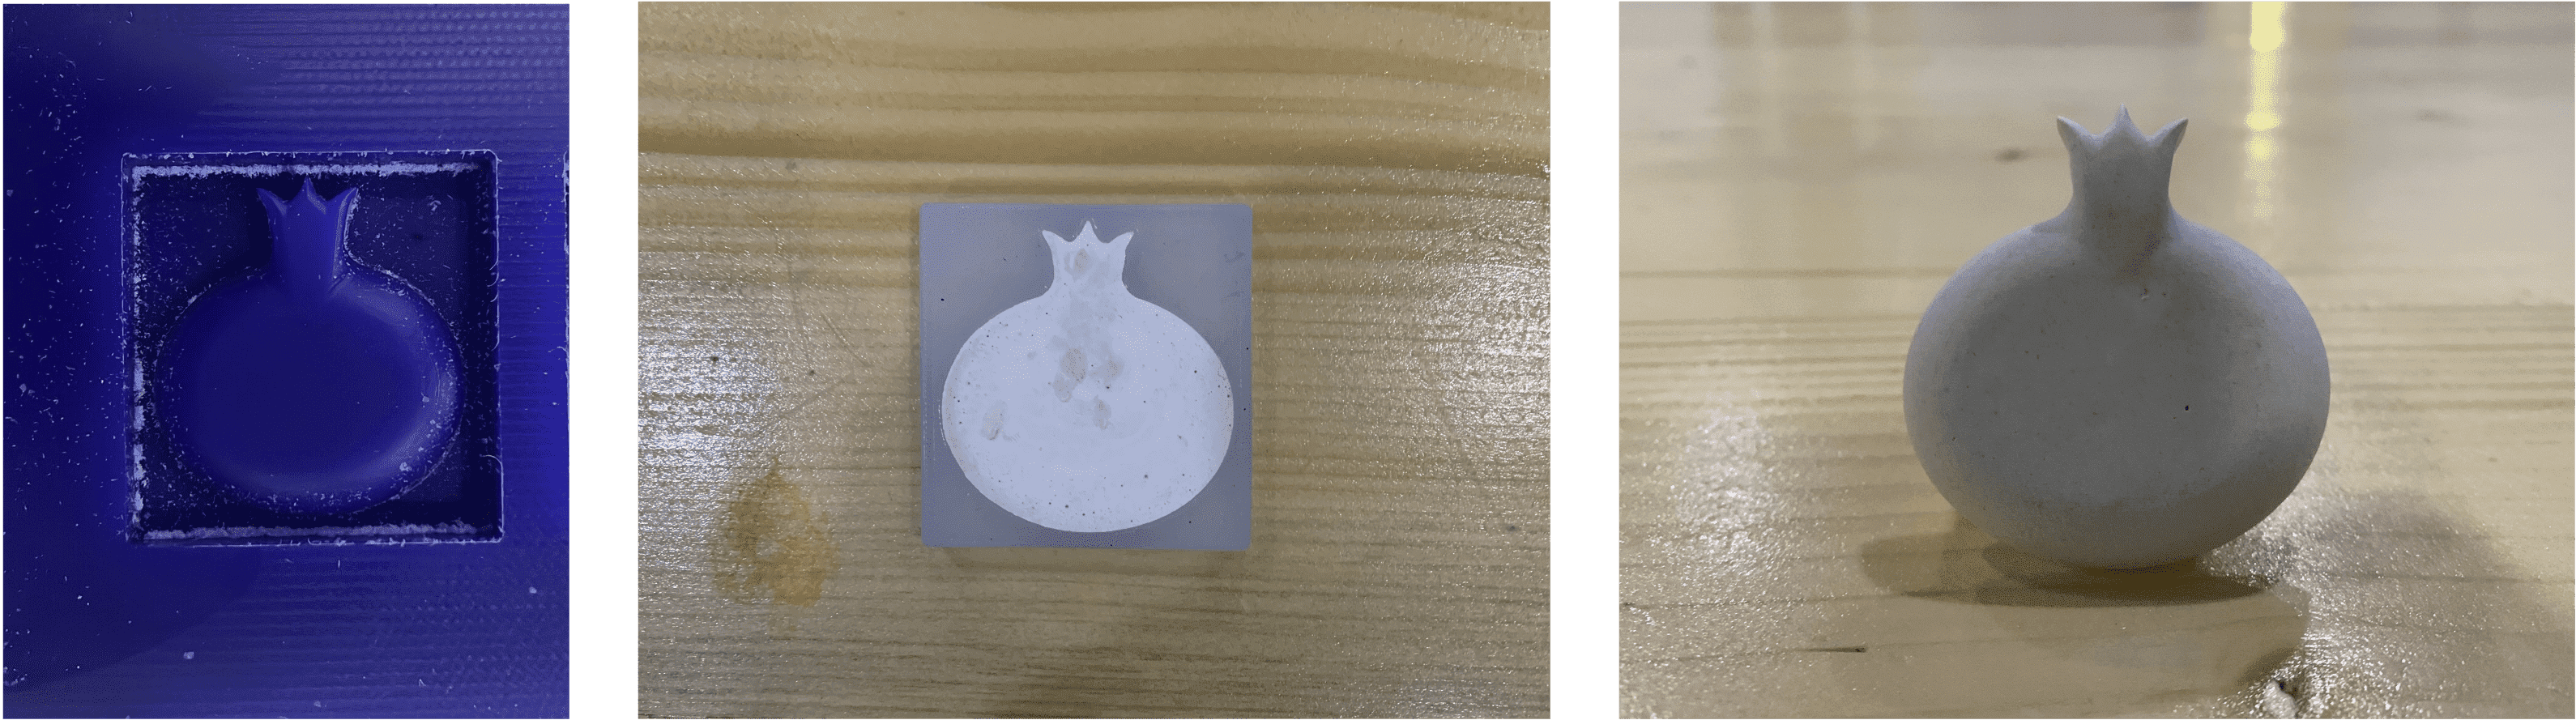
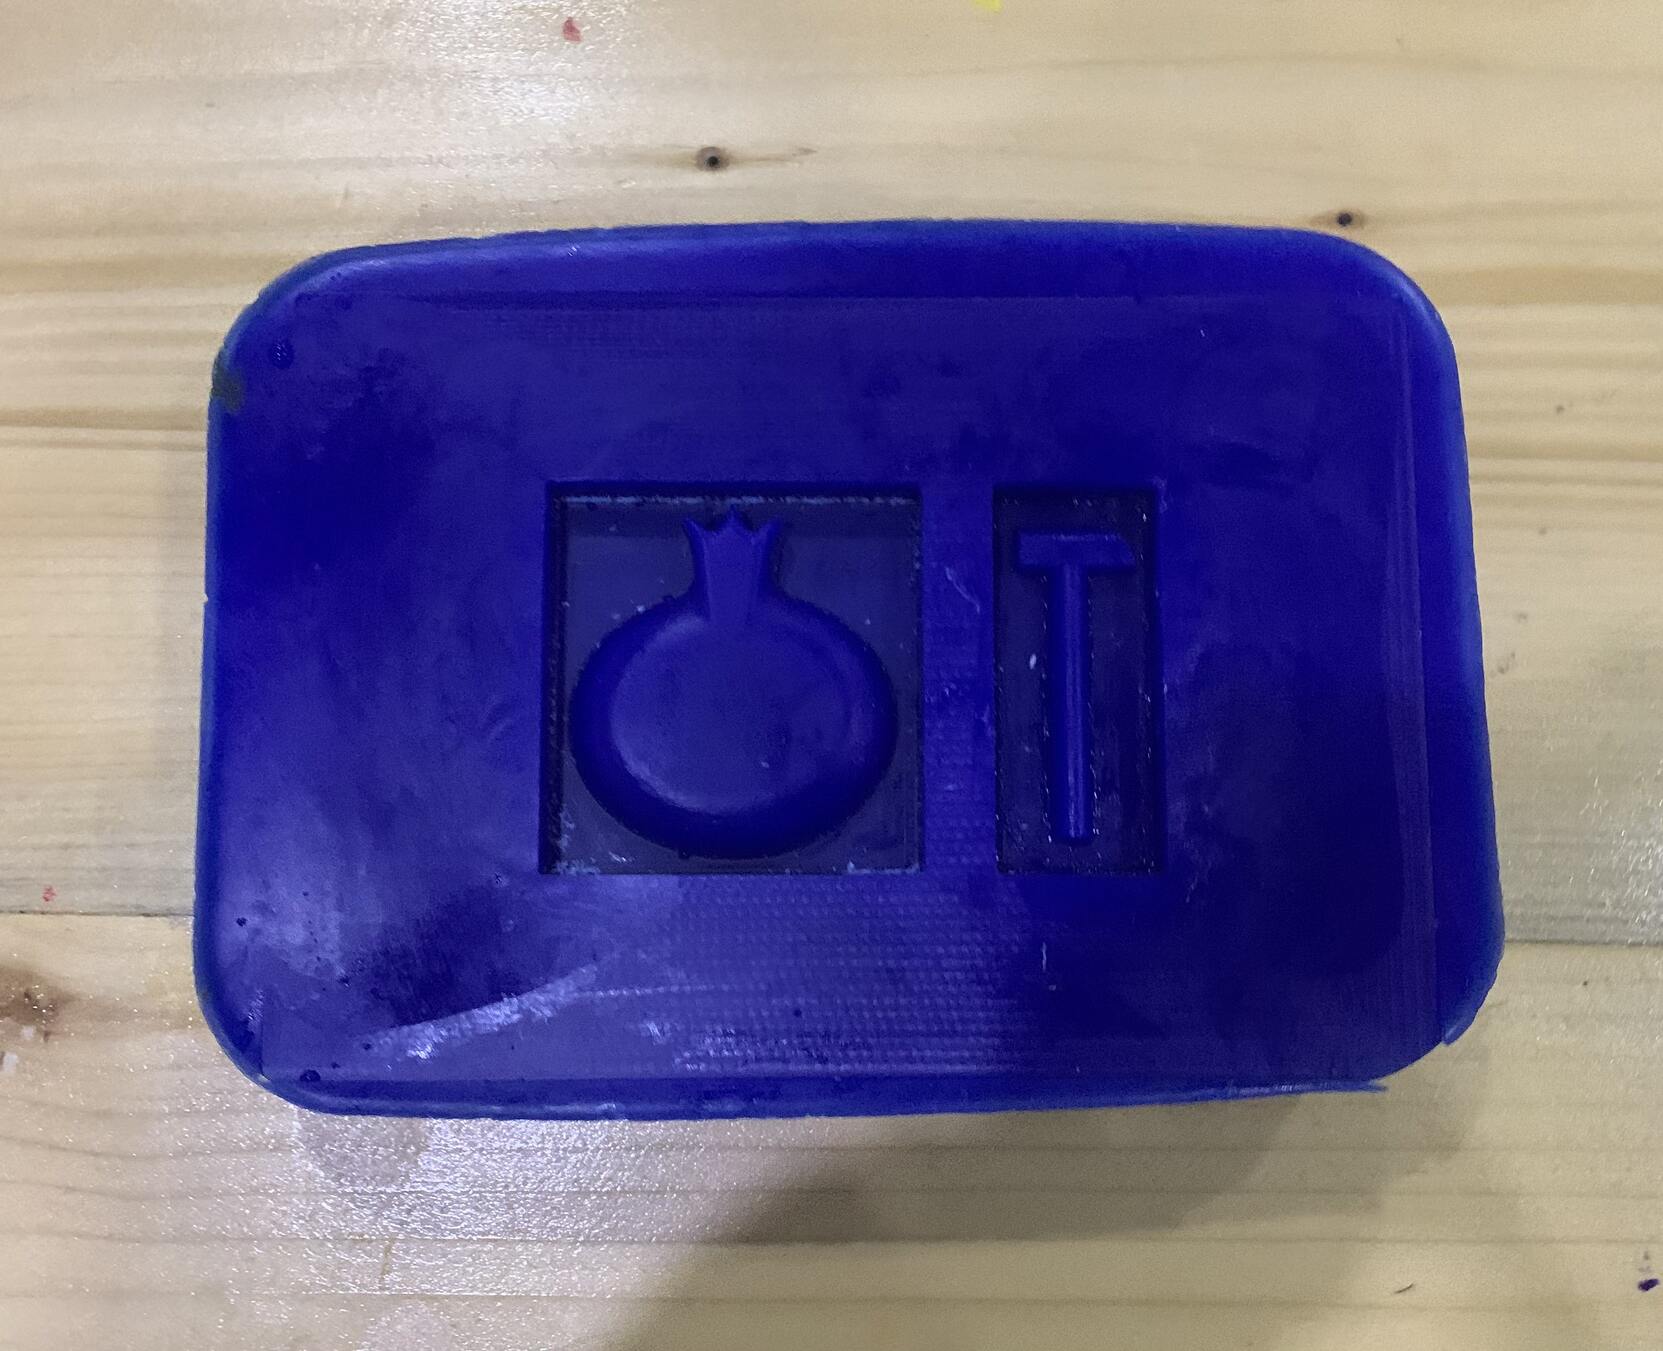
This is the result of milling.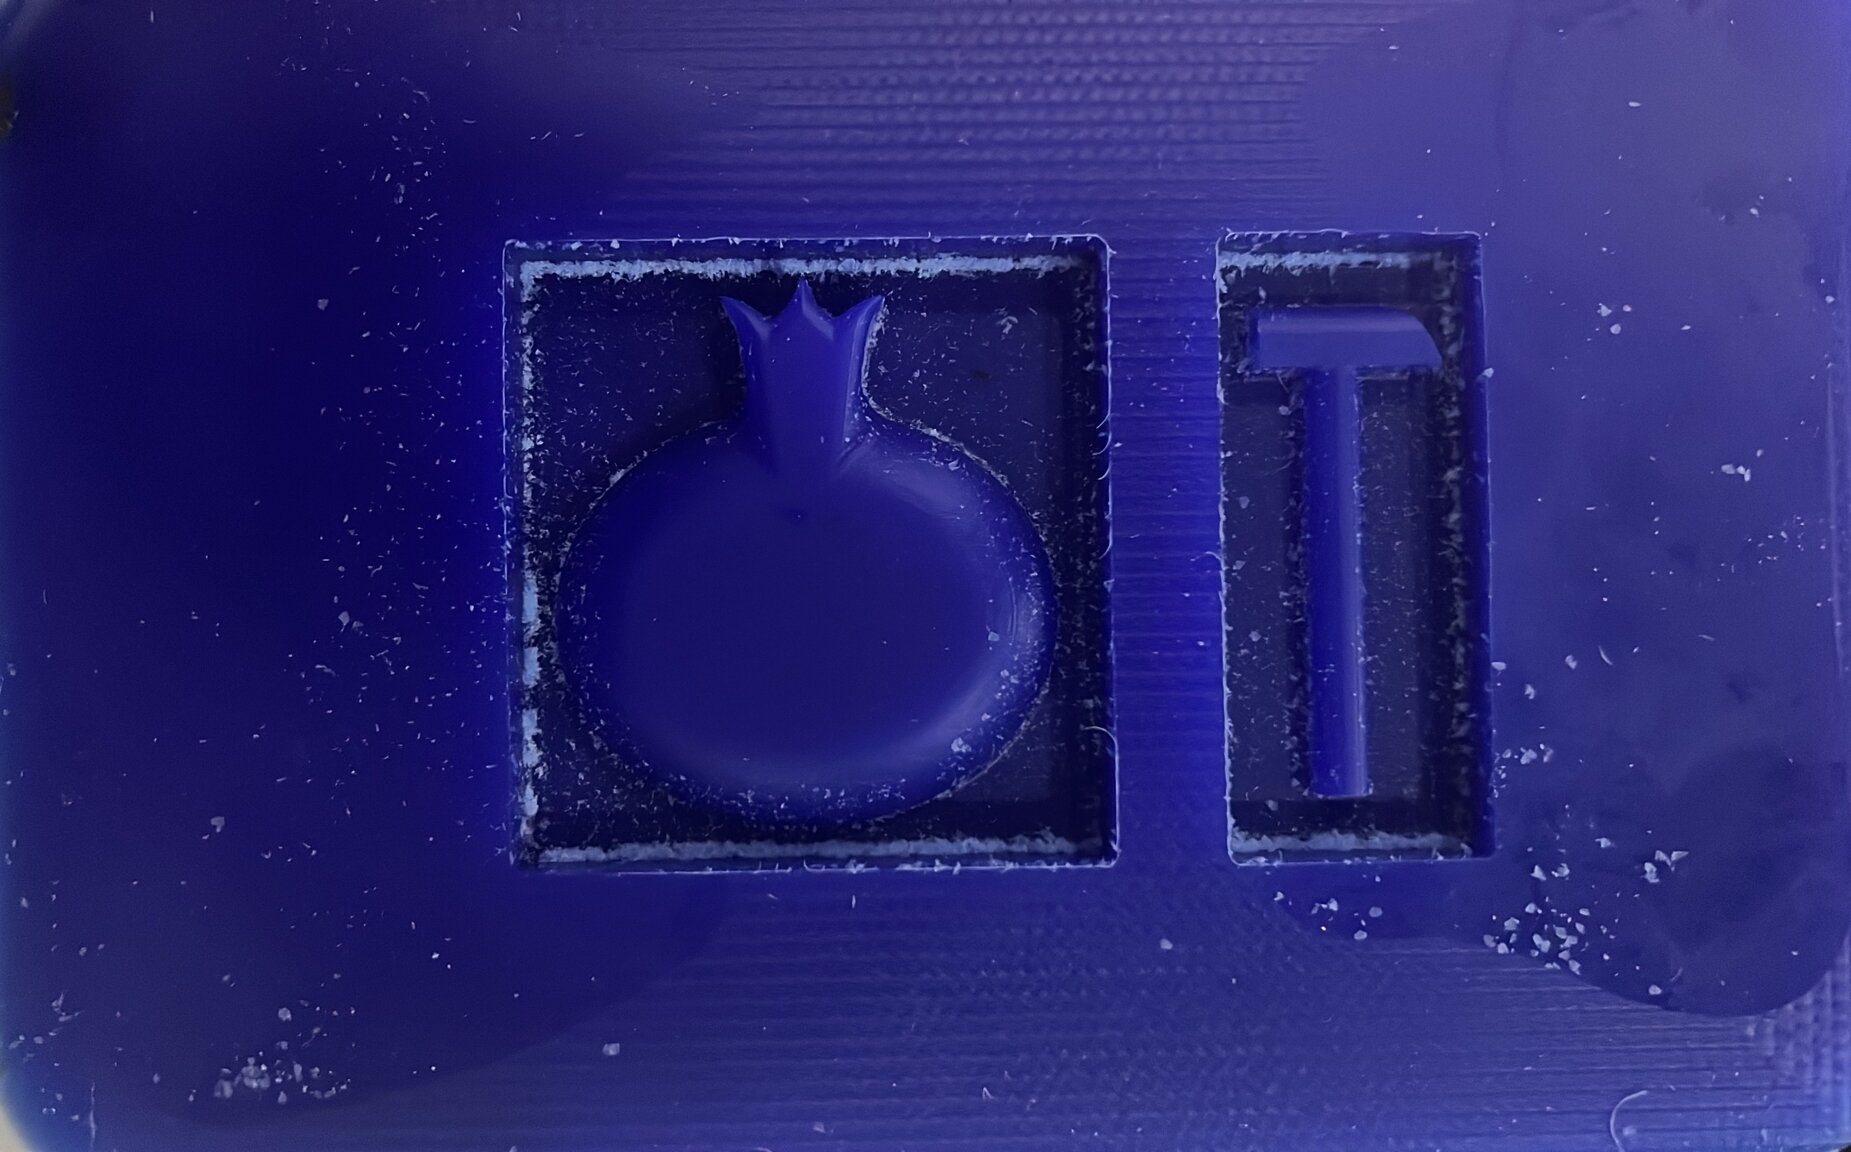
Using The Mold
- Step 1, make sure your mould is clean of any remaining dust
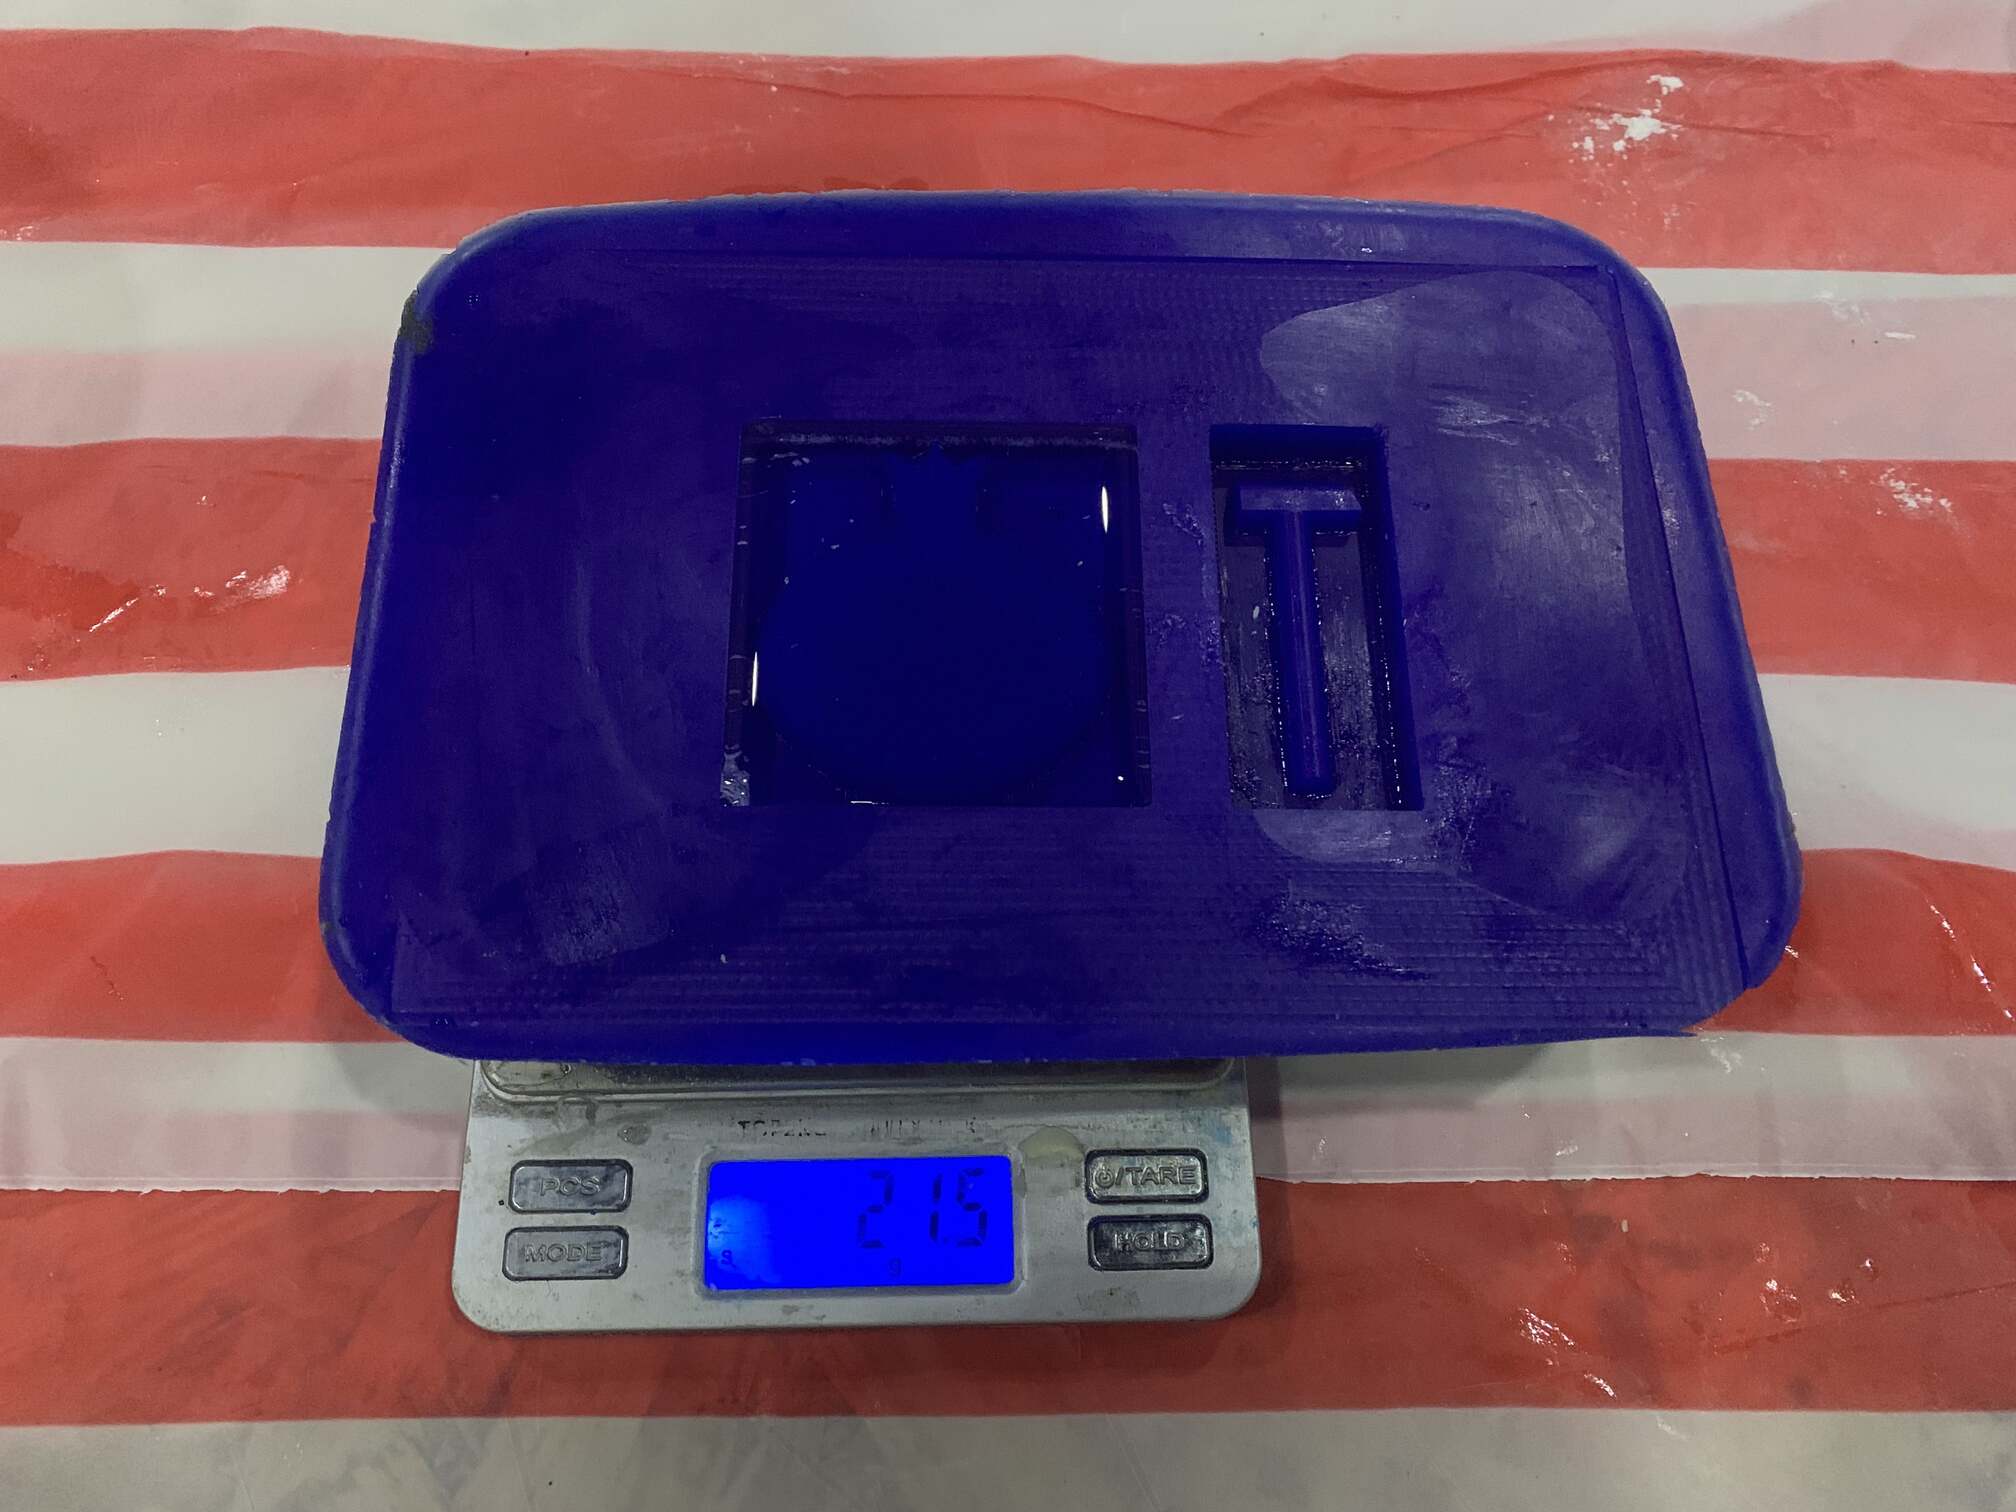
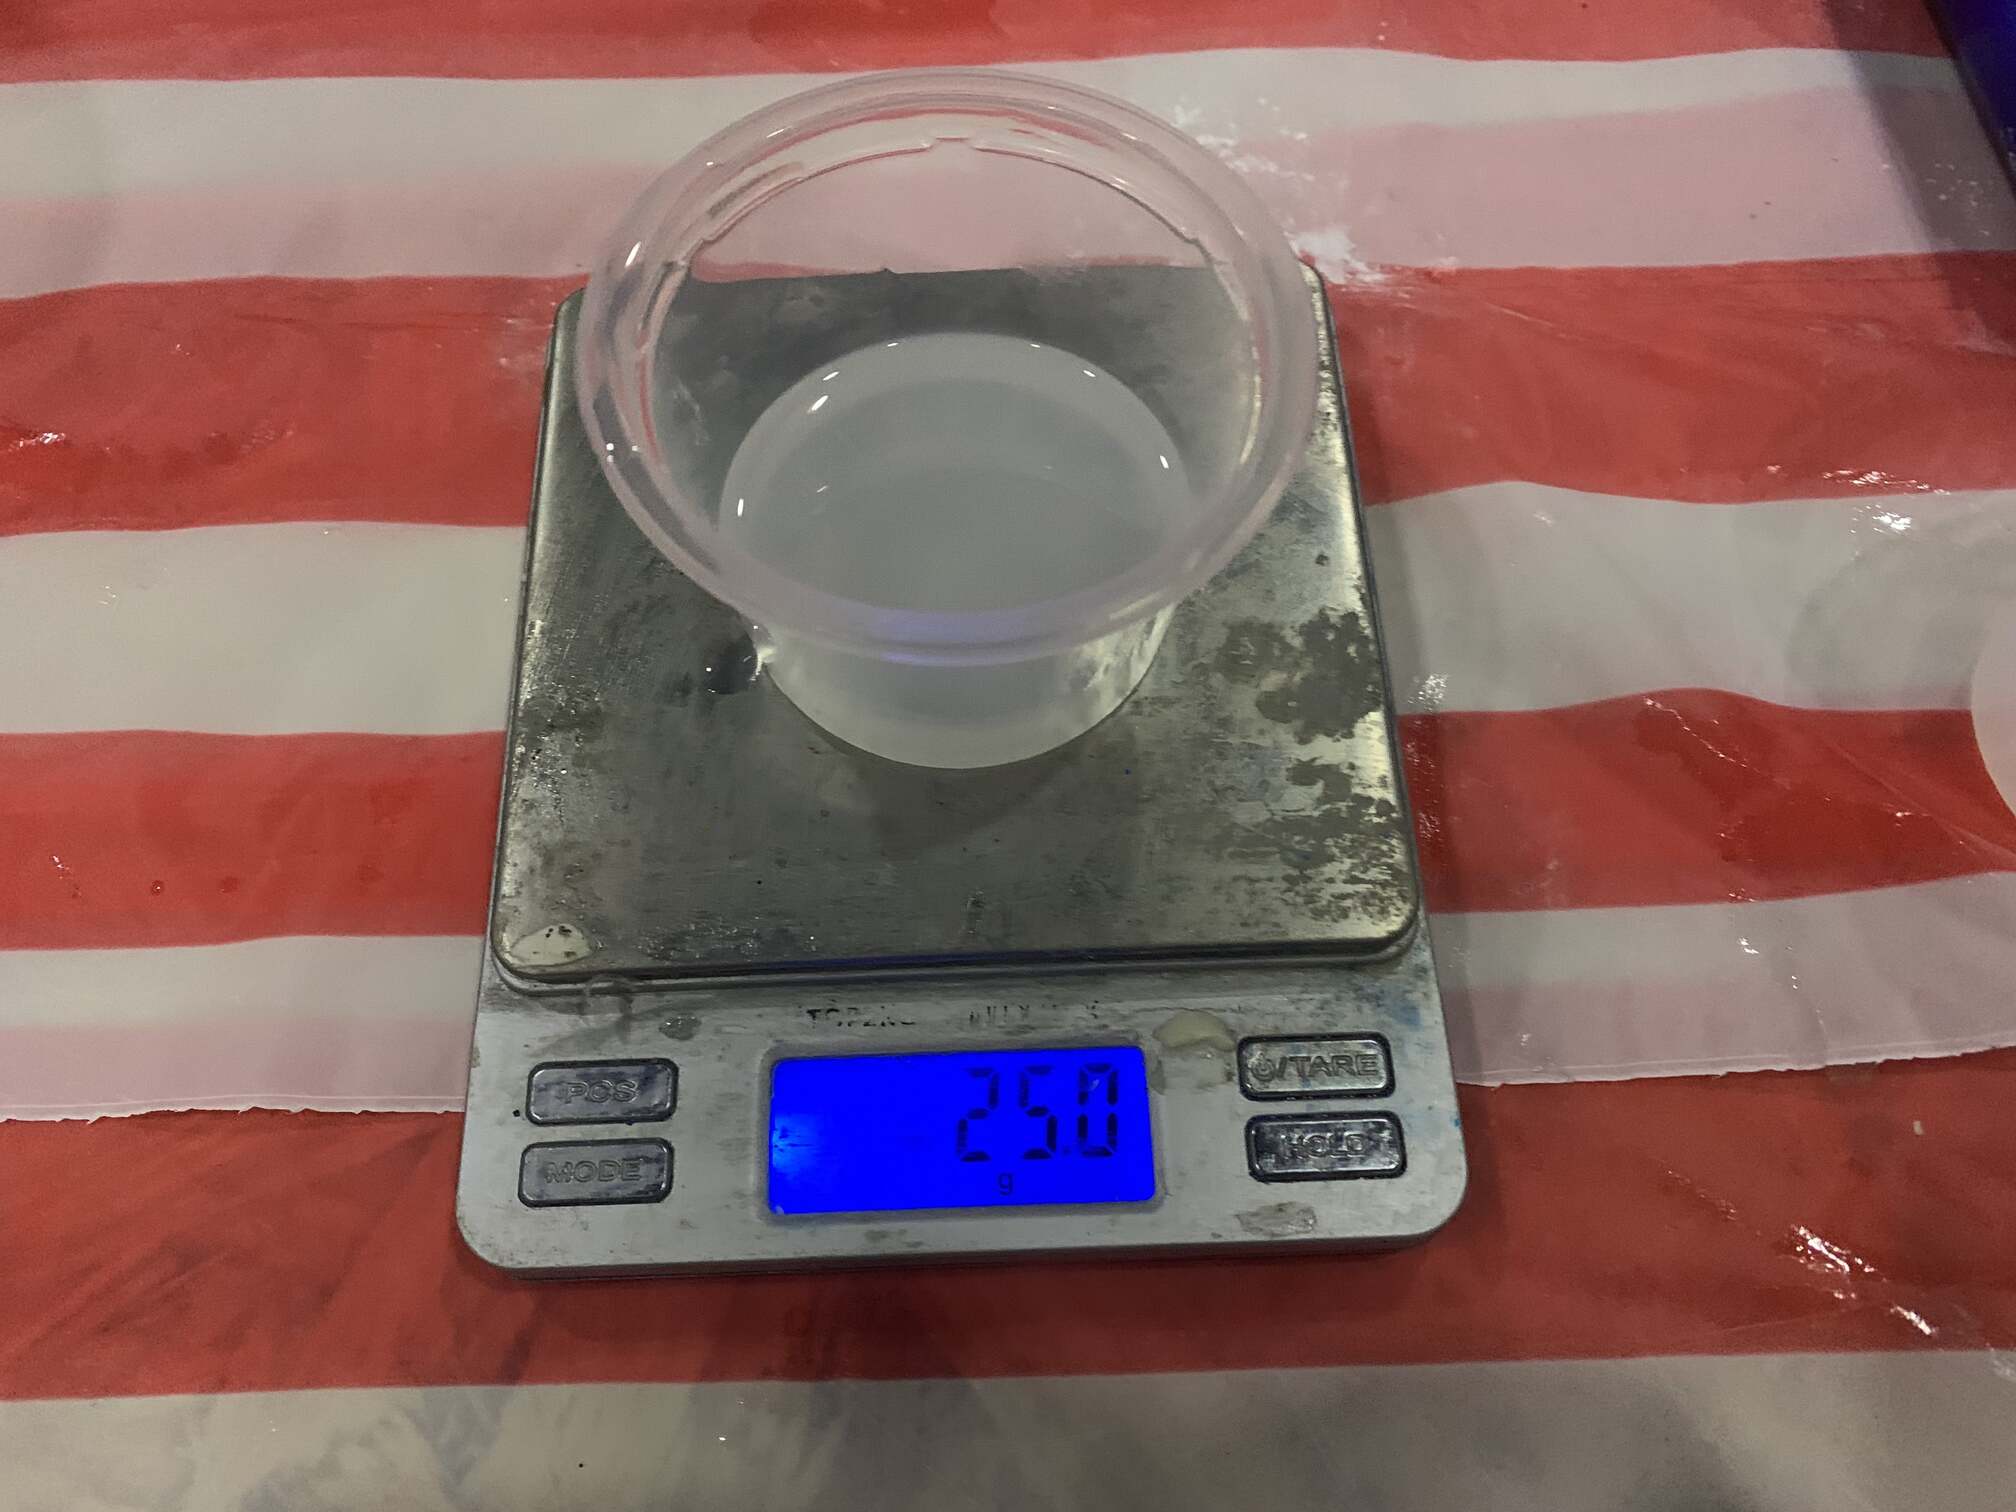
- Step 2, use the scale, and make it zero
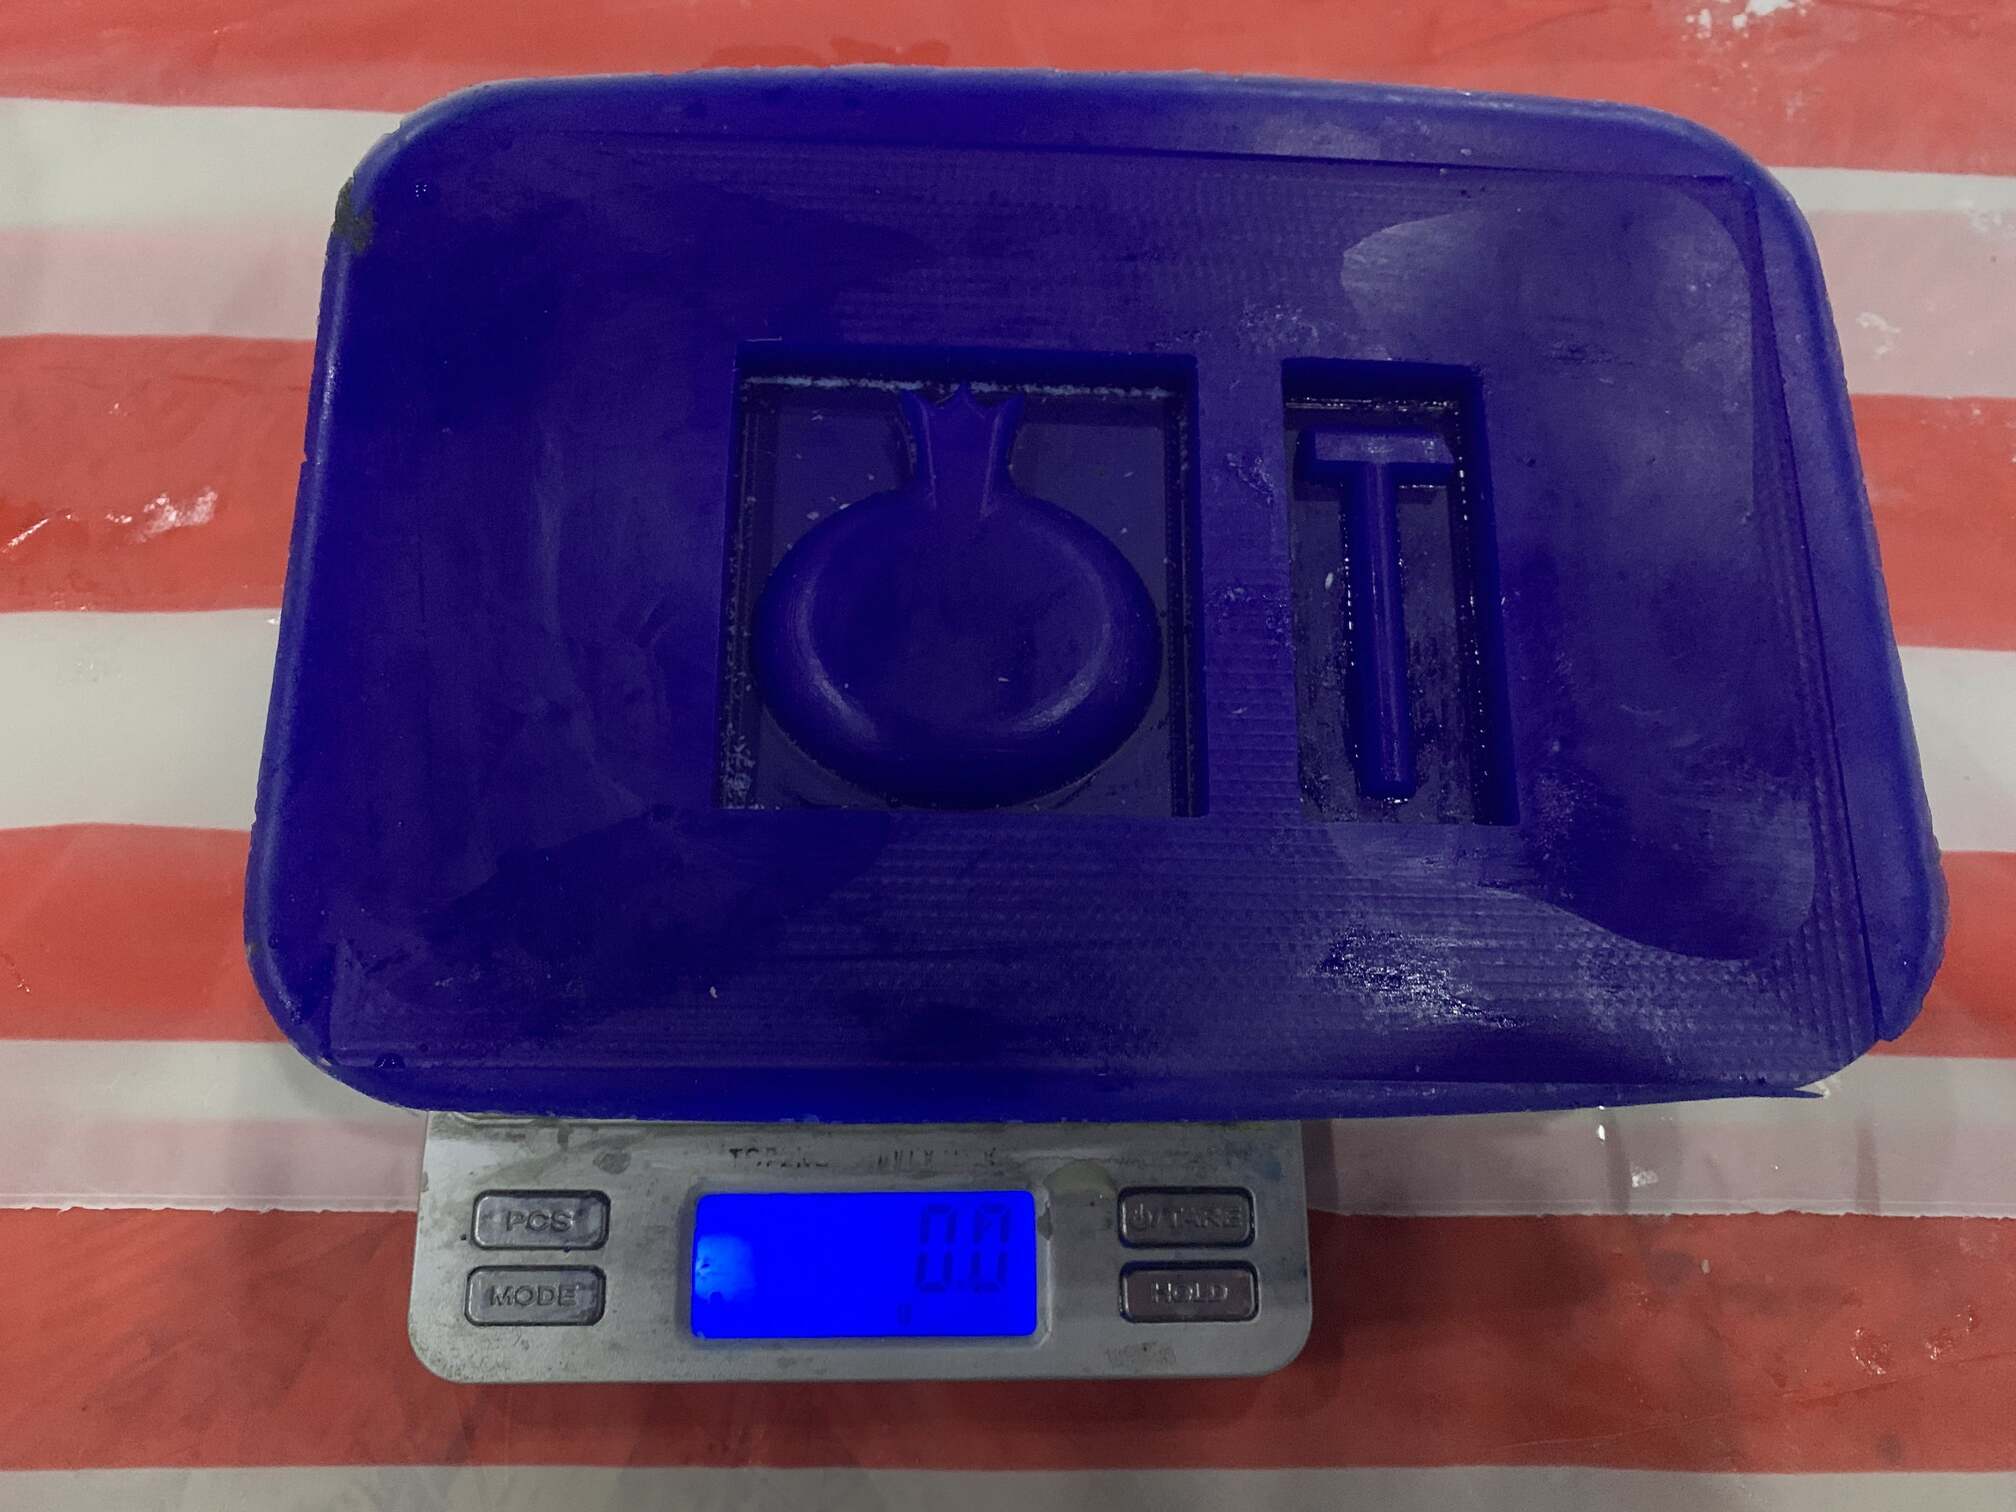
- Step 3, pour in water
- Step 4, the water weight tured to be almost 22 g, this means that we need almost 22 g of silicone to make the mould. NOTE: make sure to dry the mould before using it
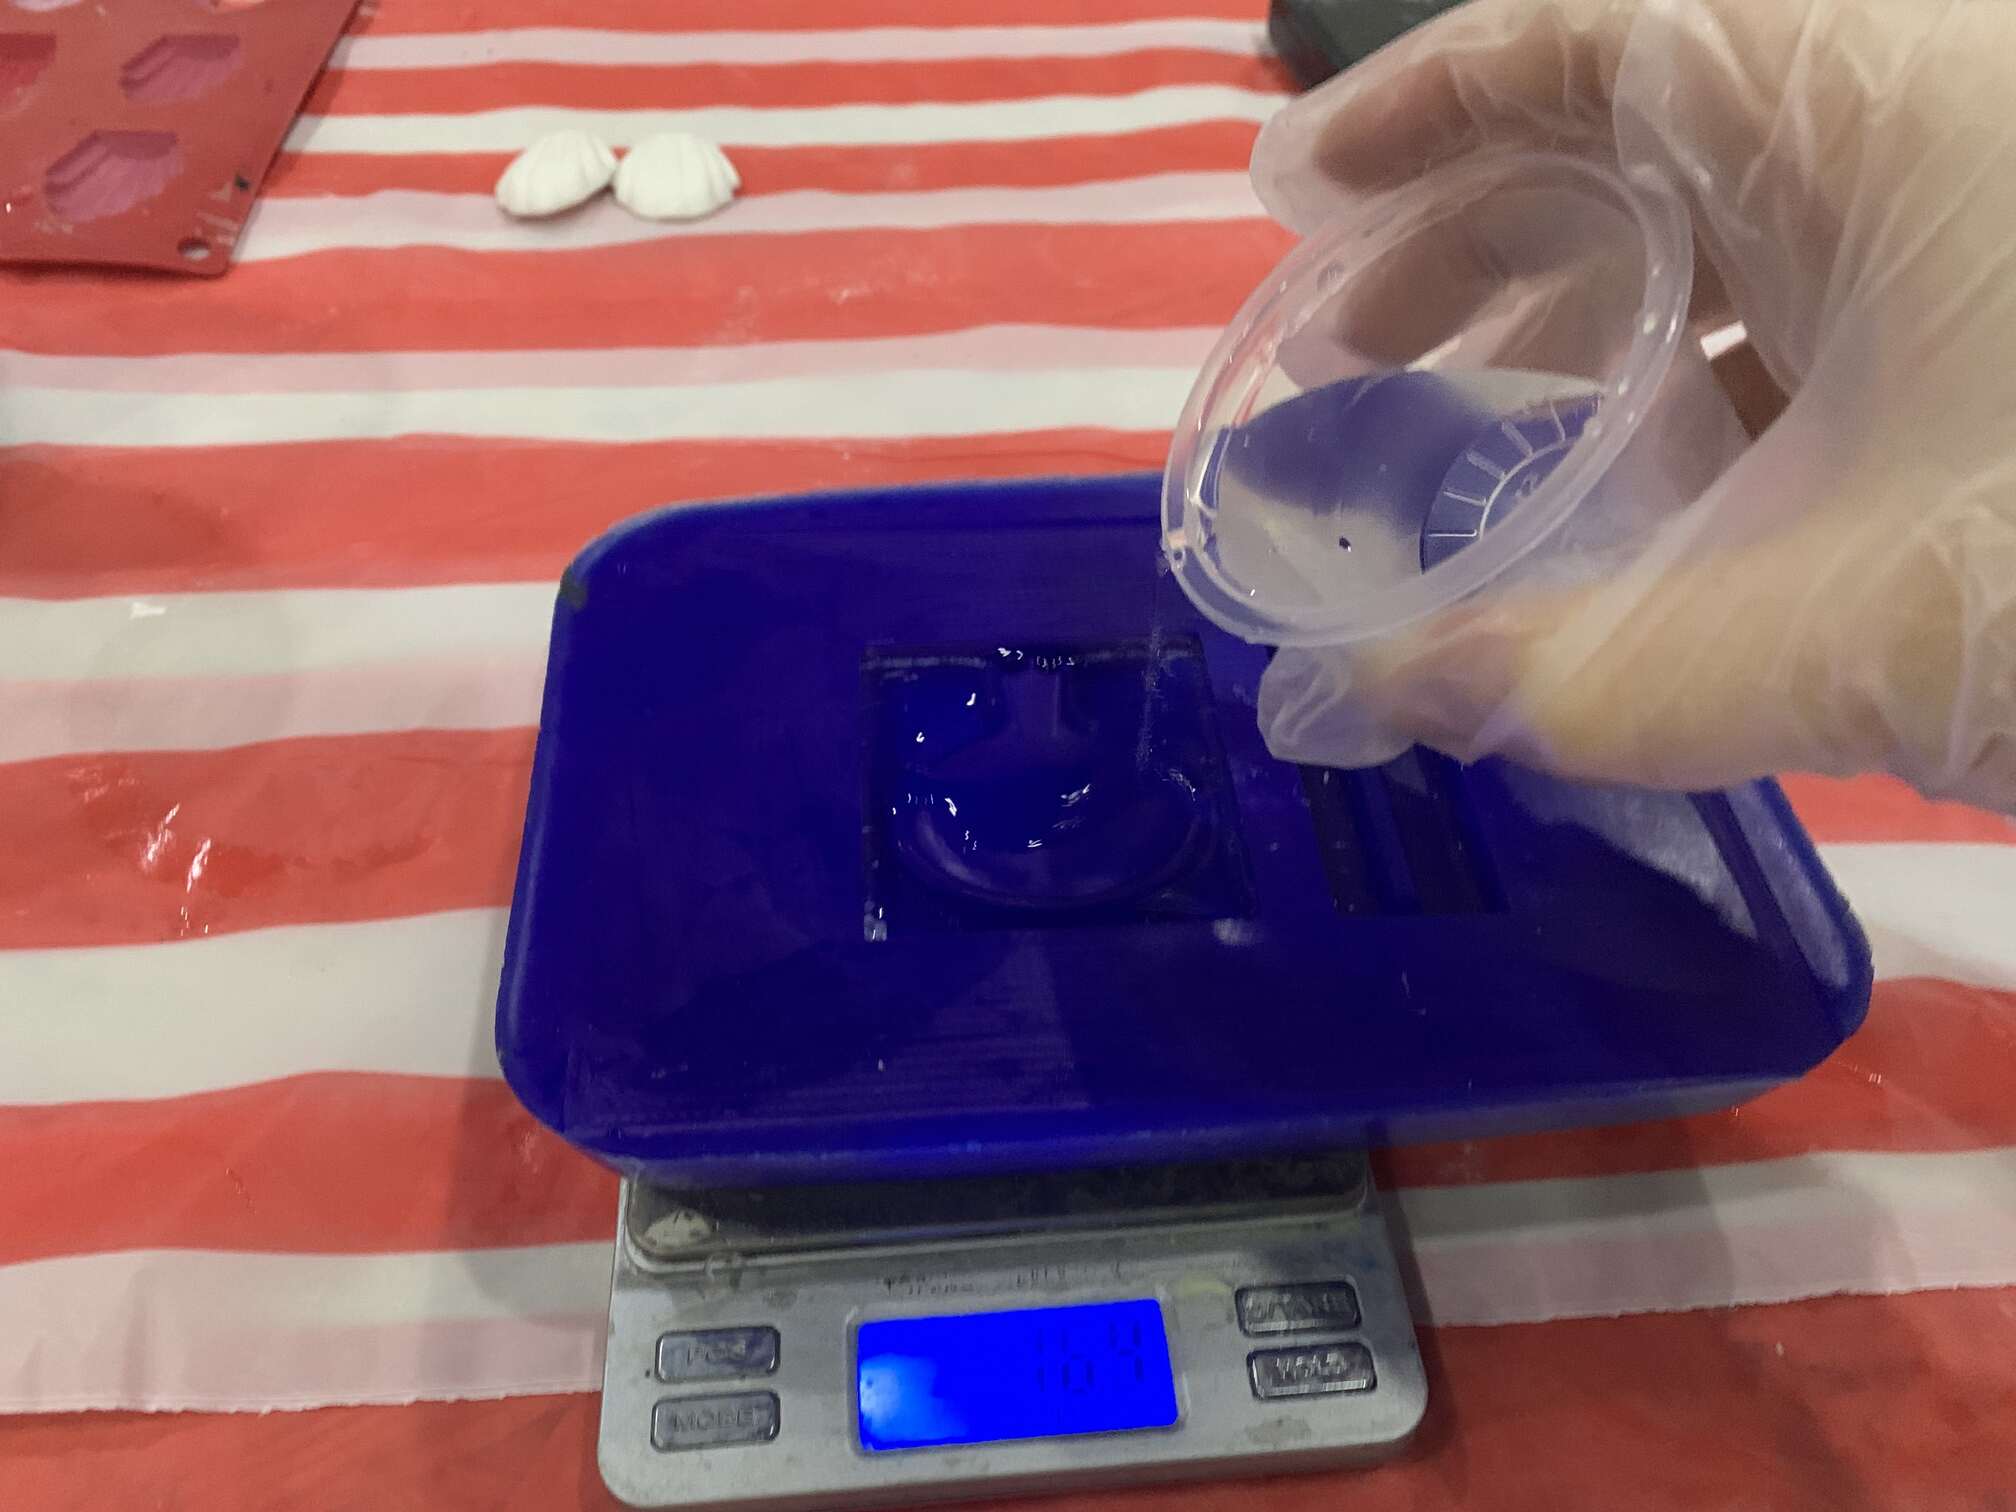
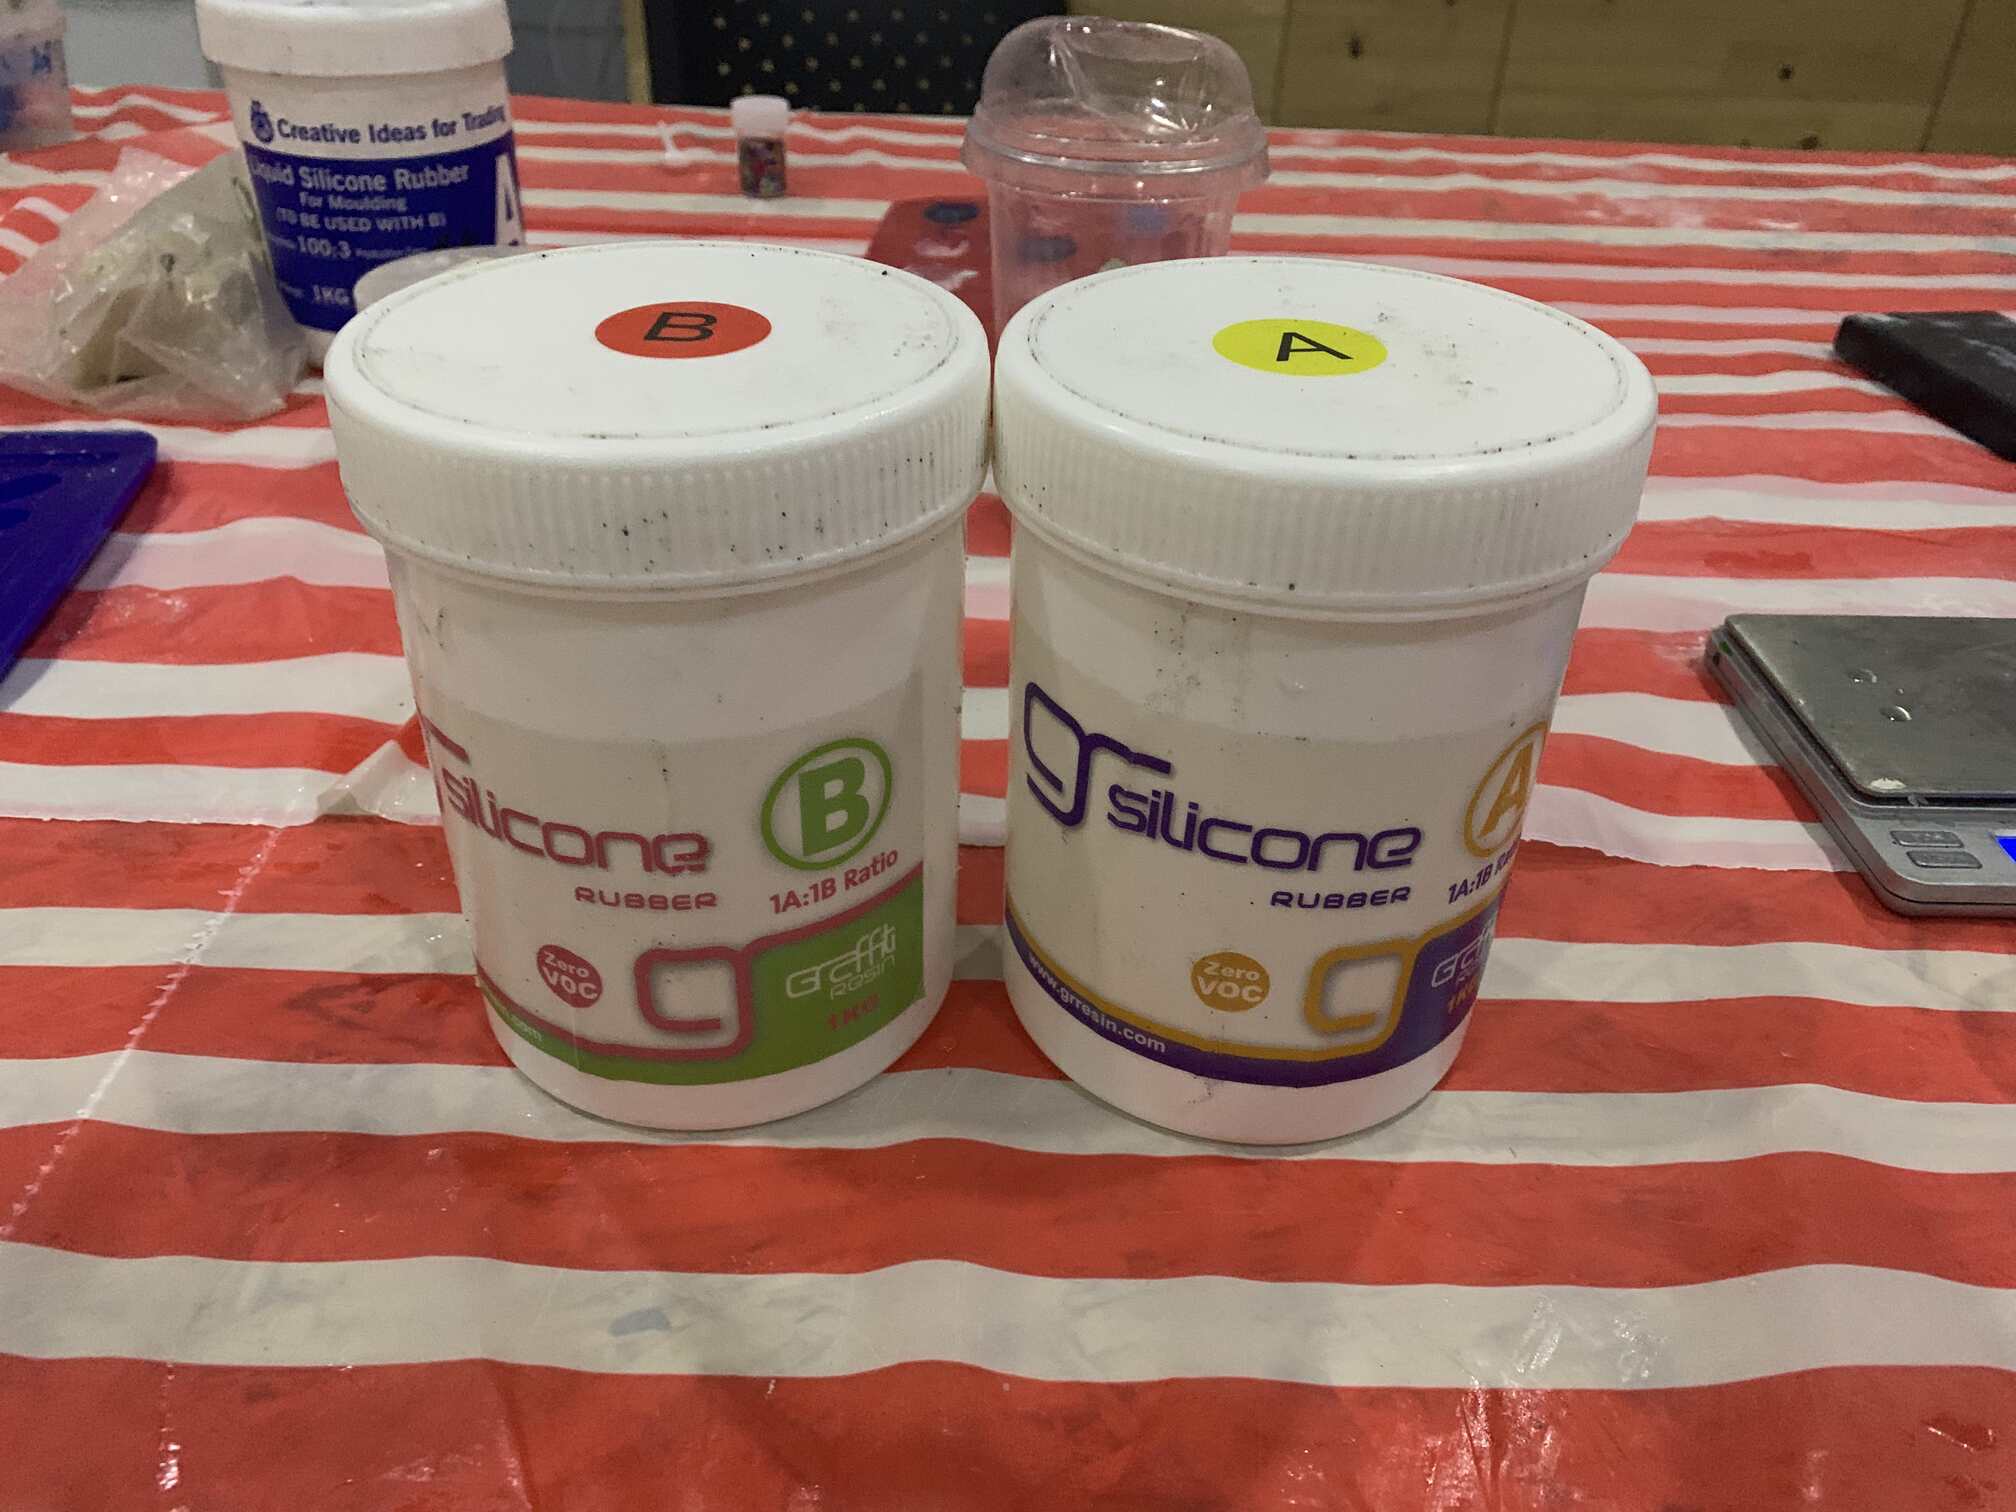
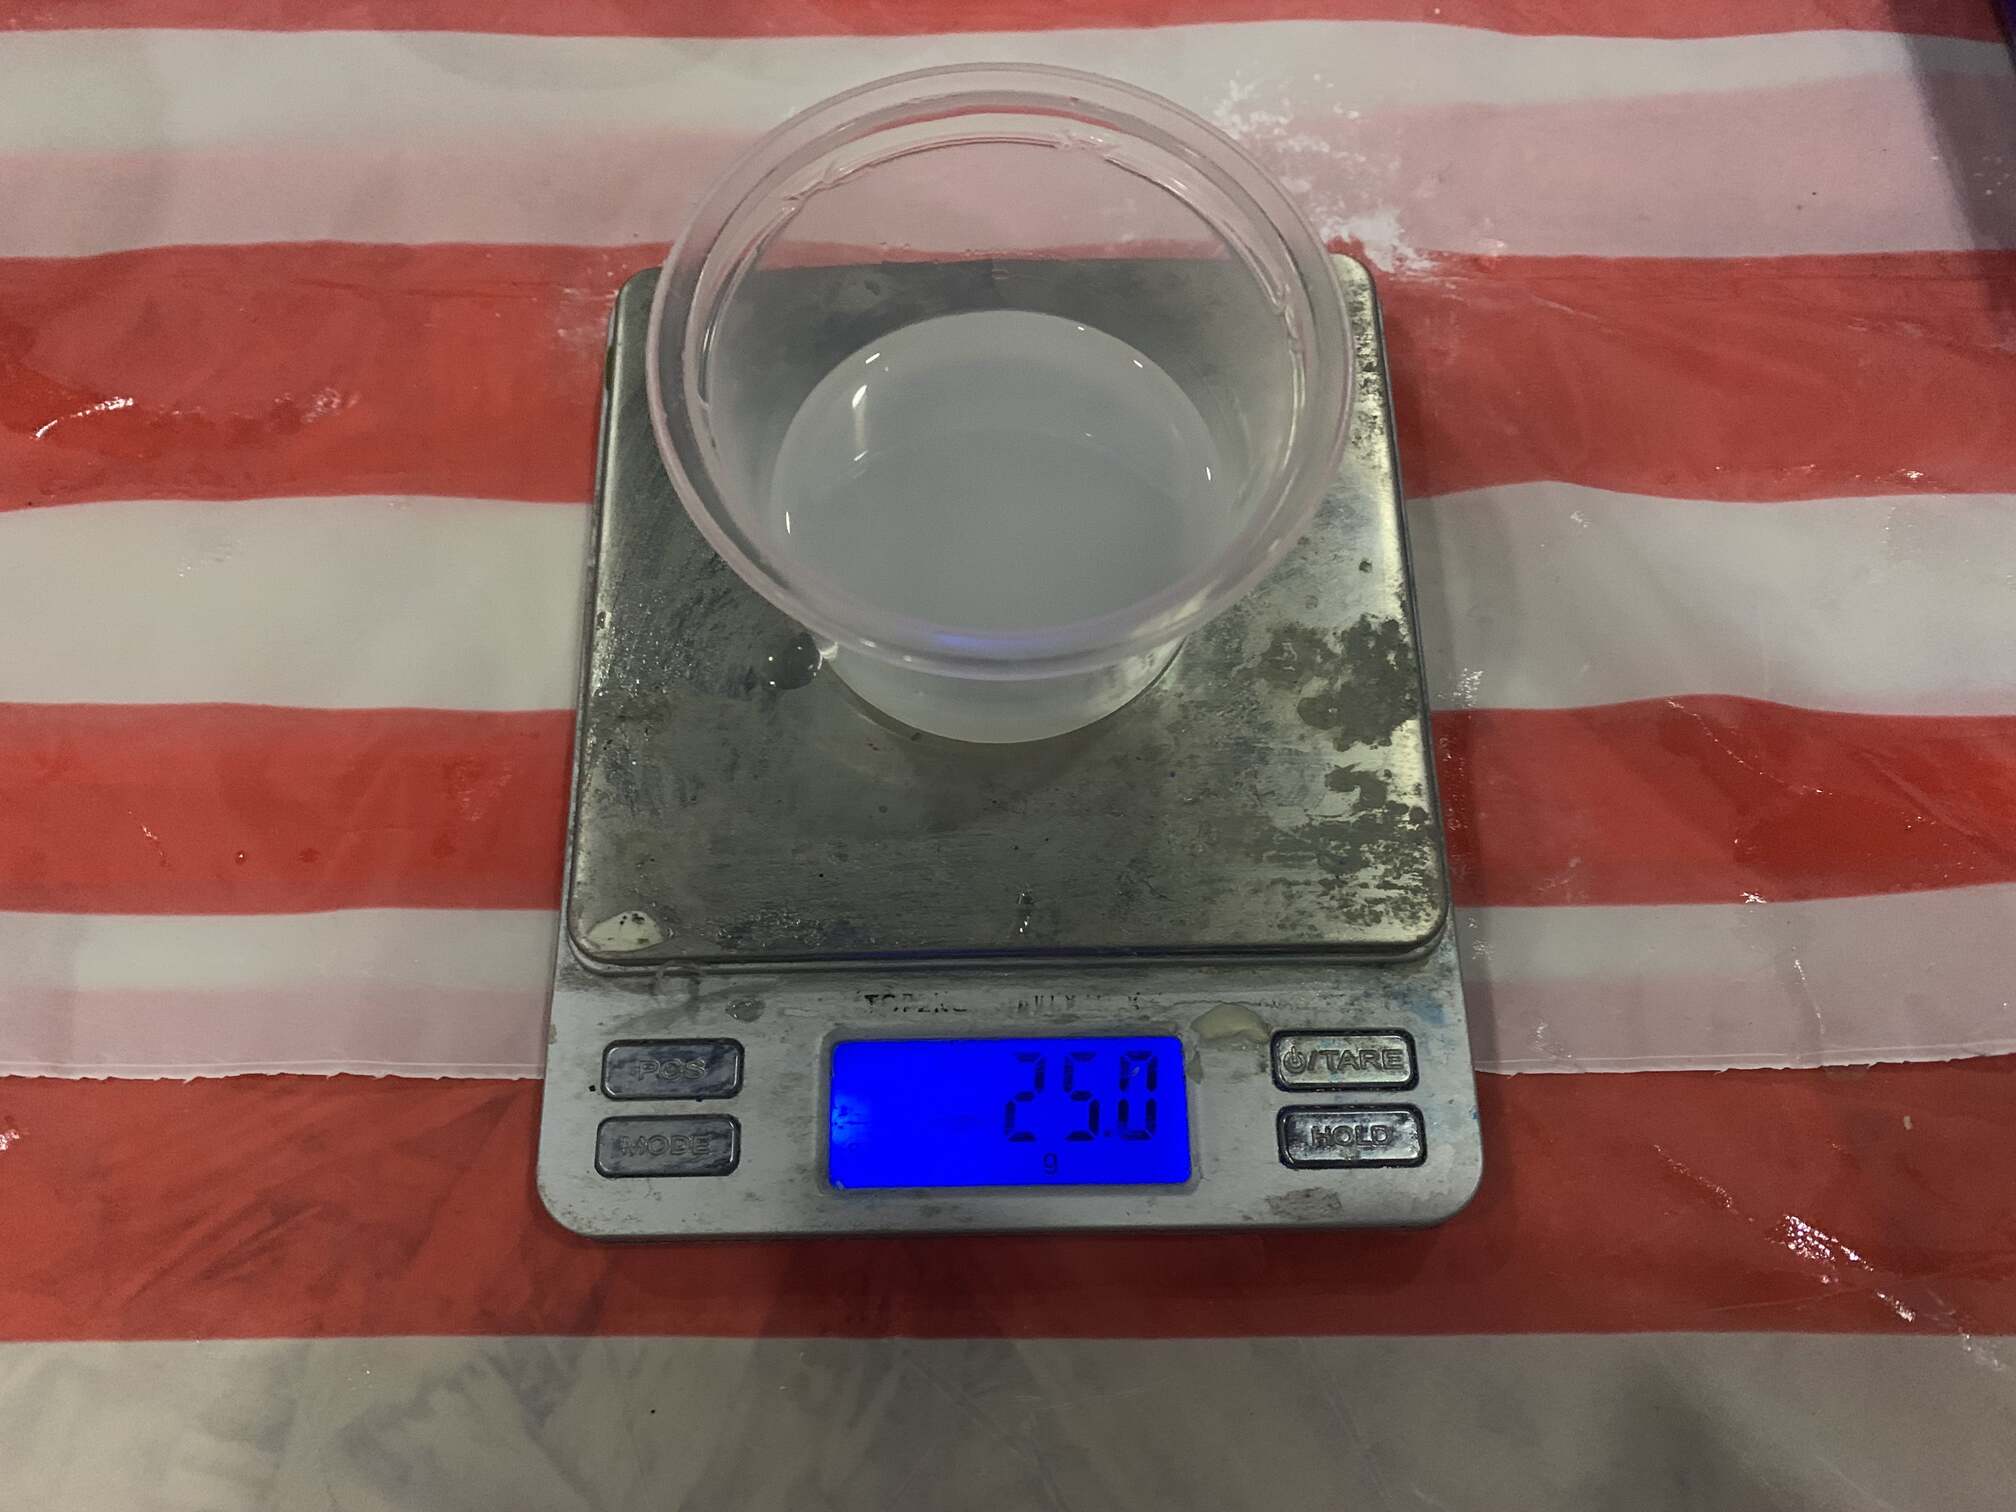
- Step 5, using Silicone Rubber, we need equal amount of A and B, I took 25 g of each
- Step 6, mix component A and B and pour into the mould
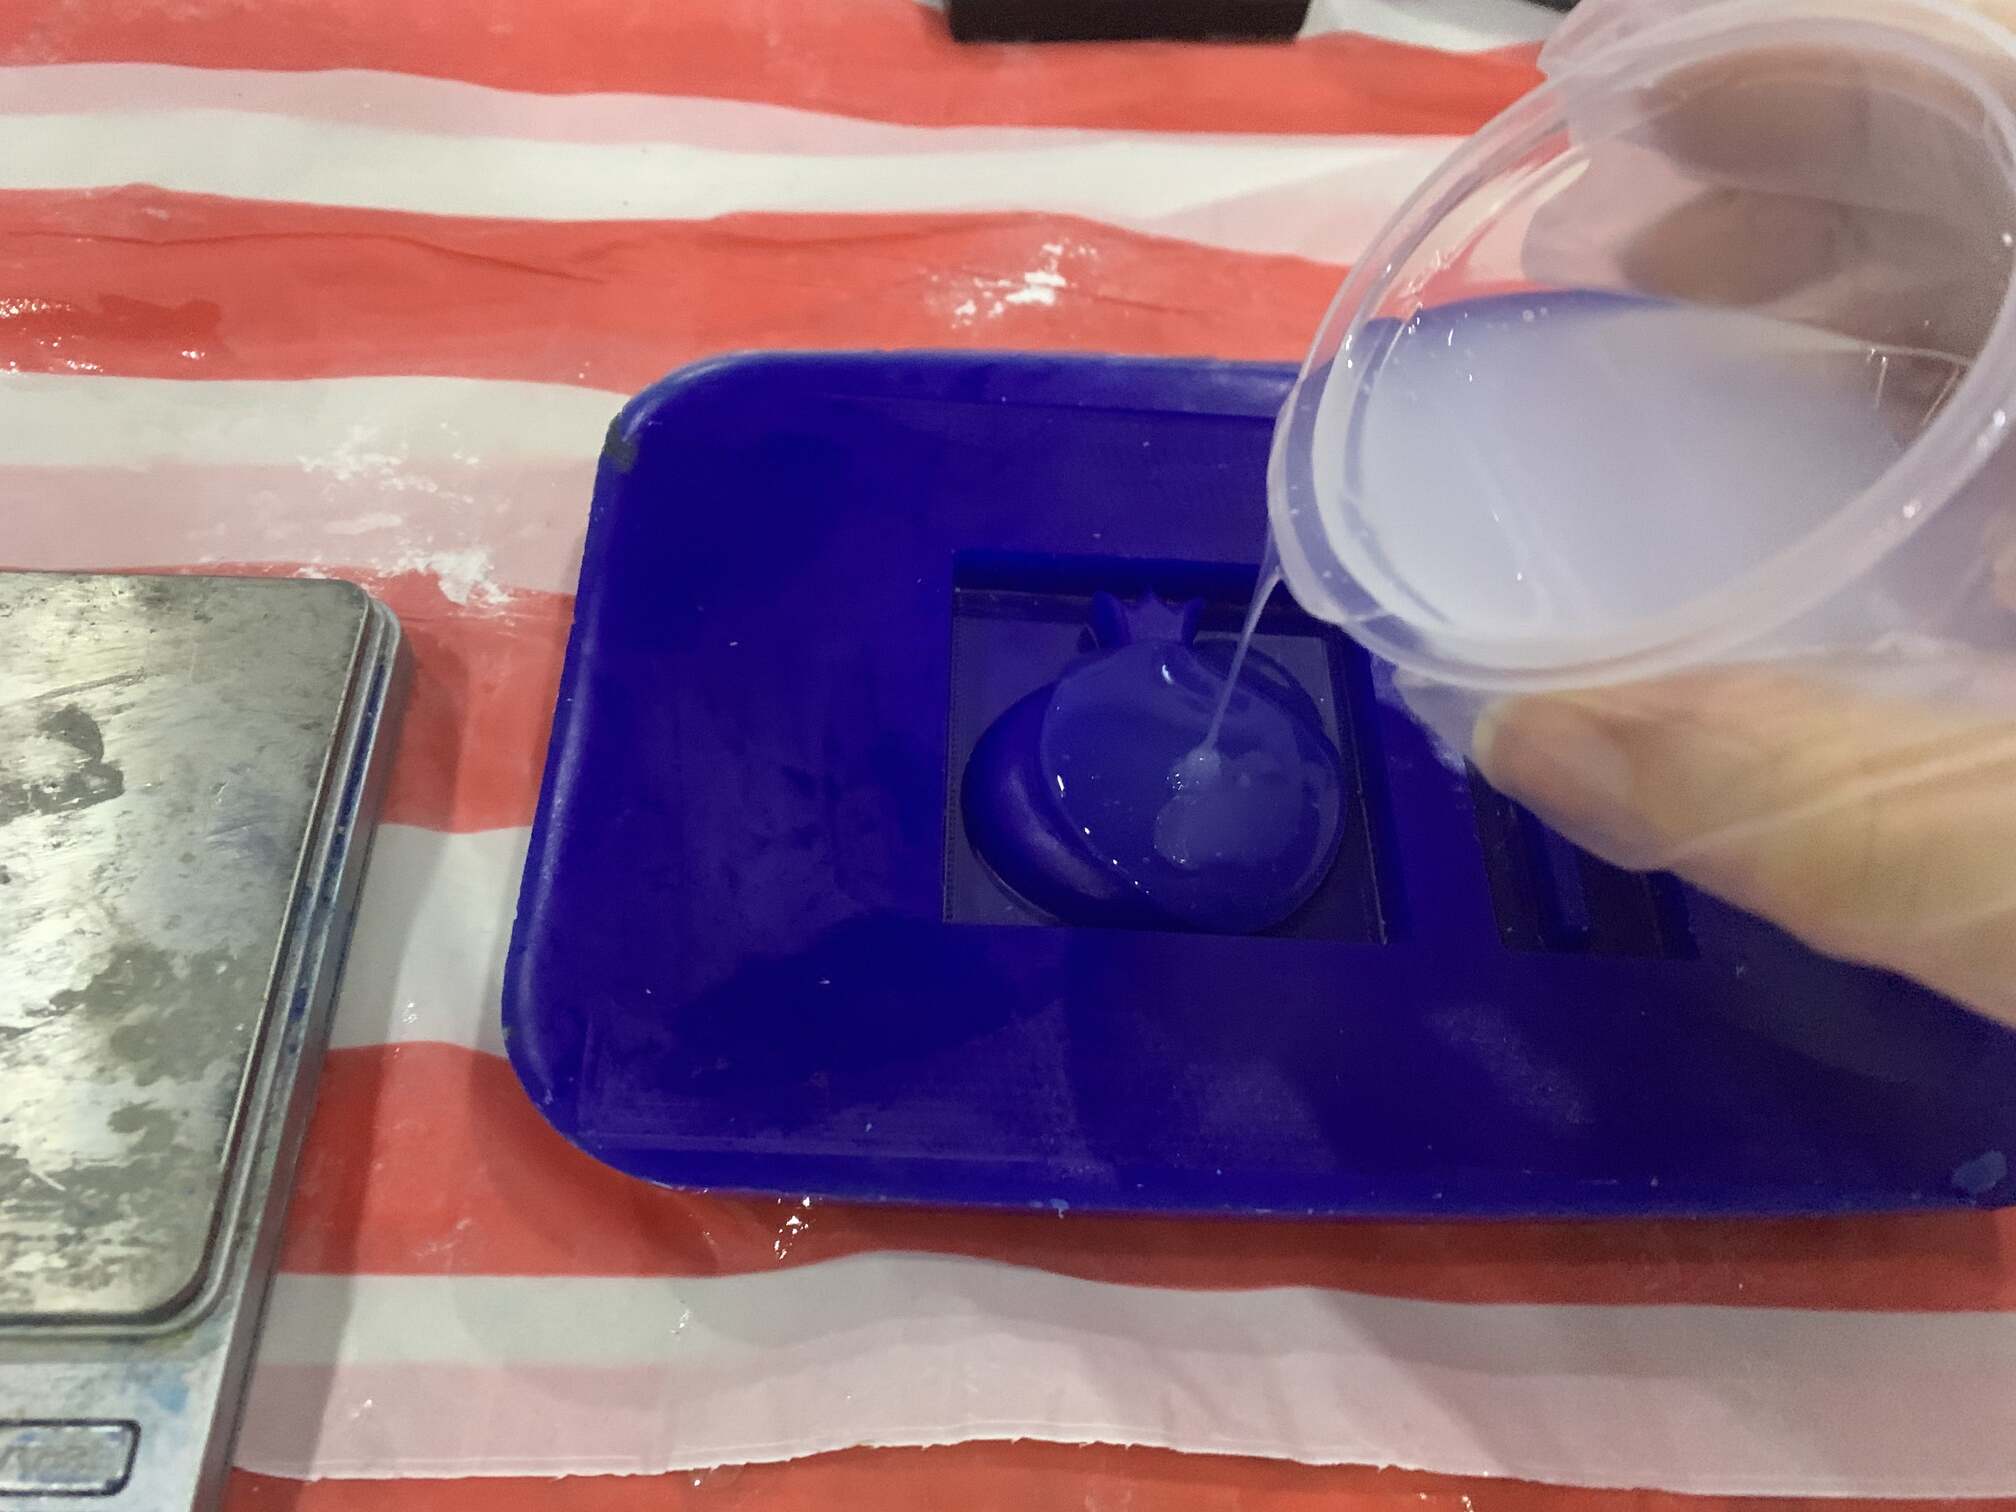
- Step 7, it took almost 24 h to dry
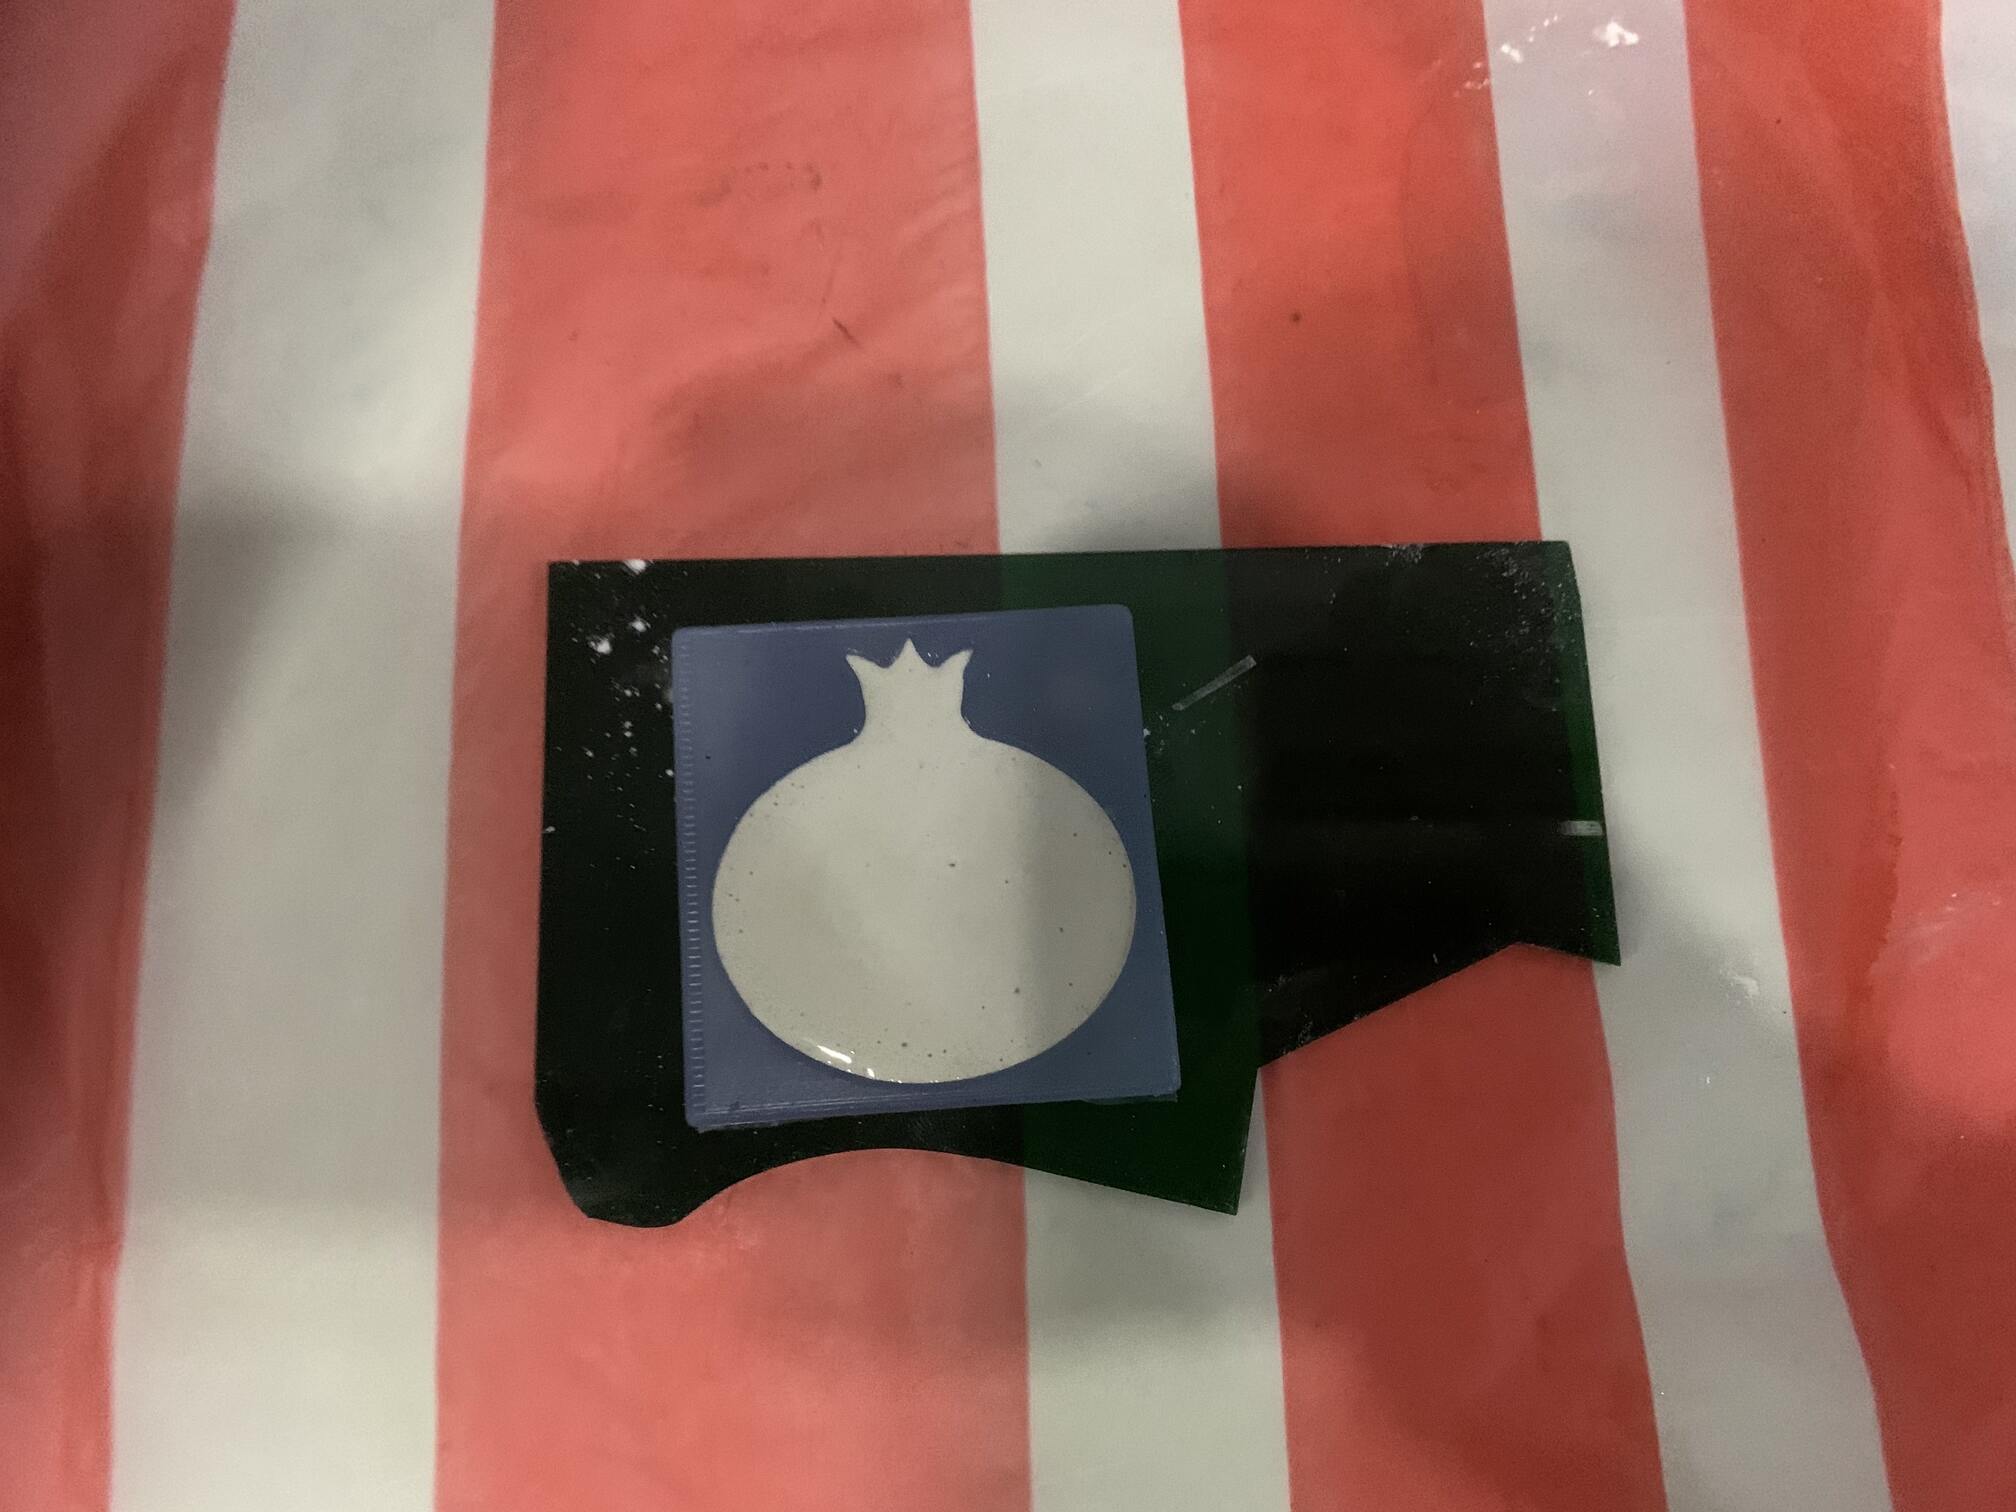
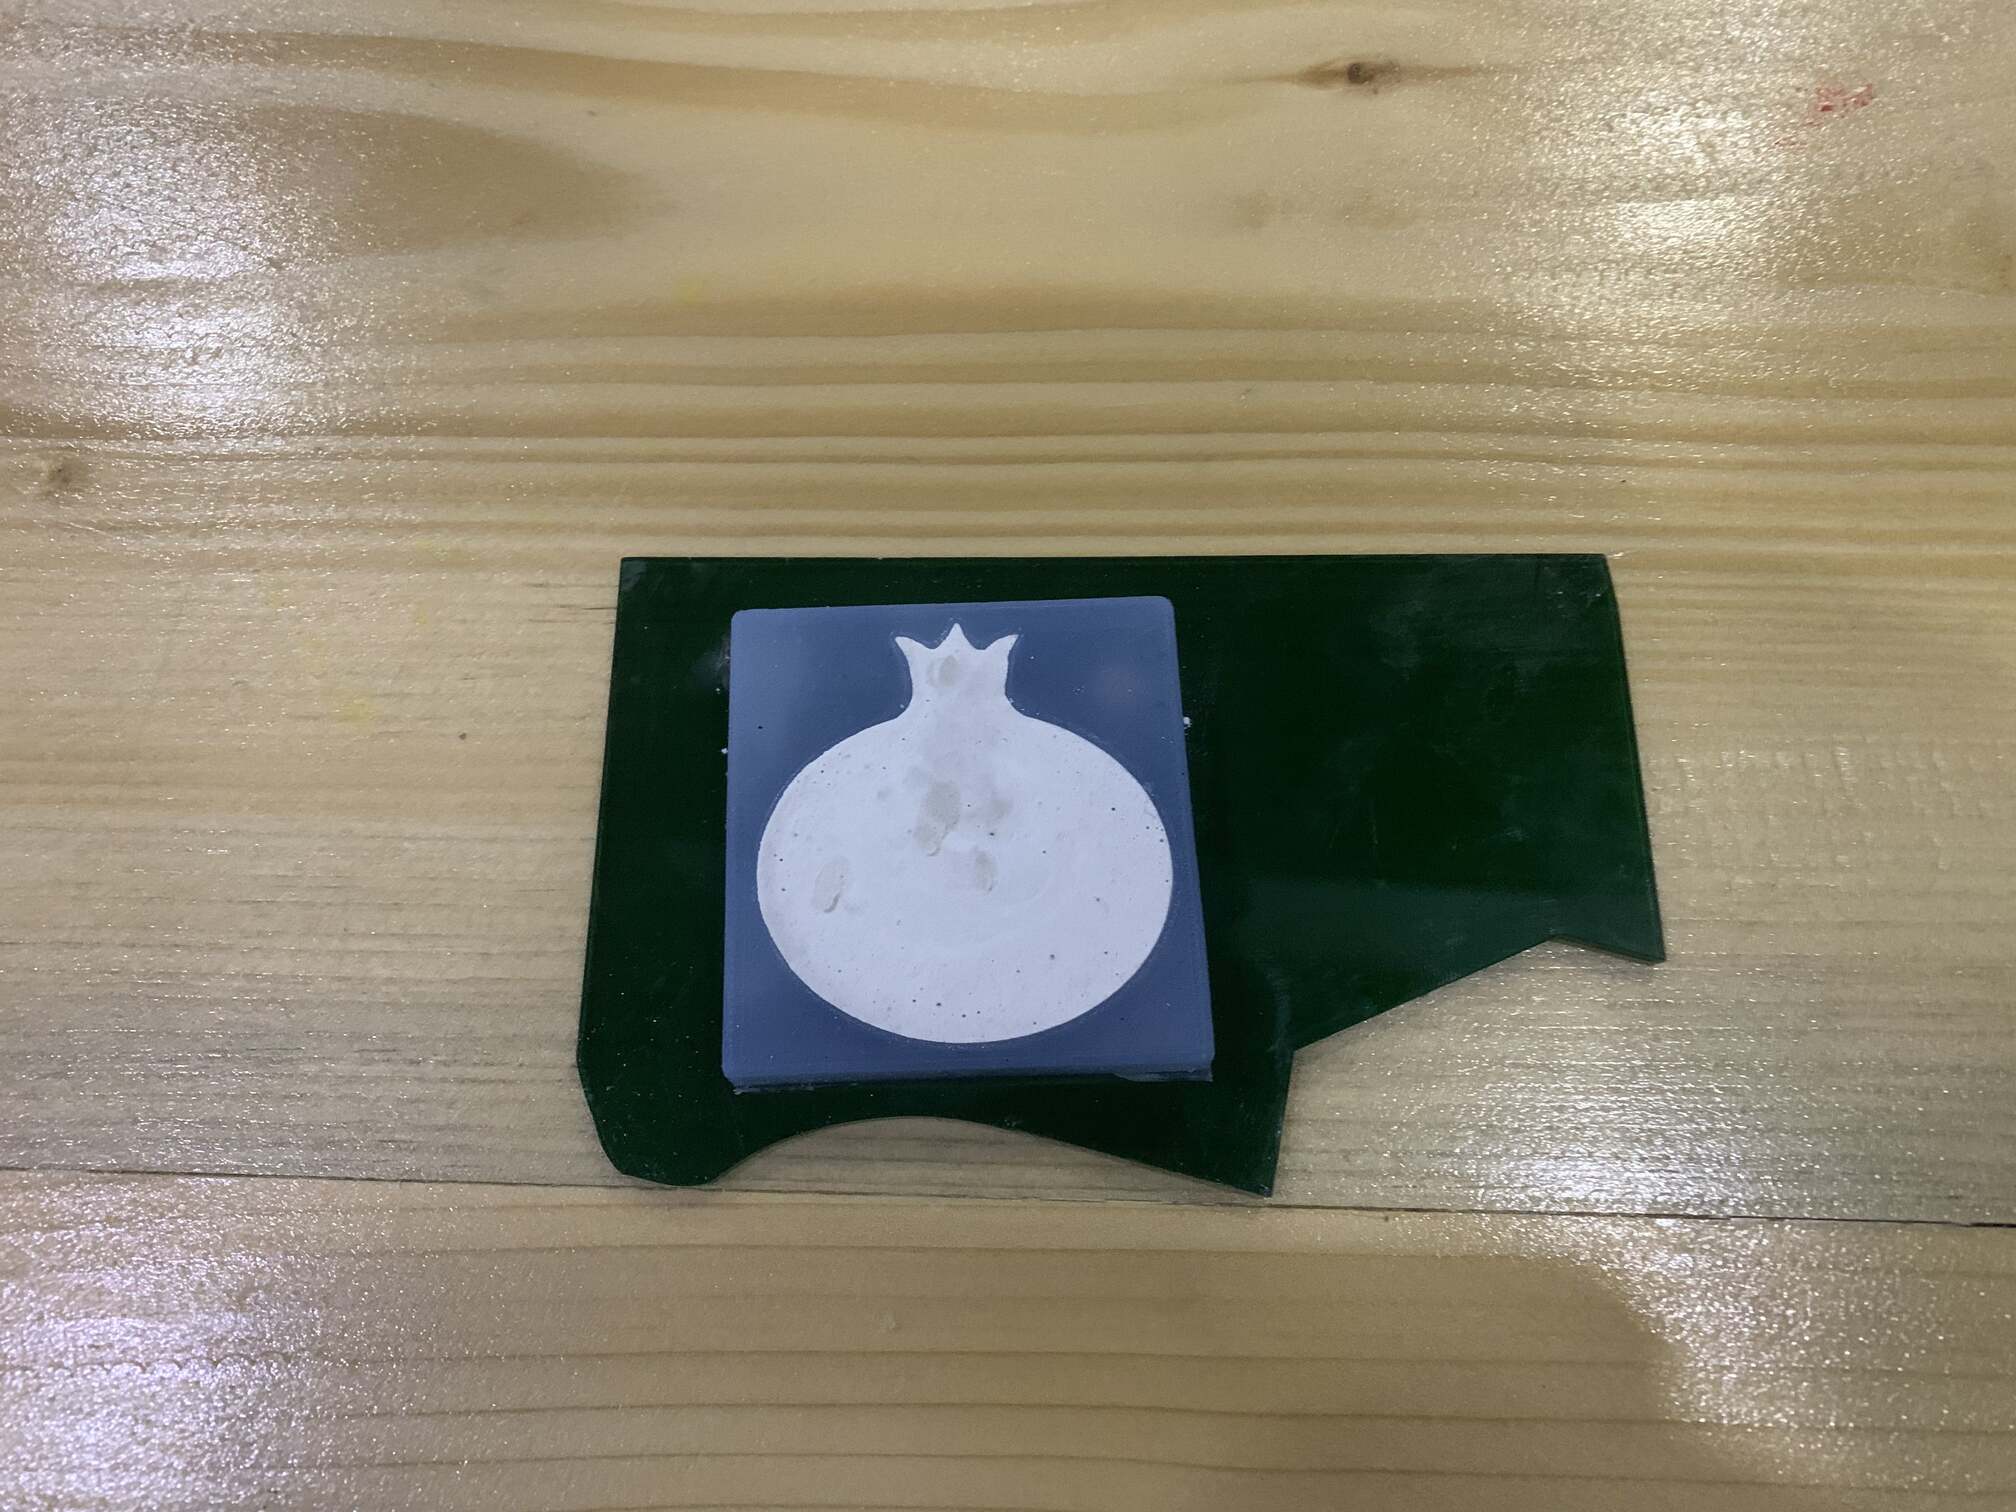
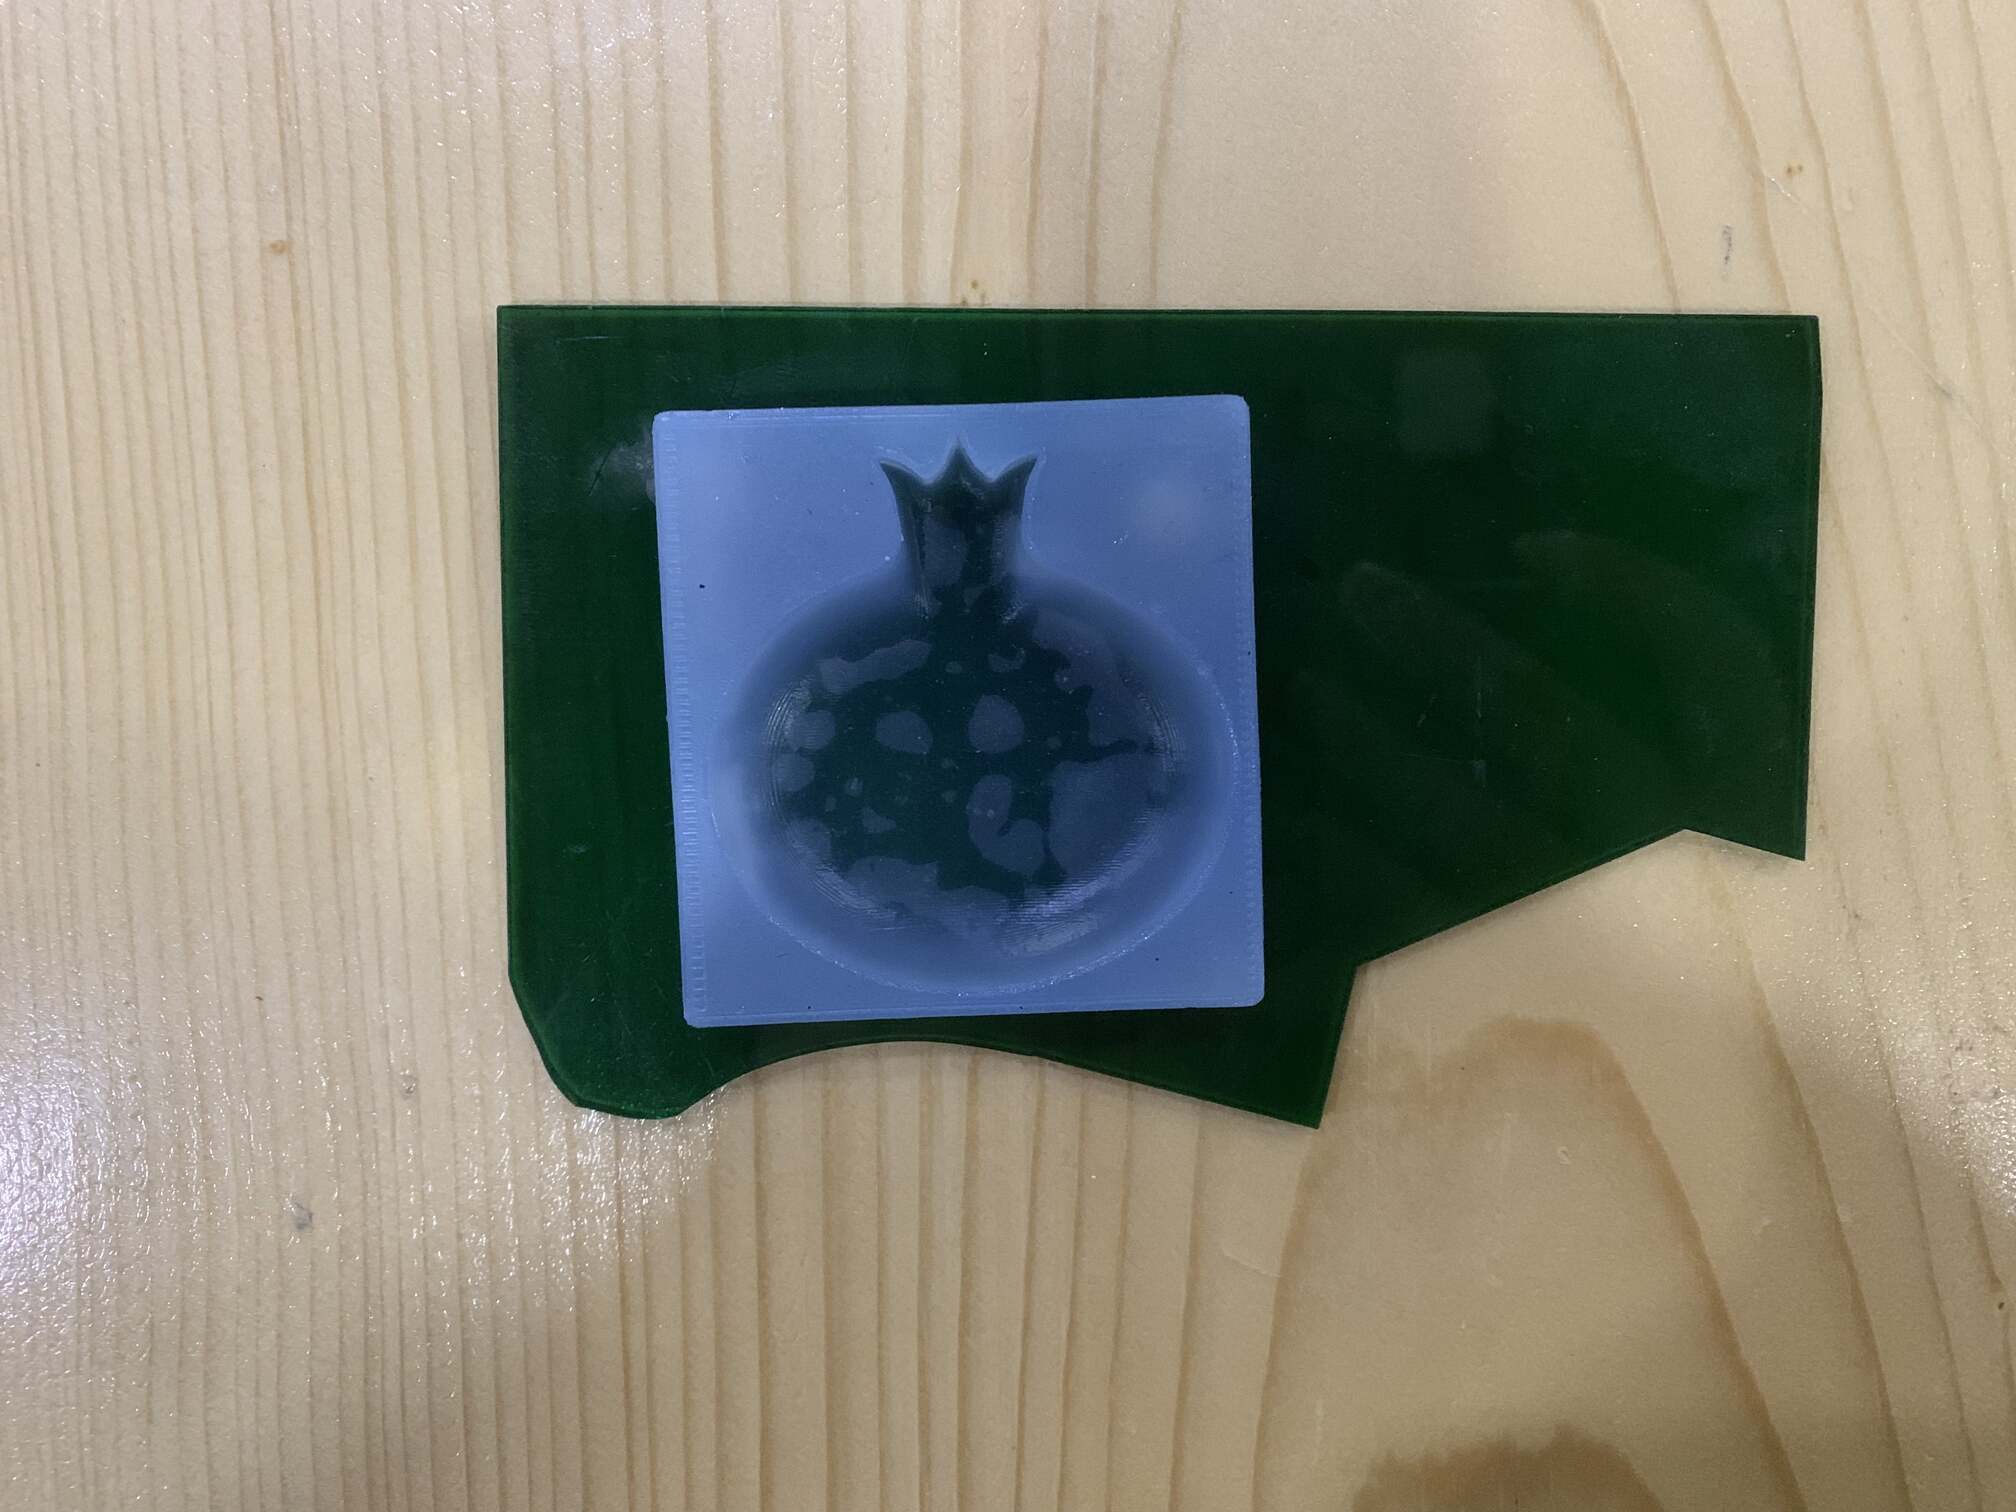 One Part of the mould turned out to be really thin, so to reinforce it I place it on a piece of acrylic.
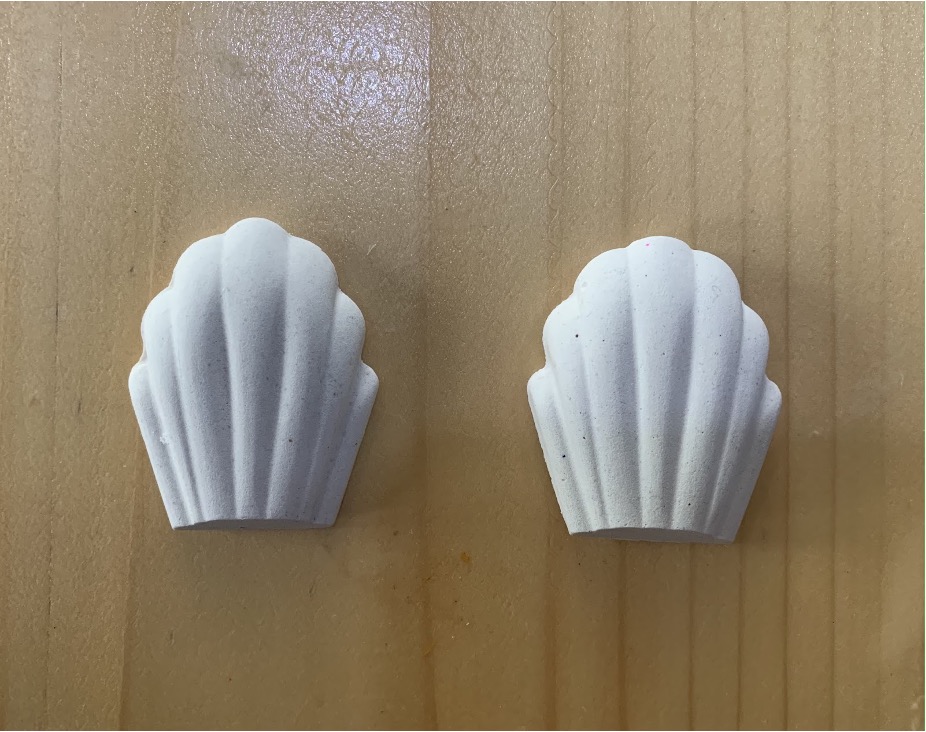
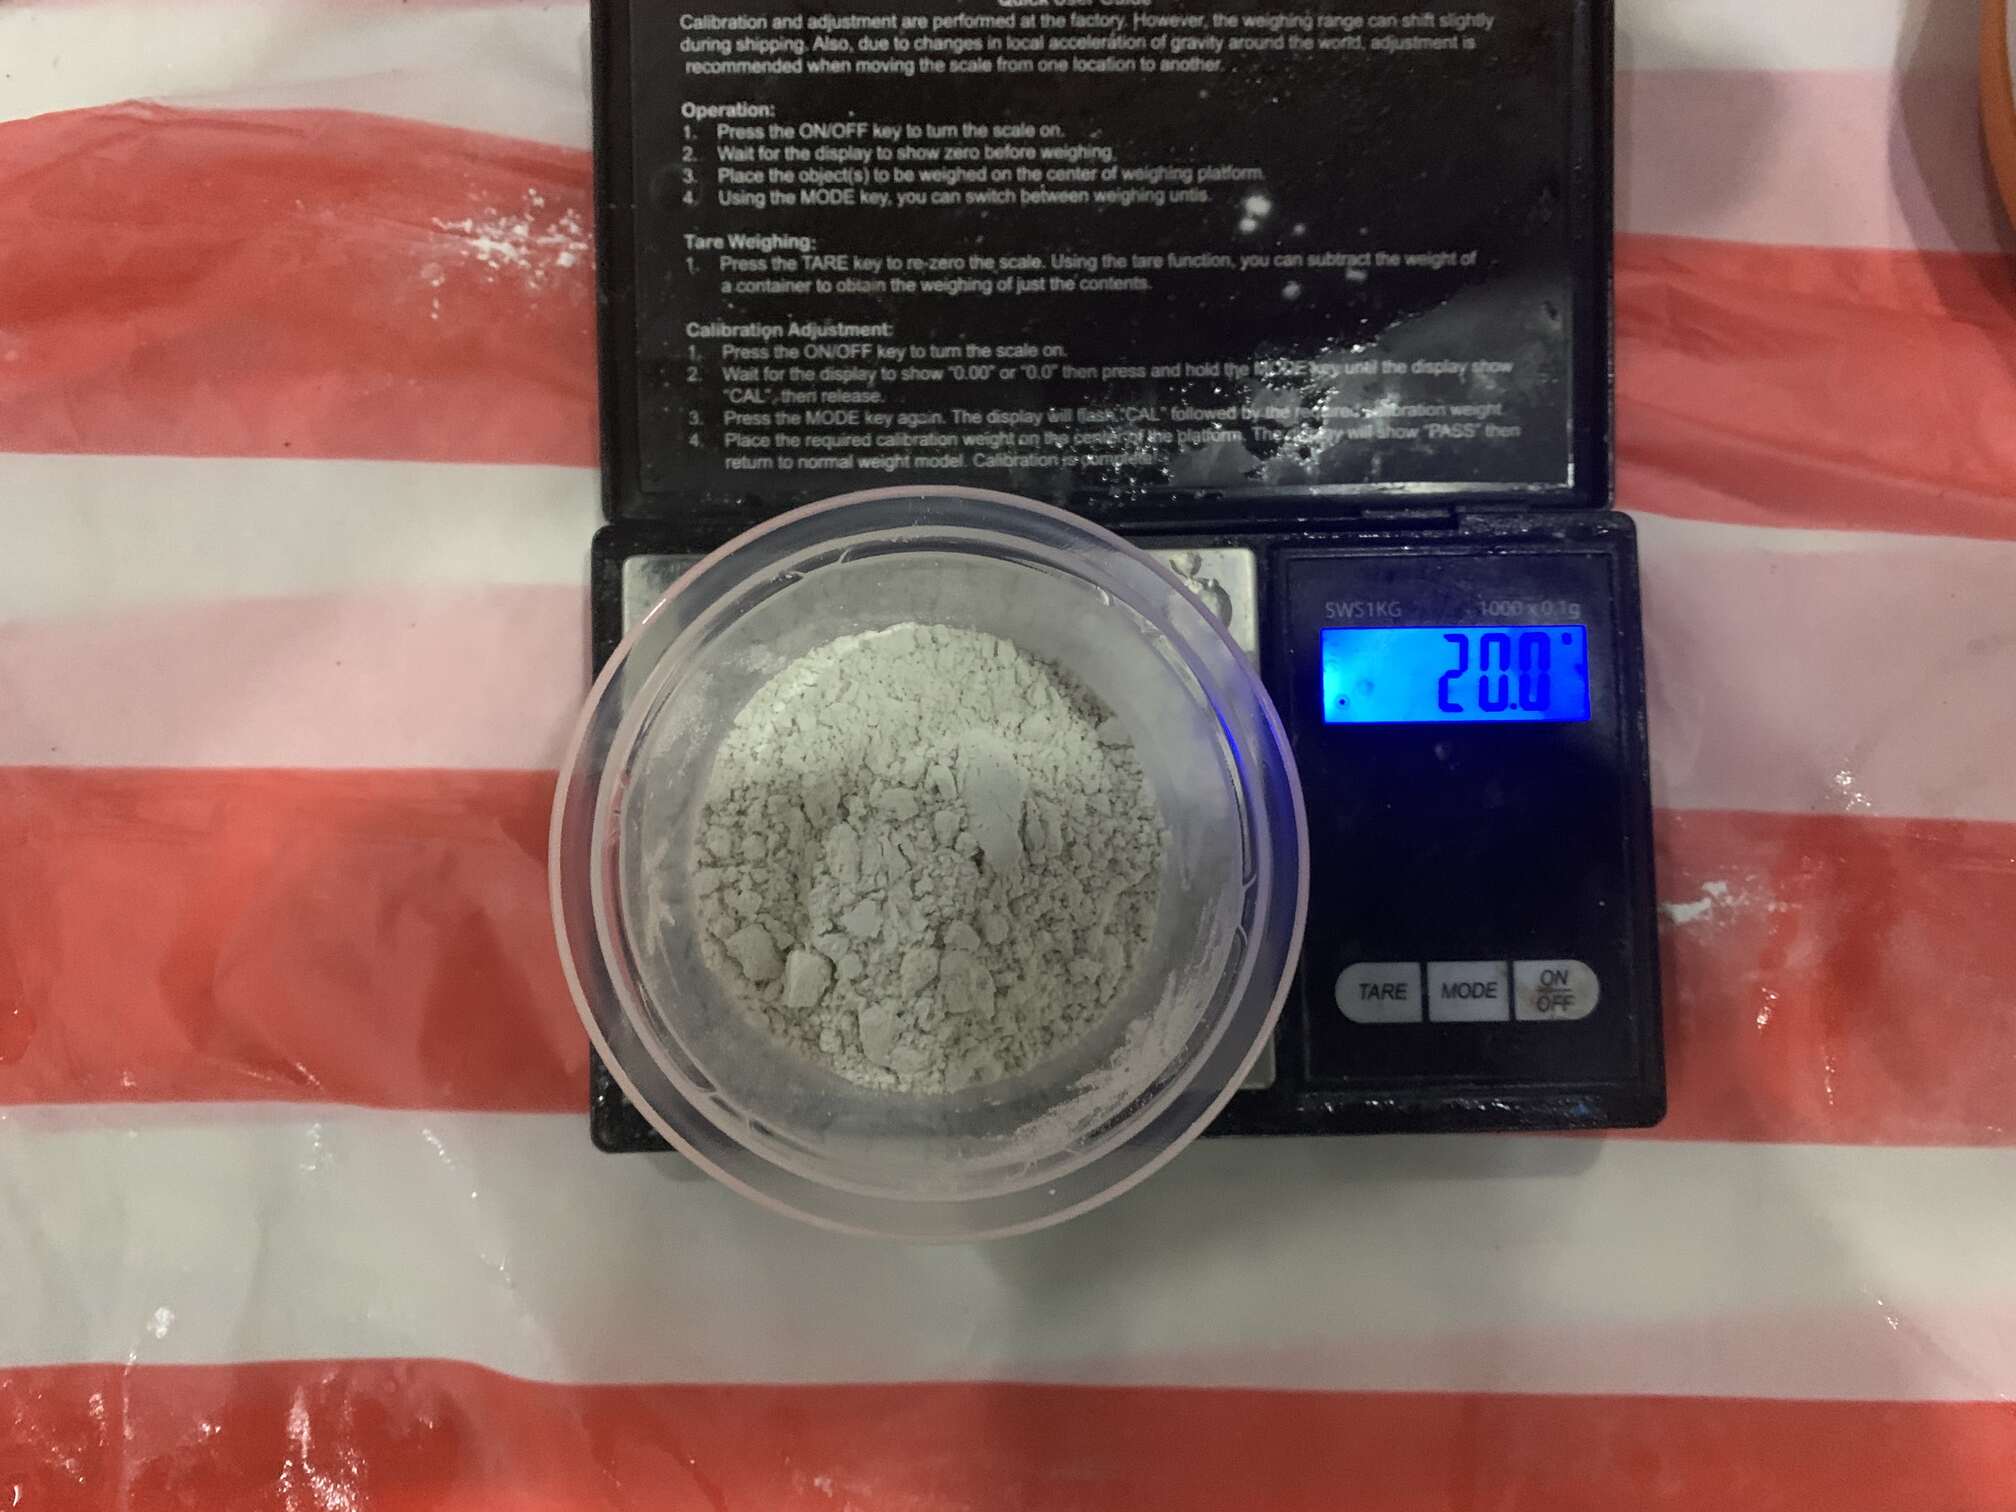
- Step 8, using gypsum to make the cast of the final product
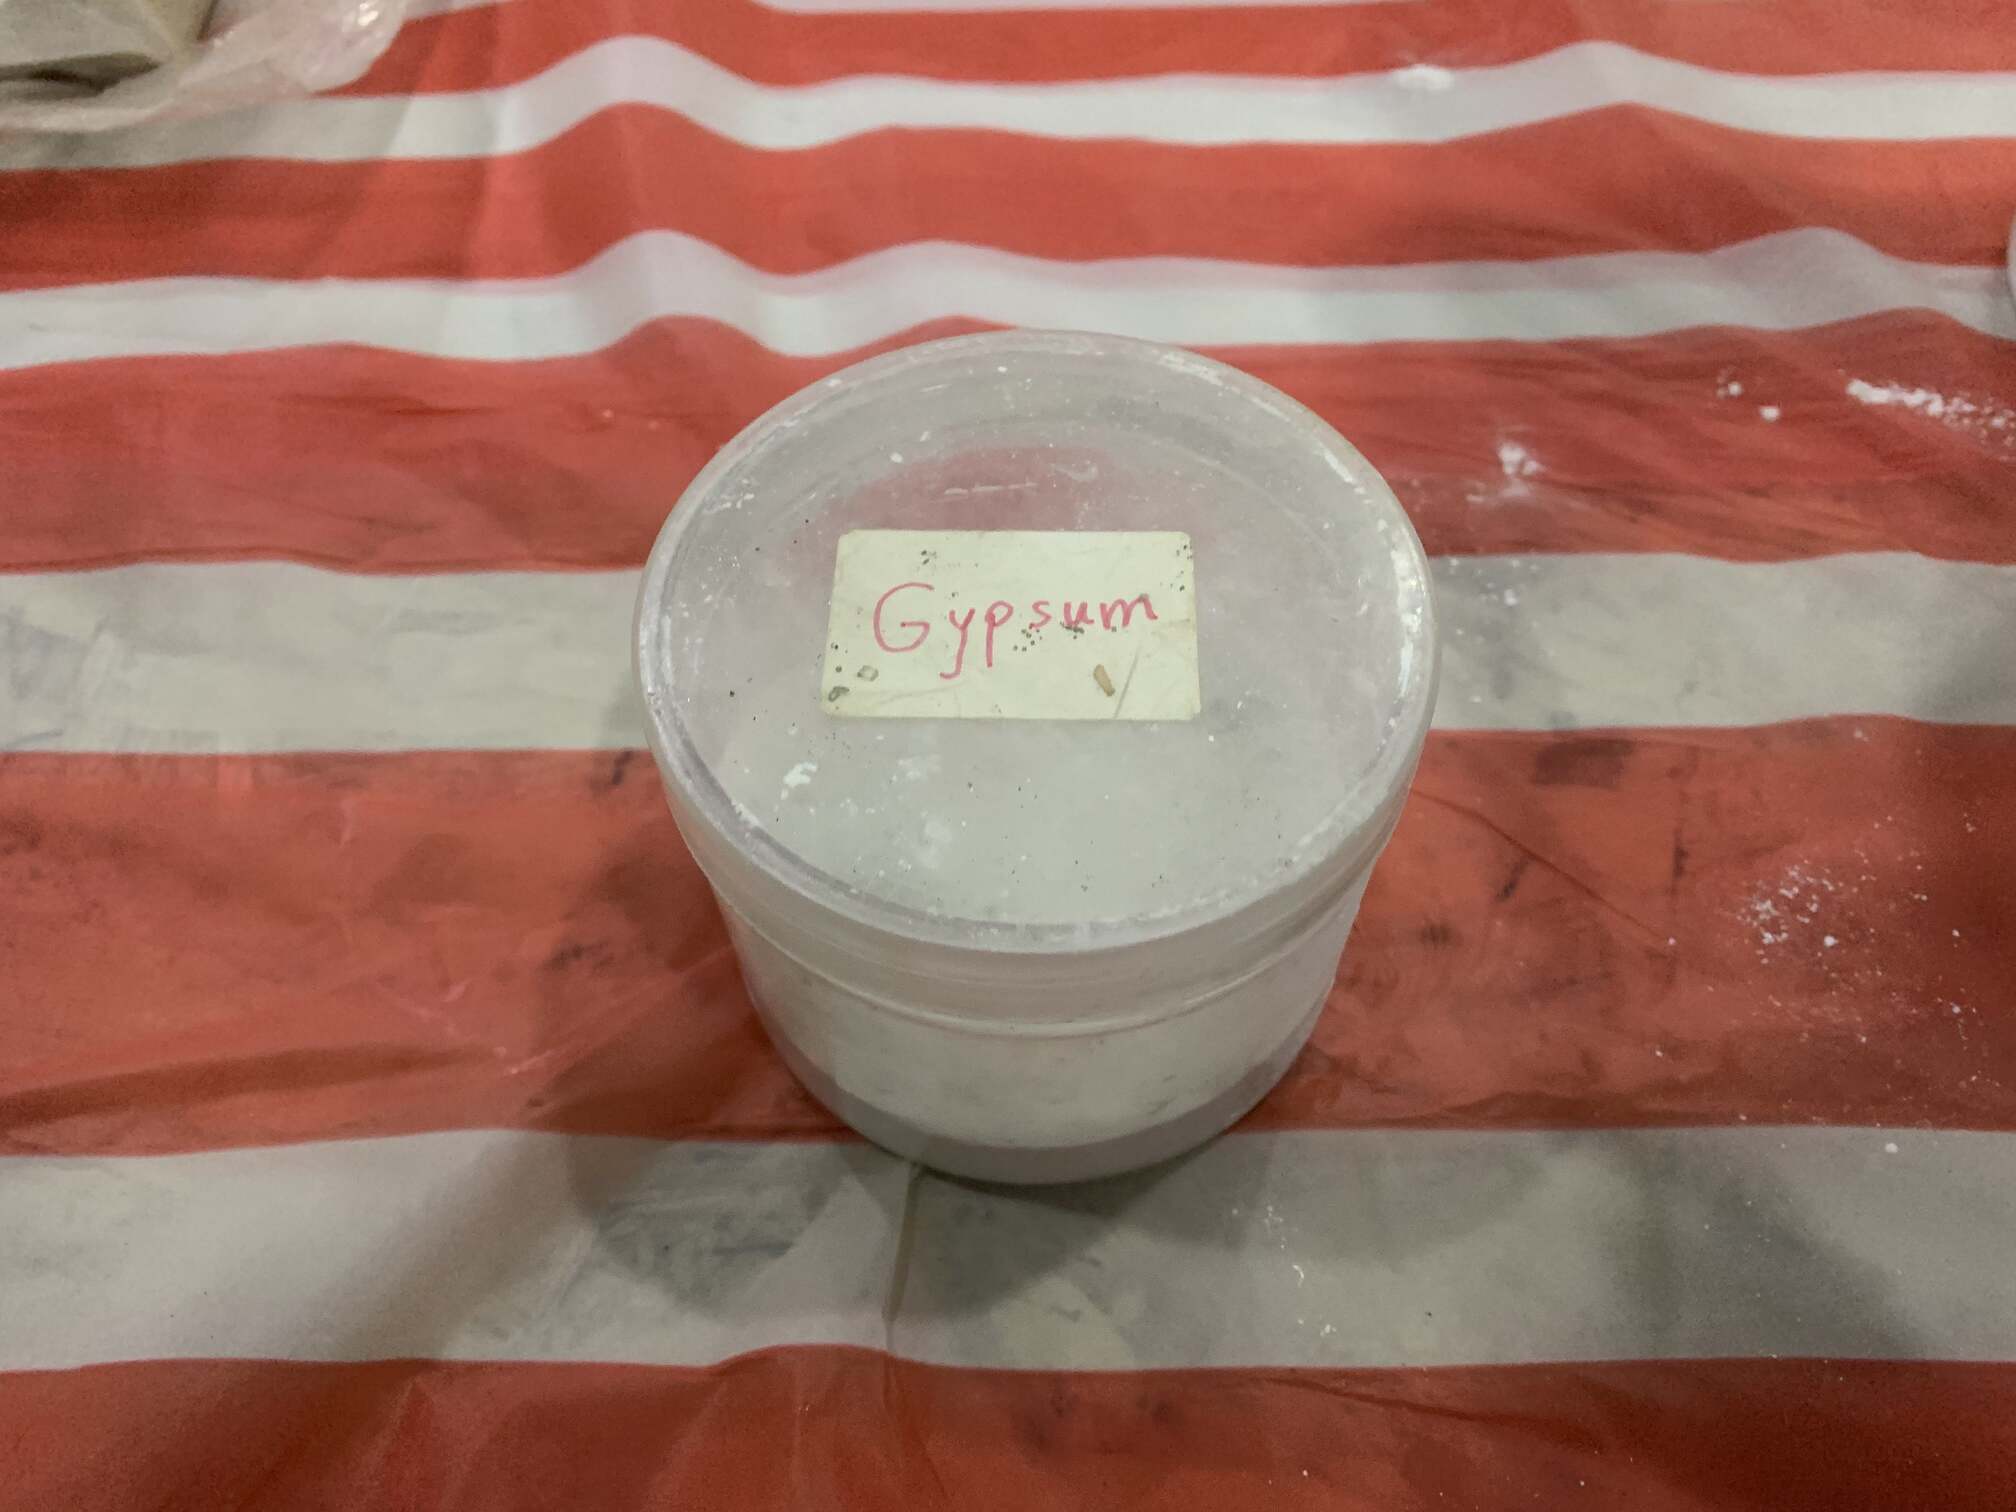
- Step 9, according to the ratio from the group assignment, I need 20 g of gypsum
- Step 10, and 15 g of water
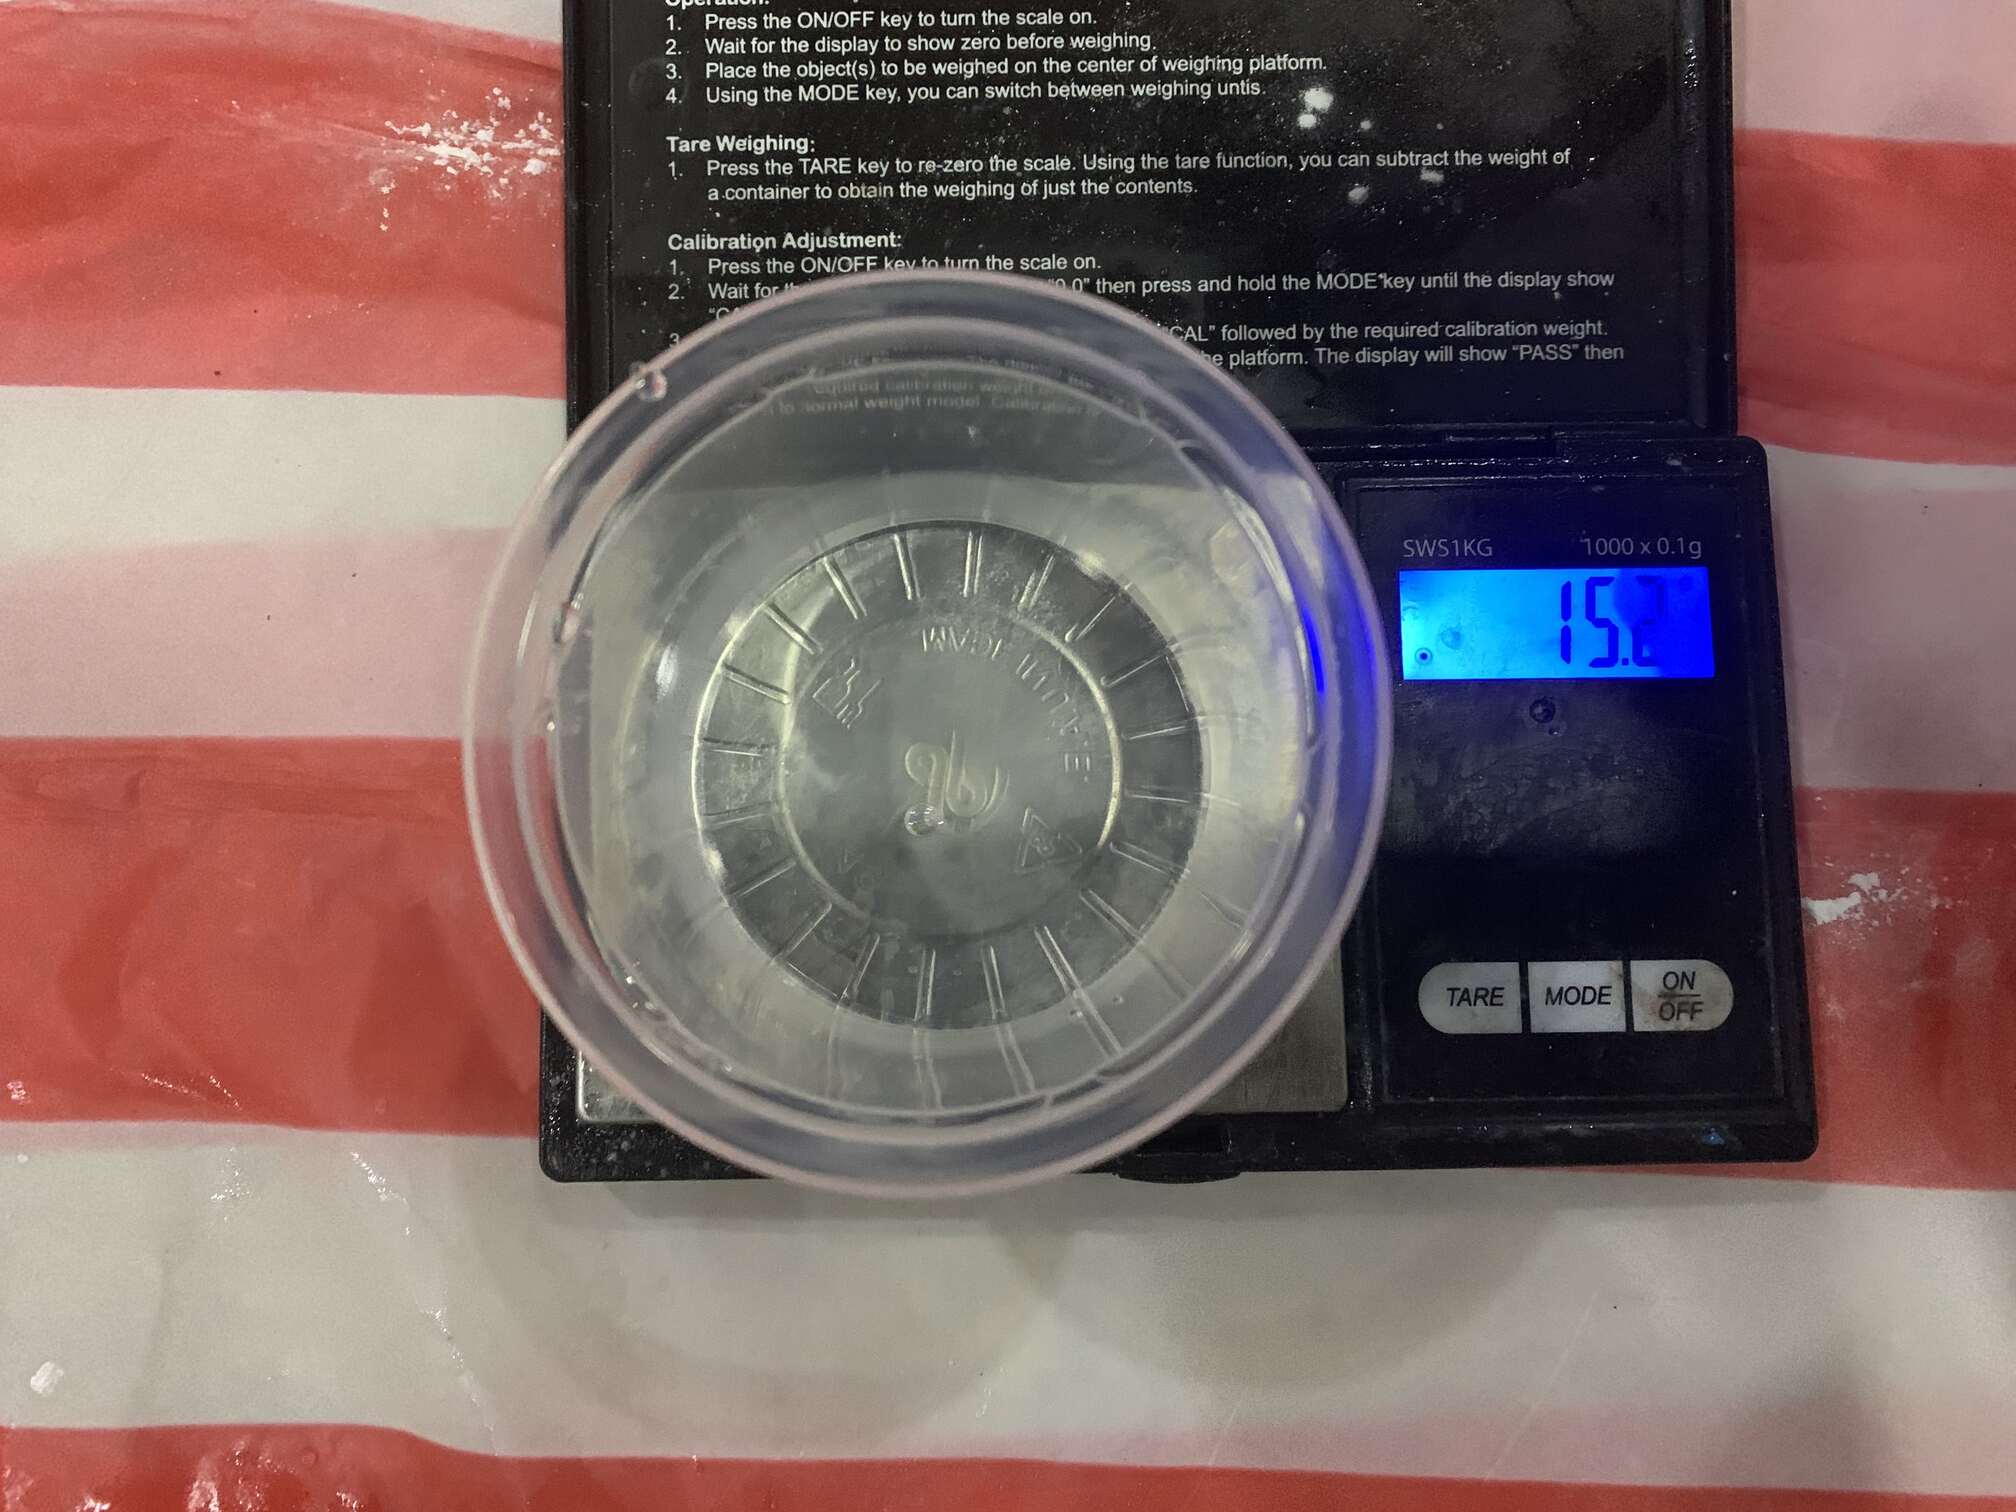
- Step 11, mix the gypsum and water togather

- Step 12, pour into the mould
- Step 13, and let it dry, it dries quickly, it took almost one hour only


Problems Faced
This week assignment passed smoothly expet one small problem. One Part of the mould turned out to be really thin, so to reinforce it I place it on a piece of acrylic. And I have to be careful when handling it, so it doesn’t break. However, the solution worked out perfectly.
Summary
You can see the mould design, construction, and casting.