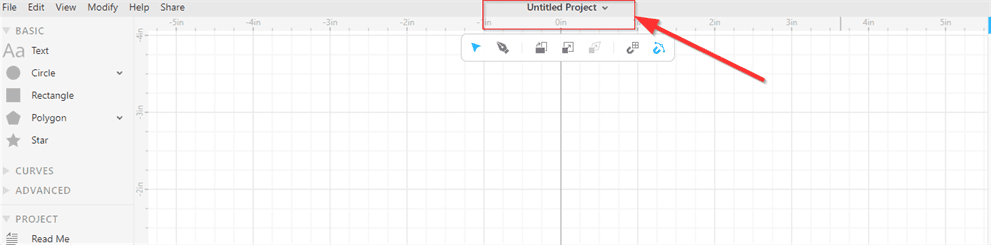
2. Computer Aided design
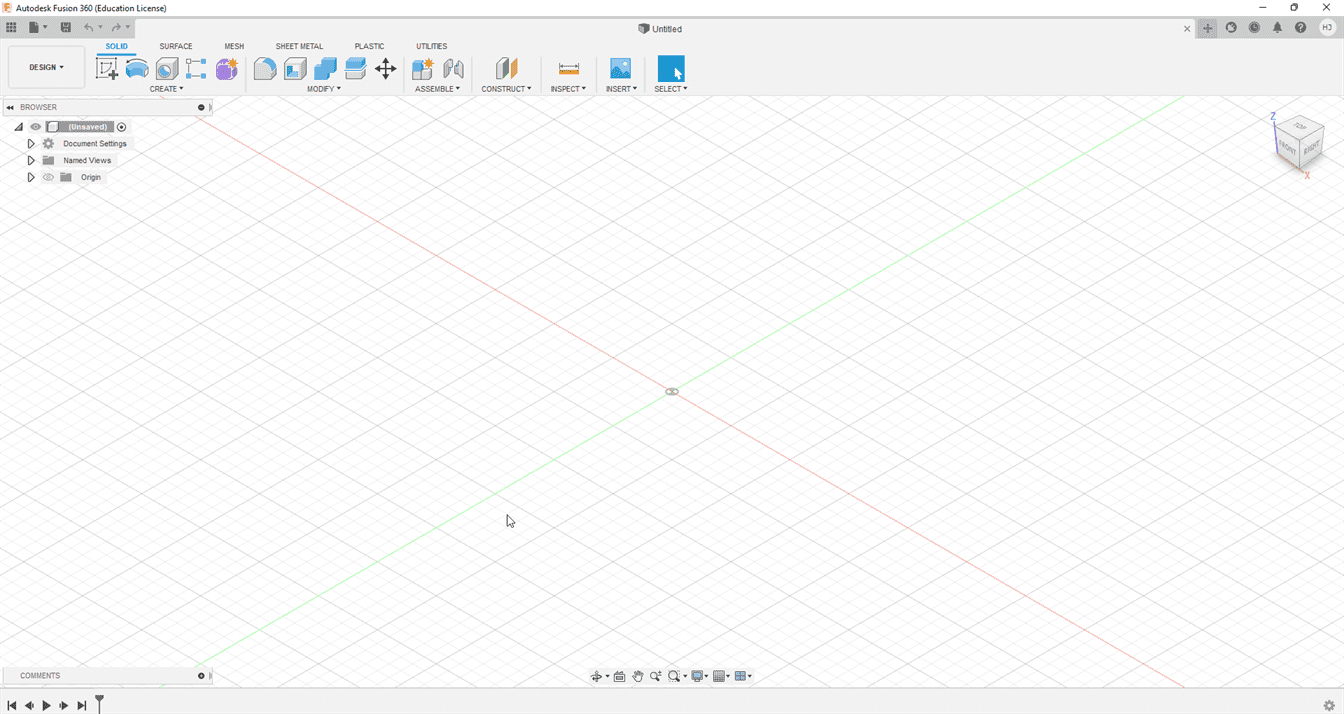
A. Fusion 360
Fusion 360 is a cloud-based 3D modeling, CAD, CAM, CAE, and PCB software platform for product design and manufacturing.
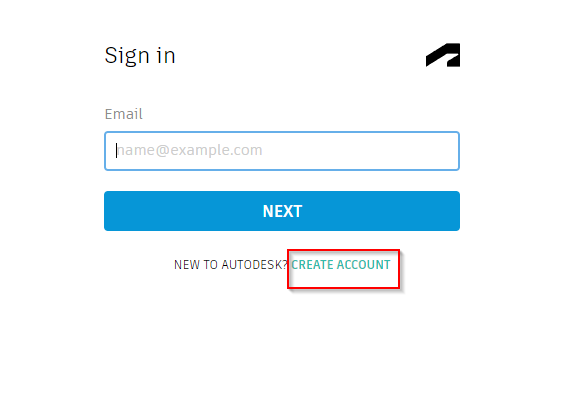
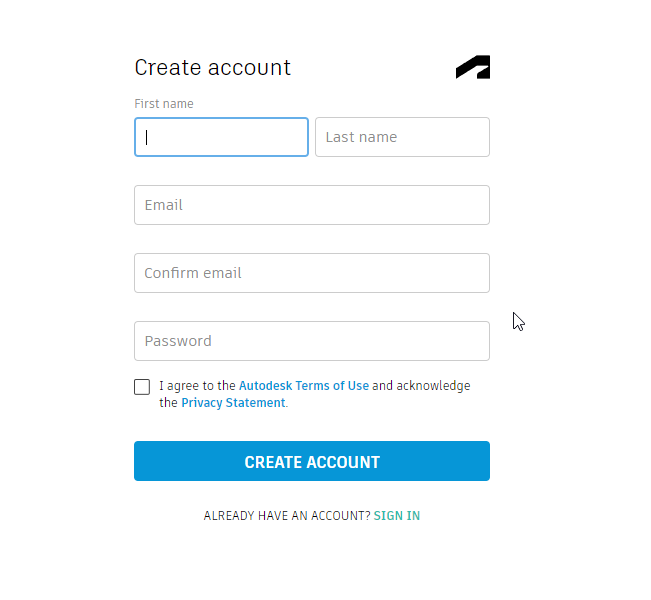
1. Creating Account on autodesk.com and log in.
When I created the account, the website asked for some of my University documents such as my university card, but before uploading it the website confirmed my account without any documents. Maybe it was a bug in the website.
2. Creating a stamp design using a tutorial.
There are so many tutorials for Fusion 360. I found one on YouTube that show us how to create a stamp. I followed all the steps in the video.
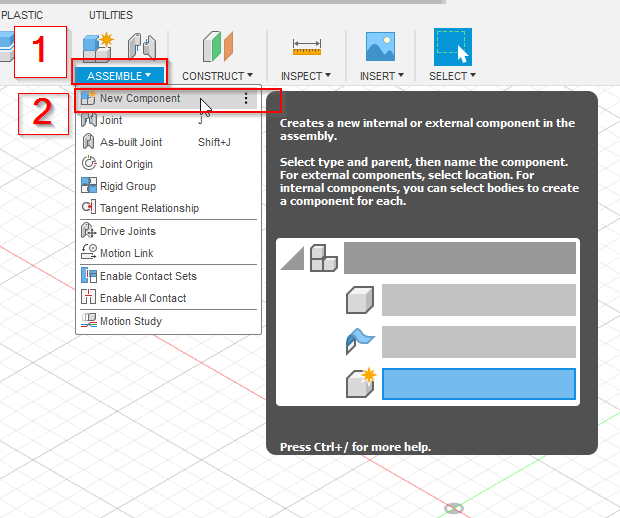
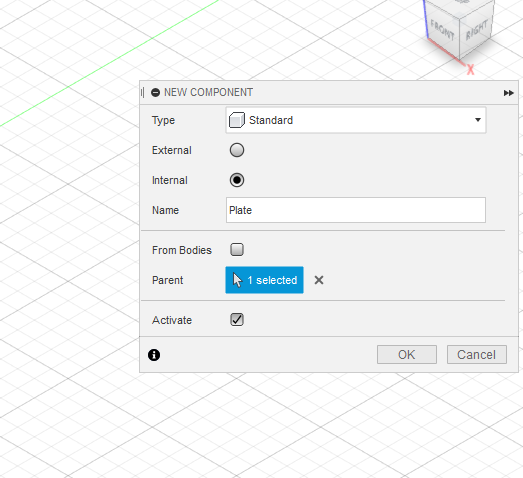
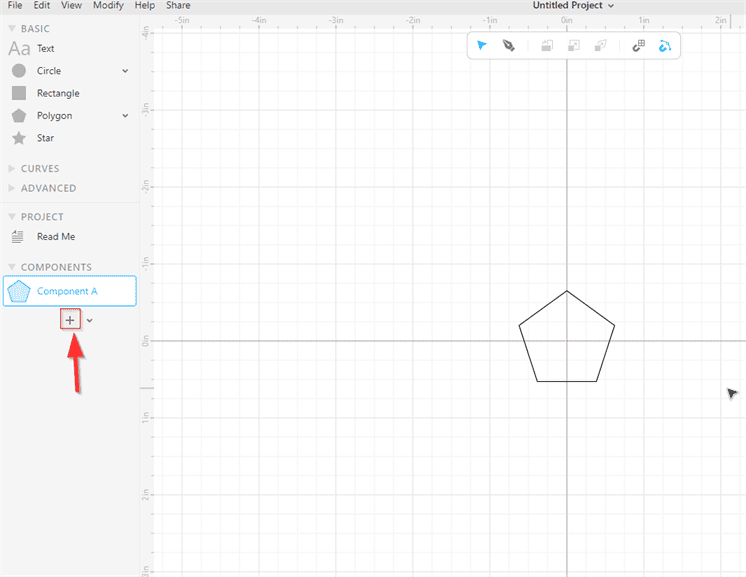
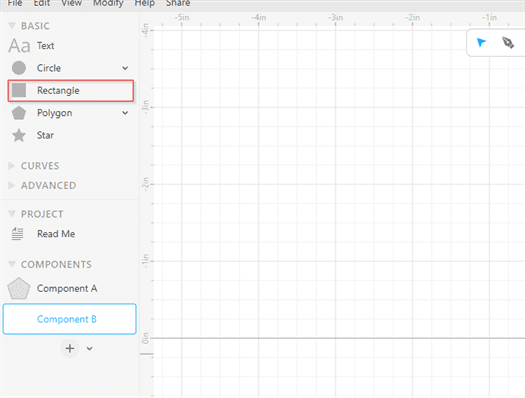
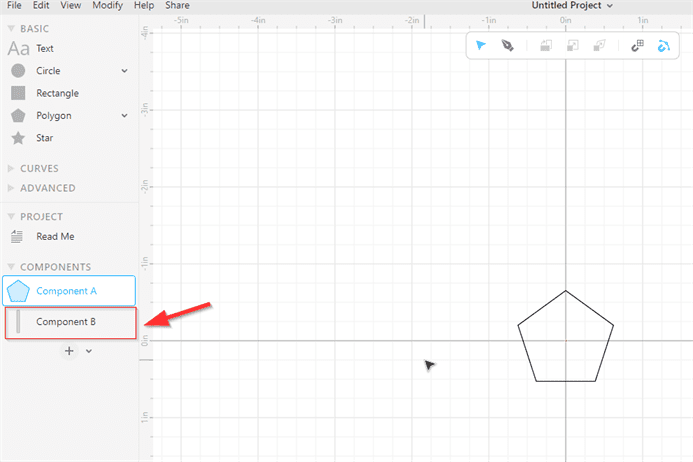
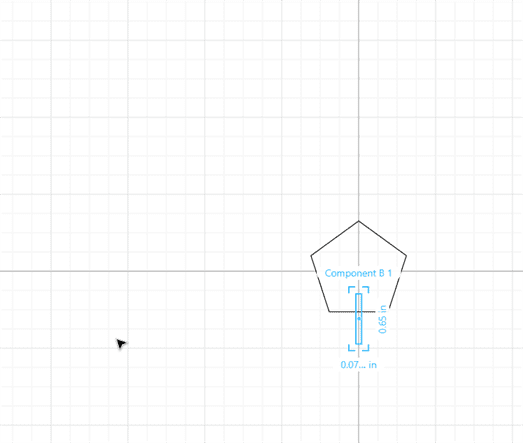
2.1 Create a component.
I created a component and change it name to Plate.
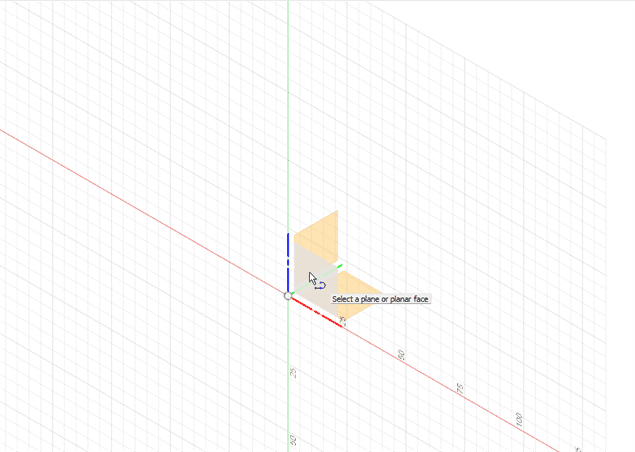
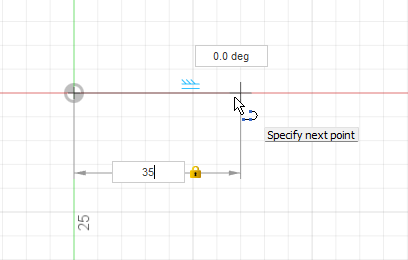
2.2 Preparation for drawing.
By pressing L on the keyboard, the origin planes can be shown. I selected one of the planes and draw a line on the horizontal axis and entering the length value as 35mm.
2.3 drawing the other lines.
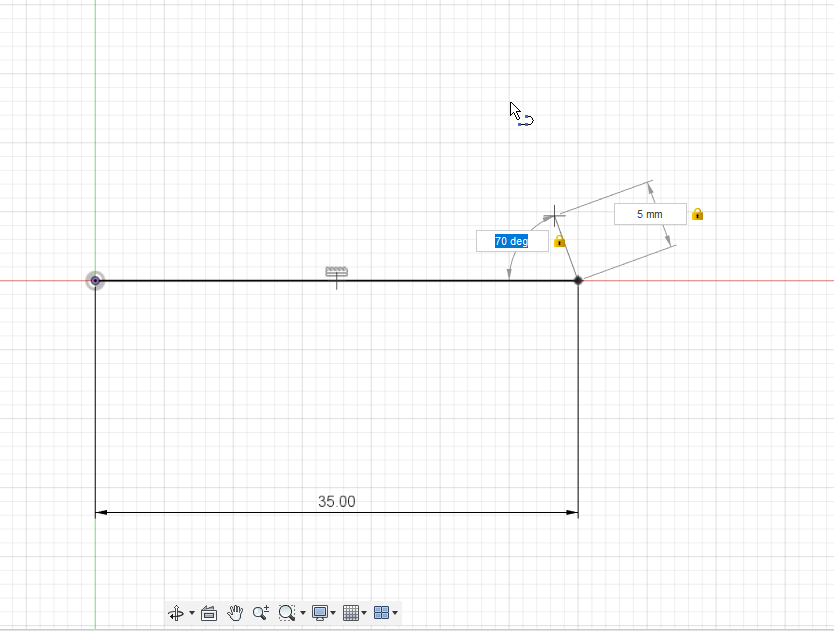
2.3.1 The second line
I moved the cursor up and then changed the degree to 70 and pressed TAB on the keyboard to lock the degrees. I changed the length to 5mm. Then, I clicked on the left side to make the line as shown in the picture.
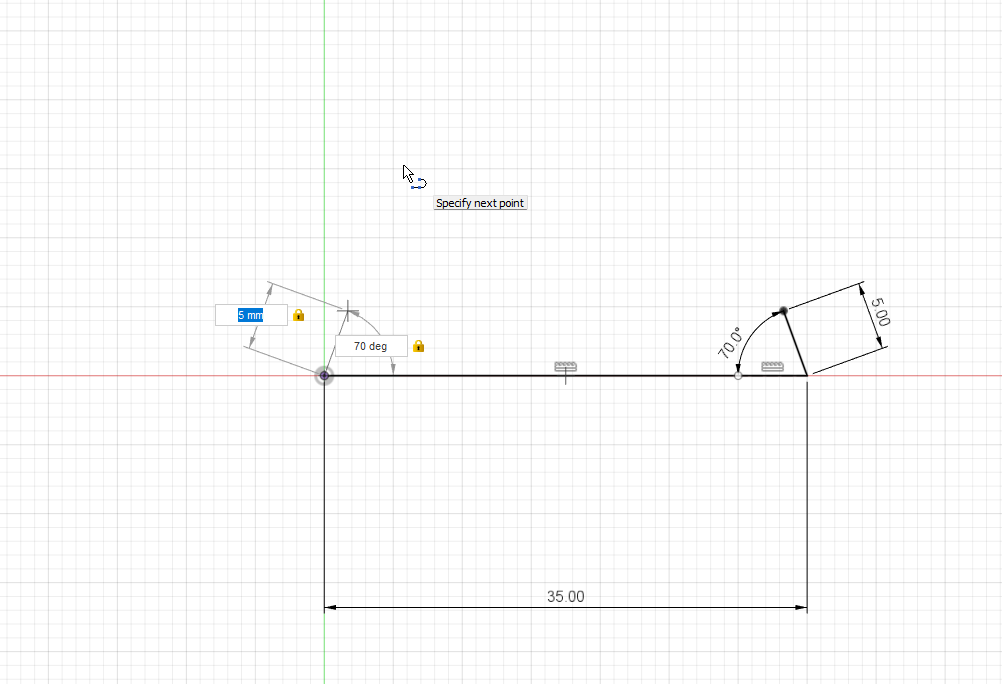
2.3.2 The third line
I clicked the ESC on the keyboard to stop drawing and then I pressed right click on an empty space and I choose Repeat Line and I did the same steps to draw the third line on the left side with same angle and length as the second line.
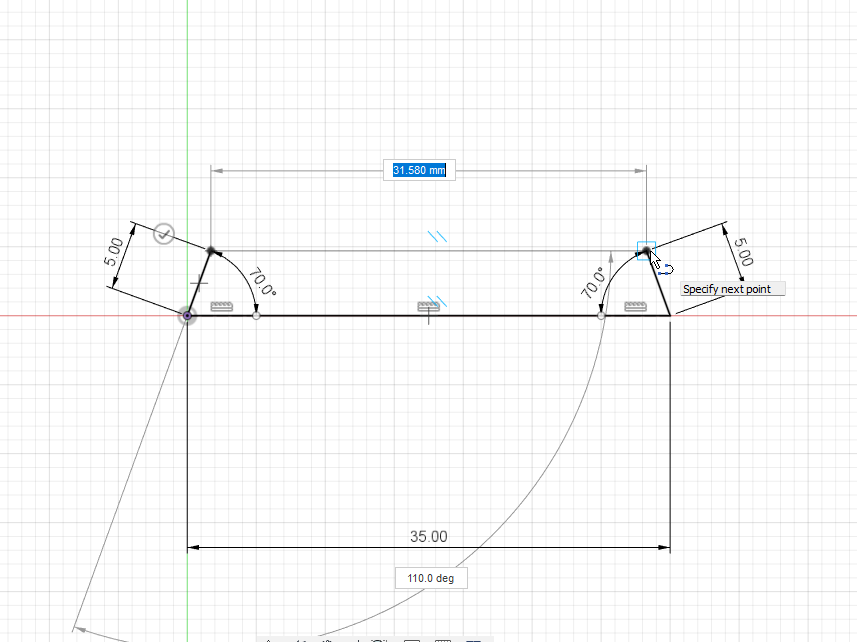
2.3.3 The last line
I connected the previous lines together by moving the cursor to the second line and click on its edge as seen in the picture.
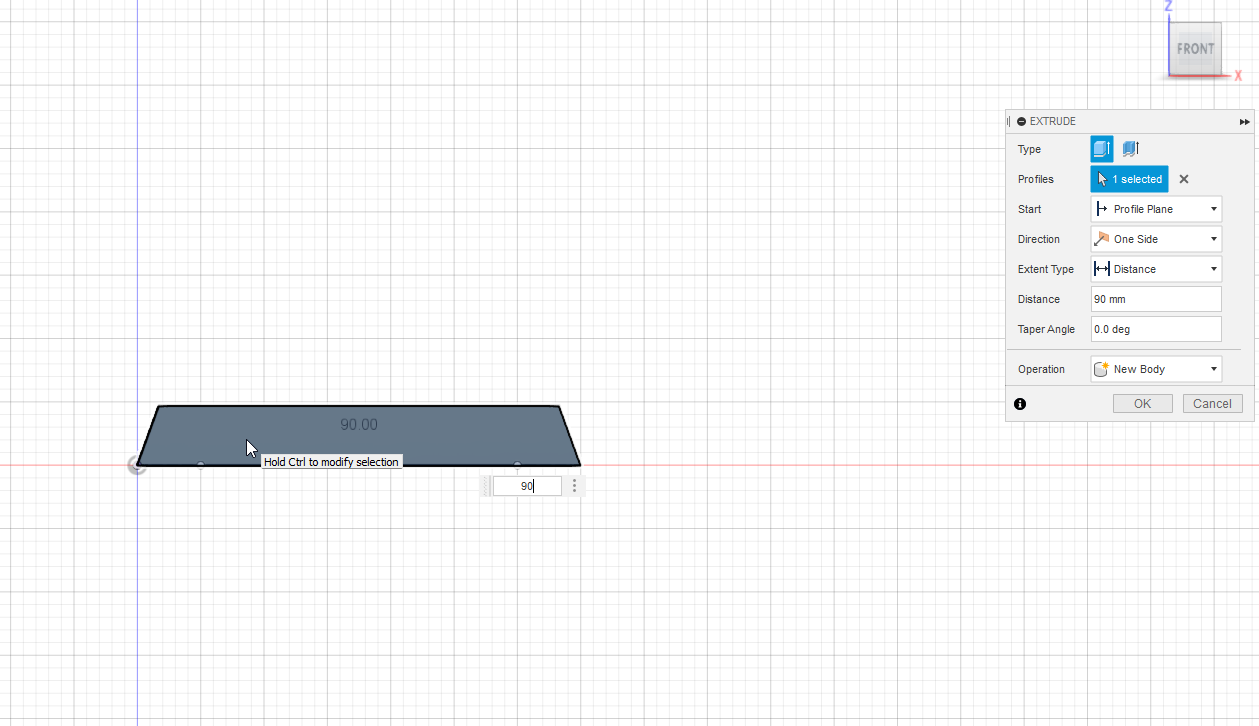
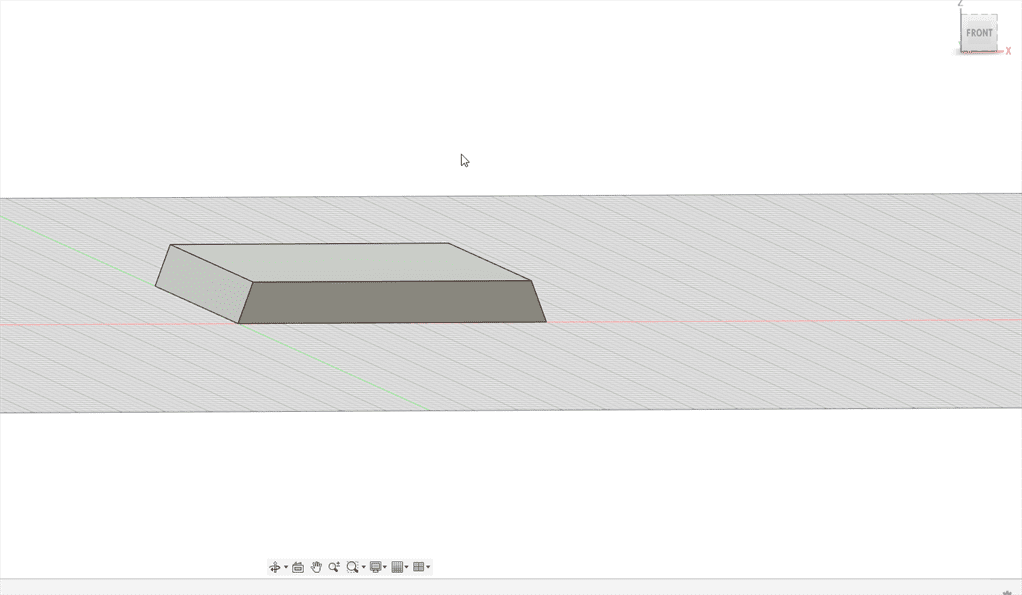
2.4 Convert 2D sketch to 3D shape.
I used Extrude to convert the 2D sketch to the 3D shape. After pressing it, I selected the closed shape (the last line) as the extrude profile. I changed the distance to 90mm.

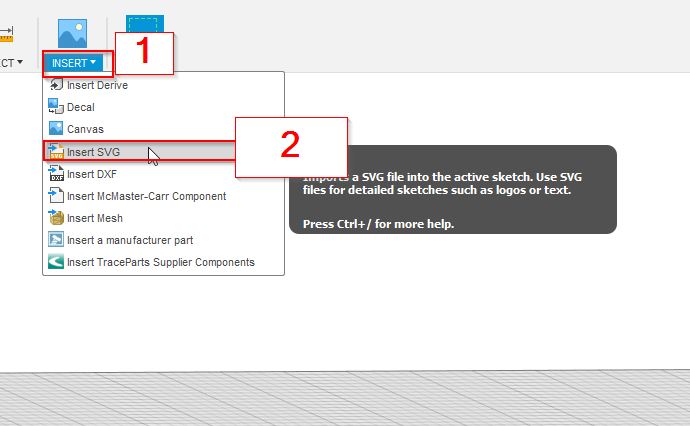
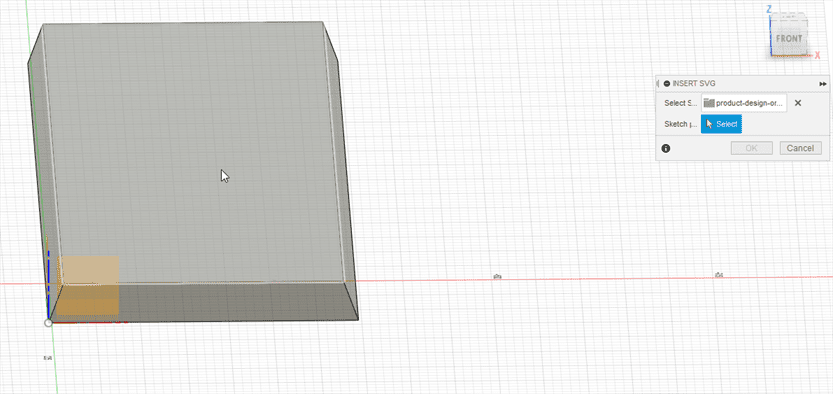
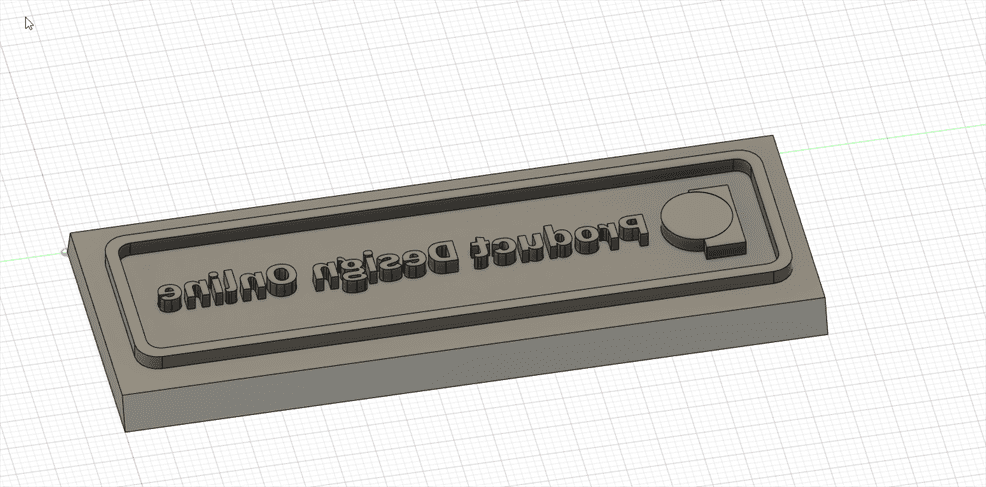
2.5 Customizing the stamp using SVG file.
The SVG is available in the video description. I downloaded it and used it in Fusion 360. I provided the link from the video below.
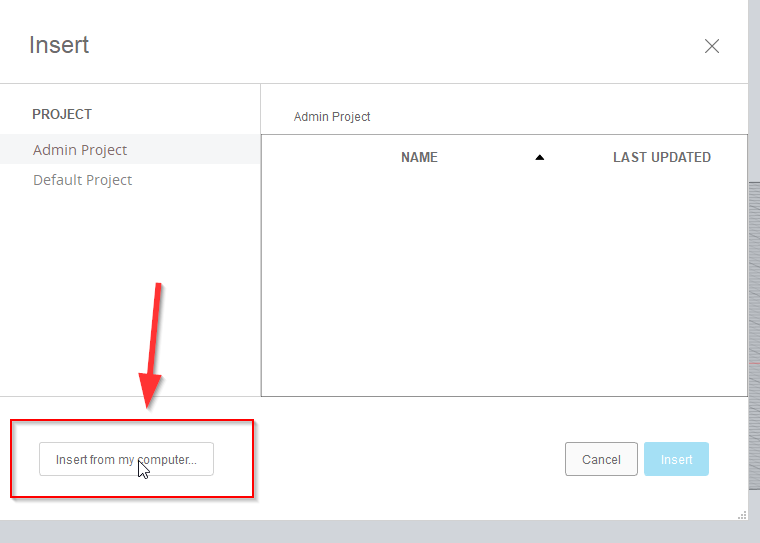
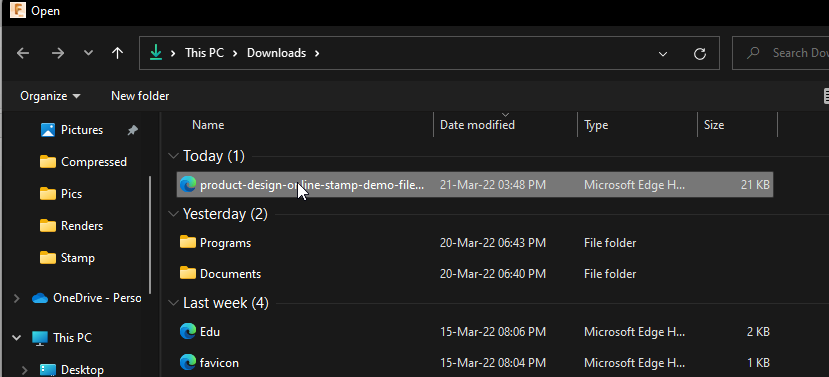
- First, I inserted the SVG file from my computer after downloading it.
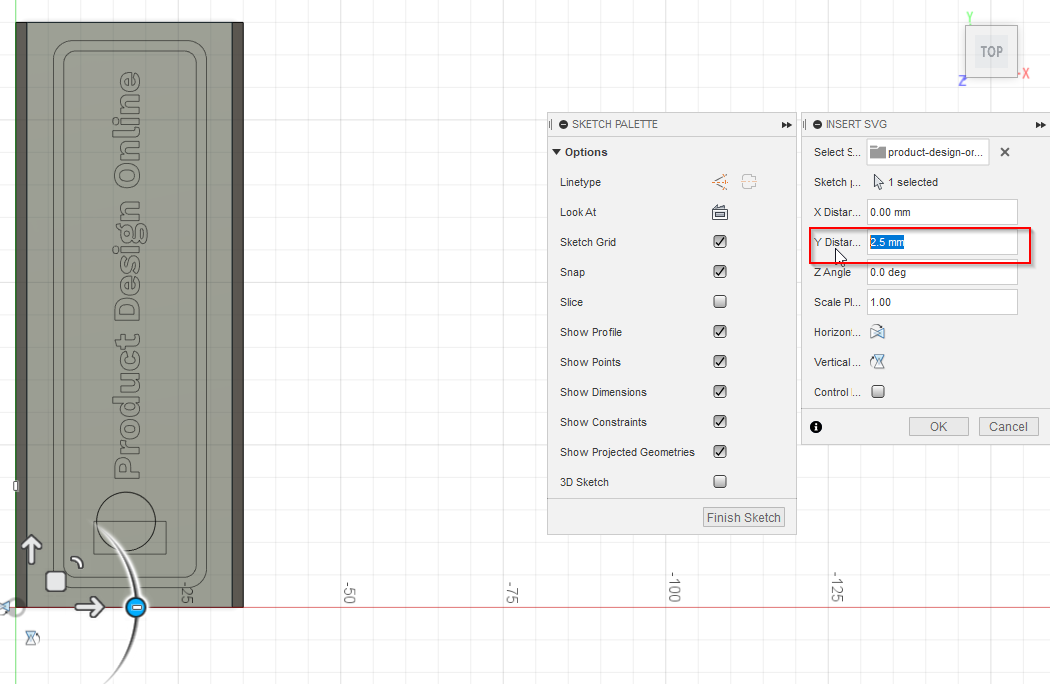
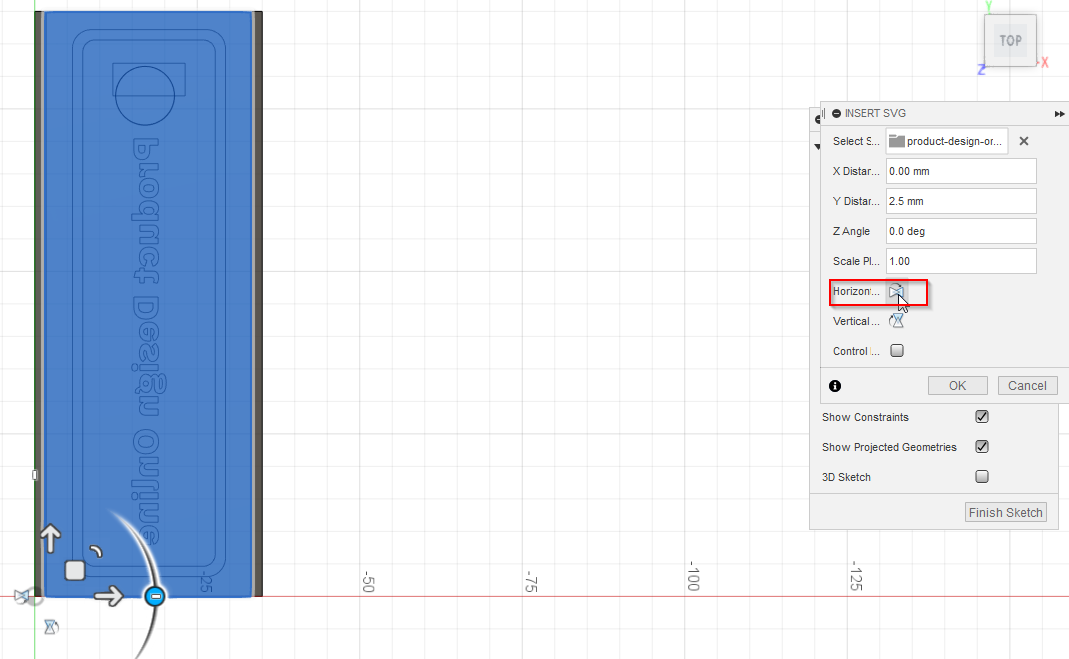
- Then, I selected the stamp plate to put the design of the SVG file. and I rotated the design and changed the Y Distance to align it with the stamp plate. Then, I clicked on horizontal flip to flip the SVG image to make the stamp in the correct orientation.

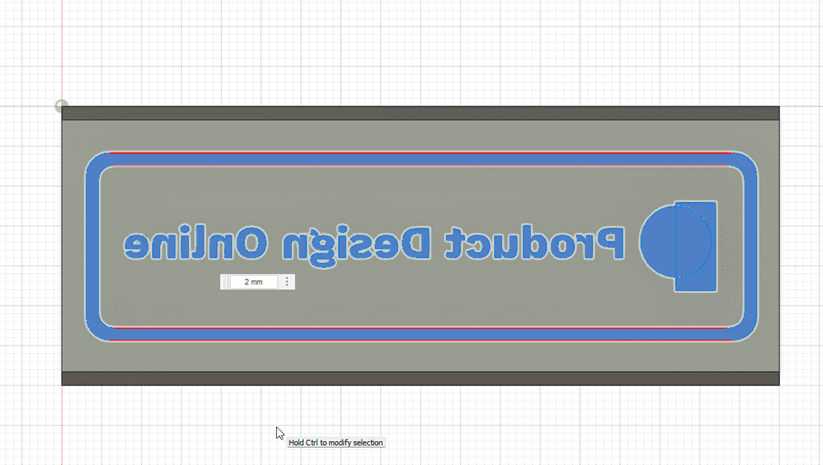
- I clicked on the "E" letter on the keyboard to activate the Extrude and I selected the closed profiles. I changed the distance to 2mm.
2.6 Final result.
Download Files:
- Fusion 360 file (.F3D)
- STL file (.STL)
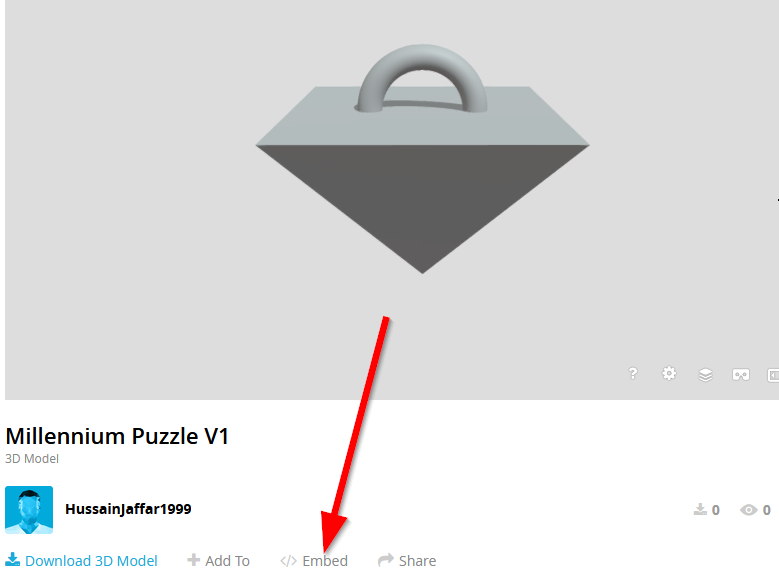
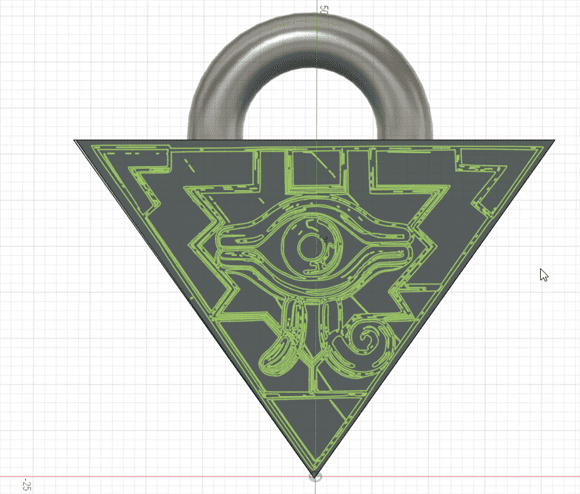
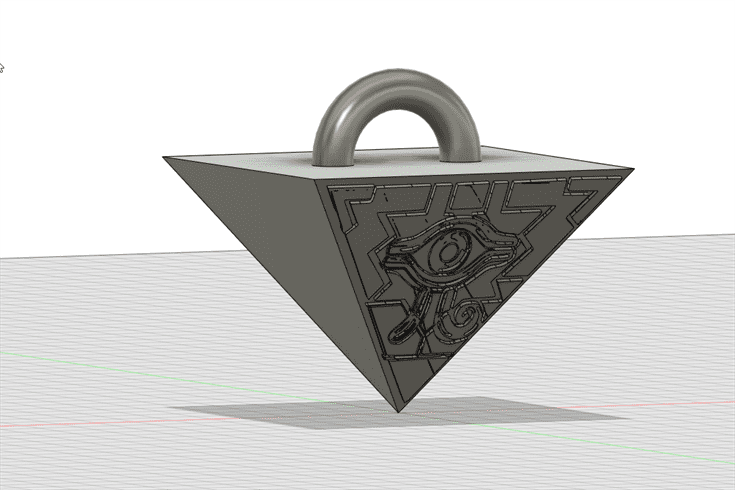
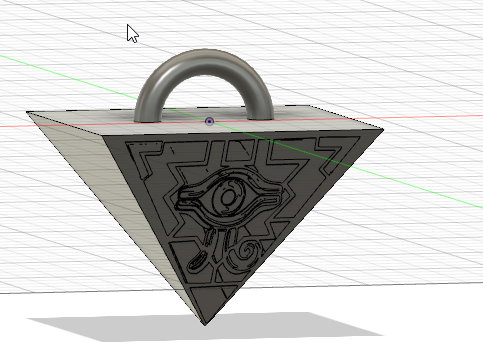
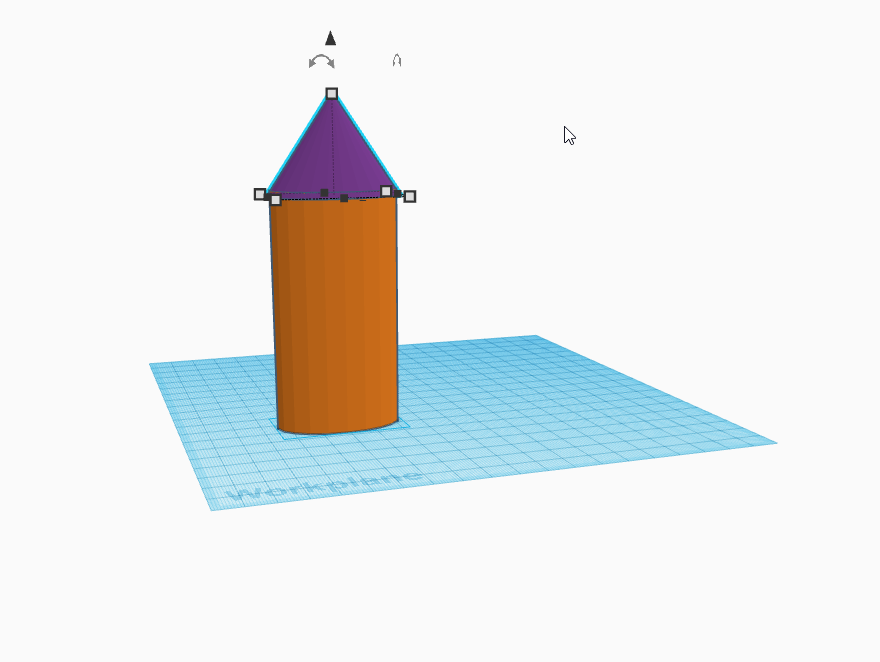
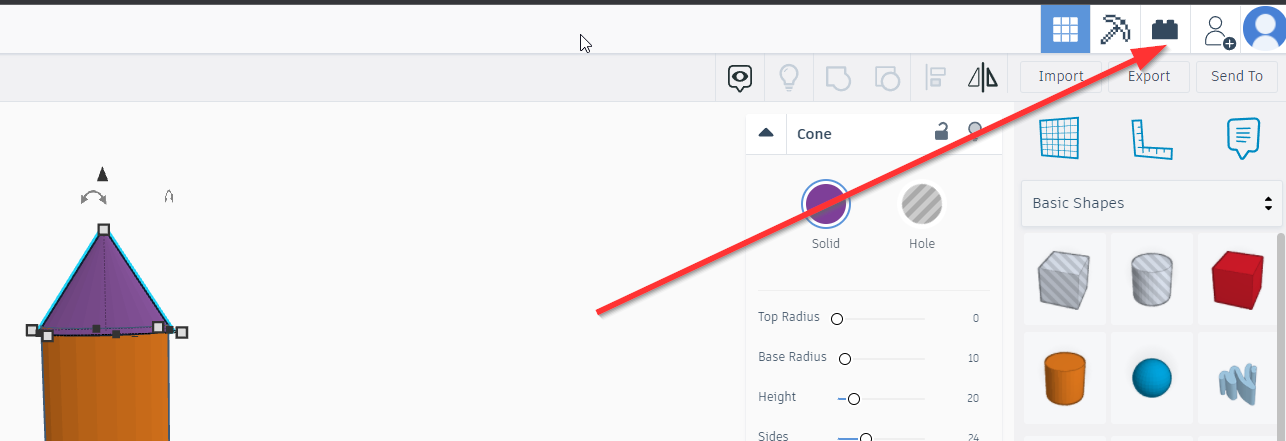
3. Millennium Puzzle
I created a Millennium Puzzle which is a pyramid shape. It is an item that appeared in a Japanese anime called Yu-Gi-Oh!.
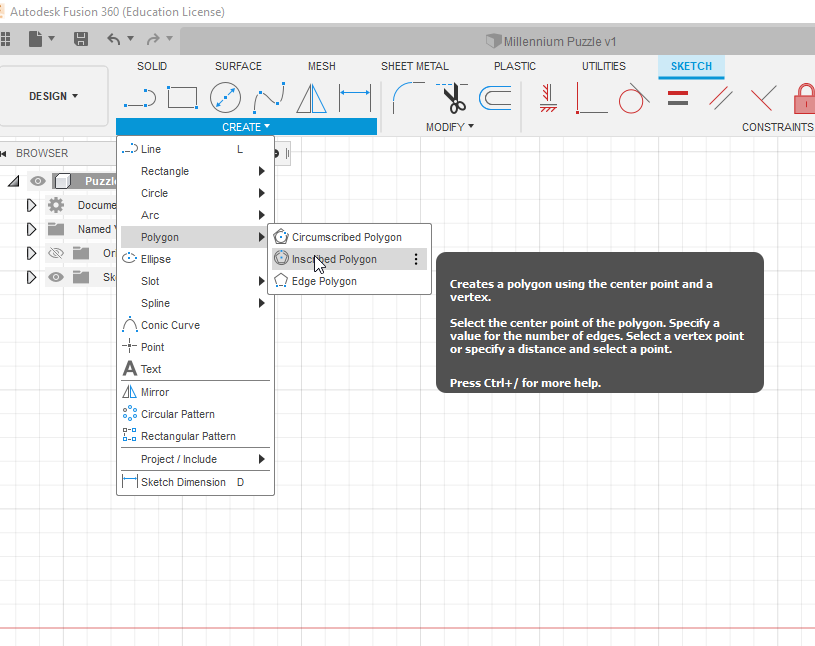
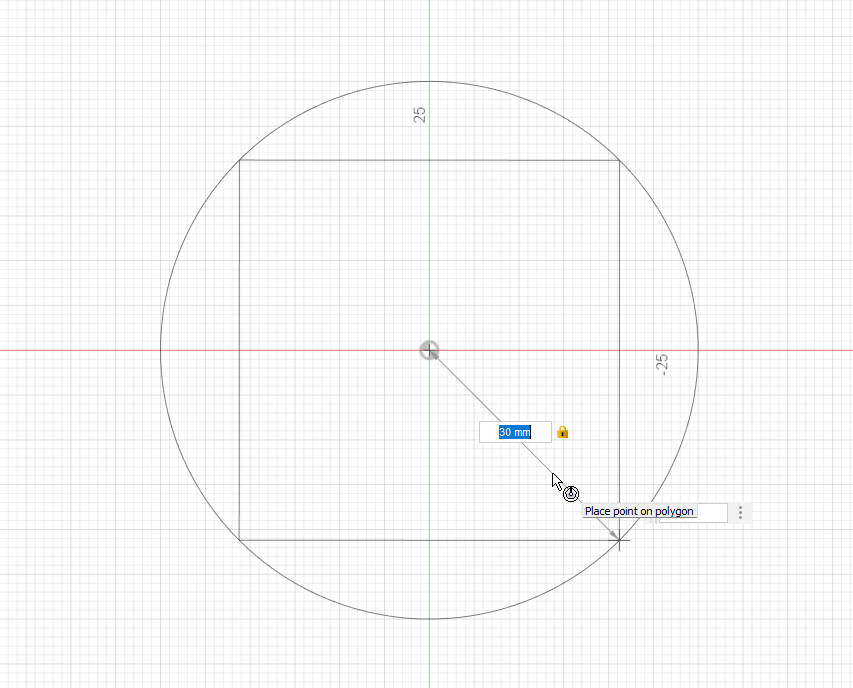
- I created a sketch then inscribed polygon
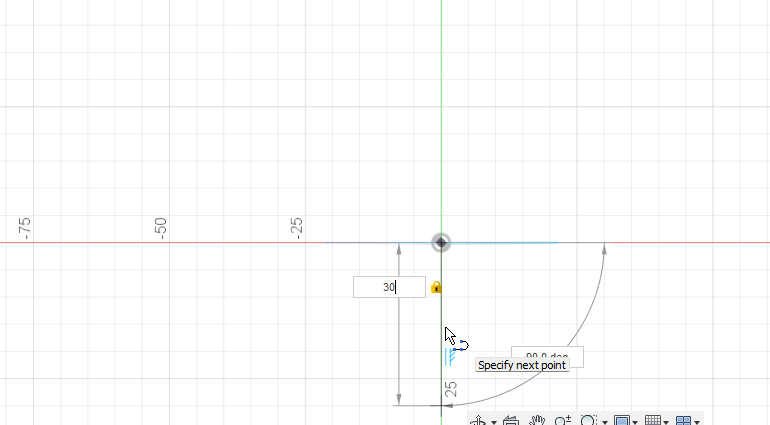
- I drew a line in a different plane perpendicular to the polygon.
- I used the loft to create the pyramid.
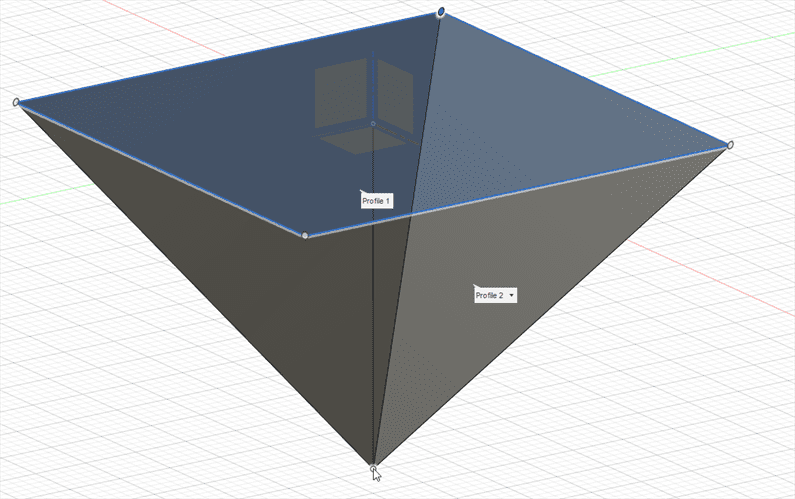
- I used the Torus to make the chain handle.

- I used the SVG file and used the extrude to convert it to 3D.
Download Files:
- Fusion 360 file (.F3D)
- STL file (.STL)
- SVG file (.SVG)
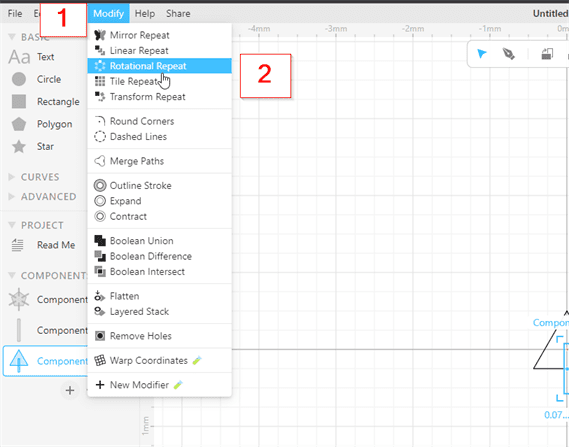
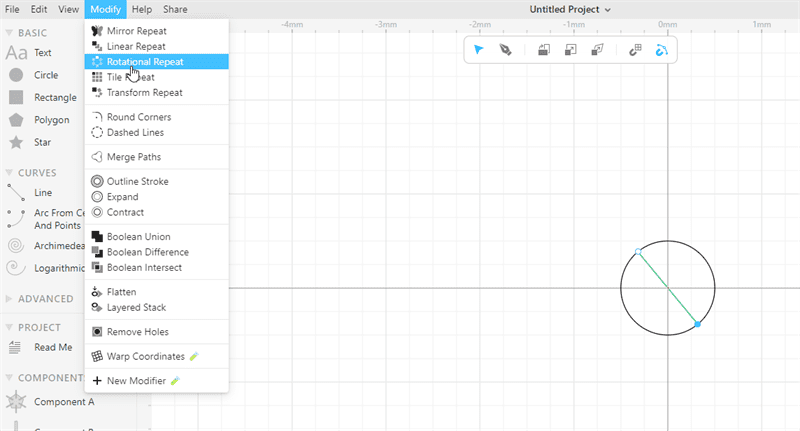
B. Cuttle
It is a vector editor with features for cut design like live modifiers, parameters, reusable components, and scripting. I used Cuttle website to design some shapes in 2D.
1. Creating Account on cuttle.xyz and log in.

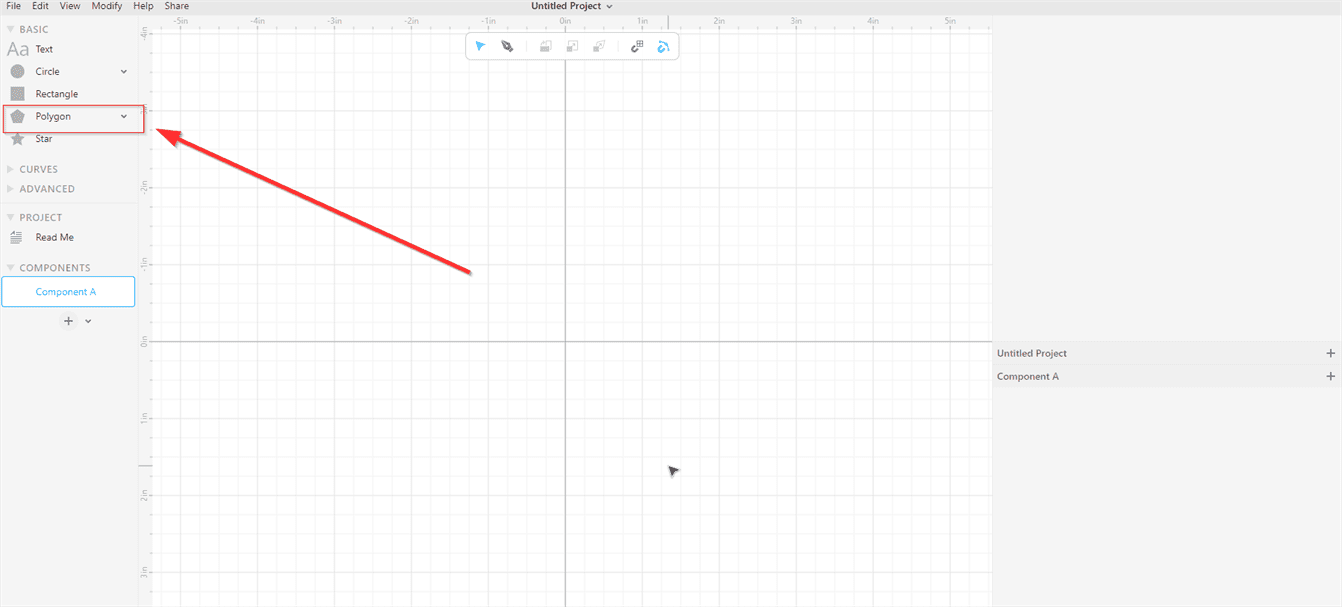
2. Start using Cuttle
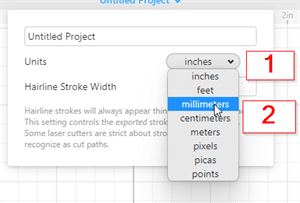
2.1 Changing the measure unit to millimeters.
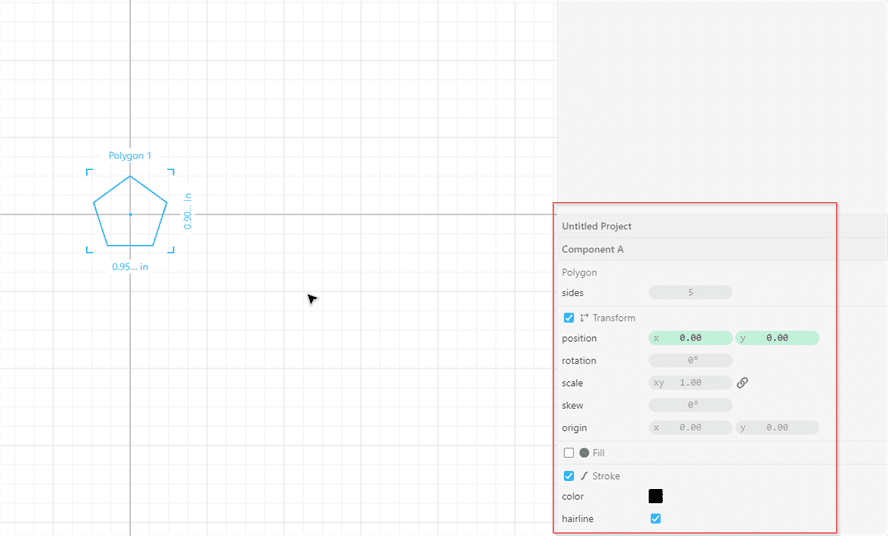
2.2 Creating a polygon and editing its properties.
I changed some of its properties like the position and the scaling.
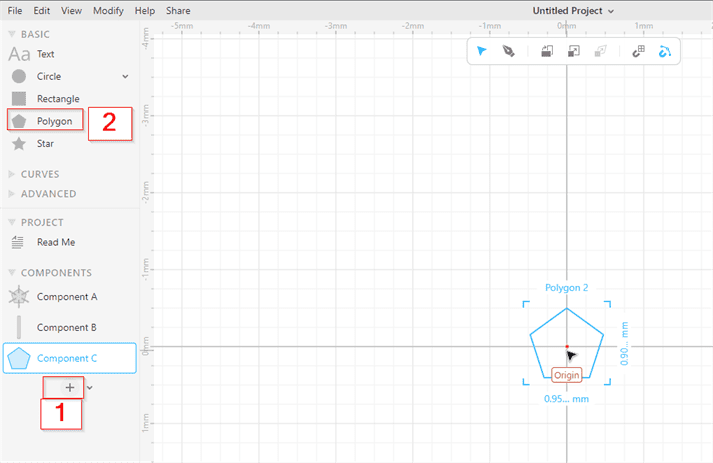
2.3 Creating a rectangle and editing its properties.
First, I created a new component then I dragged the rectangle to the shown position and edited its properties.

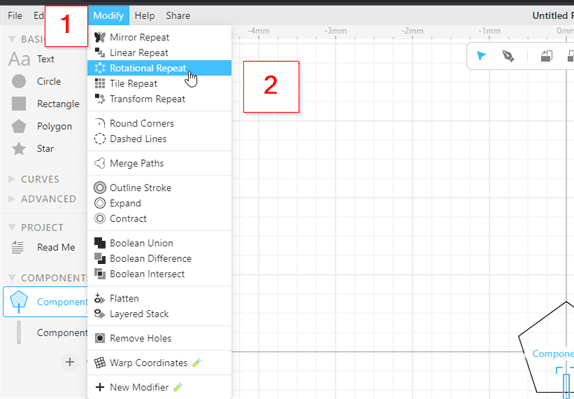
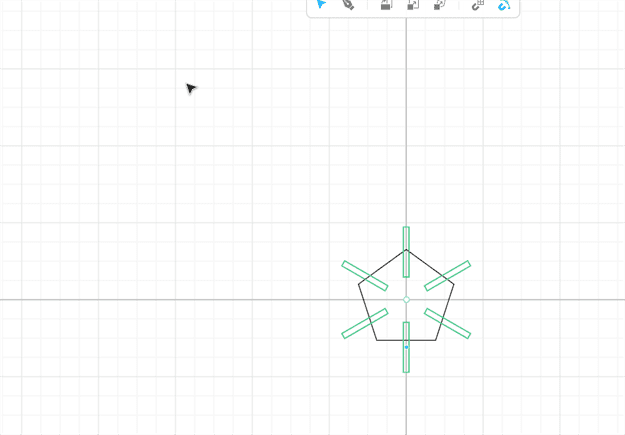
2.4 Adding the shapes together and repeating one of the shapes.
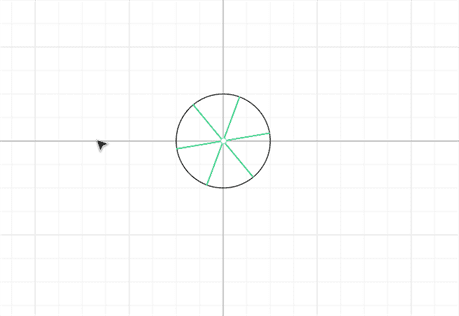
I added the rectangle to the polygon by selecting the polygon component, then dragging the rectangle component. I used rotation repeat to repeat the rectangle
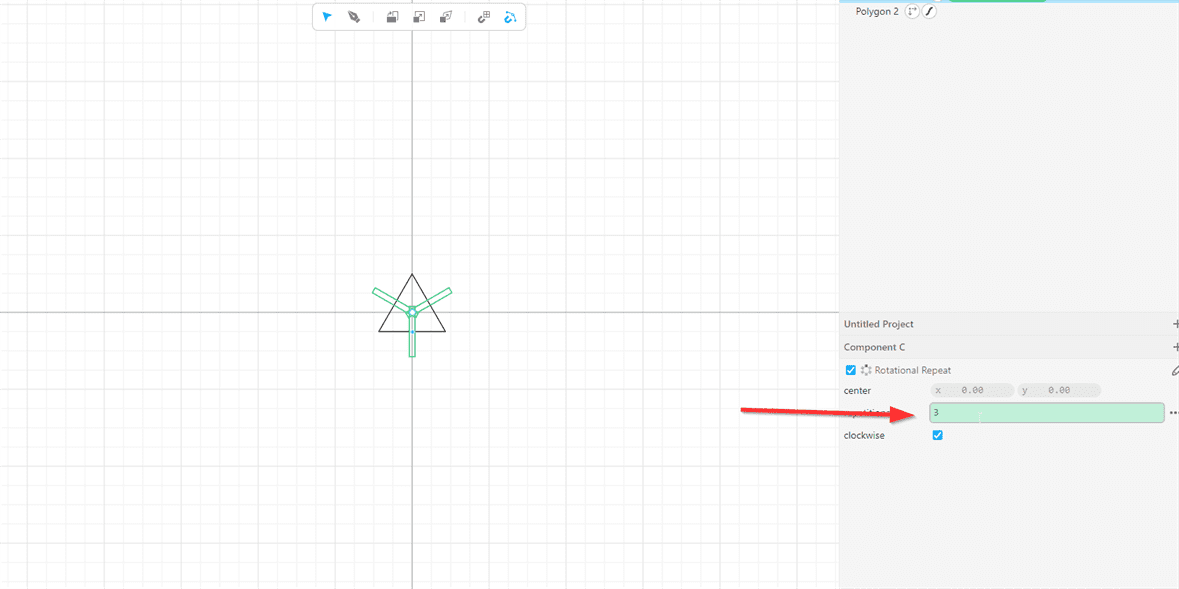
2.5 Creating the triangle.
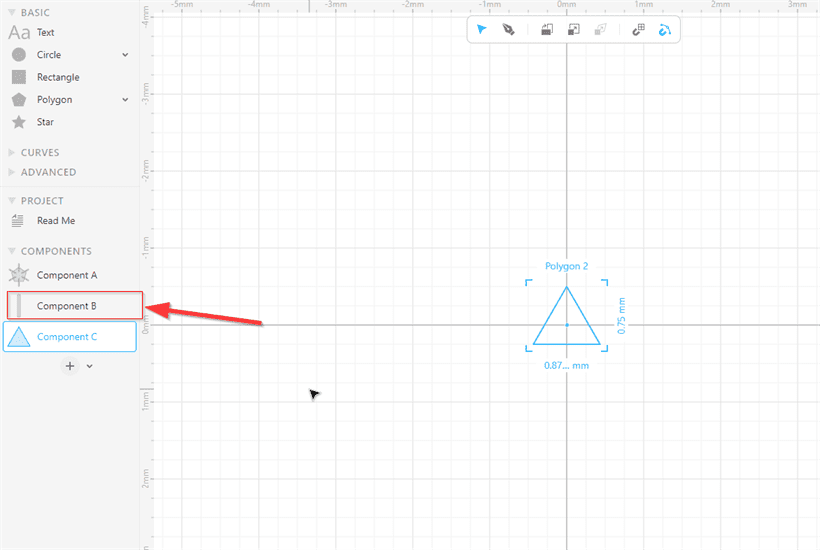
I used the polygon shape to create a triangle. First, I created a new component and I did the same steps as before. I changed the sides to 3 to convert the polygon to a triangle. I also edited the position and the scale and the skew of the repeated triangle to make it like shown in the pictures.


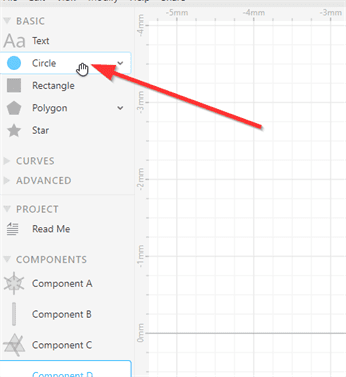
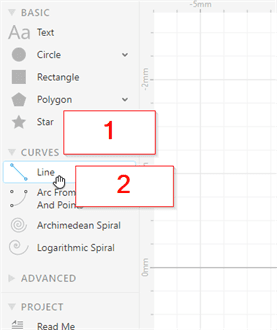
2.5 Creating the circle.
I used the same steps as before but instead of using the rectangle, I used the line from the curves.
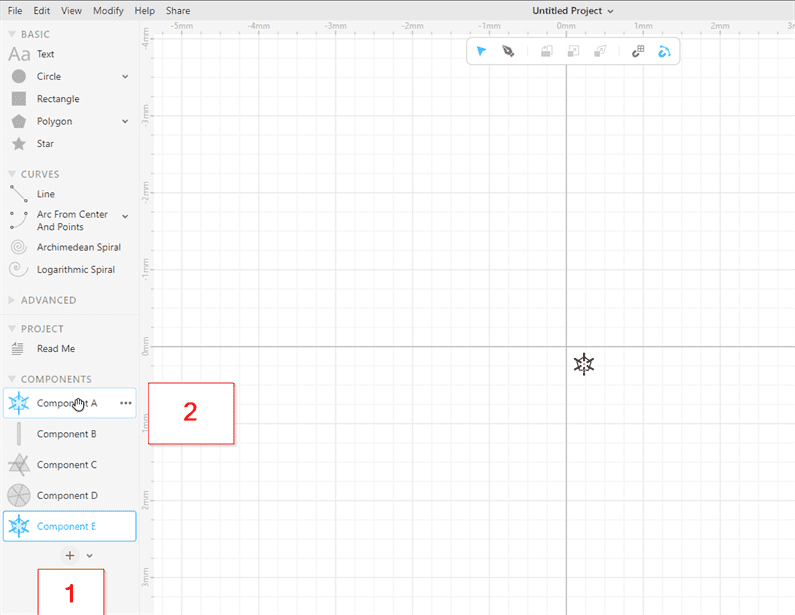
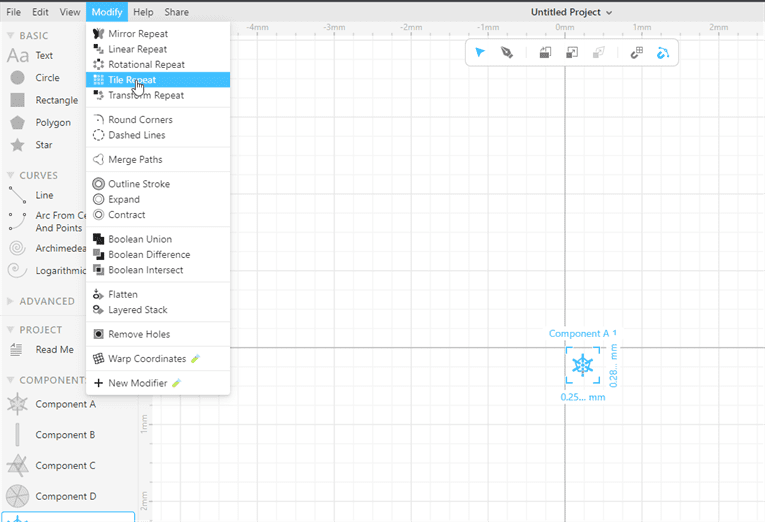
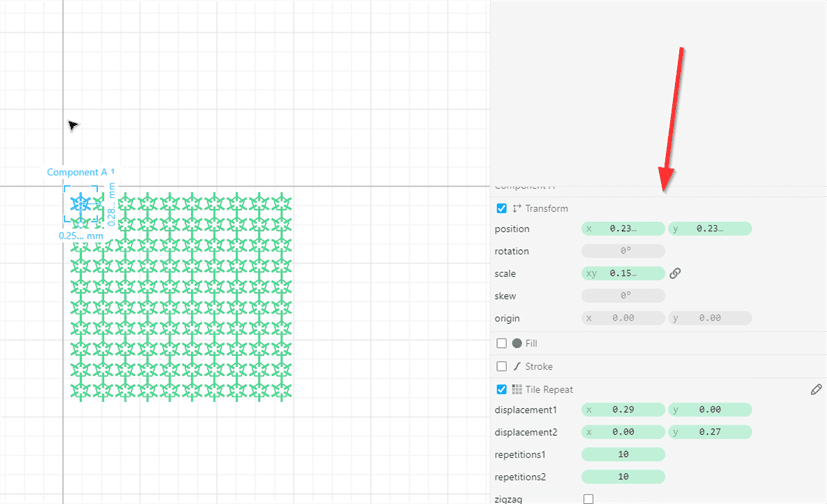
2.6 Creating the final design
I created a new component then I dragged component A to it. Then, I used Tile Repeat to repeat component A. I edited the position, scale, displacements, and repetitions.
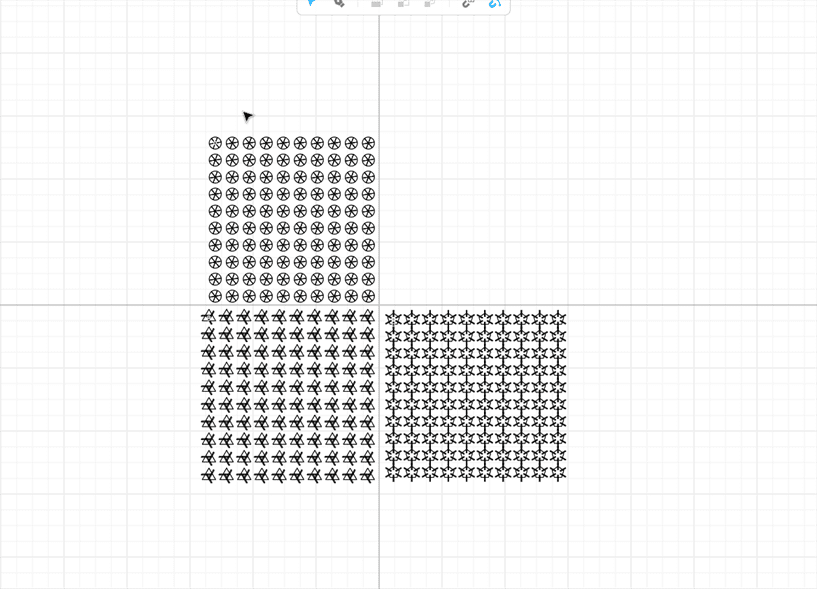
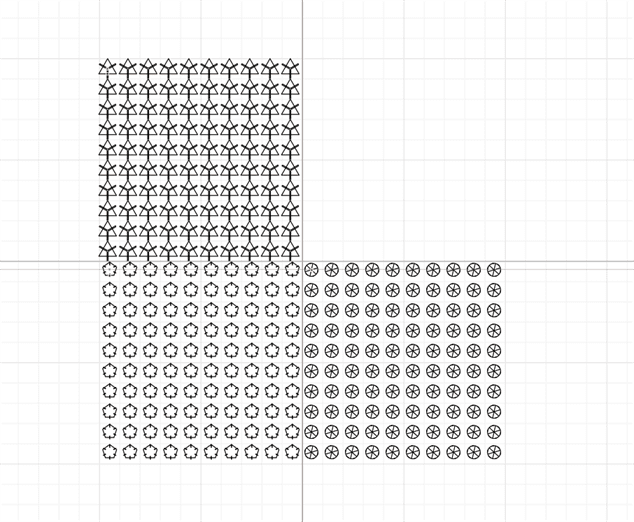
- Another project
This is another project that I created with the same steps.
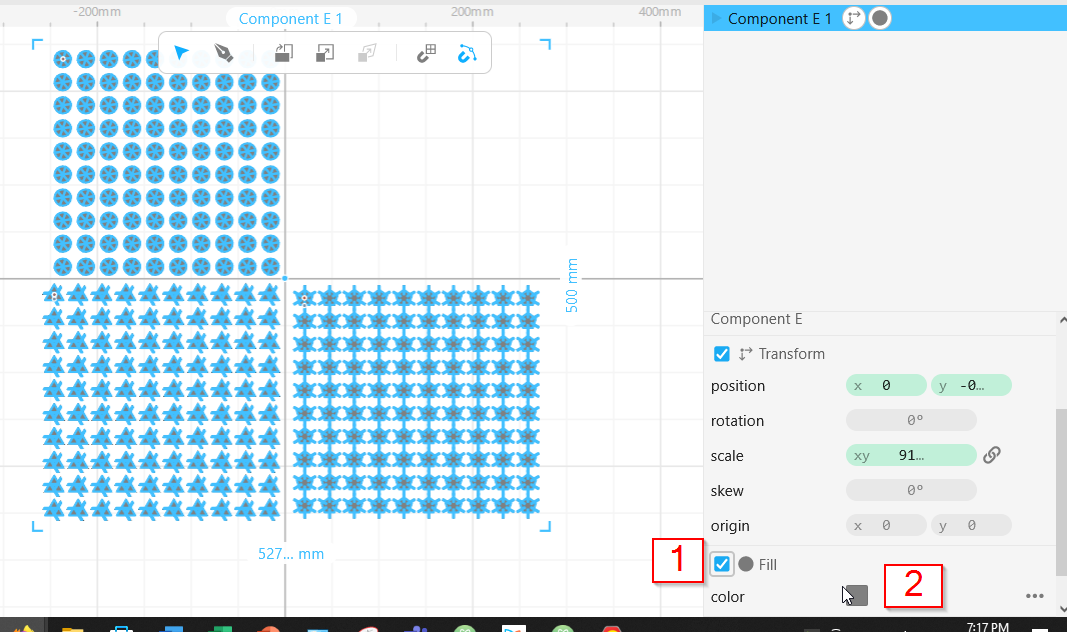
- Changing the color
Download Files
- SVG Files (.SVG)
C. Tinkercad
Tinkercad is a free online collection of software tools that help people all over the world think, create and make.
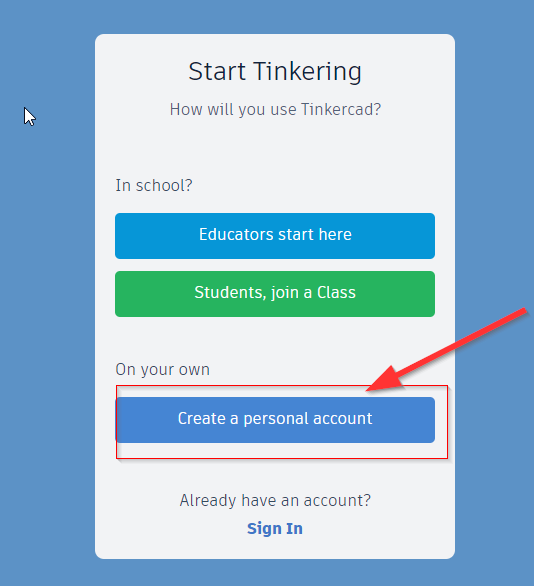
1. Creating account on Tinkercad website.

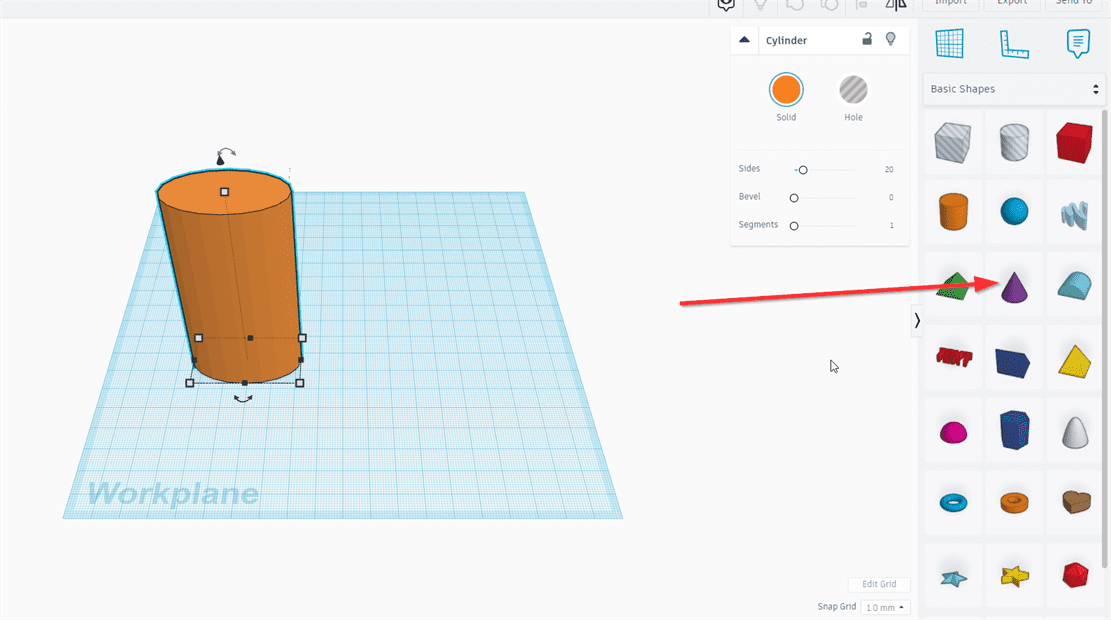
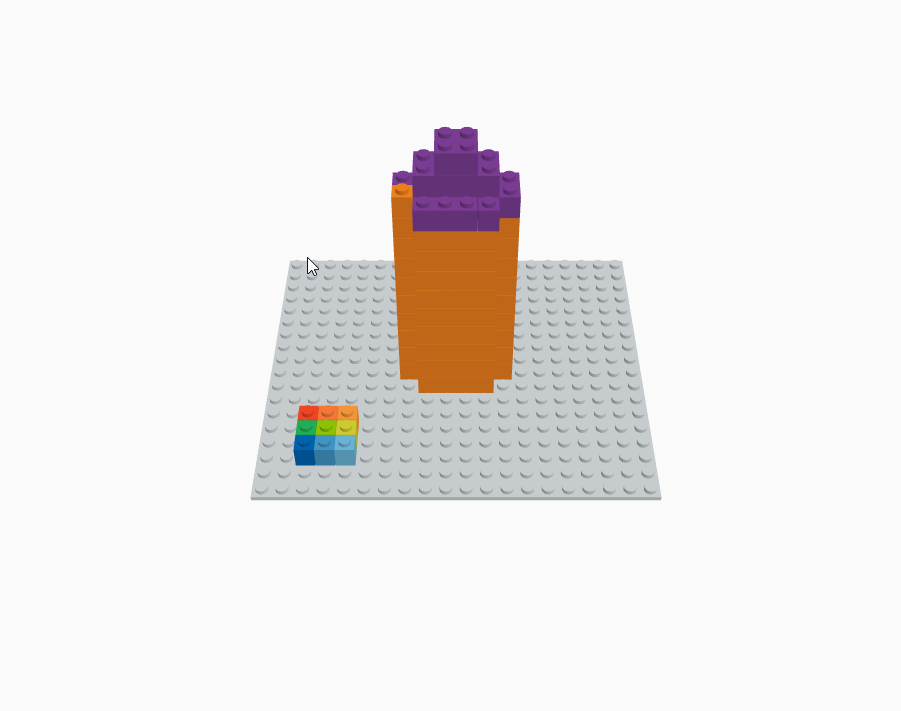
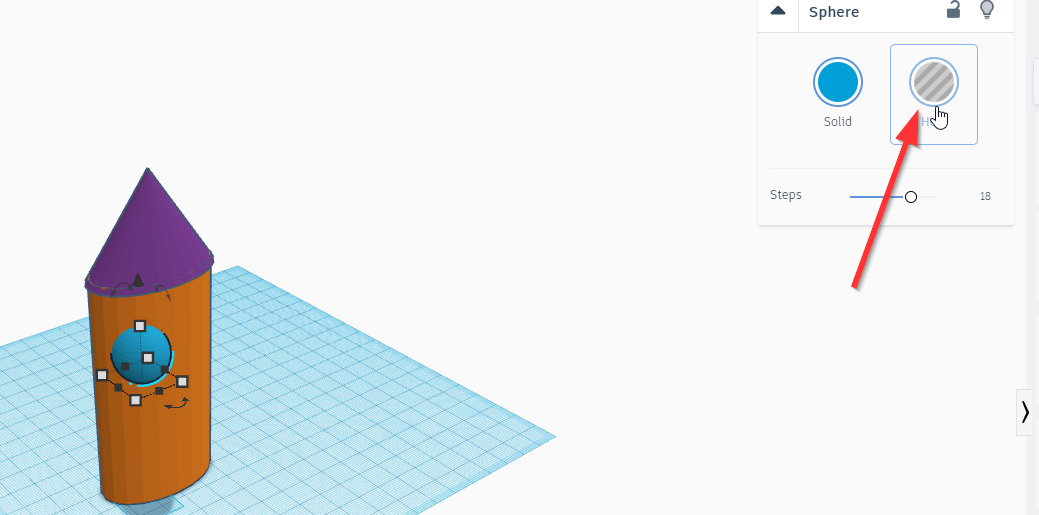
2. Start working using Tinkercad.

- I draged a shape.

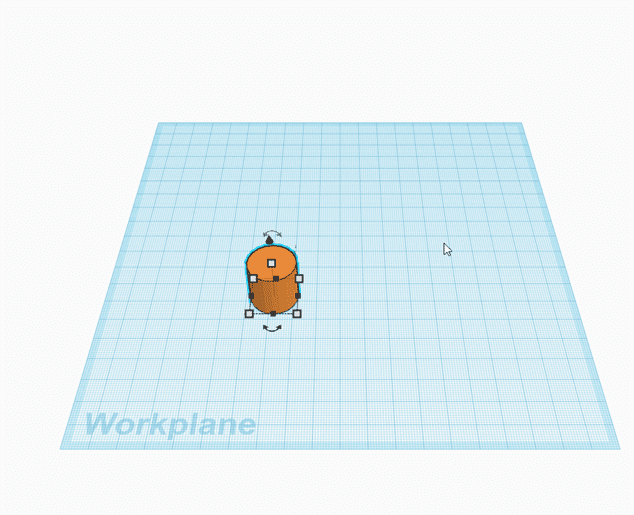
- I changed its size by scaling it.
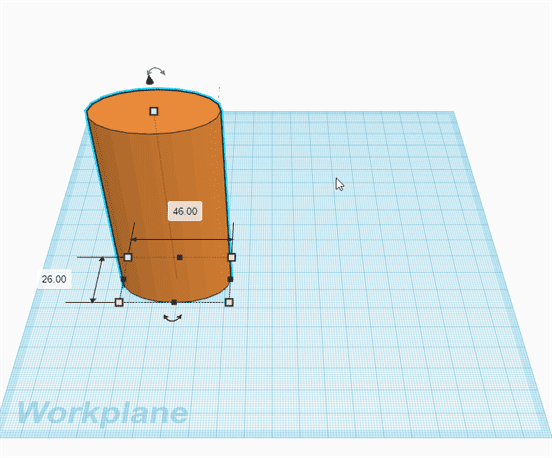
- I dragged another shape.
- I viewed my project as LEGO (bricks).
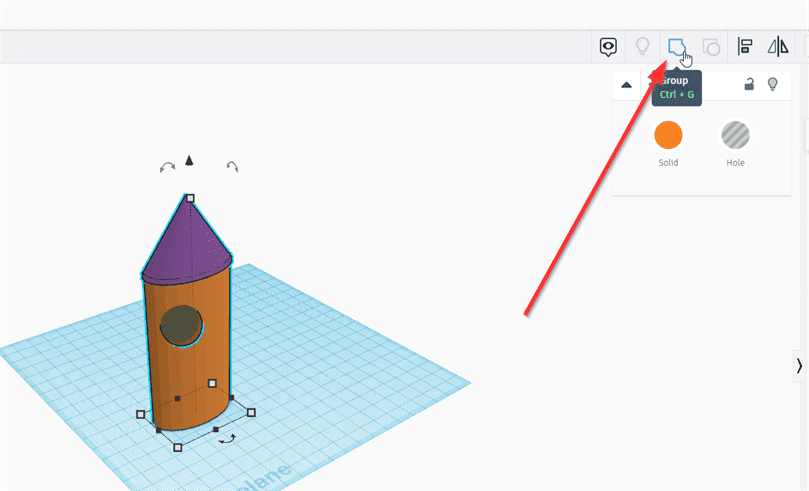
- I viewed my project as a 3D design again and I dragged a new shape. I changed it from solid to hole to make a hole in the previous shape. To do so I selected all the shapes and chose 'Group'.
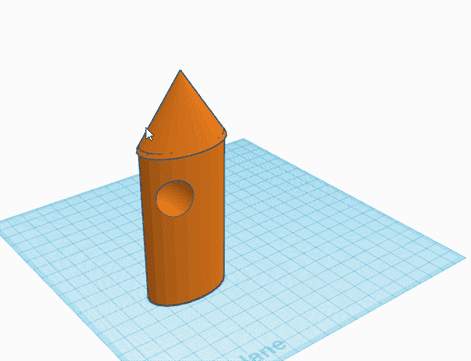
- The final shape.
Download Files:
- STL File (.STL)
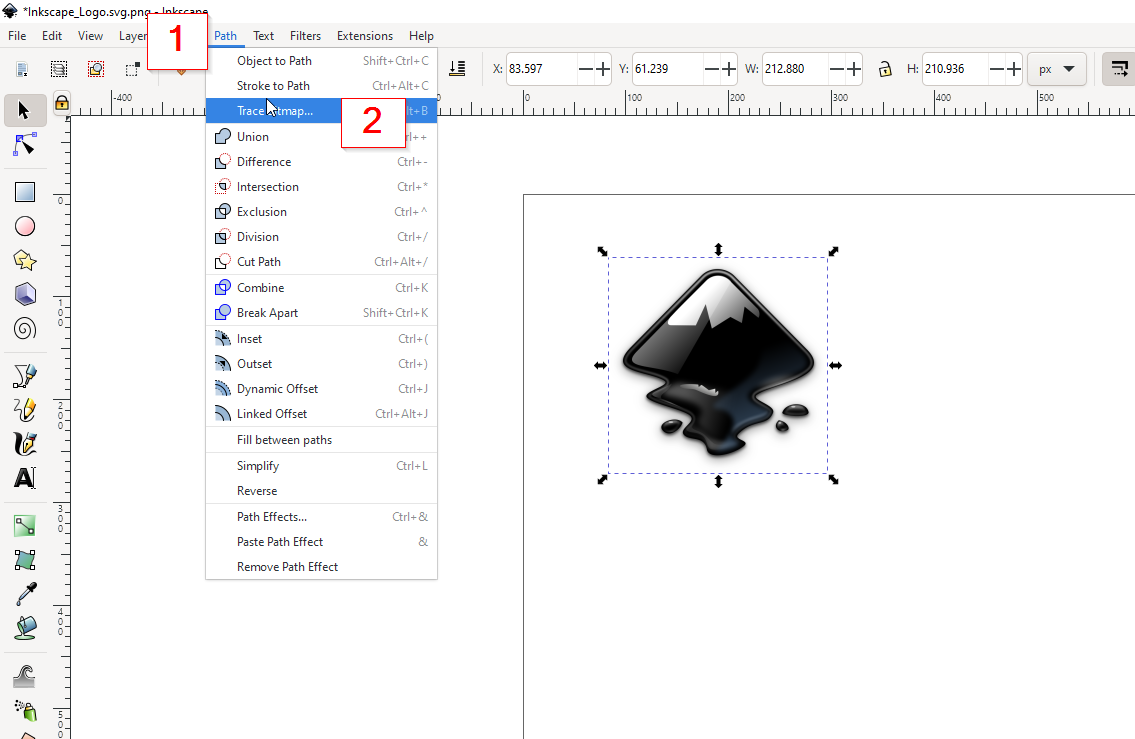
D. Inkscape.
Inkscape is professional quality vector graphics software which runs on Linux, Mac OS X and Windows desktop computers.
The image can be as a raster or vector. Raster is based on pixels, each pixel has a value. While raster is based on vector that has scale and direction.
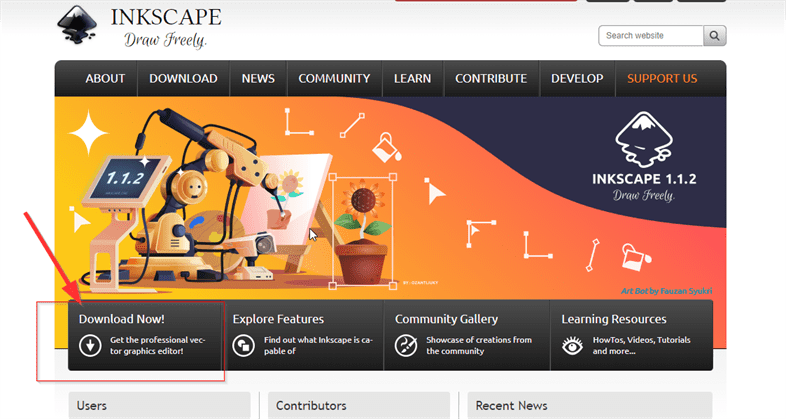
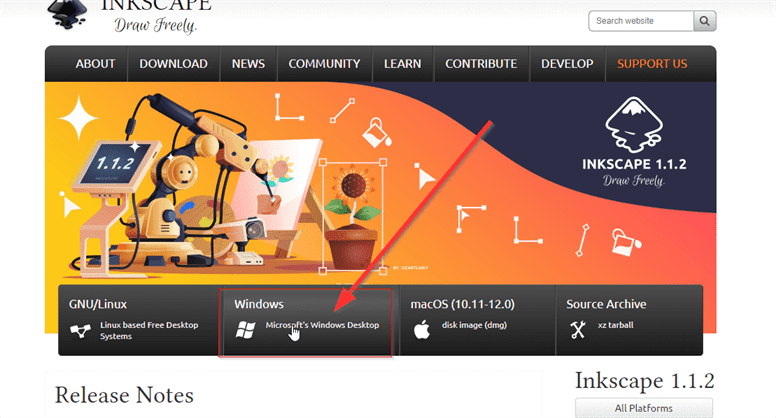
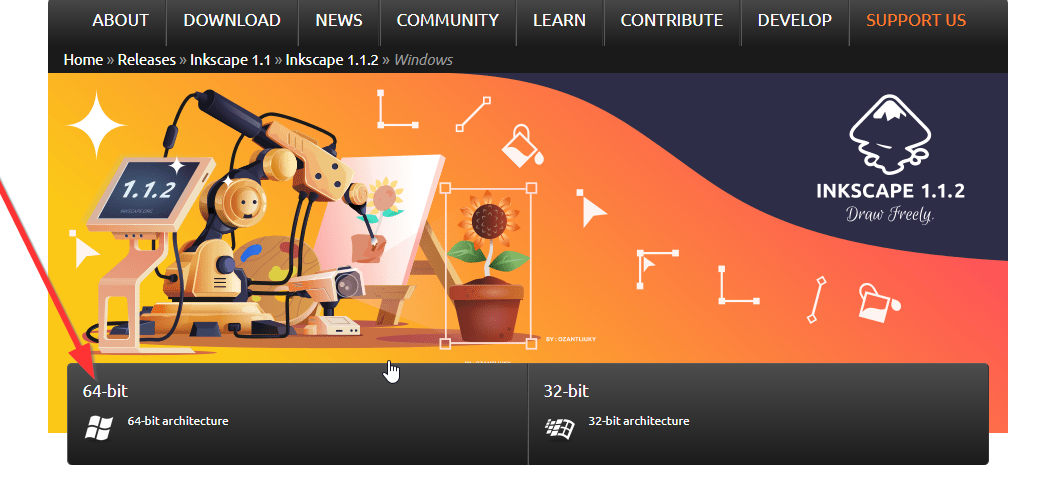
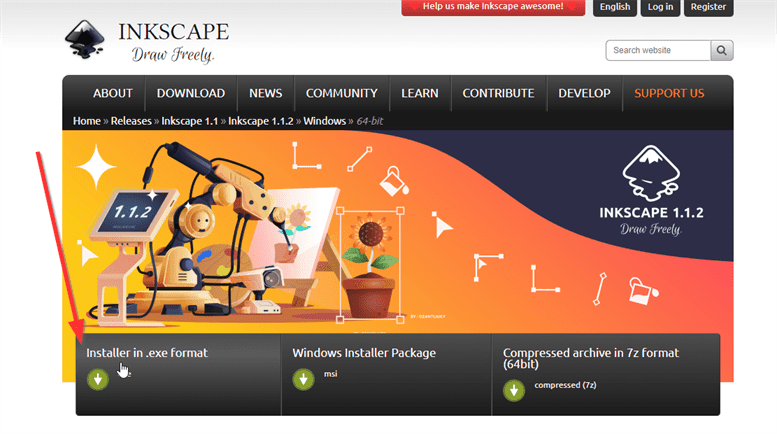
1. Downloading and installing Inkscape.
After downloading it I installed it as any other software.
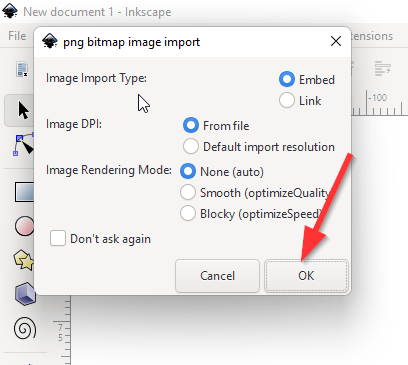
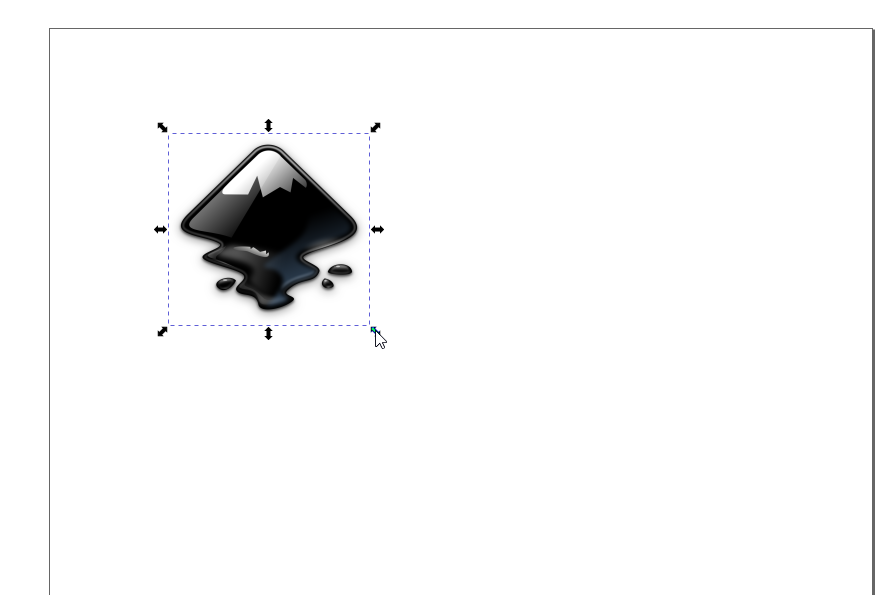
2. Start working using Inkscape.
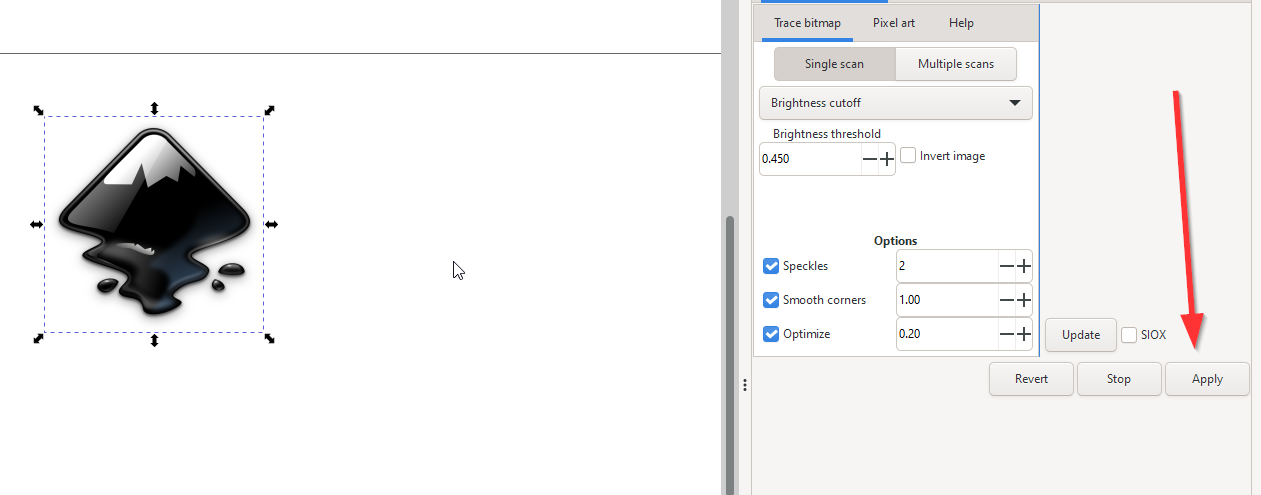
- I added a picture that I downloaded it from the internet.
- I used Trace Bitmap to convert the picture from a raster to a vector. The raster will loss some resolution when the image is scaled but the vector won't.
- The final result.
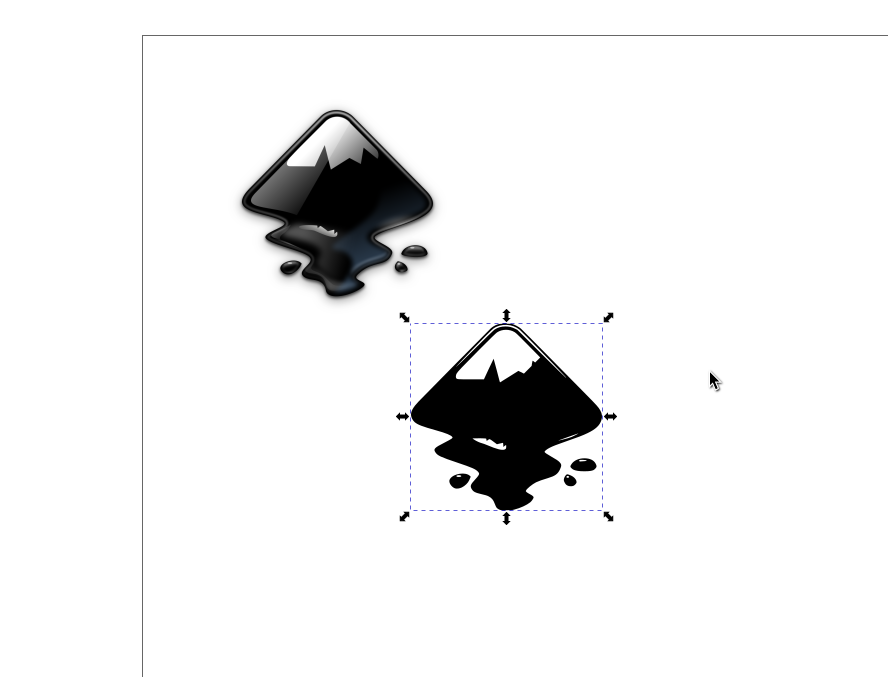
- Another result

Download files:
- SVG
- PNG
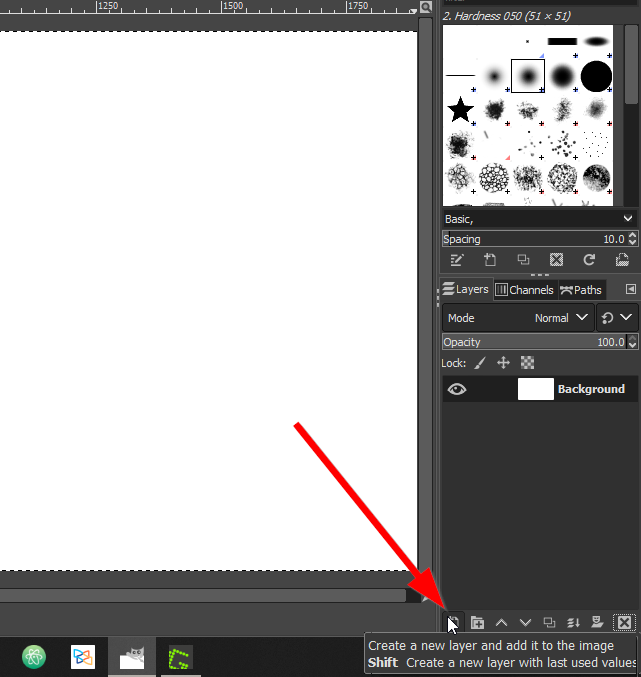
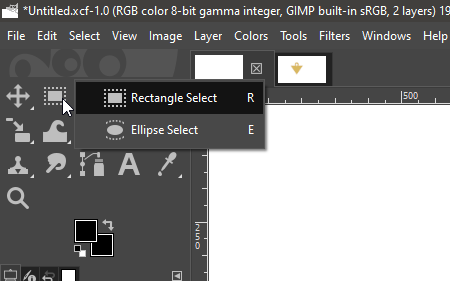
E. GIMP
GIMP is a free and open-source raster graphics editor used for image manipulation and image editing, free-form drawing, transcoding between different image file formats, and more specialized tasks.
1. Downloading and installing GIMP.
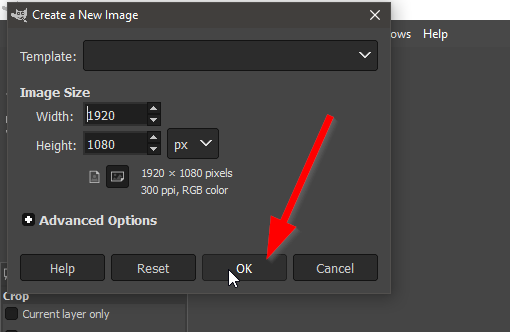
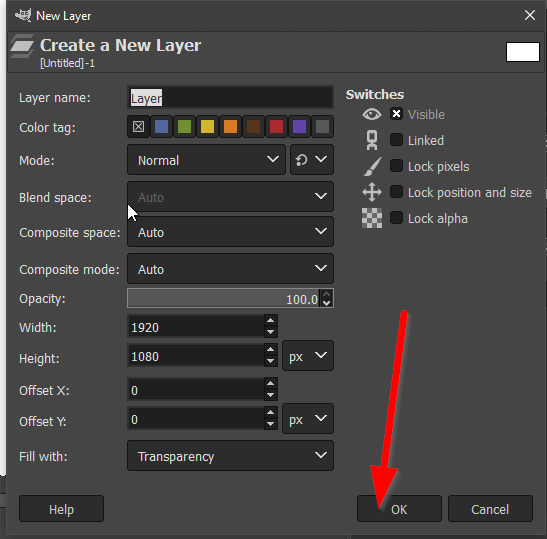
2. Starting a new file.
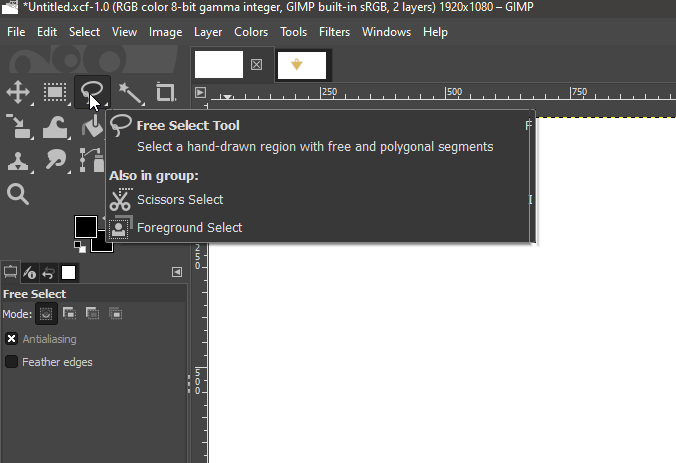
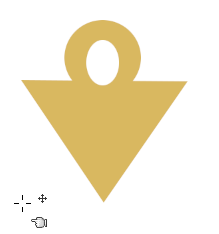
I created a shape that is called The Millennium Puzzle. It is something related to a Japanese anime called Yu-Gi-Oh!.

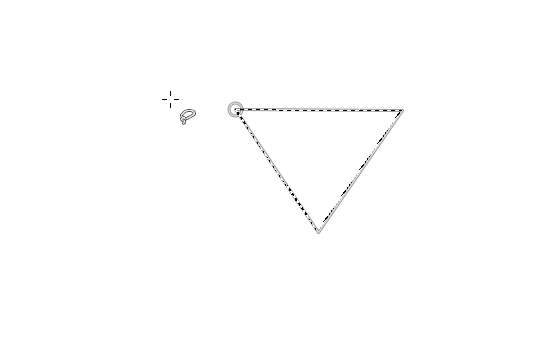
The triangle can be created using Free Select Tool, and then drawing each line and connect the last line with second one.

OI created a new layer for the circle. The circle can be created using Ellipse Select. I created a big circle with the yellowish color and then a small circle with a white color.
Download files:
- XCF
- PNG
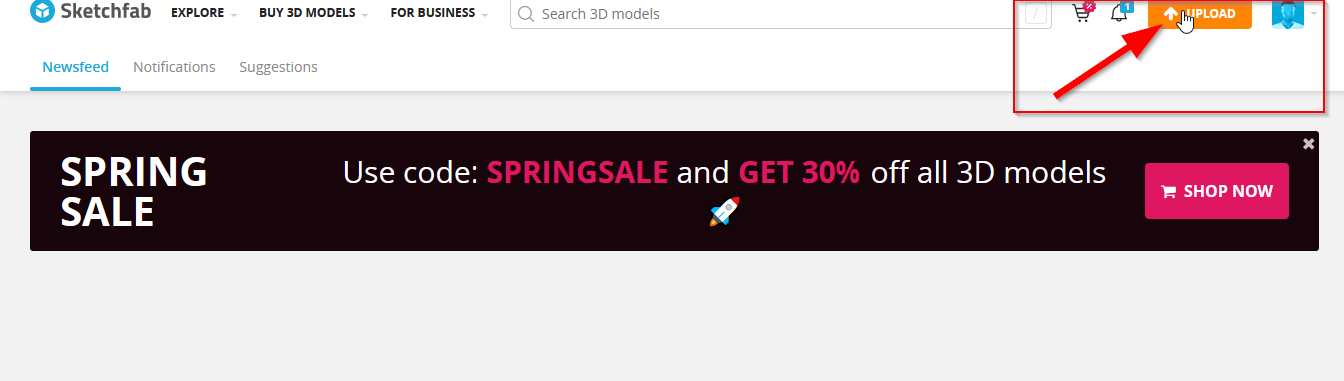
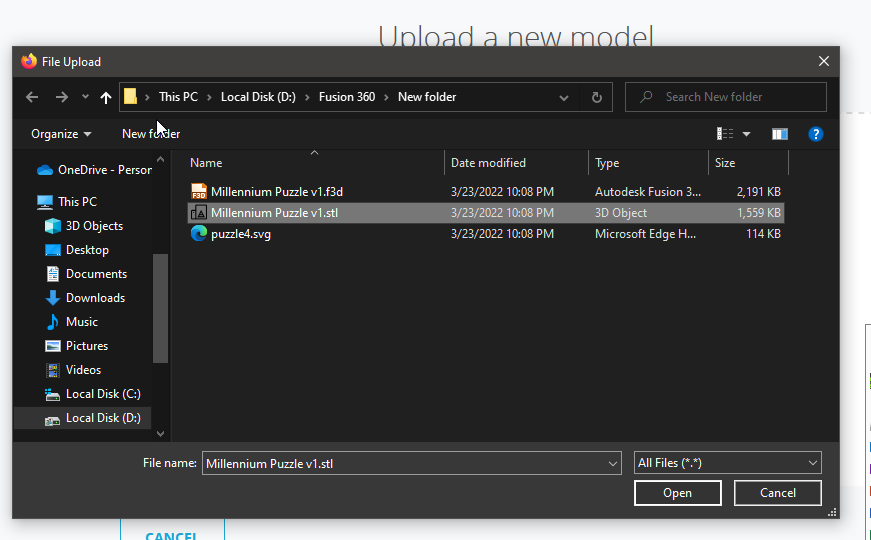
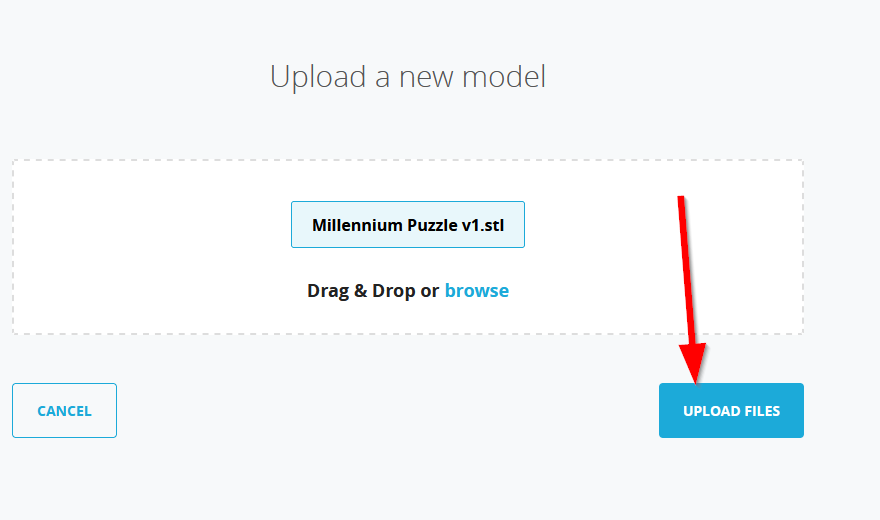
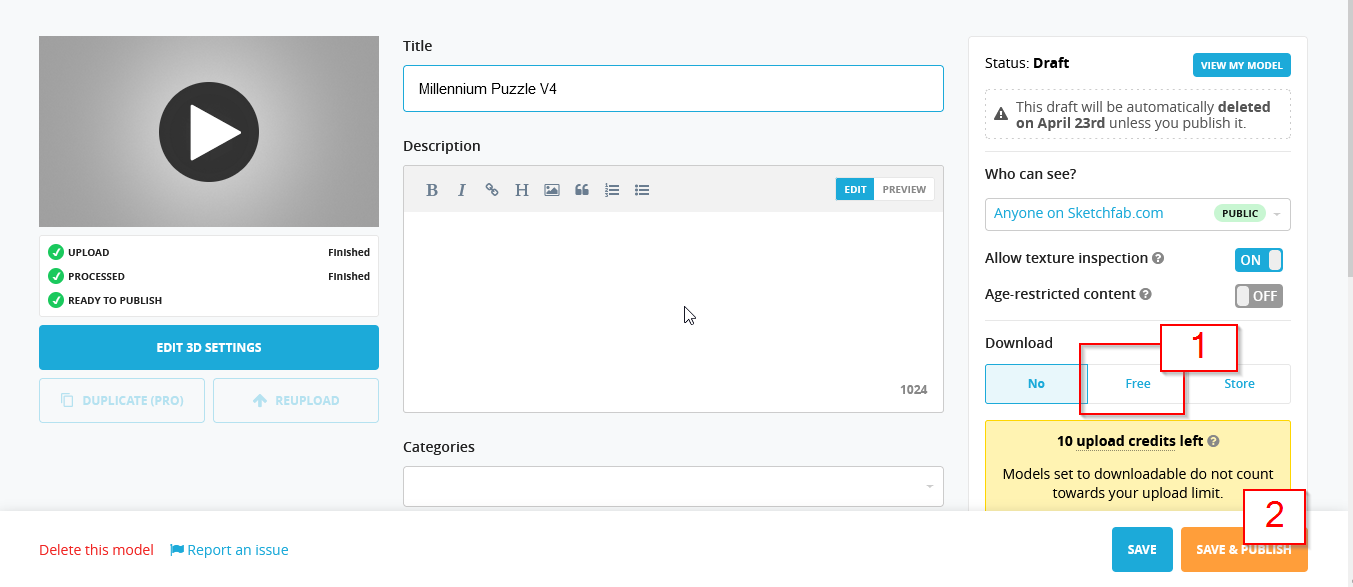
F. Sketchfab
Sketchfab is a 3D modeling platform website to publish, share, discover, buy and sell 3D, VR and AR content.
I created an account first then I uploaded my 3D Models.