3. Computer controlled cutting
This week I worked on Computer controlled cutting.
A. Laser Cutter
It is a subtractive method to cut the material using laser. There are some safety measures to take when you want to use the laser cutter, such as:
- Closing the protection door when the machine will start cutting.
- Stay in safe distance.
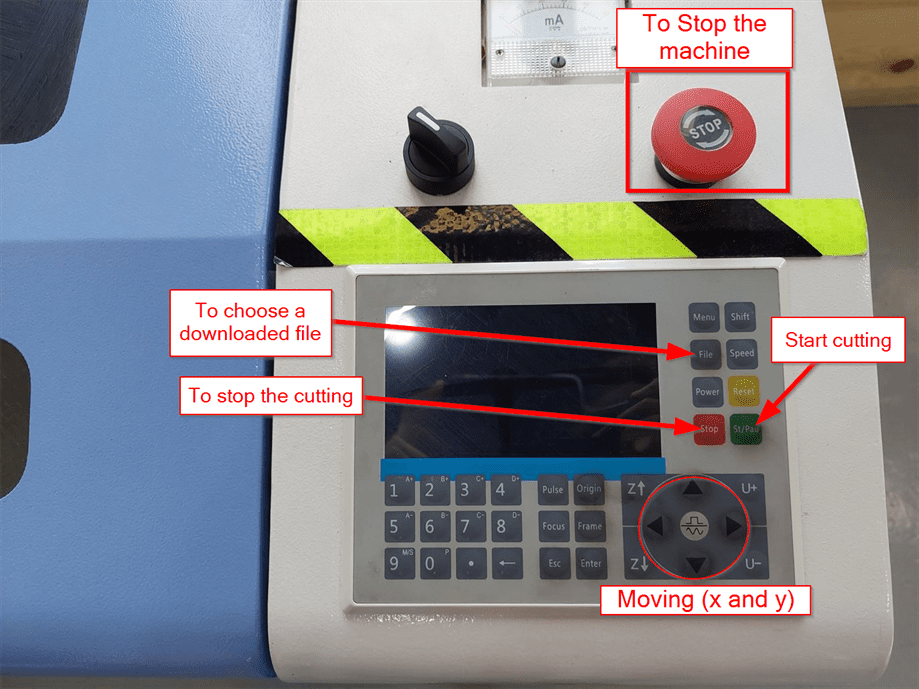
- If there is any fire make sure to stop the machine by pressing the stop button (the red button).
- This picture shows a general idea of some of the buttons.
A1. Group Assignment
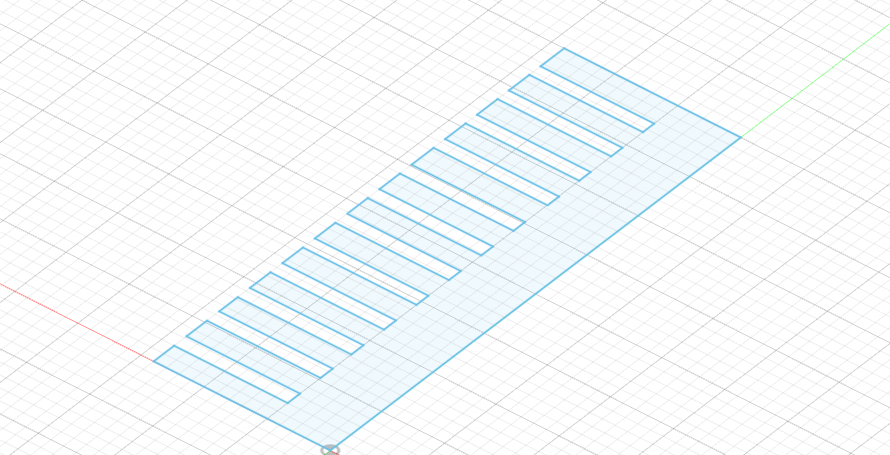
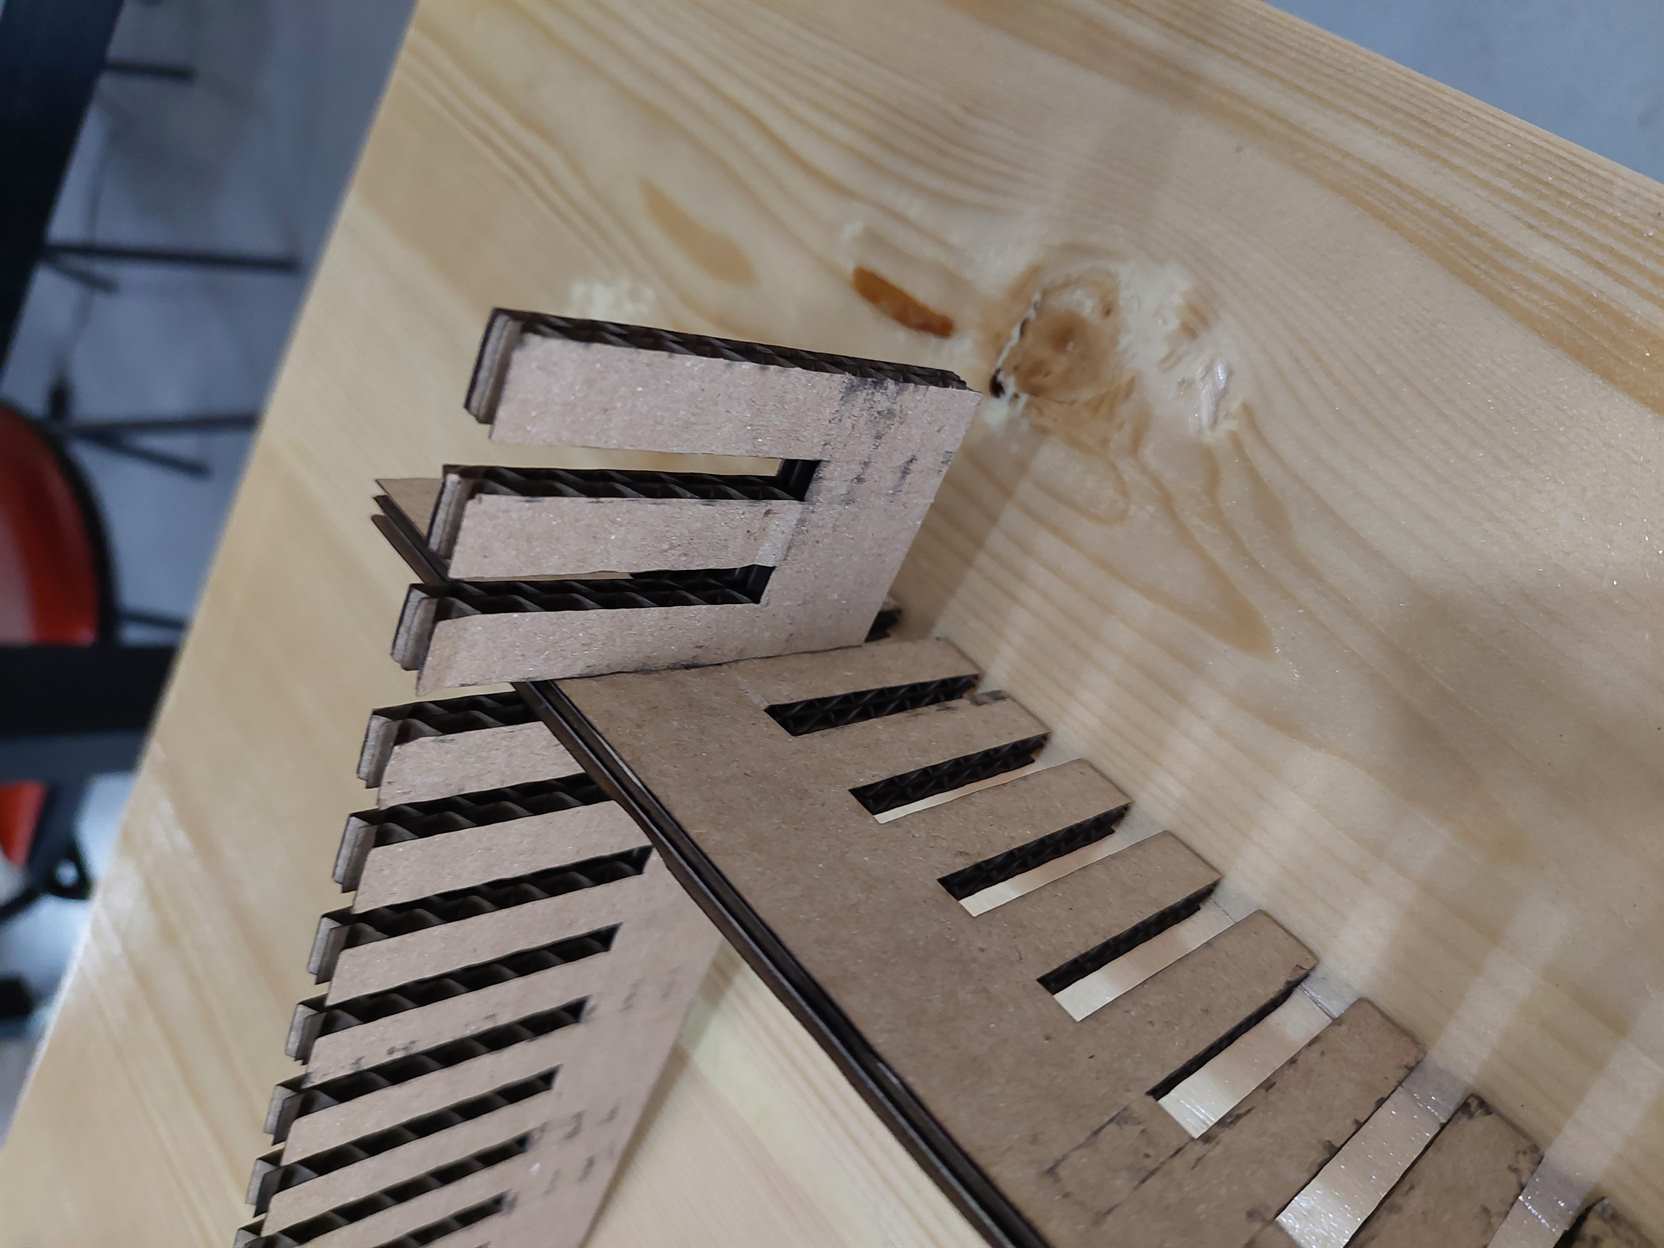
For the group assignment we made a comb shape using Fusion 360 and cut it using the laser cutting machine. We made different sizes for the parts then are used to join two pieces together, we did this to decide the best size to connect the pieces without making them loose.
The comp was designed using fusion 360.
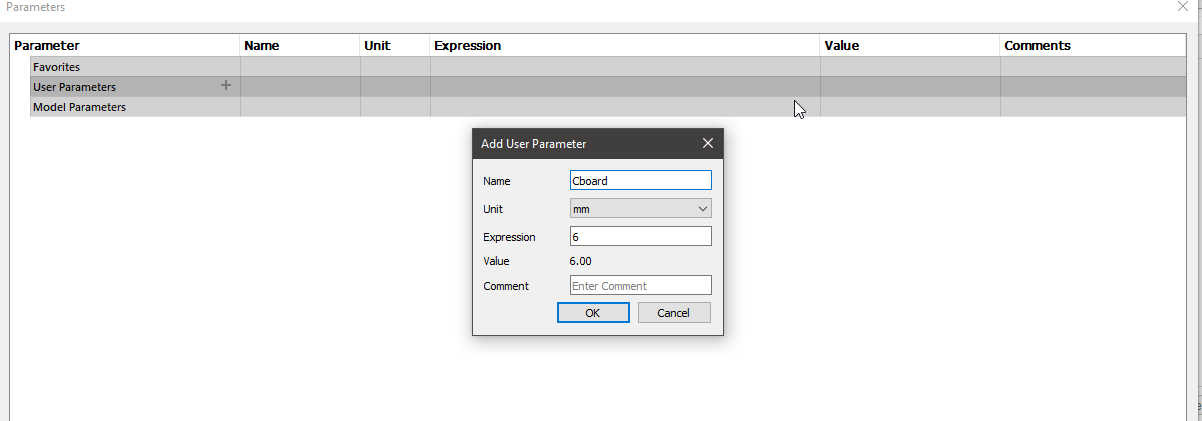
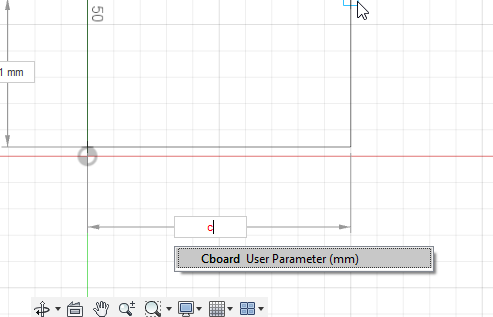
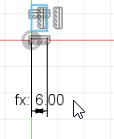
- I used parametric design so when I change a length of an object, all the objects will be changed too.

- This is the cutter (pin).
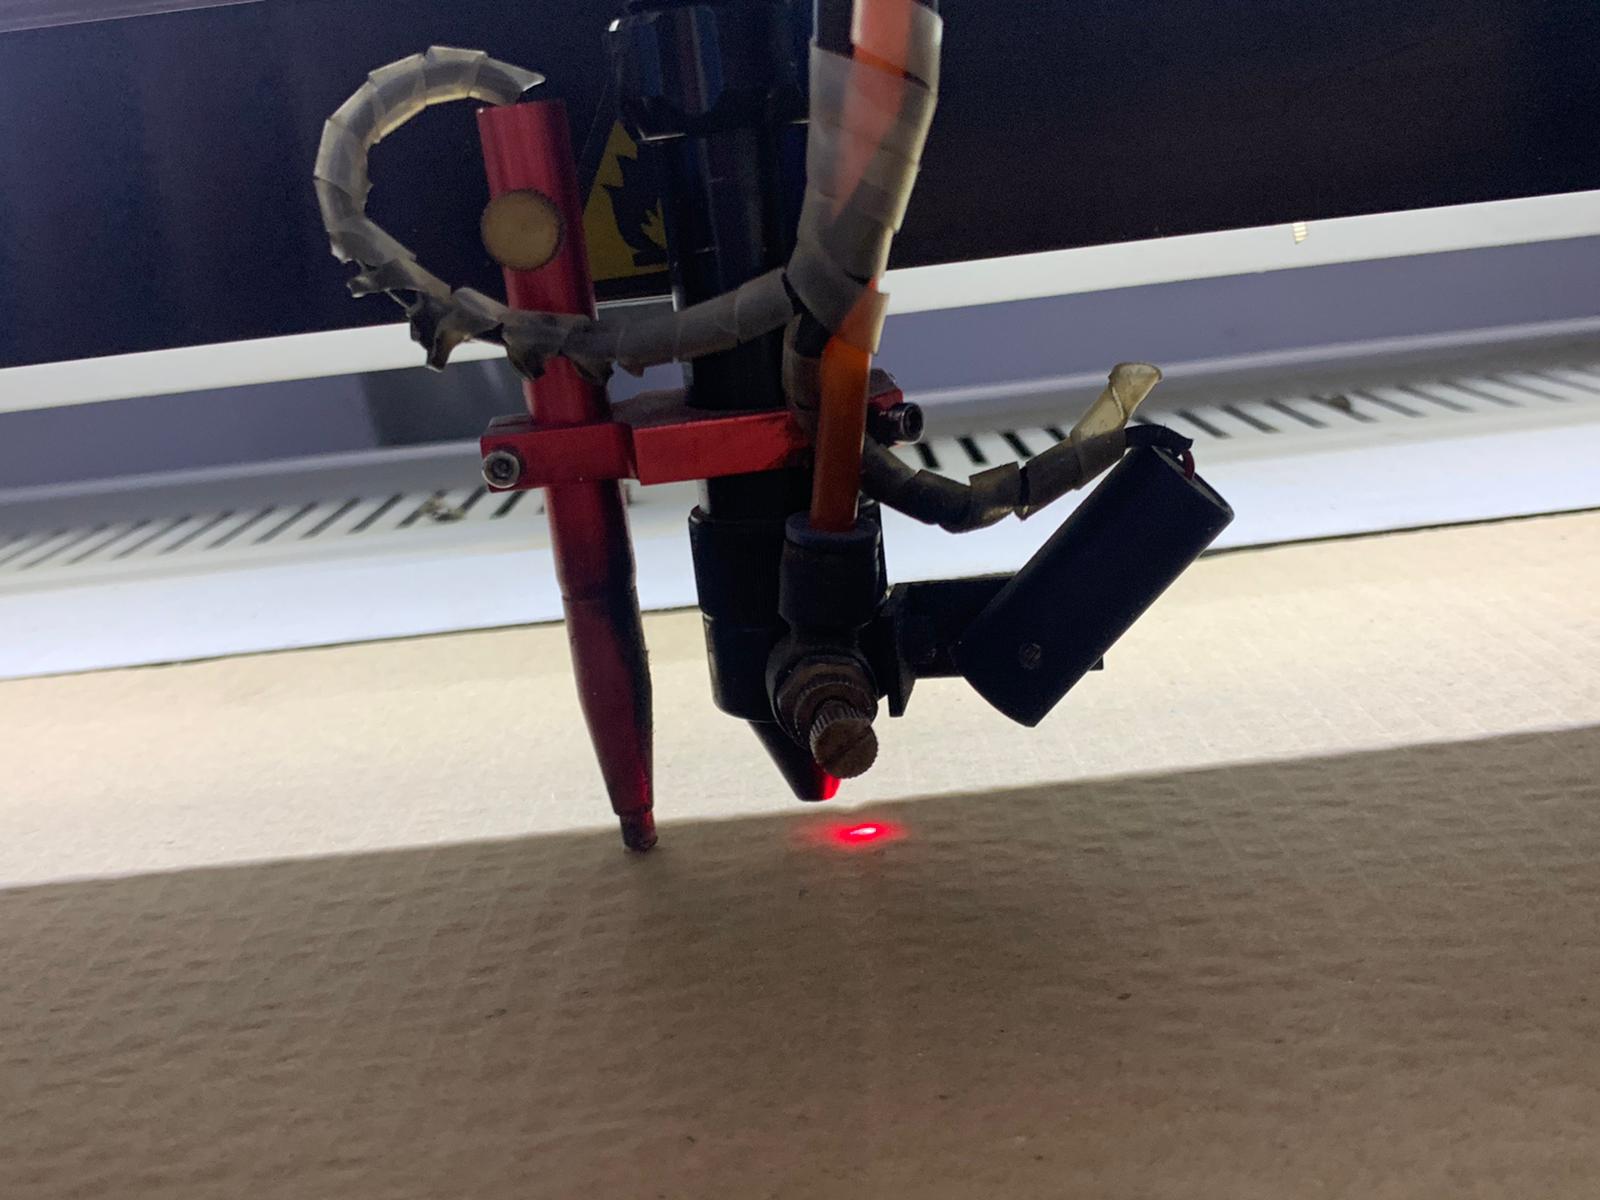
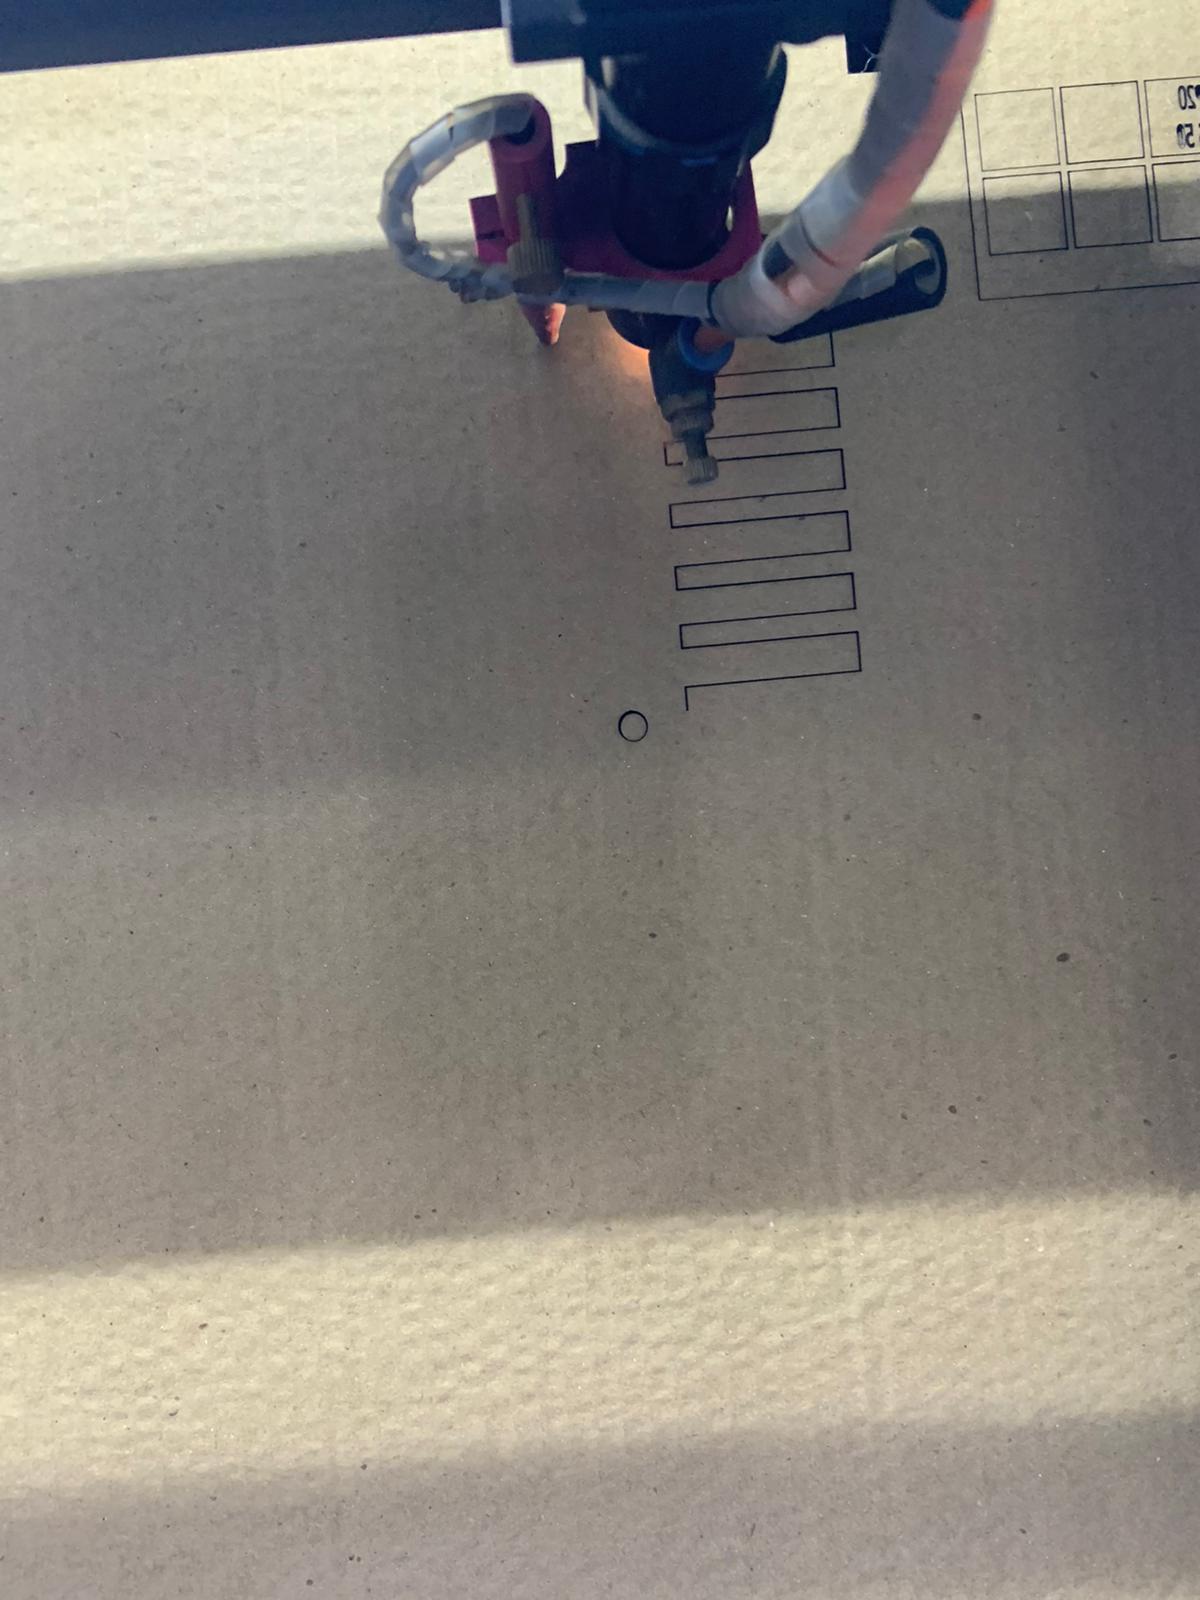
- Cutting the comp.
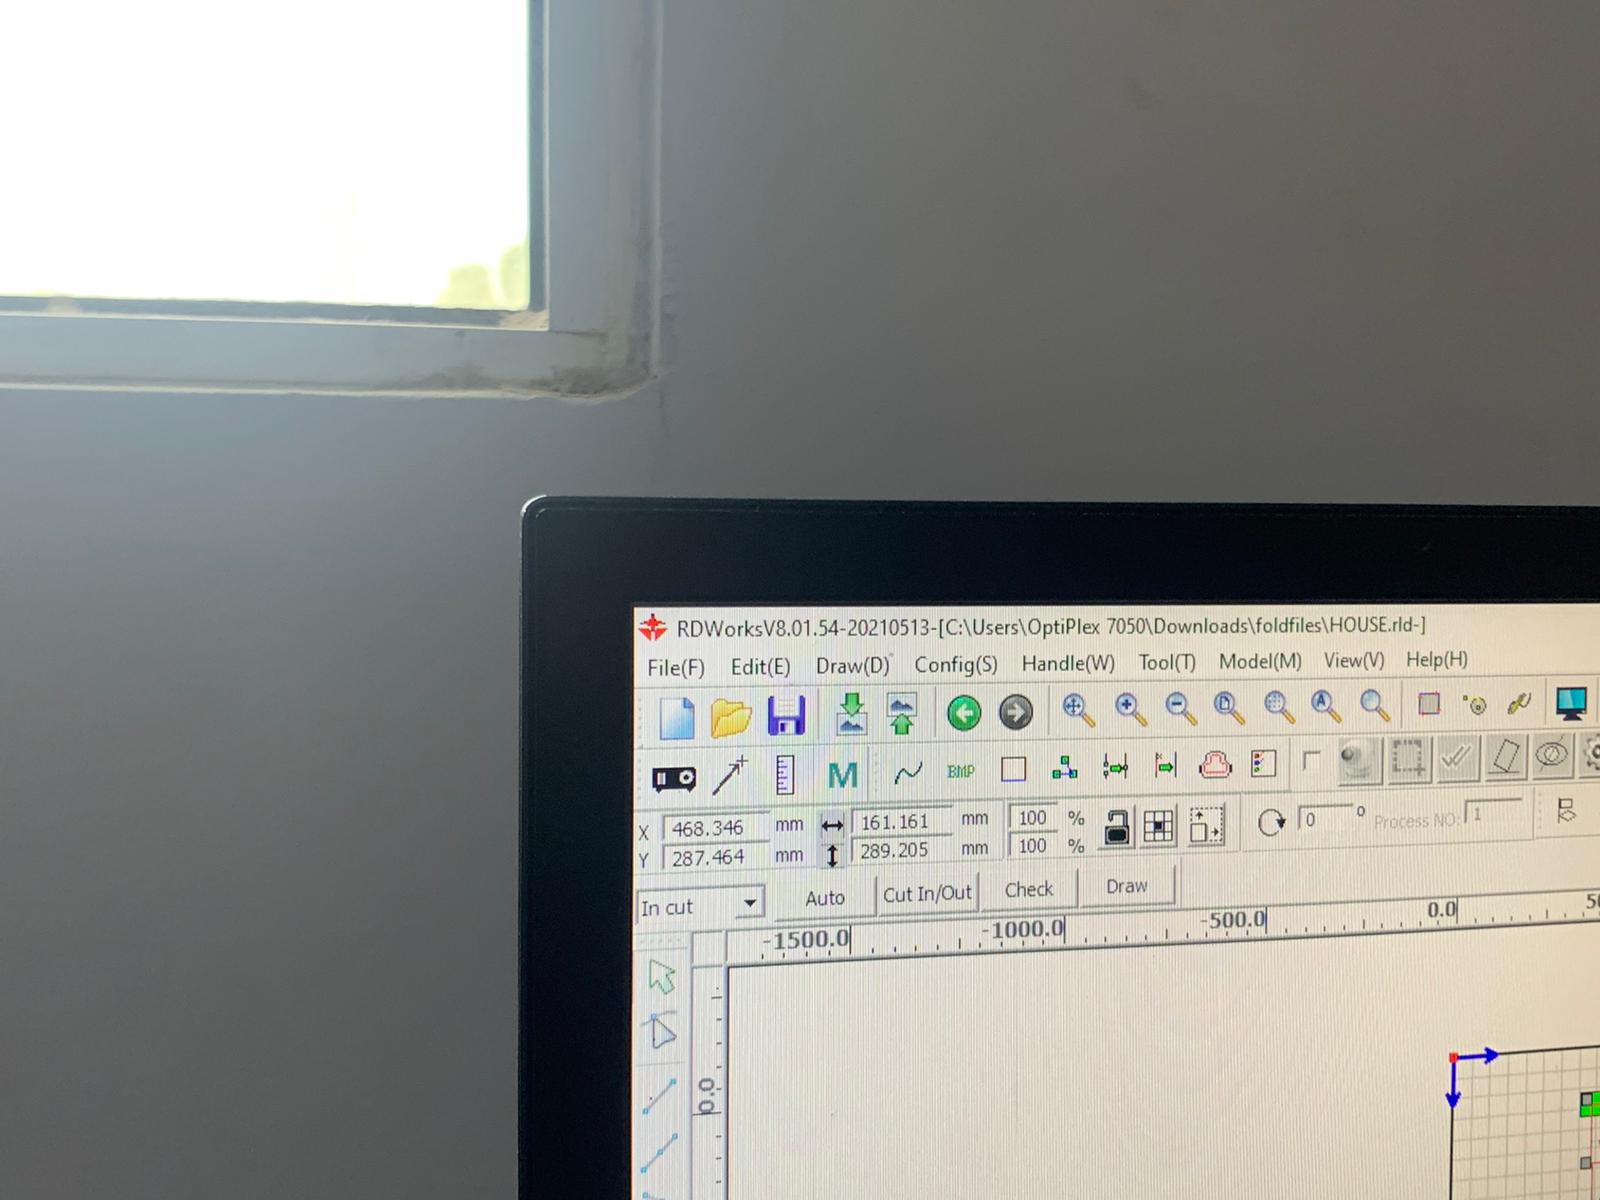
- The name of the software.
- The final result.
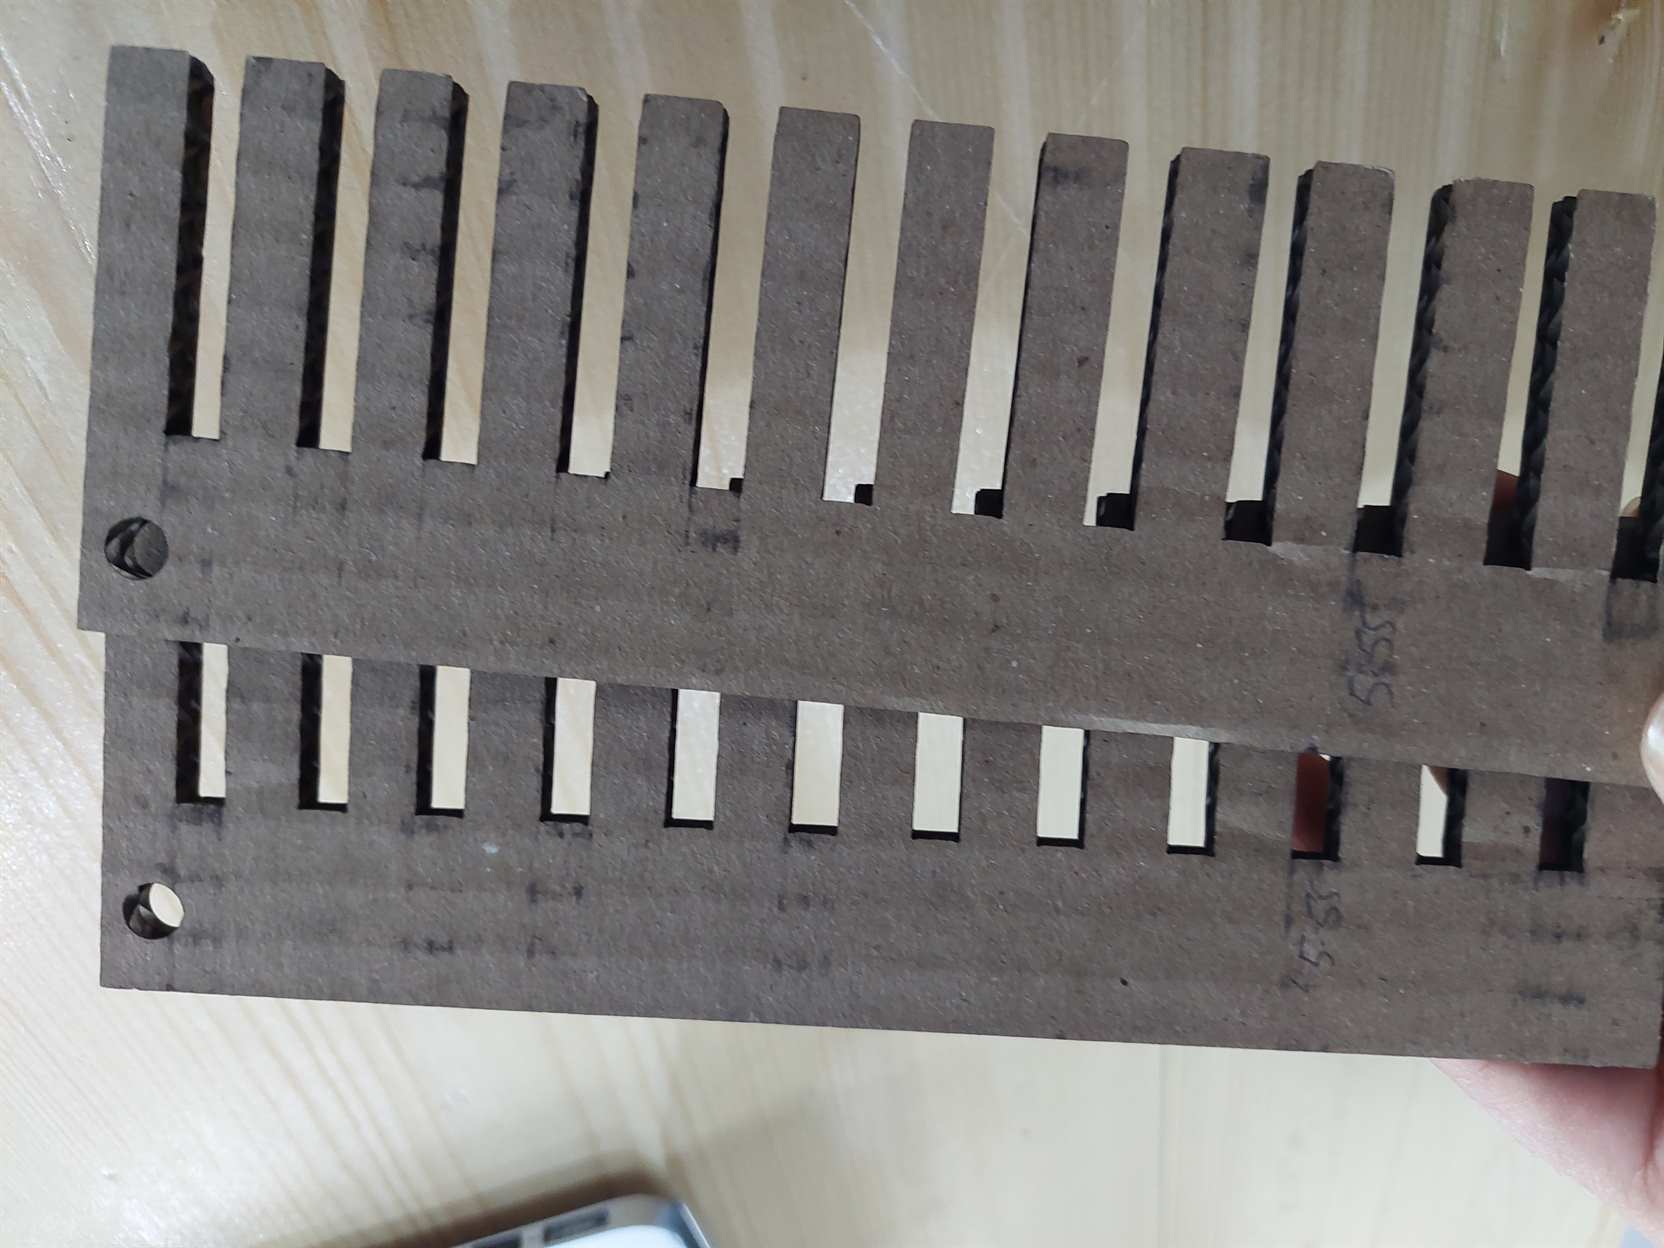
- After checking the sizes, we found that 5.55mm was the best size.
Focus The focus of the lense is best when the distance between the lense and the material is 8mm
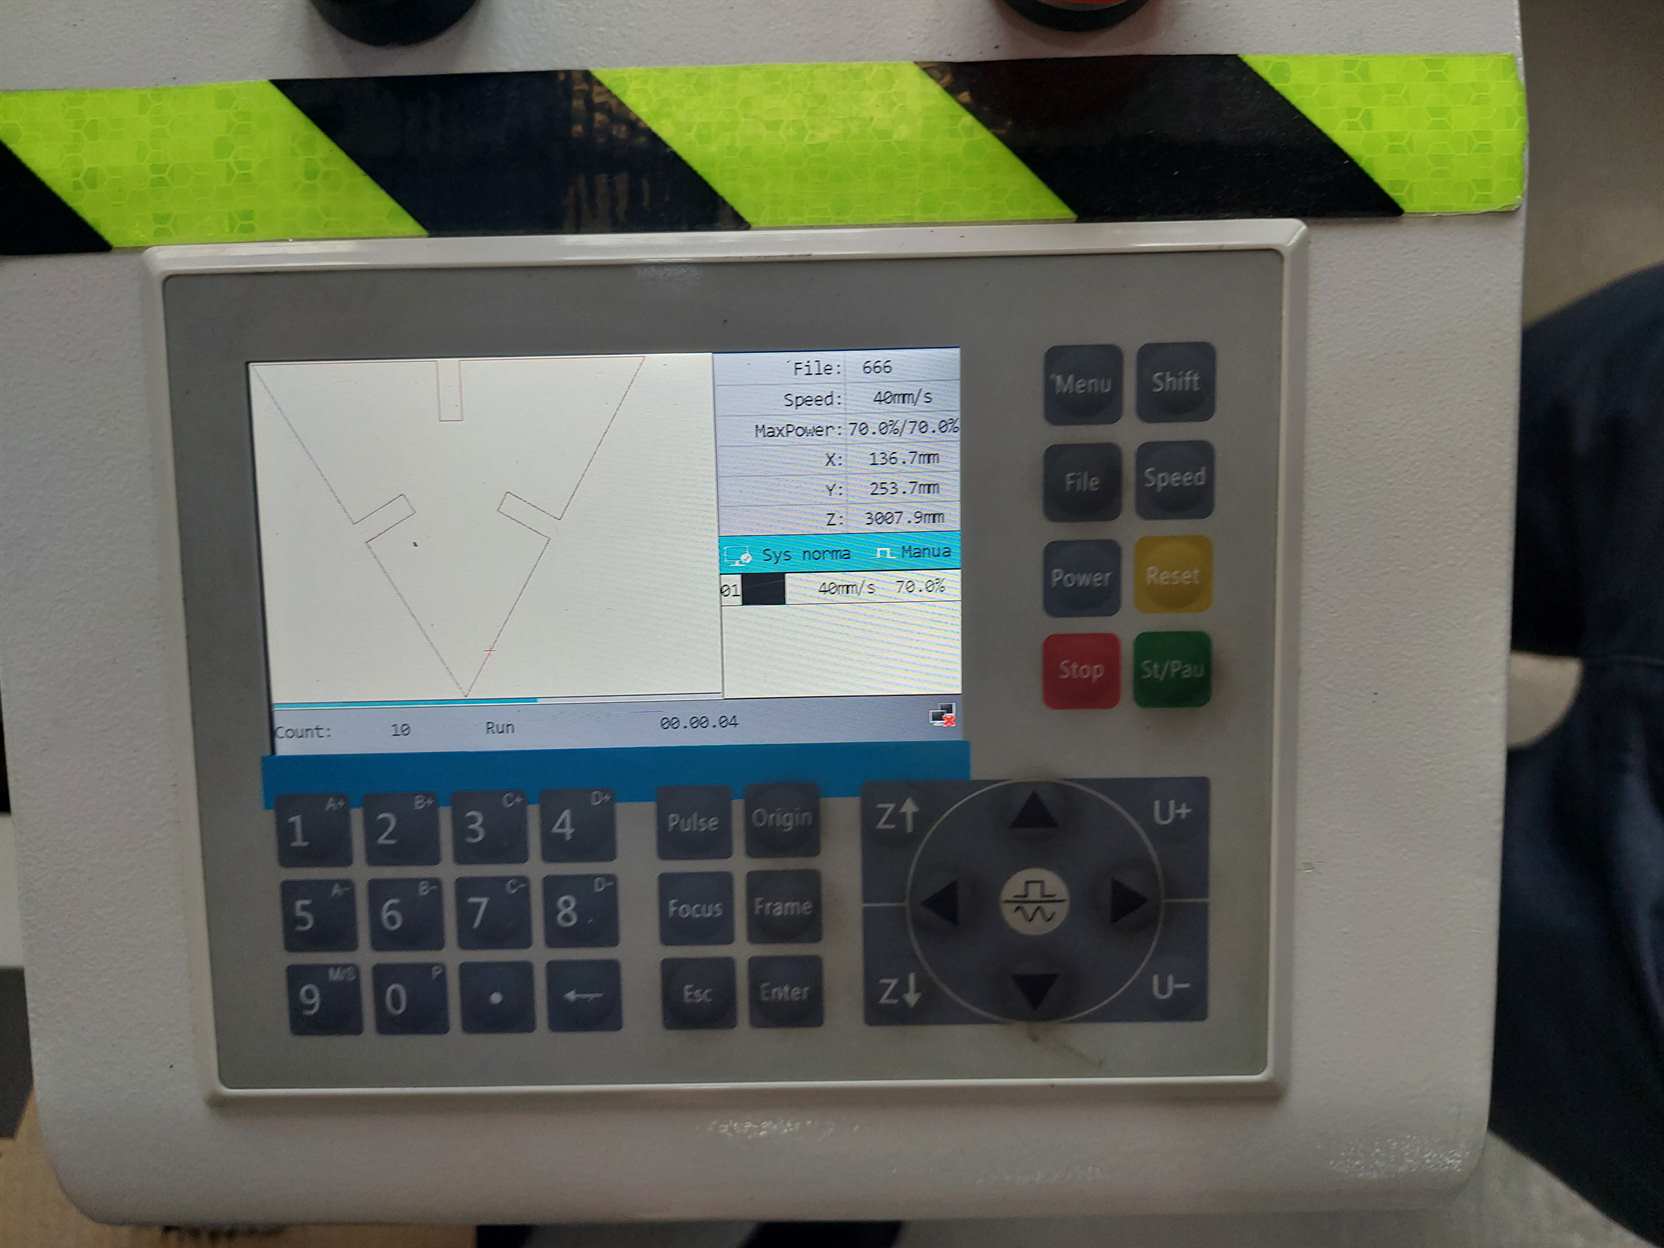
power & speed After testing different powers and speeds, the ideal power and speed to cut our material was 40 mm/s and 70% of the laser power
Joint clearance according to the comb test, with the selected power and speed, the best value found for this type of joint was 5.55mm. Meaning that the laser removes 0.225mm from the material
6mm-5.55mm = 0.45mm 0.45mm / 2 (for two sides) = 0.225mm
Dowanload Files:
- DXF File (.DXF)
- STL File (.STL)
- F3D File (.F3D)
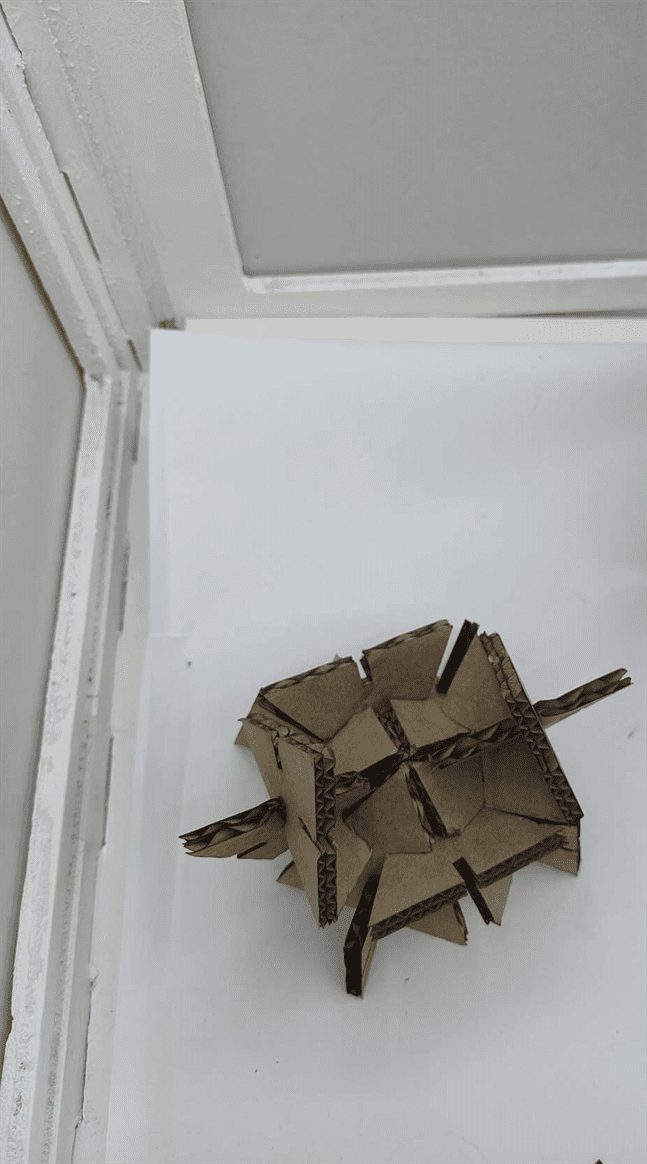
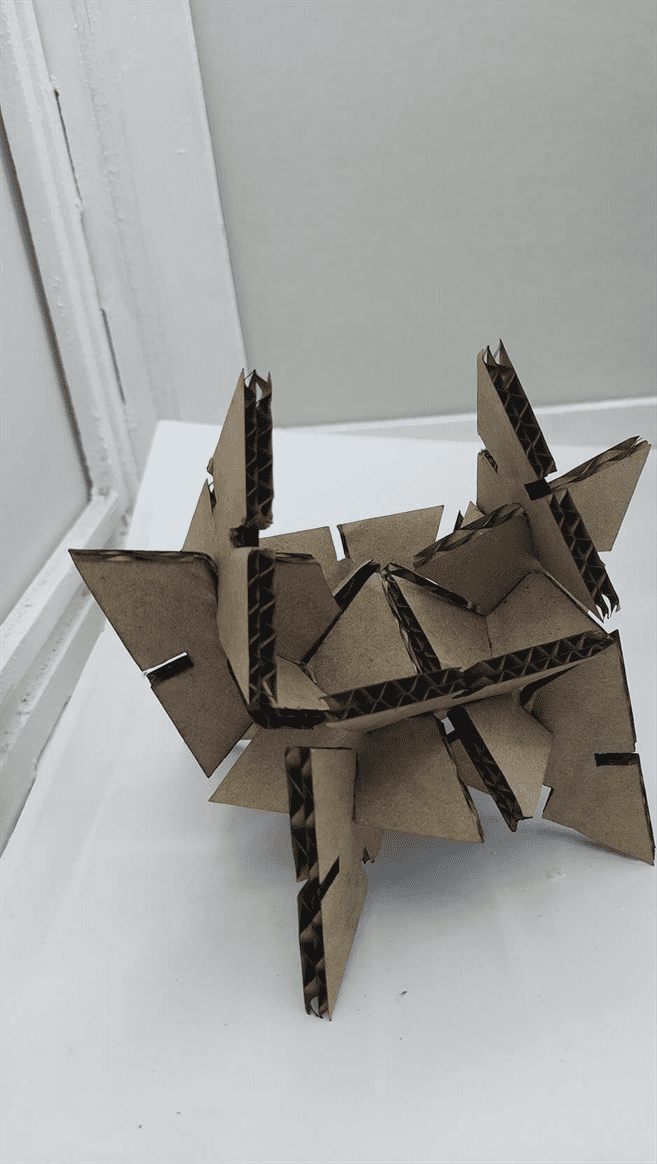
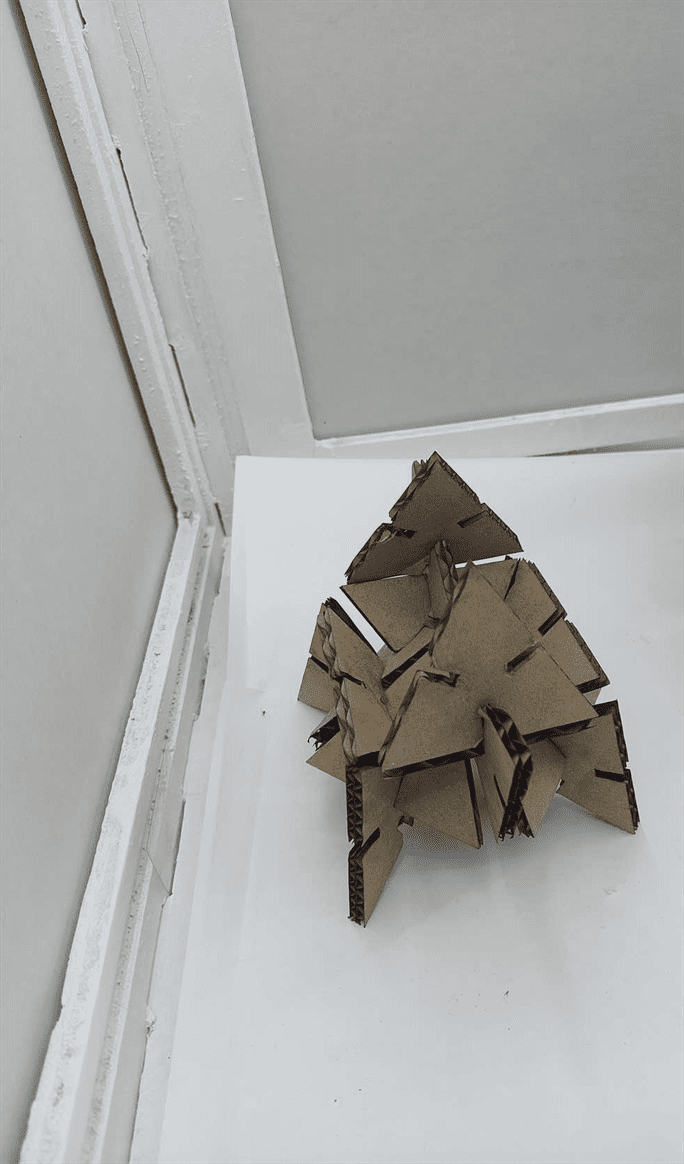
A2. Individual Assignment
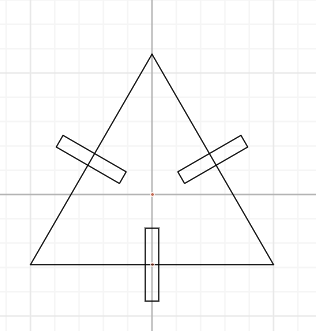
I designed the shapes that I used in the Individual assignment using Cuttle, then I exported the design and opened it in Fusion 360 to cut the joins. Our instructor Abd Al-Ghafour helped me to cut the shapes.
- Cuttle.
- Fusion 360.

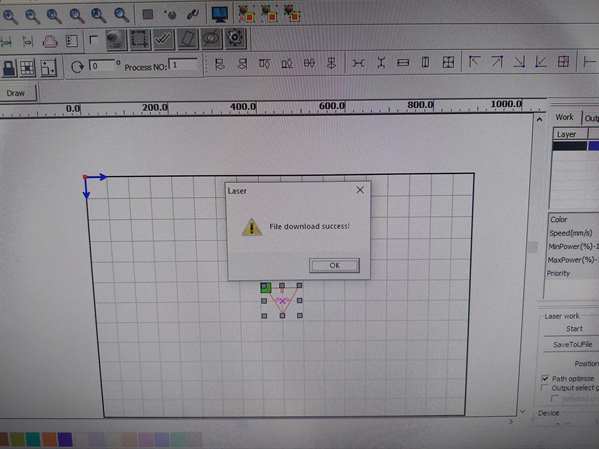
- The file was opened in the software.
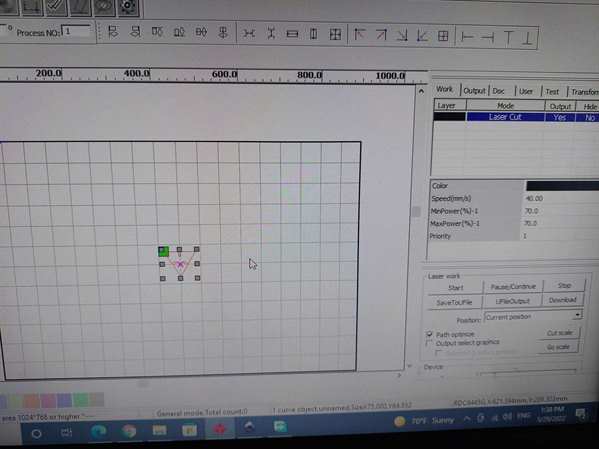
- The power and speed were set to 40mm/s and 70% respectively.

- The file was downloaded from the computer to the machine.
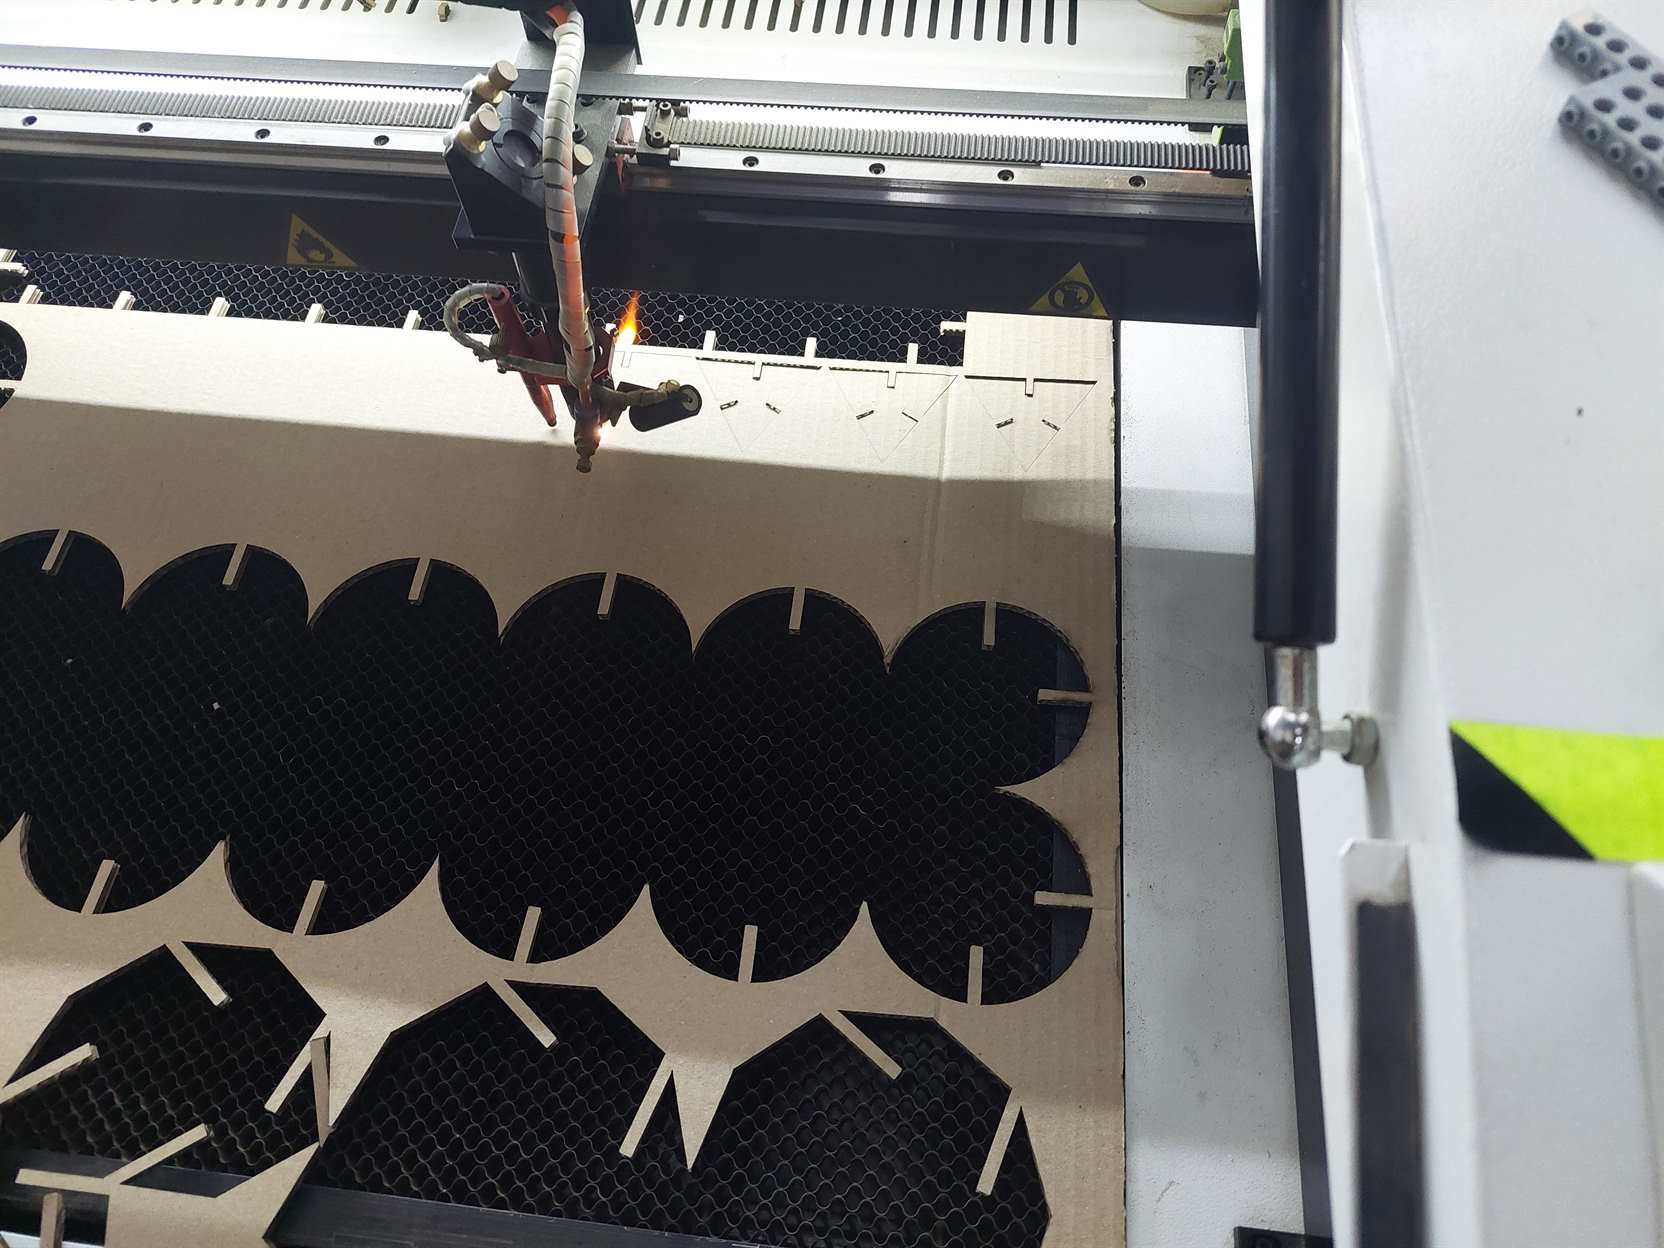
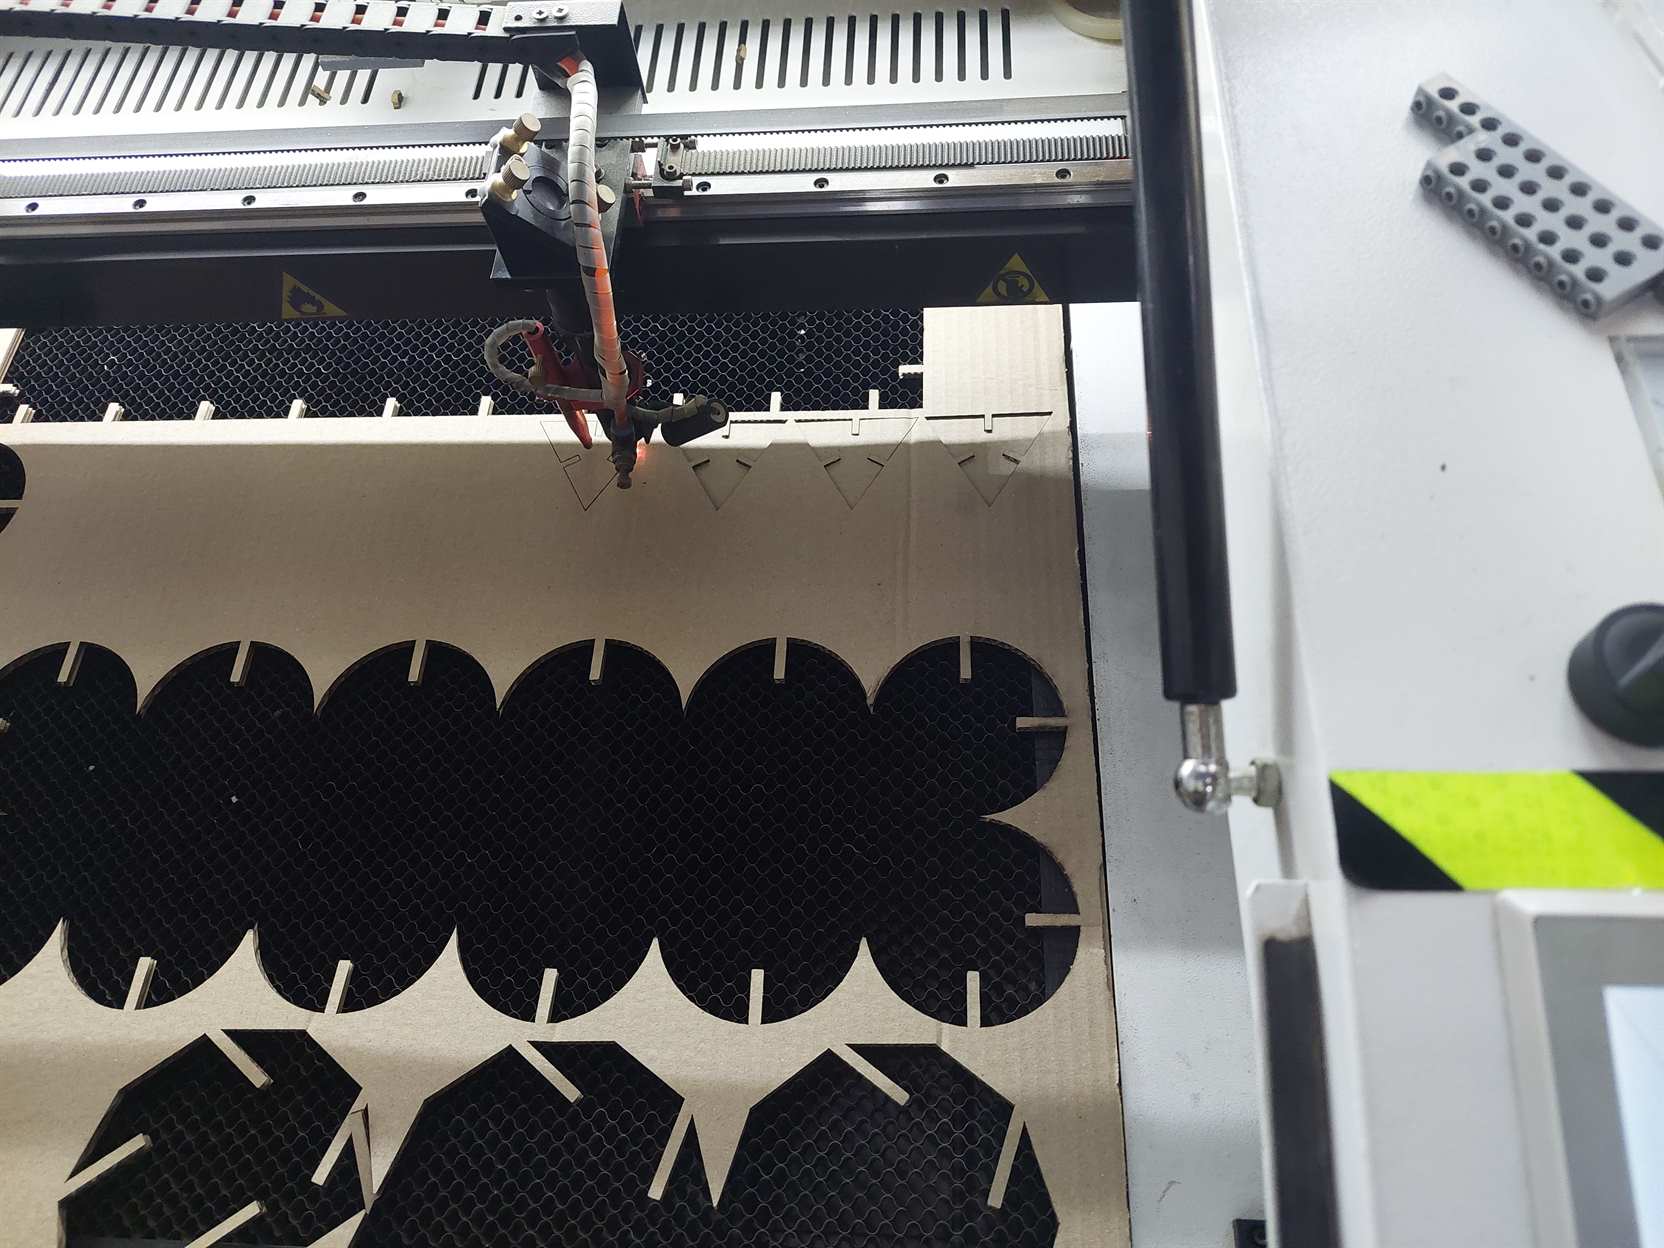
- The cutting started
My Hero Shot
Download Files:
- SVG File (.SVG)
Note: To download the SVG file right click on the link and choose “Save Link as”.
- DXF File (.DXF)
- STL File (.STL)
- F3D File (.F3D)
B. Vinyl cutting machine
We used the vinyl cutting machine to make our sticker. I created my sticker design using cuttle. Our instructor Haitham Al-Nasser helped us to cut our stickers.
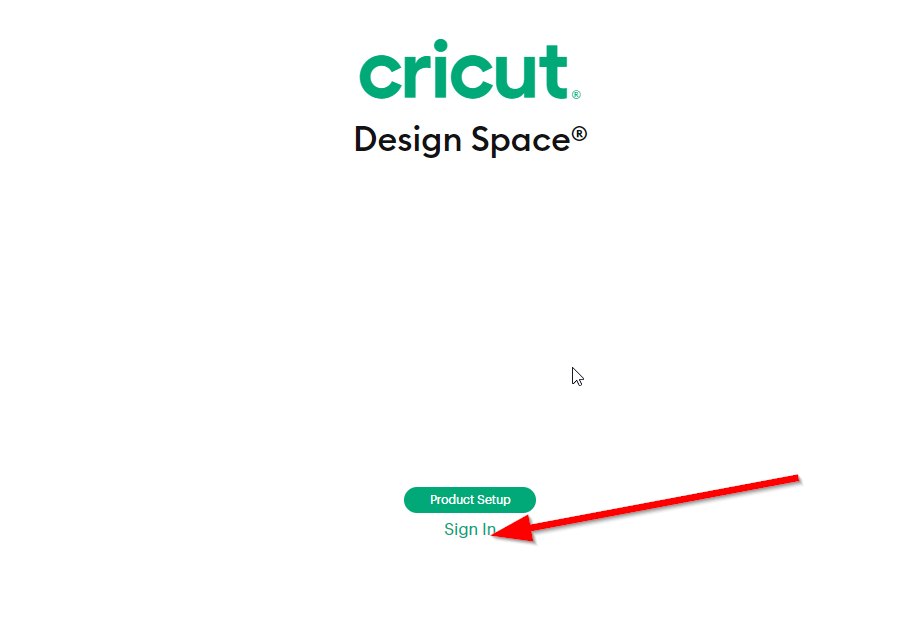
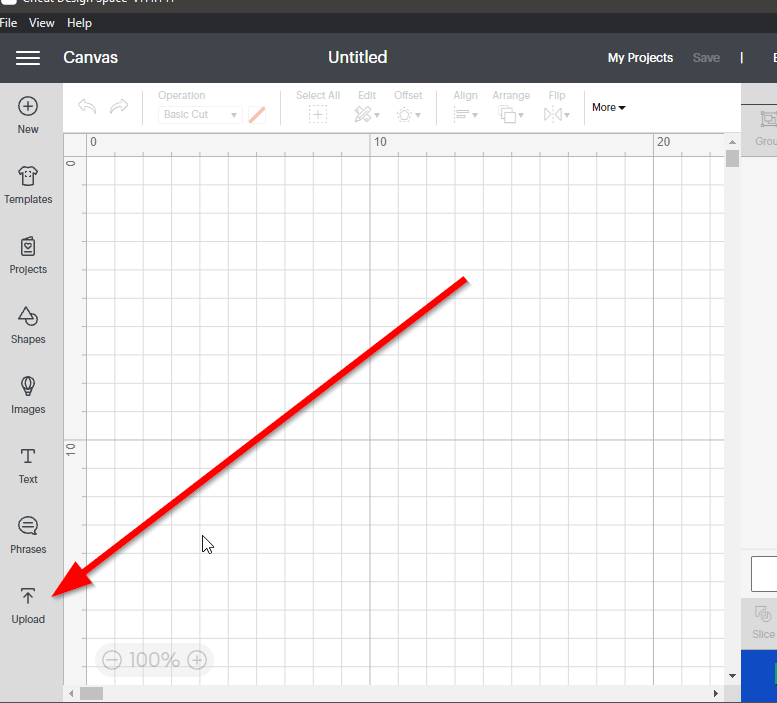
- I downloaded cricut which is the software that is used with the vinyl cutting machine.
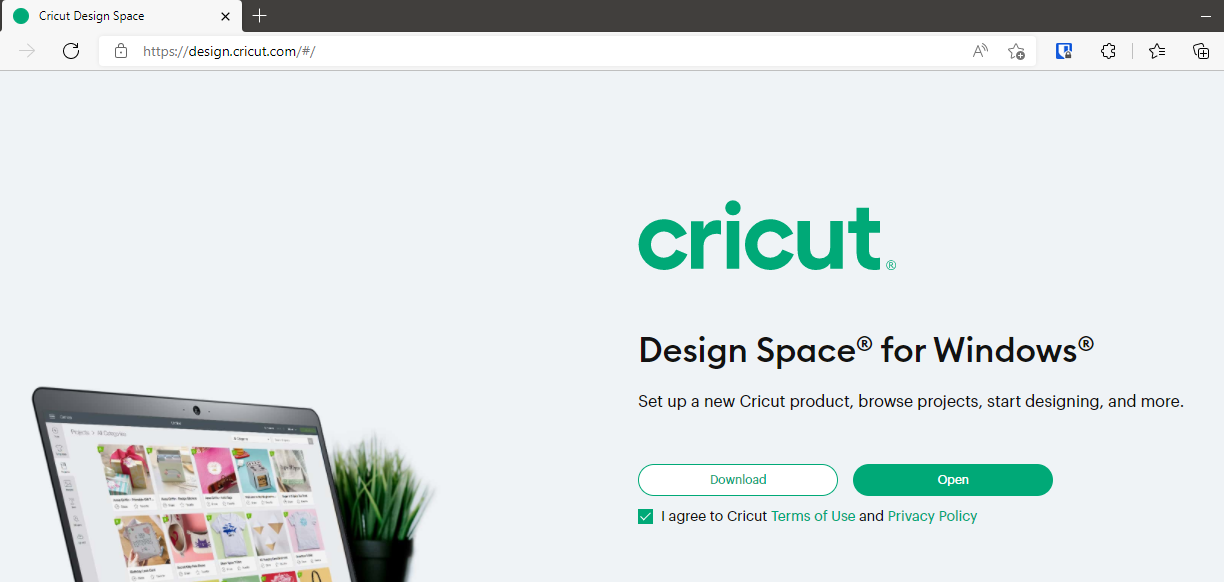
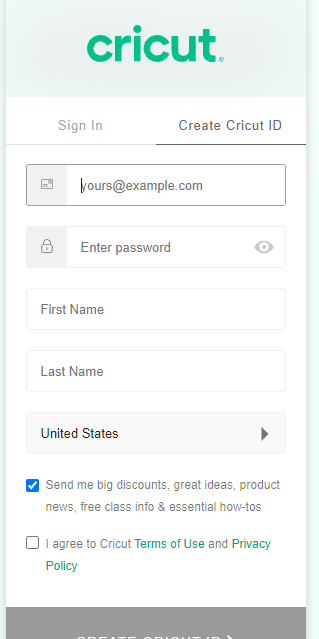
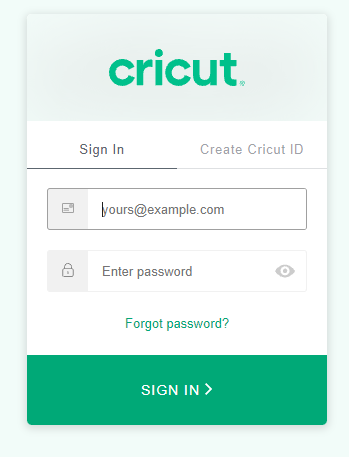
- I created an account and signed in.
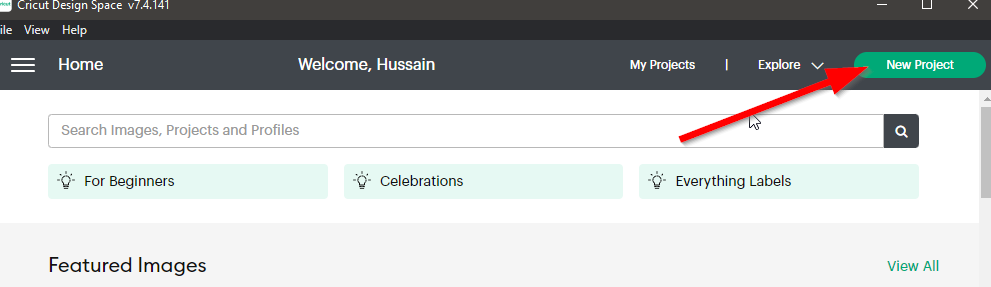
- I created a new project.
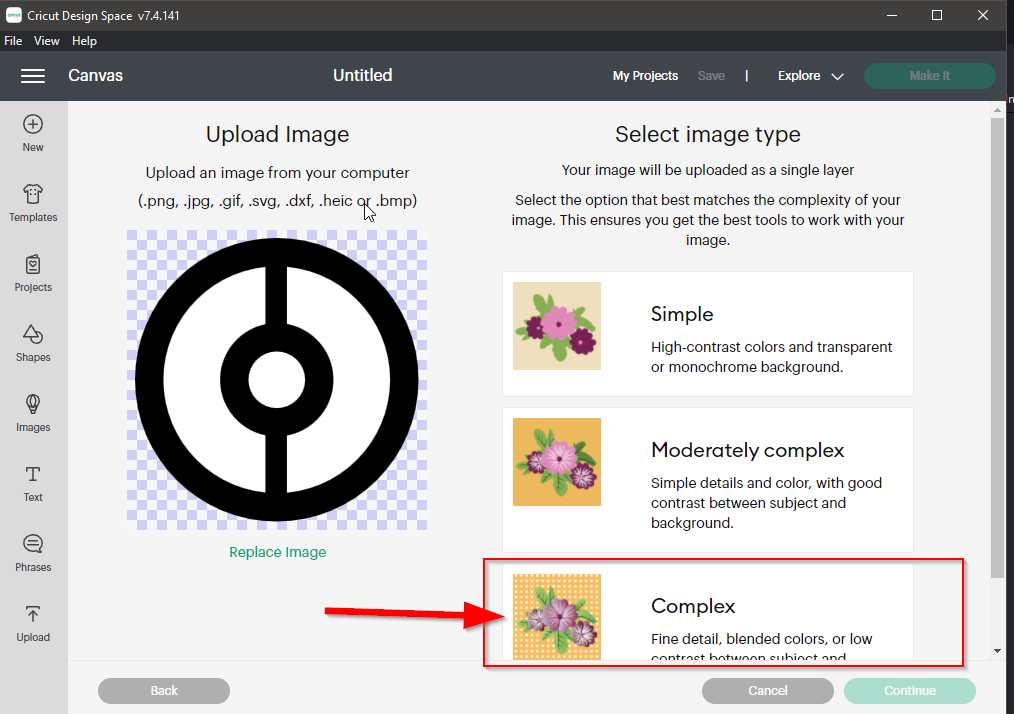
- I uploaded my sticker design picture.
- I chose Complex type.
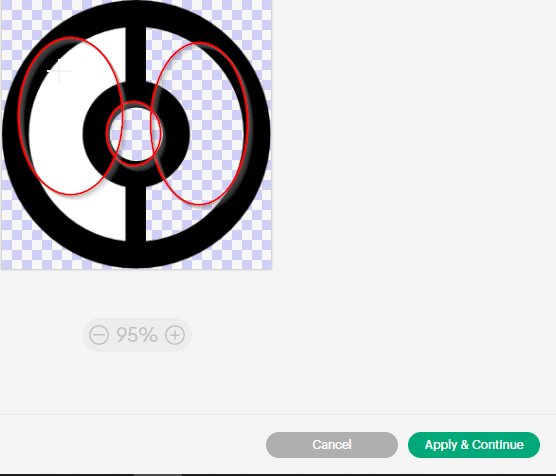
- I removed the unwanted parts.
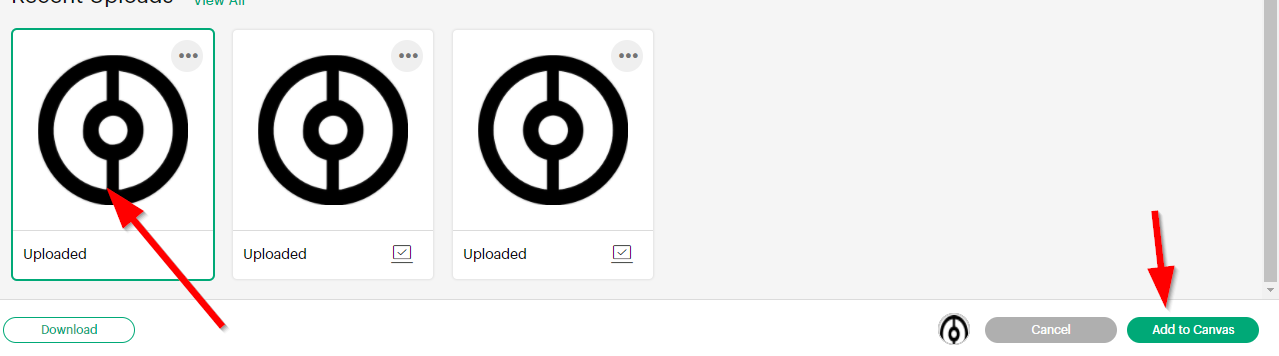
- I chose Cut Image and I uploaded it.
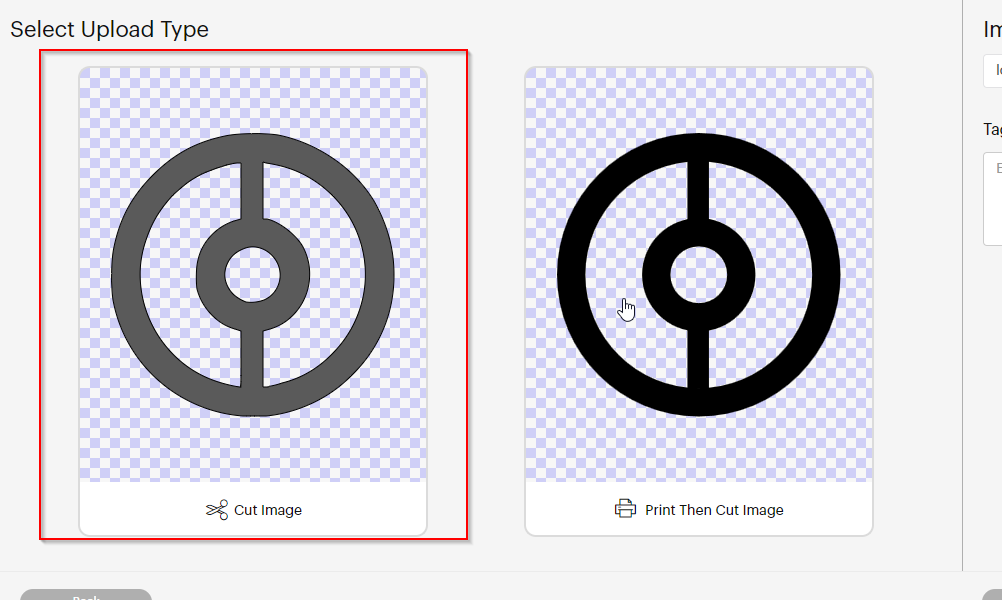
- I chose the uploaded image and clicked on add to canvas.
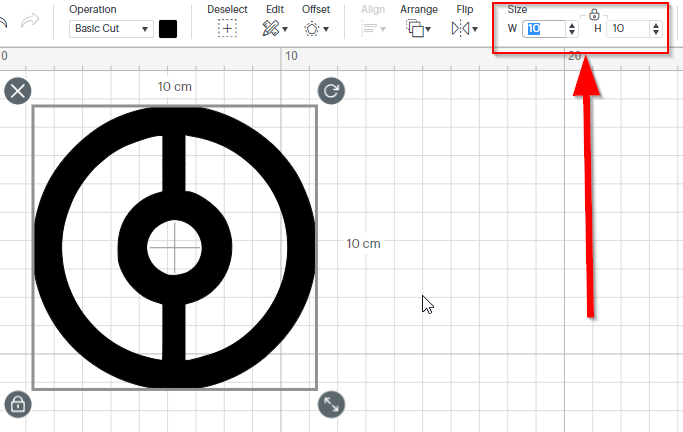
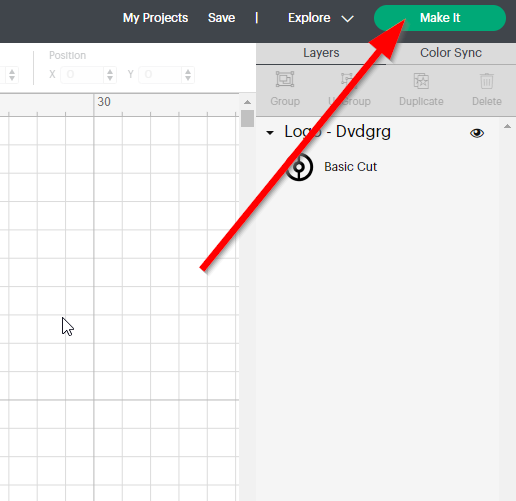
- I changed the size of the image to 10cmx10cm, and I clicked on "Make it".
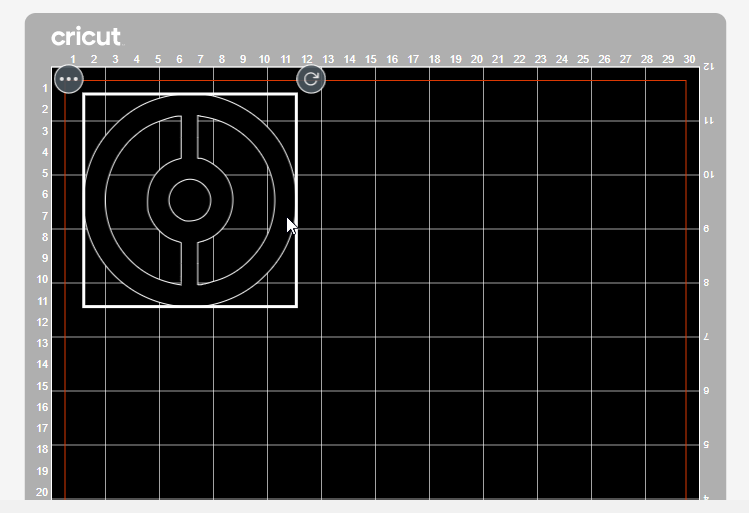
- I moved the image to a suitable place and make sure to leave a distance between the edges.
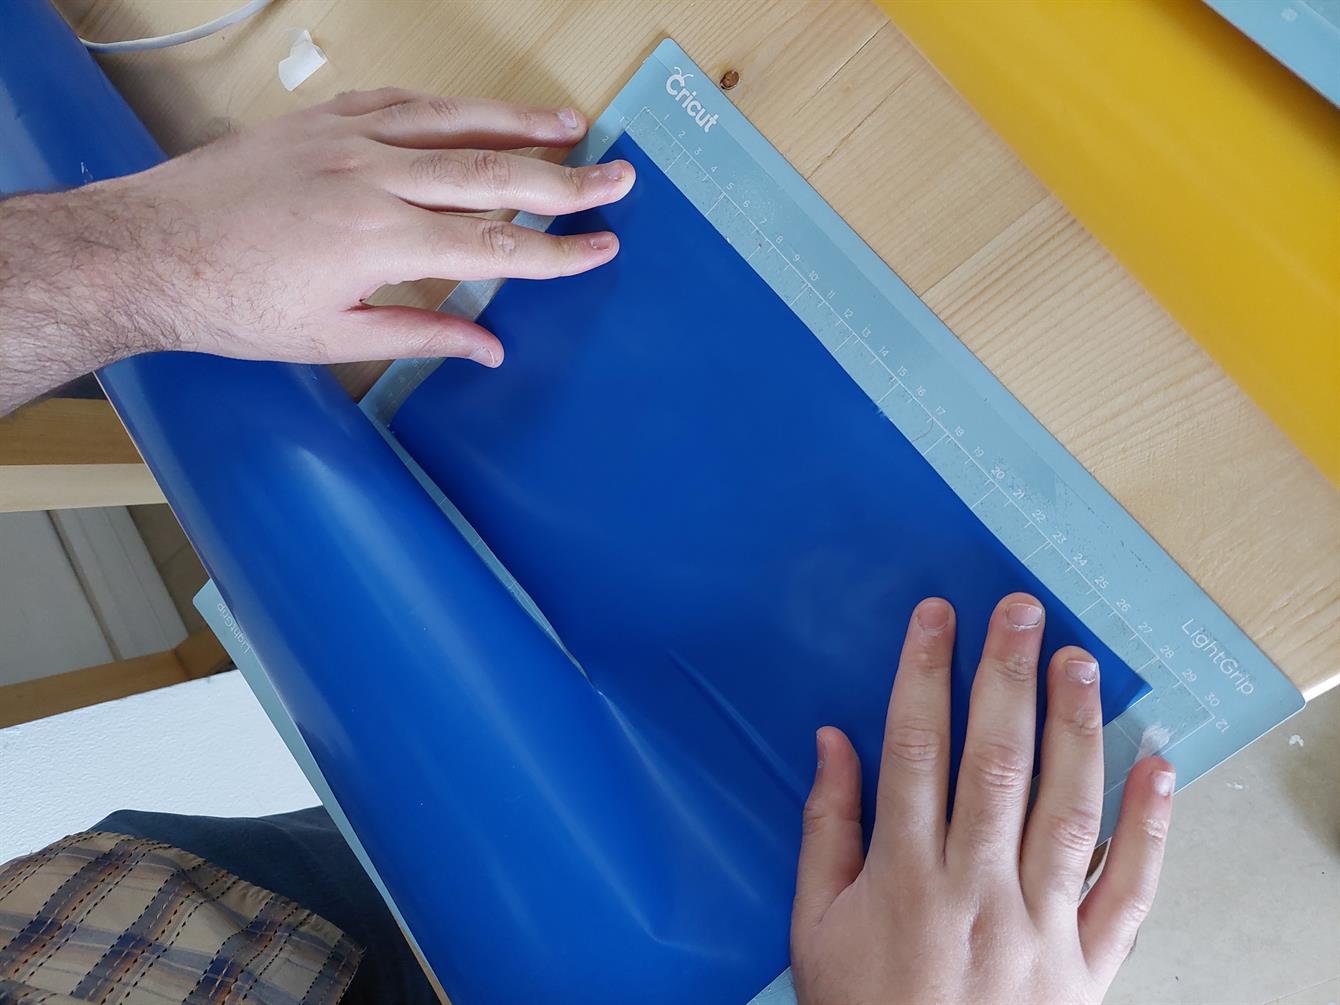
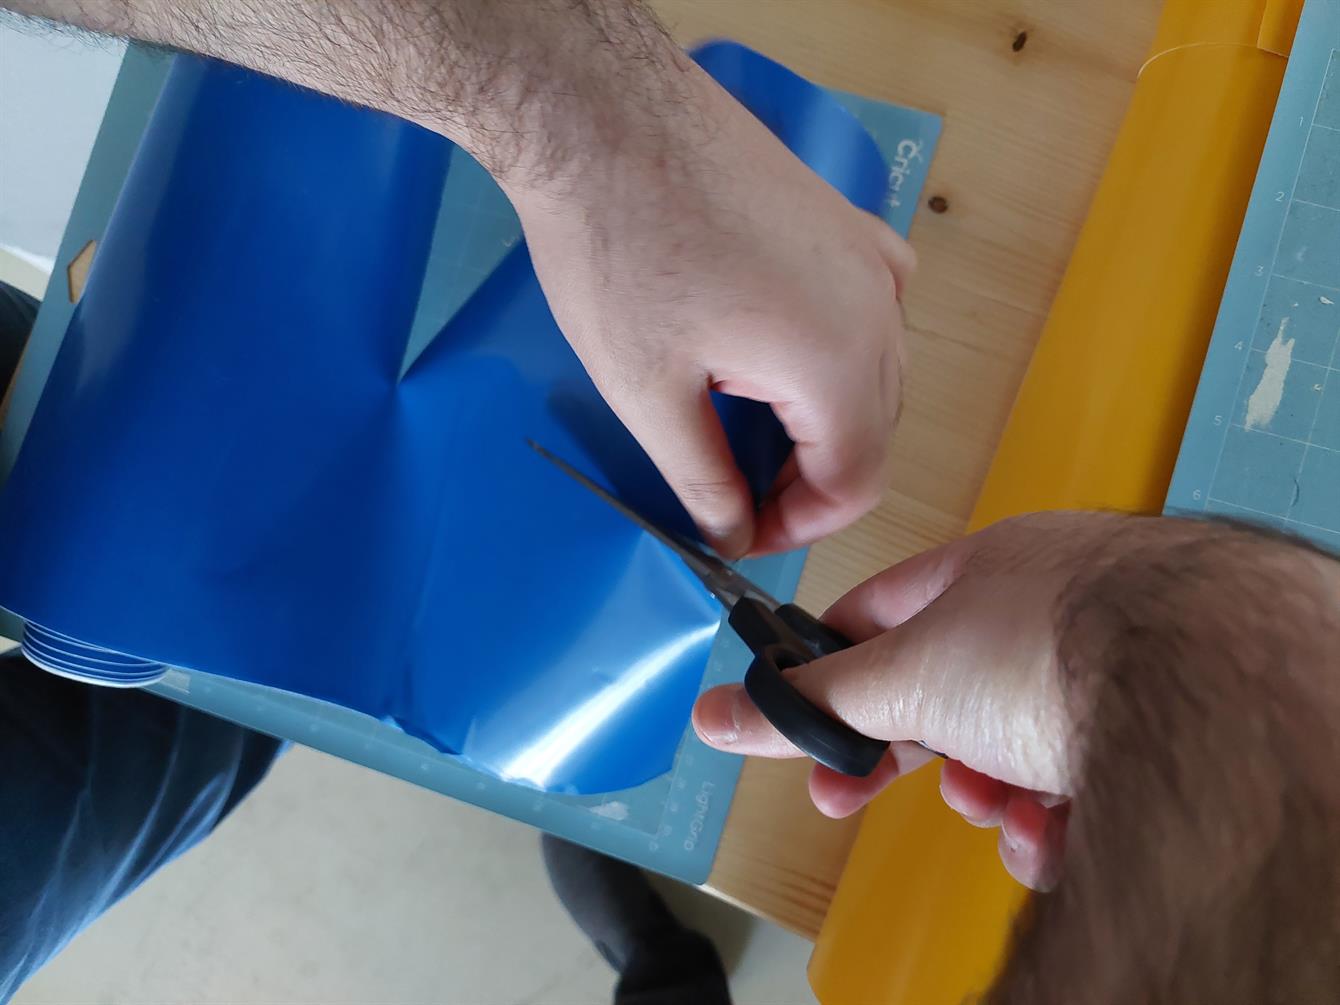
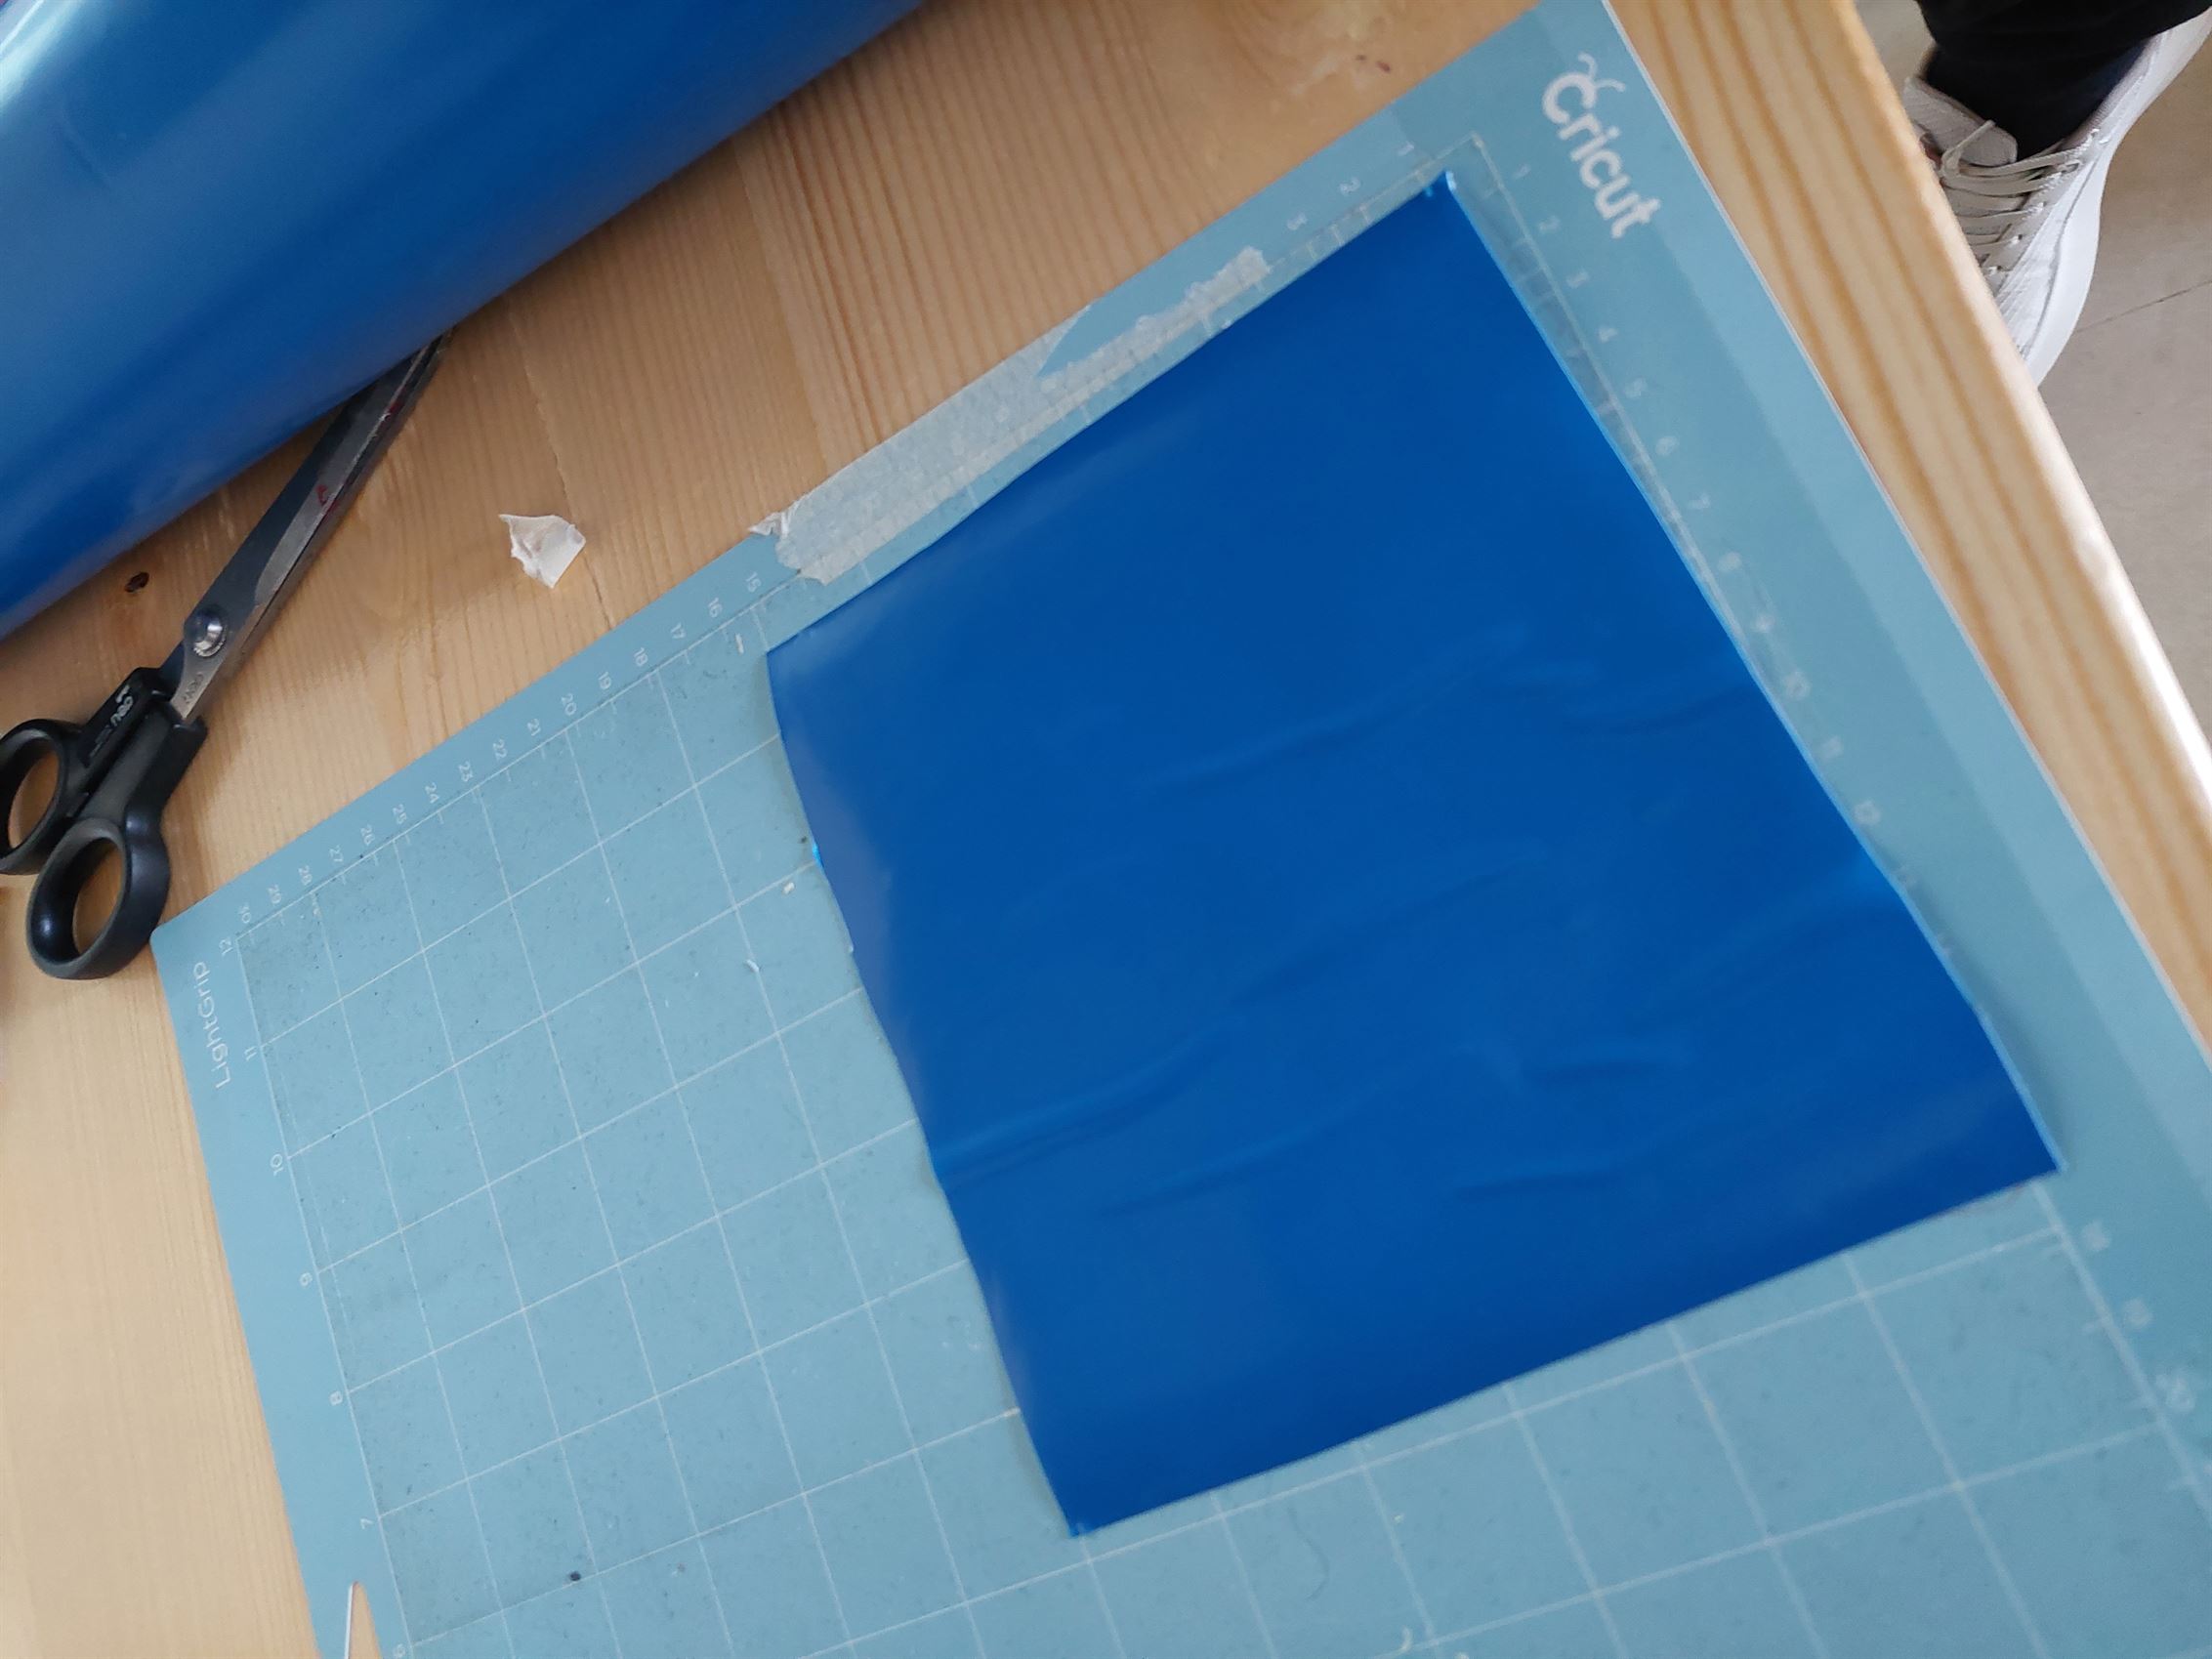
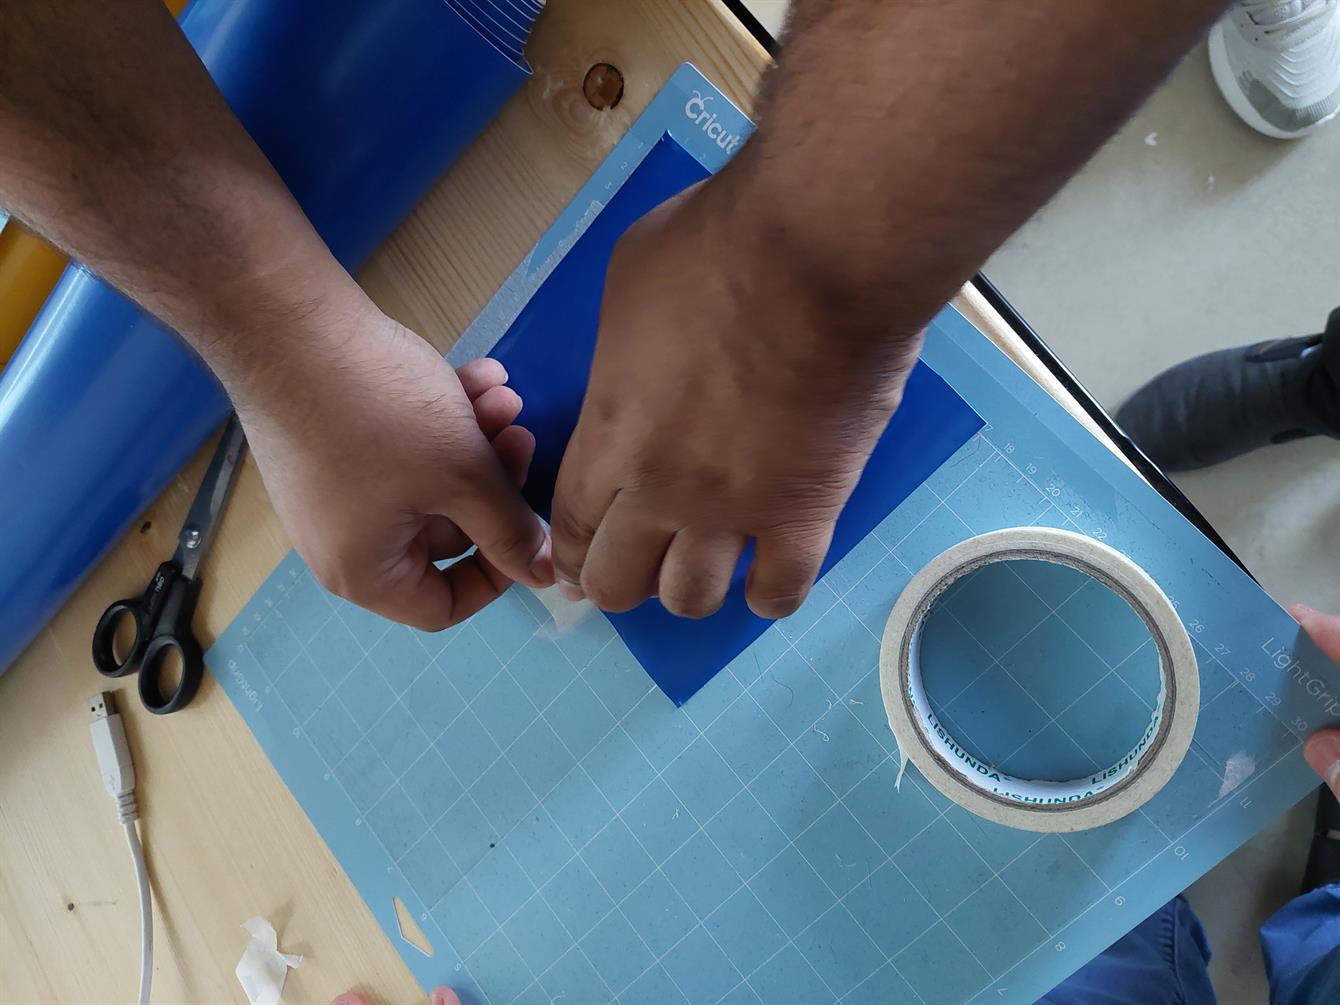
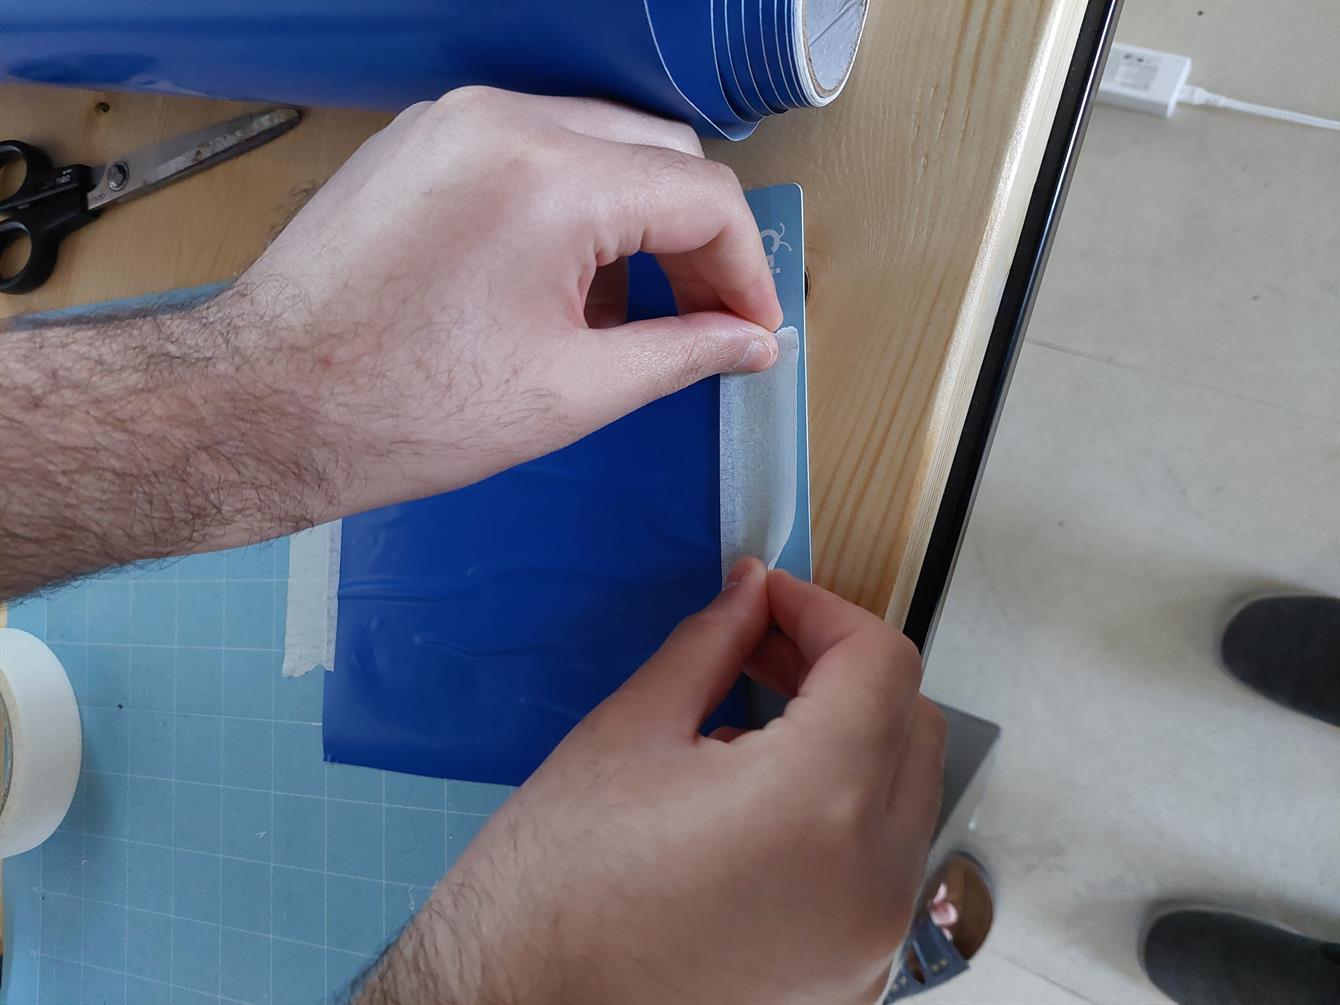
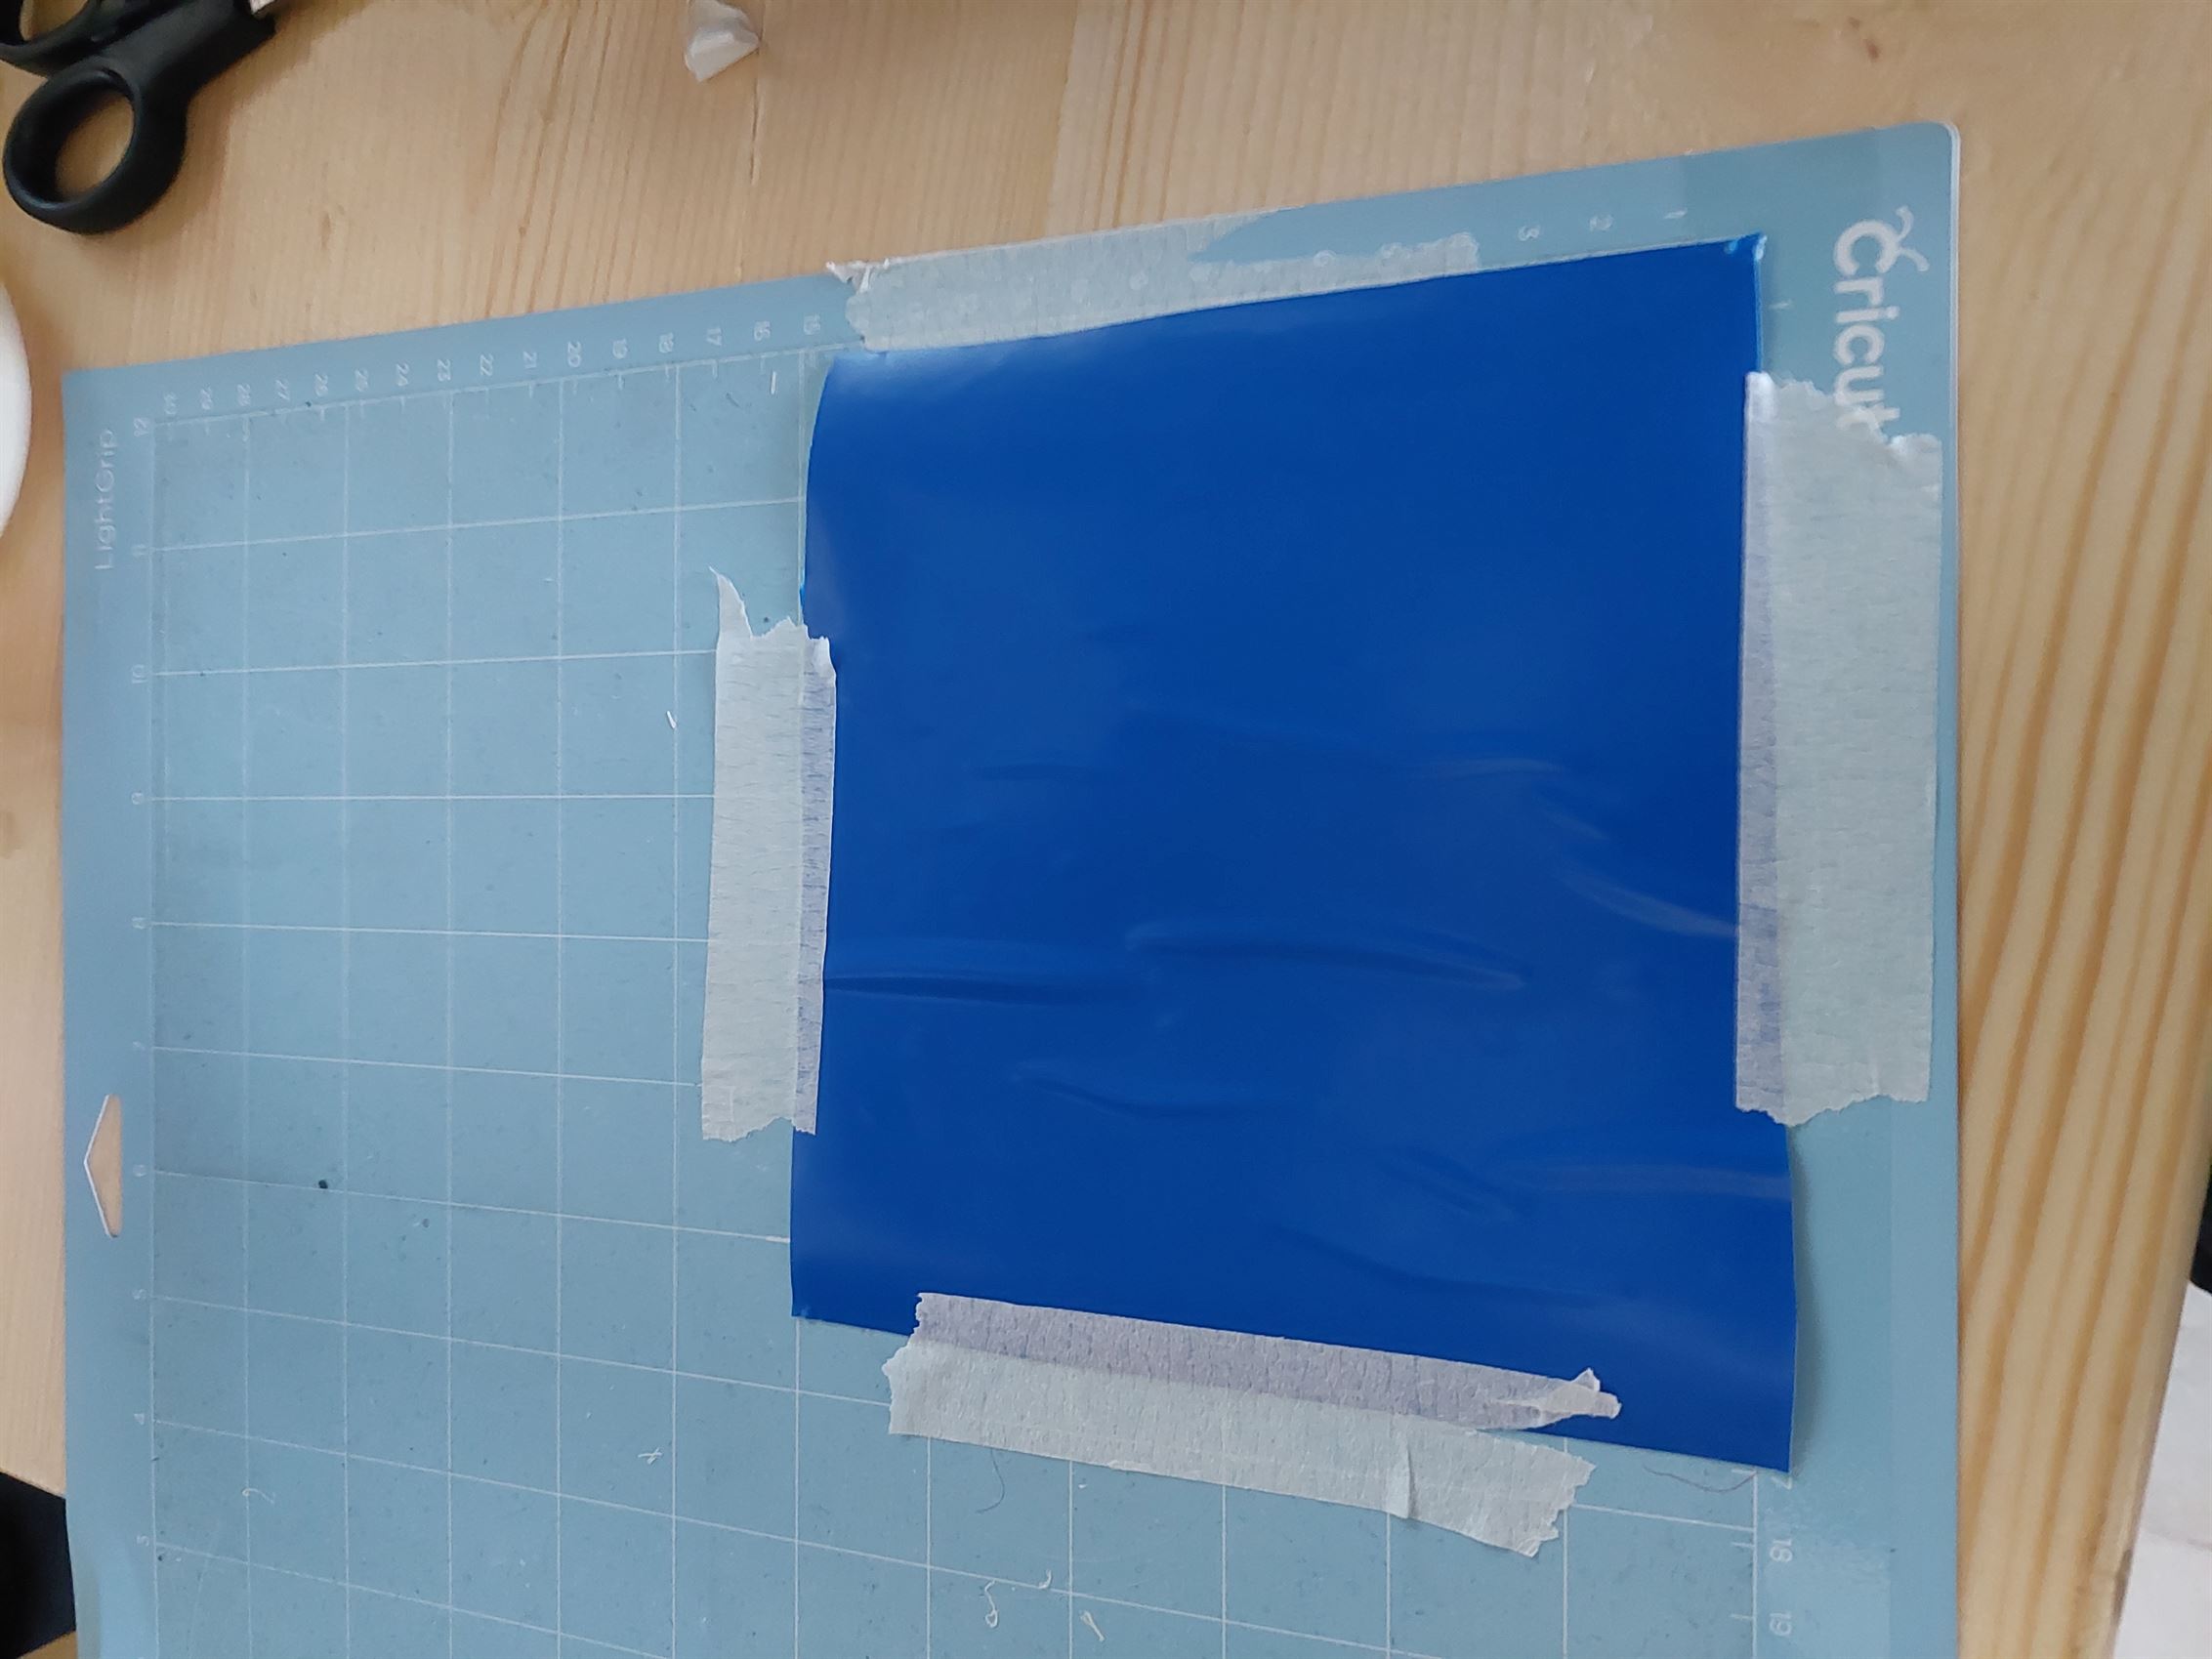
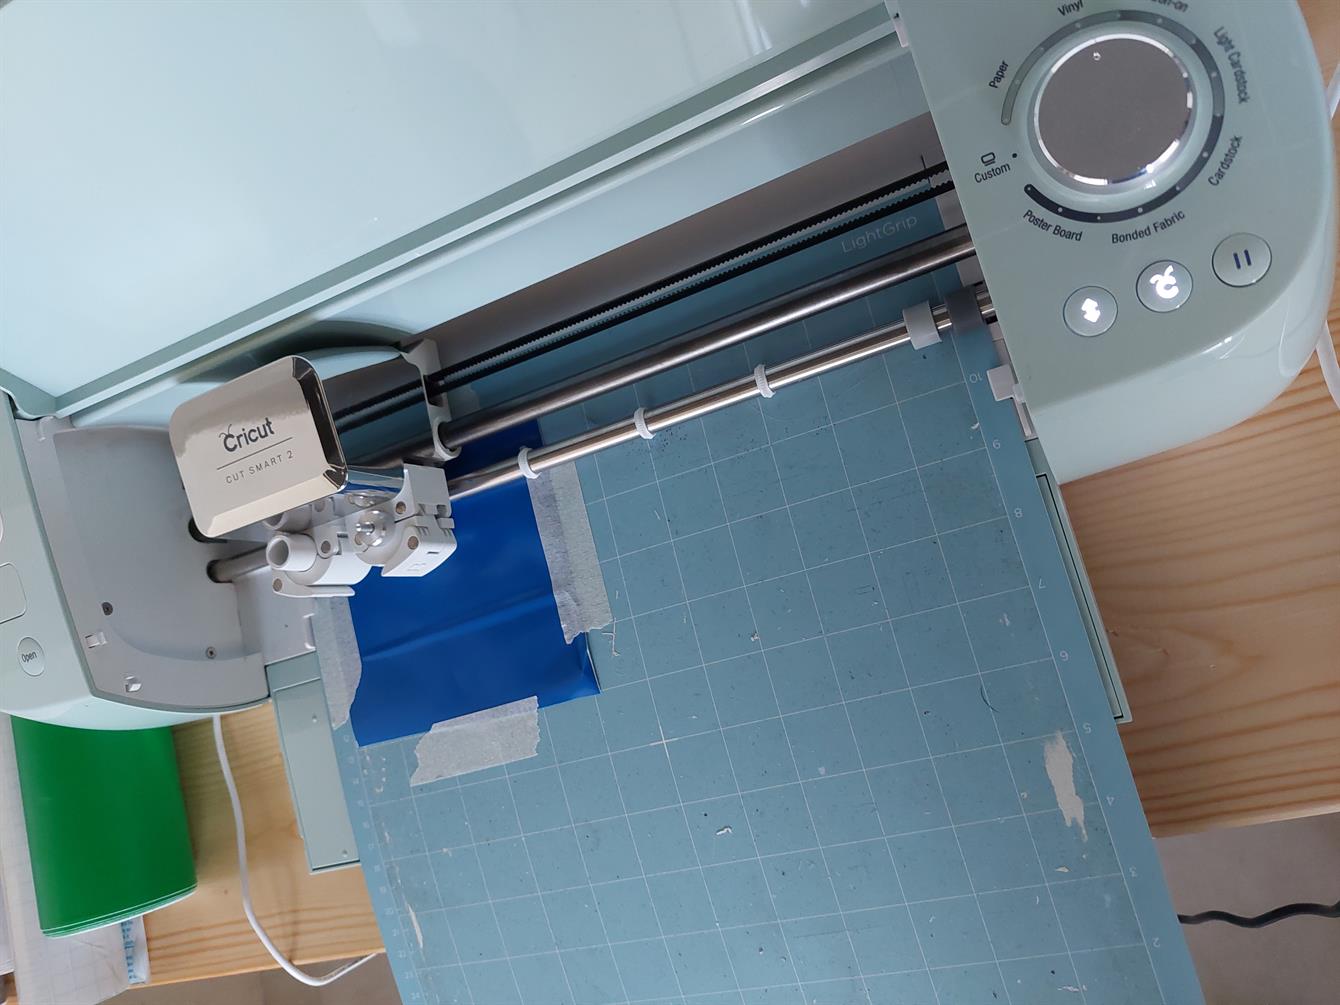
- I prepared the vinyl paper by cutting it and tape it to the plate.
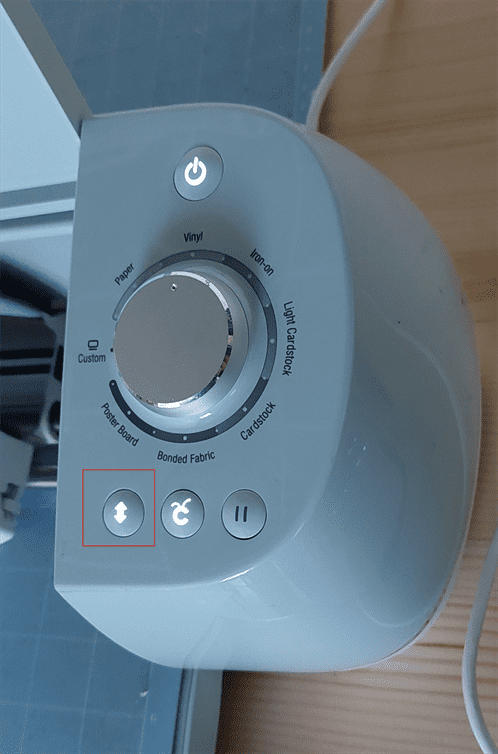
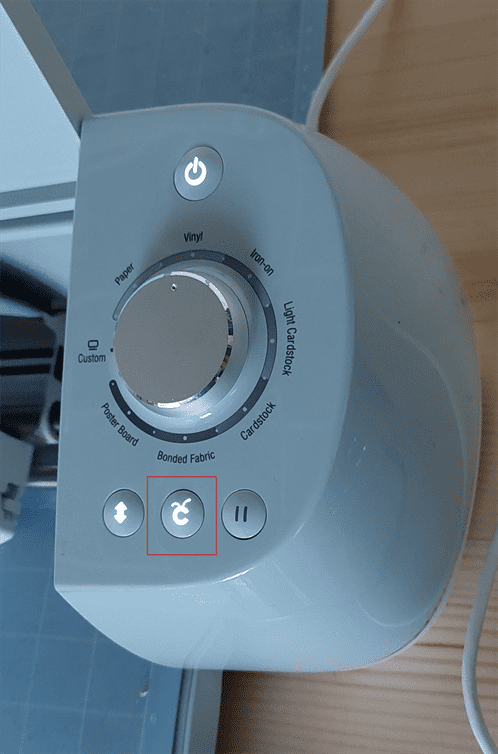
- I inserted the plate to the machine by pushing a little and then clicking on the button, and changed the knob to vinyl. (shown in the pictures below).
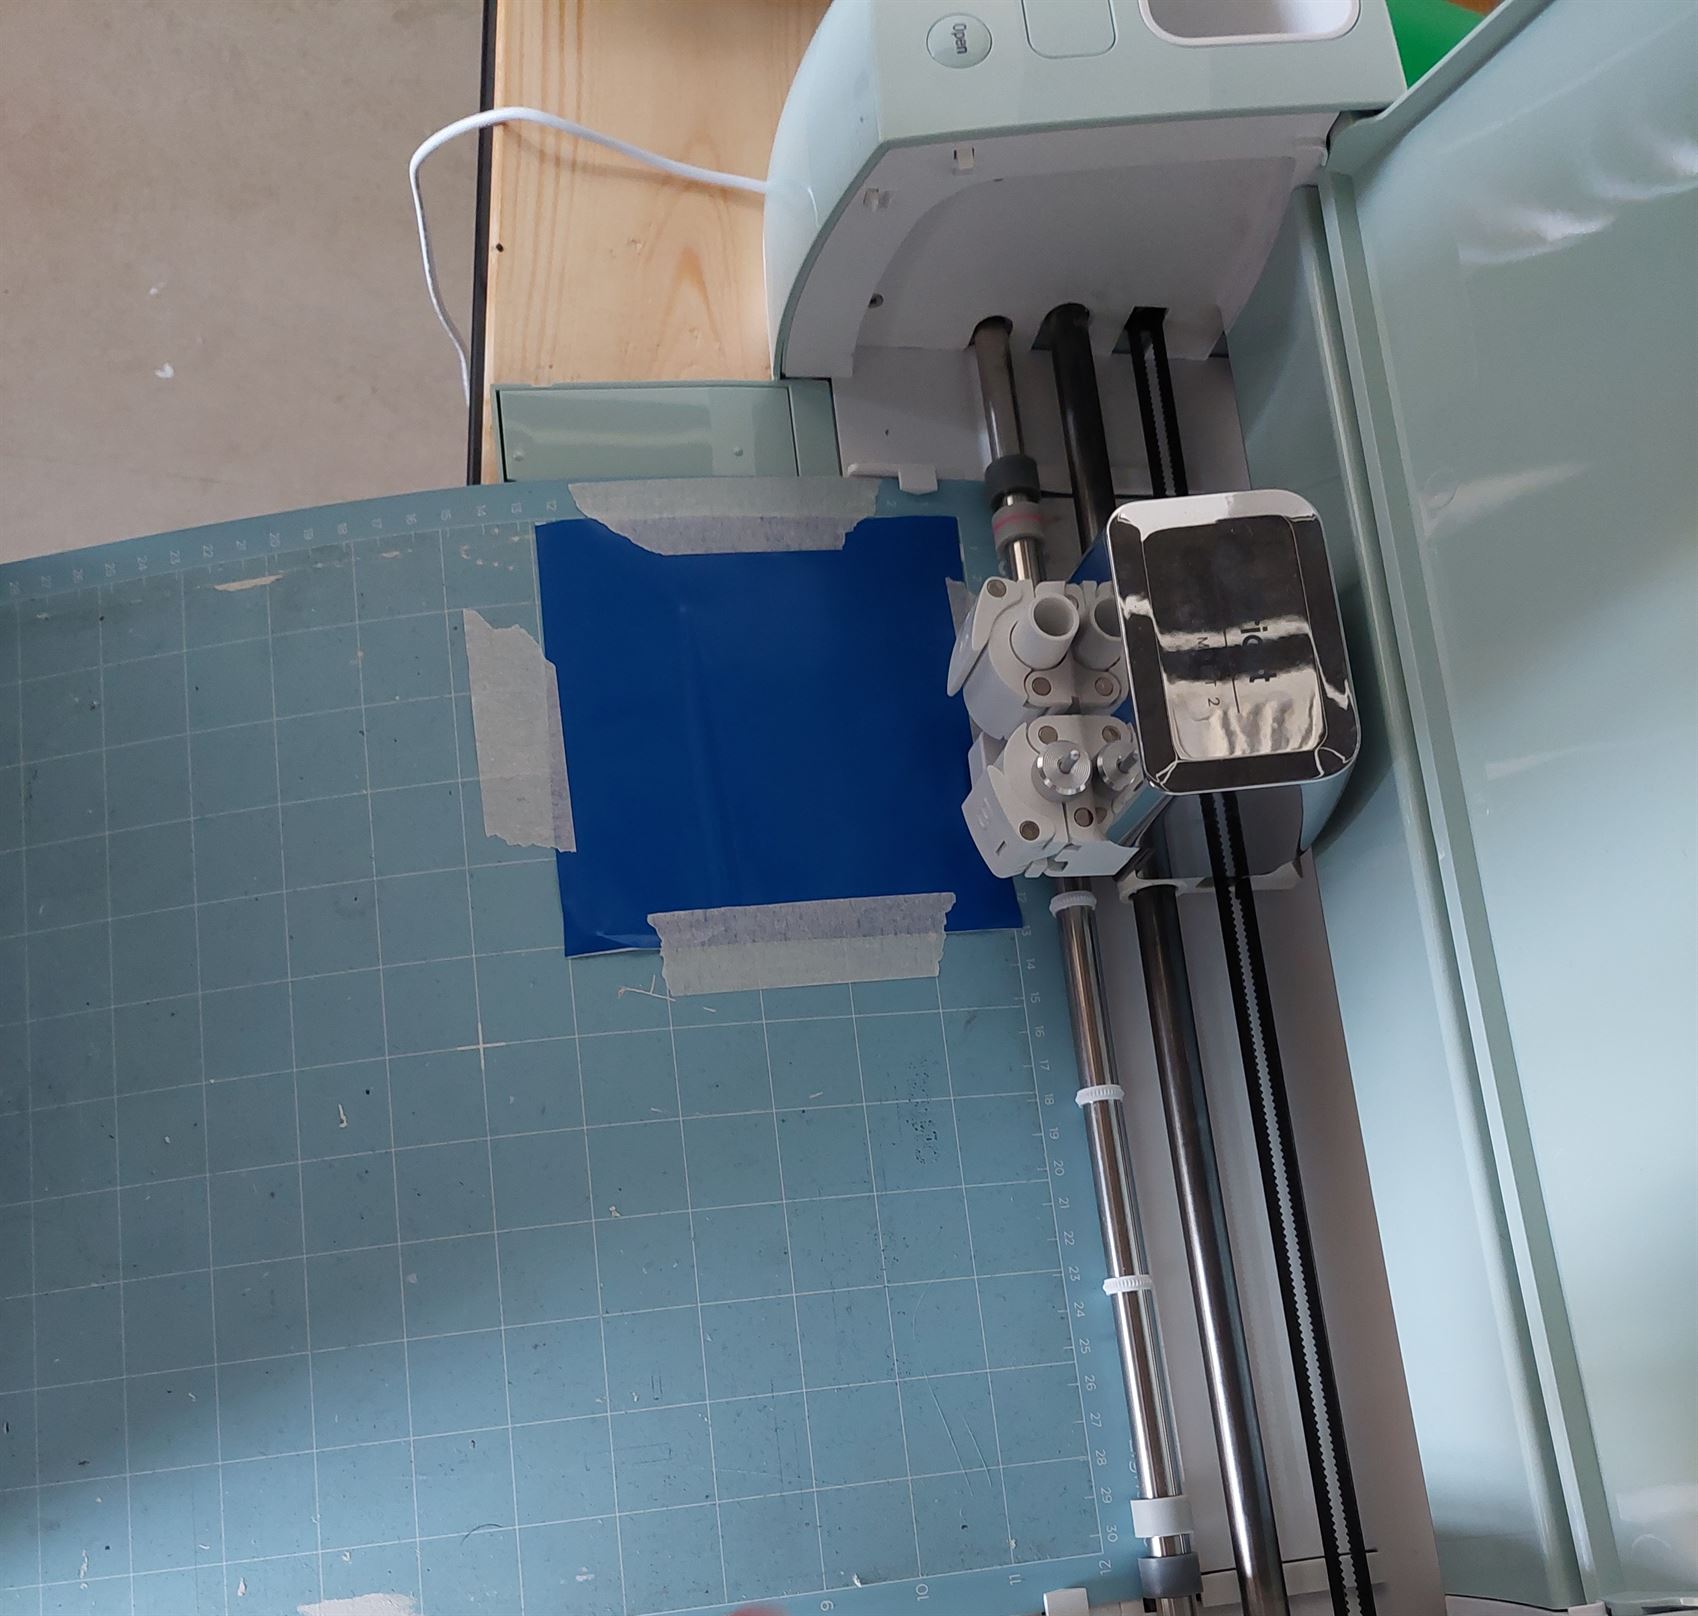

- I connected the machine to my laptop via USB and I made sure that I got the Press Go step, then I pressed the start button shown in the picture below.
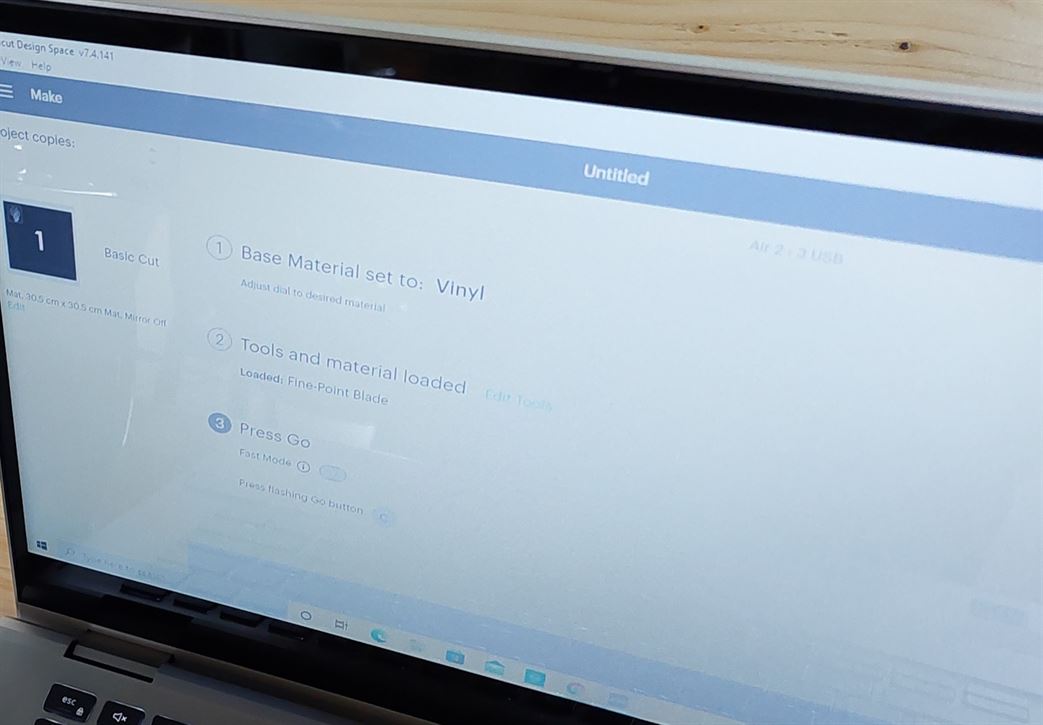
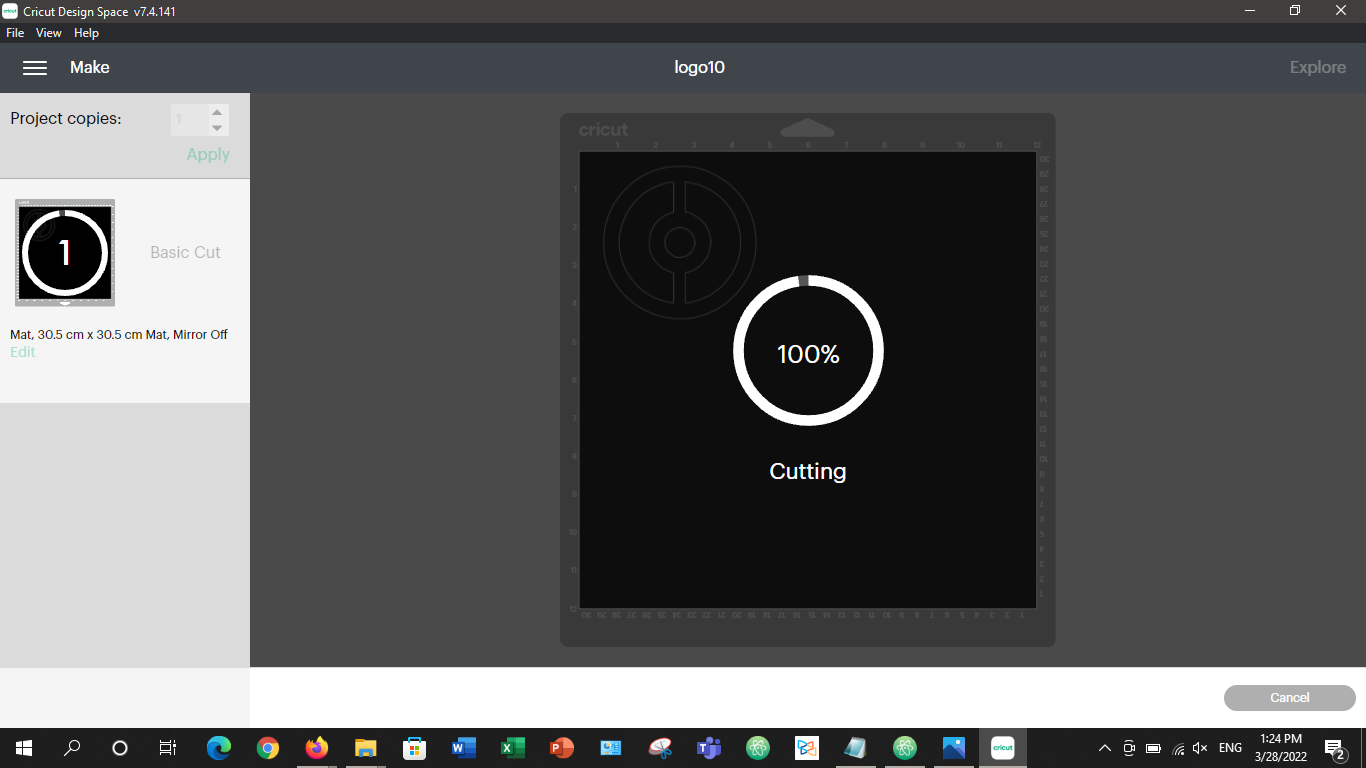
- The machine started the cutting process. I waited until it was finished. I checked the cutting progress in my laptop while waiting.
- When it was done, I clicked on the button below to release the plate.

- Finally, I removed the tape and carefully removed my sticker. I put it on my laptop.
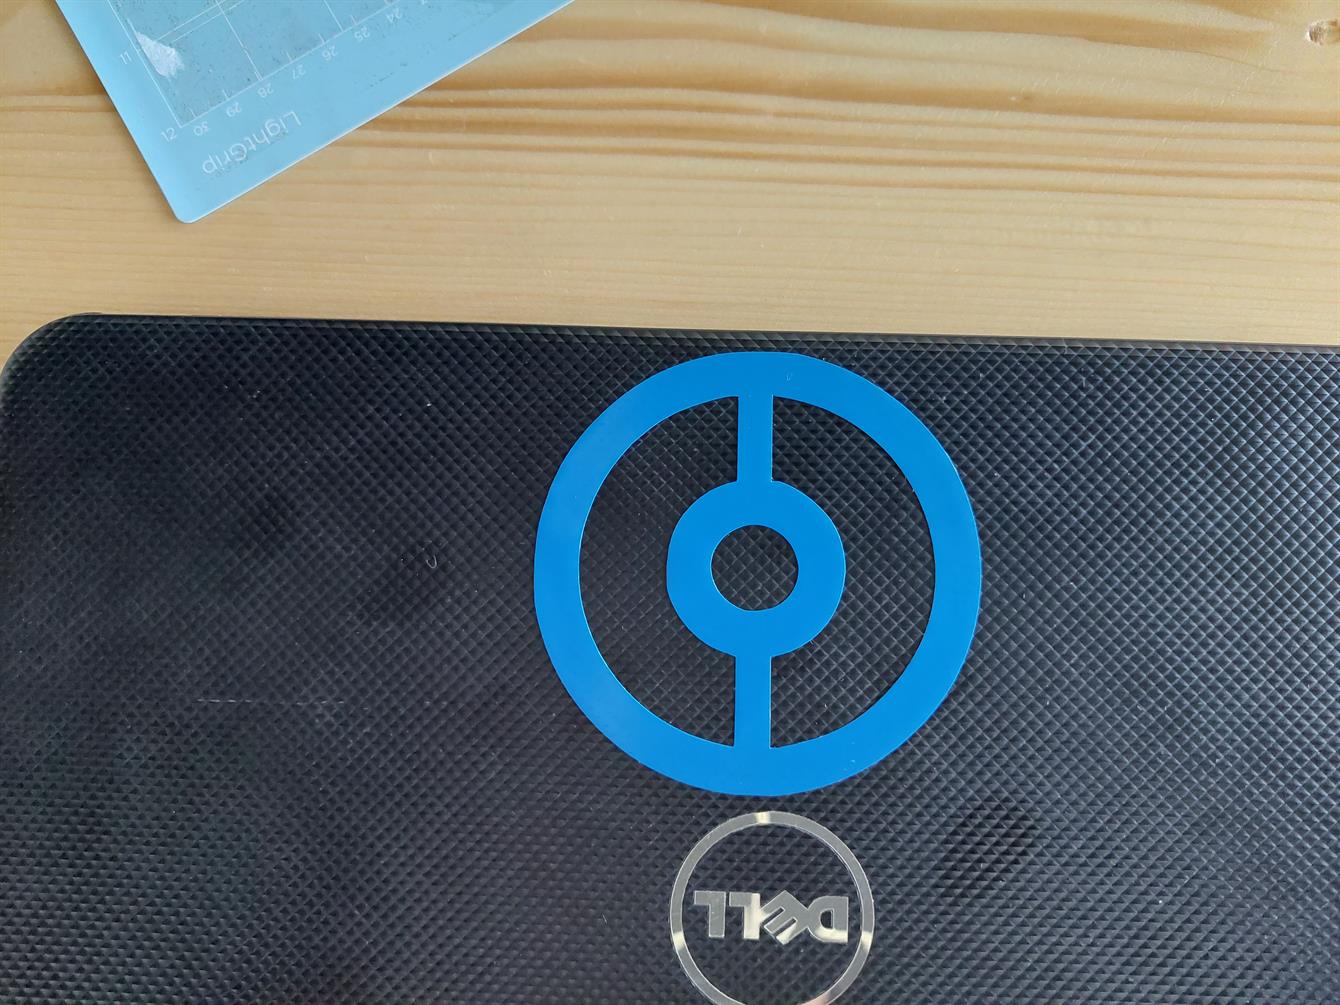
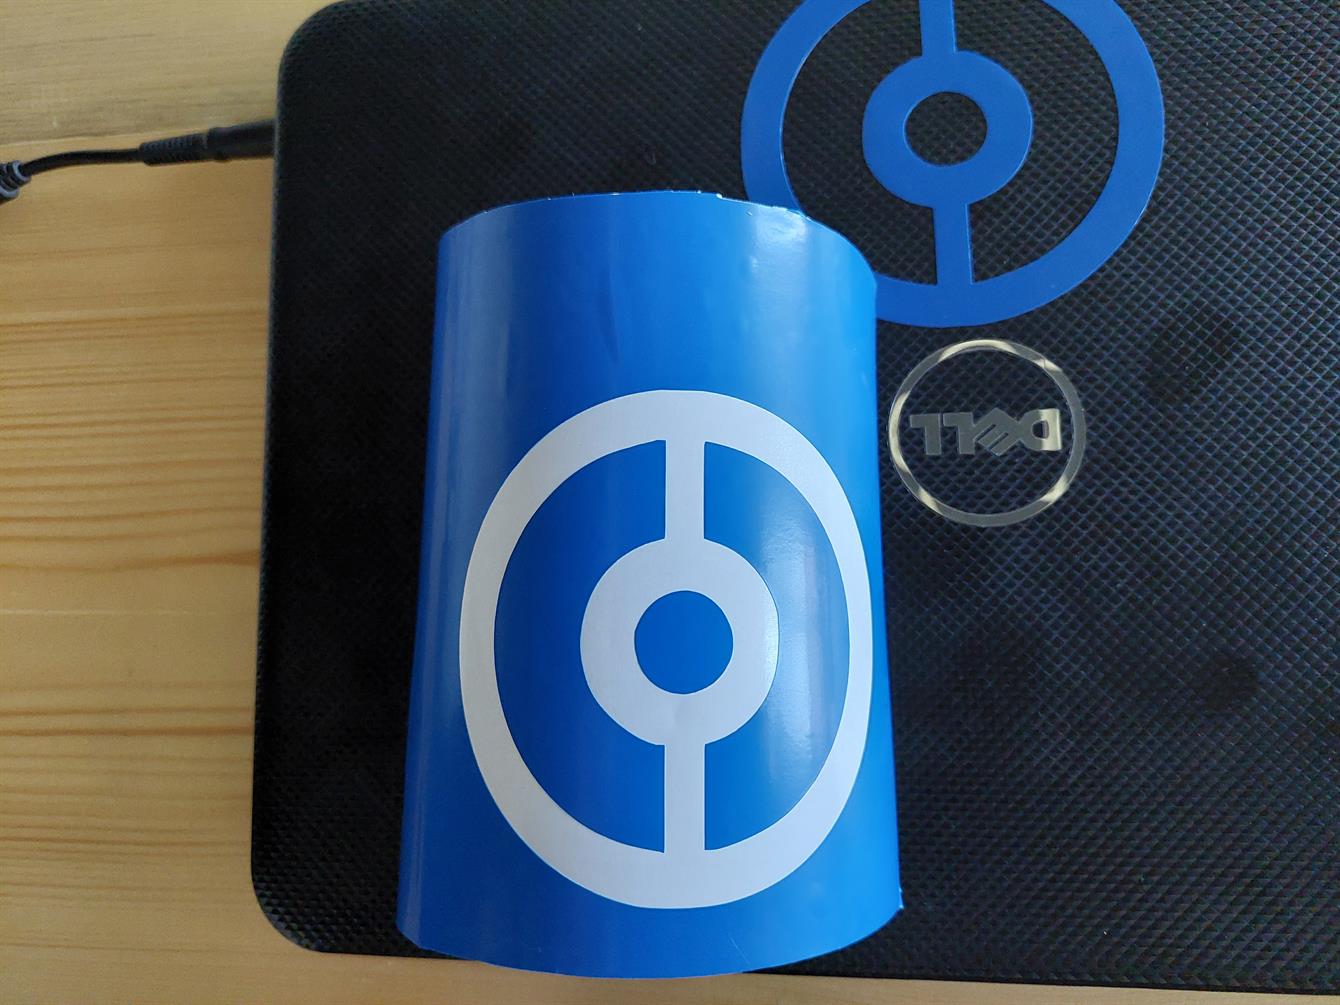
- Another Sticker
This is another sticker that I cut.