8. Moulding and casting
This week I worked on molding and casting. We tried different materials for testing. We made our mold using reusable mold recipe that we made in the past weeks.
8.1 Group Assignment
Each one of us chose a material for testing. I chose gypsum. Visit my partner’s pages to see the other works.
I searched for some information like safety, mix ratio, cure time, working time. The cure time for the gypsum is between 2 - 4 hours. The working time is around 1 minute. The ratio is 2 parts water to 3 parts plaster that is 2:3 ratio which is equal to 40% water and 60% gypsum (plaster). The maximum needed amount is 15g. To find the amount needed for water and gypsum, I used:
15g x 40% = 6g water

15g x 60% = 9g gypsum
Safety:
- Gypsum has no known adverse effect on health and is classified as non-hazardous.
- REACH (Registration, Evaluation, Authorisation & restriction of Chemicals) regulation find that there are no hazardous classifications associated with gypsum.
- Gypsum products are not classified as dangerous according to EU CLP Regulations. If gypsum is ingested, wash out the mouth and drink plenty of water.
- Plaster powders/dust may irritate eyes or sensitive skin or irritate the respiratory system. Any effects should be short term. Rinse with water and wash from skin.
These are the websites that I used to get the information:
The preparation steps:
This is the Gypsum powder.
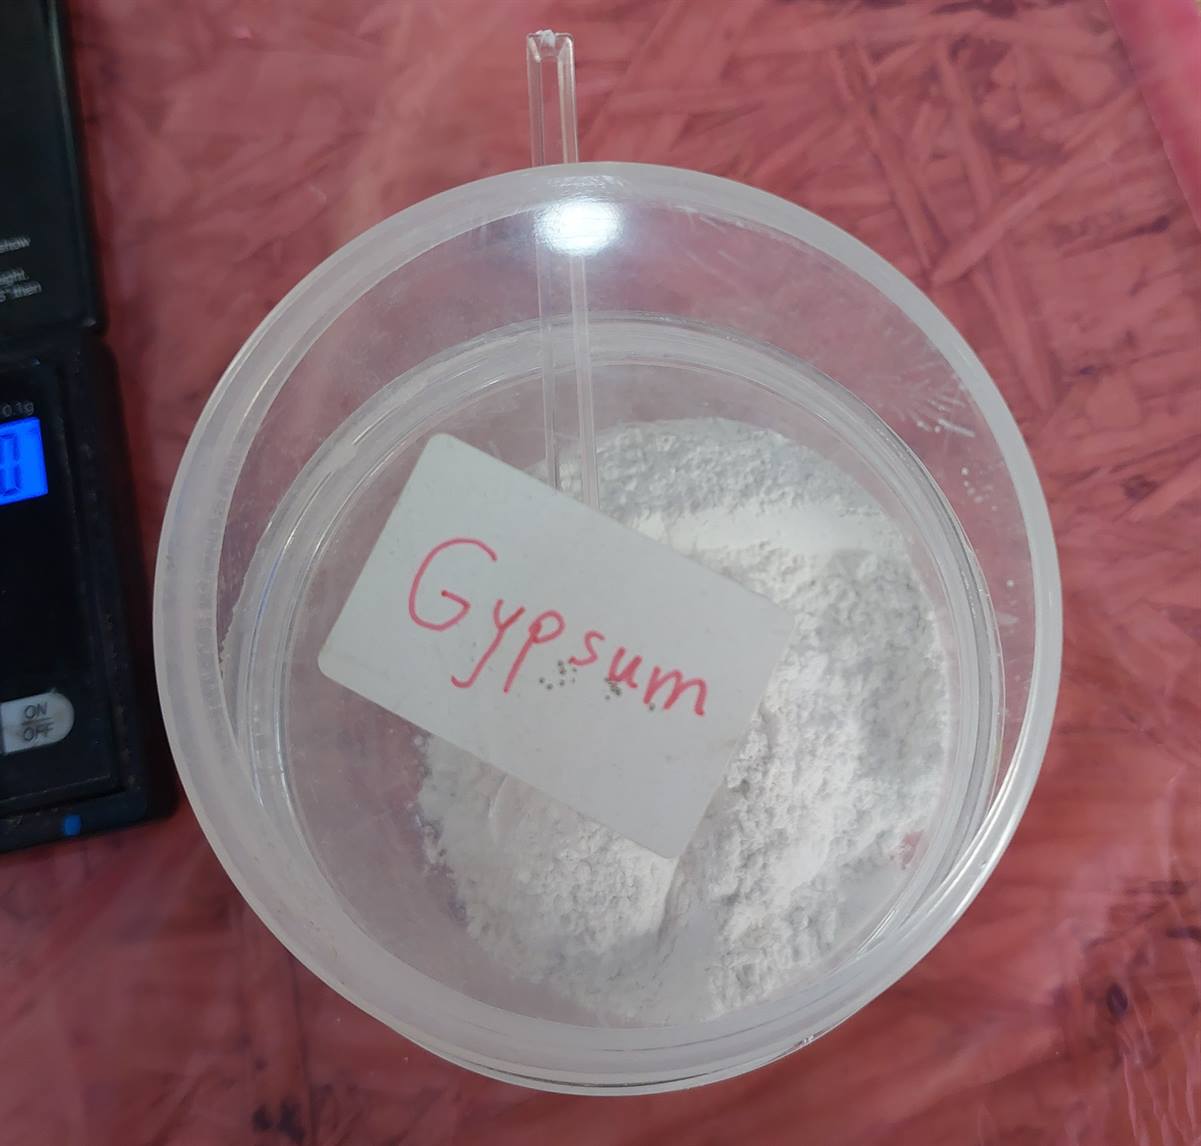
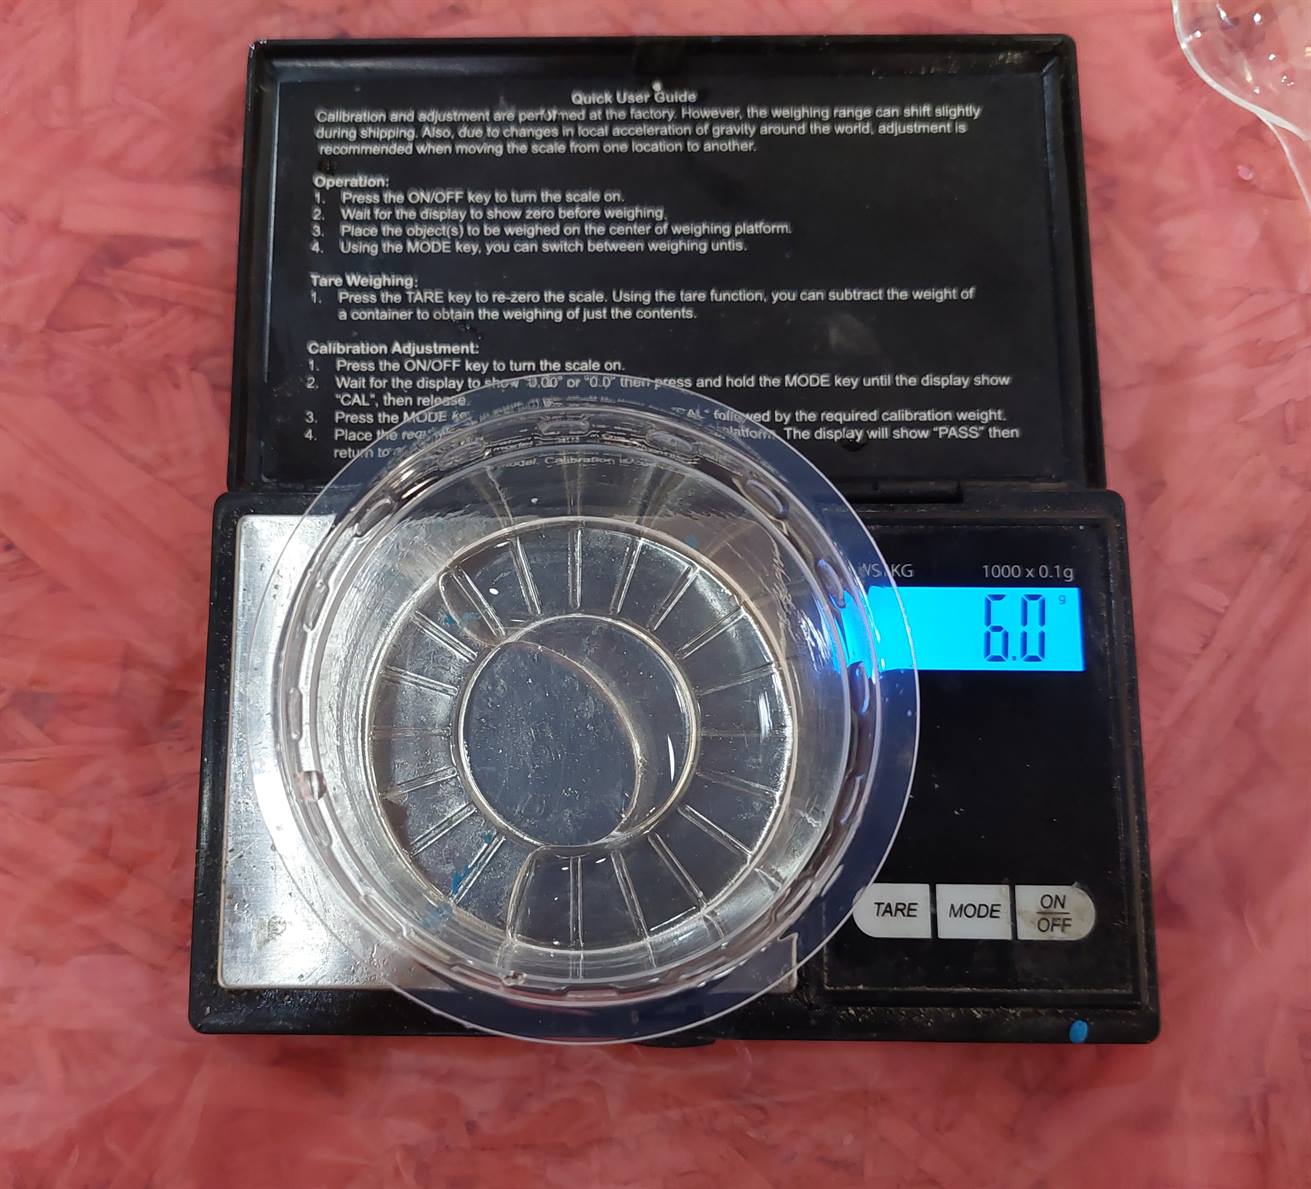
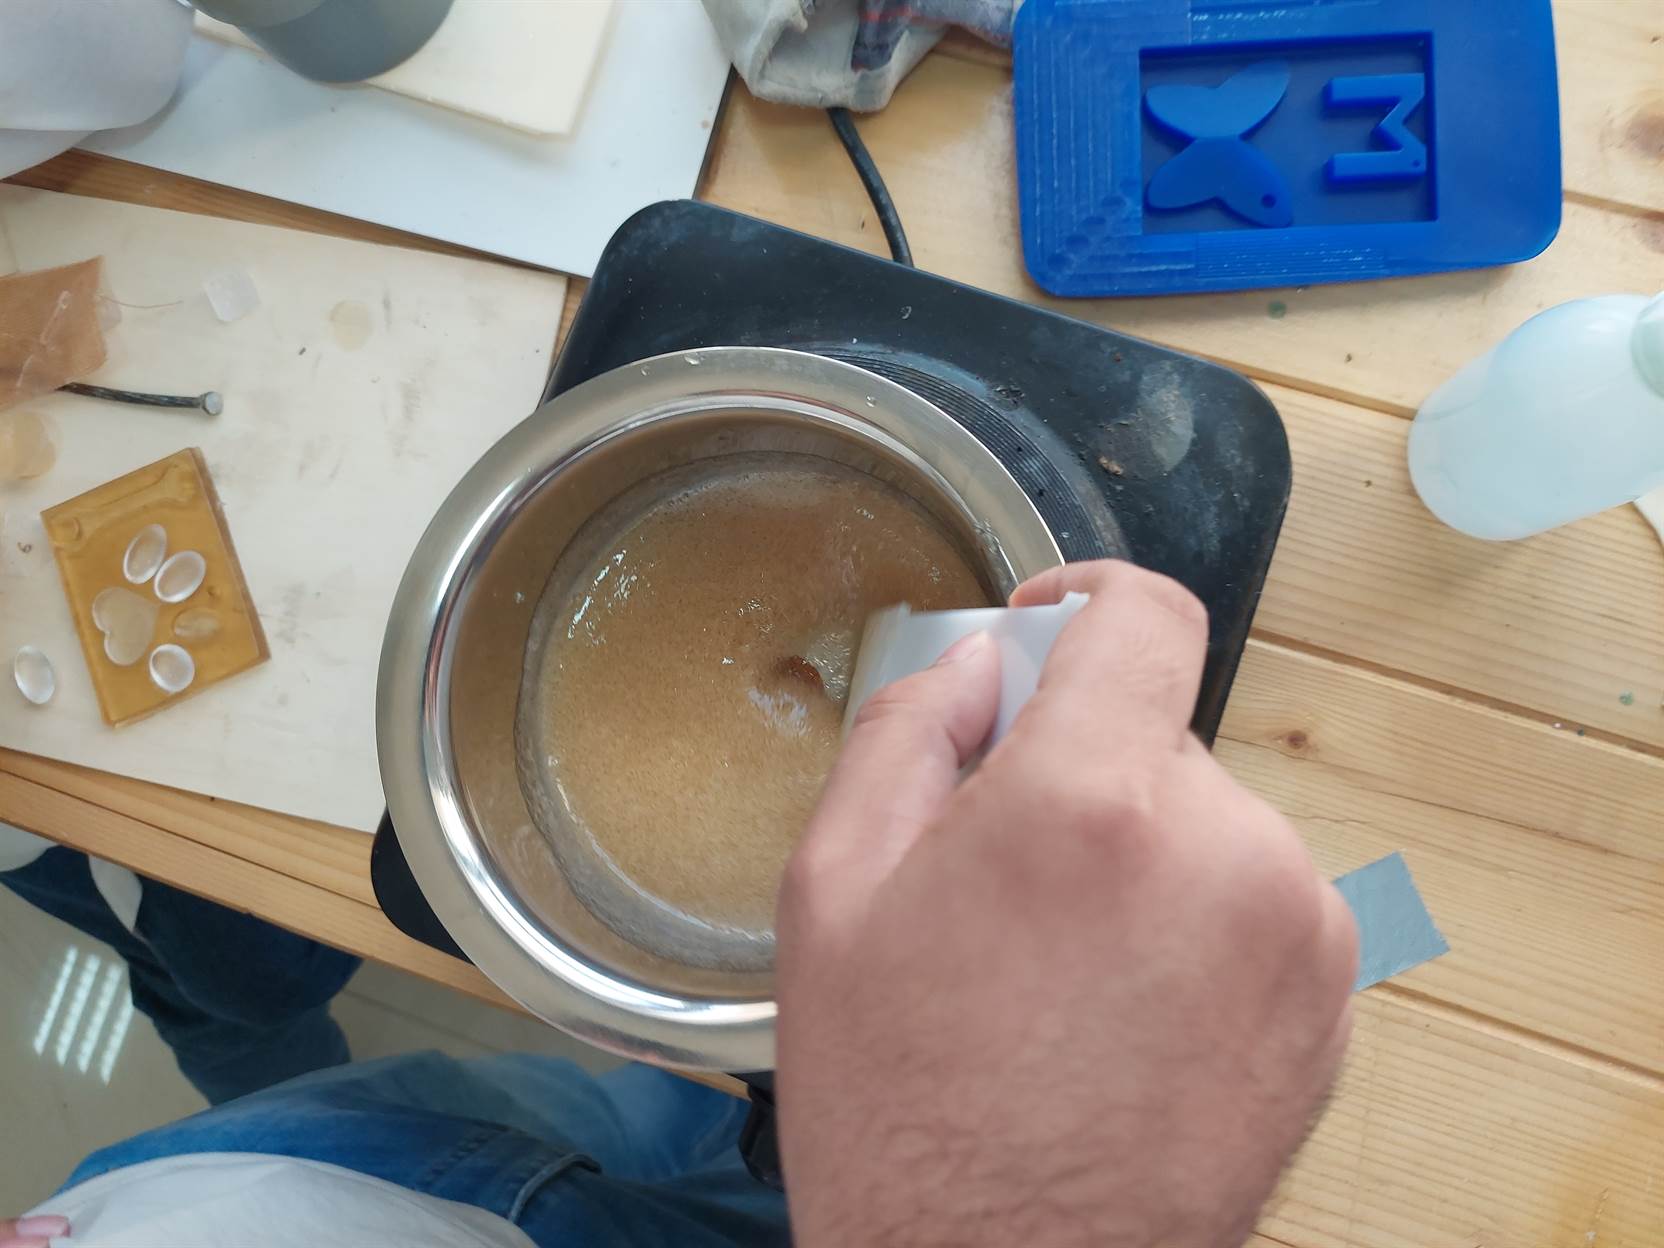
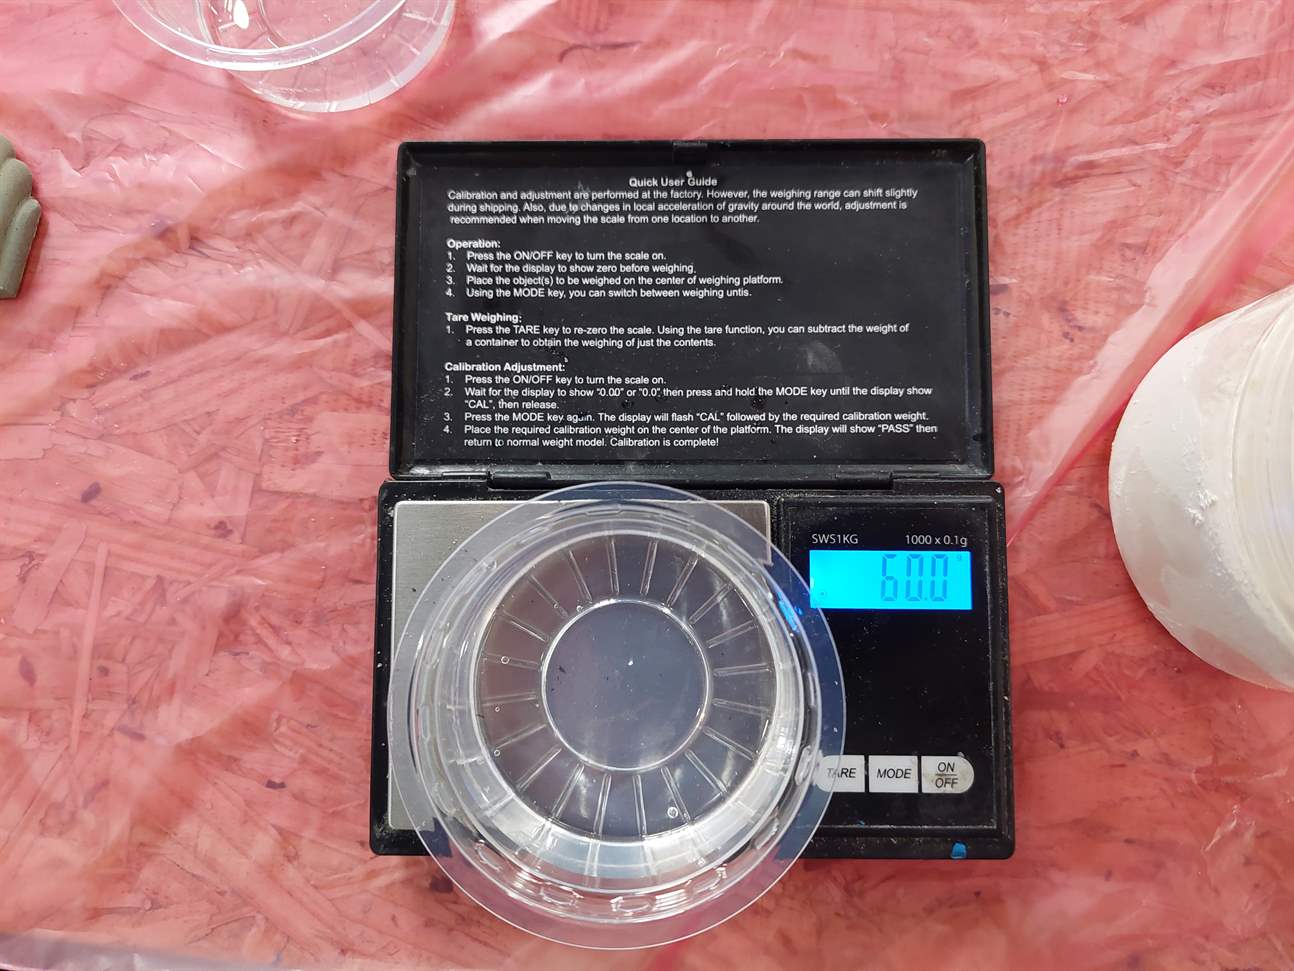
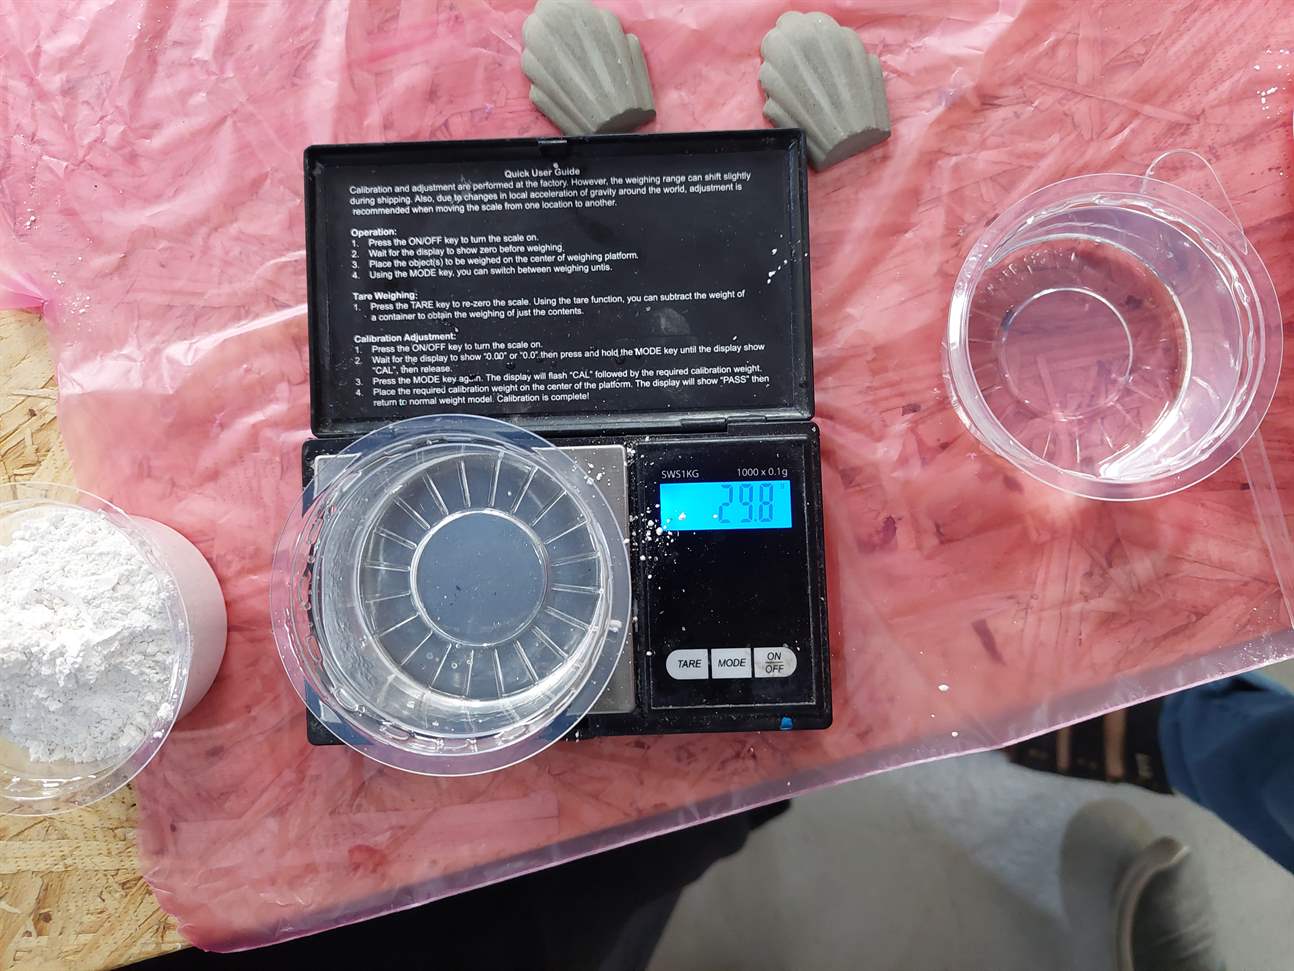
I weighed the water then the gypsum.
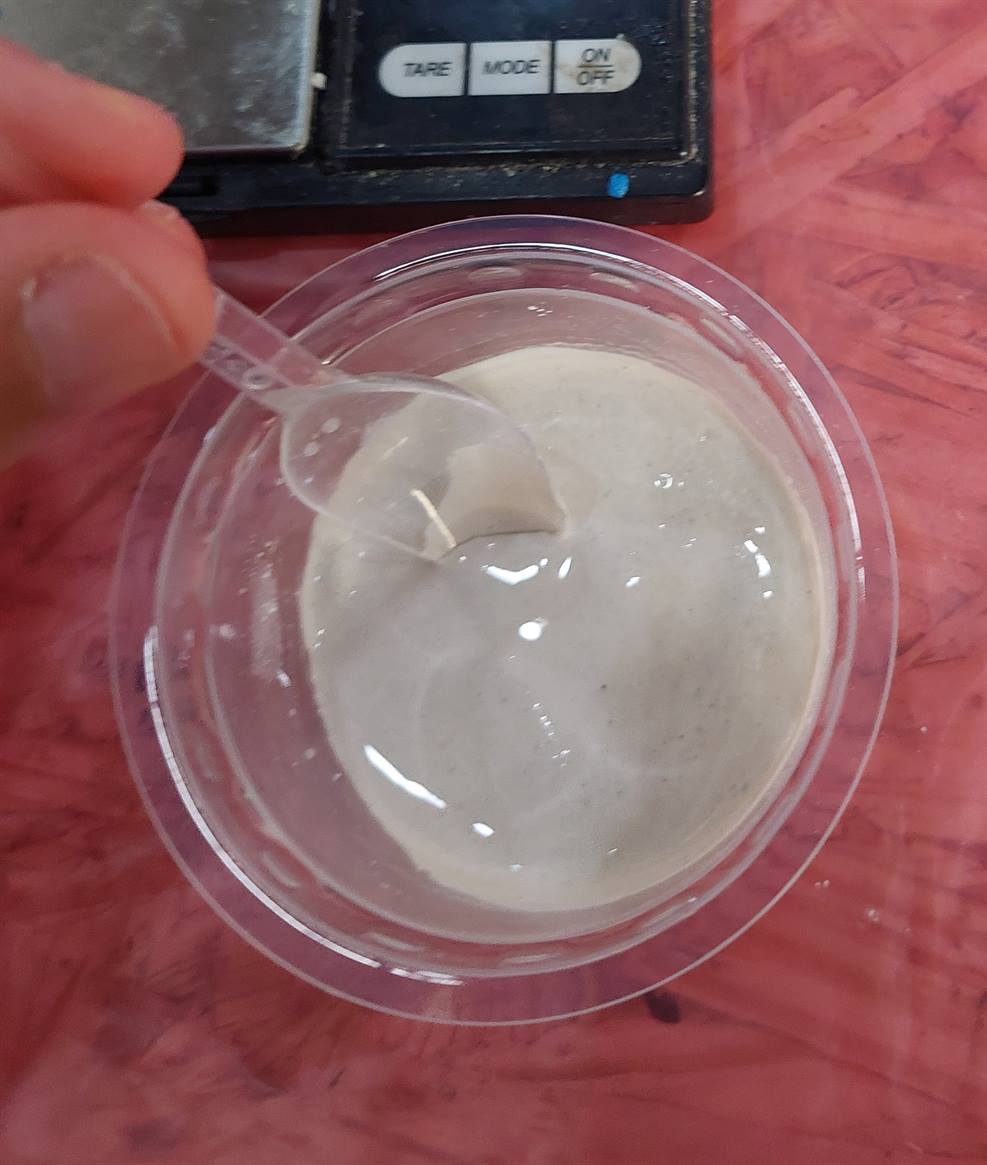
I mixed the water and the gypsum for 1 minute.
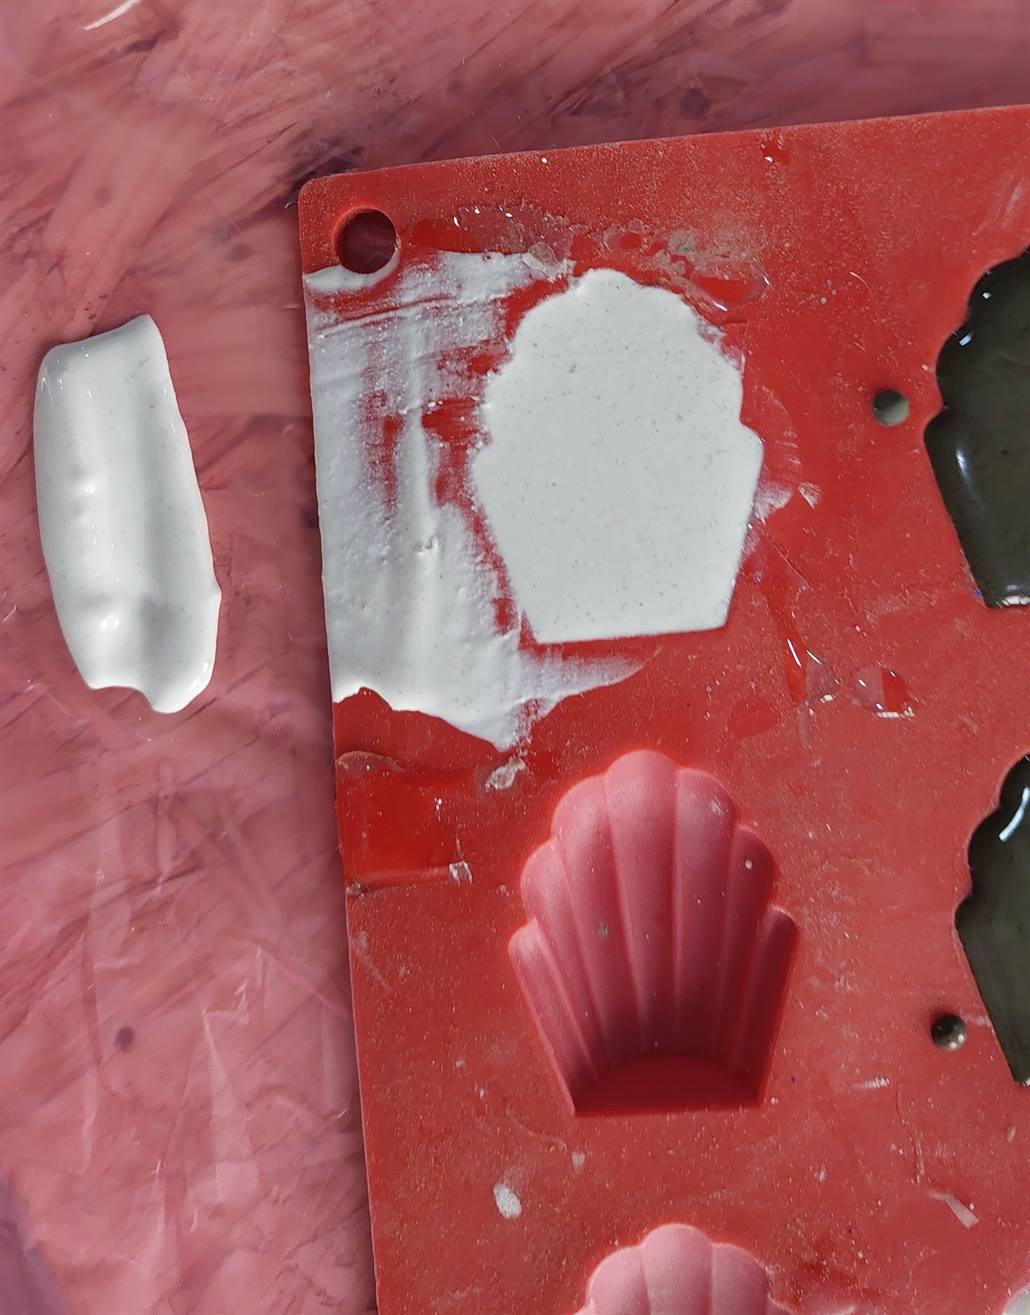
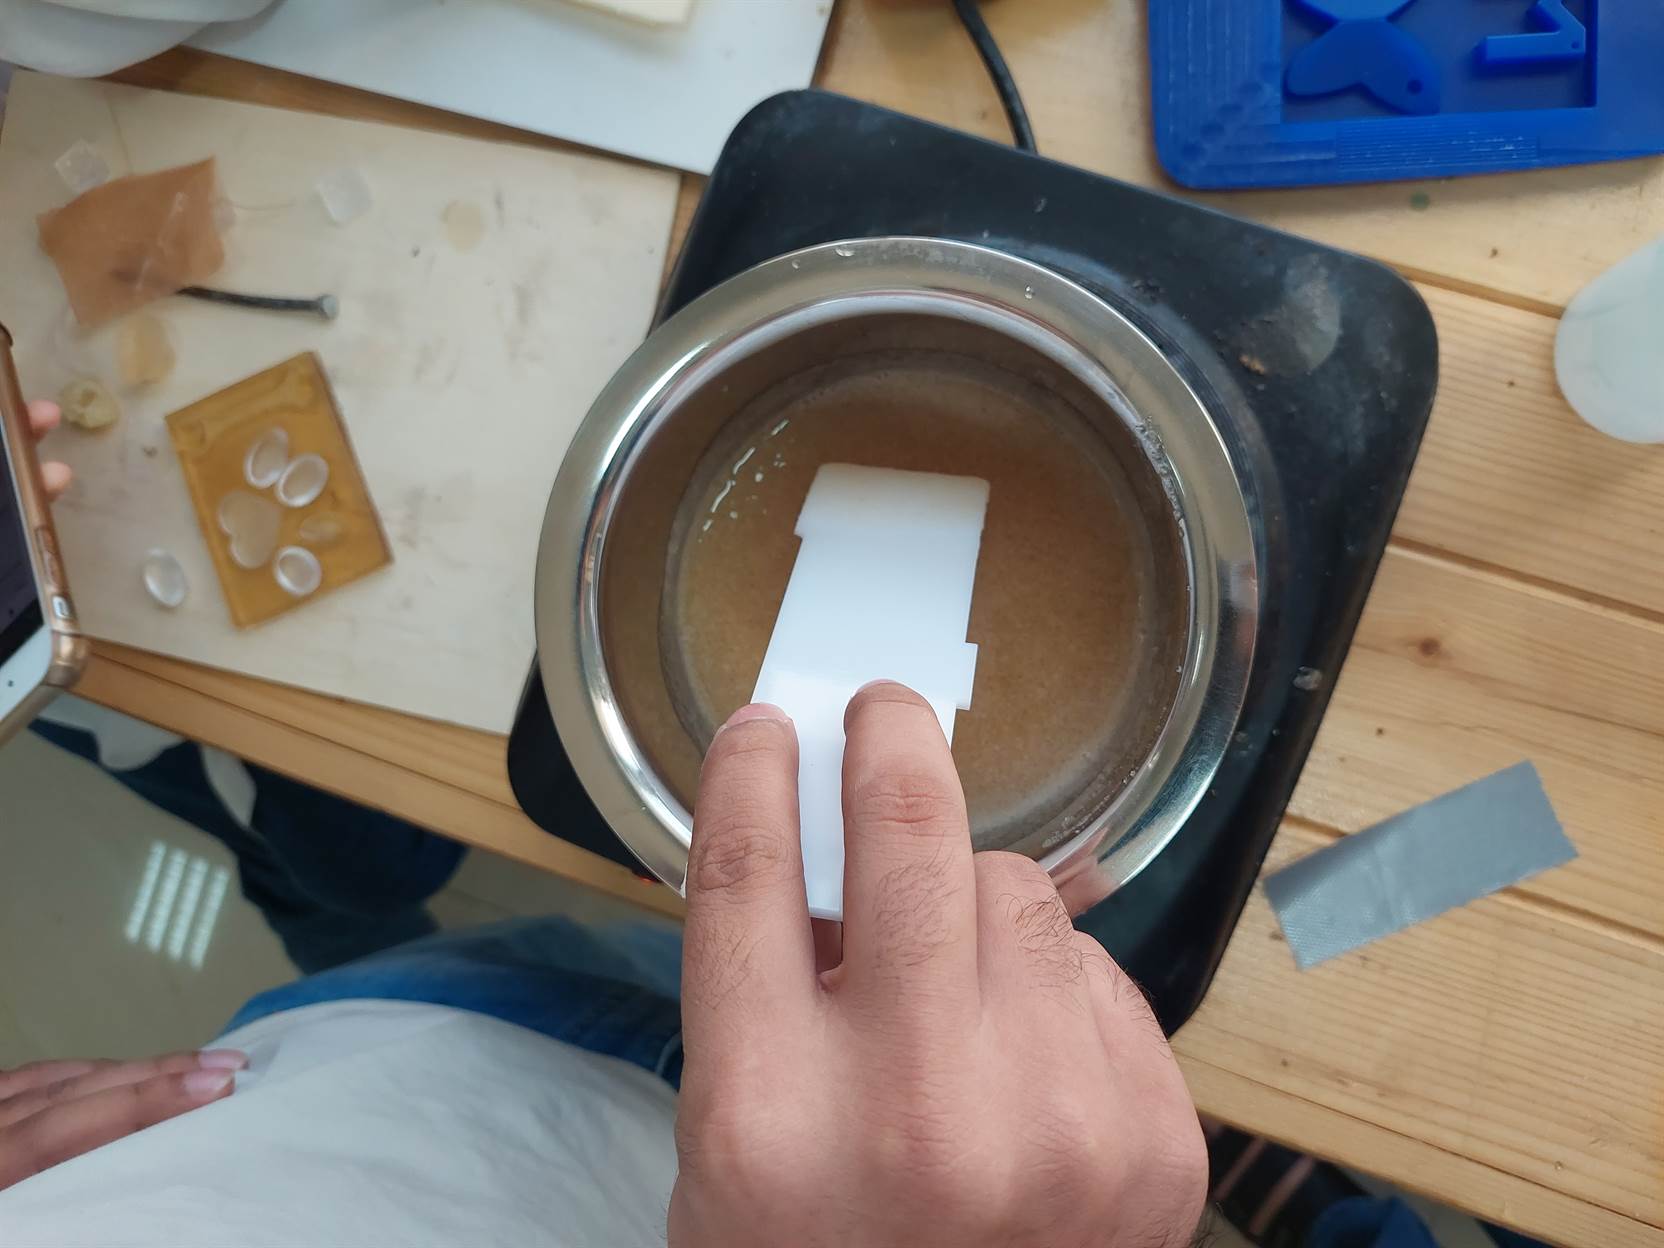
I poured it into a mold and removed the extra amount using a paper.
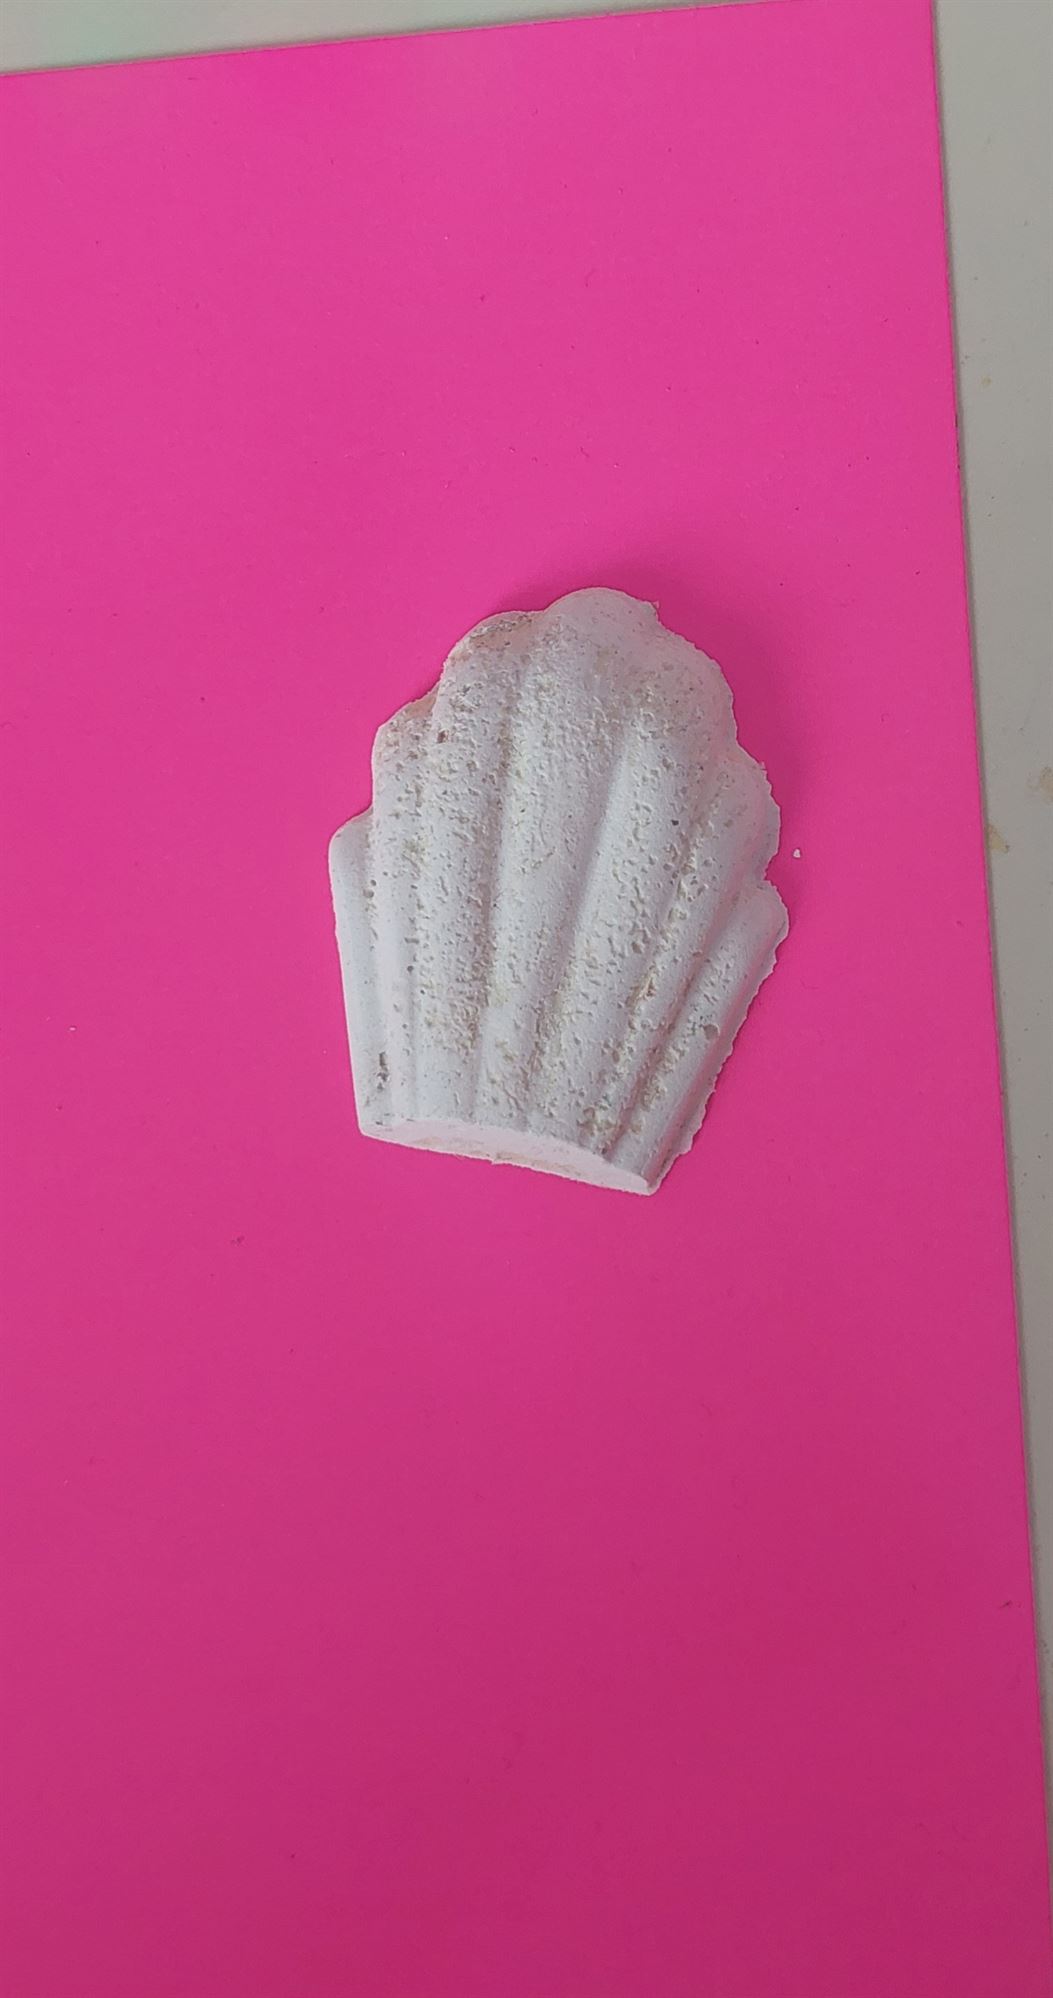
The final result. It had tiny holes because of the bubbles. Maybe because the gypsum needs time to let it sit after mixing with water and then pour it, which I did not do.
8.2 Individual Assignment
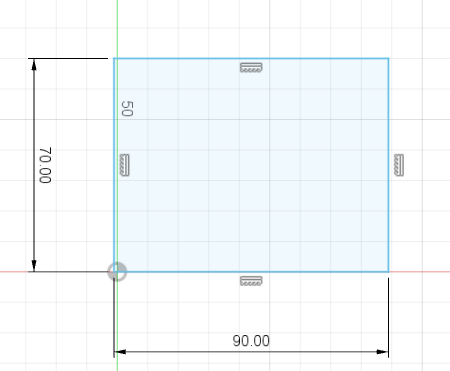
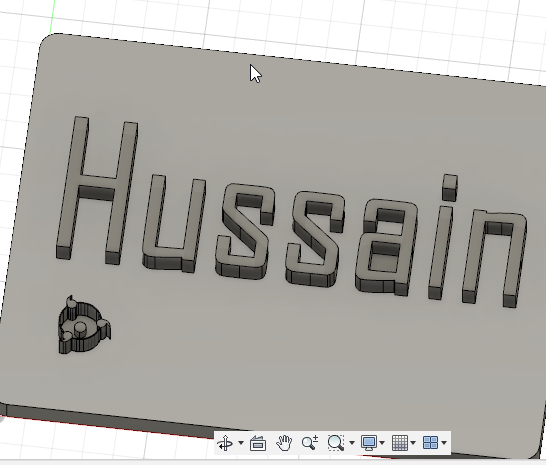
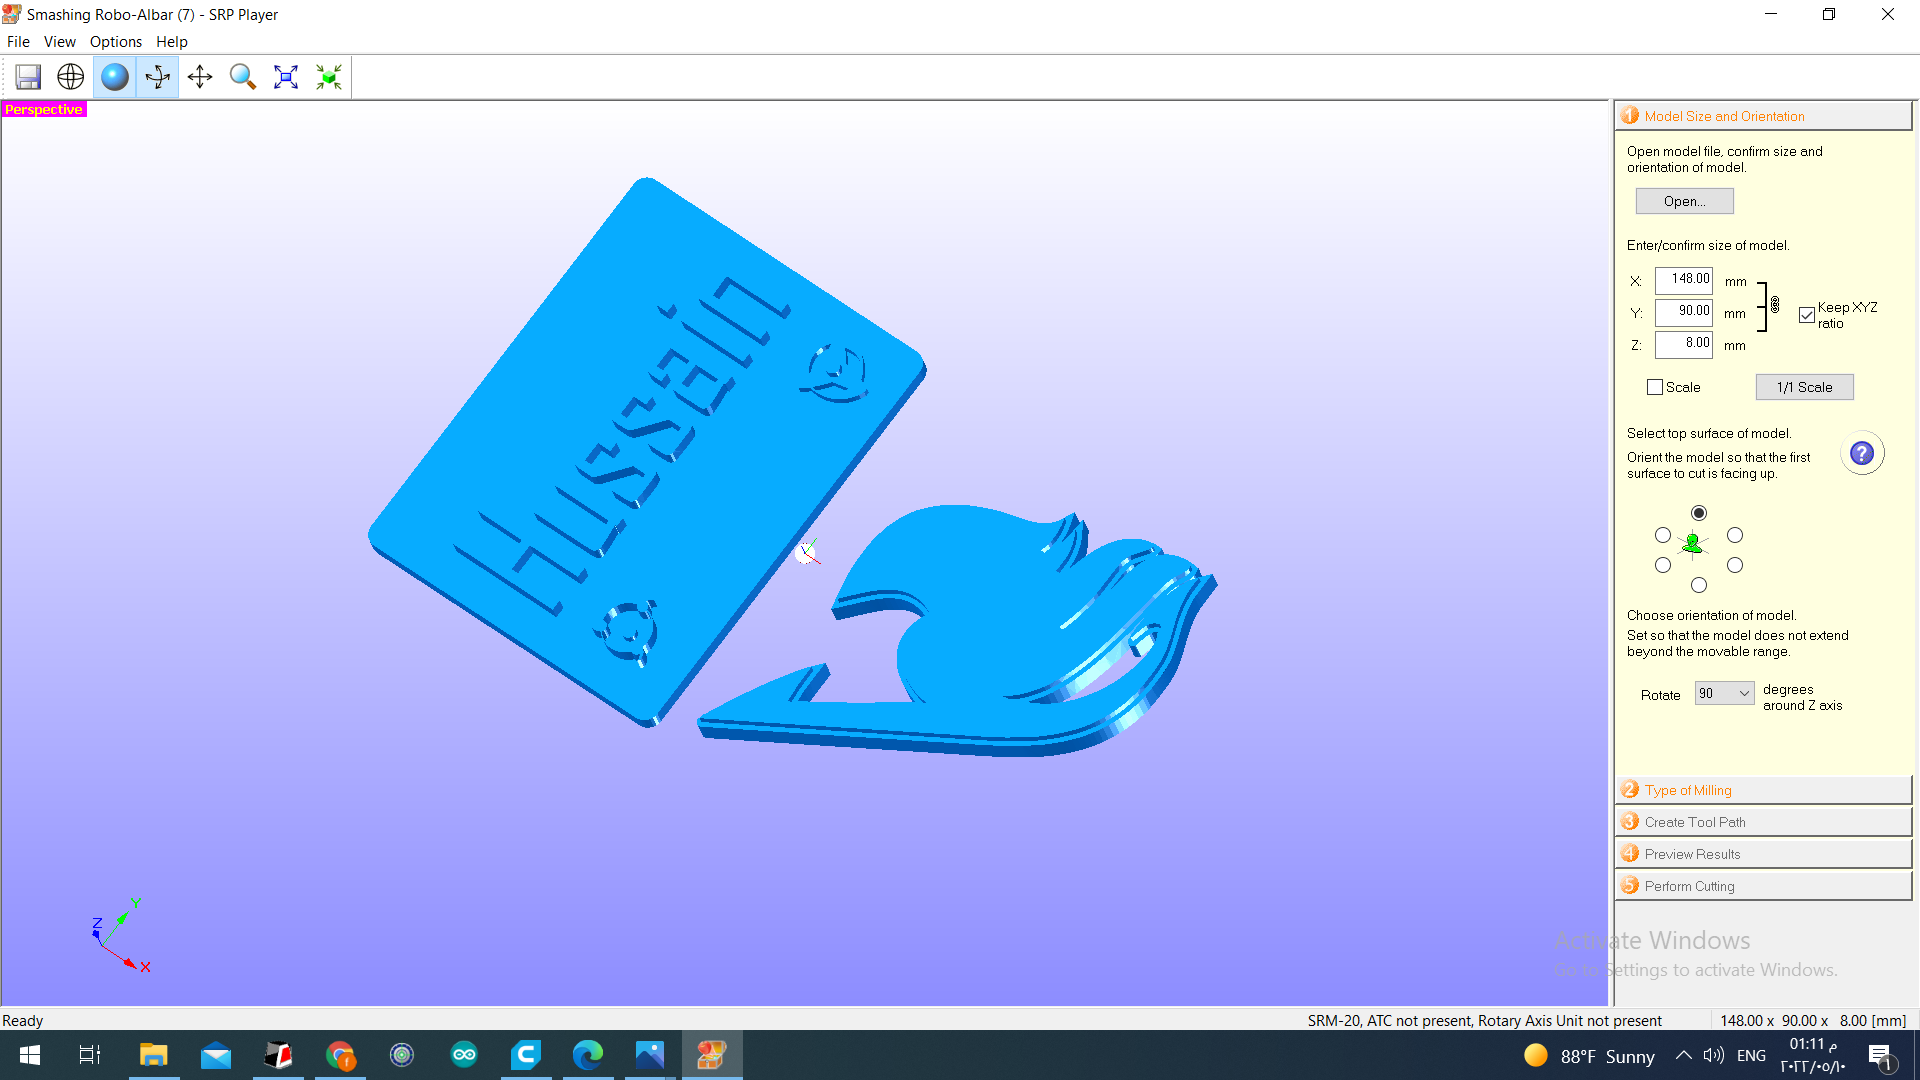
I designed a plate that has my name on it and some shapes using svg files. I used Fusion 360 to make it. The maximum size for the design should be 7 x 9 x 0.8cm. The minimum gap size is 1.5mm and not smaller, this is because the bit size is not small enough to do it.
8.2.1 SVG files
First, I made the svg files.
To make my name I used Microsoft Word and I changed the font type. I took a screenshot.
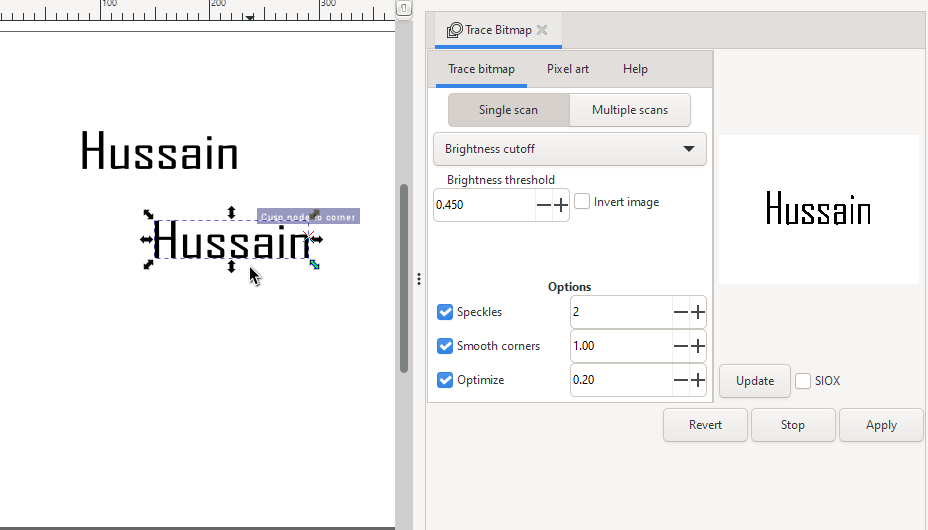
Then, I used Inkscape to convert the picture to svg format using trace Bitmap.
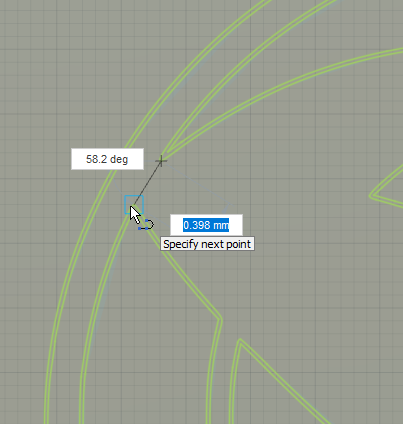
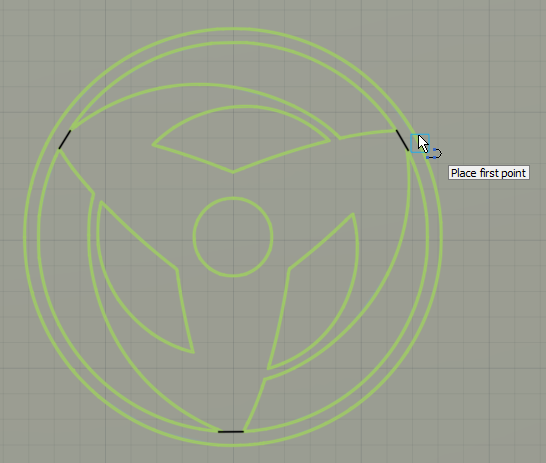
I used some pictures from the internet and I converted them into svg formats.
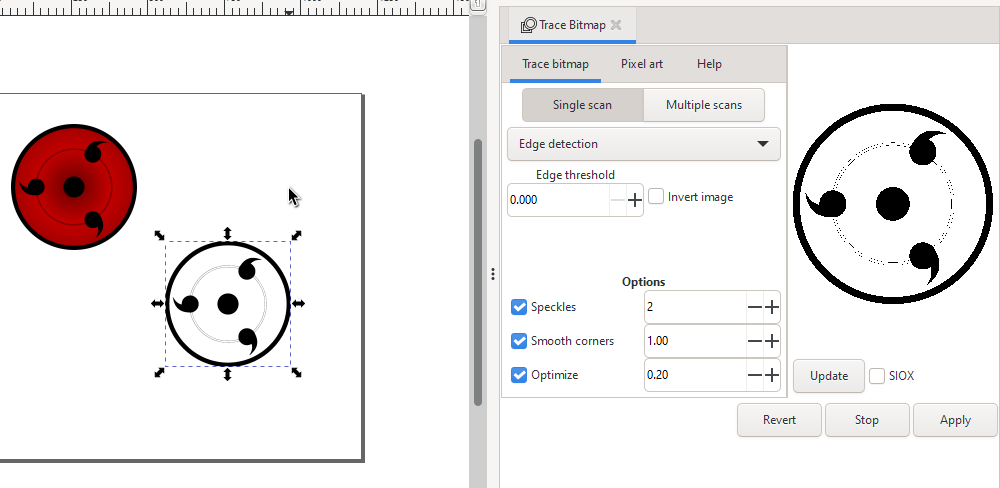
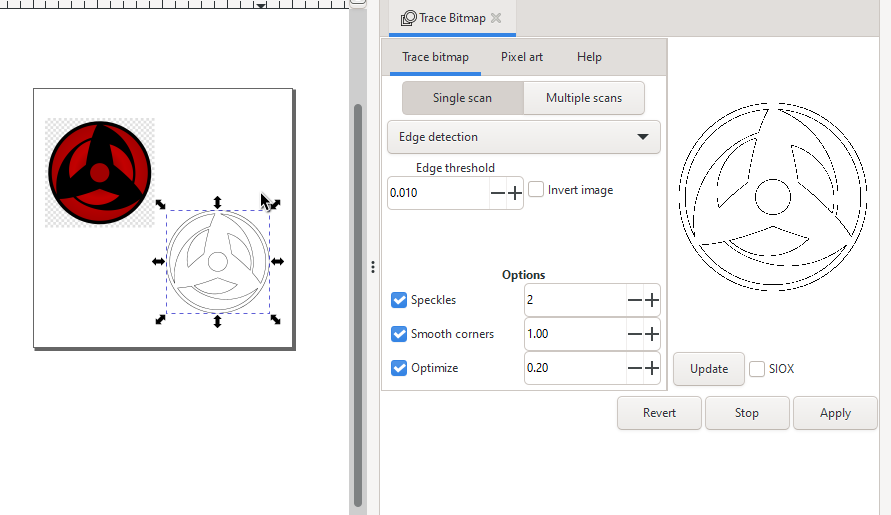
These are the links for the pictures:
Download SVG Files:
8.2.2 Fusion 360
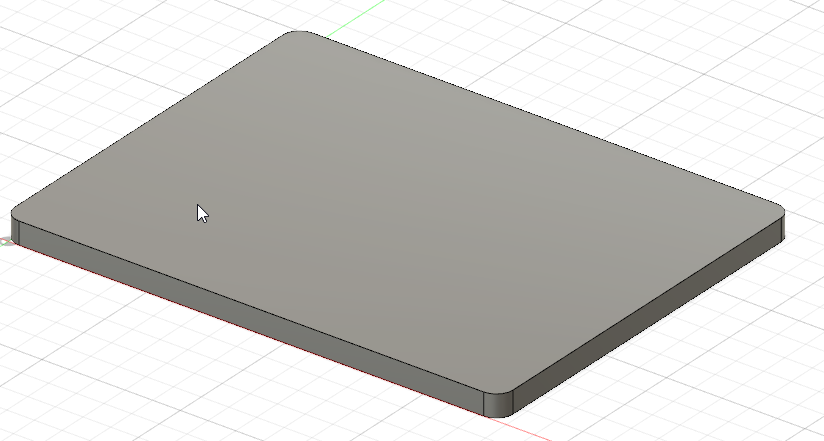
I drew a rectangle
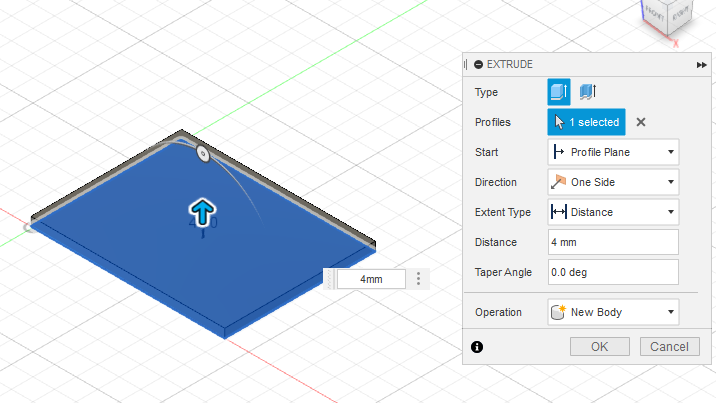
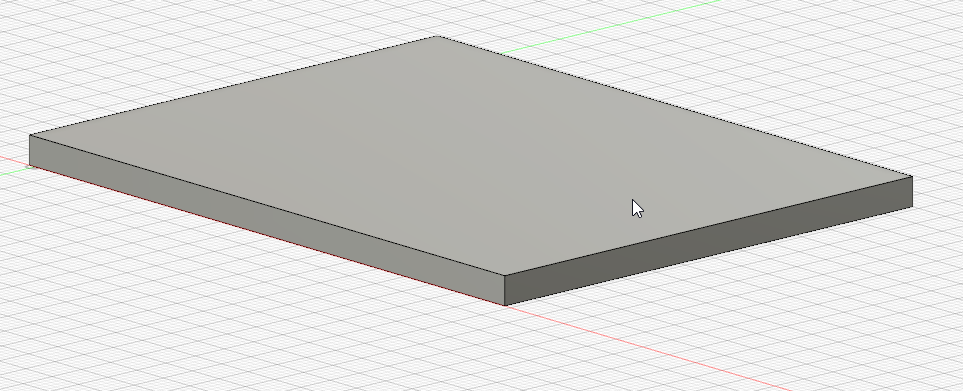
I extruded it by 4mm.
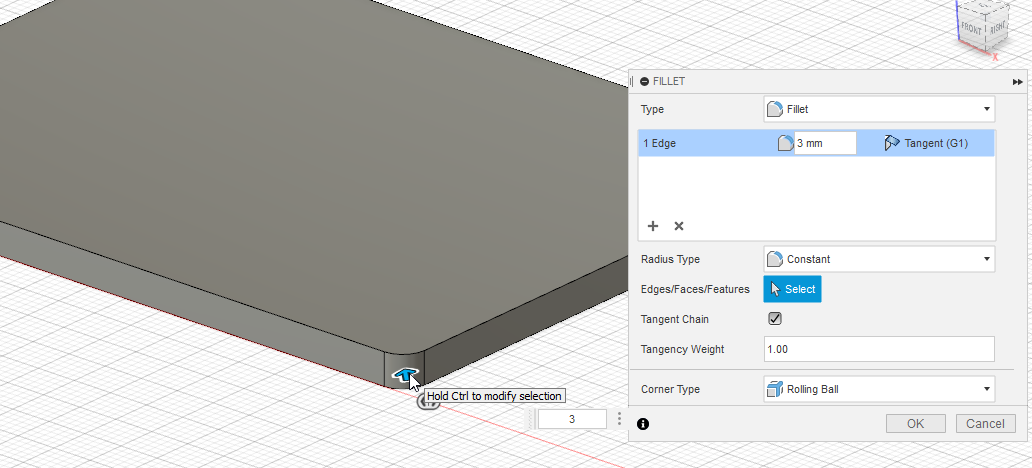
I used the fillet to make curved edges.
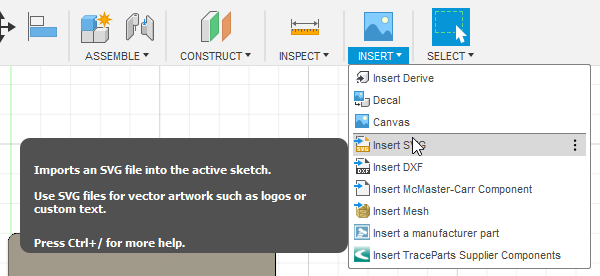
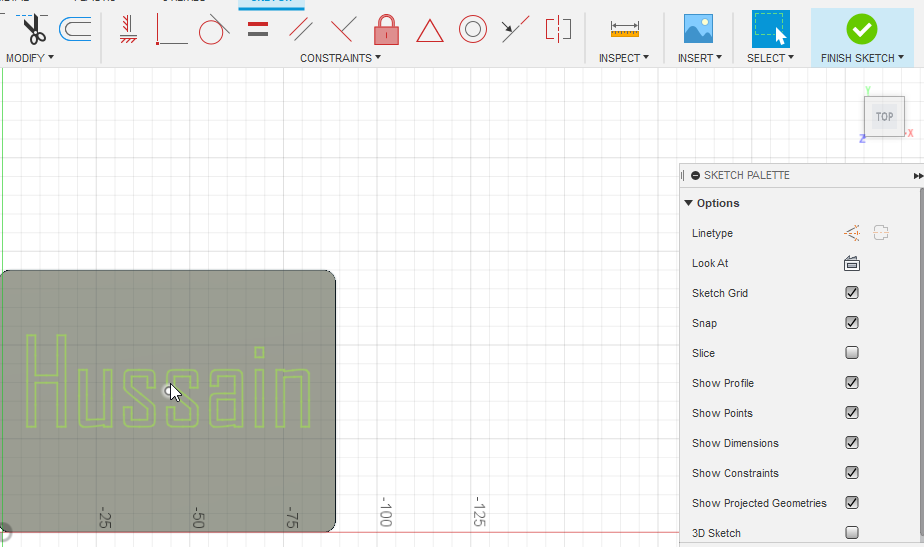
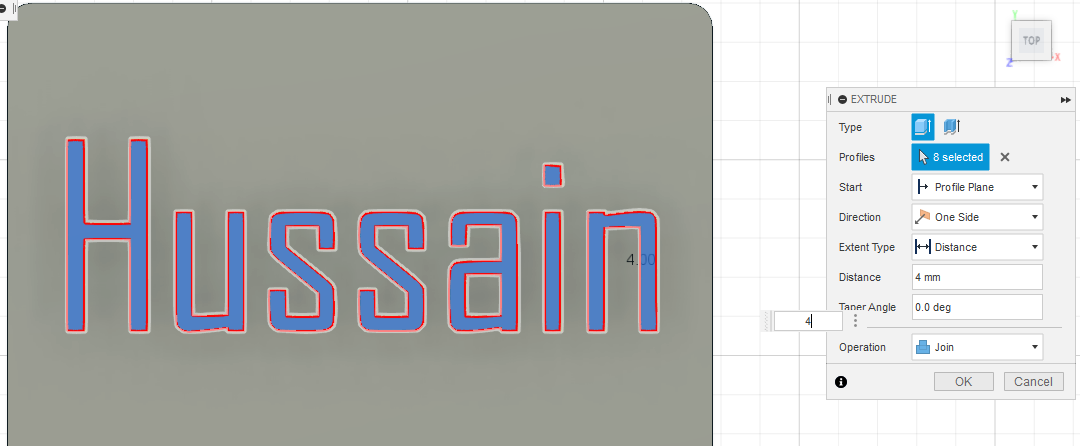
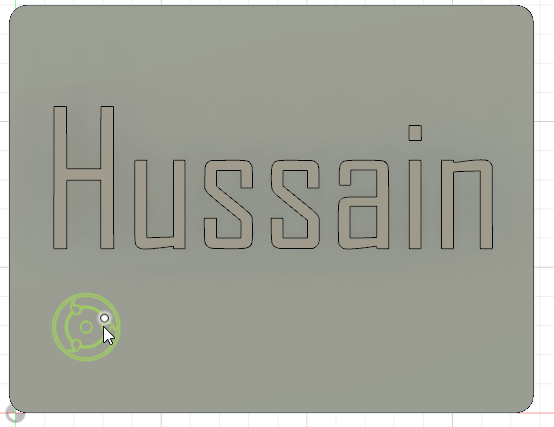
I inserted the svg files that I created before. First I used the SVG file for my name.
I extruded it by 4mm.
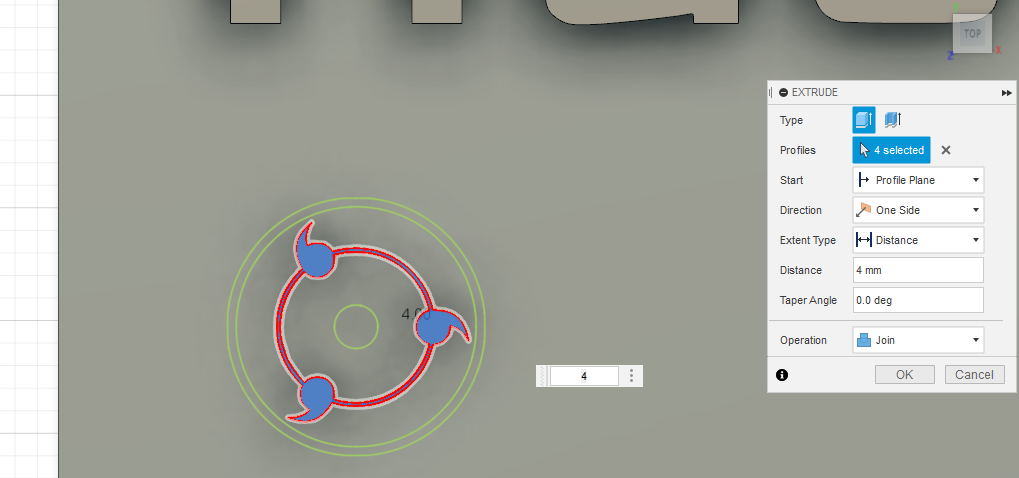
I added the svg file for Picture1.
I extruded this part by 4mm.
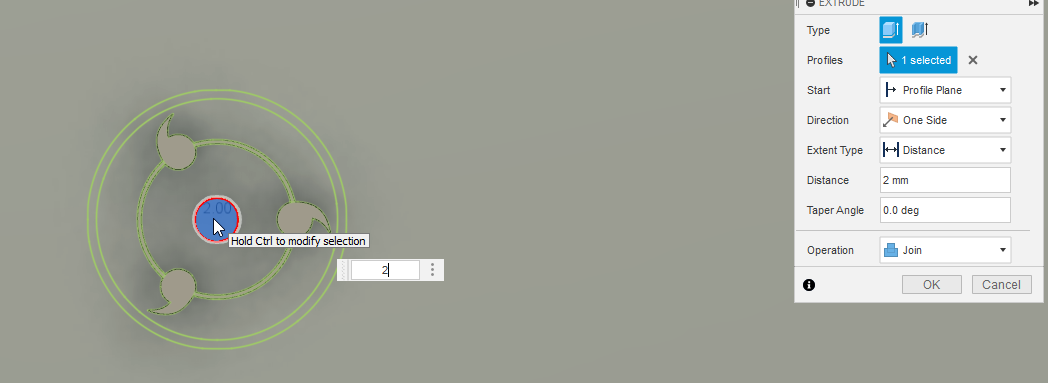
And this part by 2mm.
I added the svg file for Picture2.
I connected these parts by drawing lines.
I extruded it, one part by 2mm, and the other by 4mm.

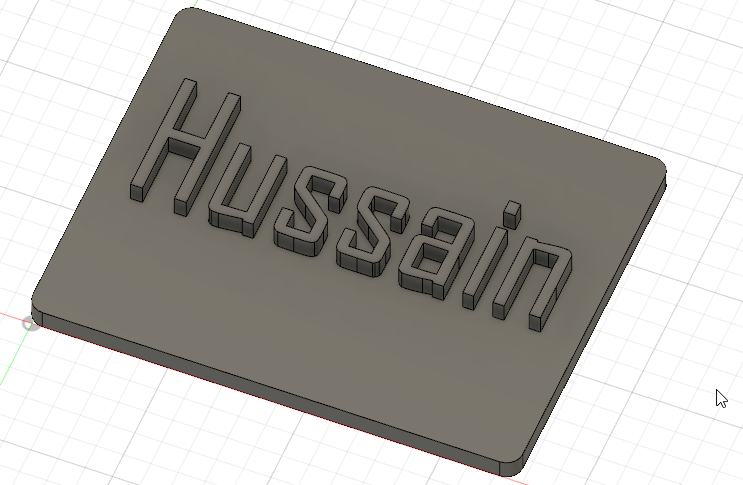
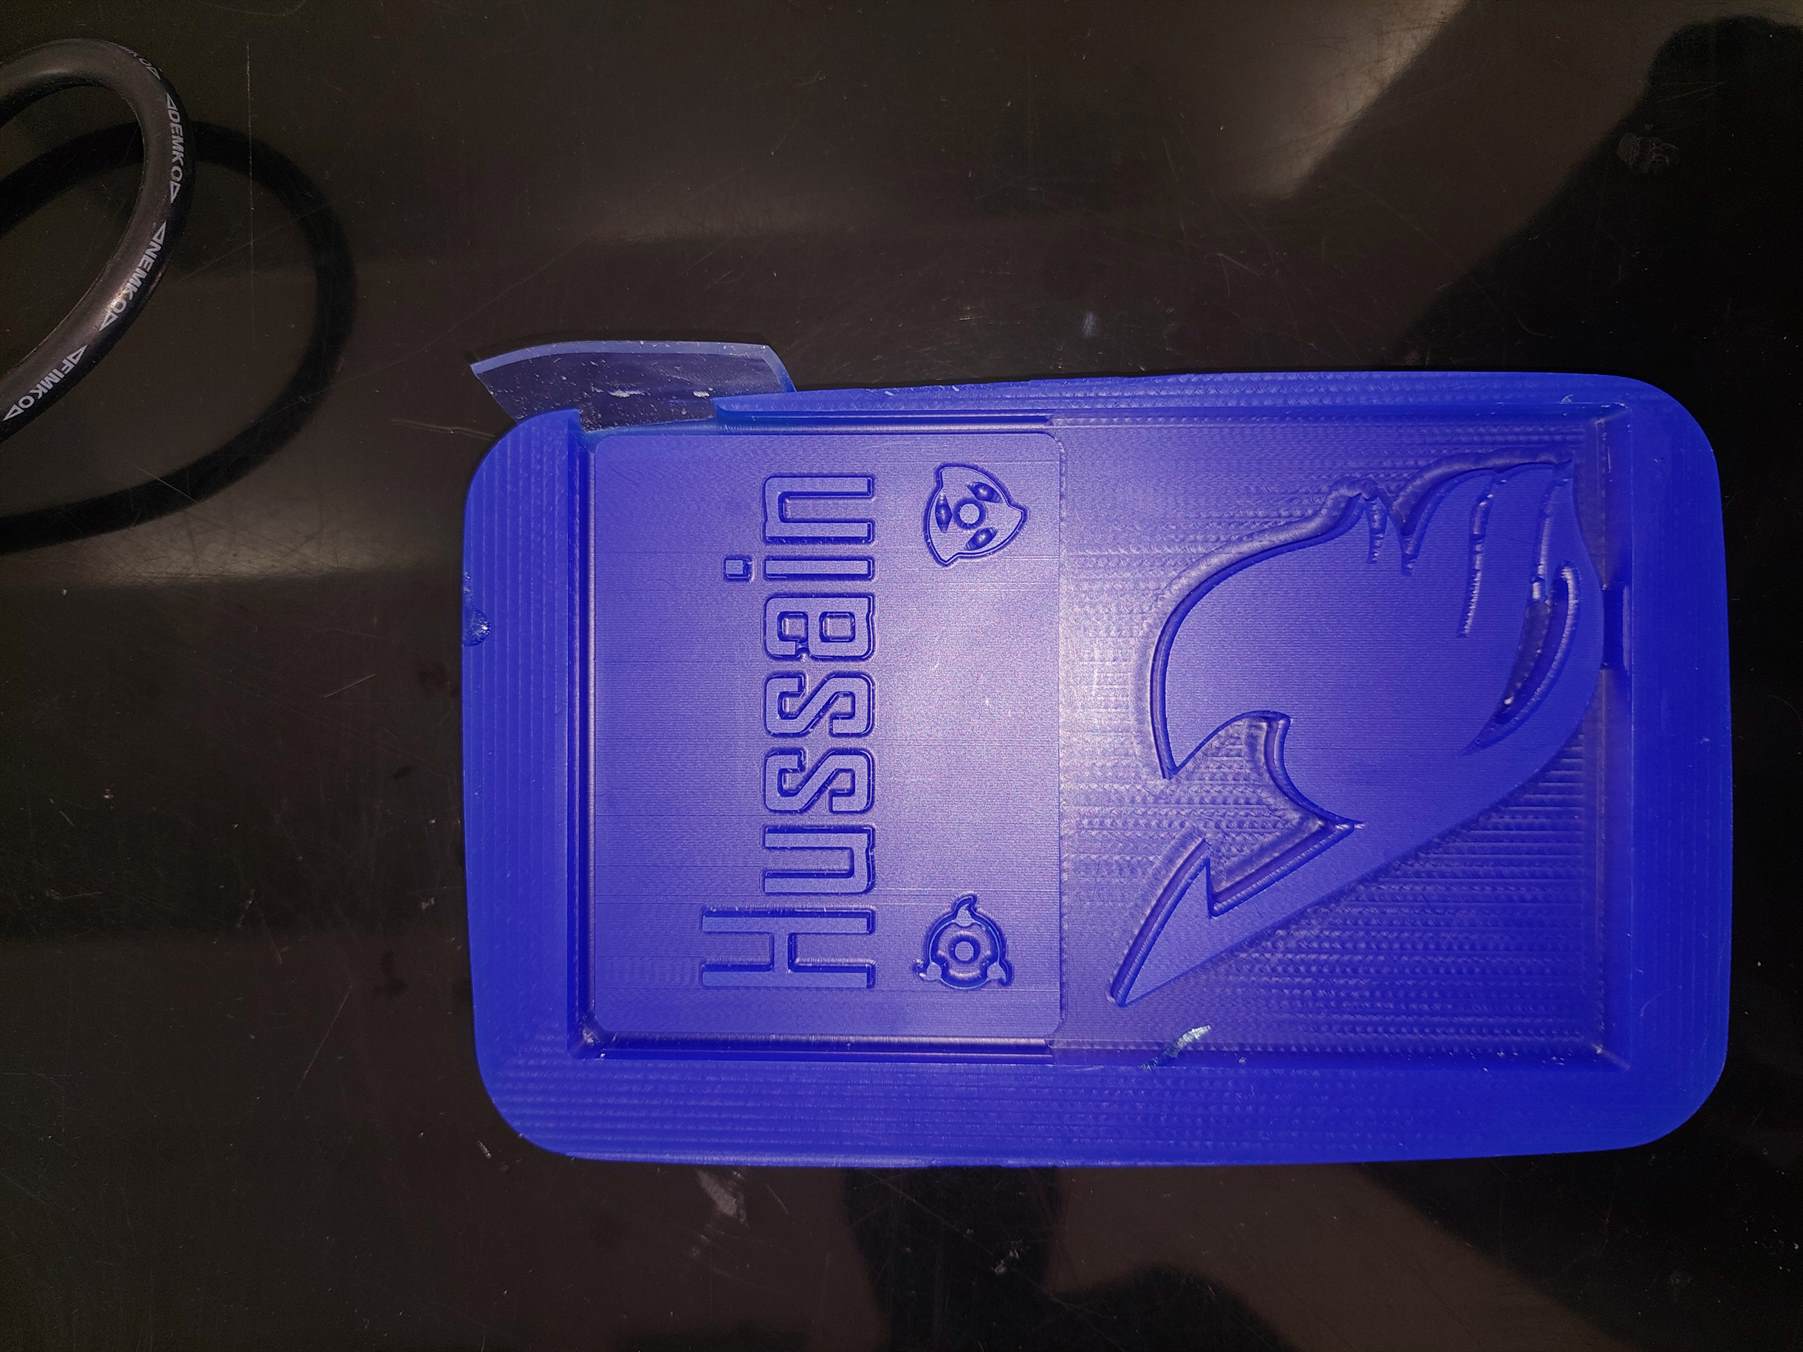
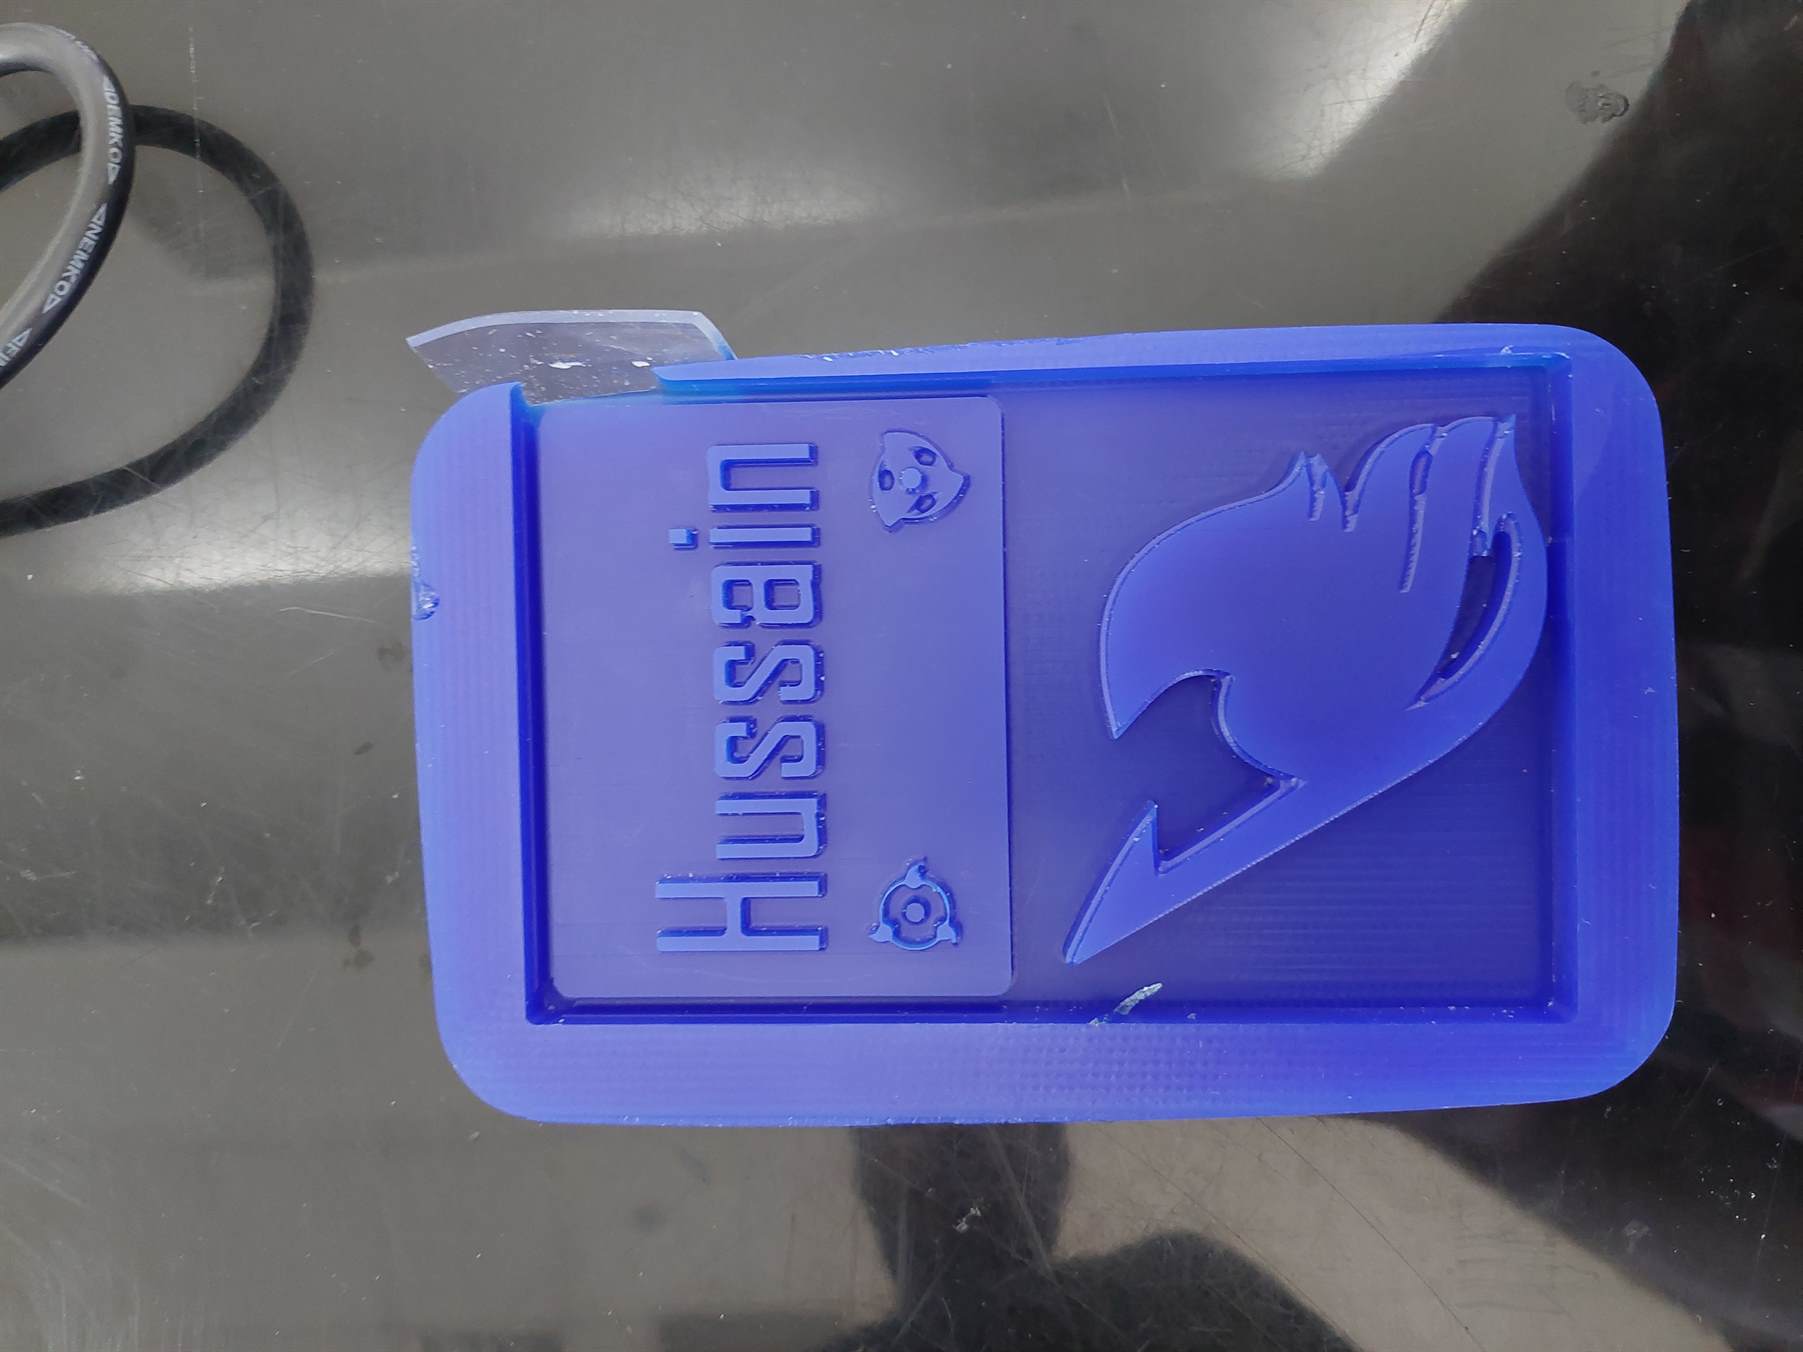
This is the final result.

This is a 3D view.:
Download 3D Files:
8.2.3 Milling
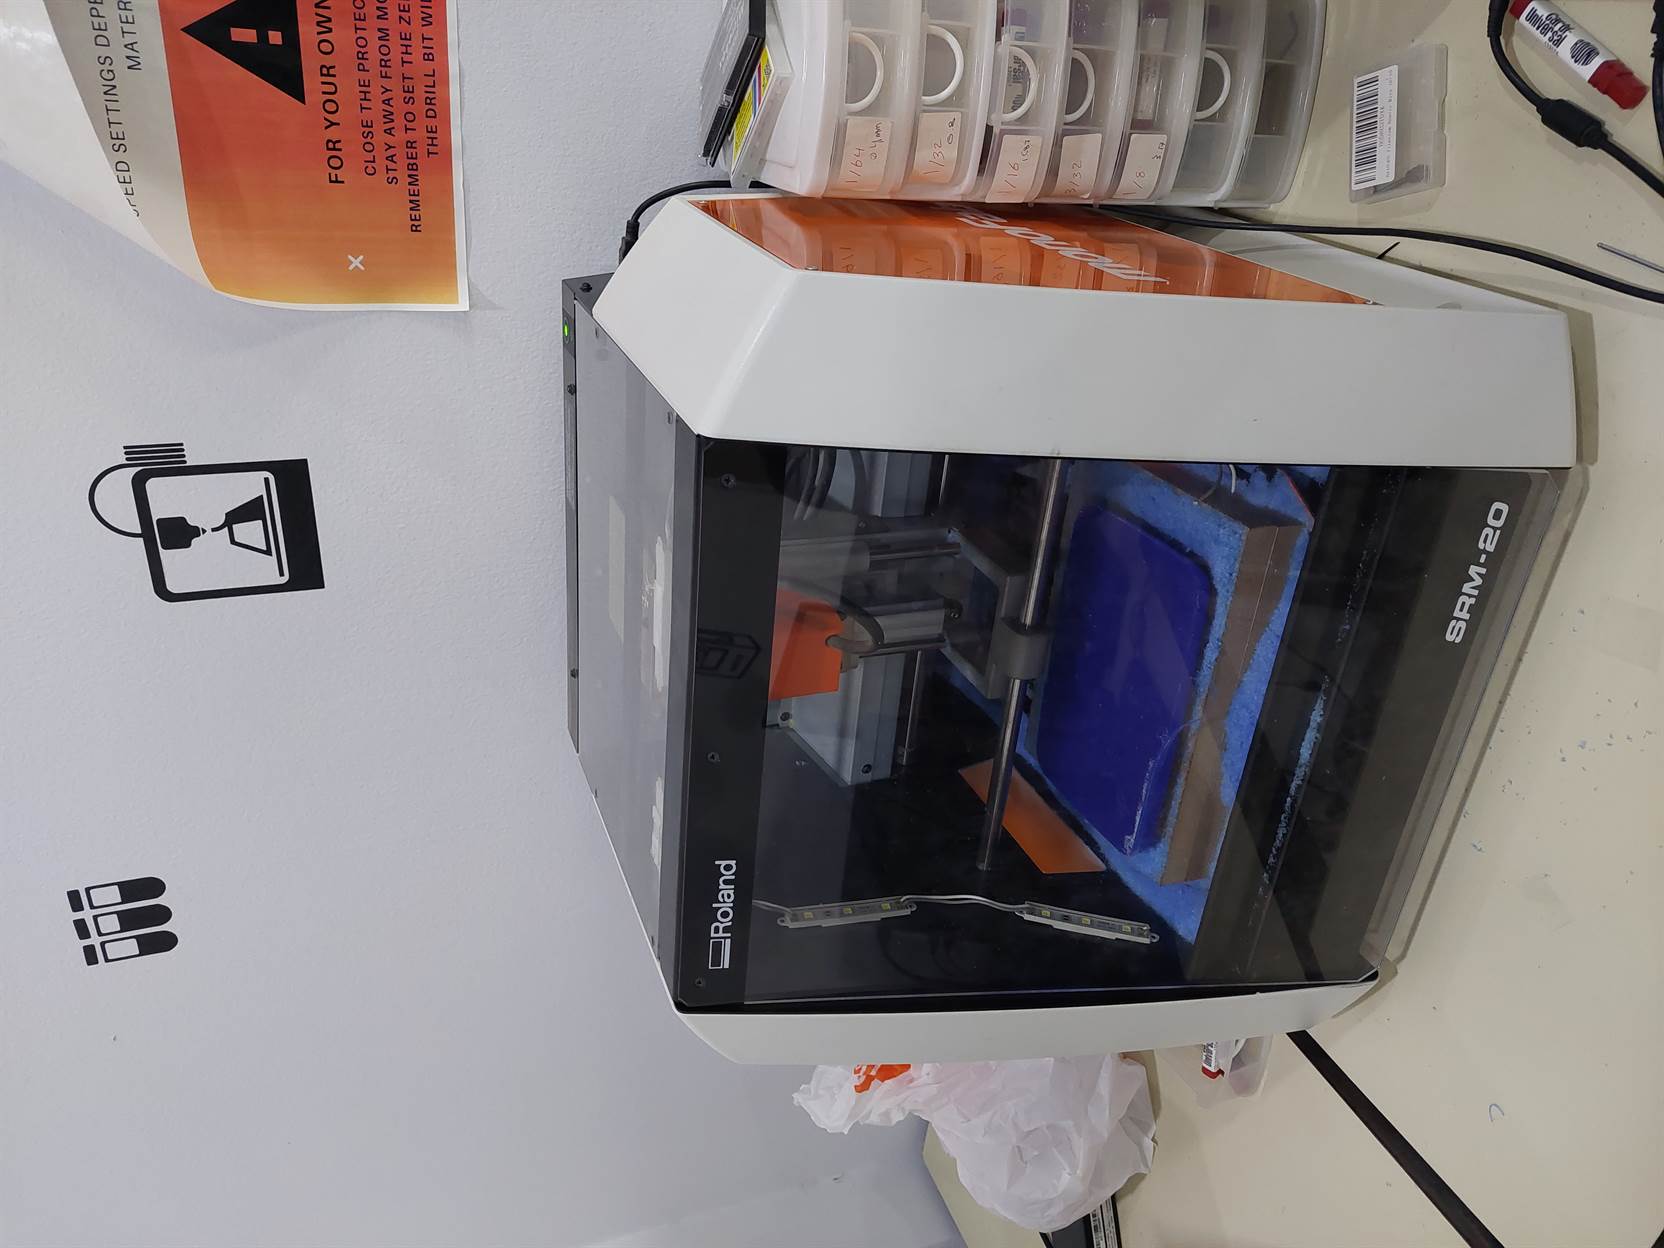
to mill the wax, we used a milling machine. Its name is Roland SRM-20. The software is Roland SRP Player.
This is the machine.
We used tinkercad to join the designs together and saved the file as stl.
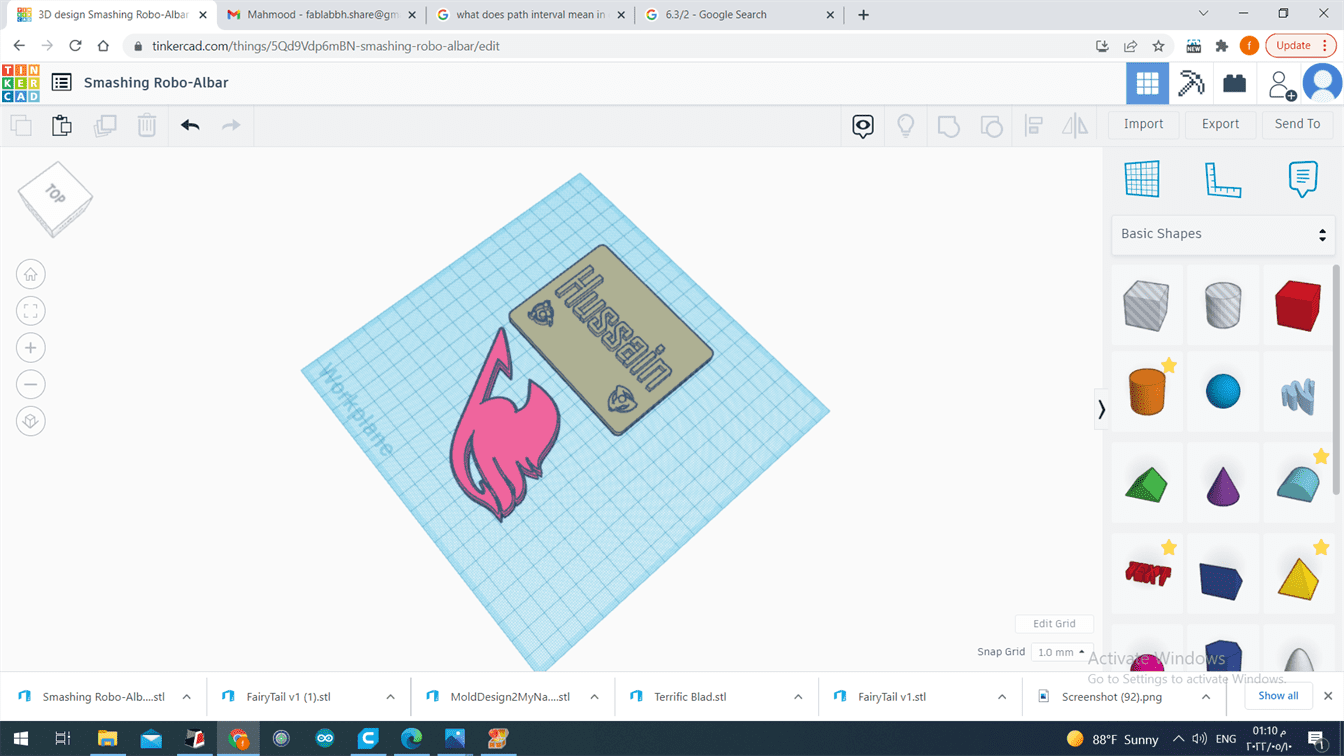
We added the file to Roland SRP Player.
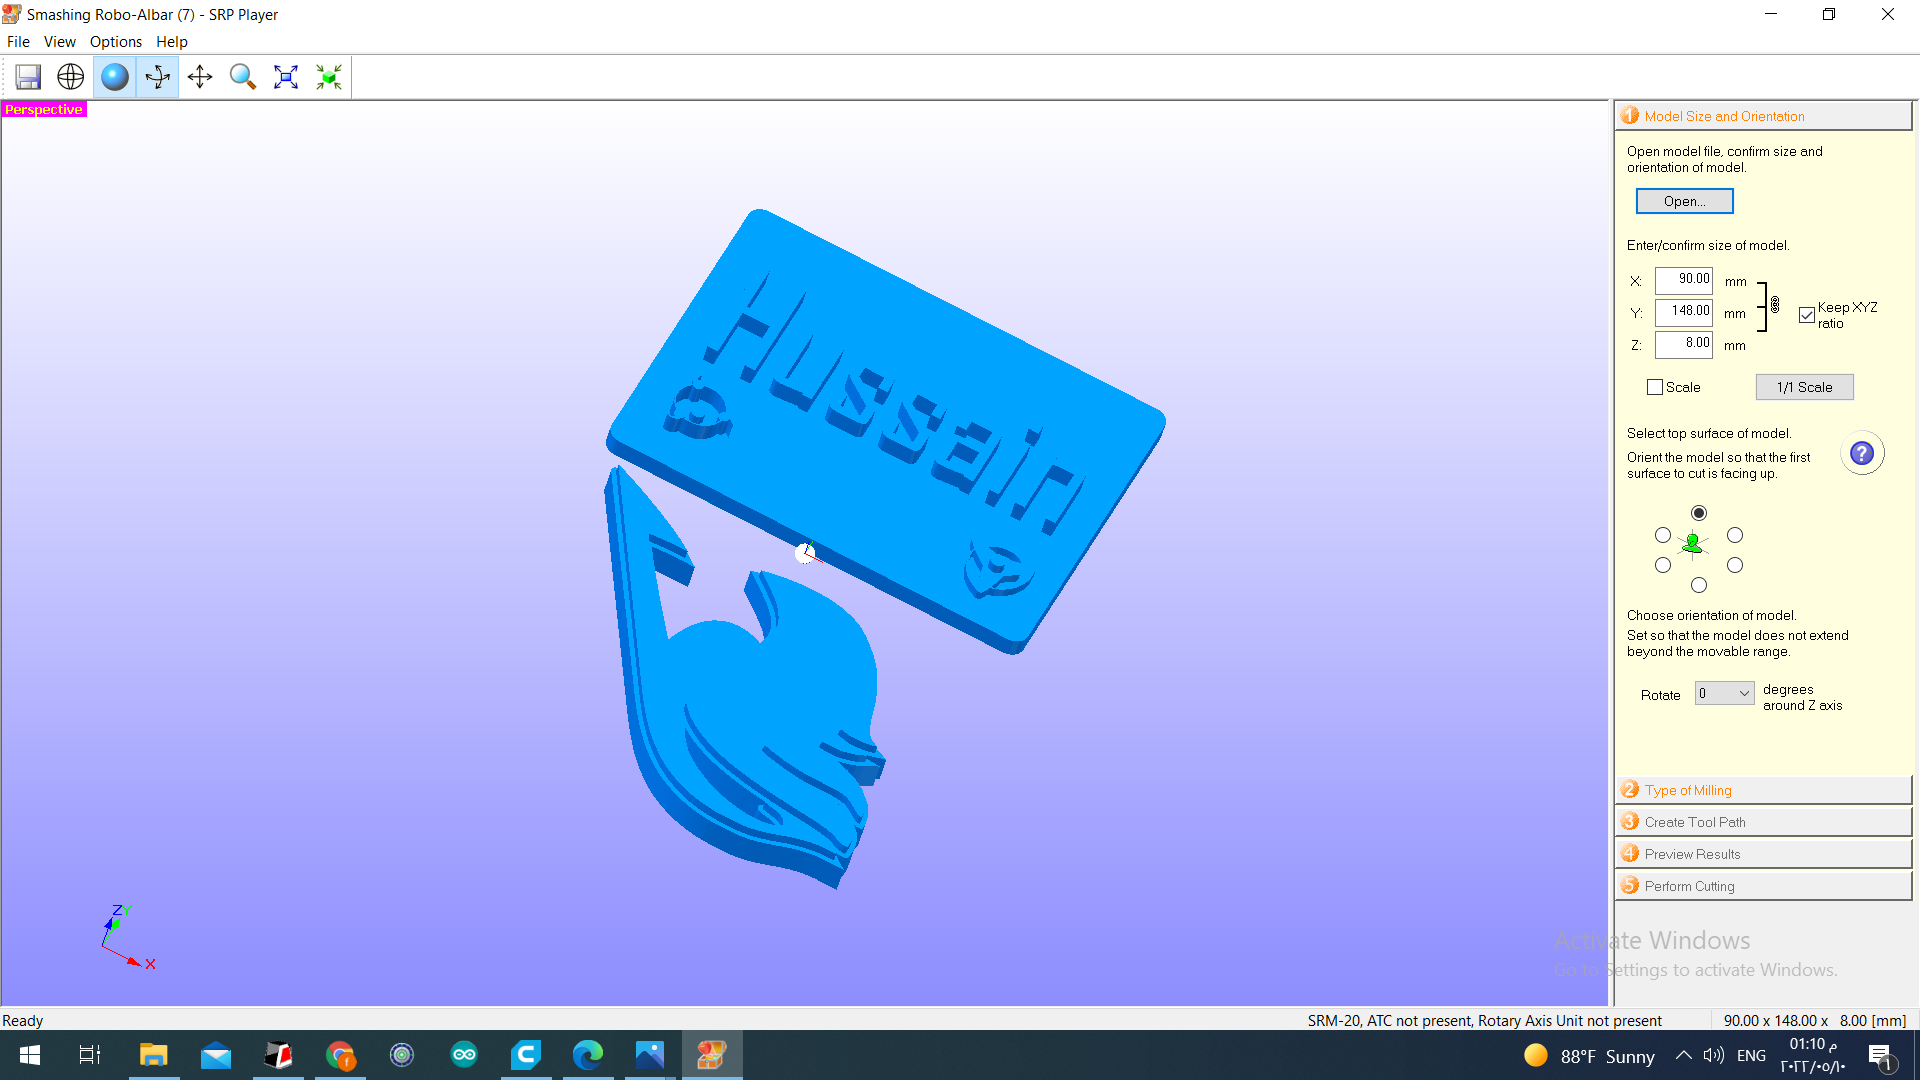
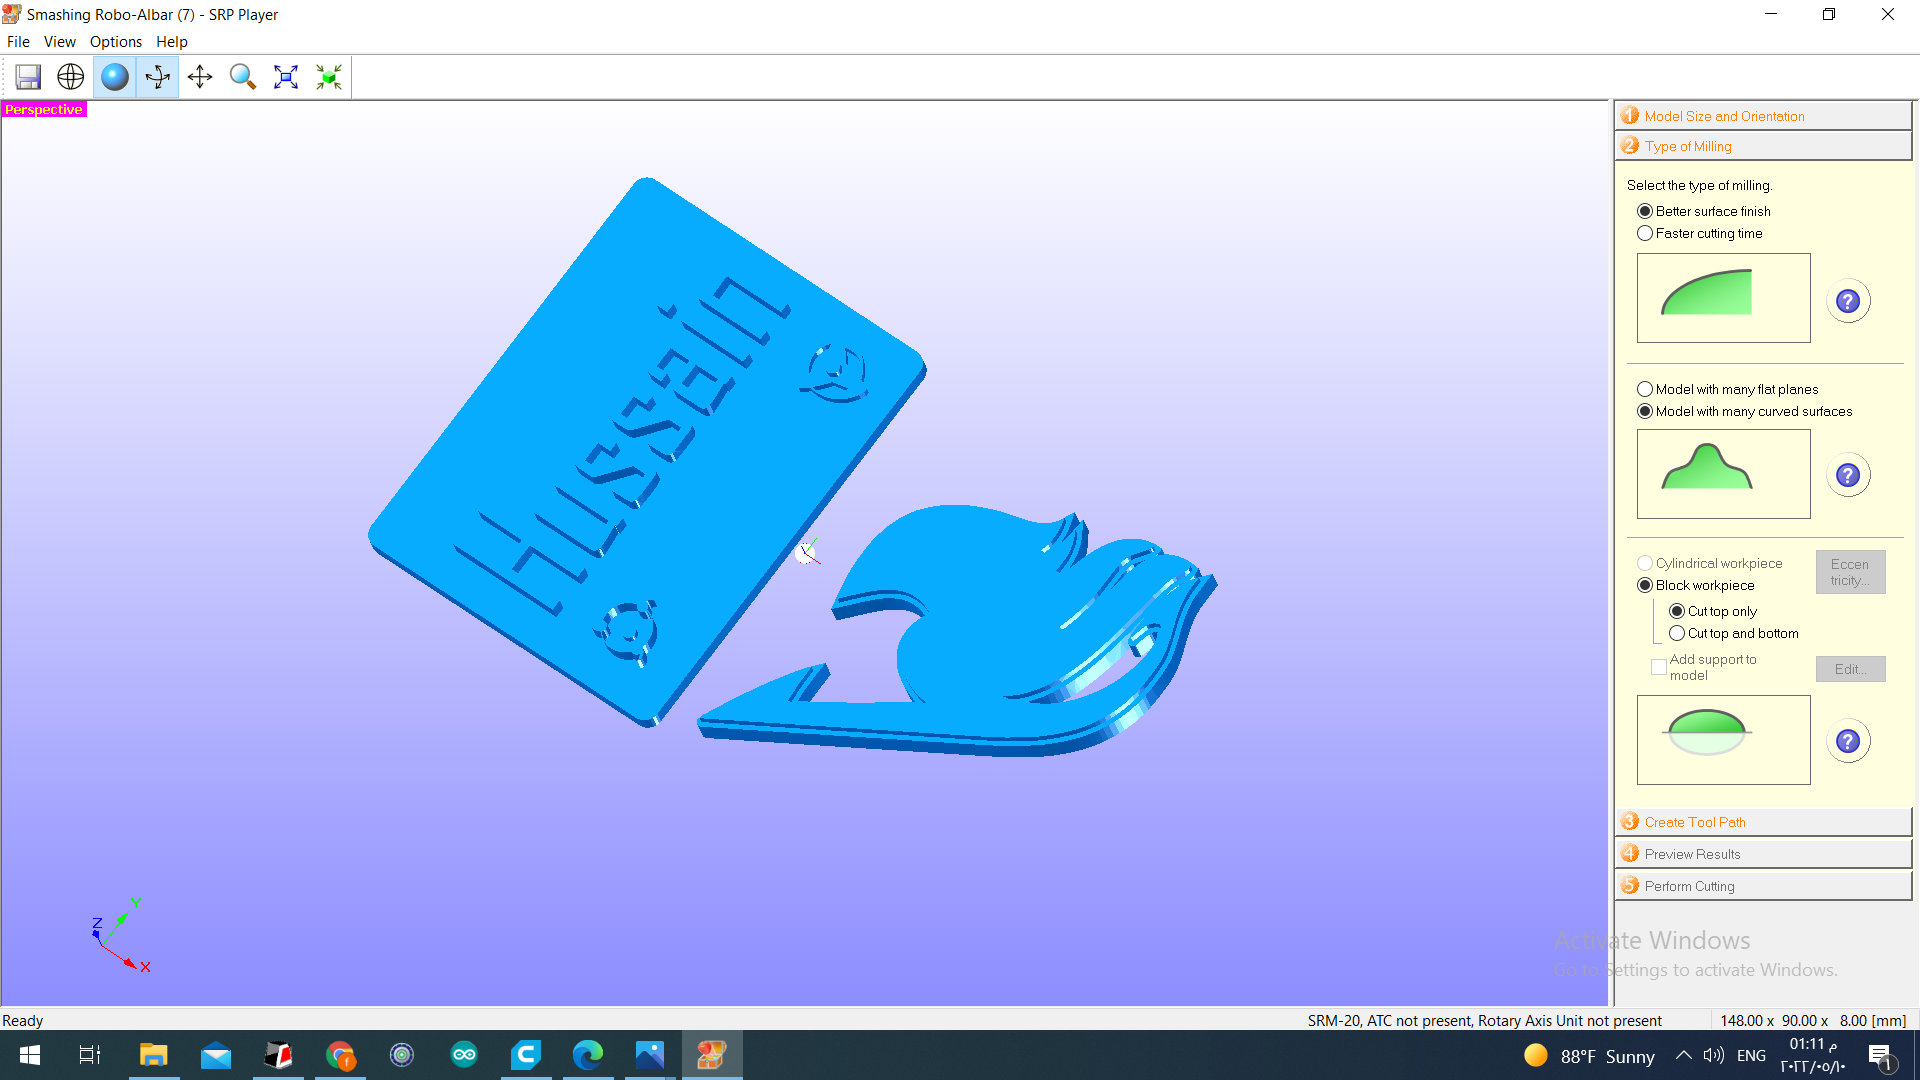
We rotated the designs.
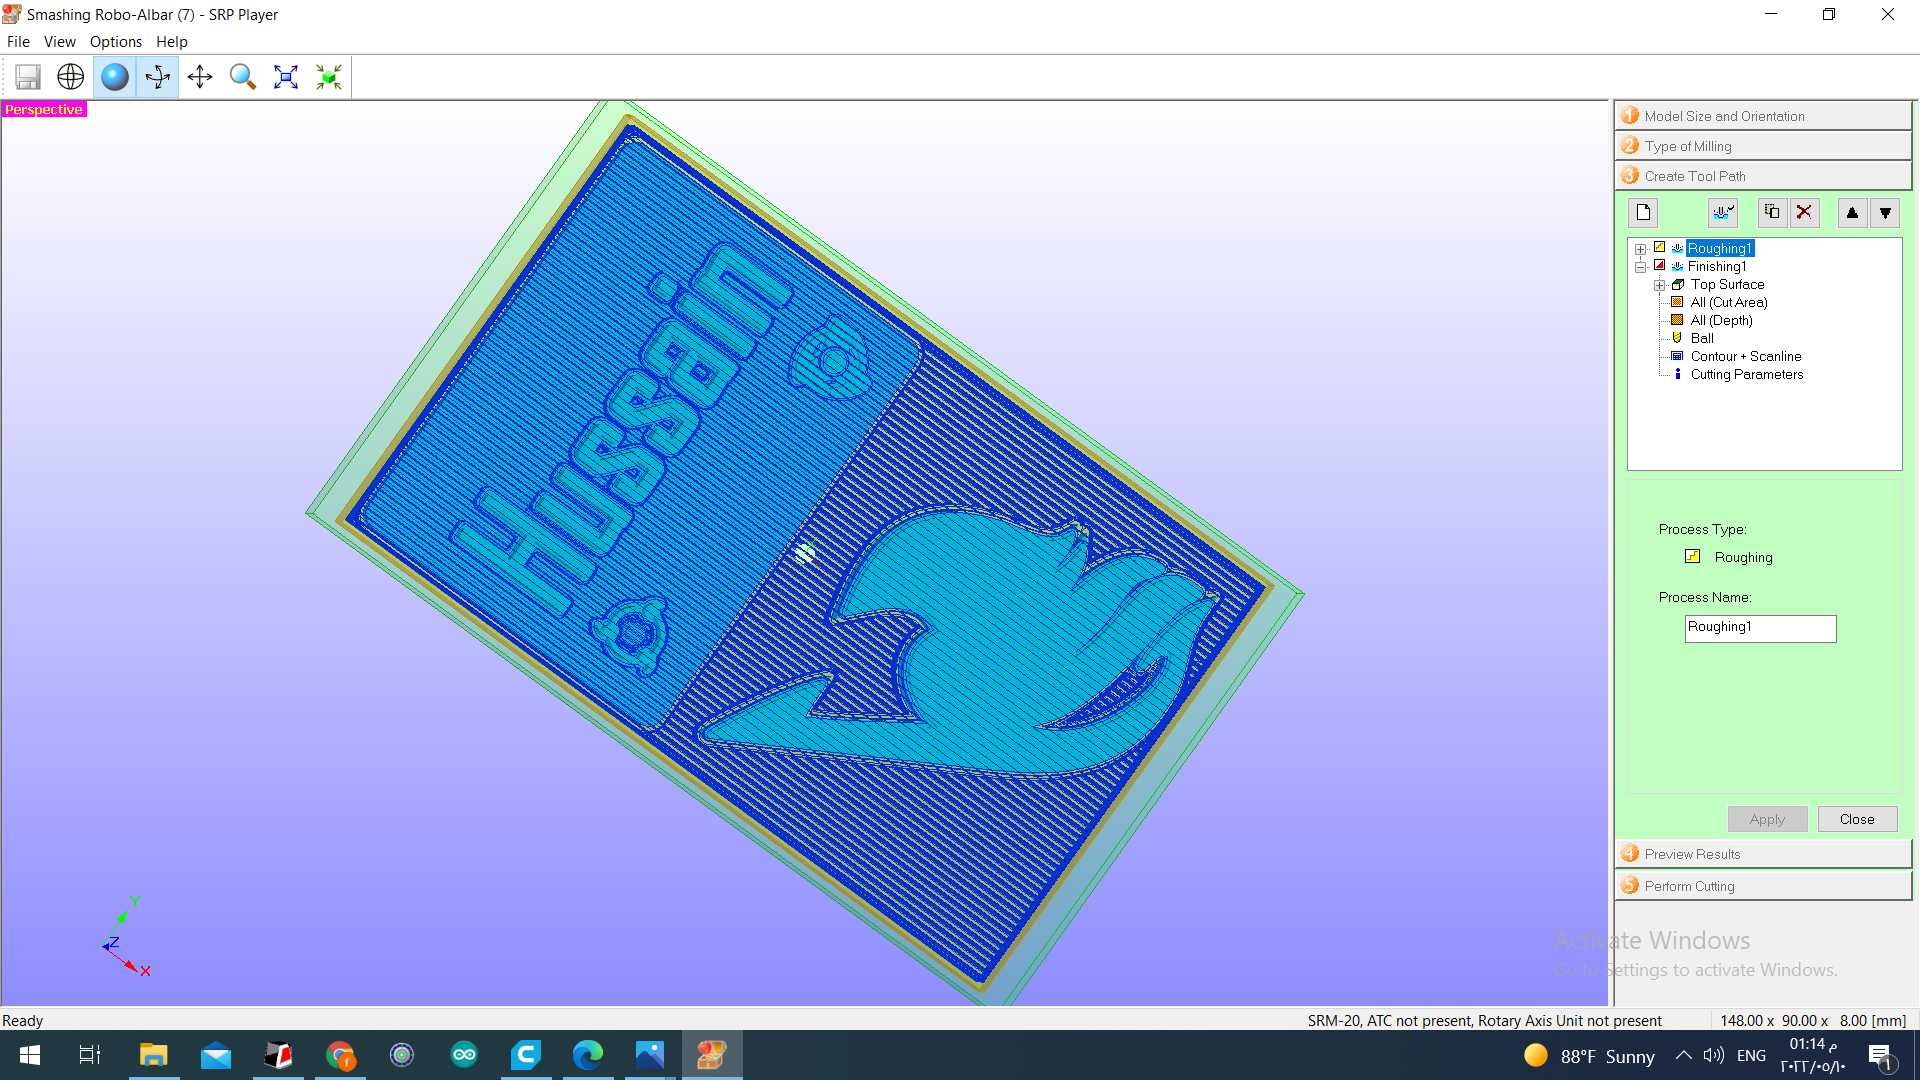
We chose the types of milling.
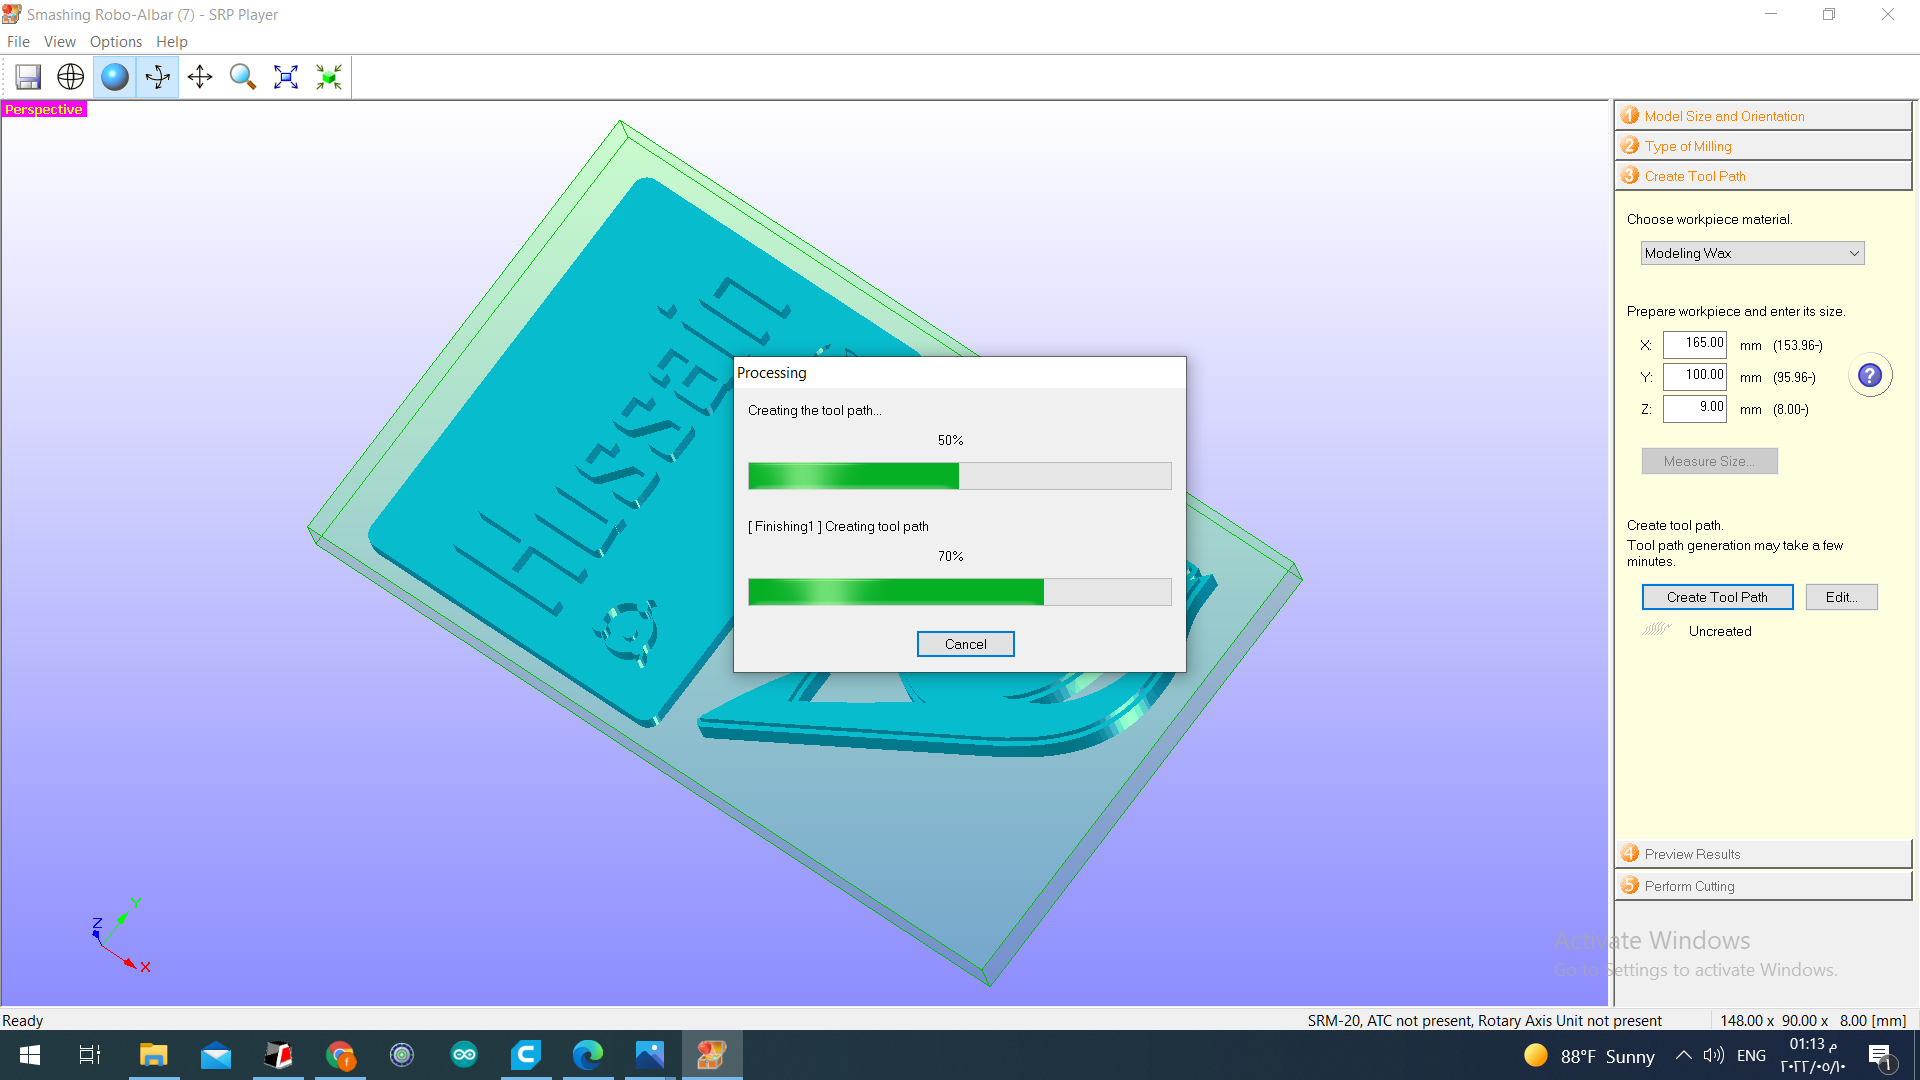
We created the toolpath. It processed it and showed as an approximated time which was 3.5 hours.
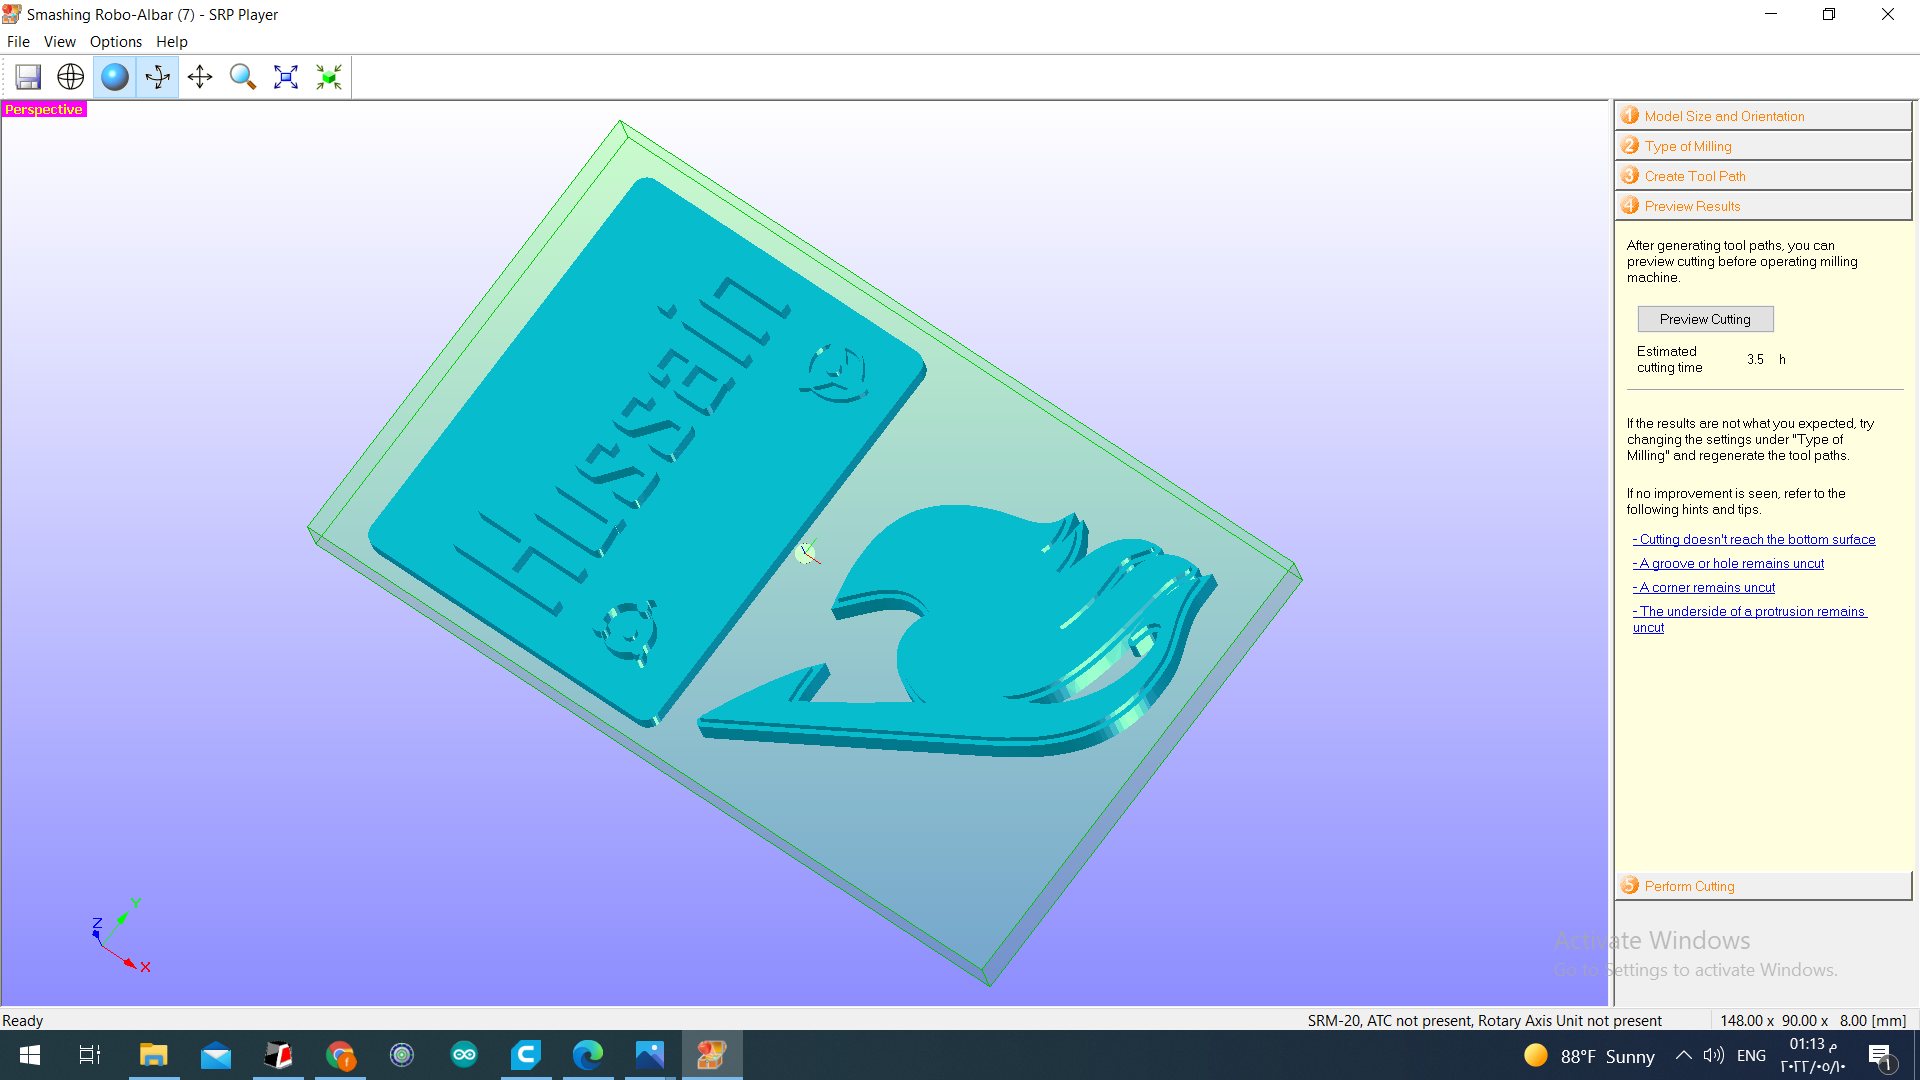
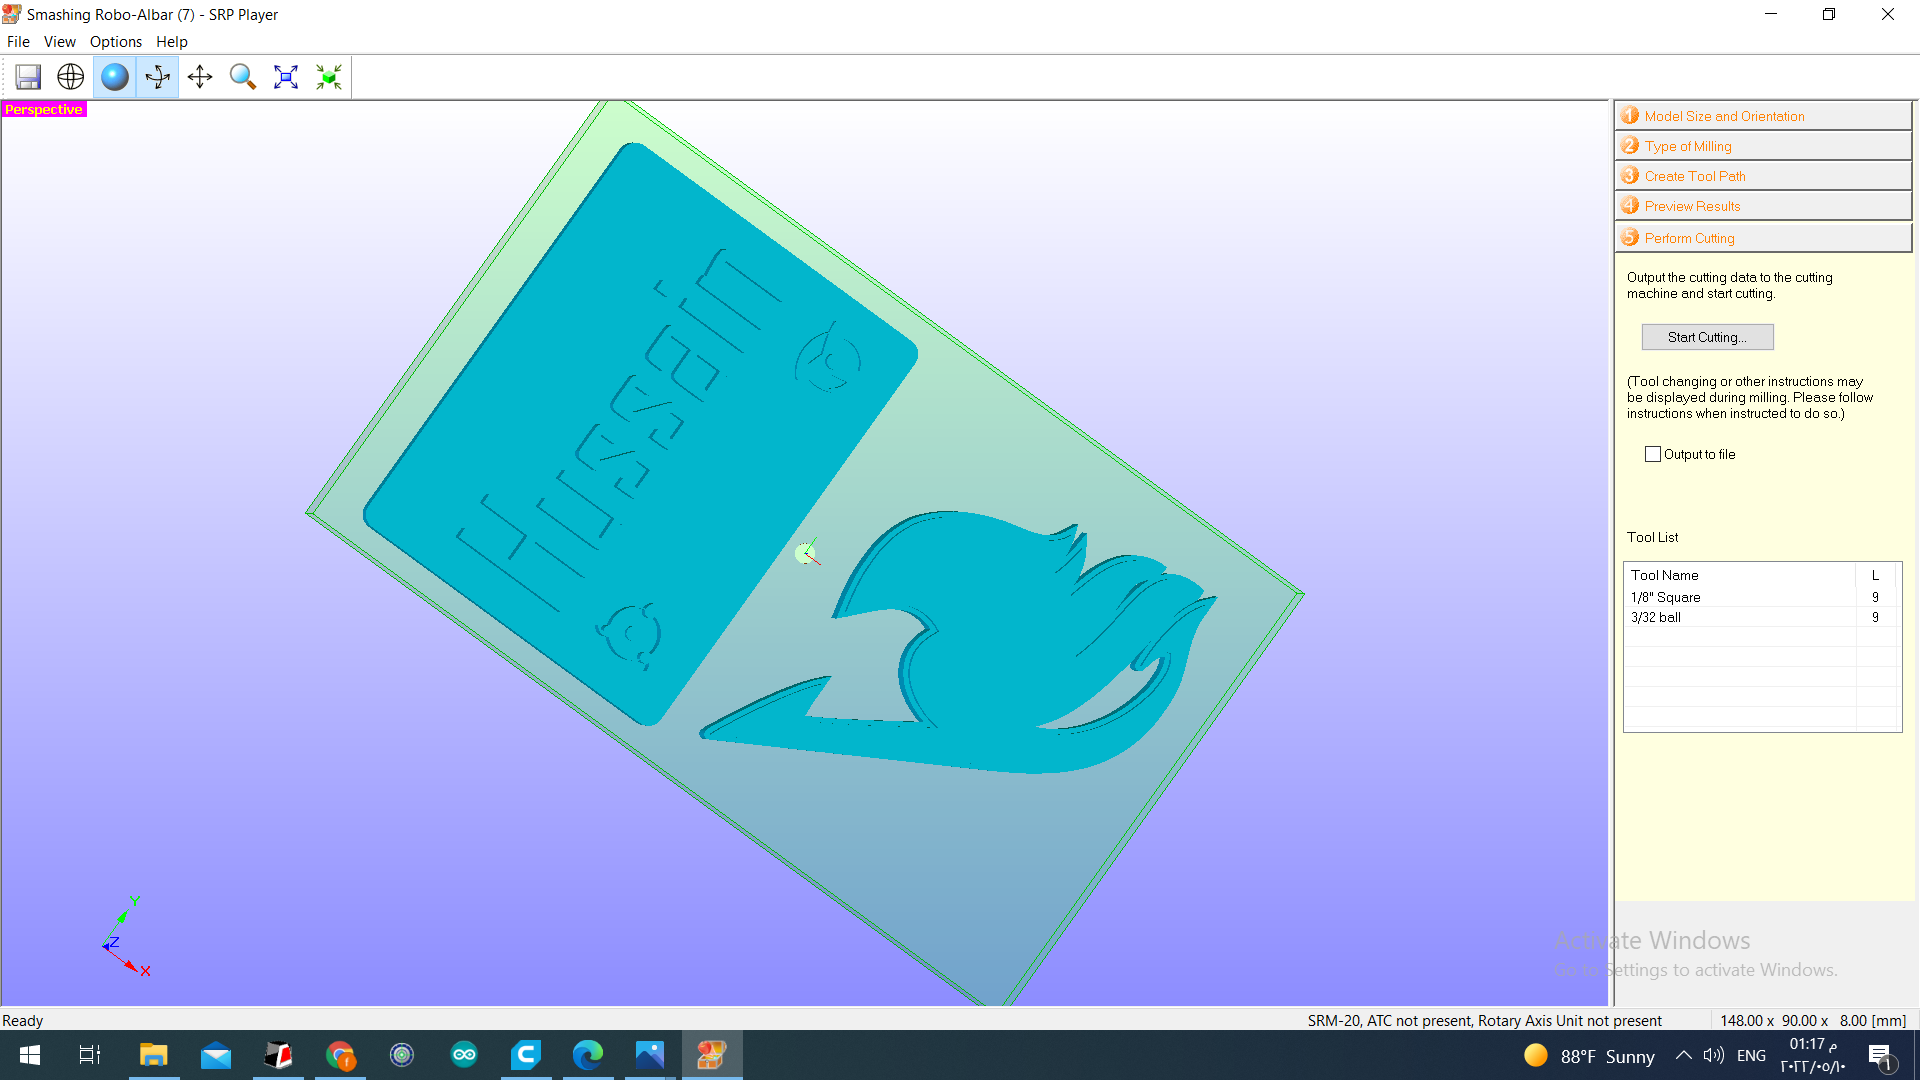
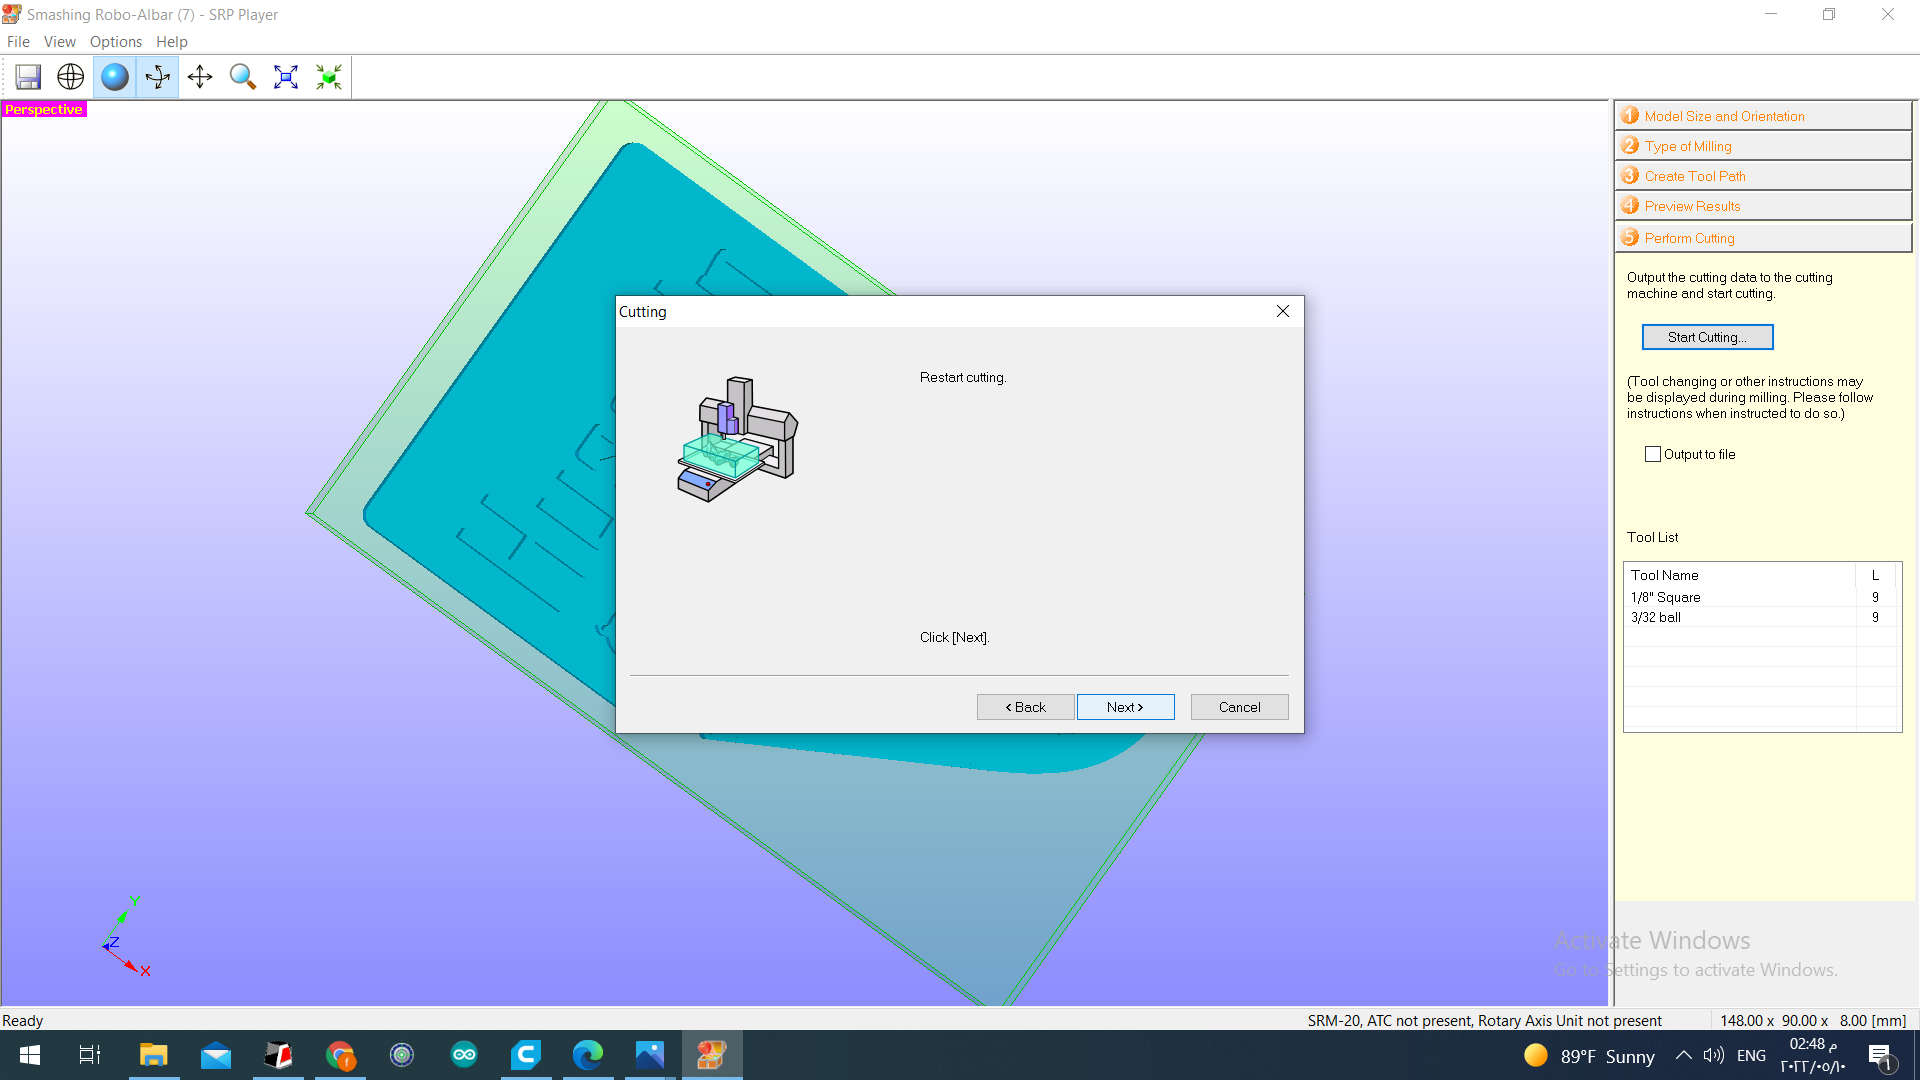
To see the cutting simulation we clicked on preview cutting.
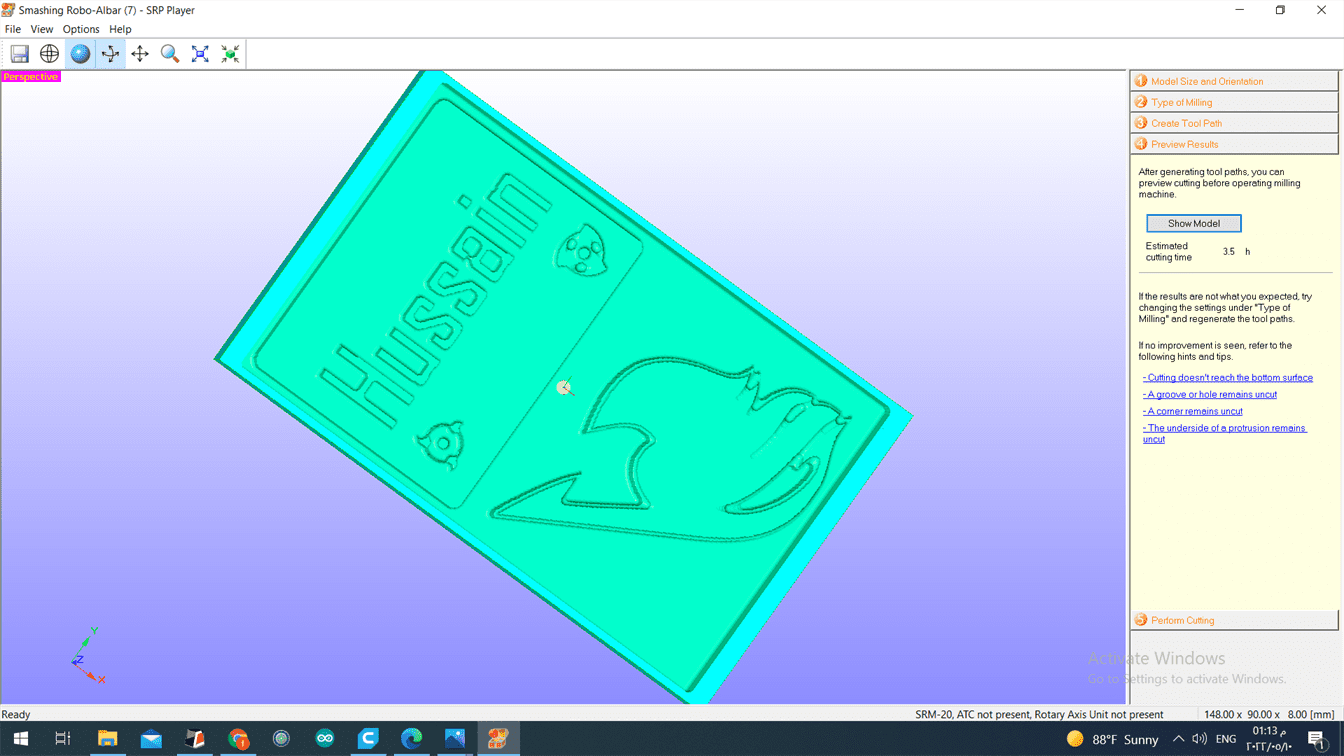
To reduce the time we changed the bit type to a different size for both roughing and finishing. It became 3.2 hours and we changed the bit again to reduce it further to 2.9 hours.


We clicked on start cutting.
We calibrated the axis.
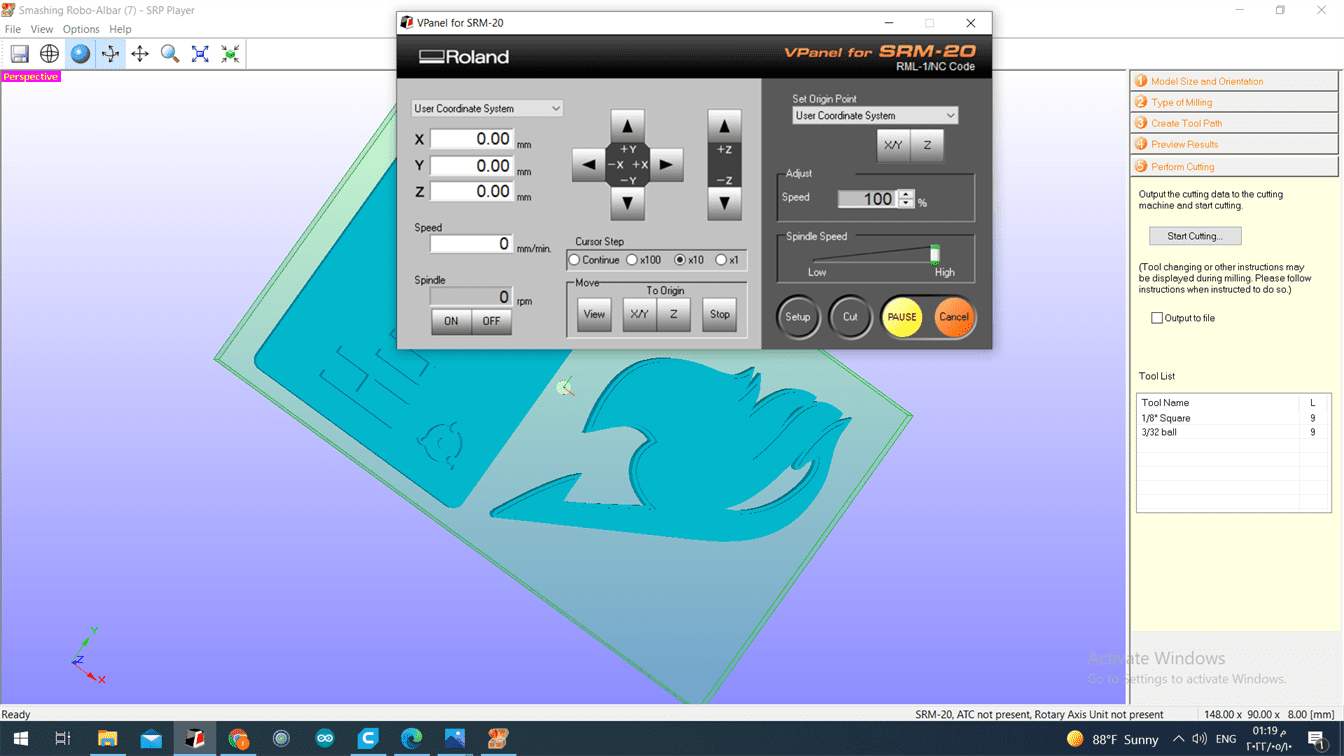
We need to make sure we chose the right bits.
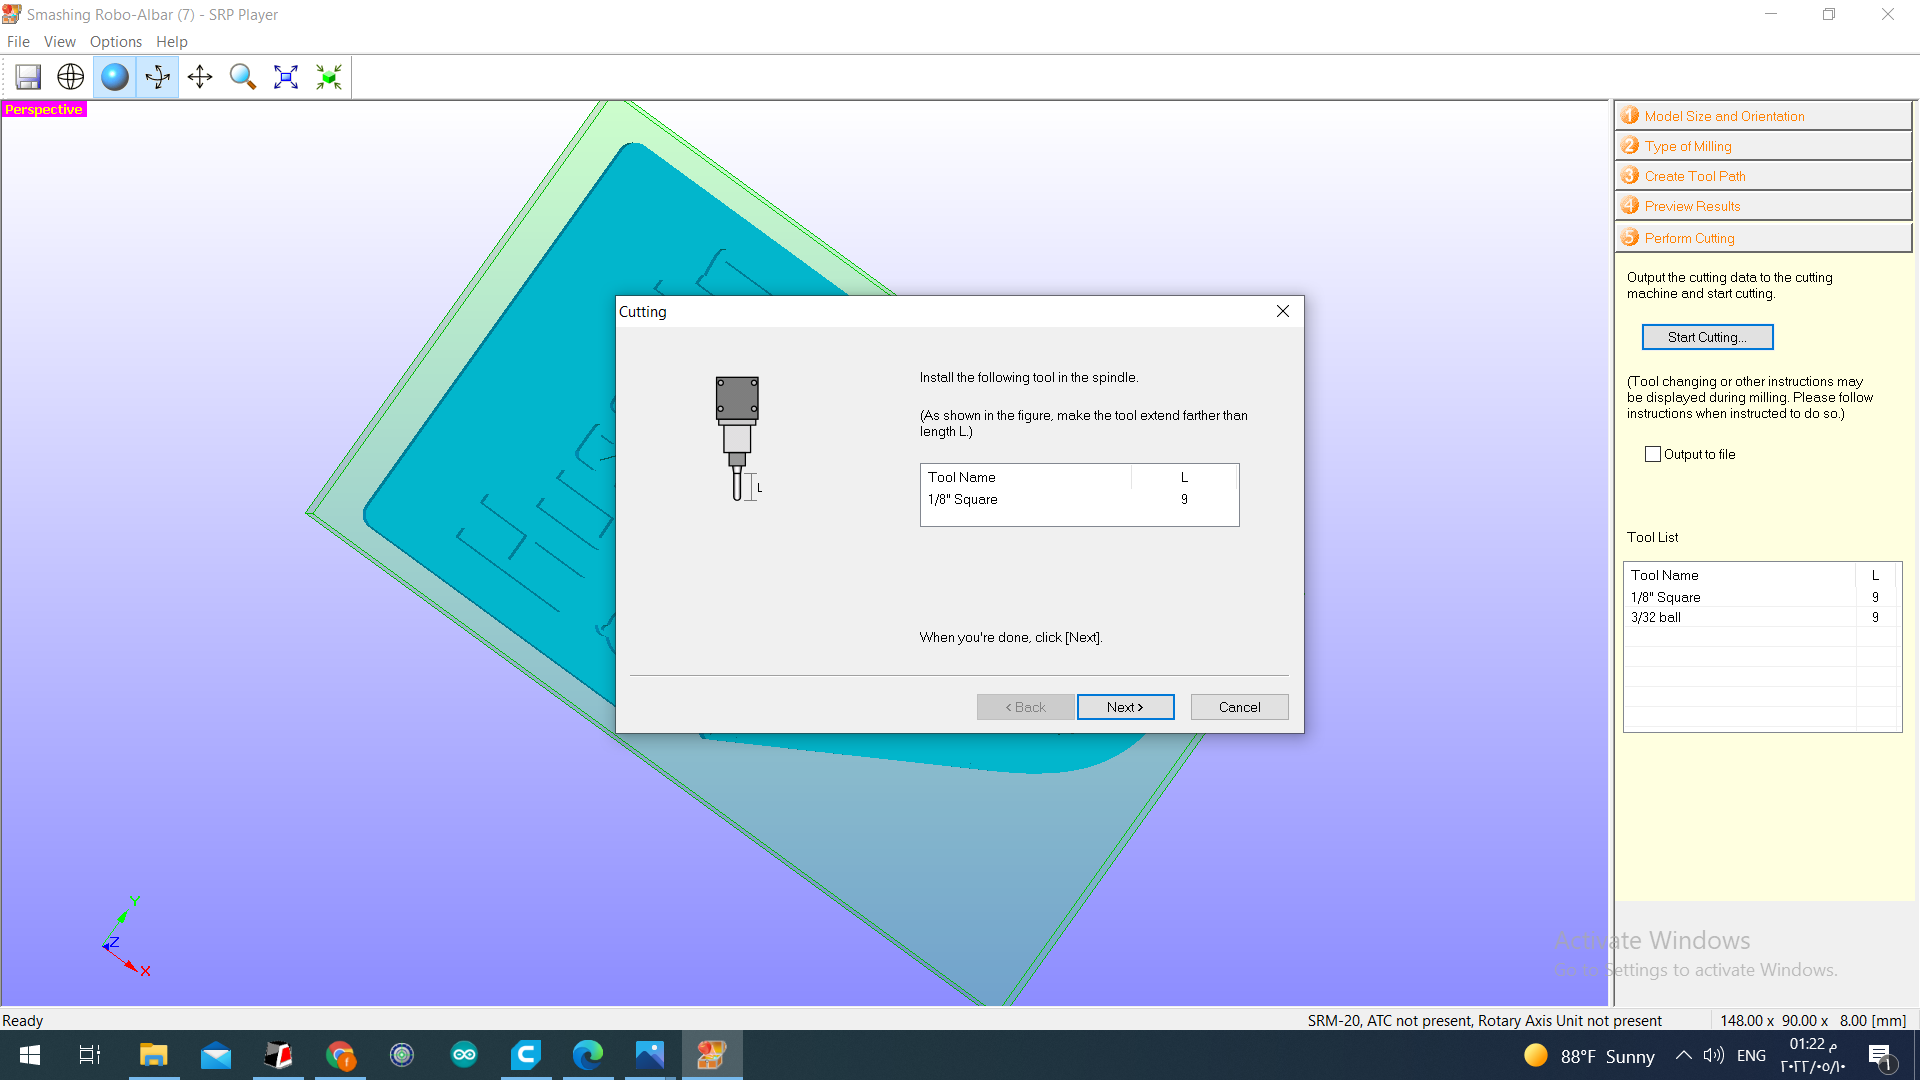

This is the machinable wax before cutting.
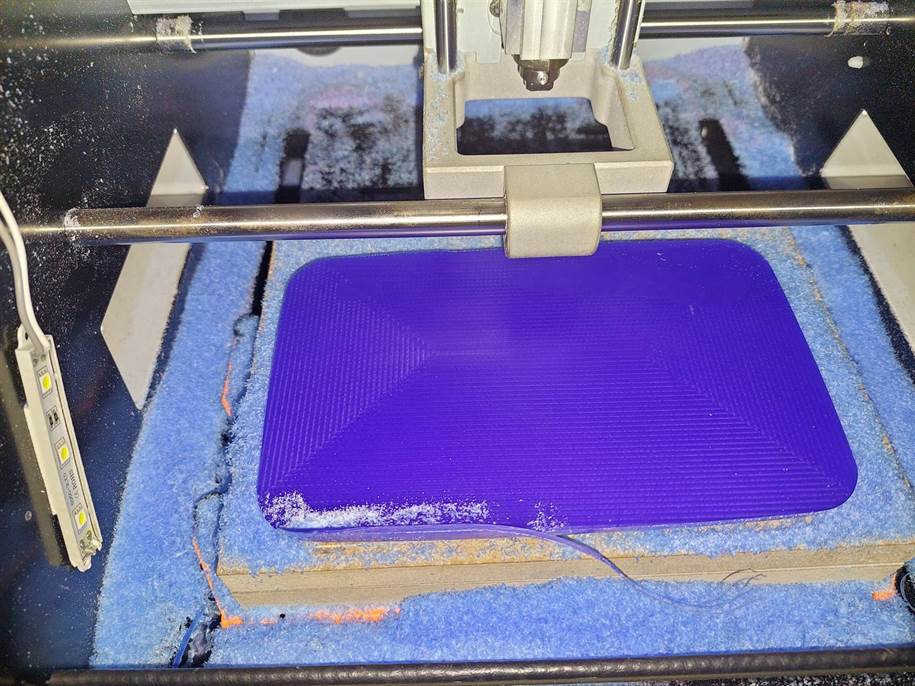
We need to make sure that the bit is touching the surface of the machinable wax.
And finally we started the cutting after making sure the settings are correct.

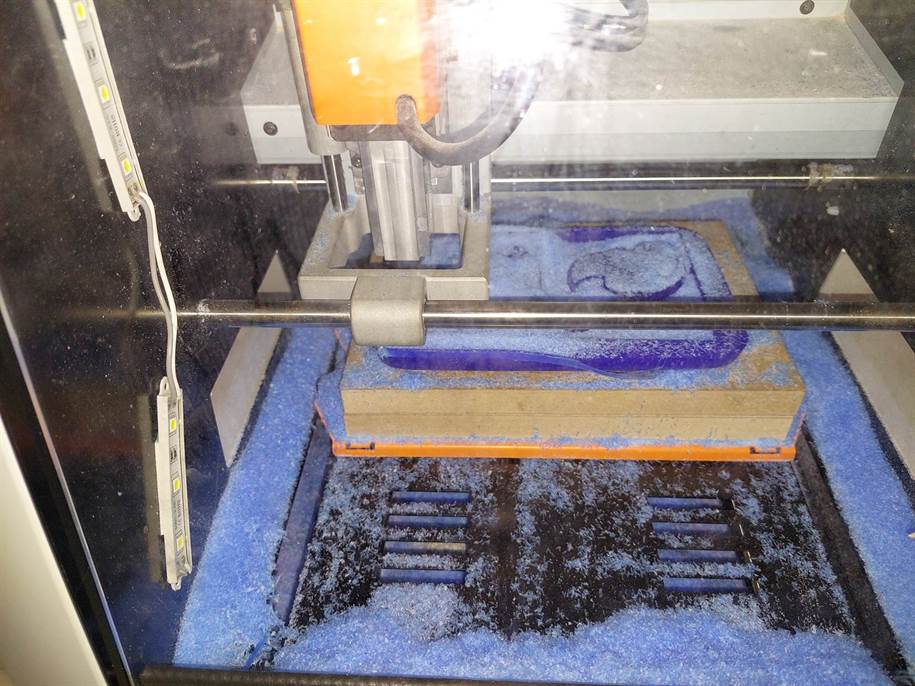
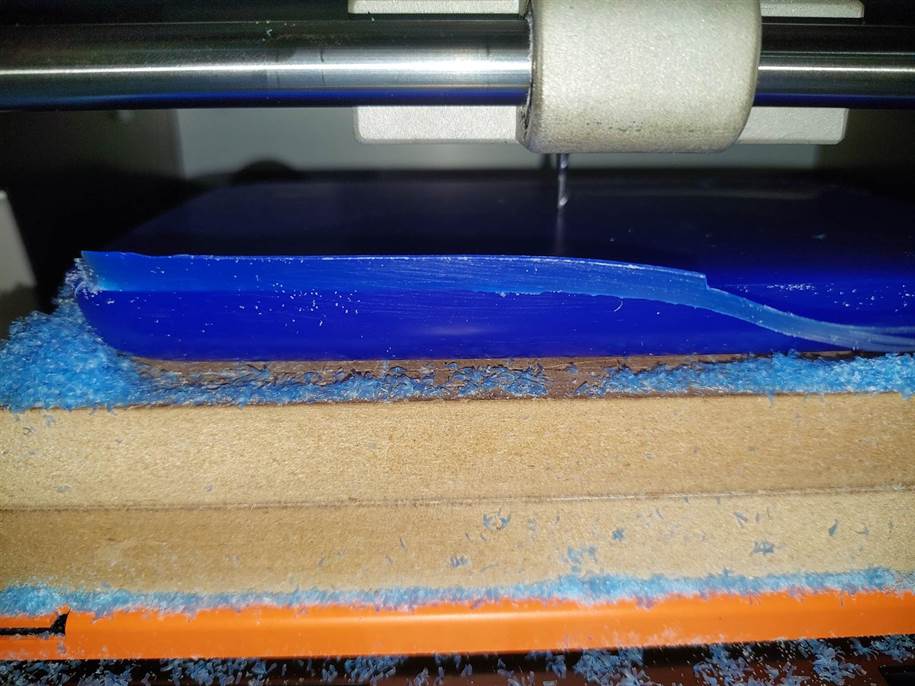
This the machinable wax after milling. We used a double sides tape because a piece was broken from the machinable wax.
8.2.4 Creating our reusable mold.
We used what we found in the past weeks while working on the reusable mold, and we created a batch for us. We followed recipe 7. View it in my sample project page here.
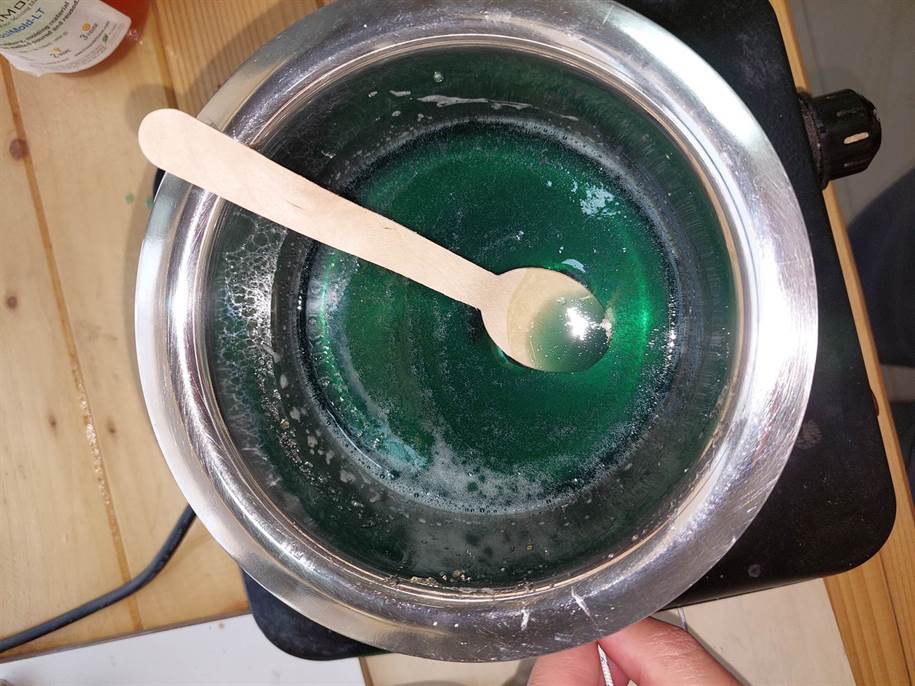
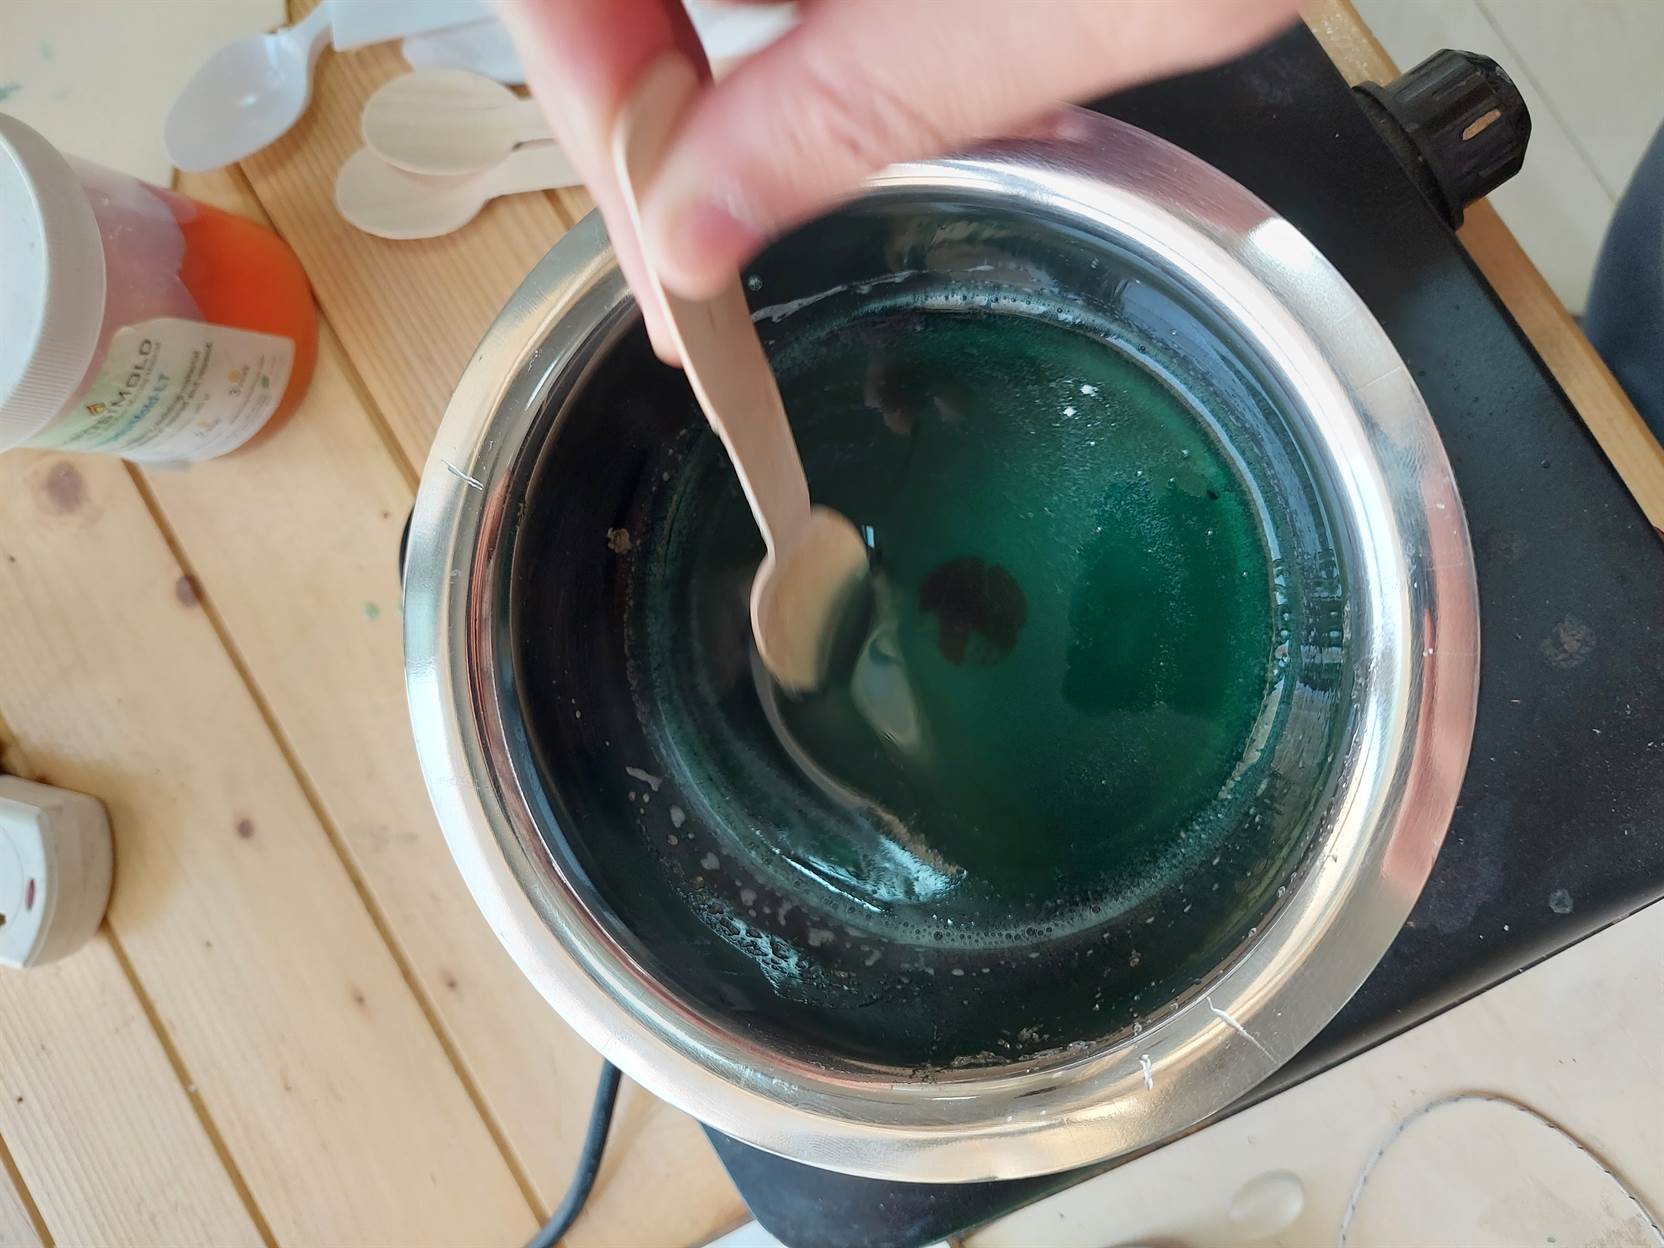
We poured it into our machinable wax.
We removed it after one day.
8.2.5 Casting.
8.2.5.1 Gypsum.
For the first try, I used gypsum.
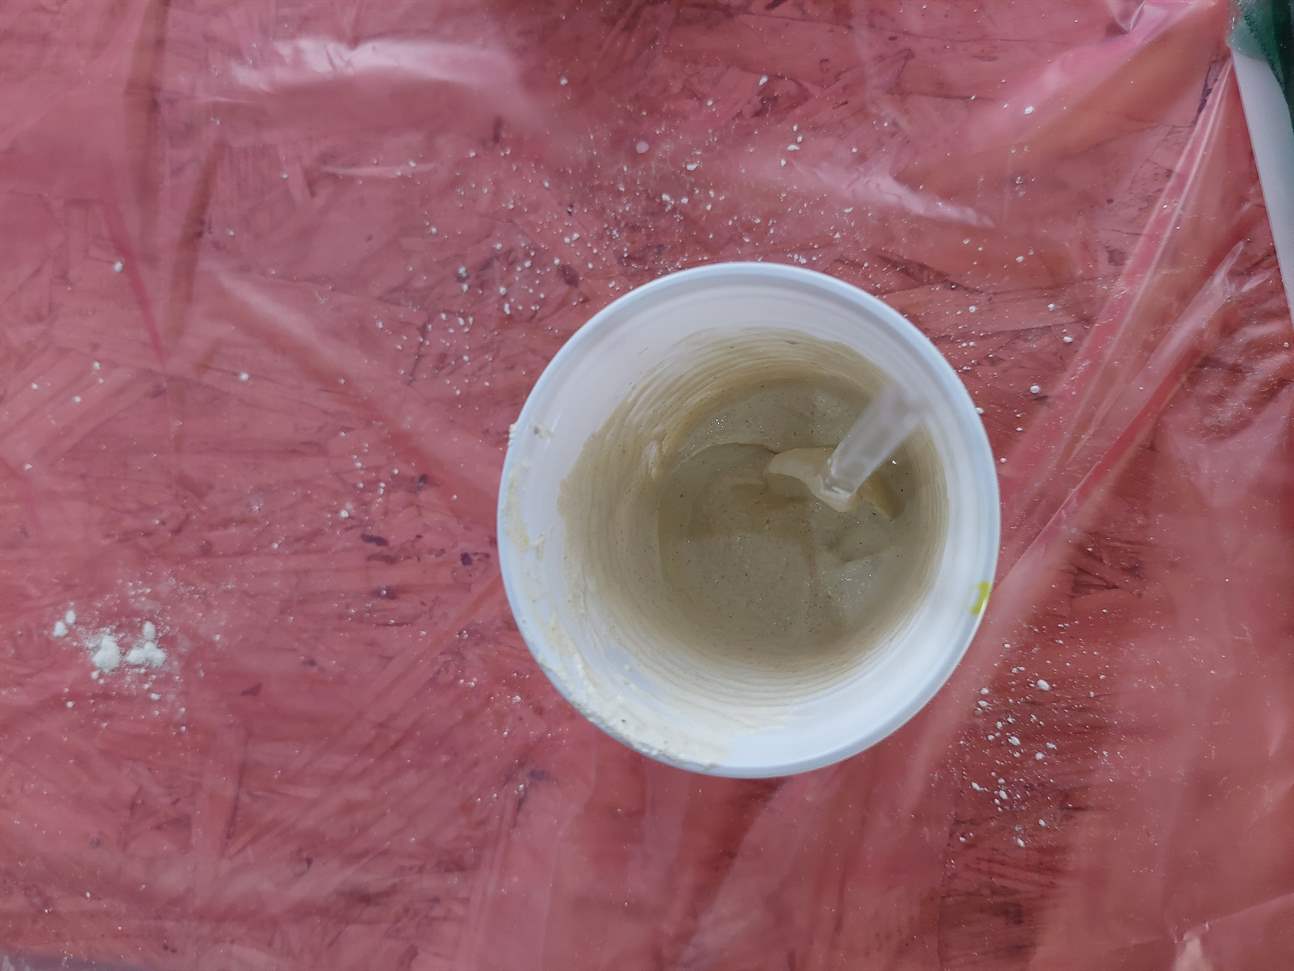
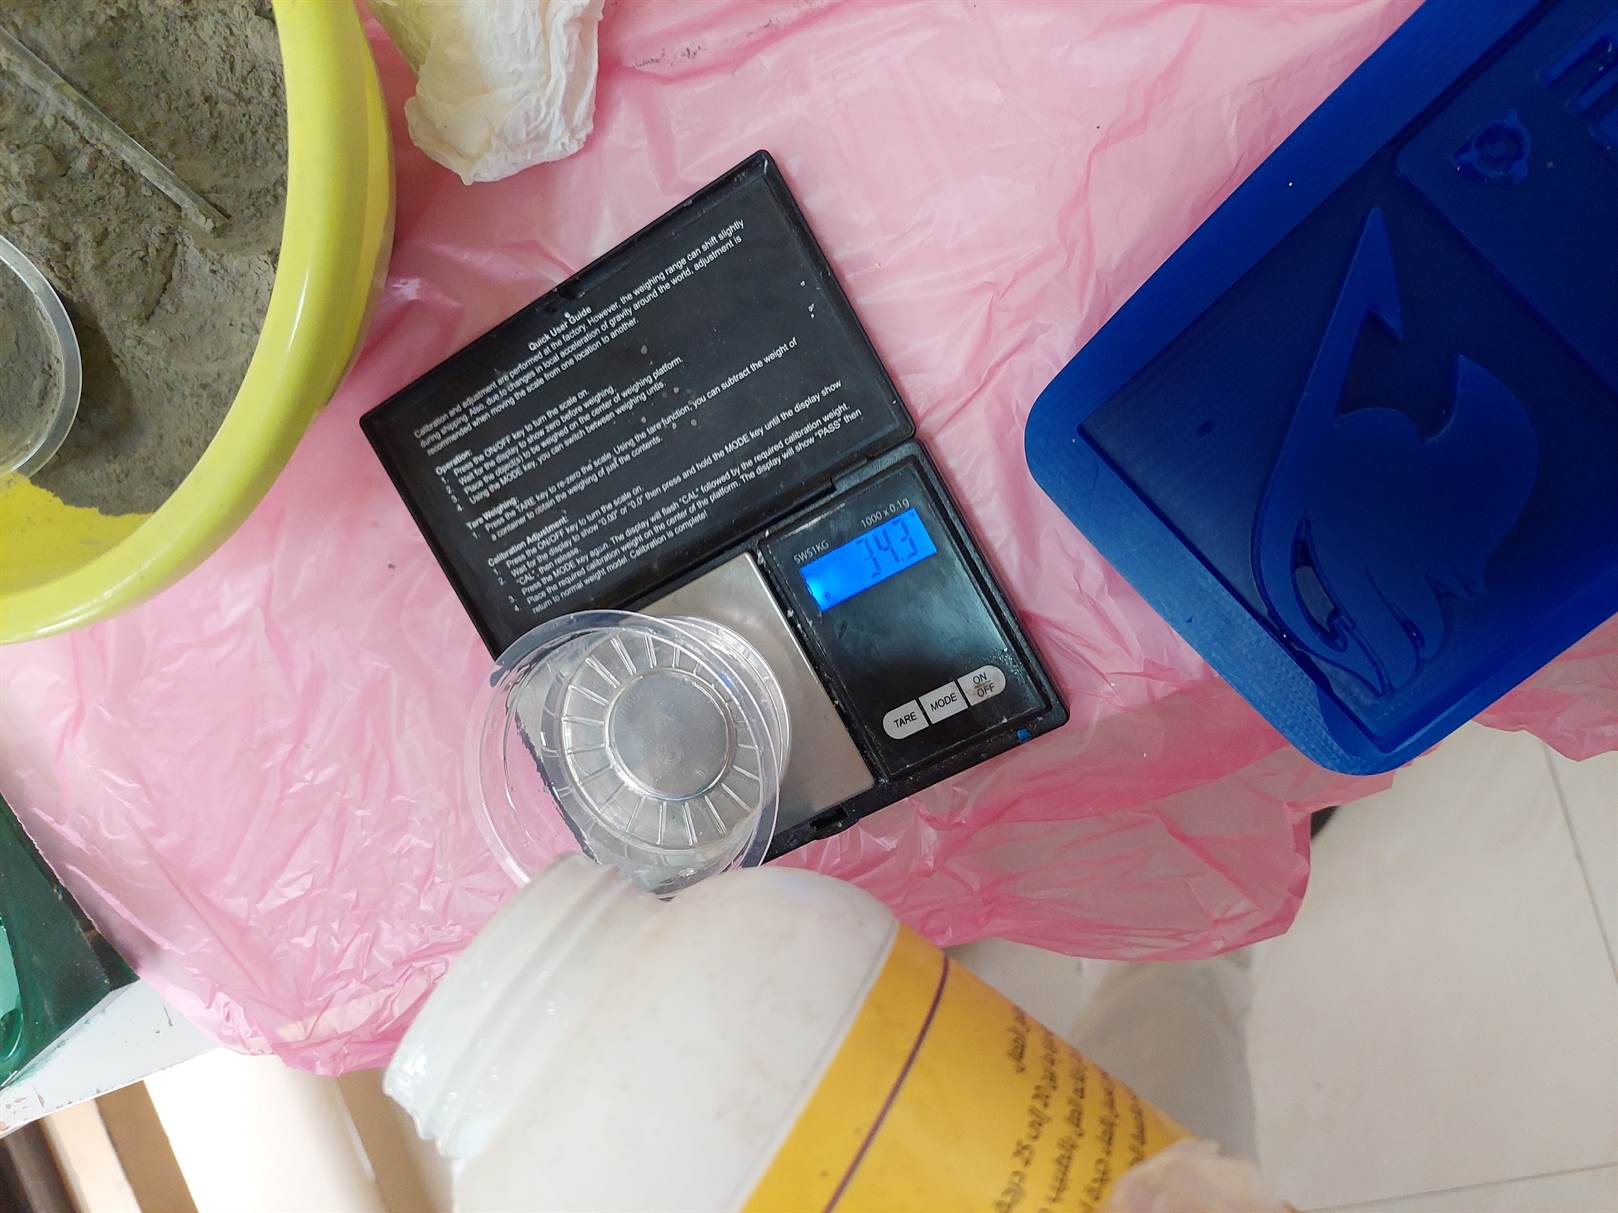
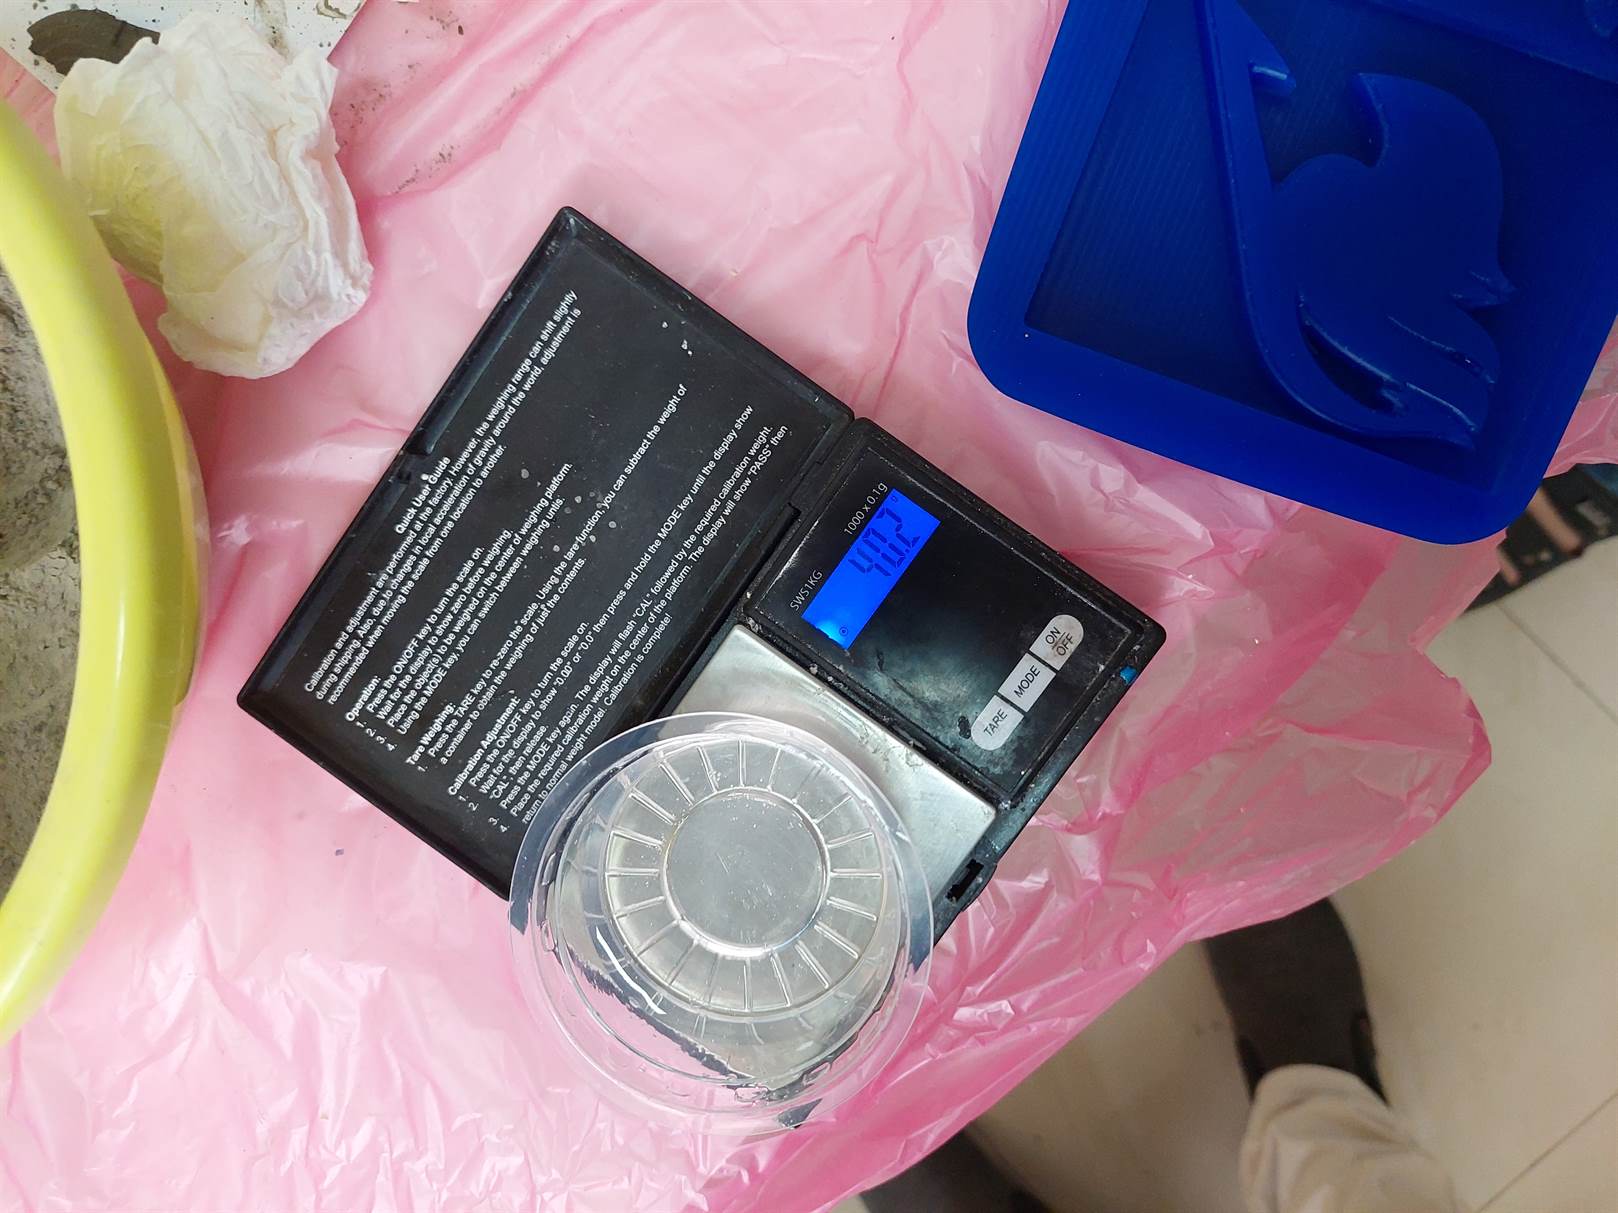
I measured the amounts.
I mixed the gypsum and water.
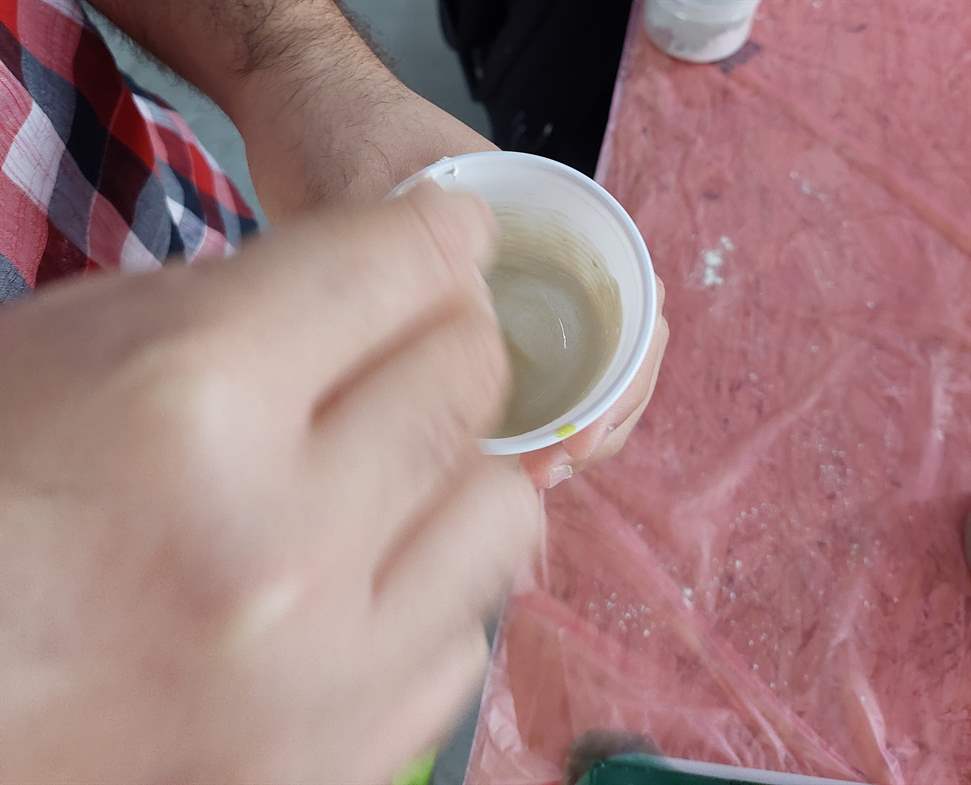
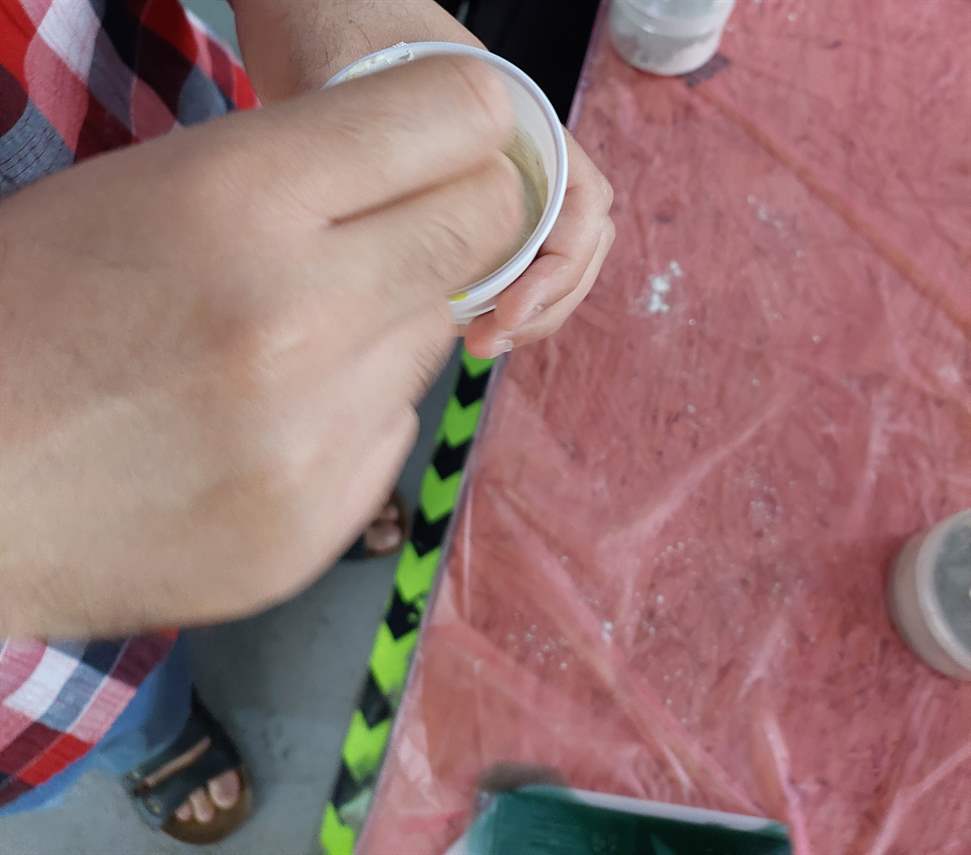
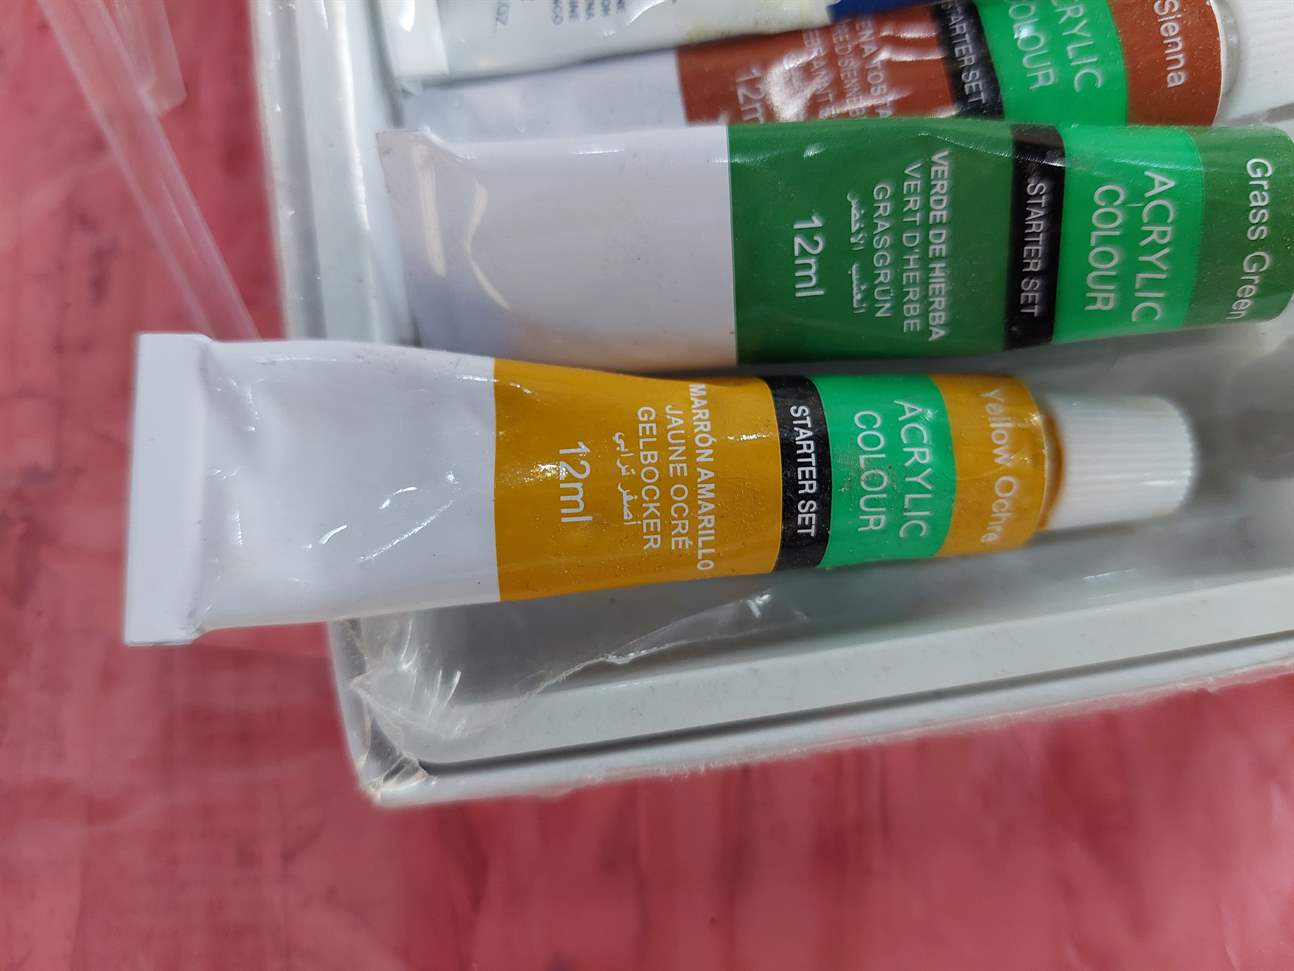
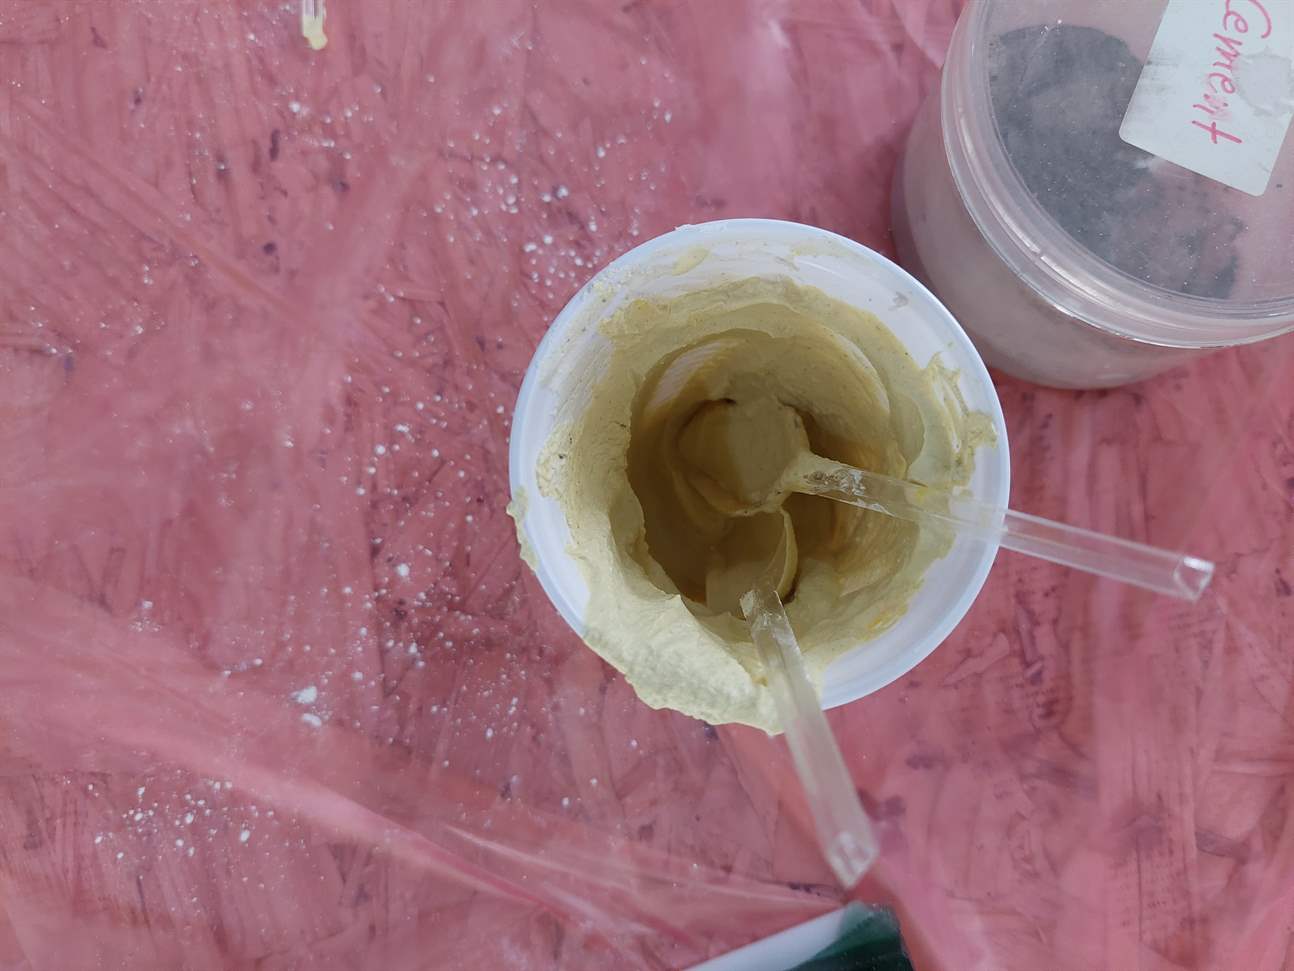
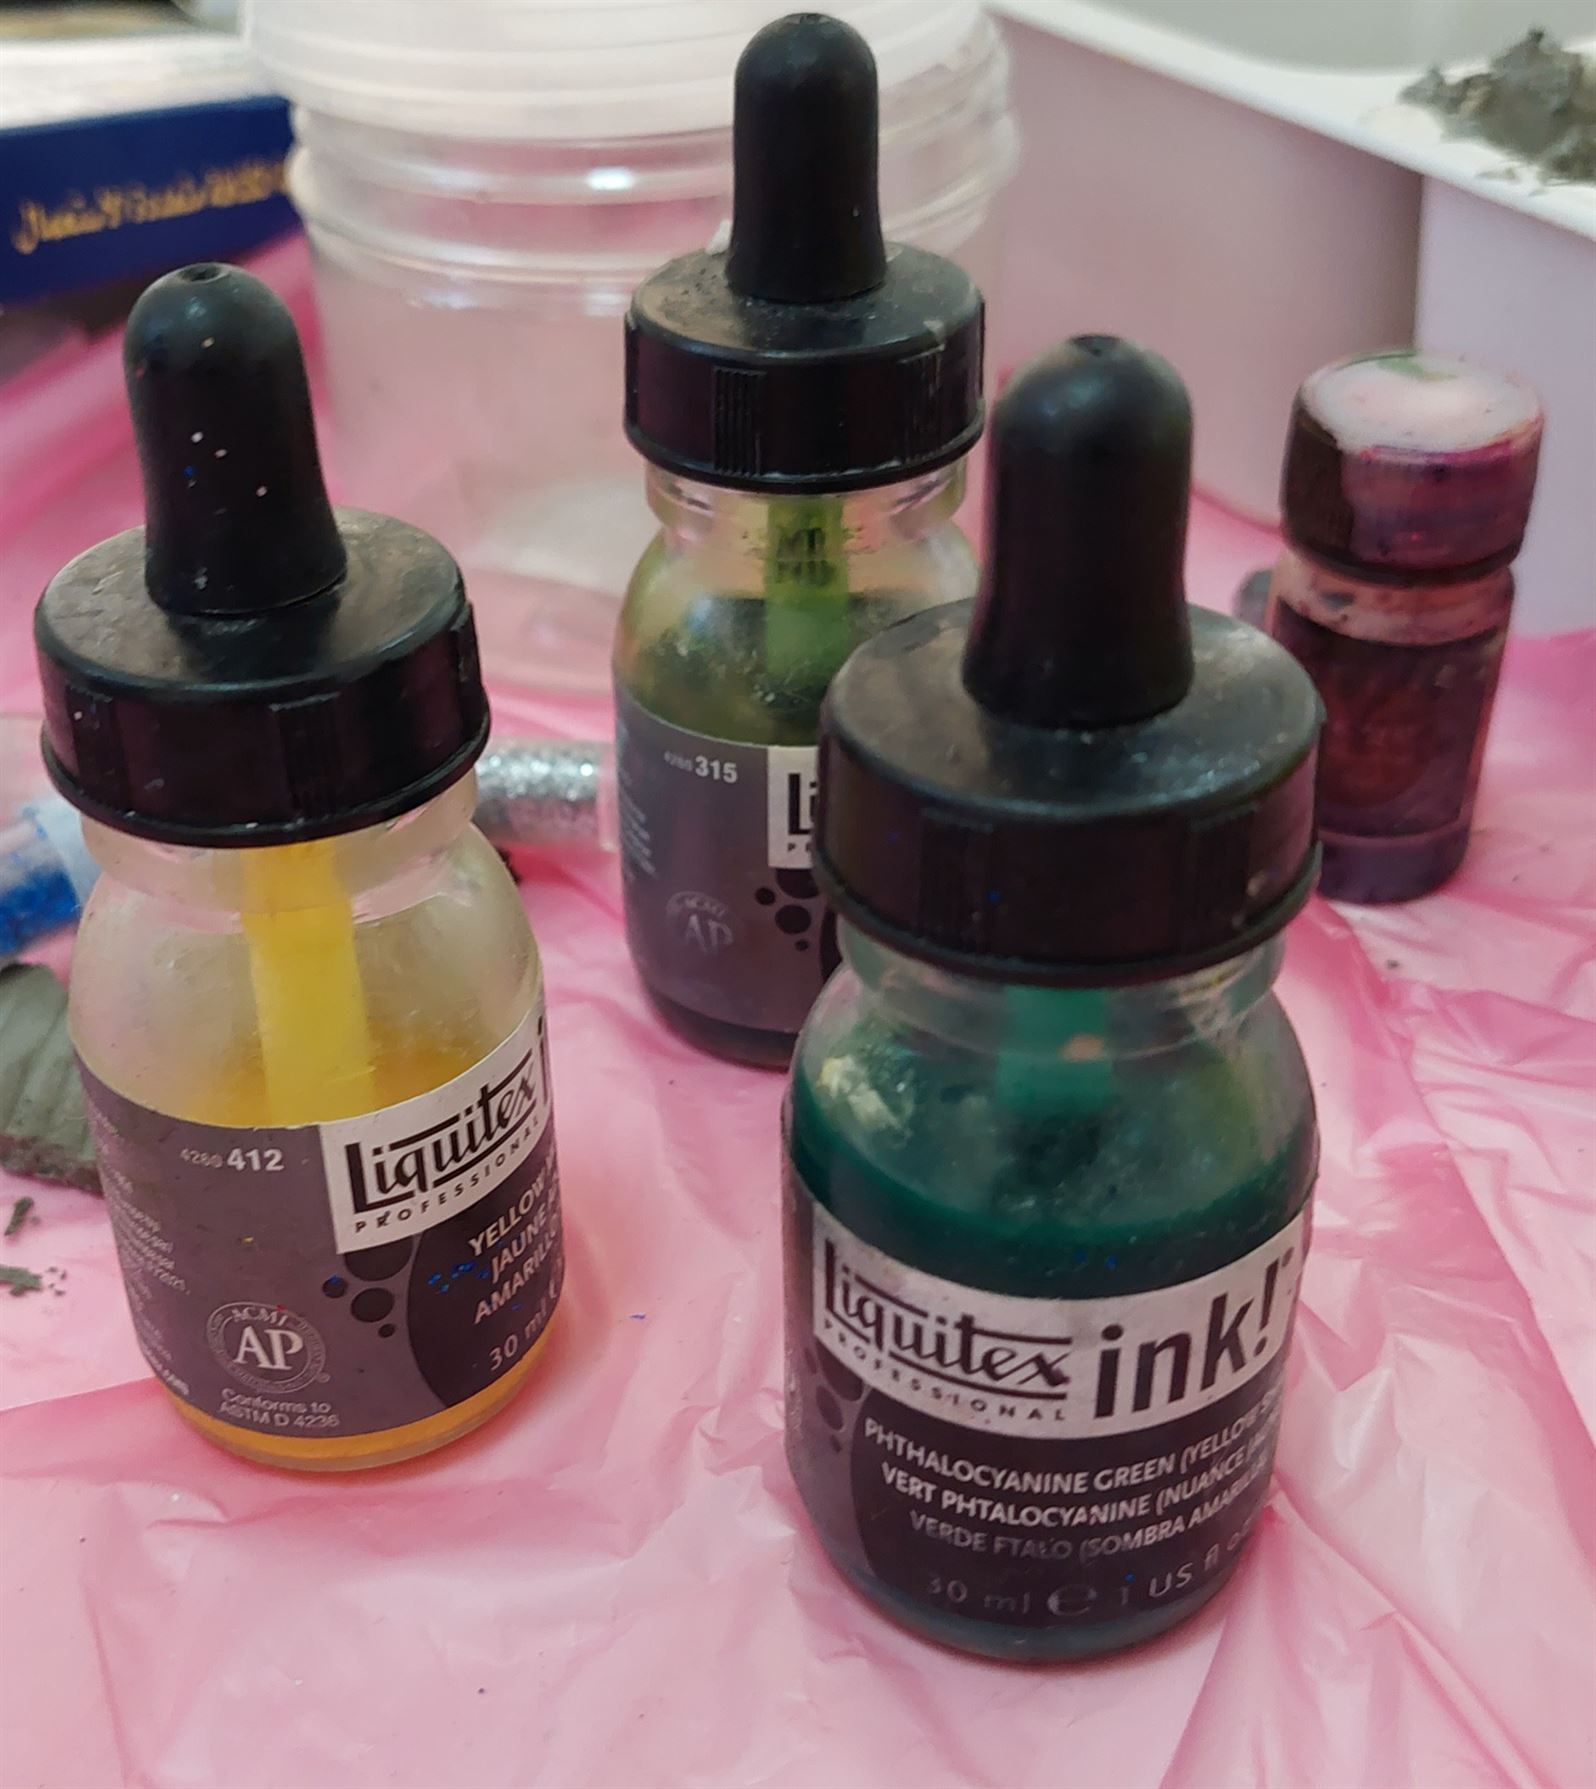
I used some yellow color.
I mixed it too much and it became similar to a paste. Pouring it was not easy.
I poured it.

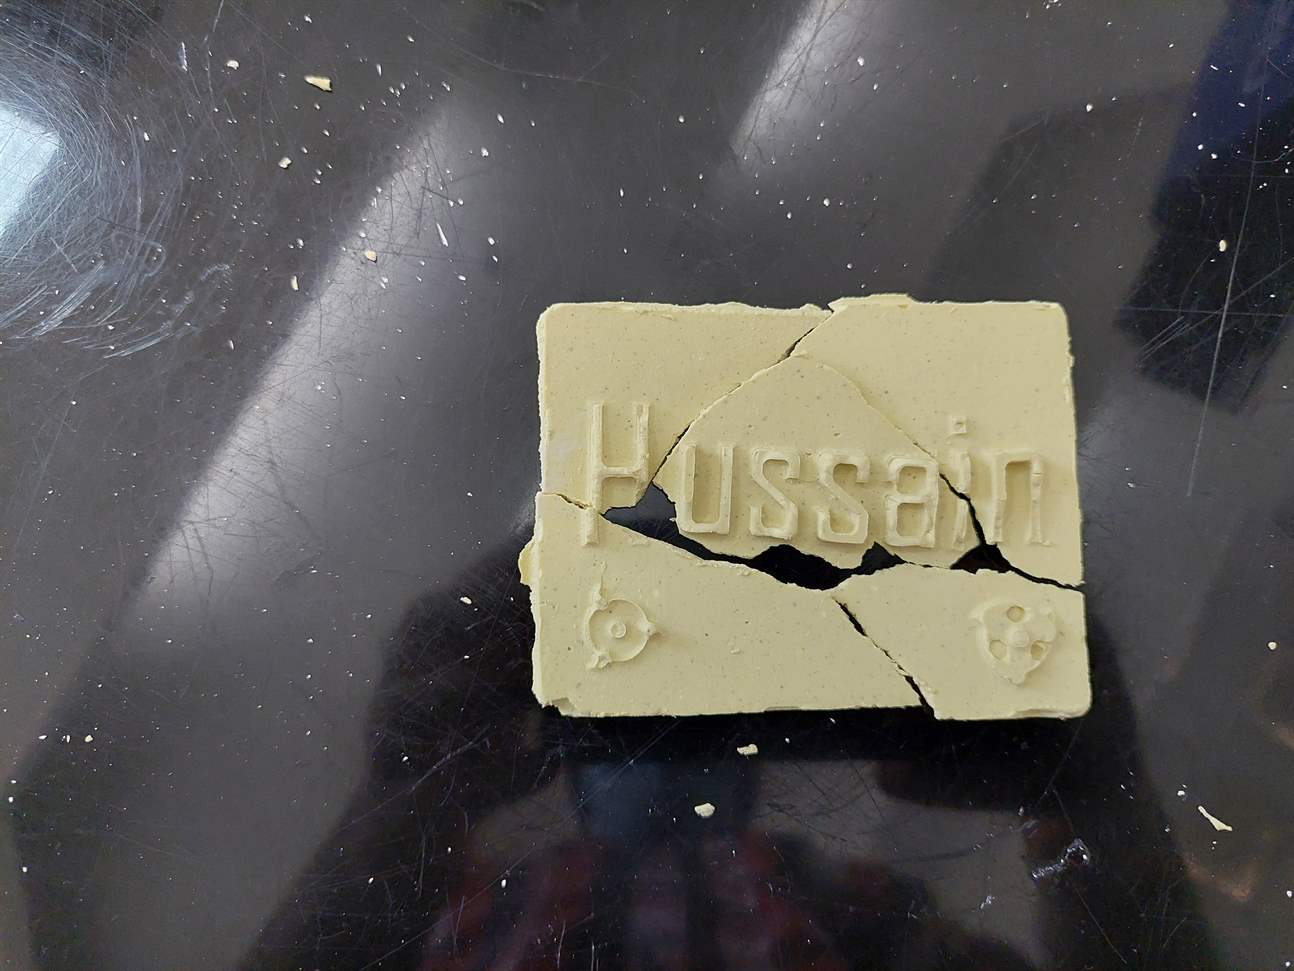
After a few hours, I removed it but it was a failure.
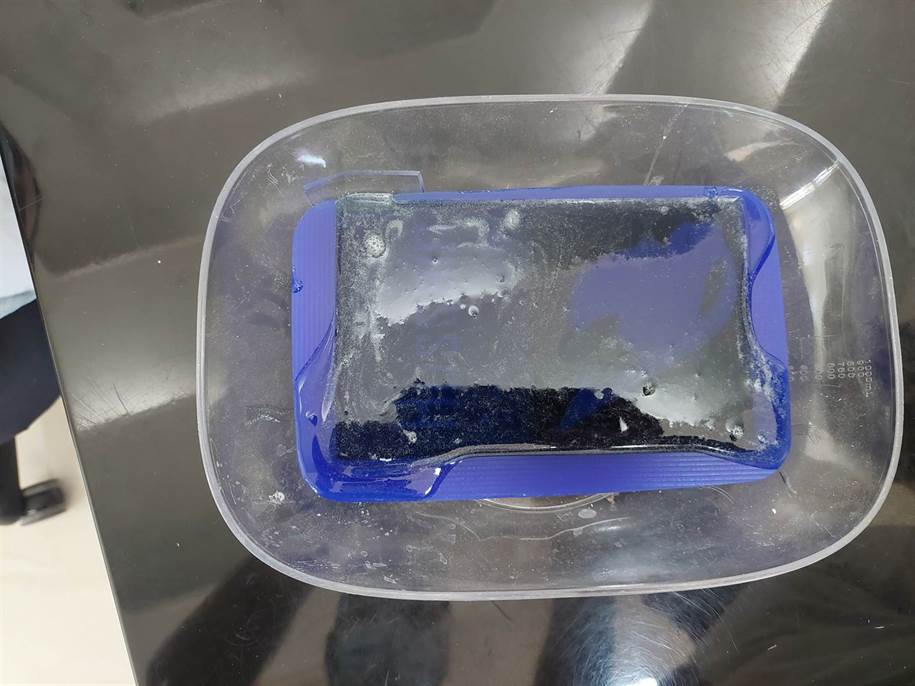
8.2.5.2 Resin.
Another try I did using the resin.
| Resin (g) | Hardner (g) |
|---|---|
| 25 | 15 |
I measured the amounts.
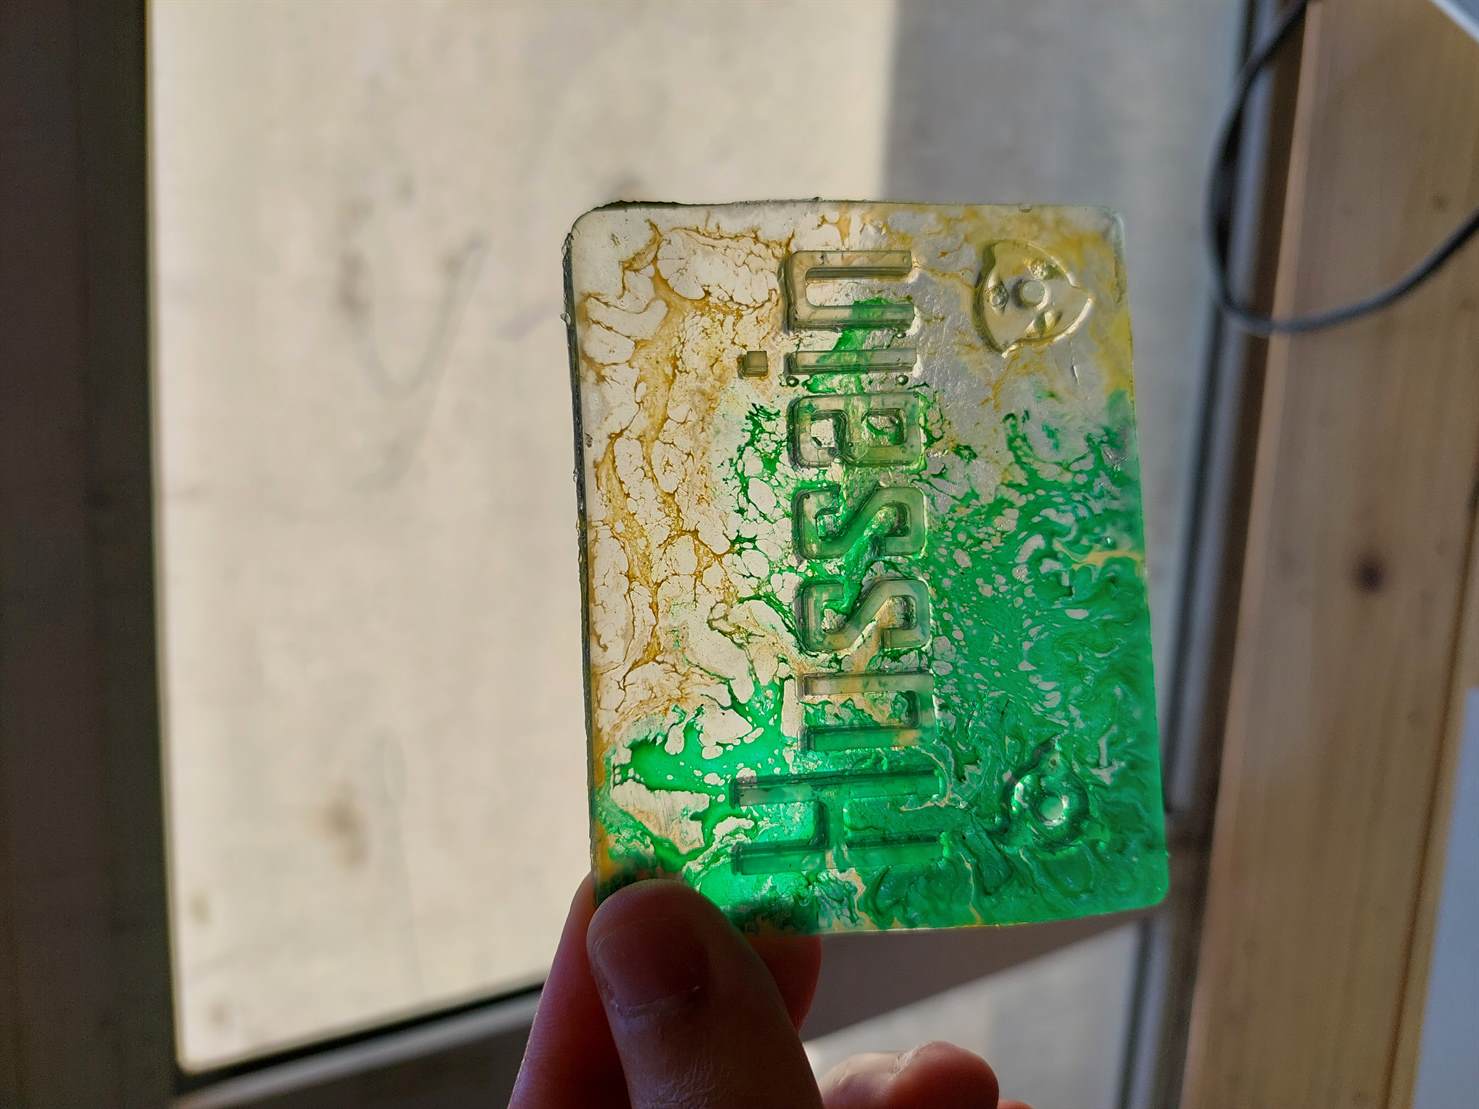
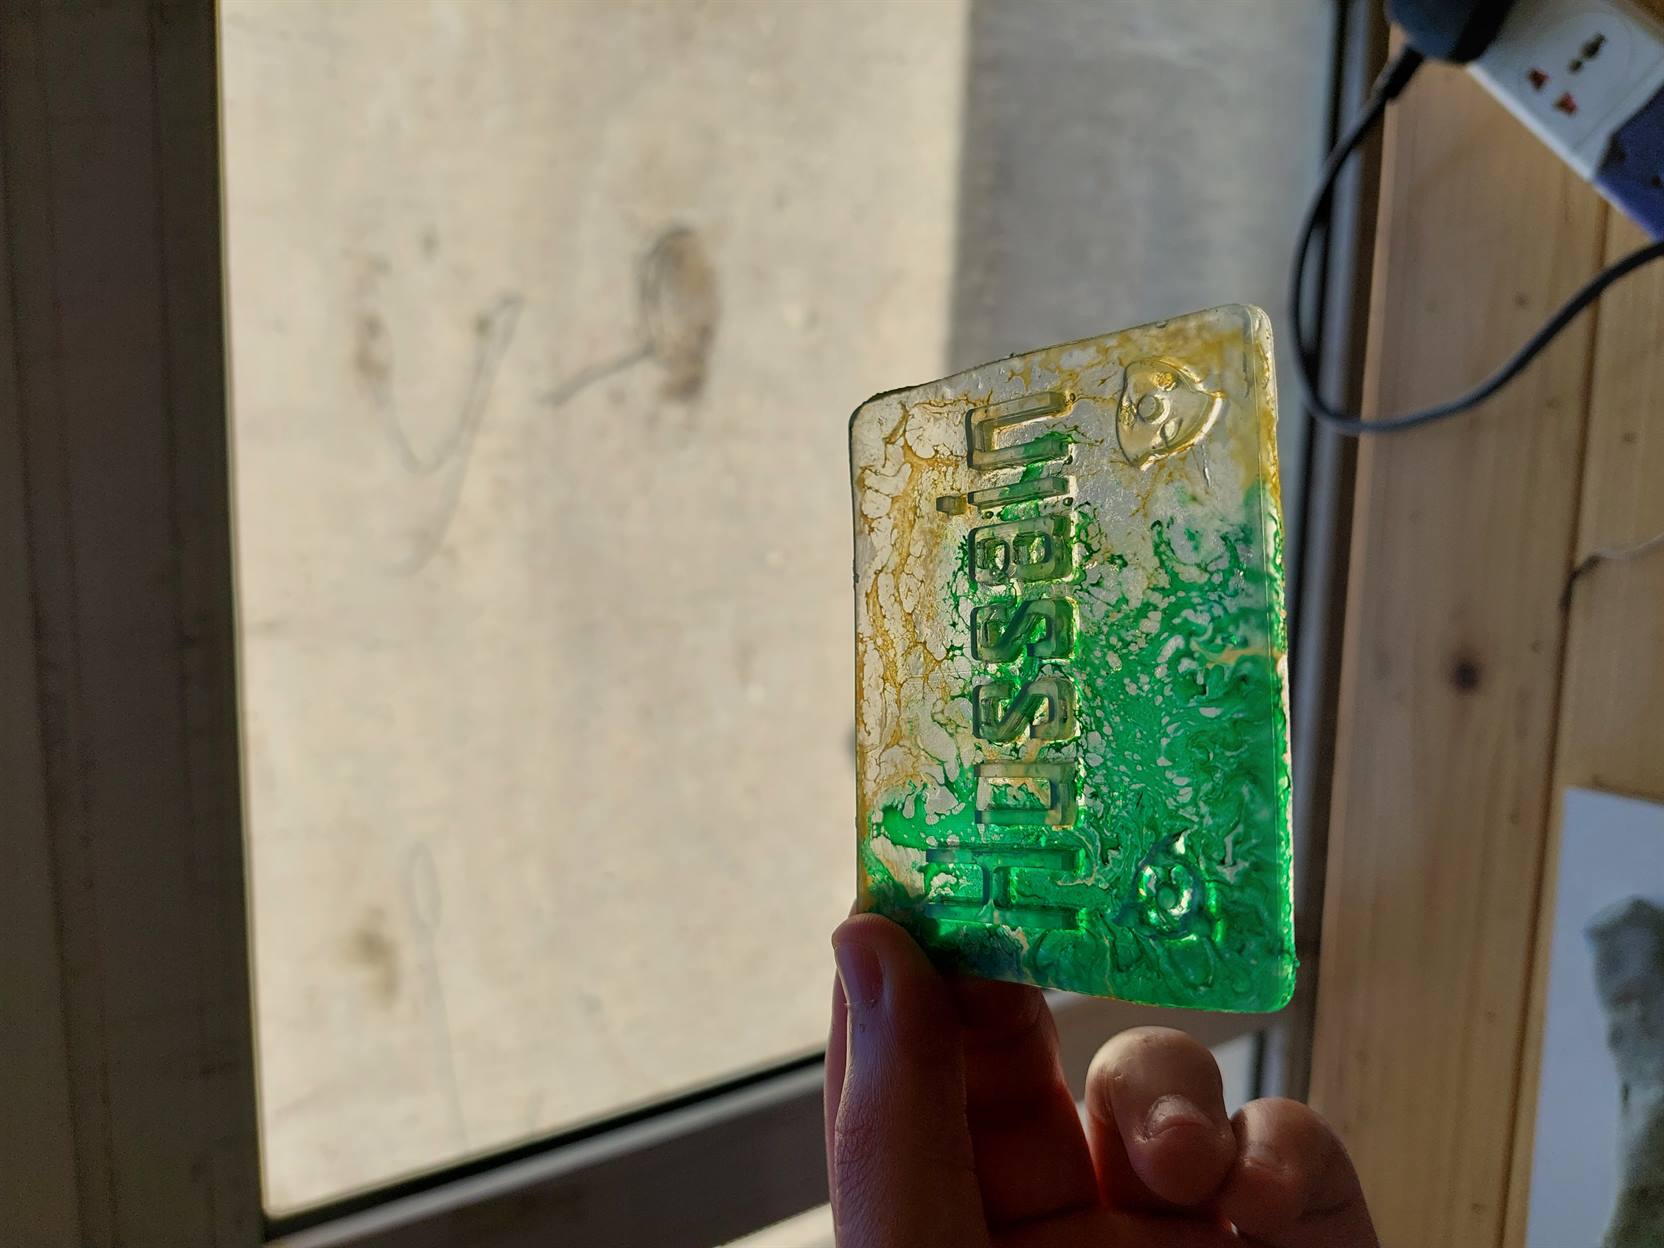
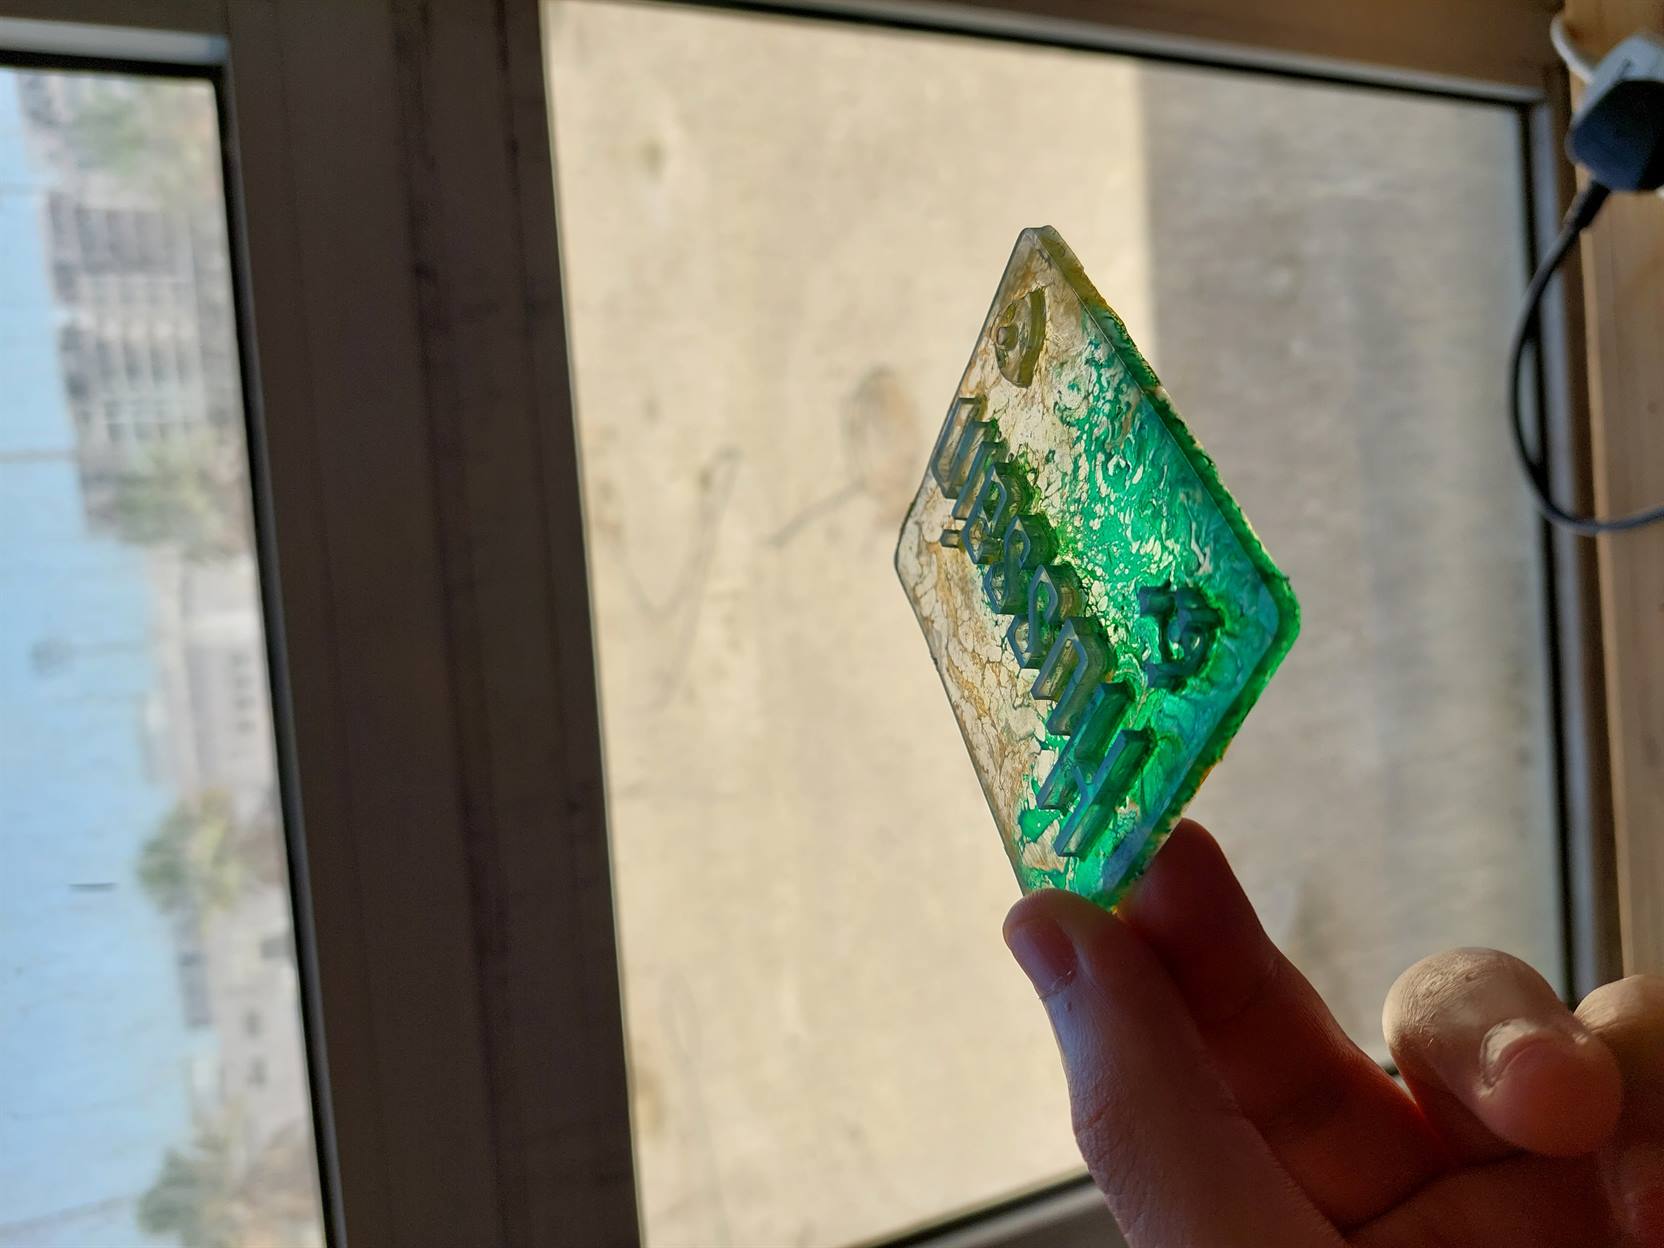
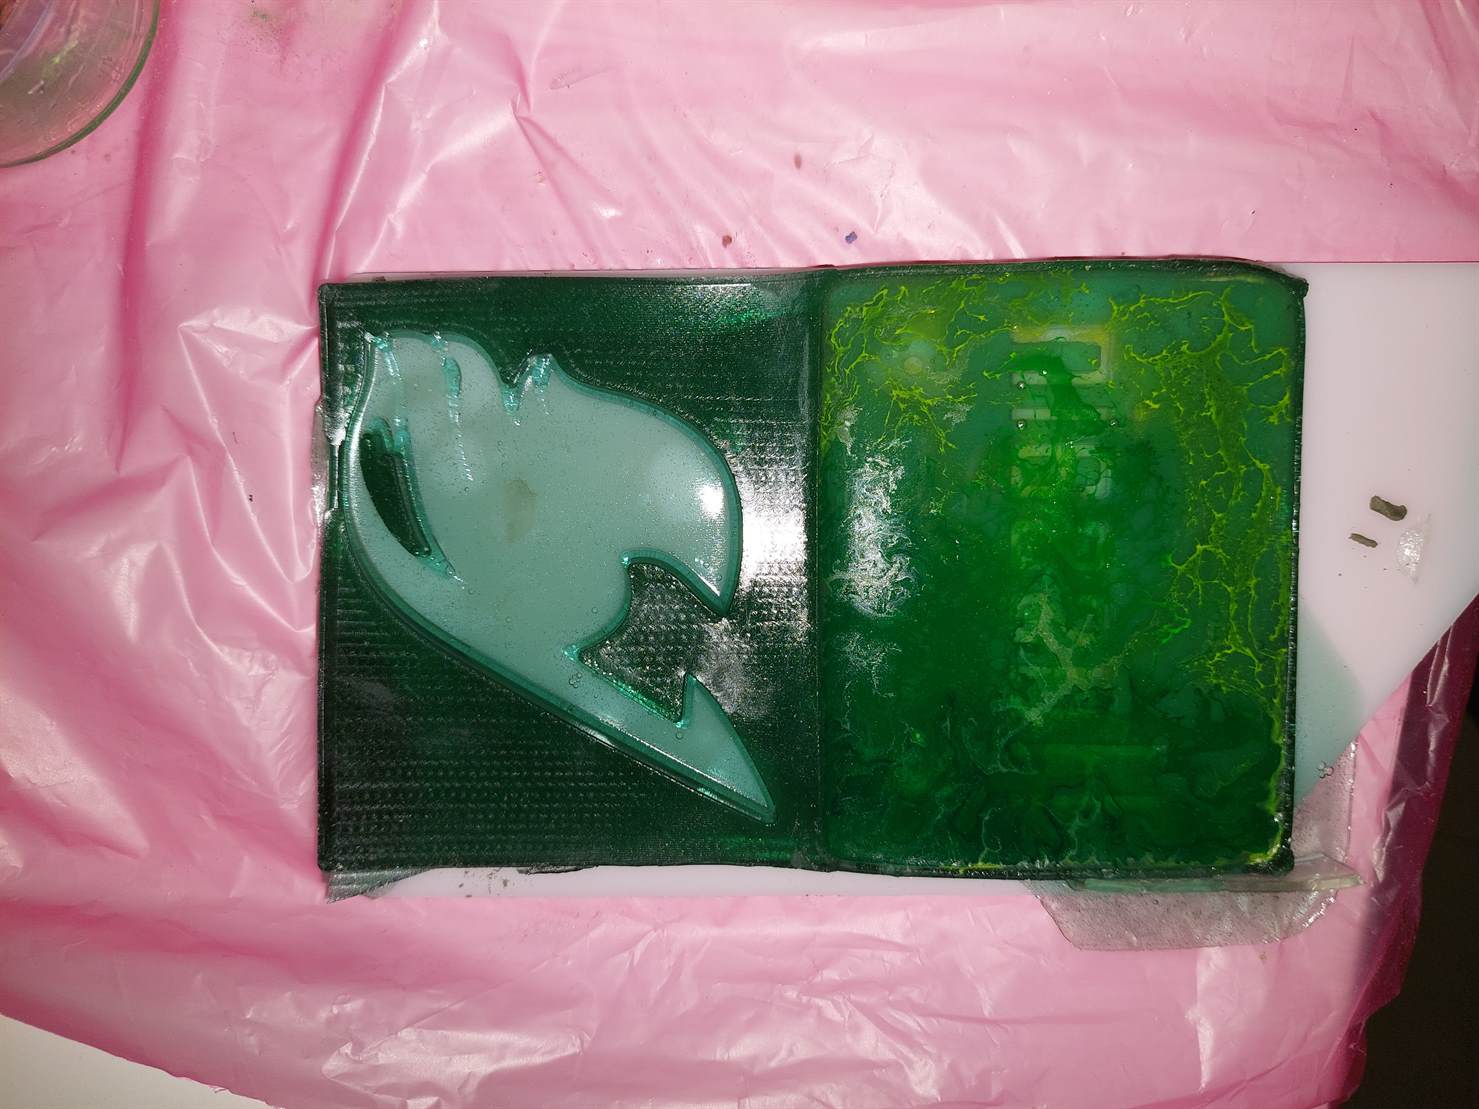
I poured it and I added some colors.
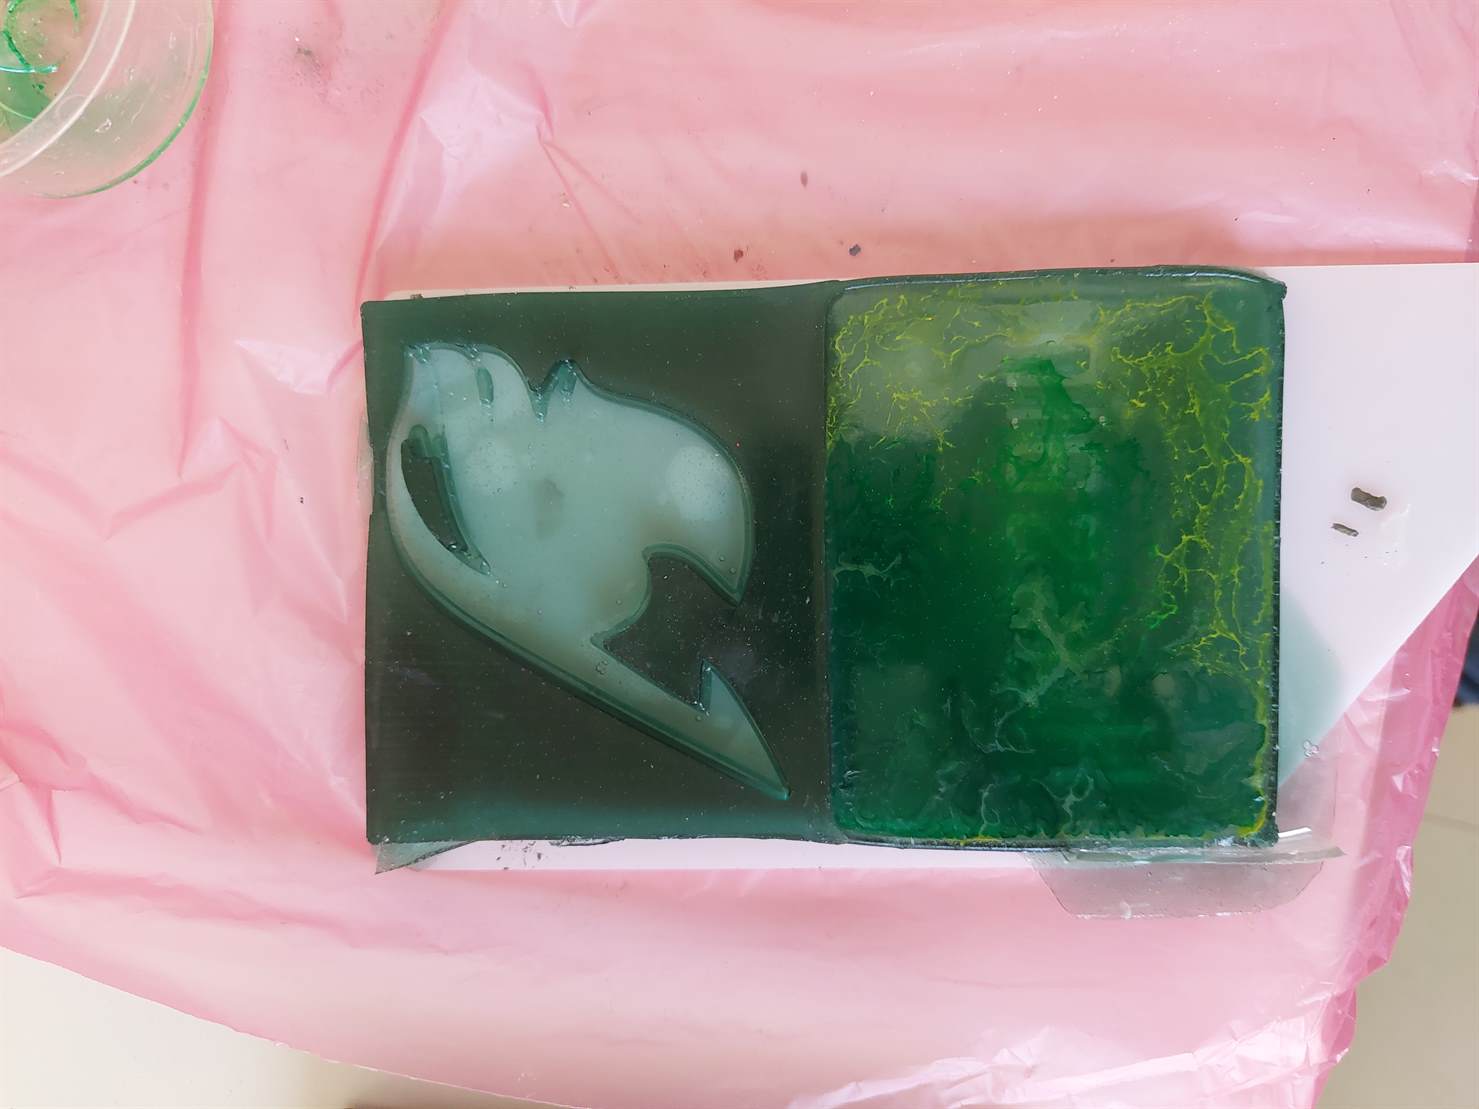
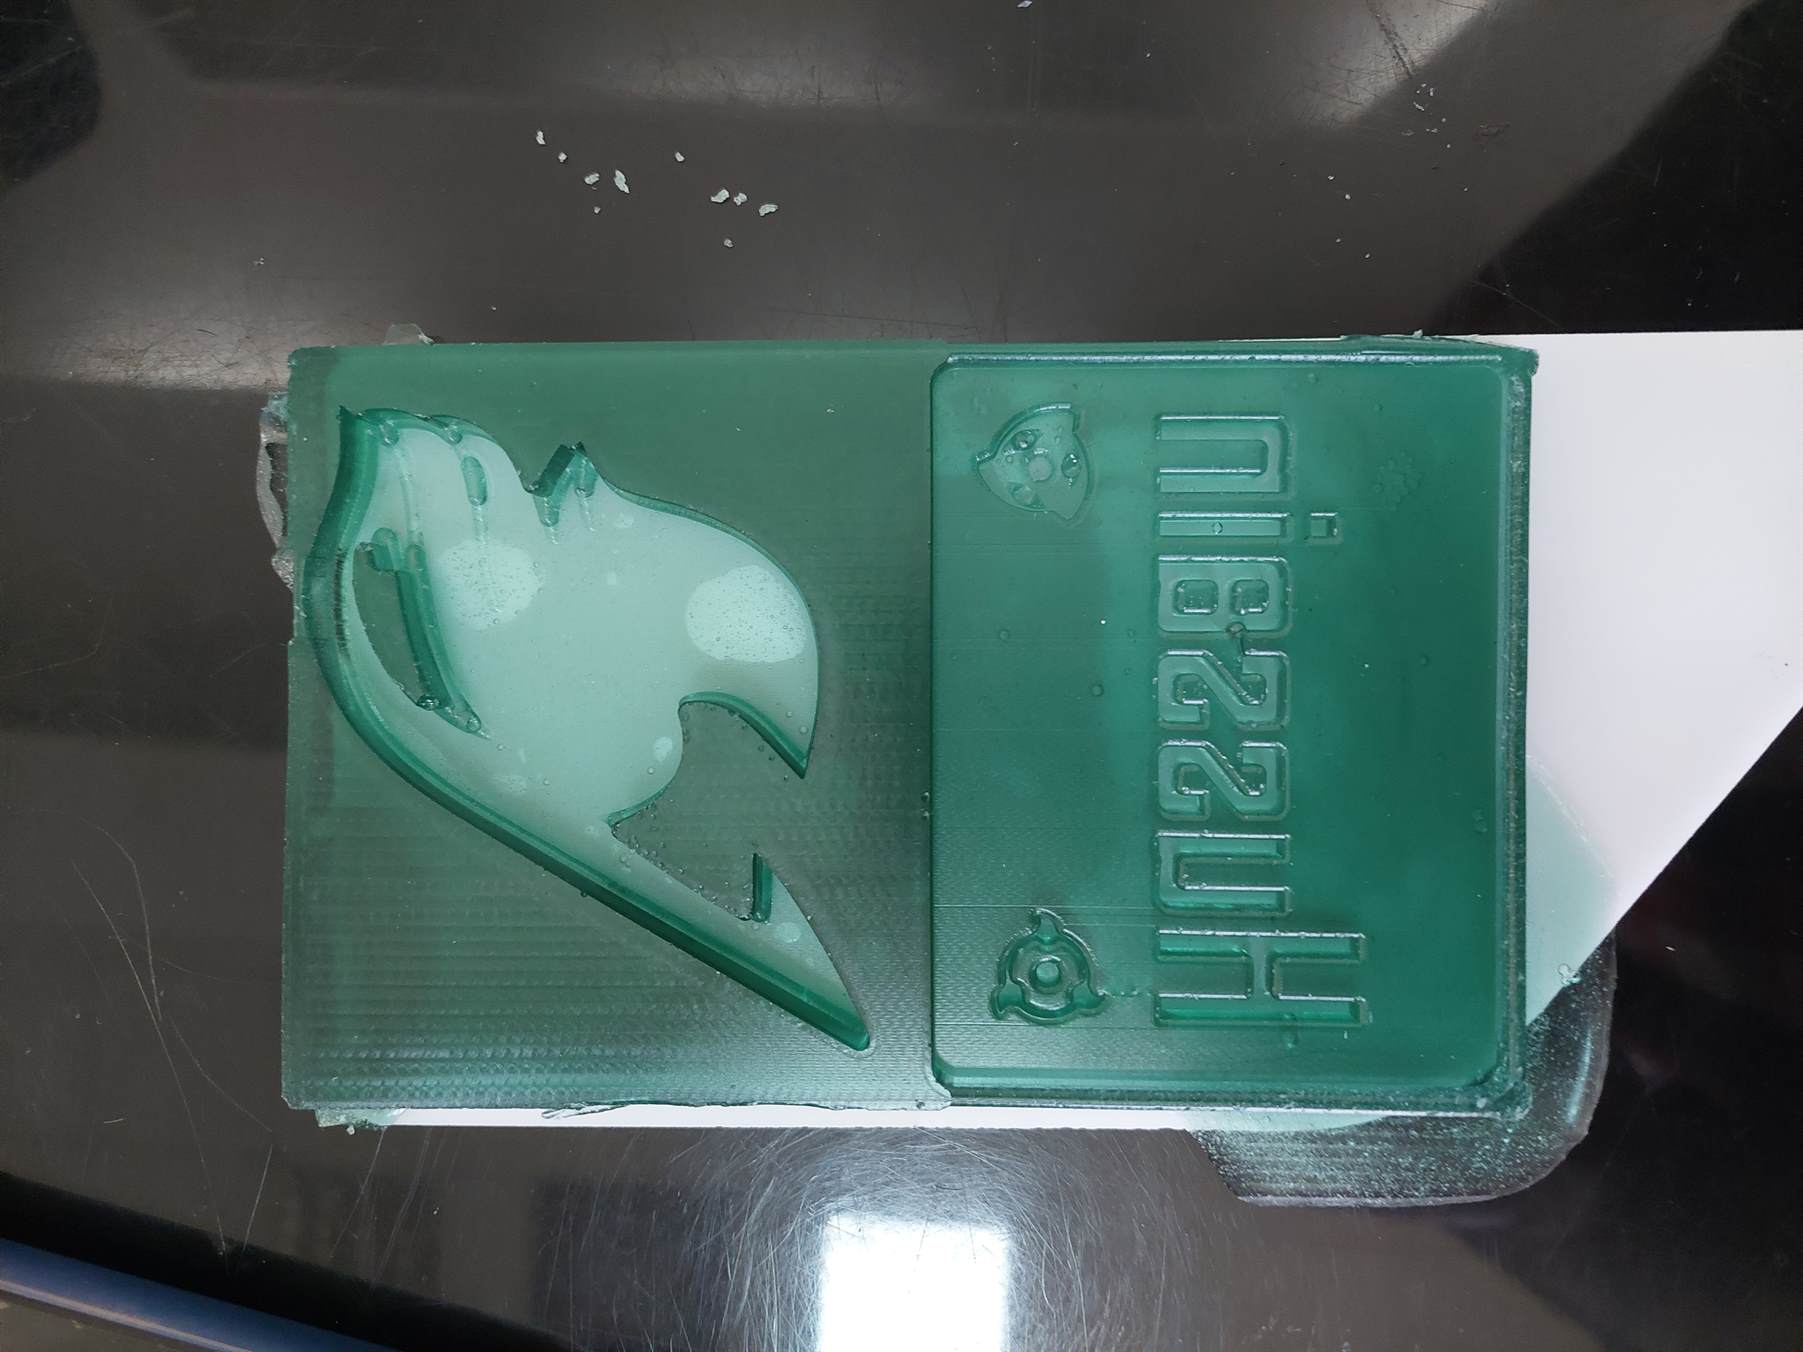
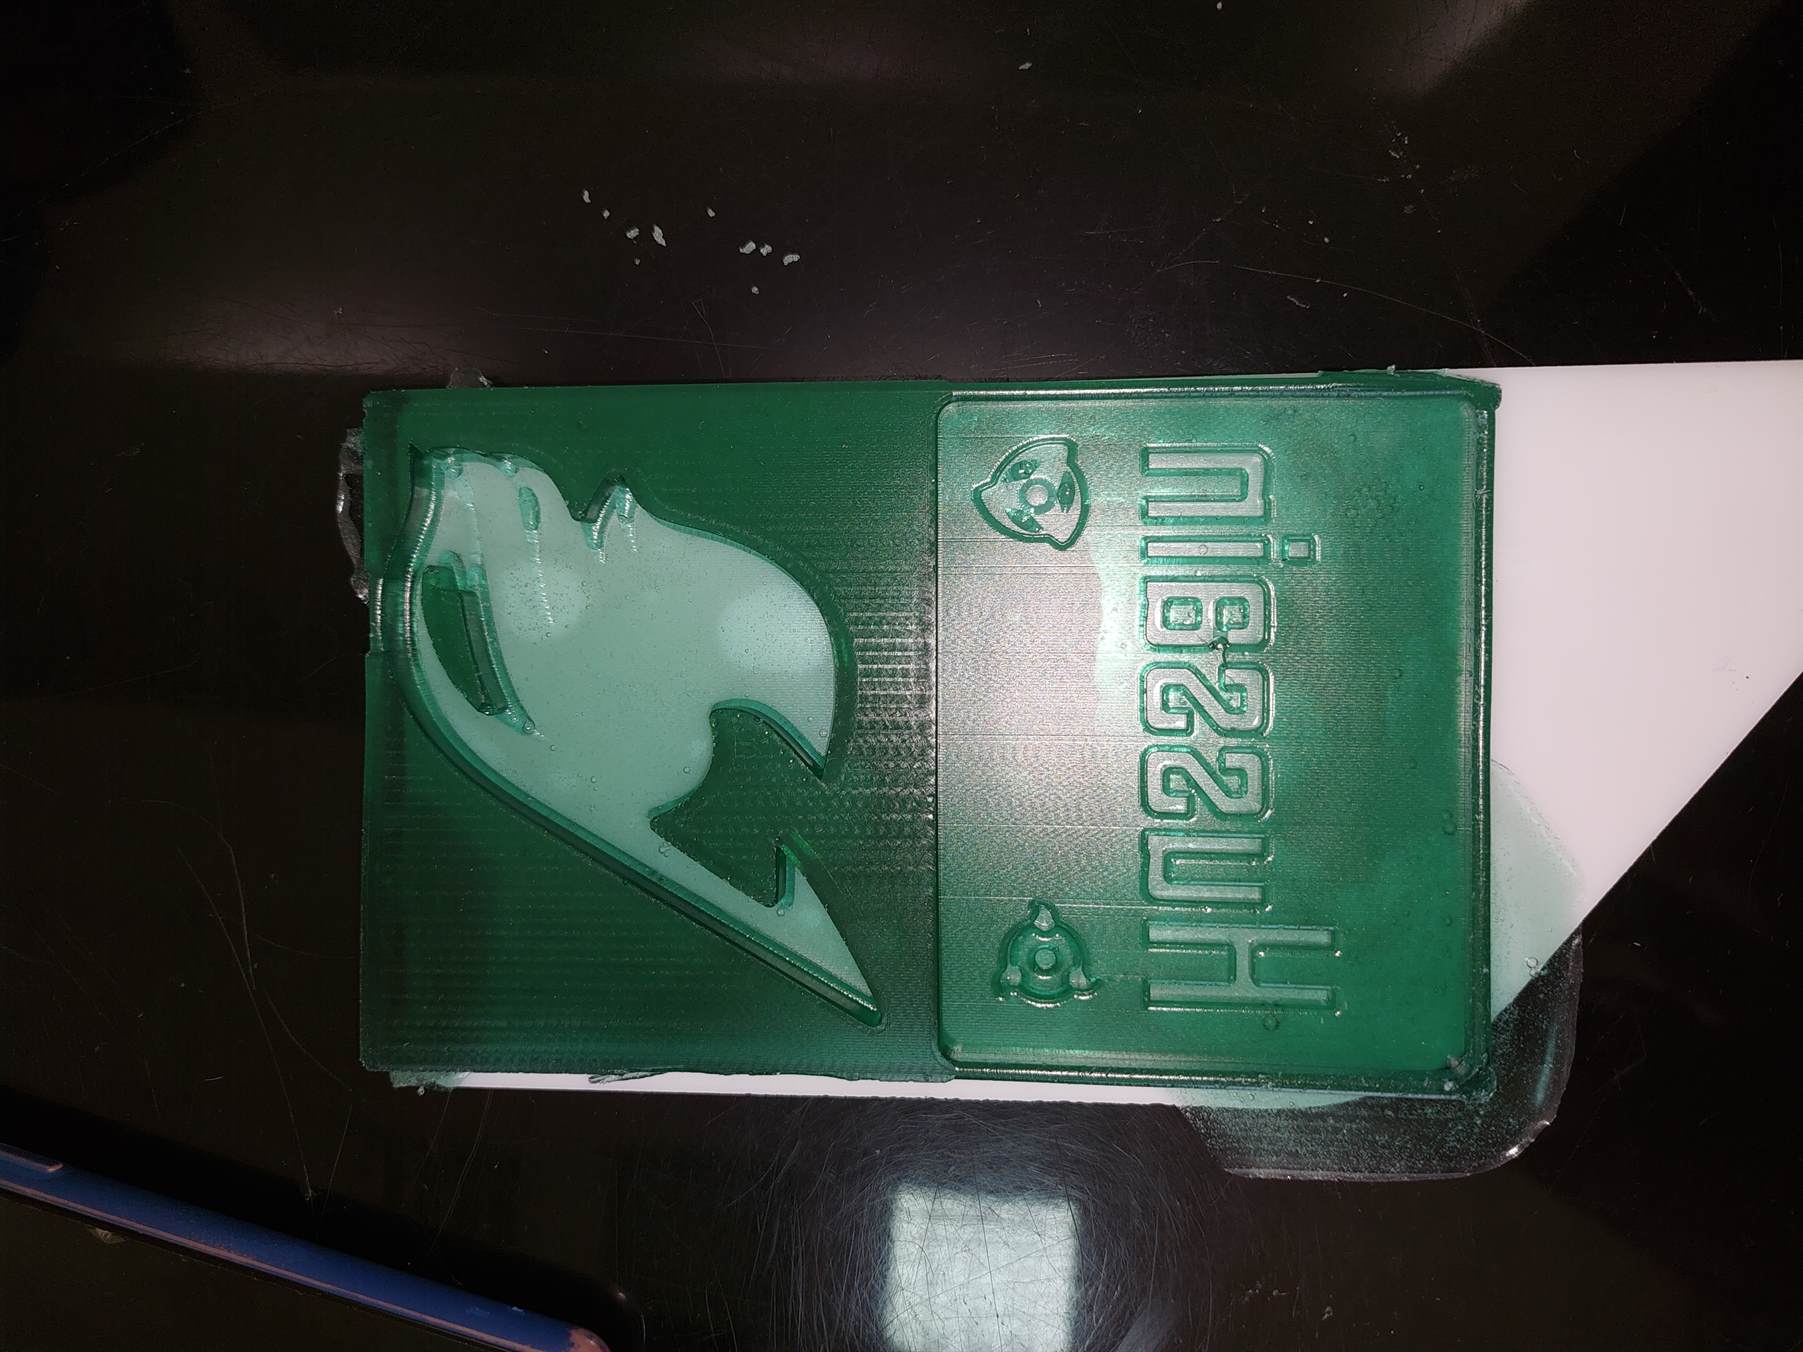
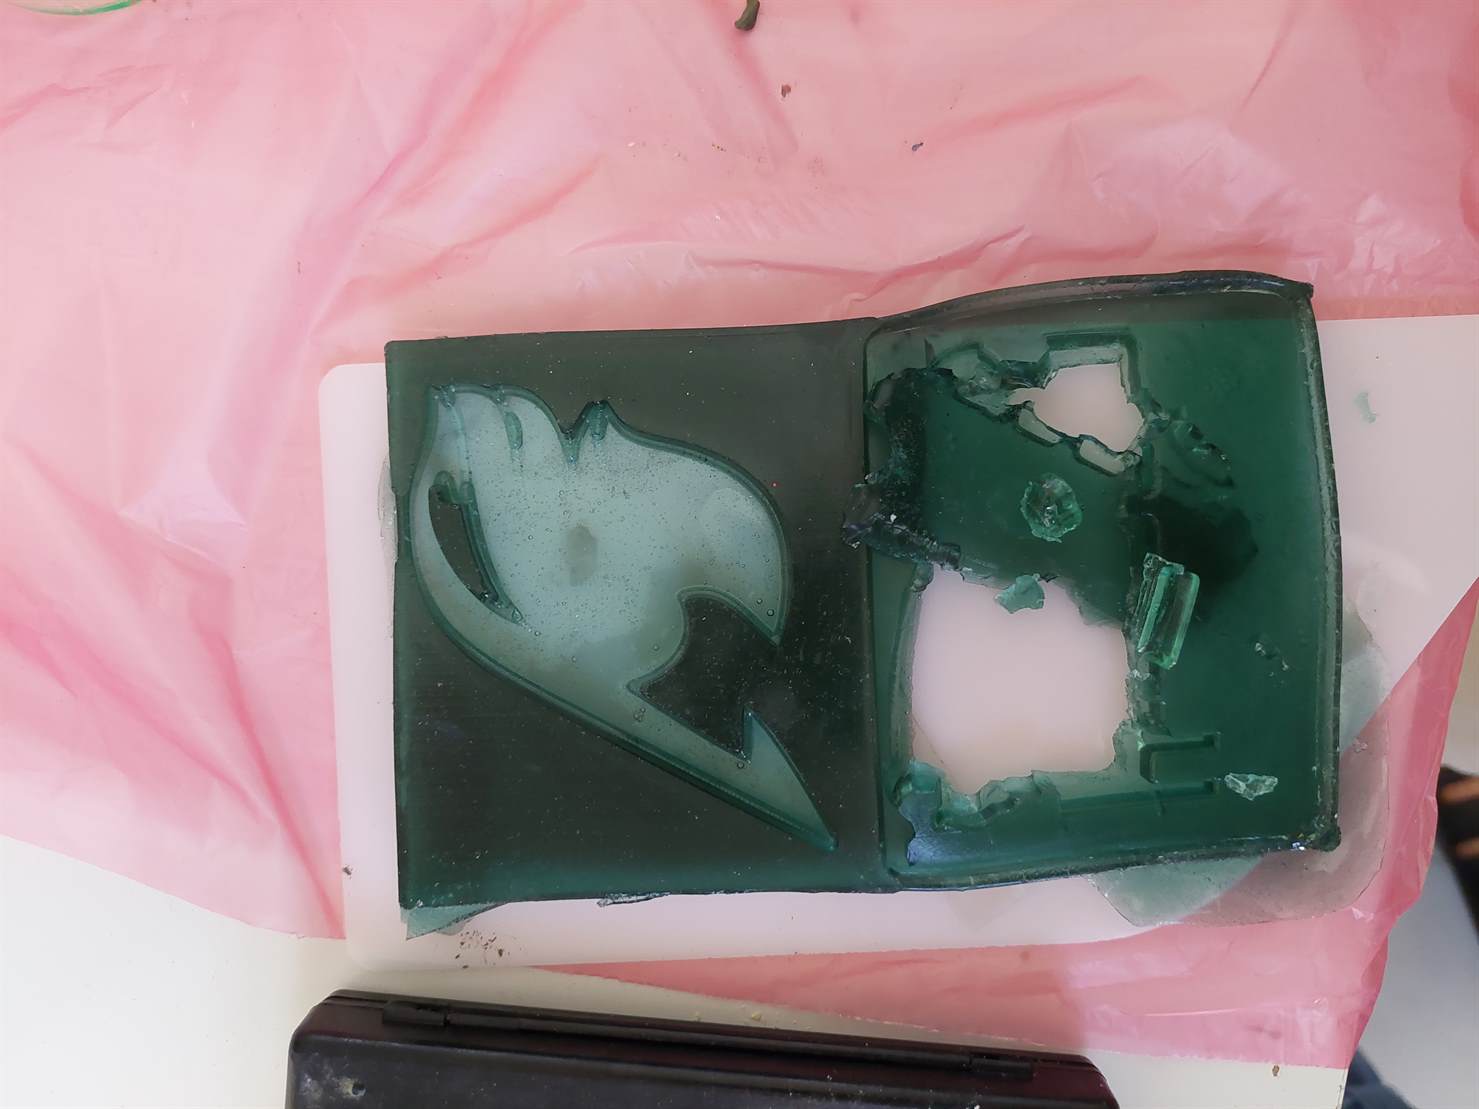
After 3 days, I removed the casting but it was sticking with the mold, so I had to destroy the mold.
This is the final result. The colors were not covering the whole design because I should have added the colors while mixing instead of adding them after pouring the resin.