Sample project
Week 1
I did some researches with my partners about natural binding materials that can be used instead of chemical materials, in order to make sheet, blocks, or filaments. I also looked for bioplastic wax. I did some recipes with my partners to make plant based bioplastics and a molding material.
1.0 Zelfo
I found a material that is called Zelfo which is made from water and fiber with some optional material which is plants pigments. It needs pressure and heat and it contains cellulose. Its density is 0.5 - 1.5g/cm^3. It is non toxic and it can be recycled.
1.1 Bioplastic
1.1.1 Nitrocellulose
I searched about some bioplastic materials which are non toxic and can be recycled. Nitro cellulose is a mixture of sulfuric acid and nitric acid. The reaction replaces the hydroxyl groups with nitro groups. The fiber of nitrocellulose prepared from thin paper made from wood, bamboo, and other materials. Nitrocellulose is highly flammable.
1.1.2 Cellulose Acetate
It is made from wood bulb with acetic anhydride. Another way to make it is by treating cotton with acetic acid, using sulfuric acid as a catalyst. One of its properties is It is tough.
1.2 Bioplastic wax
I found an experiment to make bioplastic wax to test the water resistance of the gelatin-based and agar agar-based bioplastics using the wax and without it.
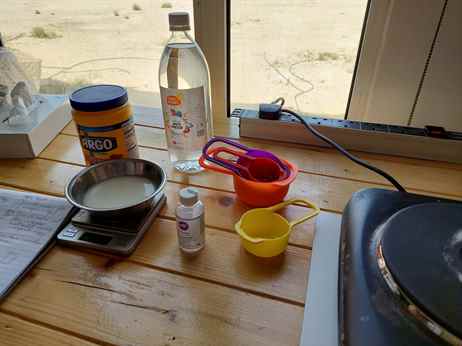
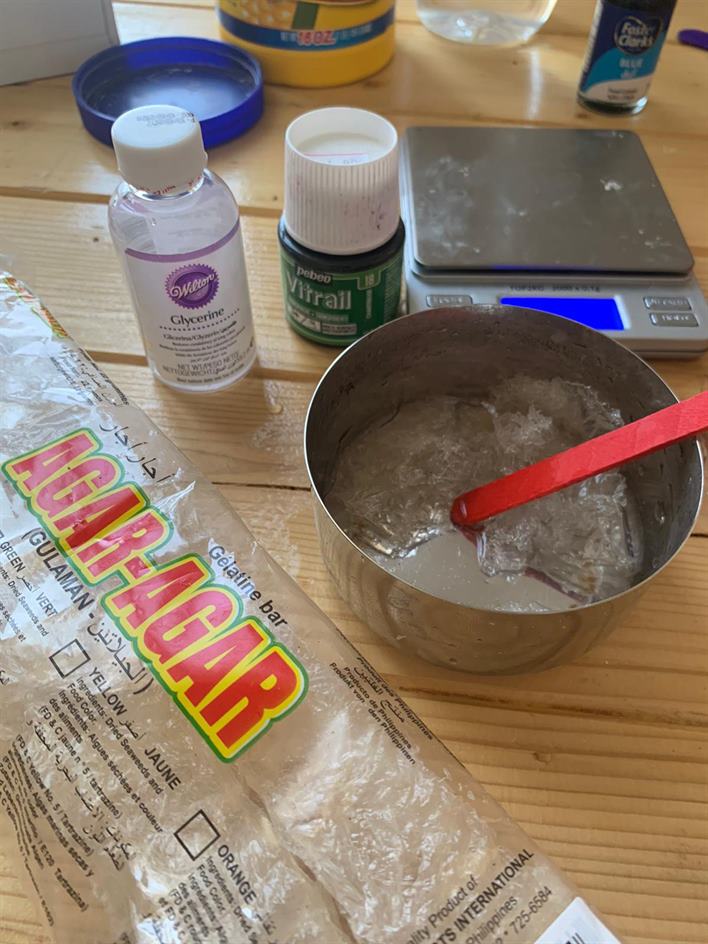
1.2.1 Materials
- gelatin
- agar agar
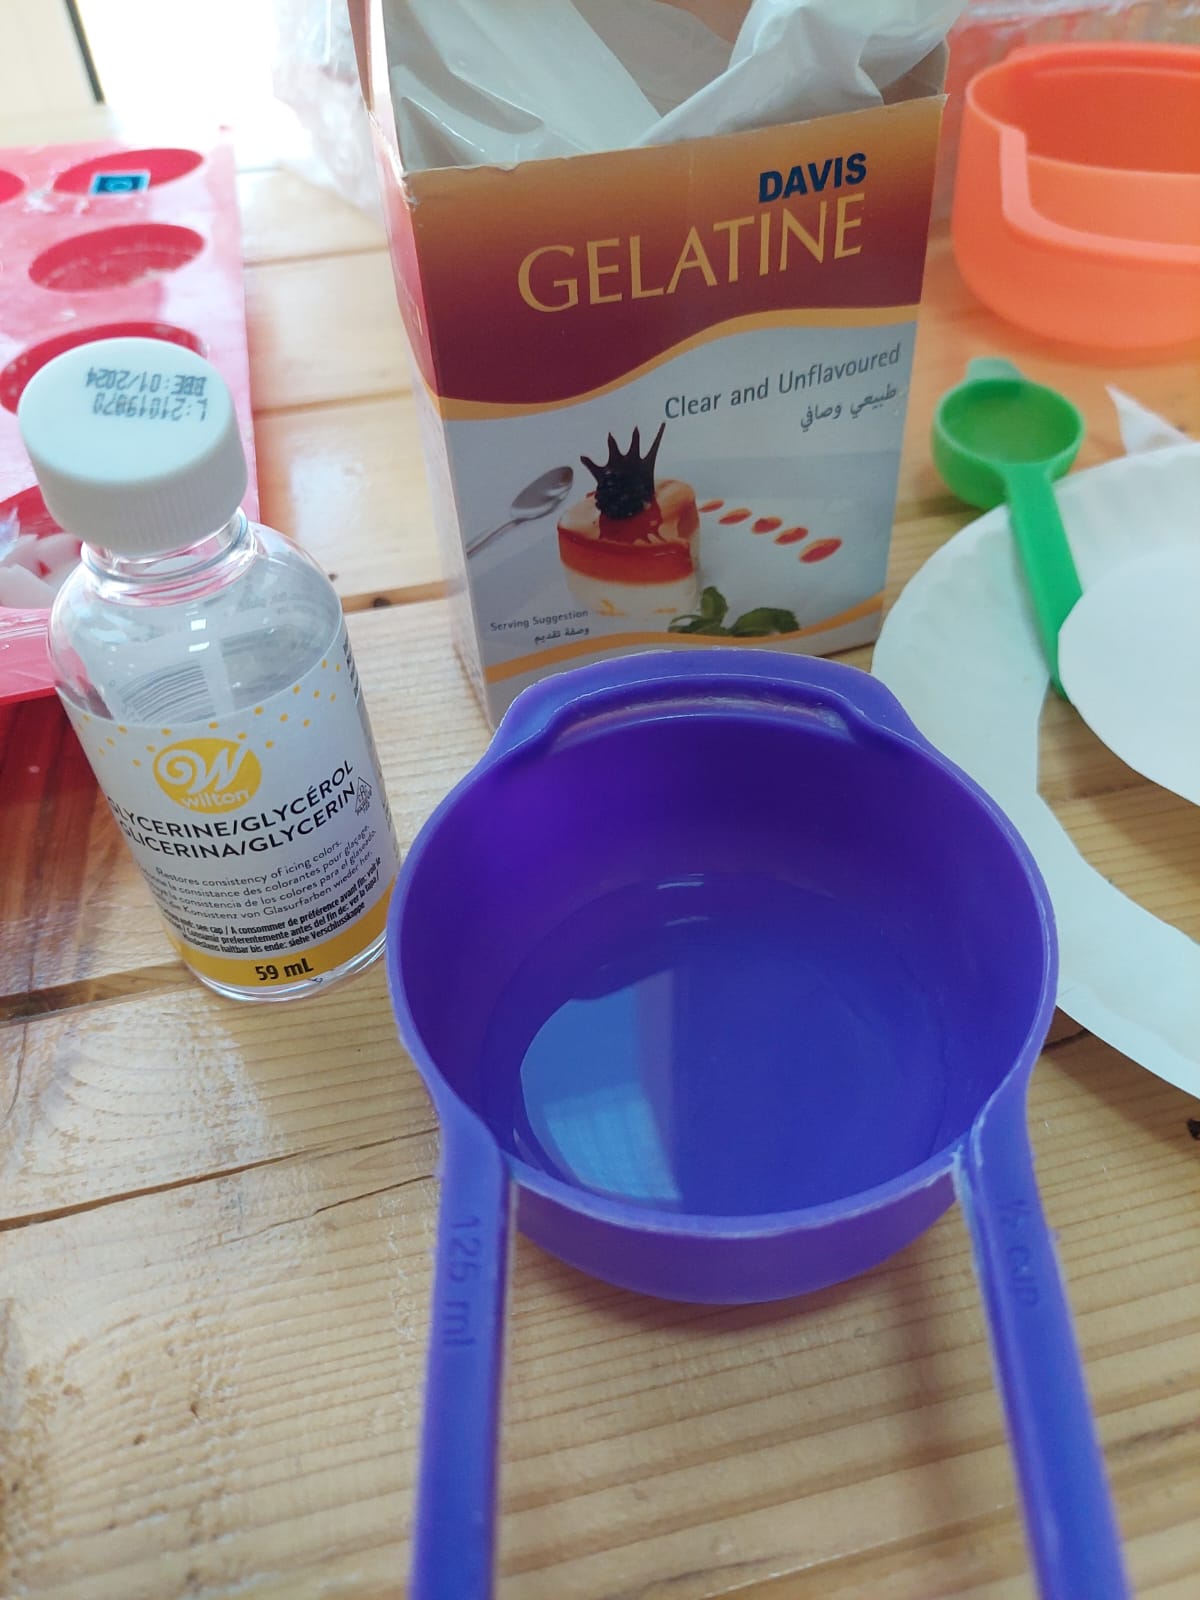
- glycerin
- water
- hotplate
- acrylic sheet for molding
1.2.2 procedure
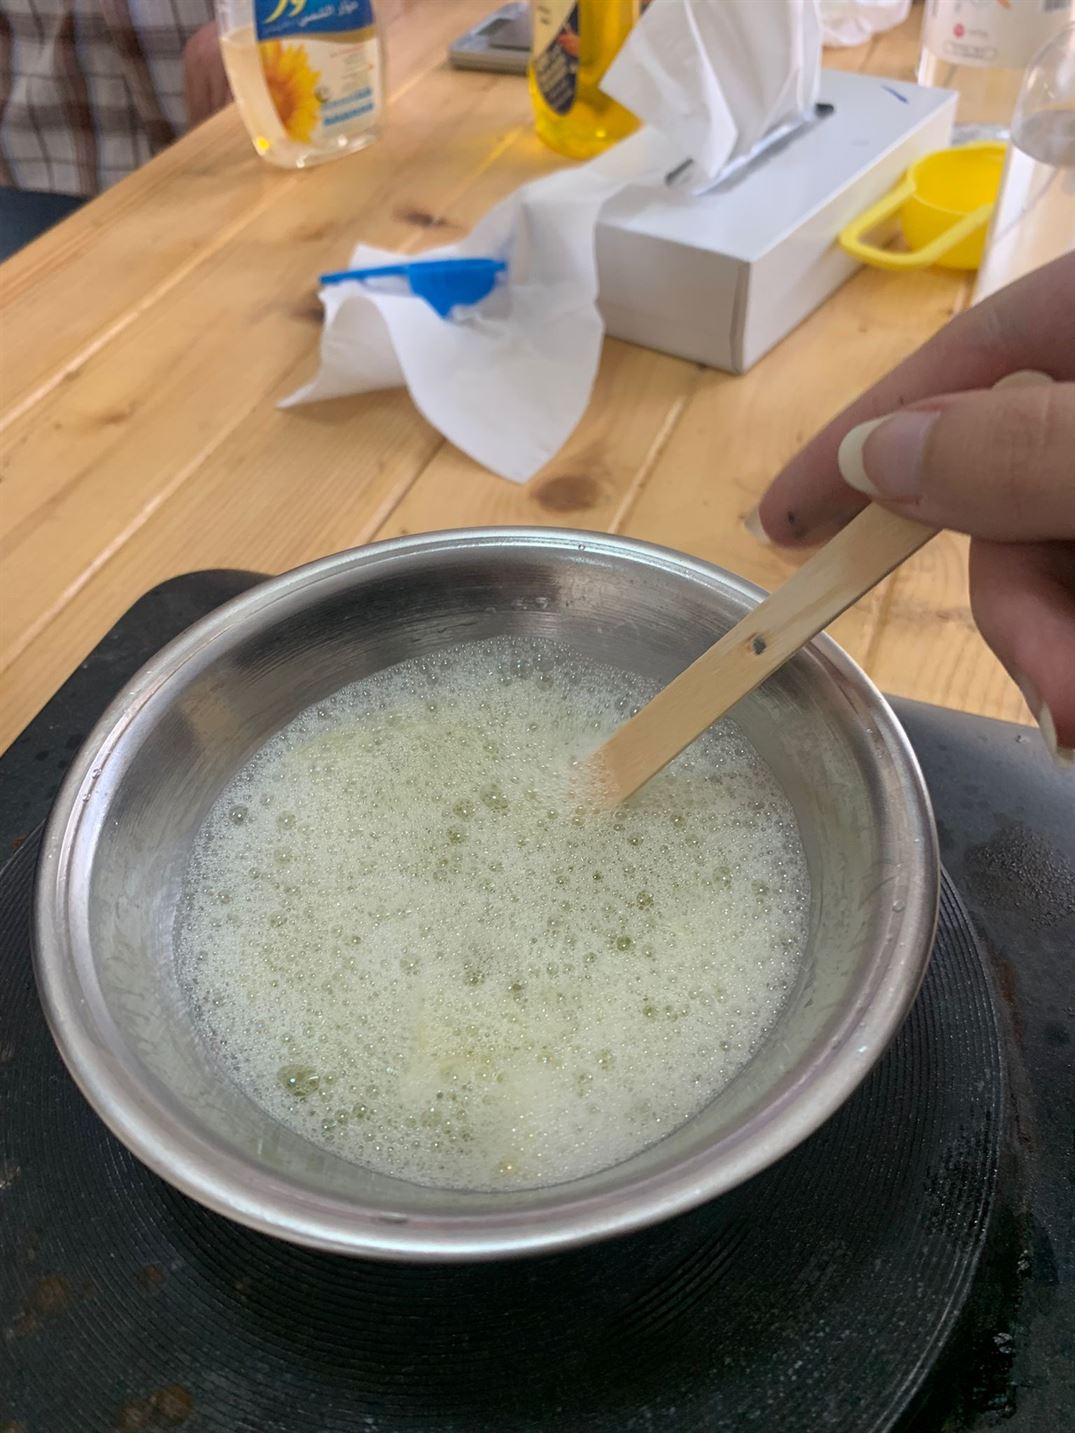
- Cook the bioplastics samples
- Analyze the dry samples
- Watch the states of the samples in the water
1.2.3 Gelatin recipe
Water, gelatin, glycerol, 1 small candle of wax.
| Water (mL) | Gelatin (g) | Glycerol (g) |
|---|---|---|
| 250 | 50 | 20 |
1.2.4 Agar agar recipe
Water, agar agar, glycerol, and 1 small candle of wax.
| Water (mL) | agar agar (g) | Glycerol (g) |
|---|---|---|
| 200 | 12 | 15 |
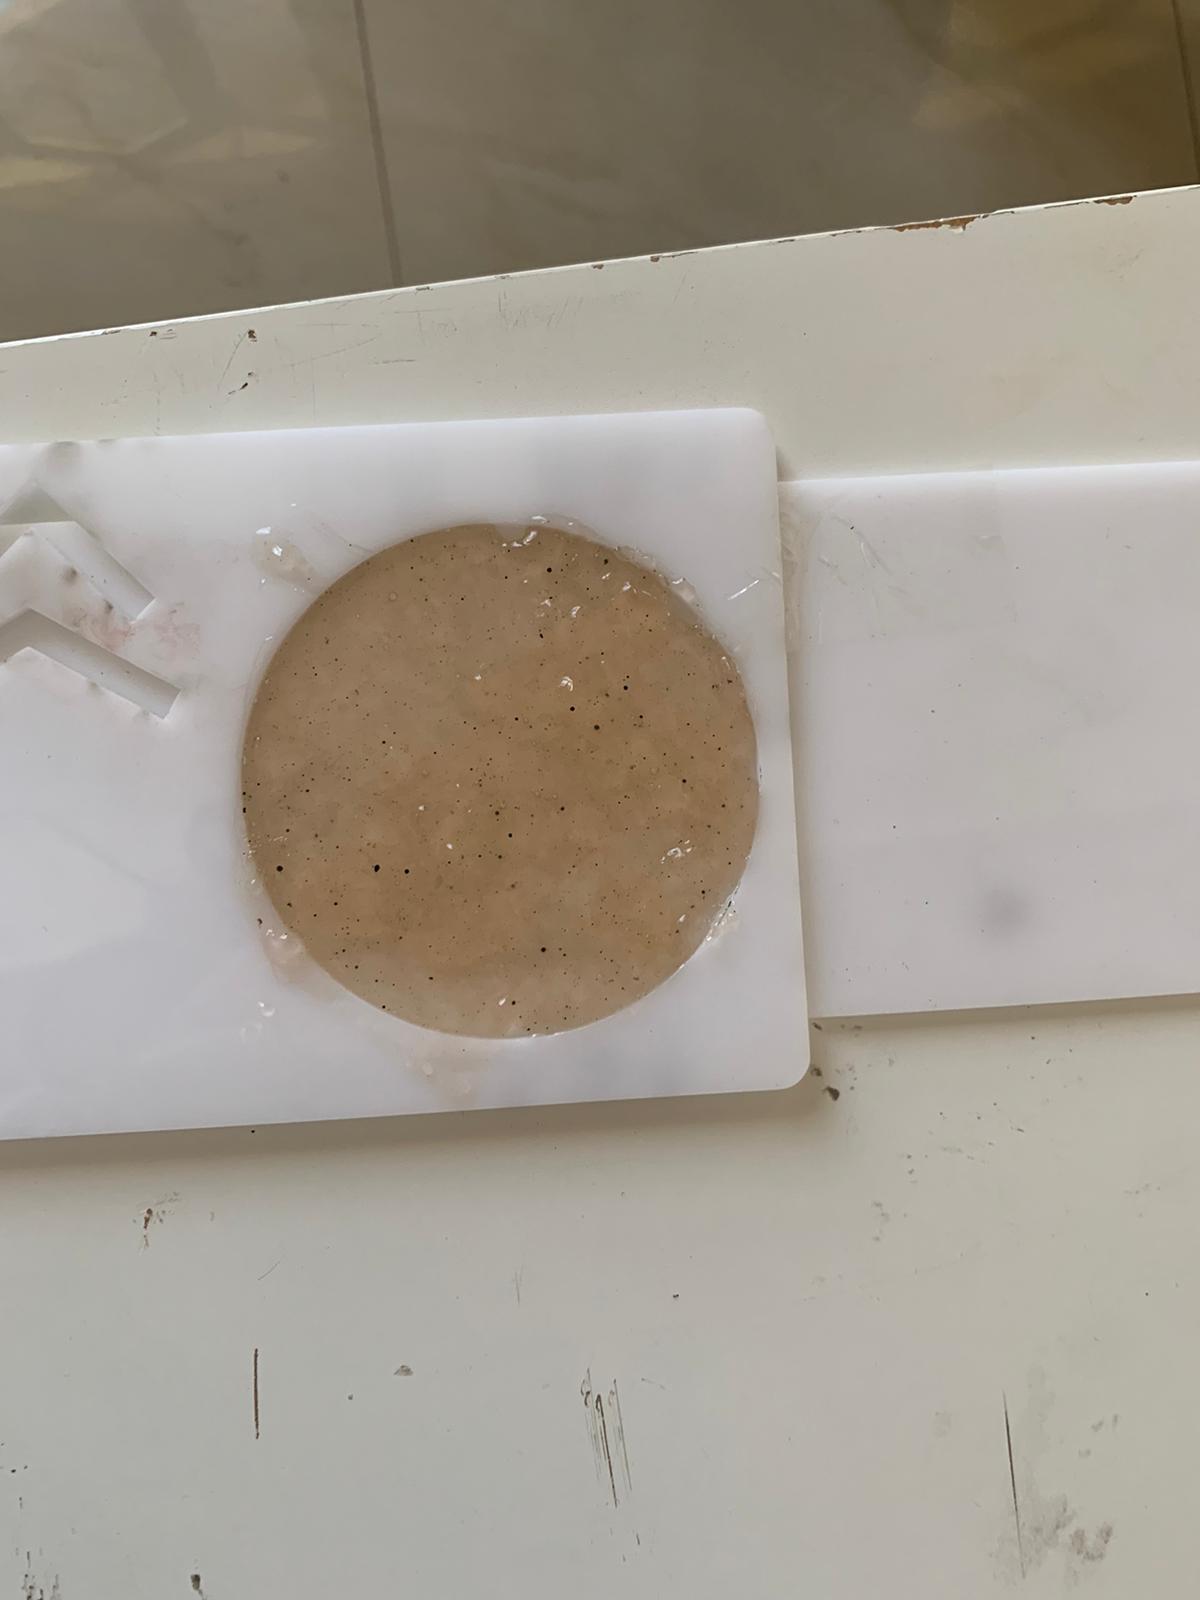
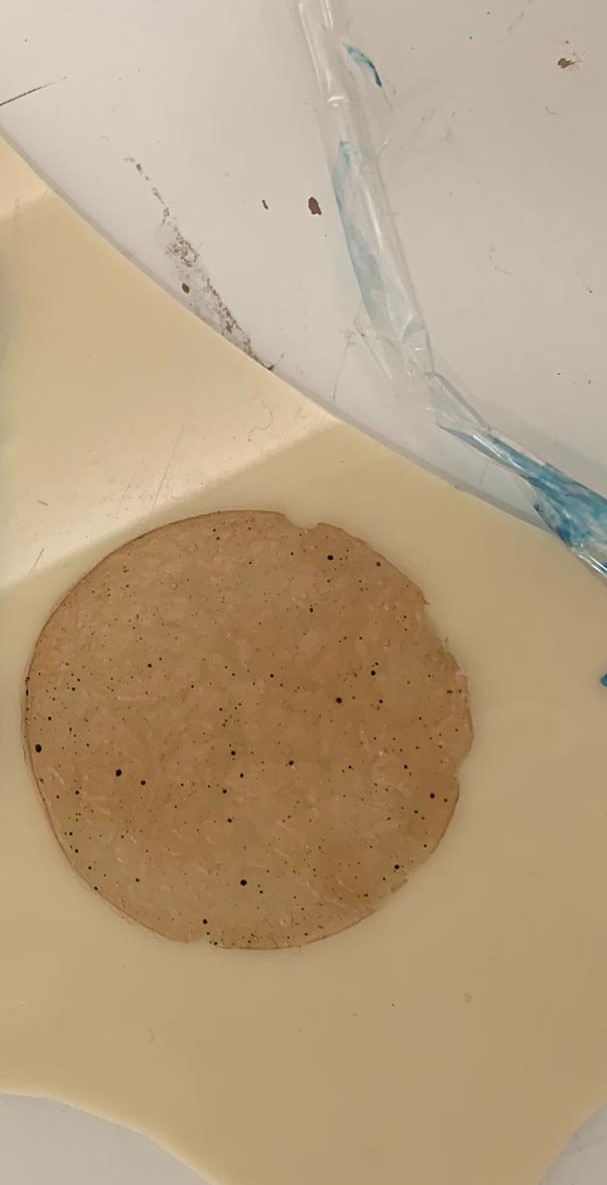
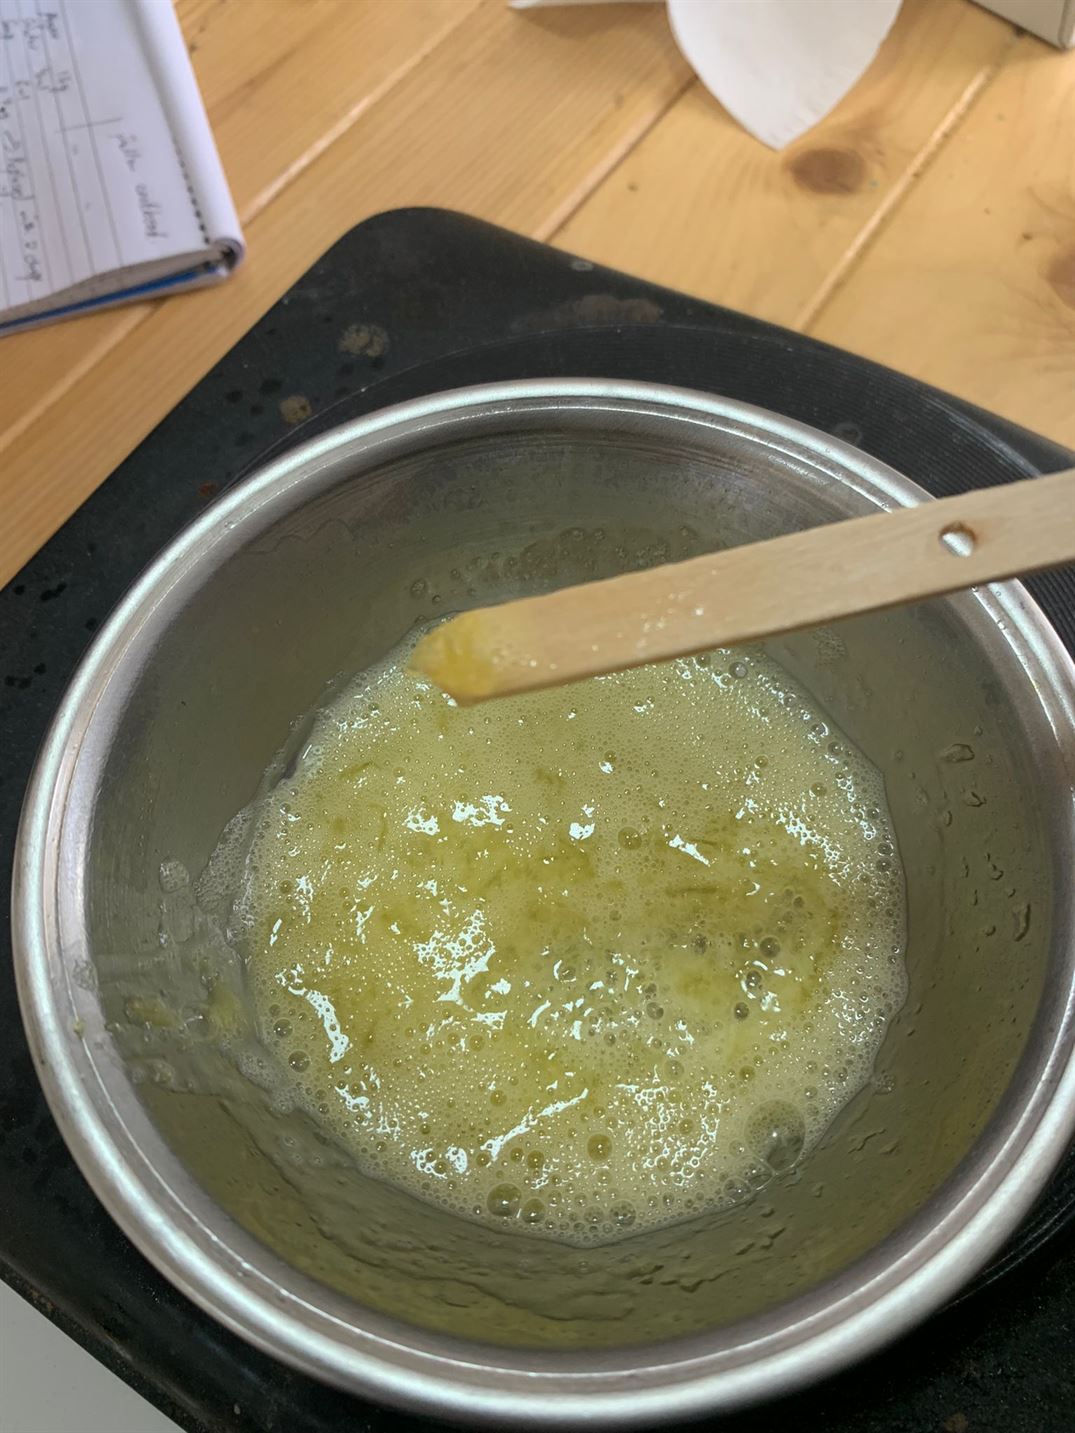
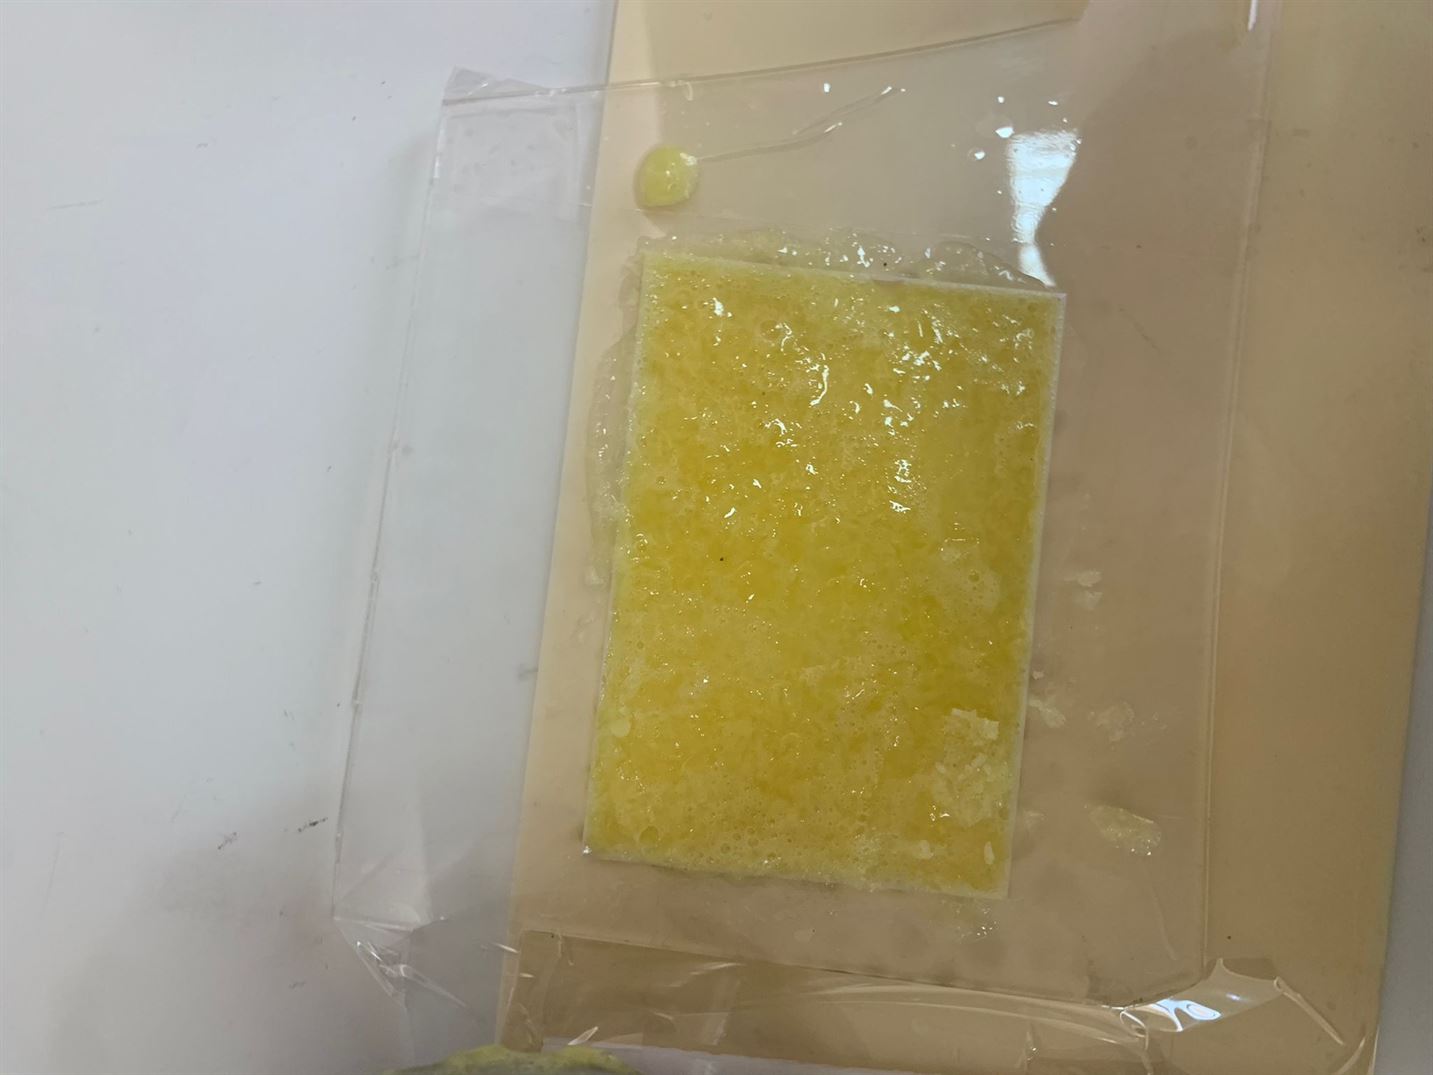
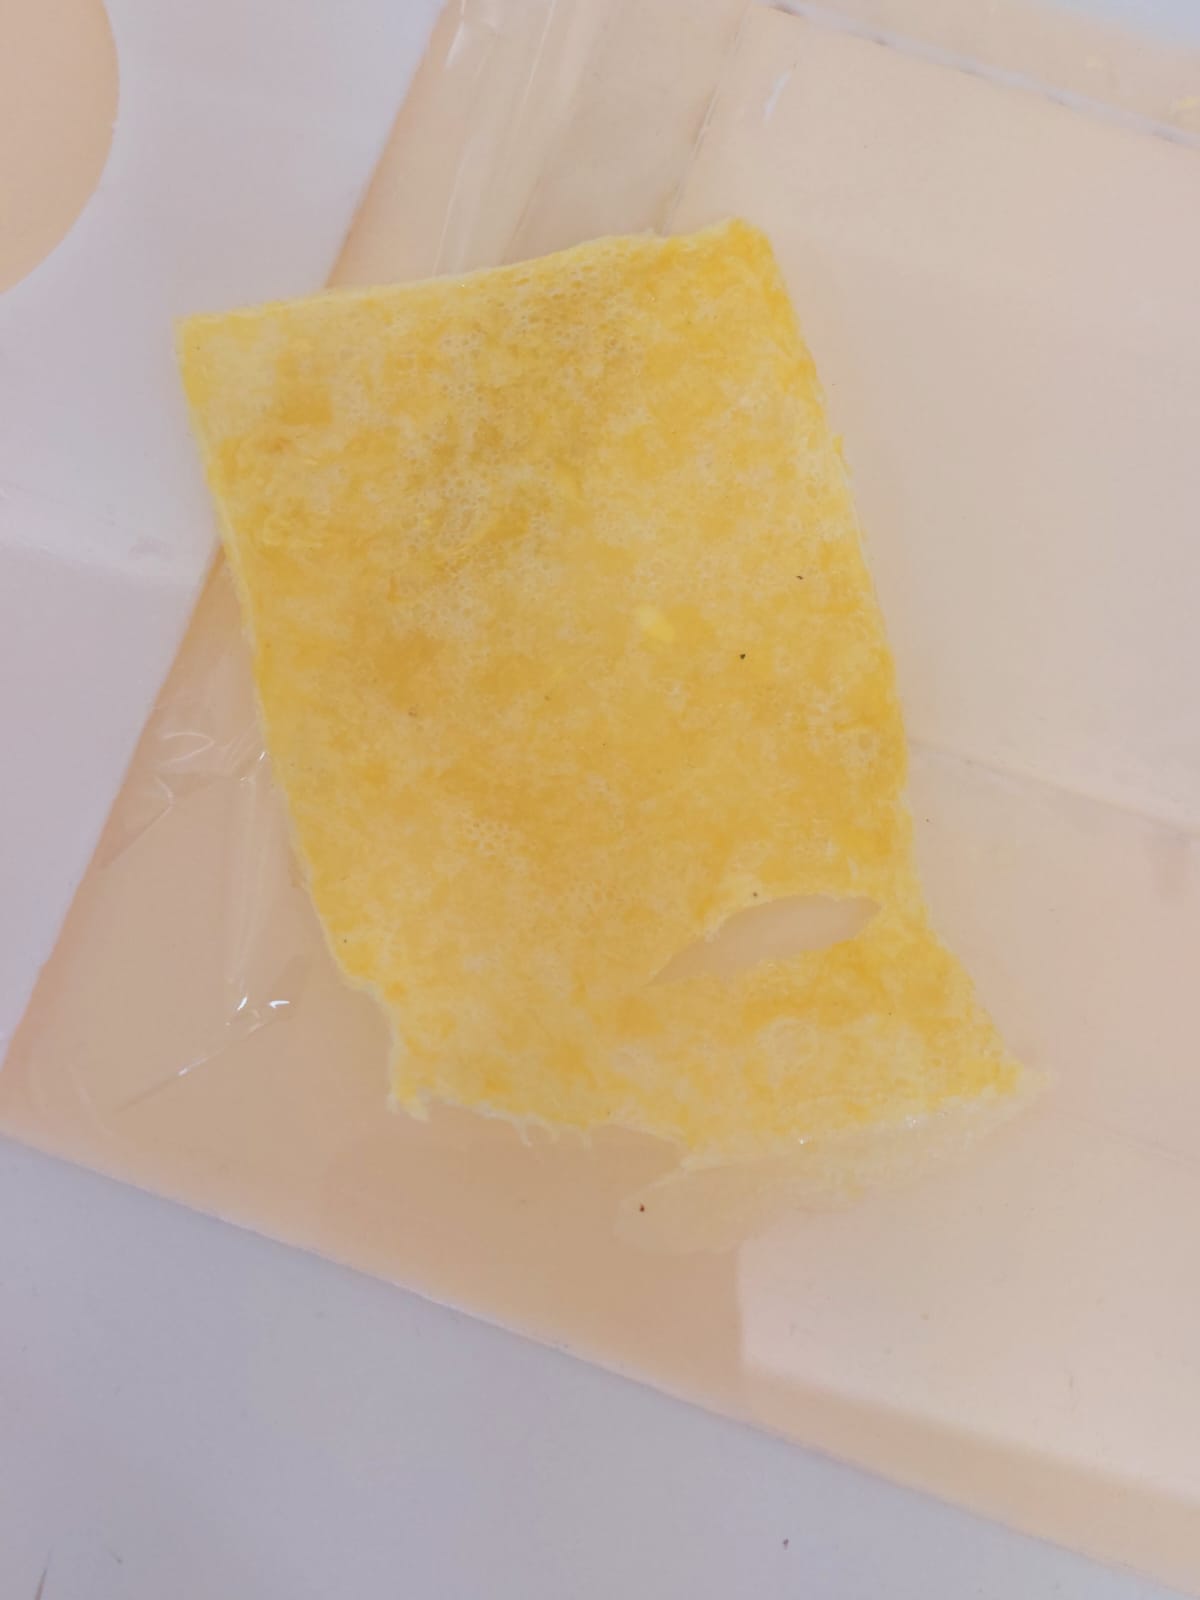
After drying for one week, the bioplastics samples were ready to be removed from the acrylic sheet. and then was cut. The gelatin-based bioplastic’s samples were smooth, dry and flexible.
The sample with the wax was more granular than the one without. The agar agar samples had lumps because the first recipe was missed. The texture of the agar samples was more gelatinous than the gelatin ones. The agar agar + wax was more rough than the one without.
The sample of gelatin-based bioplastic with wax last for one month and a half in the water, and then it became a liquid again. In the first day, the texture of the sample changed from dry & hard to flexible & gelatinous. The size and the thickness became bigger and the quality & color of the sample and water remained unchanged.
After one week the size and the thickness increased. The texture was still flexible & gelatinous but a bit more spongy than the end of the first day. The color of the sample staid the same but the water was not clear & transparent but it was light yellowish.
At 10 days, the thickness of the bioplastic reduced, and the sample started to break easily. The color of the water was more green yellow.
45 days later, the sample disappeared in the water.
To sum up, the gelatin-based bioplastic can be considered as easily recyclable when it’s dry because it’s possible to melt it again and re-use it.
1.3 Recipes
I did dome recipes with my partners. We used Bioplastic Cook Book by anastasia pistofidou which is available in this site: issuu website
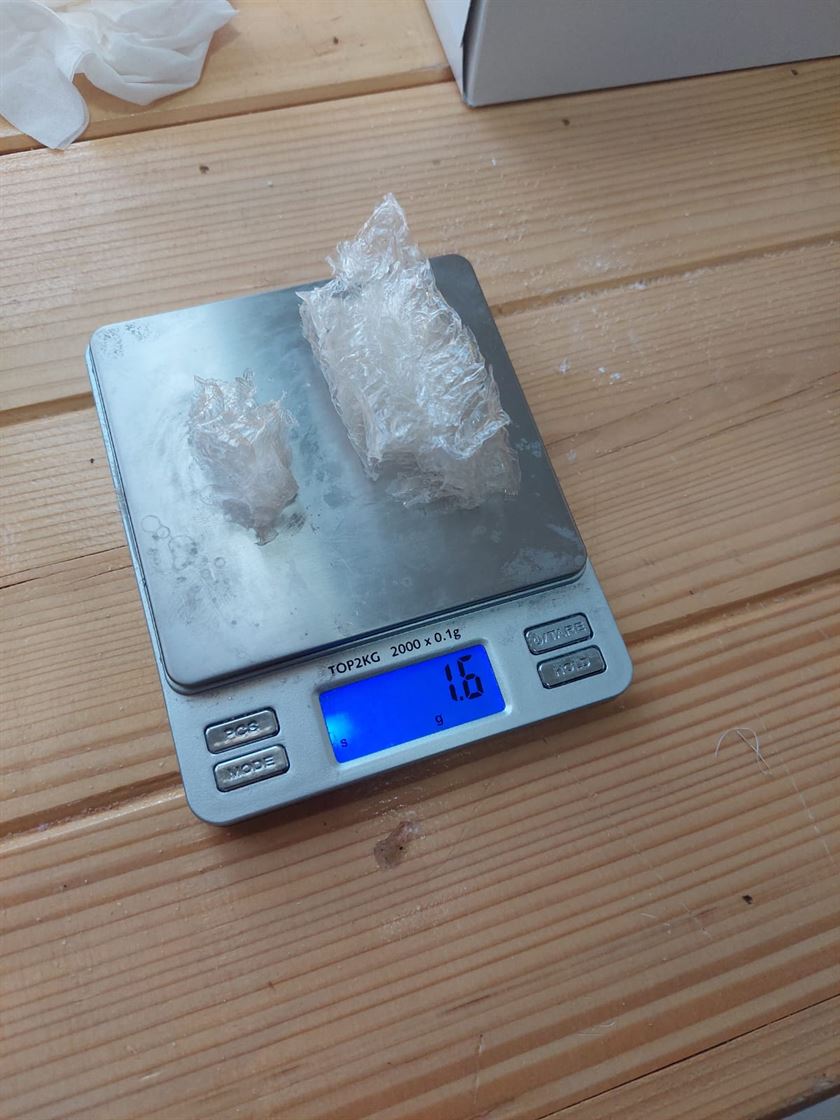
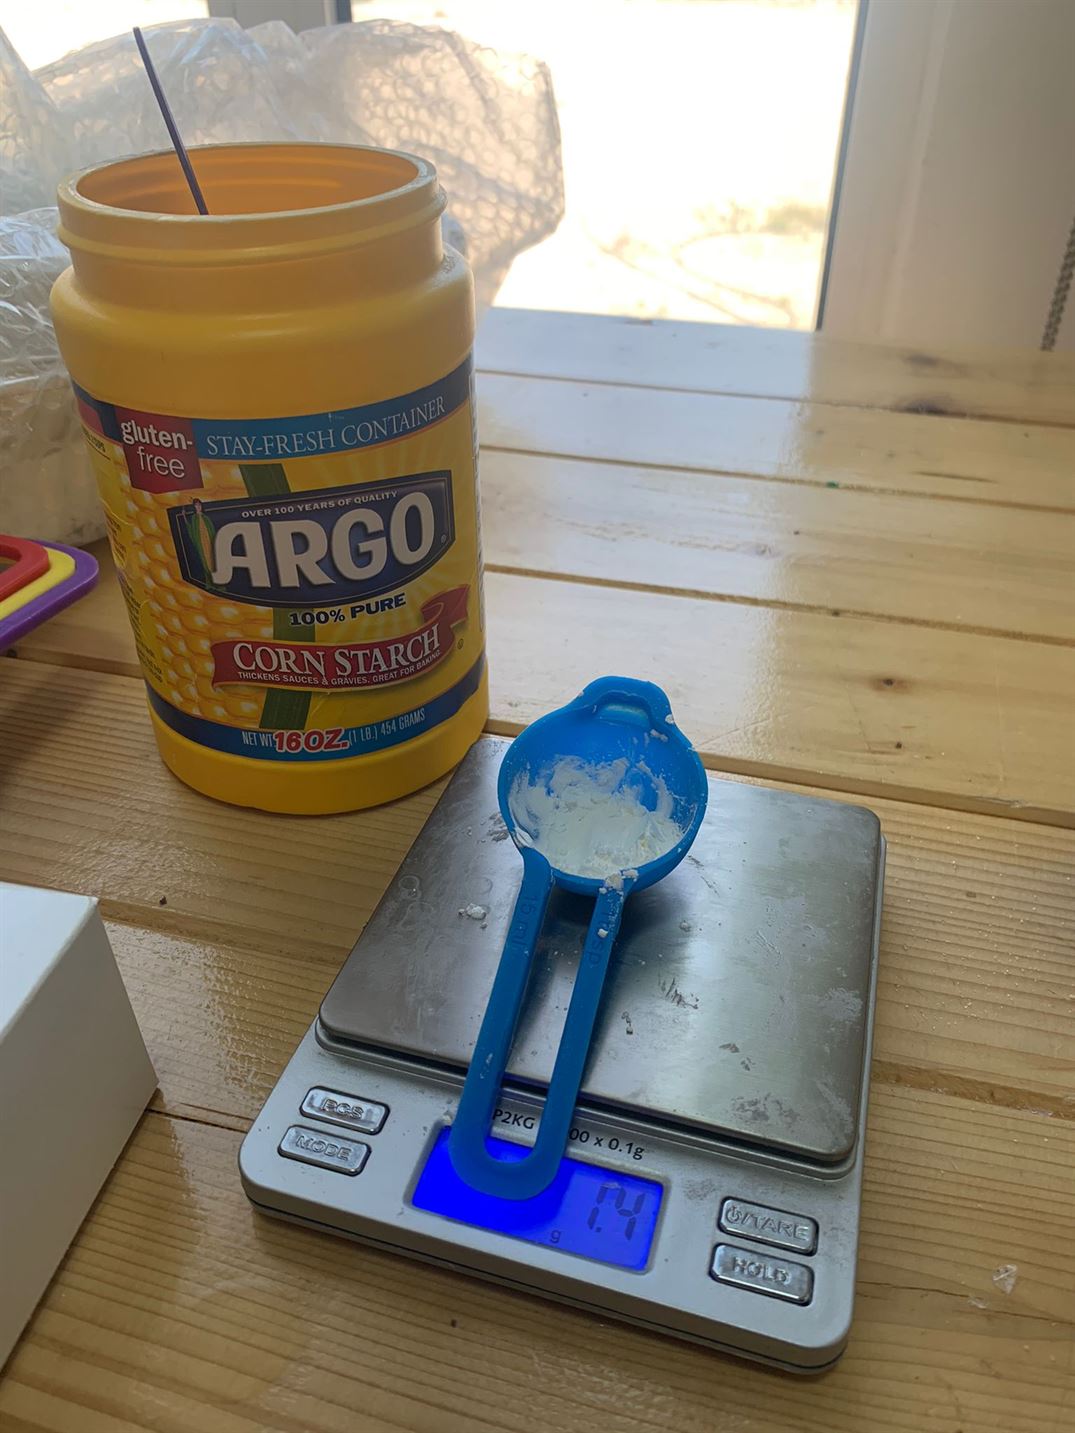
1.3.1 Corn Starch
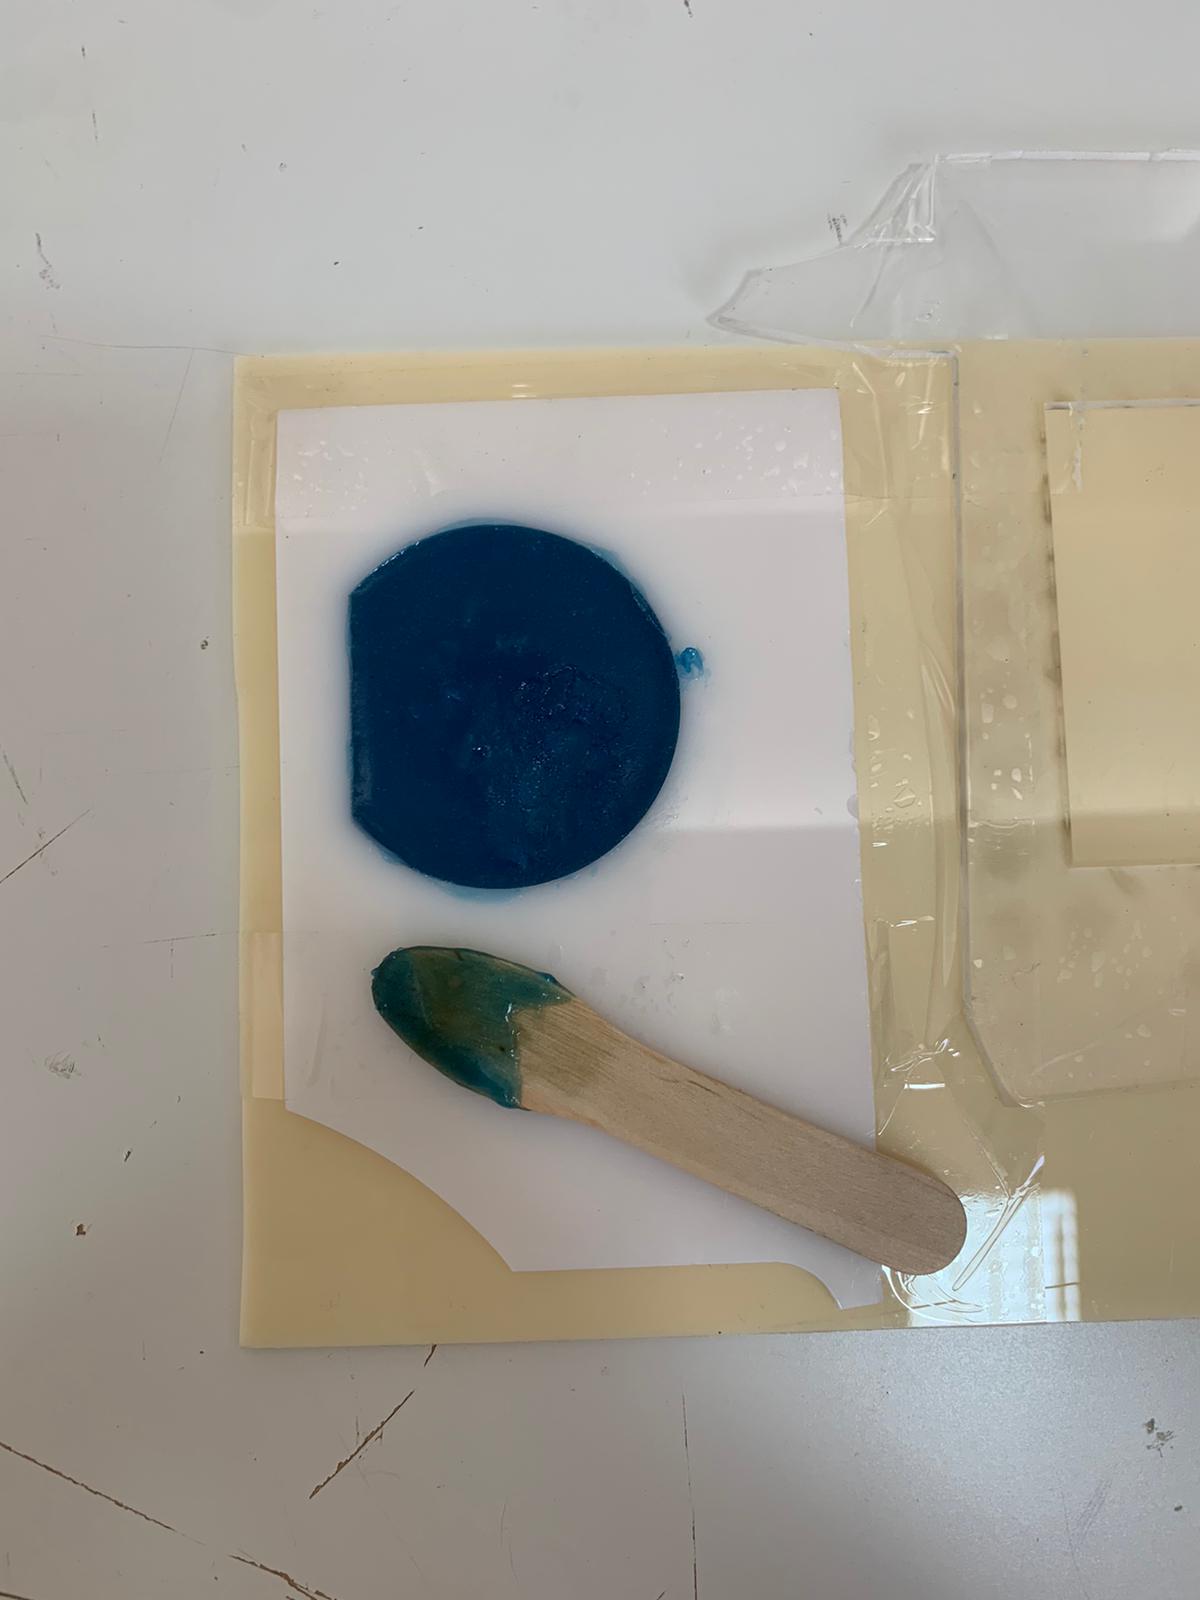
We first did the Corn Starch recipe. The product was flexible as expected since we used the batch that is suppose to be flexible according to the bioplastic cookbook.
The amounts of the ingredients that we used are:
| Glycerine (g) | Water (mL) | Corn Starch (g) | Vinegar (mL) |
|---|---|---|---|
| 10 | 80 | 1.6 | 15 |
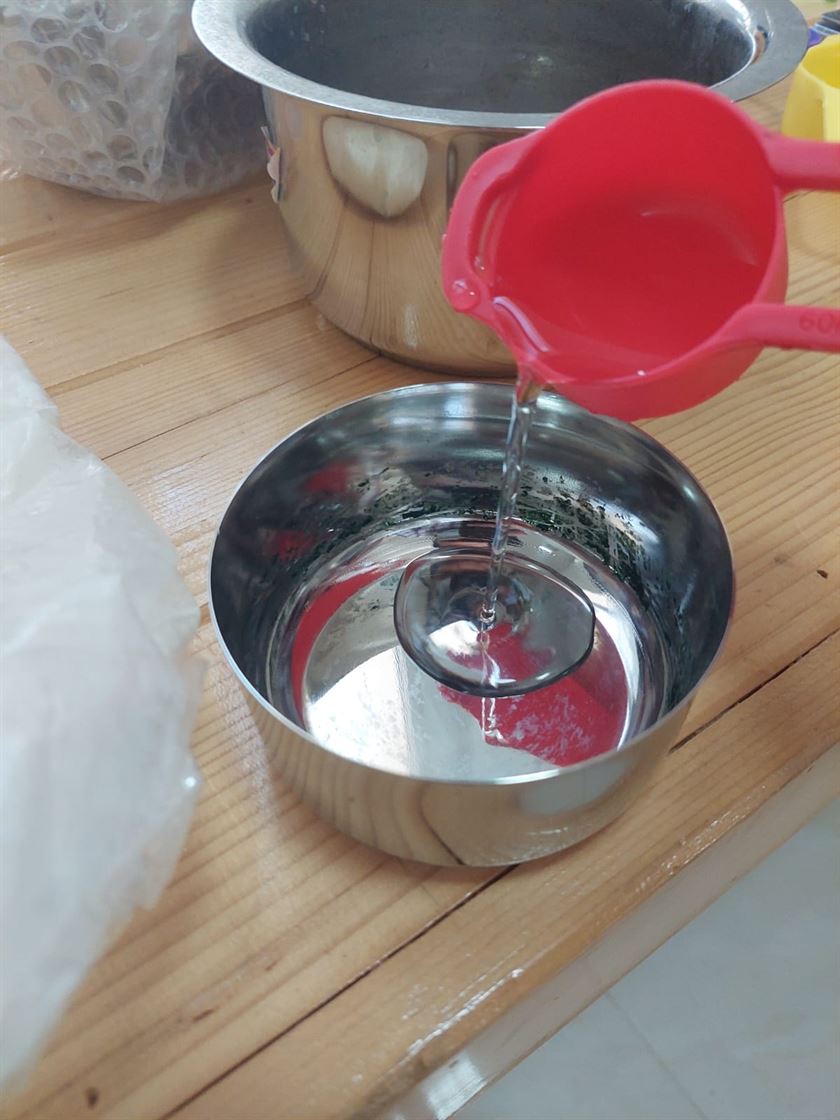
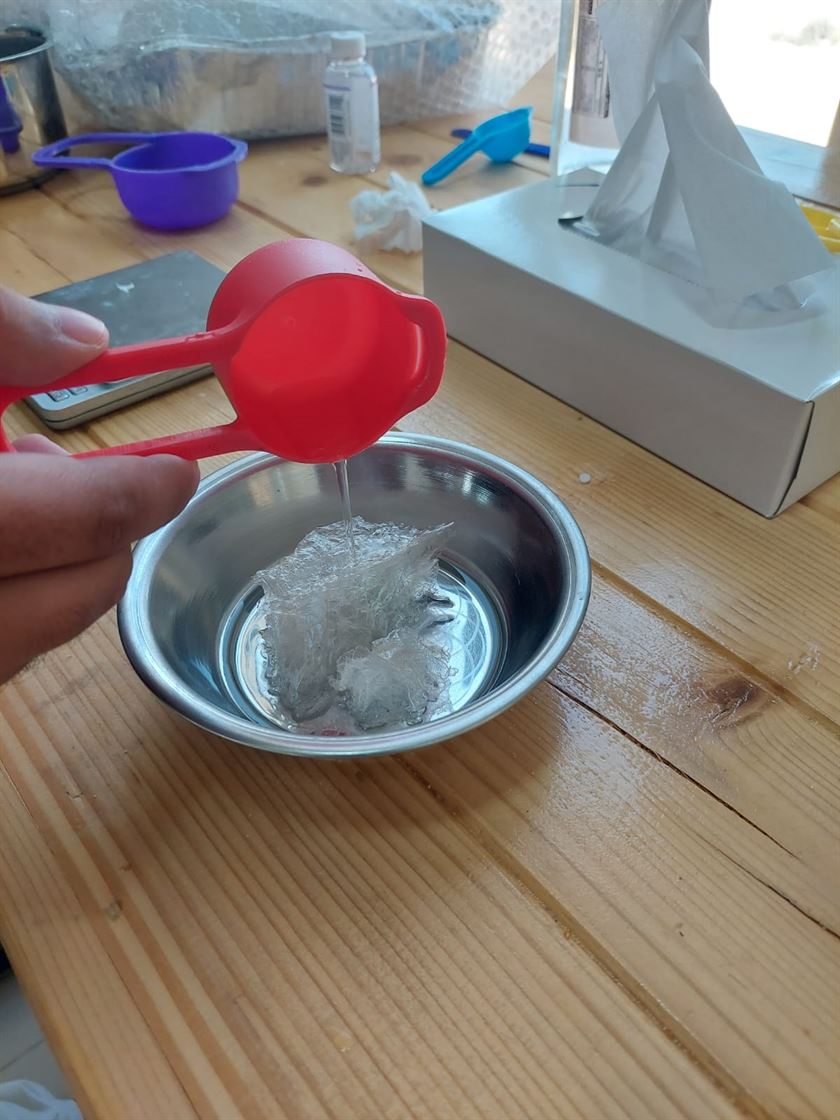
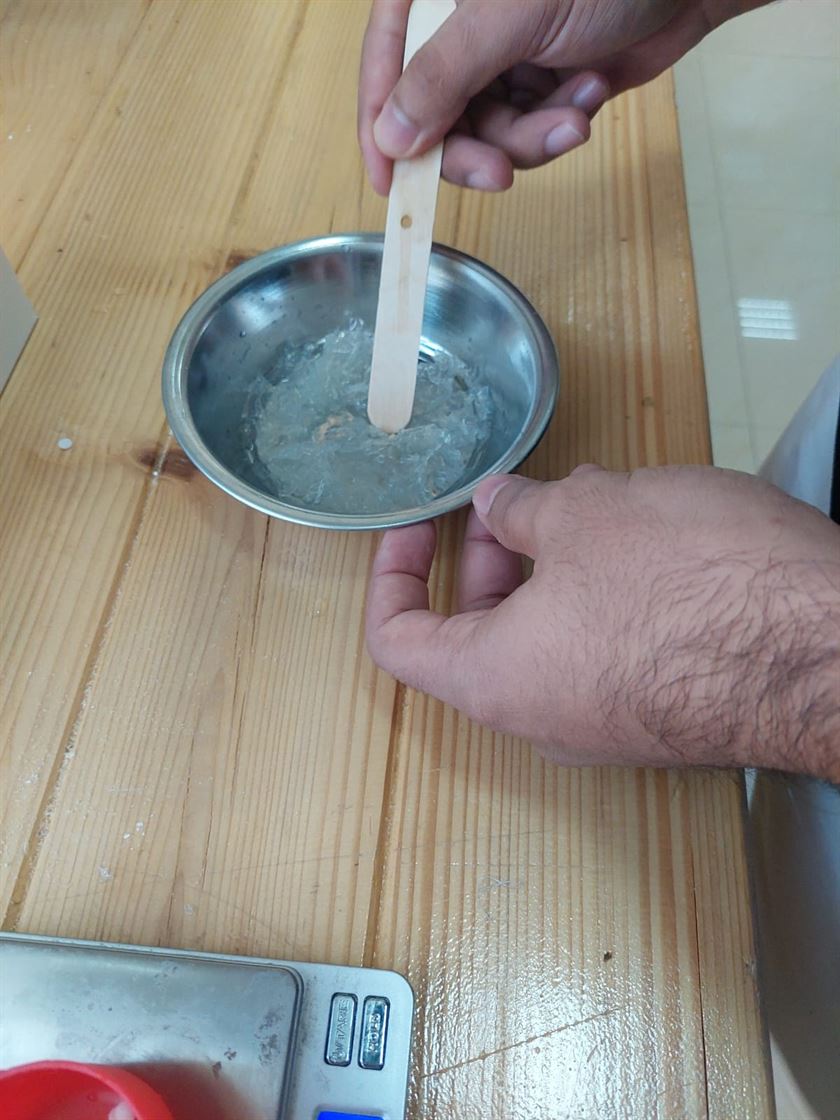
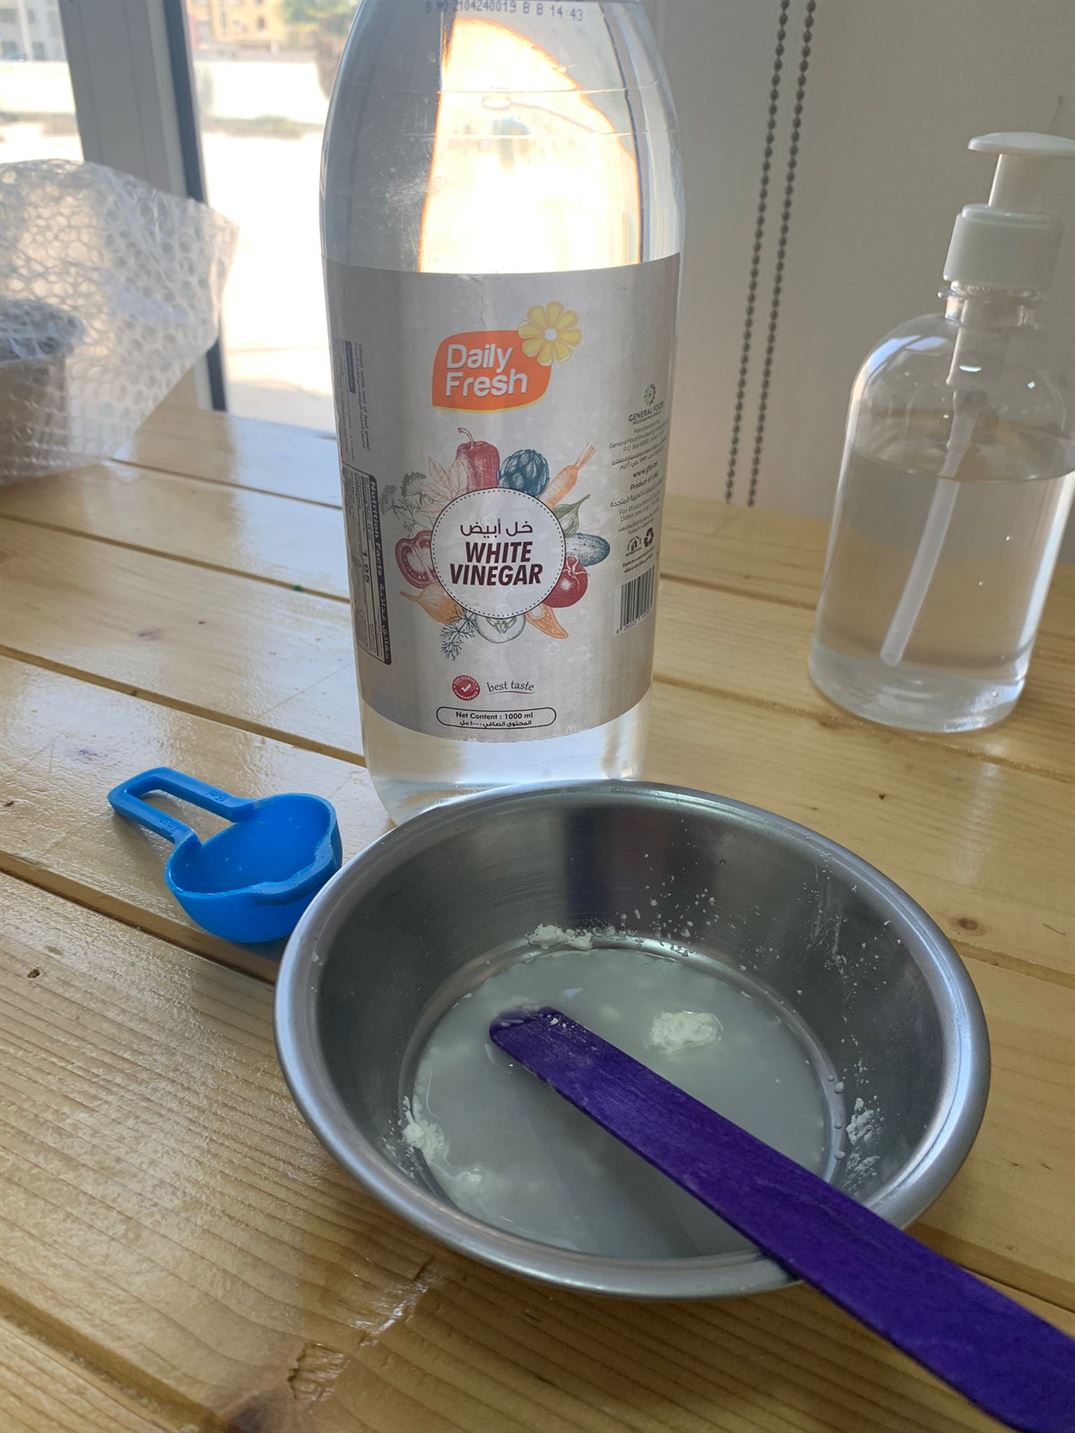
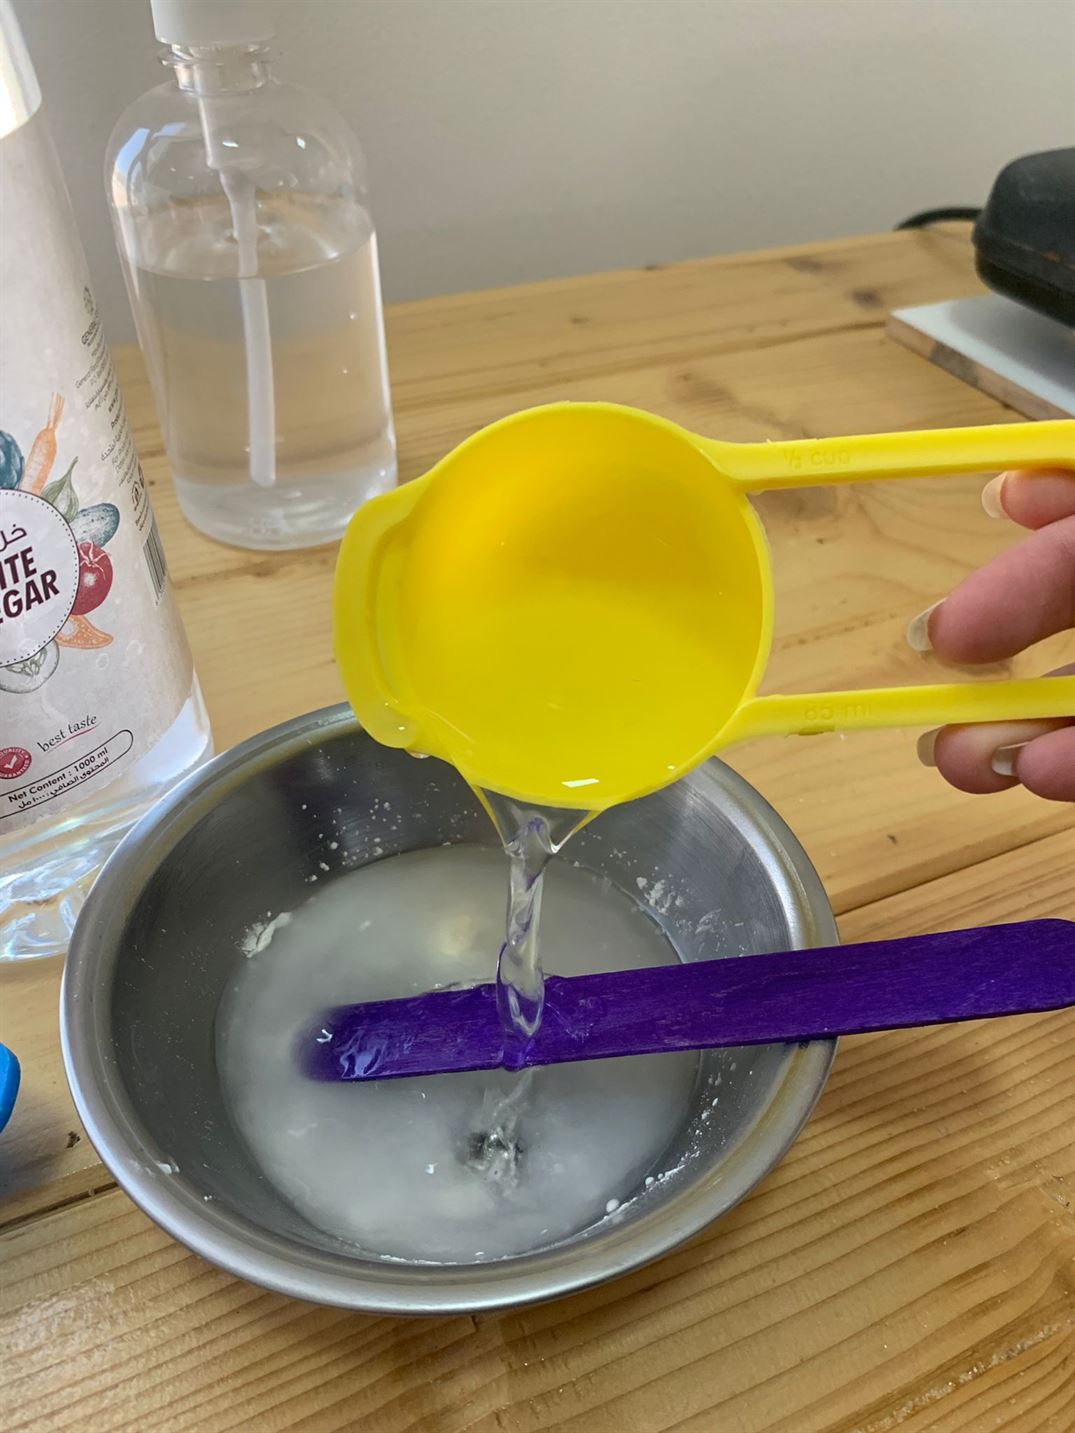
- We added the ingredients to the pot.
- We cooked it and stirred it after the solution became viscous.
- We taped down the frame and added the mixture
- We removed it after 24 hours
1.3.2 Agar Agar
1.3.2.1 Batch A
Then, we did the Agar Agar recipe. The product was flexible and it was actually good for our first try.
The amounts of the ingredients that we used are:
| Glycerine (g) | Water (mL) | Agar (g) |
|---|---|---|
| 2.7 | 40 | 1.6 |
- We added the ingredients to the pot.
- We cooked it and stirred it until the solution started to boil and became viscous.

- We taped down the frame and added the solution
- We removed it after 24 hours
1.3.2.2 Batch B
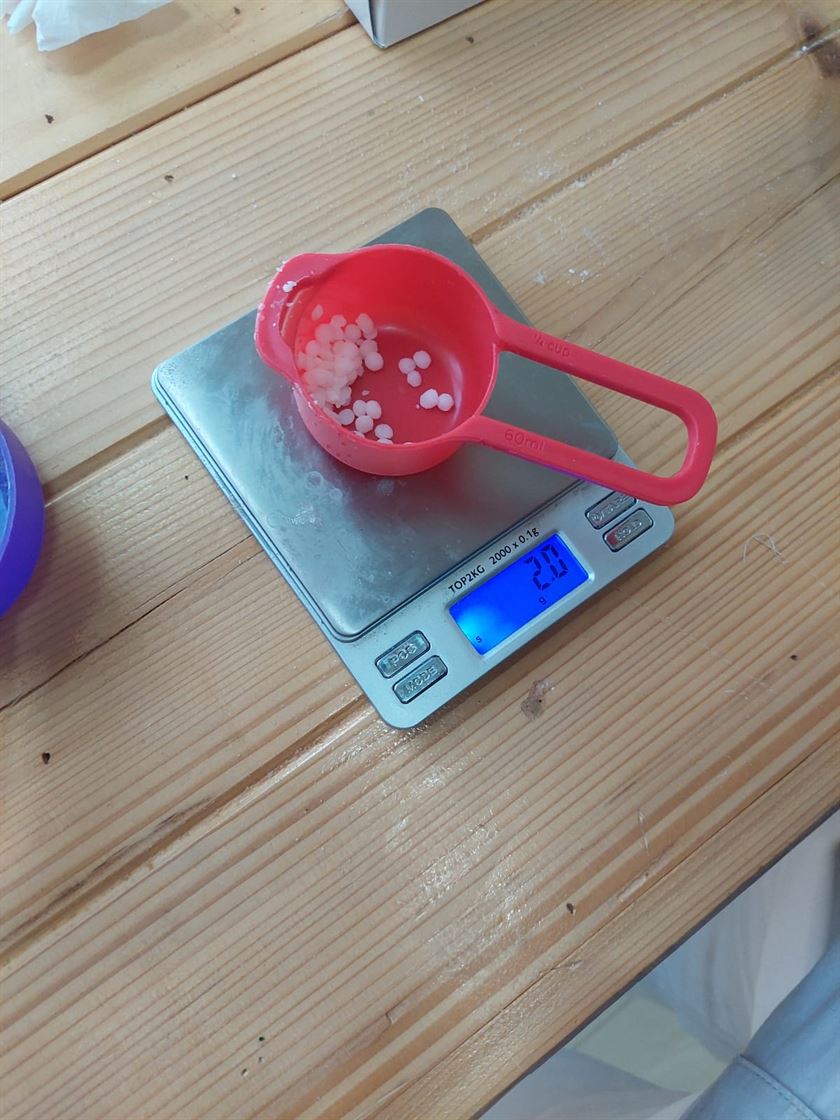
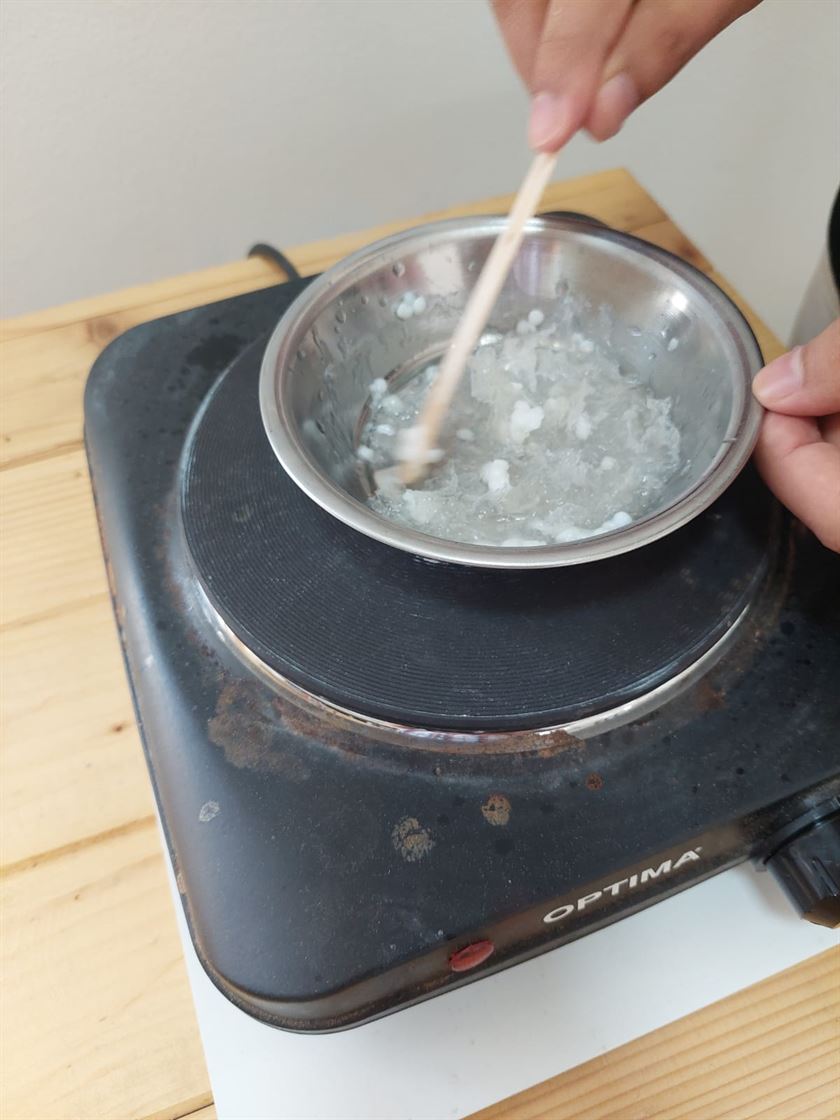
We did the same steps for Batch B but we used different amounts of the ingredients and we used wax too. The product was less flexible, I think because we used the second batch from the bioplastic cookbook which is suppose to be brittle.
| Glycerine (g) | Water (mL) | Agar (g) | Wax (g) |
|---|---|---|---|
| 1.4 | 40 | 1.6 | 2.5 |
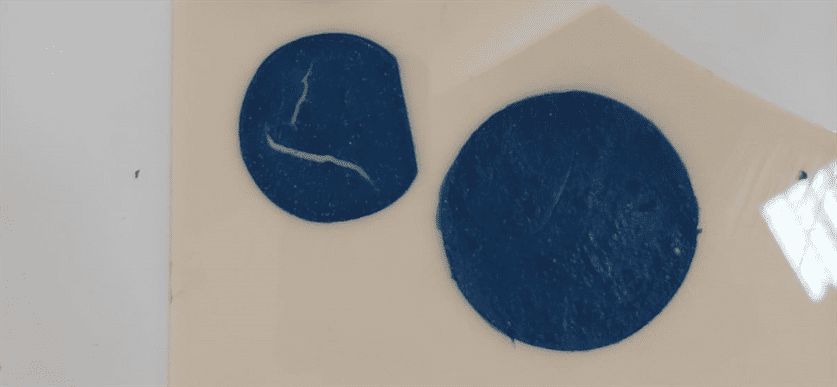
- The product after adding it to the frame
- The product after removing it from the frame
1.3.2.3 Batch C
We did this recipe again (same as 1.3.2.2 Batch B) but this time we used different amounts. The product was too brittle maybe because we used the first batch from the book (bioplastic cookbook) which was mentioned in it that the product will be brittle. Also, the wax was not melted separately and it did not melt well
| Glycerine (g) | Water (mL) | Agar (g) | Wax (g) |
|---|---|---|---|
| 0 | 40 | 1.6 | 8 |
- Adding Water
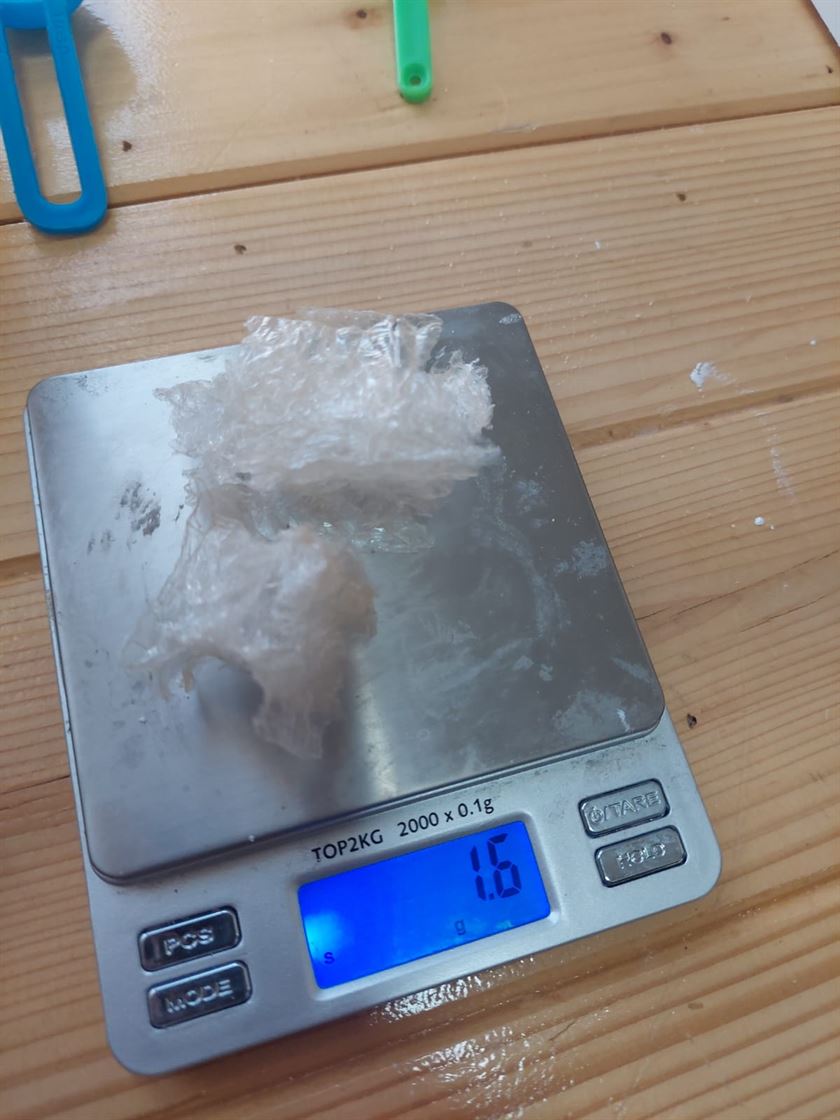
- Weighing Agar
- Adding all ingredients and mix
- Adding the product to the frame
- The product after removing it from the frame

1.3.2.4 Batch D
We did this recipe again (same as 1.3.2.2 Batch B) but this time we used different amounts and we used vinegar too. The product had a layer of the wax because we did not melt the wax separately and did not melt well. The product was not too brittle like 1.3.2.3 Batch C, it was a bit stiff.
| Glycerine | Water (mL) | Agar (g) | Wax (g) | Vinegar (g) |
|---|---|---|---|---|
| 3 to 4 drops | 40 | 1.6 | 6 | 2 |
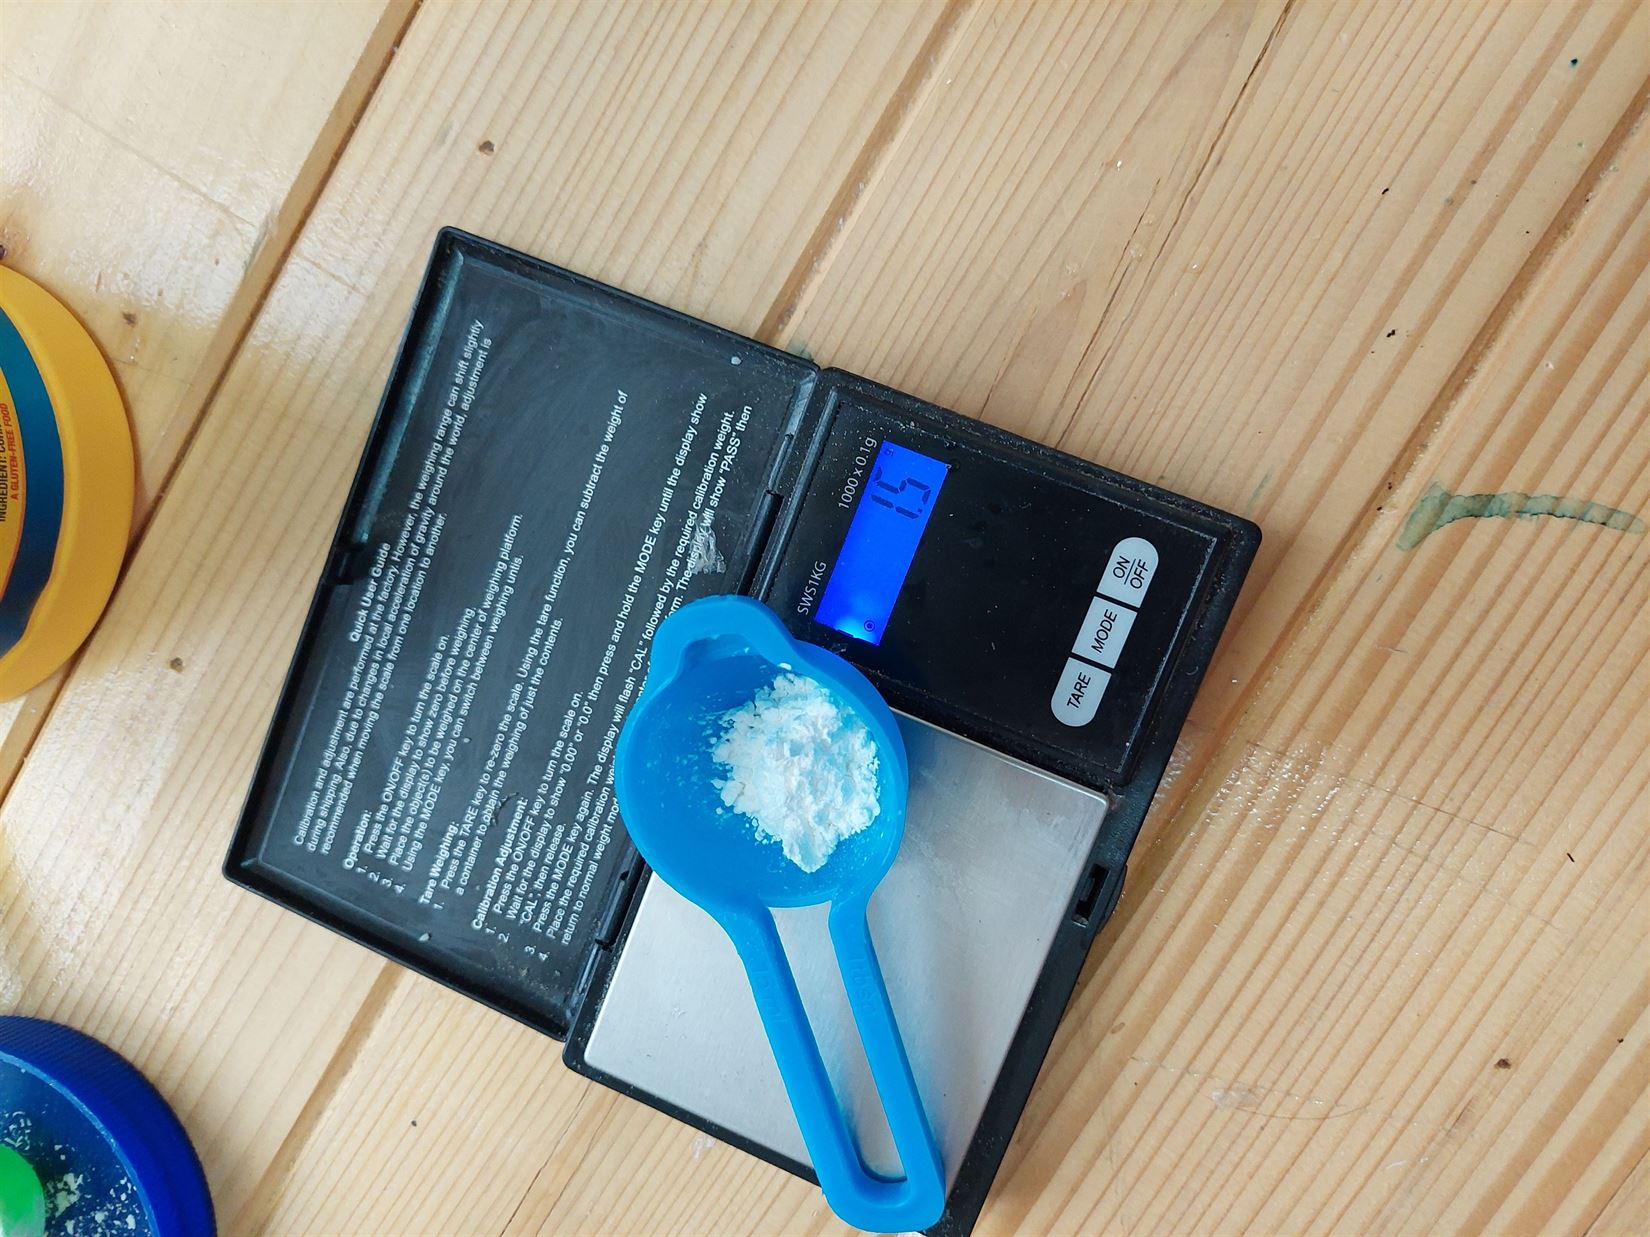
- We weighed the agar
- We added the water

- We mixed the agar and water
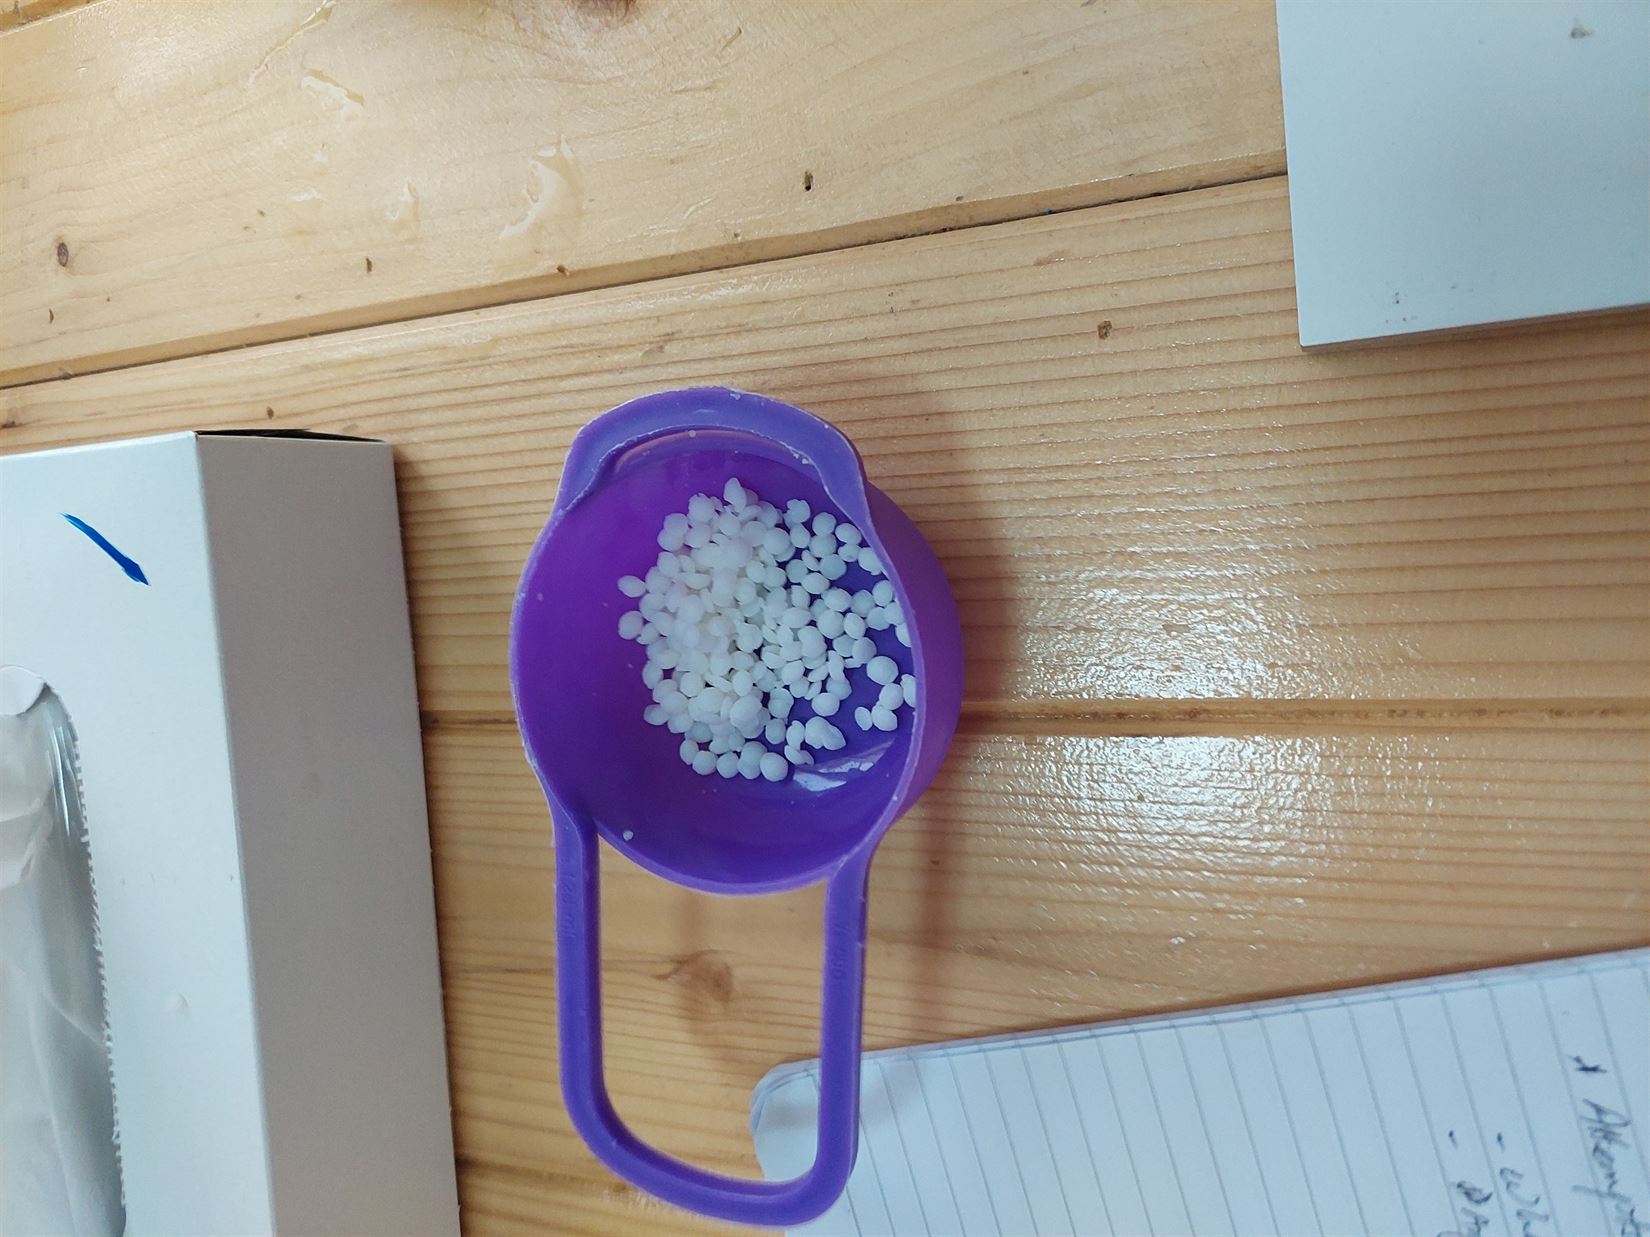
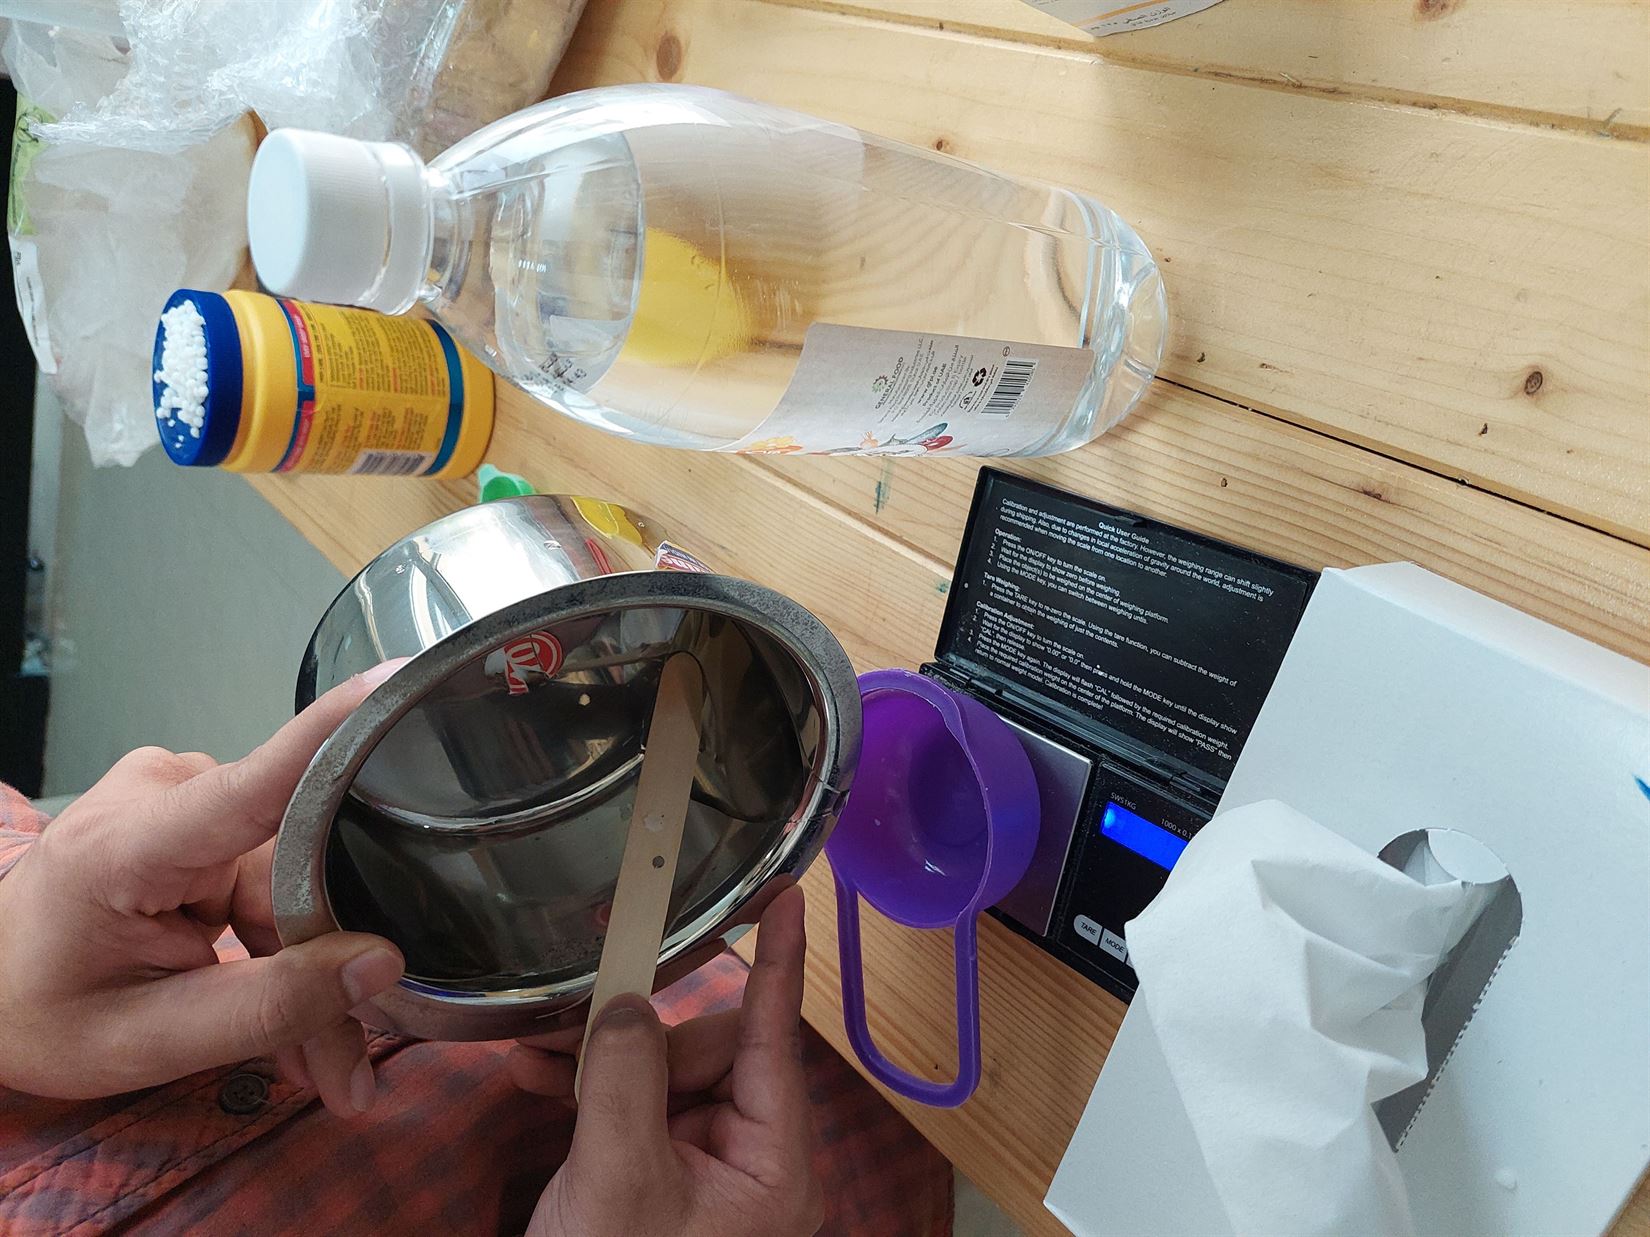
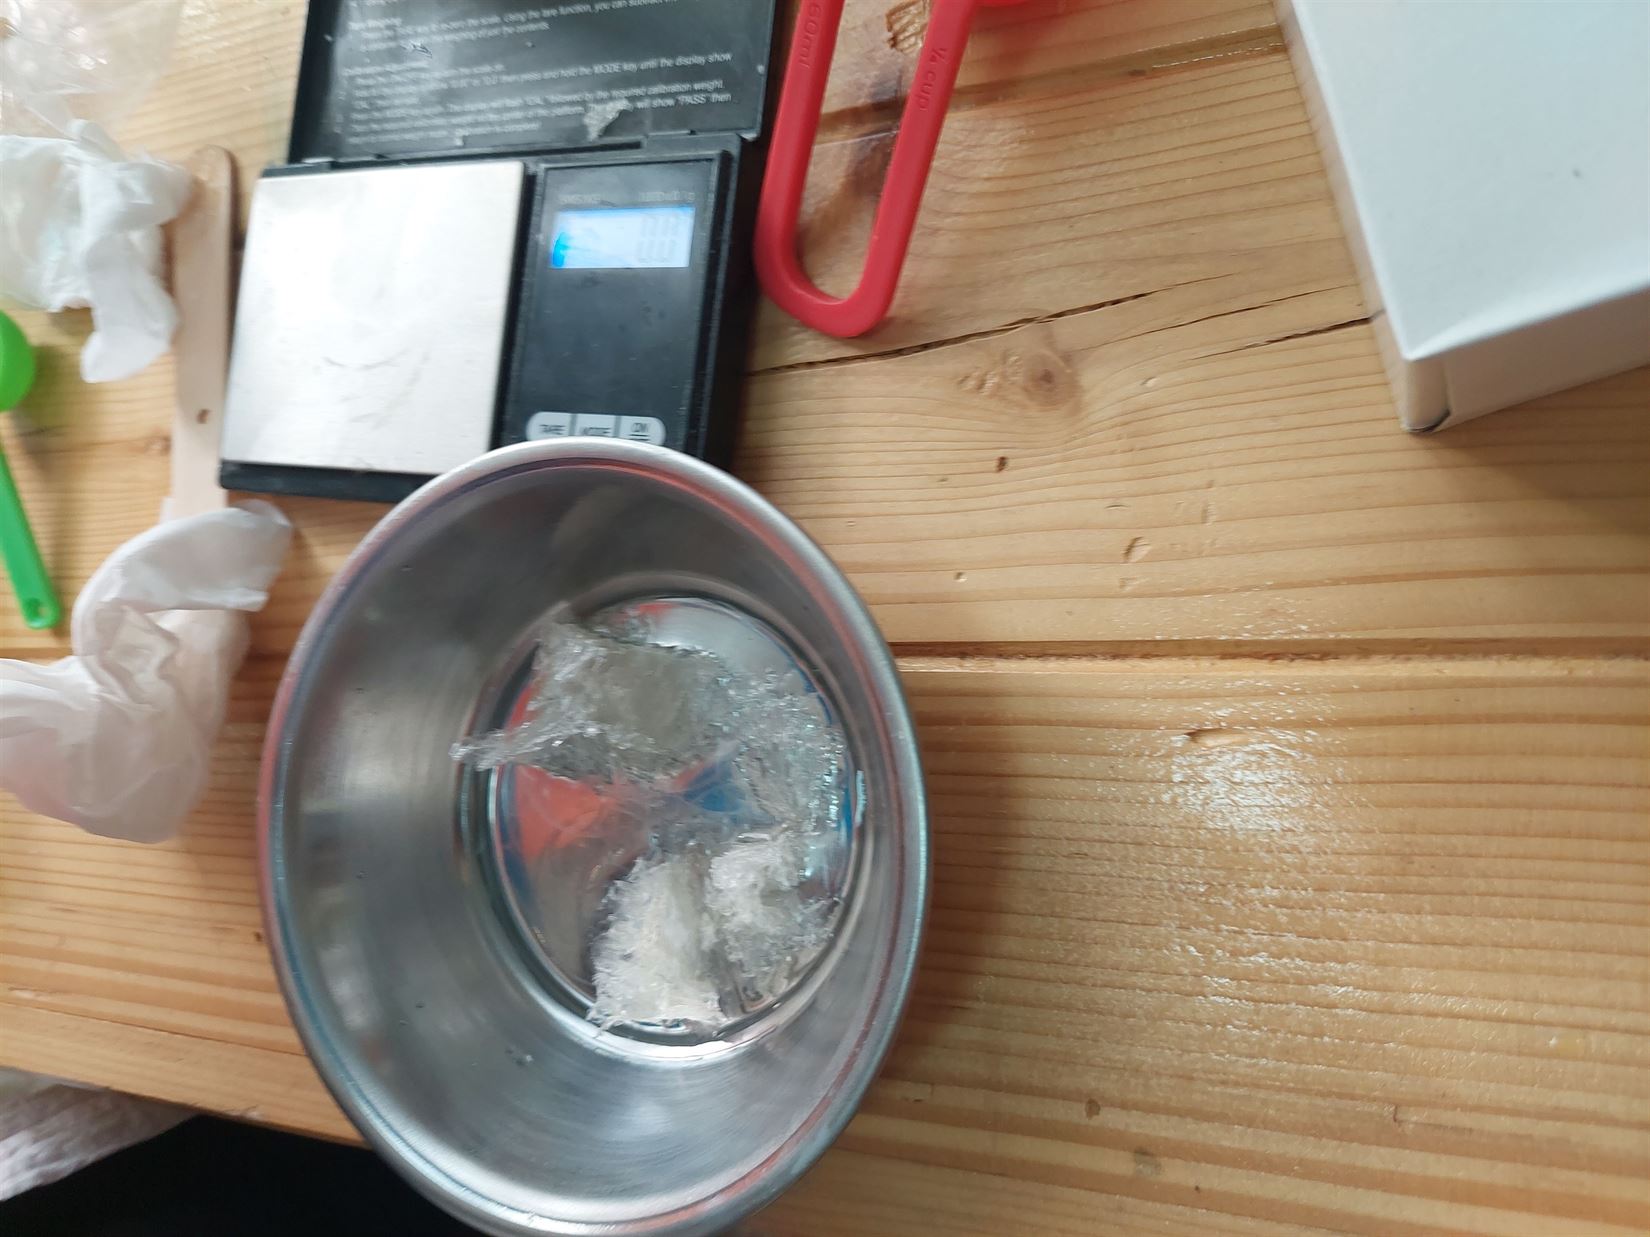
- We weighed the wax
- We mixed the ingredients
- The product in the frame
- The product after removing it from the frame
1.3.3 ReusableMold
We tried to make a ReusableMold using some available ingredients. We found the recipe from YouTube. We used a lower amount to make sure it can be fit in the pot and because it was our first try.
1.3.3.1 Batch A
| Glycerine (mL) | Water (mL) | Gelatin (g) |
|---|---|---|
| 15 | 15 | 3 |
- We added the ingredients to the pot.
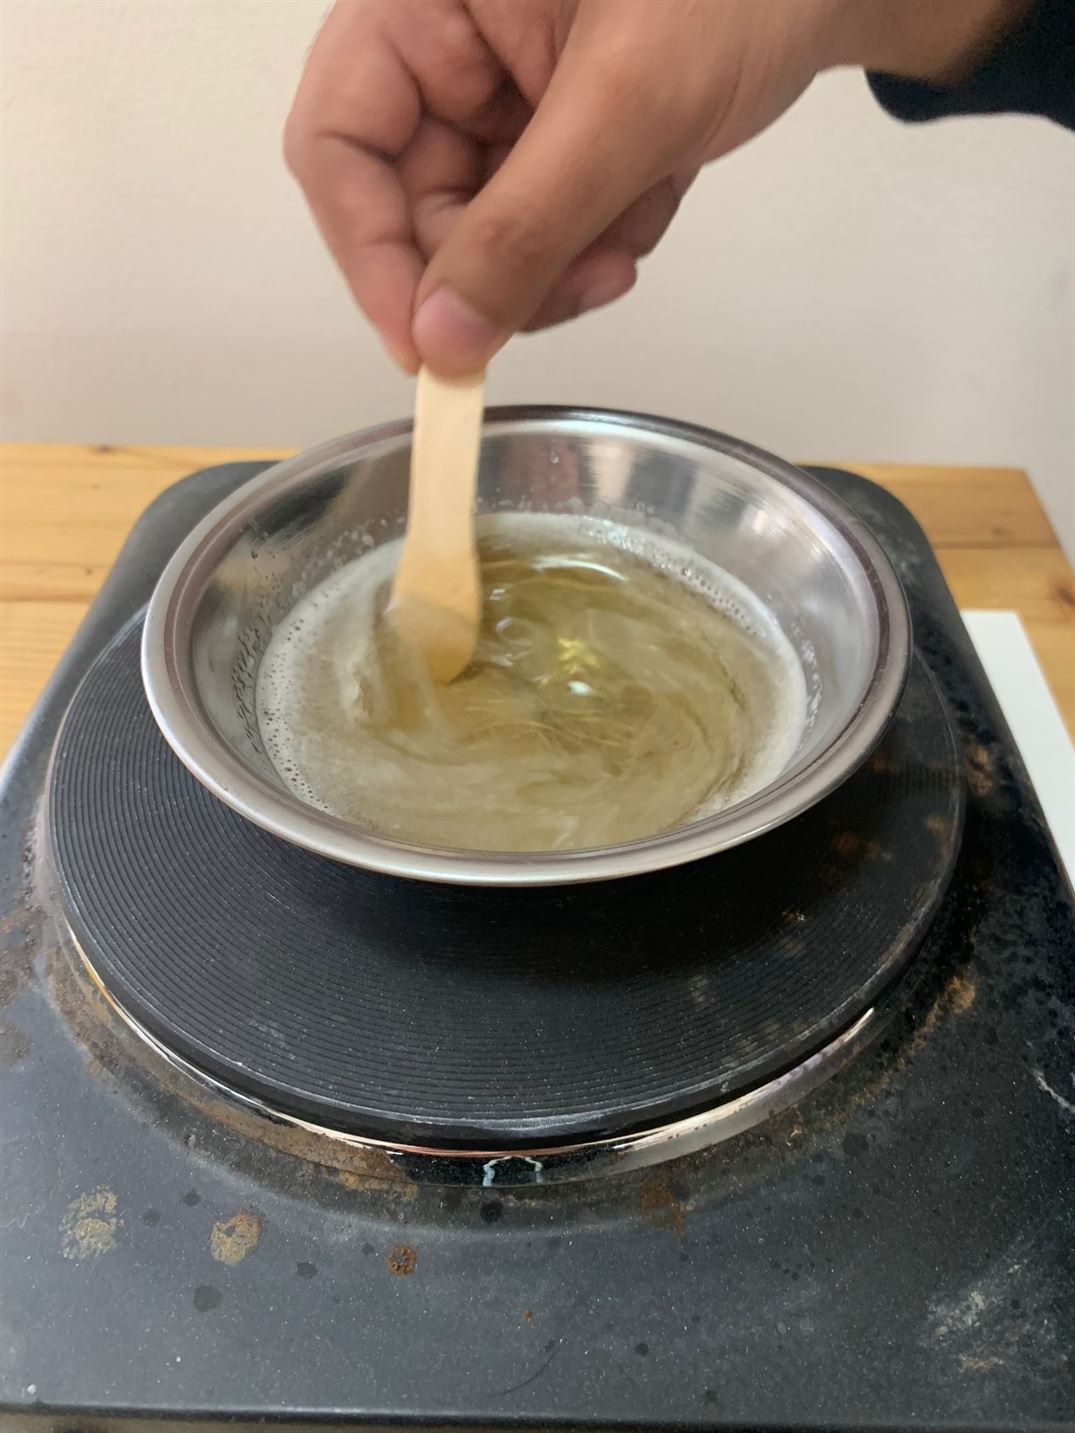
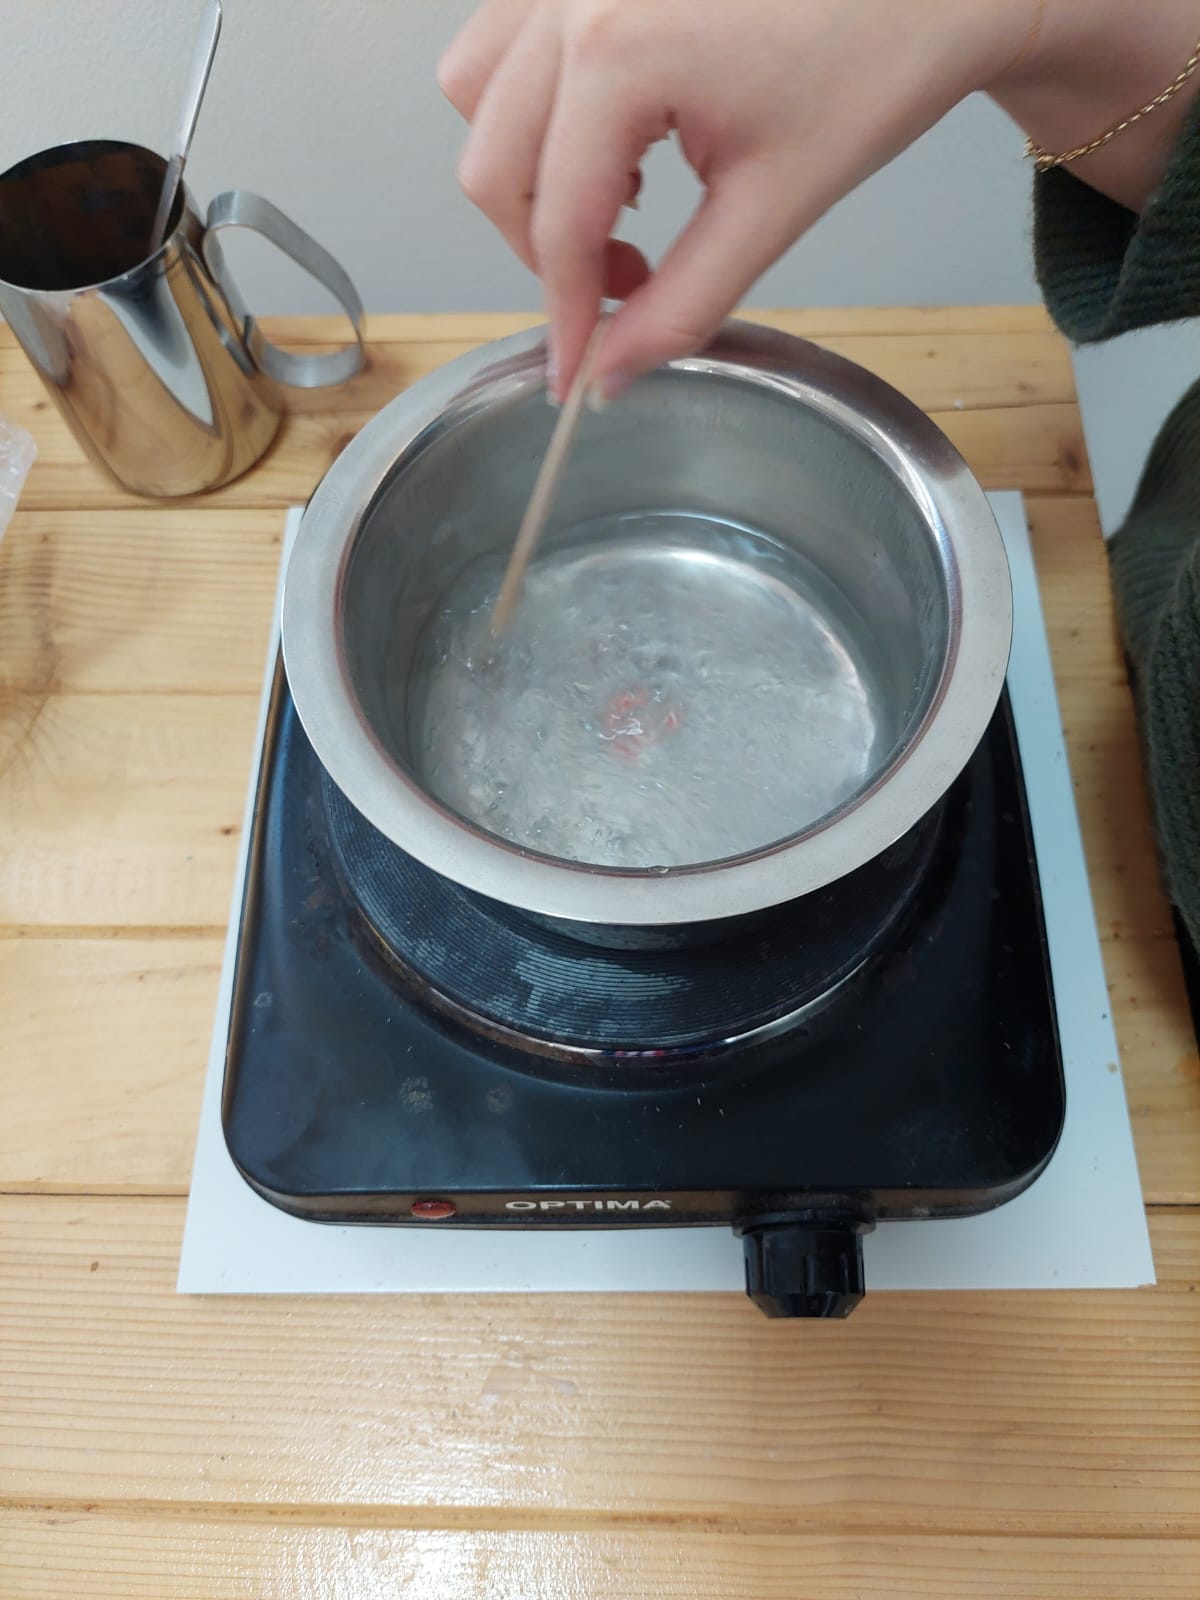
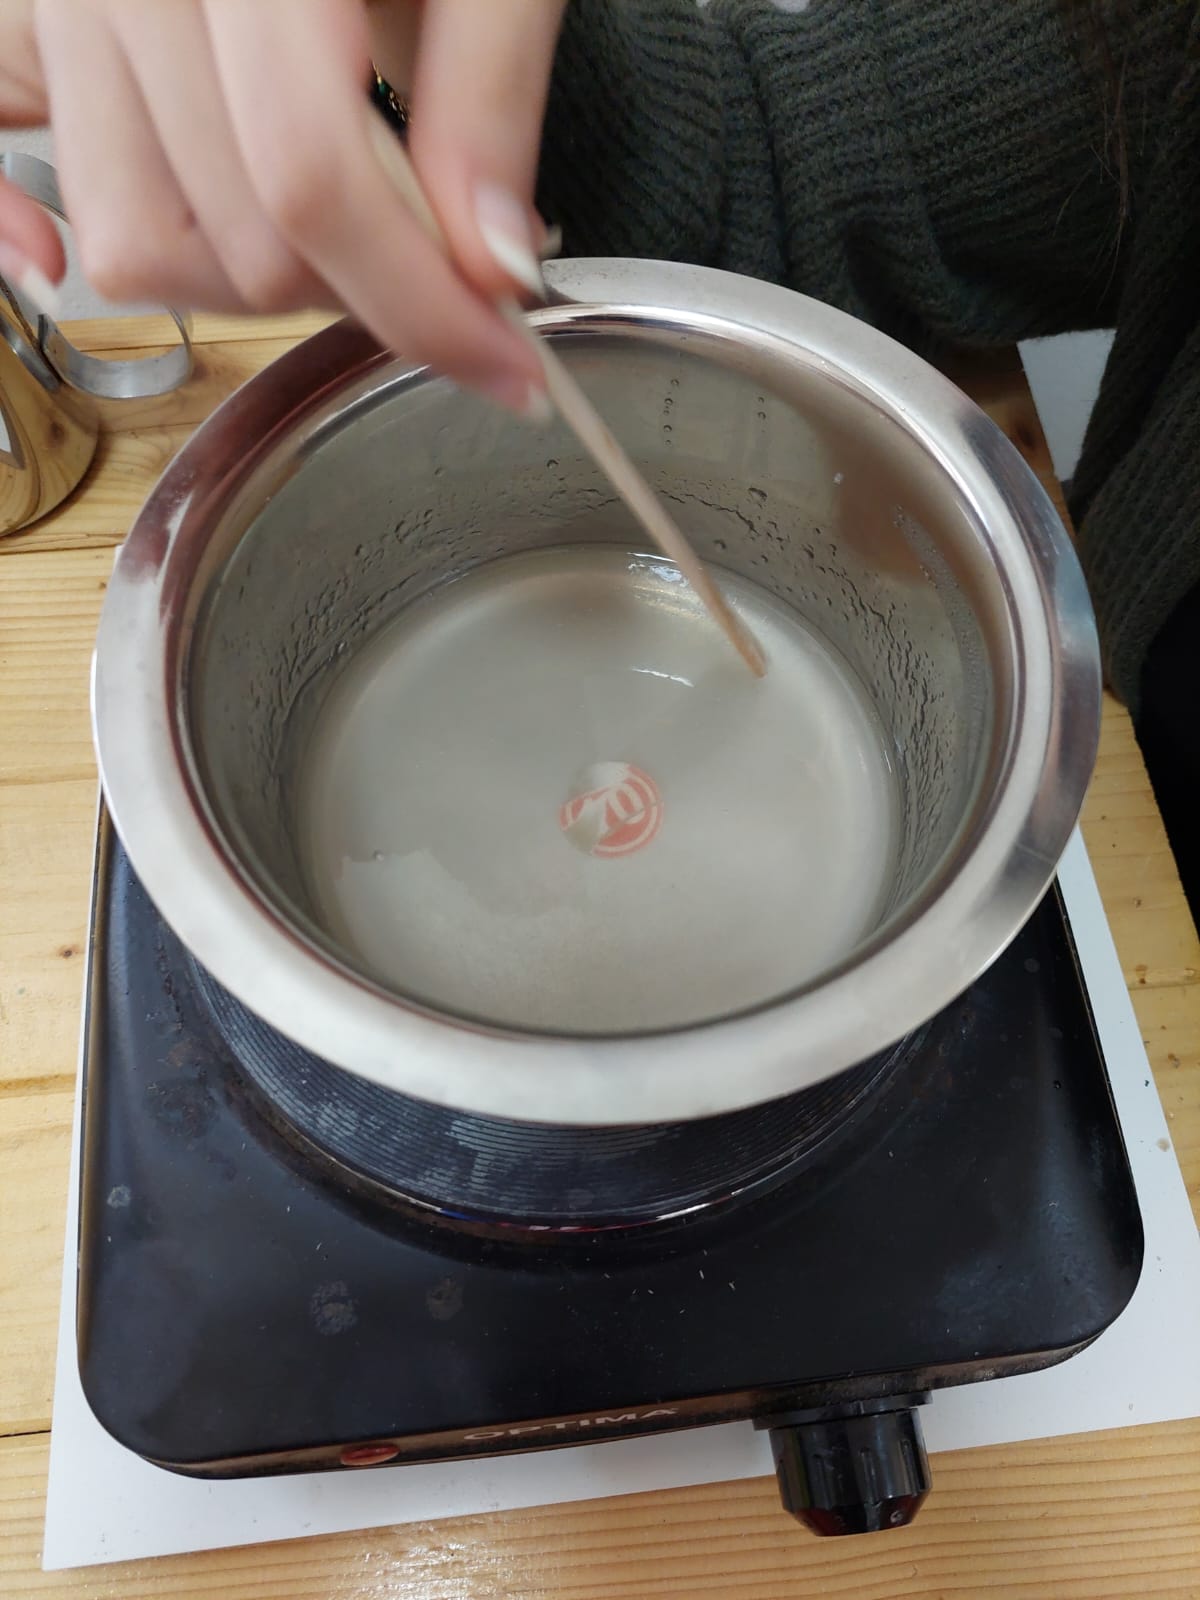
- We mixed it well while heating it until it dissolved.

- We added it to a frame.
- The product after removing it from the frame.
- The product looked like below. It was flexible
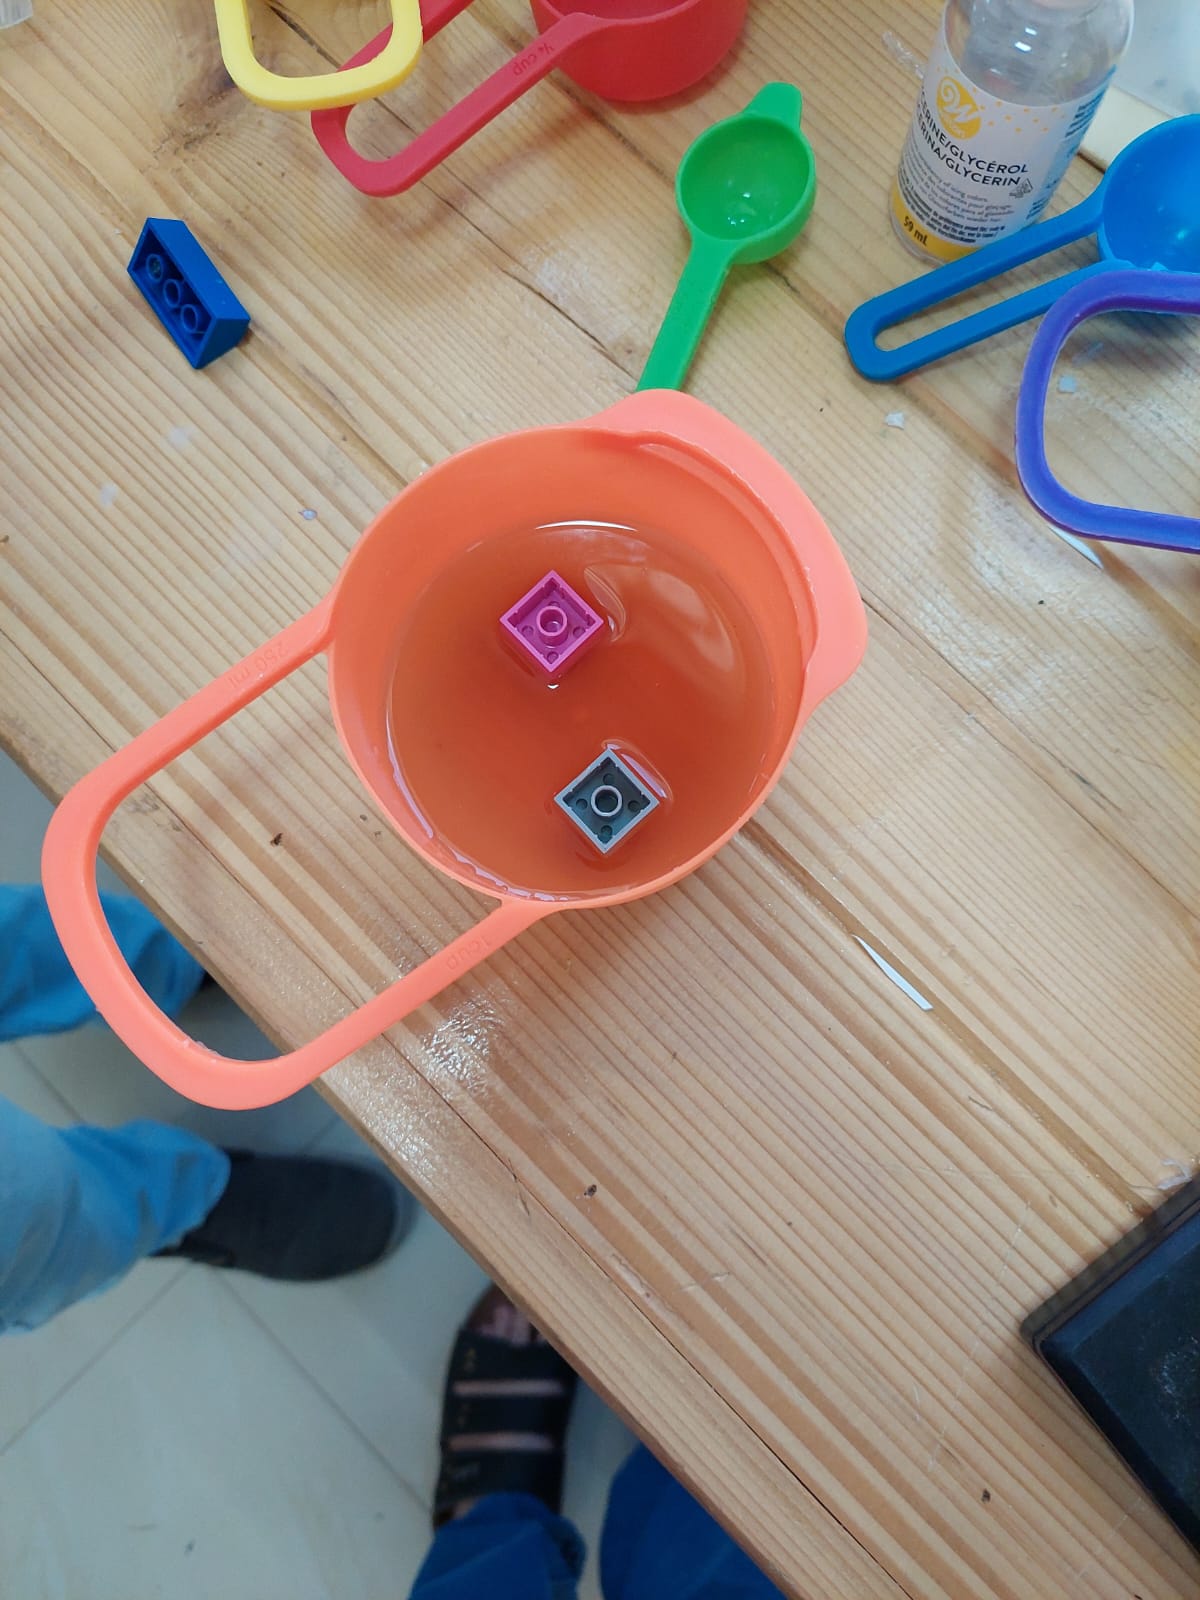
1.3.3.2 Batch B
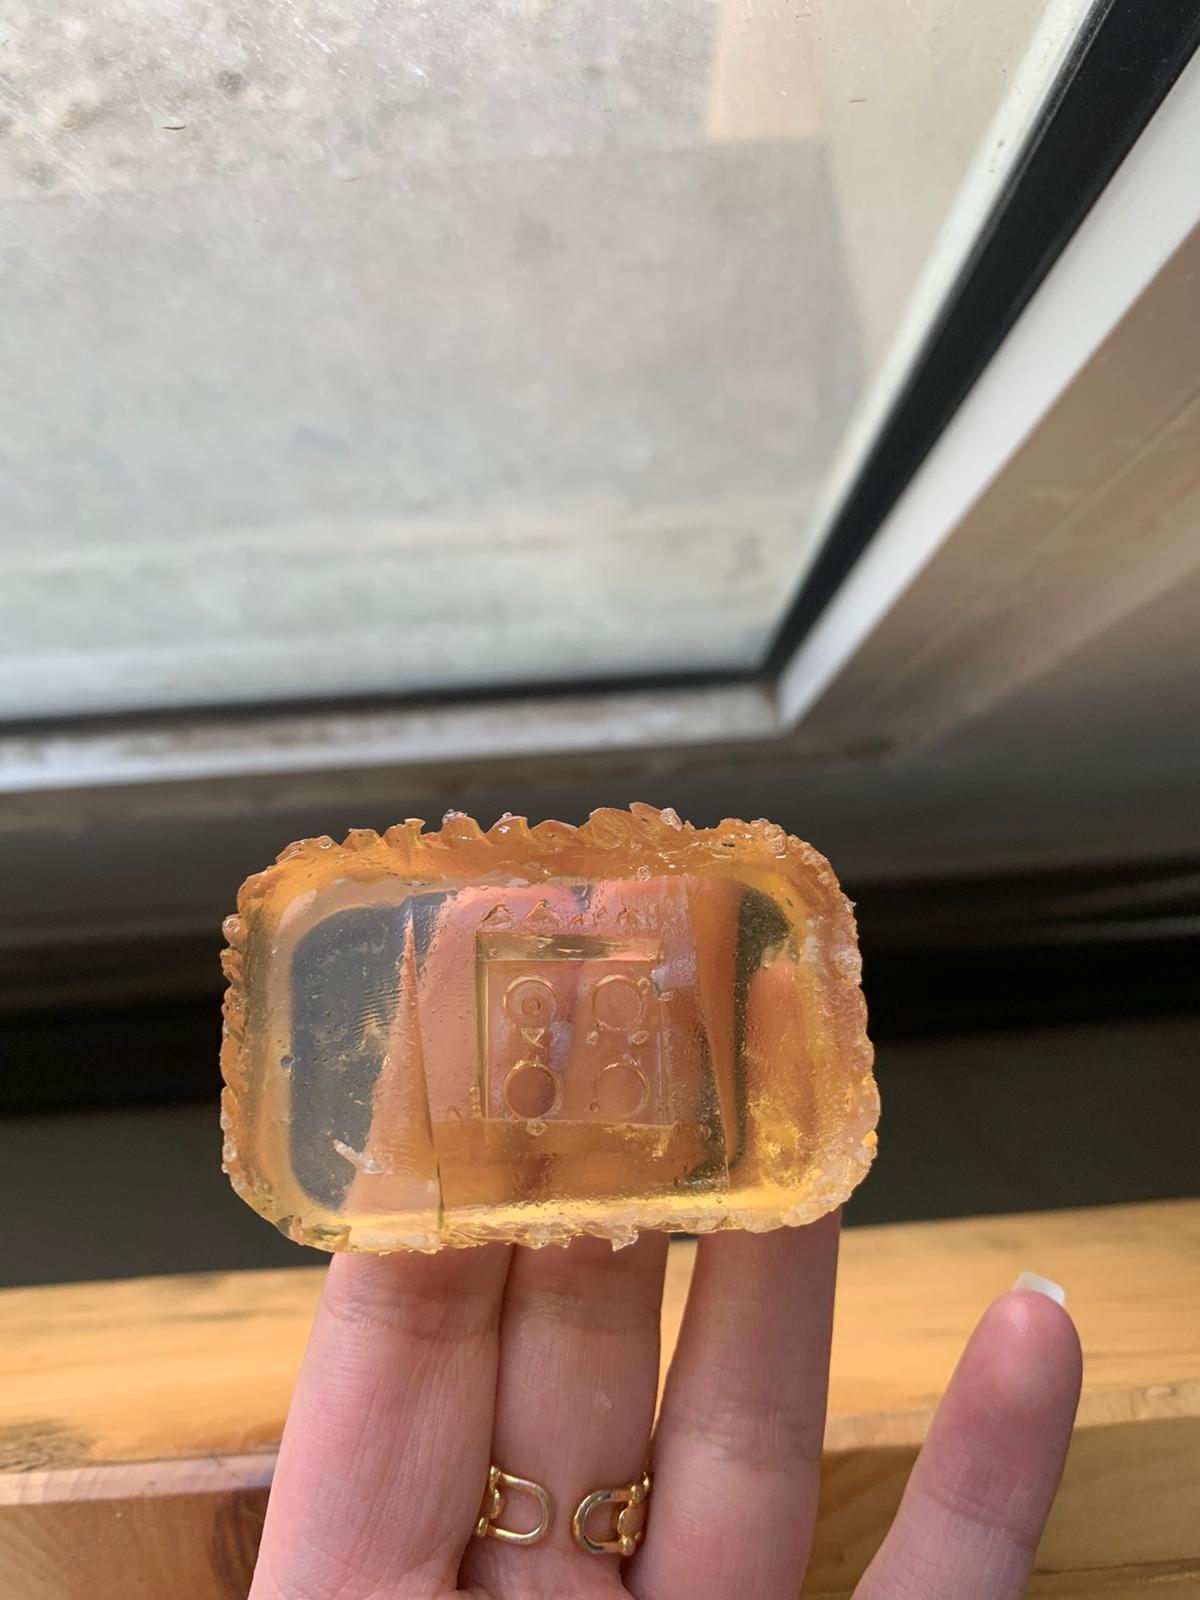
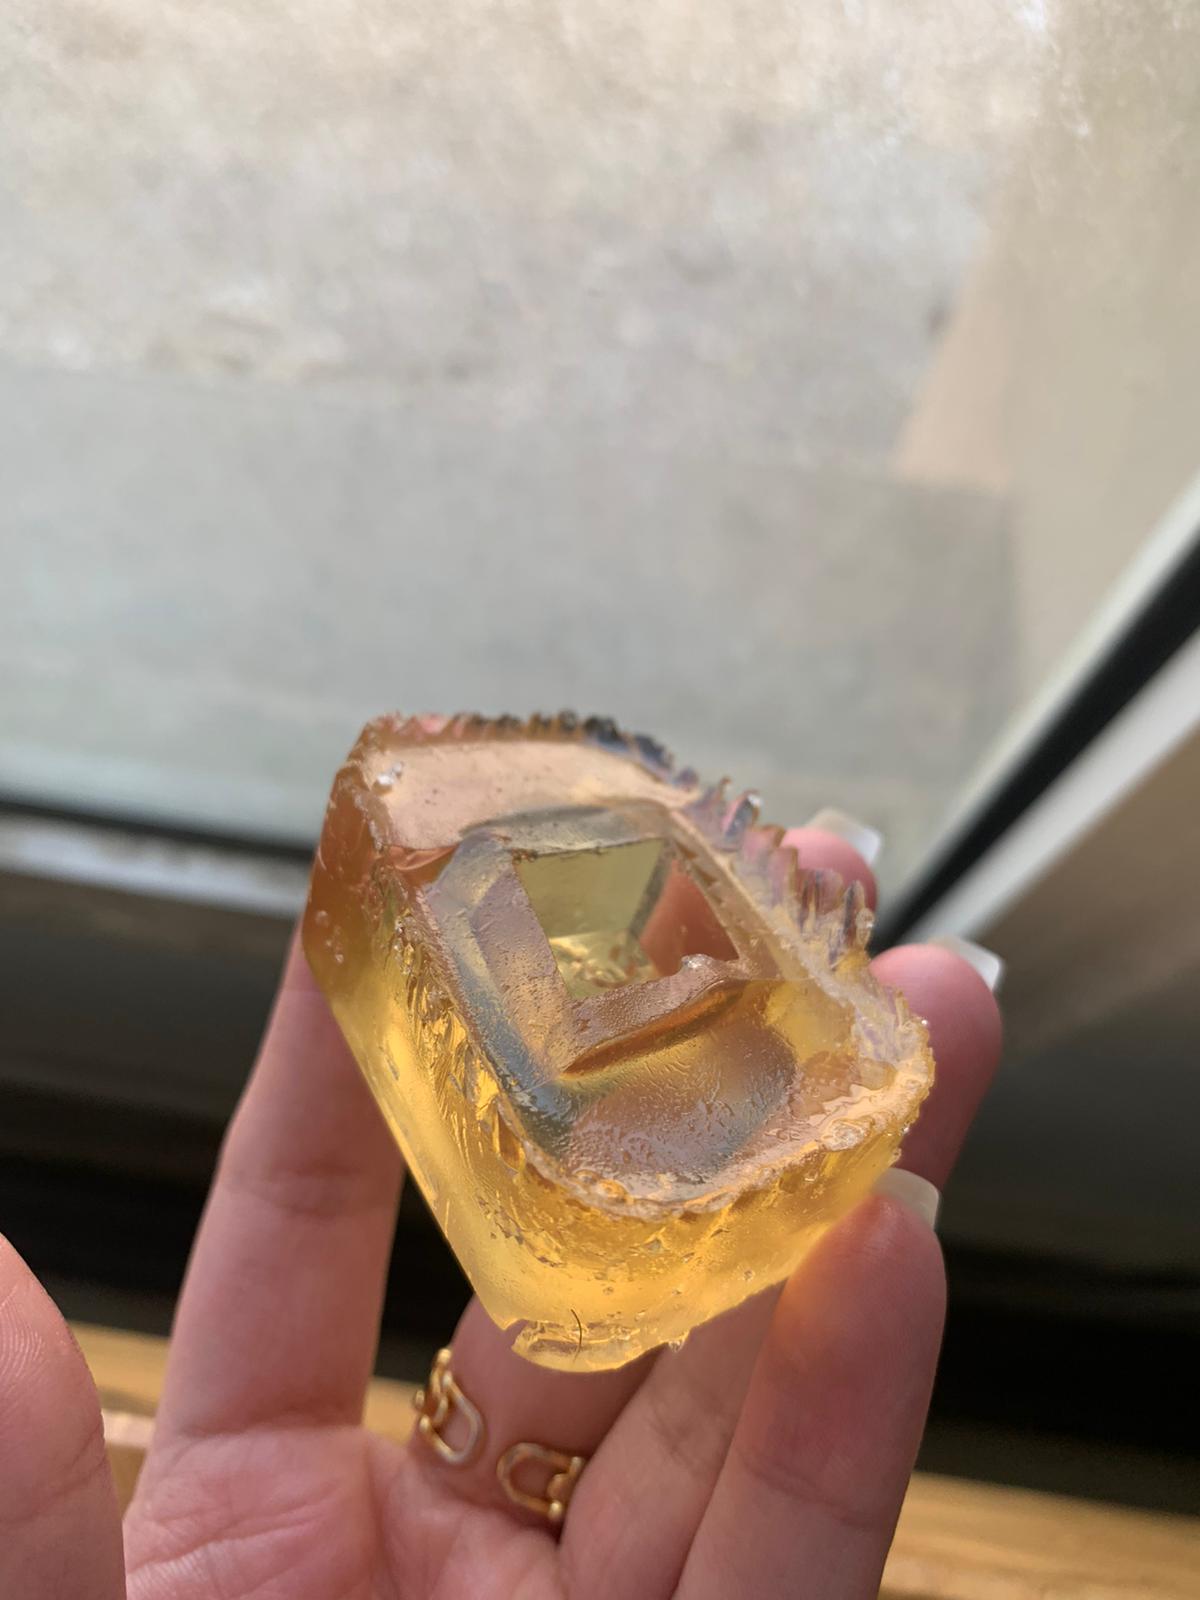
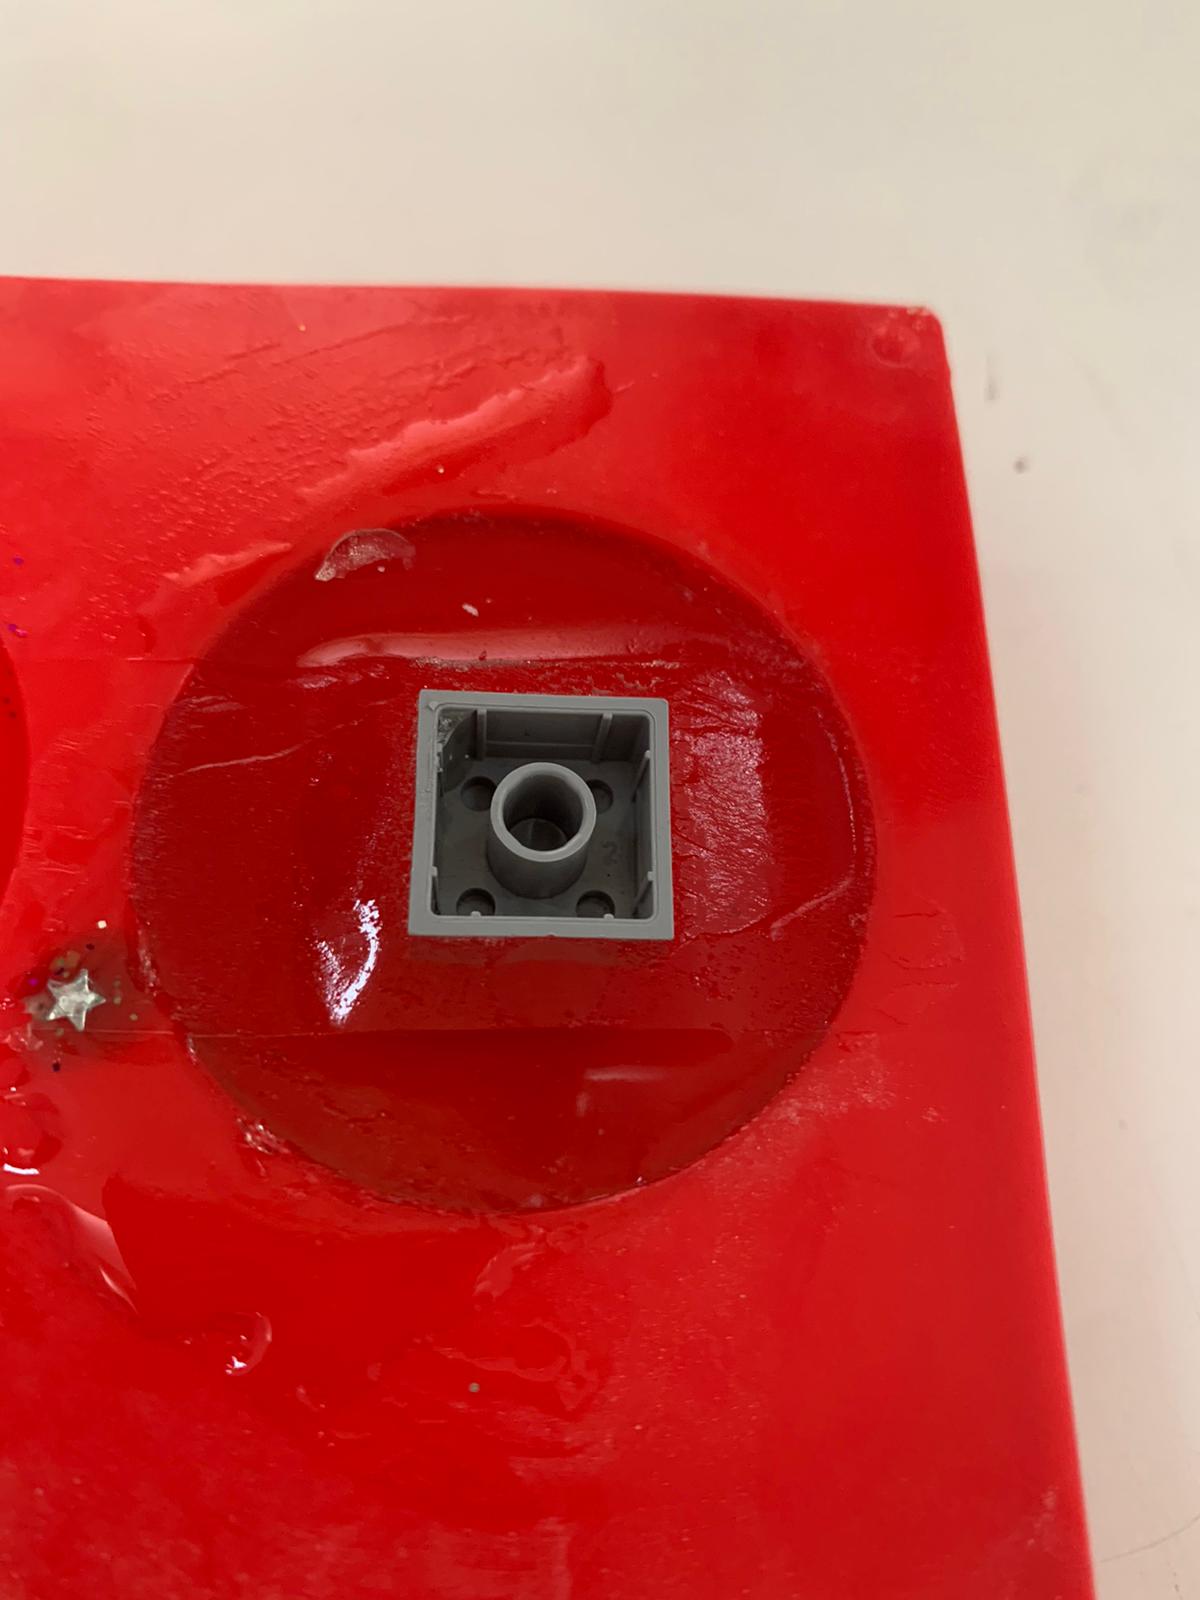
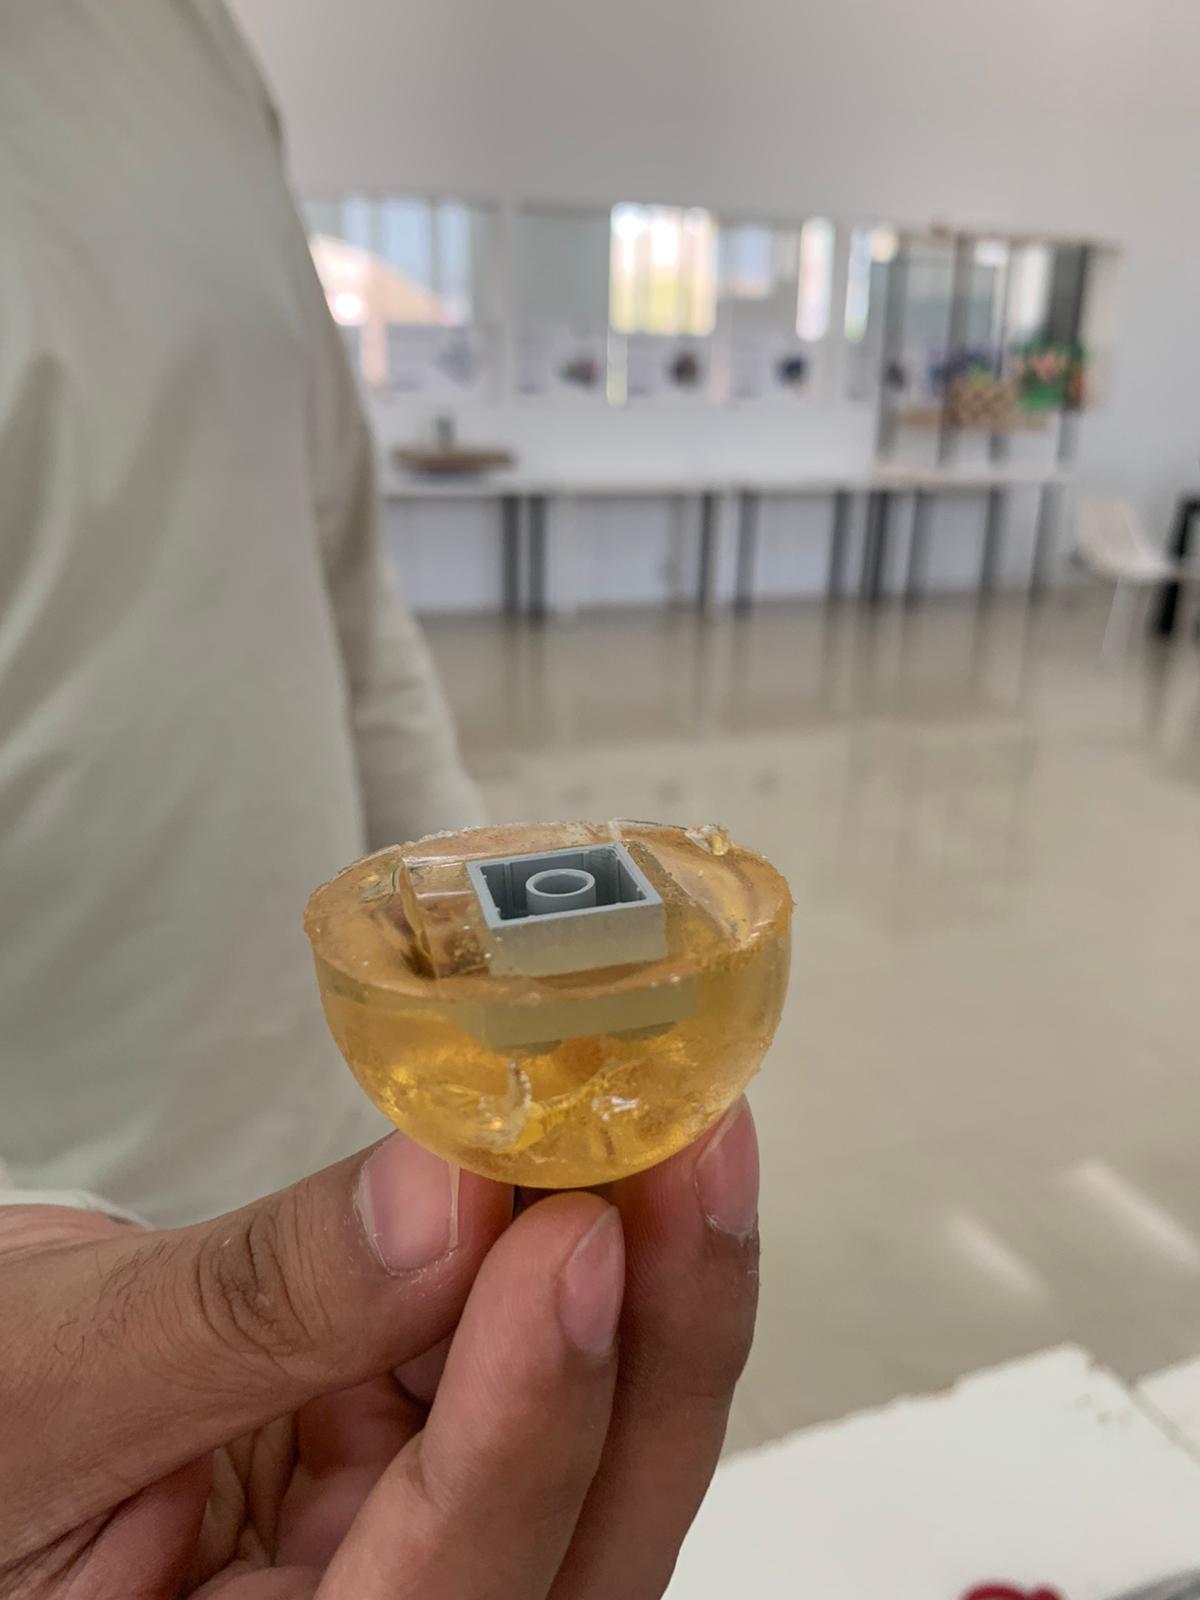
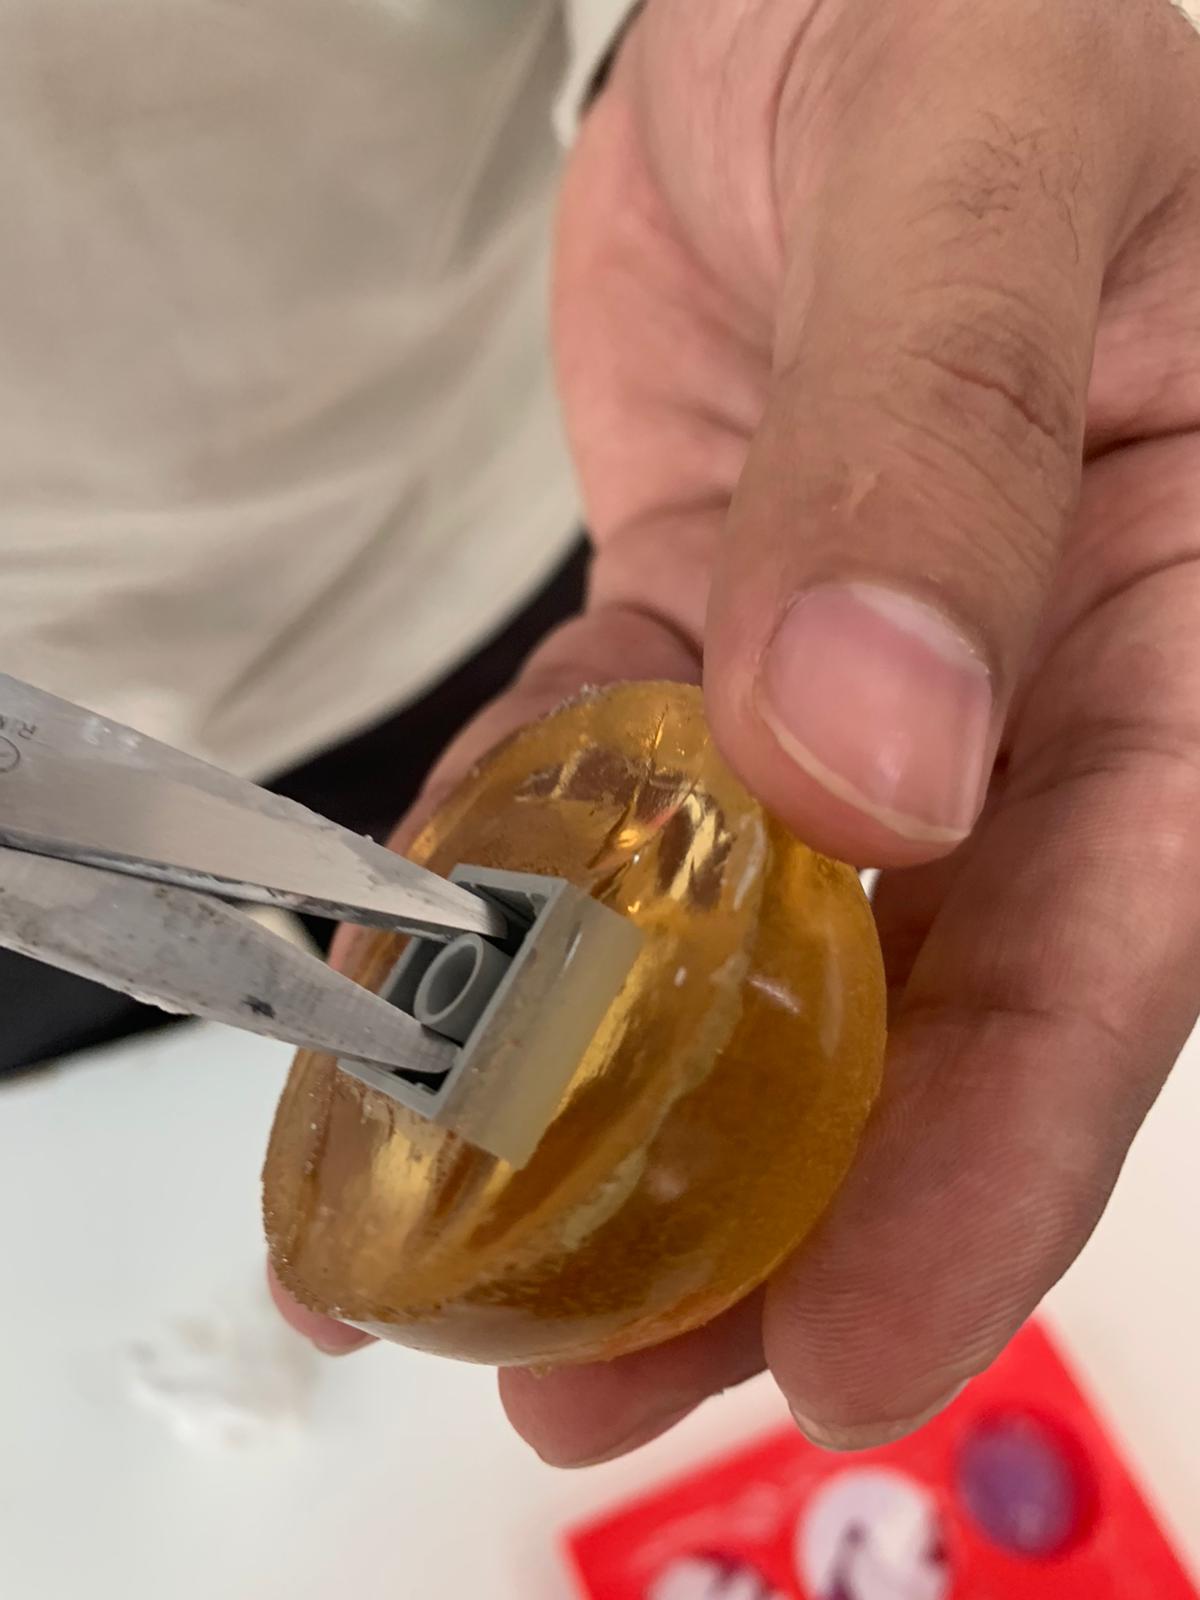
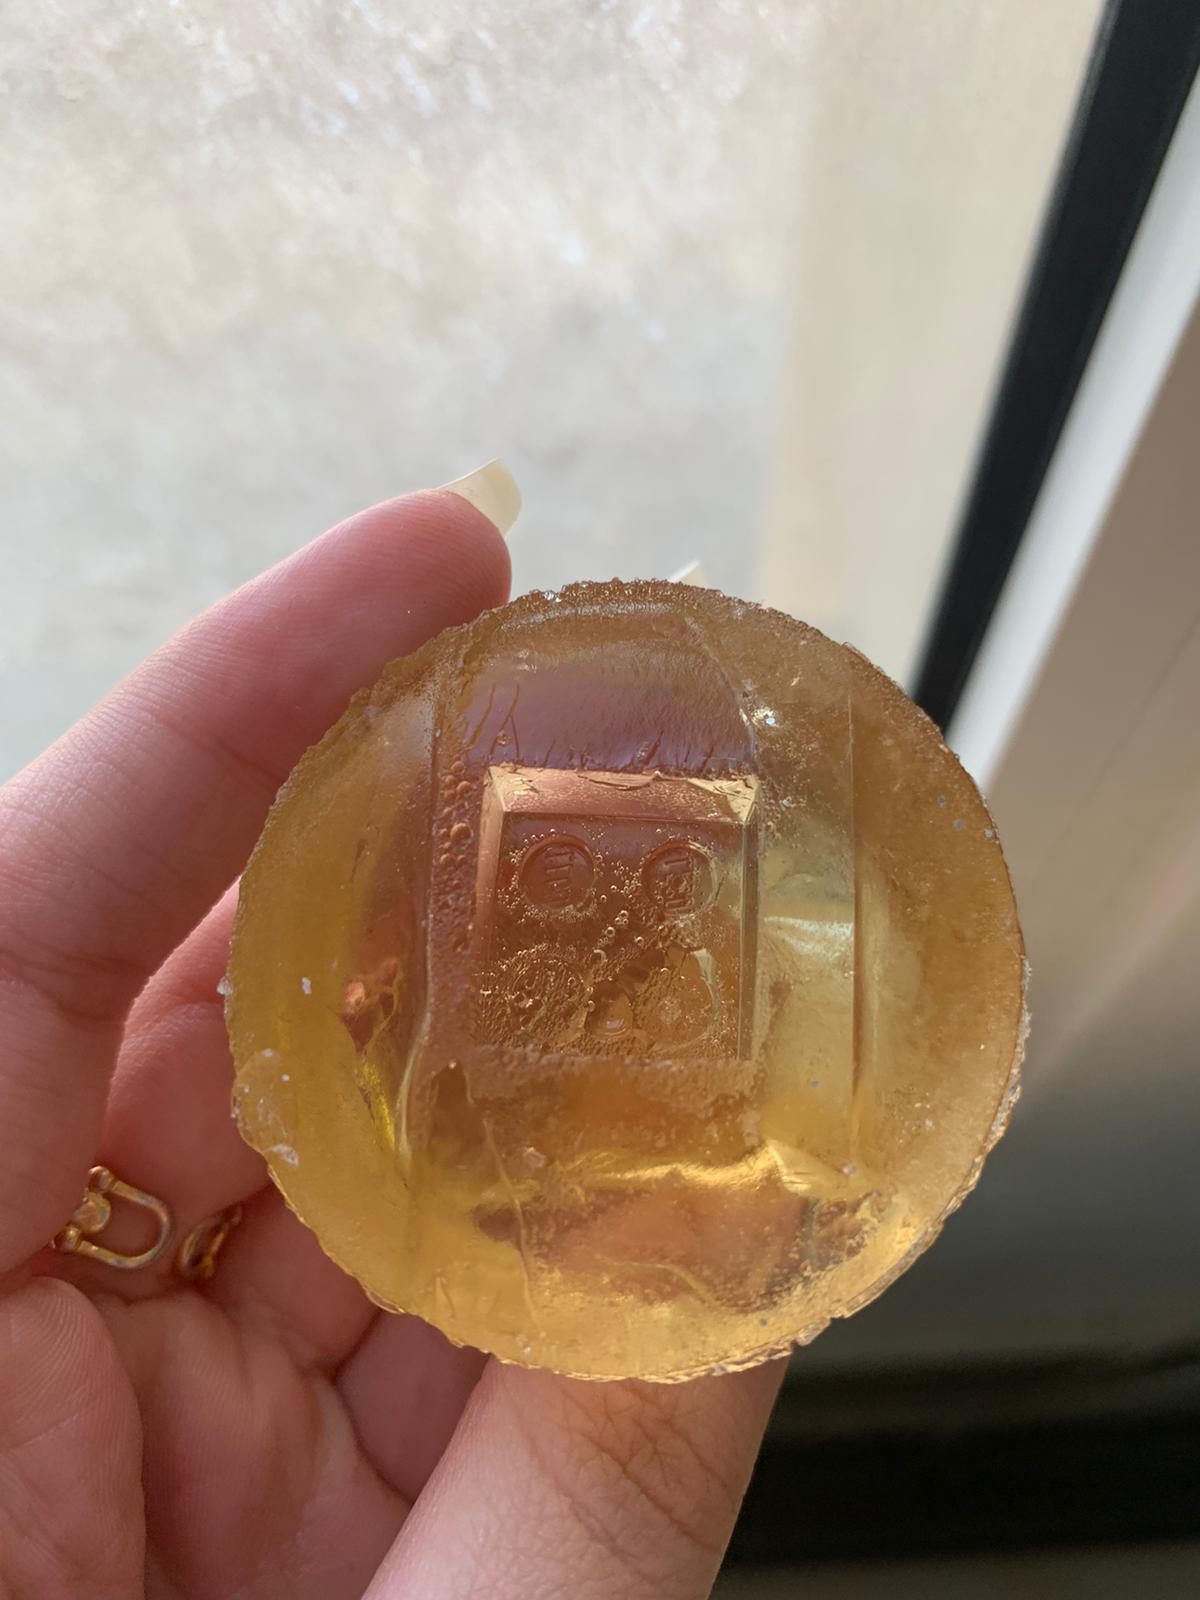
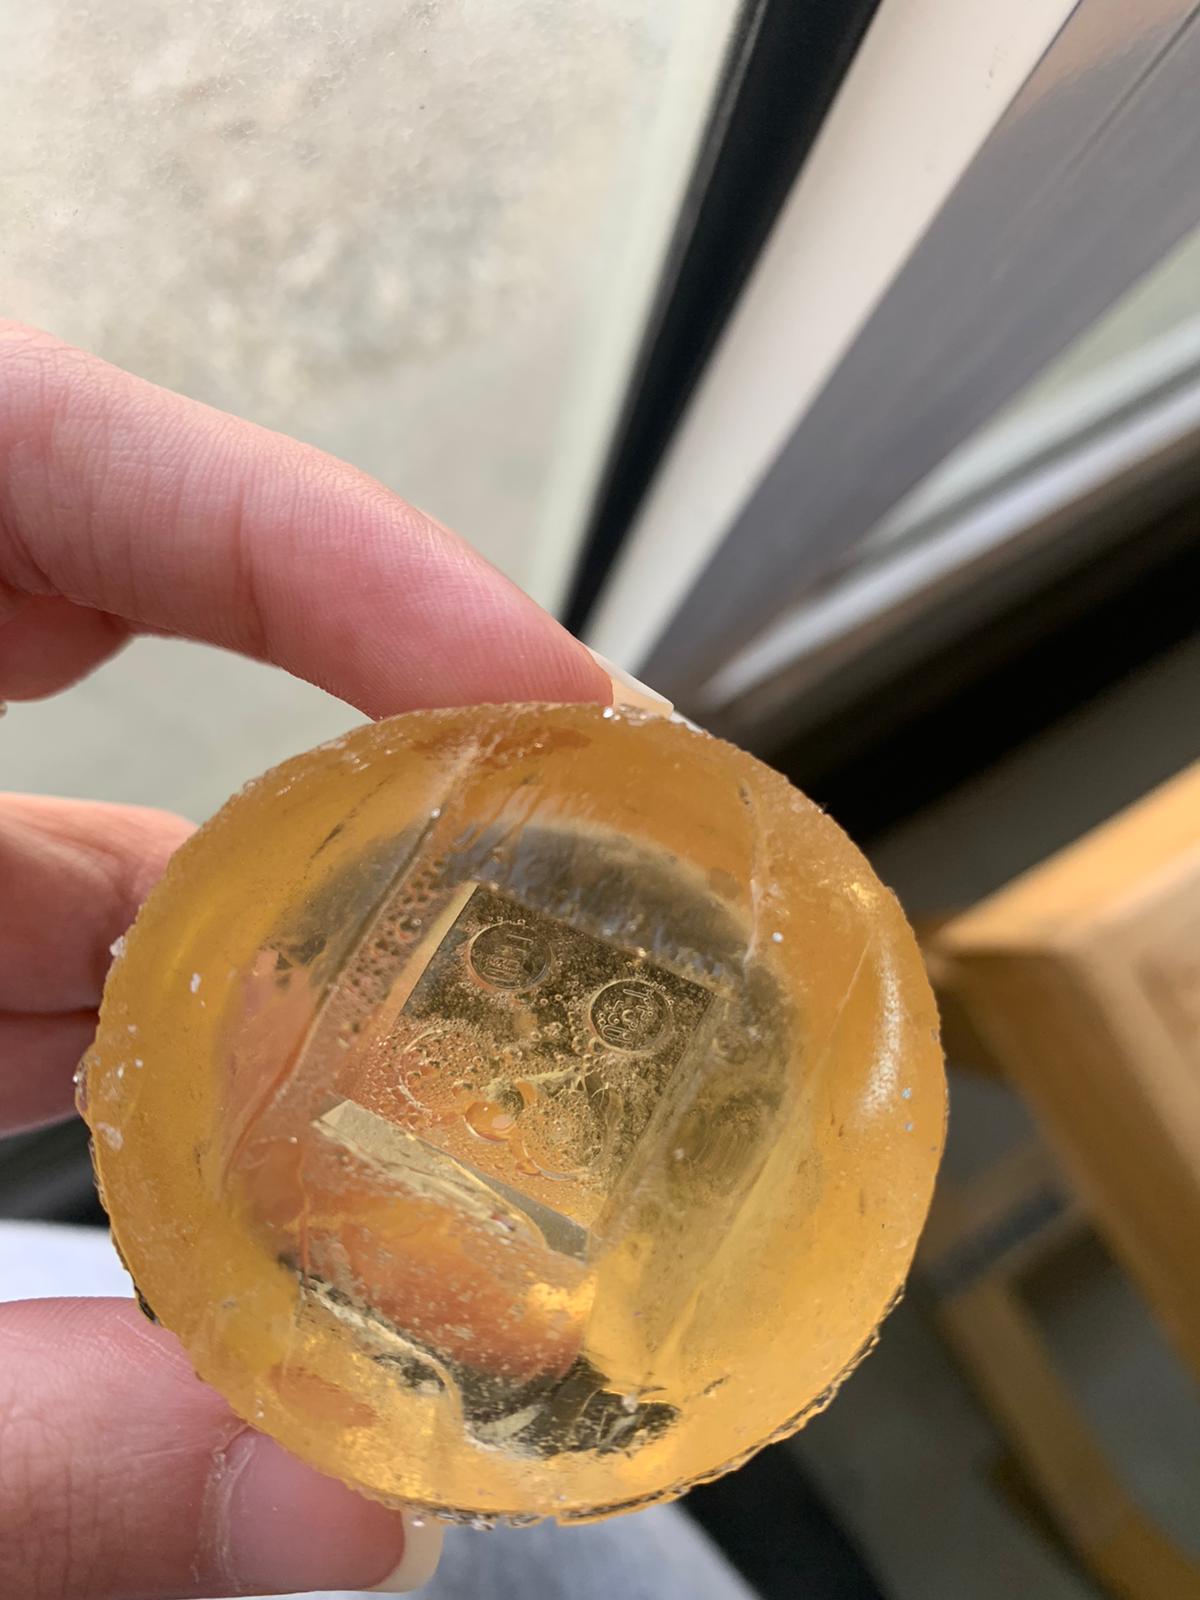
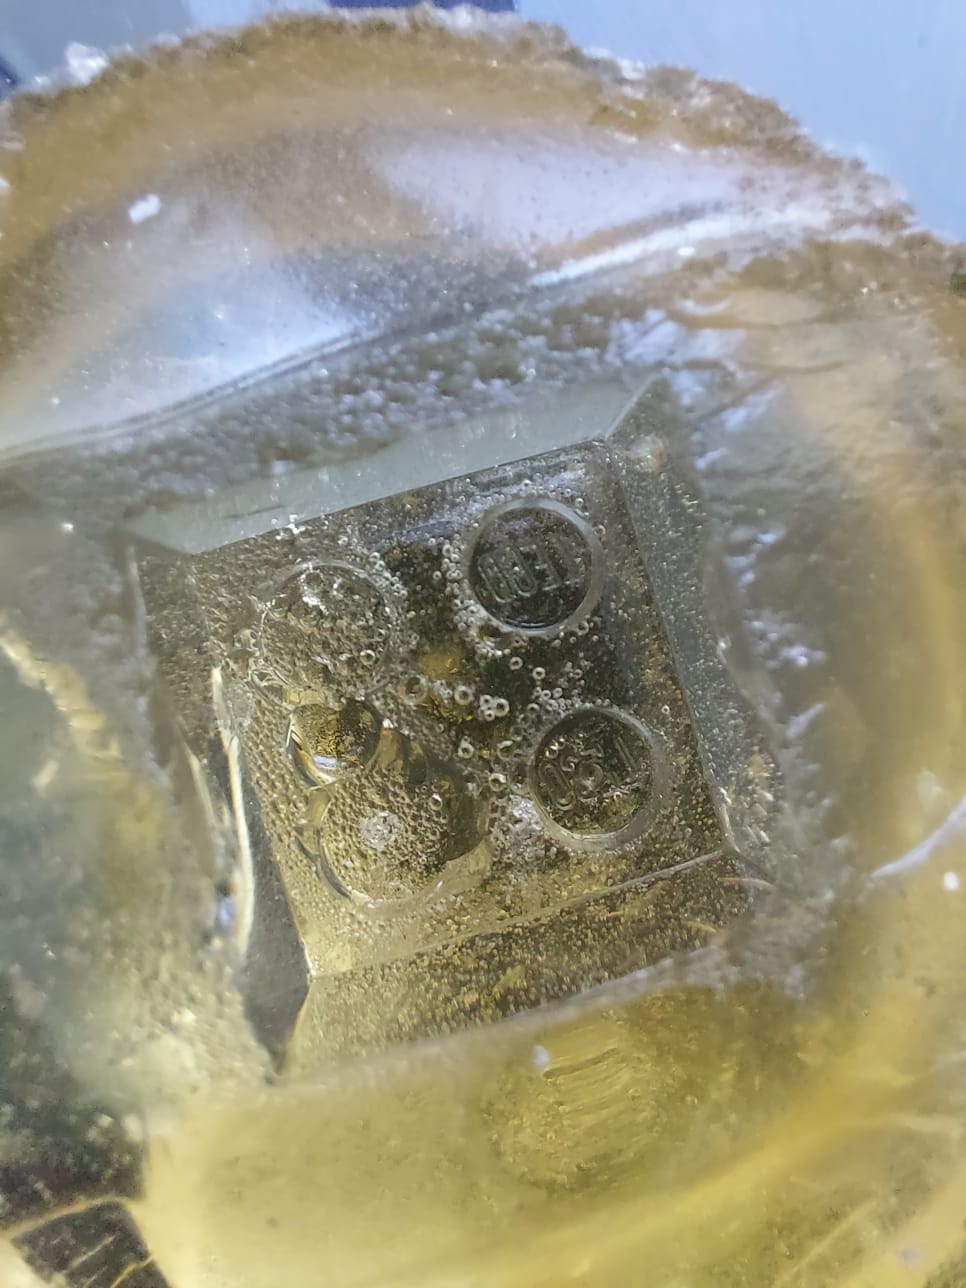
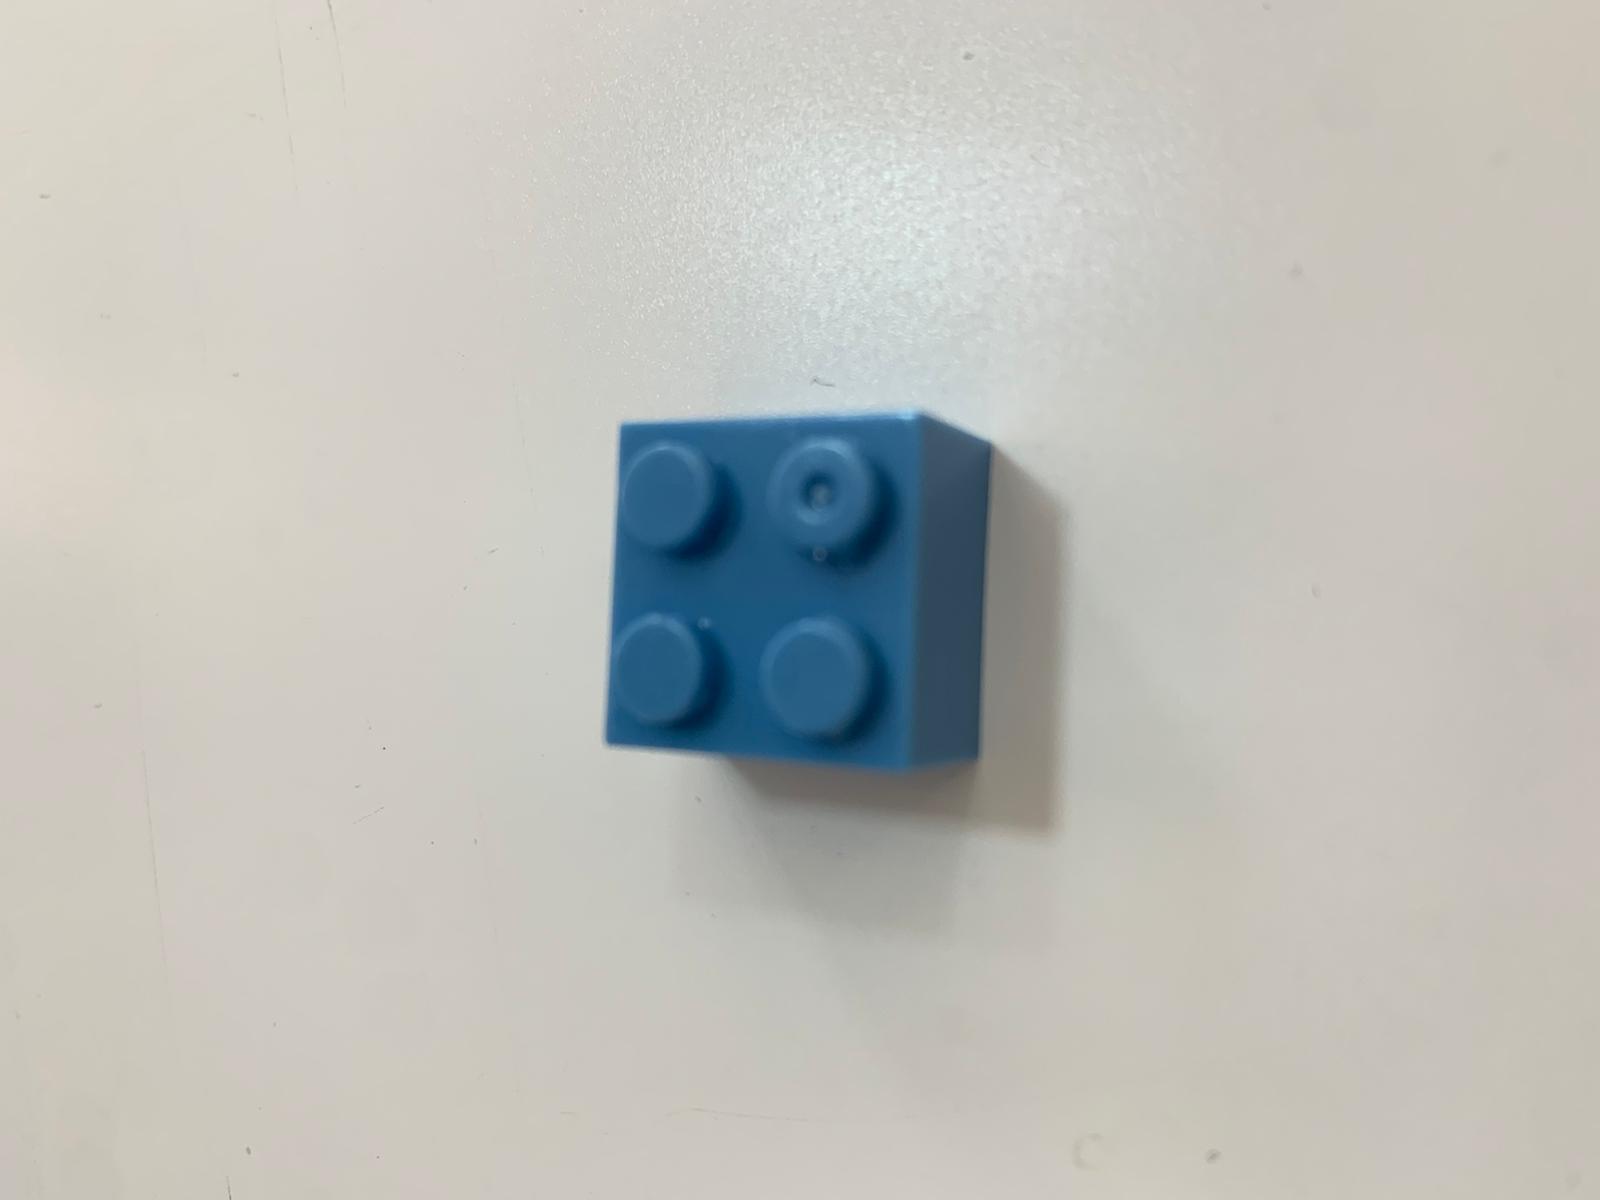
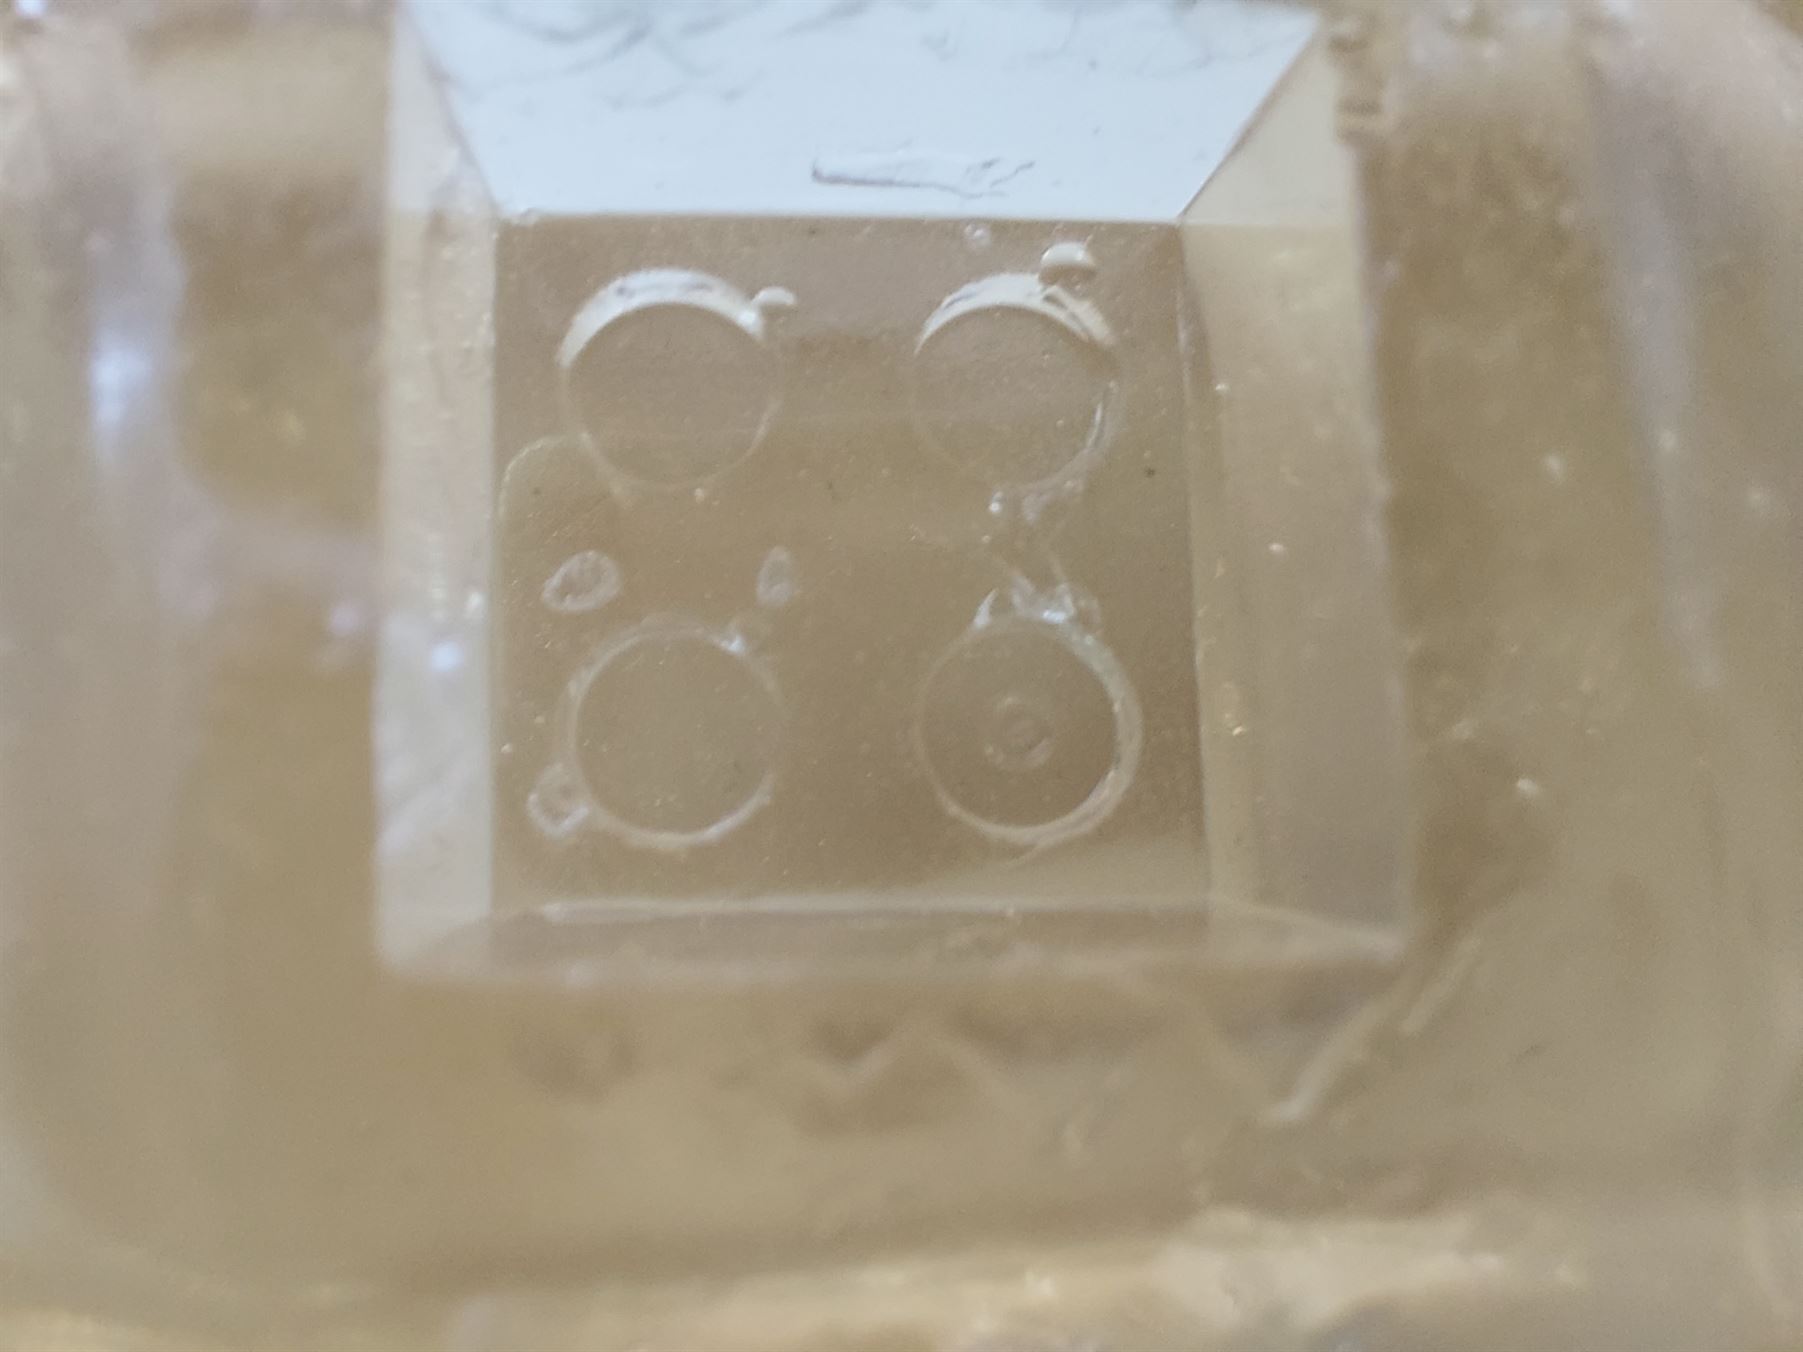
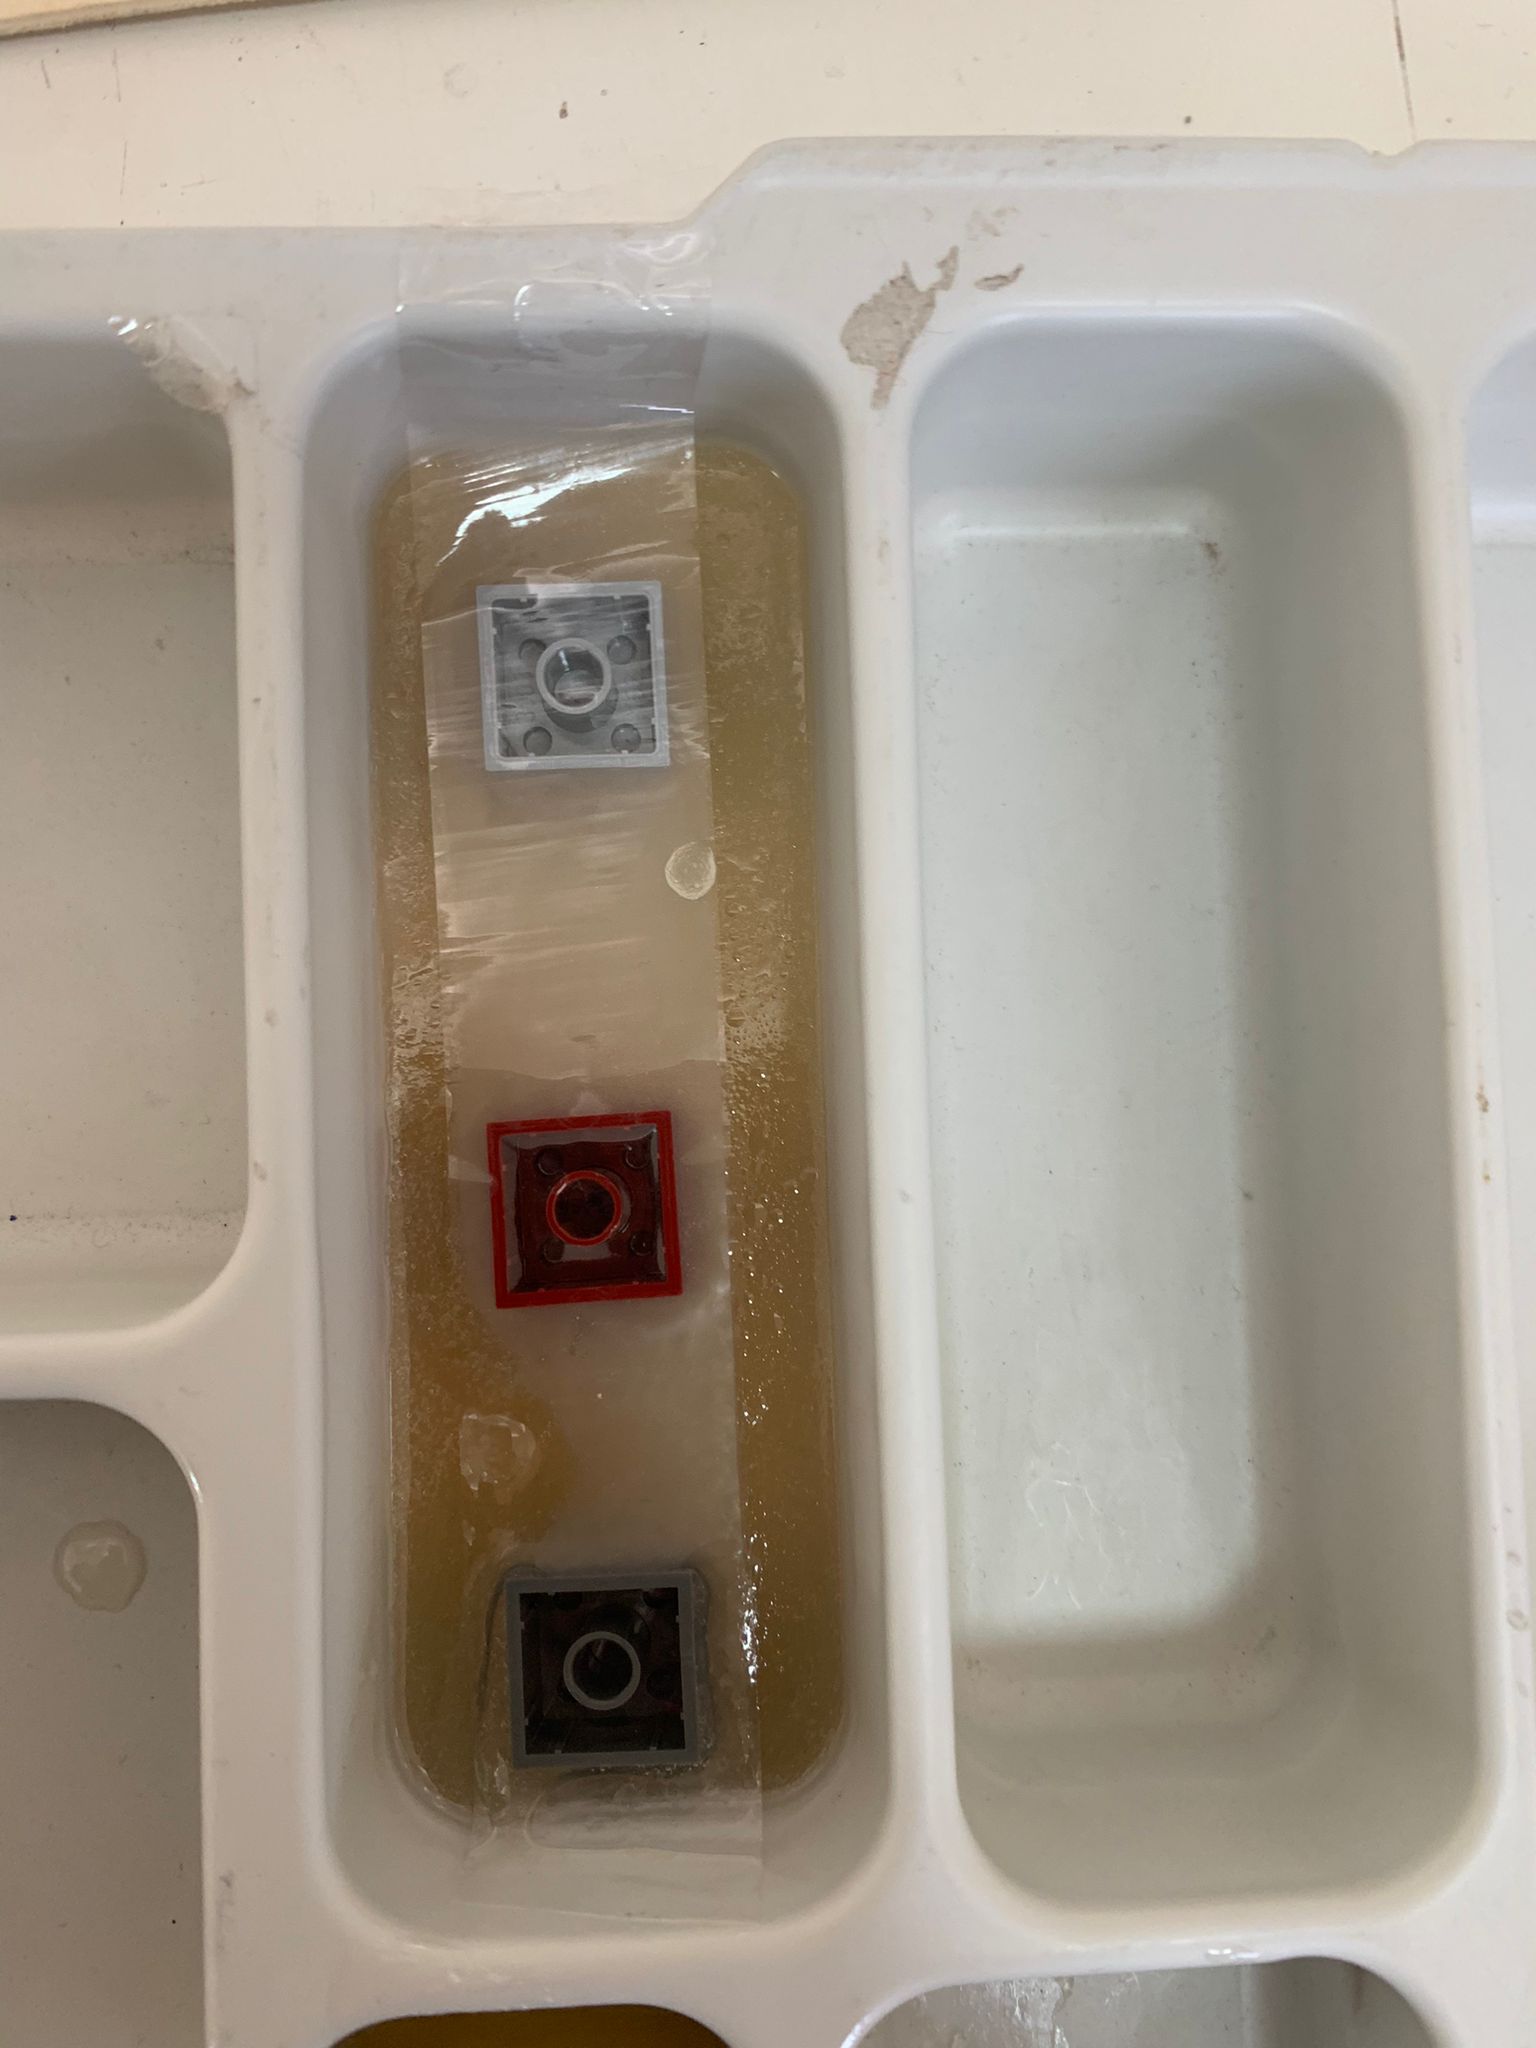
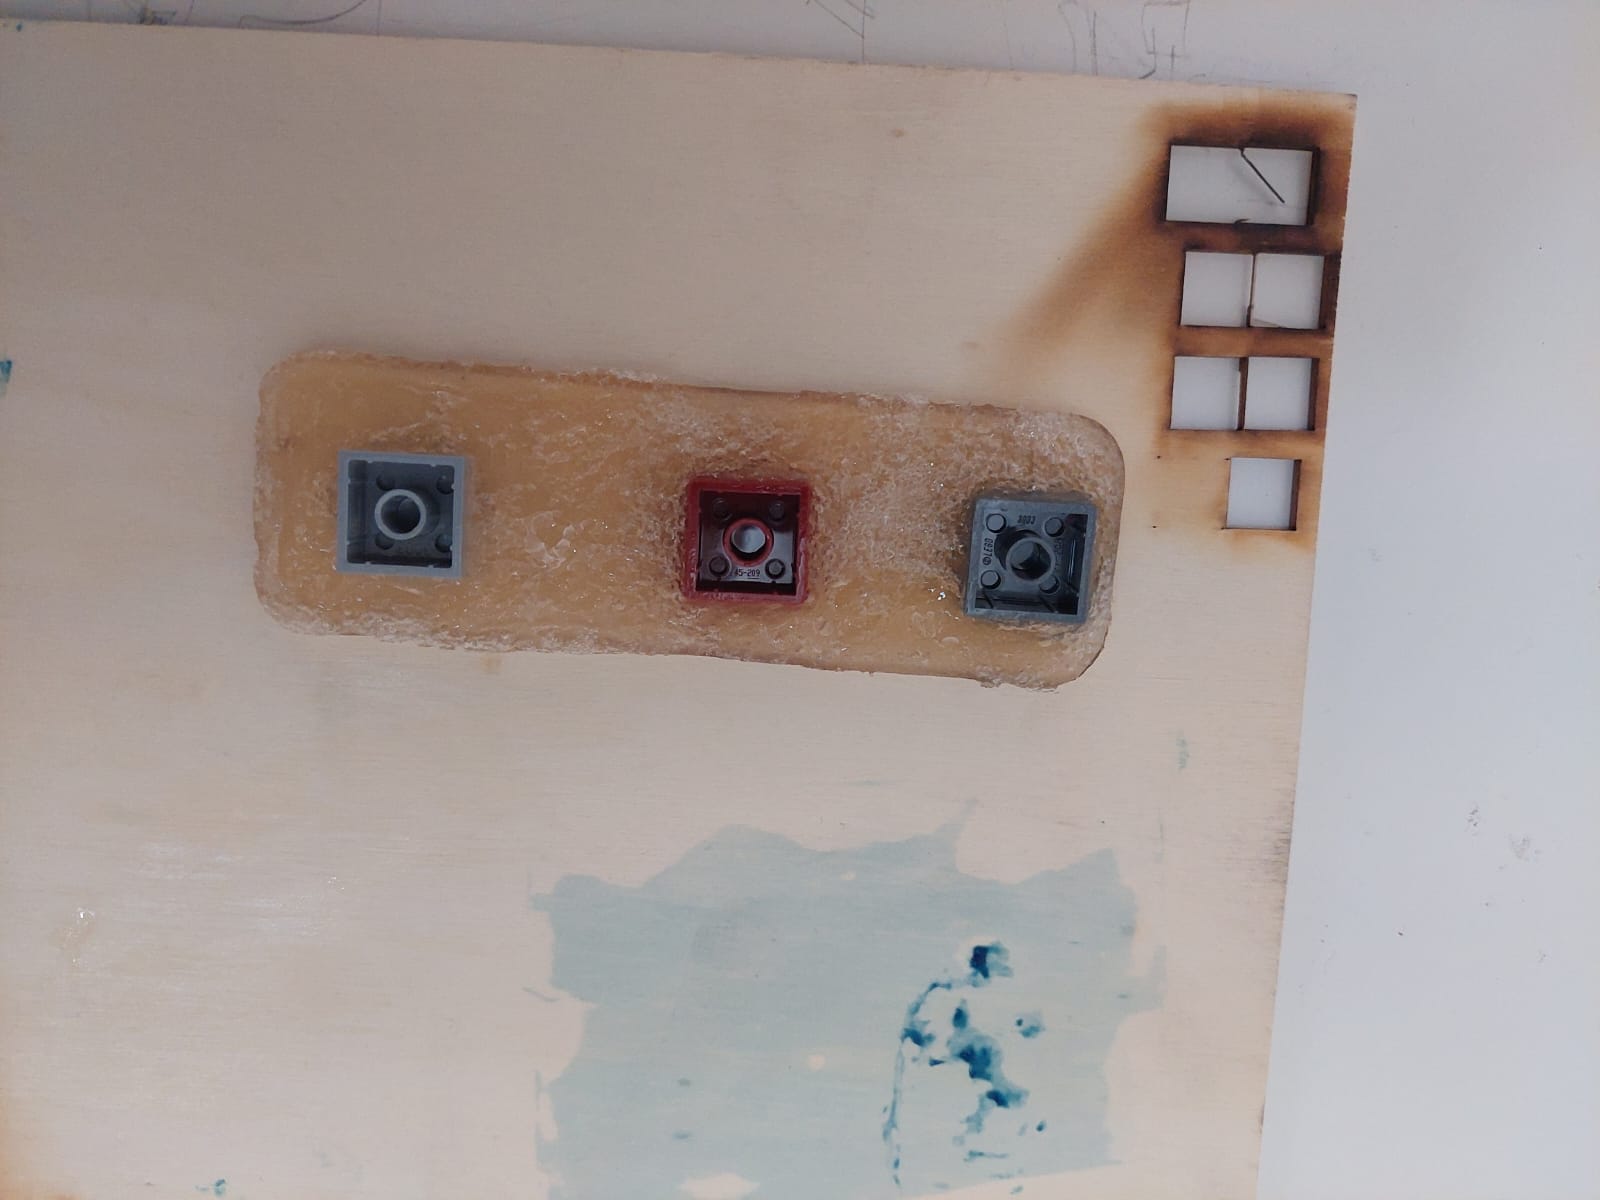
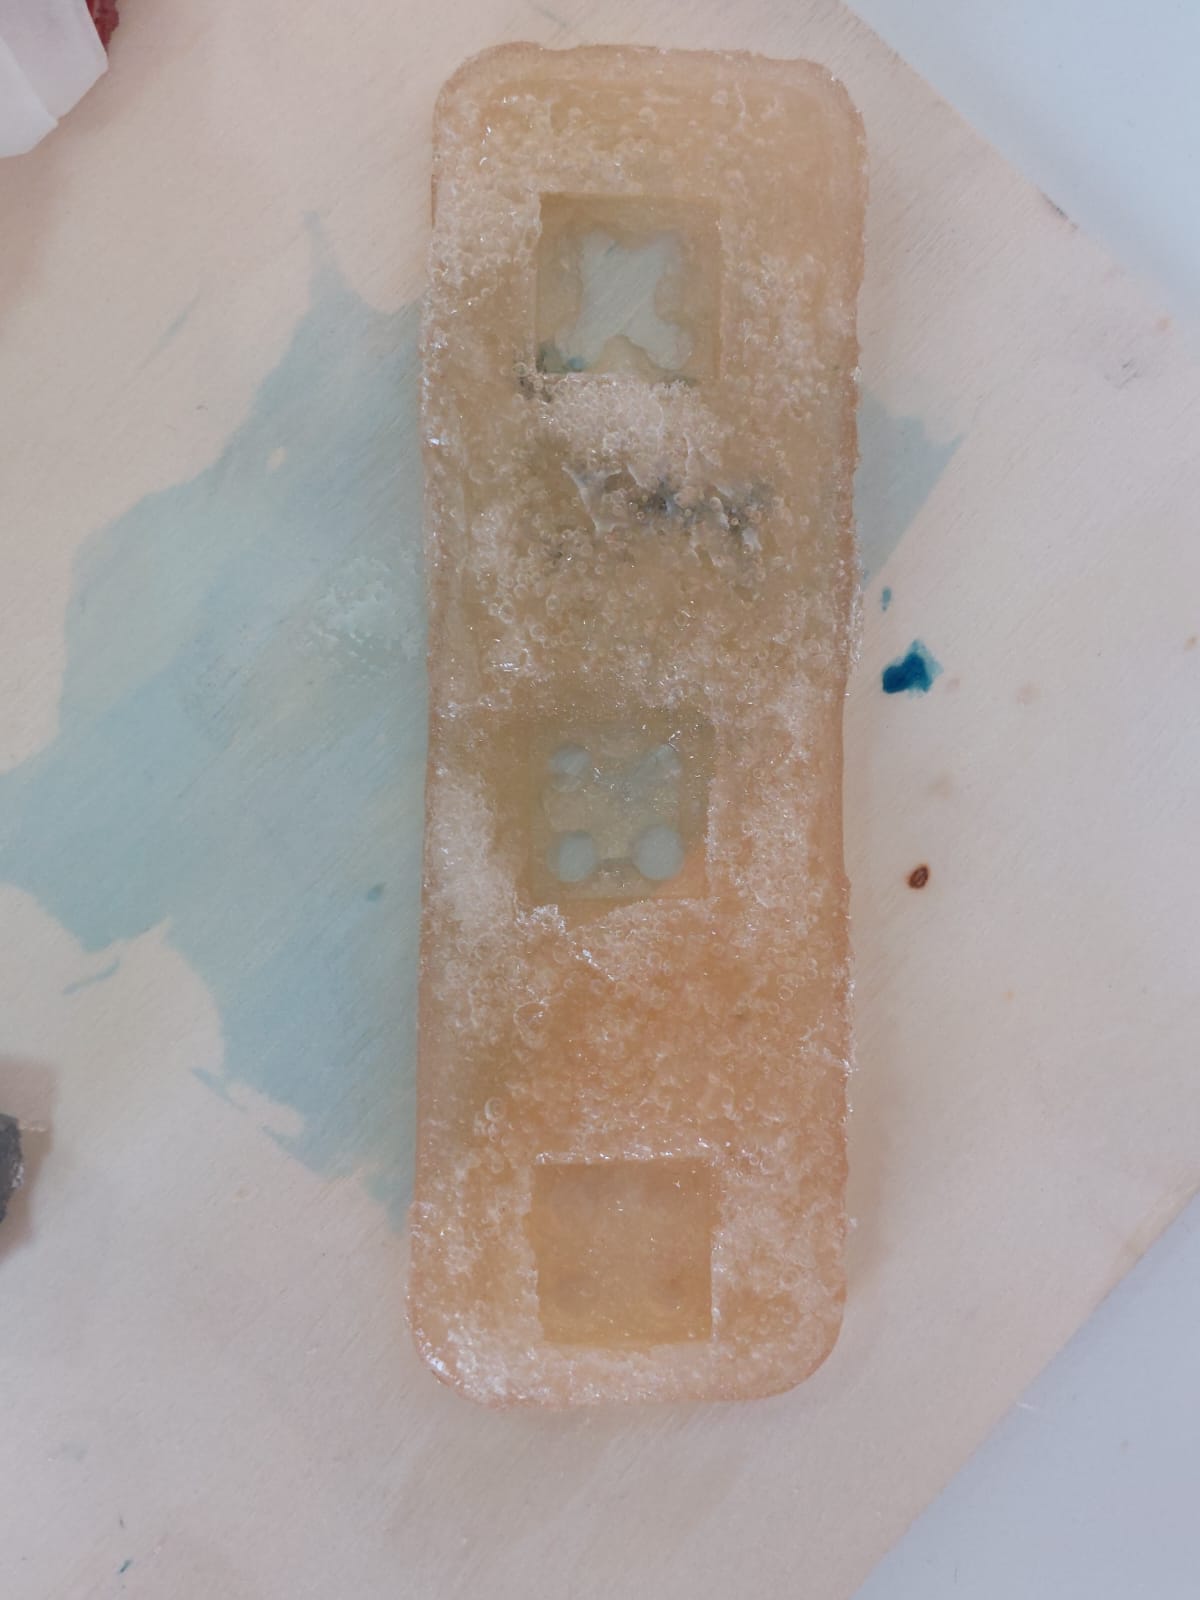
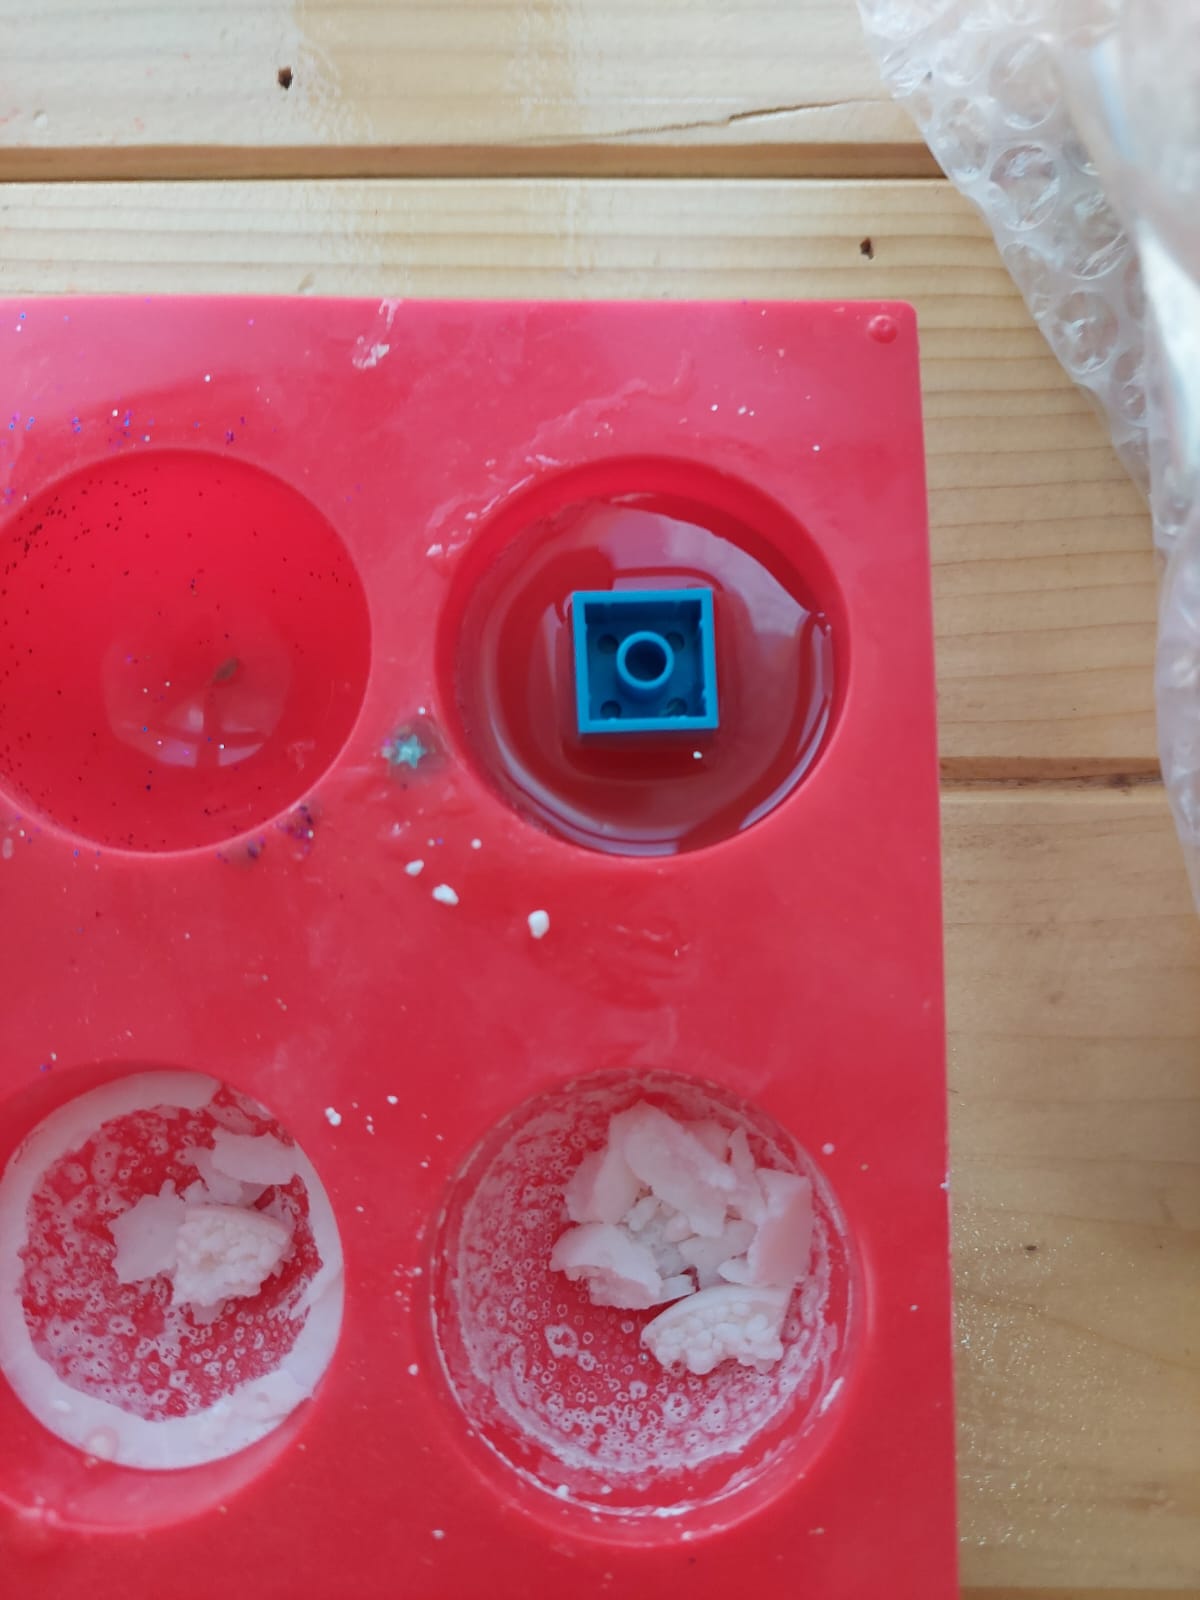
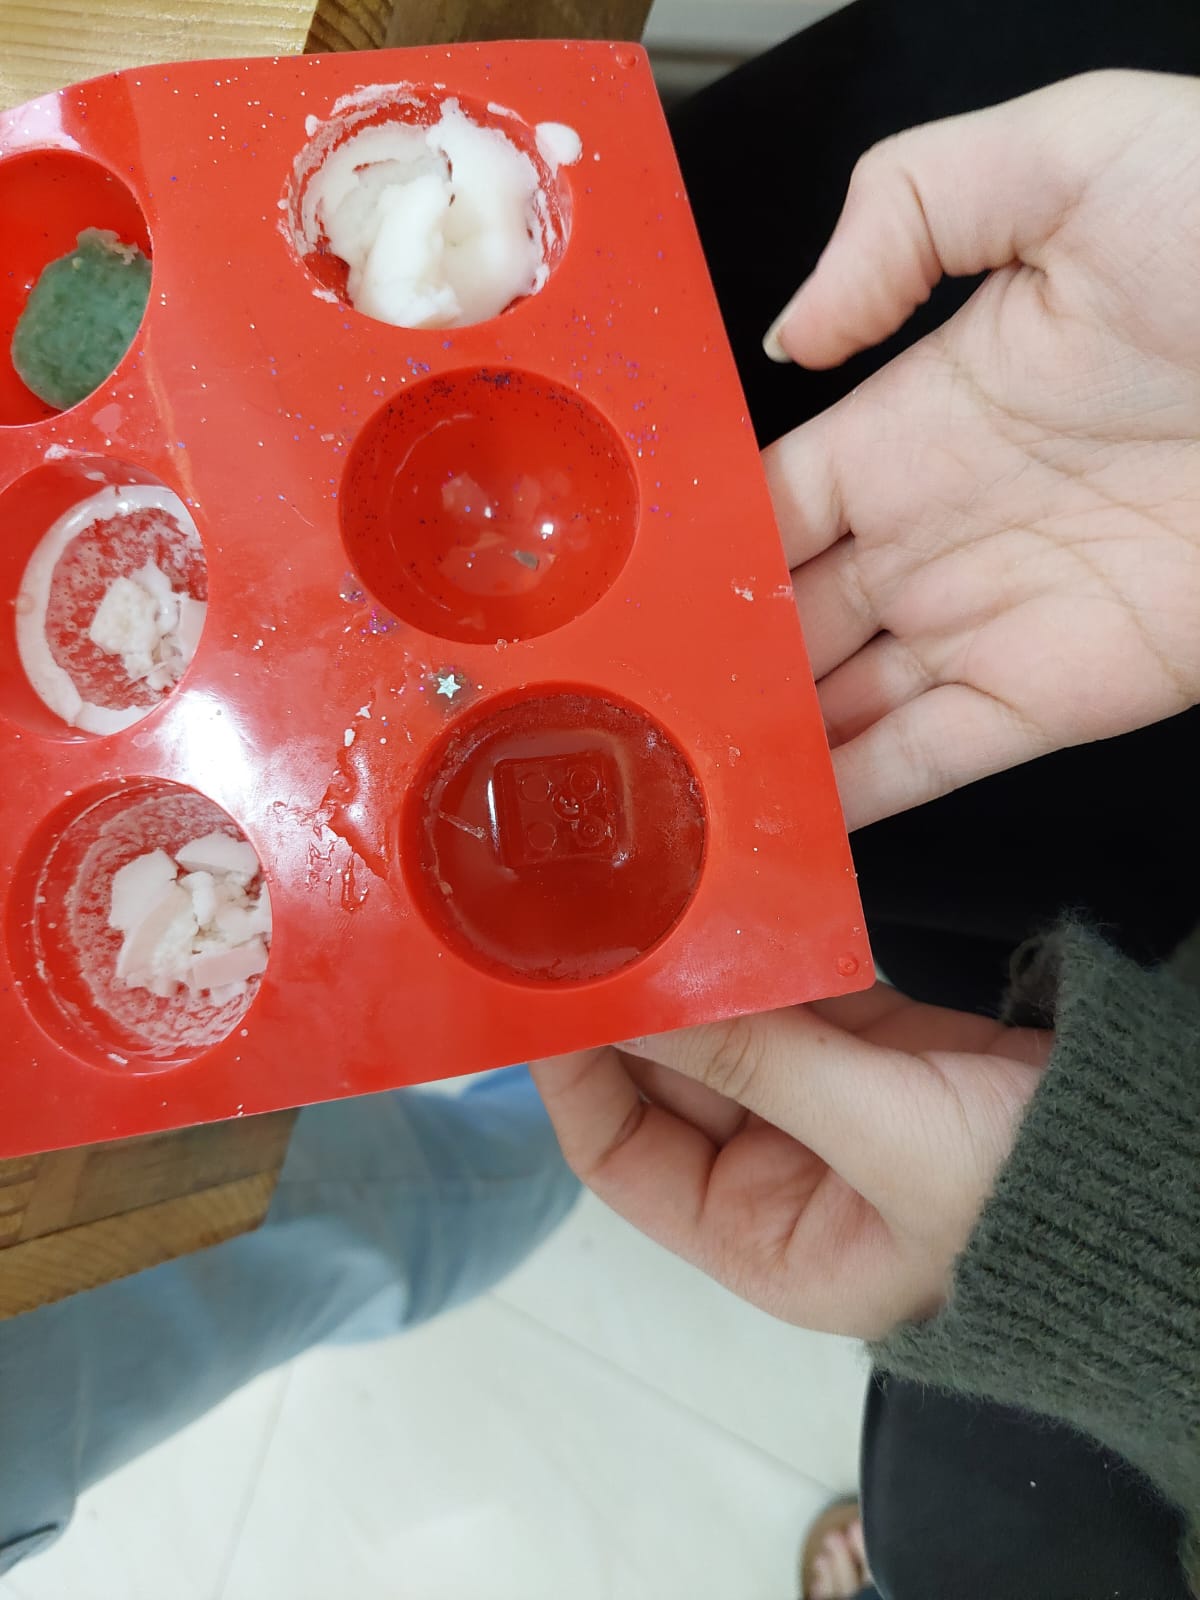
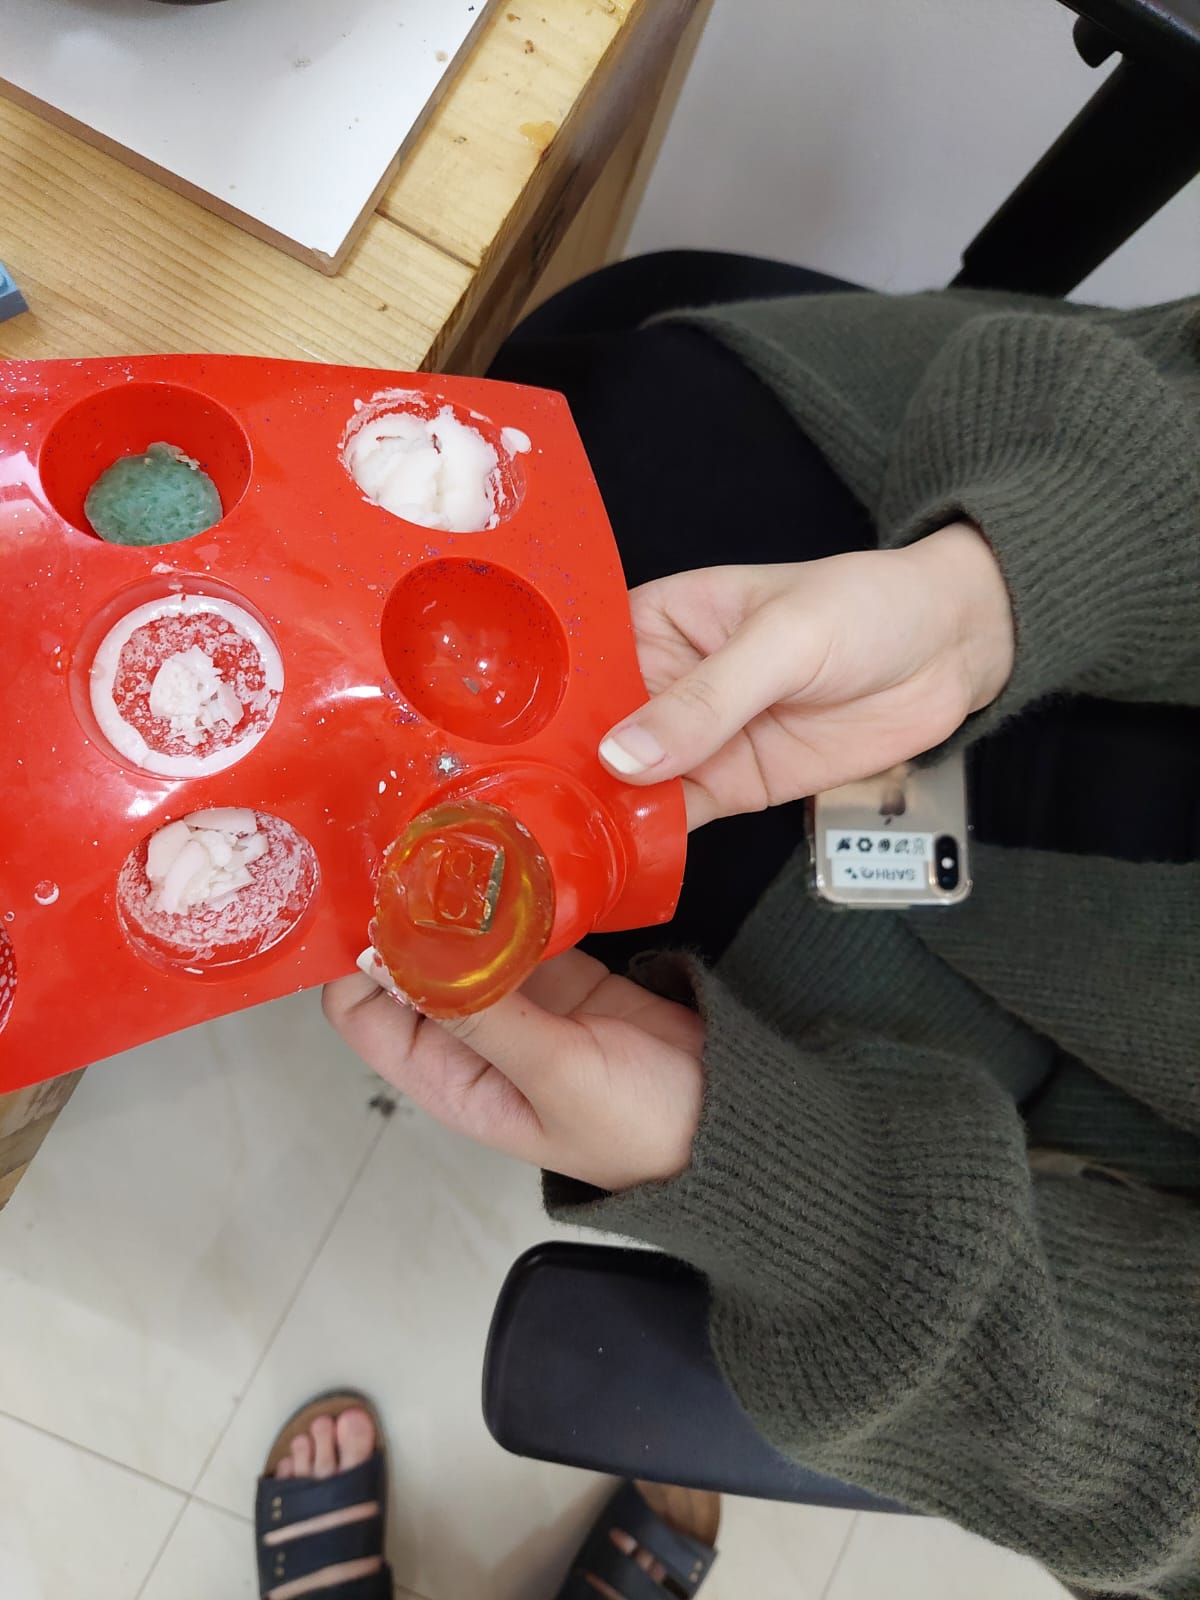
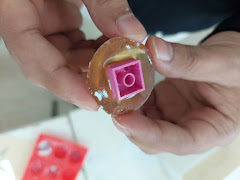
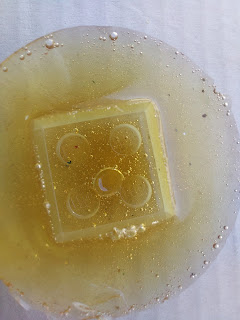
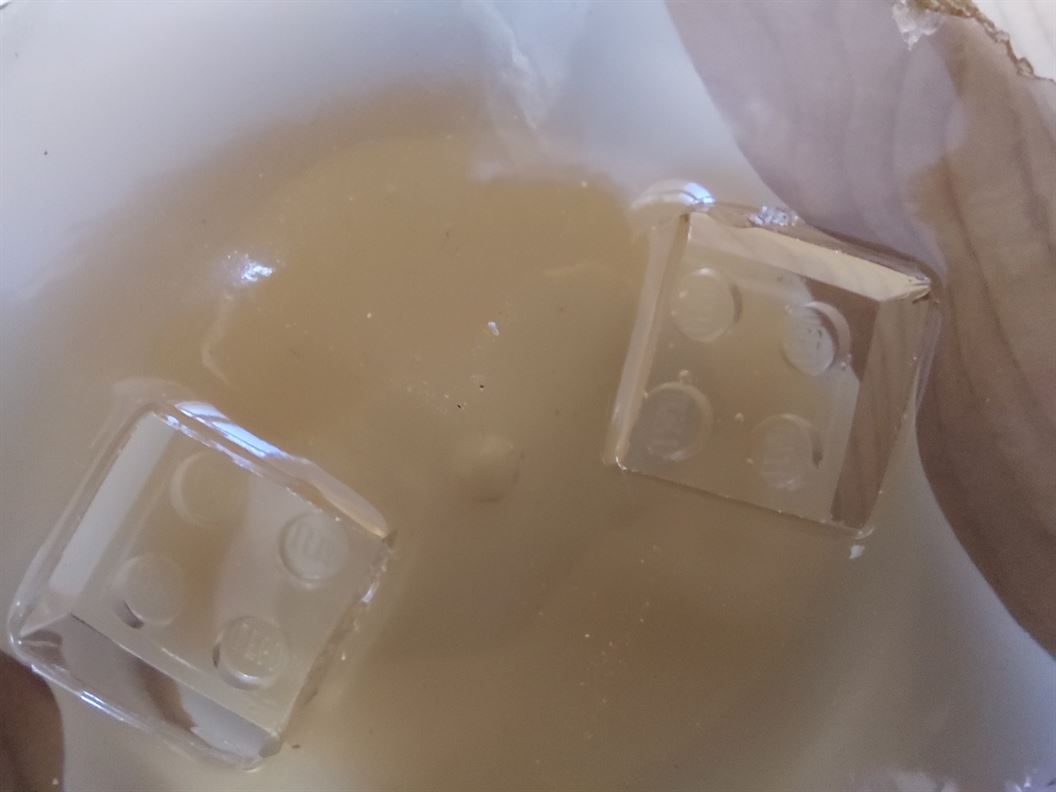
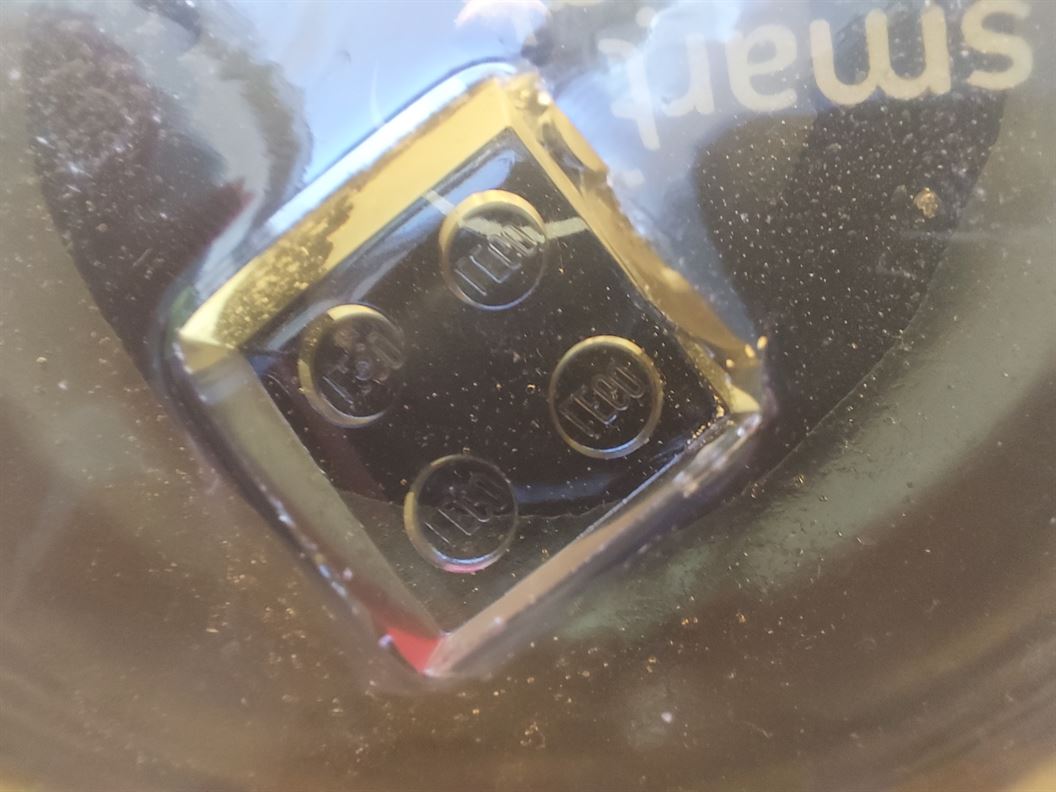
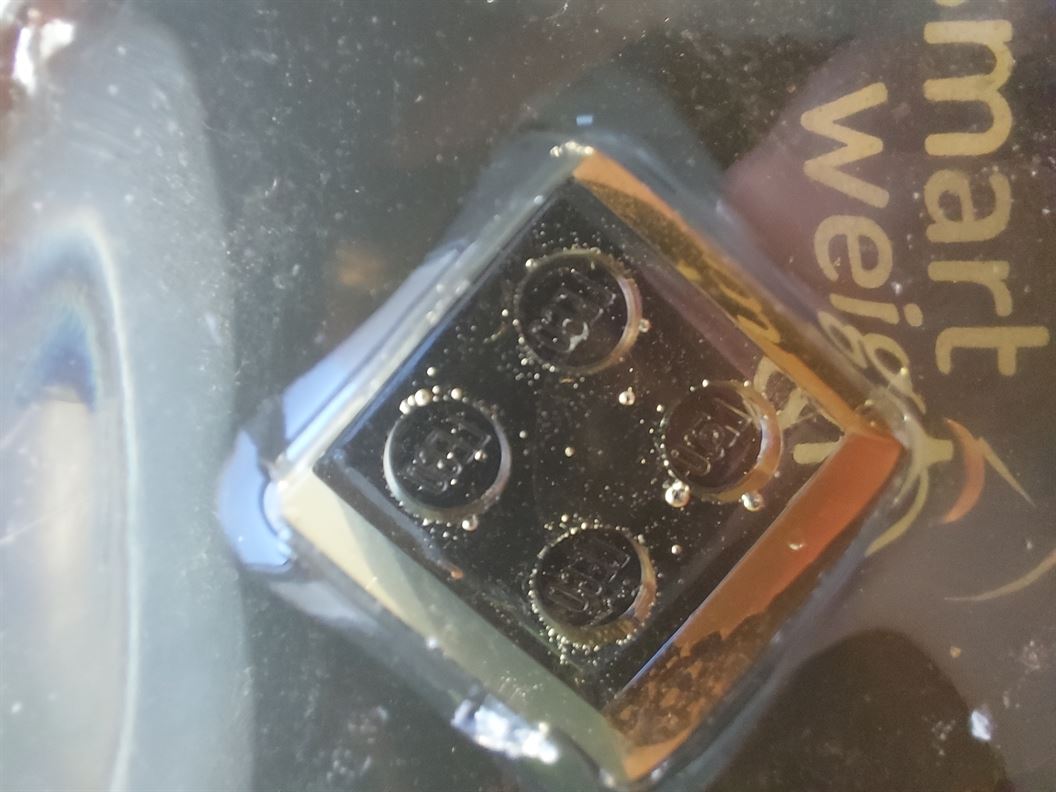
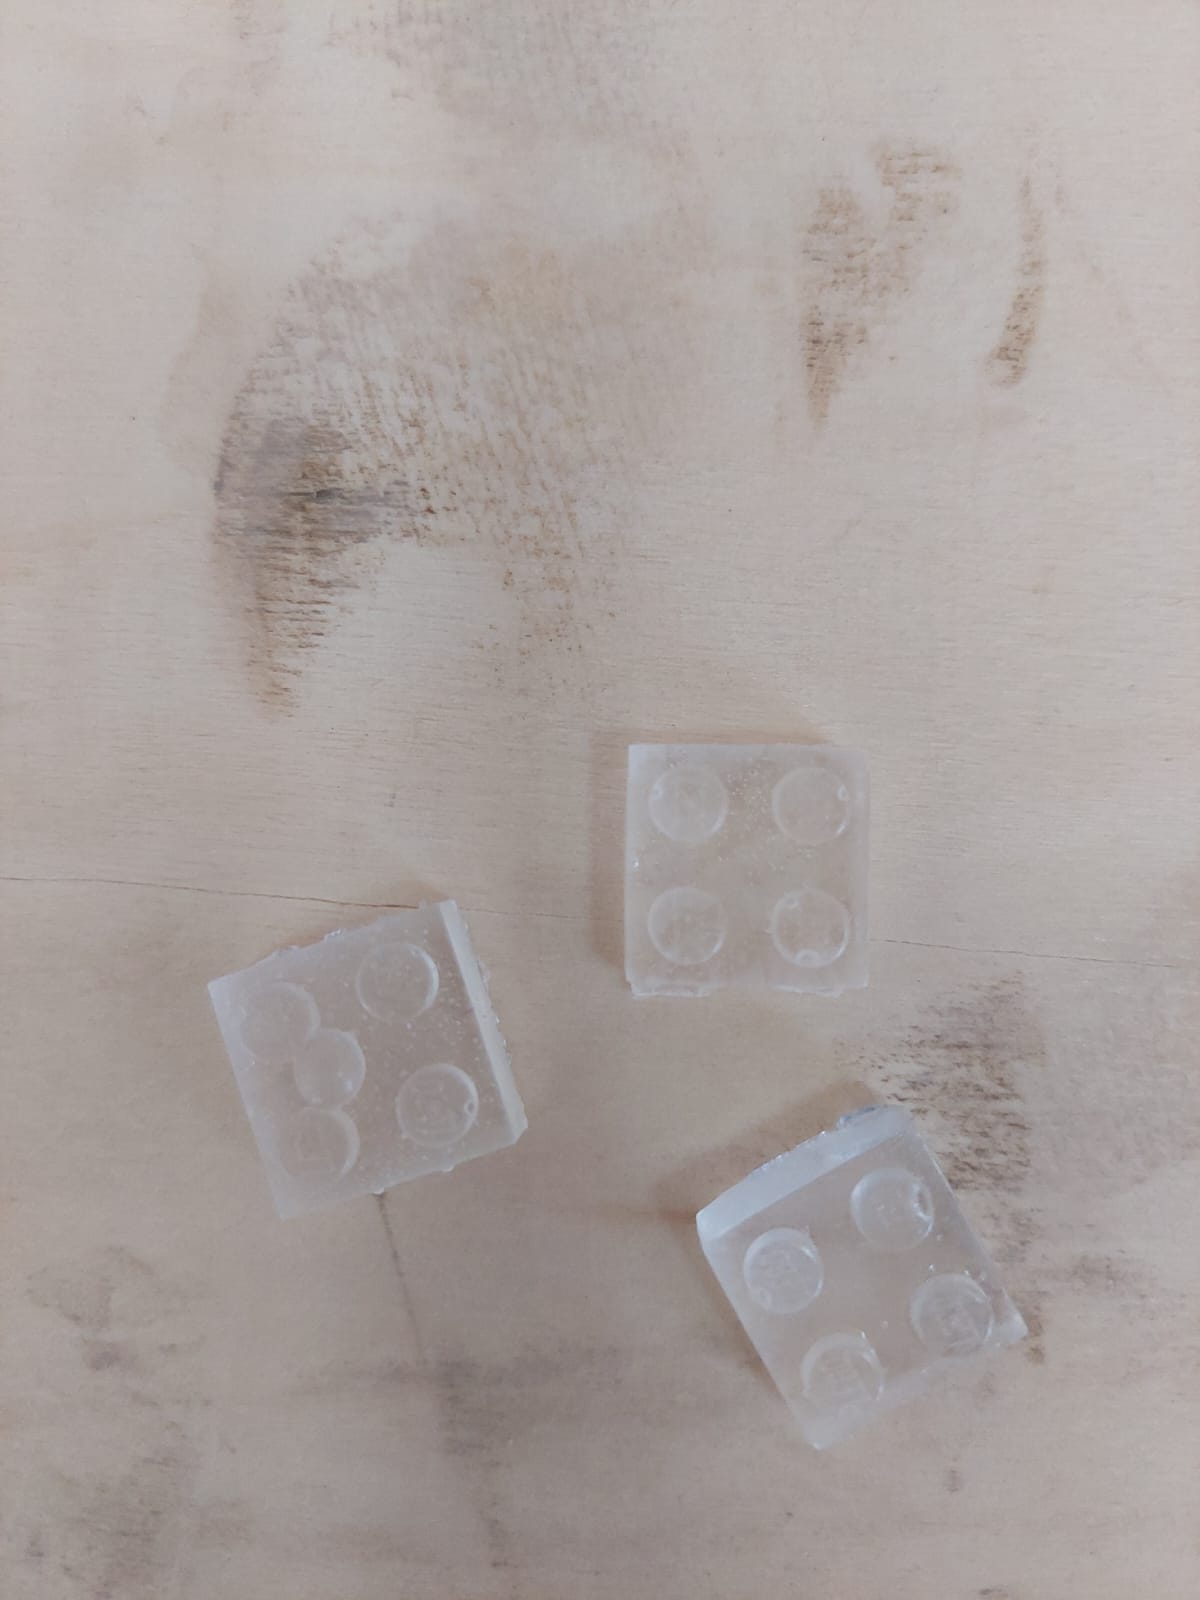
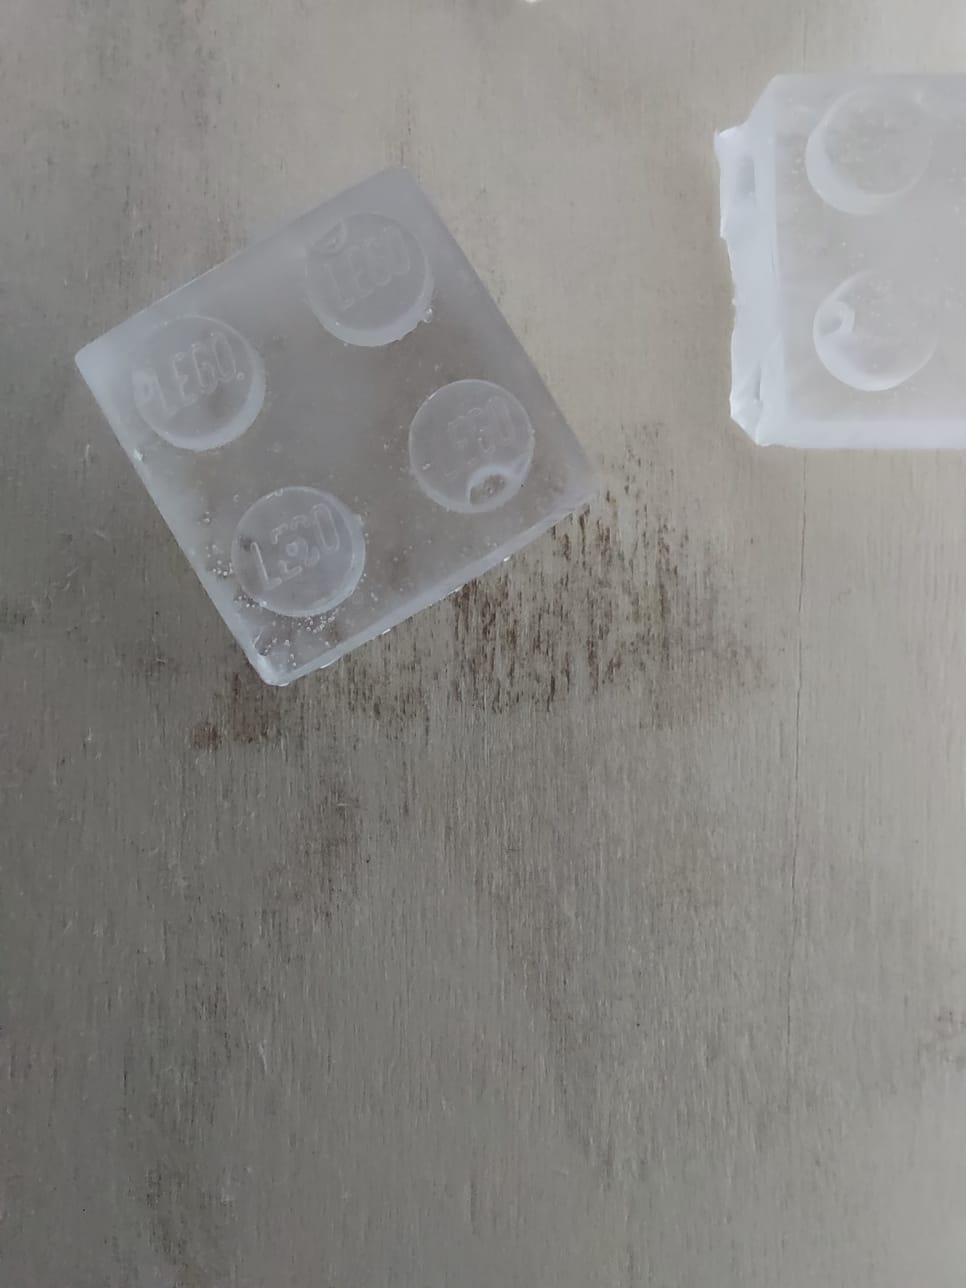
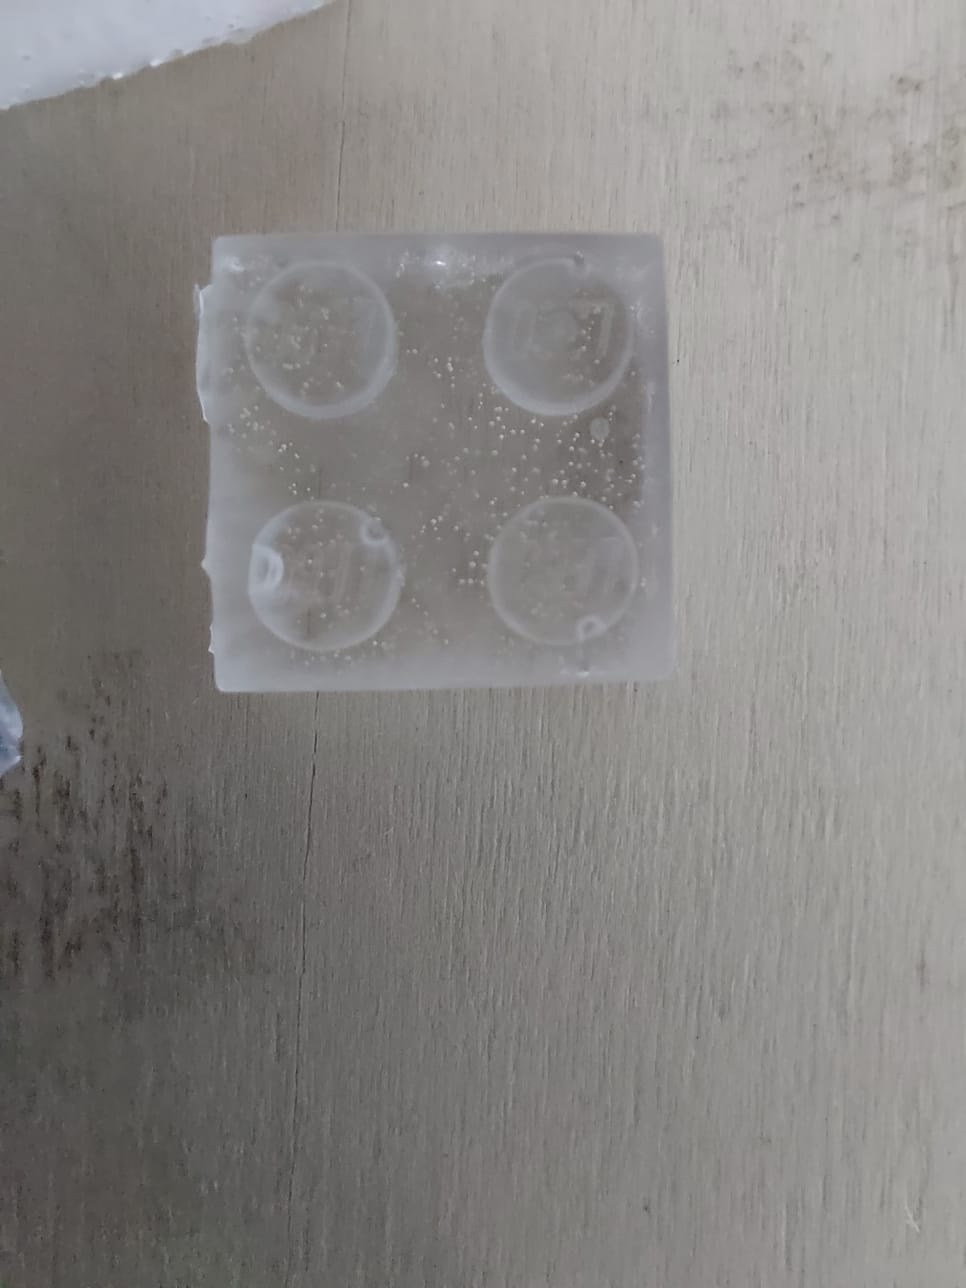
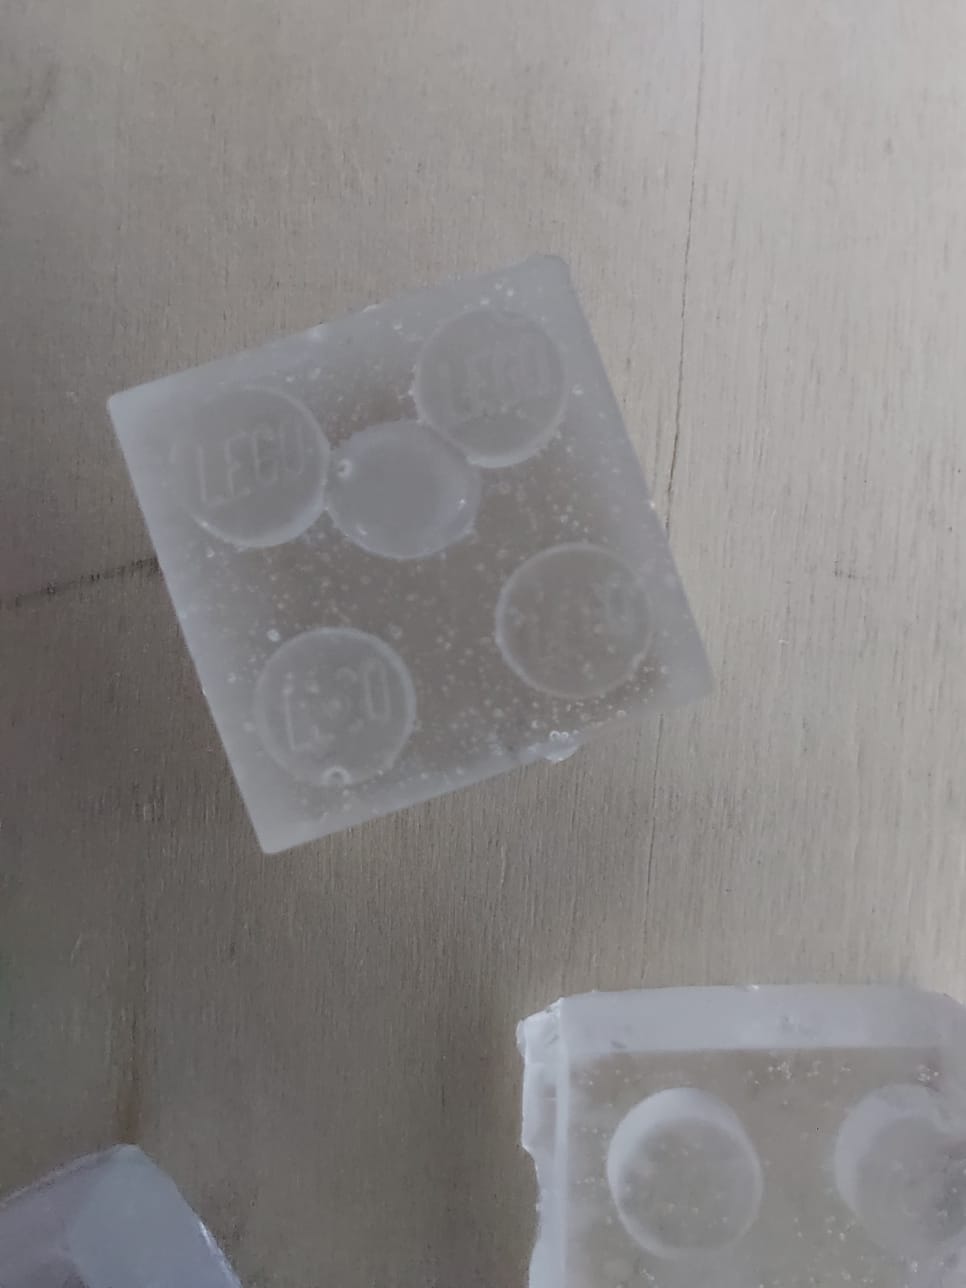
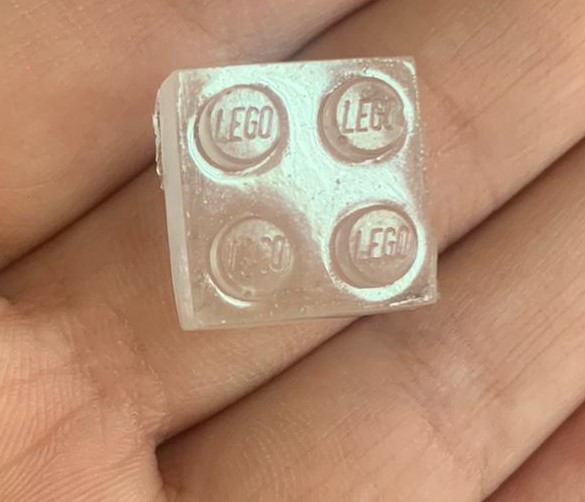
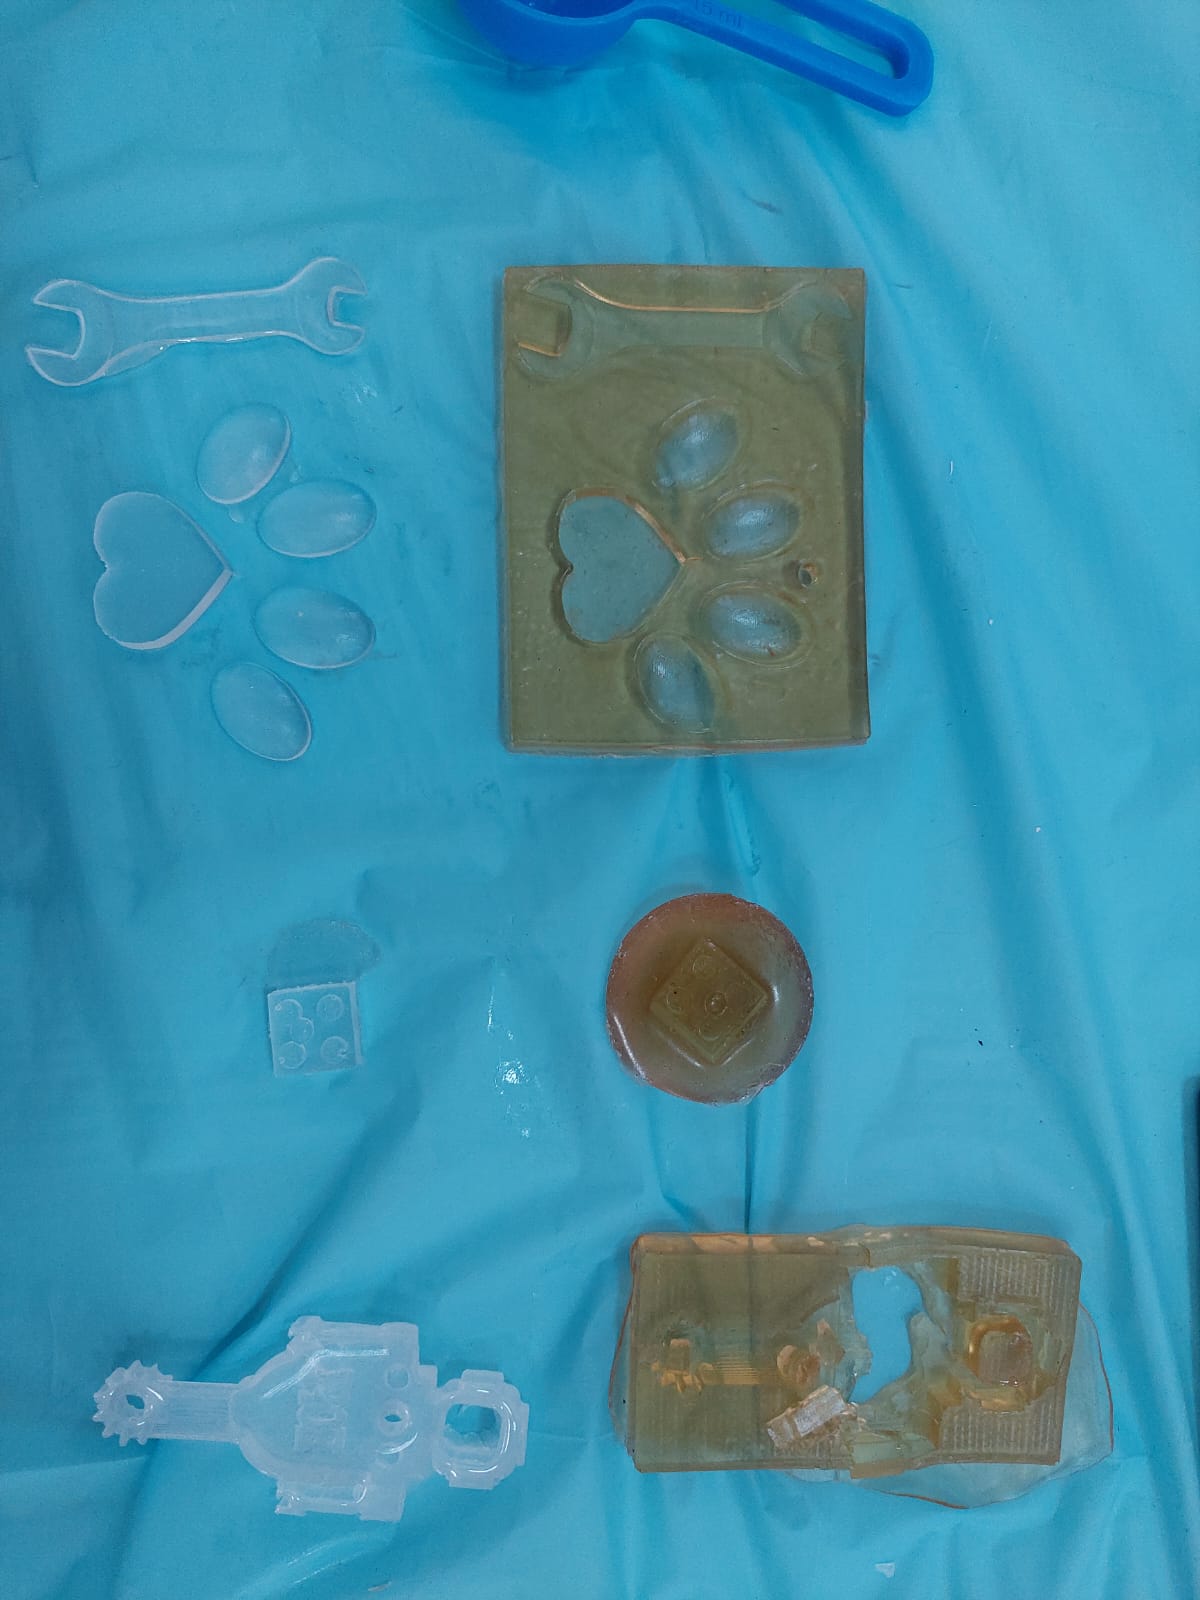
We did this recipe again (same as 1.3.3.1 Batch B) but this time we used different amounts. One of the product was very good which had the details of the LEGO cube (the small dot), while the other product showed some of the details of the LEGO cube (the LEGO word). We will try to cast a material to test both
| Water (mL) | Gelatin (g) | glycerine (mL) |
|---|---|---|
| 40 | 8 | 48 |
- We added the ingredients to the pot and mixed.
- We added it to the frame.
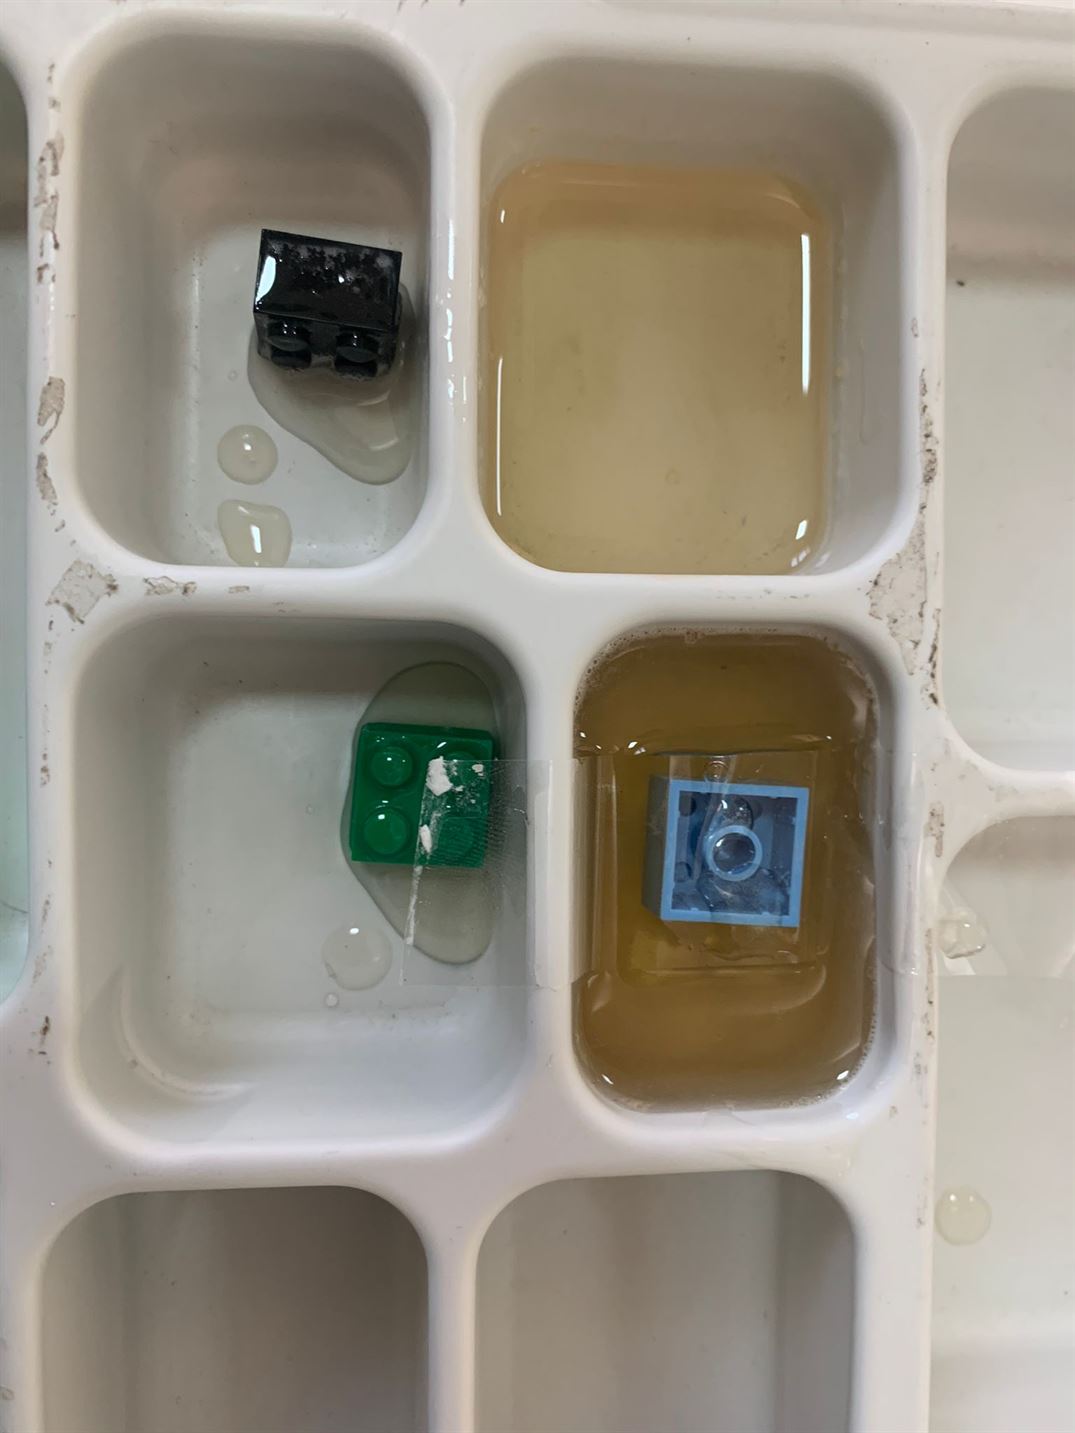
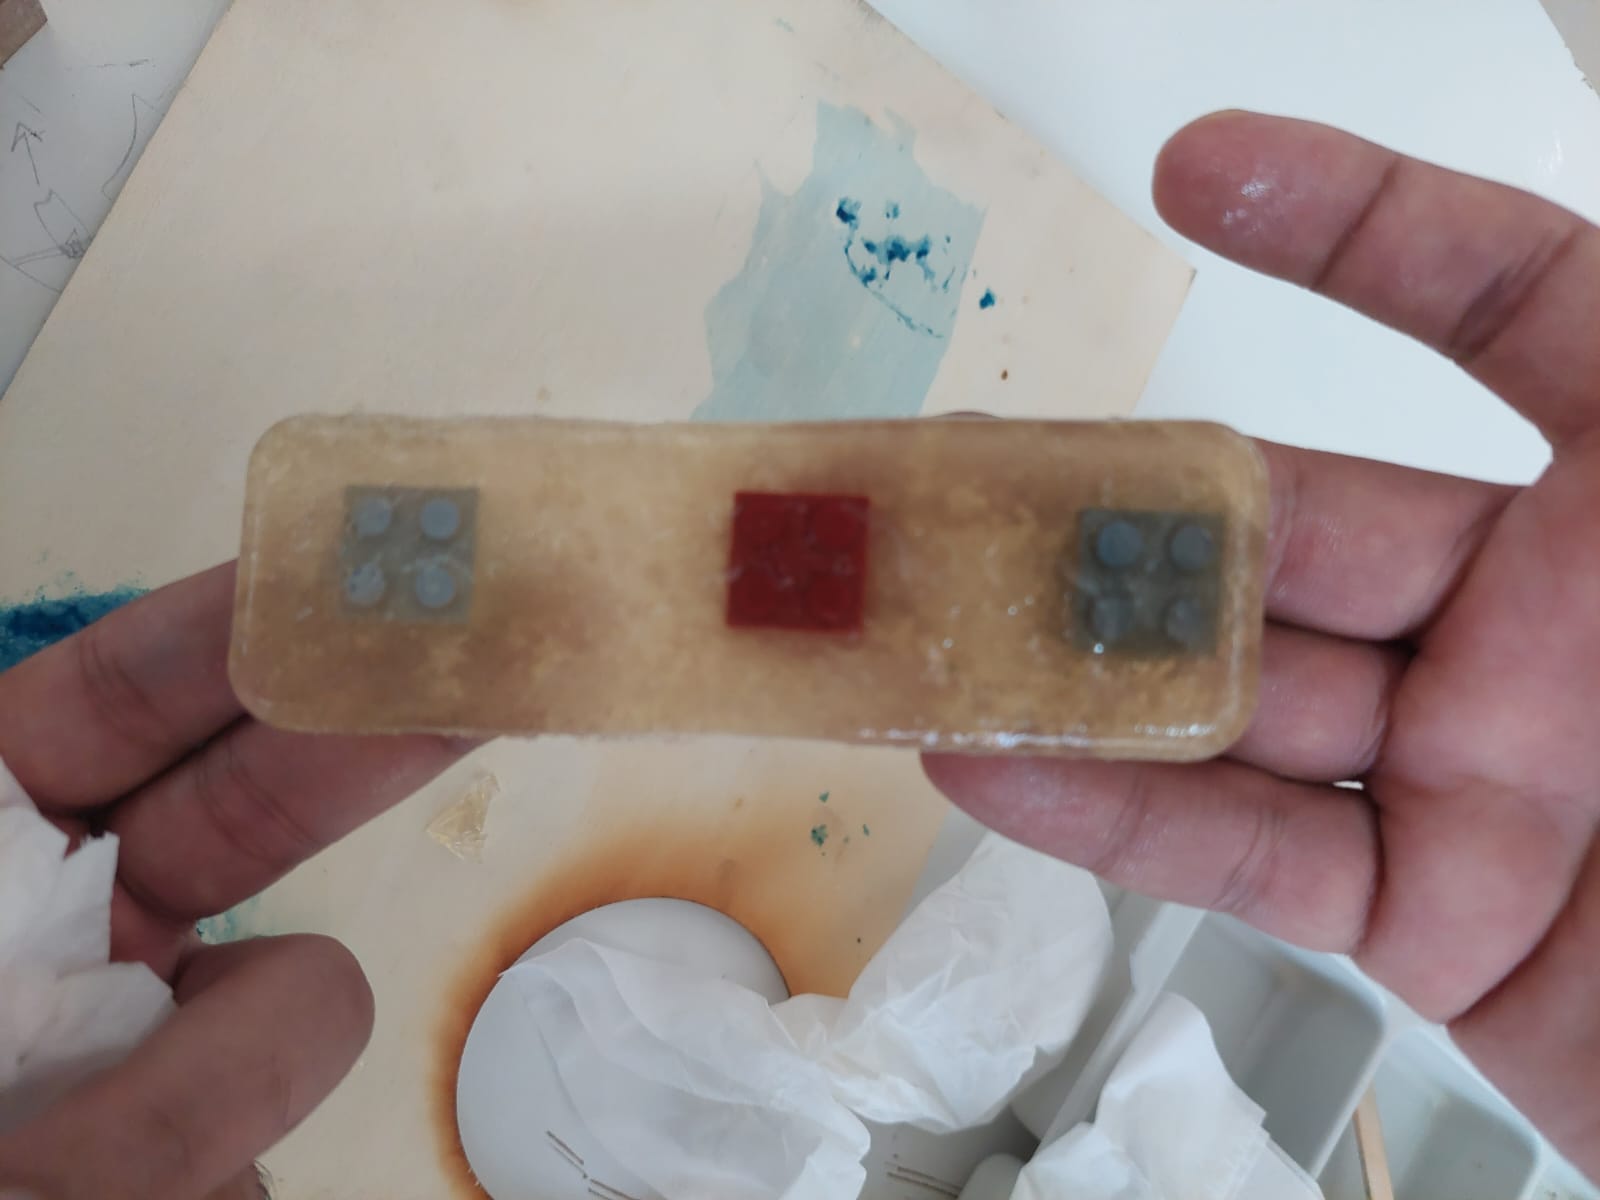
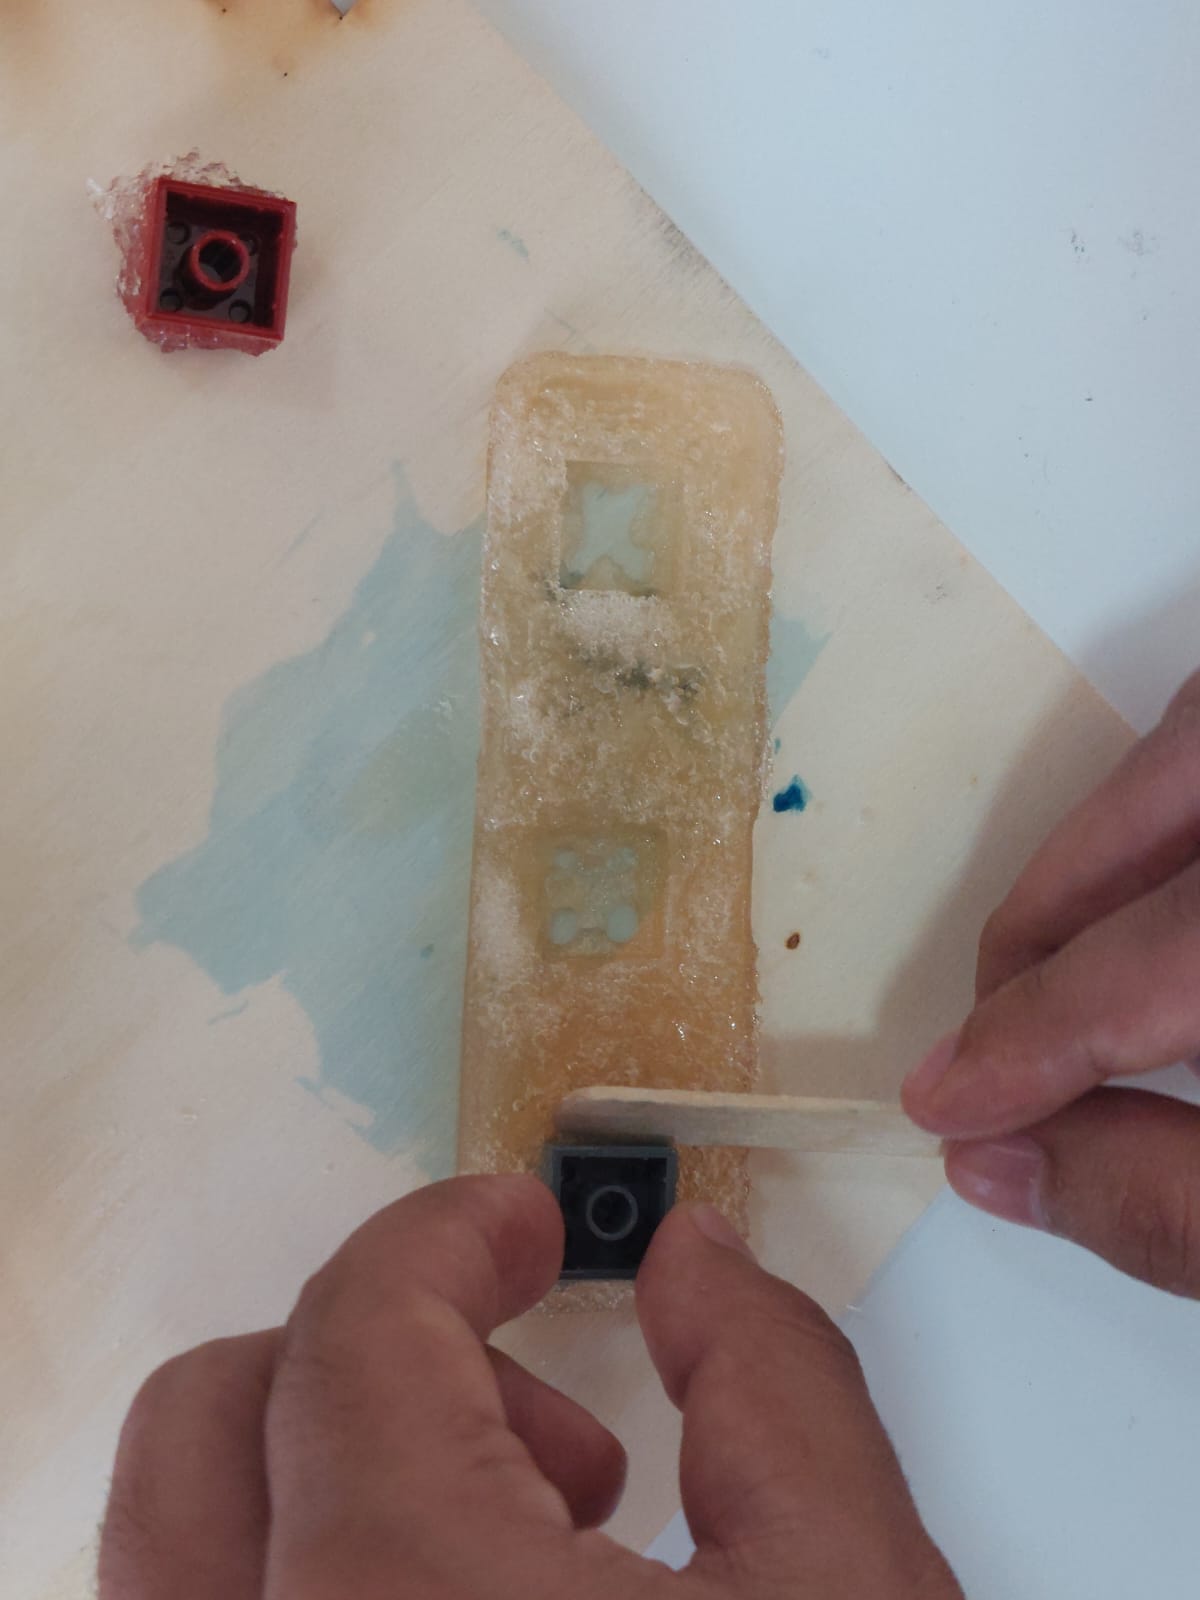
- The product after removing it from the frame.

- The product was flexible.
1.3.3.3 Batch C
We did this recipe again (same as 1.3.3.1 Batch B) but this time we used the same amounts as shown in the video, and we used sunflower oil because the glycerine was finished. The product was too oily and it broke once we removed the LEGO cube.
| Water (mL) | Gelatin (g) | Sunflower oil (mL) |
|---|---|---|
| 20 | 4 | 24 |
- We added it to the frame.
- The product after removing it from the frame.
1.3.4 Corn Starch + Wax
We did this recipe again but this time we added the wax. After keeping in in the frame for 3 days, the product is still in liquid state, maybe it was because we added the wax which is not a part of the original recipe.
| Glycerine (g) | Water (mL) | Vinegar (mL) | Corn Starch (g) | Wax (g) |
|---|---|---|---|---|
| 0 | 80 | 15 | 1.6 | 5.5 |
- We added the ingredients to the pot.
- We mixed the ingredients.
- We added the wax.
- We mixed it on the hotplate.
- We added it to the frame.
- The product after 3 days.
1.3.5 Agar Agar foam
We tried to make this recipe but we did a mistake when we were preparing it. We should have added the soap after we boiled the other ingredients but we added it before boiling. We also used sunflower oil in this recipe instead of glycerine because it was finished.
| Sunflower oil (g) | Agar (g) | Water (mL) | Soap (mL) |
|---|---|---|---|
| 2.7 | 1.6 | 40 | 6 |
- We weighed the ingredients.
- We added the ingredients to the pot.
- We mixed the ingredients.
- We added it to the frame.
- The product after removing it from the frame.
Week 2
I read more about biobased plastics and biocomposites. I read some chapters from Handbook of Bioplastics and Biocomposites Engineering Applications by Srikanth Pilla.
I worked in some bioplastic recipes with my partners too.
2.1 Biocomposites
2.1.1 Biobased plastics
Biobased plastics are
- Renewable.
- Sustainable.
- Biodegradable.
2.1.2 Bioplastics
Bioplastics help
- Reduce dependency on petroleum-based polymers.
- Reduce the accumulation of persistent plastic waste.
- Better control the emission of C02 in the environment.
2.1.3 Biocomposites
Biocomposites
- Can substitute for petroleum based composites
- Provide equivalent strength to weight ratios
Biocomposites made from bioplastics and natural fibers (green composites) such as
- Hemp
- Wood
- Kenaf
- Coir
- Sisal
- Grasses
Biocomposites are
- 100% biobased
- Provide end-of-life options such as biodegradability
2.1.4 Bioplastic types
- Polylactic acid (PLA)
- Polyhydroxybutyrate (PHB)
- Soy based plastics
- Cellulose polyesters
- Starch based bioplastics
- Vegetable oil derived bioplastics
- Poly (trimethylene terephthalate)
- Biopolyethylene
2.1.5 Improve the properties of polymer composites (biocomposites)
In general, adding fillers to polymers will improve properties such as stiffness, strength, gas barrier properties, melt strength, thermal stability, etc.
2.1.6 Advantages of natural fillers
- Renewable nature
- Low cost, low density
- Low energy consumption
- High specific strength and stiffness
- Carbon dioxide sequestration
- Biodegradability
- Less wear on machinery
2.1.7 Some advantages of biocomposites
- Environment-friendly
- Light-weight
- Low material costs
- High specific properties (natural fibers possess higher specific properties compared to E-glass)
- Carbon dioxide sequestration
- Biodegradability
- Less wear on machinery
2.2 Plastics + Wax (machinable wax)
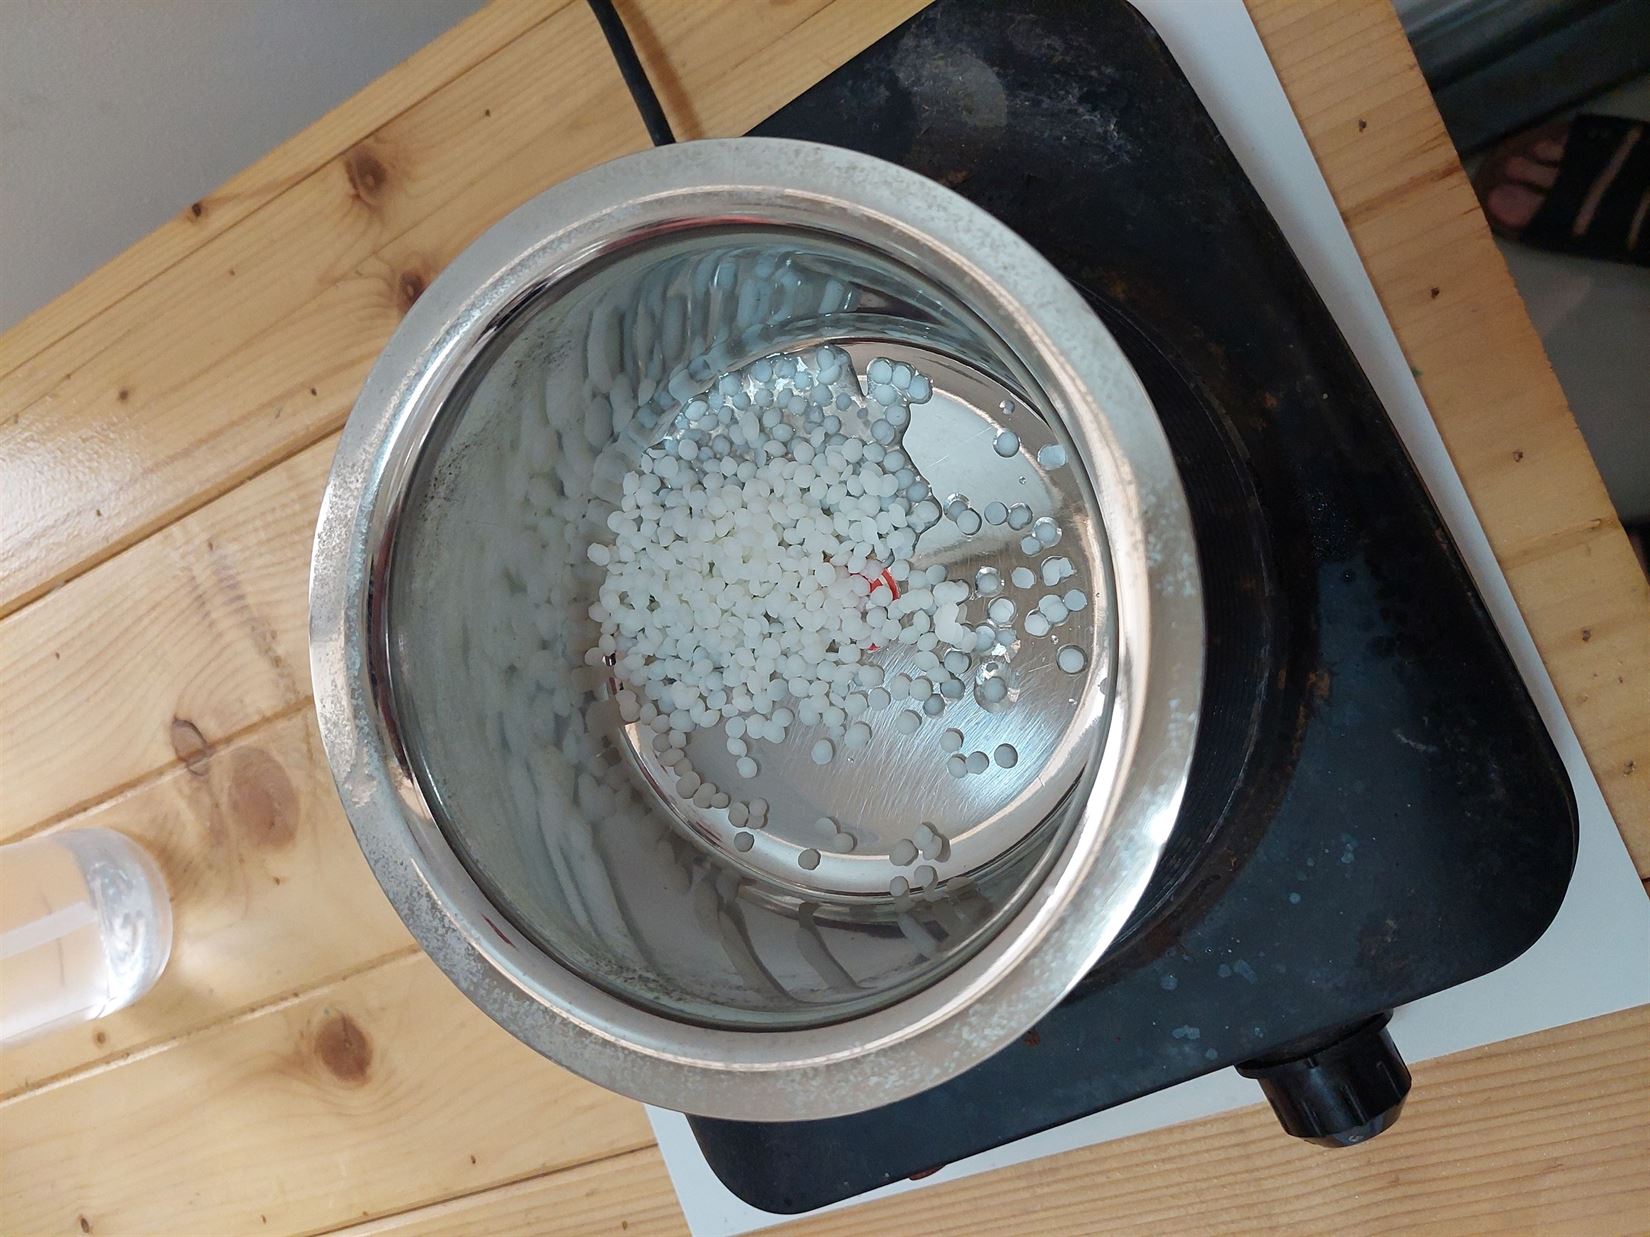
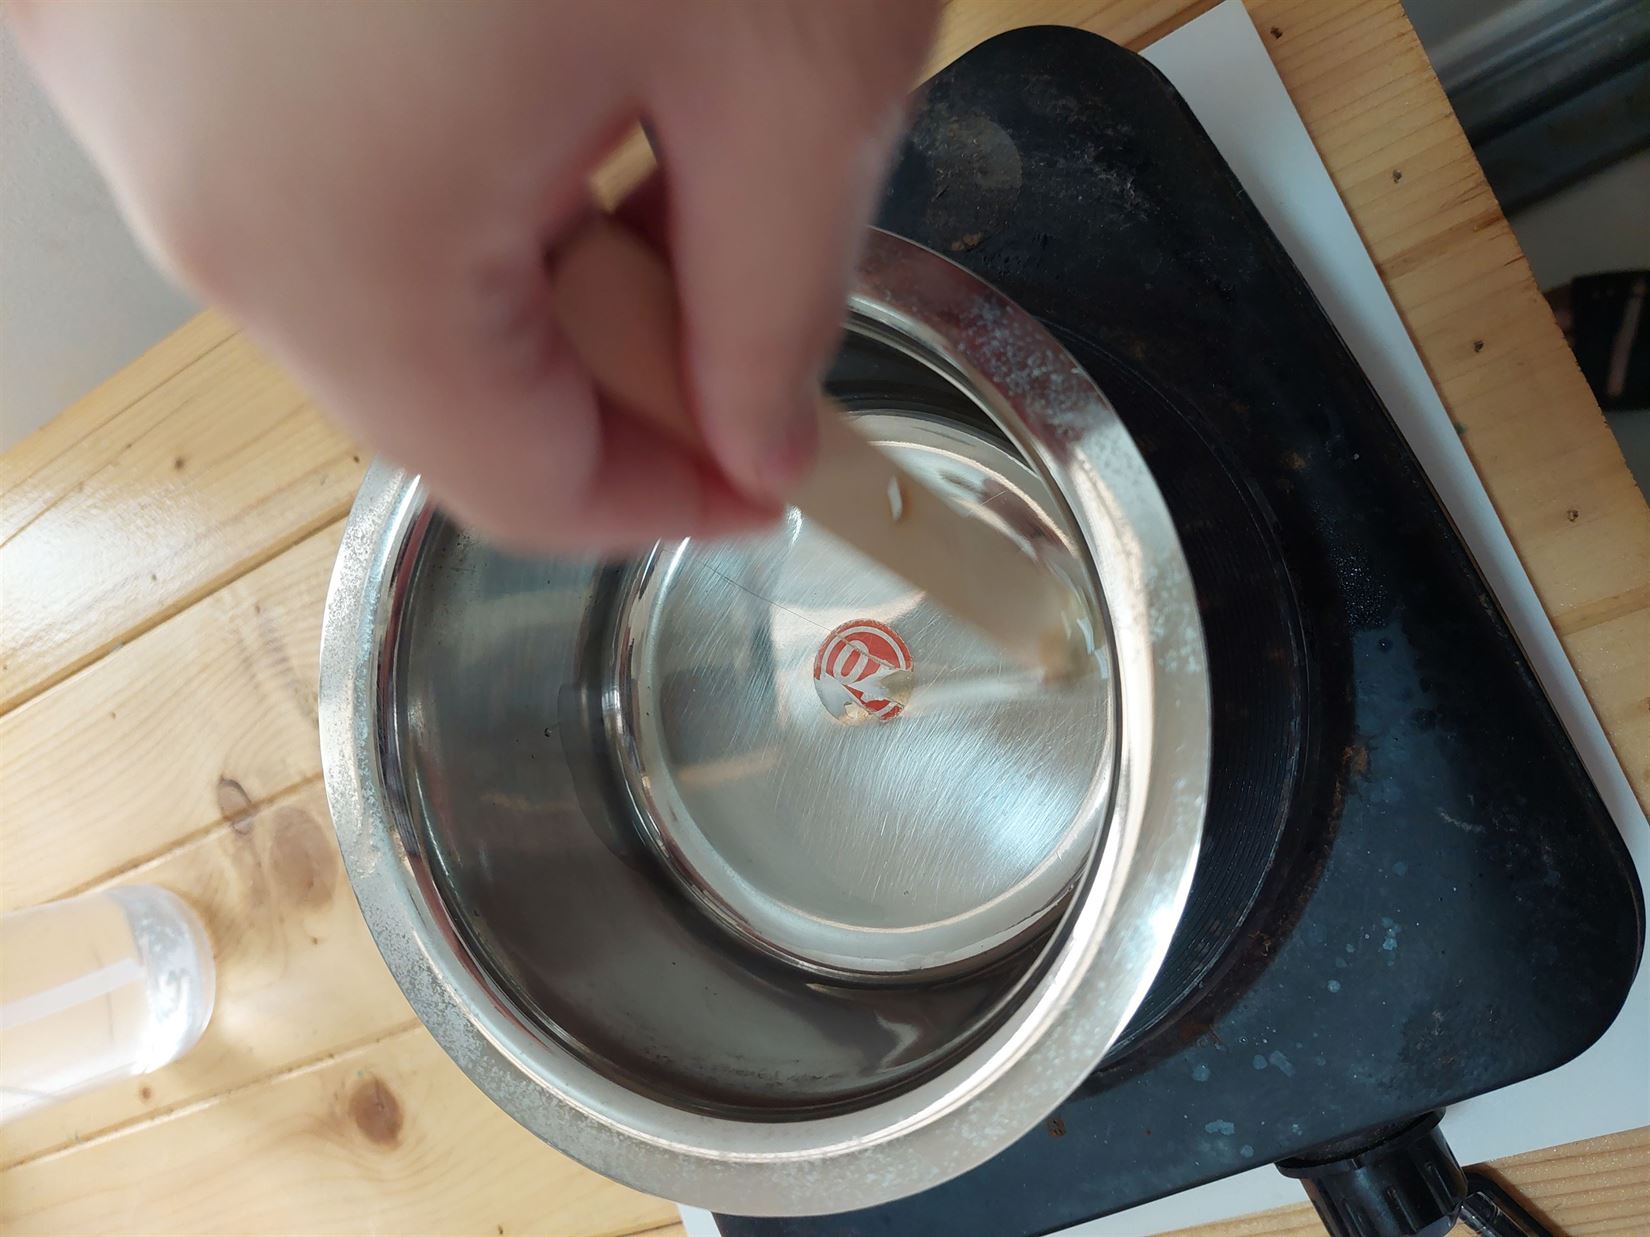
We found an interesting video that make a machinable wax. The person did not mix all the ingredients together to melt, instead he melted the wax separately and then he add the plastic and melt it.
2.3 Recipes
I found an interesting video of making bioplastic using starch.
2.3.1 Corn Starch
| Corn Starch (g) | Vinegar (mL) | Water (mL) | Wax (mL) |
|---|---|---|---|
| 1.6 | 15 | 80 | 7.5 |


2.3.2 Agar Agar Foam + Wax
| Agar (g) | Soap (mL) | Water (mL) | Wax (mL) |
|---|---|---|---|
| 1.6 | 6 | 40 | 7.5 |

2.3.3 Corn Starch
| Water (mL) | Corn Starch (g) | Vinegar |
|---|---|---|
| 20 | 1.5 | less than the half of the bottle cup |
- The product was left outside and exposed to the sunlight. It was brittle
2.4 Casting
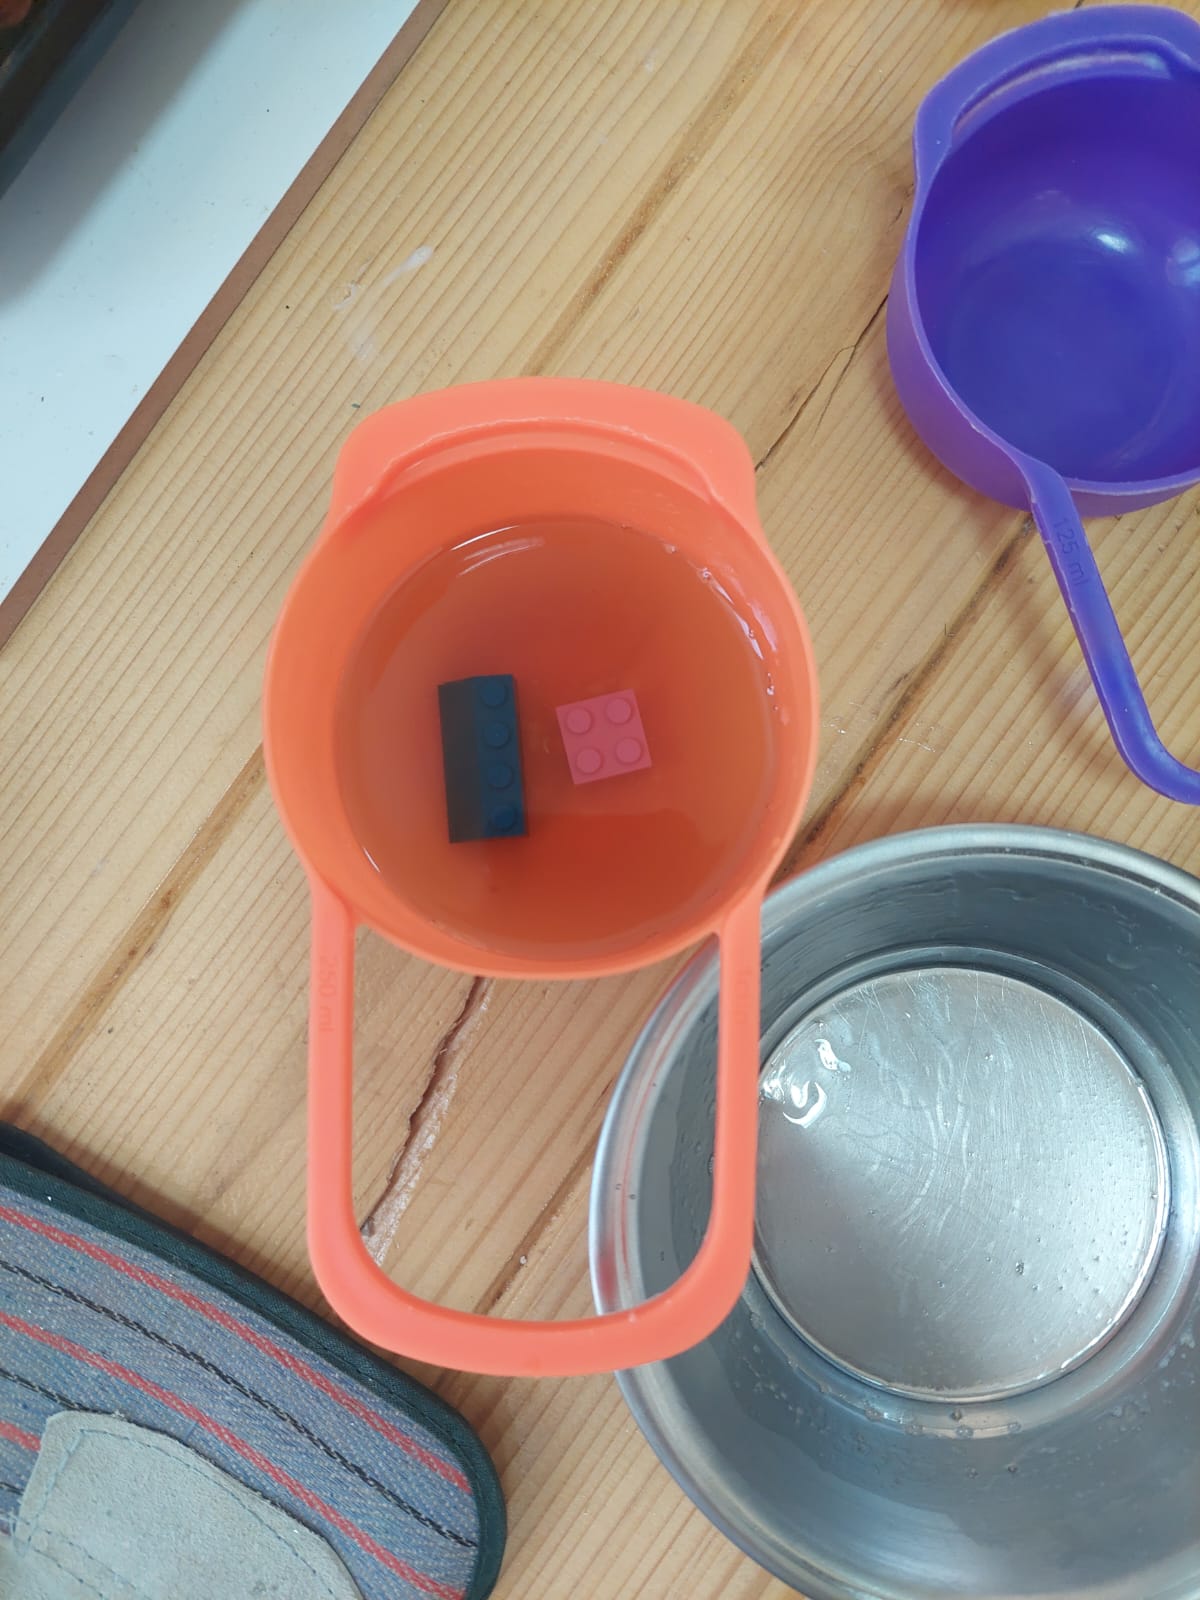
We tried to cast soup to the ReusableMold that we made, you can refer to ReusableMold (1.3.3.2 Batch B).
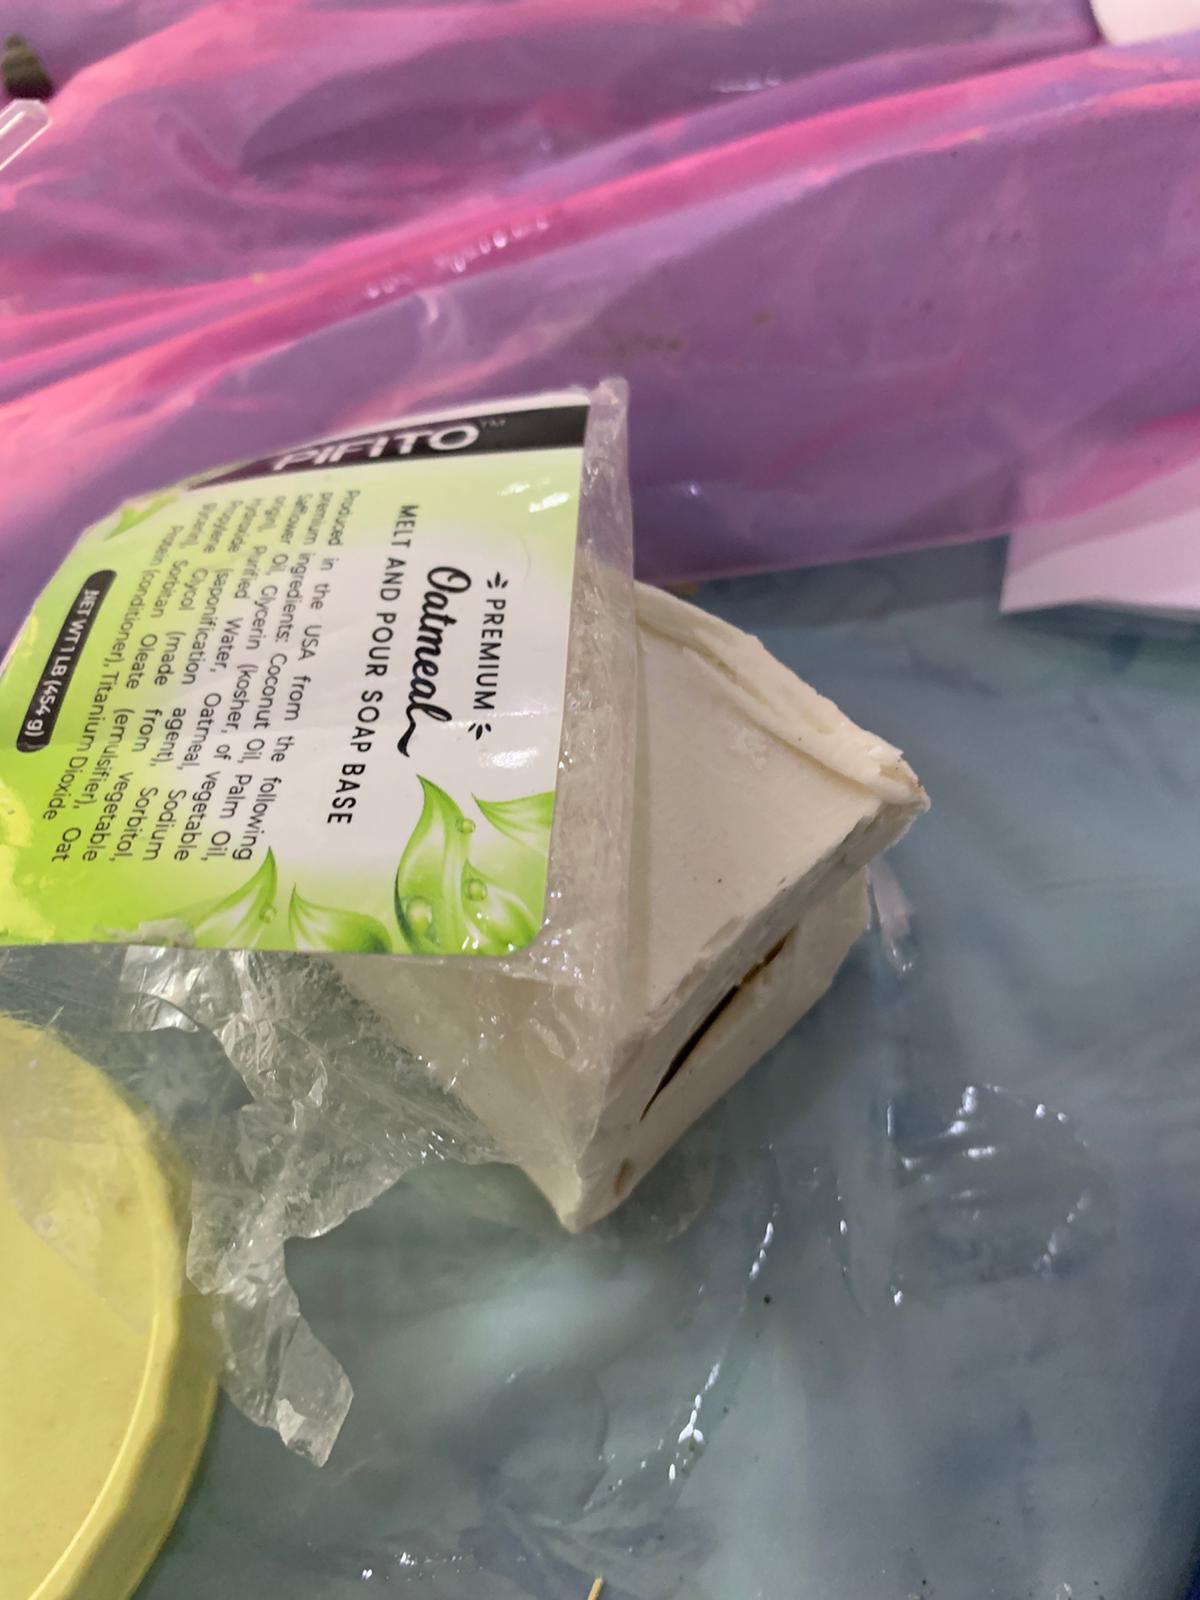
- This is the soup that we used.
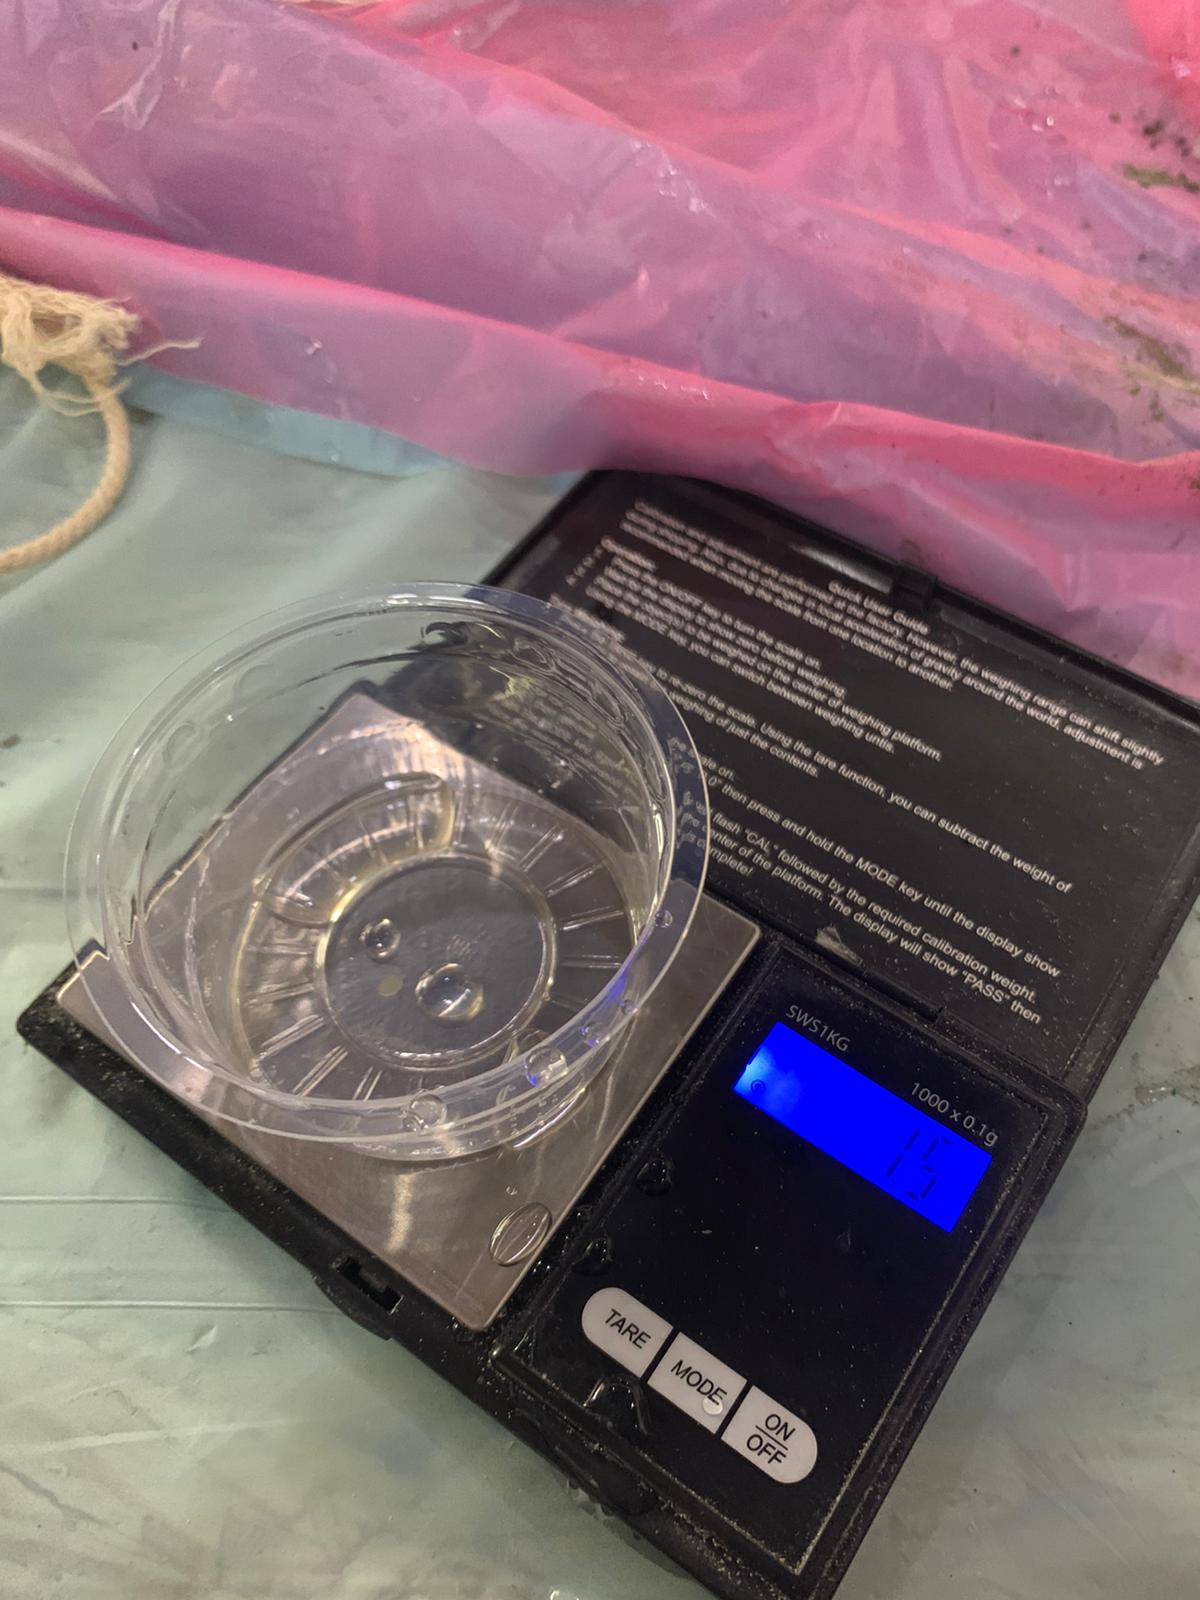
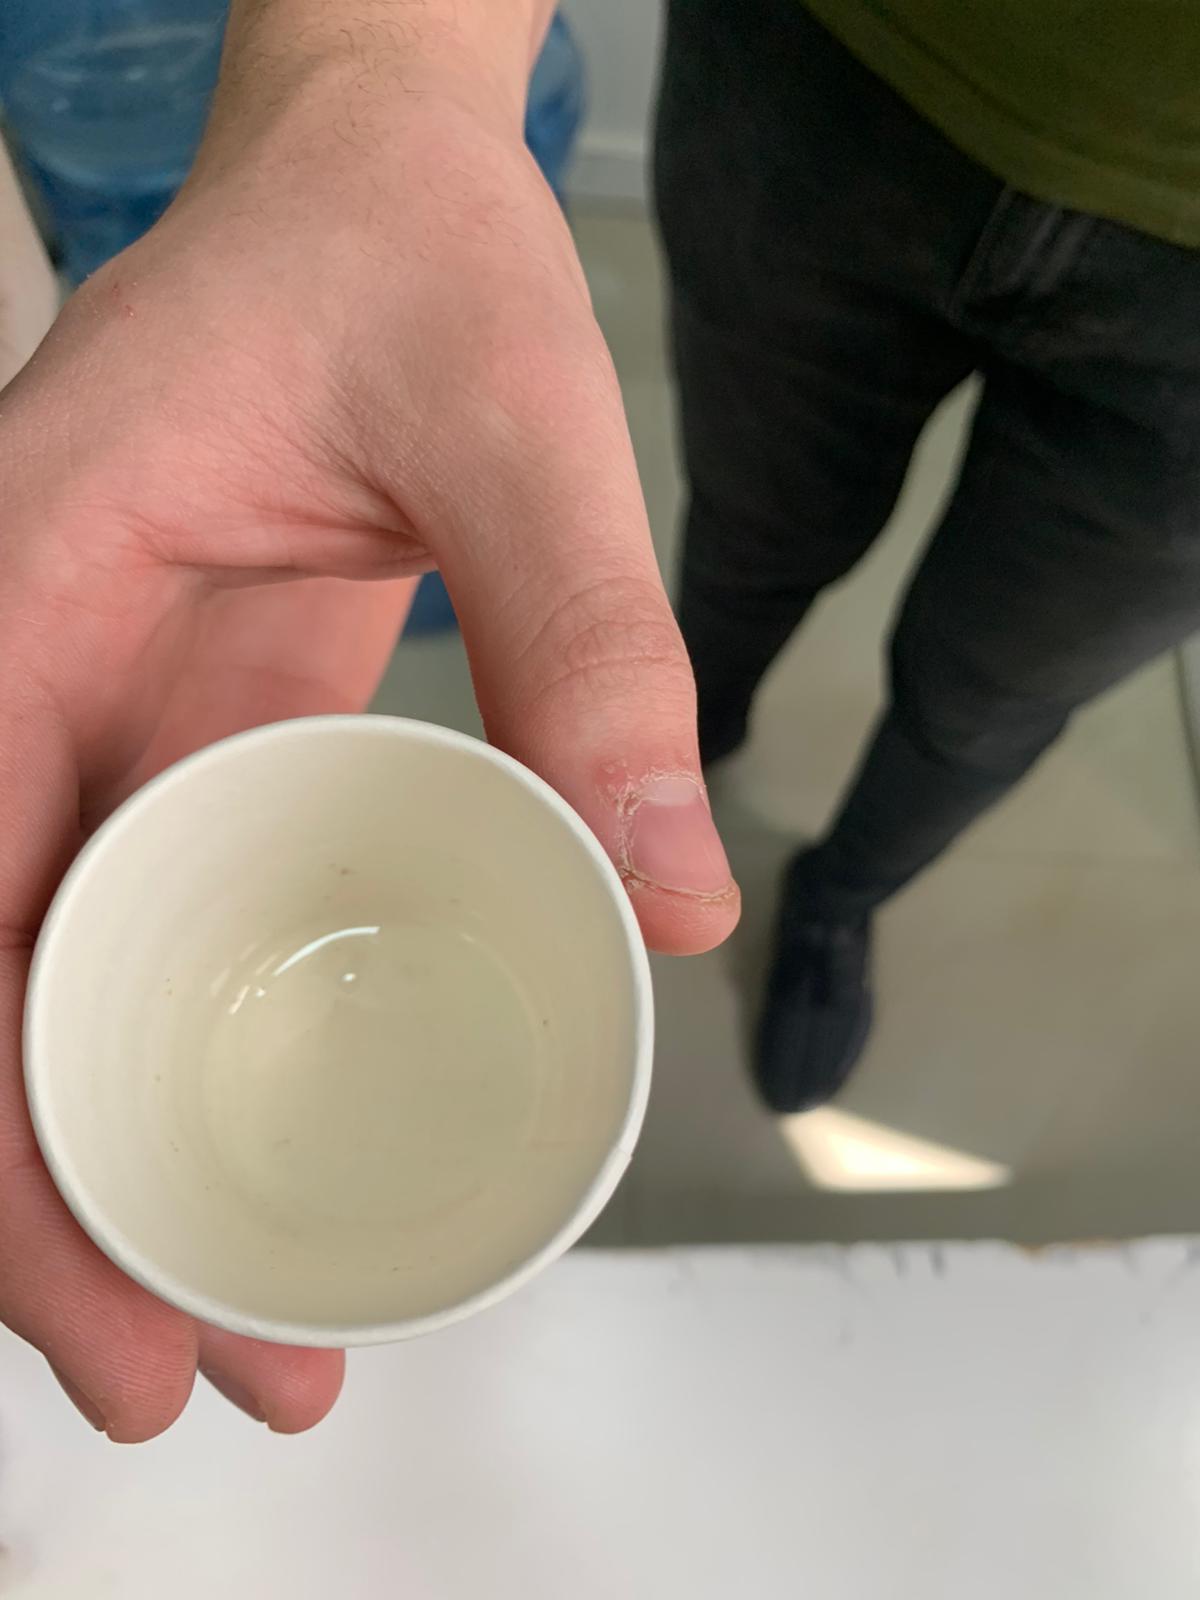
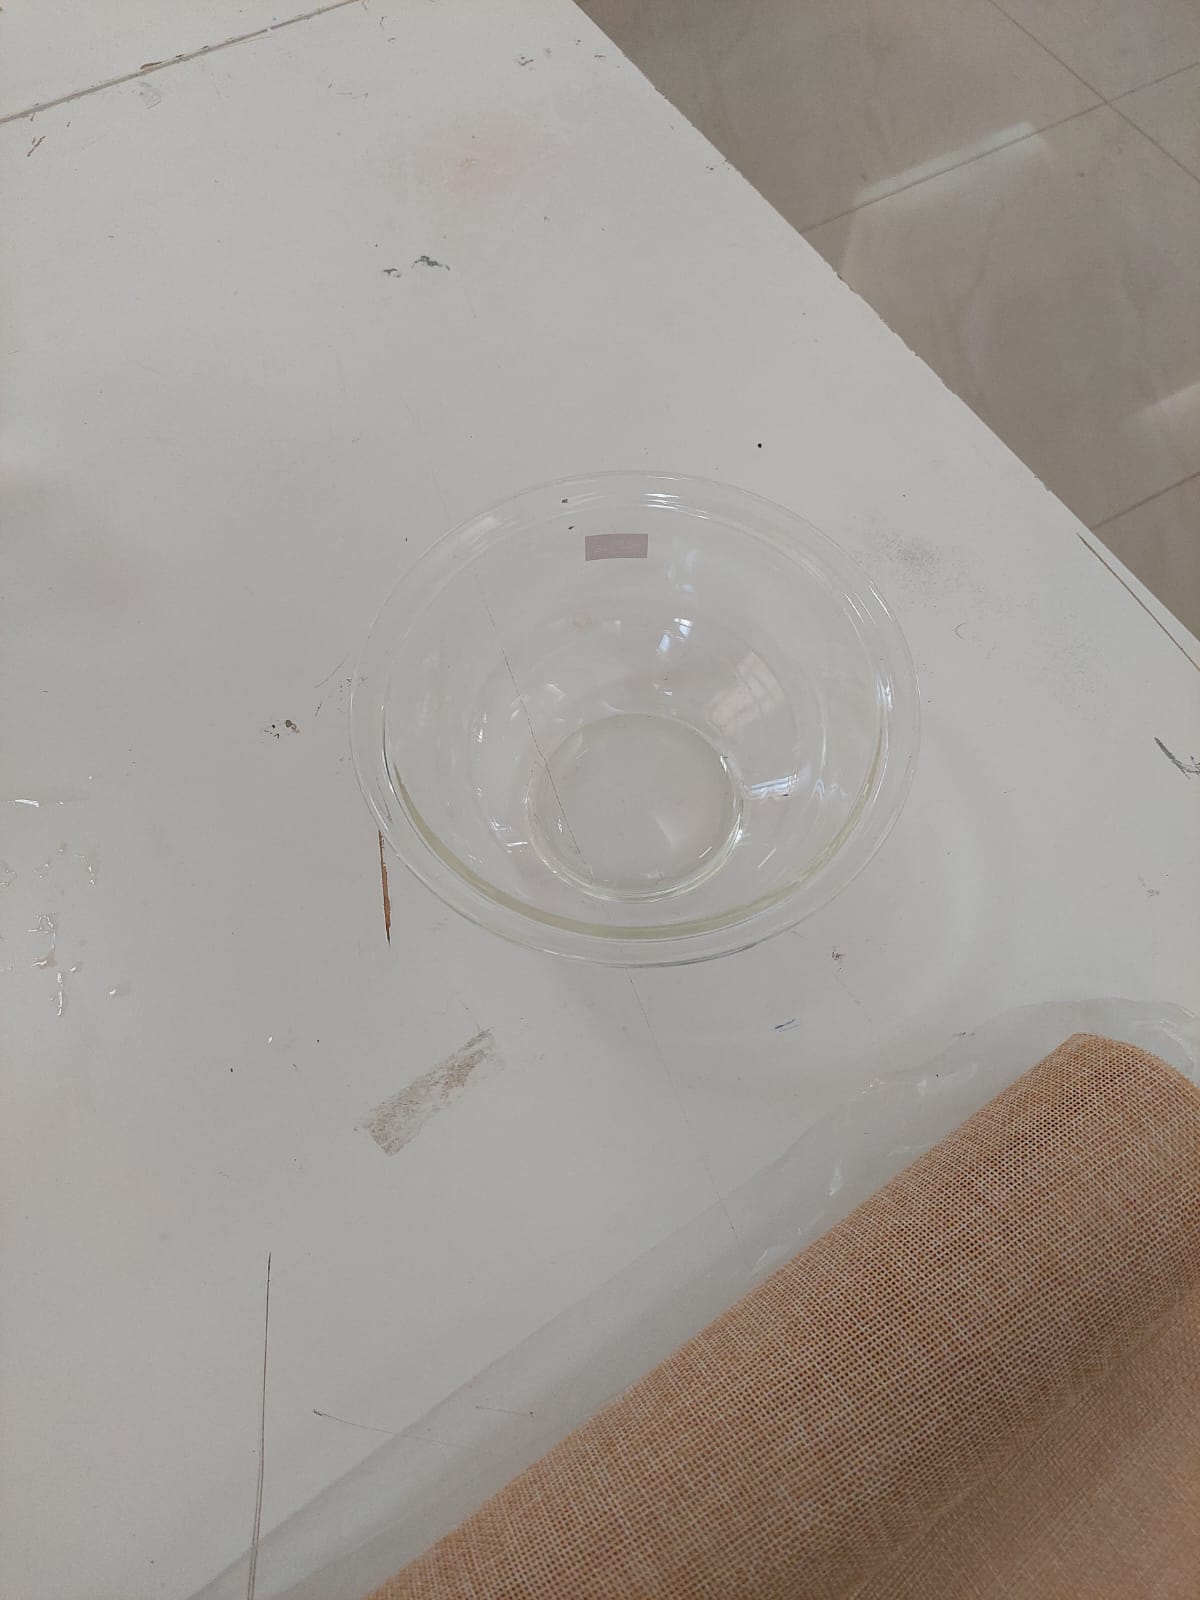
- We weighed some water and pour it in the mold to test the mold in case there are any leaking before pouring the soup.
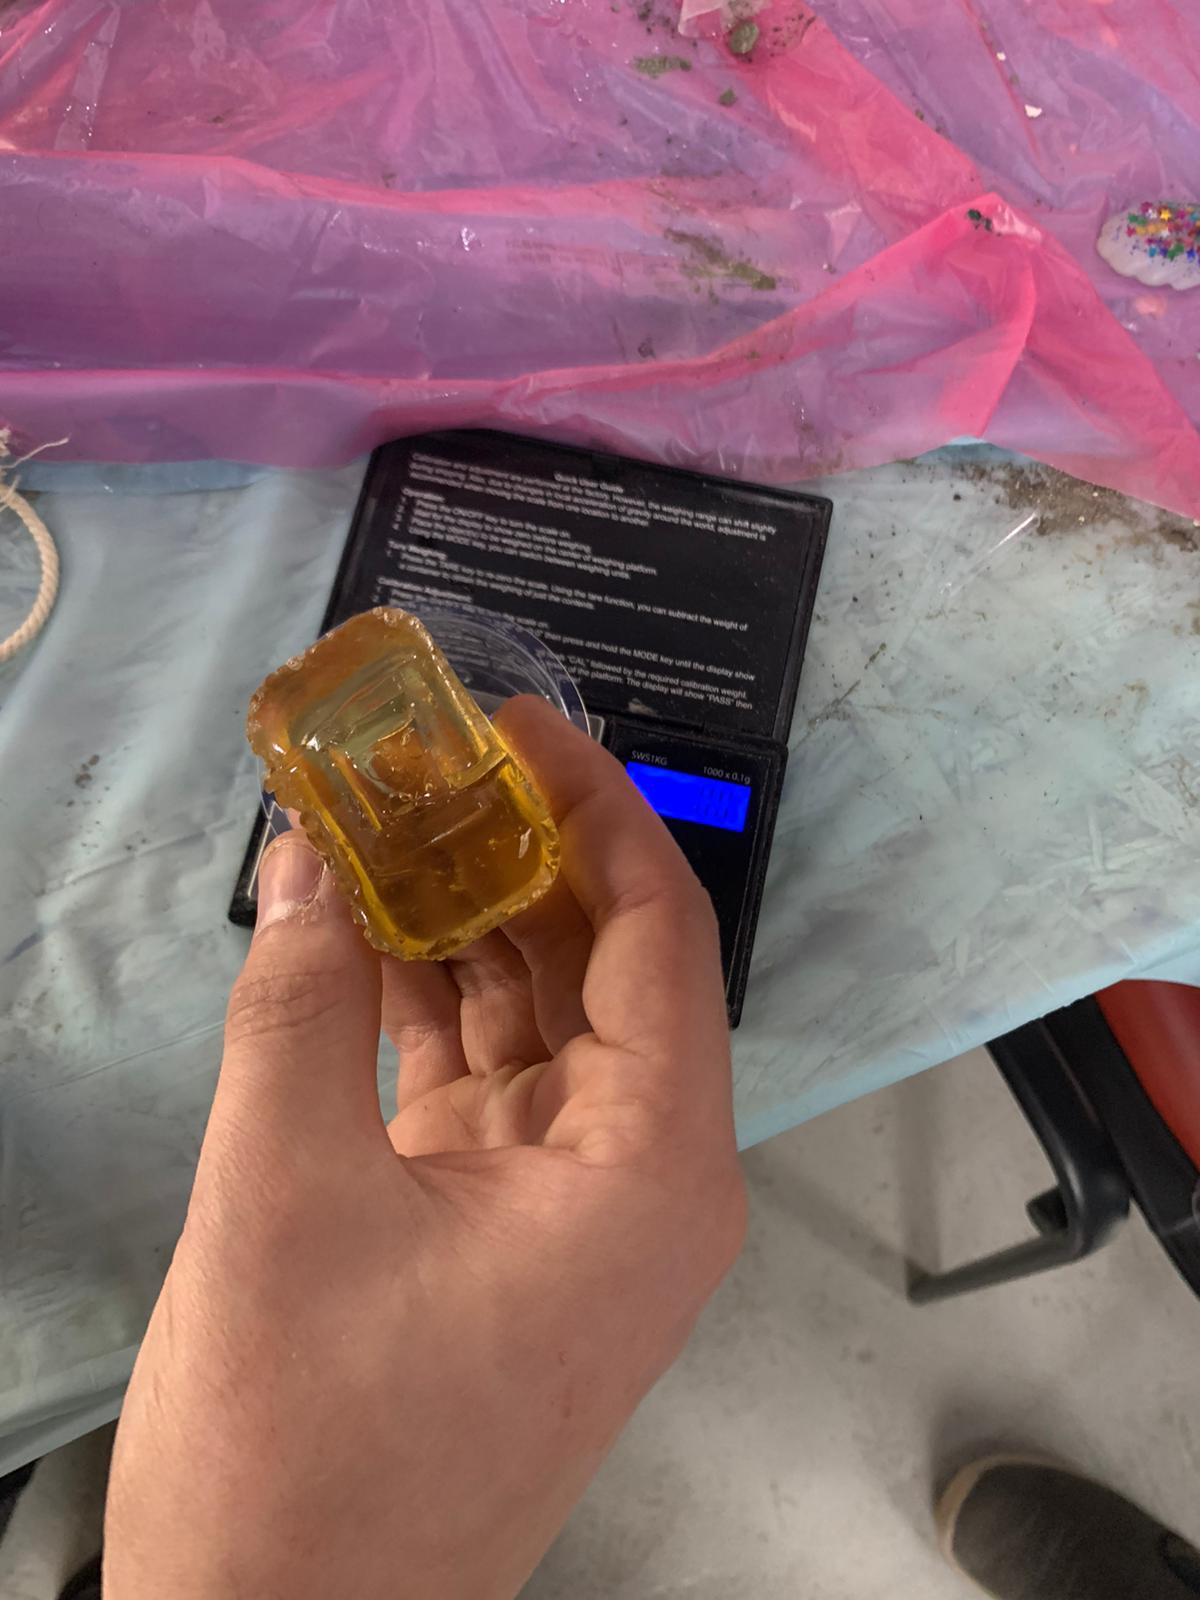
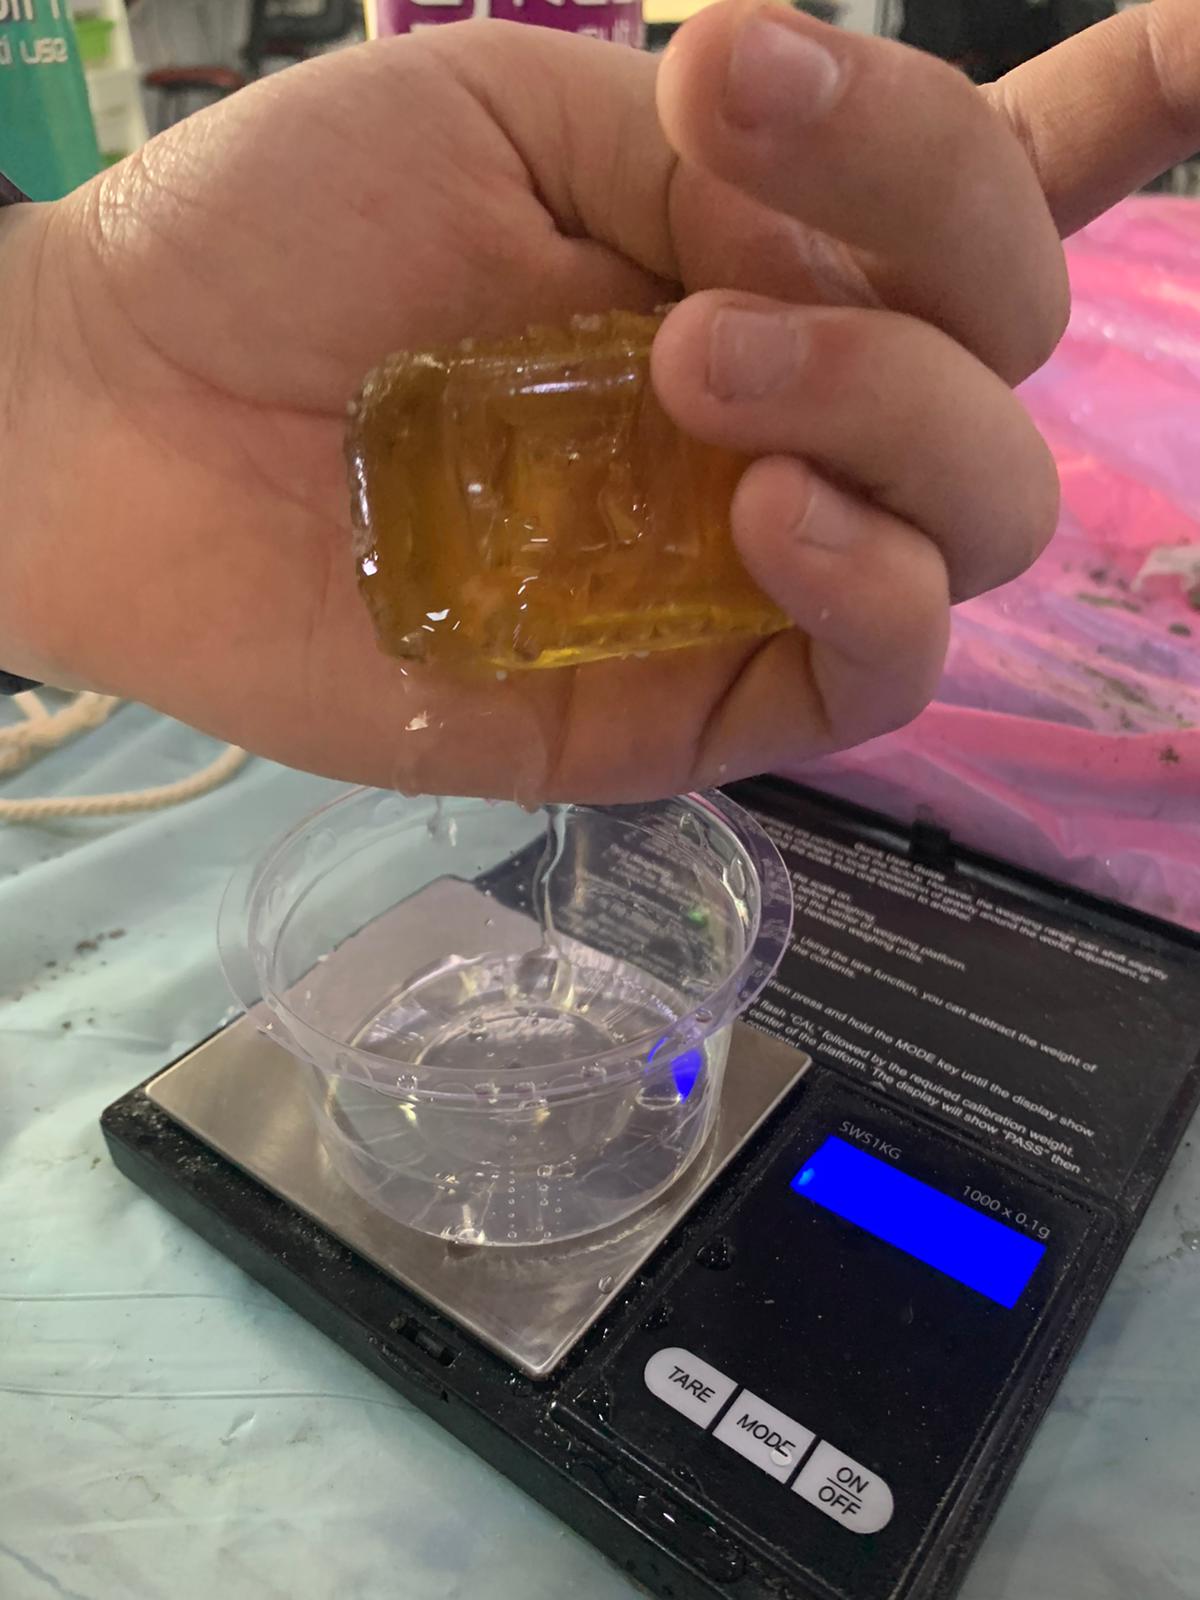
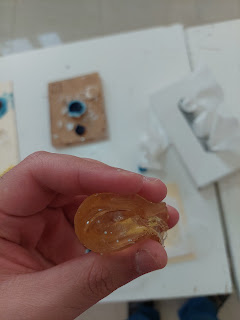
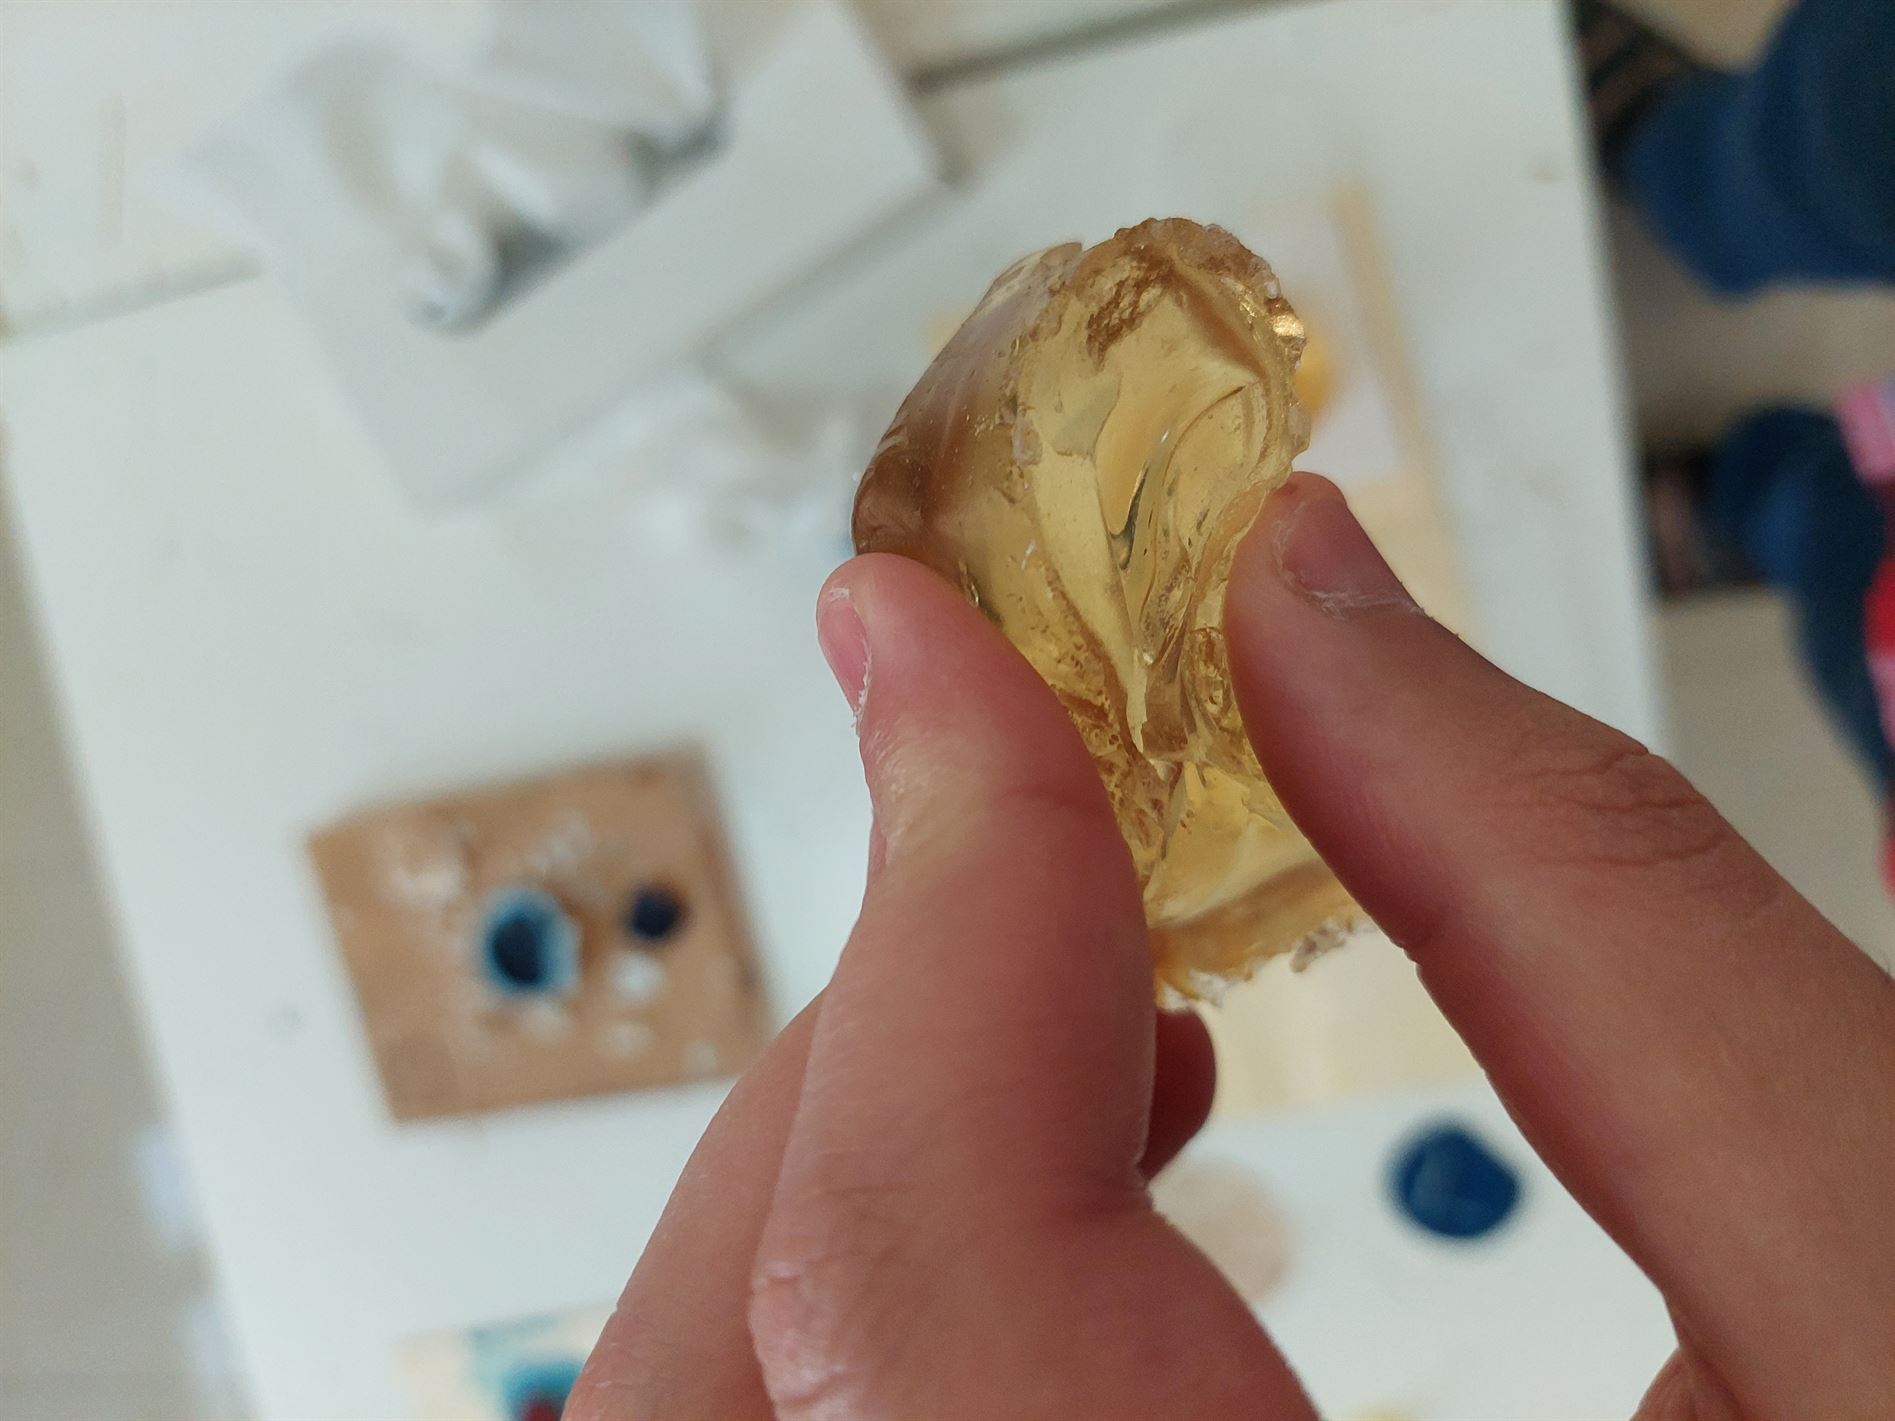
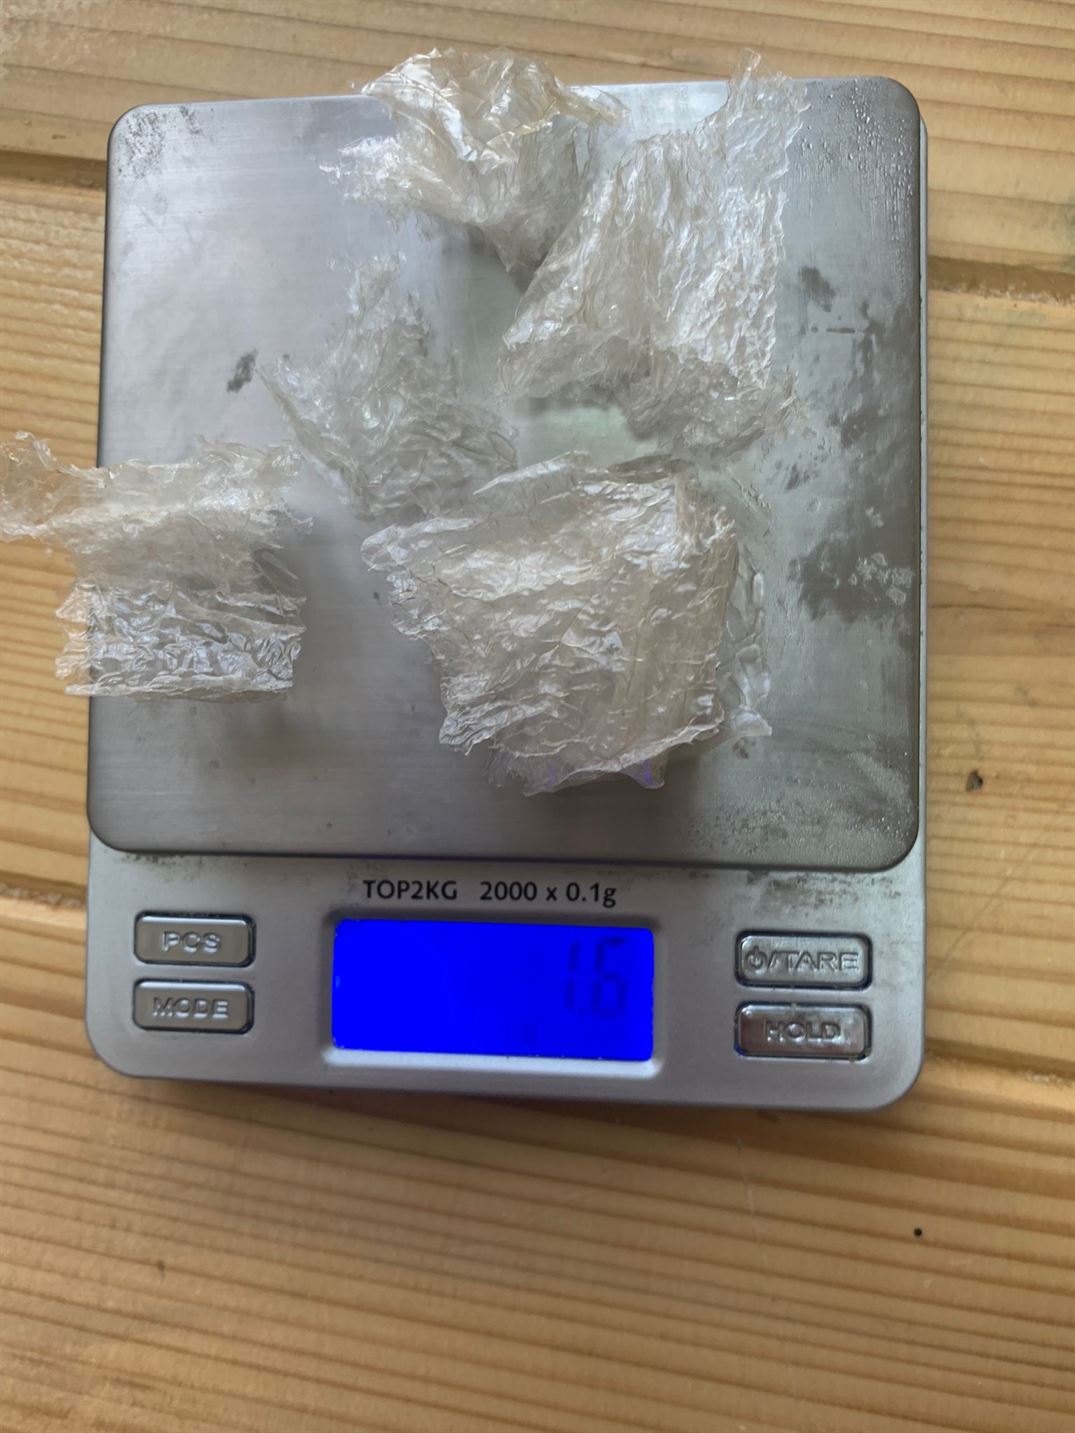
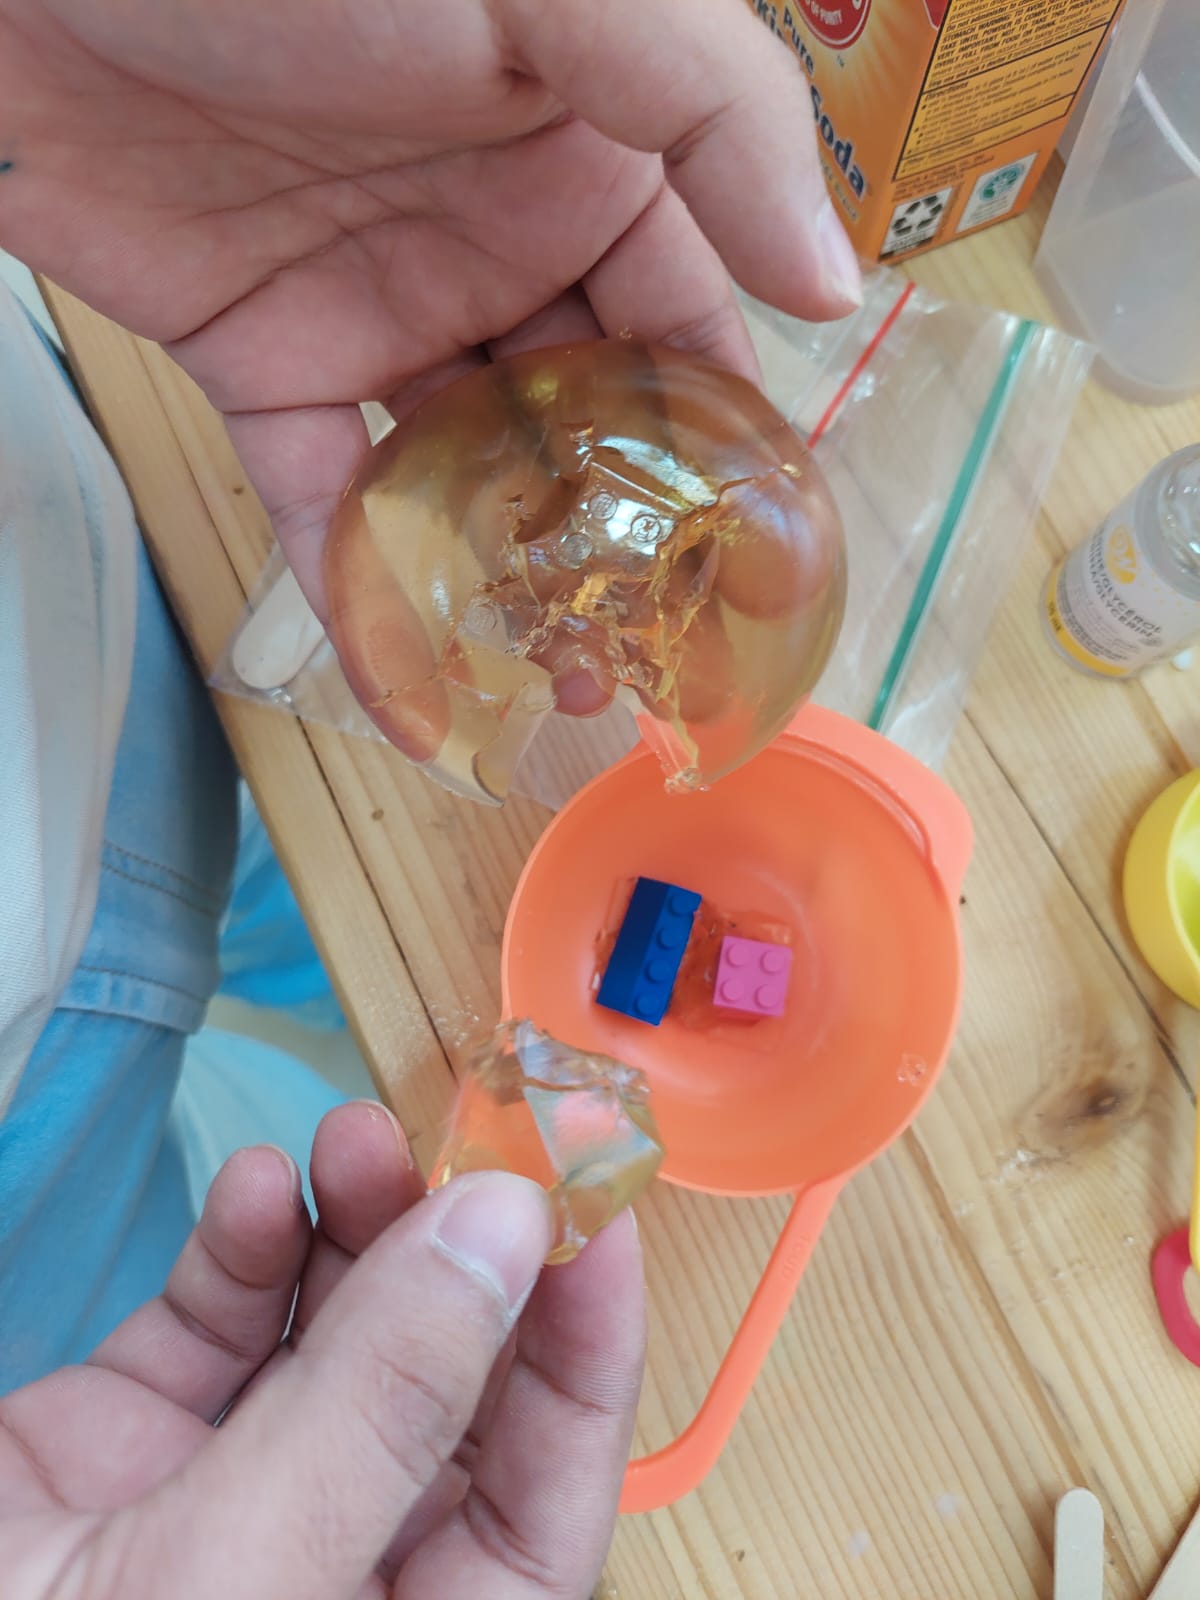
- We cut a piece from the soup.
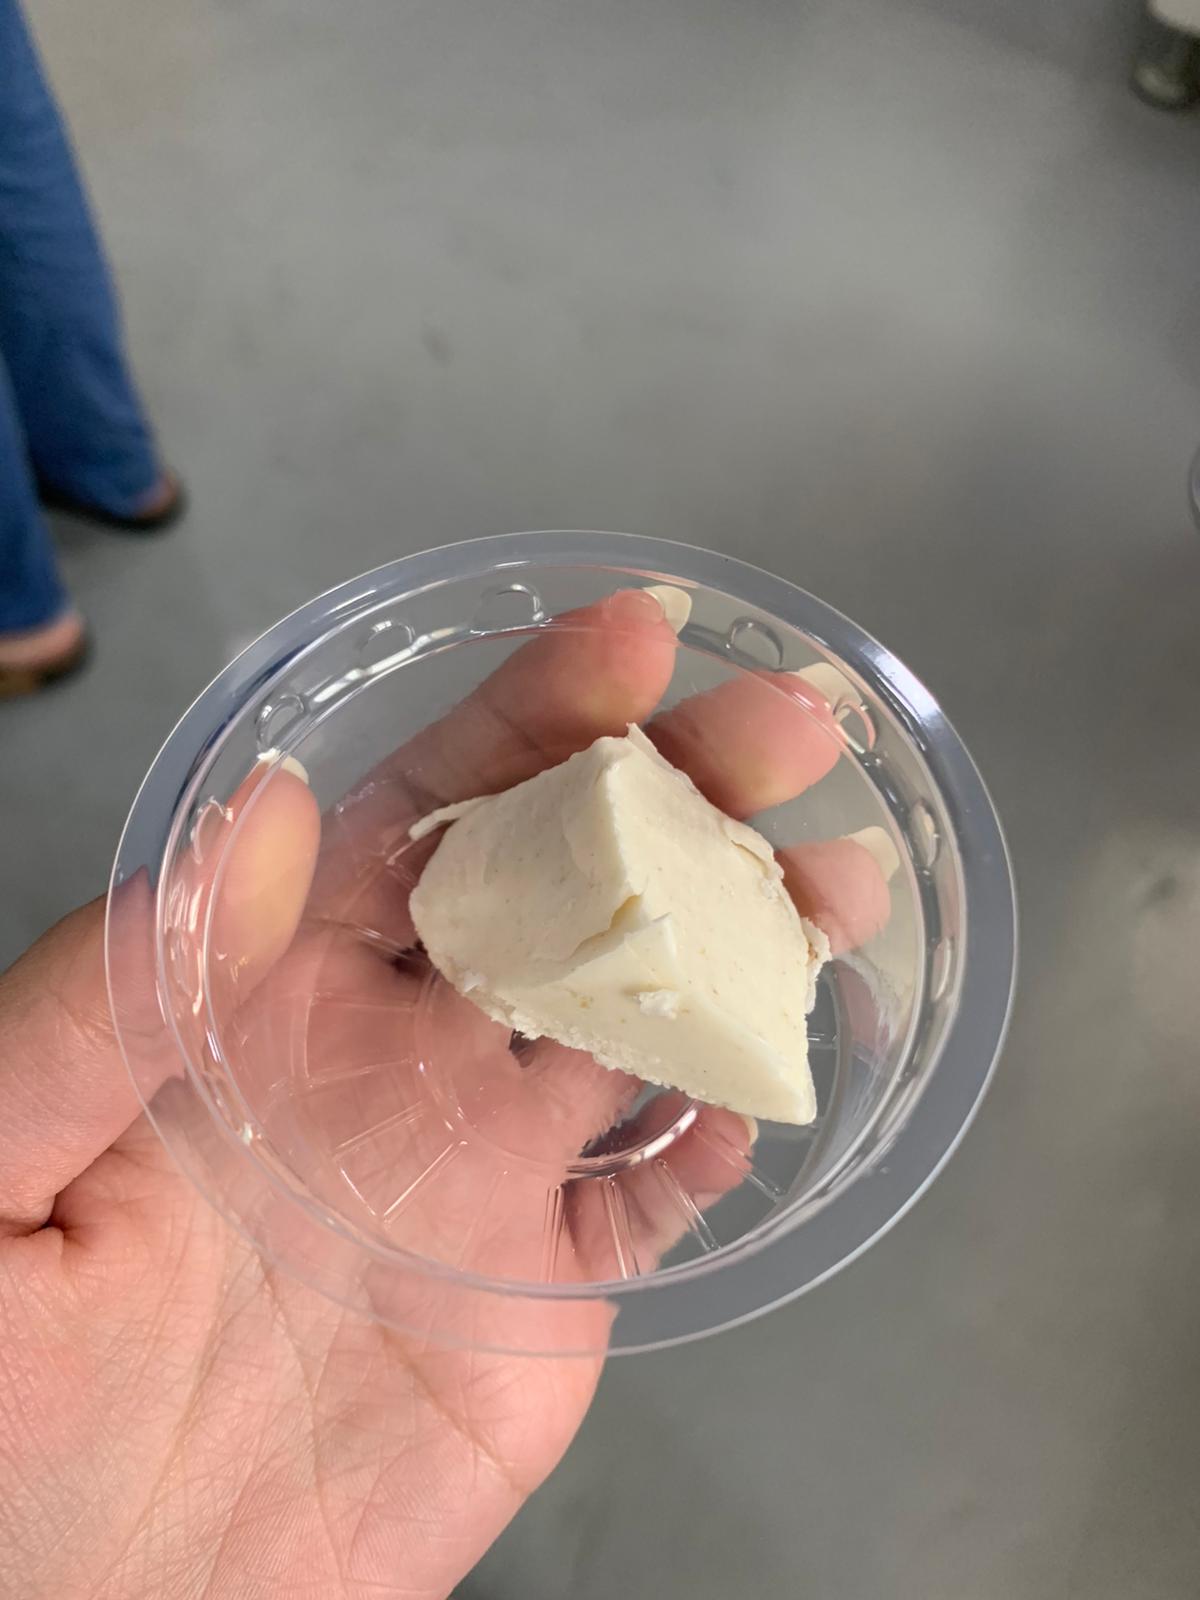
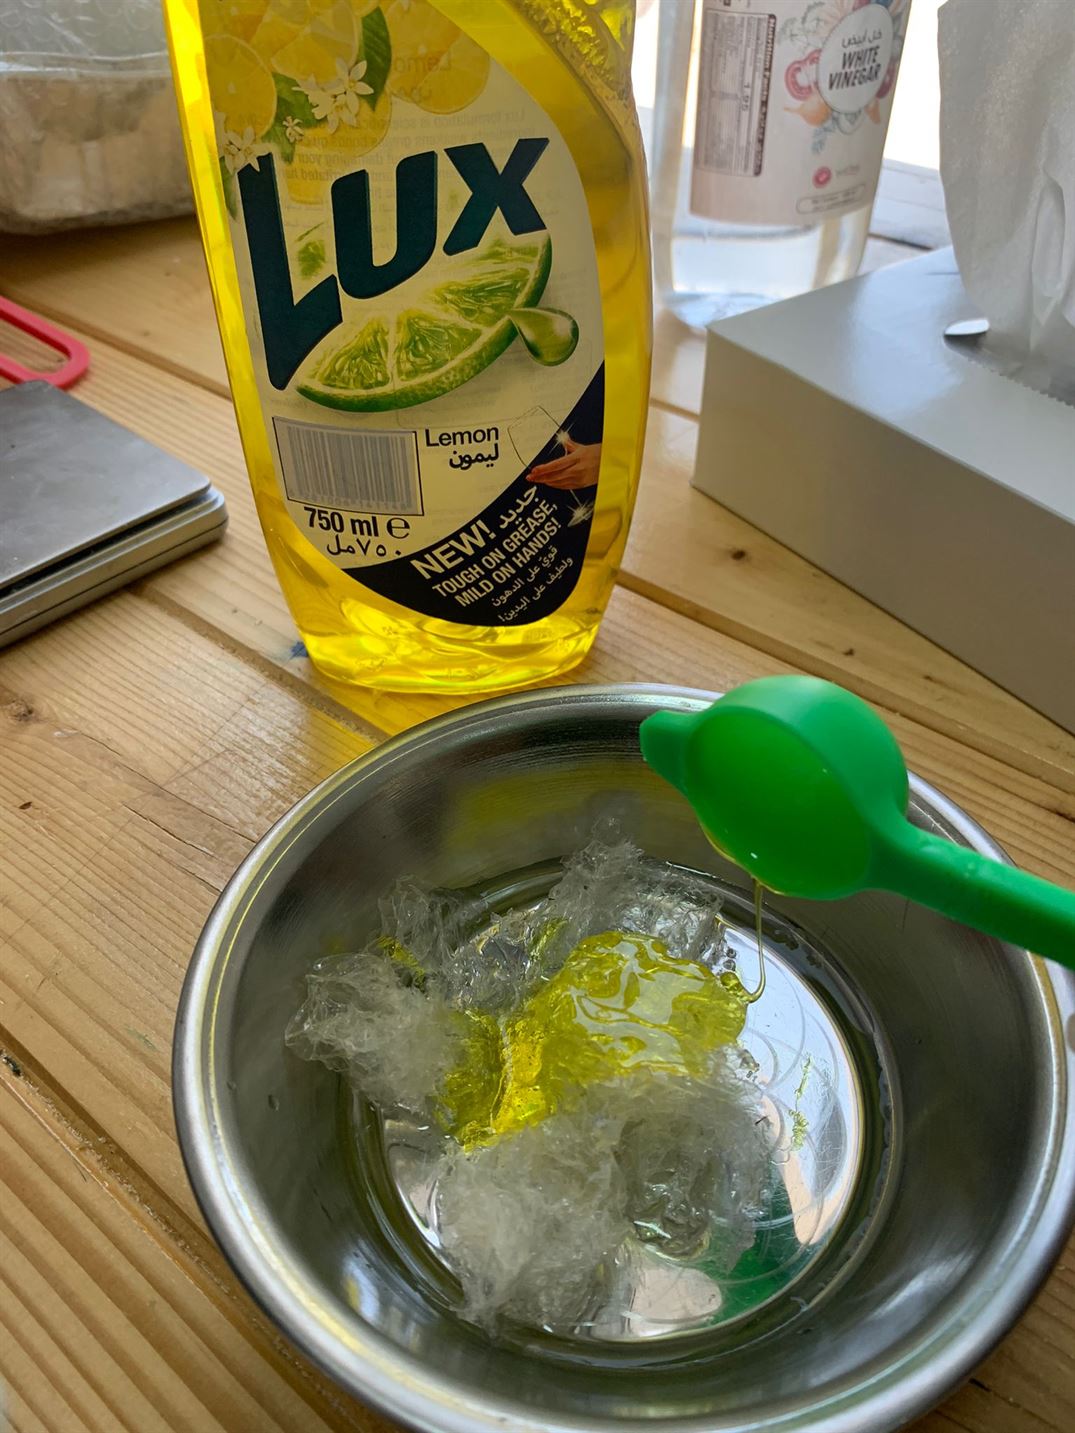
- We put the soup in another cup that can be used in the oven.
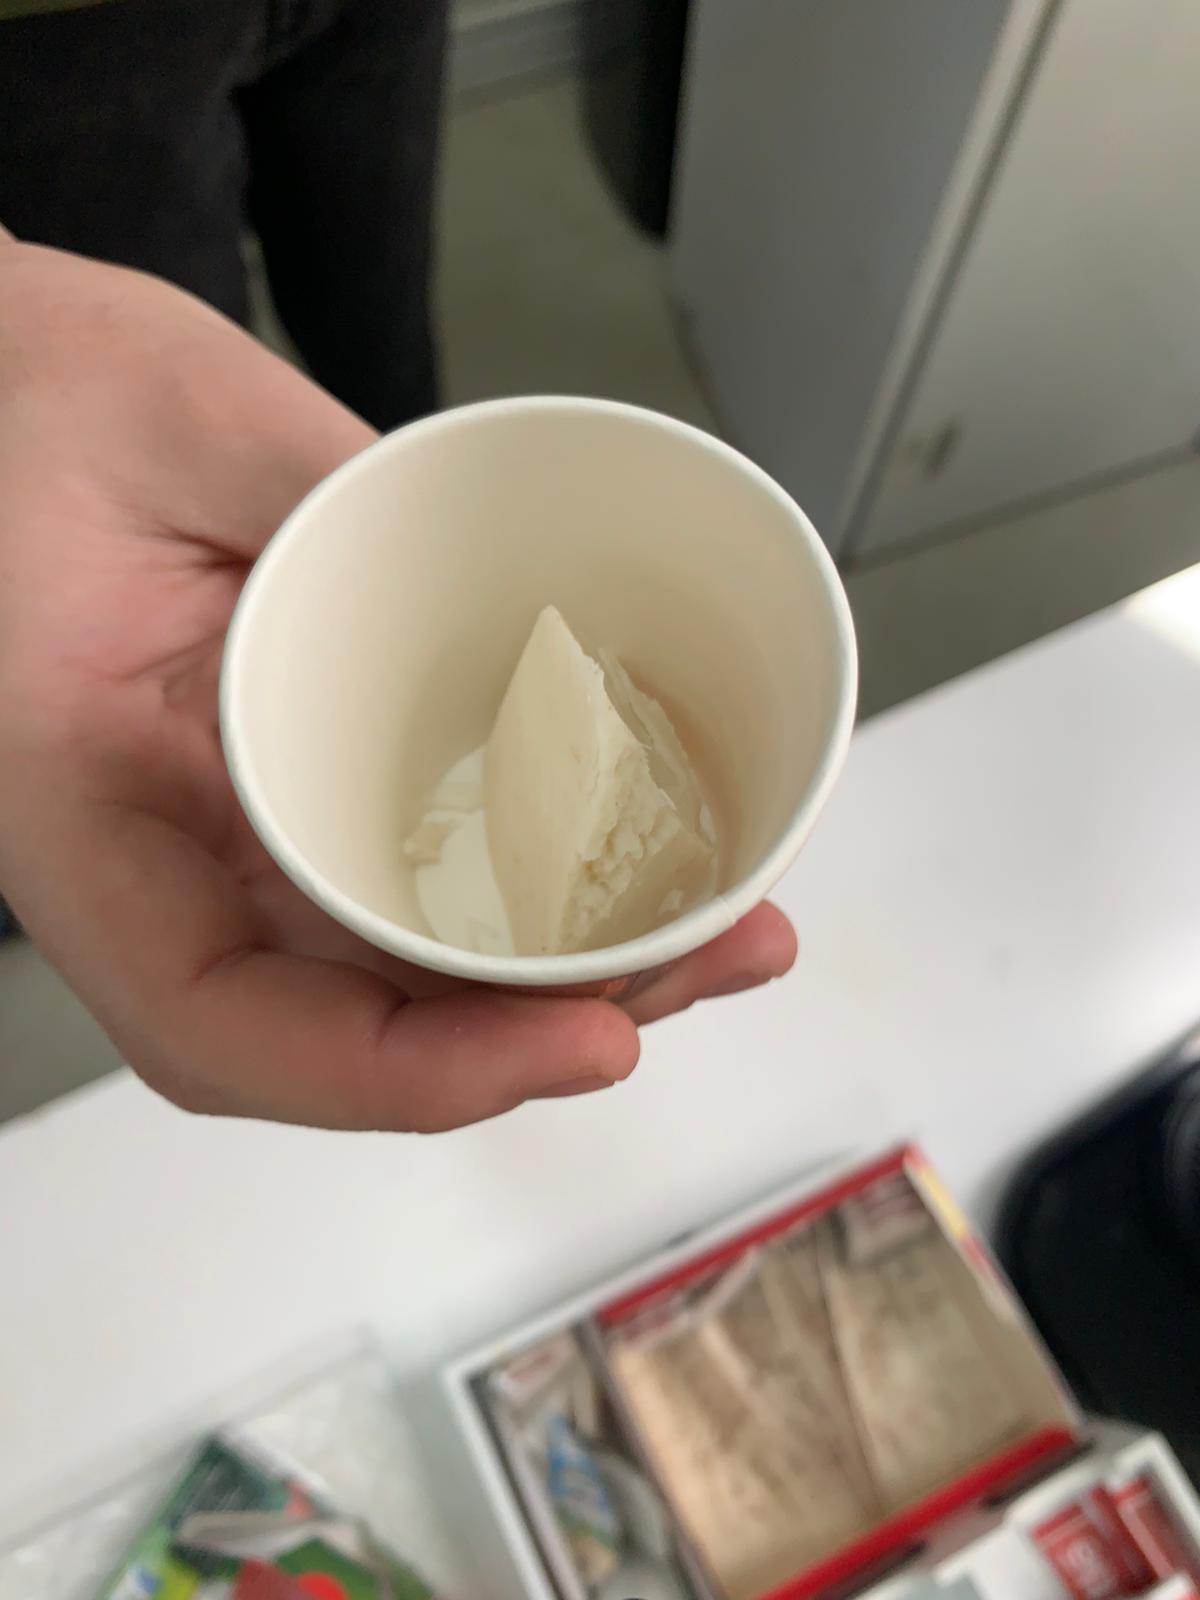

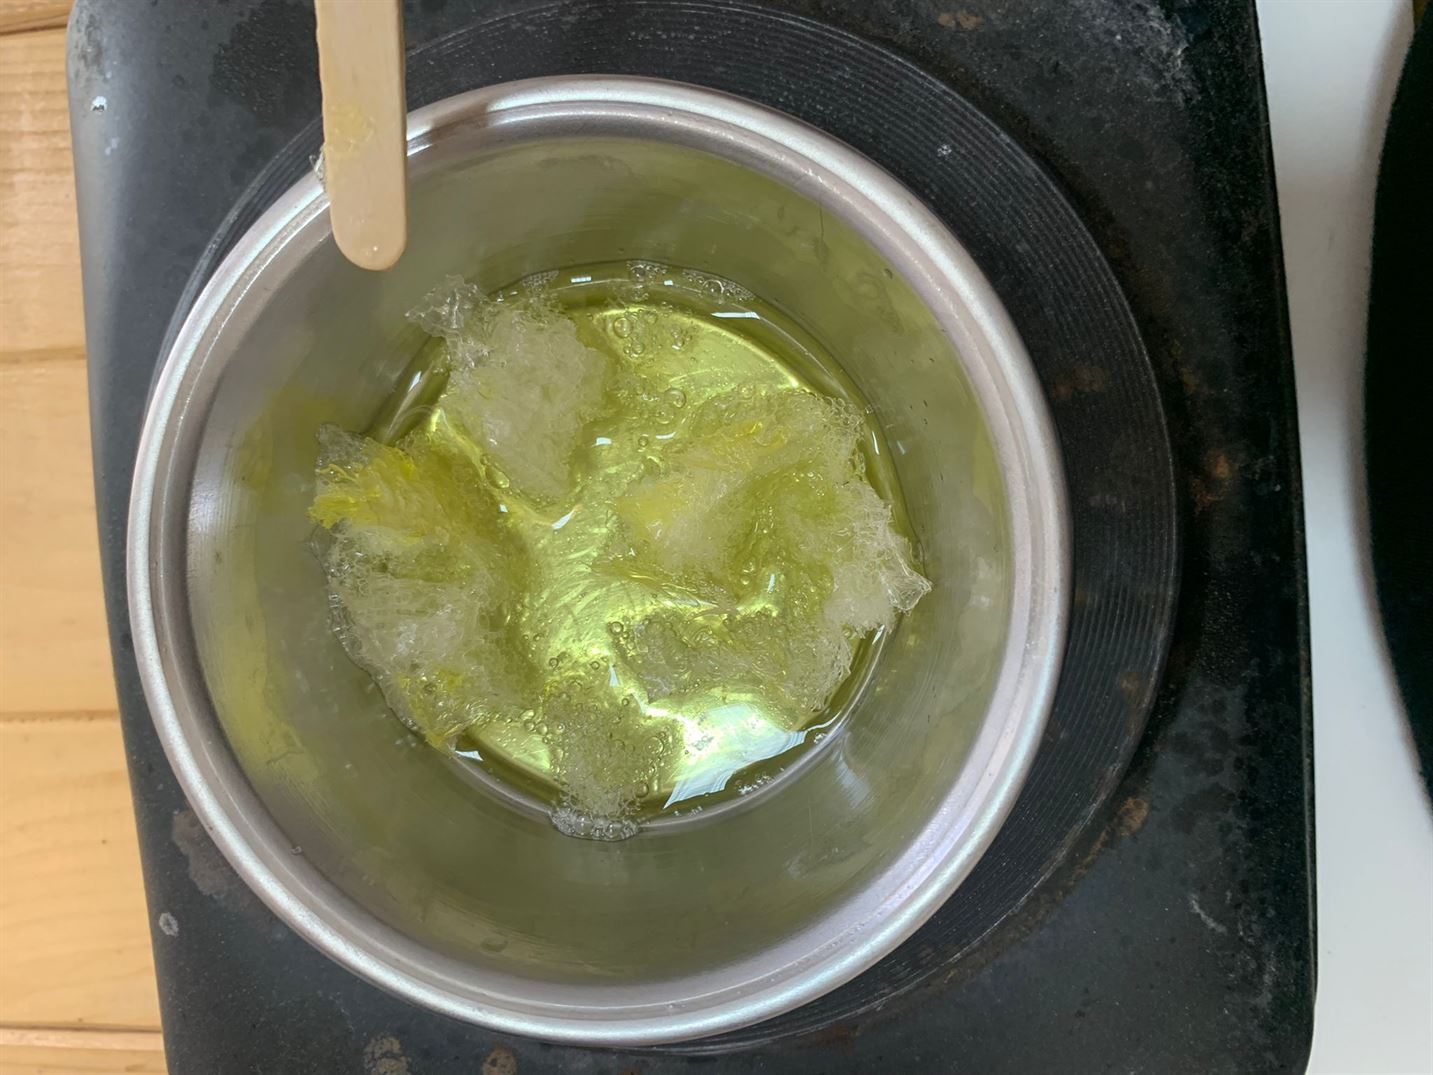
- We set the time for a few seconds and the soup melted.
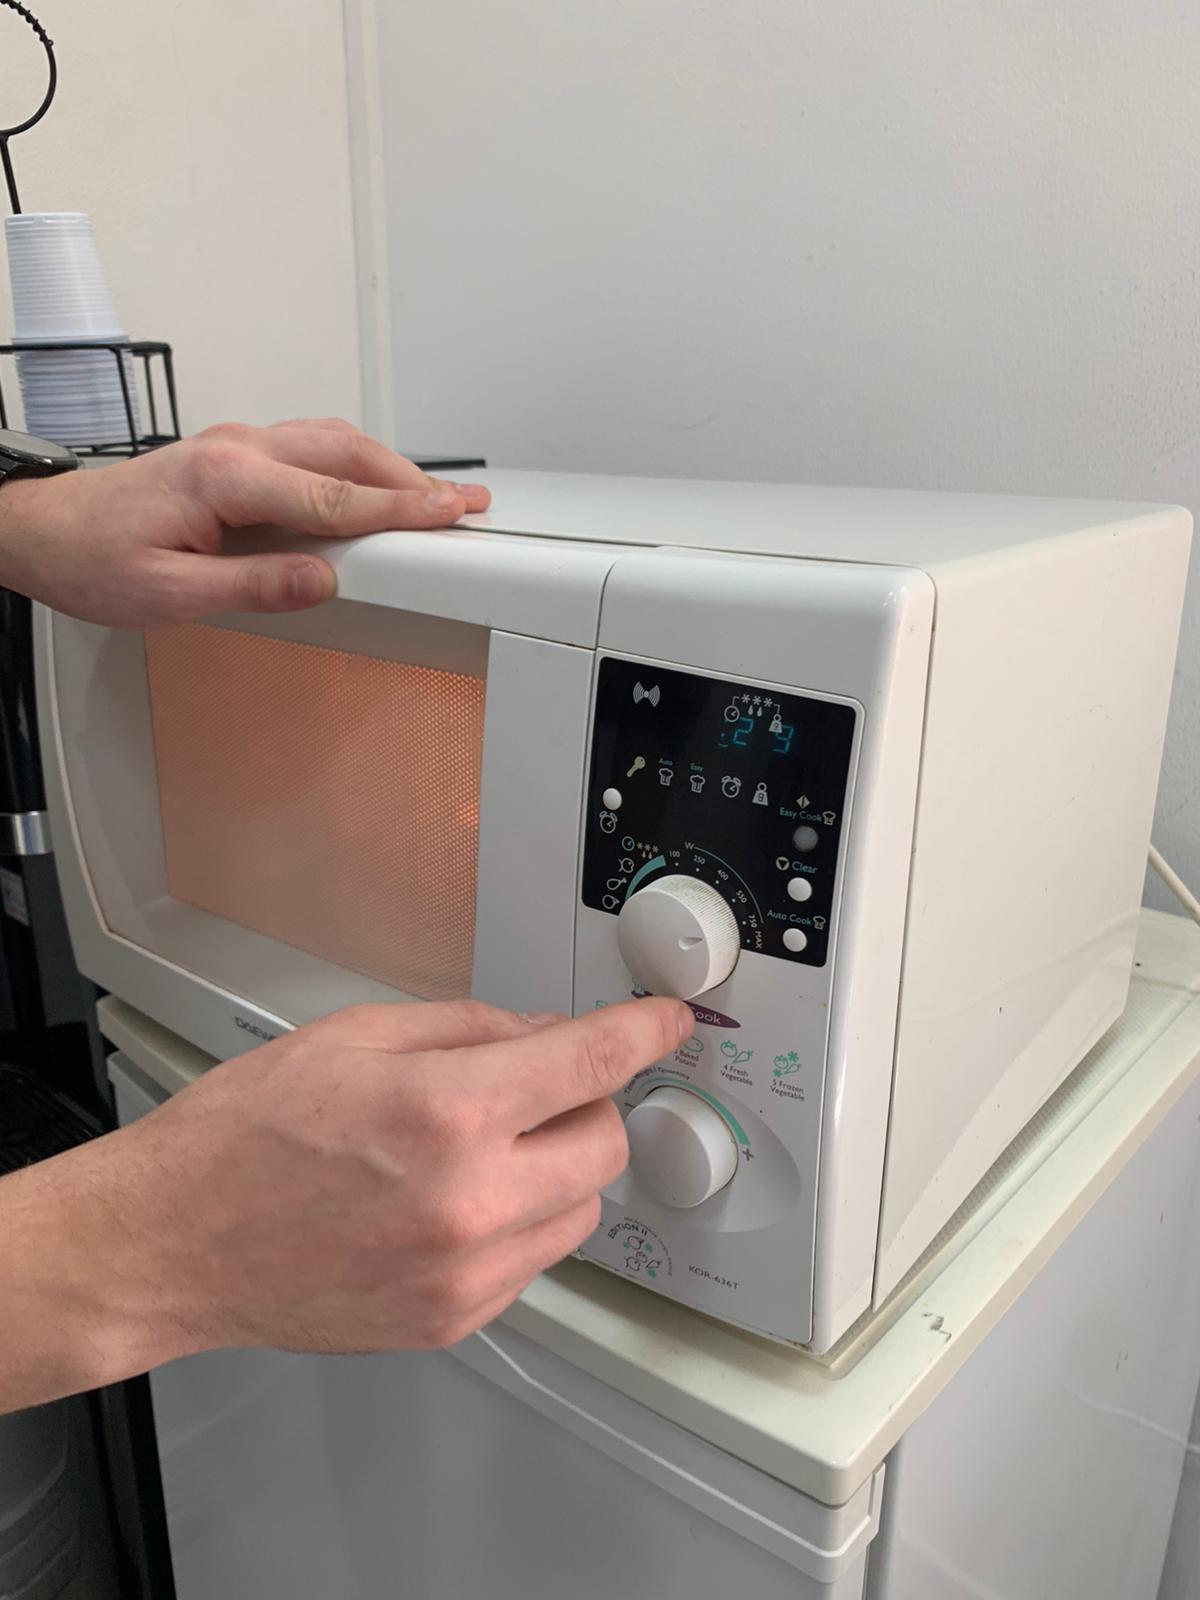
- We poured the soup into the mold.
- The molds melted because thier melting point is not high enough to handle the melted soup.
Week 3
In this week, I did some researches about the bioplastic ingredients. Also, we tried to work more with the recipes
3.1 Research
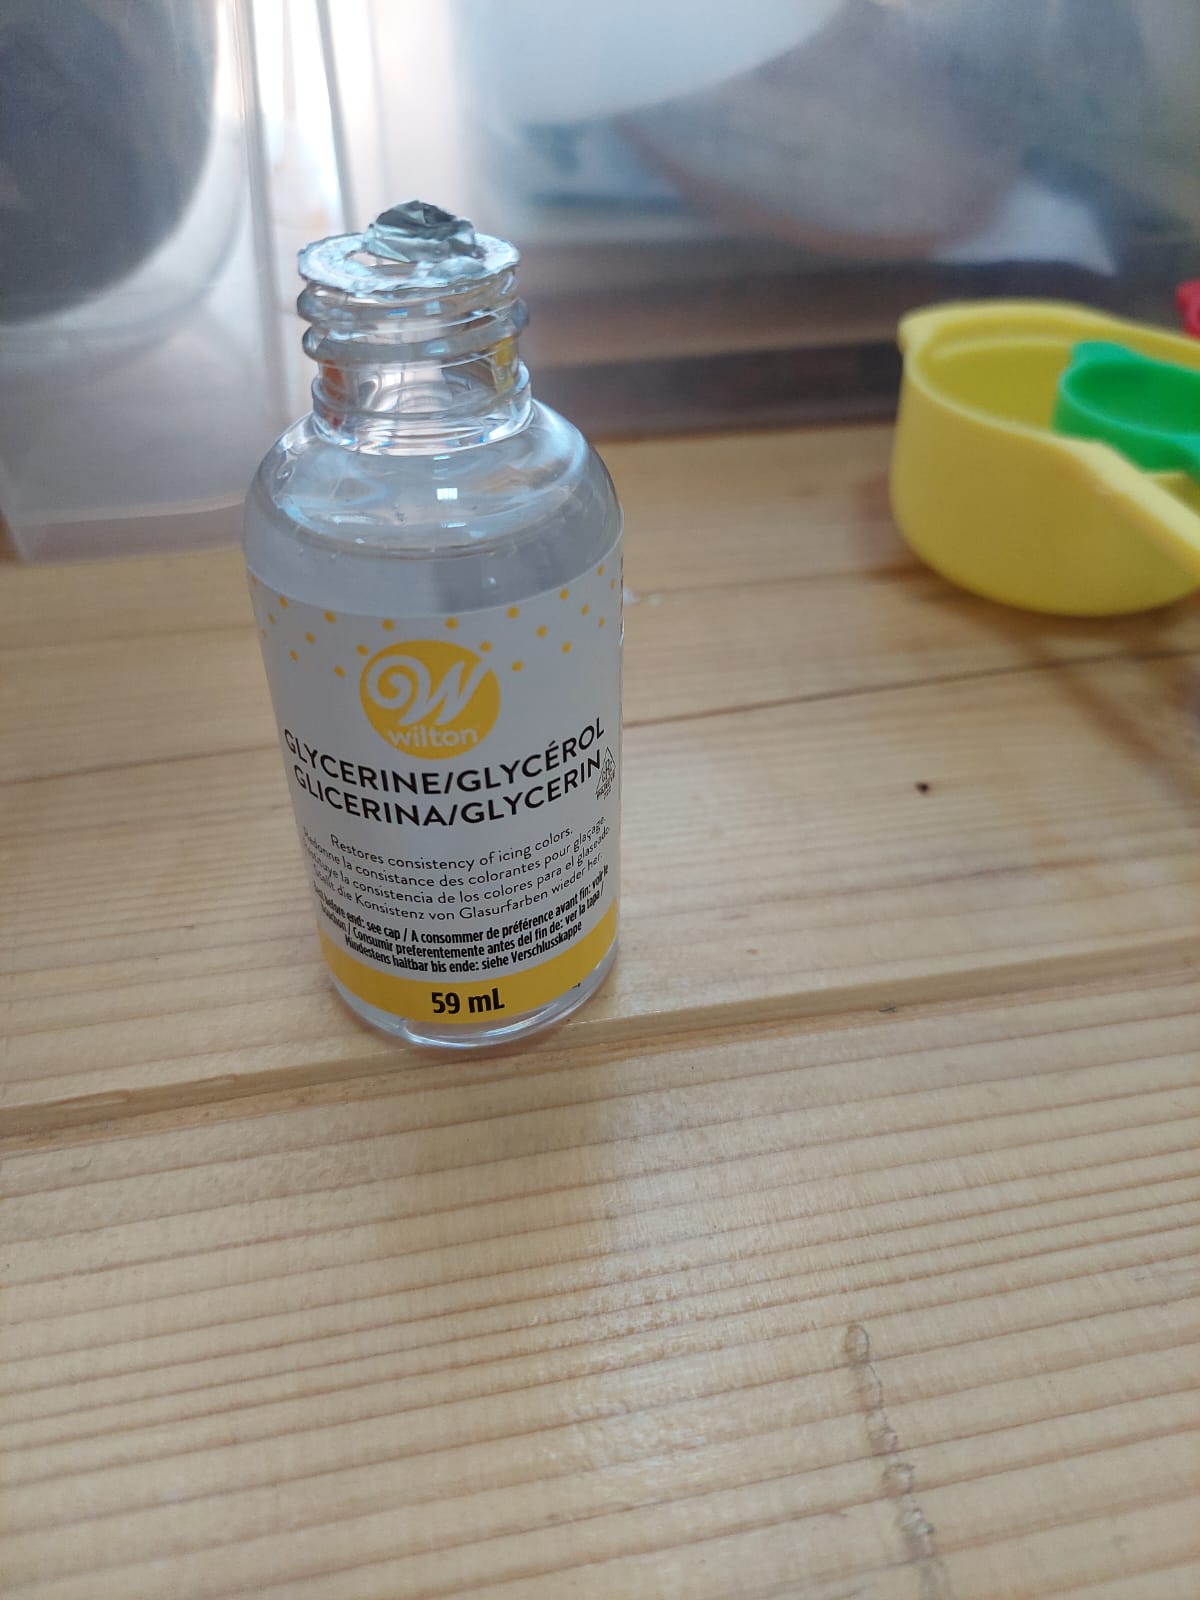
3.1.1 Glycerin
Glycerin is a hygroscopic liquid with a high viscosity. It has 3 hydroxyl groups which make it be soluble in water.
Production of Bioplastic (Page 3)
Glycerin can make the bioplastic more flexible and less brittle. So, adding more amount means the more flexible the bioplastic.
BIOPLASTIC FROM AGAR PDF (Page 1)
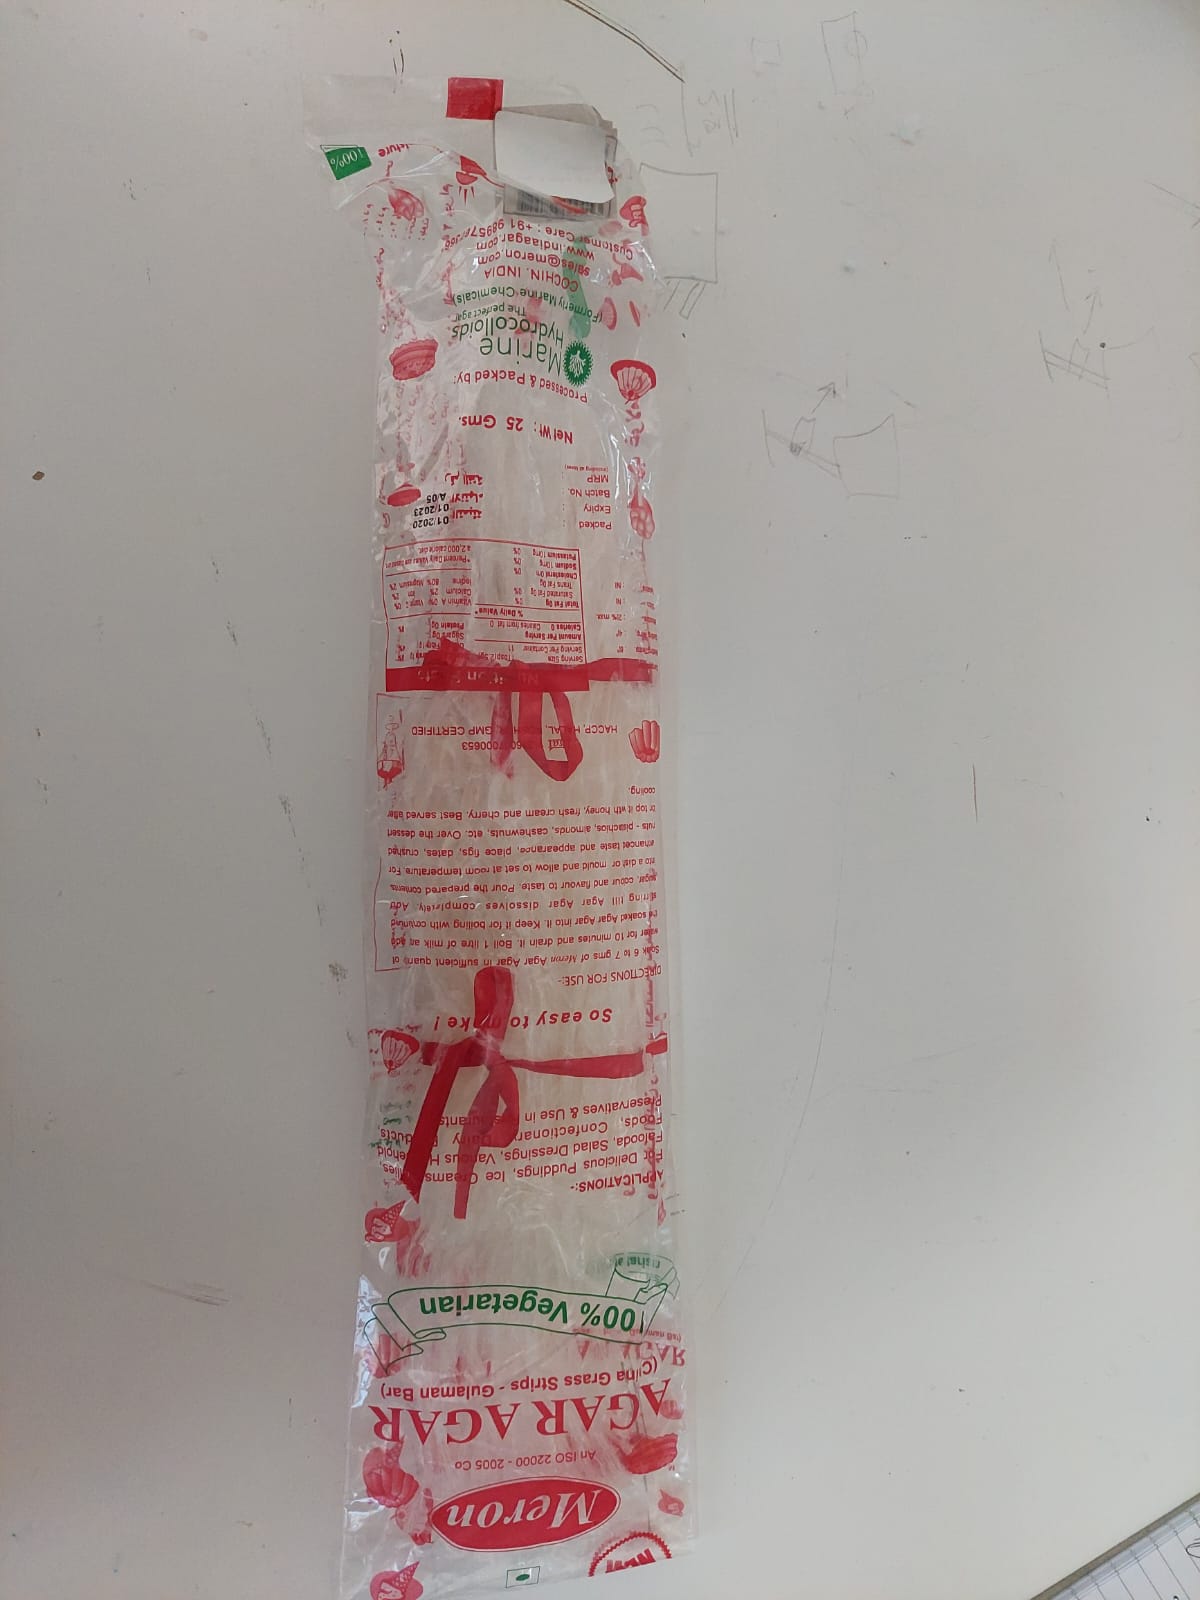
3.1.2 Agar
Agar is a strong gelling hydrocolloid from marine algae. Its main structure is a repetitive units of D-galactose and 3-6,anhydroL-galactose, with few variations, and a low content of sulfate esters. The extraordinary gelling power of agar is based exclusively in the hydrogen bonds formed among its linear galactan chains that provide an excellent reversibility, with gelling and melting temperatures. Being physical gels they provide agar with interesting and unique properties in many of its applications especially in the preparation of microbiological culture media (bacteria, yeast and moulds) in which such properties become fundamental. In addition, agar is also a mixture of polysaccharides made of dextro and levo galactoses united linearly.
Handbook of hydrocolloids: Chapter 4 Agar, Second edition (2009)
Agar shrinks a lot in size and thickness over time.
Bioplastic Cookbook for Ritual Healing from Petrochemical Landscapes
3.1.3 Water
Water has an important role in bioplastic.
- It acts as a solvent to dissolve the starch.
- It helps the starch molecules to stay disrupted after heating.
Production of Bioplastic (Page 3)
3.1.4 Vinegar
Vinegar liberates acetate ions and hydrogen ions in solution. This is important, because ions react with the starch polymers and make them be disordered more easily in the solution. This disorder, resulting from the disruption by the water and the ionization by the acetic acid, makes the resulting cast film more homogenous.
Production of Bioplastic (Page 3)
3.2 Recipes
3.2.1 ReusableMold
We tried to make a ReusableMold with the same amount as the first one (1.3.3.1 Batch A), and with different amounts too.
- These are the used ingredients.
3.2.1.1 ReusableMold 01
This recipe has the same amount as (1.3.3.1 Batch A).
| Glycerine (mL) | Water (mL) | Gelatin (g) |
|---|---|---|
| 15 | 15 | 3 |
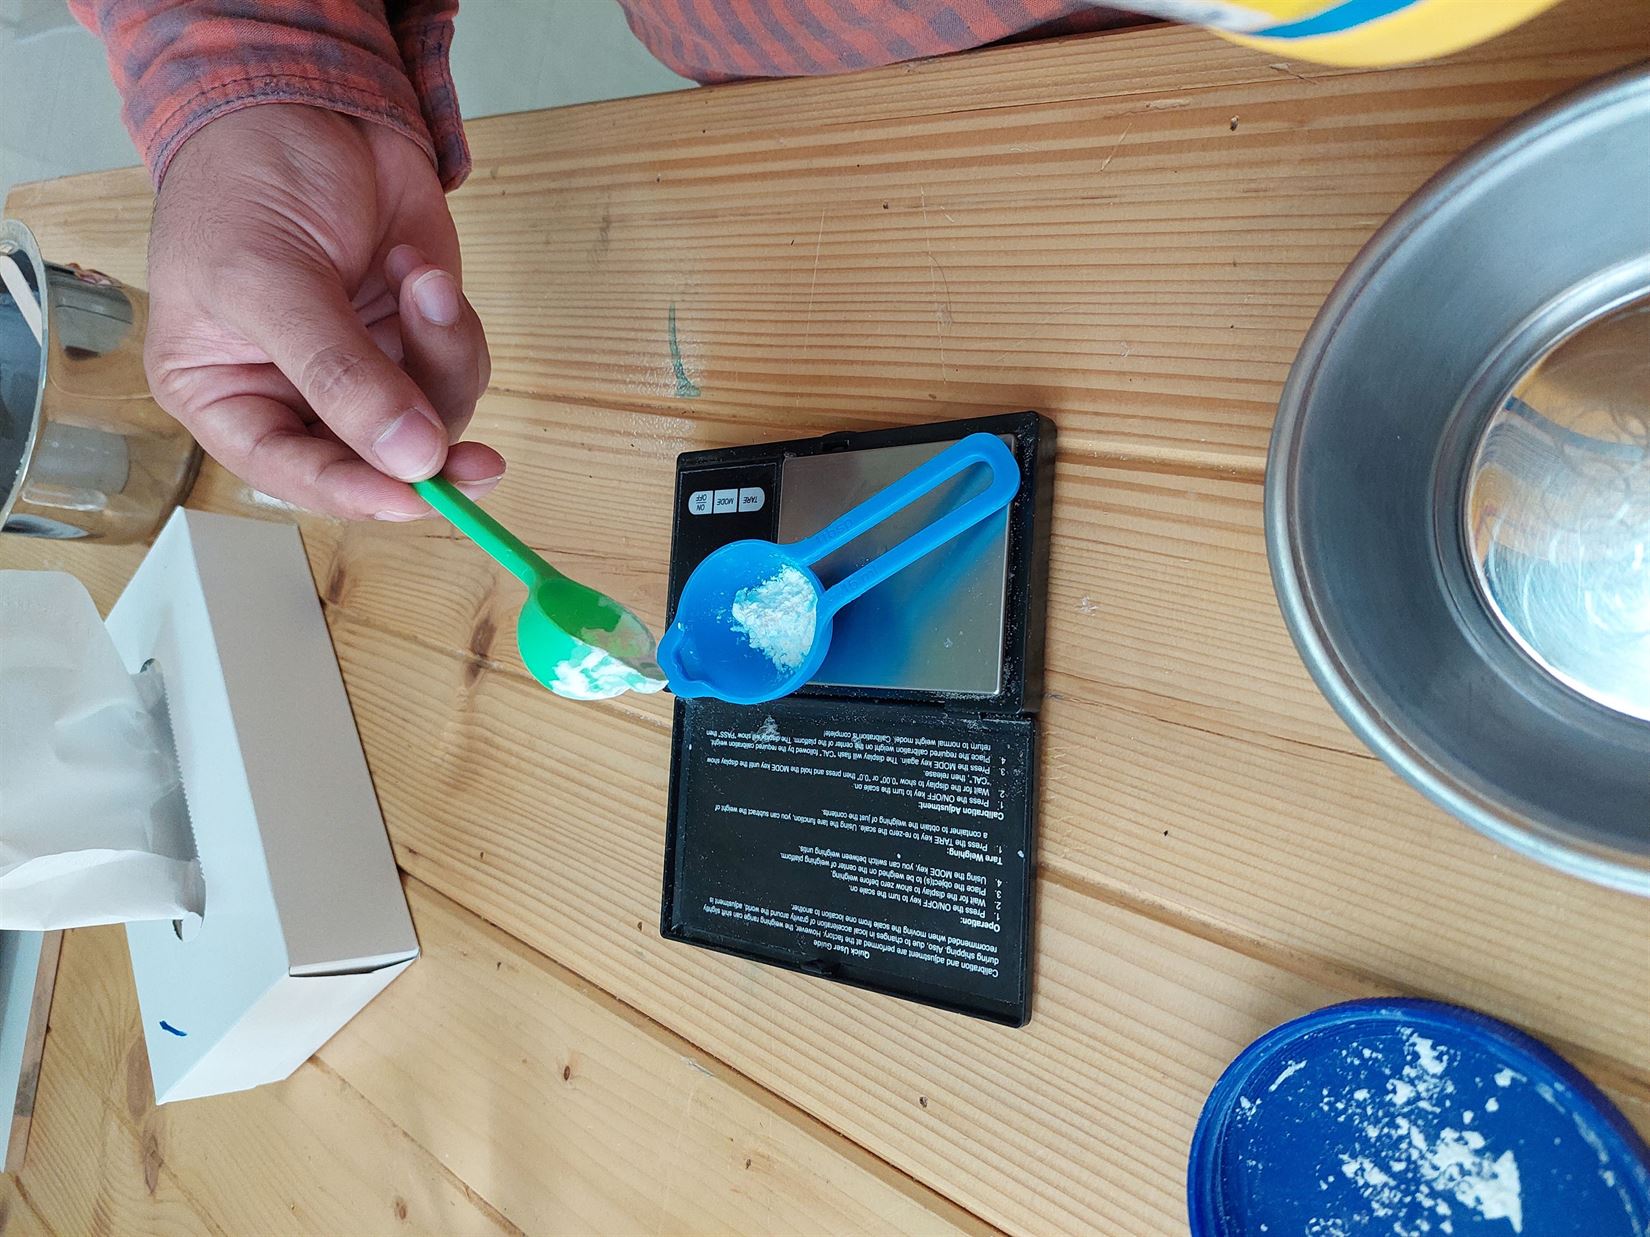
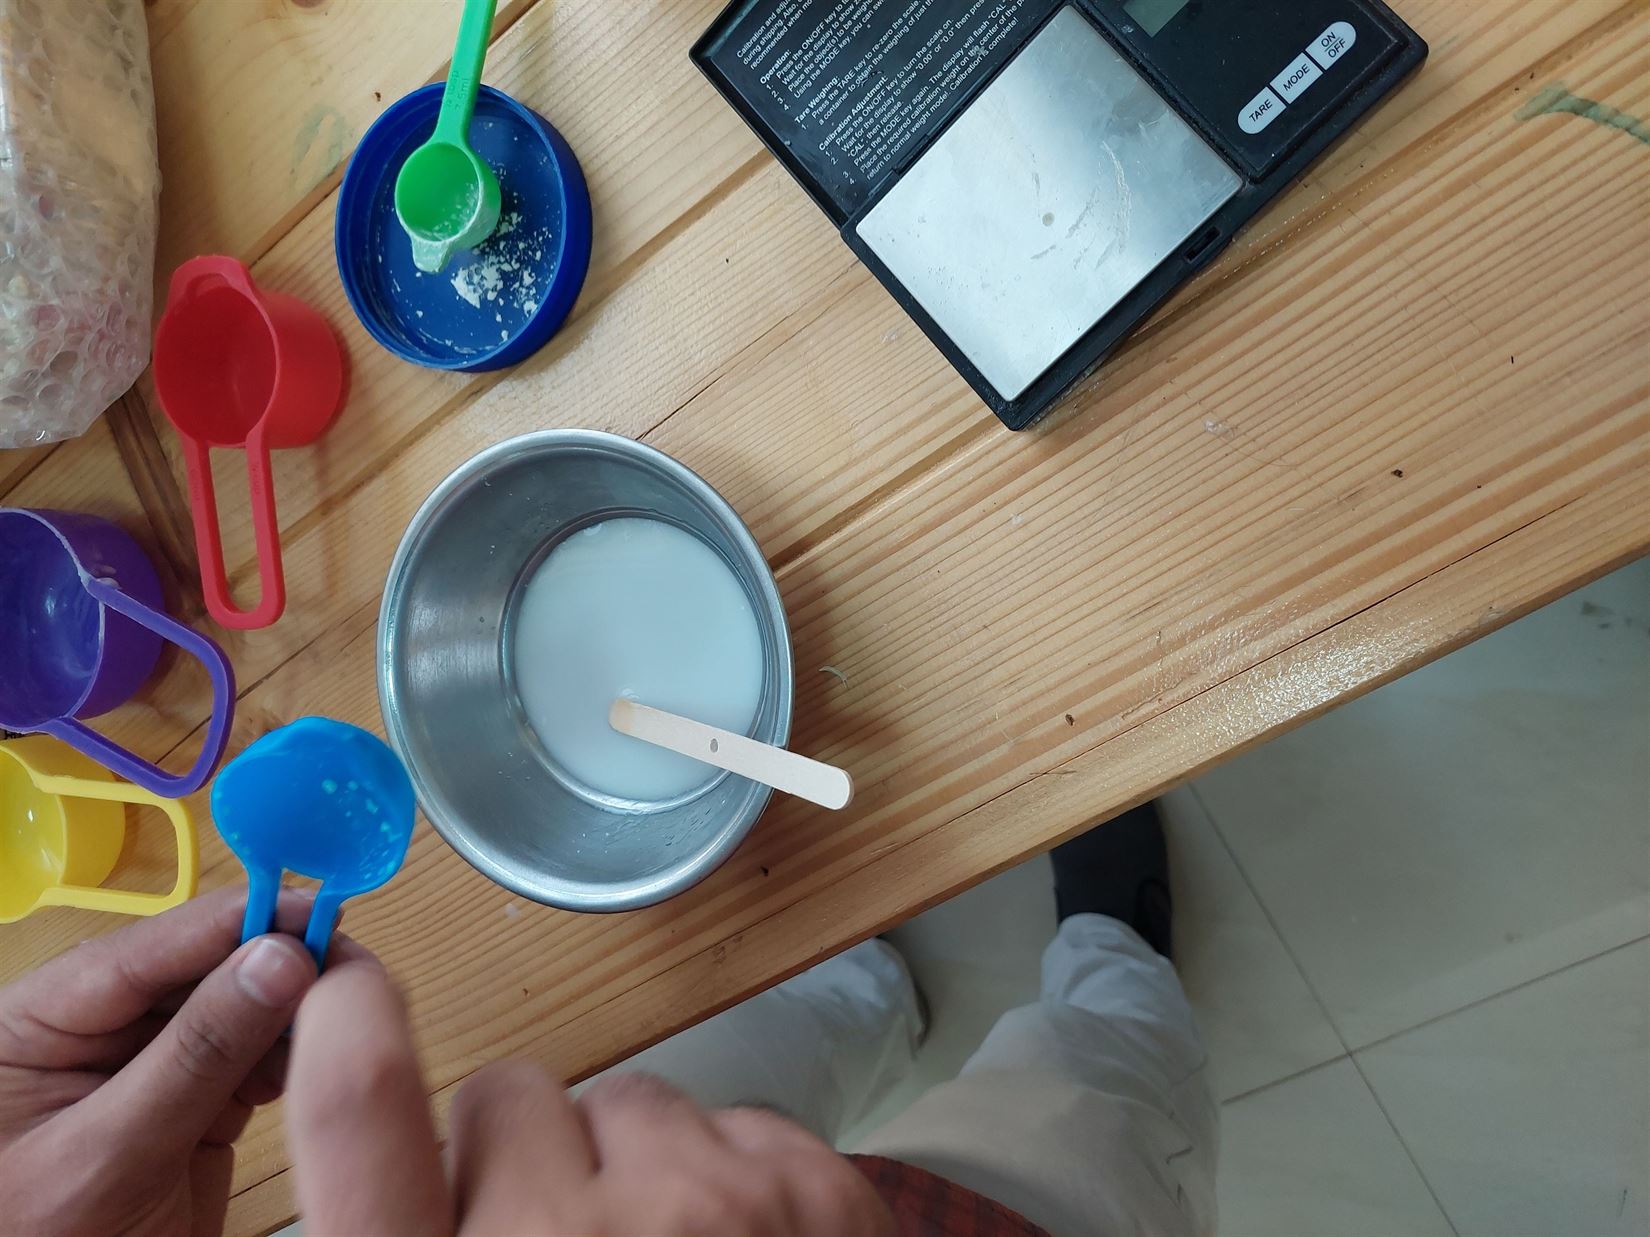
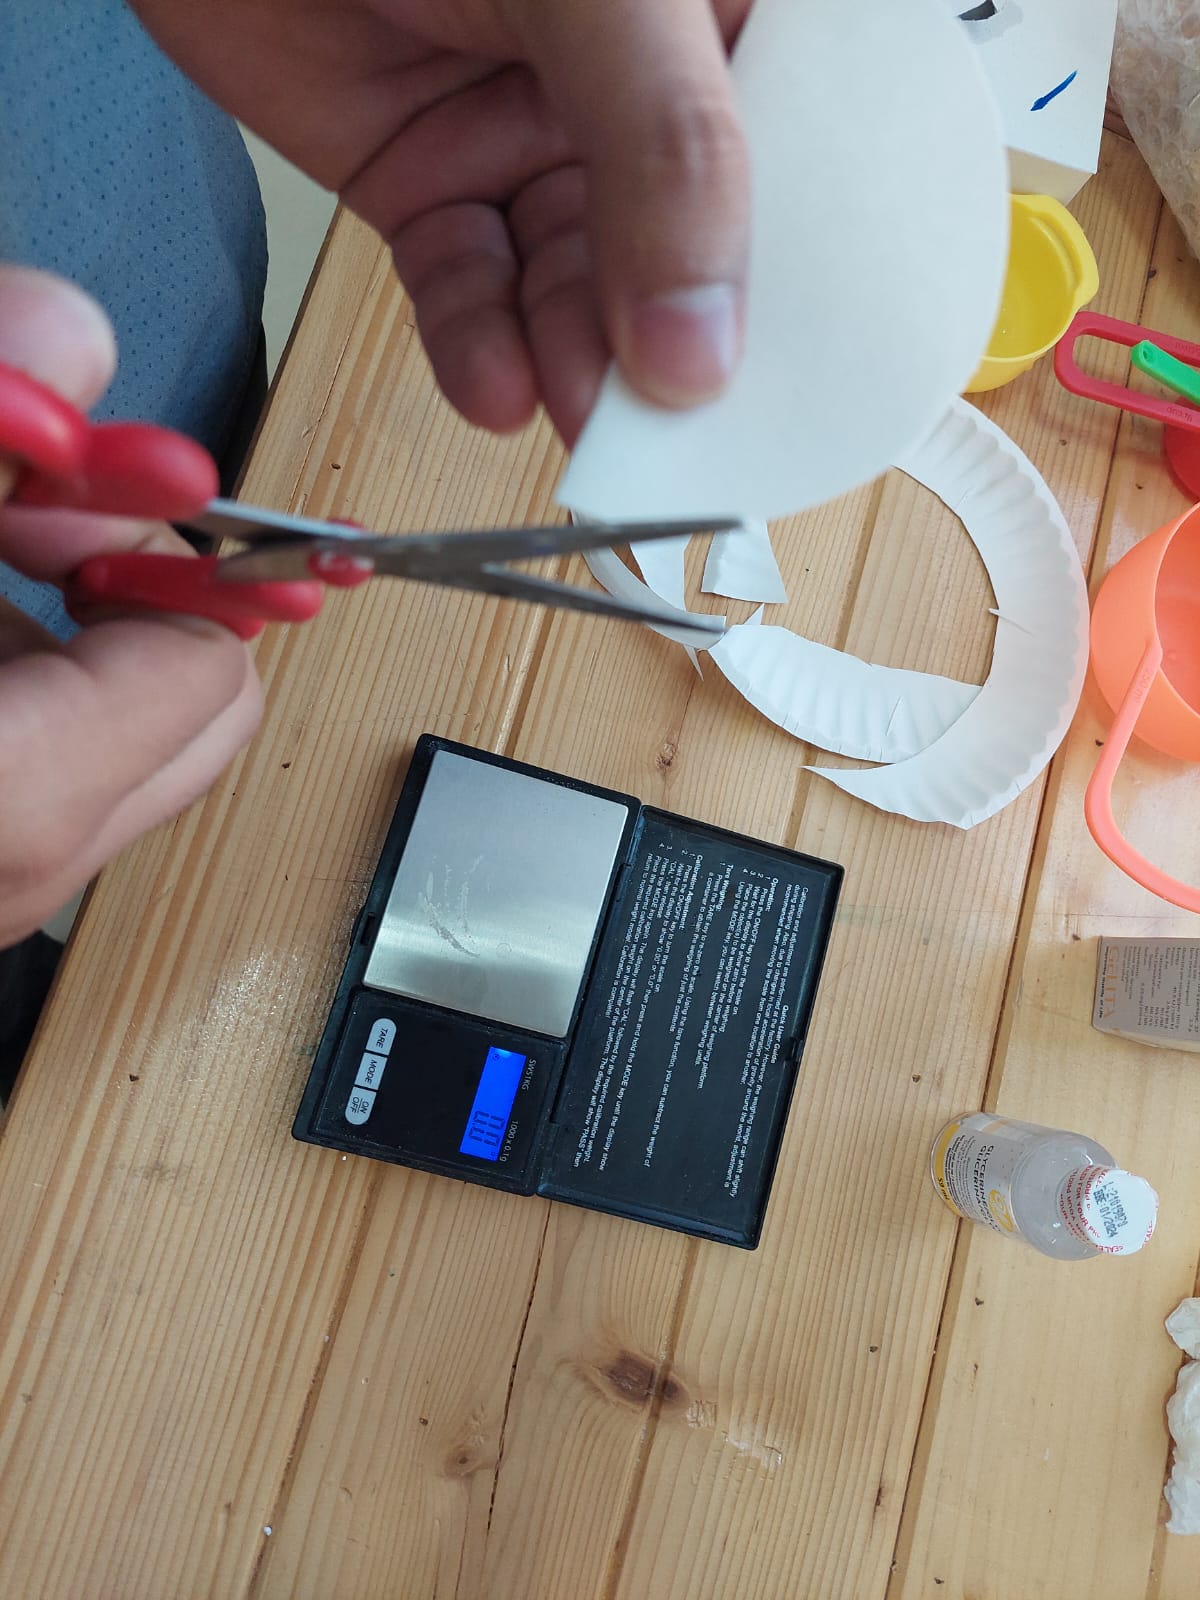
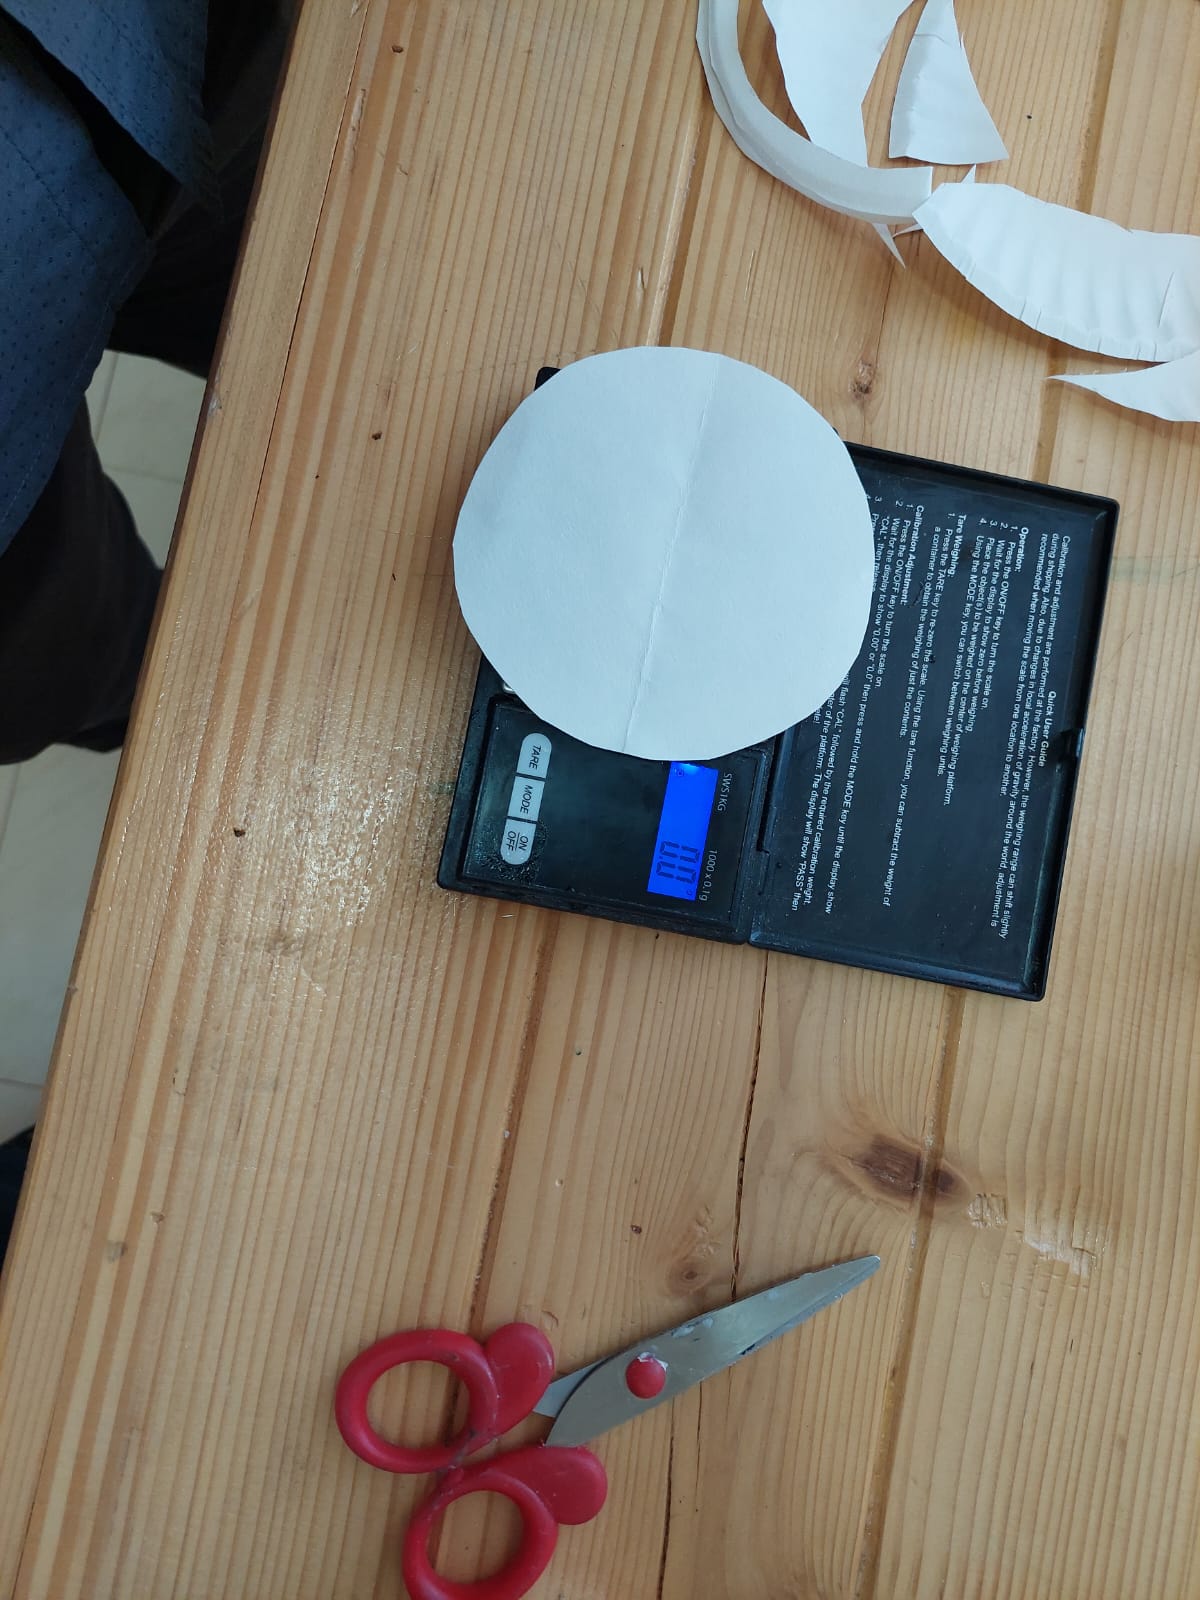
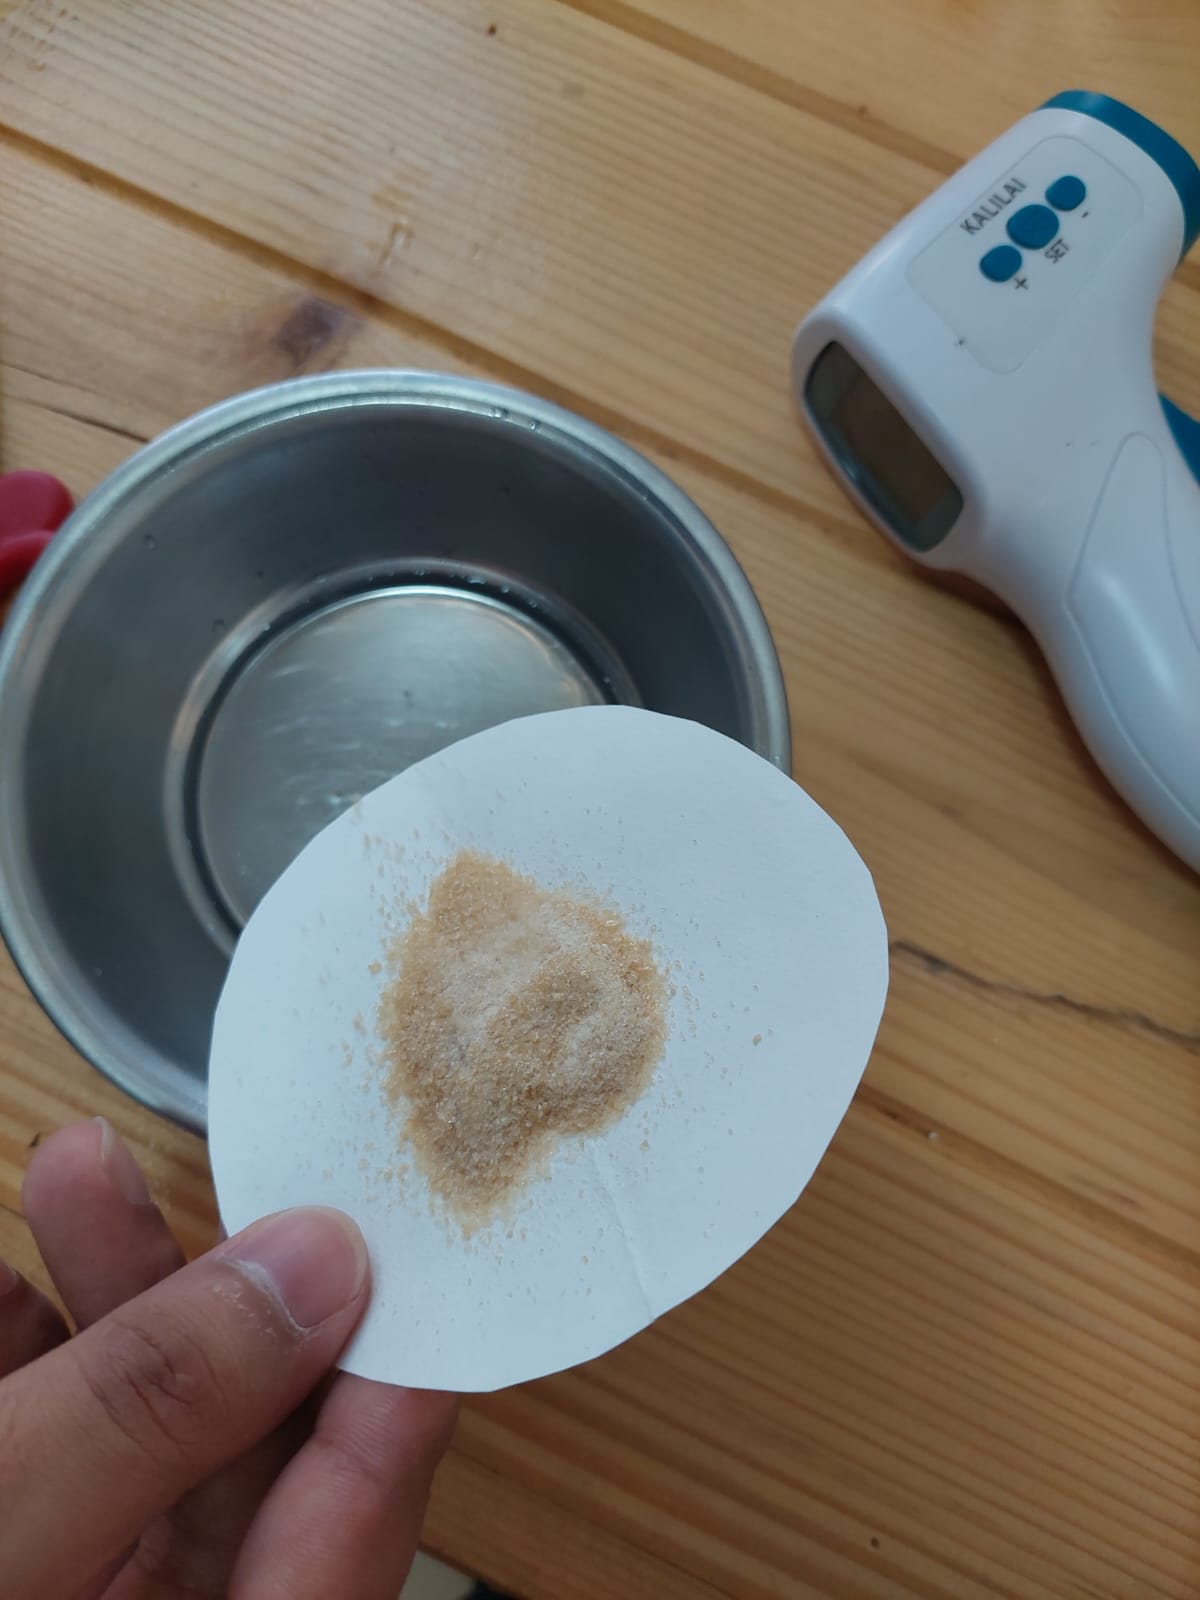
- We cut the paper dish to a smaller size so we can weigh the ingredients.
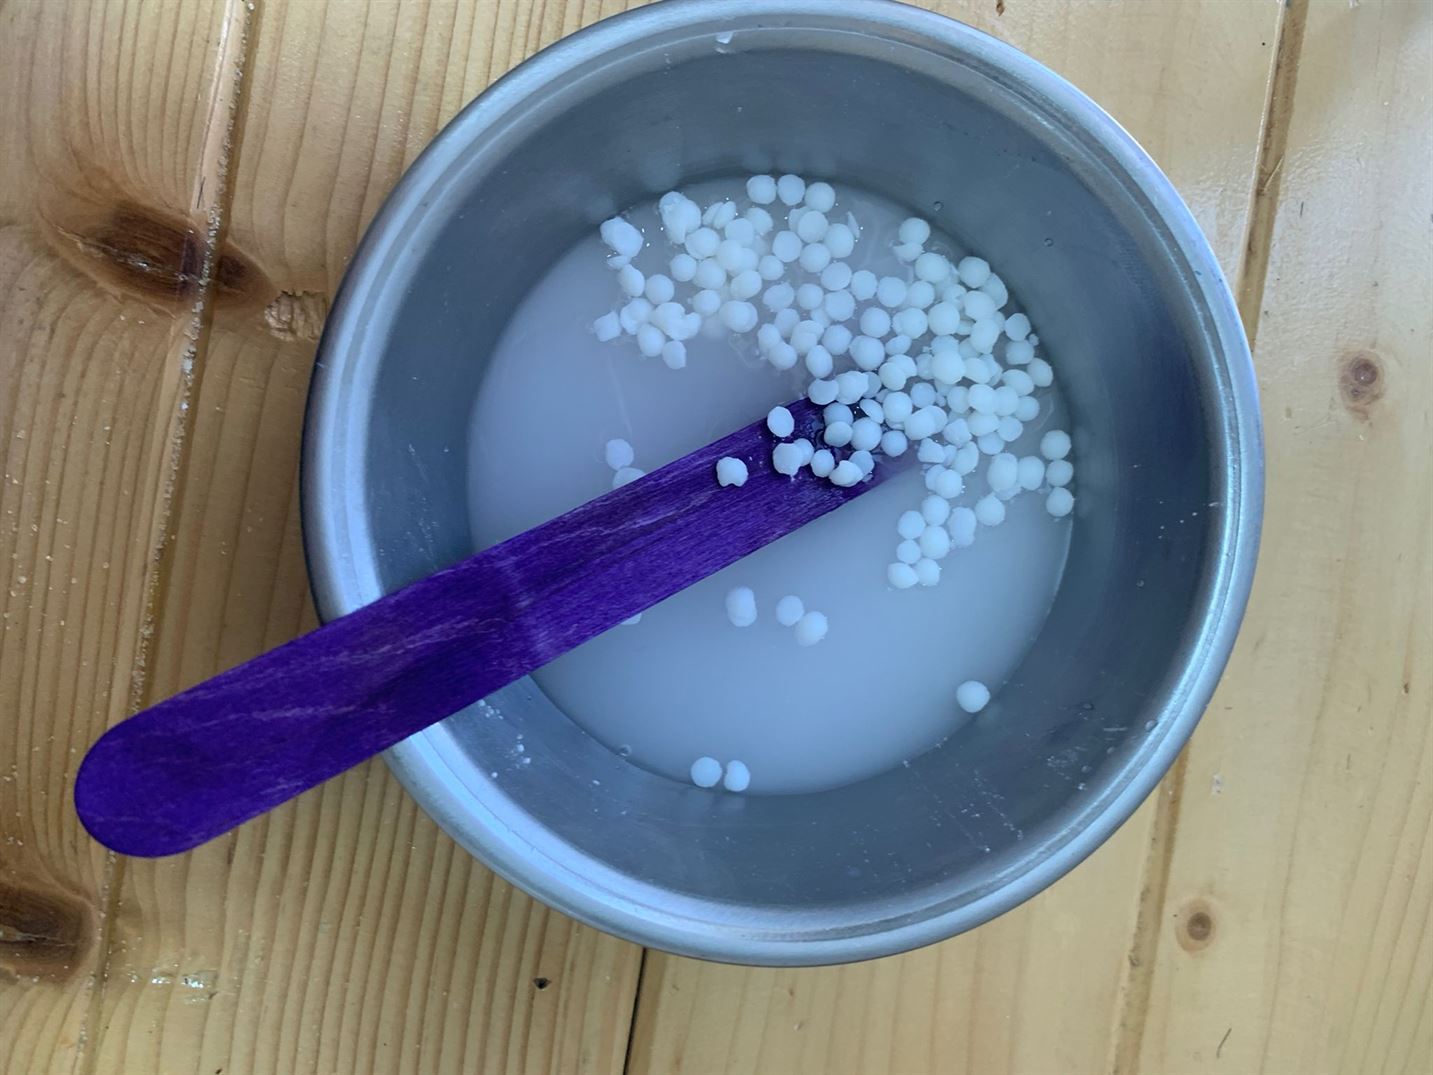
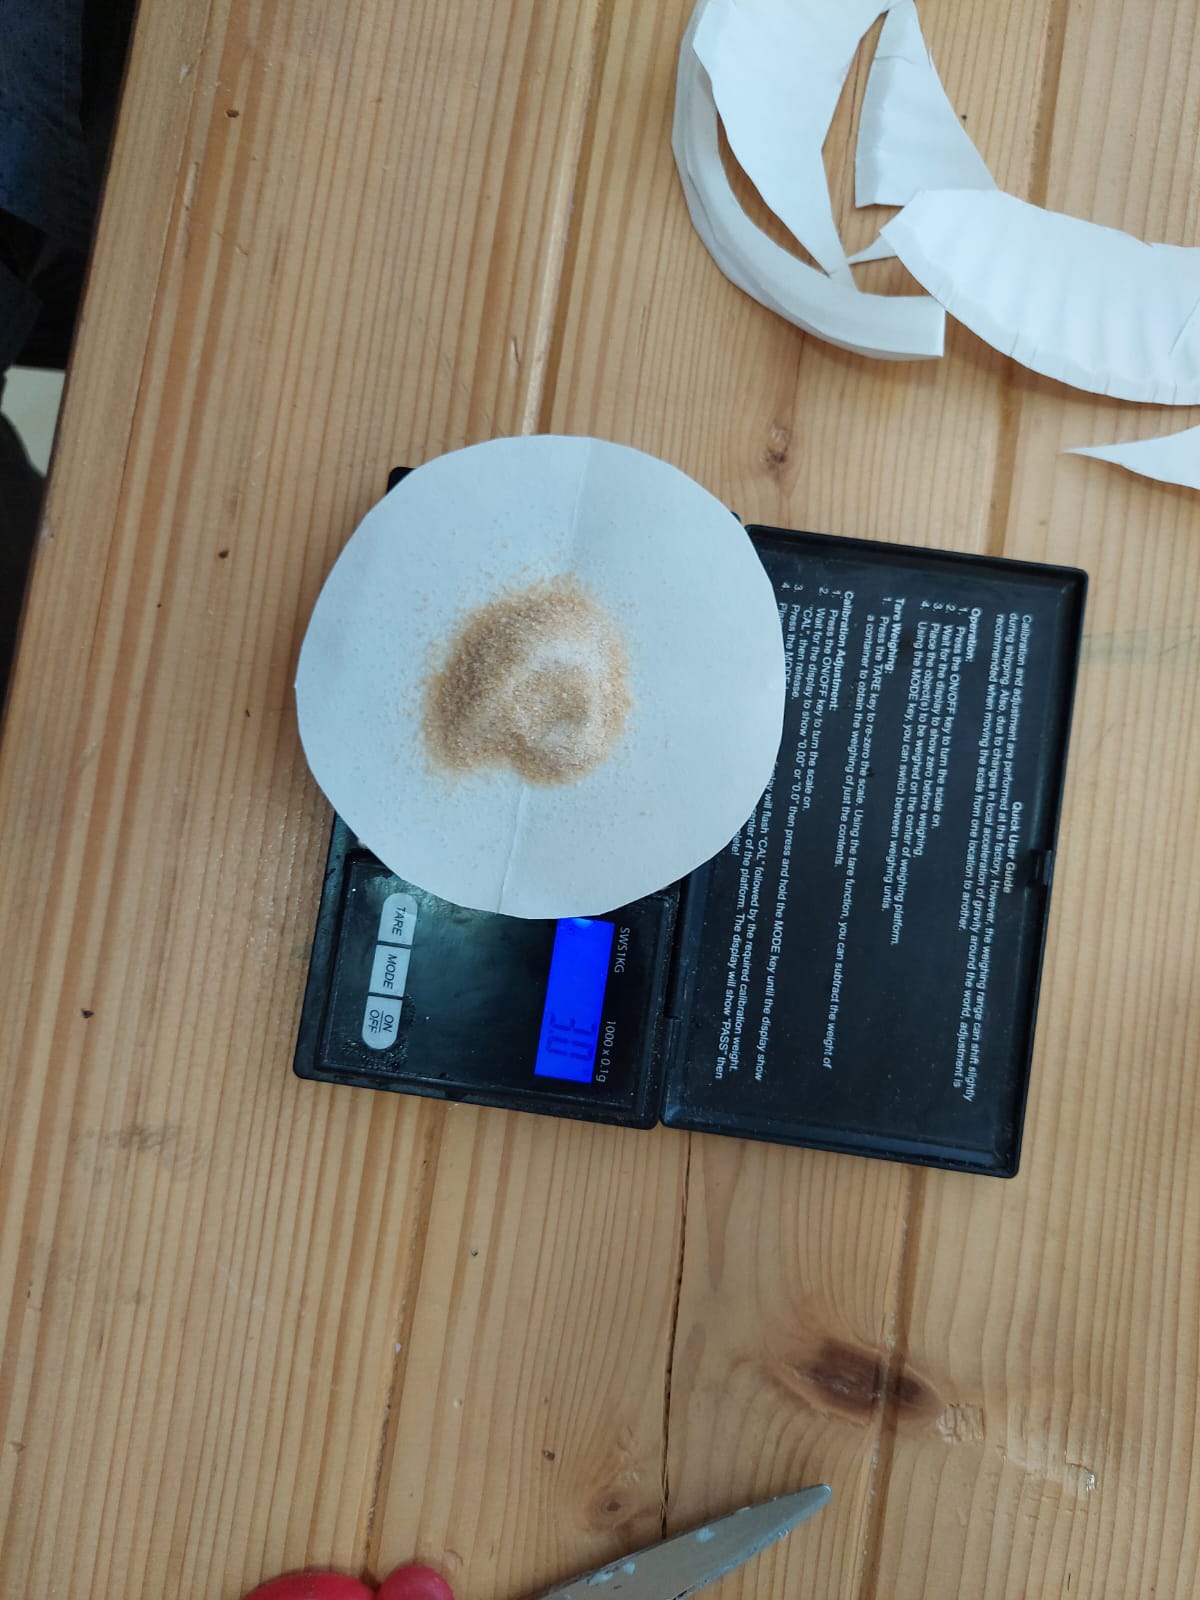
- We weighed the gelatin.
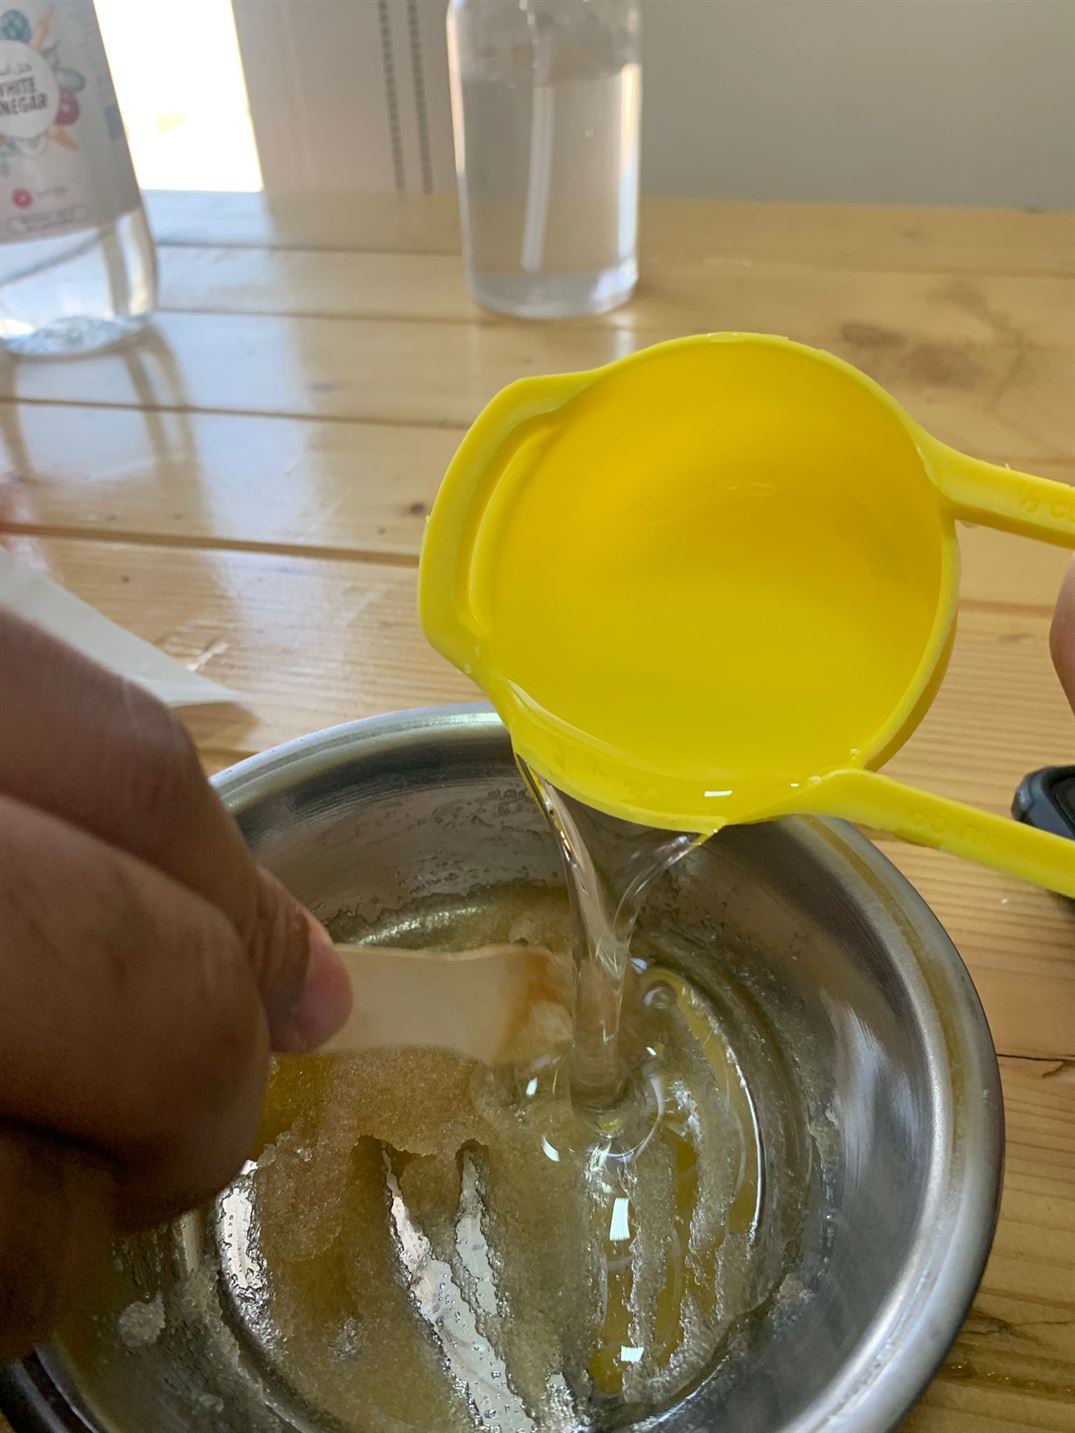
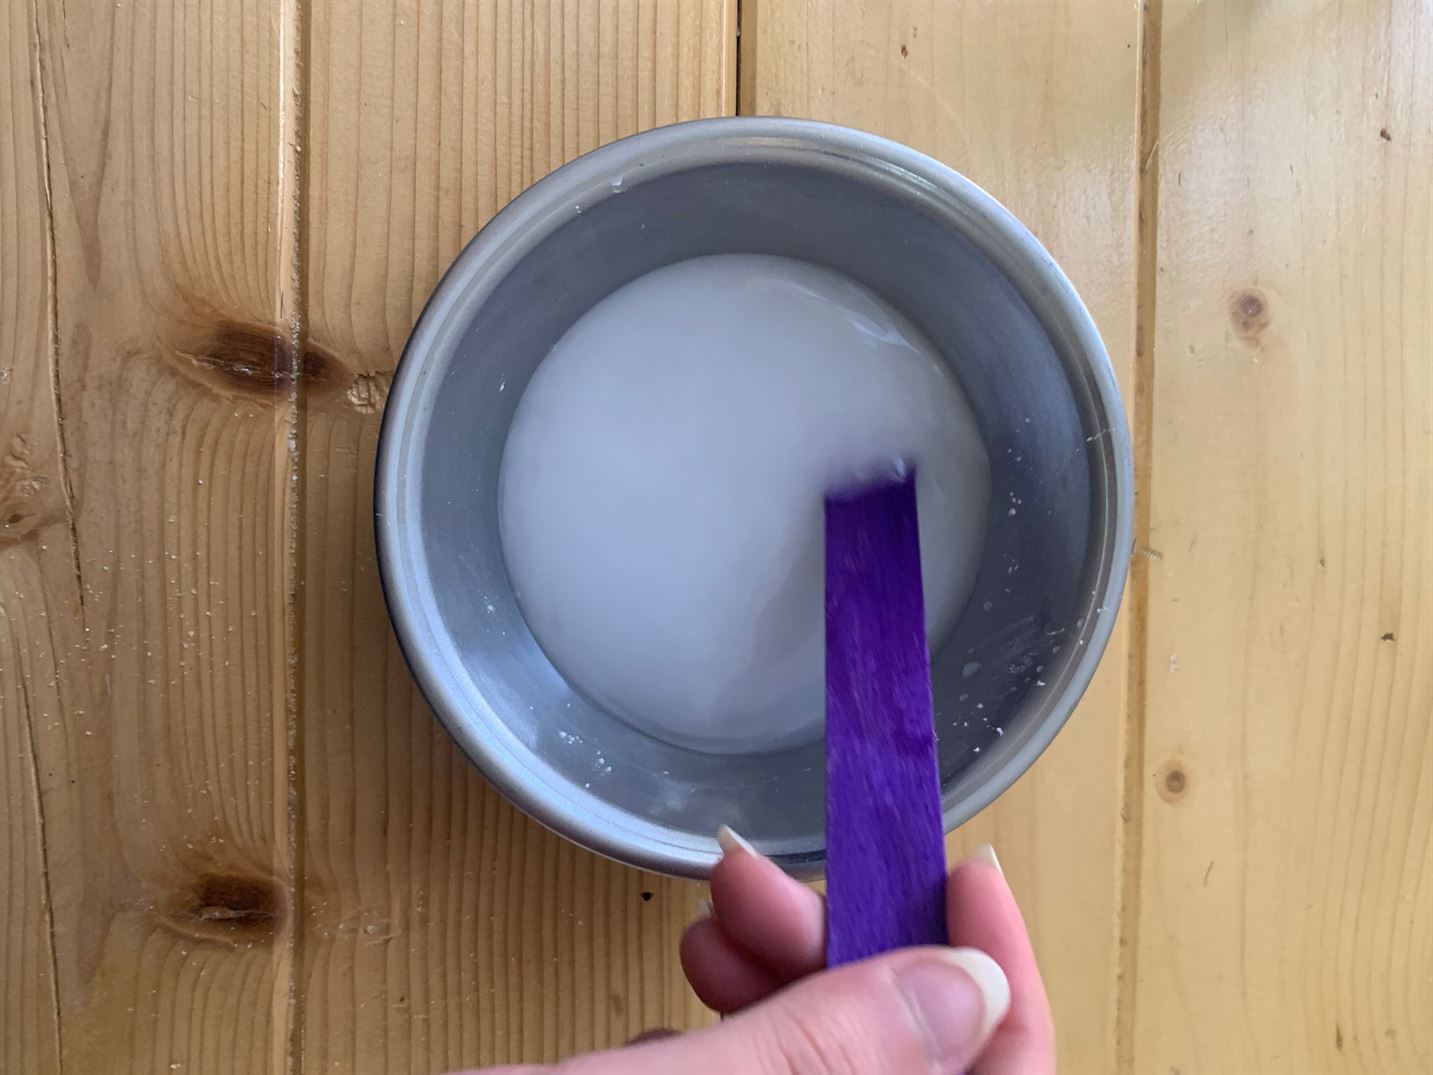
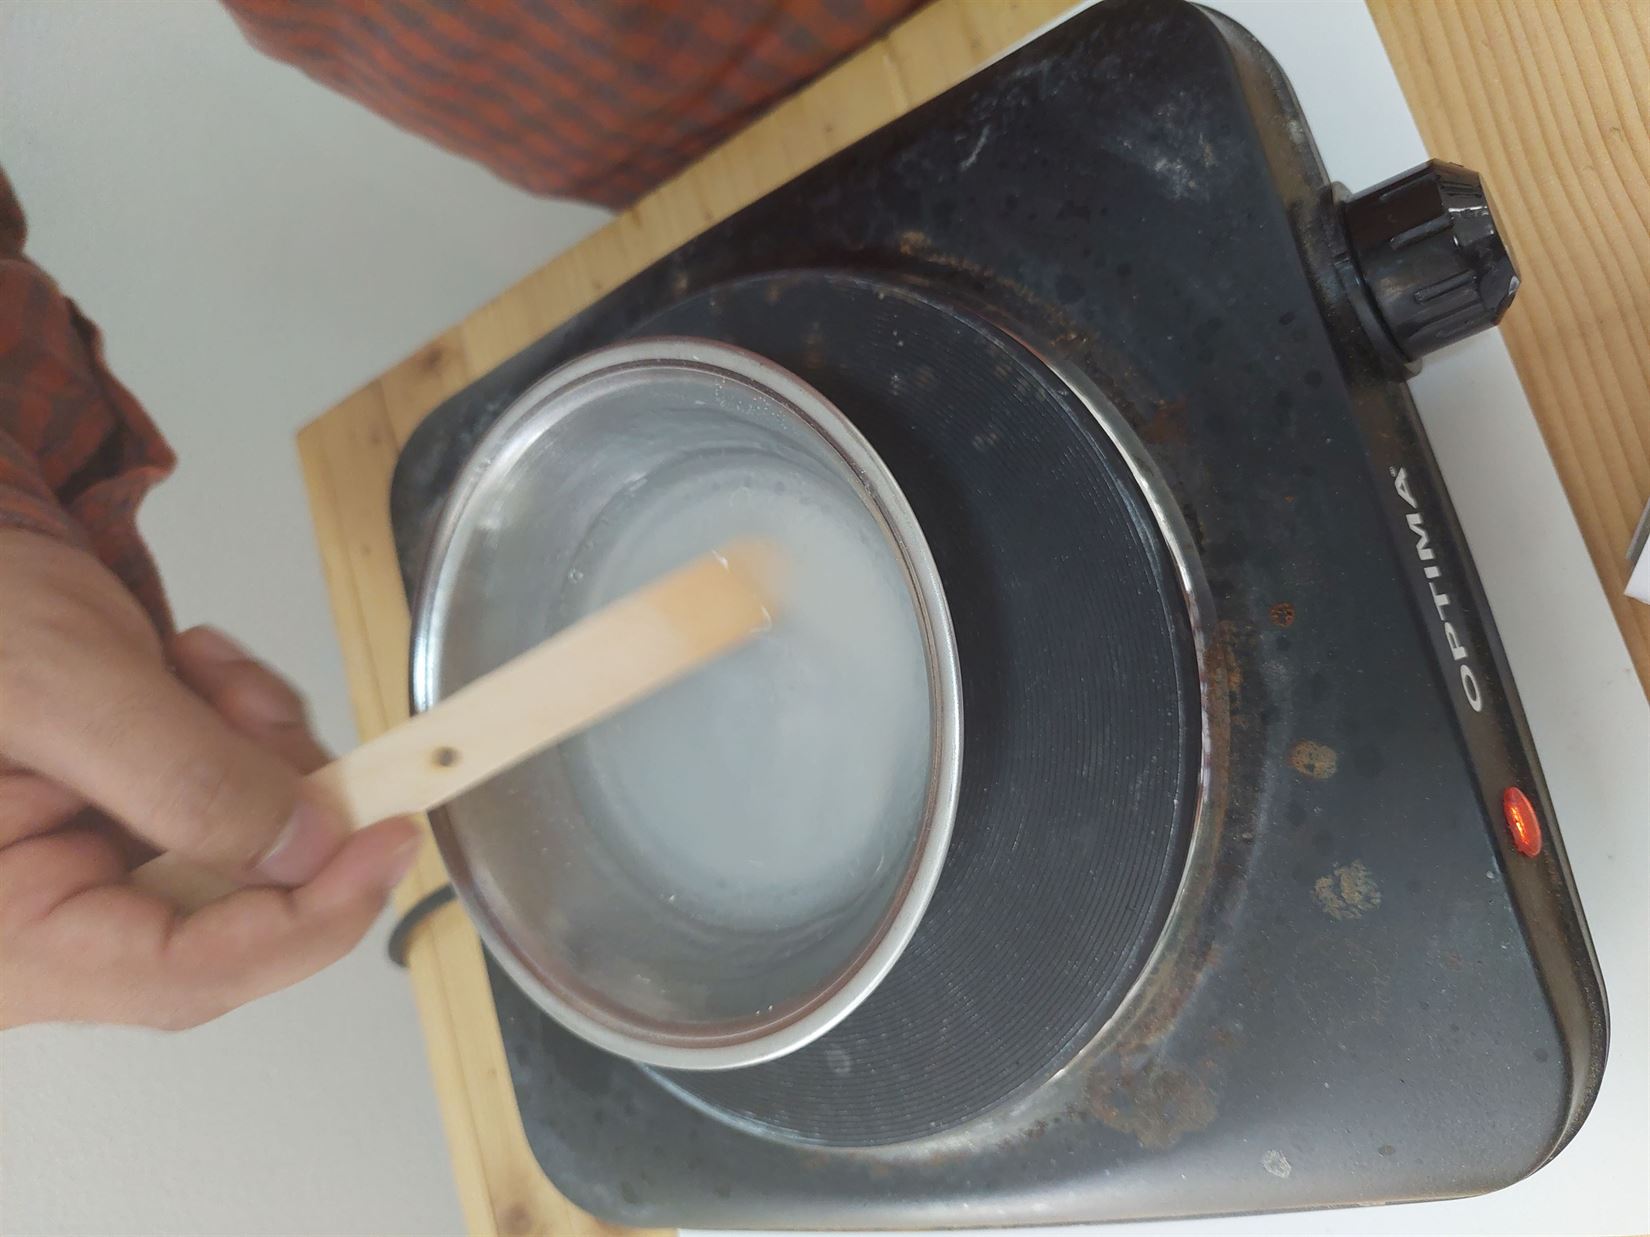
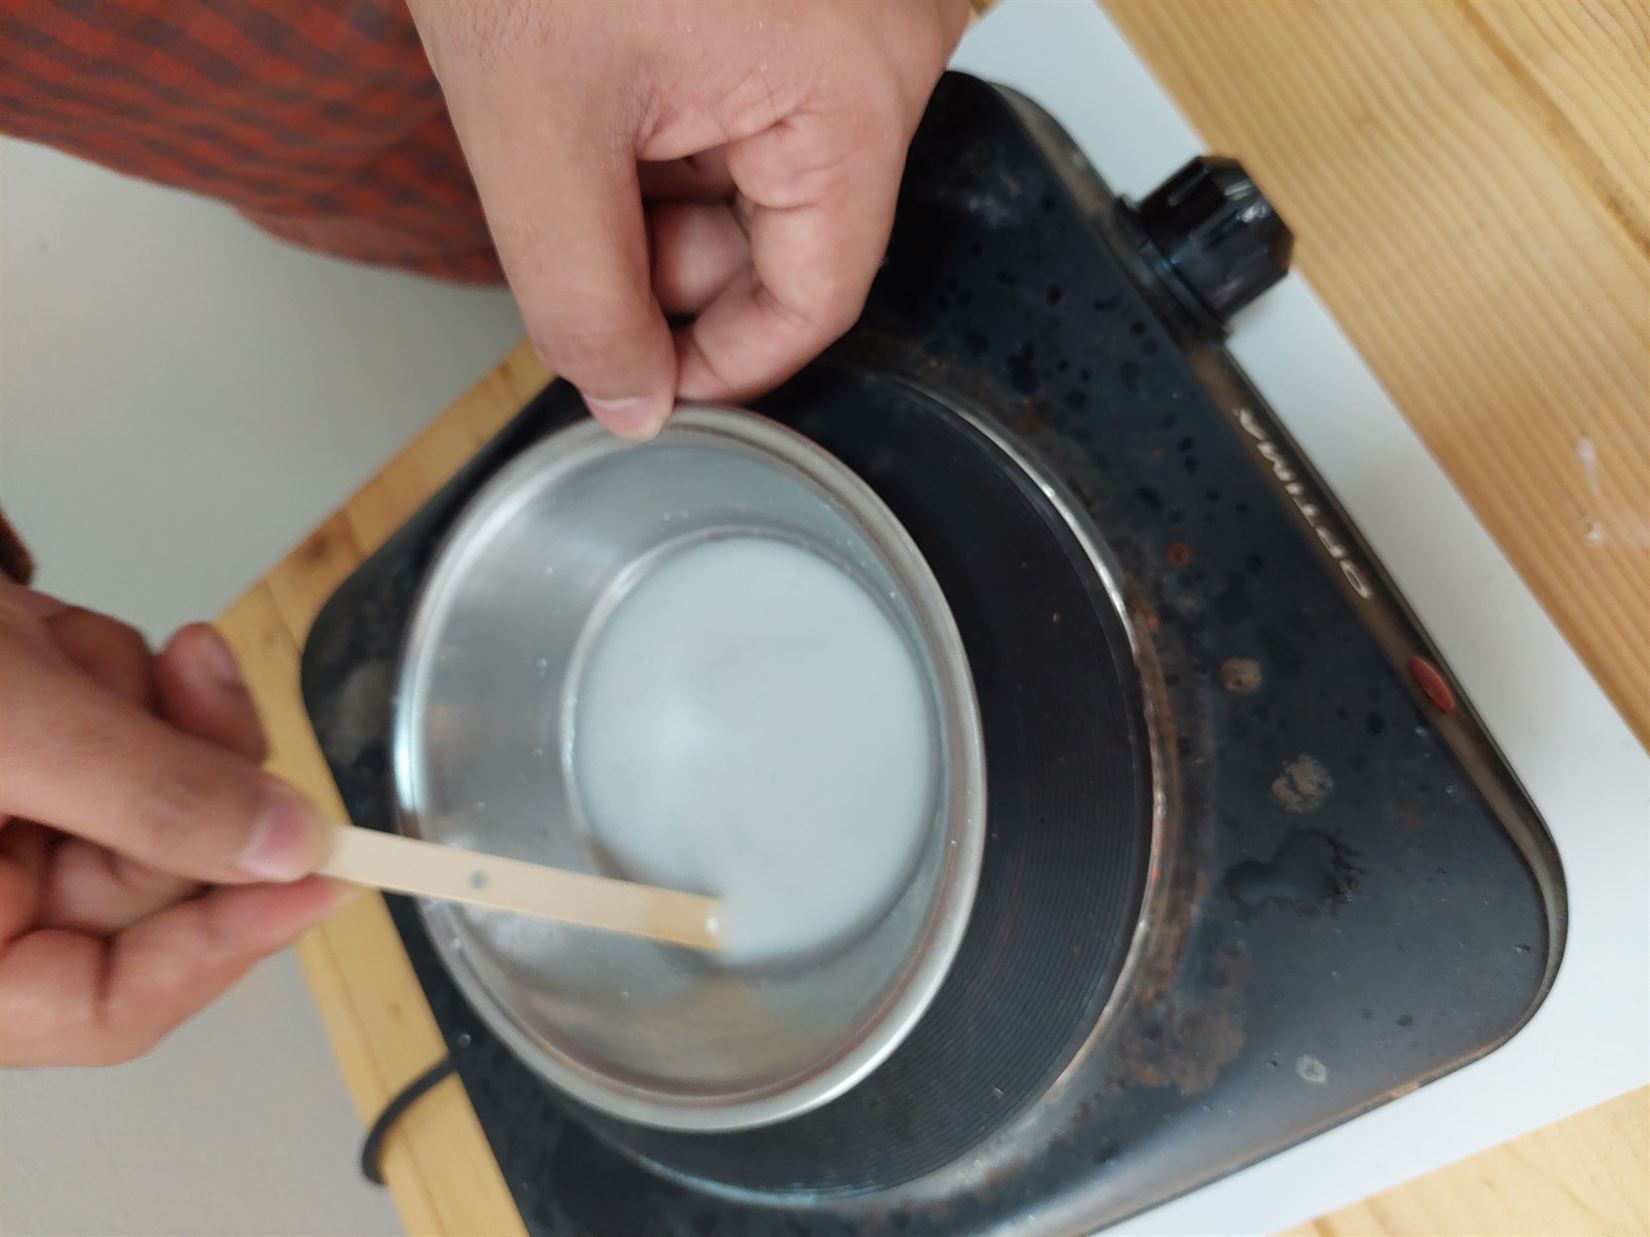
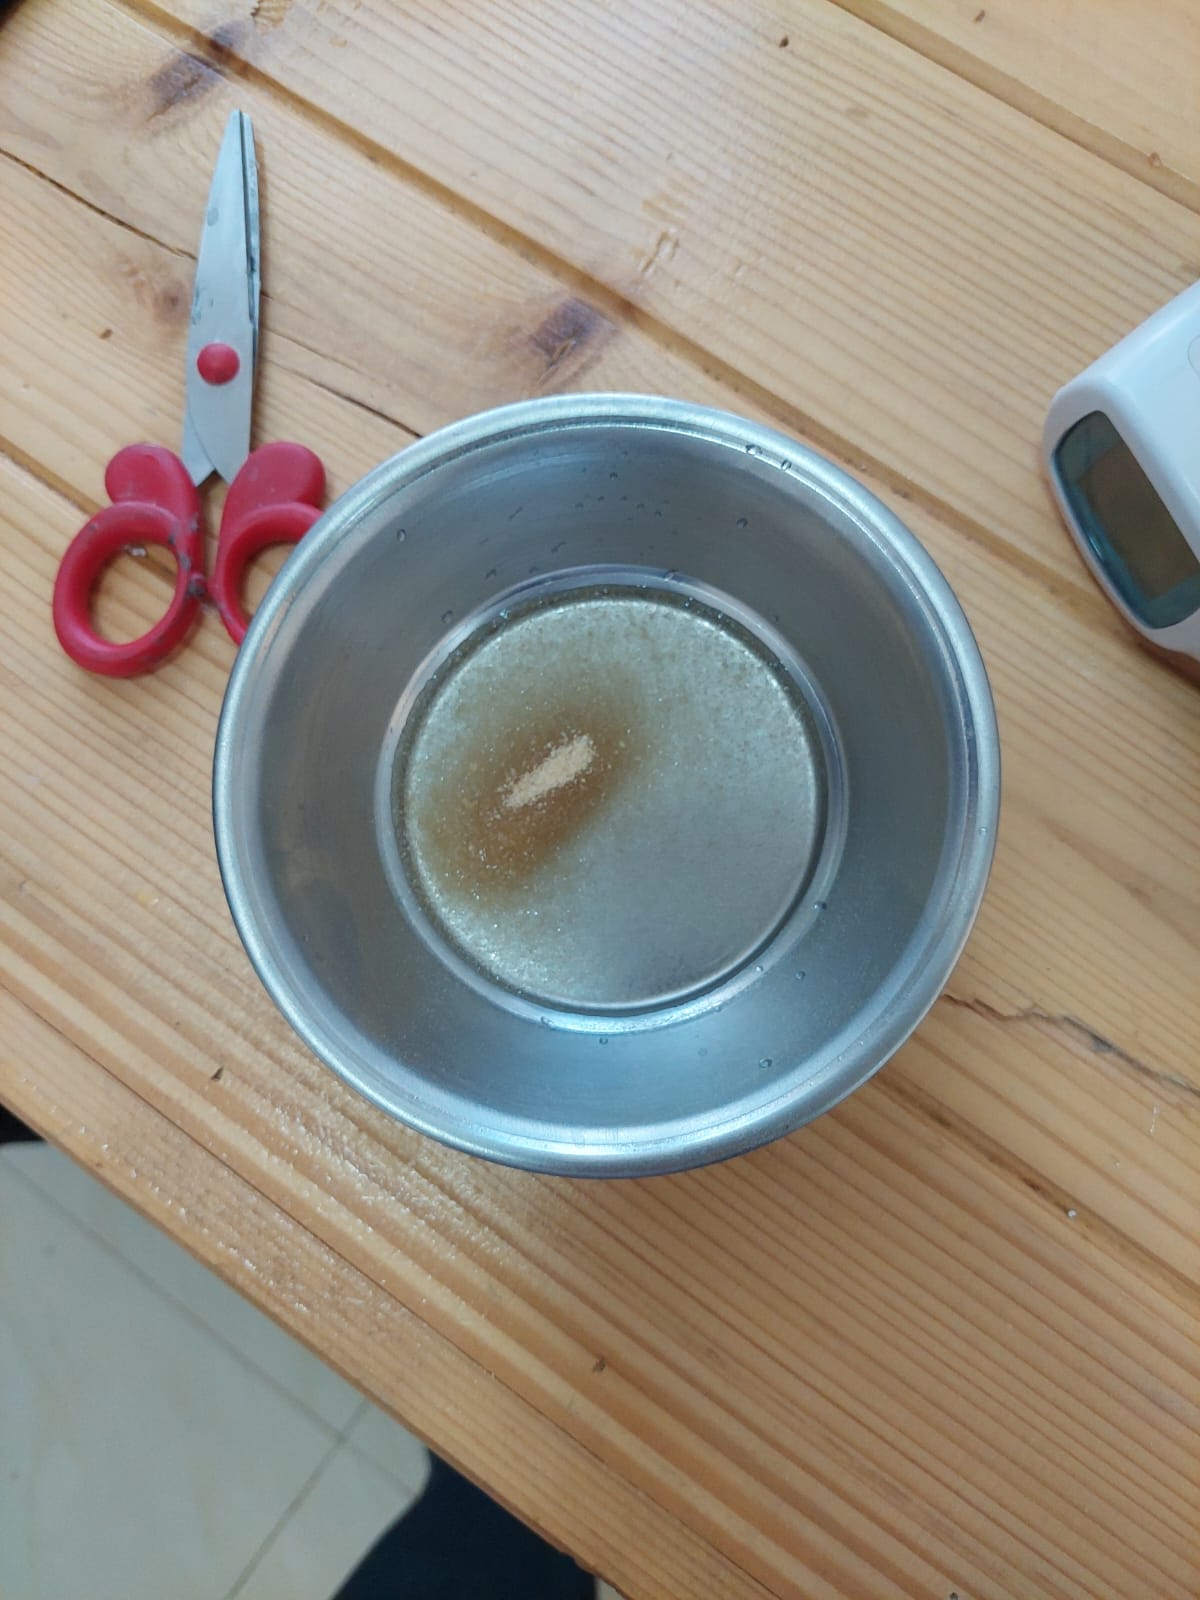
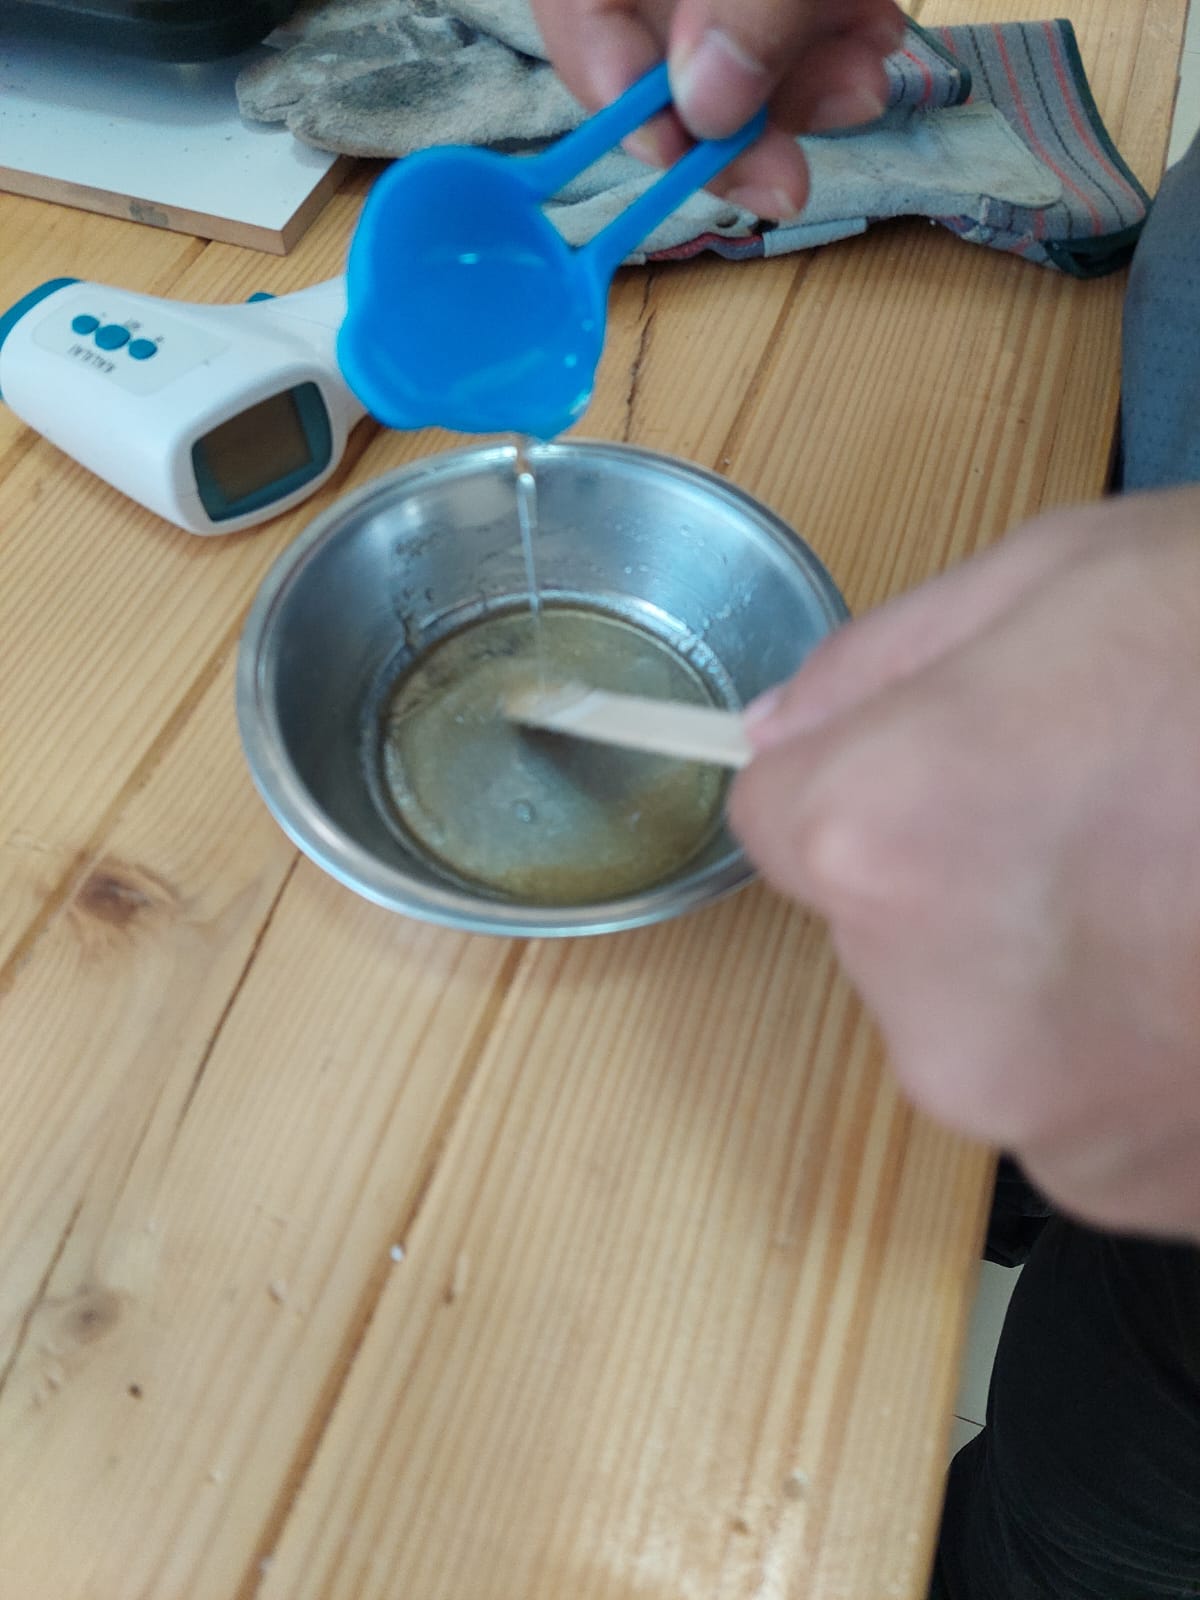
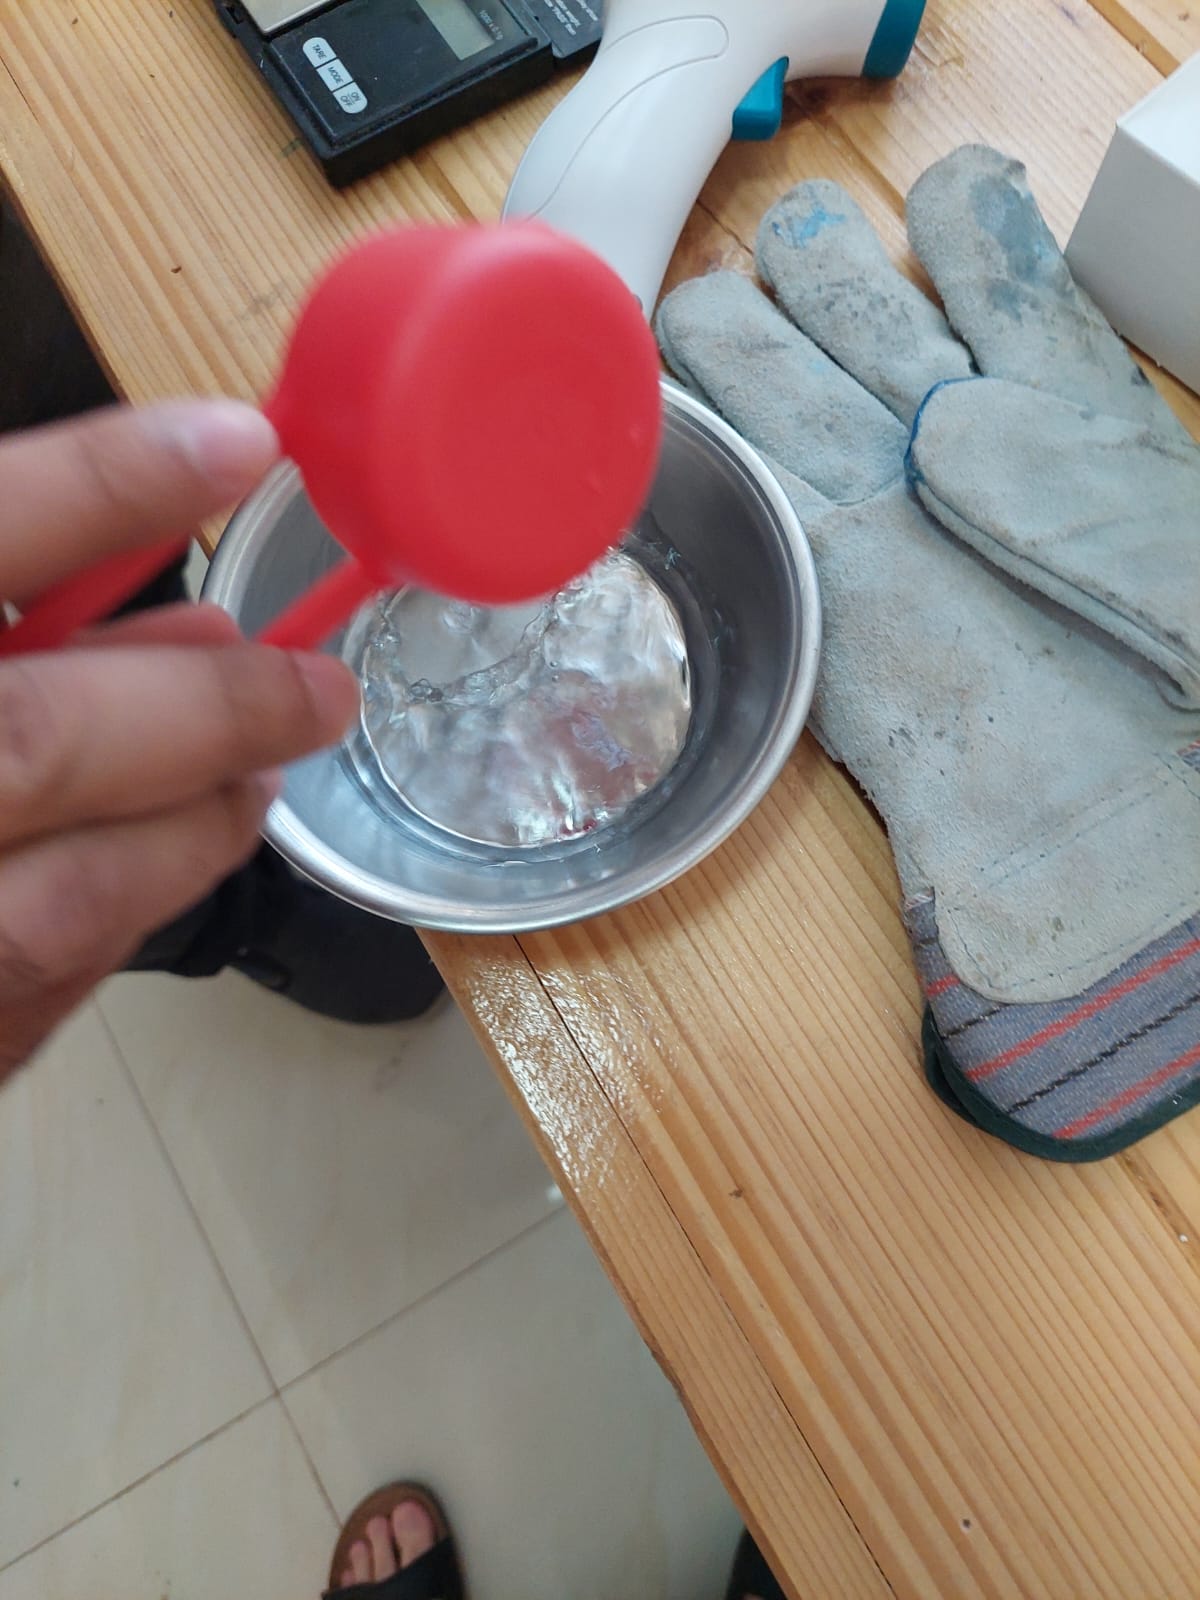
- We added the water and the gelatin to a pot and mixed both, then we let it set for a few minutes.

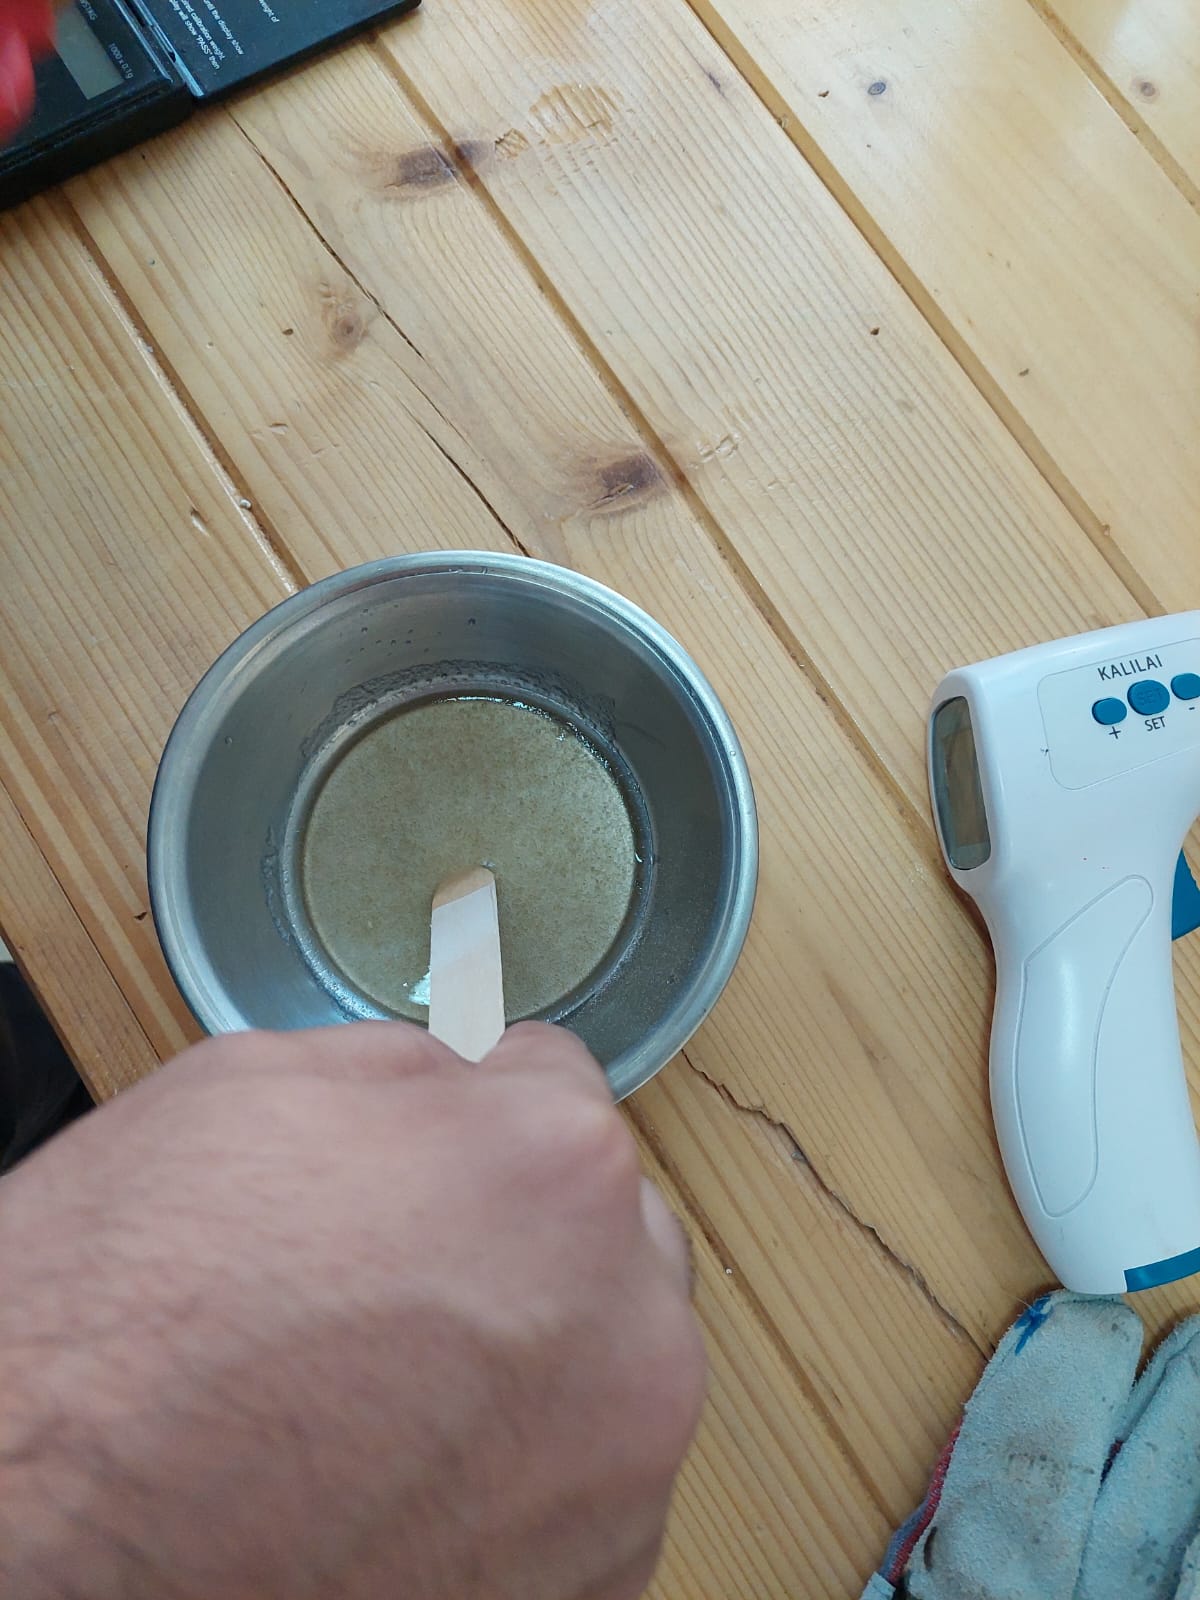

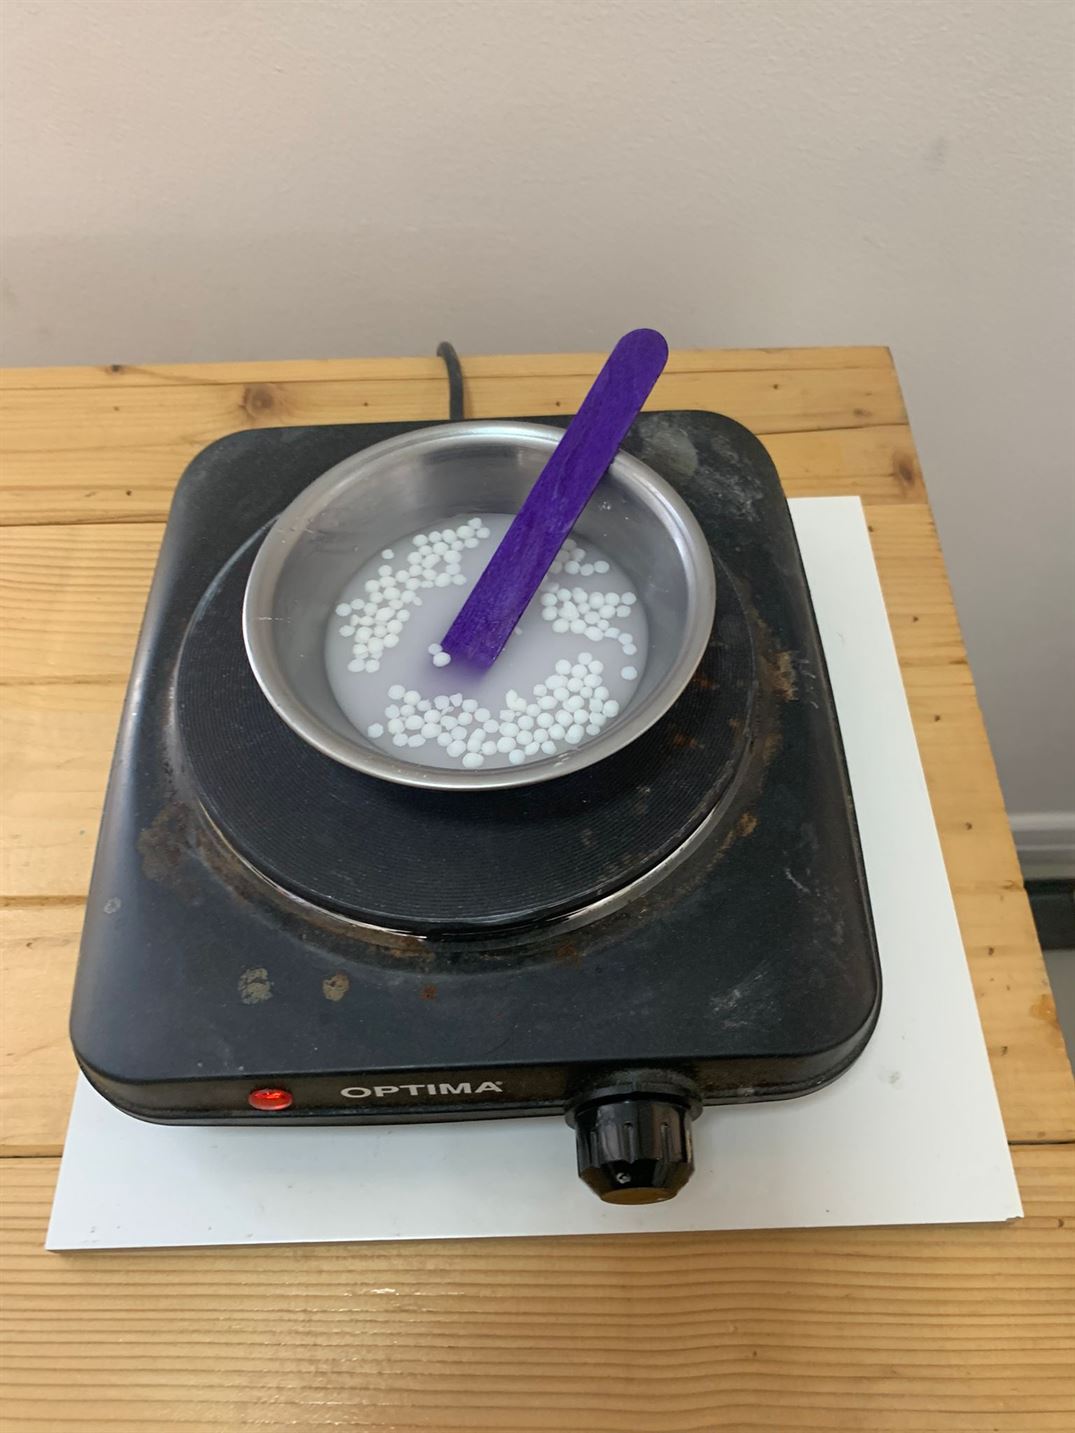
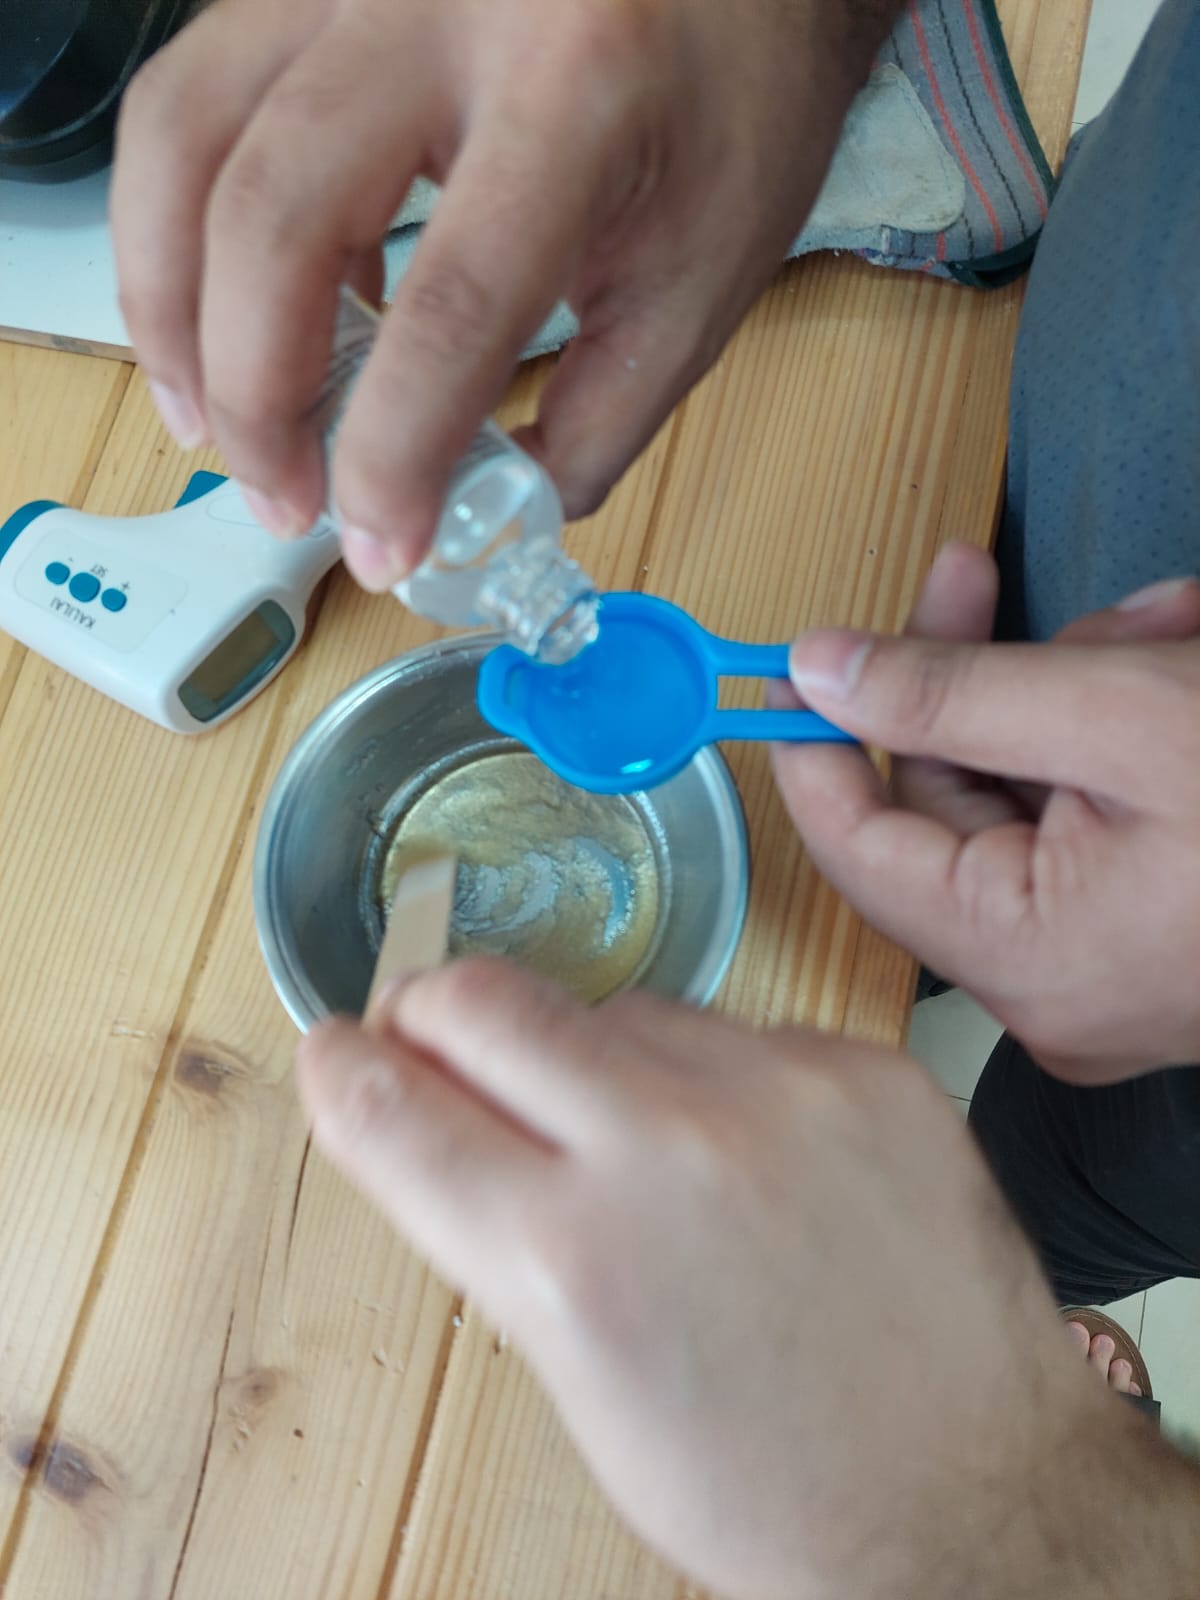
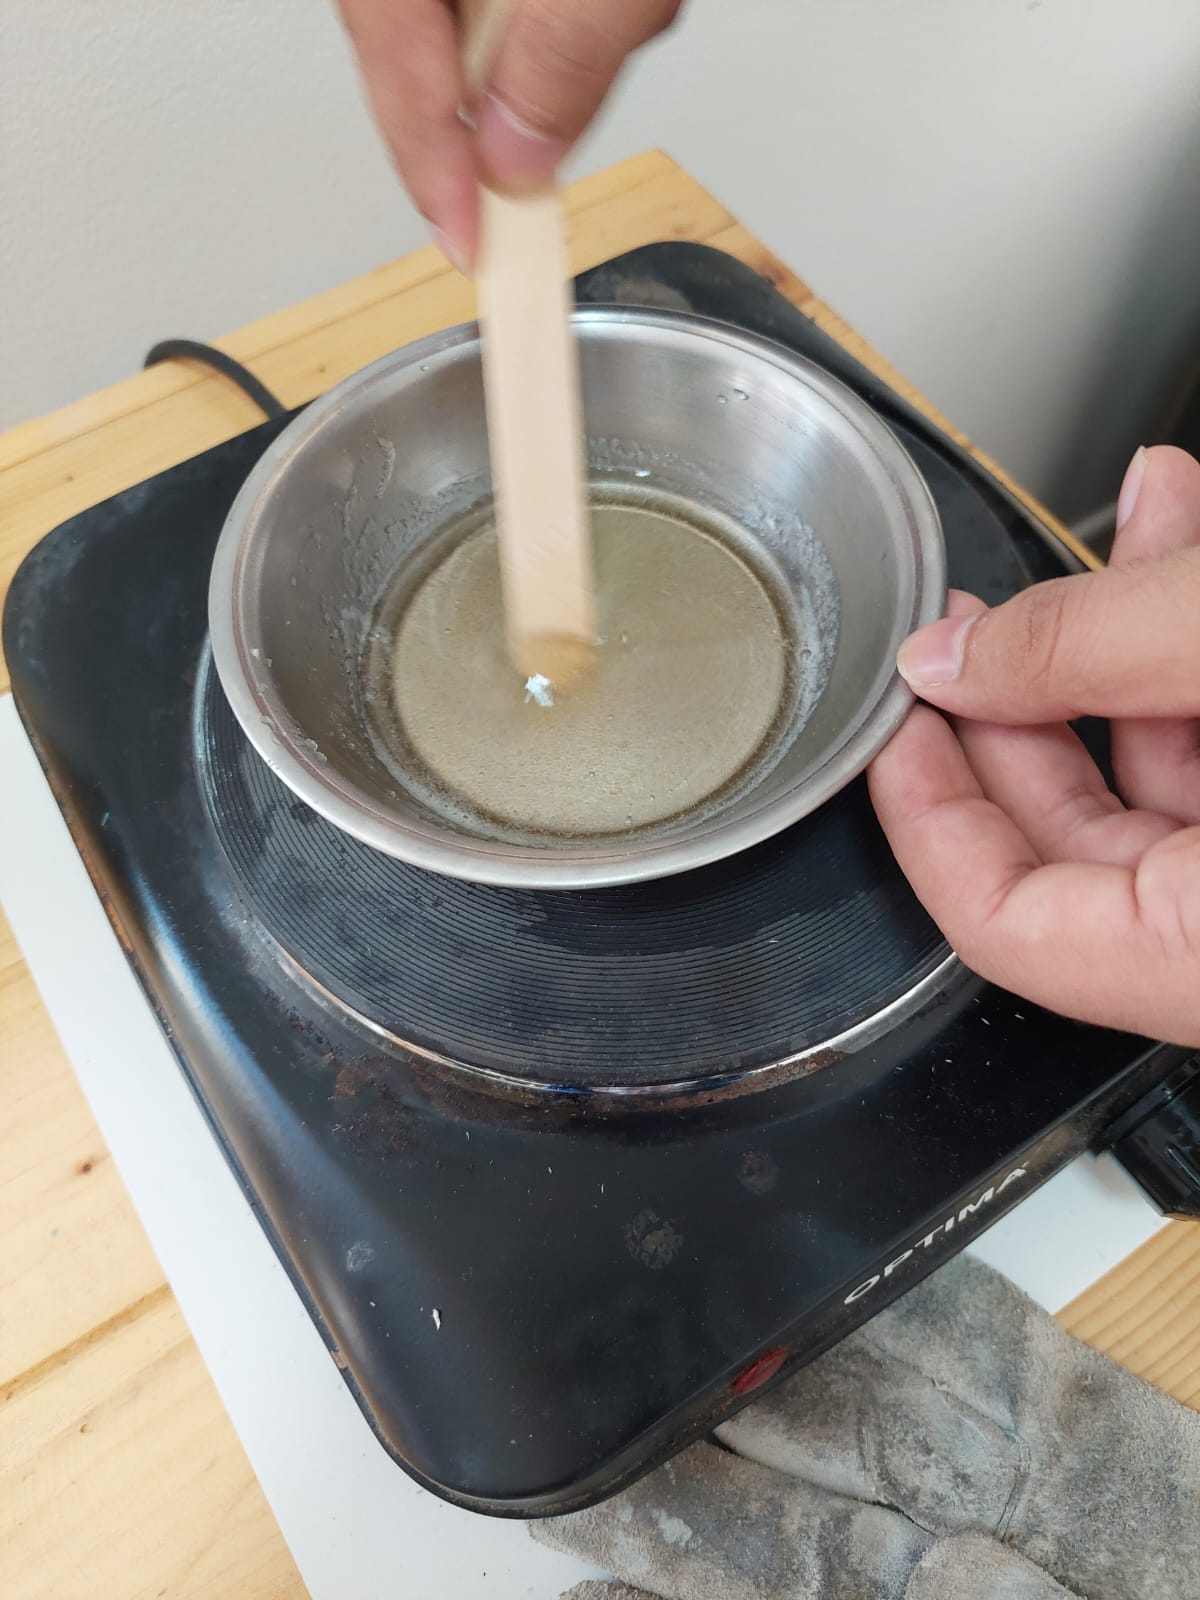
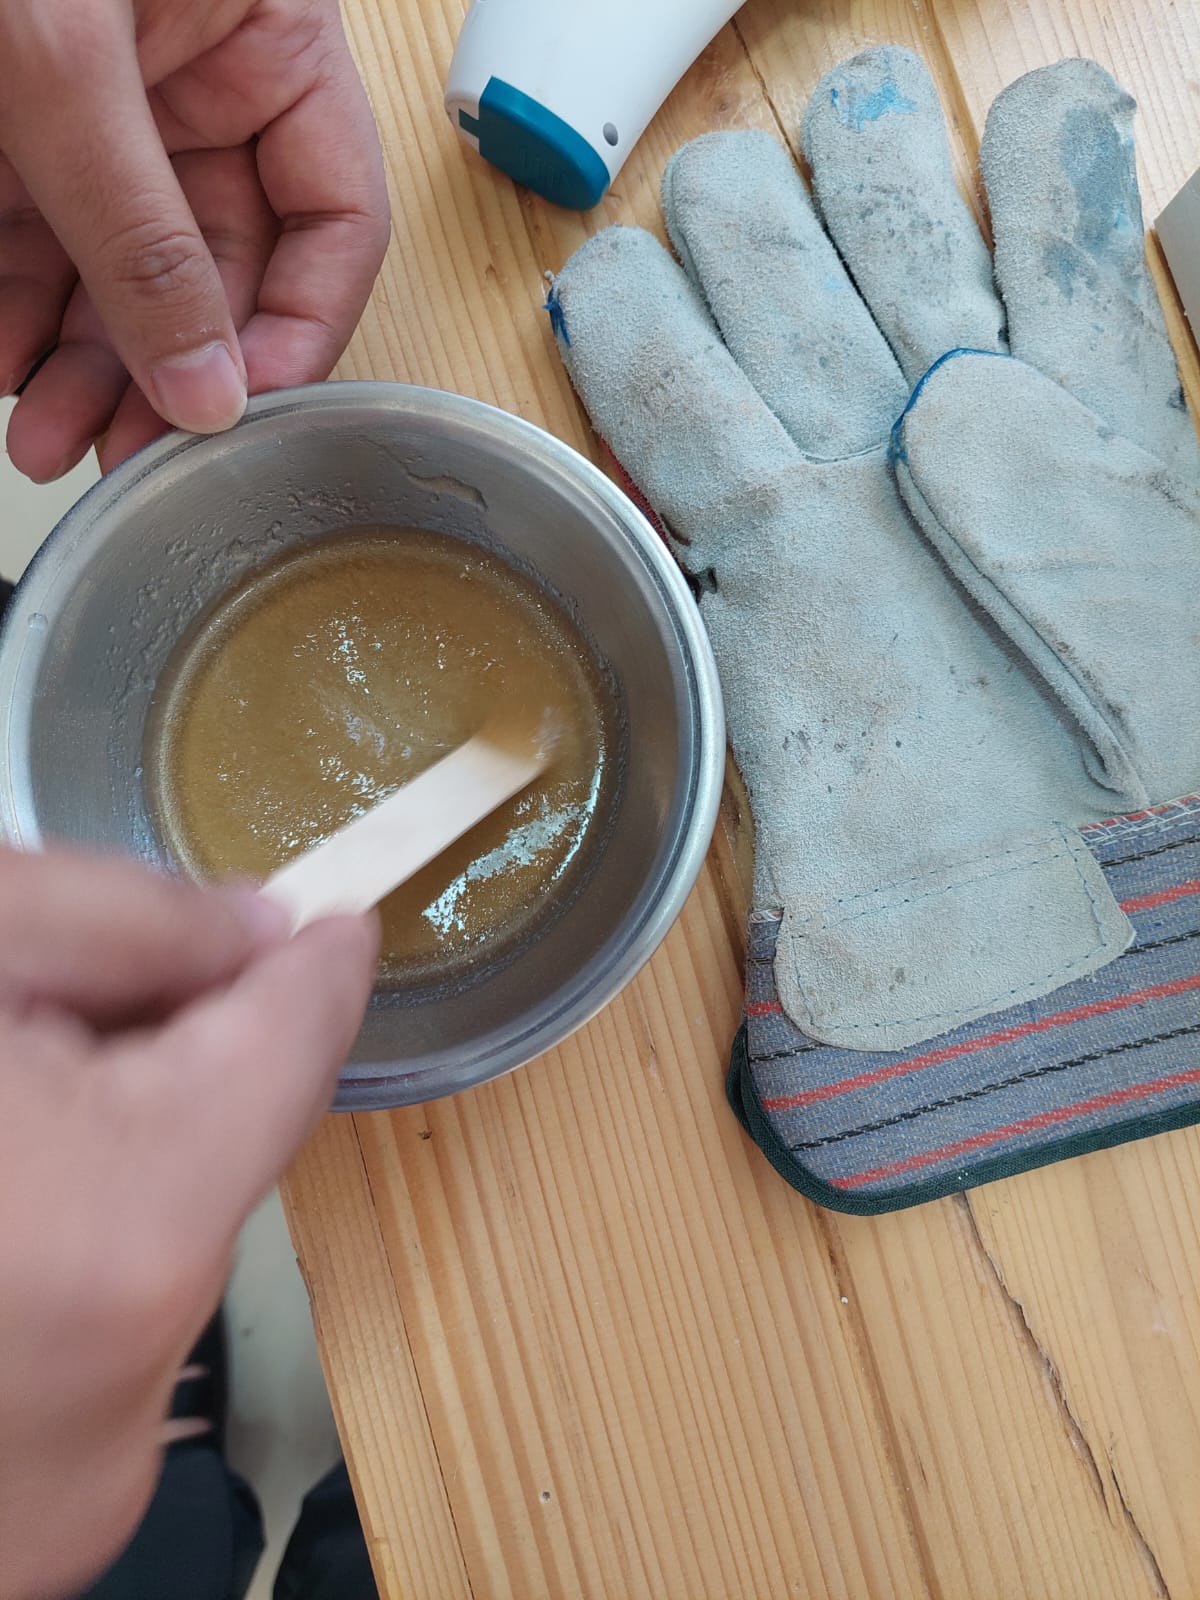
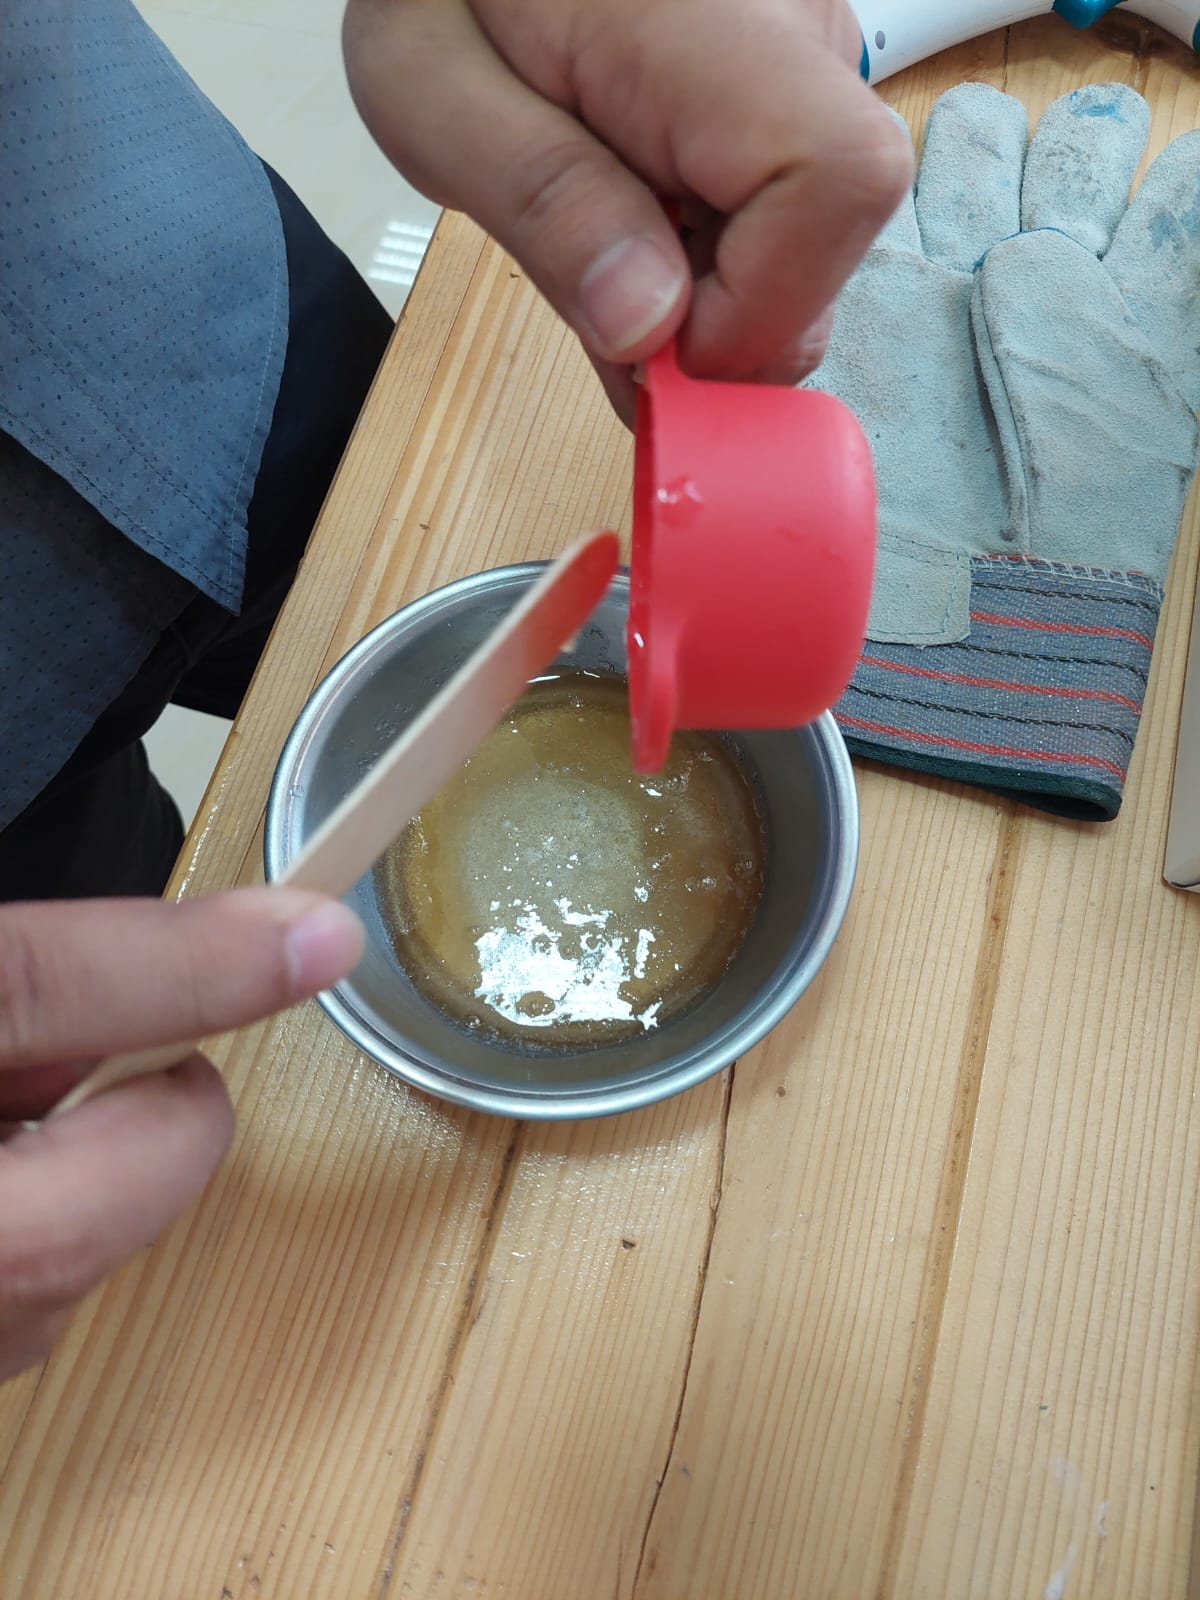
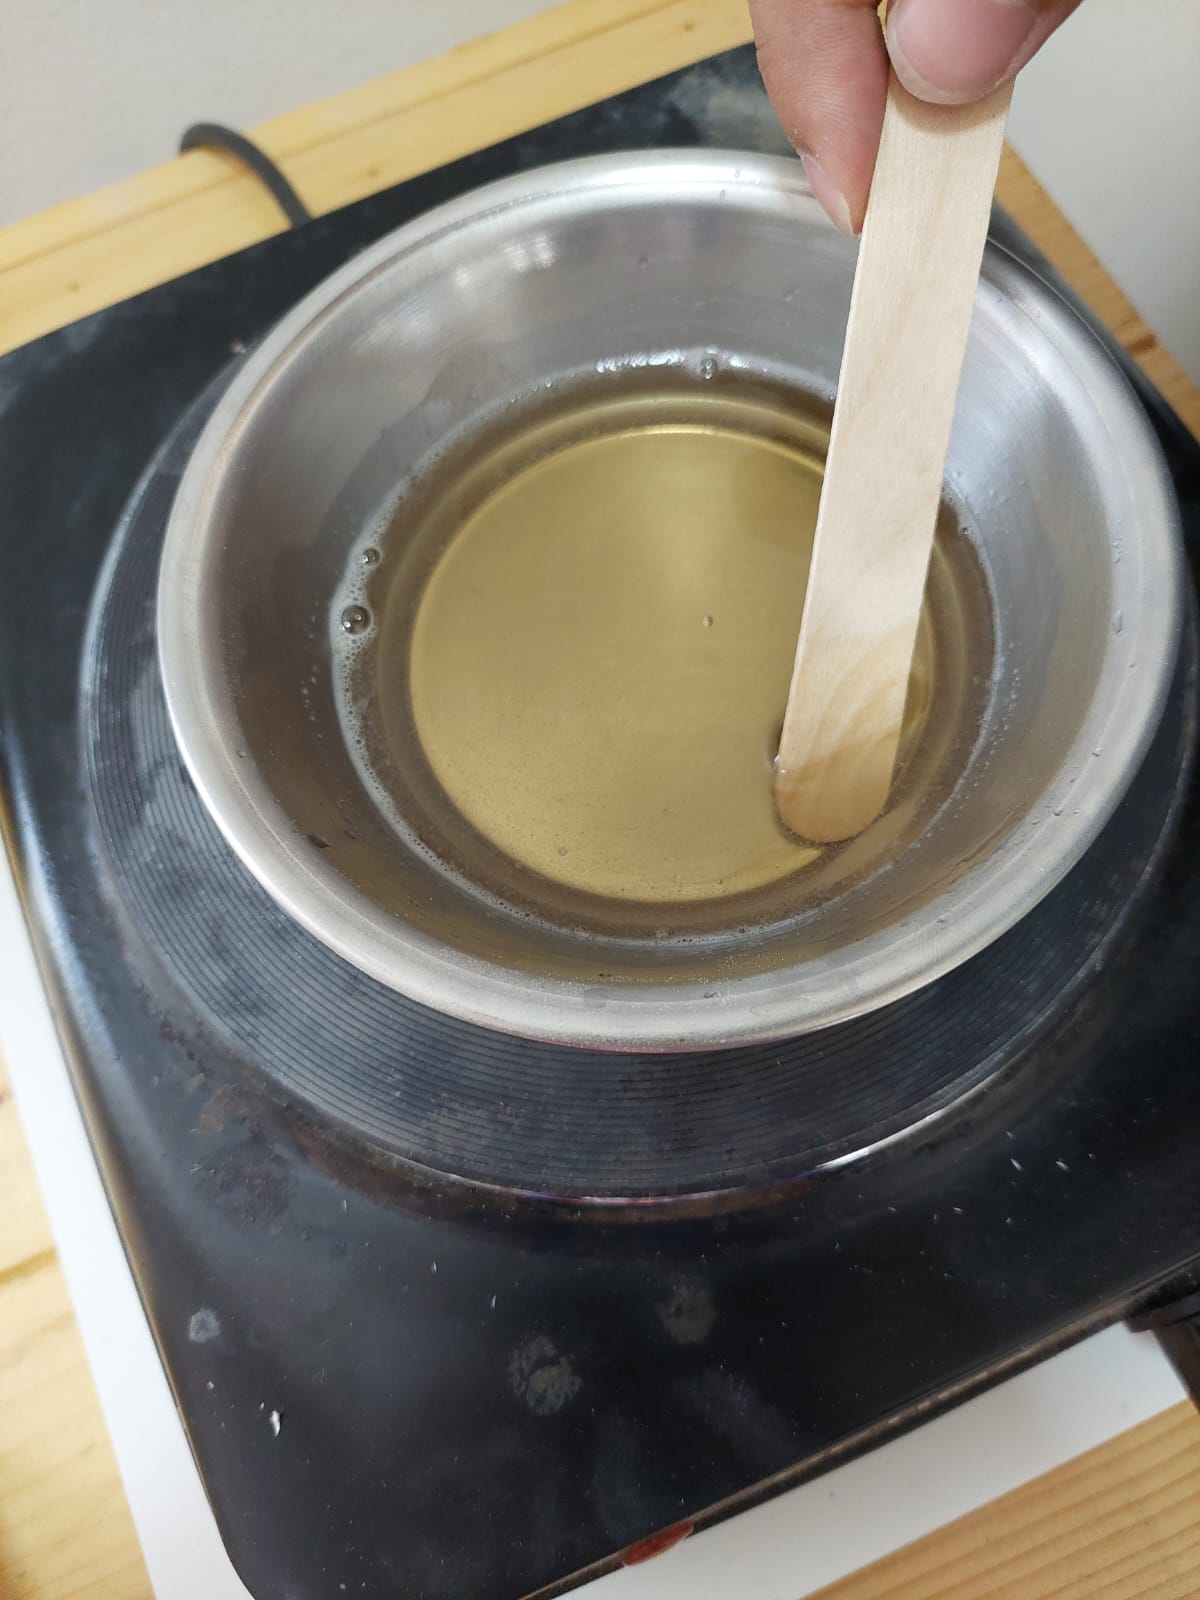
- We added the glycerine and mixed on hot plate at low temperature.
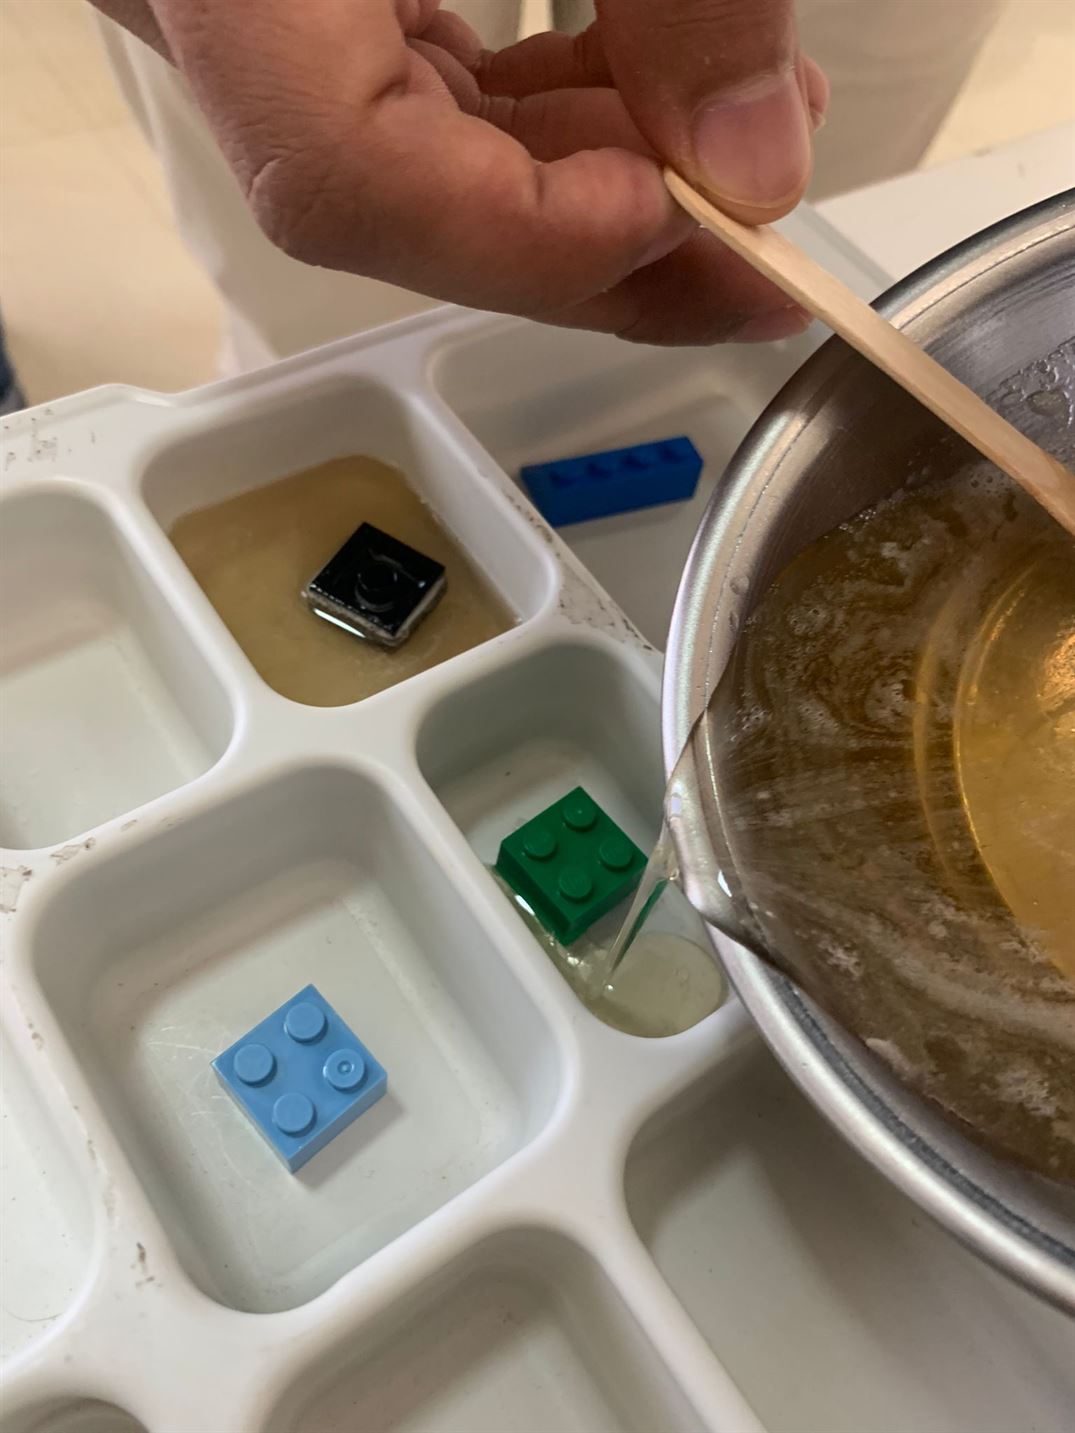
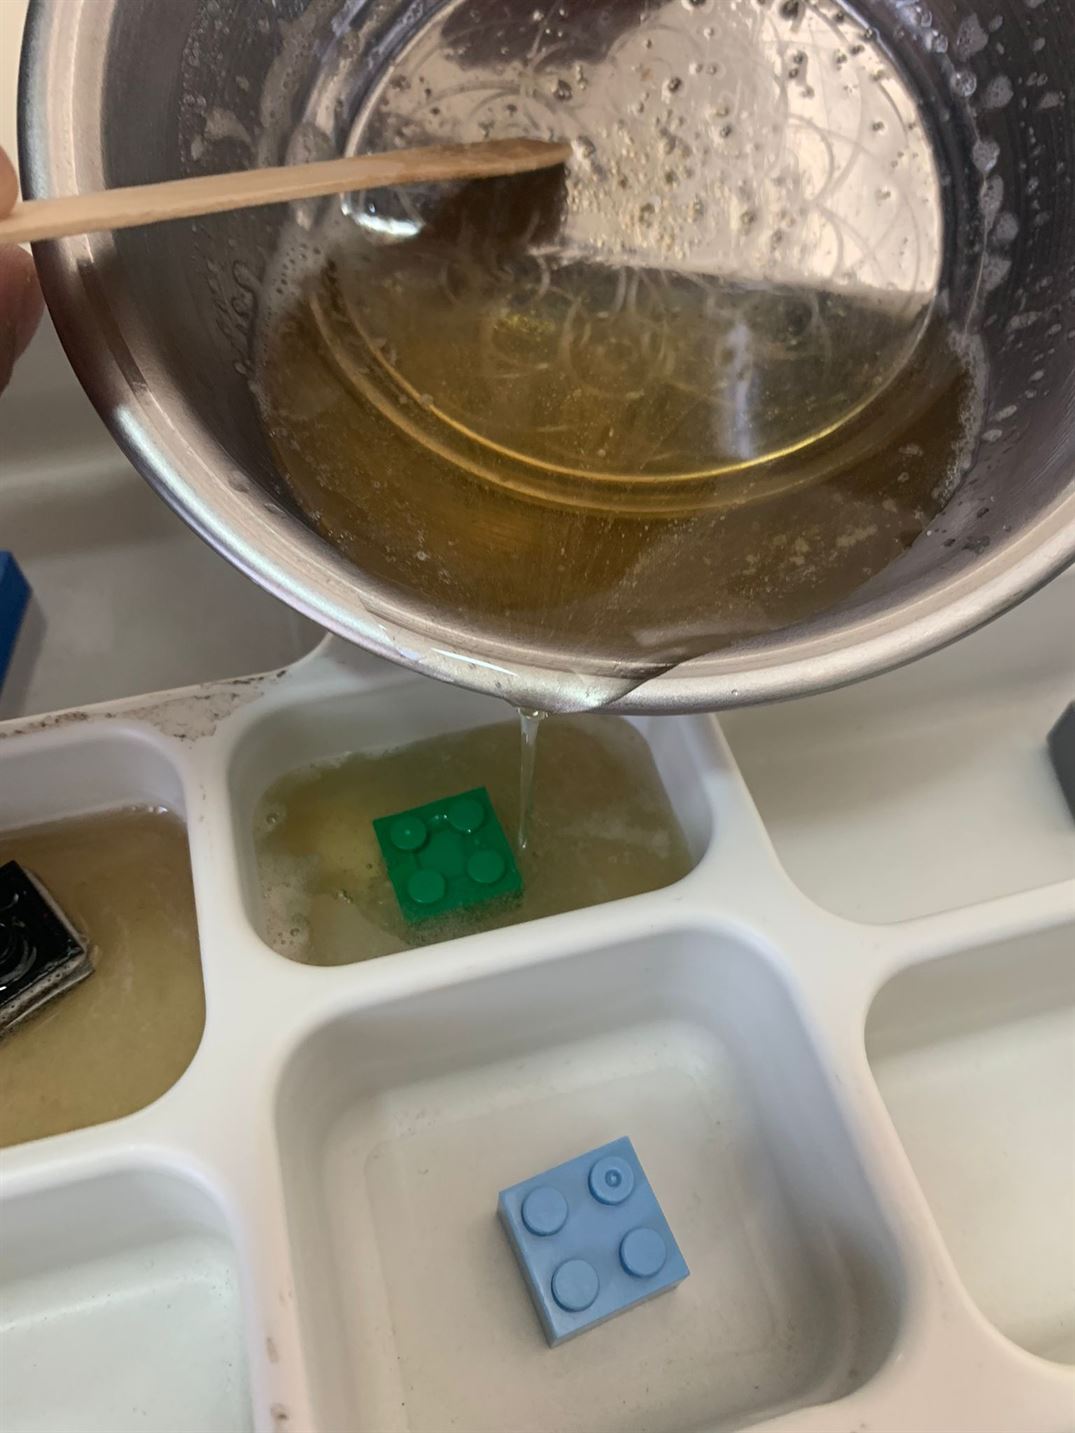
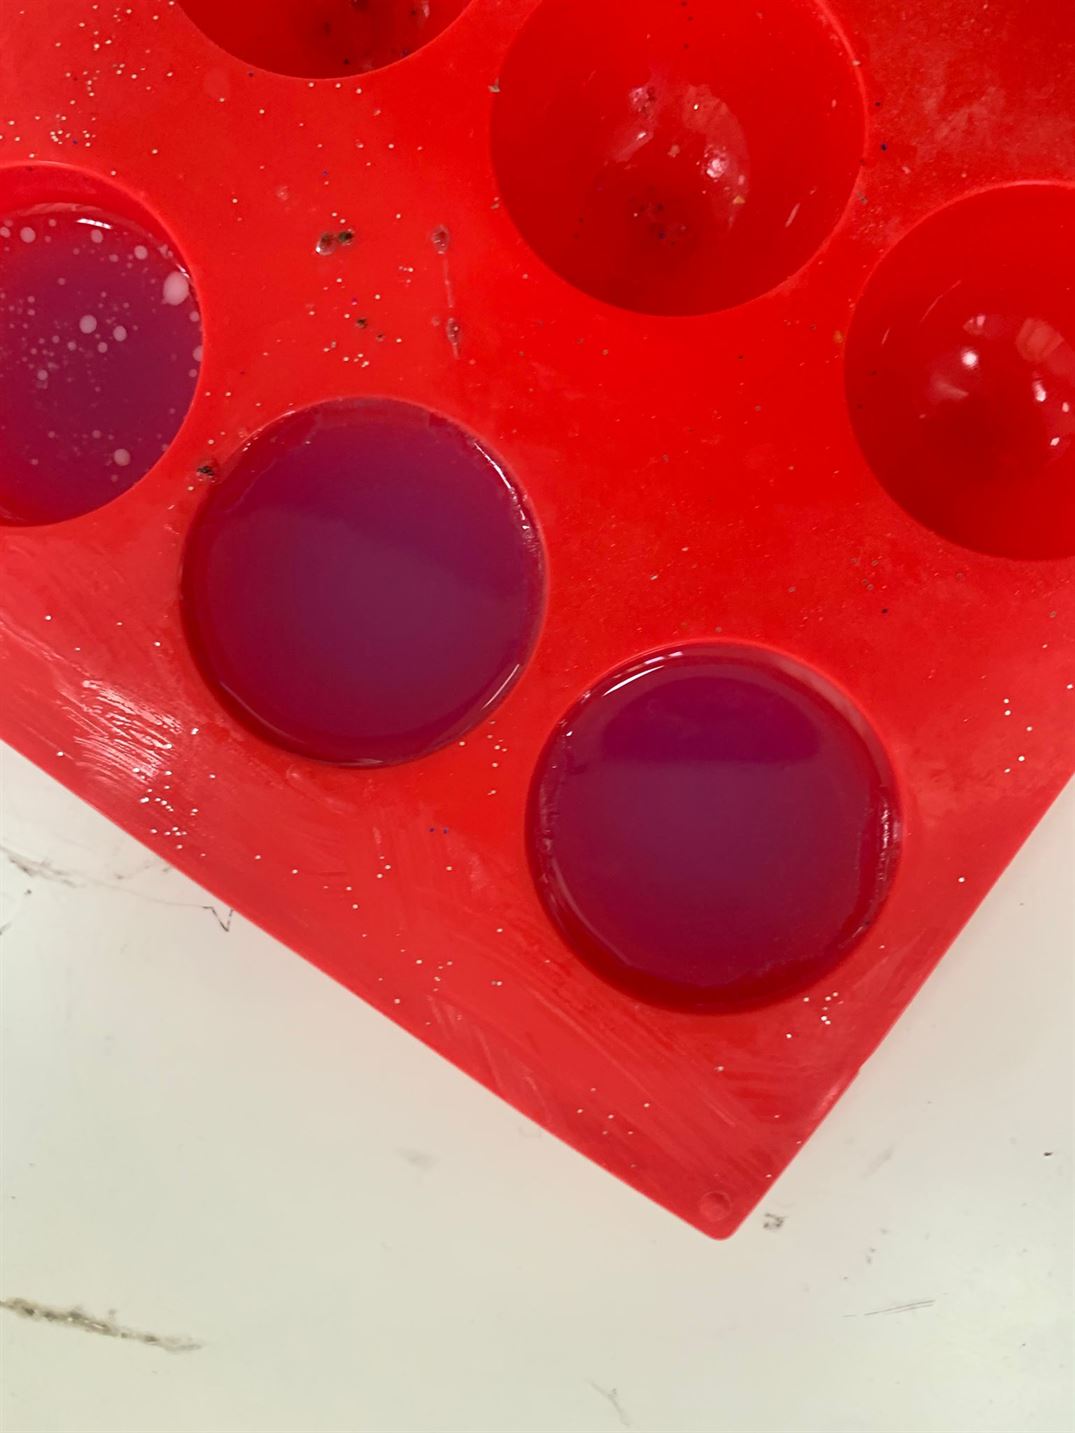
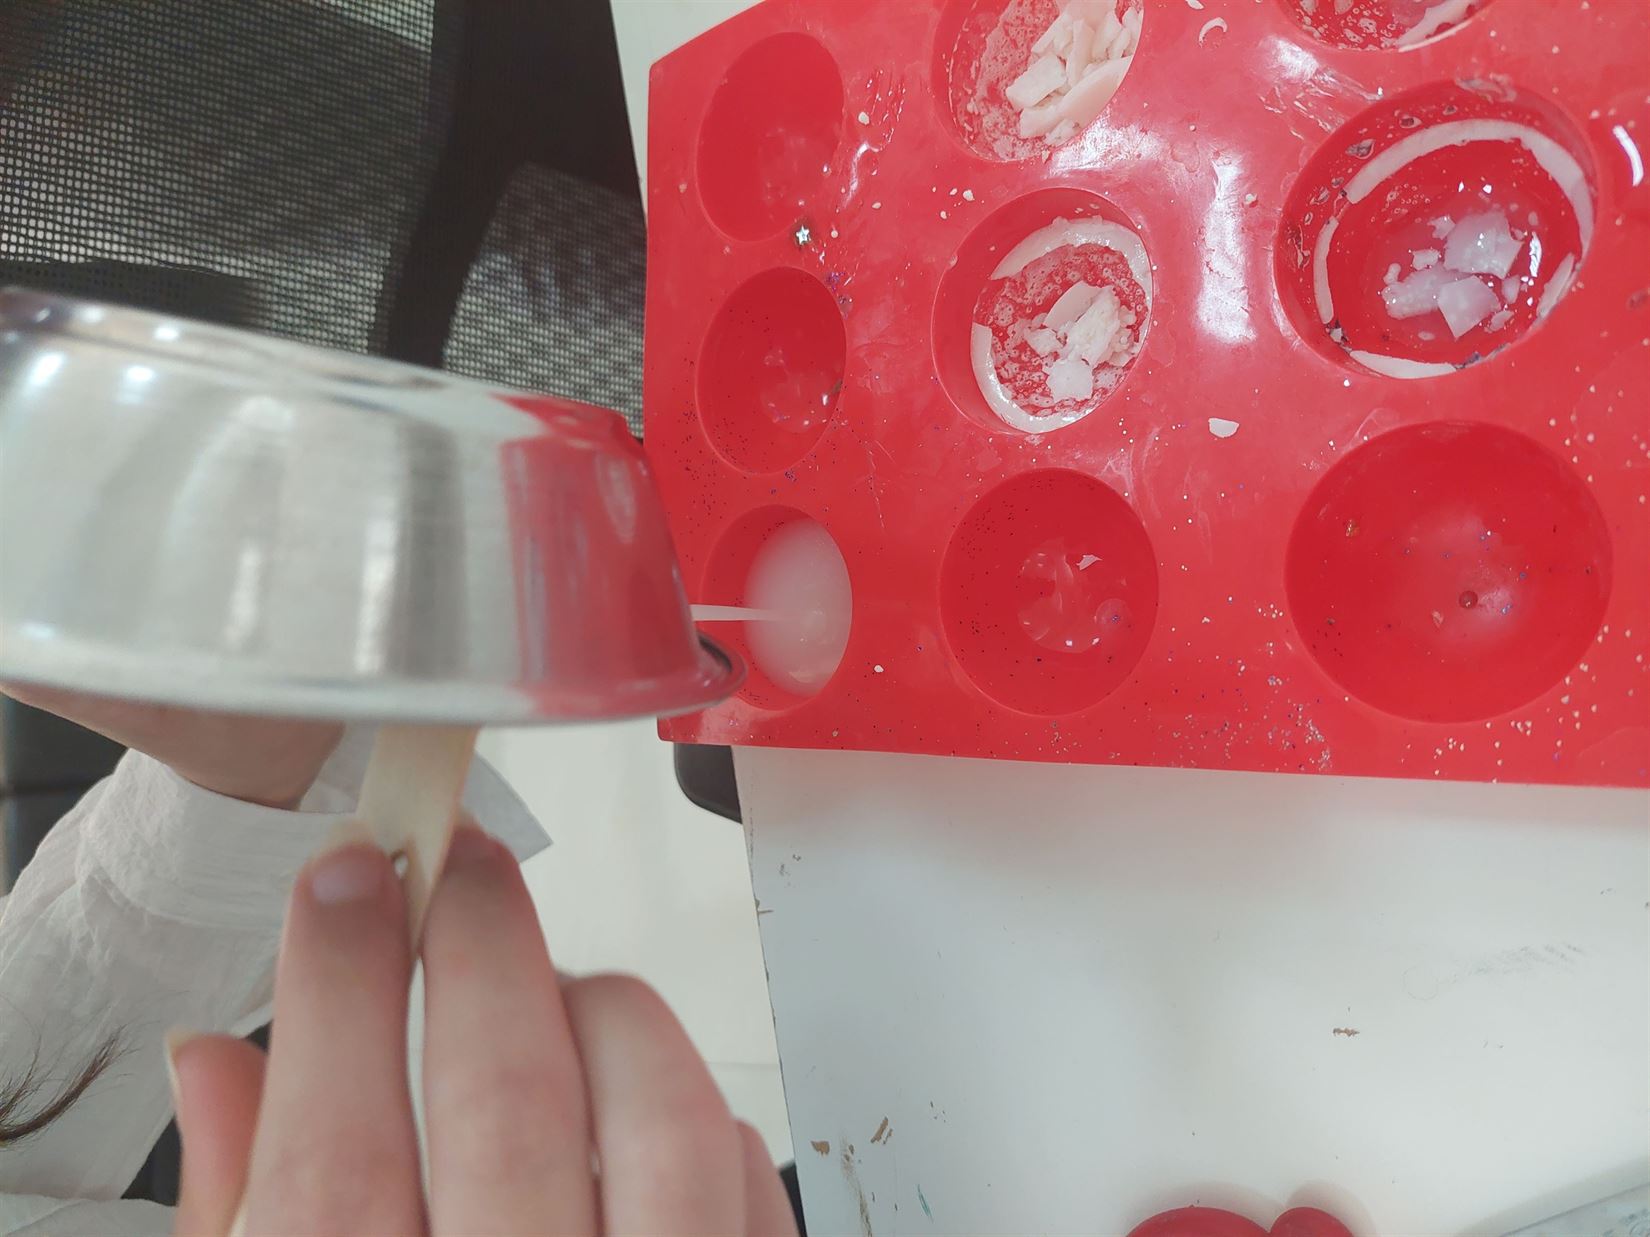
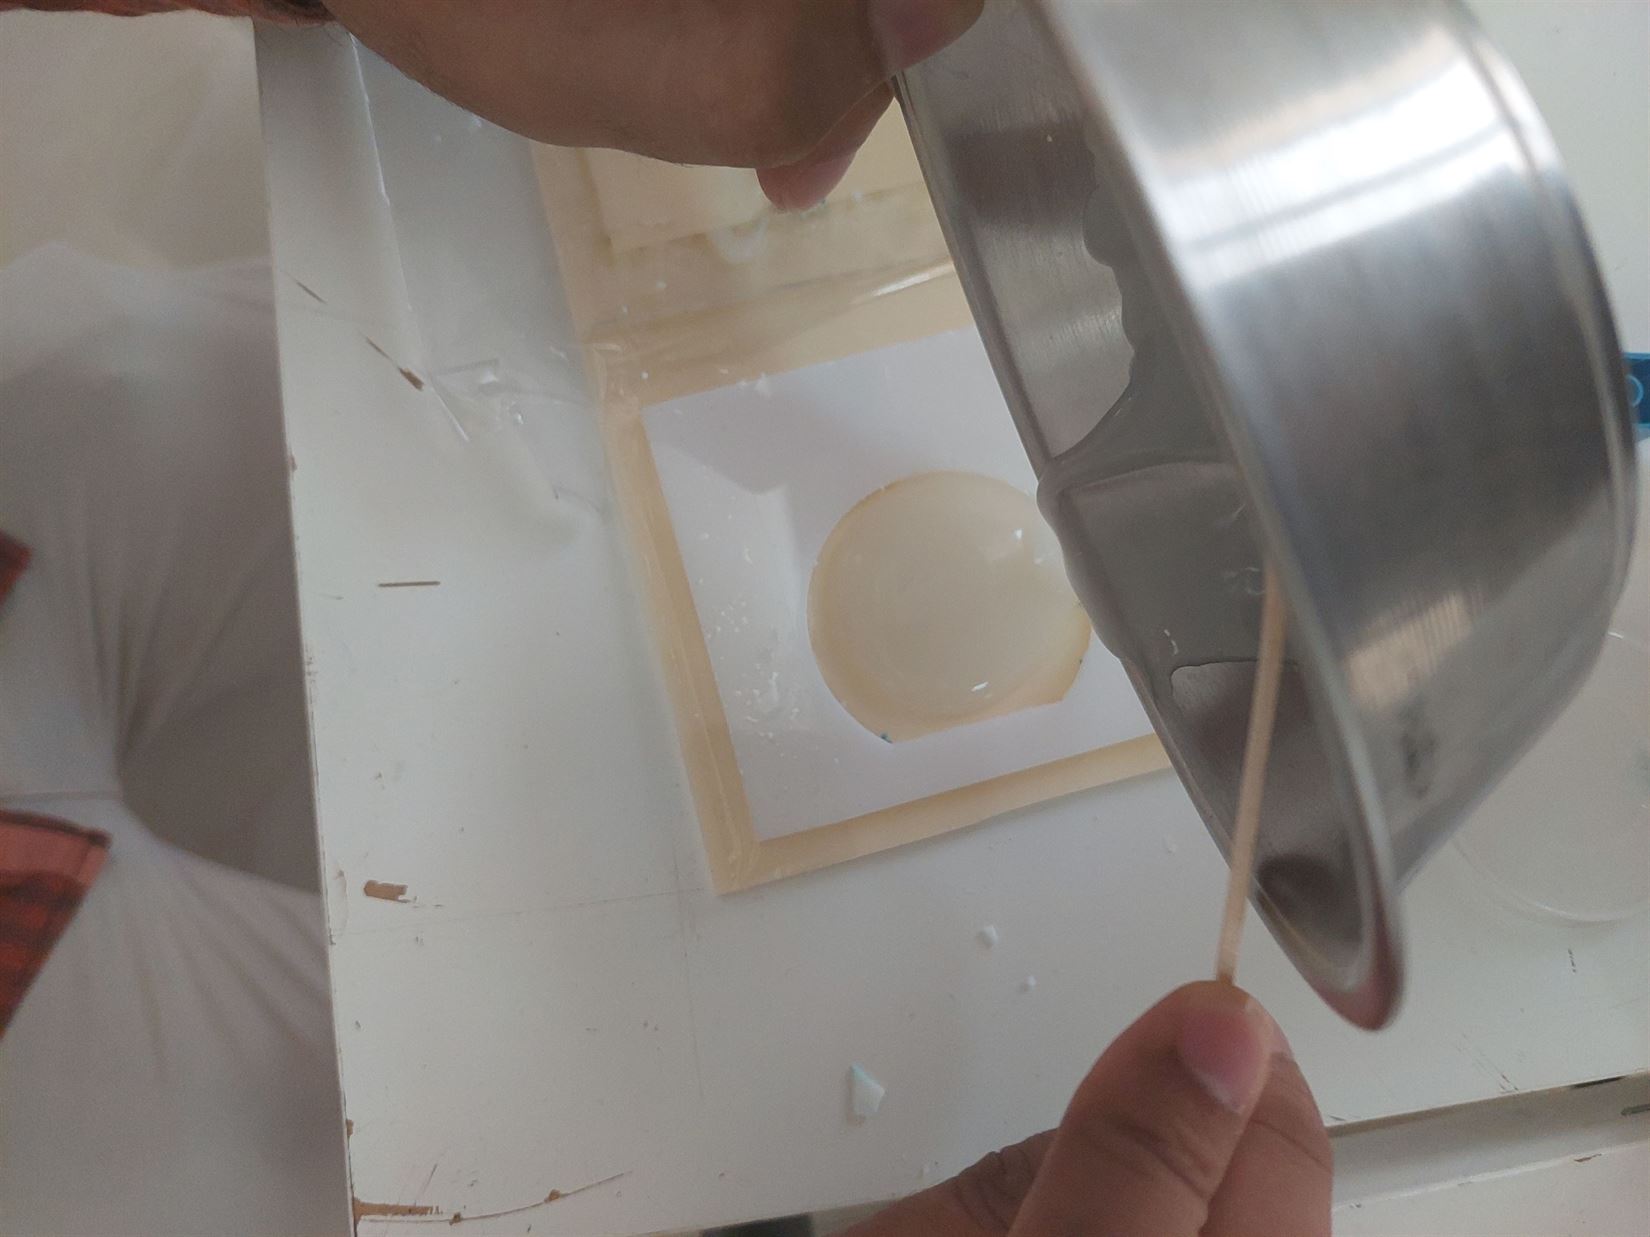
- We poured it in the frame.
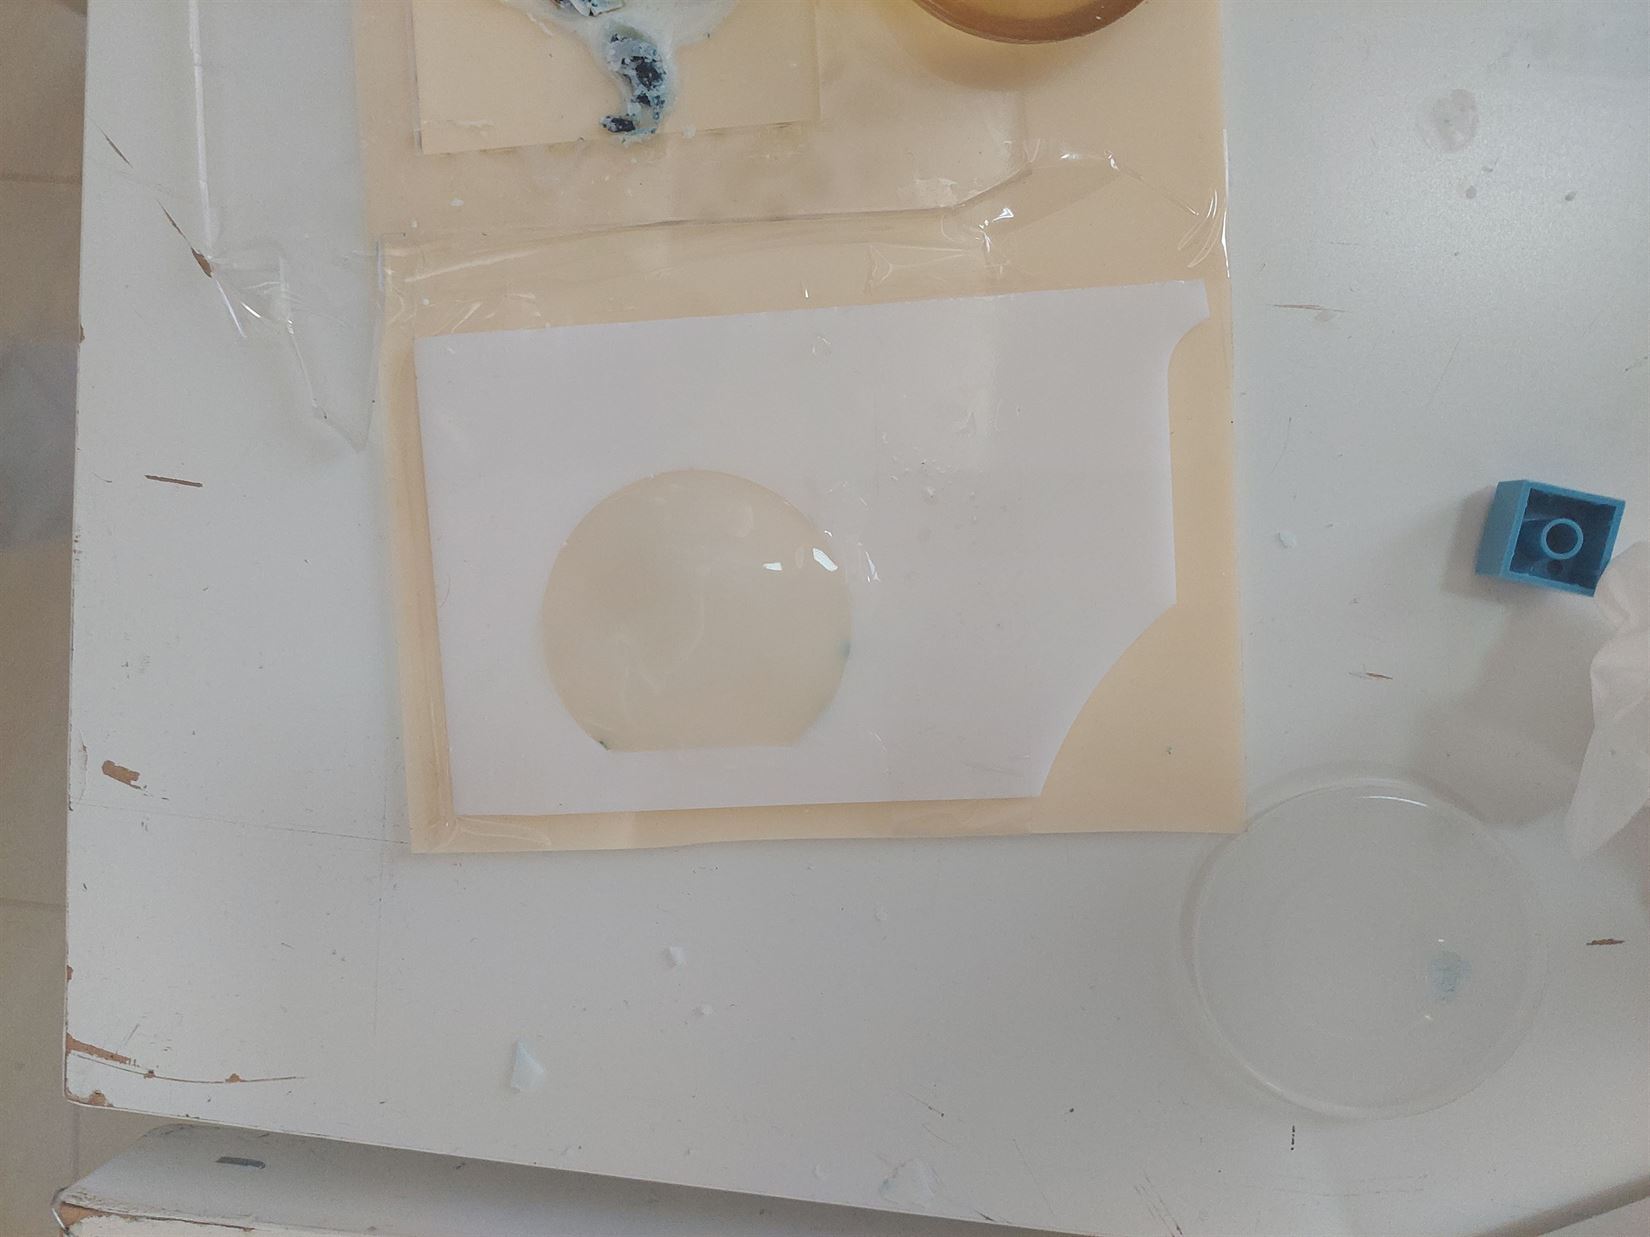
- The product was better this time but it was sticky too.
3.2.1.2 ReusableMold 02
In this recipe, we used different amount from (1.3.3.1 Batch A). This recipe has the same steps as the one above (3.2.1.1 ReusableMold 01).
| Glycerine (mL) | Water (mL) | Gelatin (g) |
|---|---|---|
| 40 | 40 | 9 |
- We weight the gelatin and added both gelatin and water to the pot and mixed. Then, we let it settle for a few minutes

- We added the glycerin and mixed on the hot plate.
- We added it to the frame.
- The product was ruined while removing it because we used a double sided tape to tape down the LEGO. Also, it was sticky maybe because we added a lot of gelatin.
3.2.1.3 Different ReusableMold samples.
We tried to make different samples with different amounts of the ingredients. The original amounts are as follow:
| Glycerine (mL) | Water (mL) | Gelatin (g) |
|---|---|---|
| 15 | 15 | 3 |
We changed one parameter each time.
3.2.1.3.1 (ReusableMold 03)
We used a lower amount of Glycerine.
| Glycerine (mL) | Water (mL) | Agar(g) |
|---|---|---|
| 10 | 15 | 3 |

3.2.1.3.2 (ReusableMold 04)
We used a lower amount of water.
| Glycerine (mL) | Water (mL) | Agar(g) |
|---|---|---|
| 15 | 10 | 3 |
There were a lot of bubbles in the product.
3.2.1.3.3 (ReusableMold 05)
We used a lower amount of both water and glycerin but we made both have the same amount.
| Glycerine (mL) | Water (mL) | Agar(g) |
|---|---|---|
| 12 | 12 | 3 |
3.2.2 Agar composite
We tried to make the agar composite recipe from this website (click here).
We converted the amount of glycerin from g to mL using this website (click here).
| Glycerine (mL) | Water (mL) | Agar(g) |
|---|---|---|
| 12 | 250 | 5 |
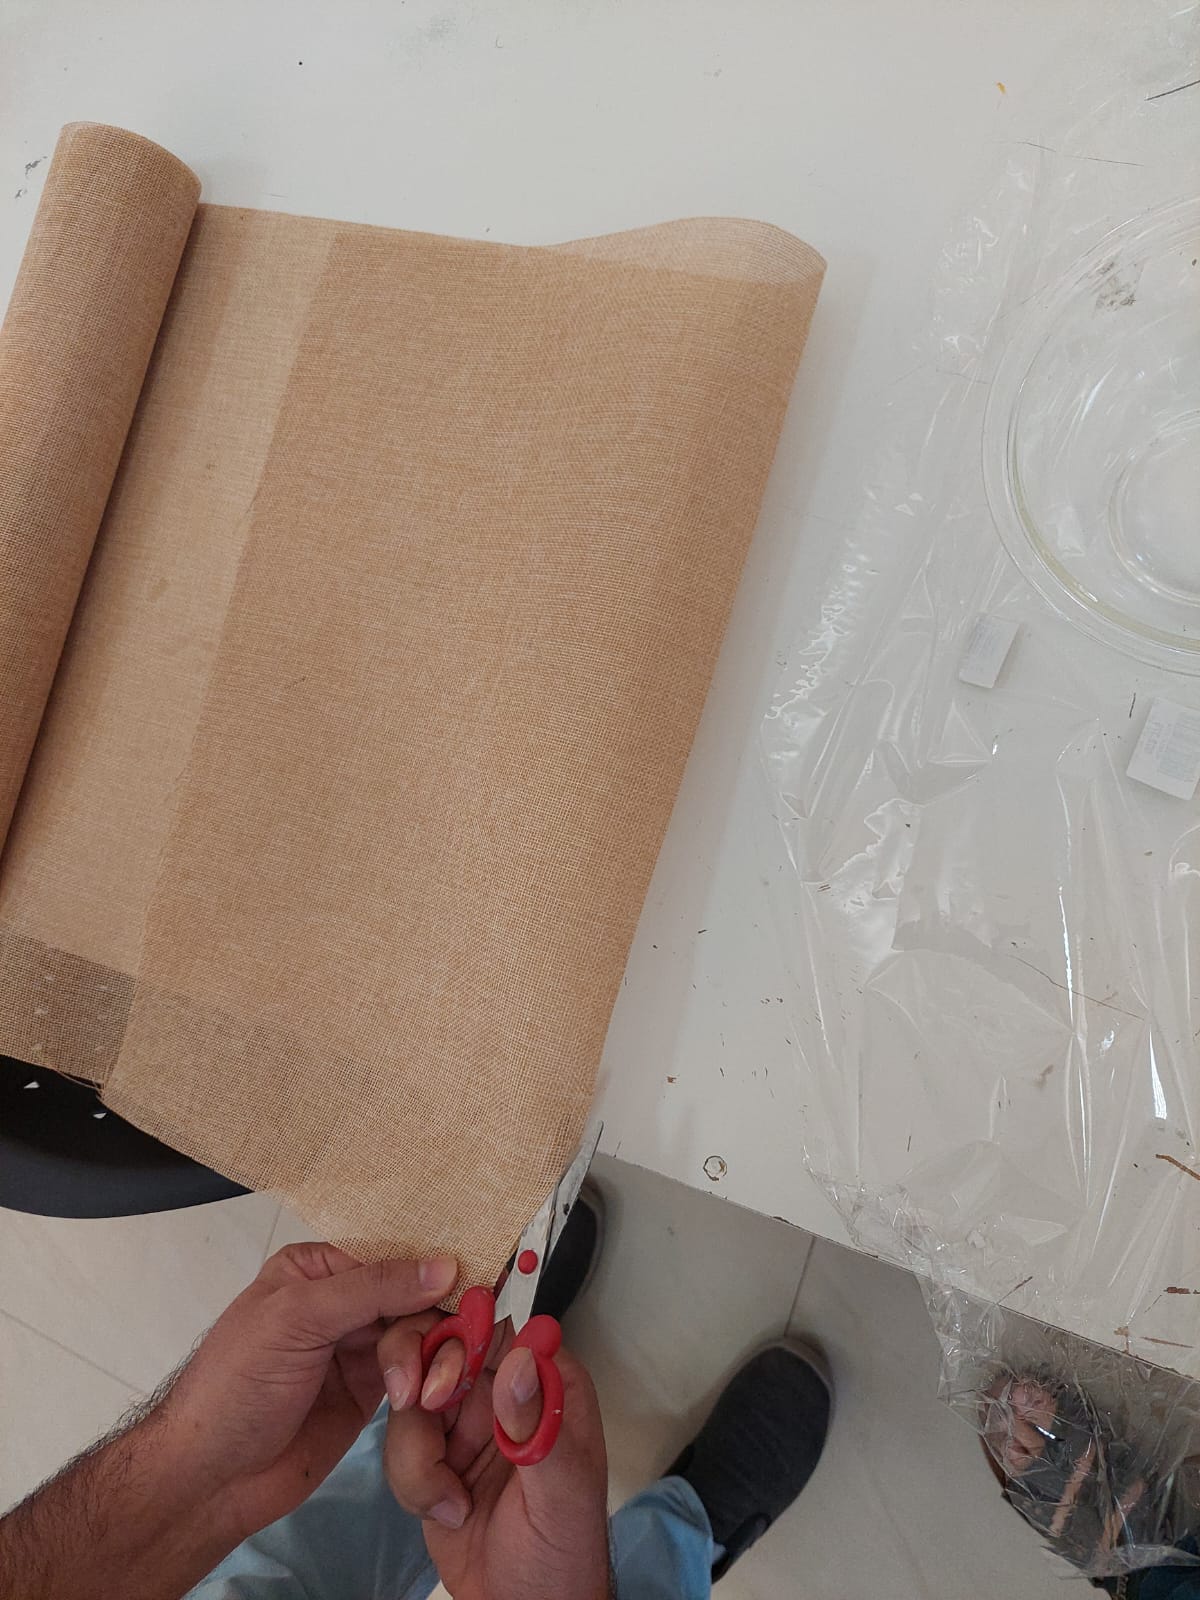
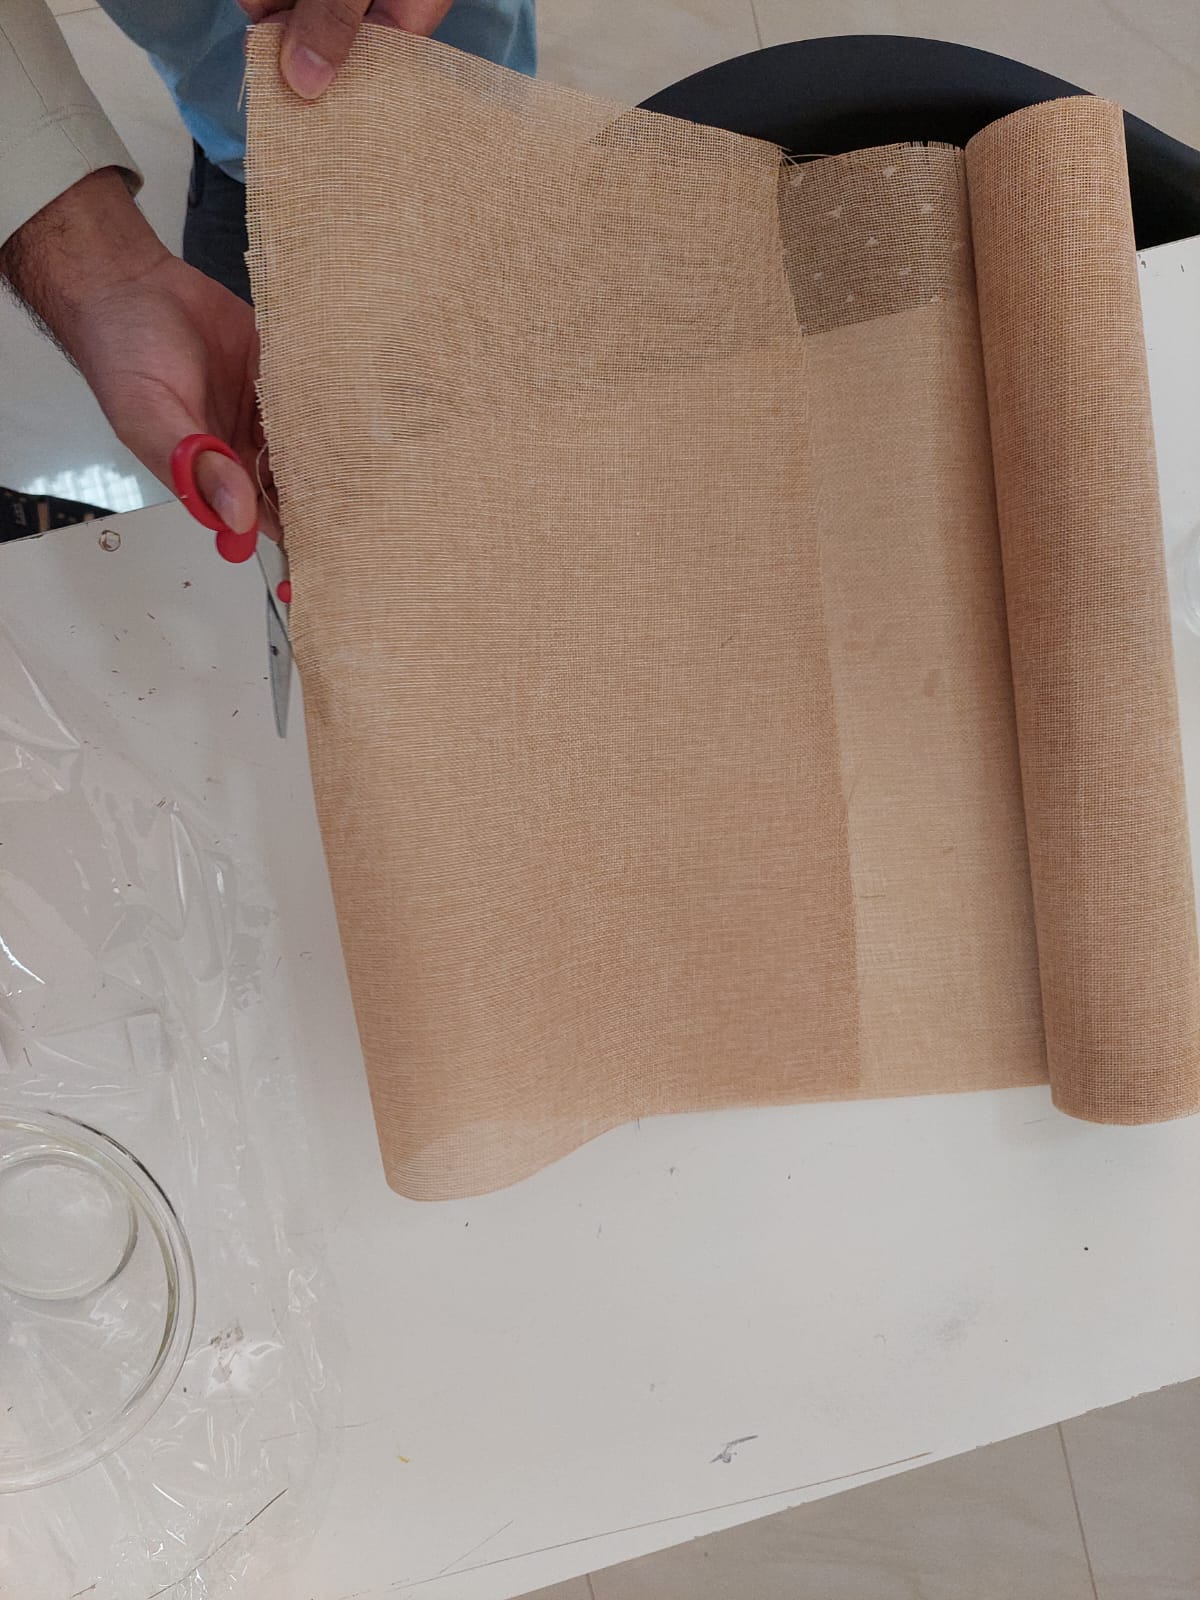
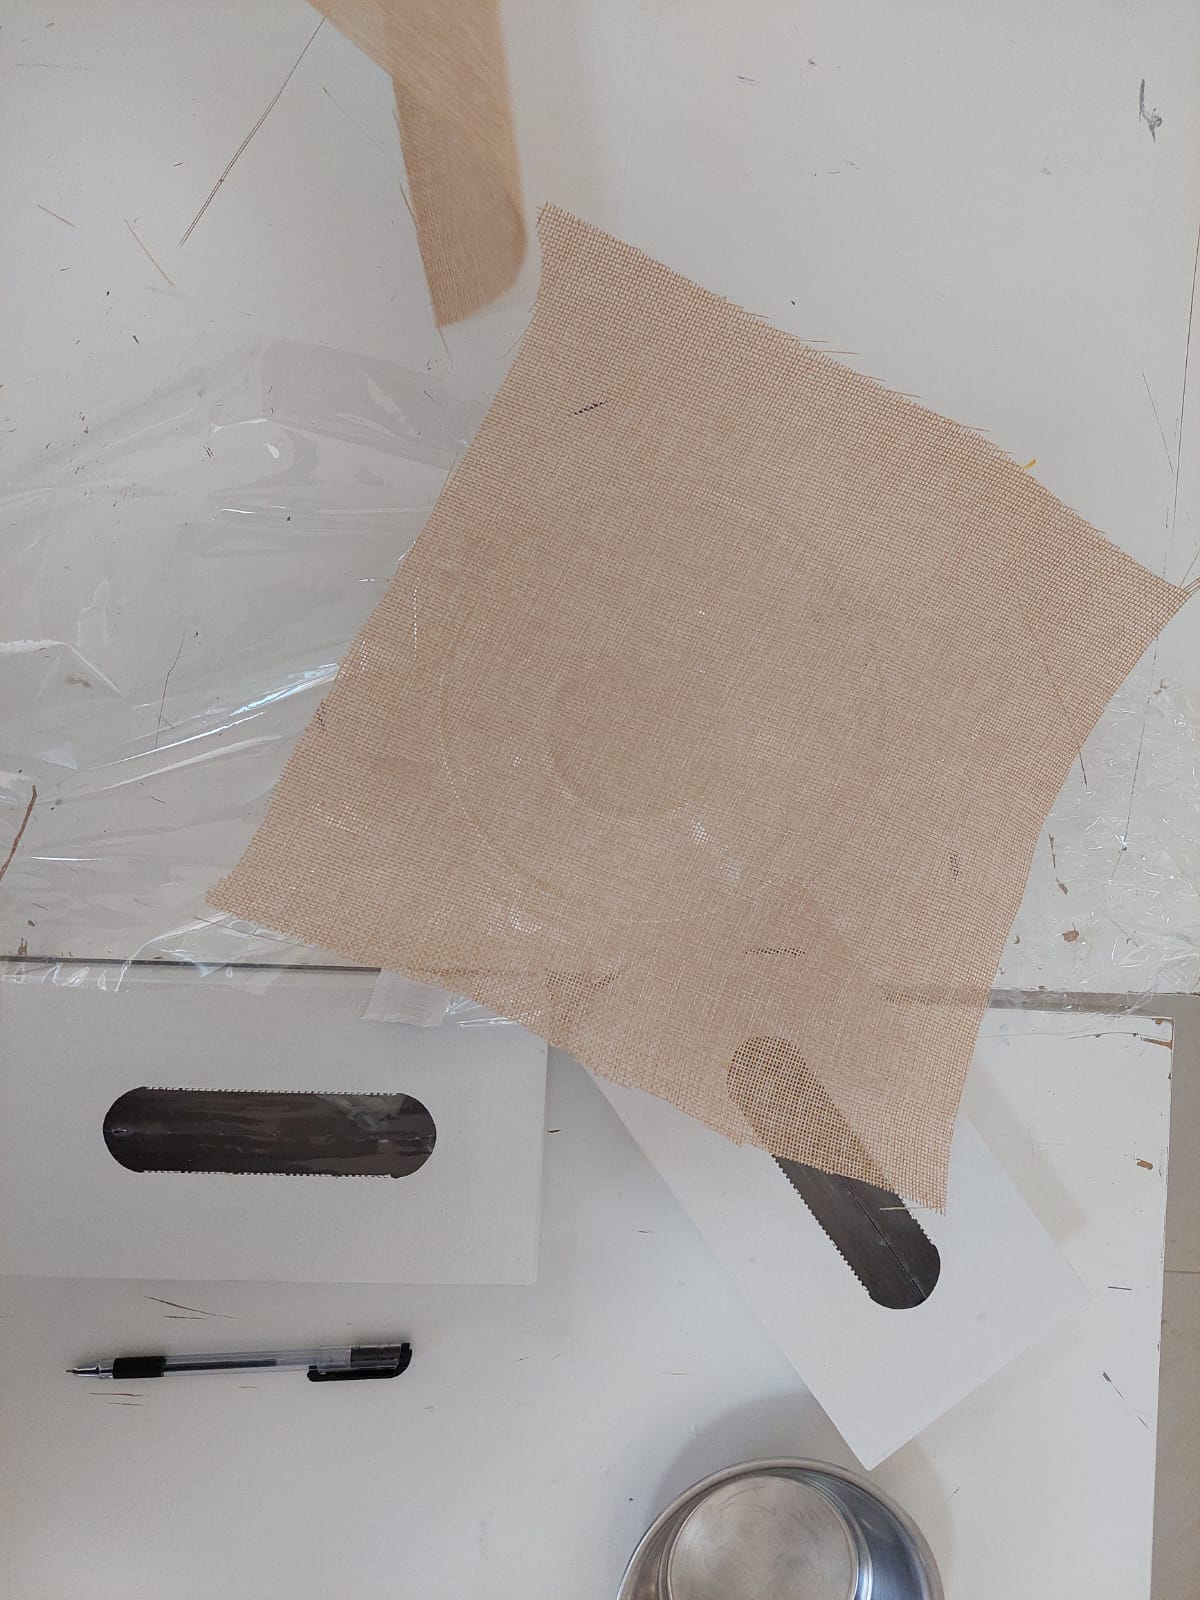
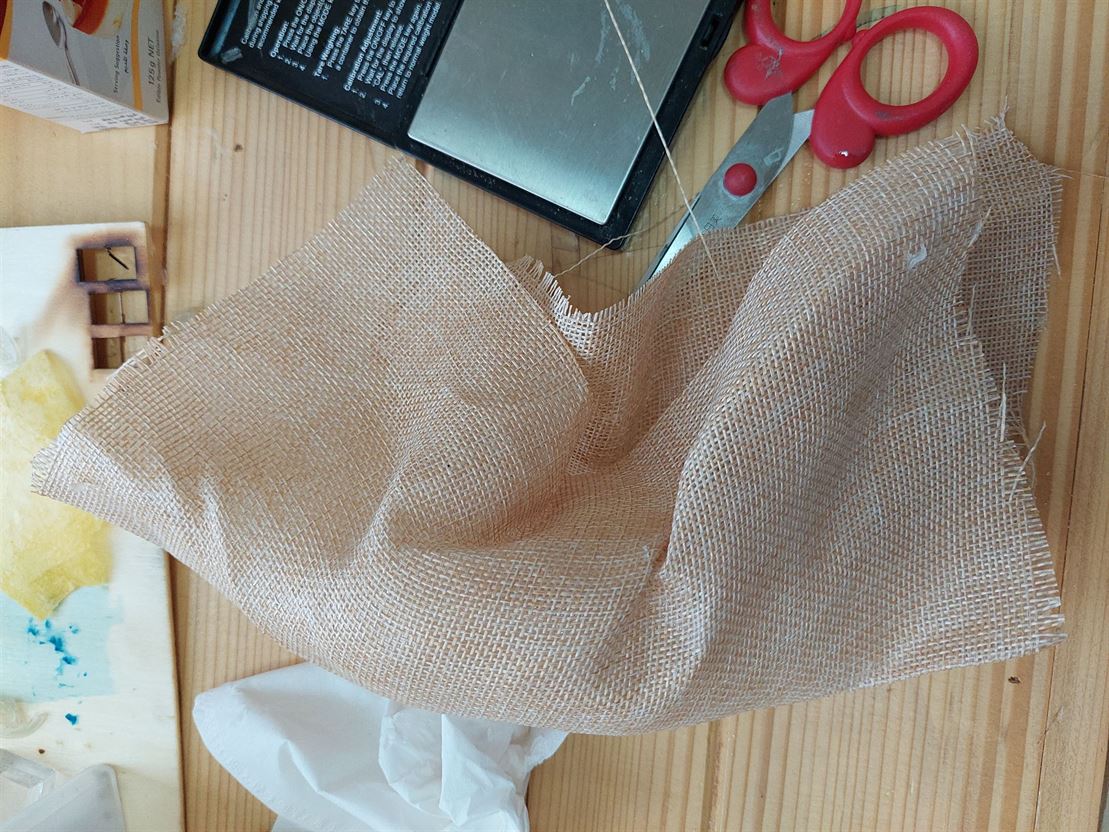
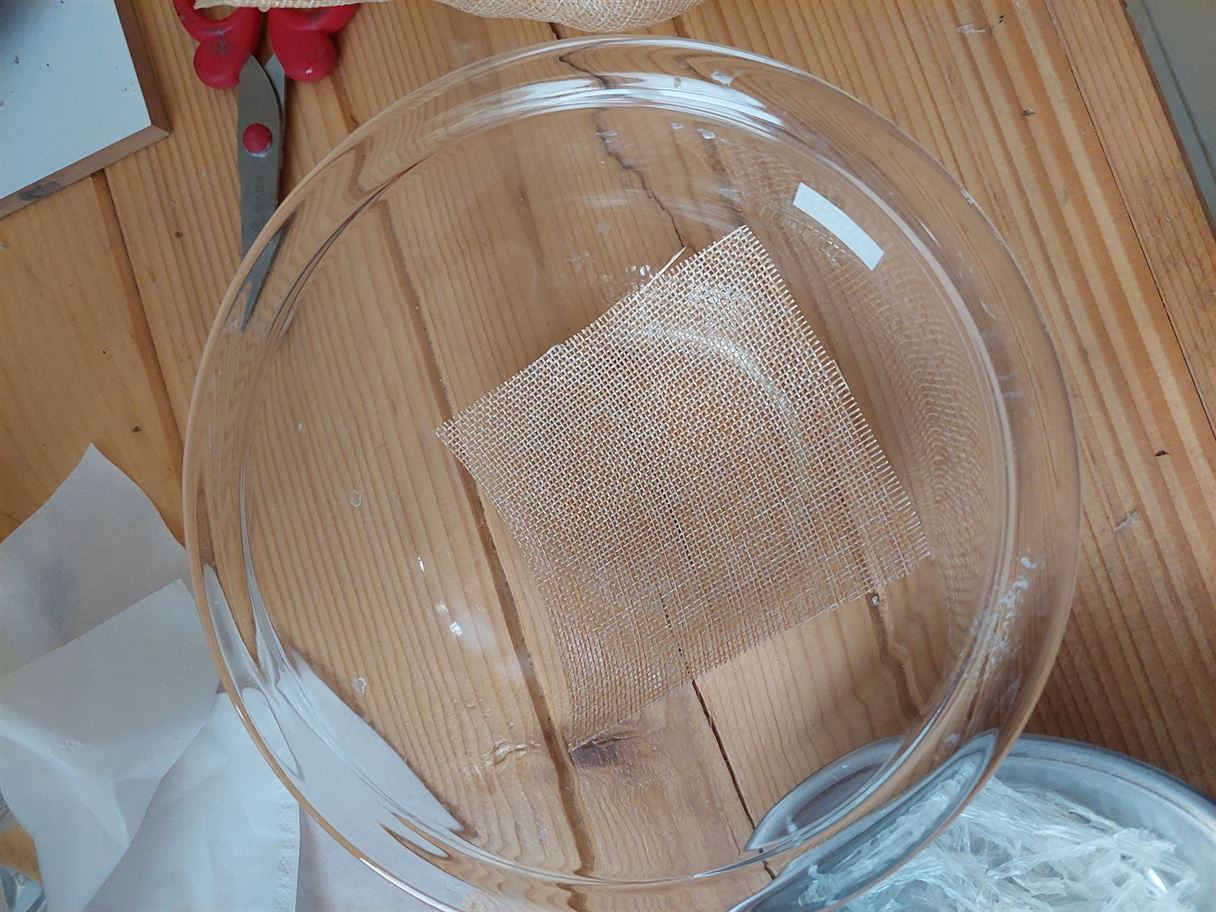
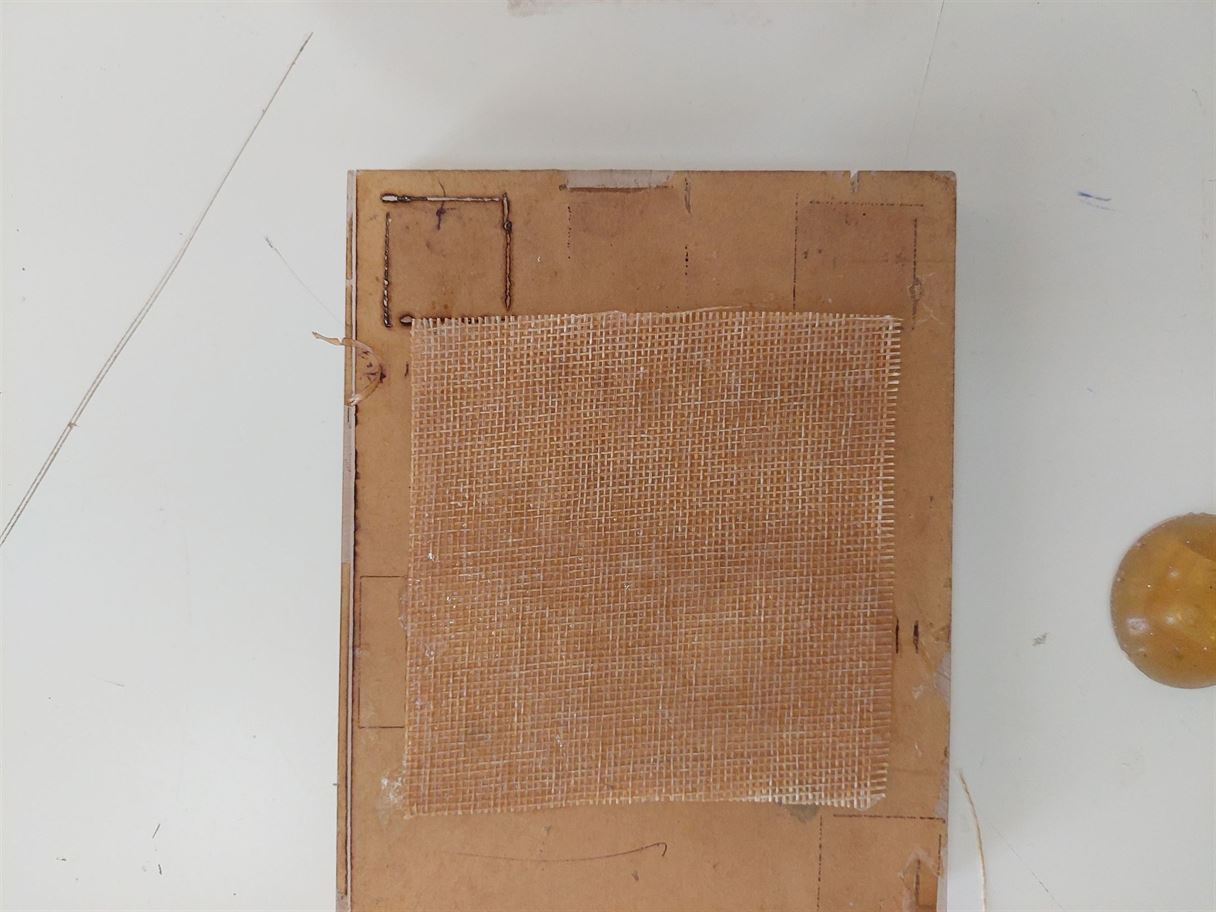
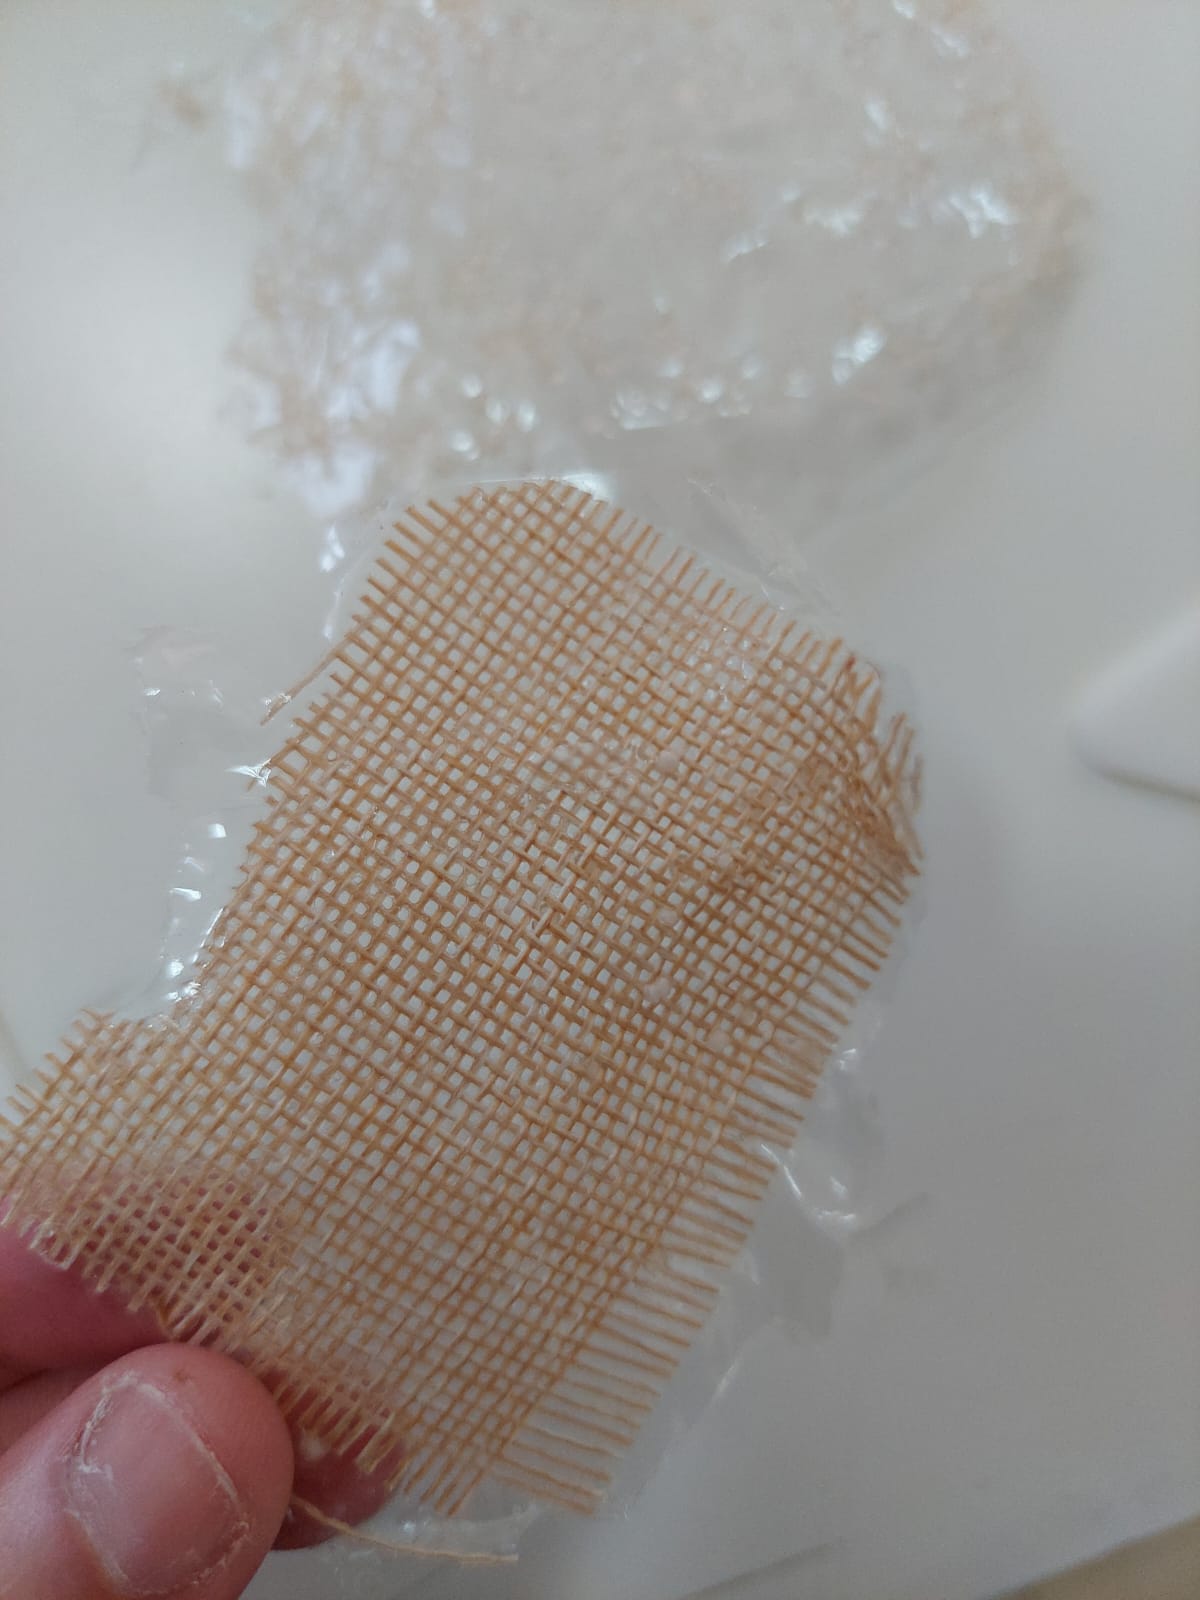
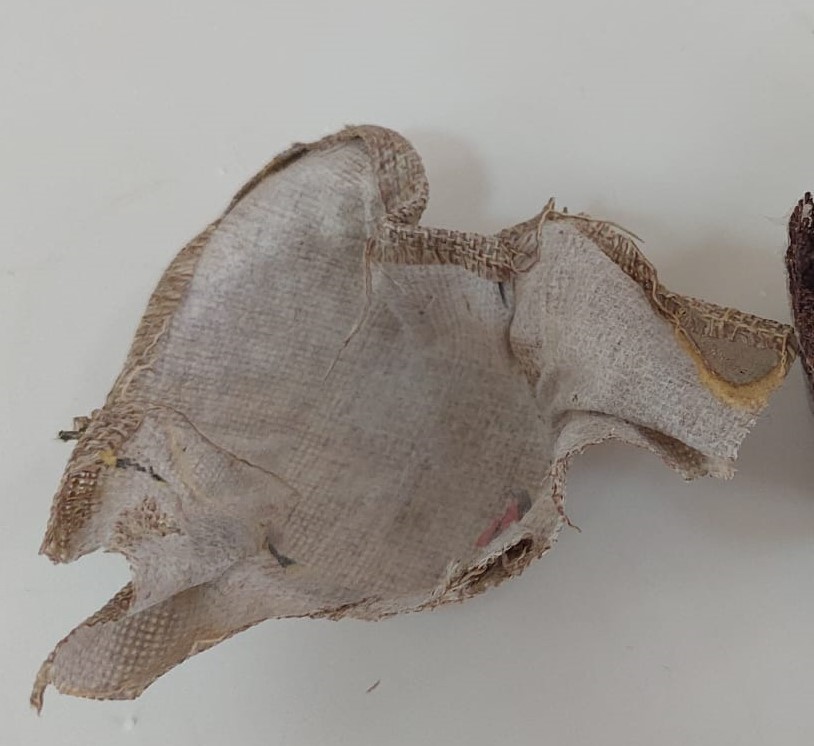
- These are the used materials.
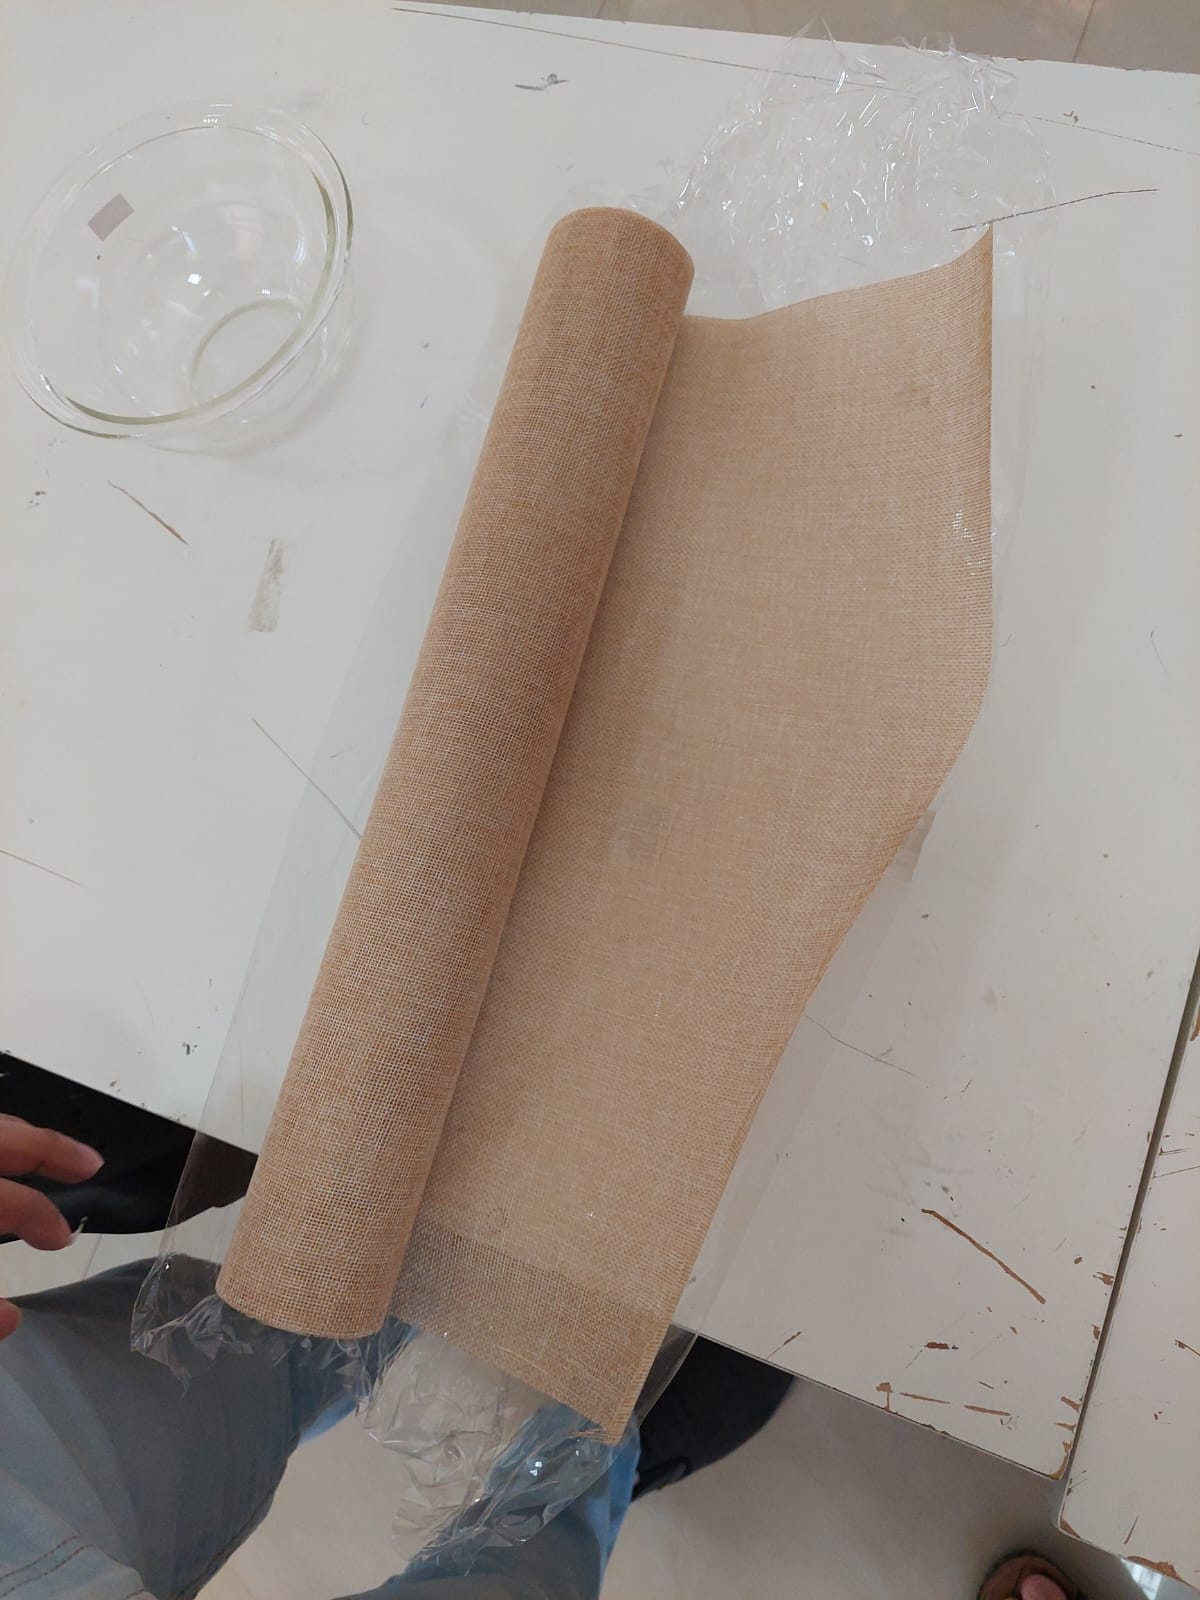
- We cut the textile to the needed shape.
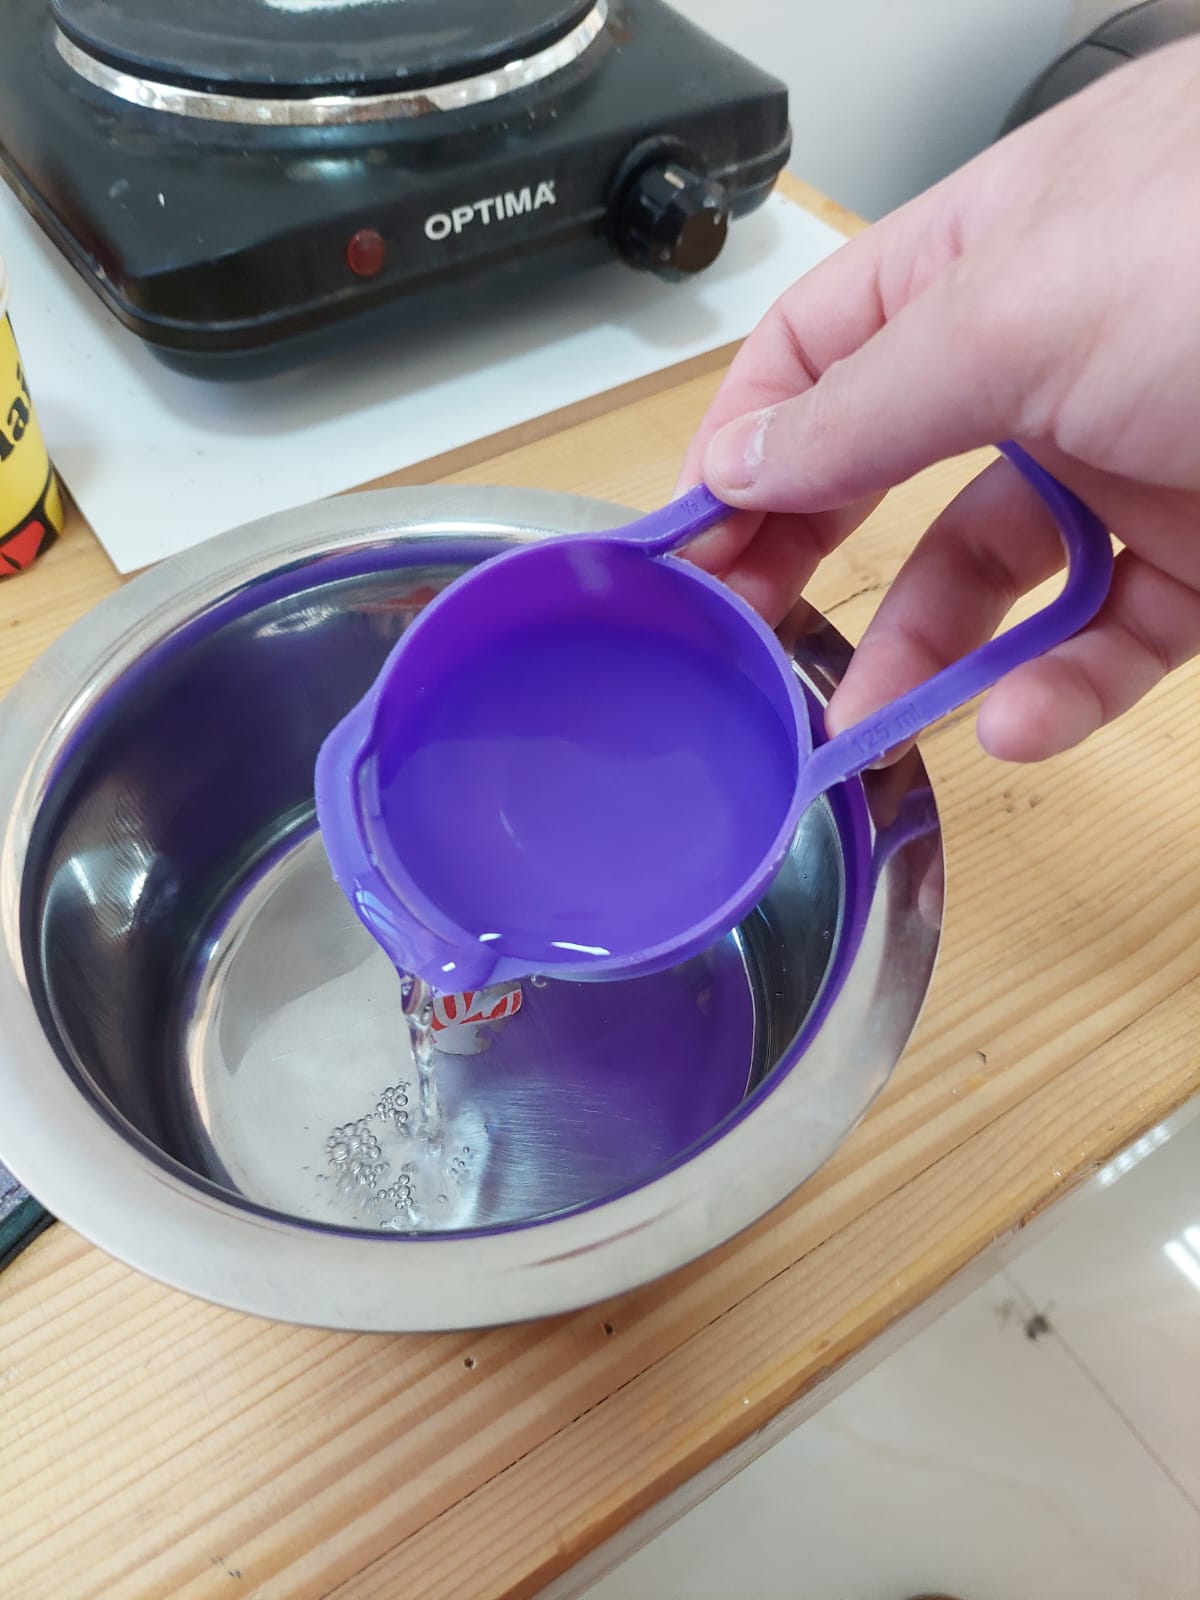
- We added the water and boiled it on the hot plate.
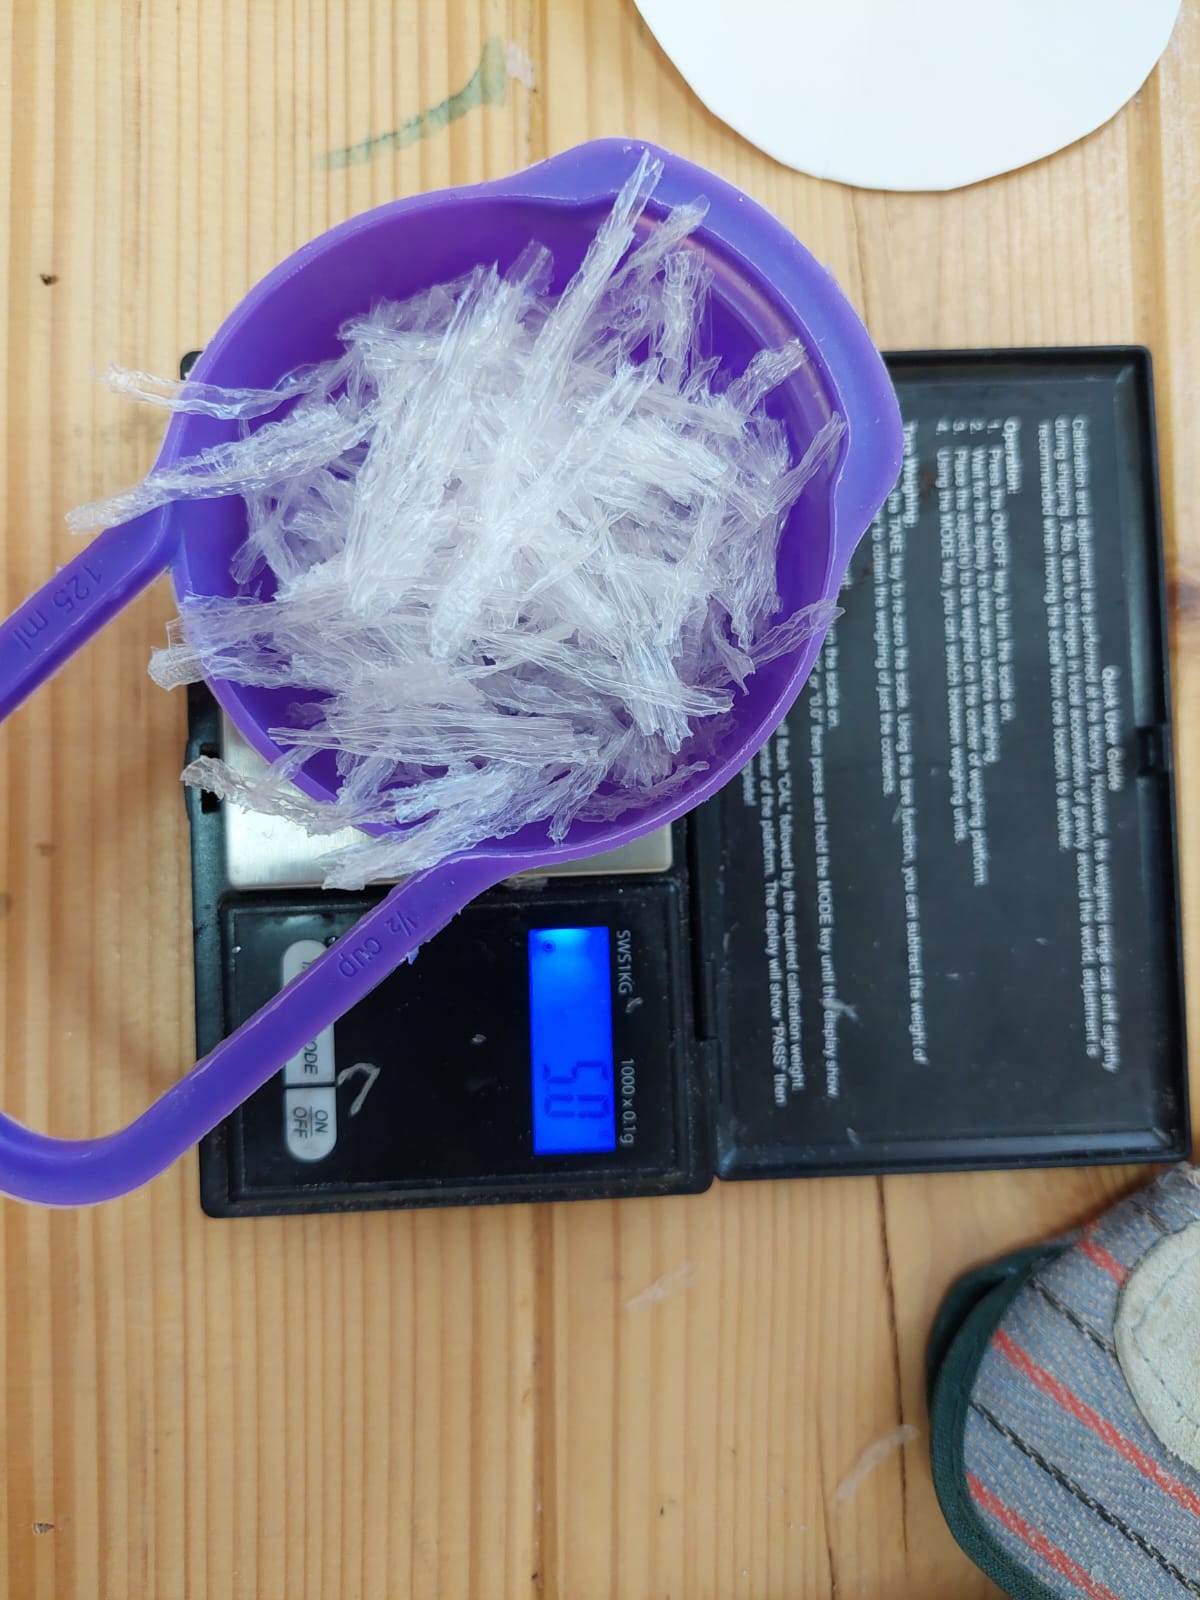
- We weighed the agar and we added both the agar and the glycerin.
- We kept mixing until the agar dissolved and then we lowered the temperature and kept mixing for 40 minutes.
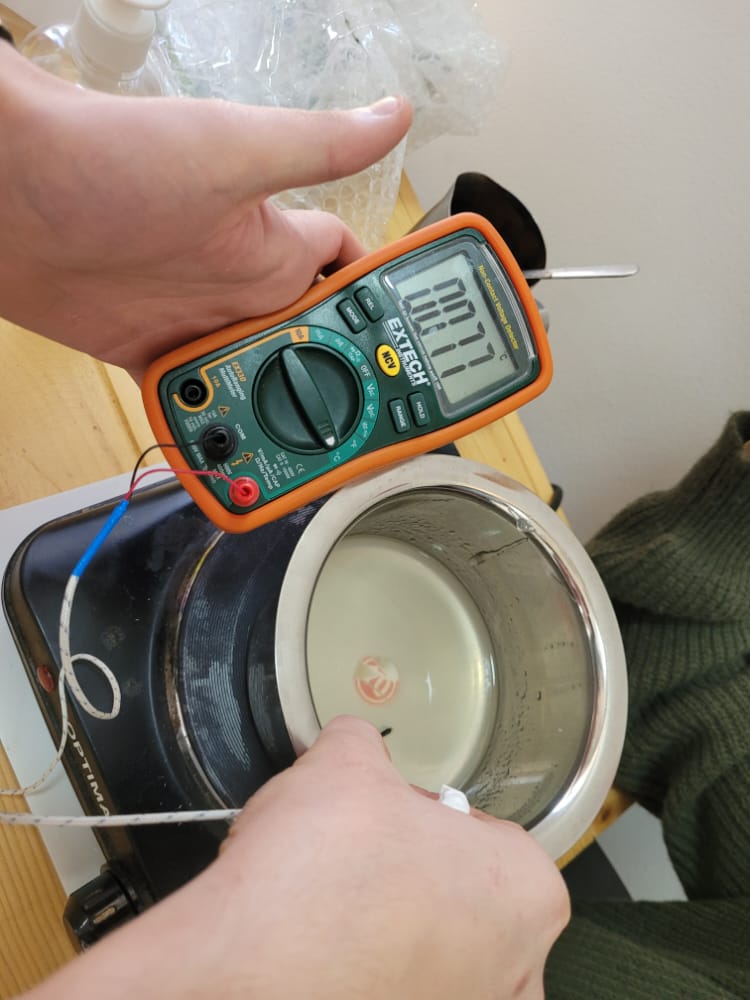
- We used a thermometer to check the temperature.
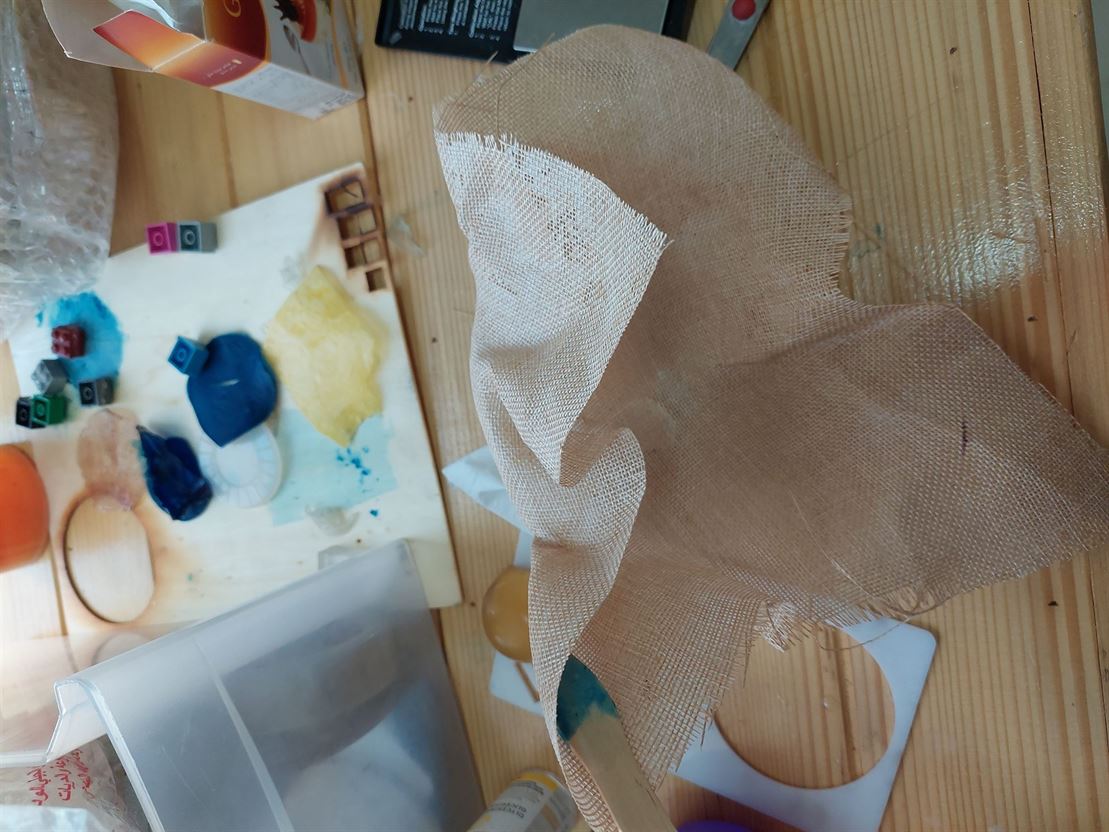
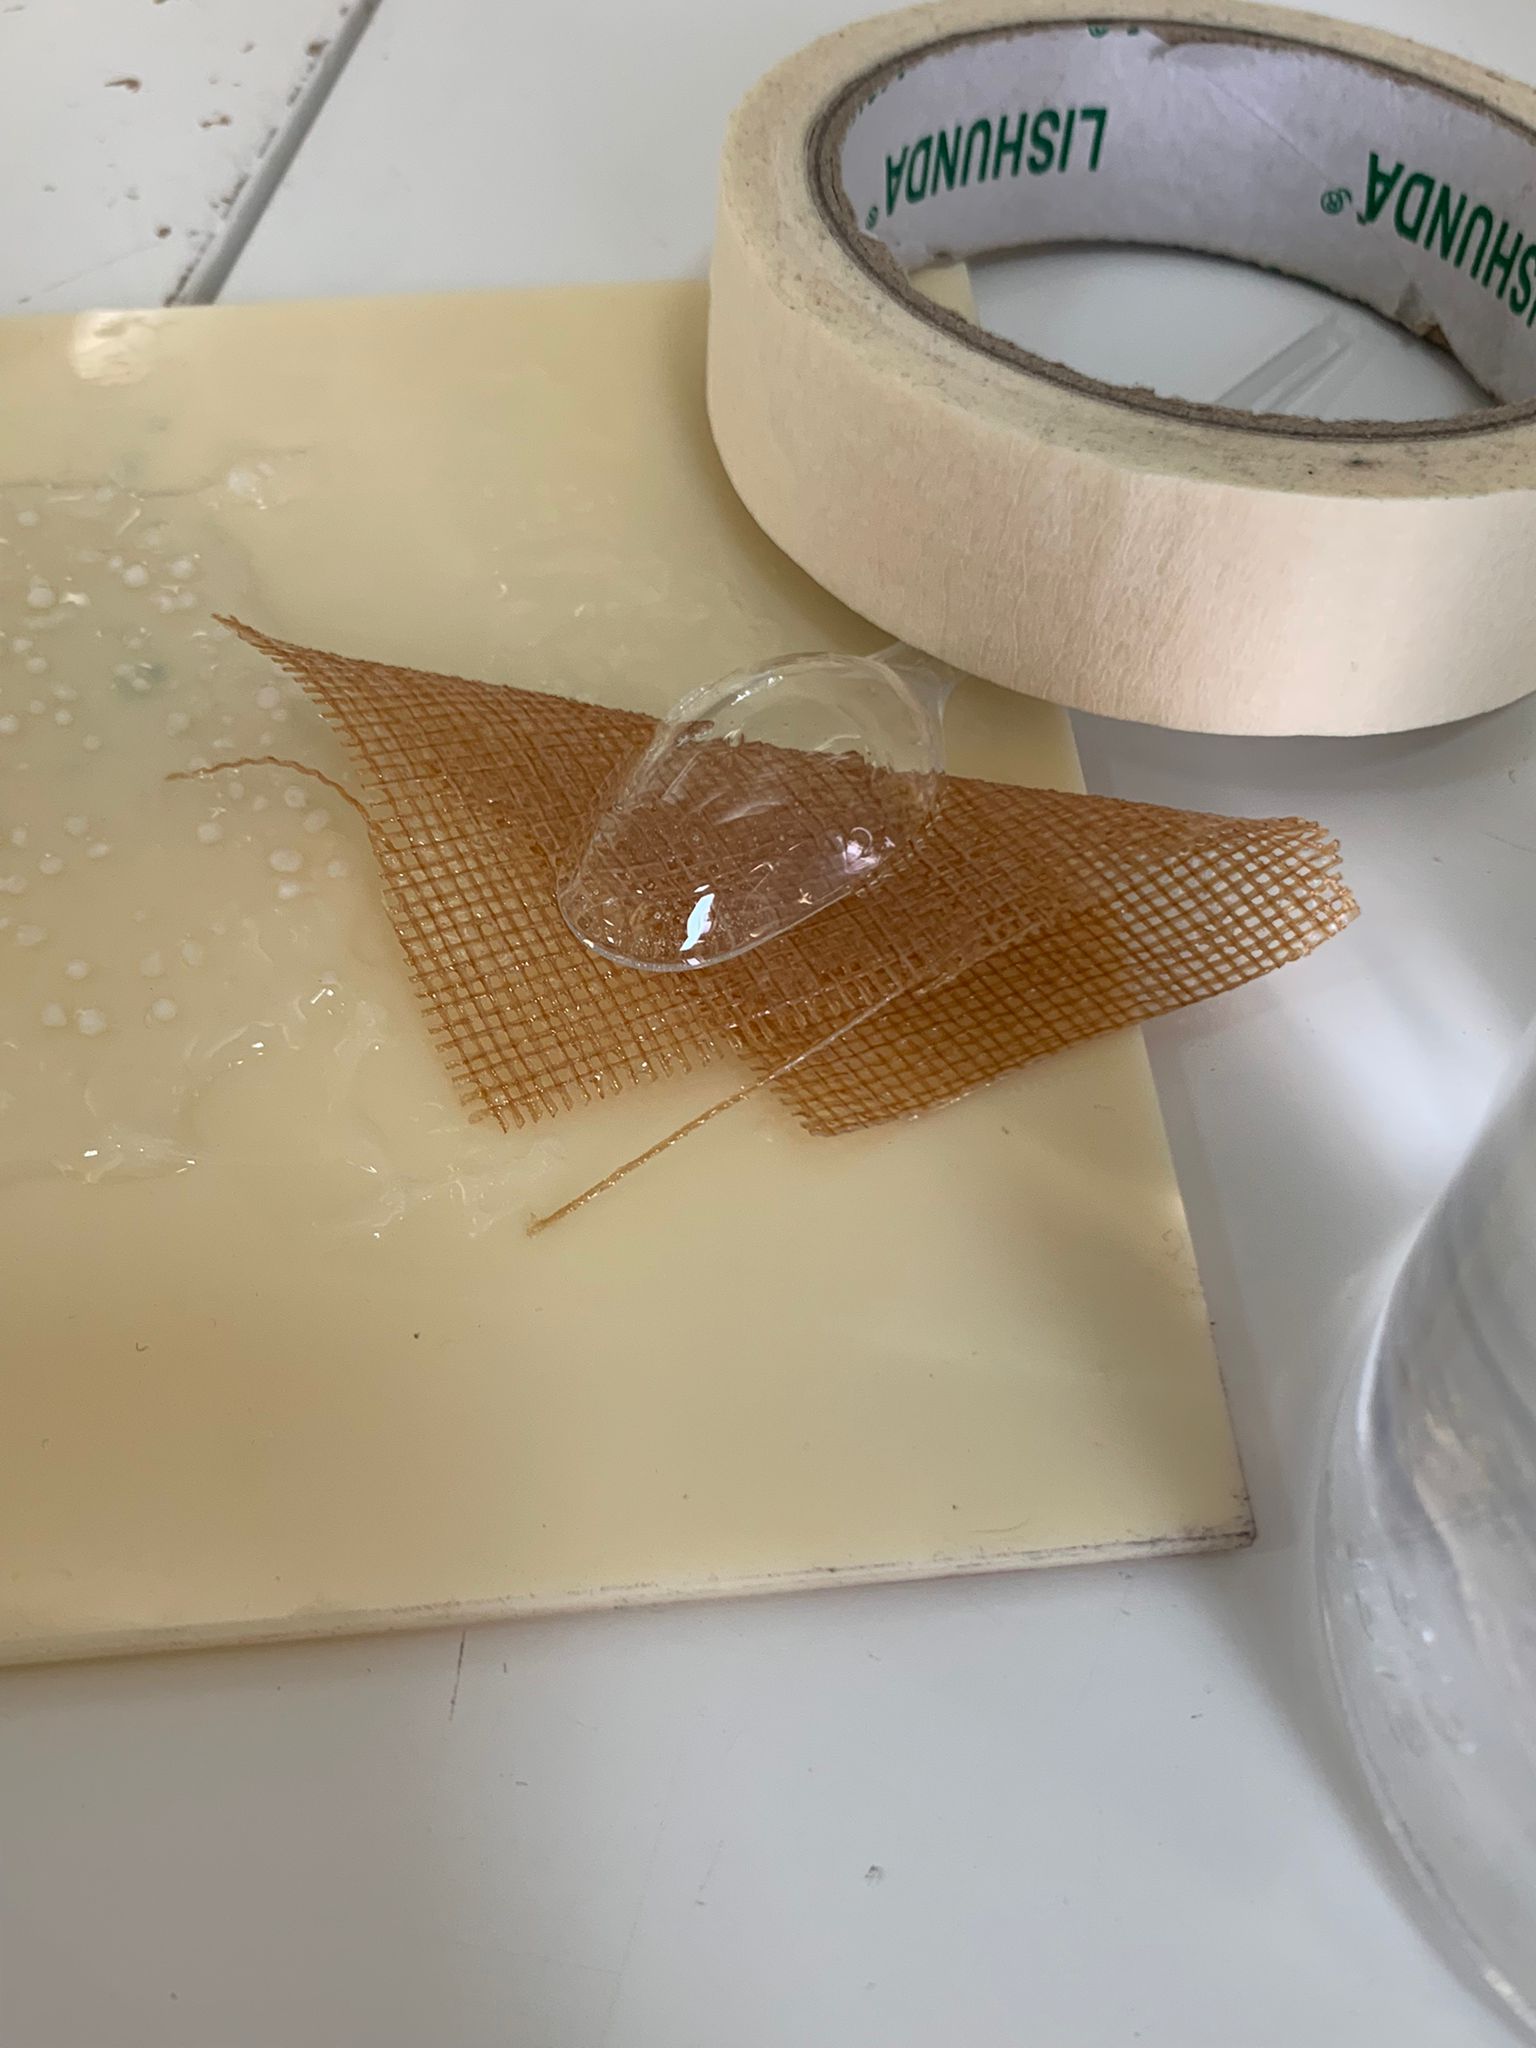
- We dipped the textile in the hot solution.
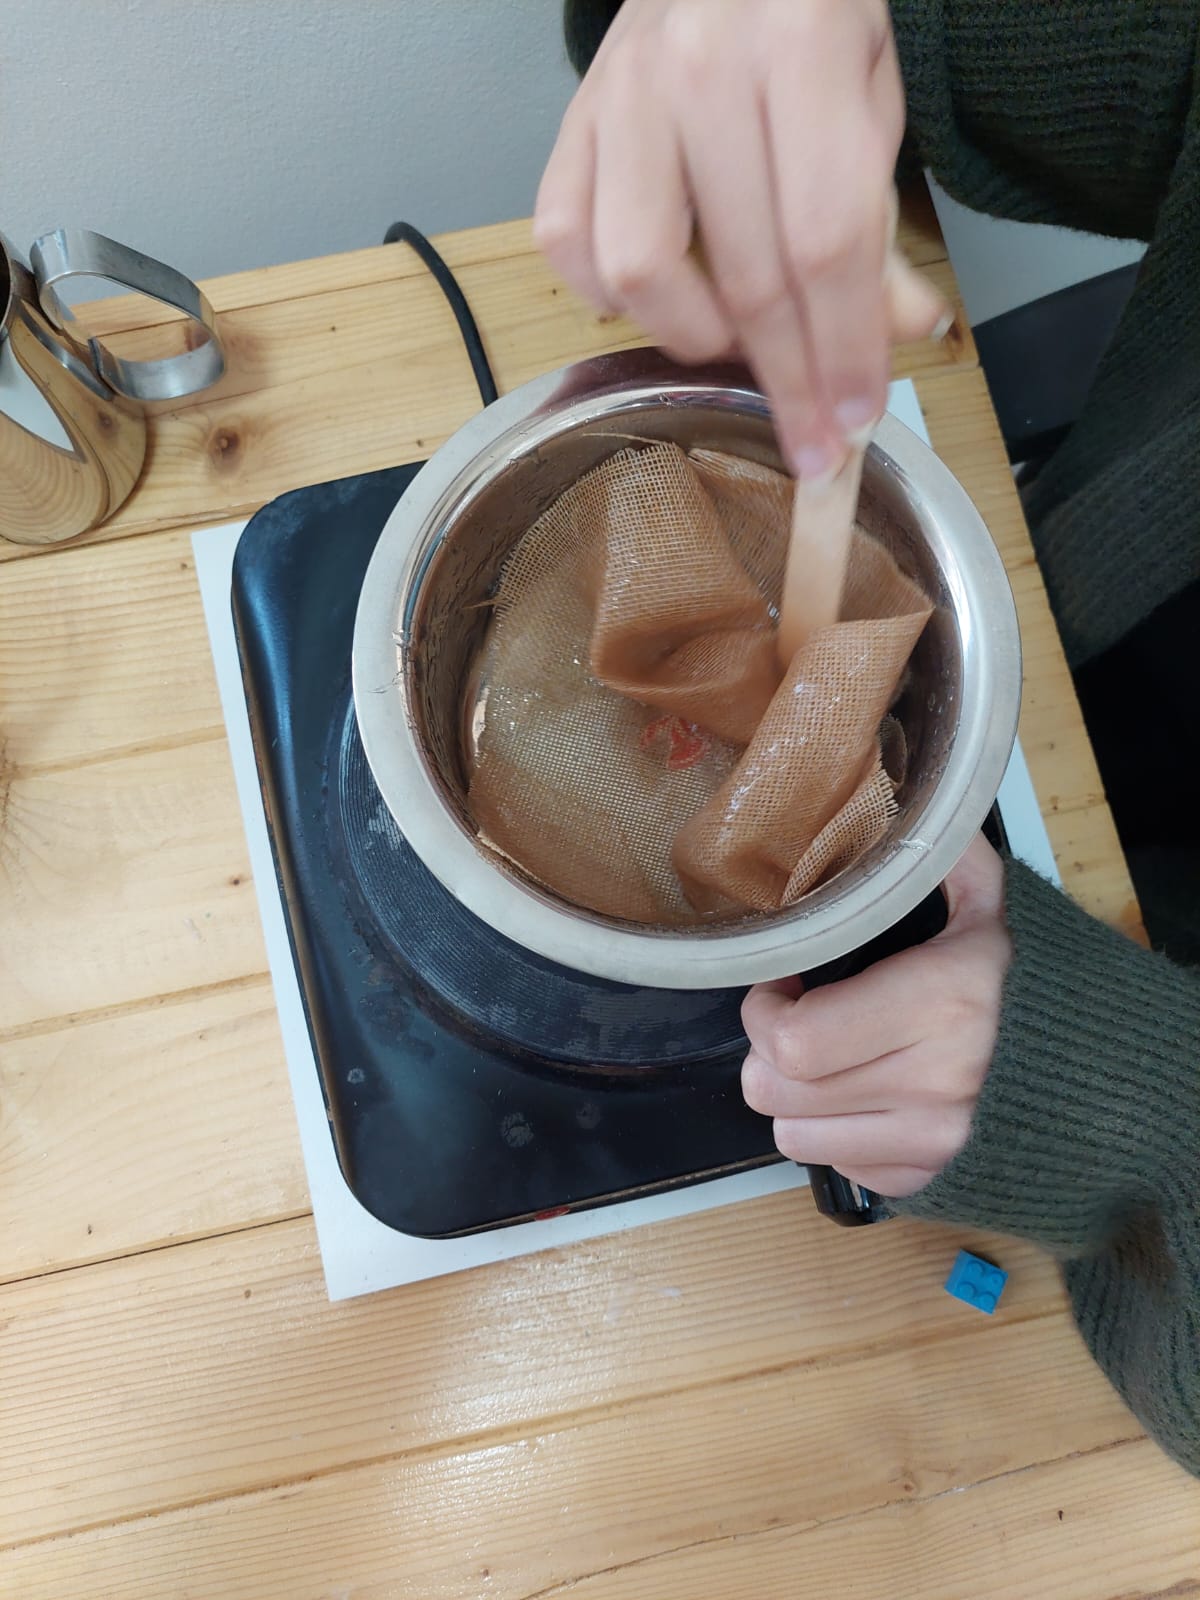
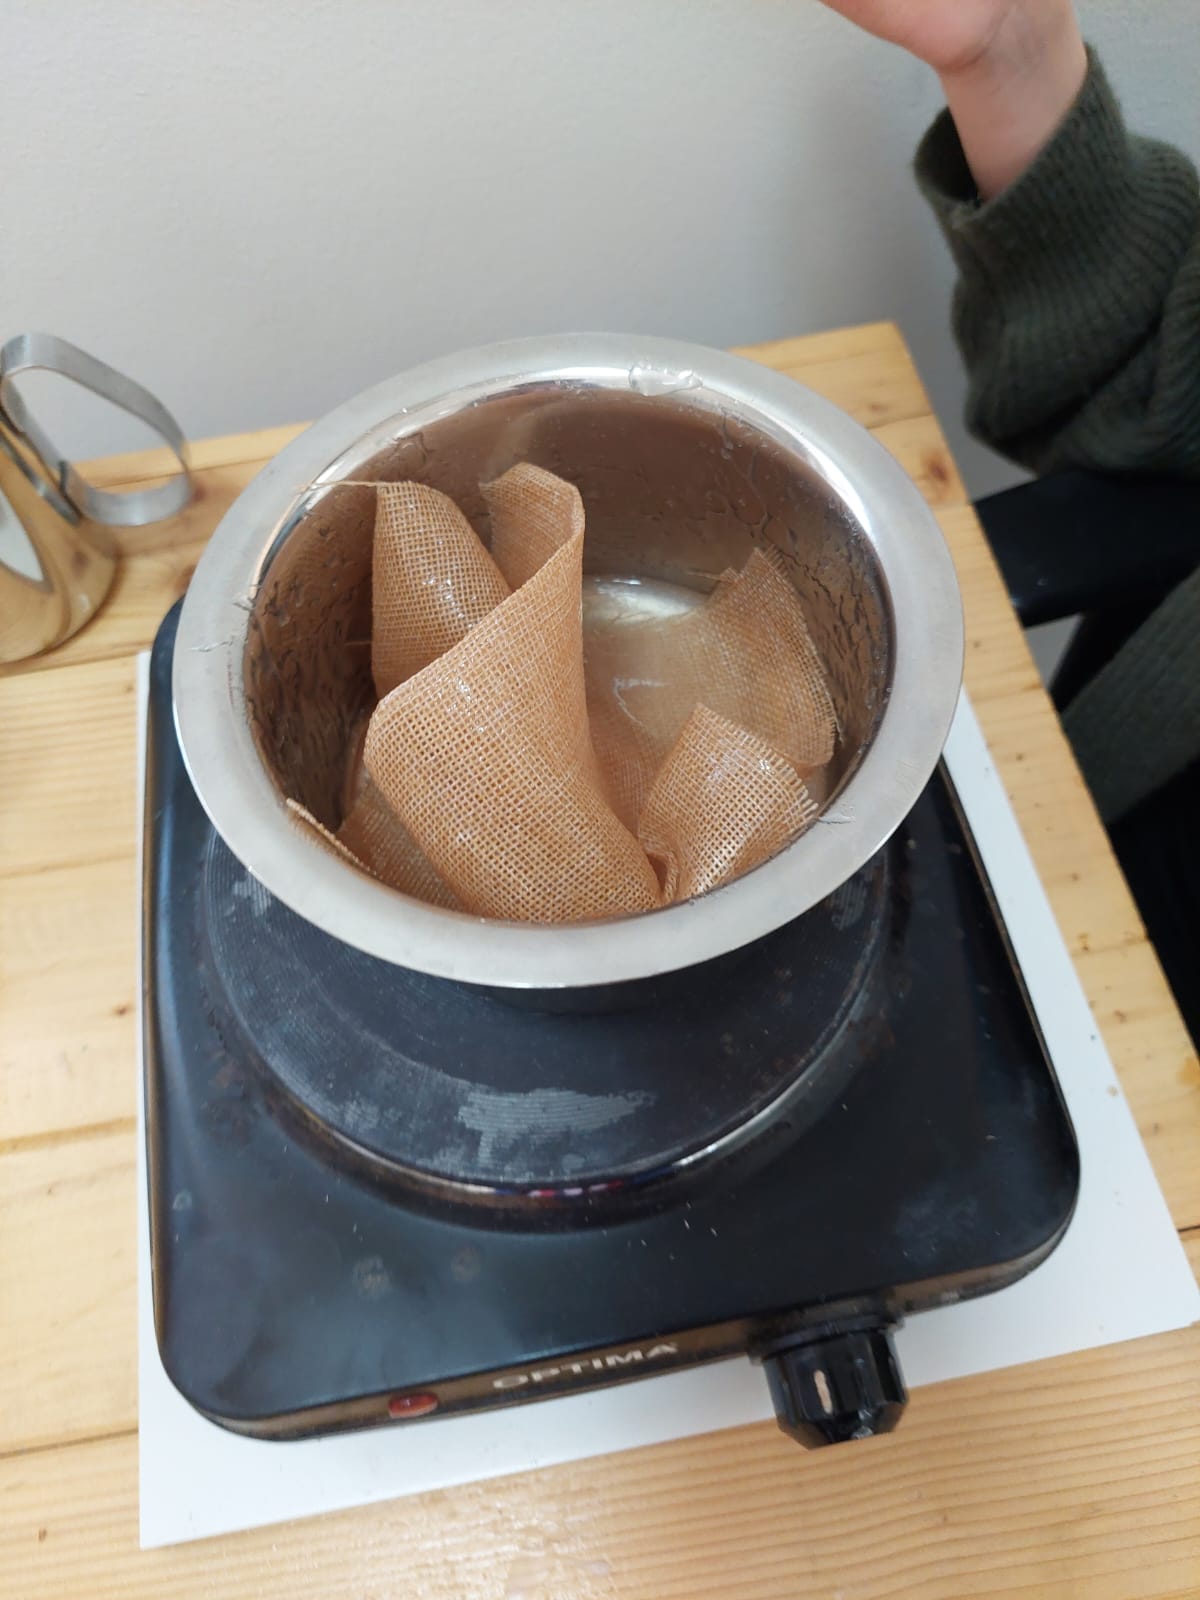
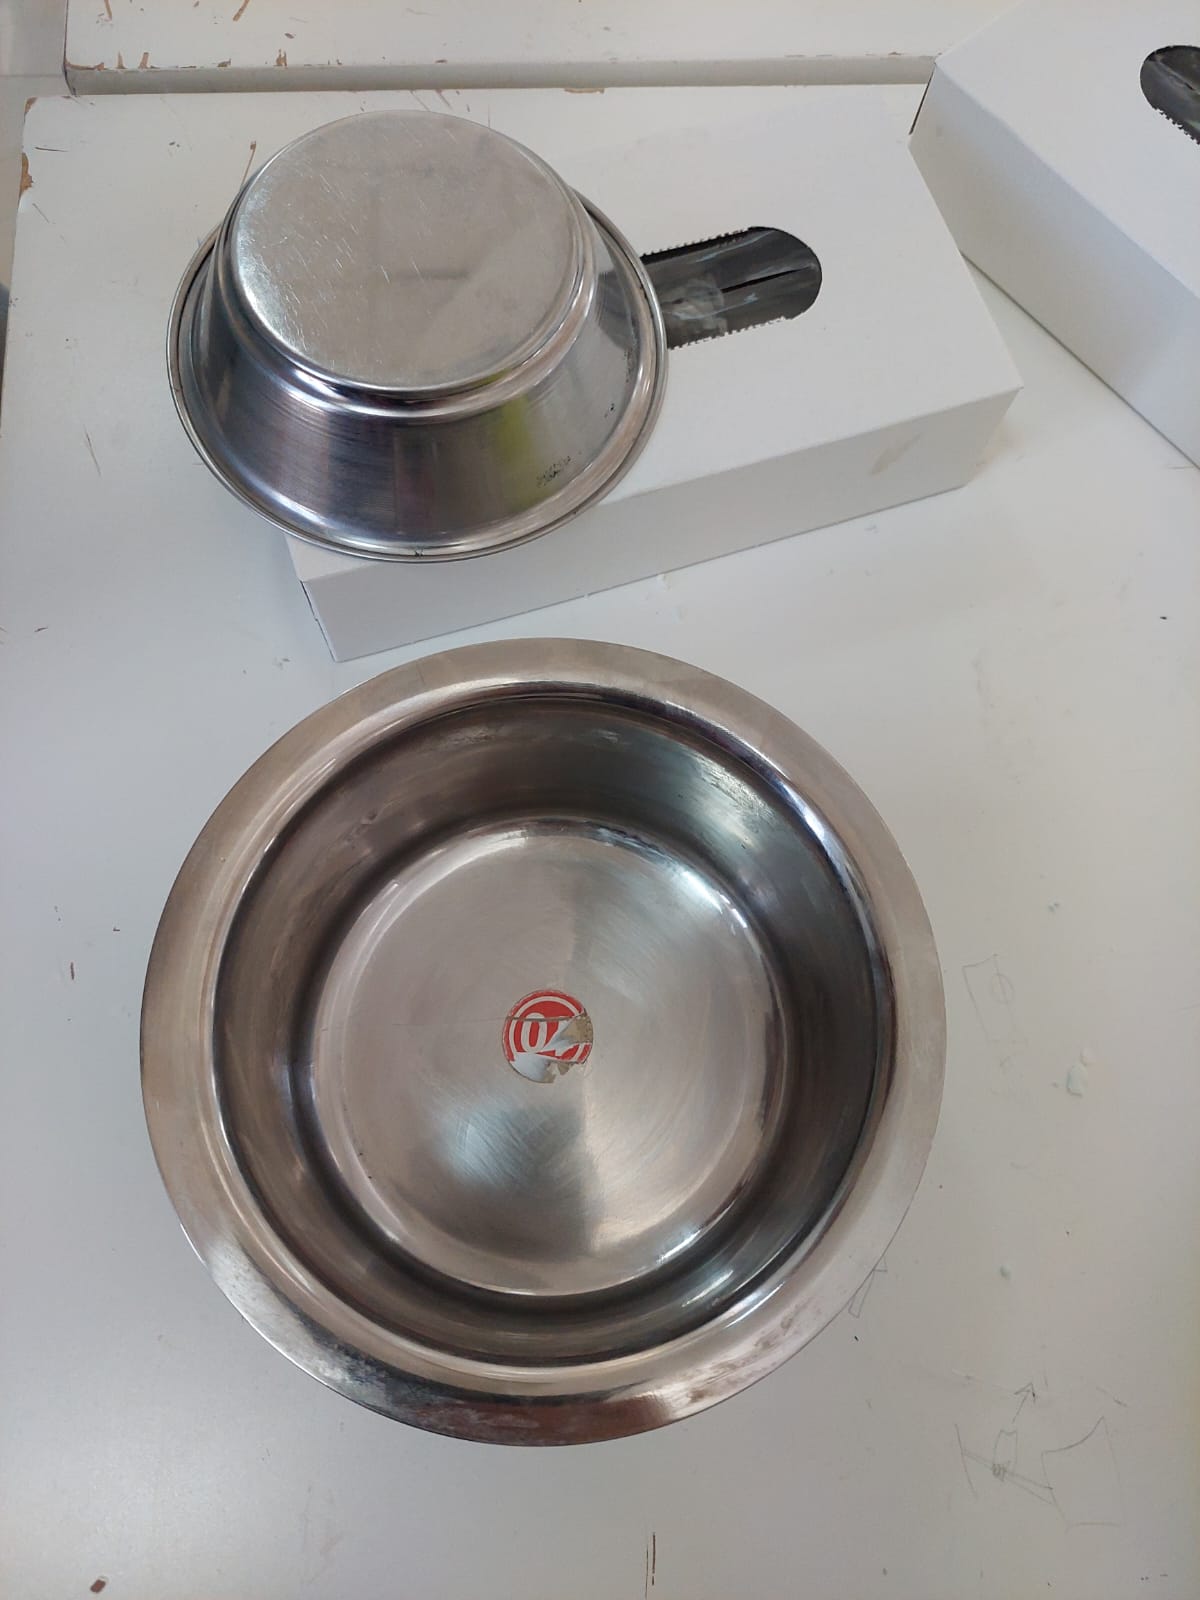
- We placed the textile in one pot and pressed with the other pot, we also kept a weigh to keep the pot in place.
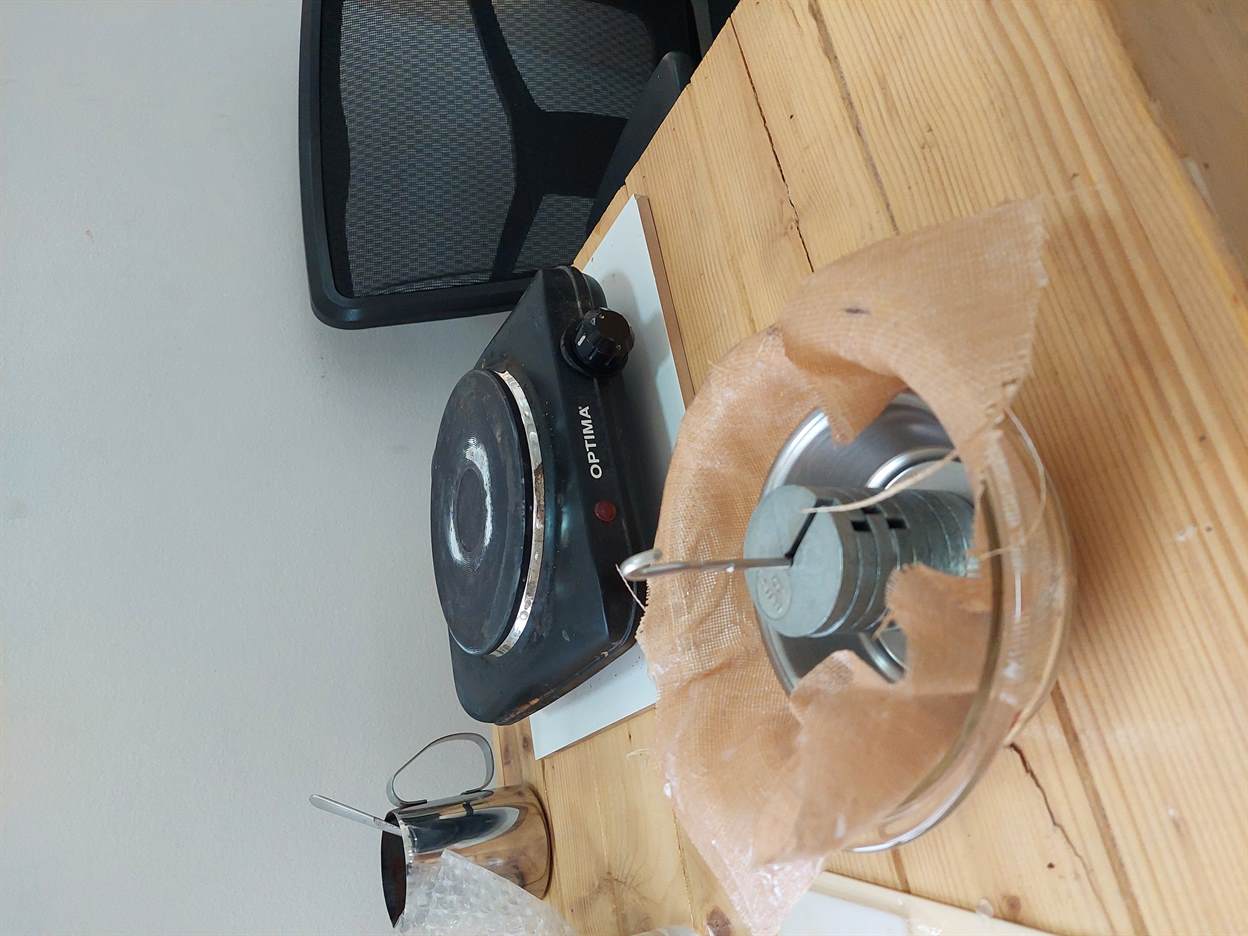
- After an hour, we removed the upper pot and we kept it outside to be exposed to the sunlight.
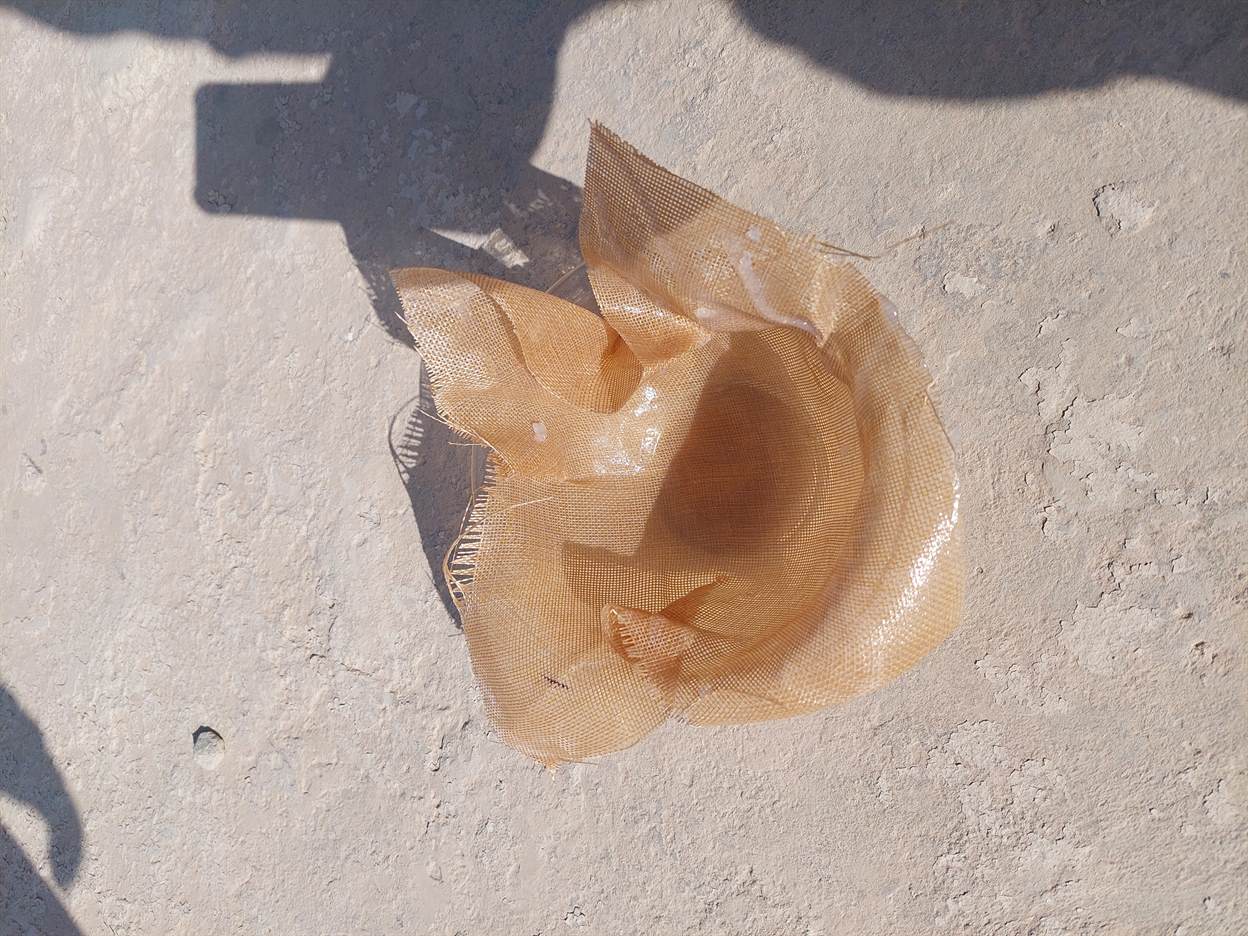
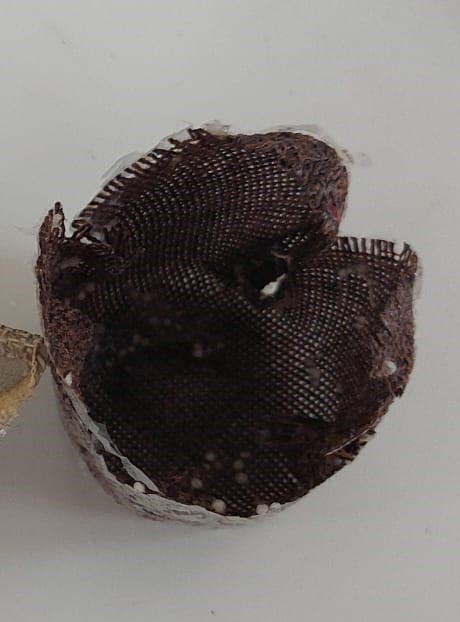
- We poured he remaining solution in a mold and after one day, we checked it and it was flexible but it can be break easily.
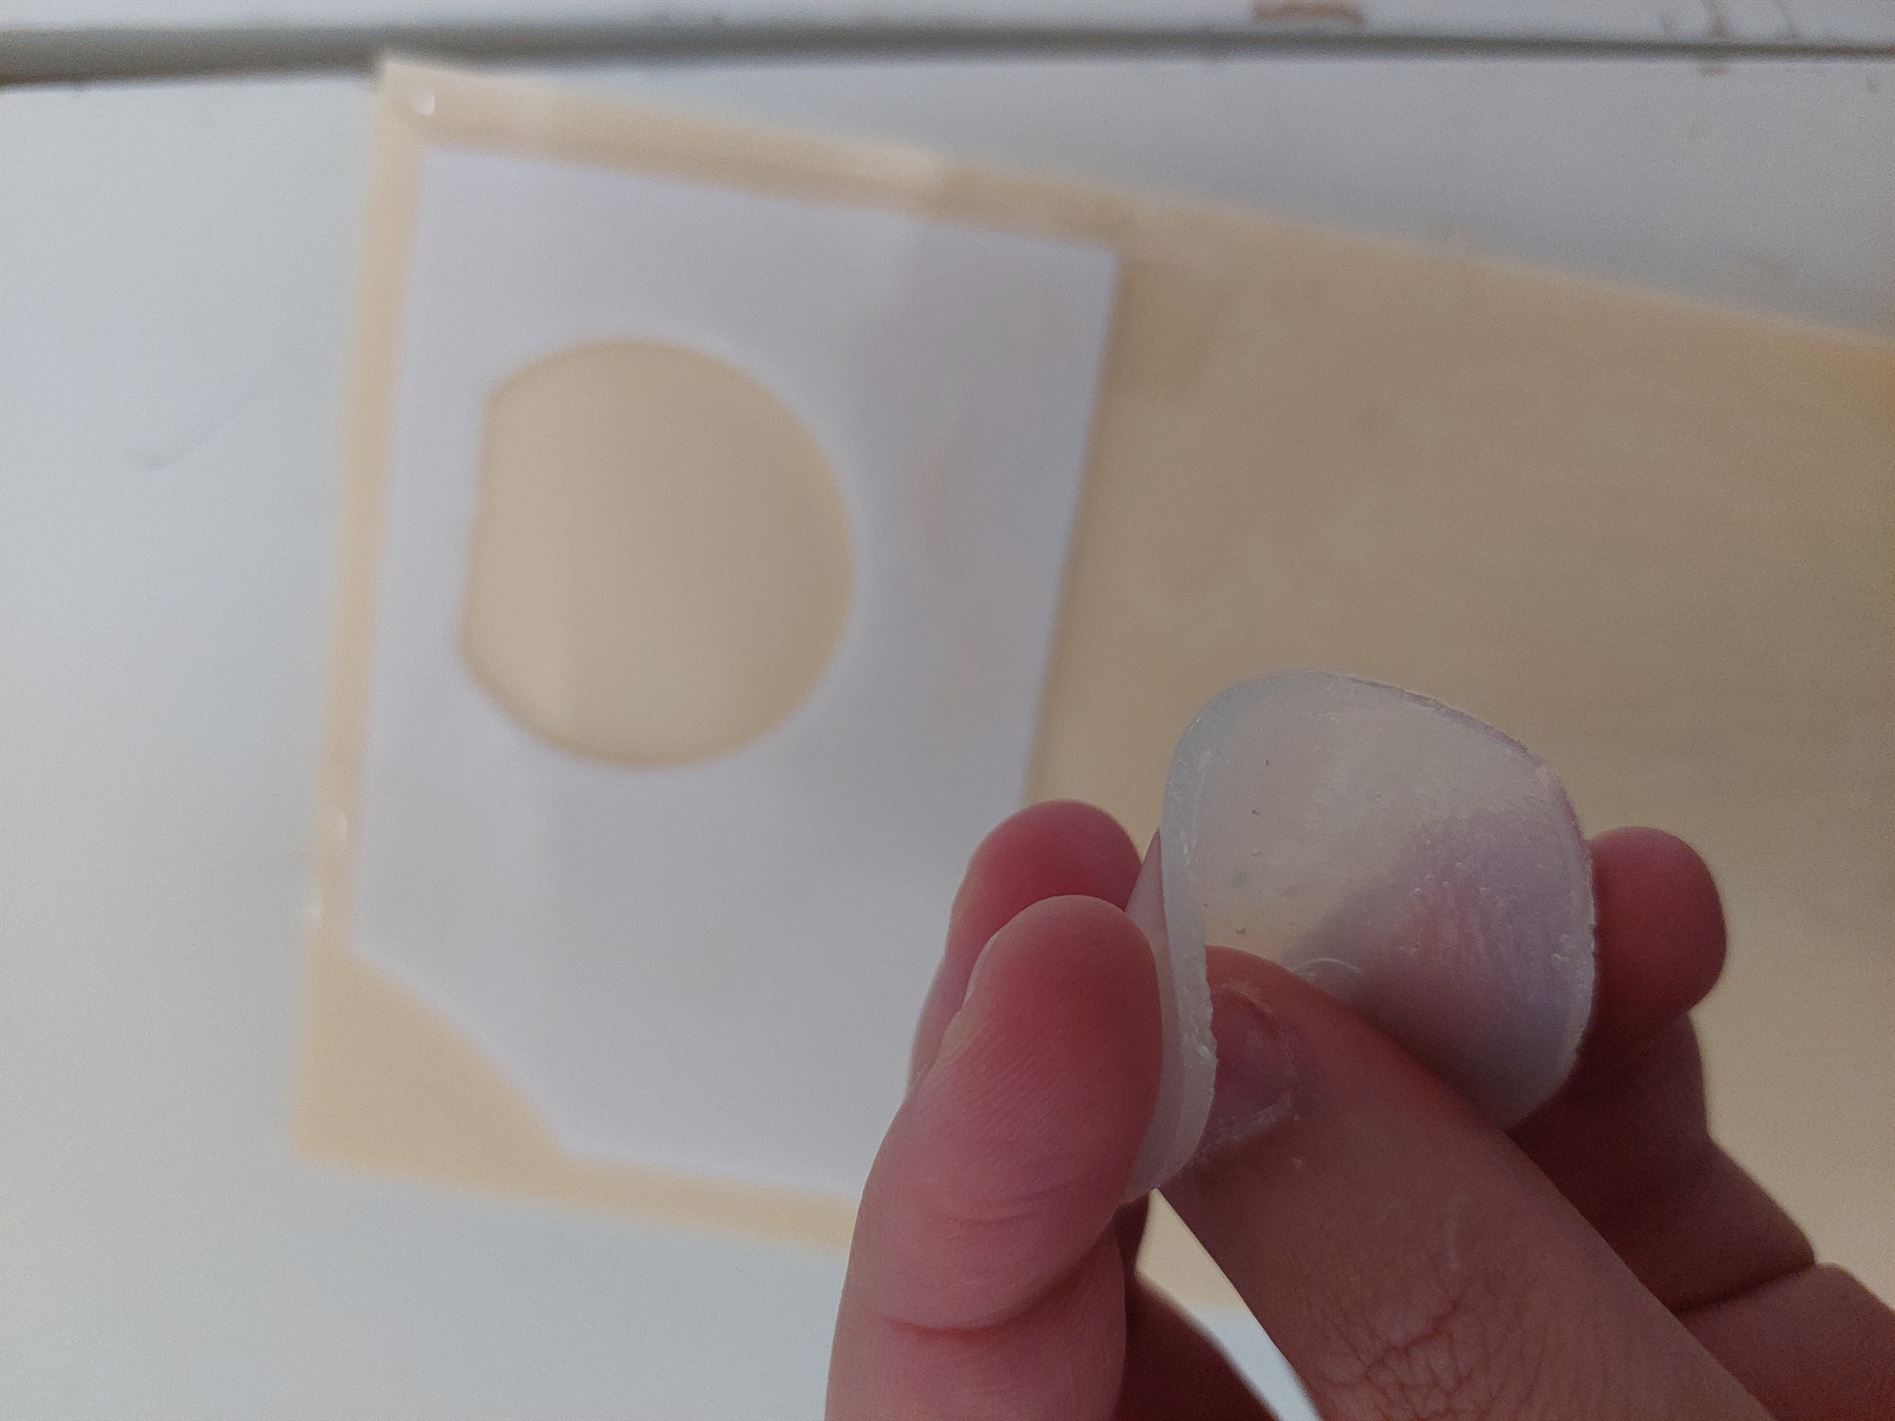
- After 2 days, the textile did not absorb the solution perfectly and this caused the textile to not become hard.
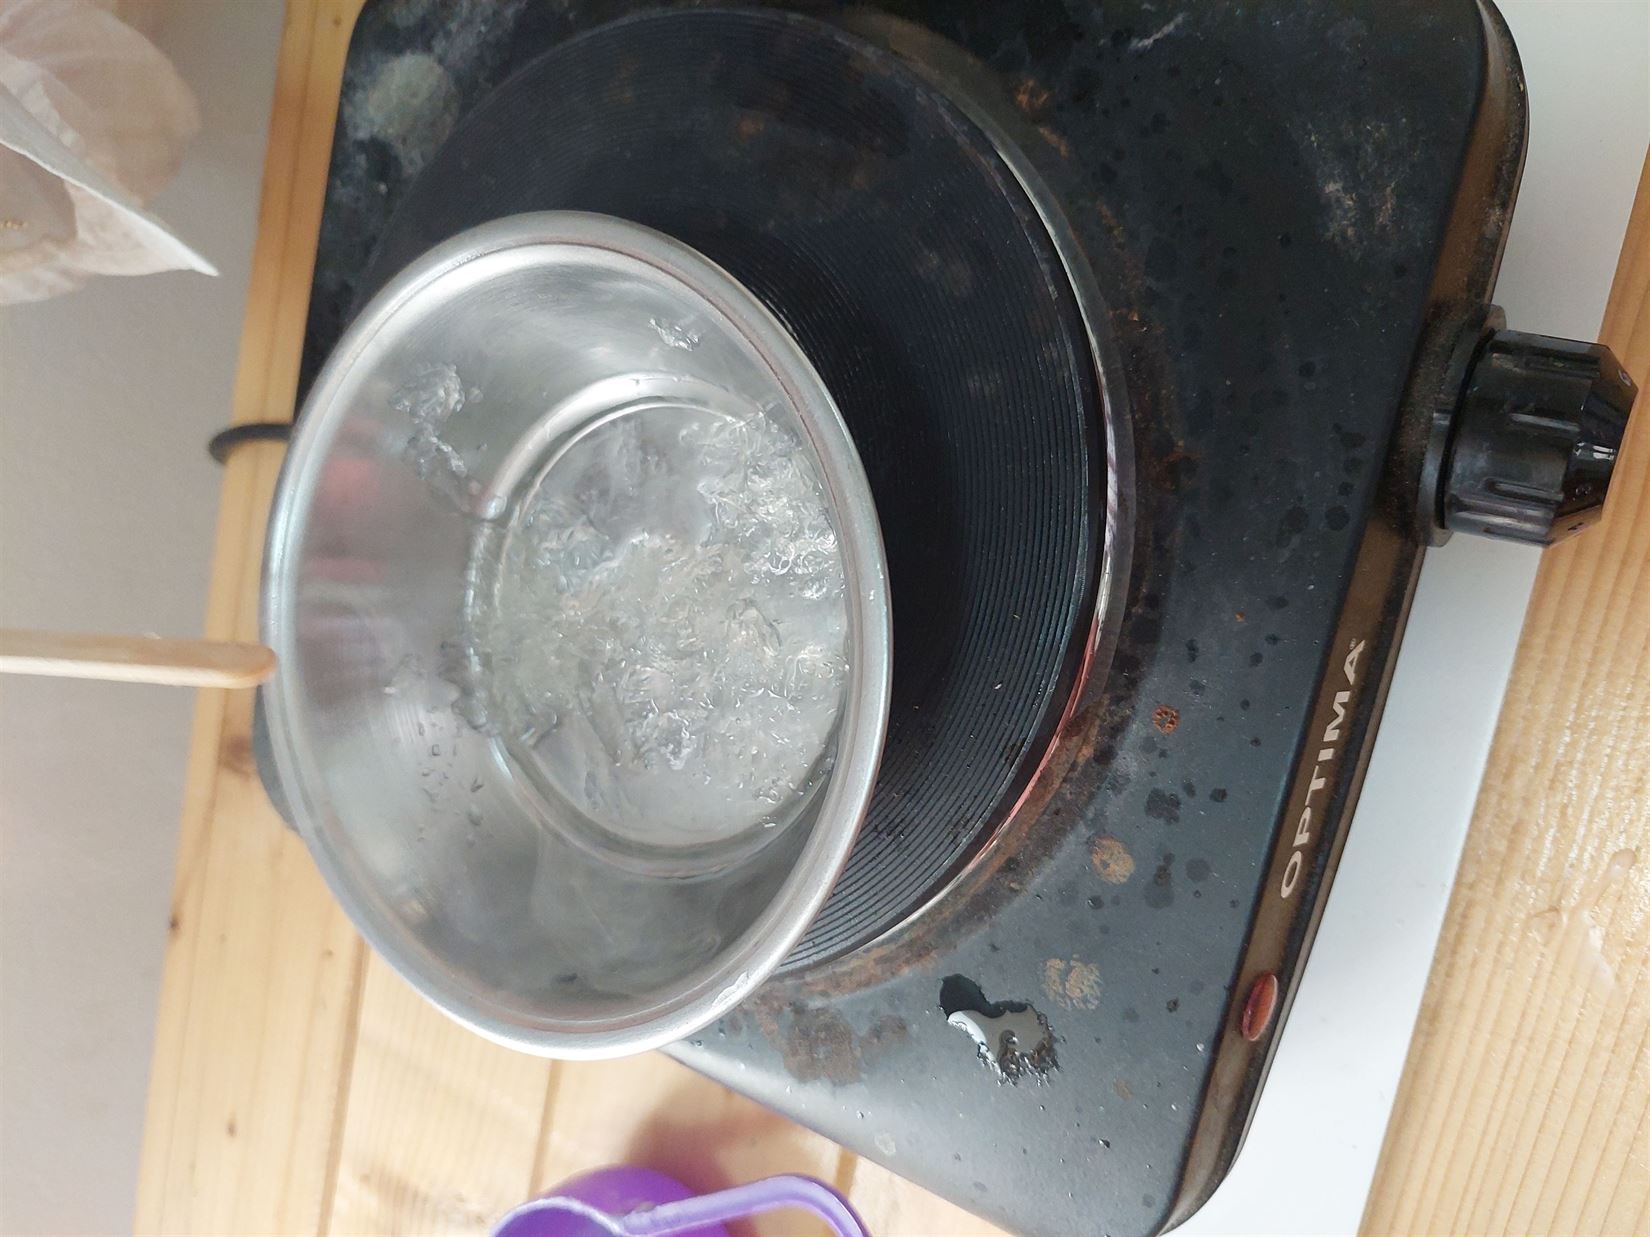
3.3 Melting the ReusableMold.
We melted the previous ReusableMolds that we made in week 2. You can refer to it by clicking this (1.3.3 ReusableMold).
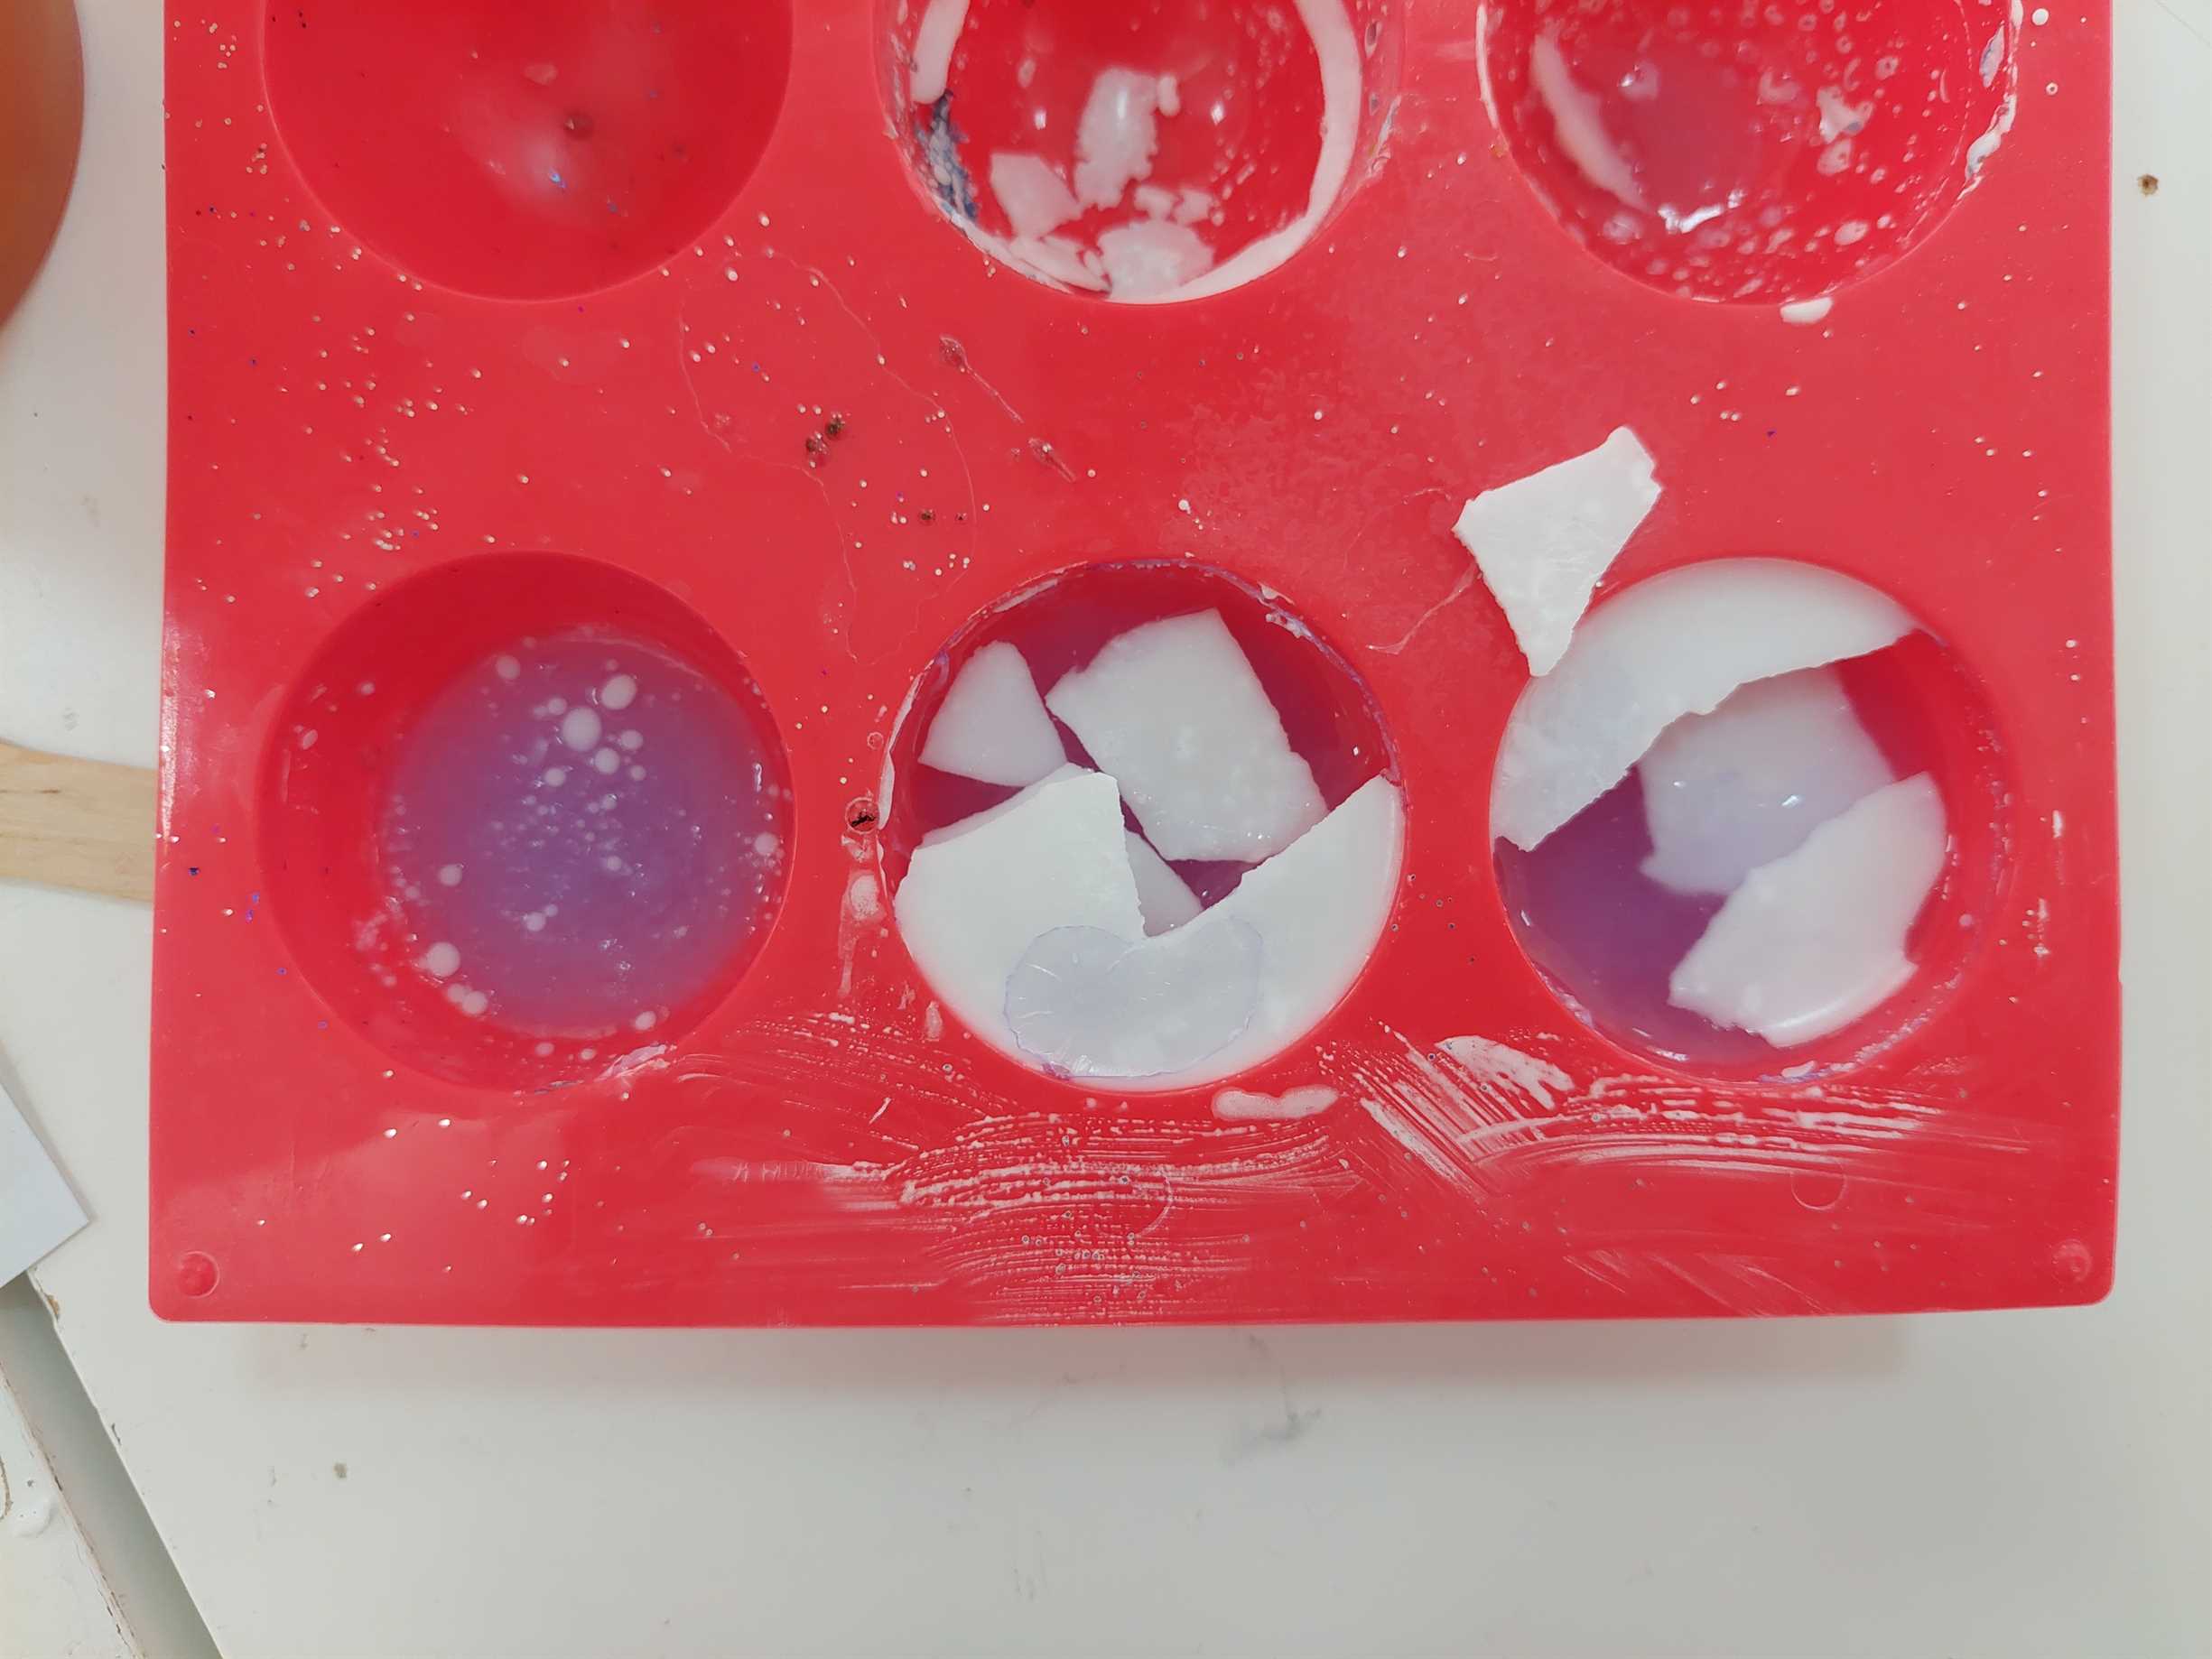
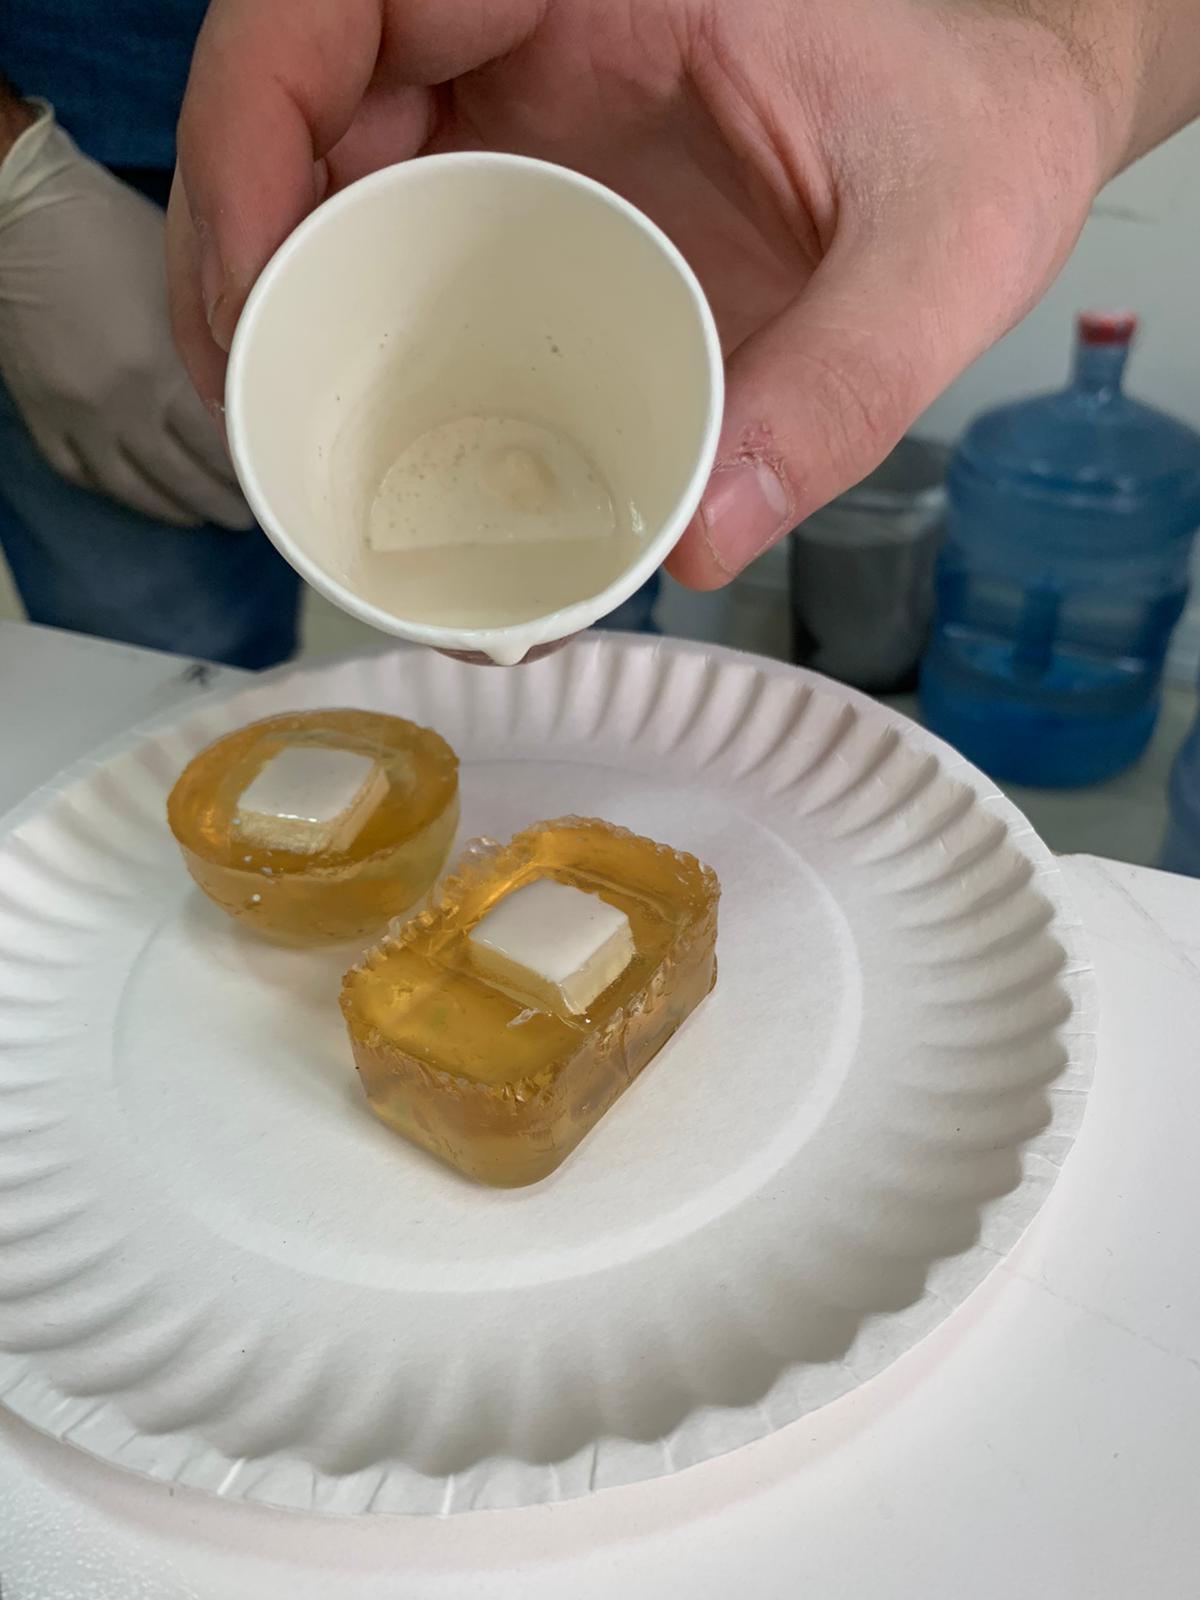
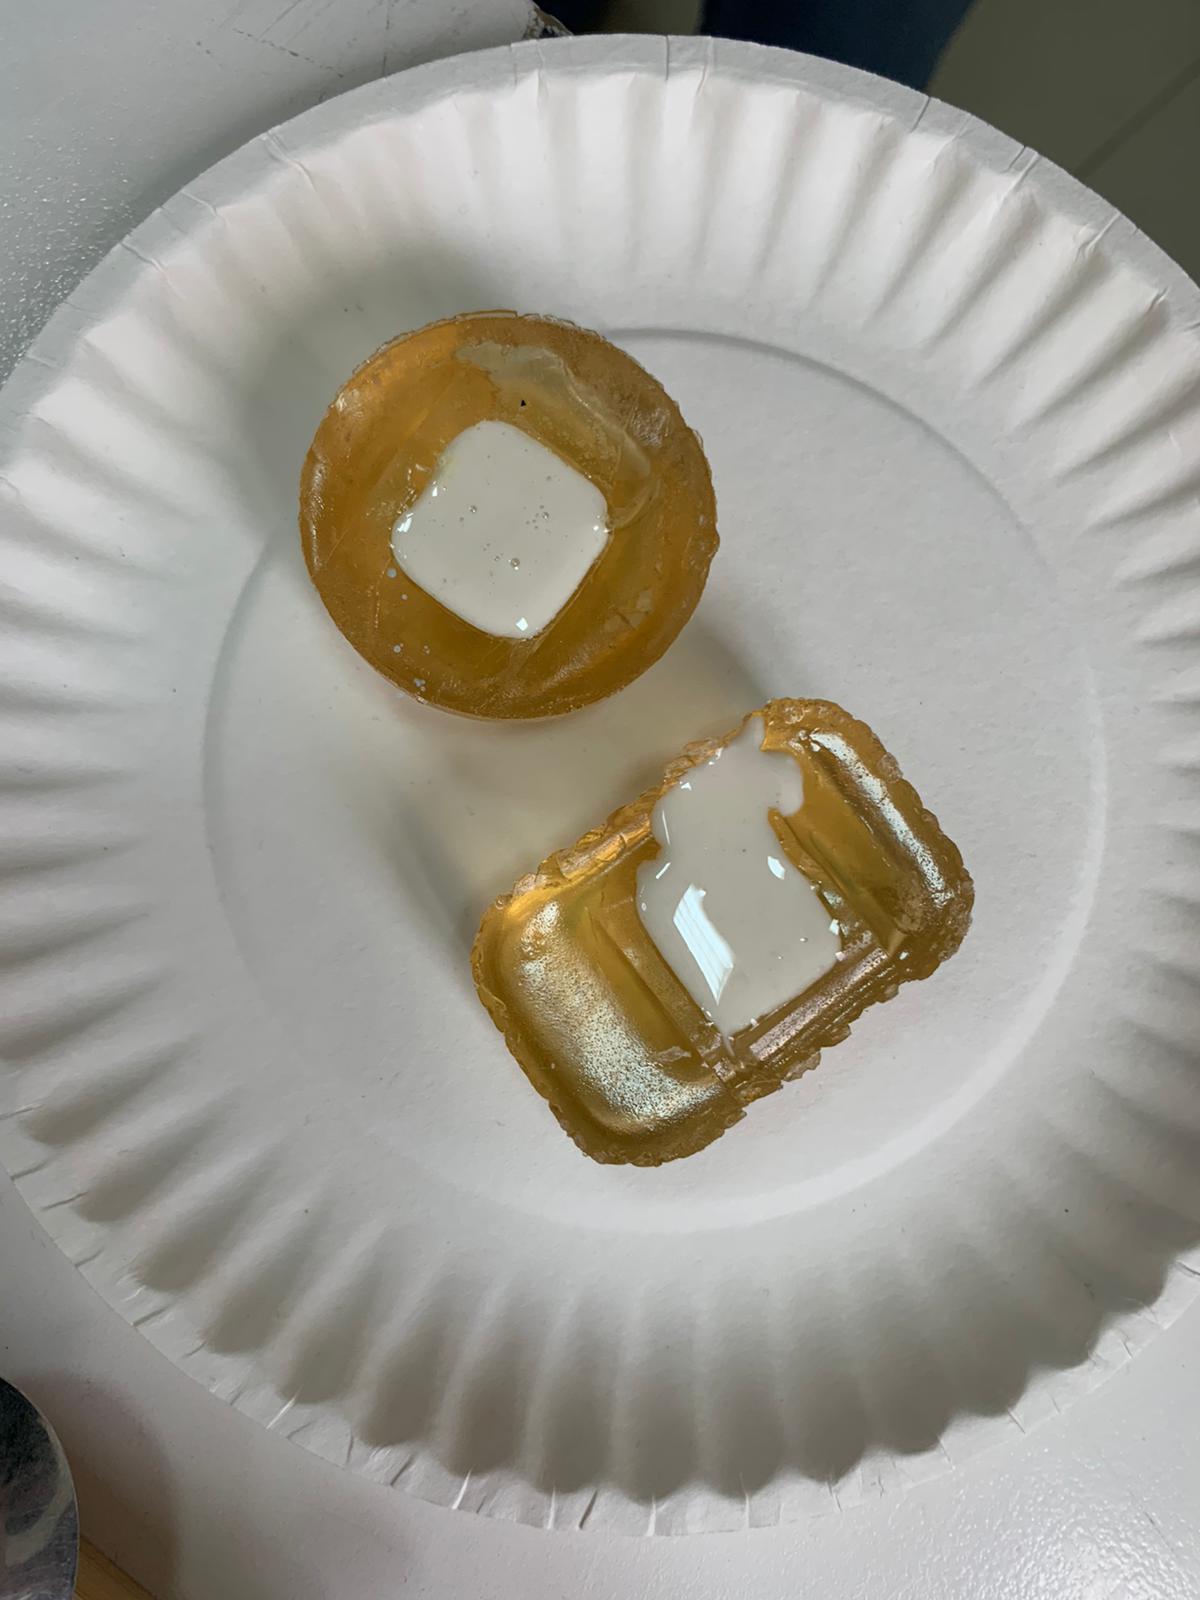
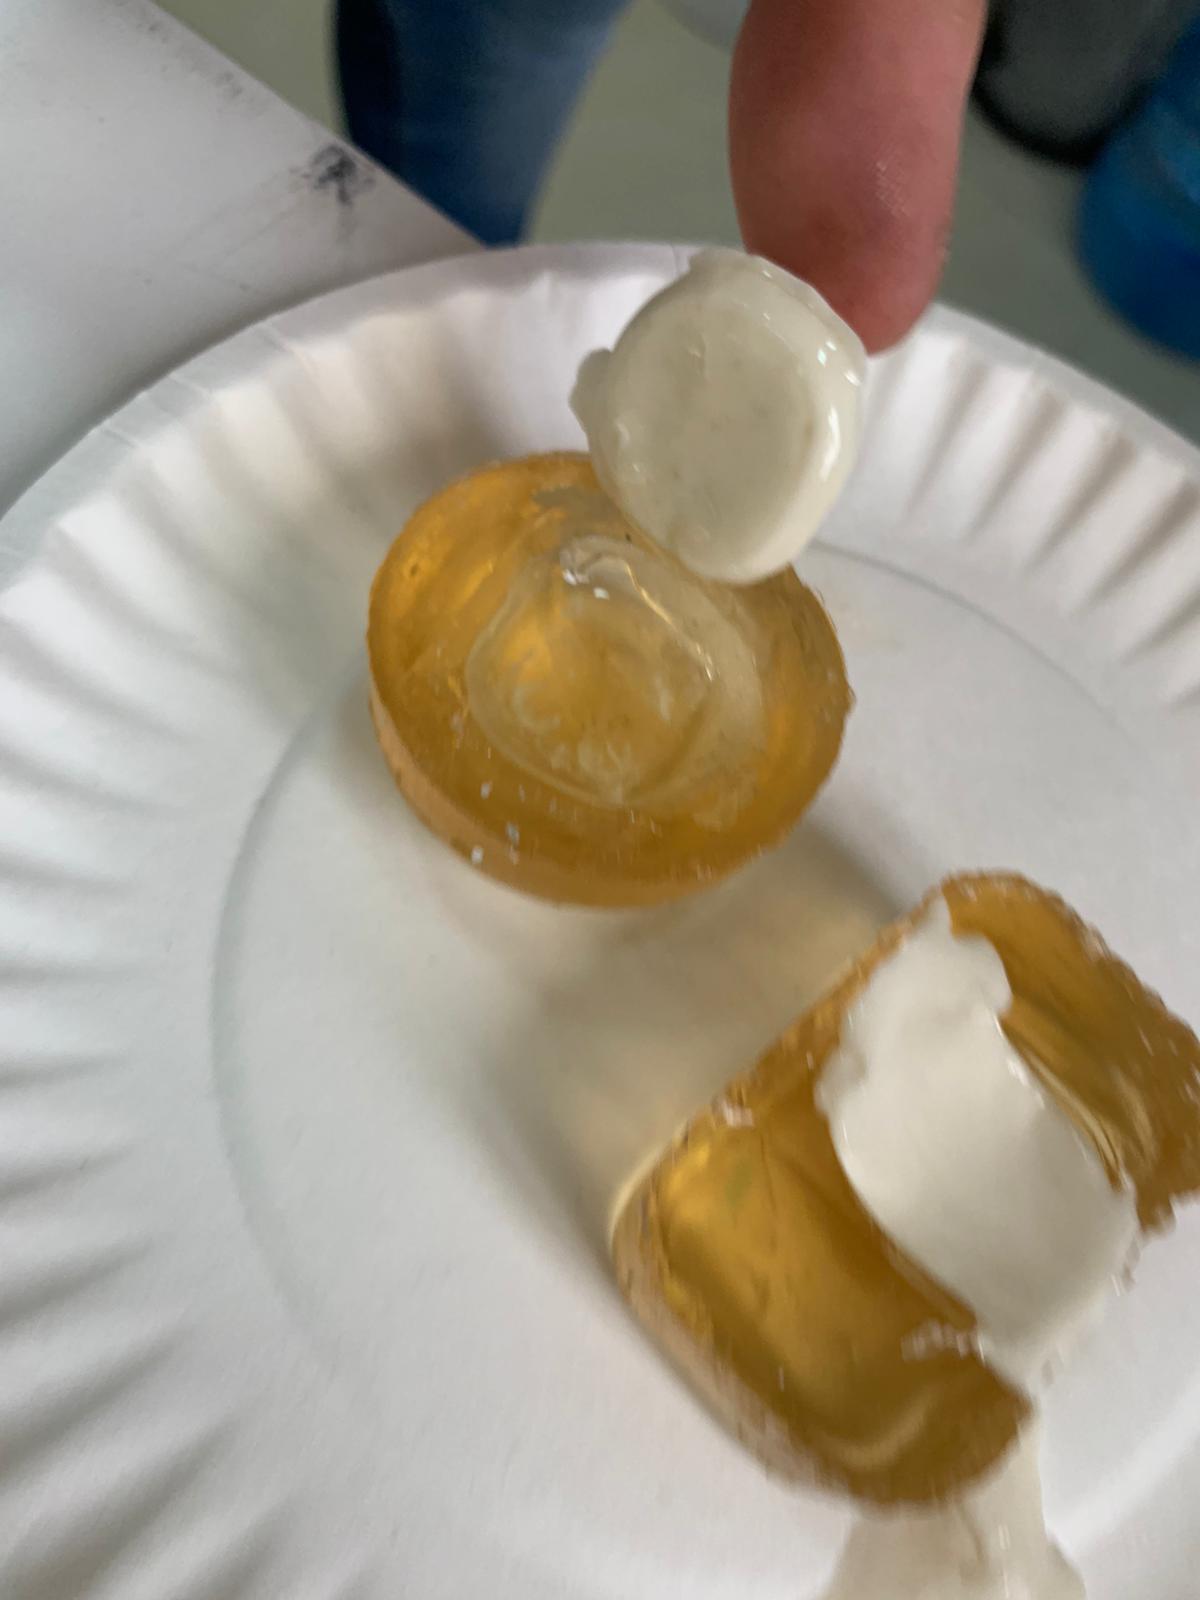
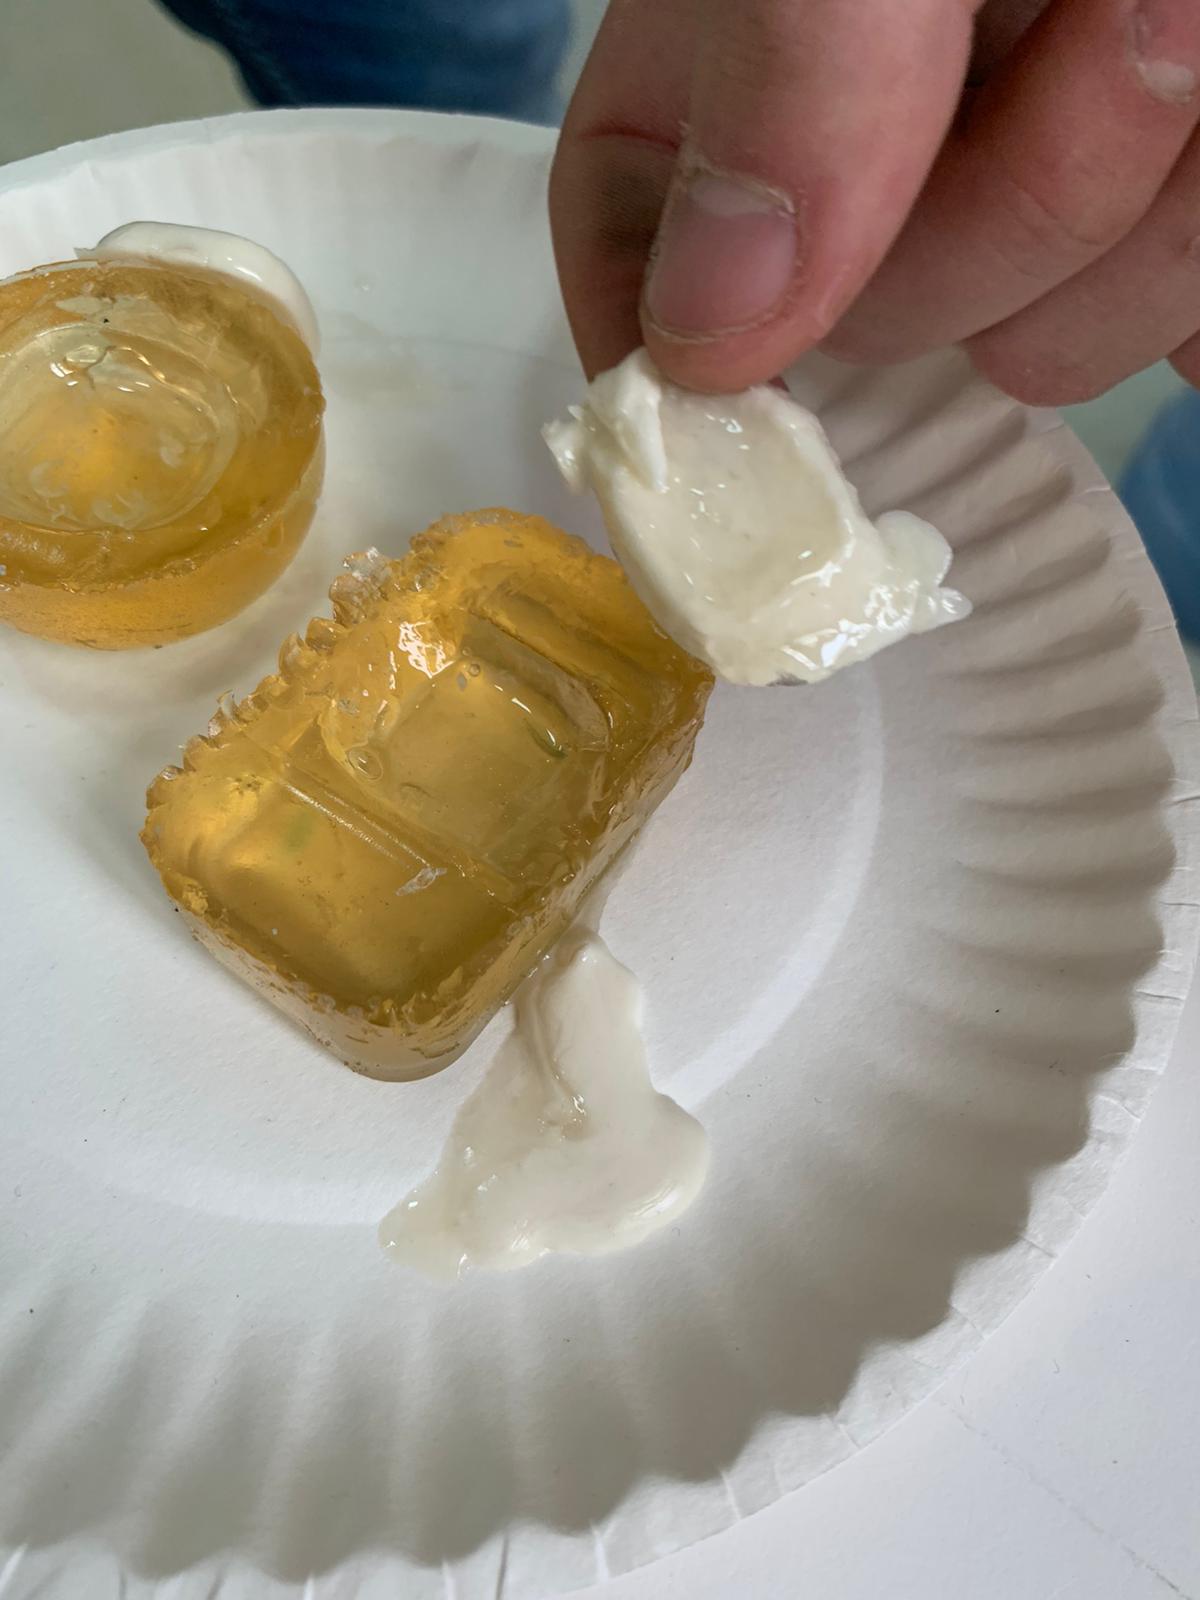
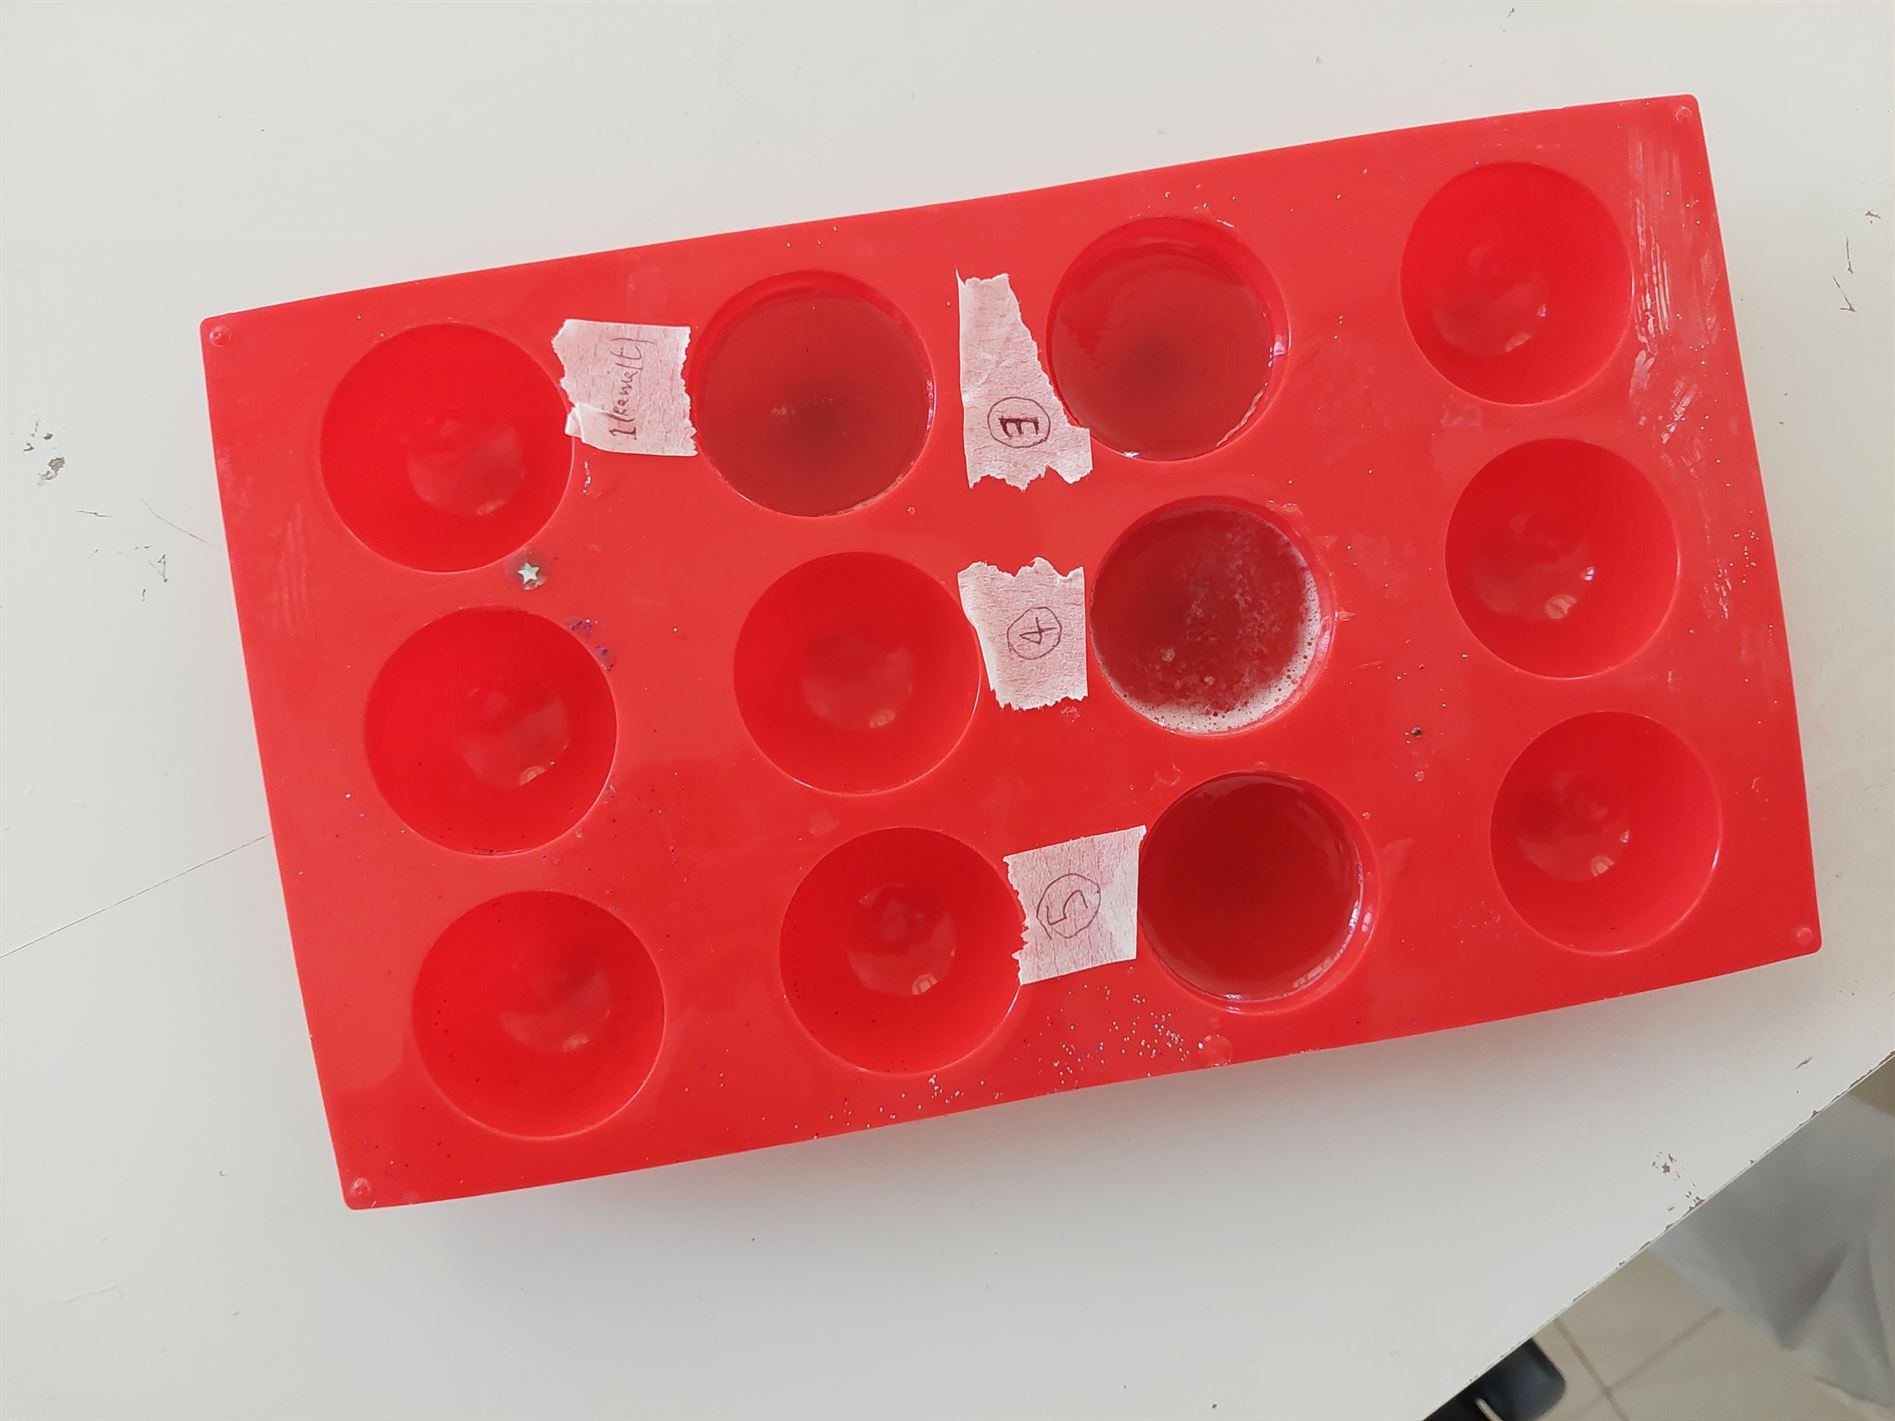
3.3.1 ReusableMold casted with soup.
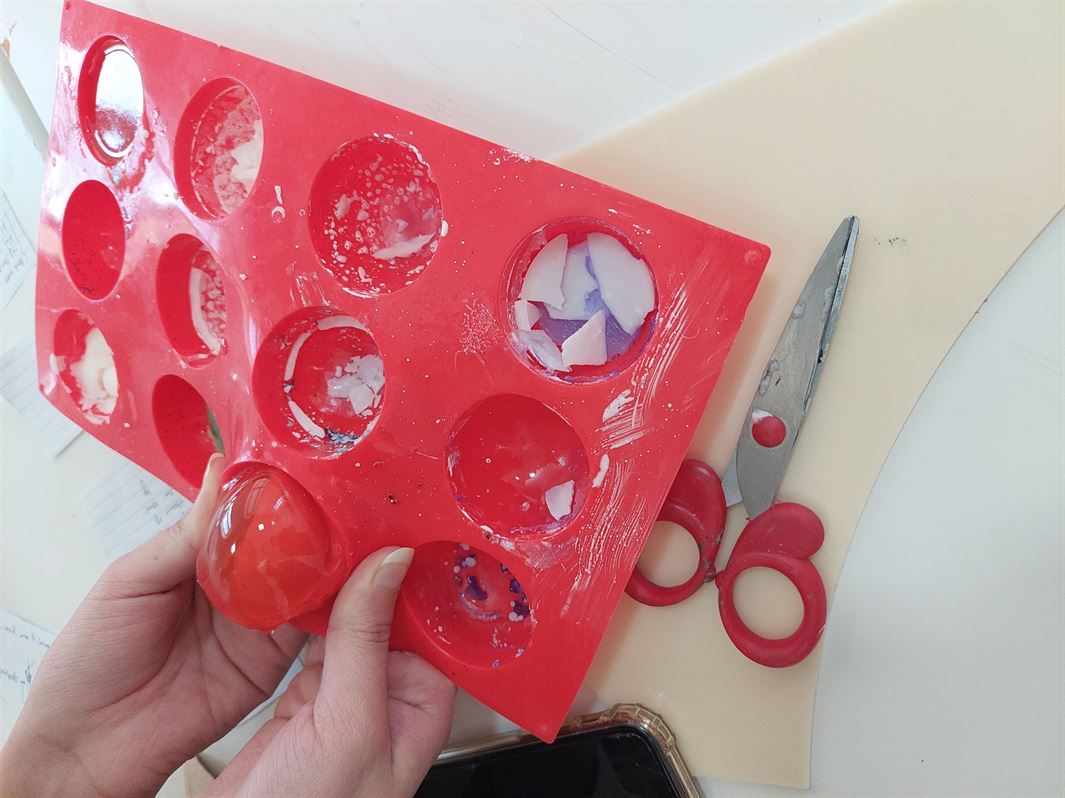
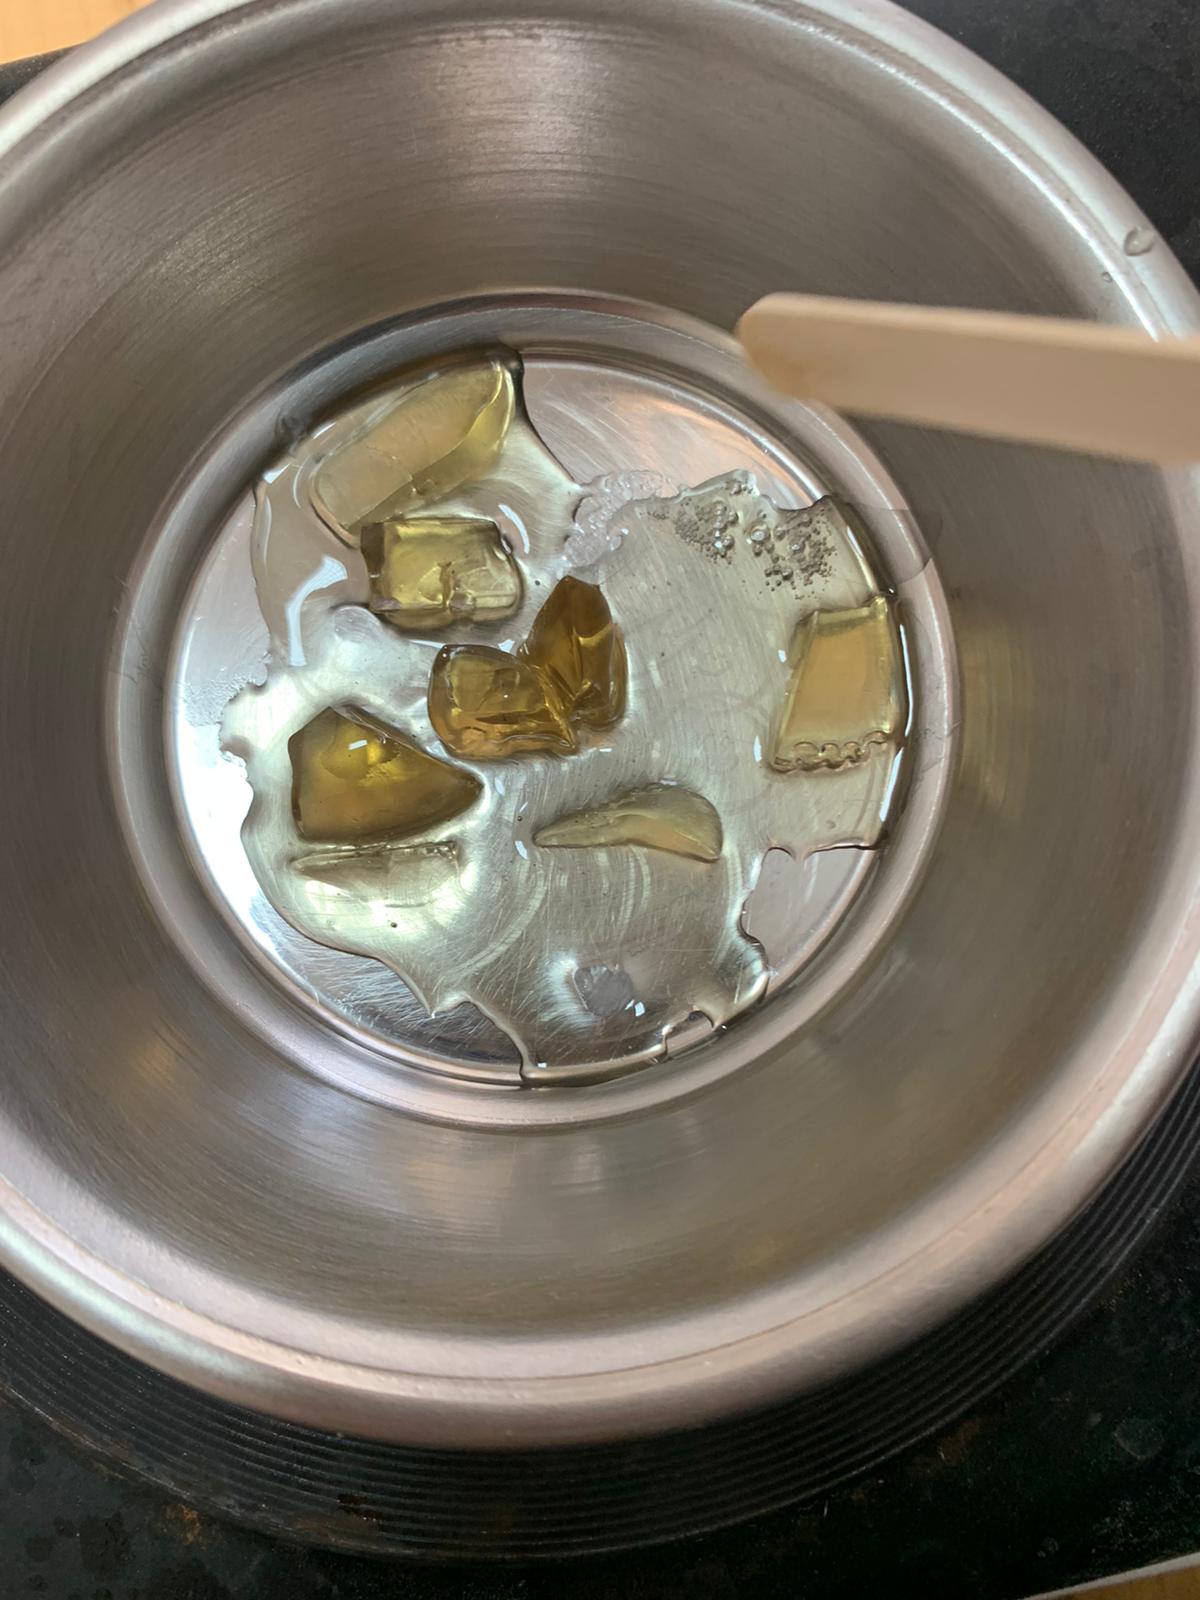
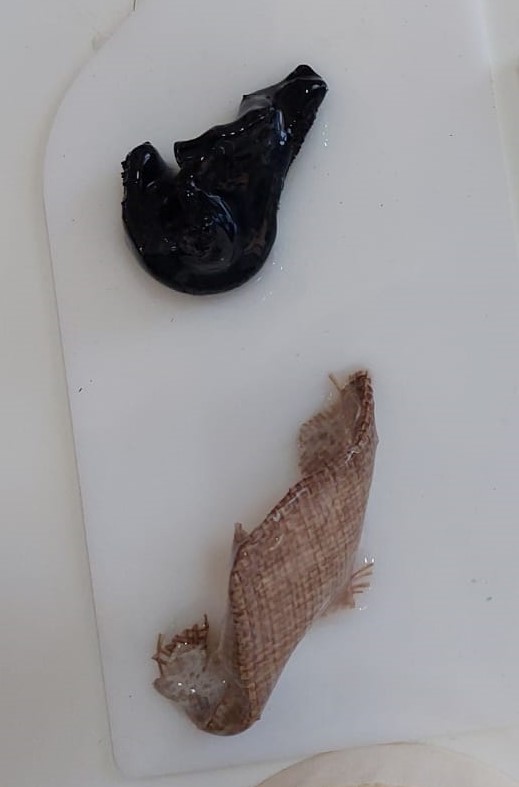
Since the molds melted when we casted the soup into them (Refer to 2.4 Casting), we decided to melt the molds and put them in a pot again.
- These are the molds after melting them and pouring them in the pot, we removed both in the next day.
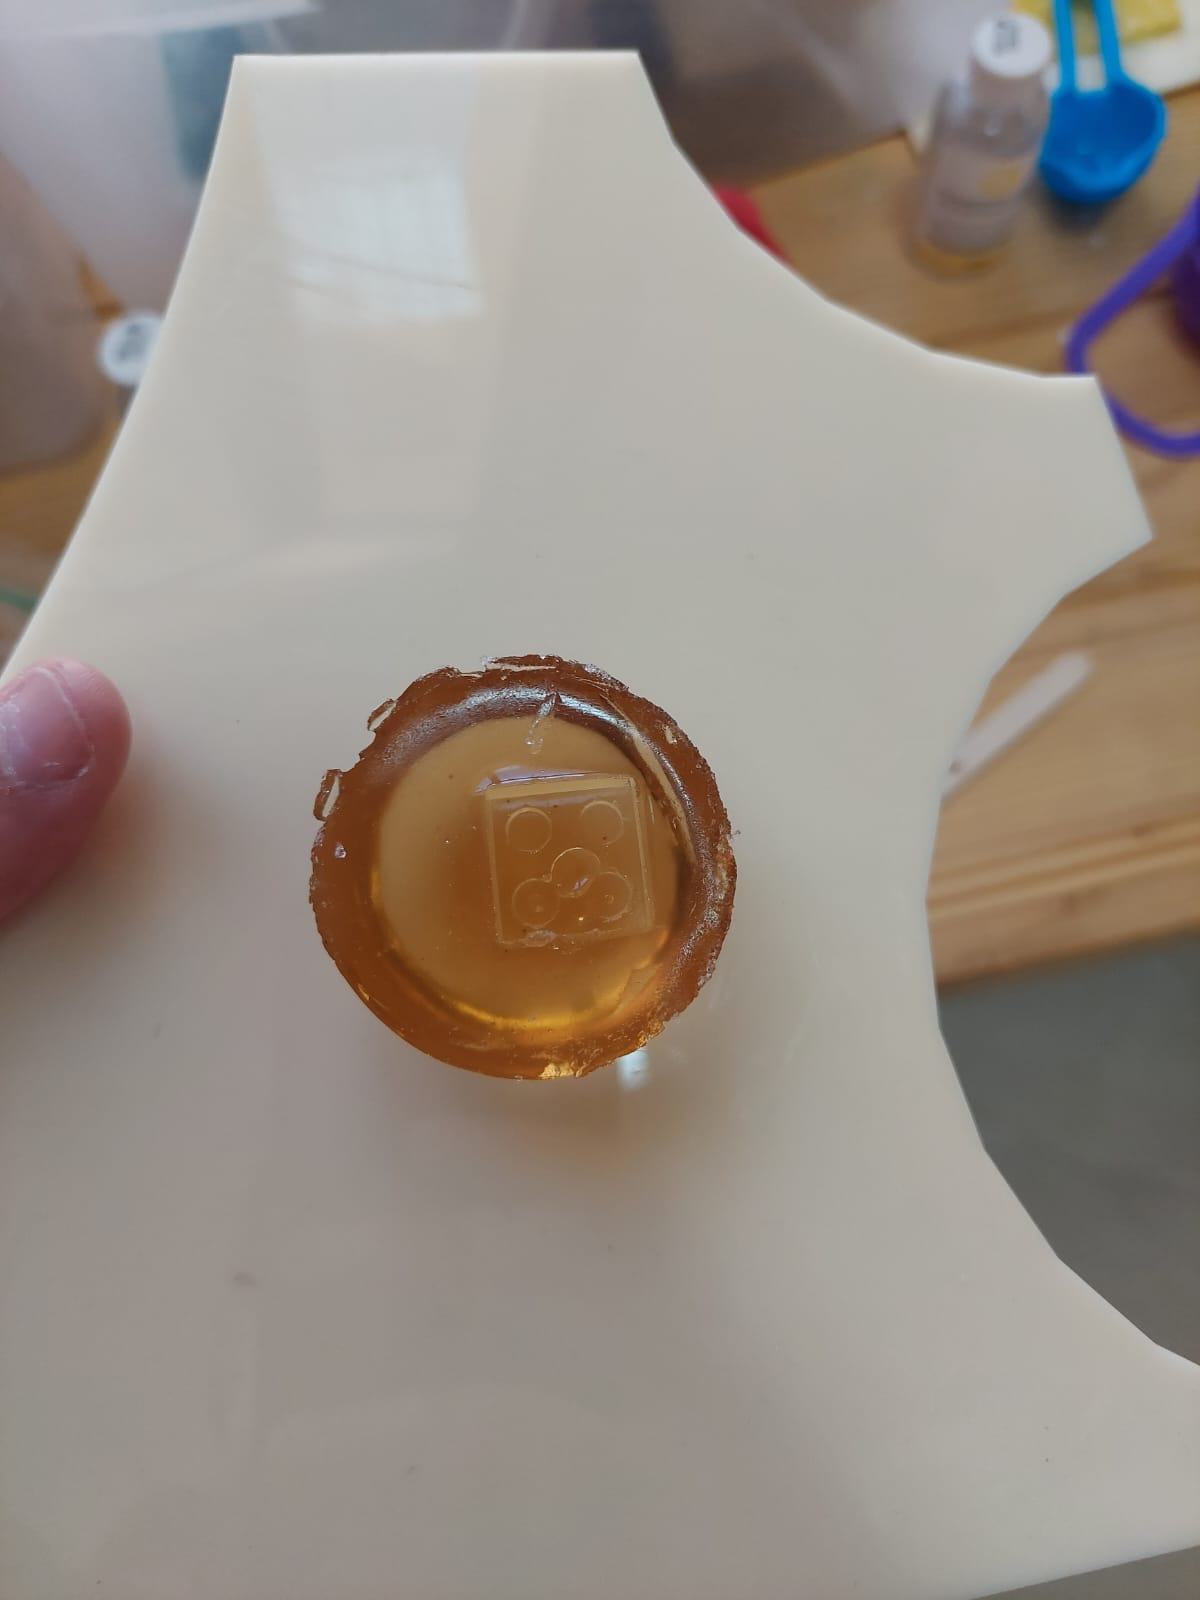
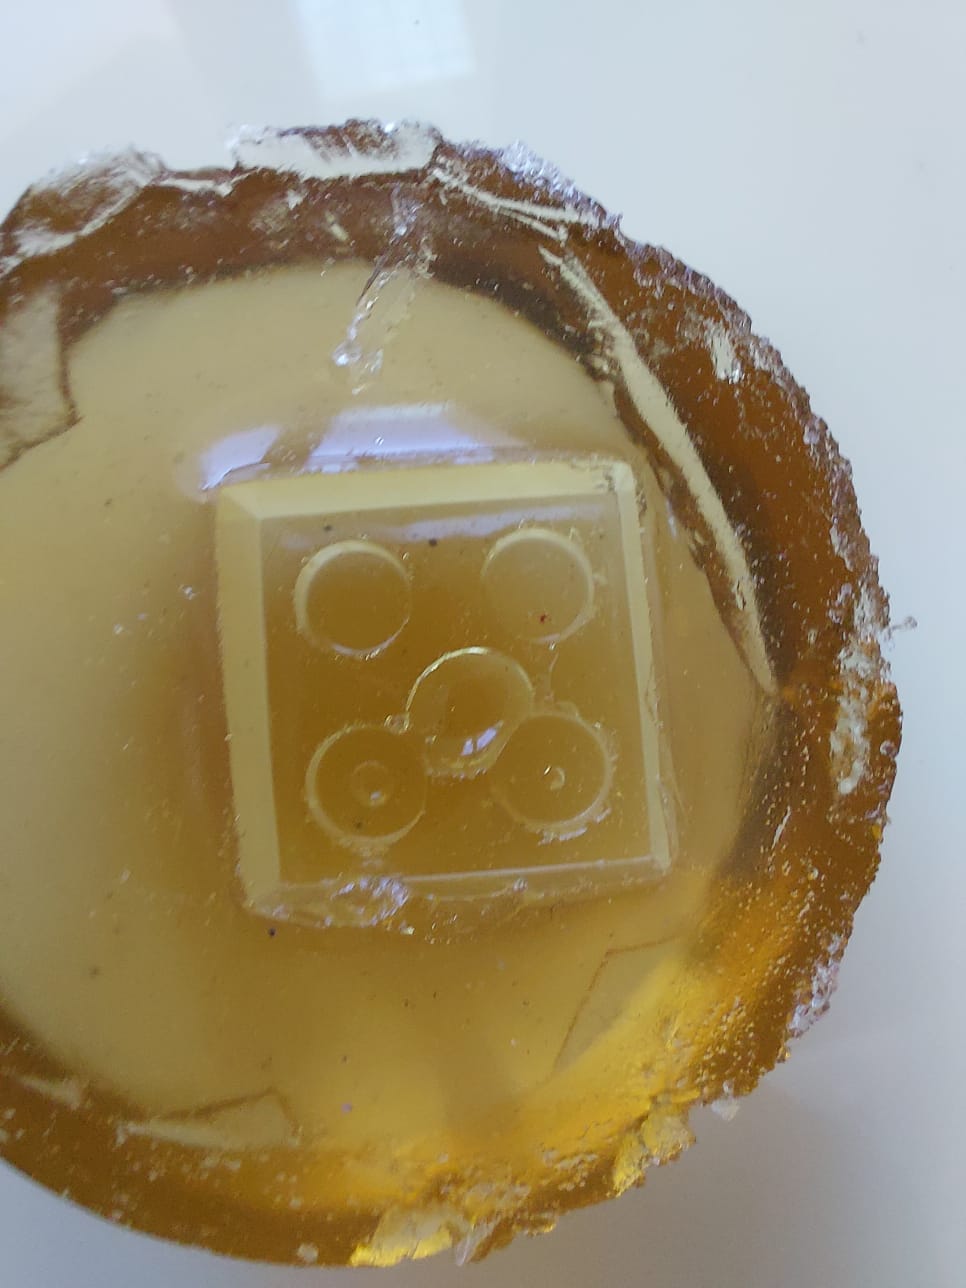
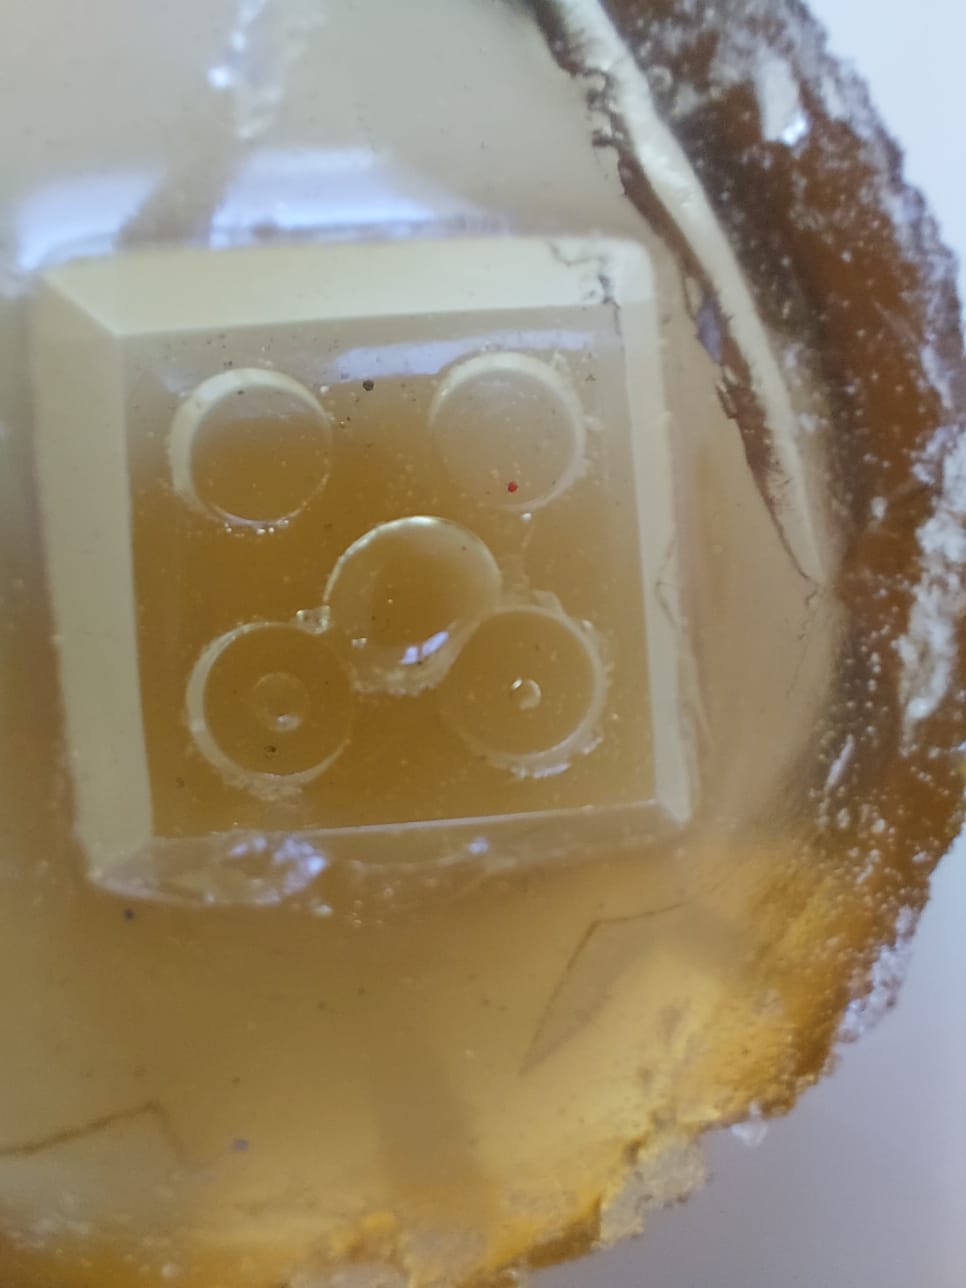
3.3.2 The first recipe of ReusableMold.
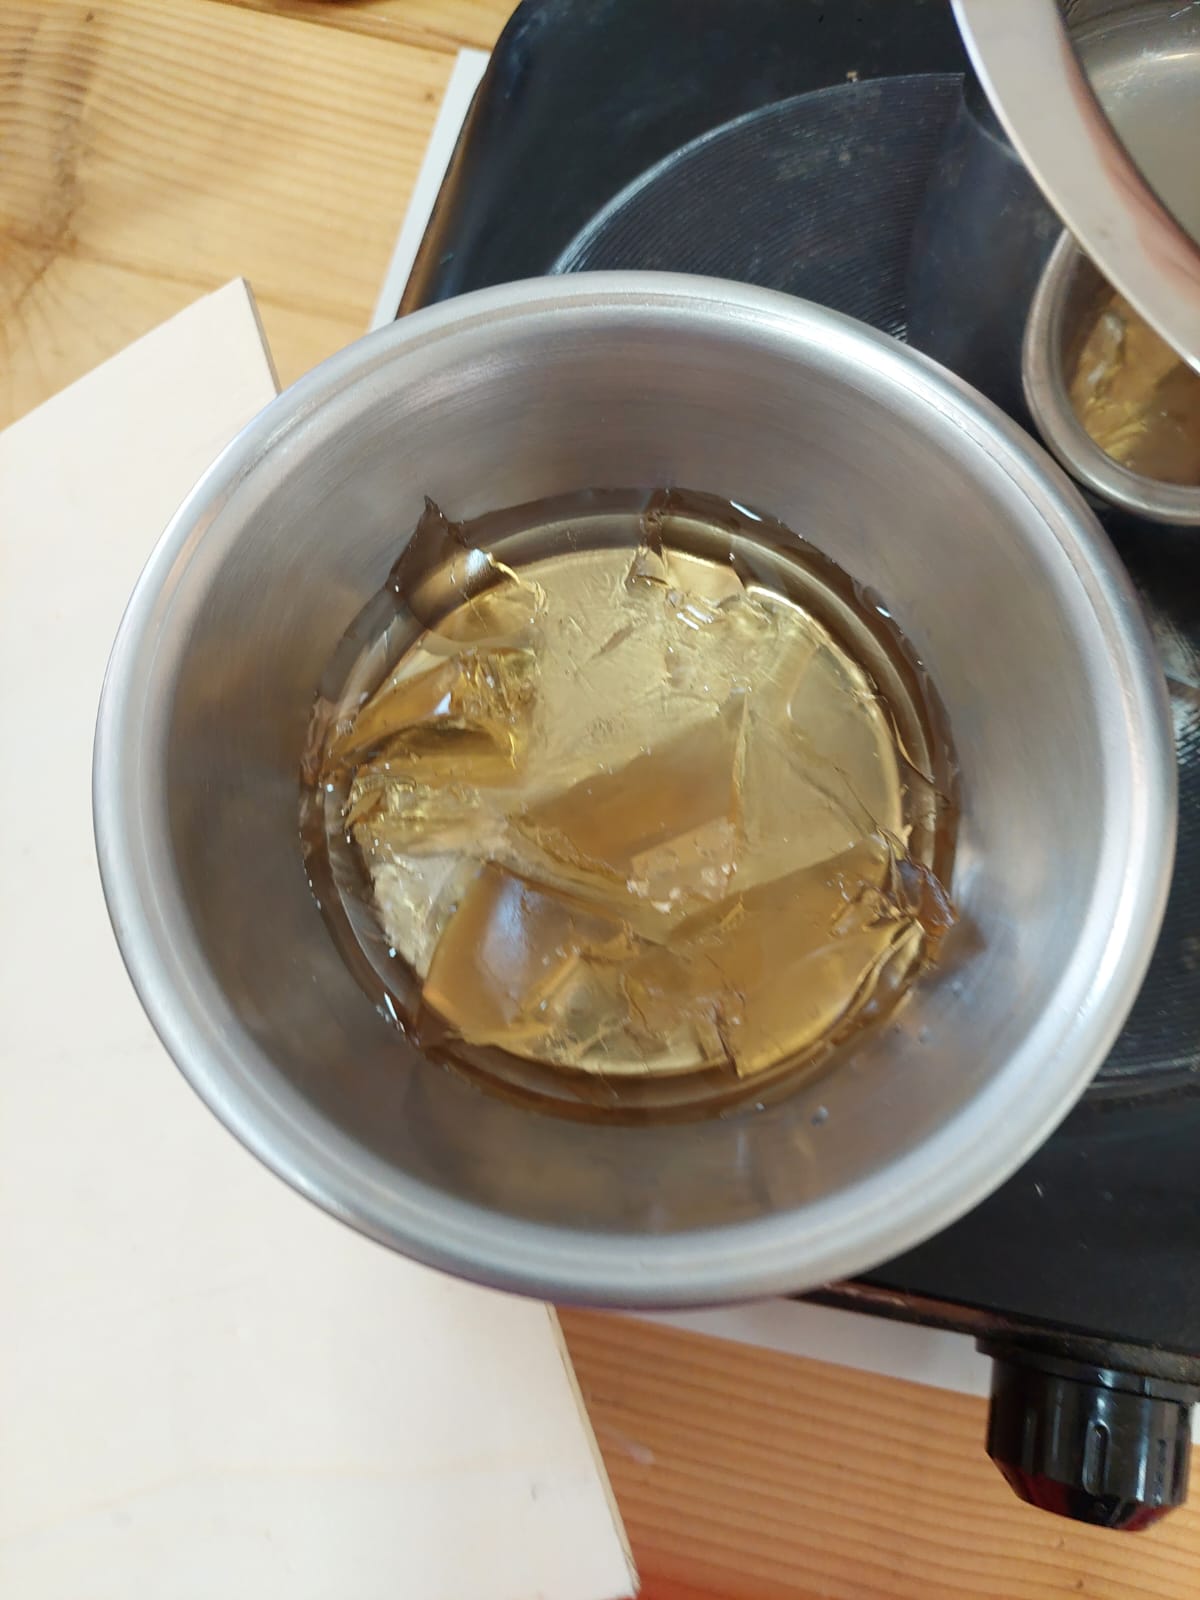
We also decided to melt the first ReusableMold that we made in week 2, you can refer to ReusableMold (1.3.3.1 Batch A).
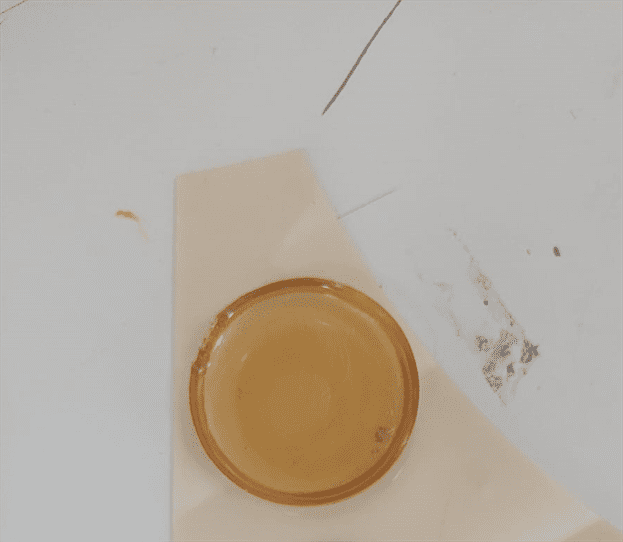
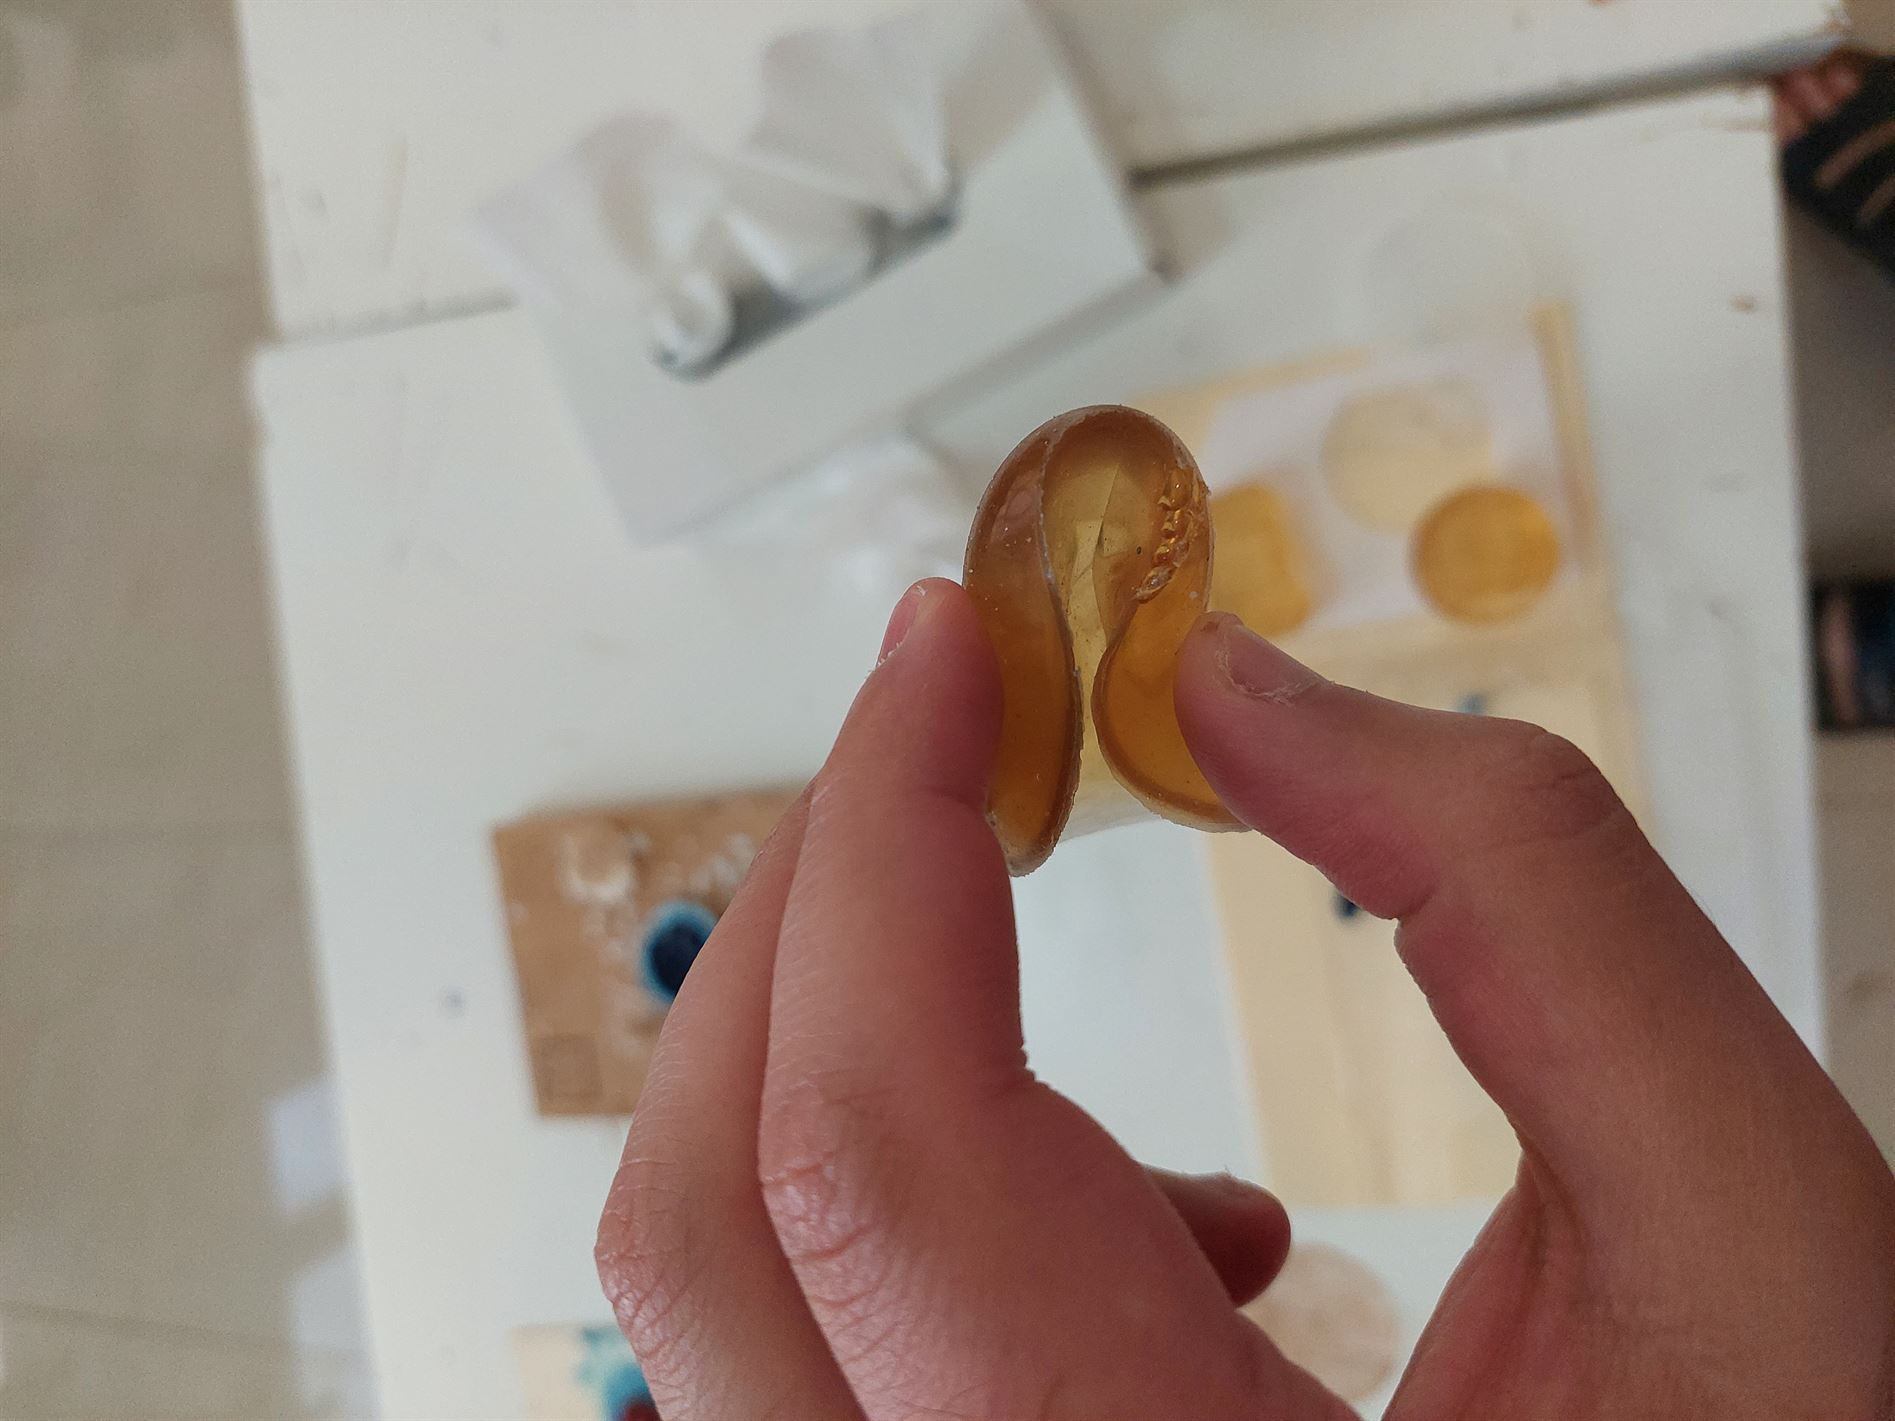
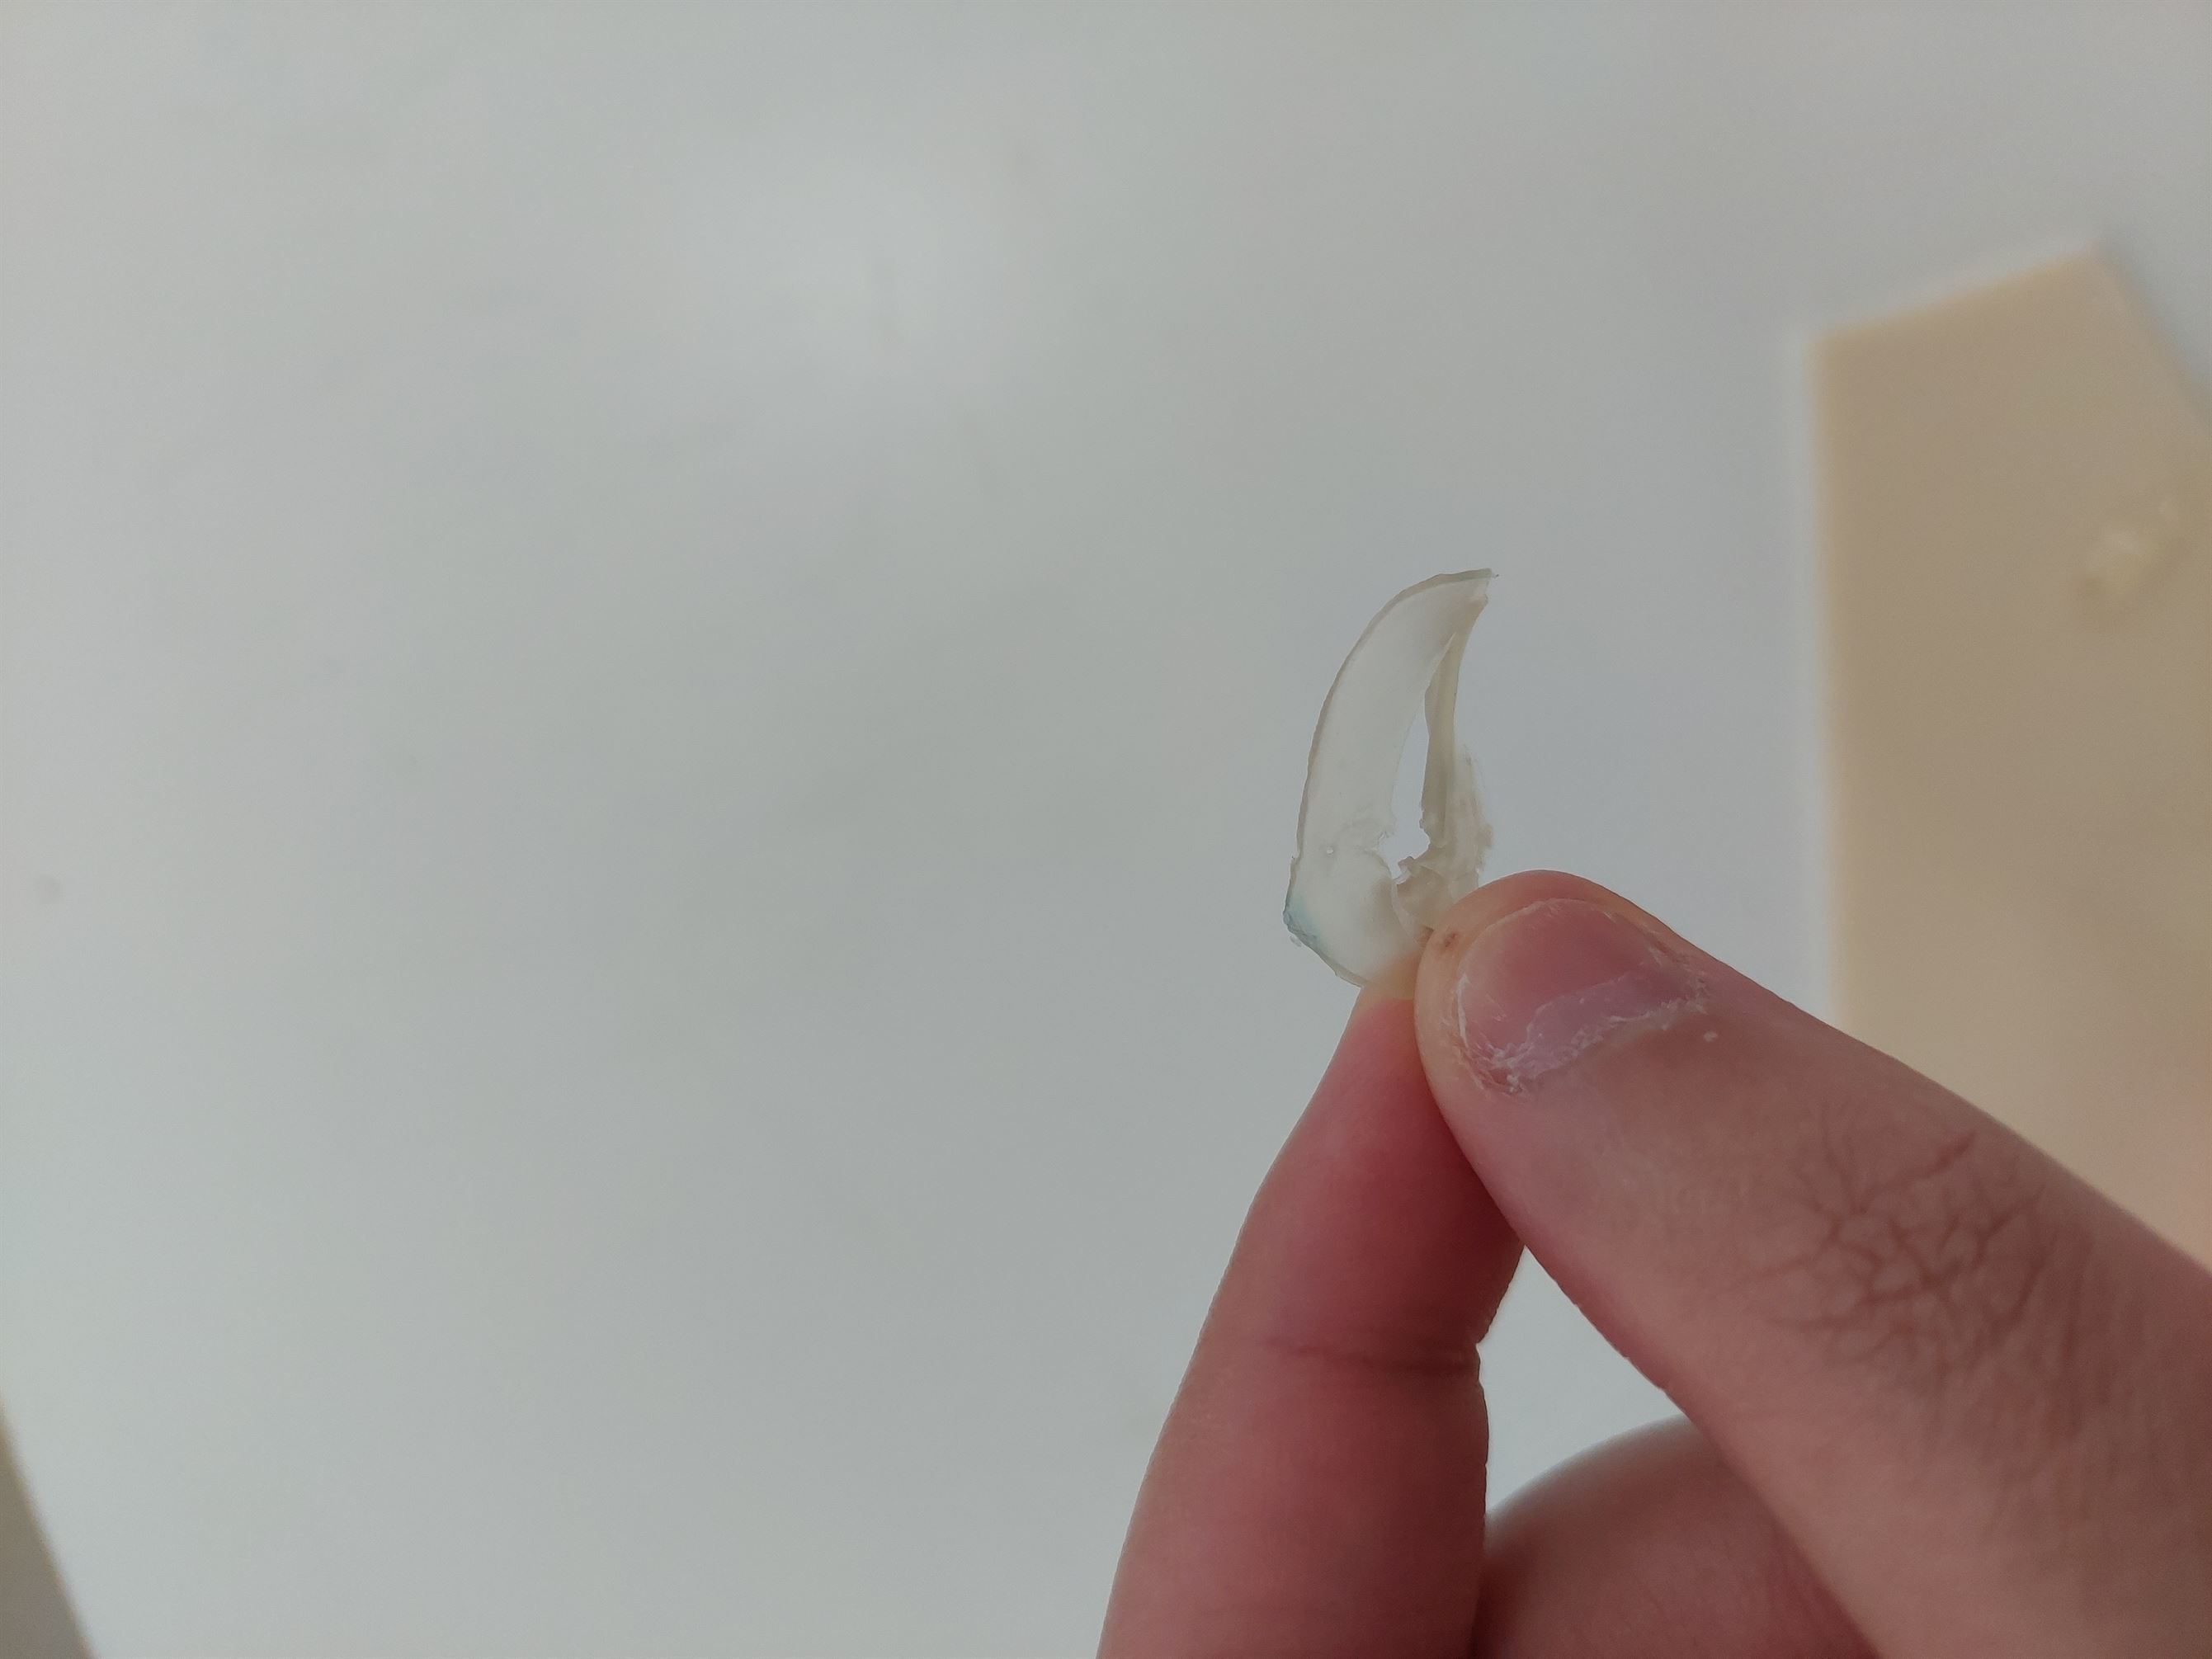
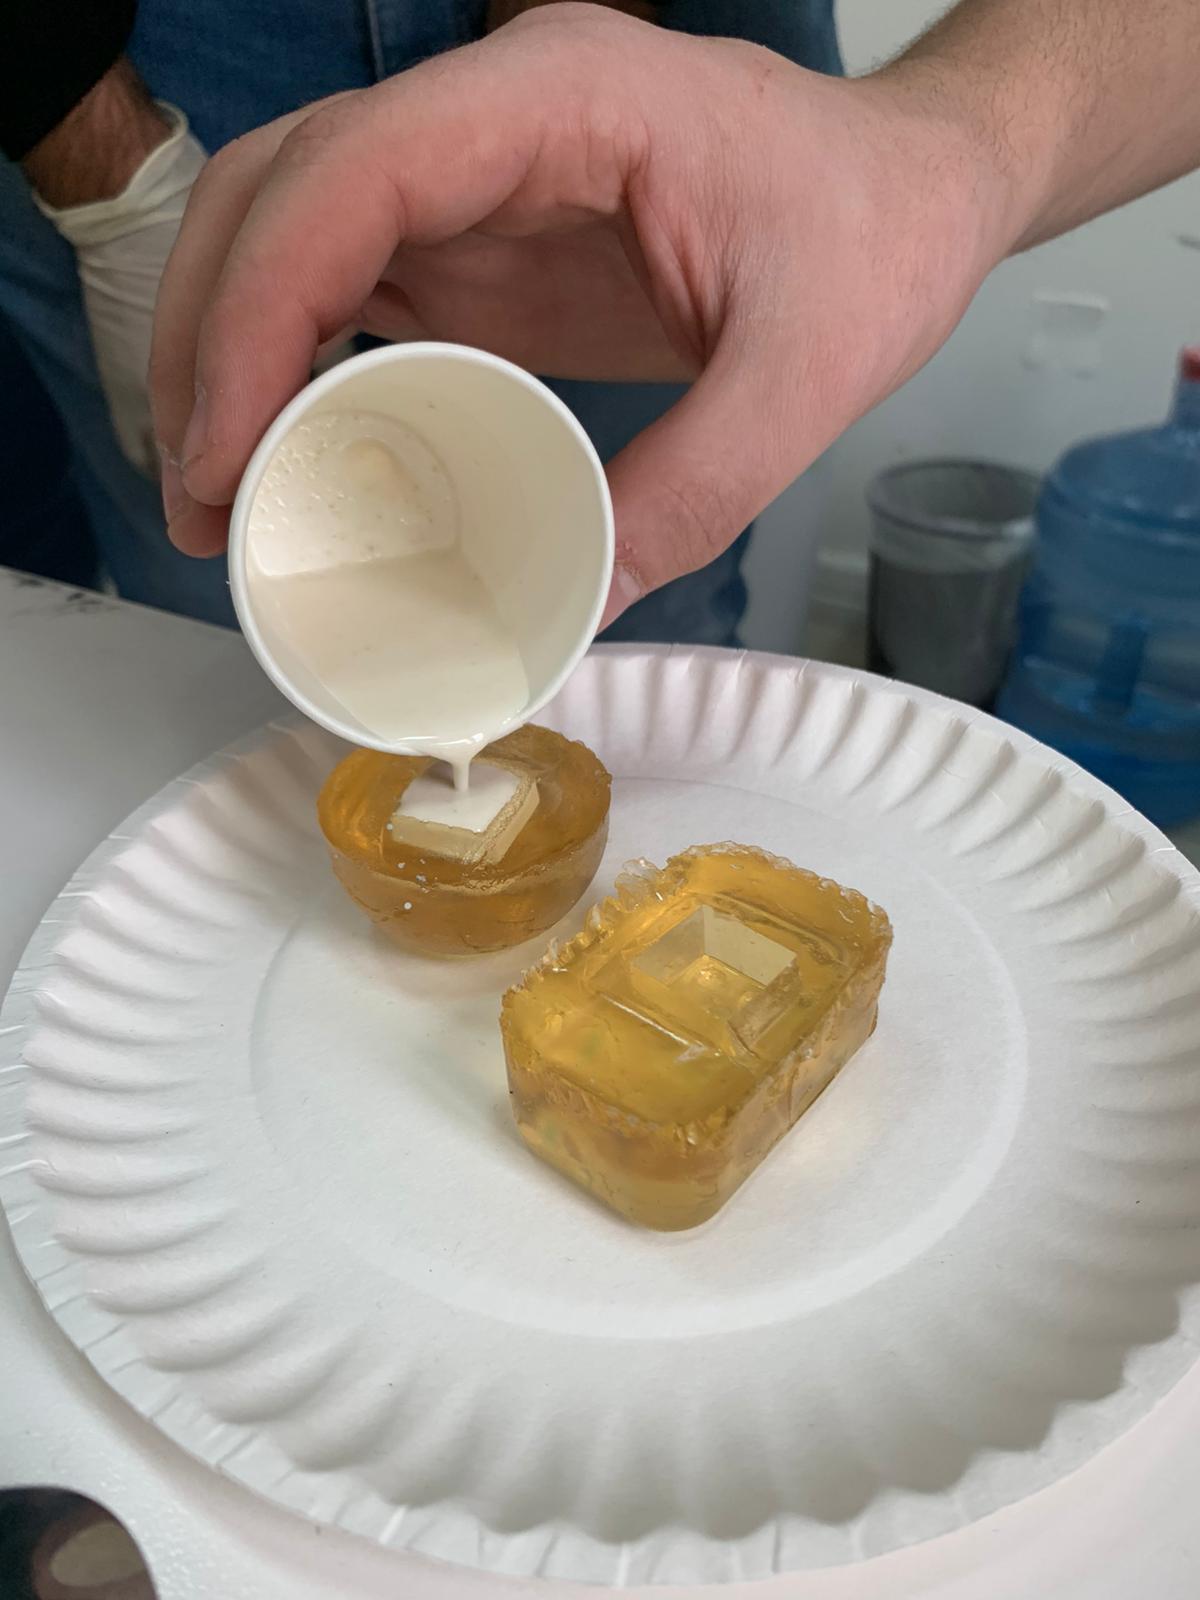
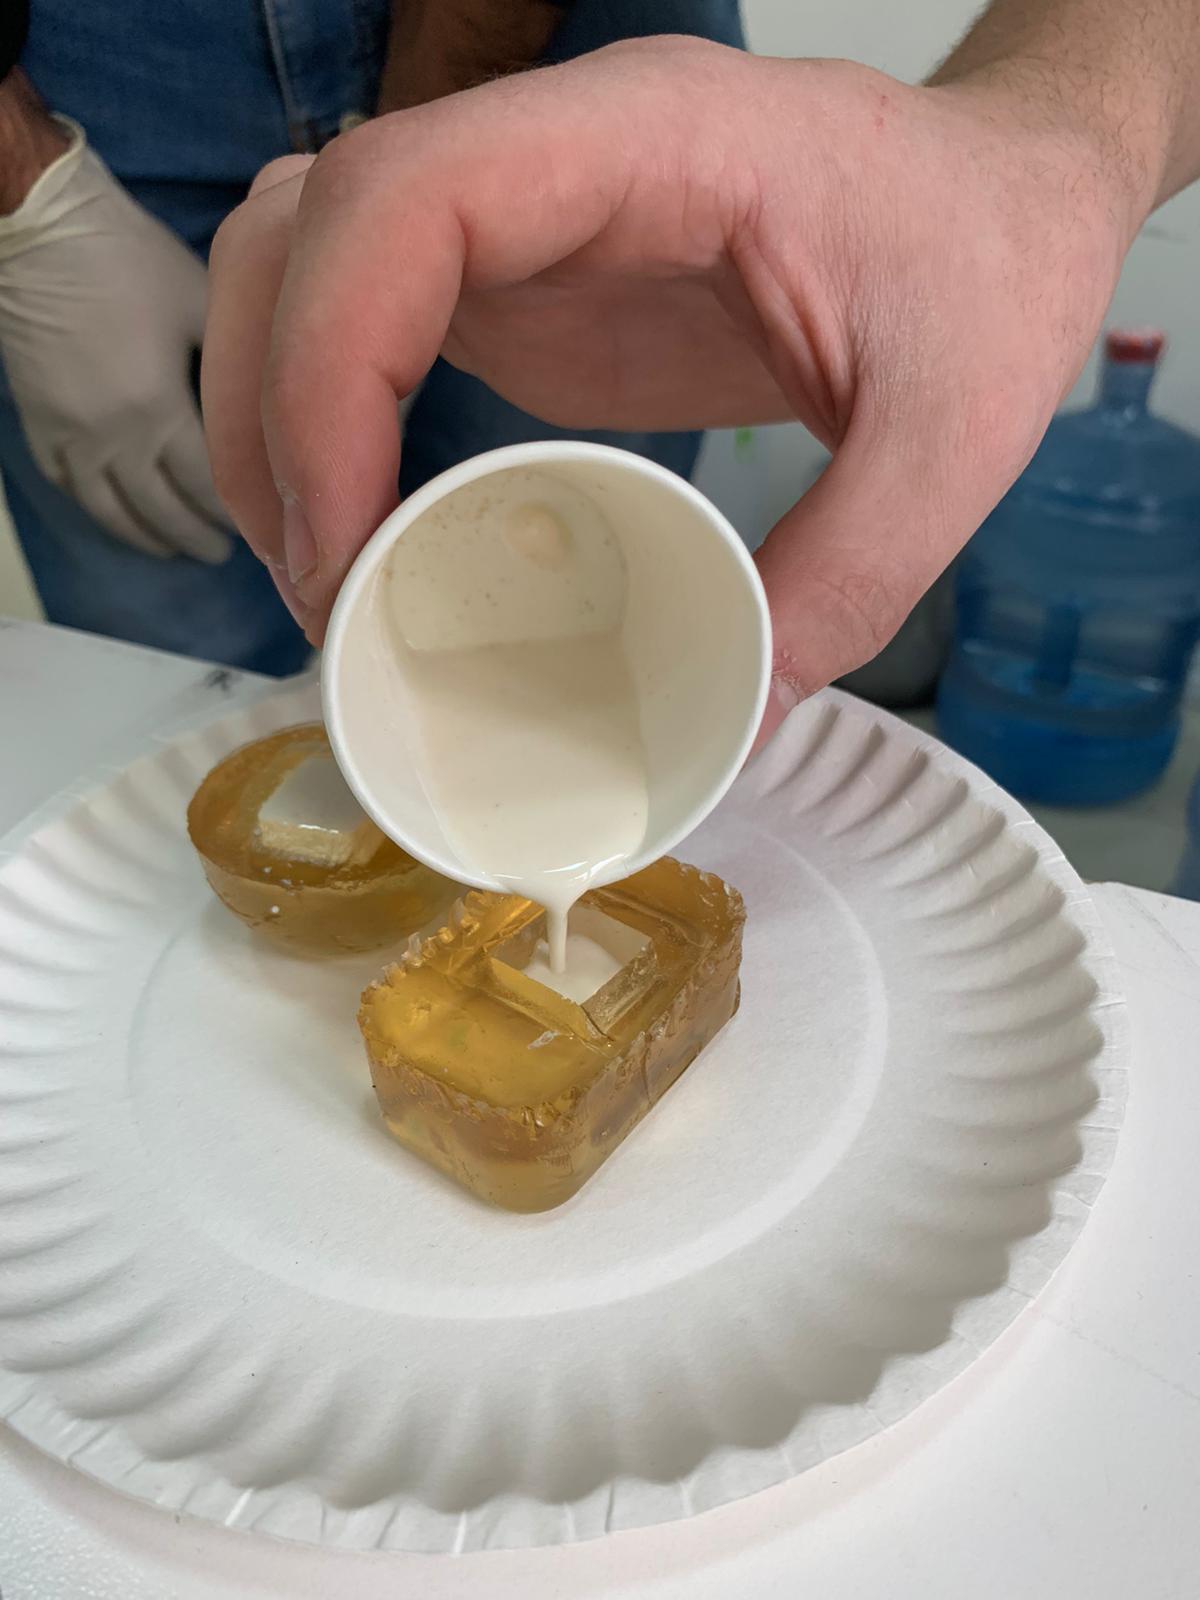
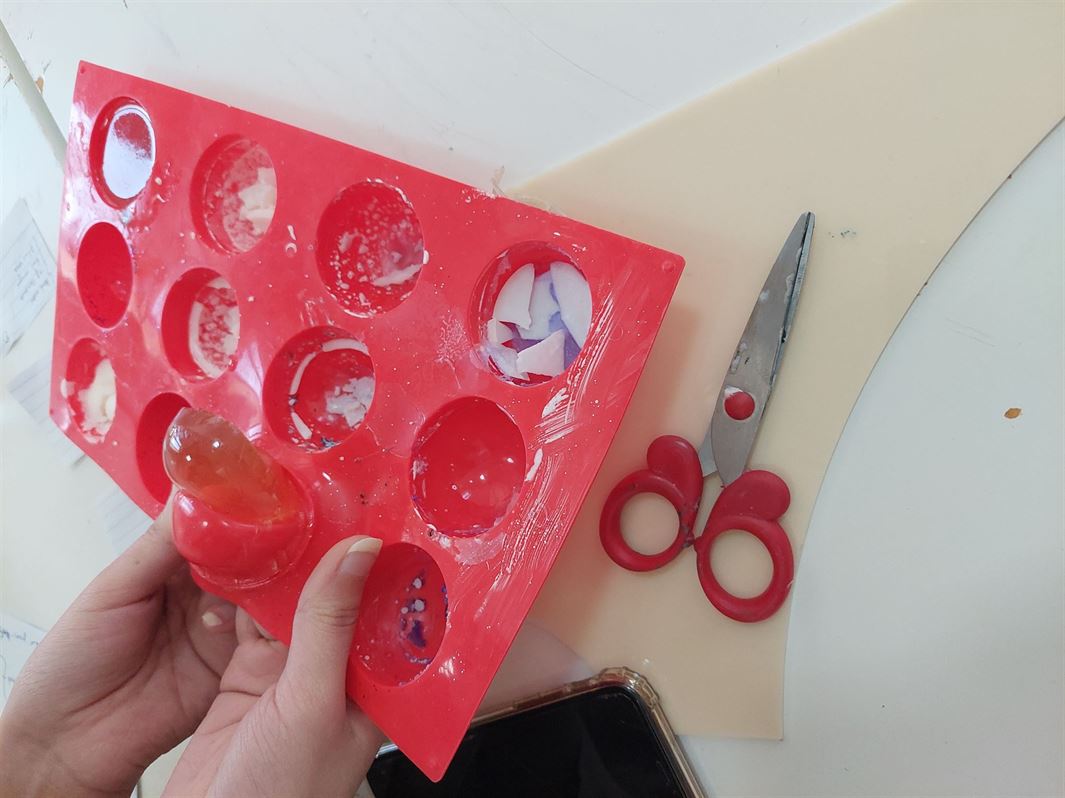
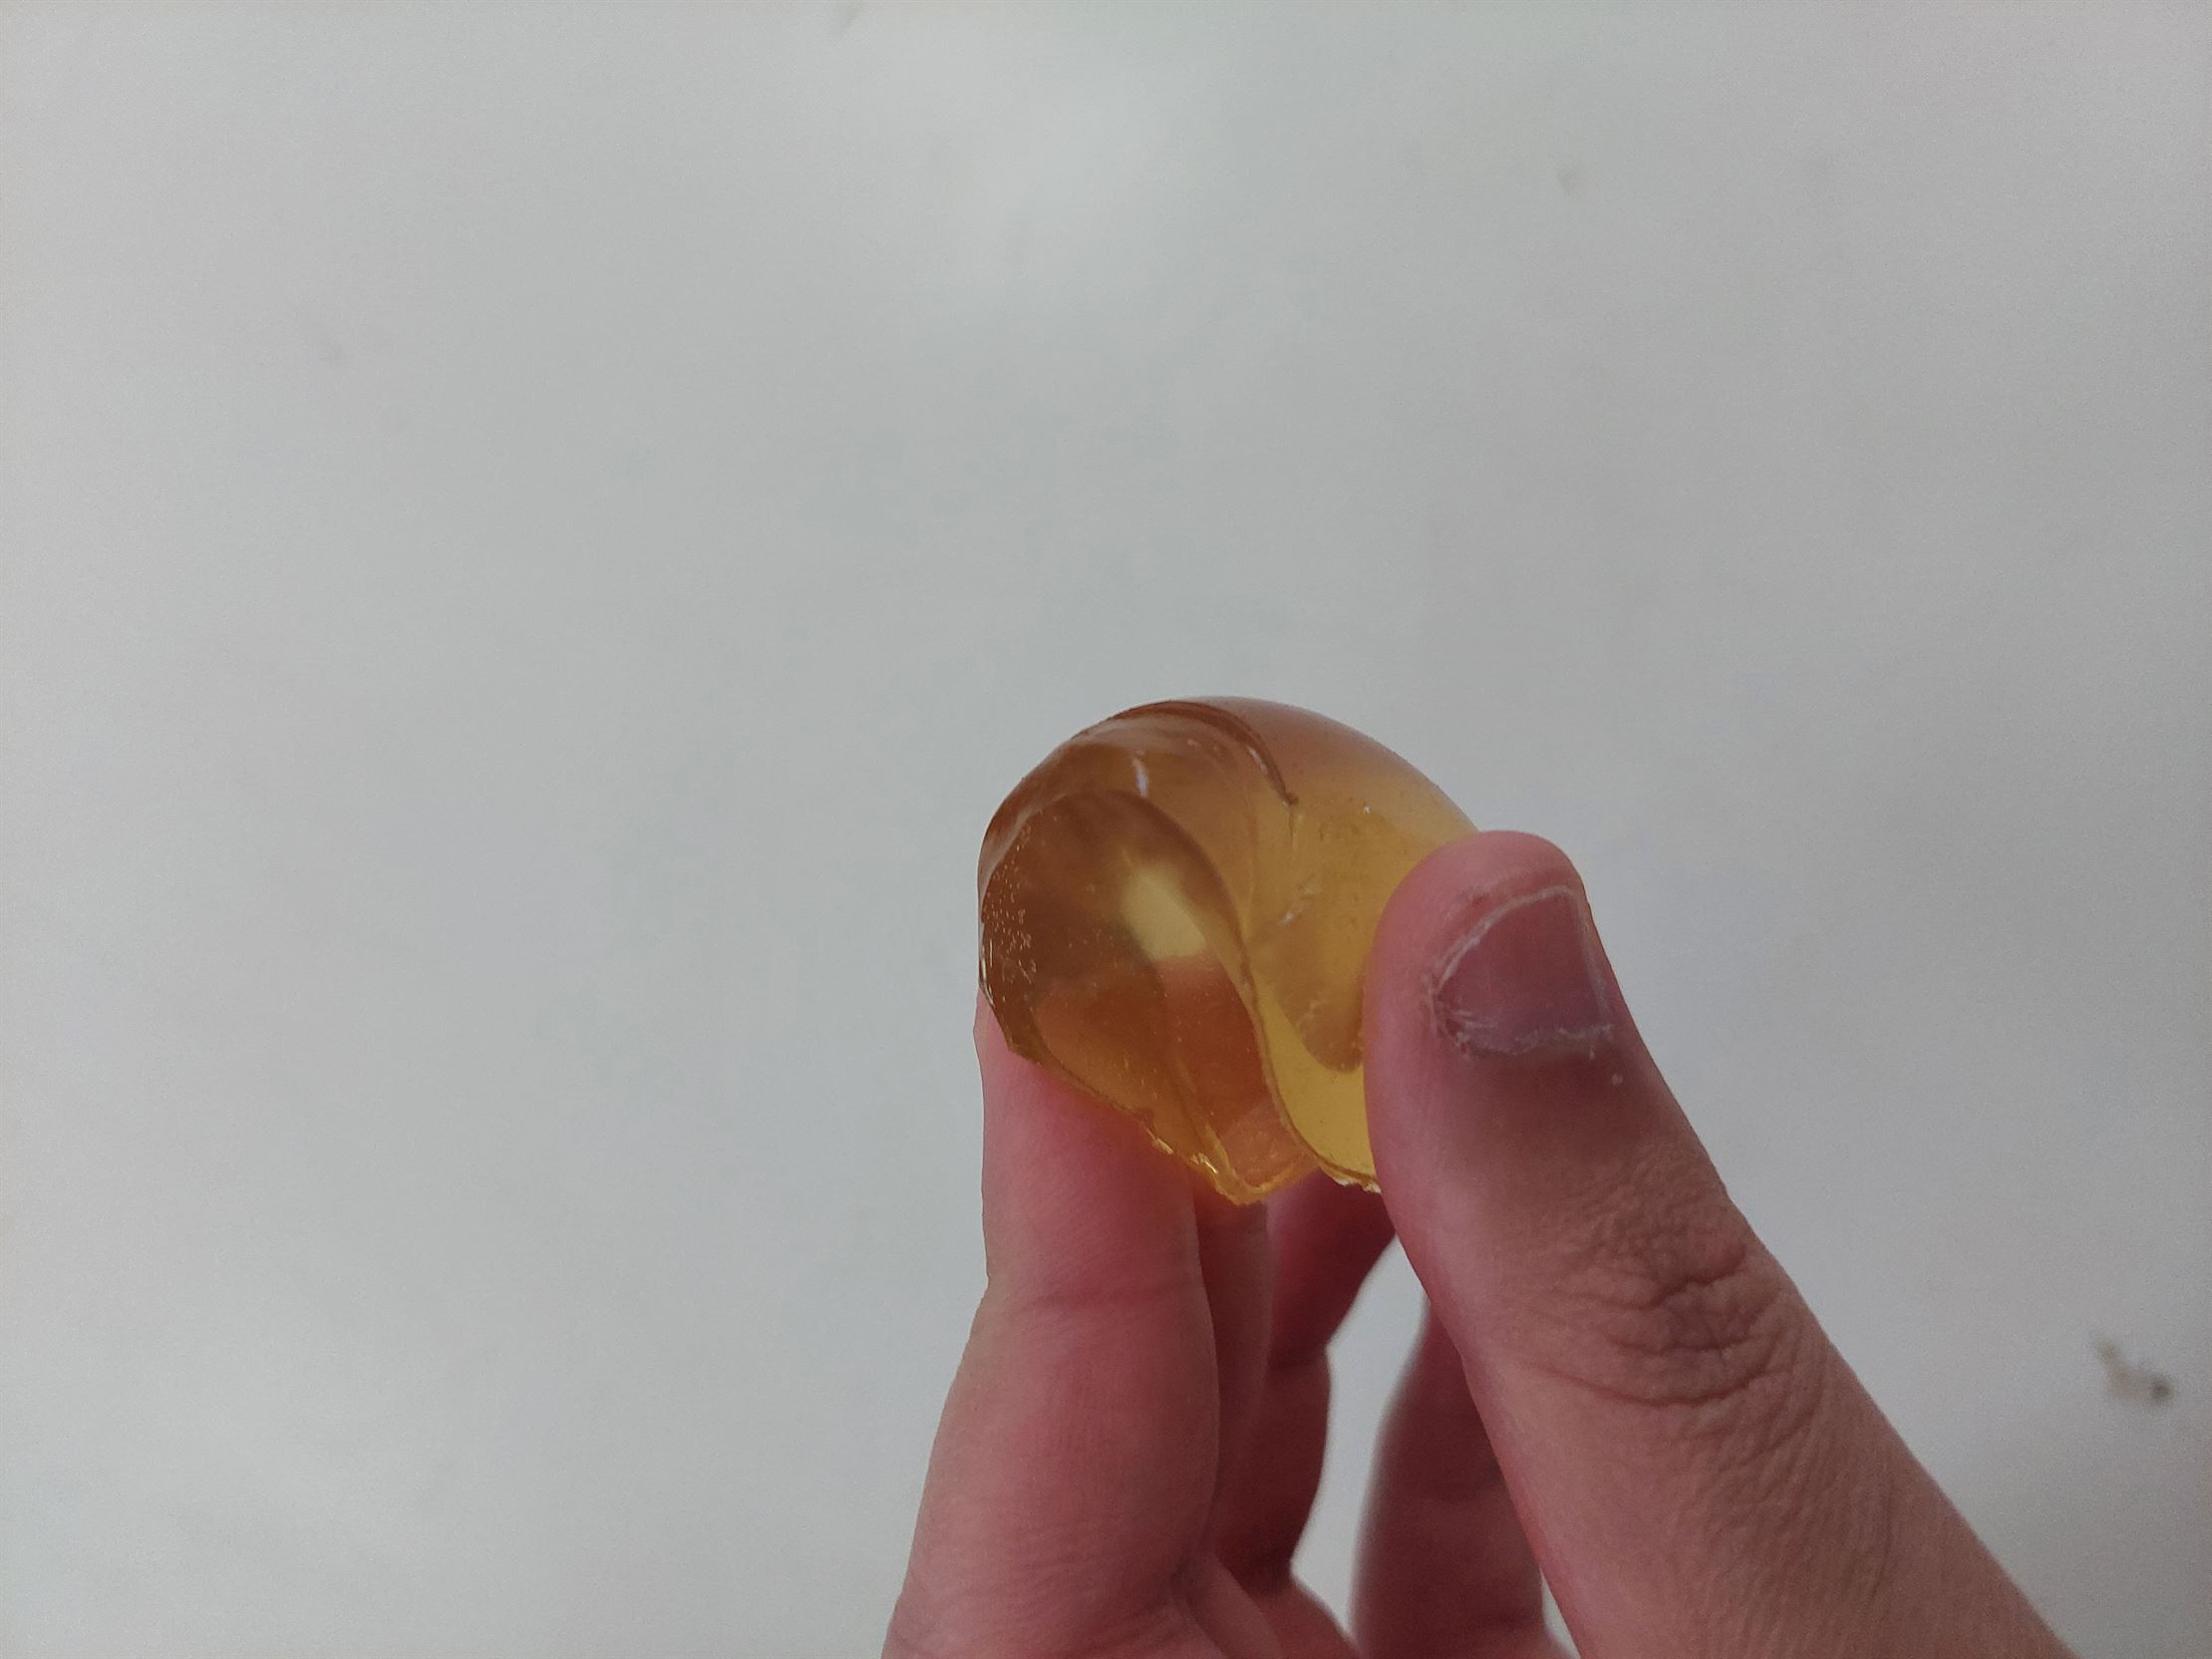
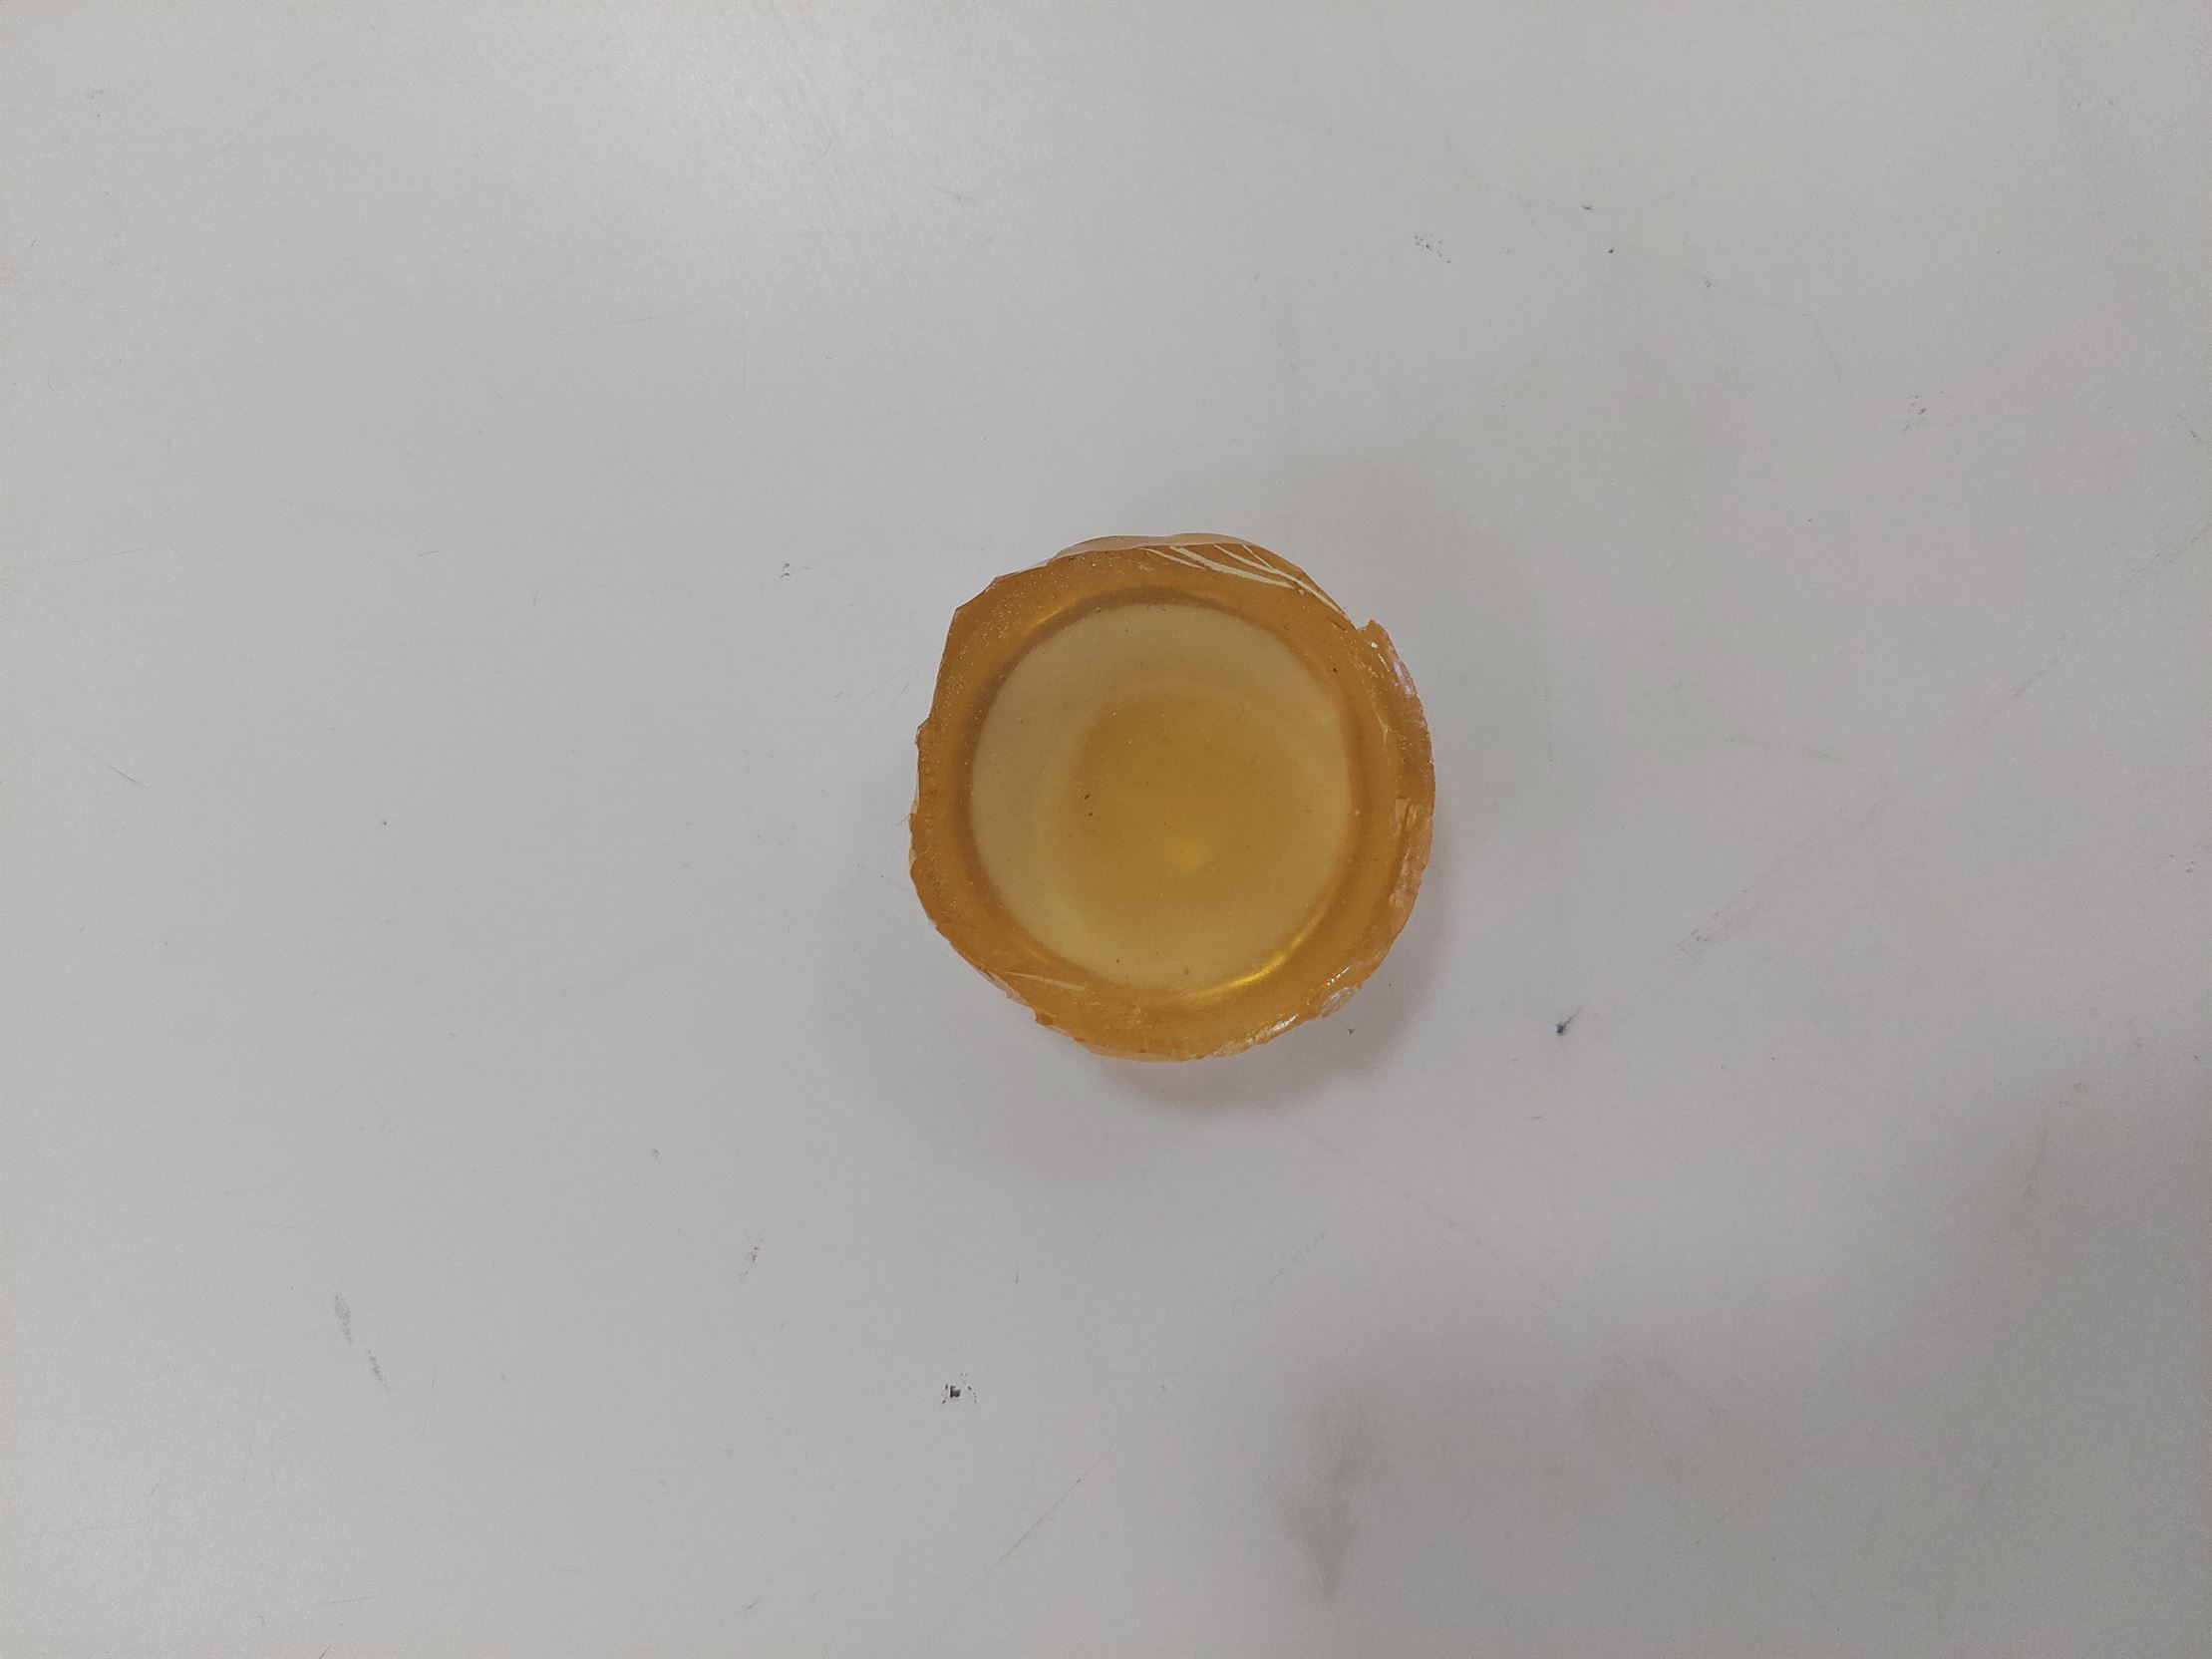
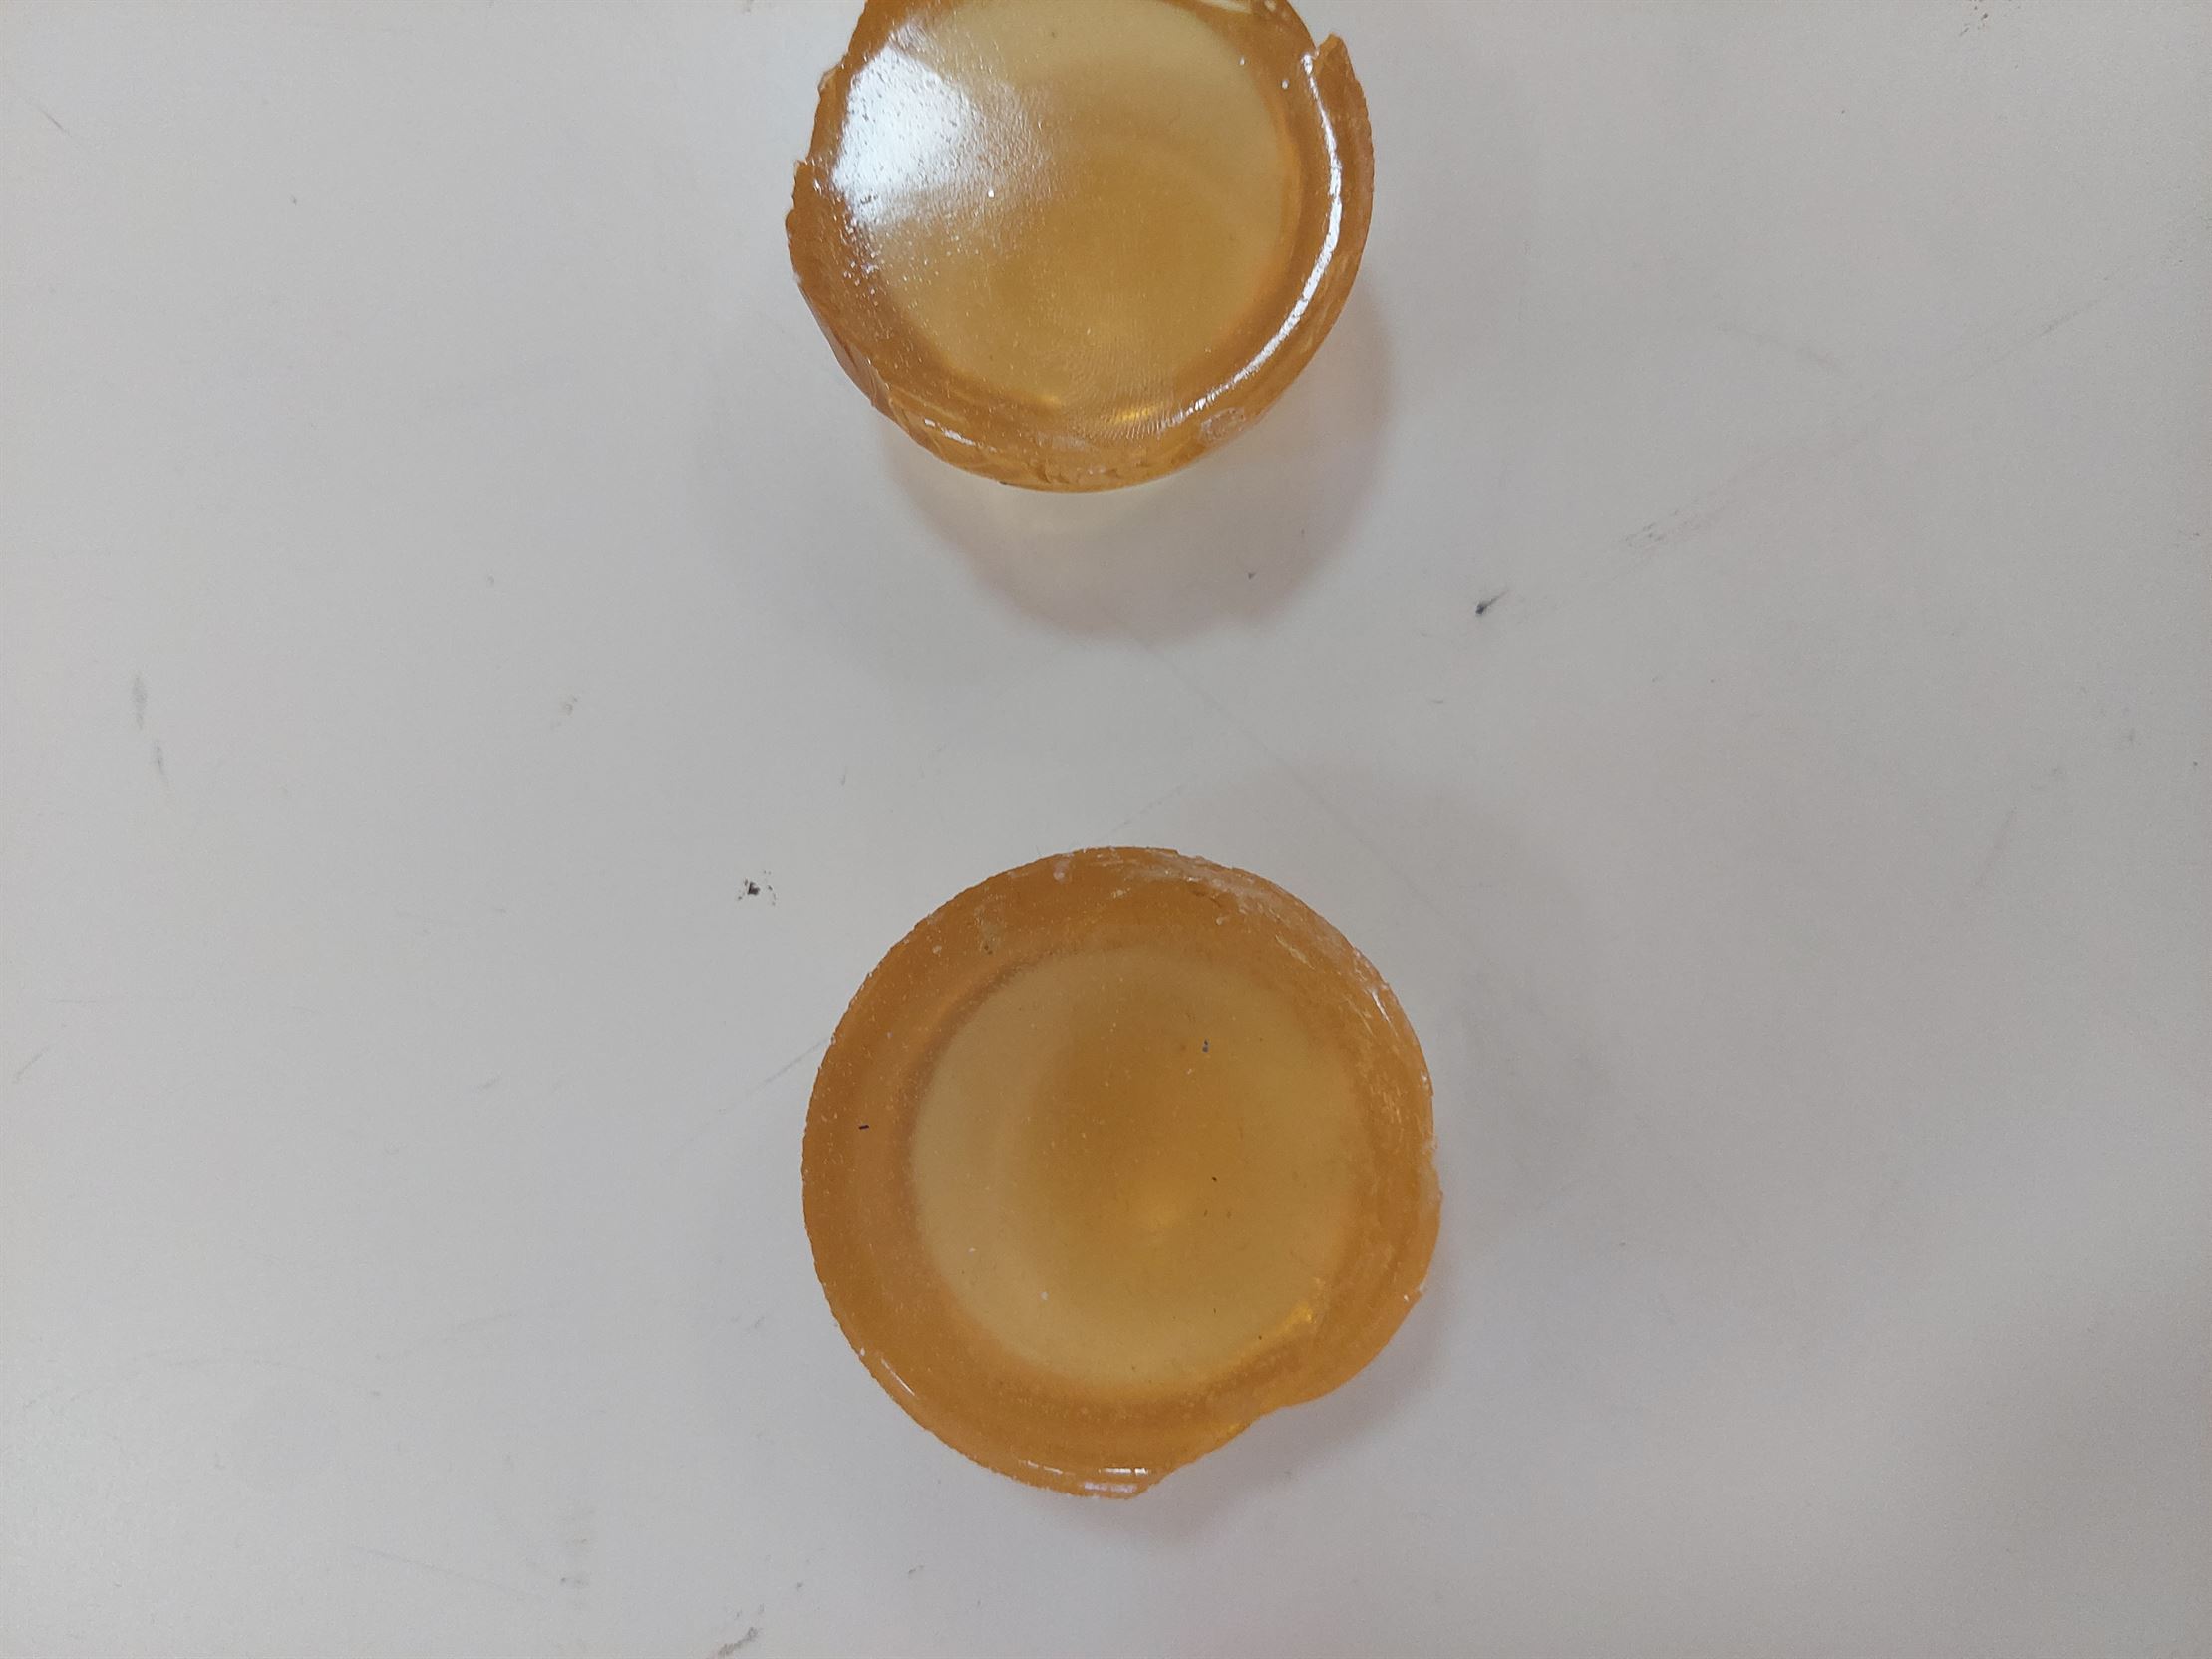
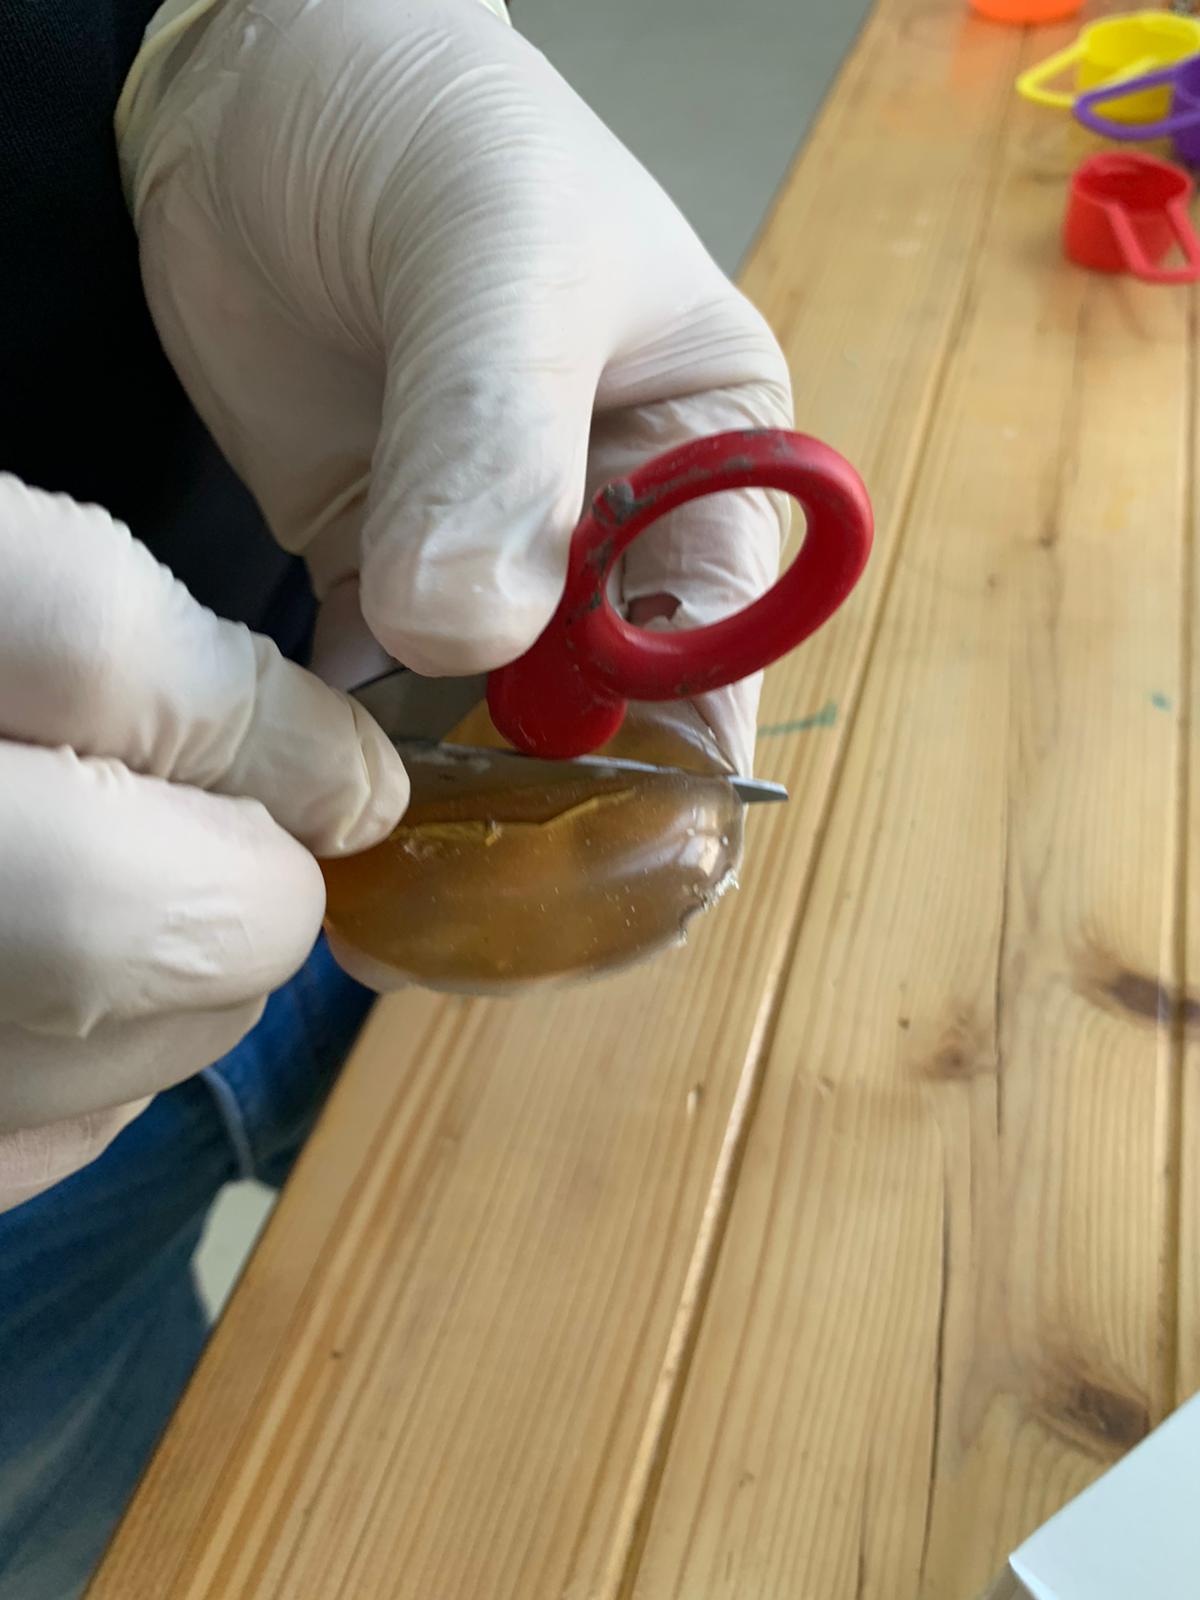
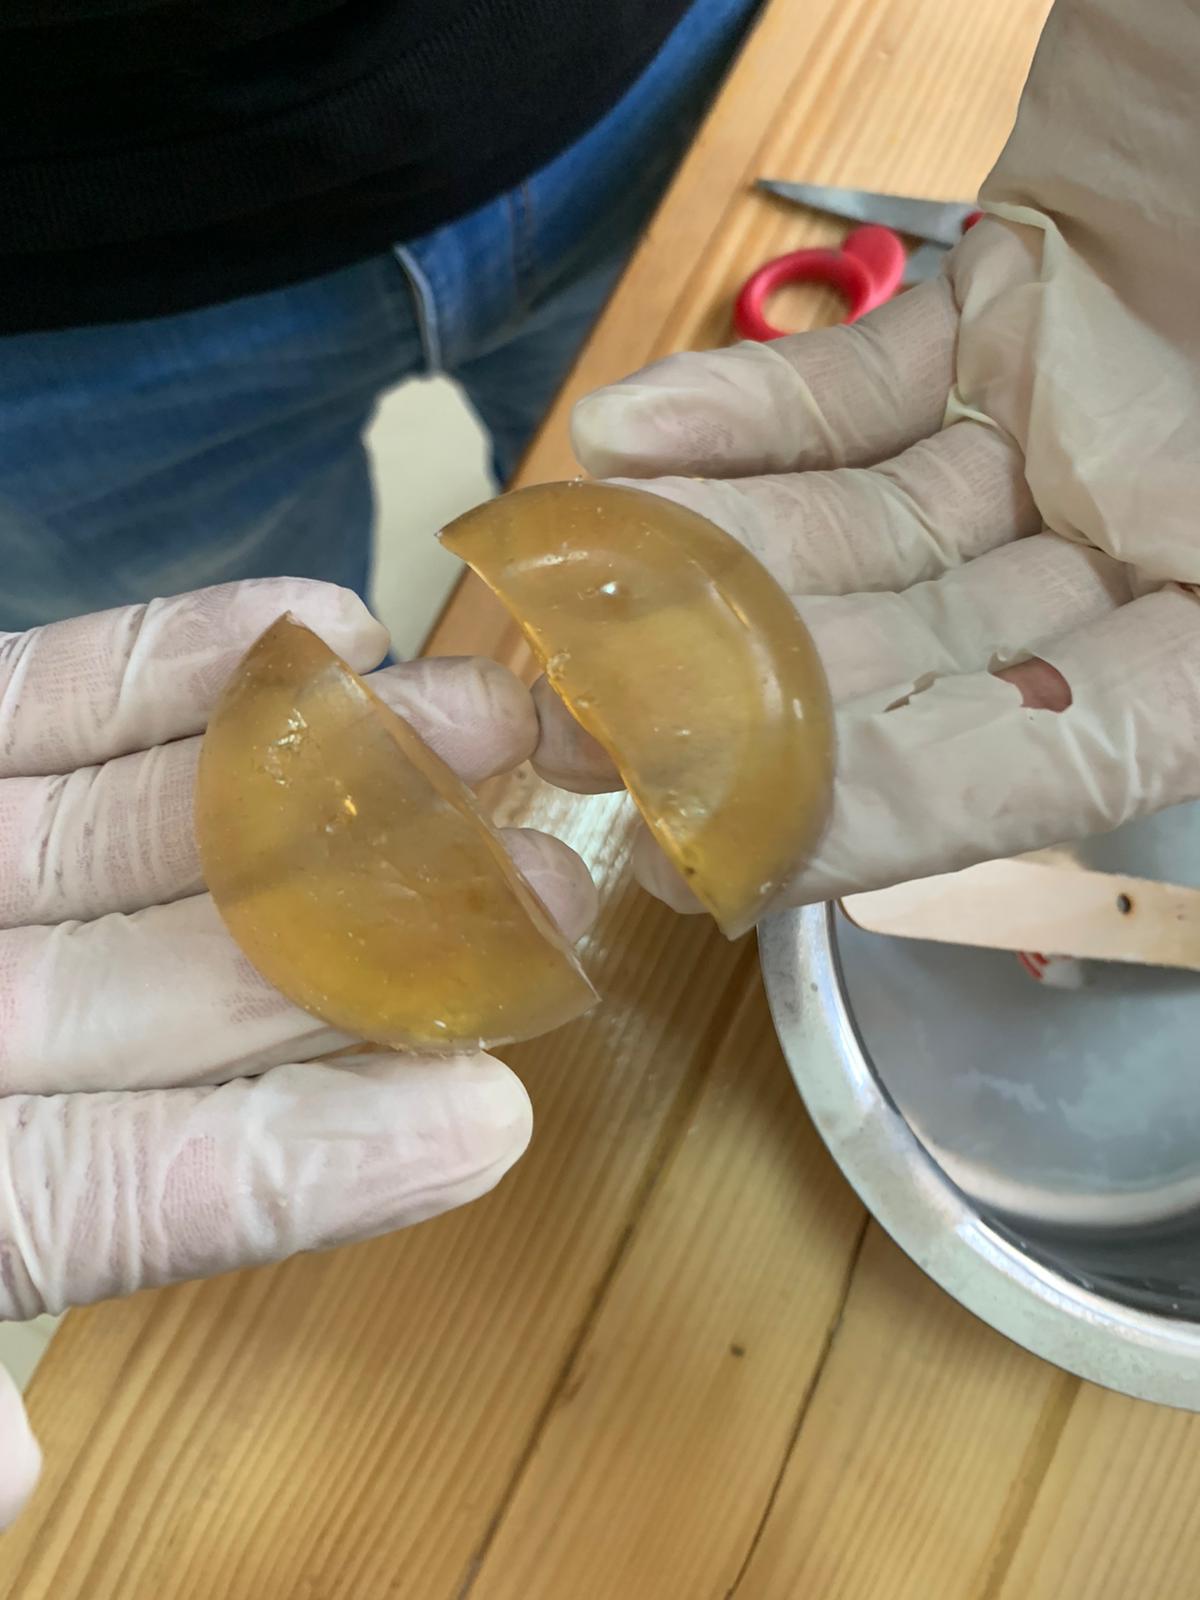
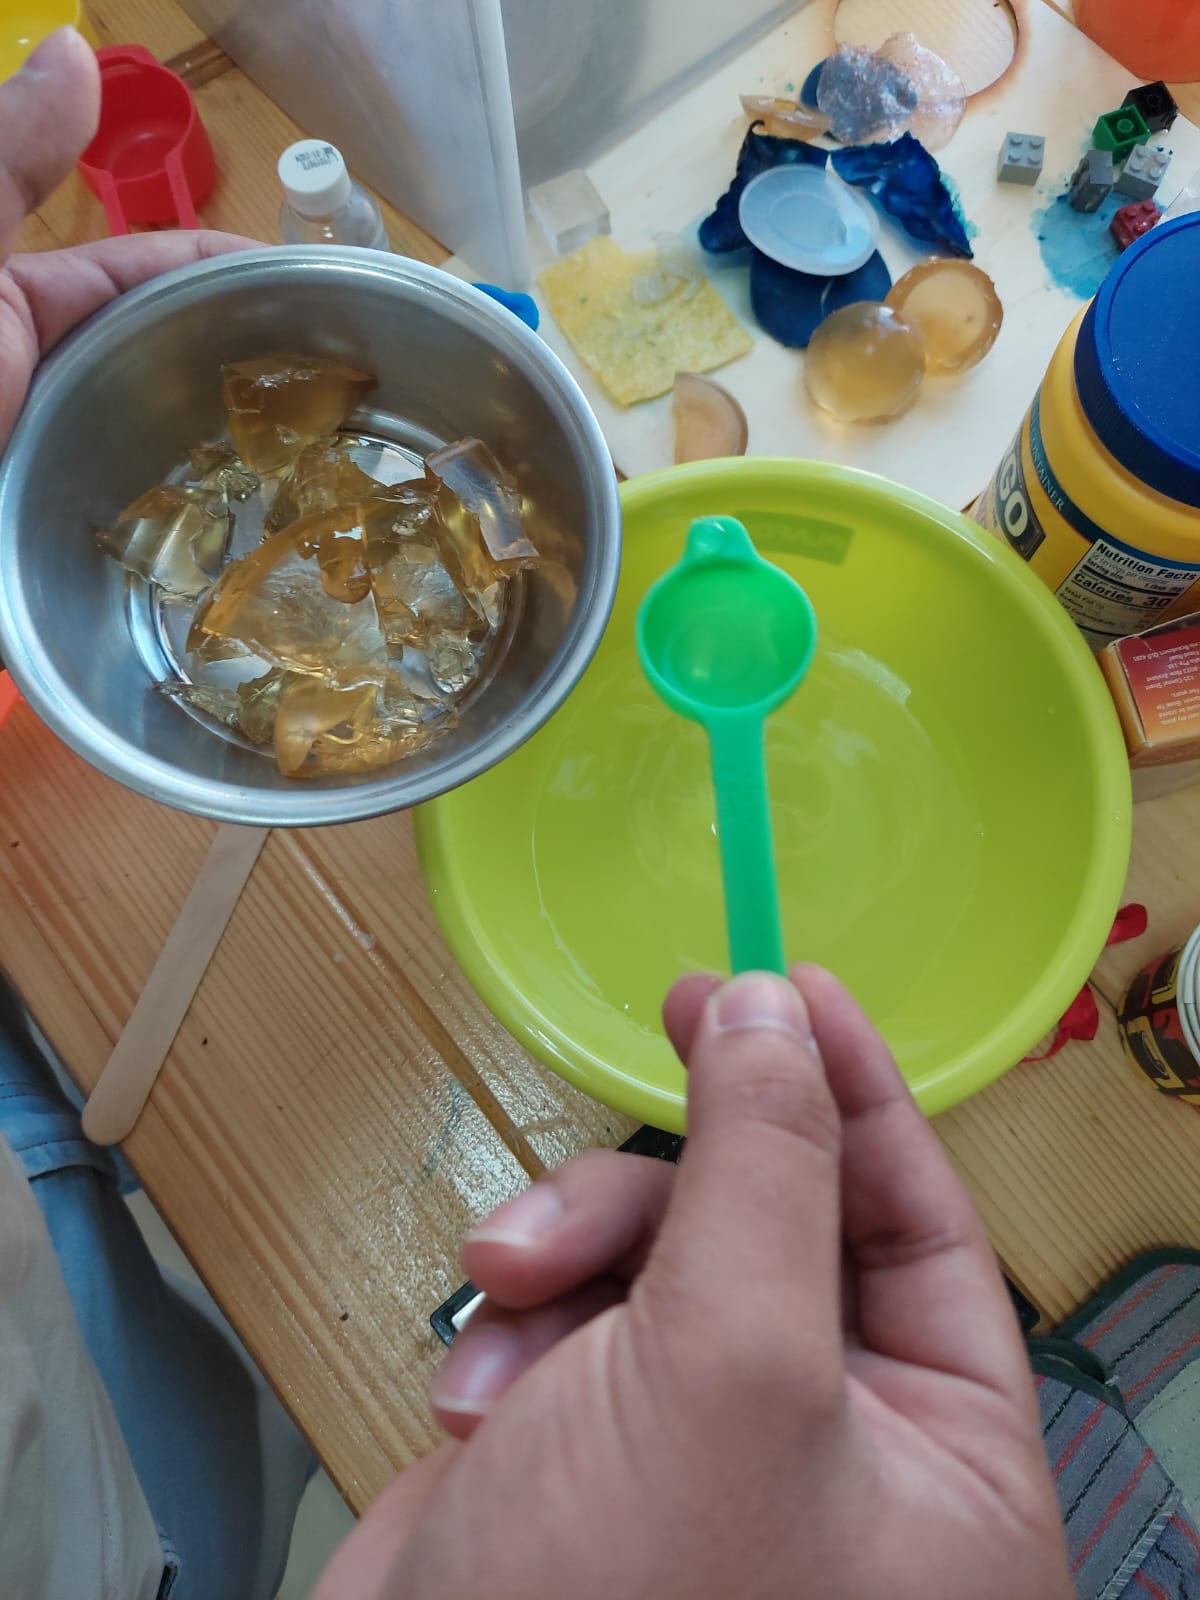
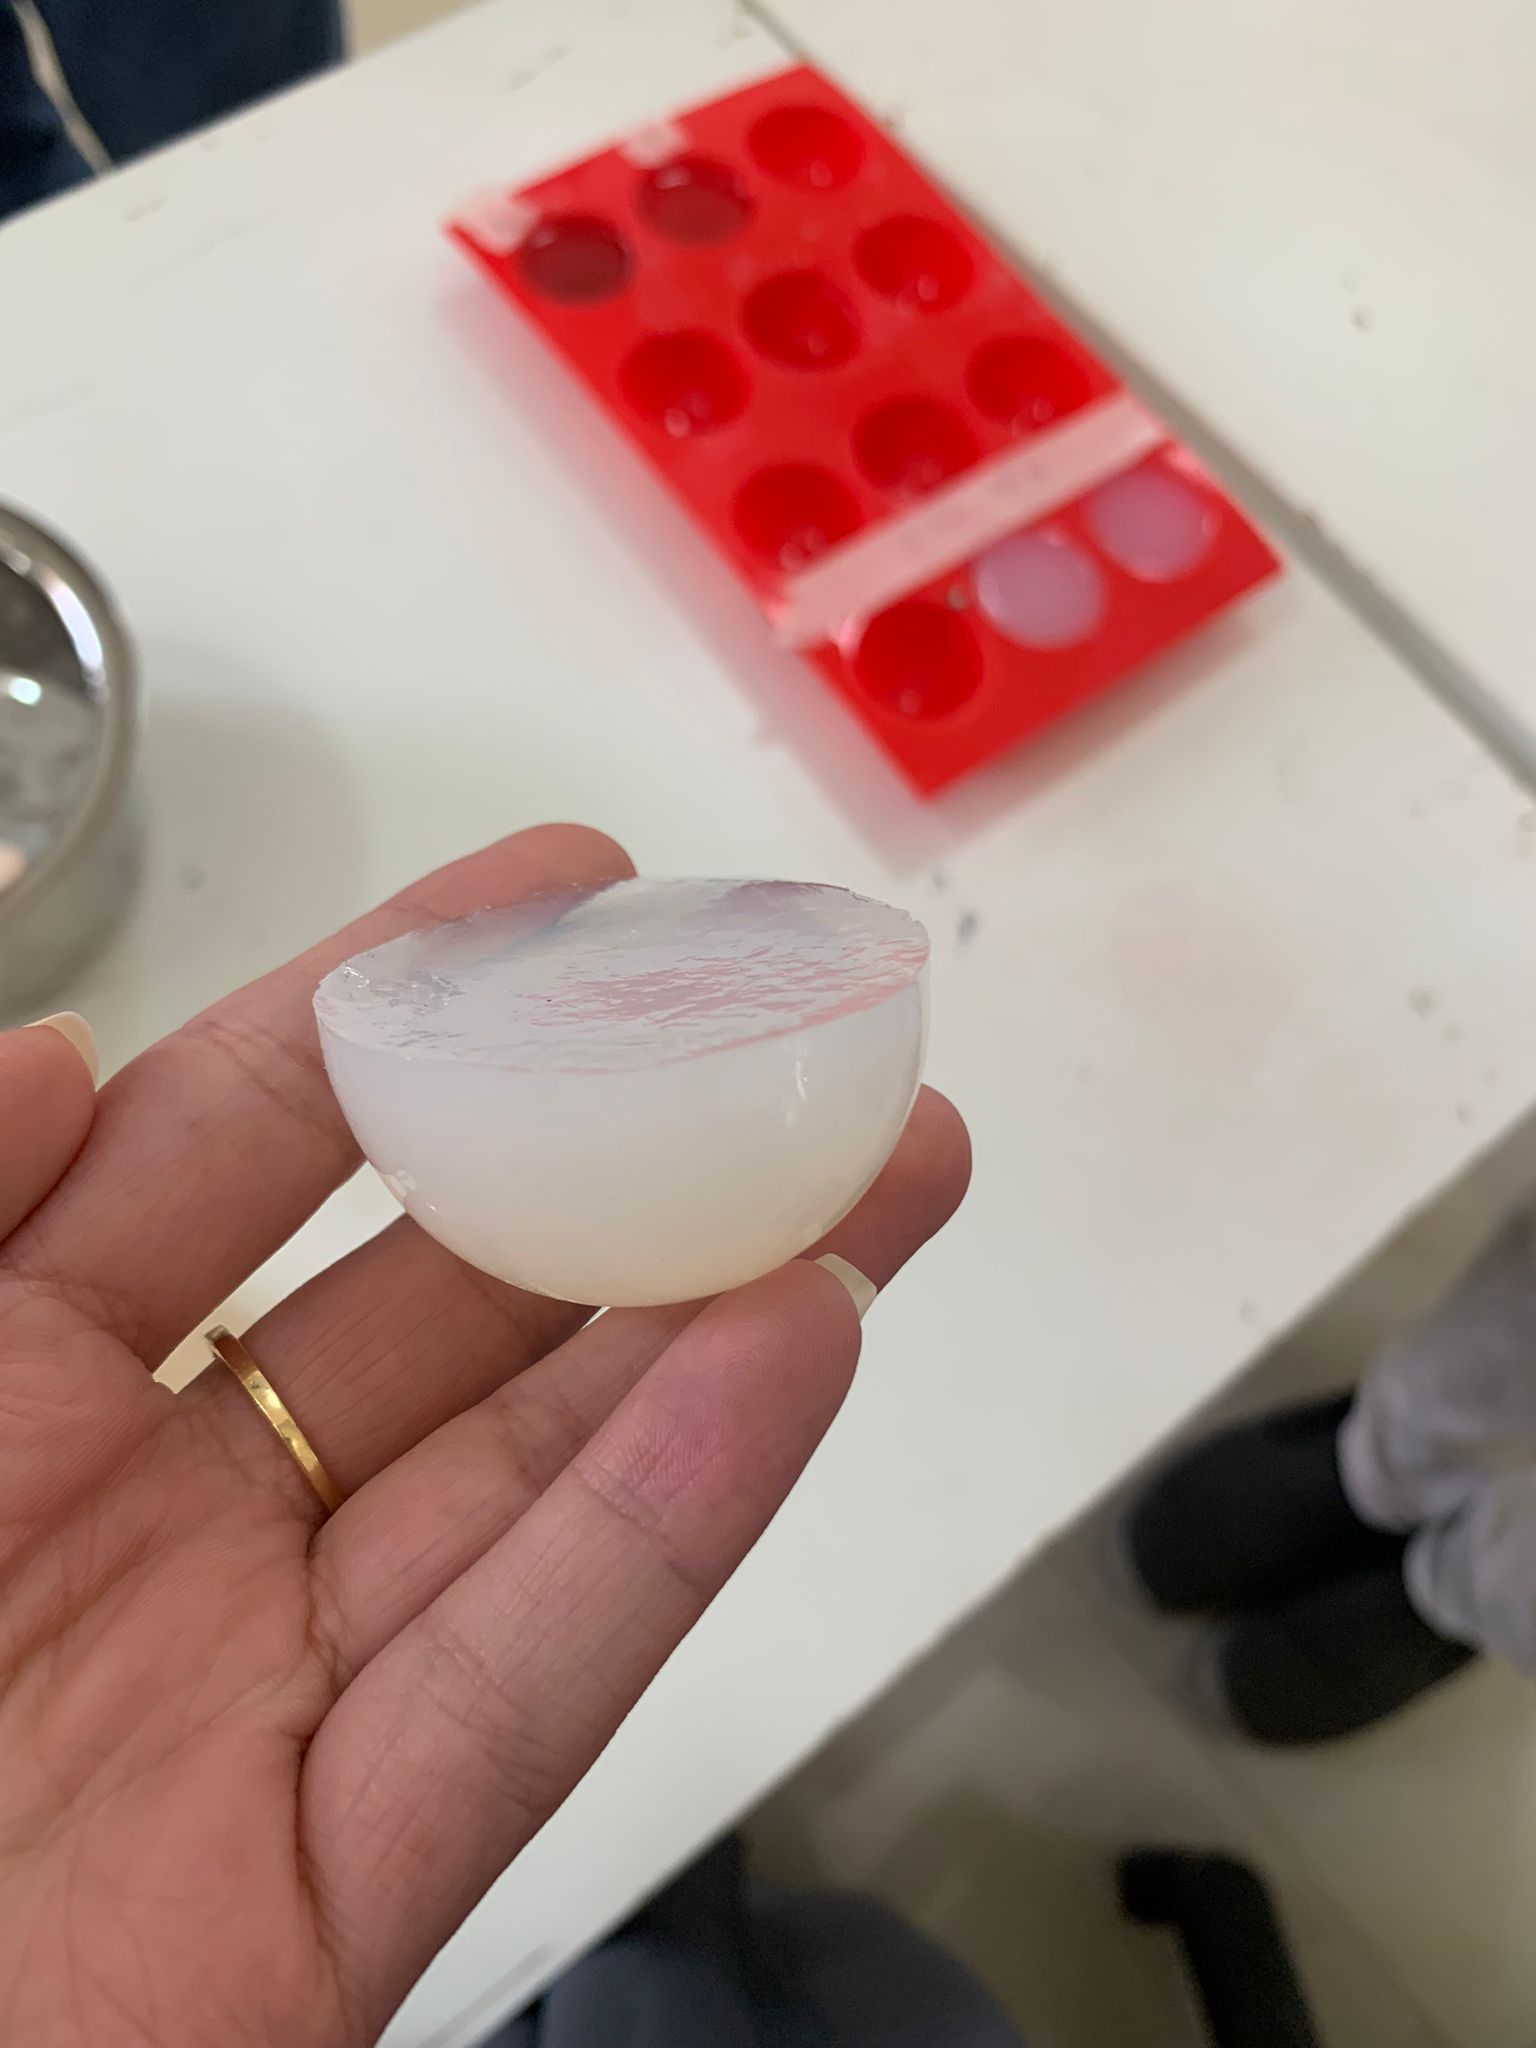
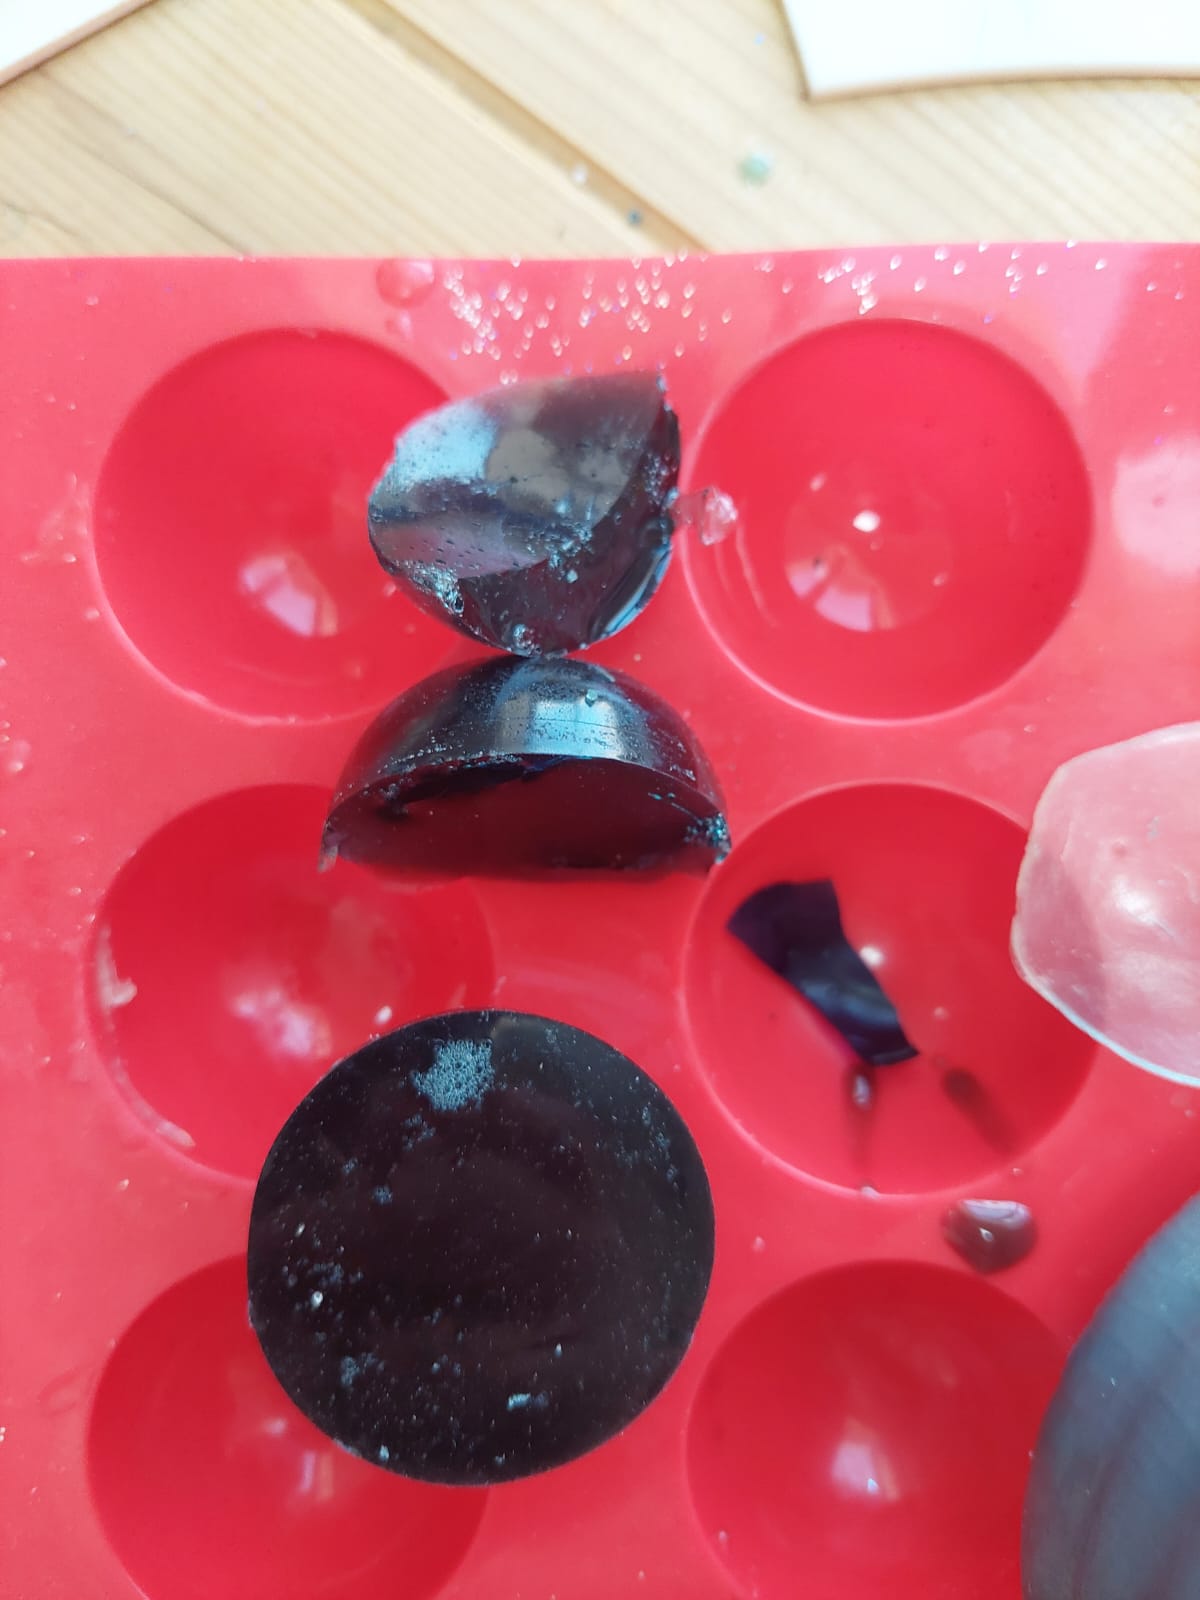
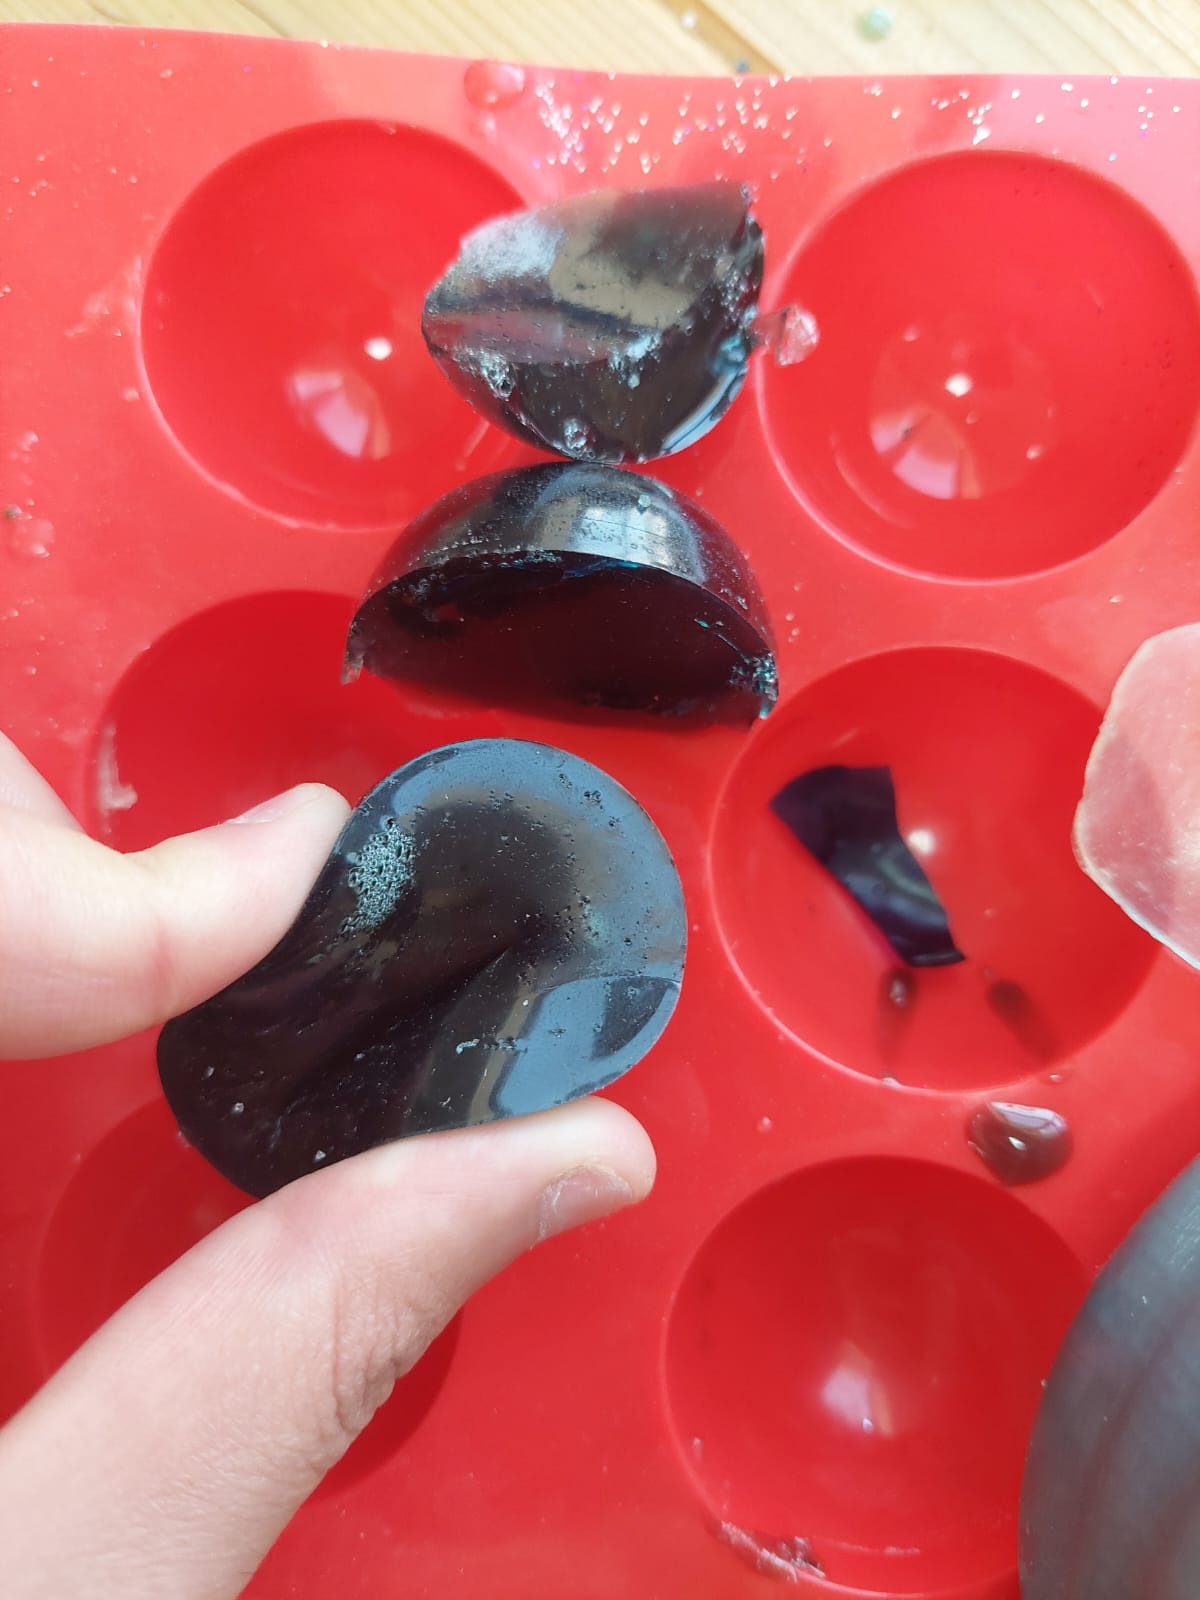
- We cut the ReusableMold into 2 pieces because the product was the best ReusableMold that we made and we kept one piece as a reference.
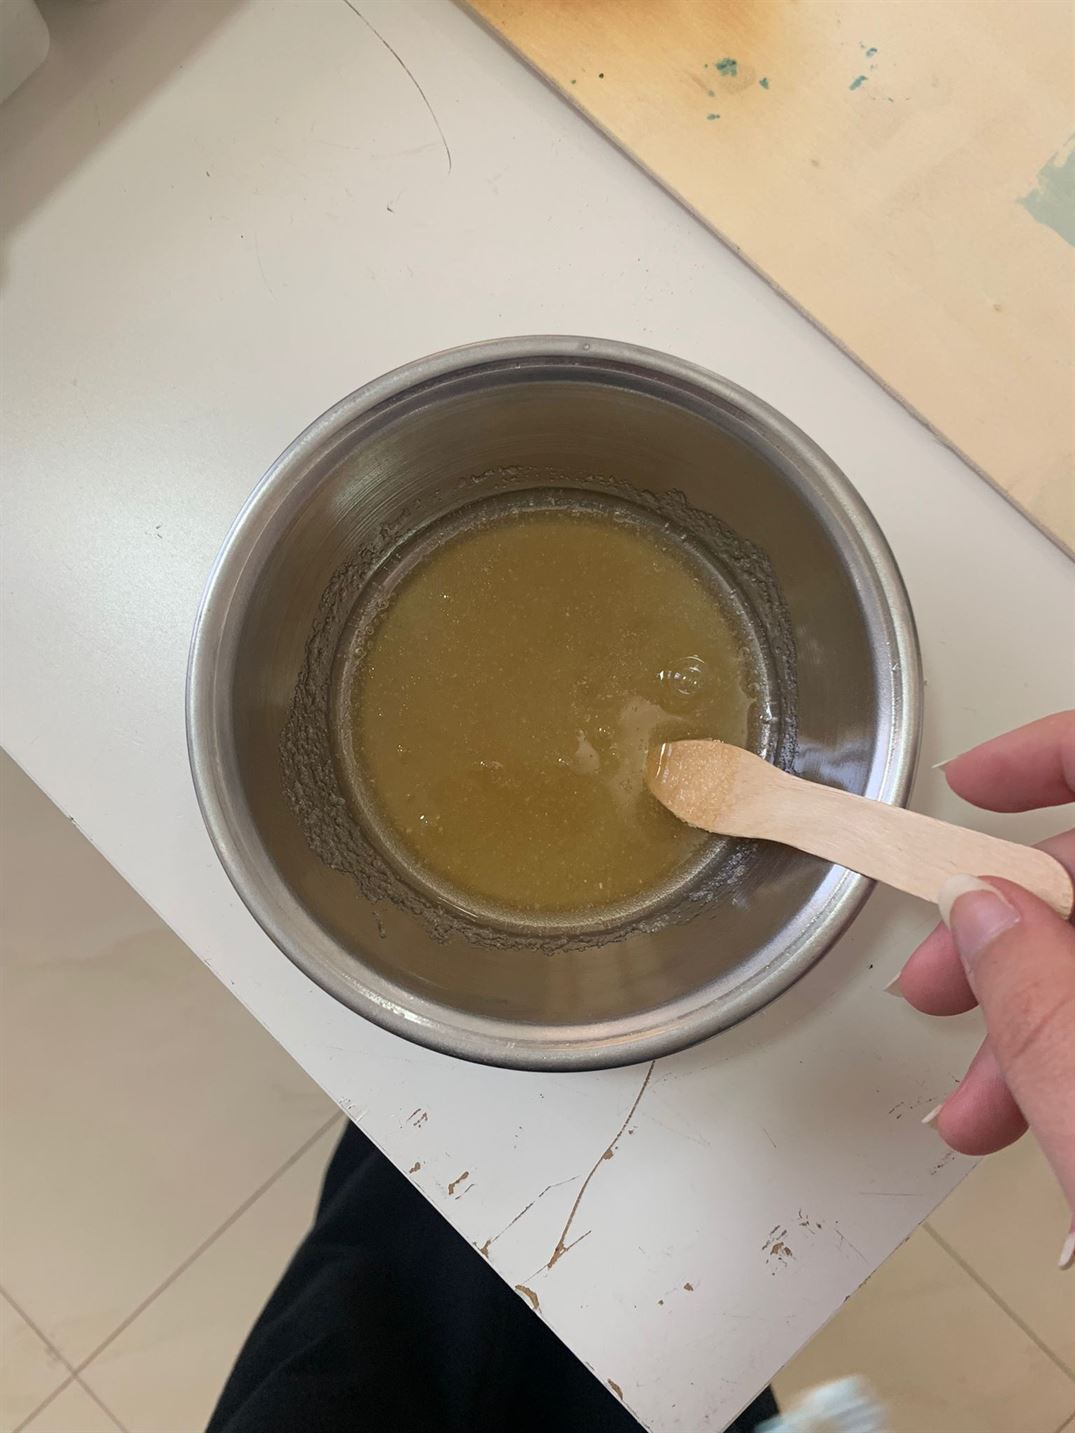
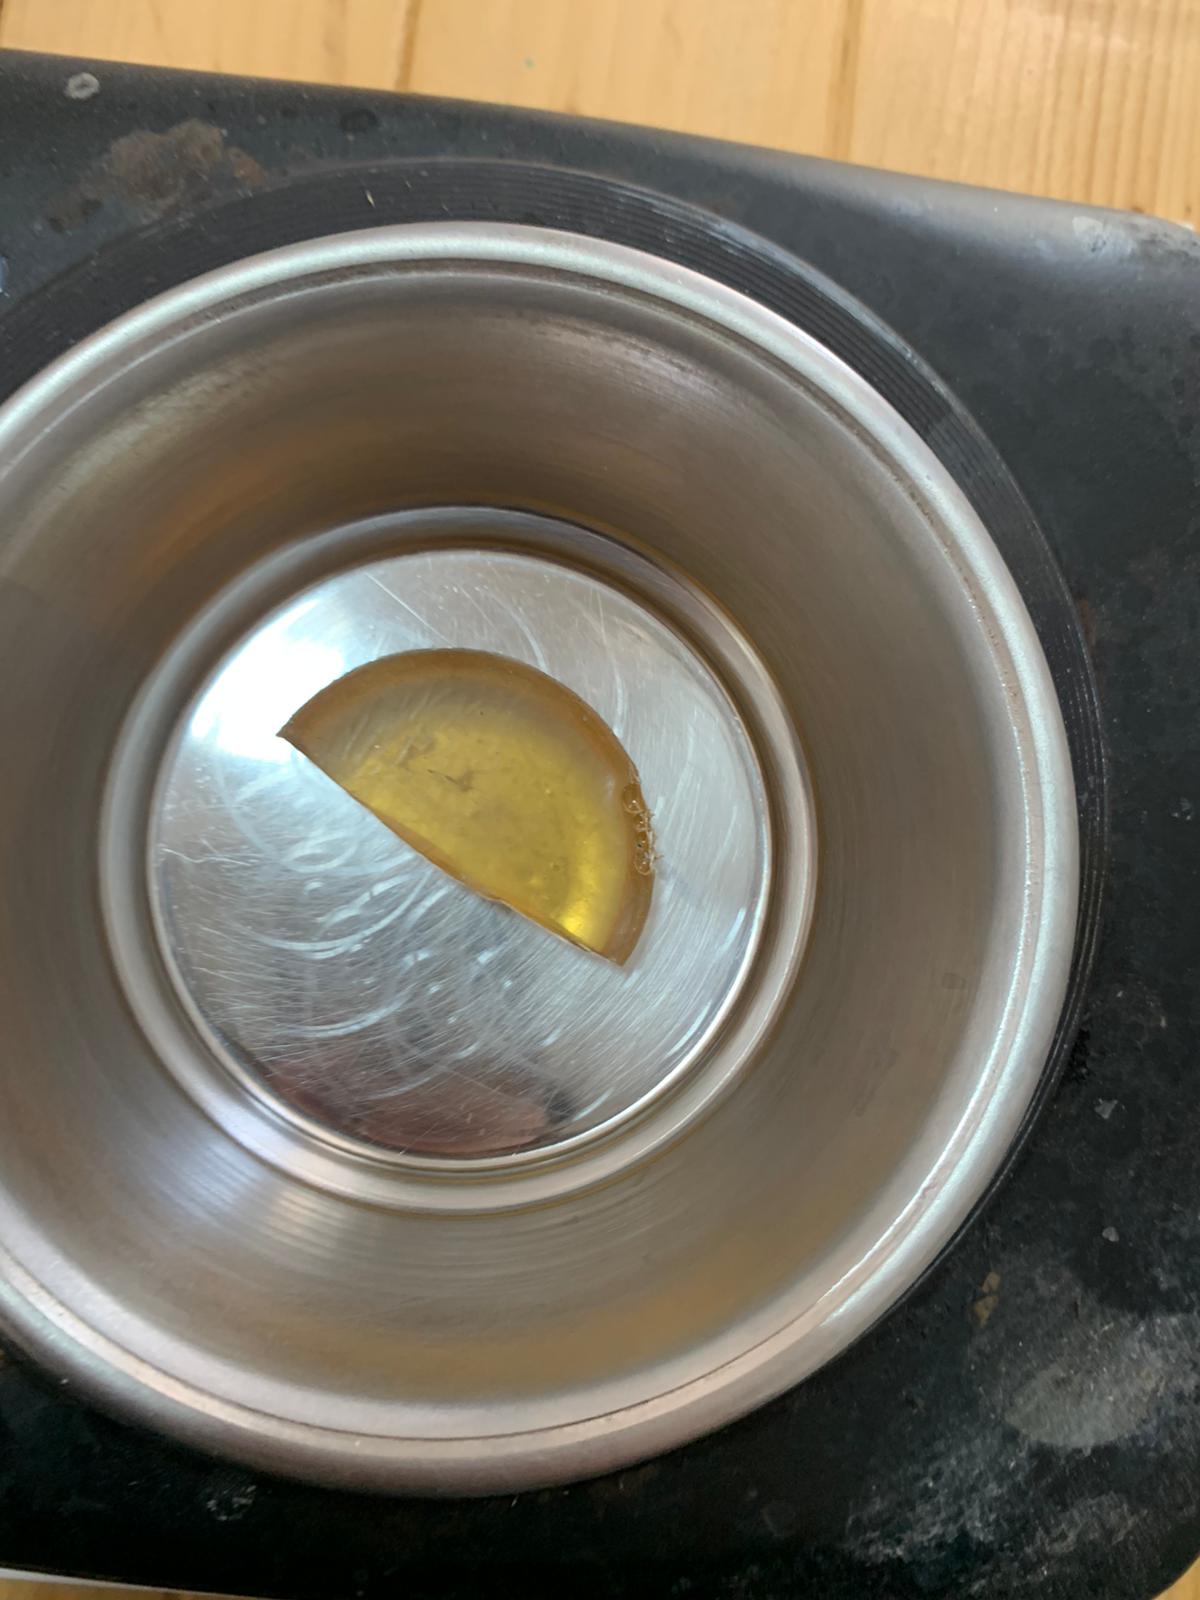
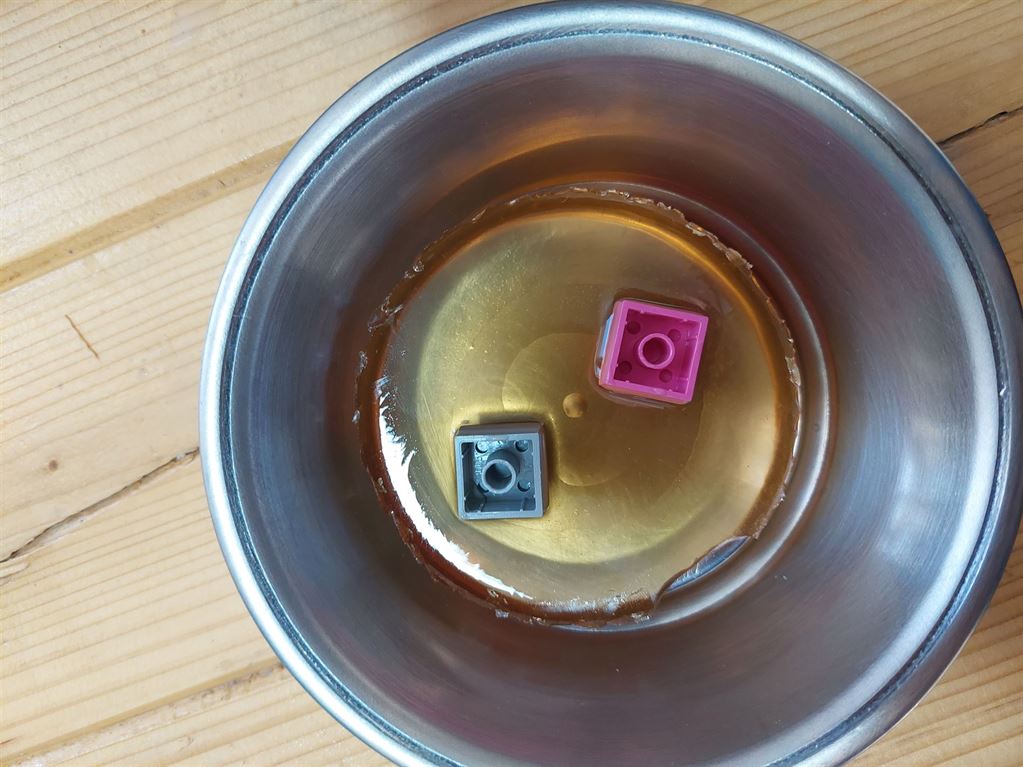
- We melted the ReusableMold and poured it in a pot.
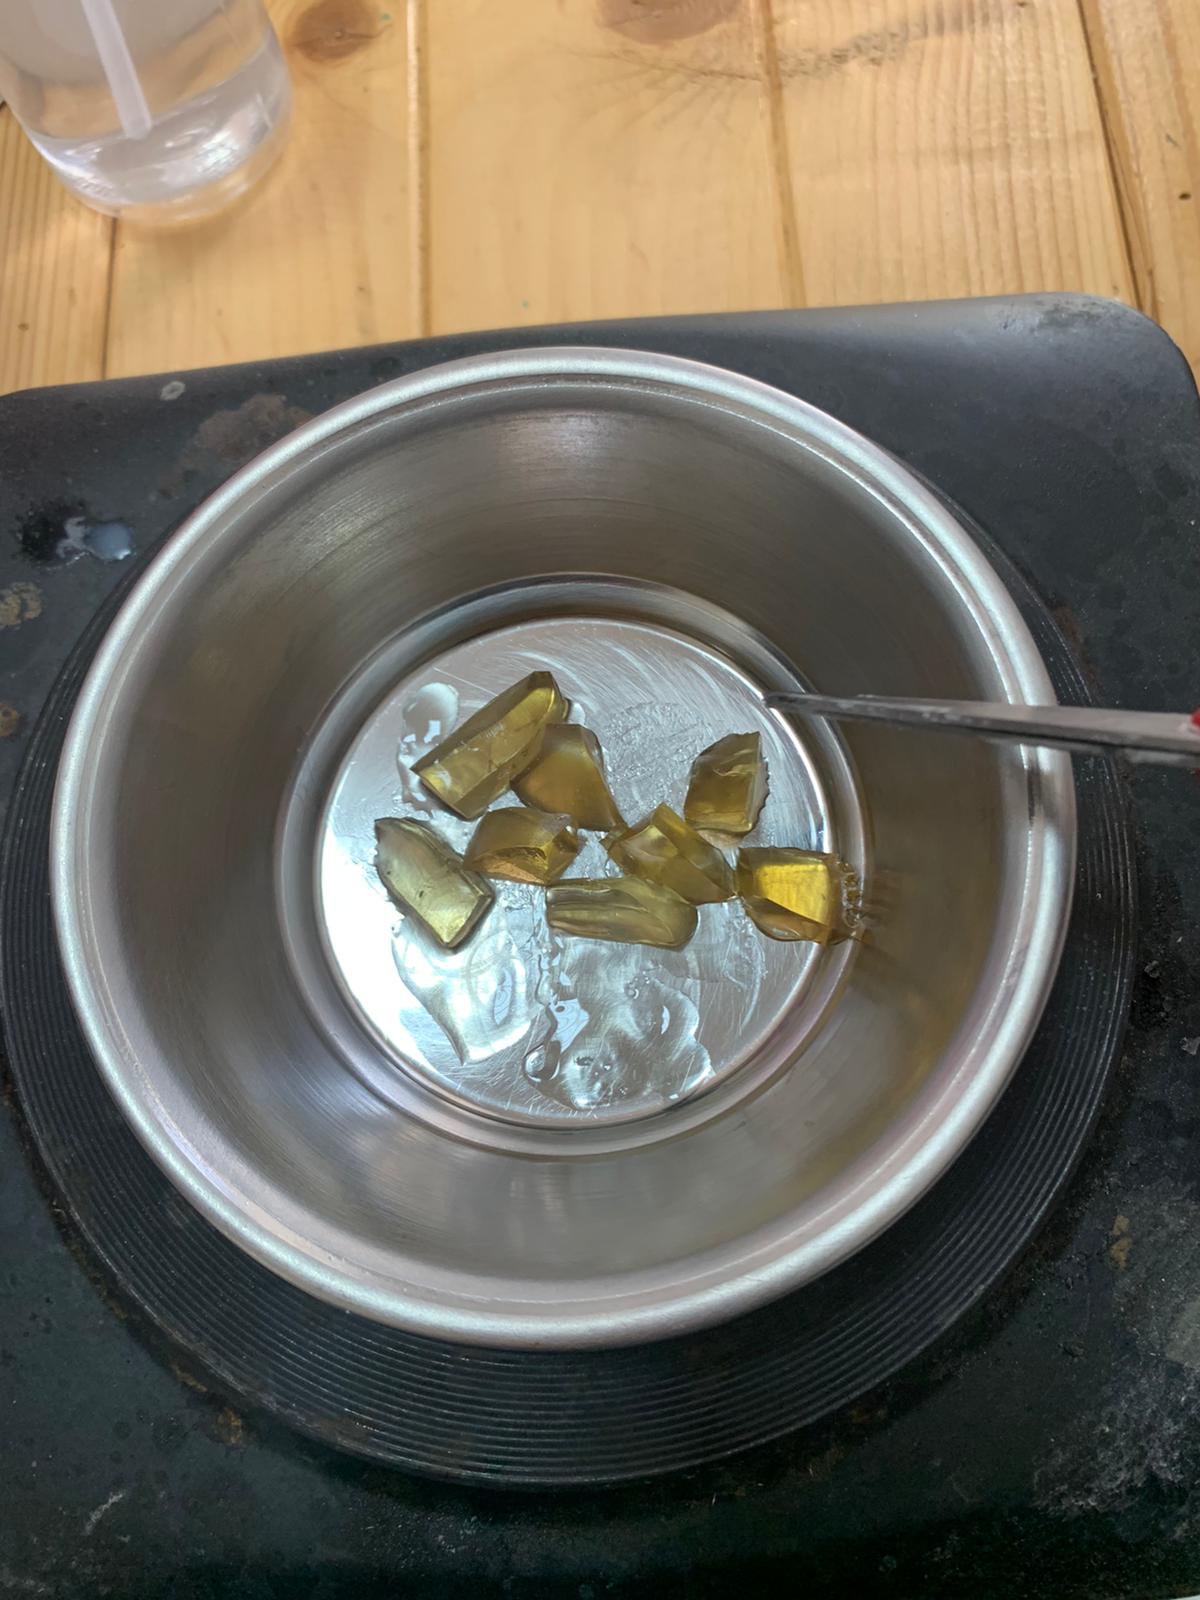

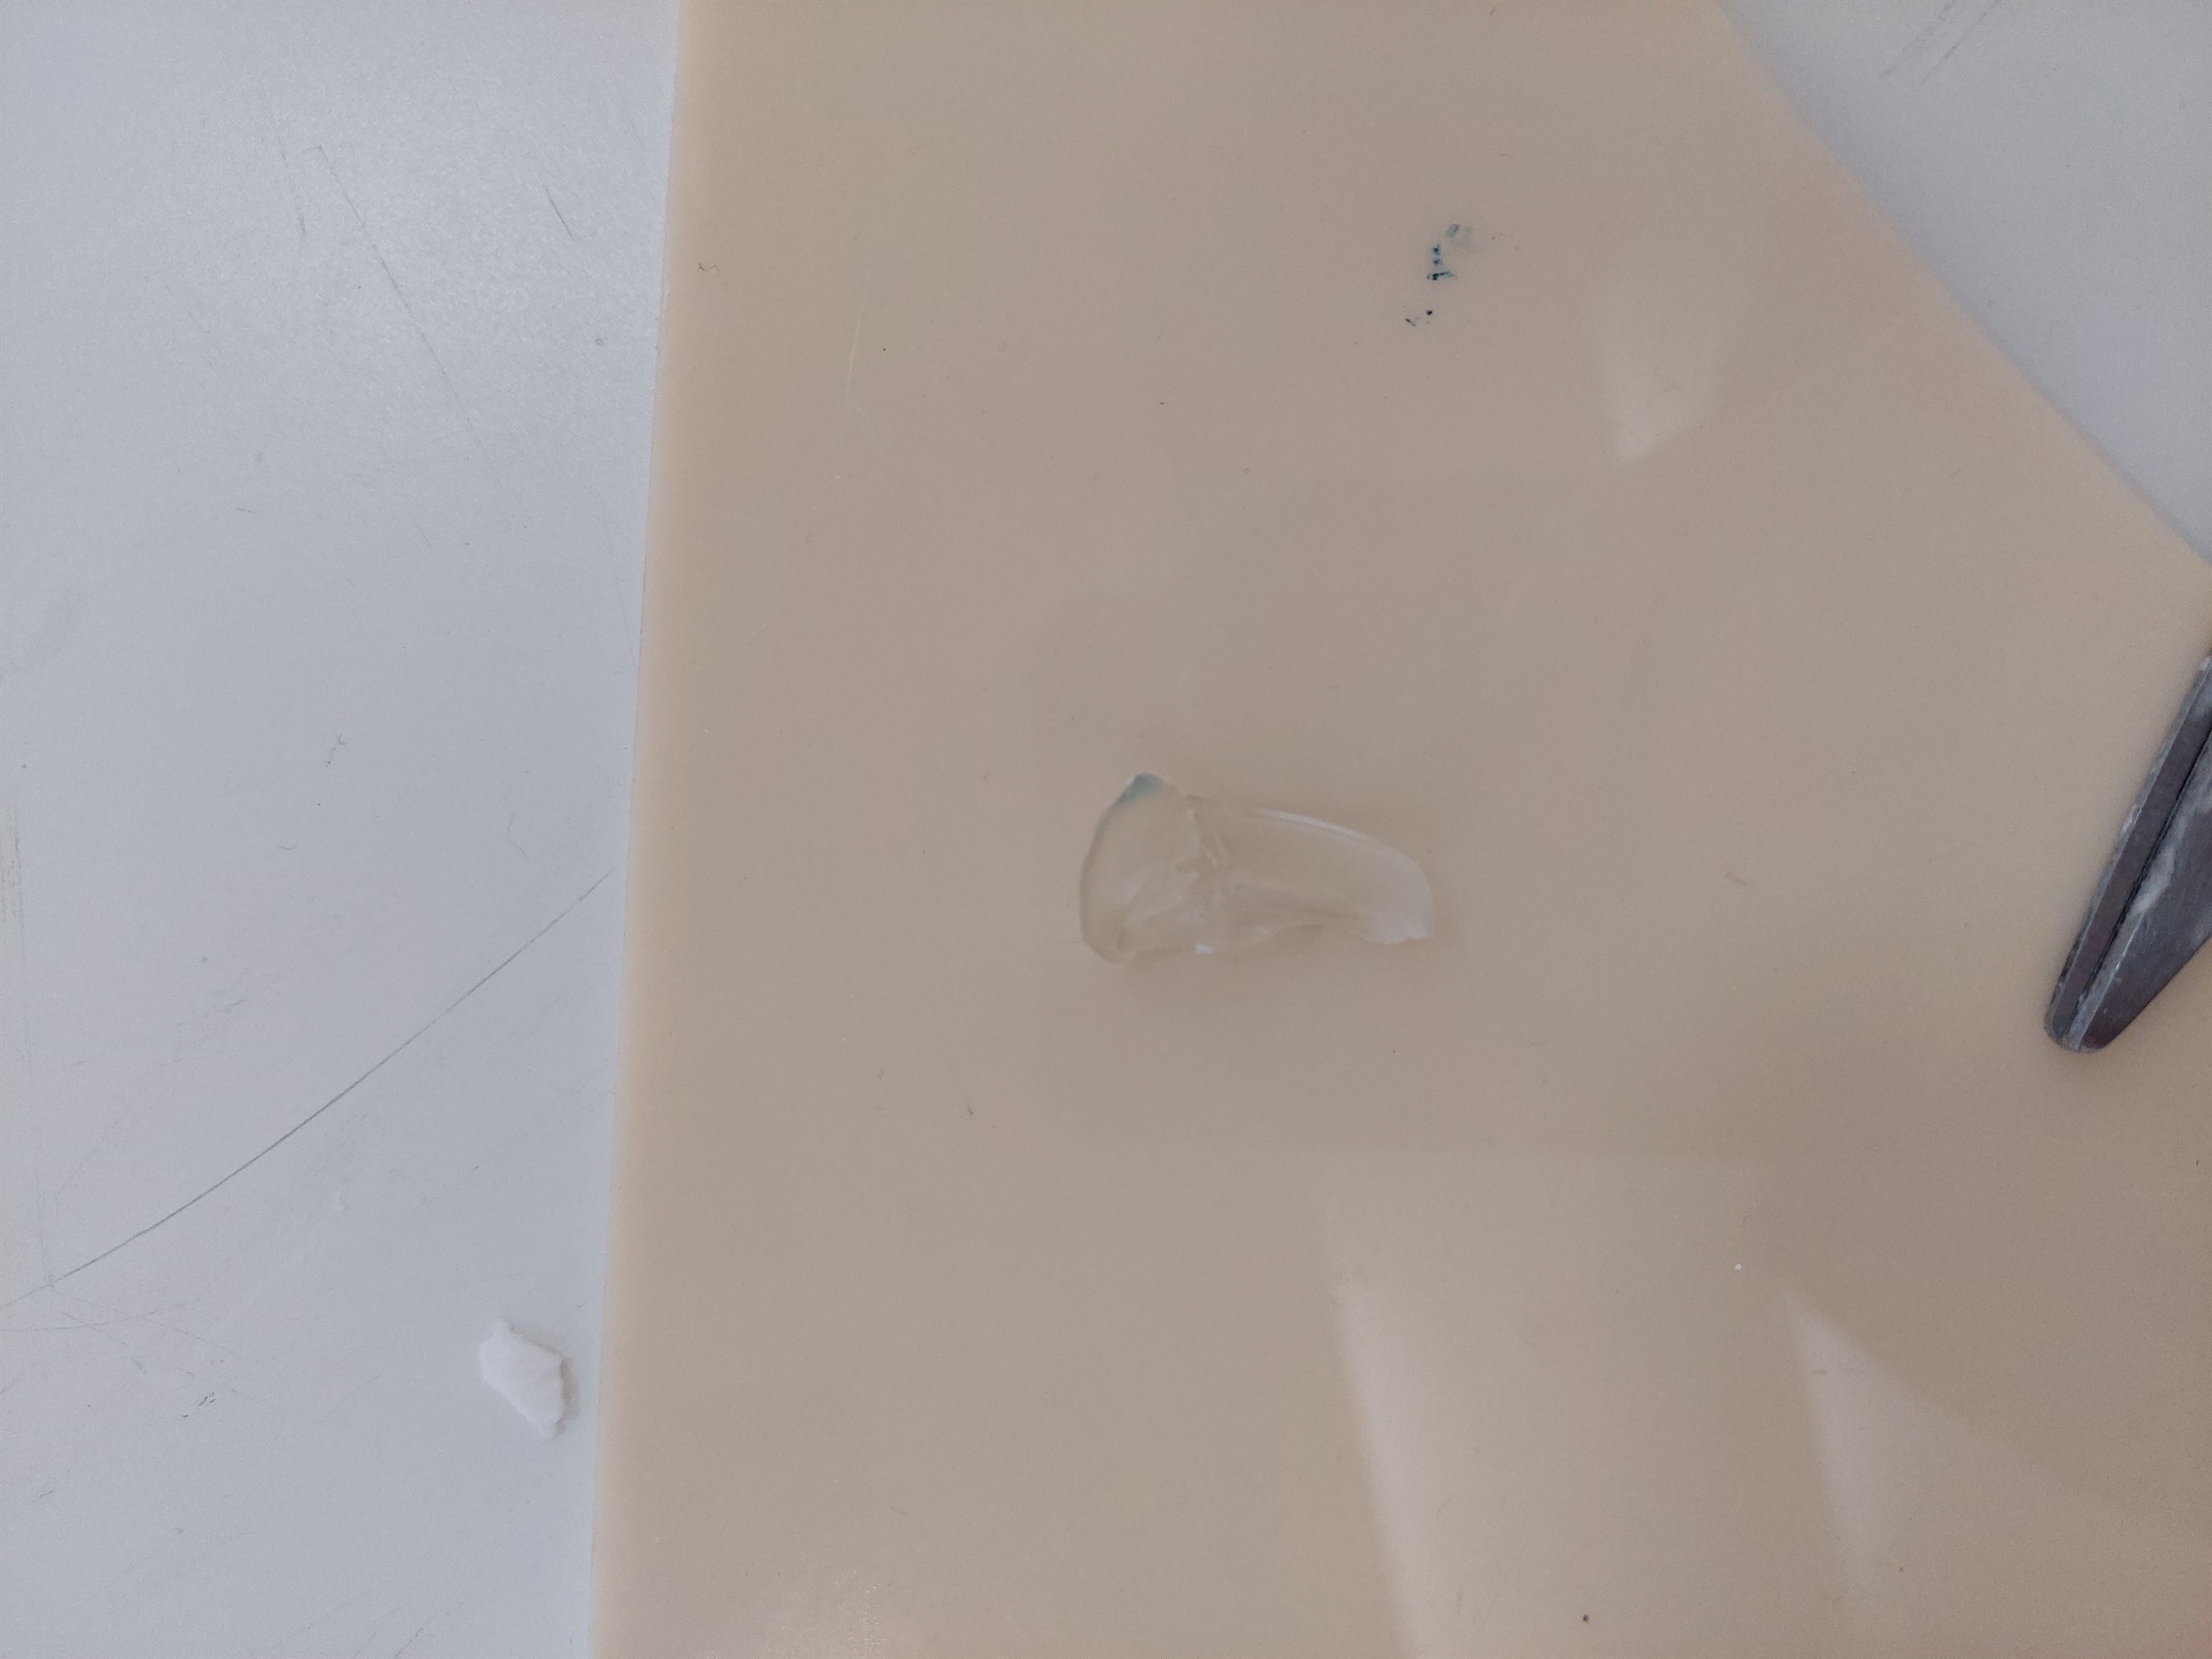
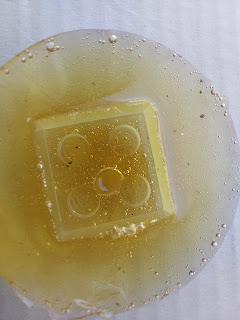
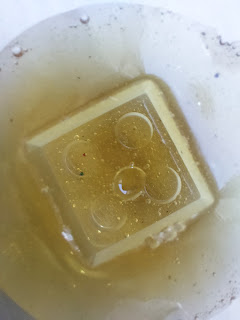
- We removed it from the pot after 2 days (When week 3 started). The LEGO shape was not perfect but it was very good. There was a bubble near the middle as shown in the pictures.
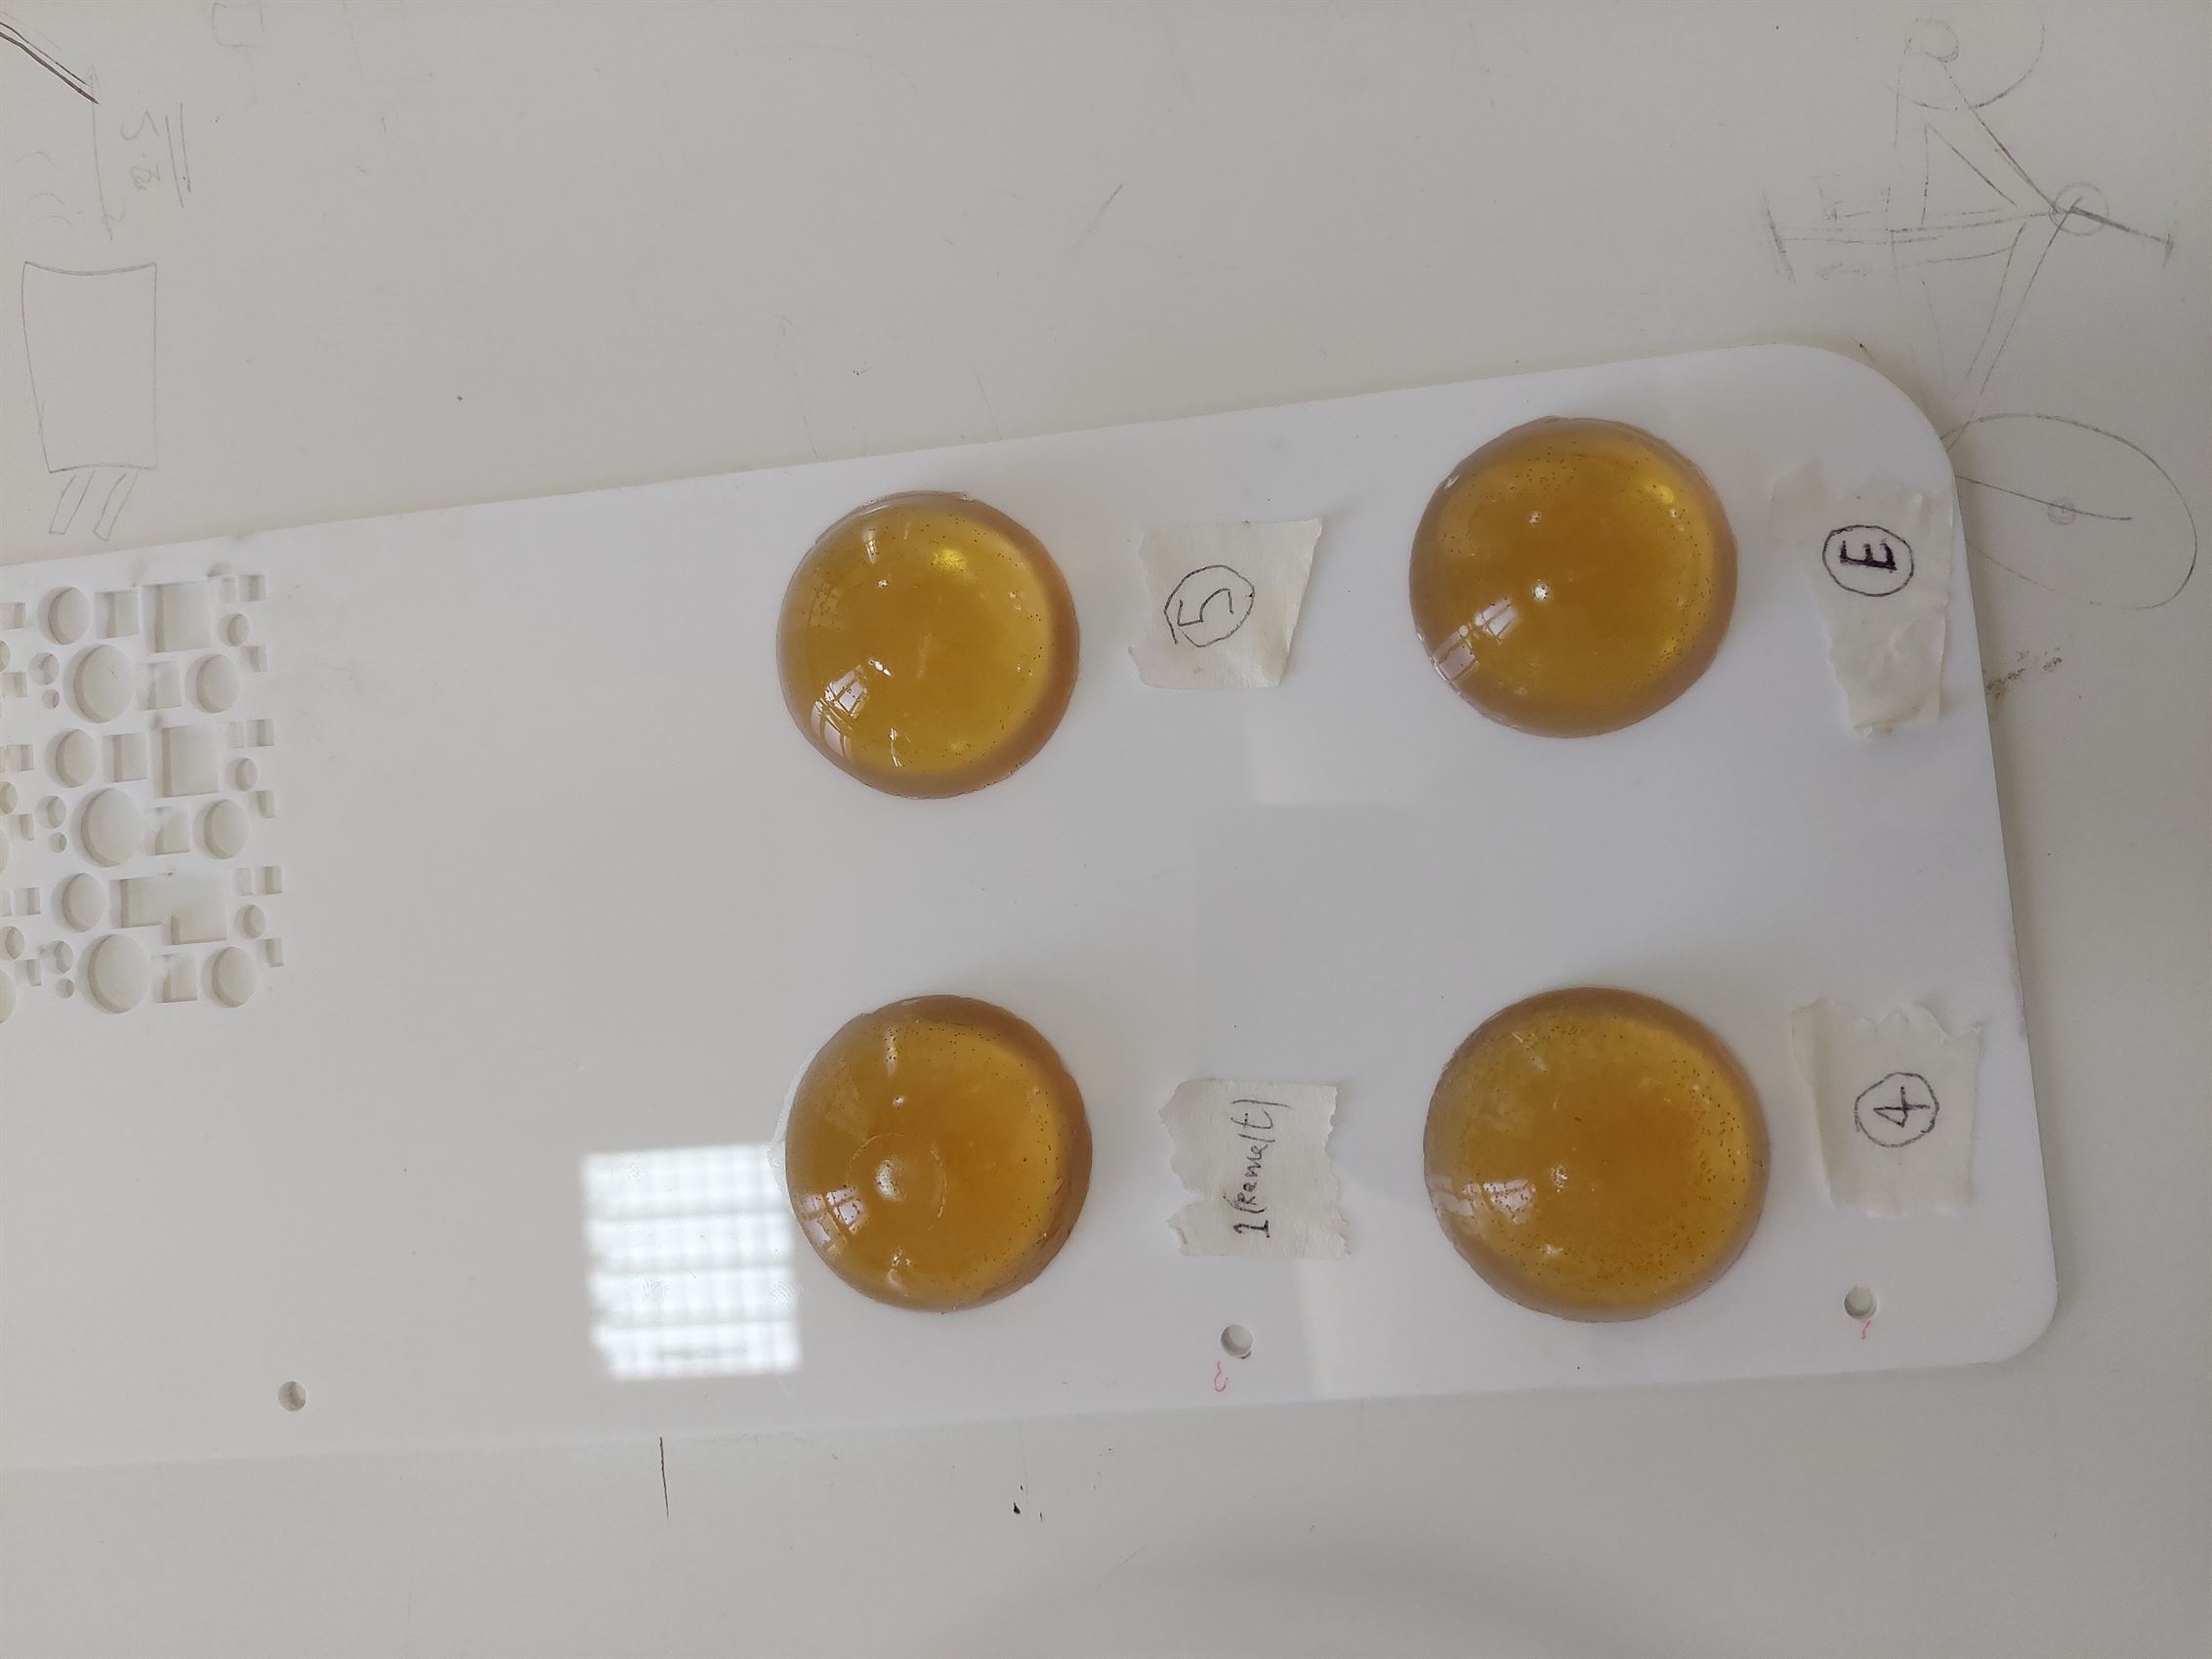
3.3.3 ReusableMold 01 (3.2.1.1 ReusableMold 01).
We melted this mold, you can refer to the recipe here.
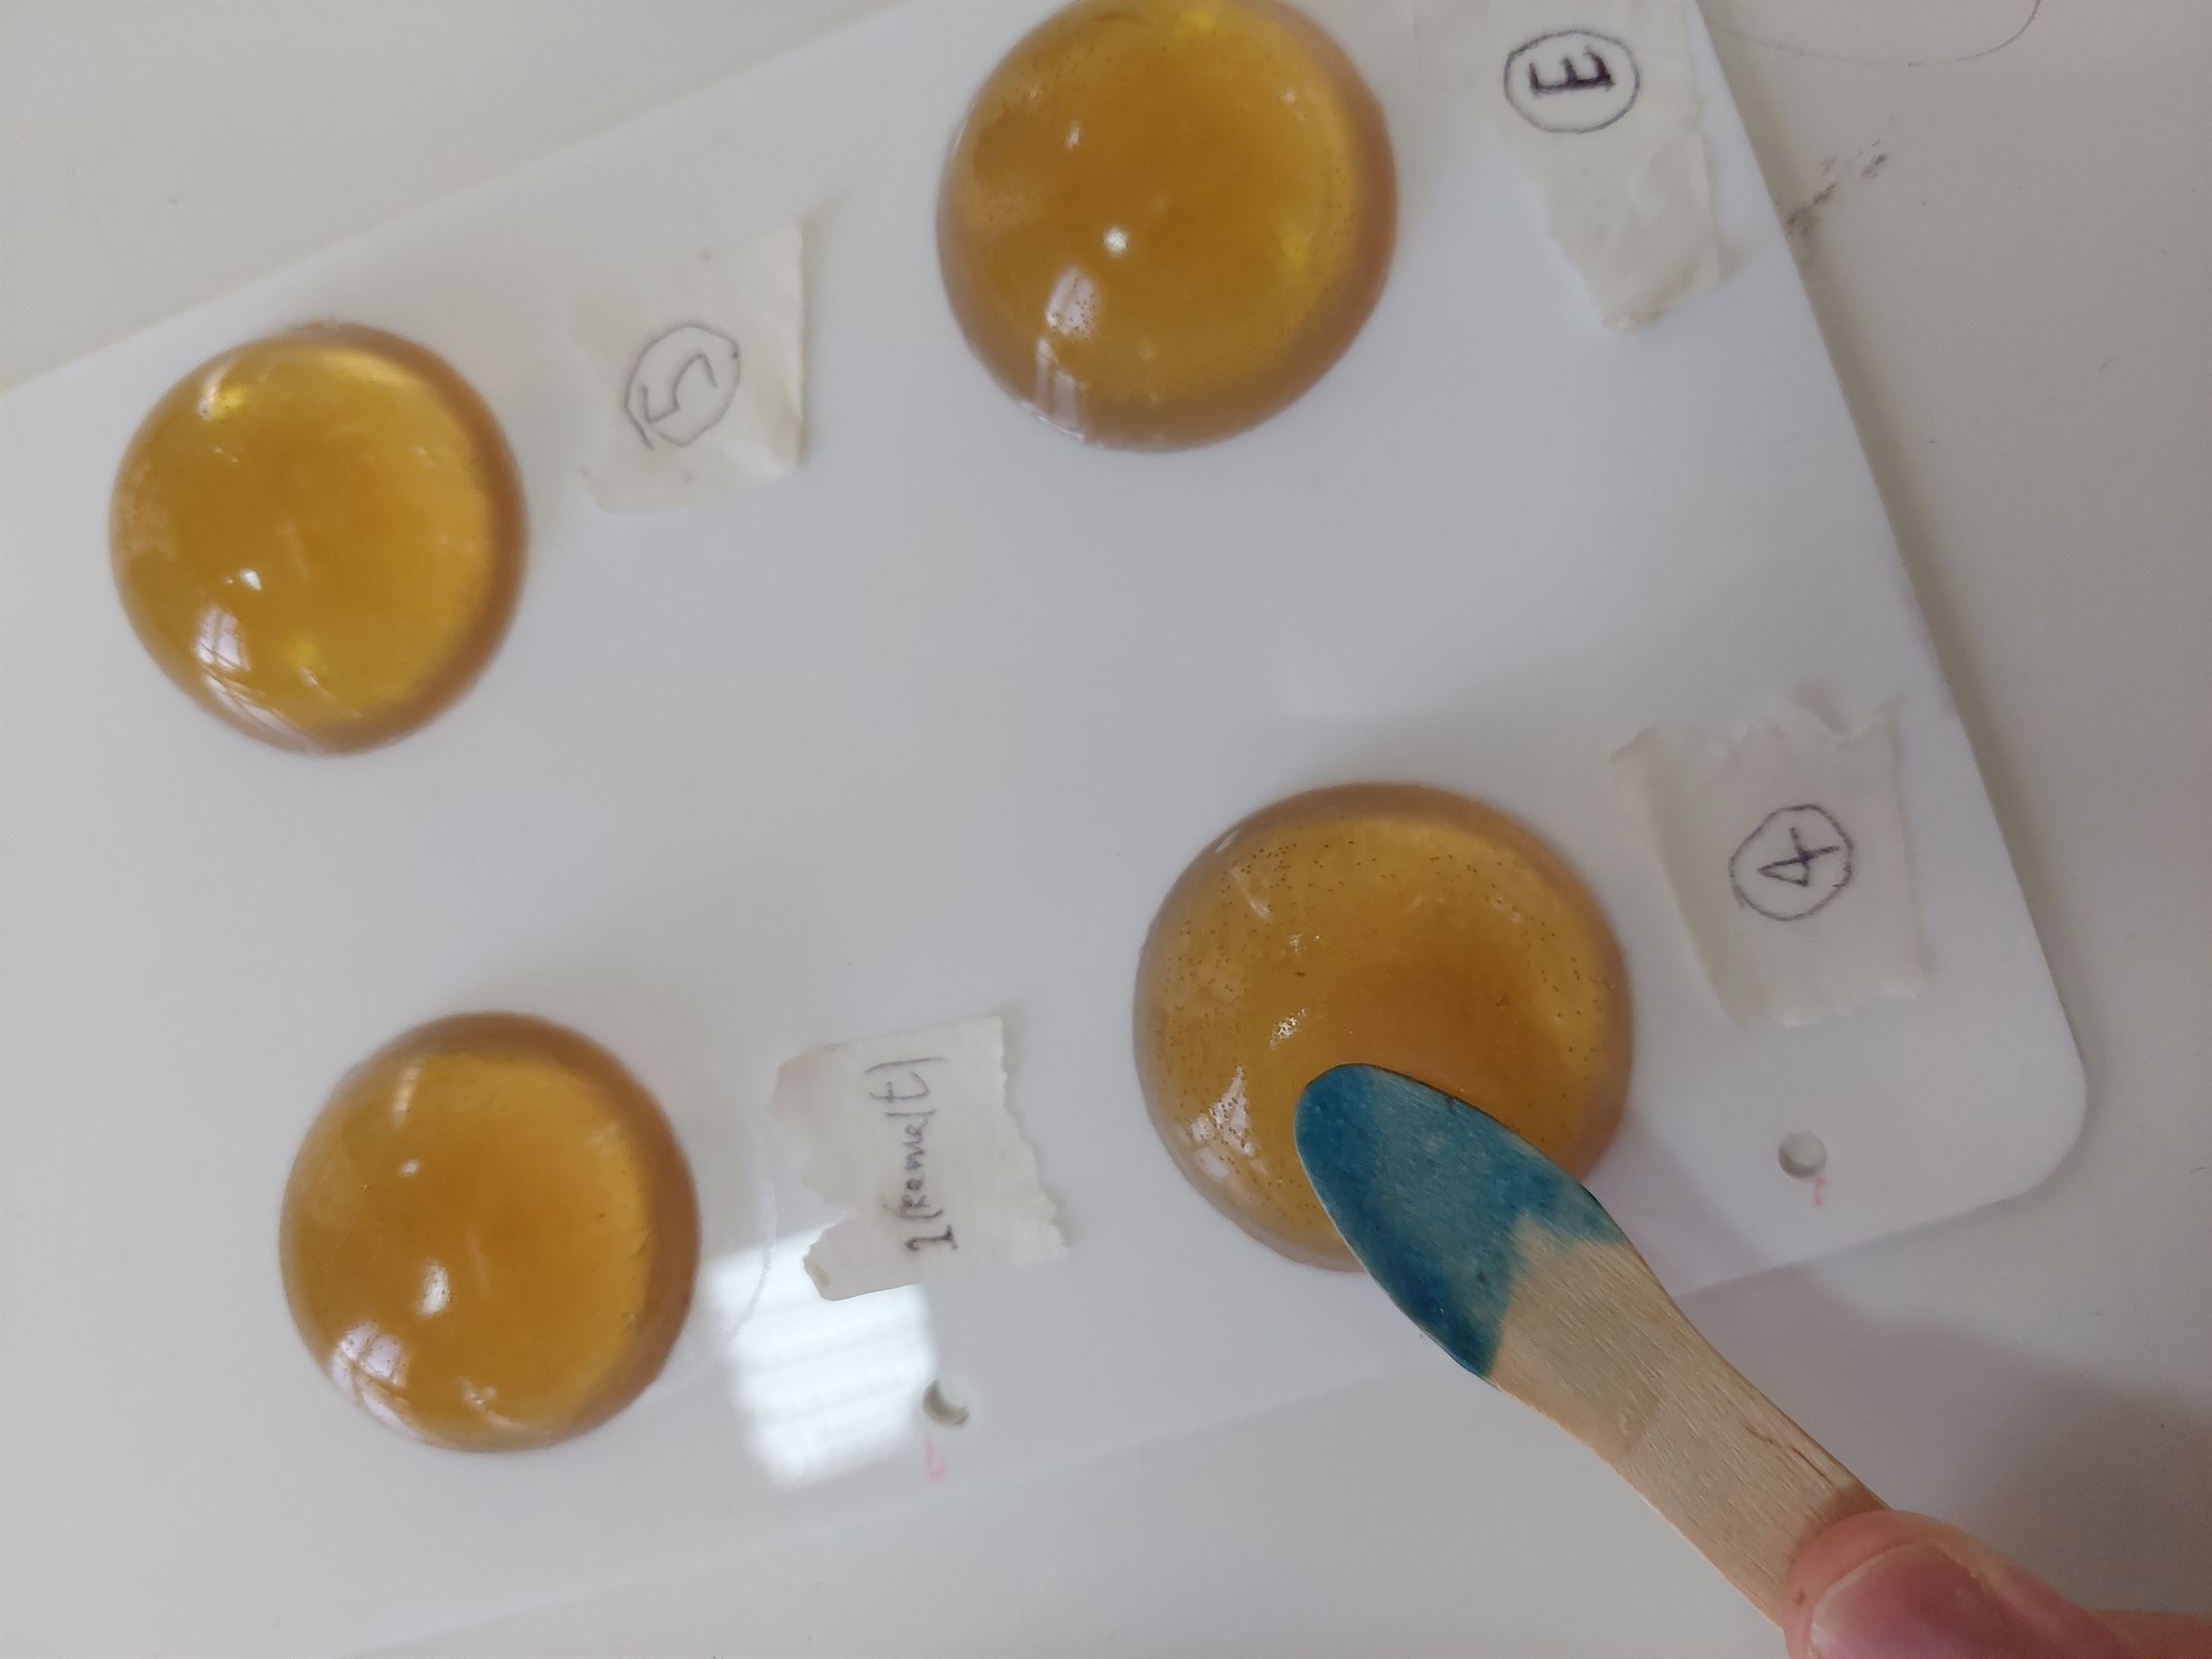
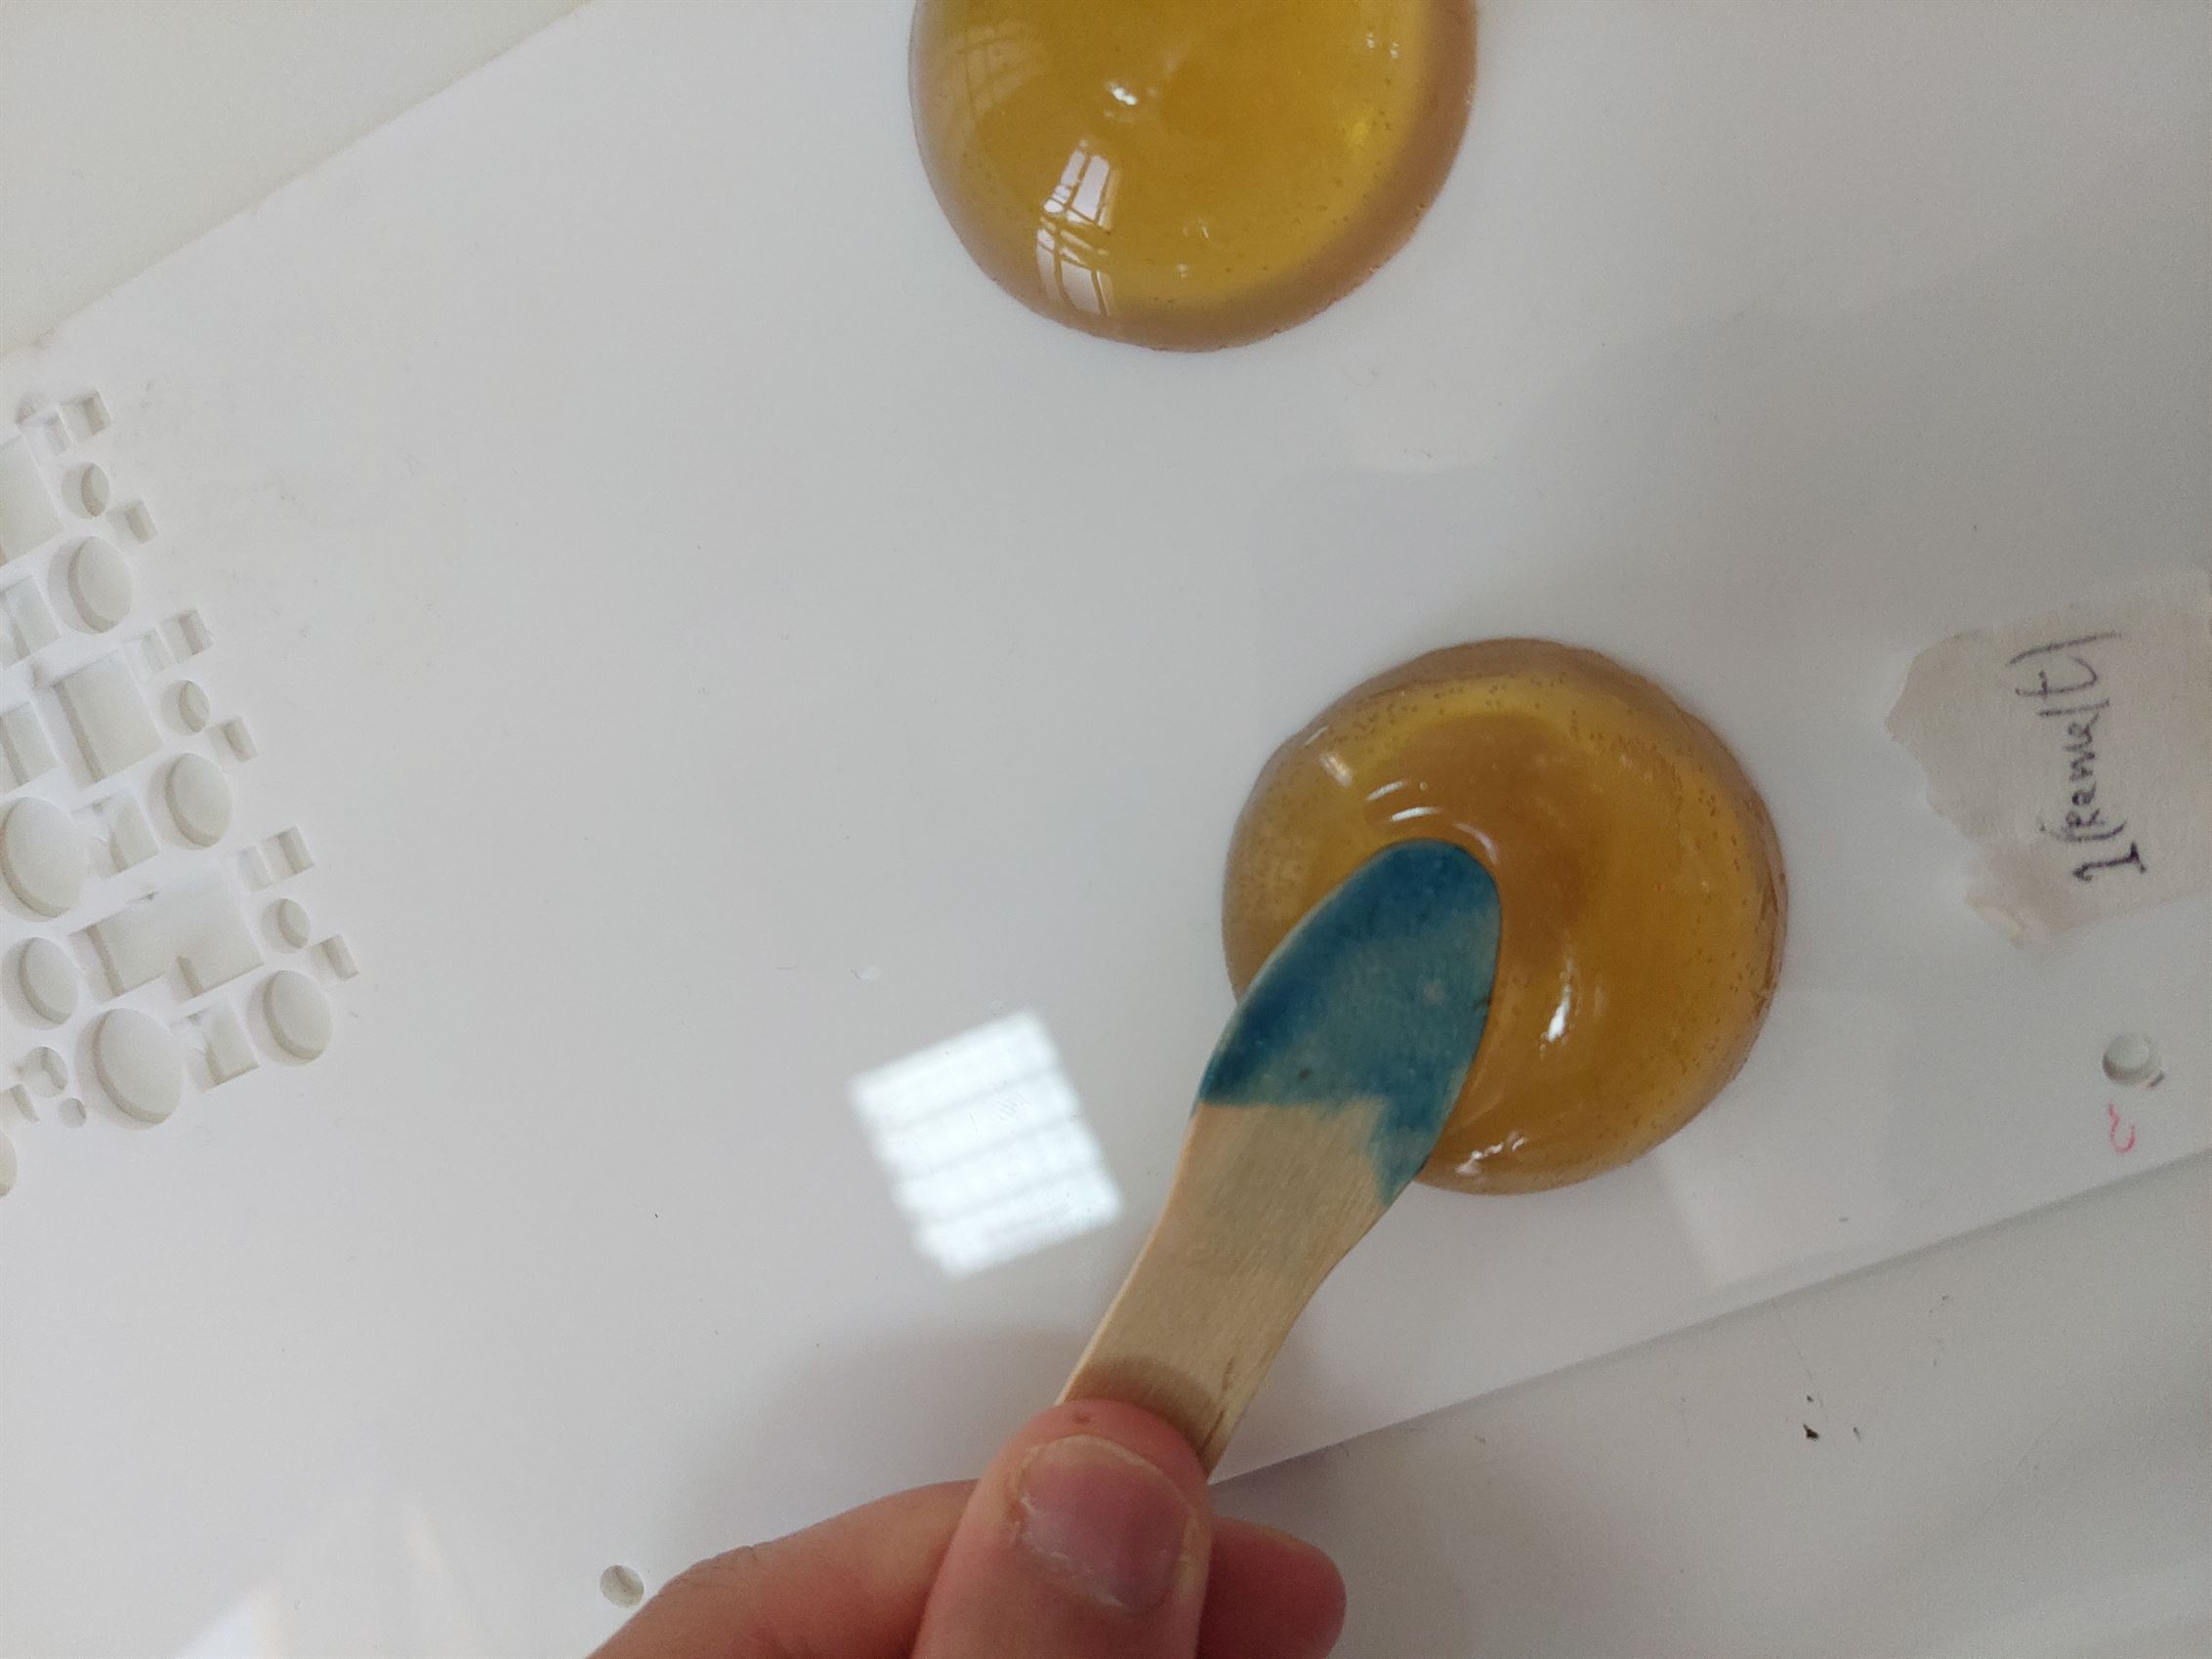
We numbered it as “1 (Remelt)”.
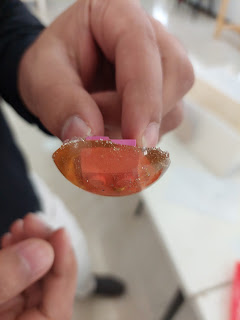
3.3.4 ReusableMold 02 (3.2.1.2 ReusableMold 02).
This mold was ruined and we melted and we added 10mL water to it to check if it will reduce the sticky feeling. You can refer to the recipe here.
- We added 10mL water
- We mixed it on a hot plate.
- We poured it in a pot.
- After one day, we removed it from the pot and we removed the LEGOs. The shapes were good. The stickiness reduced too
Week 4
In this week, we tried to work more with the recipes.
4.1 Recipes
4.1.1 Textile Composite
We did more recipes using the textile to make a composite.
4.1.1.1 Agar Composite
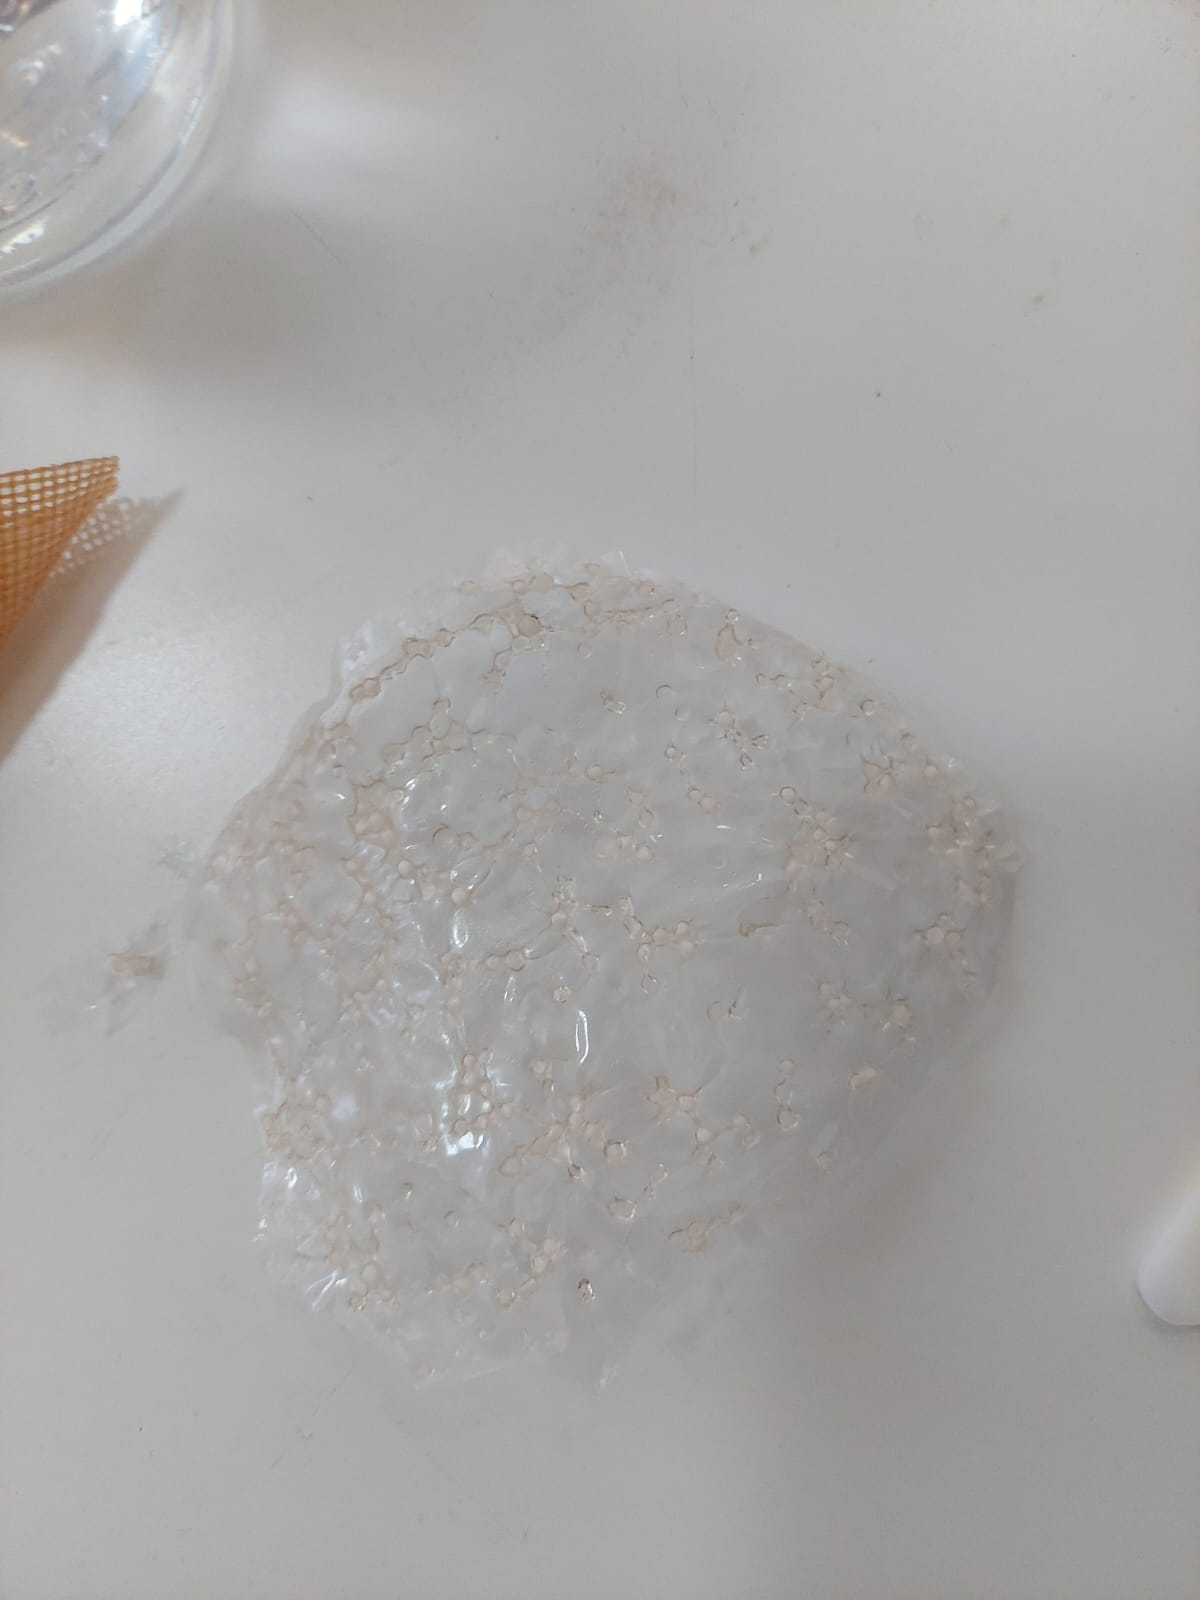
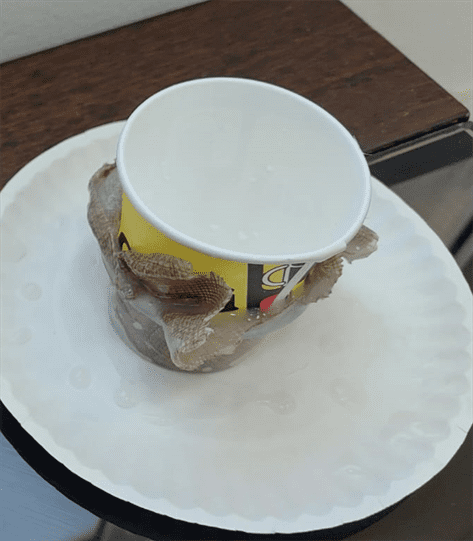
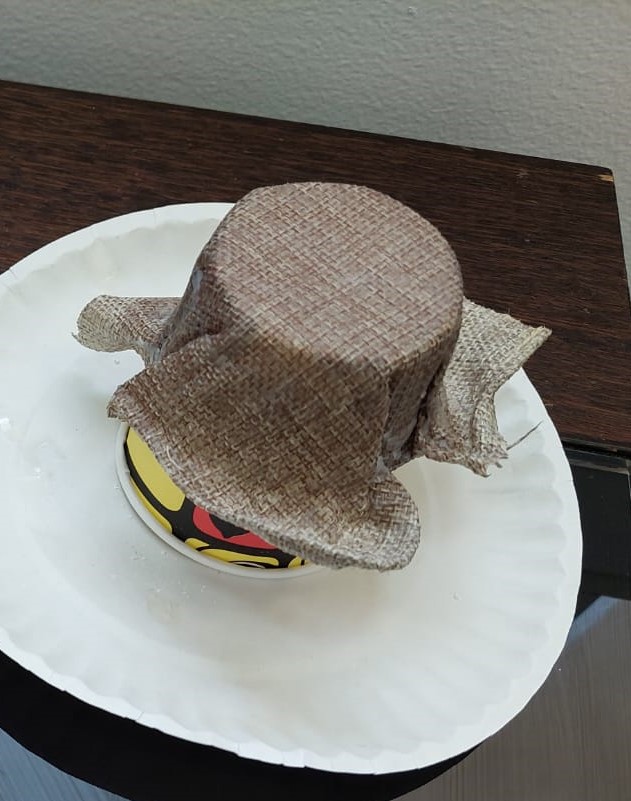
We did this recipe again, same as the one we did in week 3 (3.2.2 Agar composite). We did not put the textile in a pot this time, instead we just kept it on a plate. We tried to cut a 10cmx10cm piece.
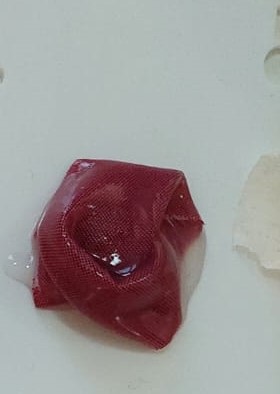
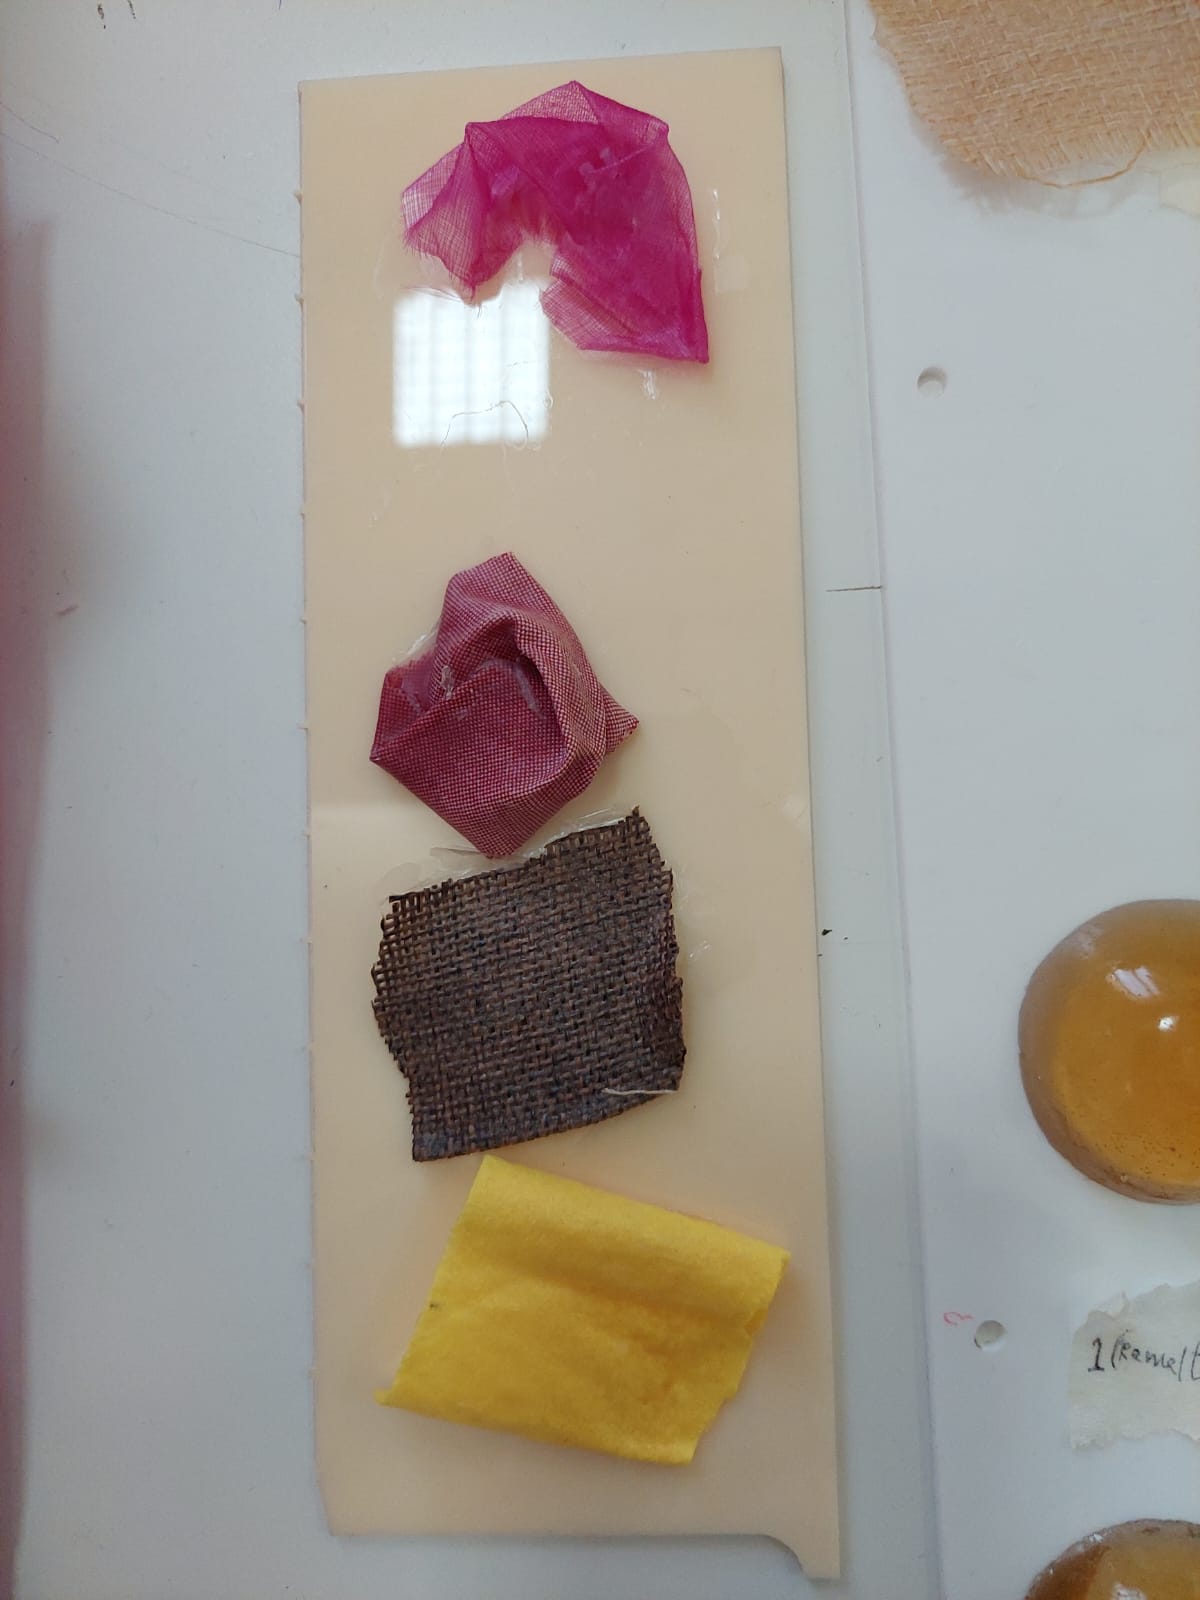
- This is the textile that we used.
- This is the textile after pouring it in the solution.
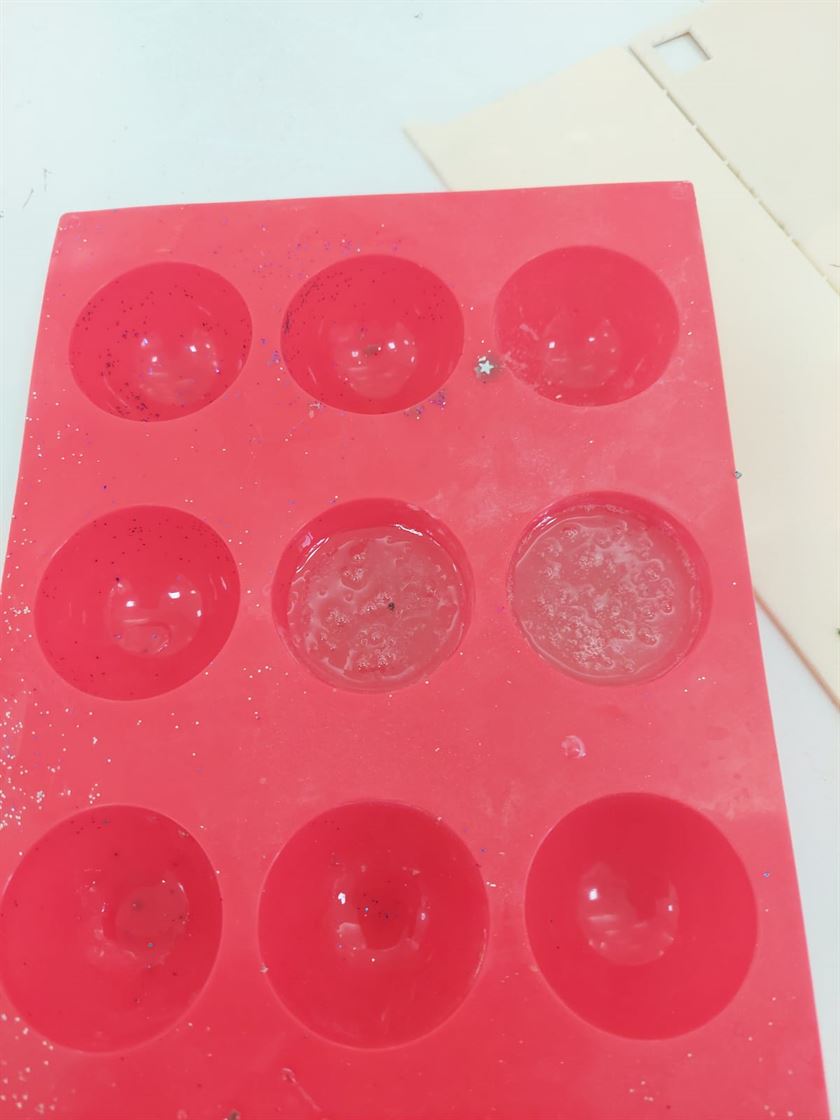
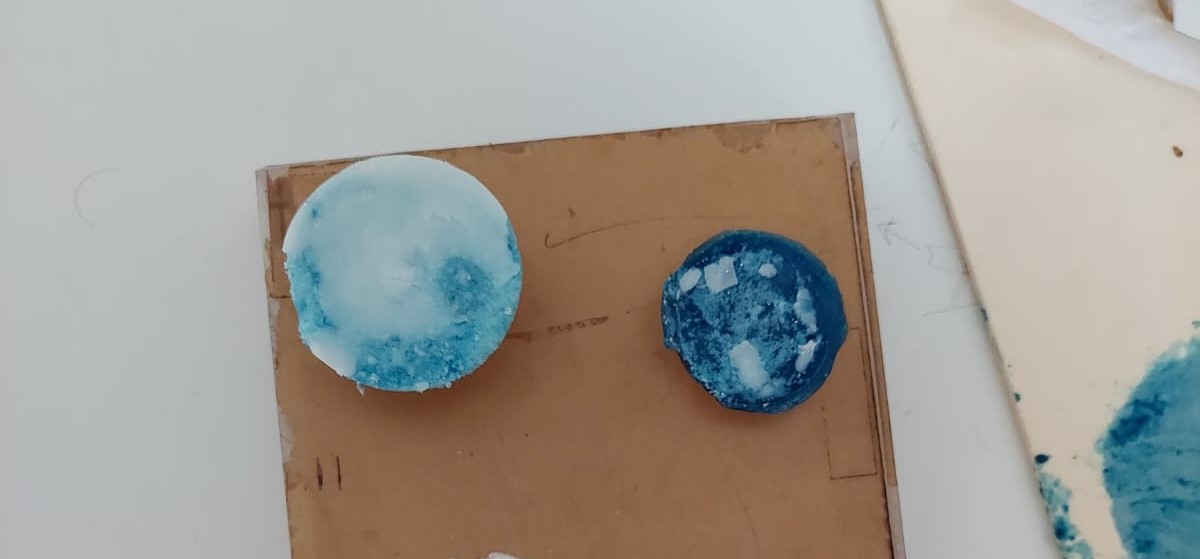
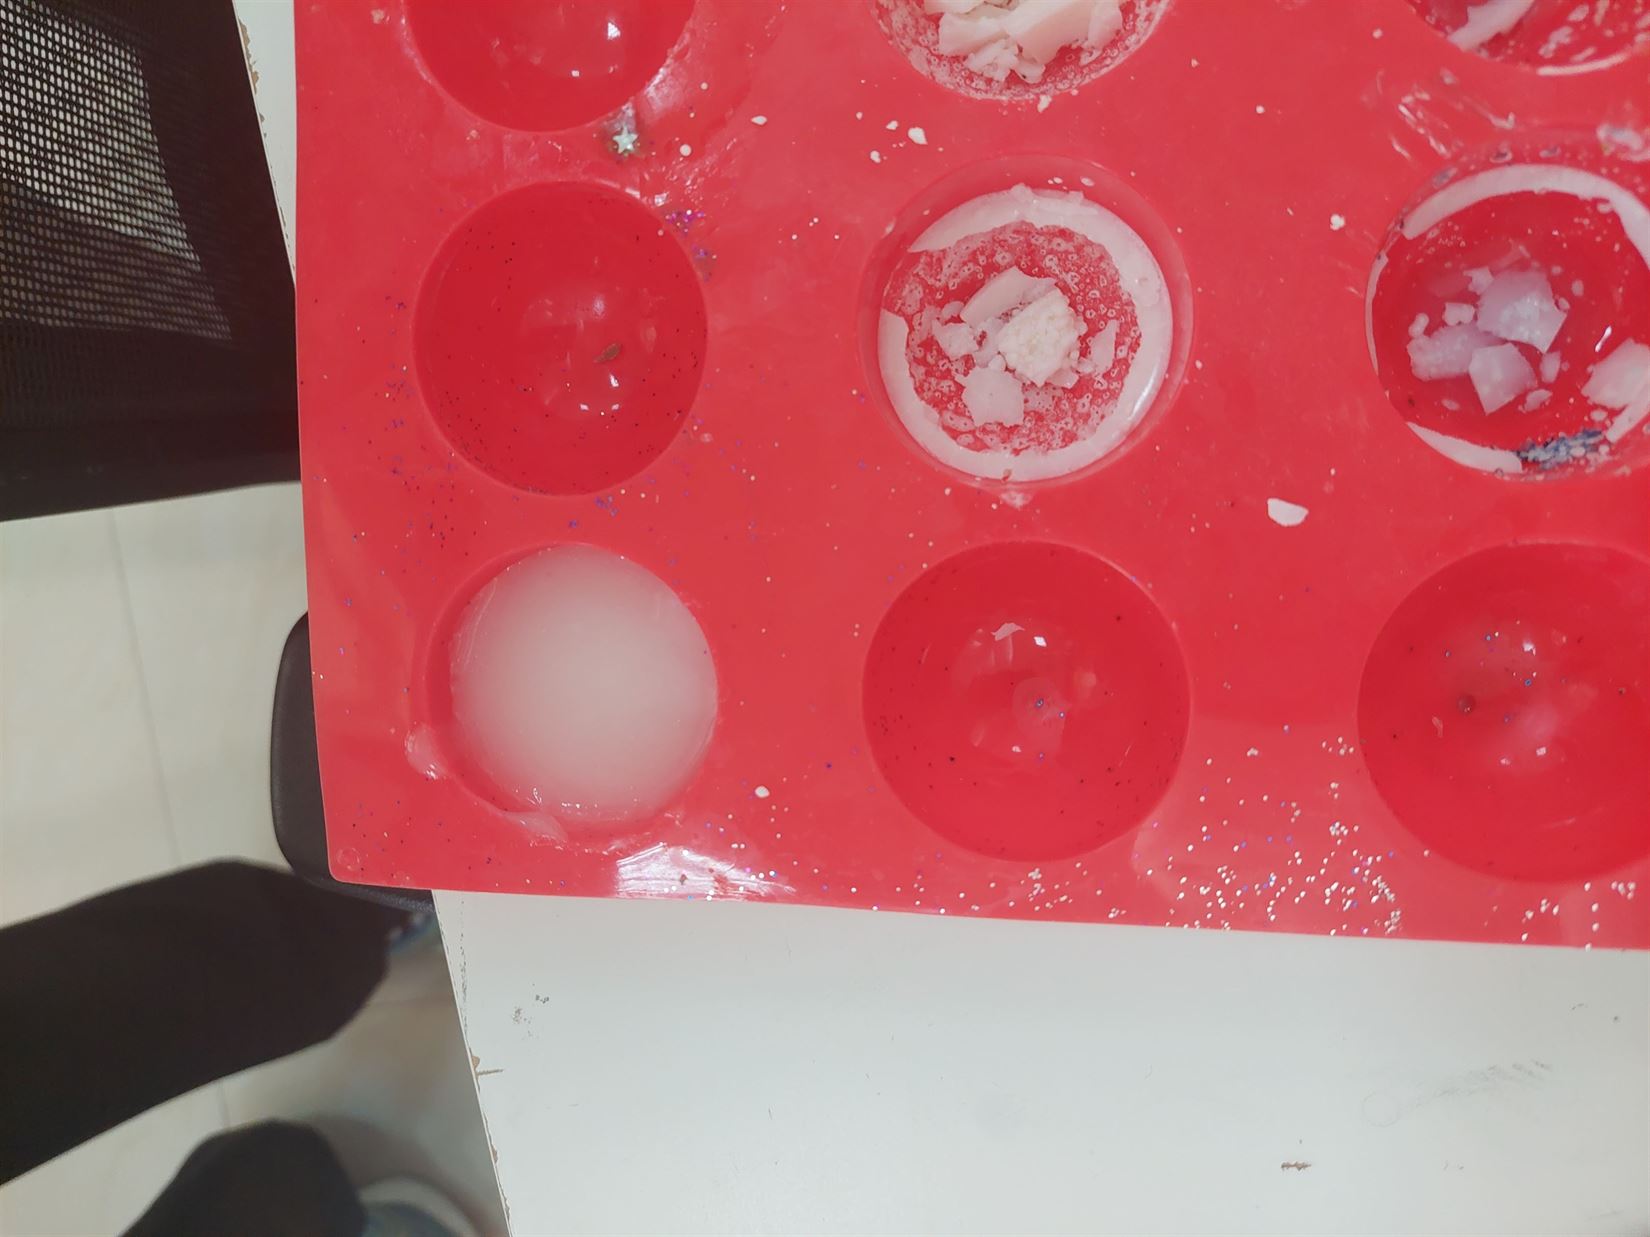
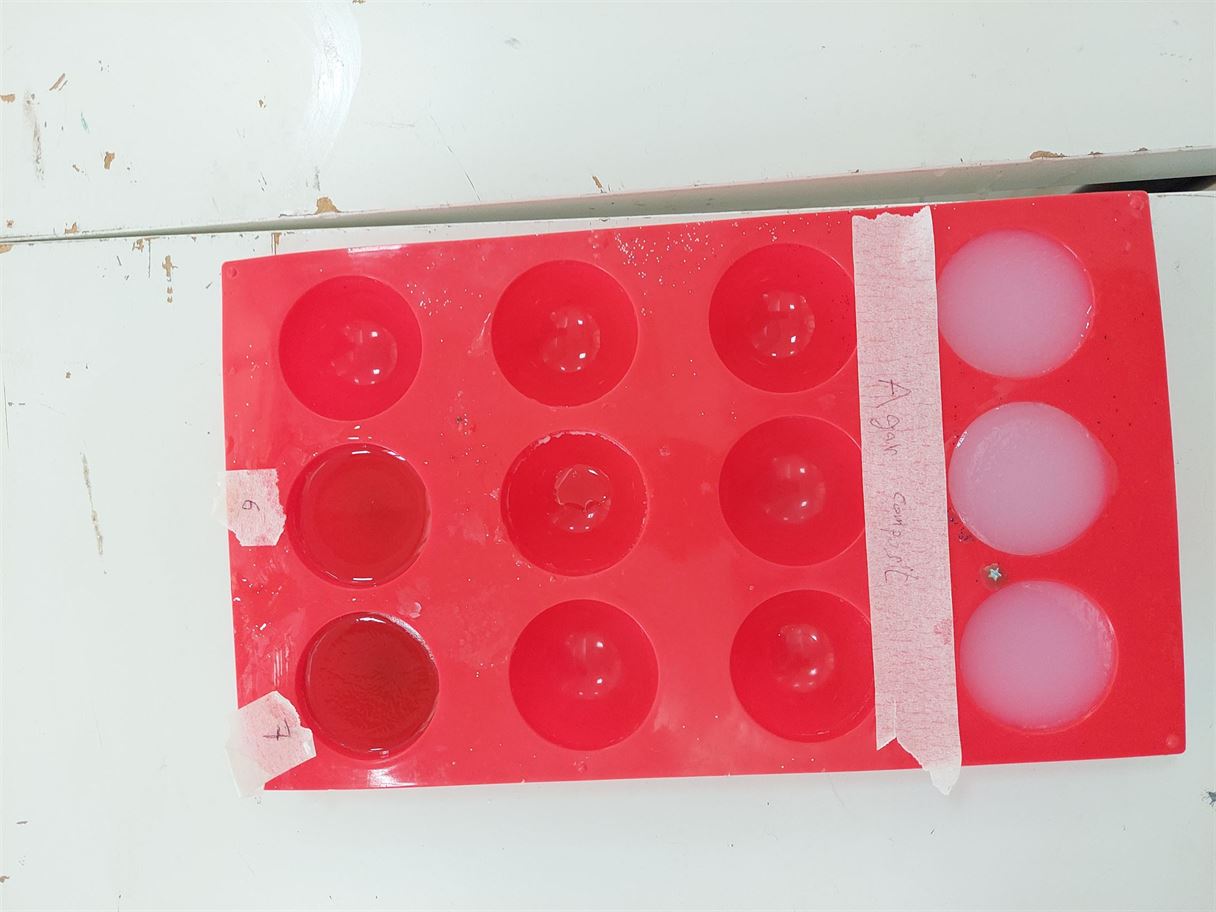
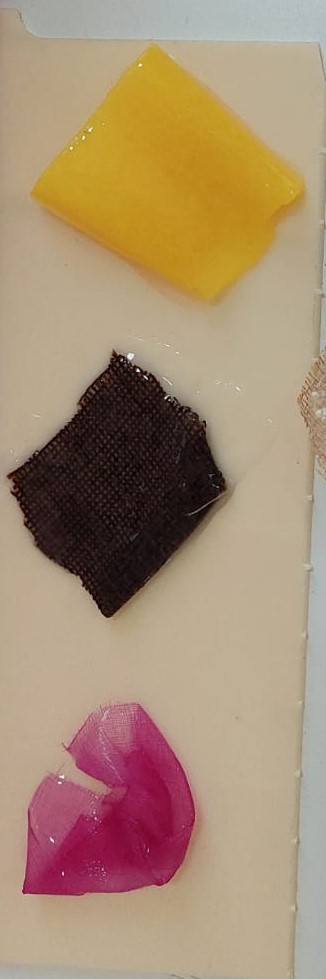
- We poured the remaining solution in a mold. We labeled it as Agar Composite (The top 3 molds in the picture below.)
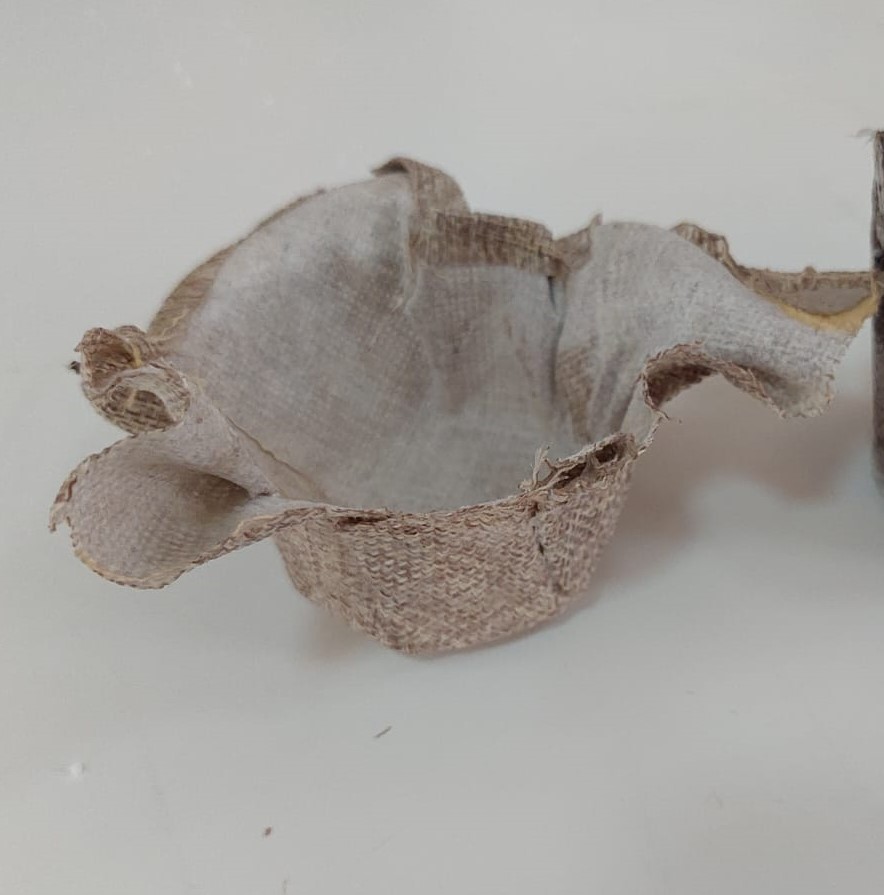
- This is the product after removing it from the mold. It was not that strong and it felt rubbery.
4.1.1.2 Corn Starch Composite
We tried to use corn starch recipe with some textiles we have. We used corn starch + water.
- We poured the textiles in the solution.
- After one day, some textiles were still not dried, and some were good.
- After two days, they completely tried.
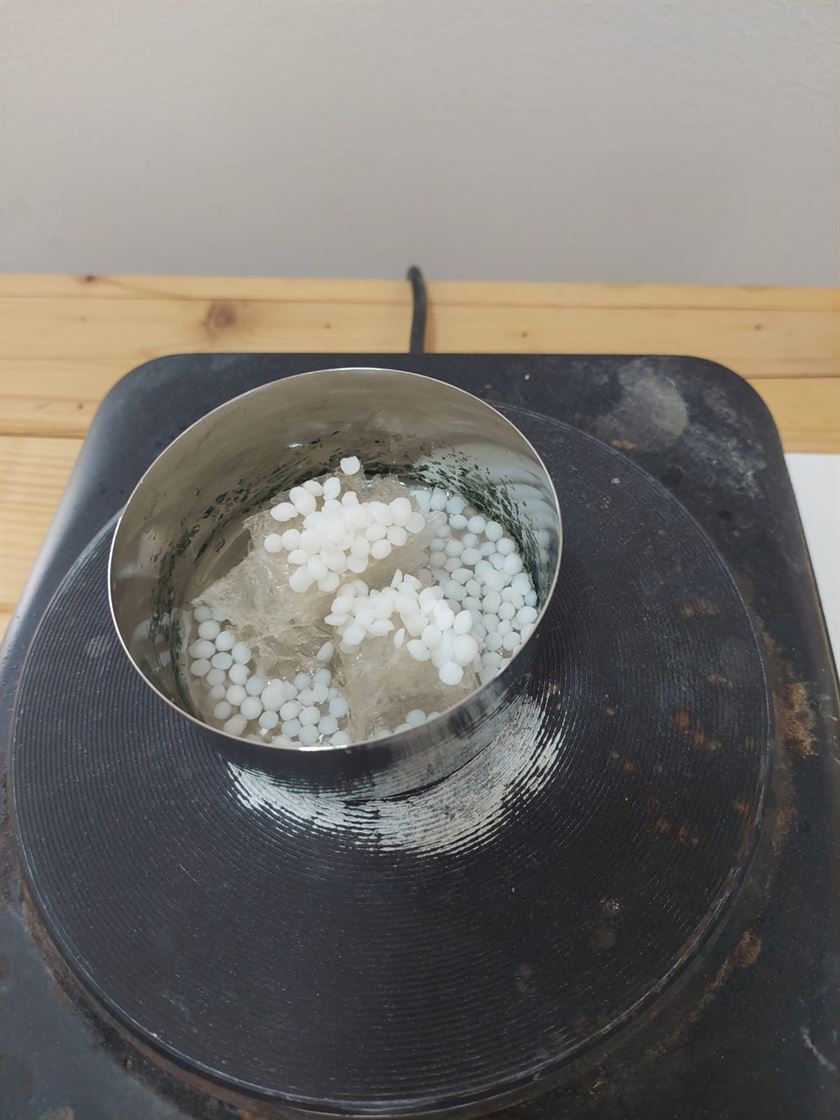
4.1.1.3 Sago seeds composite
We used sago seeds with water to make a composite.
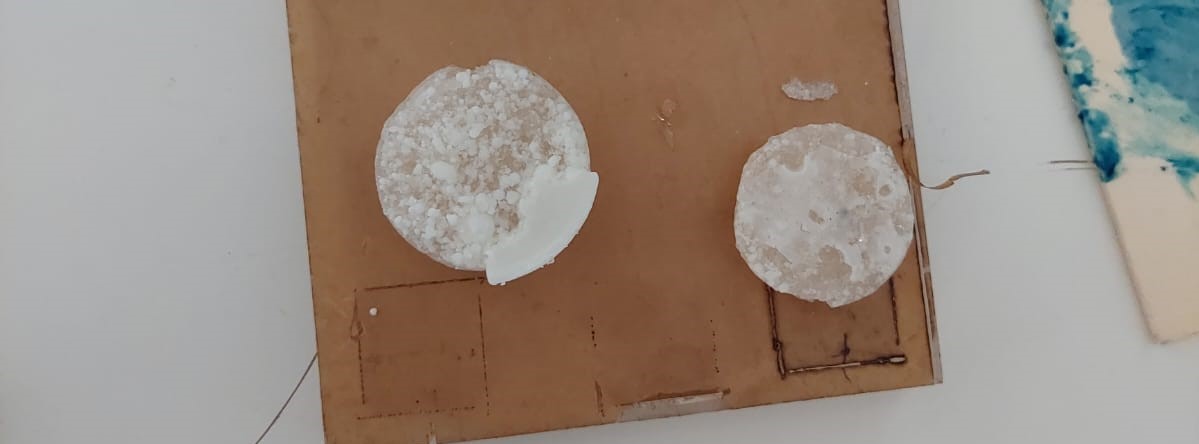
- This is the product after 2 days.
- We poured the extra solution on an acrylic sheet. This is the product after 2 days.
4.1.1.4 Corn Starch Composite 2
We made this recipe again and we put the textile in a pot (the right one in the picture below).
- After one day, the textile was not dried yet. So, we kept it for another day.
- After 4 days, the textile was dry and we removed it..
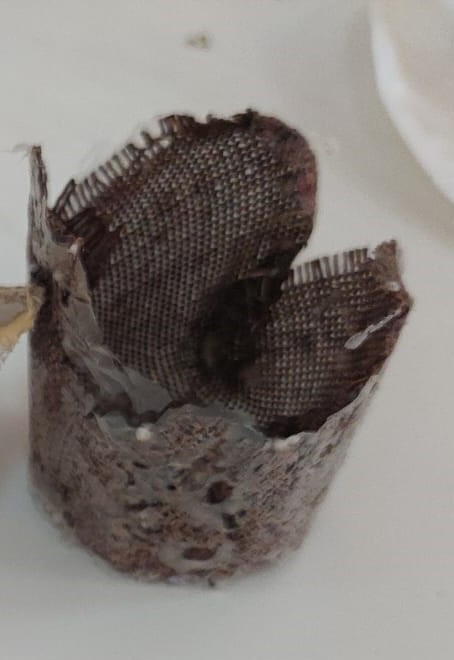
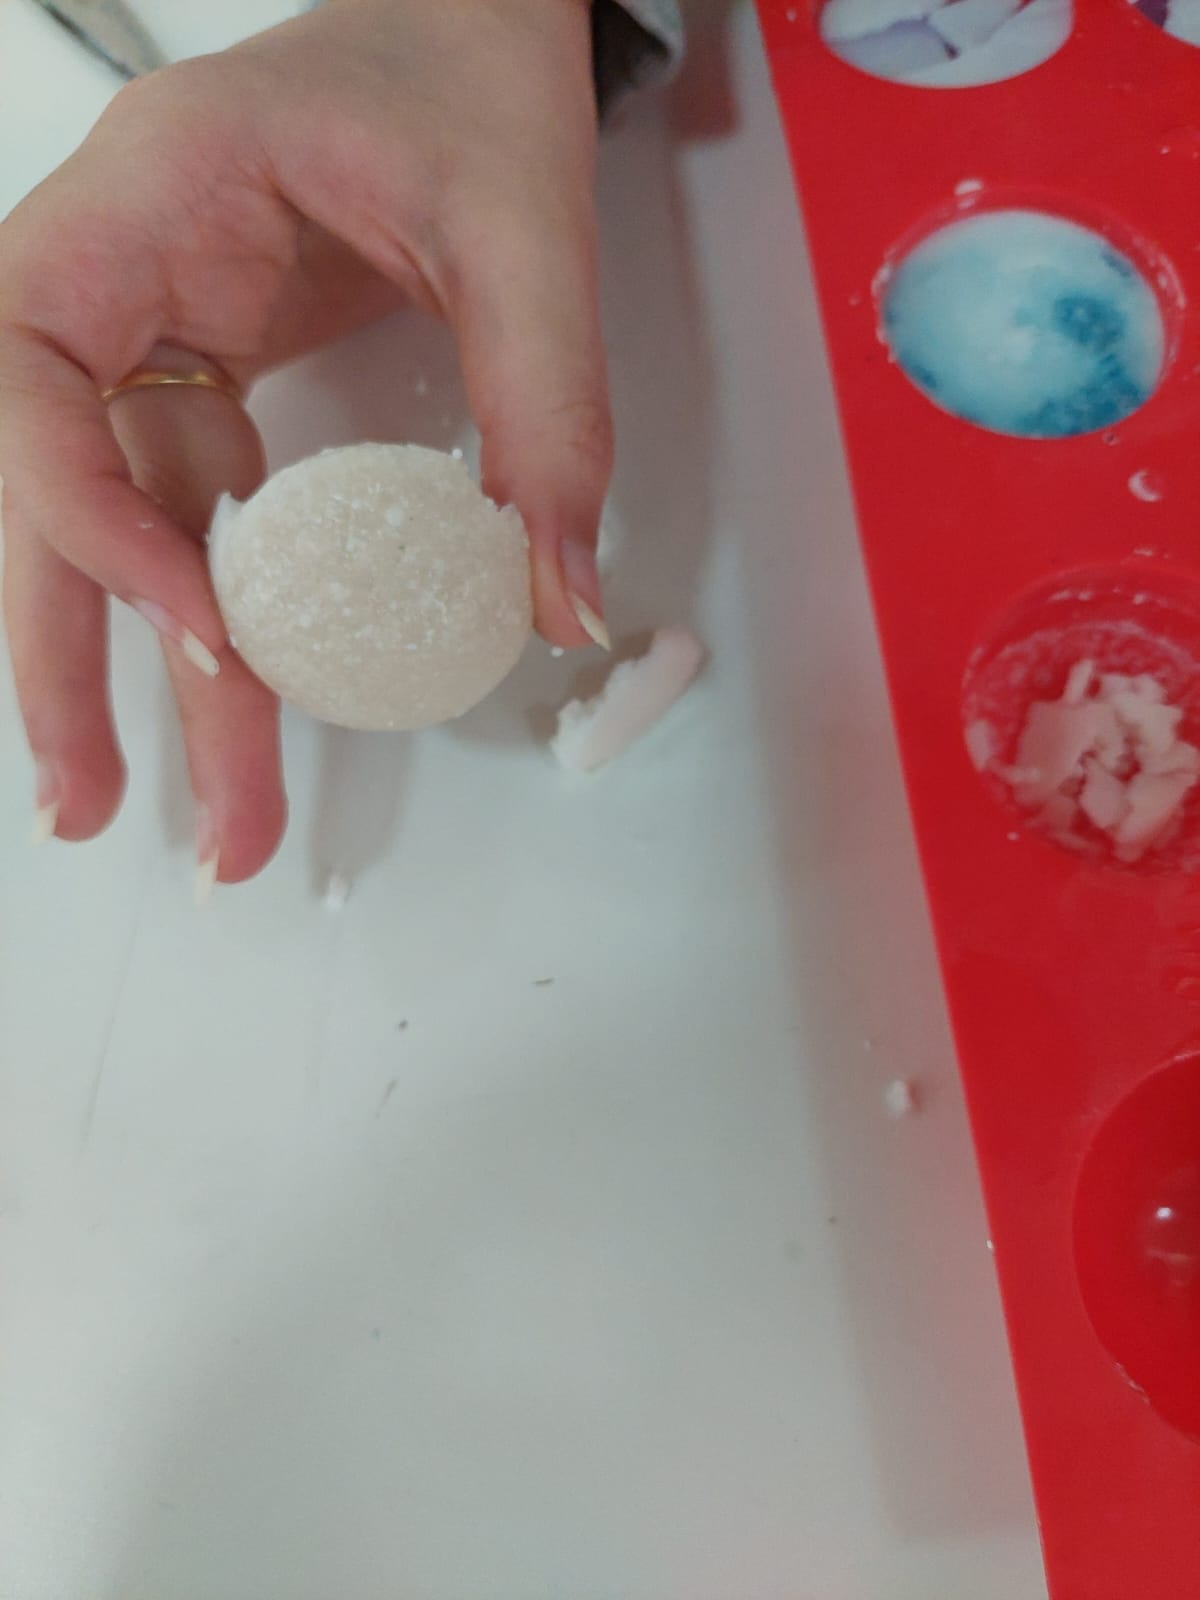
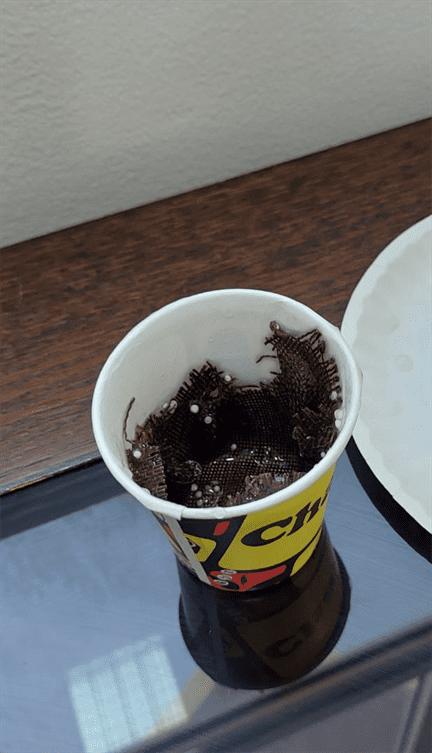
4.1.1.5 Sago seeds composite 2
We made this recipe again. We put the textile in a cup (the left one in the picture).
- After one day, we removed the bottom pot.
- After 4 days, we removed the textile.
4.1.2 ReusableMold
We tried more recipes with the ReusableMold. The original amounts are as follow:
| Glycerine (mL) | Water (mL) | Gelatin (g) |
|---|---|---|
| 15 | 15 | 3 |
We changed one parameter each time.
4.1.2.1 ReusableMold 06
In this recipe we lowered the glycerin, and the gelatin.
| Glycerine (mL) | Water (mL) | Gelatin (g) |
|---|---|---|
| 10 | 15 | 2 |
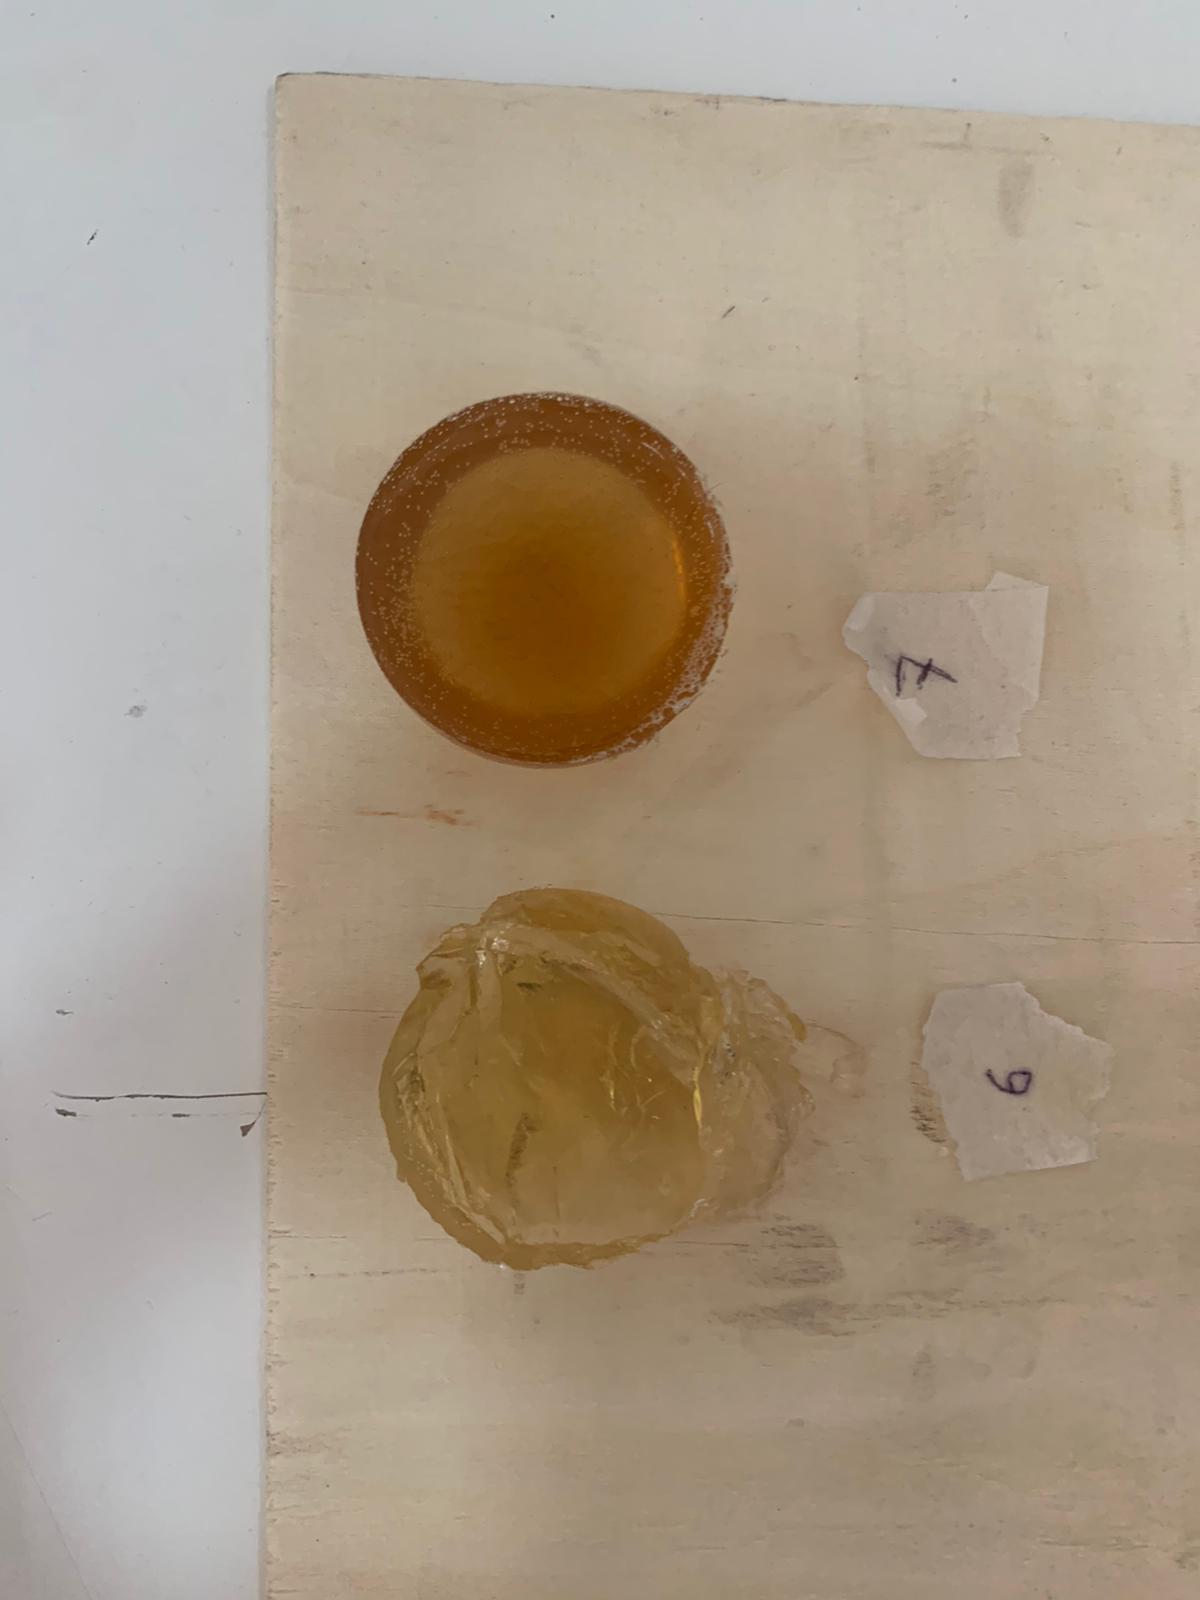
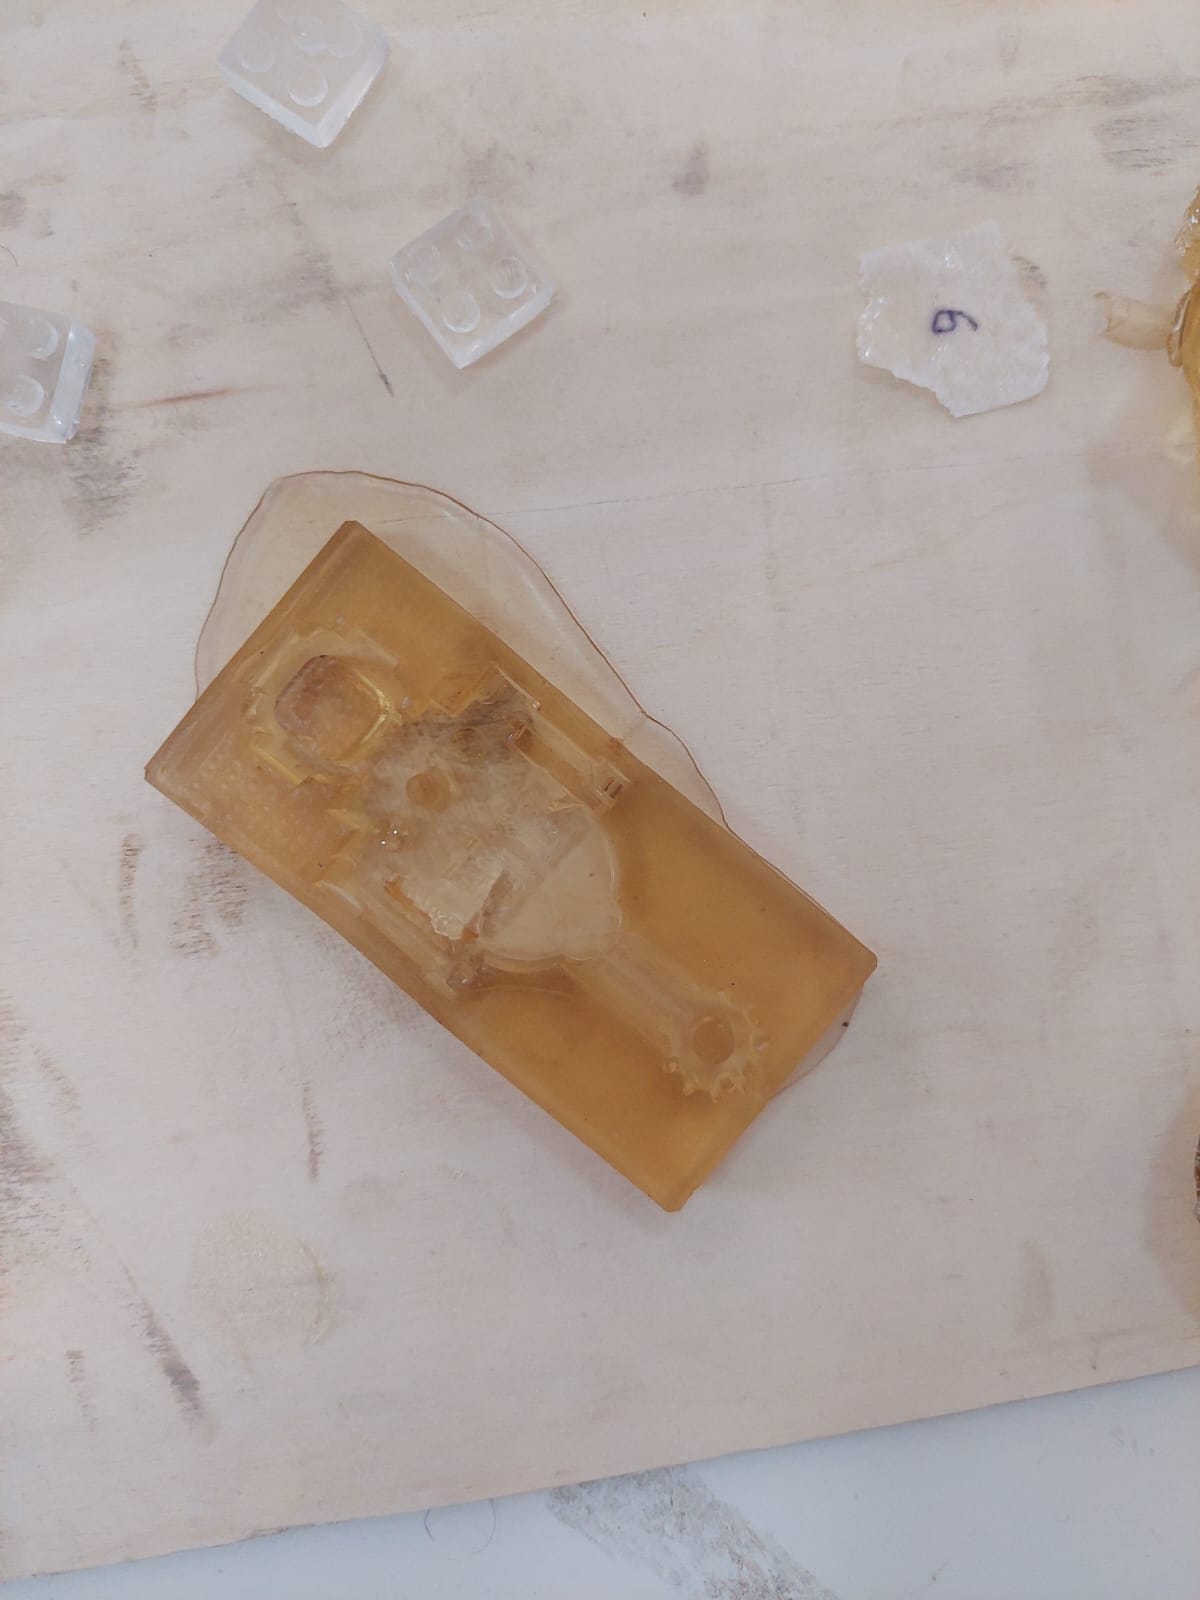
- We labeled it as 6
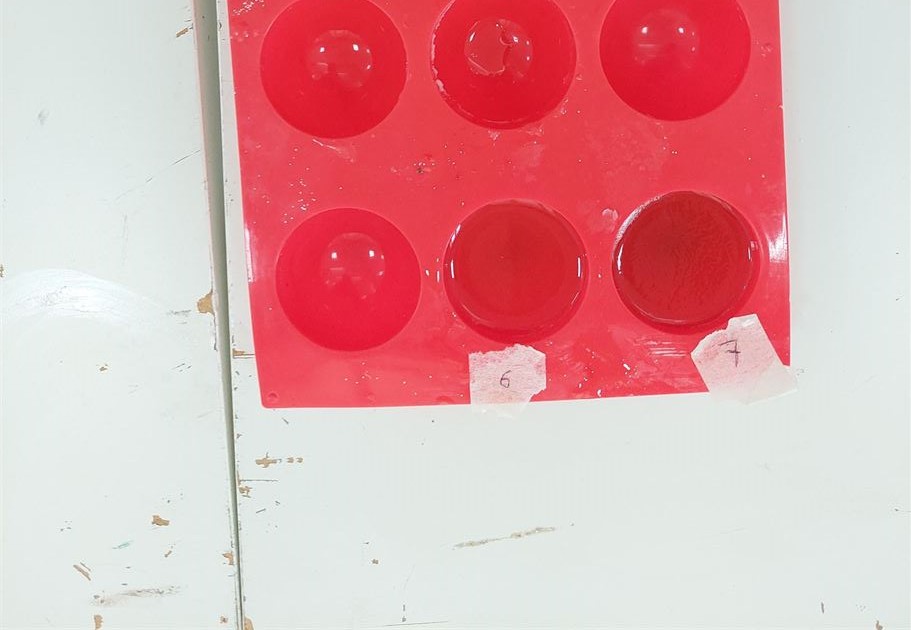
- The product was too soft and broke easily when we removed it from the mold.
4.1.2.2 ReusableMold 07
In this recipe we lowered the glycerin, and increased the gelatin.
| Glycerine (mL) | Water (mL) | Gelatin (g) |
|---|---|---|
| 10 | 15 | 5 |
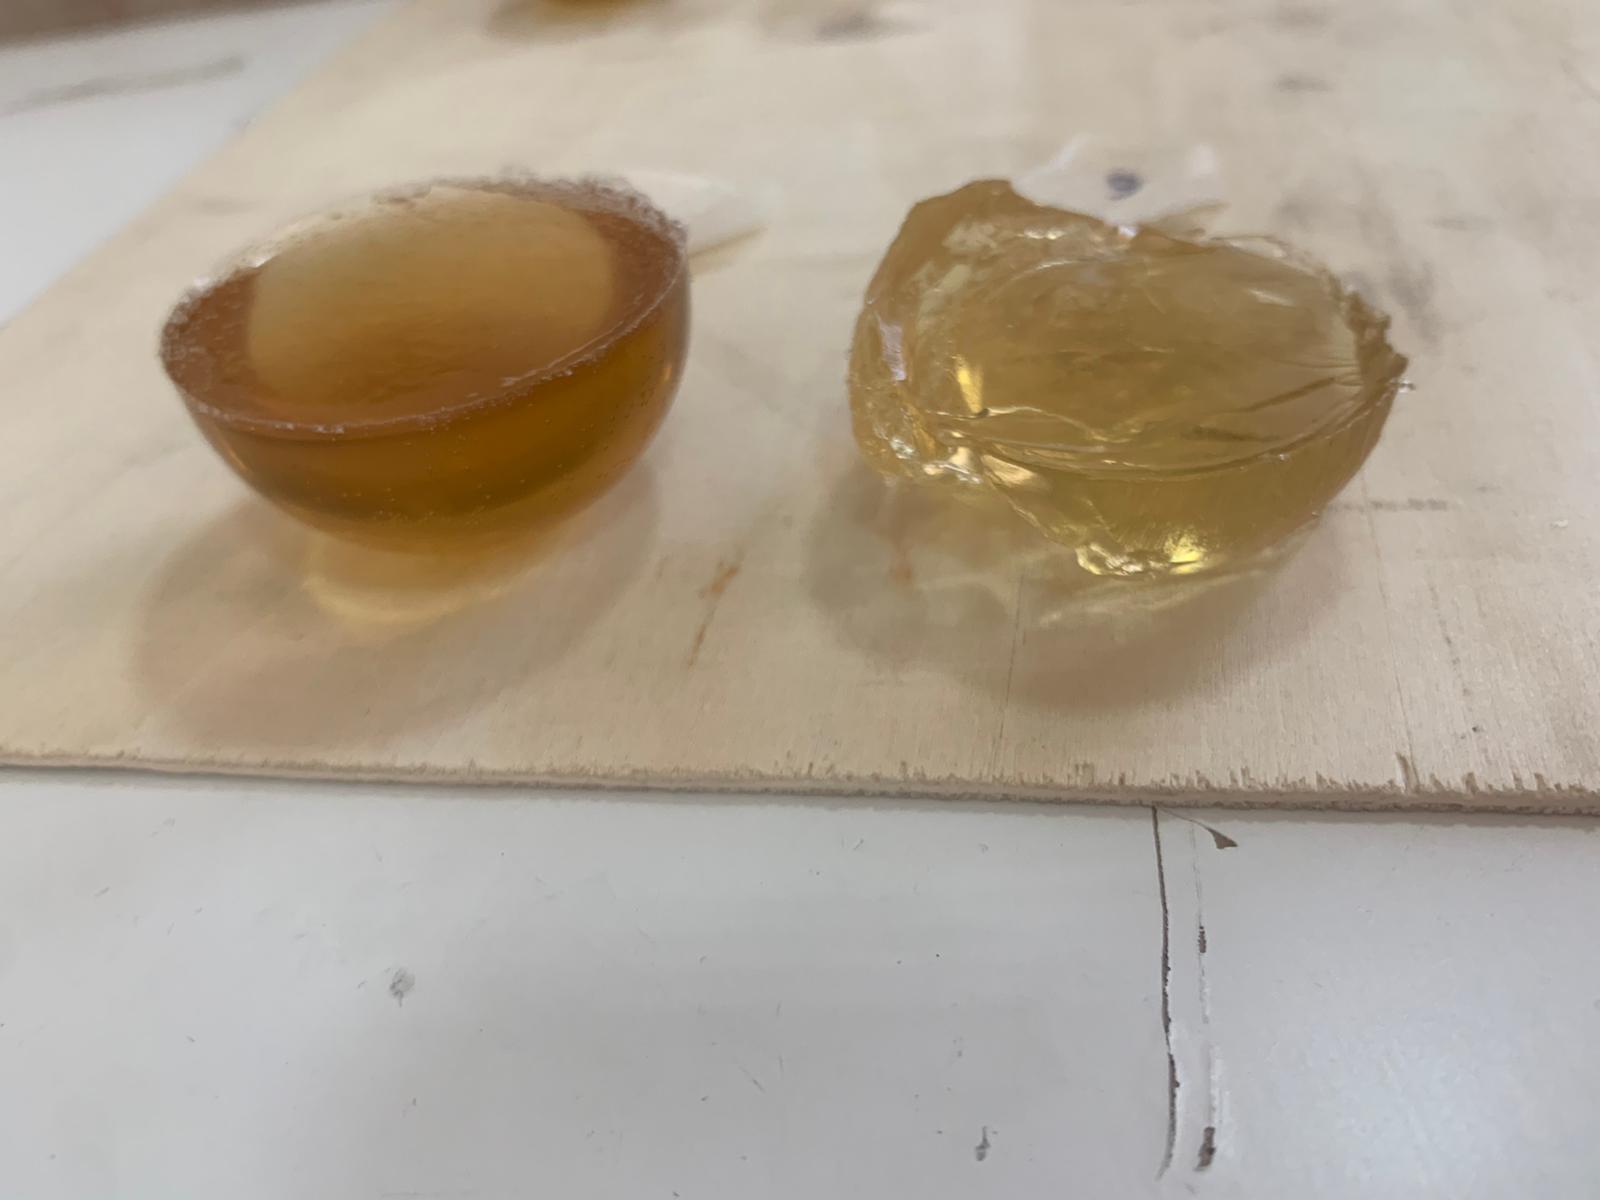
- We labeled it as 7
- The product was very good.
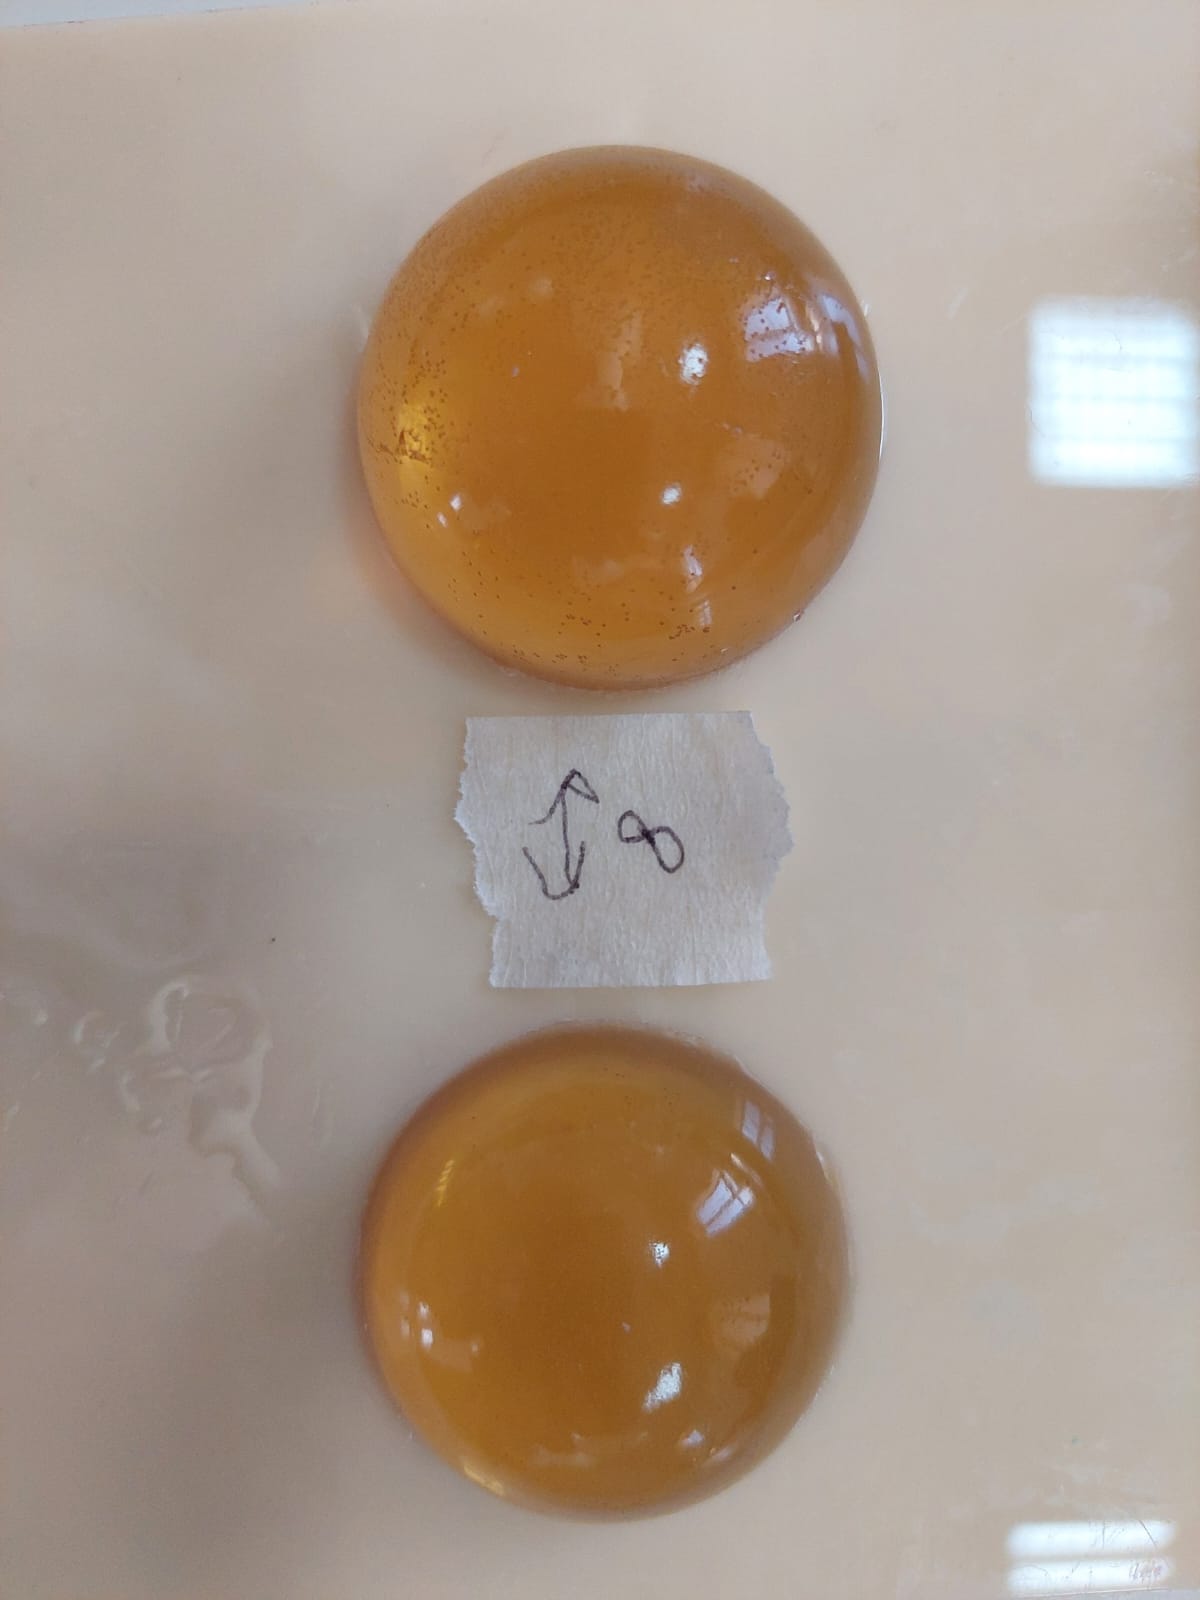
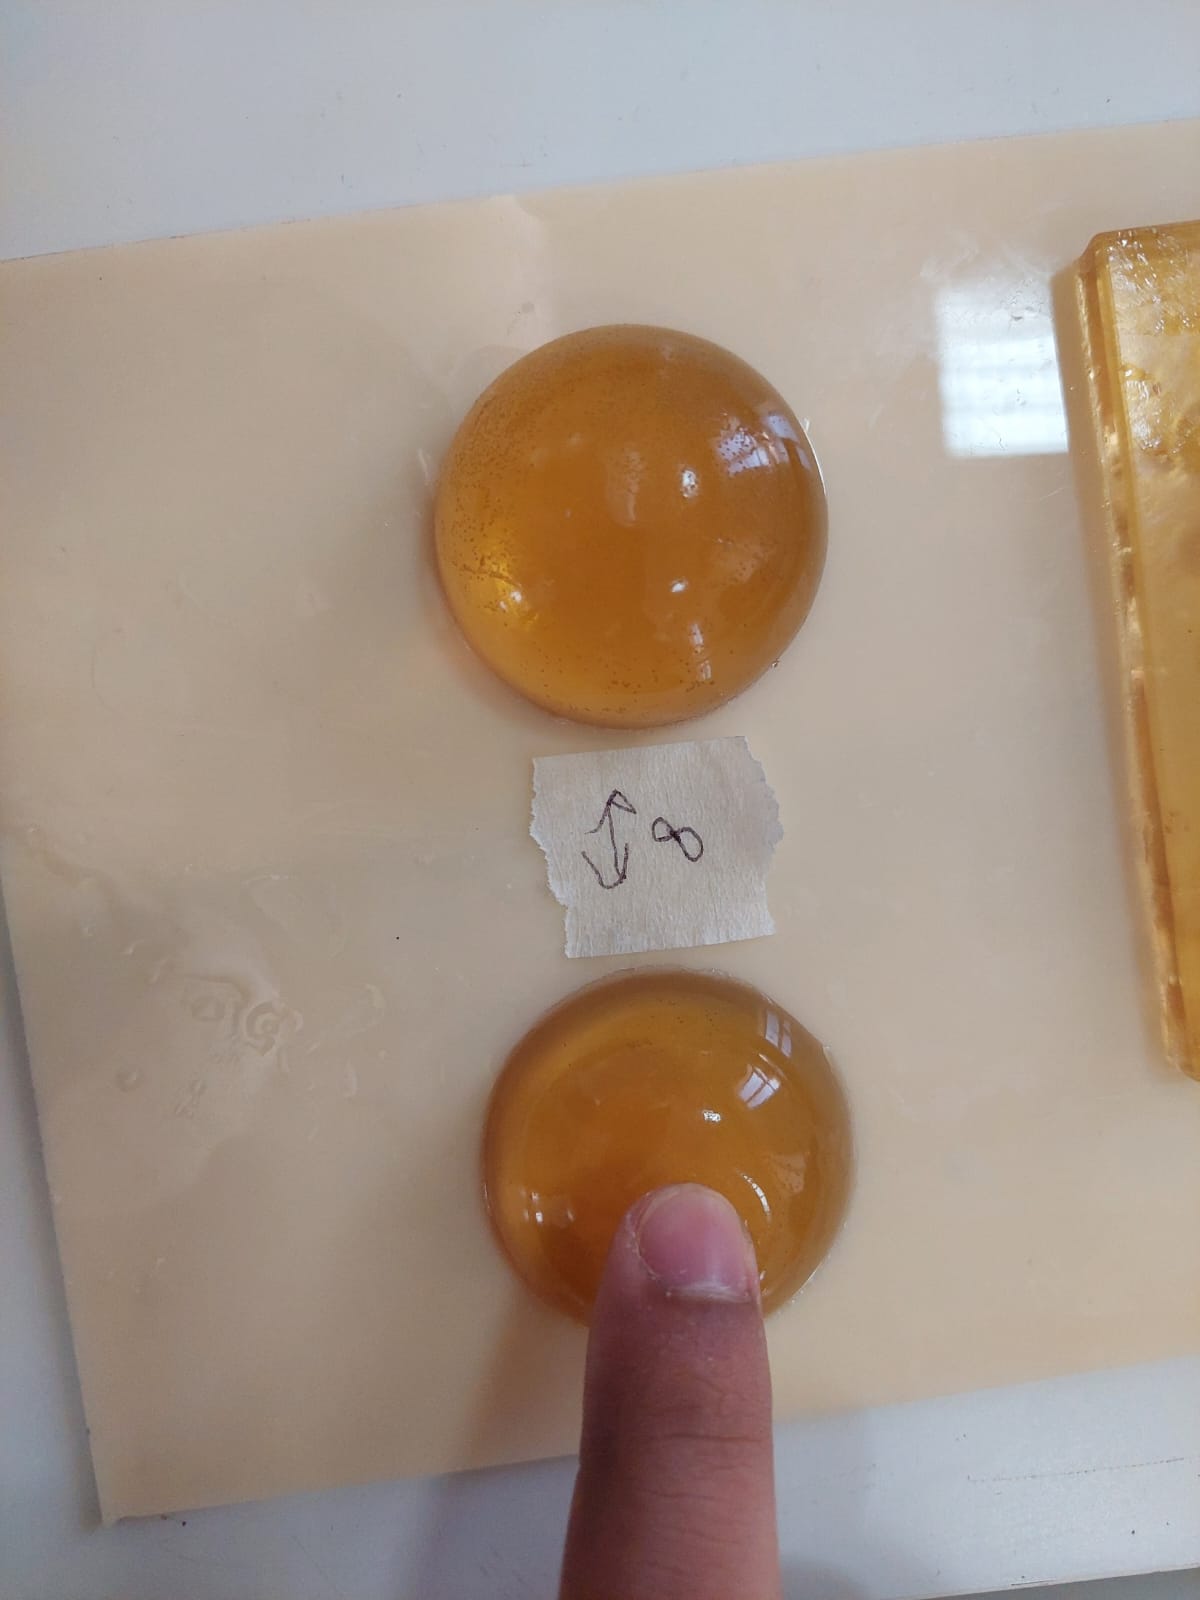
4.1.2.3 ReusableMold 08
In this recipe we lowered the glycerin, and increased both the gelatin and water.
| Glycerine (mL) | Water (mL) | Gelatin (g) |
|---|---|---|
| 10 | 30 | 8 |
- We labeled it as 8
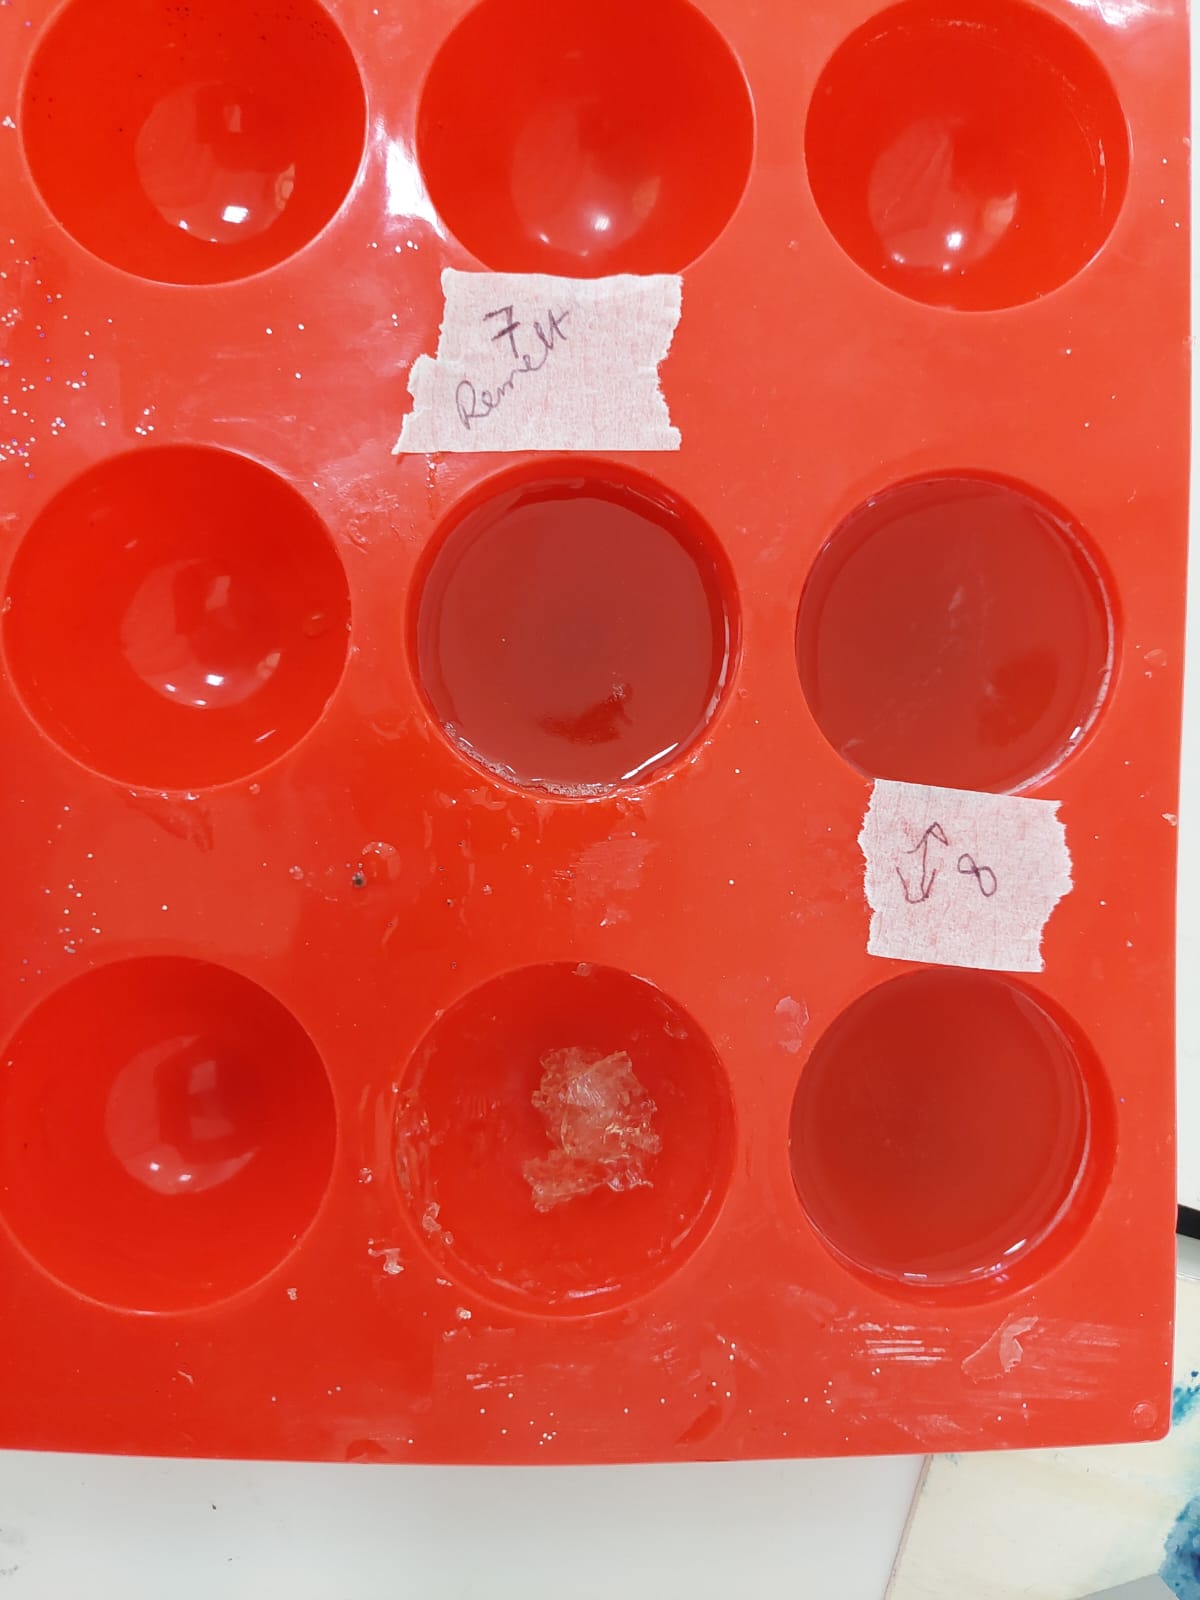
- We removed it after one day.
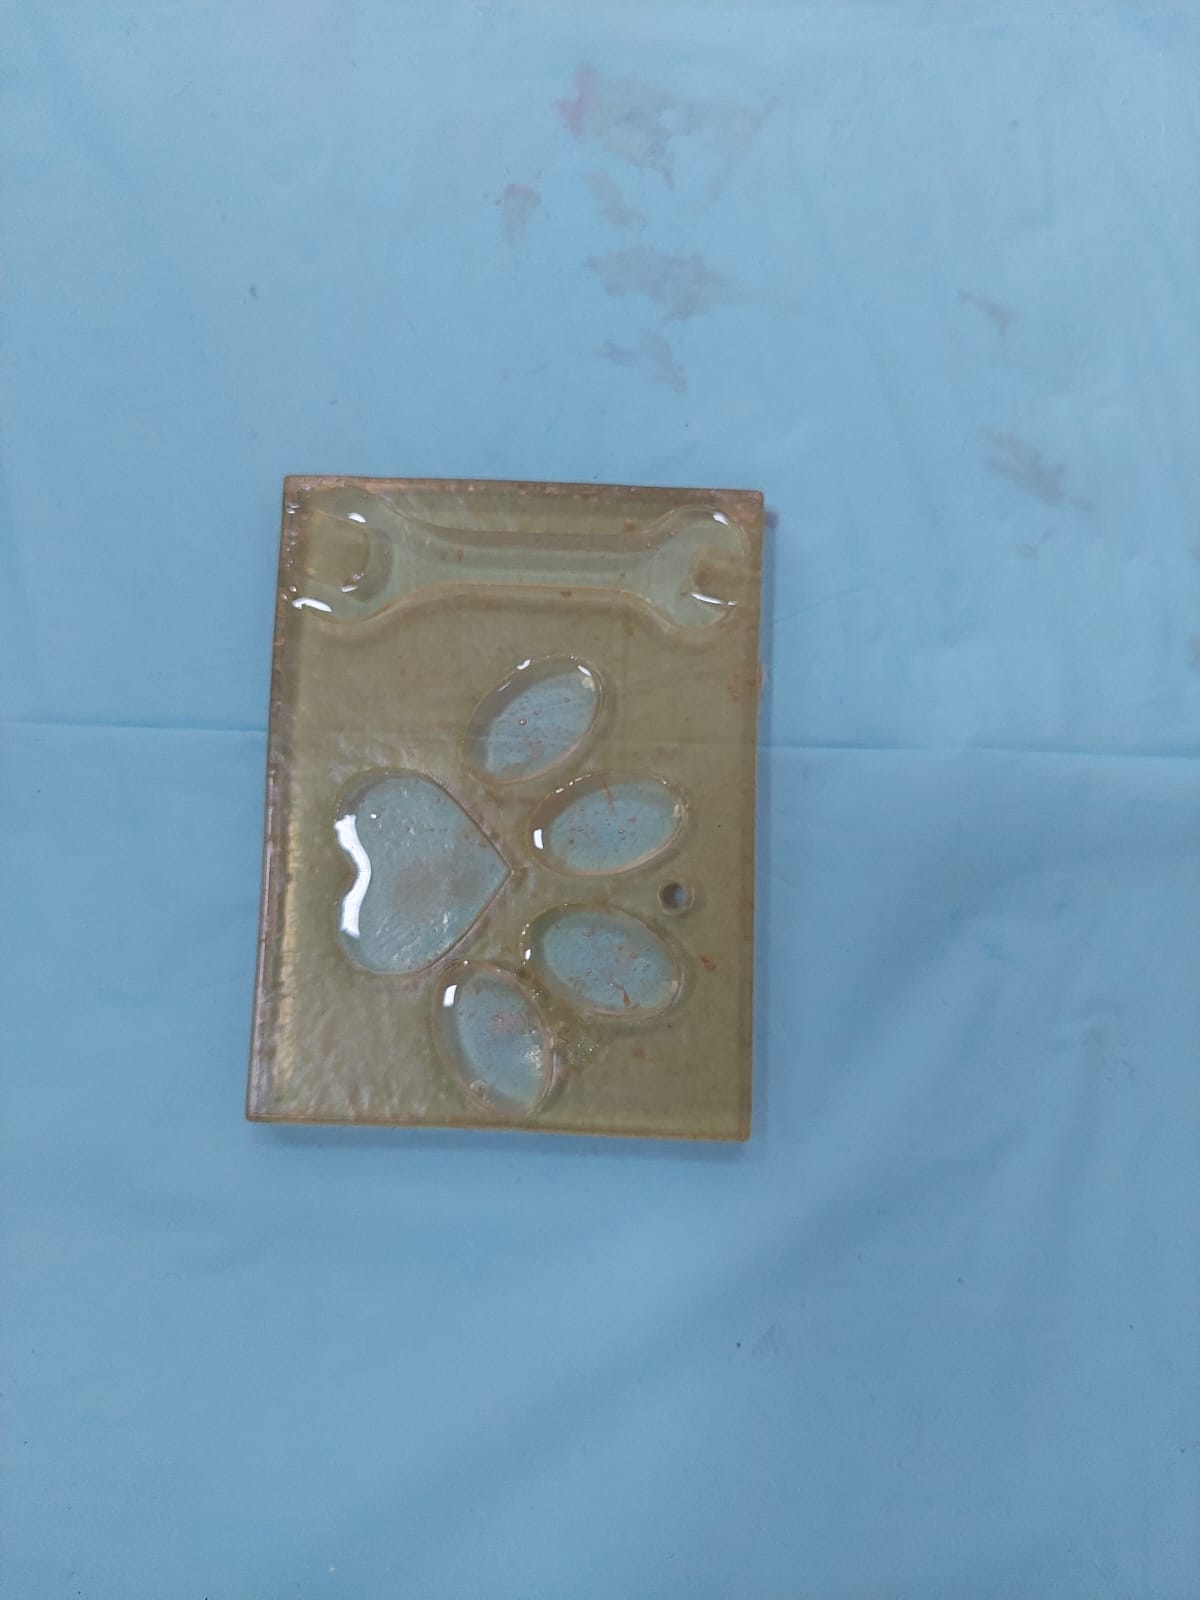
4.2 Casting
4.2.1 Casting on ReusableMolds with LEGOs.
We used a resin to caste it in the molds that we made in week 3, 3.3.4 ReusableMold 02 (3.2.1.2 ReusableMold 02) and 3.3.2 The first recipe of ReusableMold.
We calculated the volume of the LEGOs and we fond that it was approximately 2.25cm^3. So, we needed approximately 8g of the both resins. That is 5 to 3 ratio.
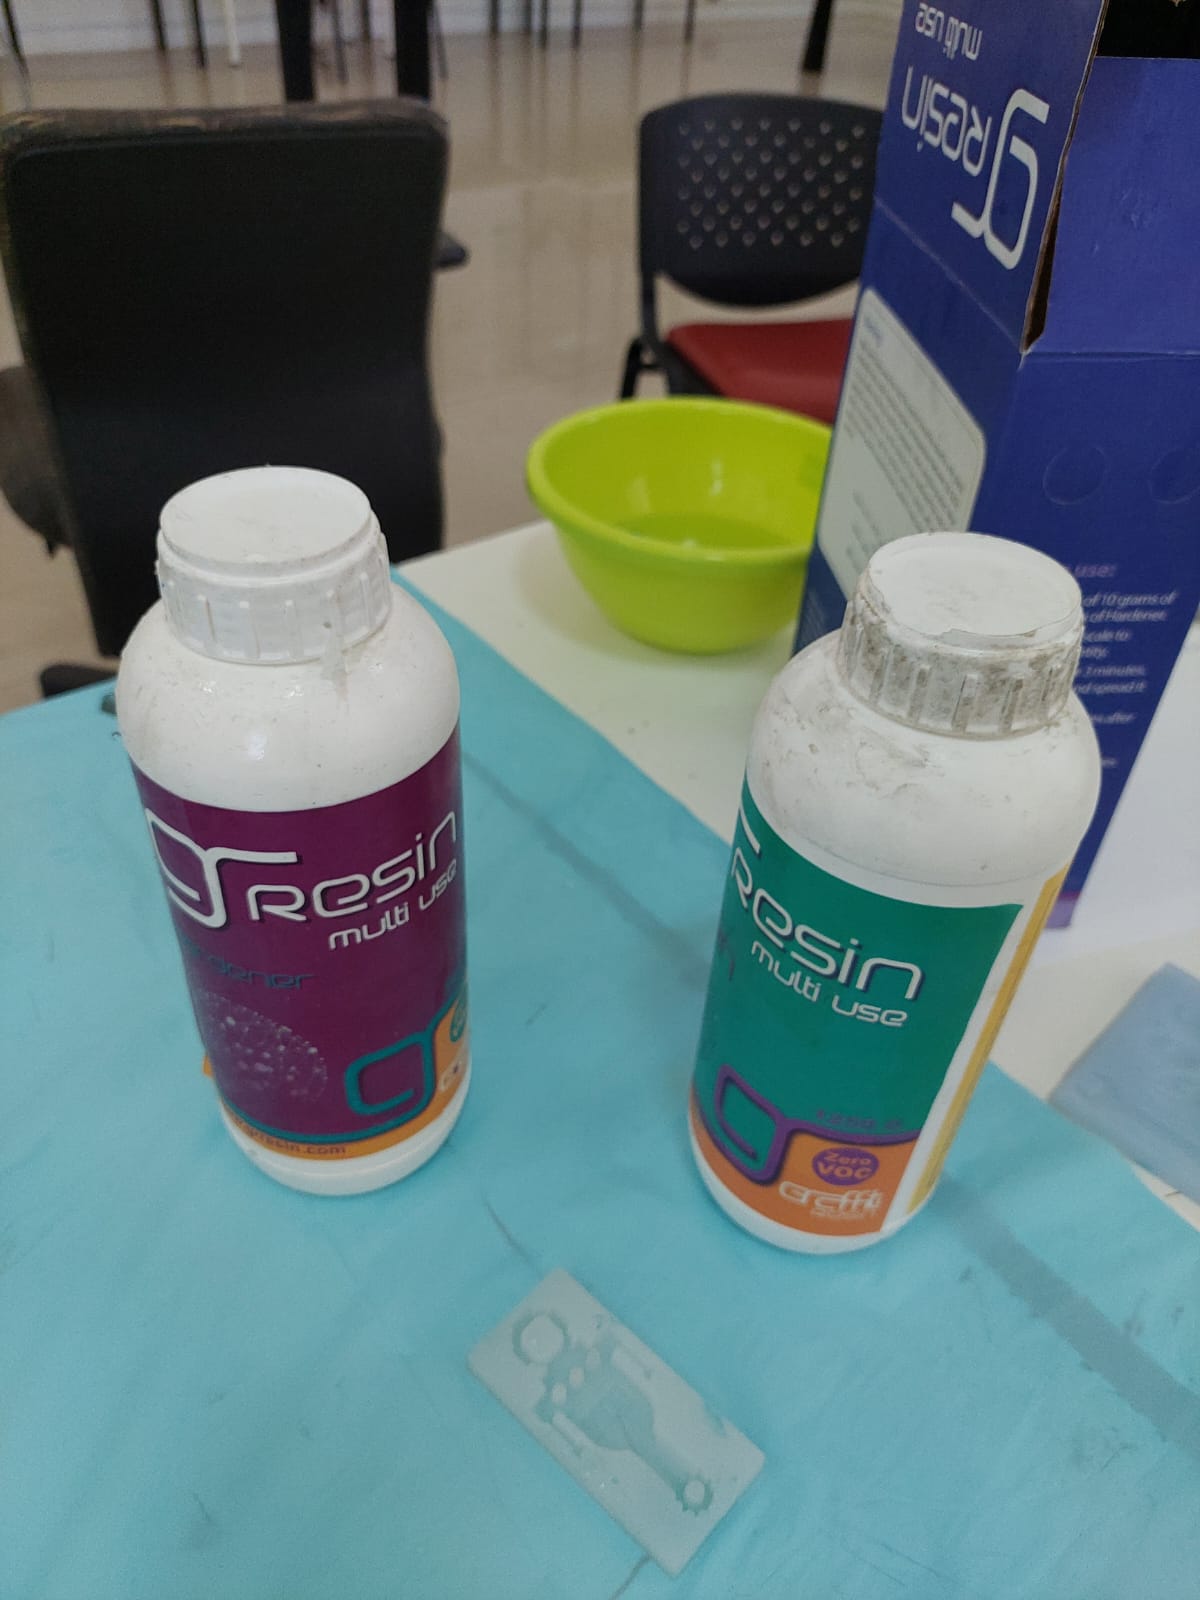
- This is the used resin.
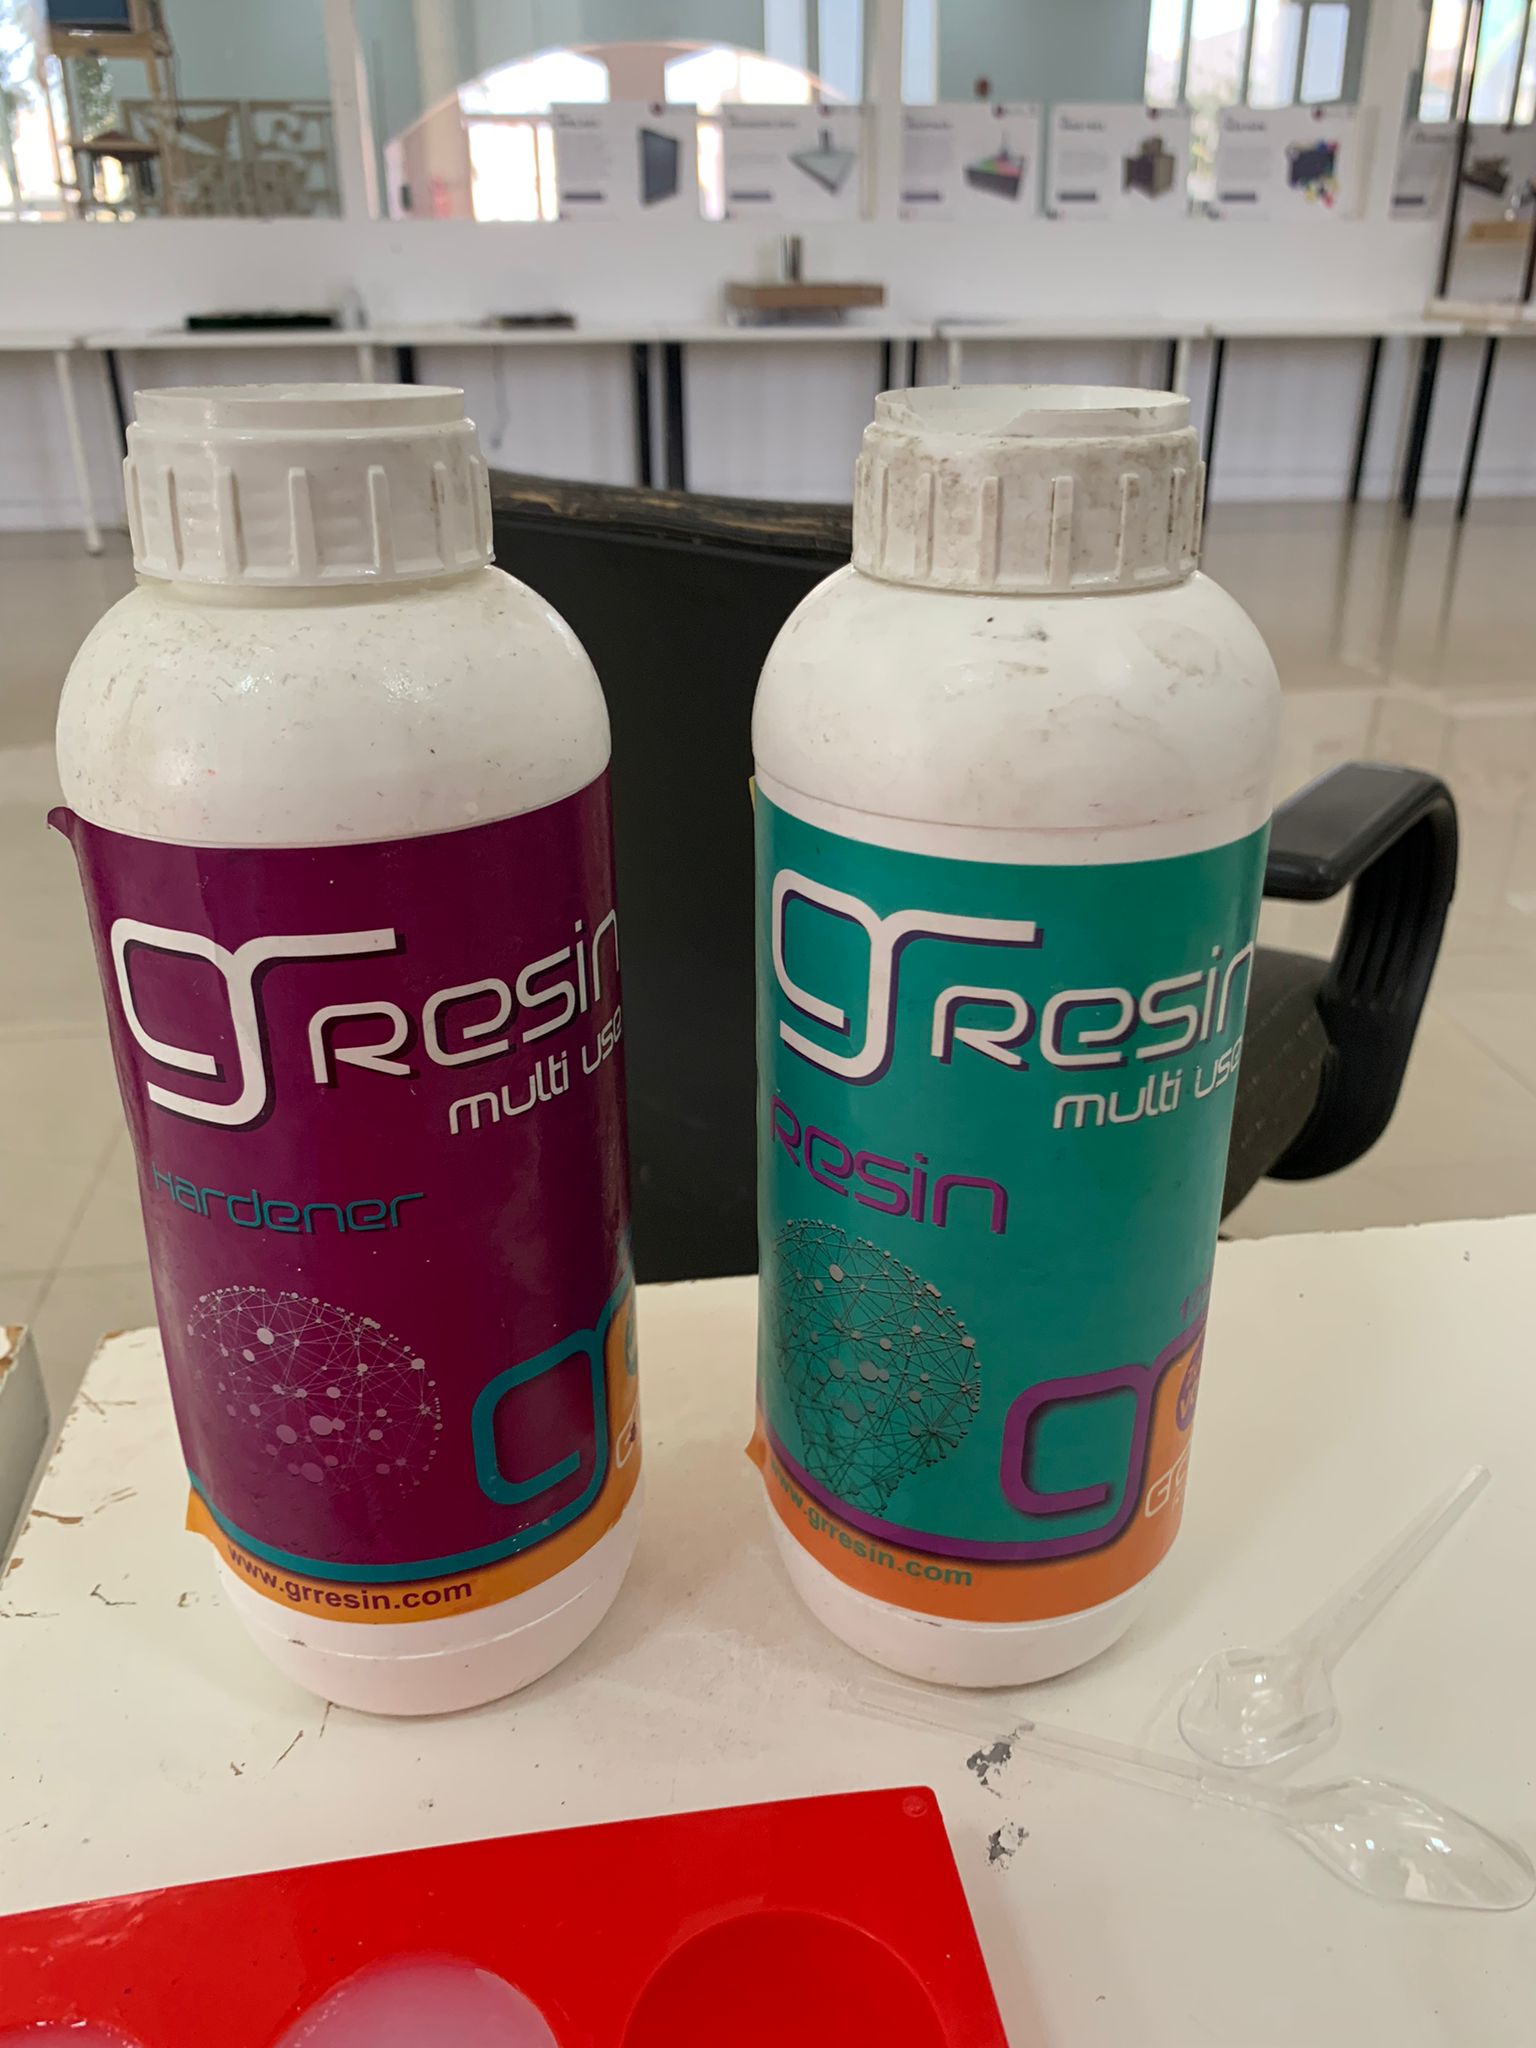
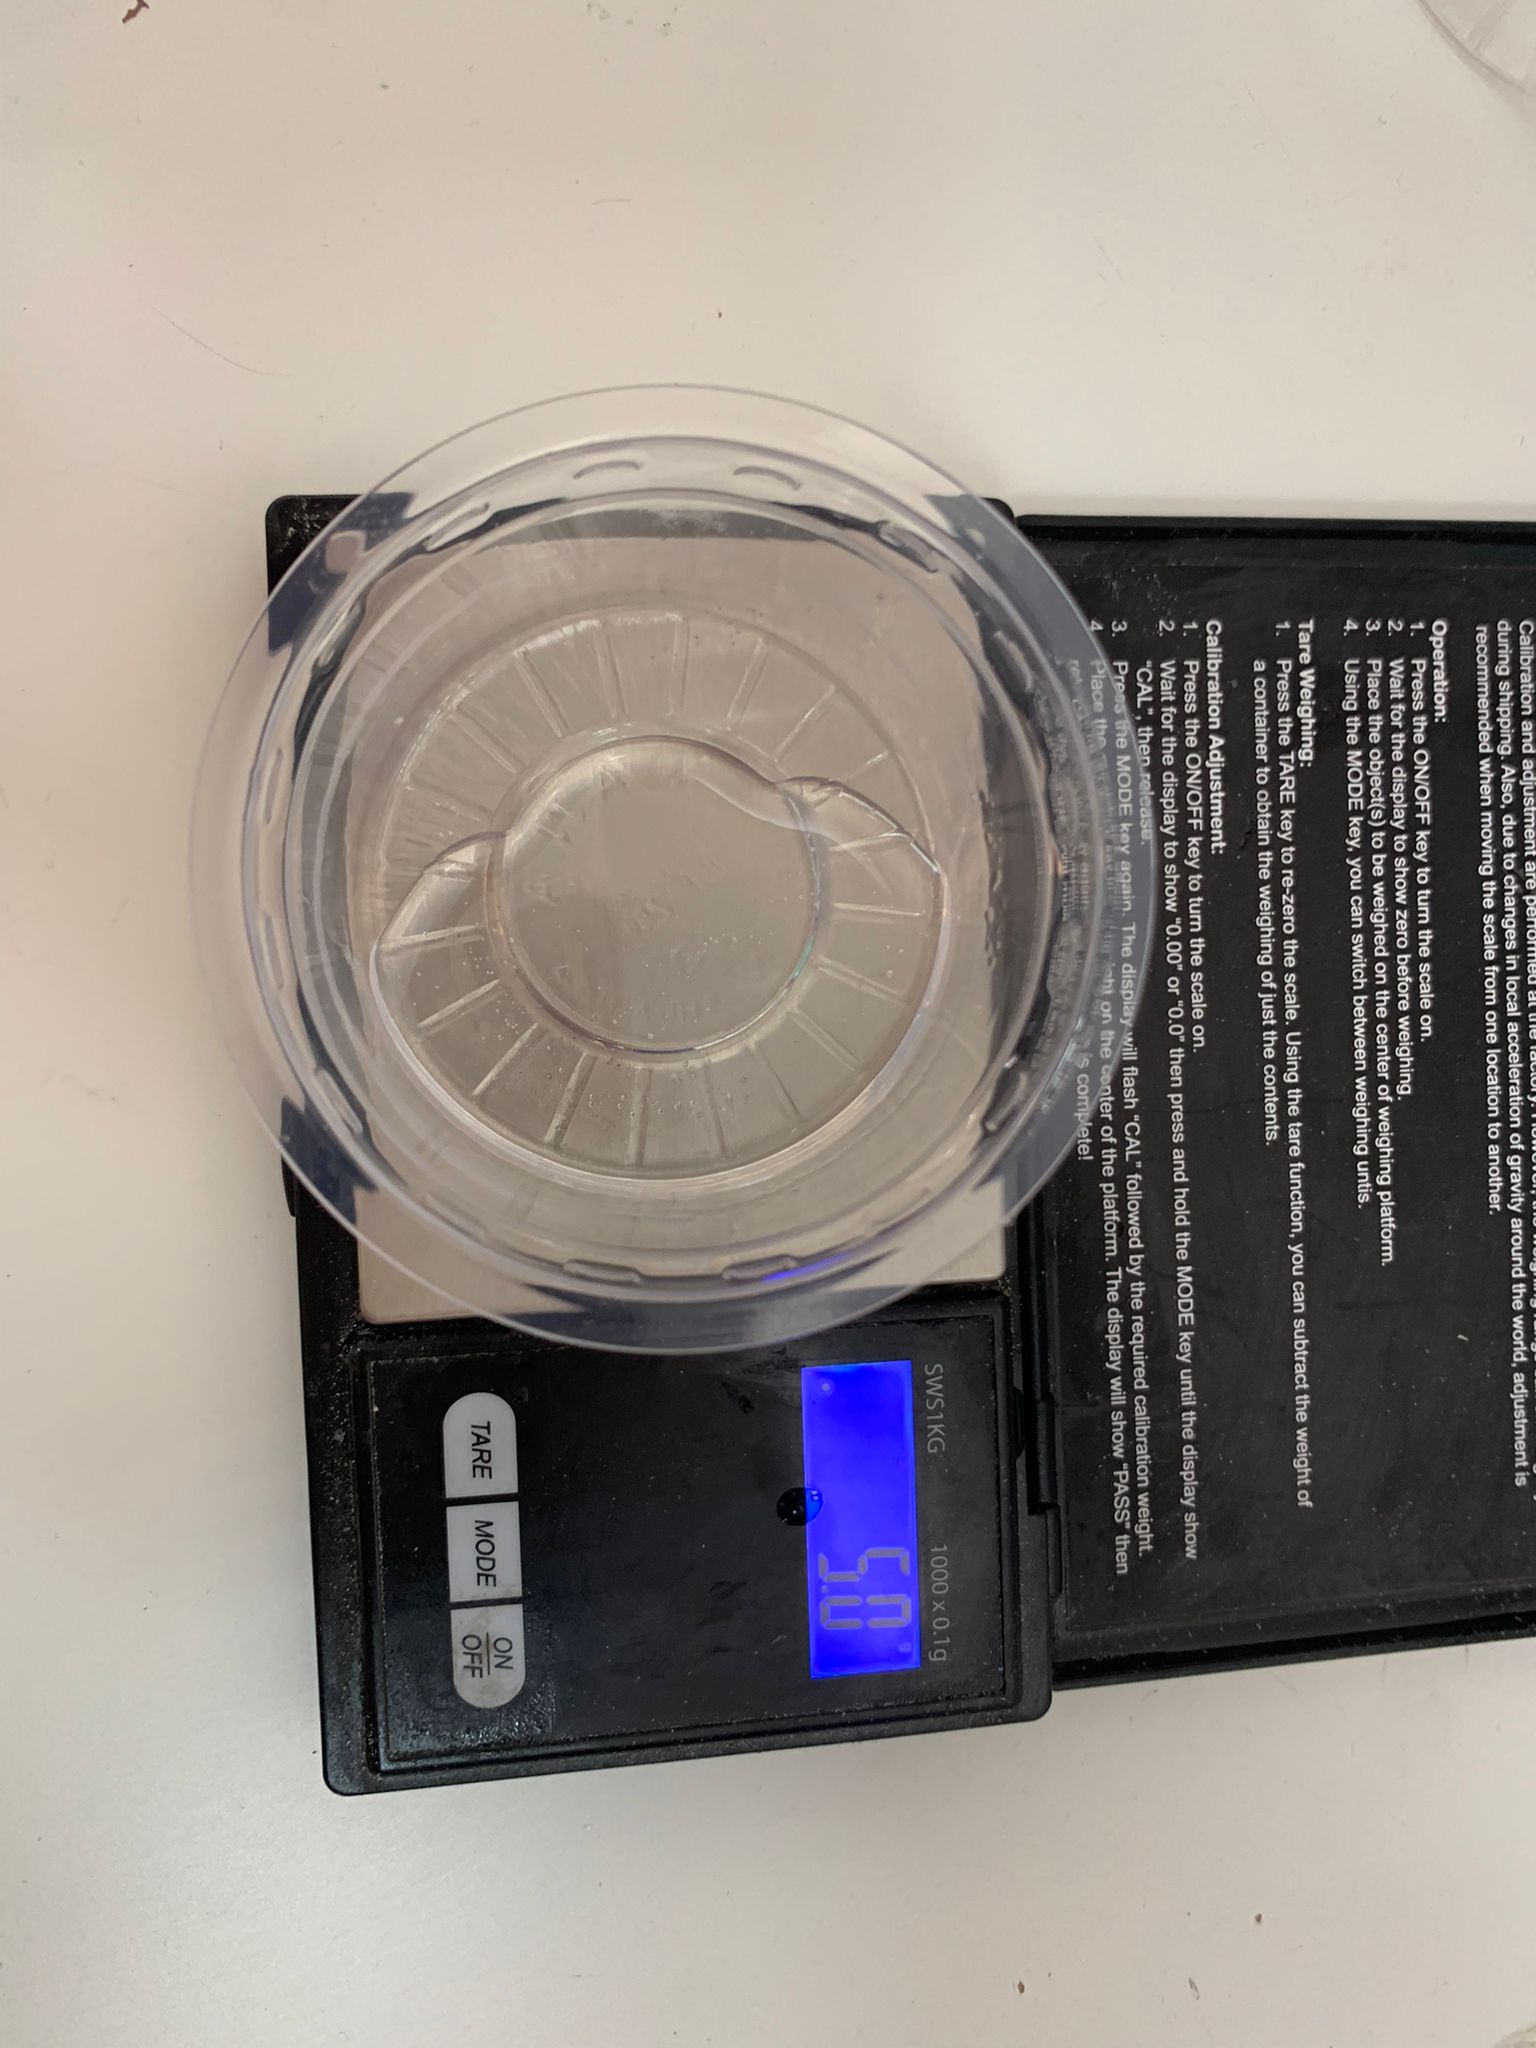
- We measured the needed amount.
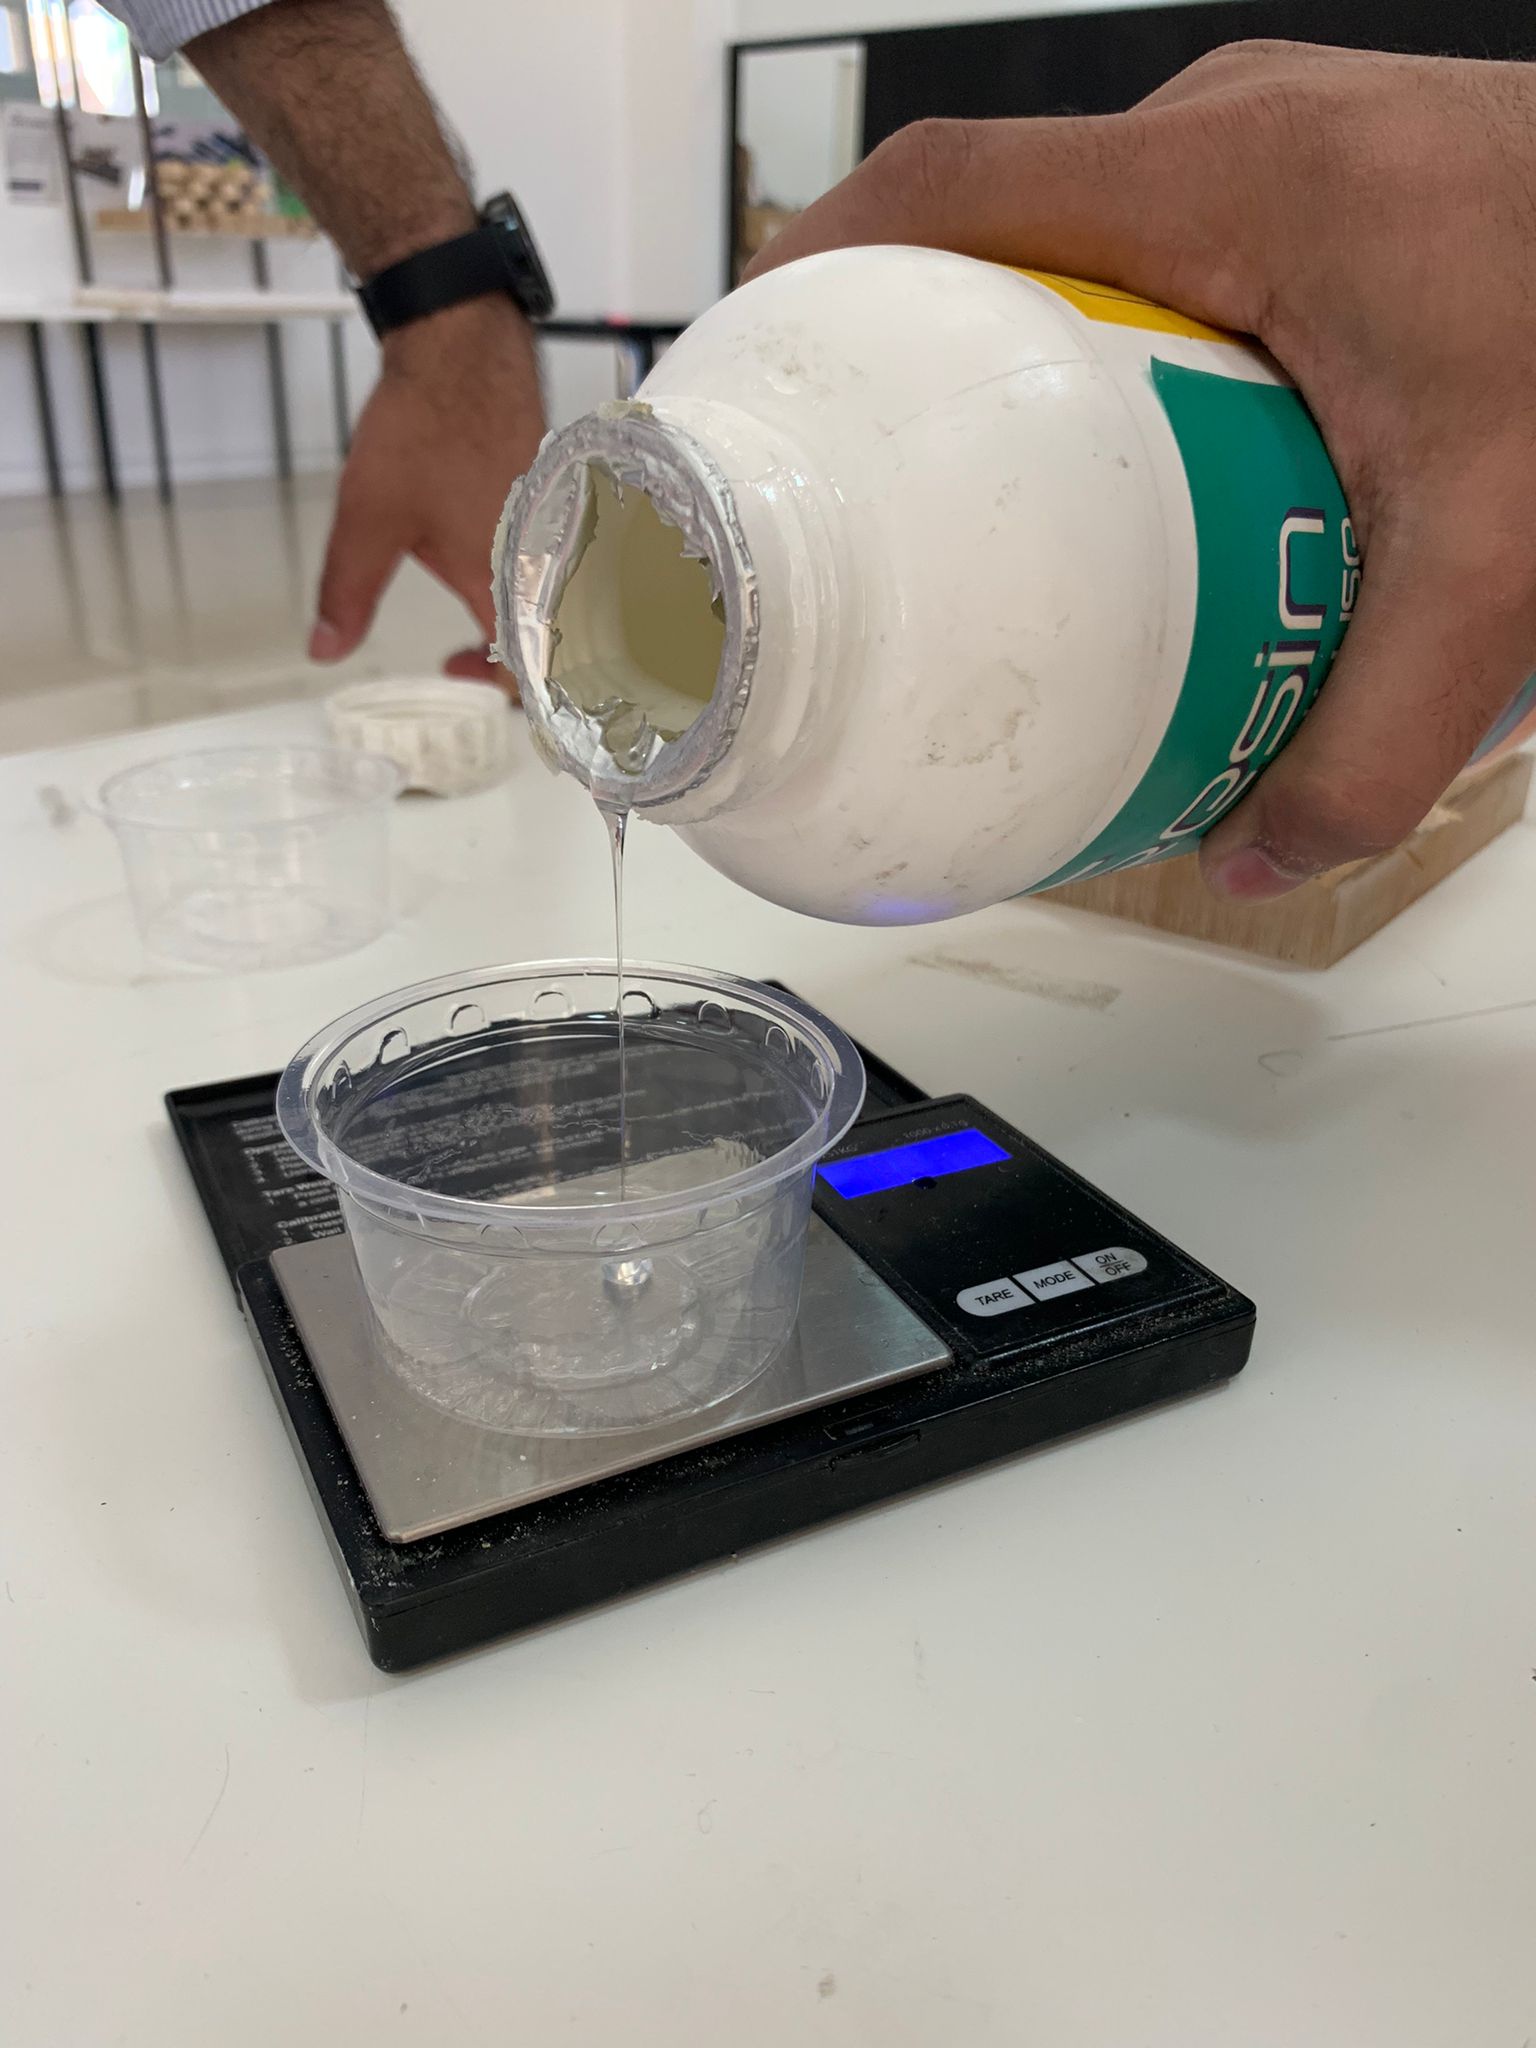
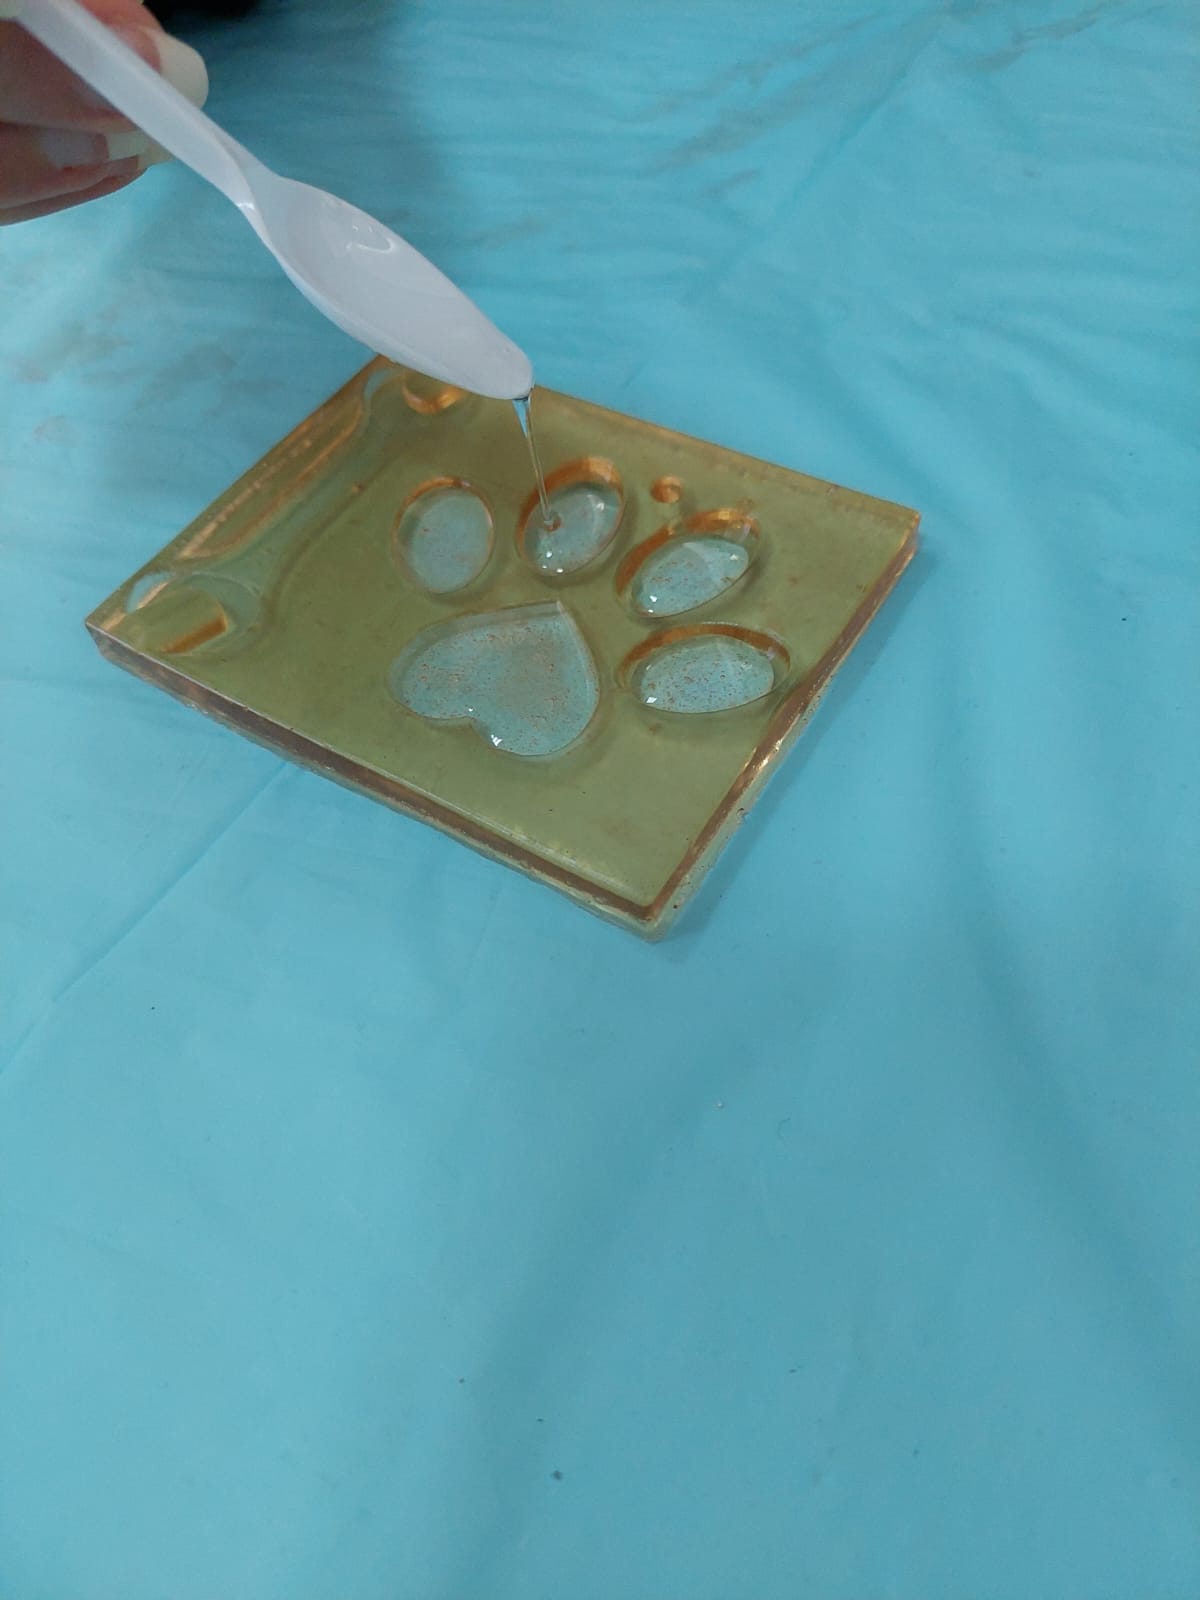
- We poured it in the ReusableMolds.
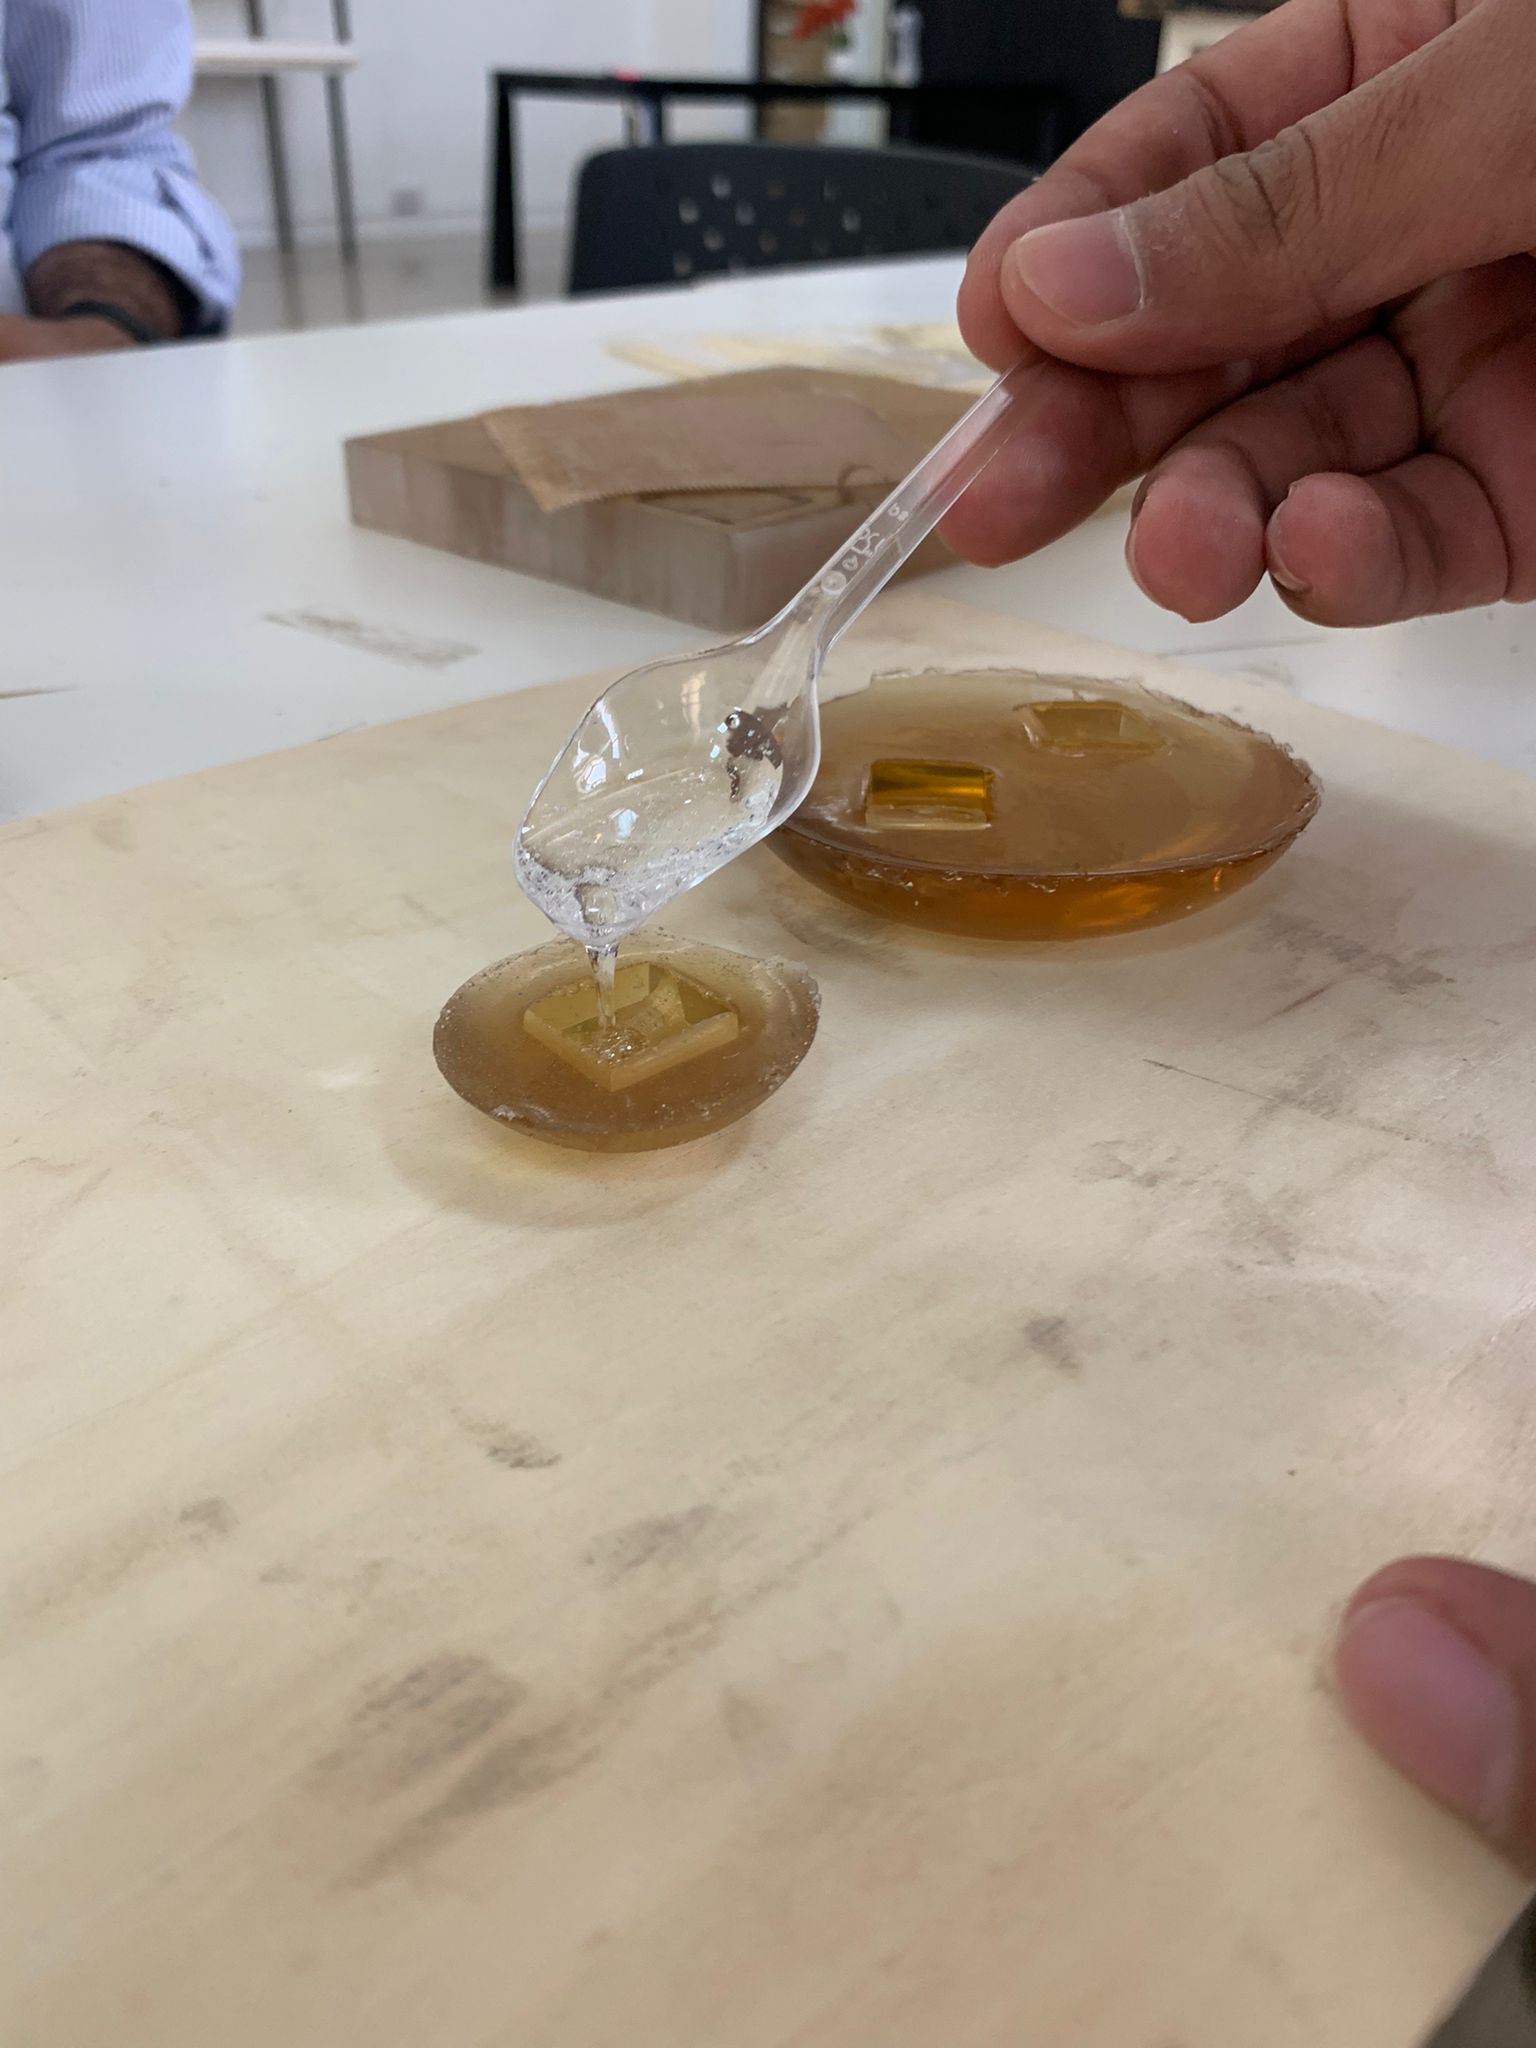

- We poured the remaining in a textile.
- After one day, we removed the resins and the result was good. One of the mold had a bubble in the middle and it appeared in the resin too.
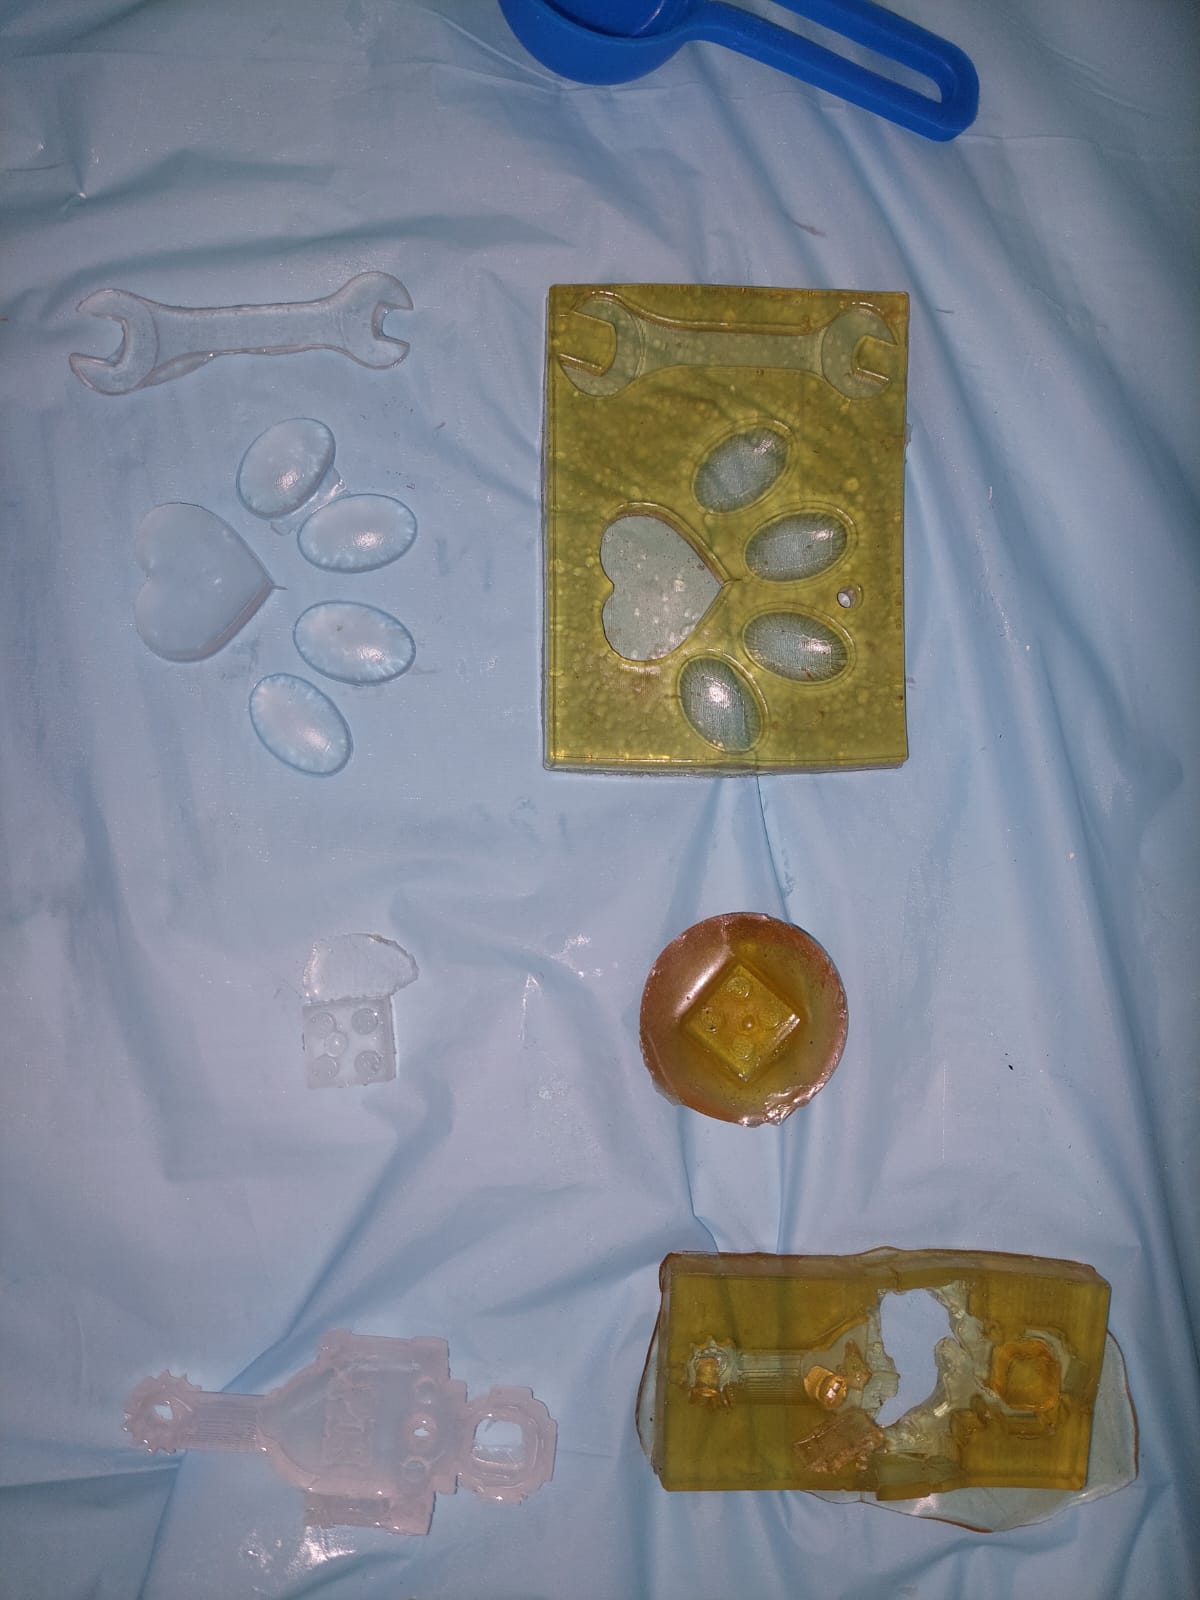
4.2.2 Casting on ReusableMolds with different shapes.
After removing the molds from the negative molds in 4.3.1 Molding and 4.3.2 Molding, we poured a resin in both. For 4.3.1, we used 6.2 : 3.8 ratio. For 4.3.2, we used 8.7 : 5.2 ratio.
- We used these molds to calculate the needed ratios by filling them with water.
- These are the used resins.
- We filled the molds.
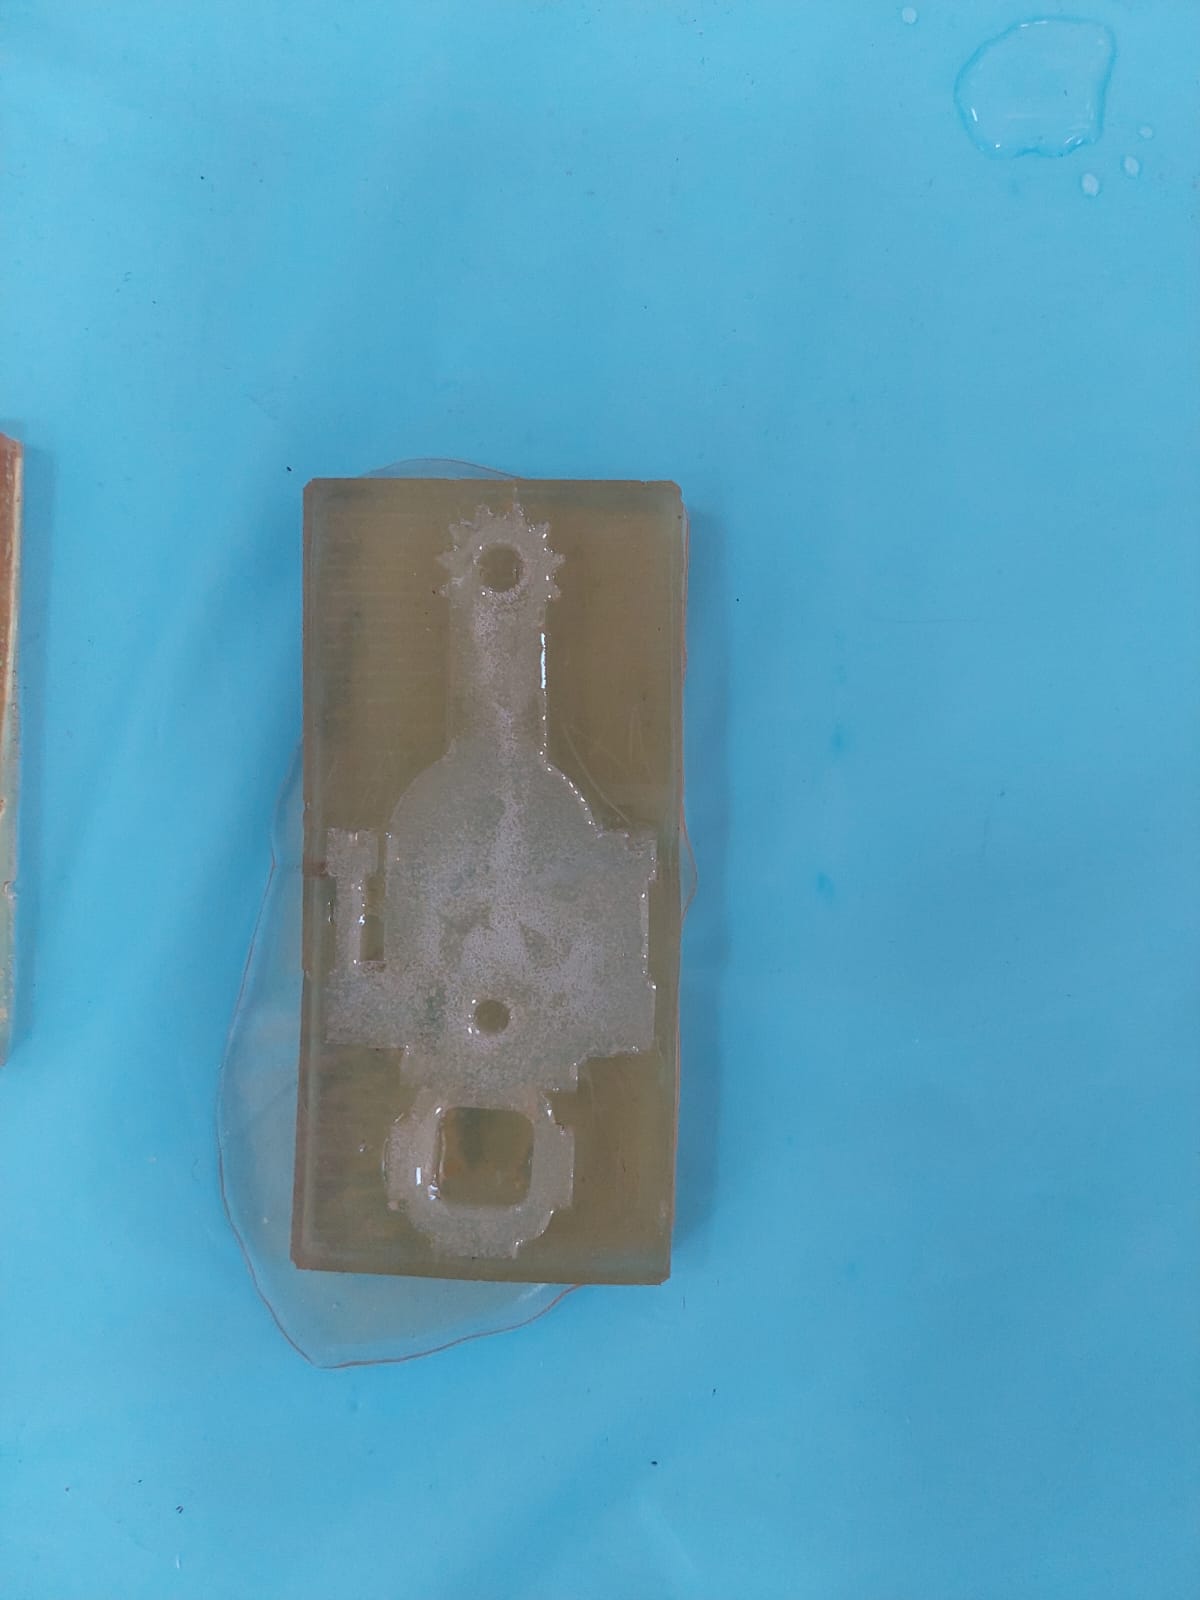
- We had an excess when we poured it in 4.3.2 Molding, so we poured it in one of the molds that we made before.
- After one day, we removed the casted resin. For 4.3.1 Molding, the resin leaked out maybe because the negative mold had a lot of details on it, and we destroyed the ReusableMold while removing the resin. The other ReusableMolds were actually good.
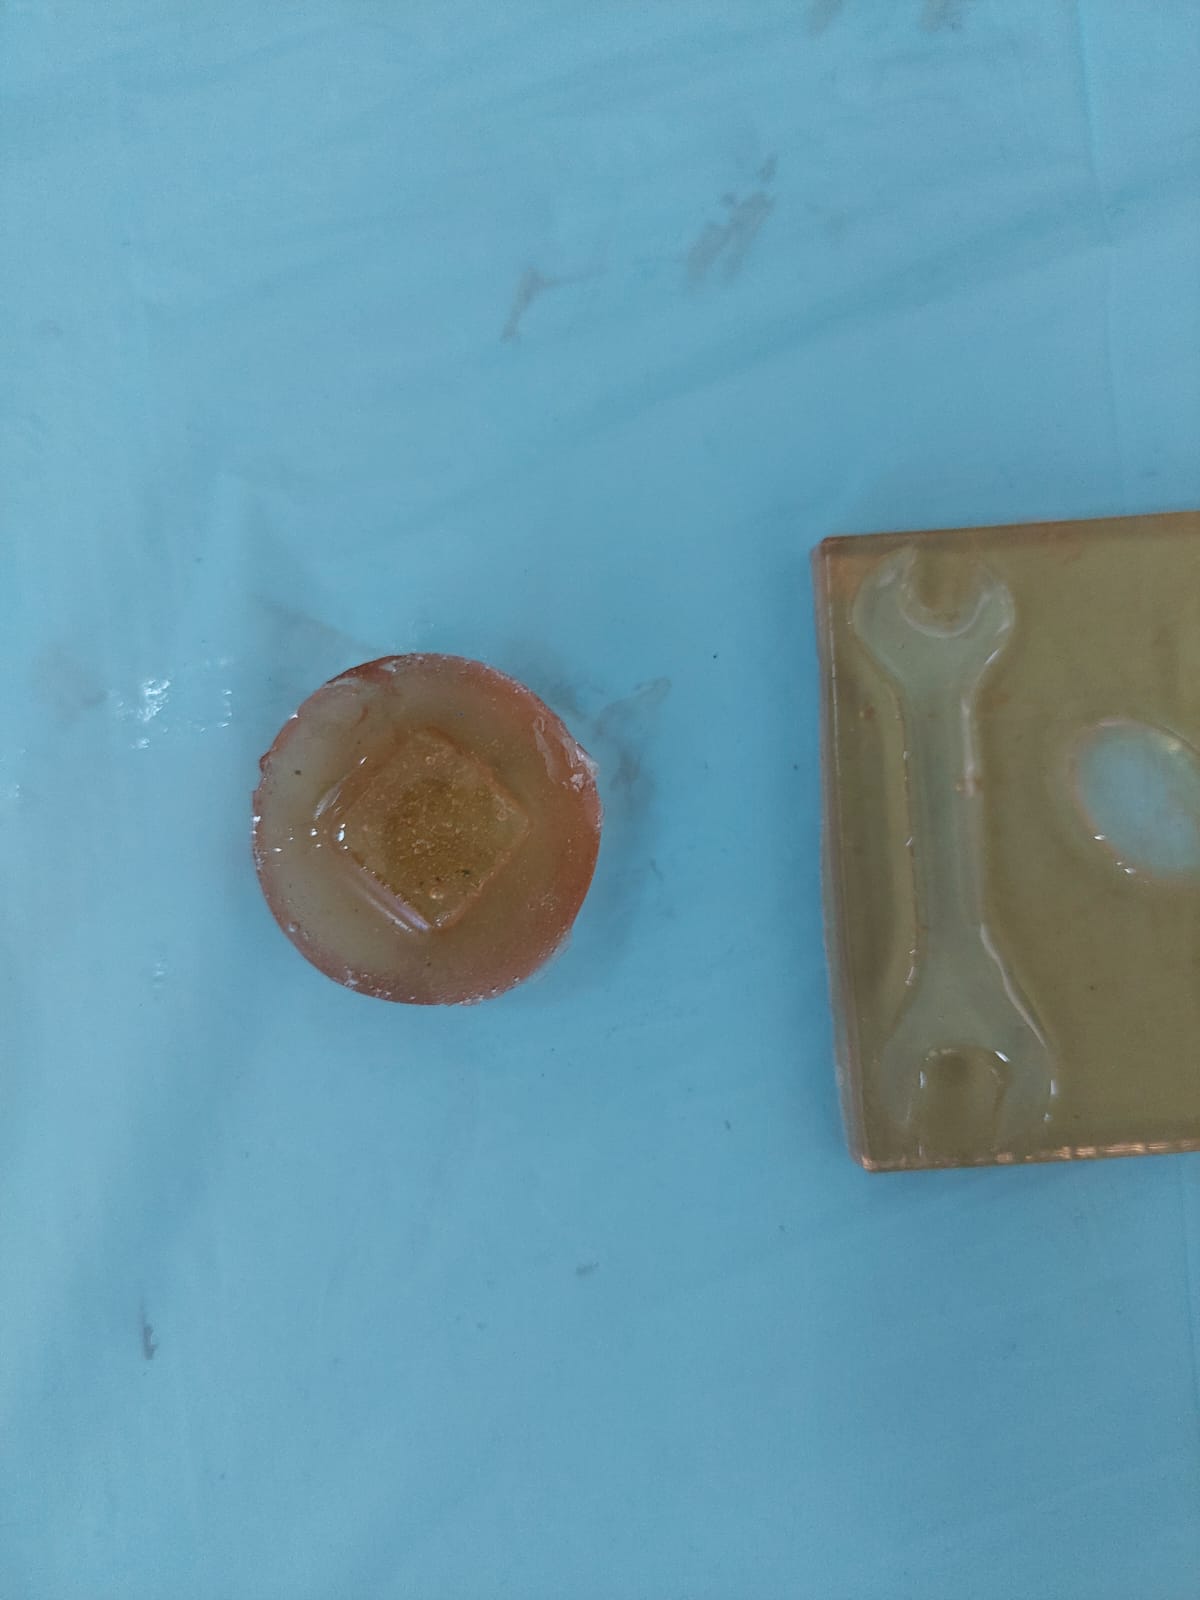
4.3 Molding
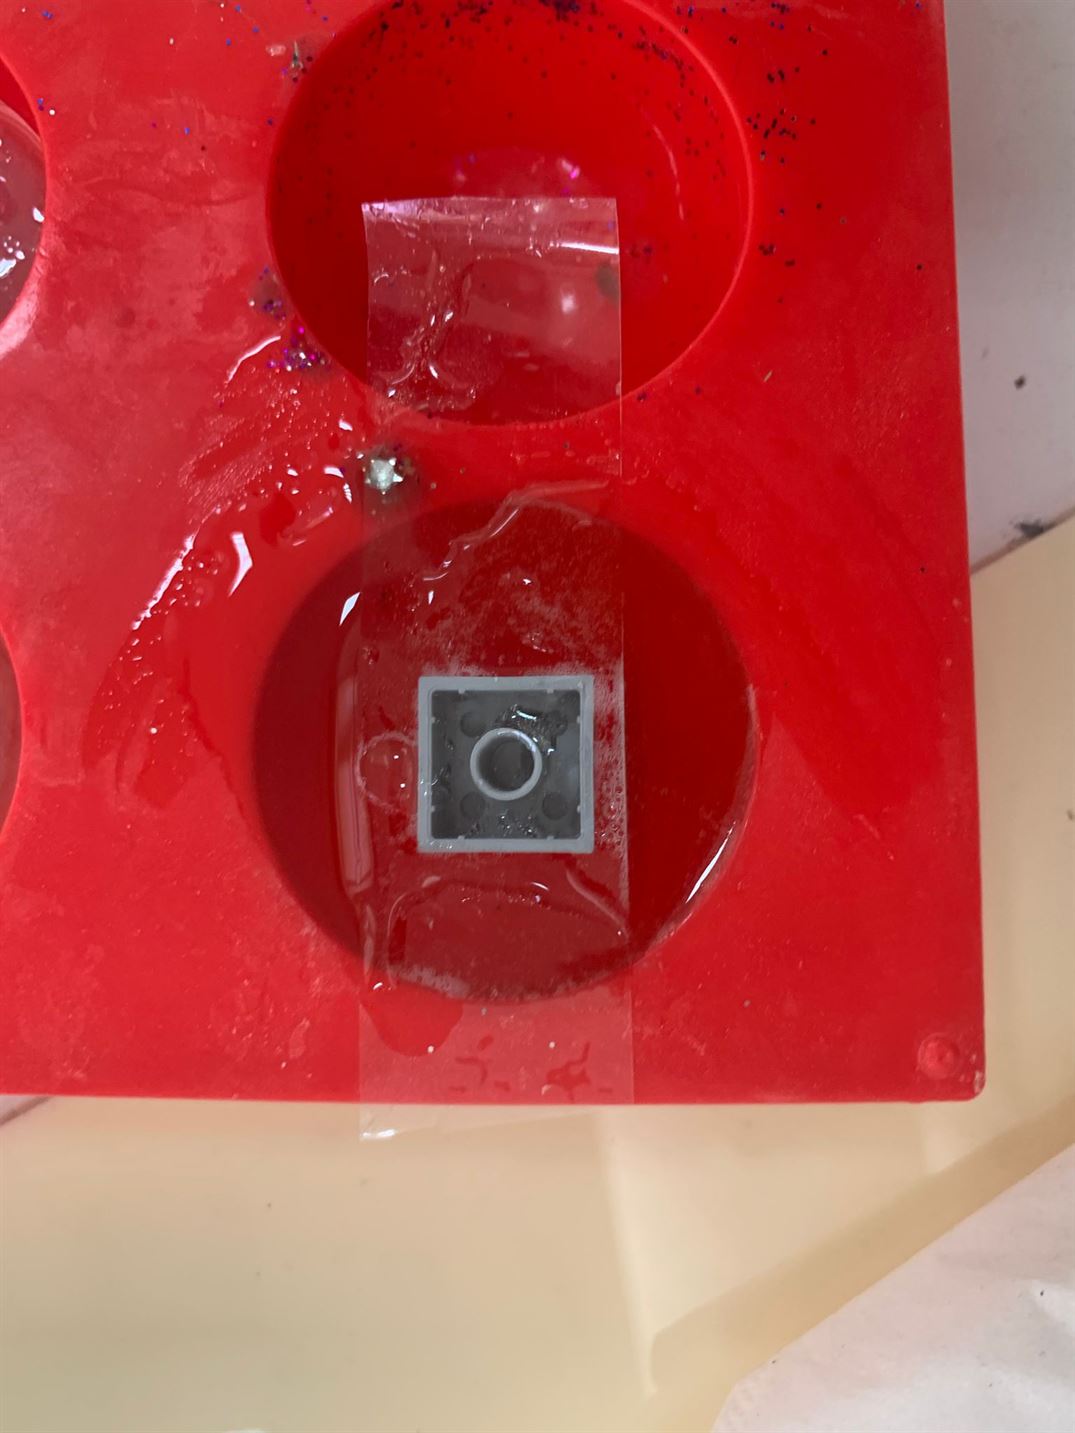
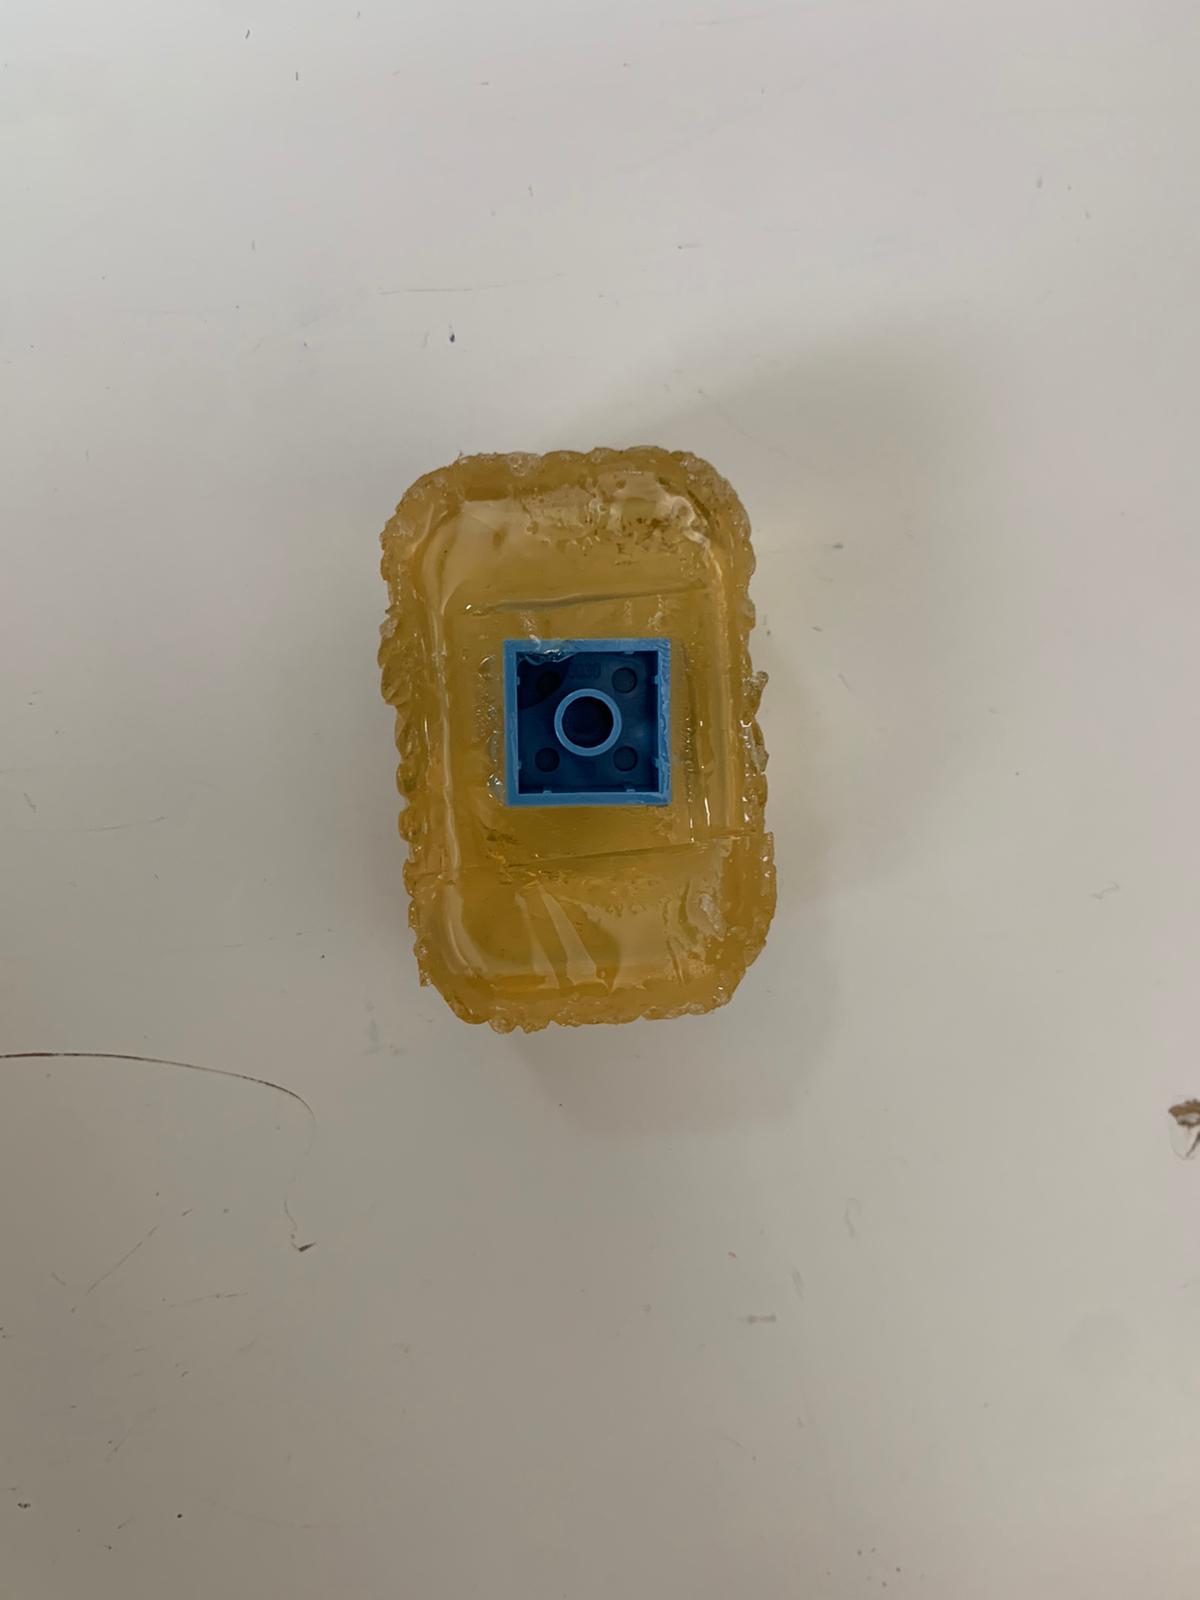
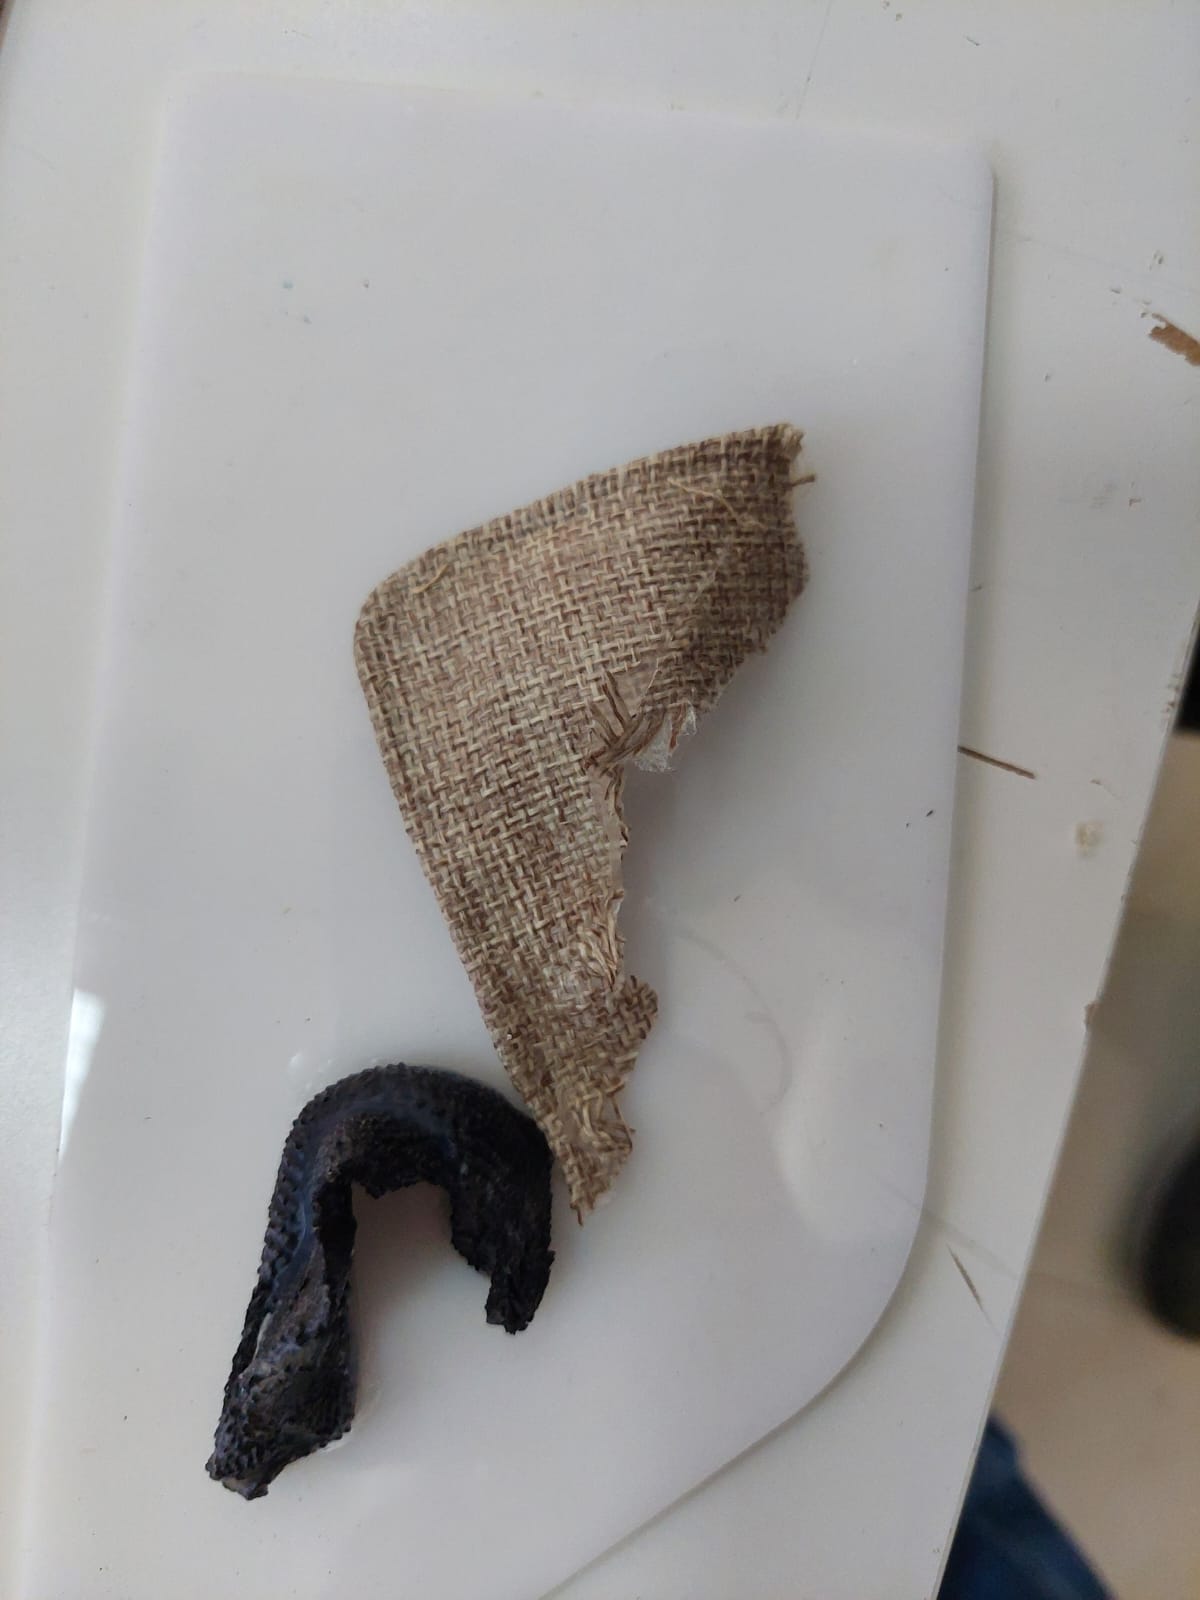
4.3.1 Molding 3.3.4 ReusableMold 02 (3.2.1.2 ReusableMold 02)
We melted 3.3.4 ReusableMold 02 (3.2.1.2 ReusableMold 02) that we used with the resins before, and we poured it in a mold.
- We used heat and air to get rid of the bubbles.
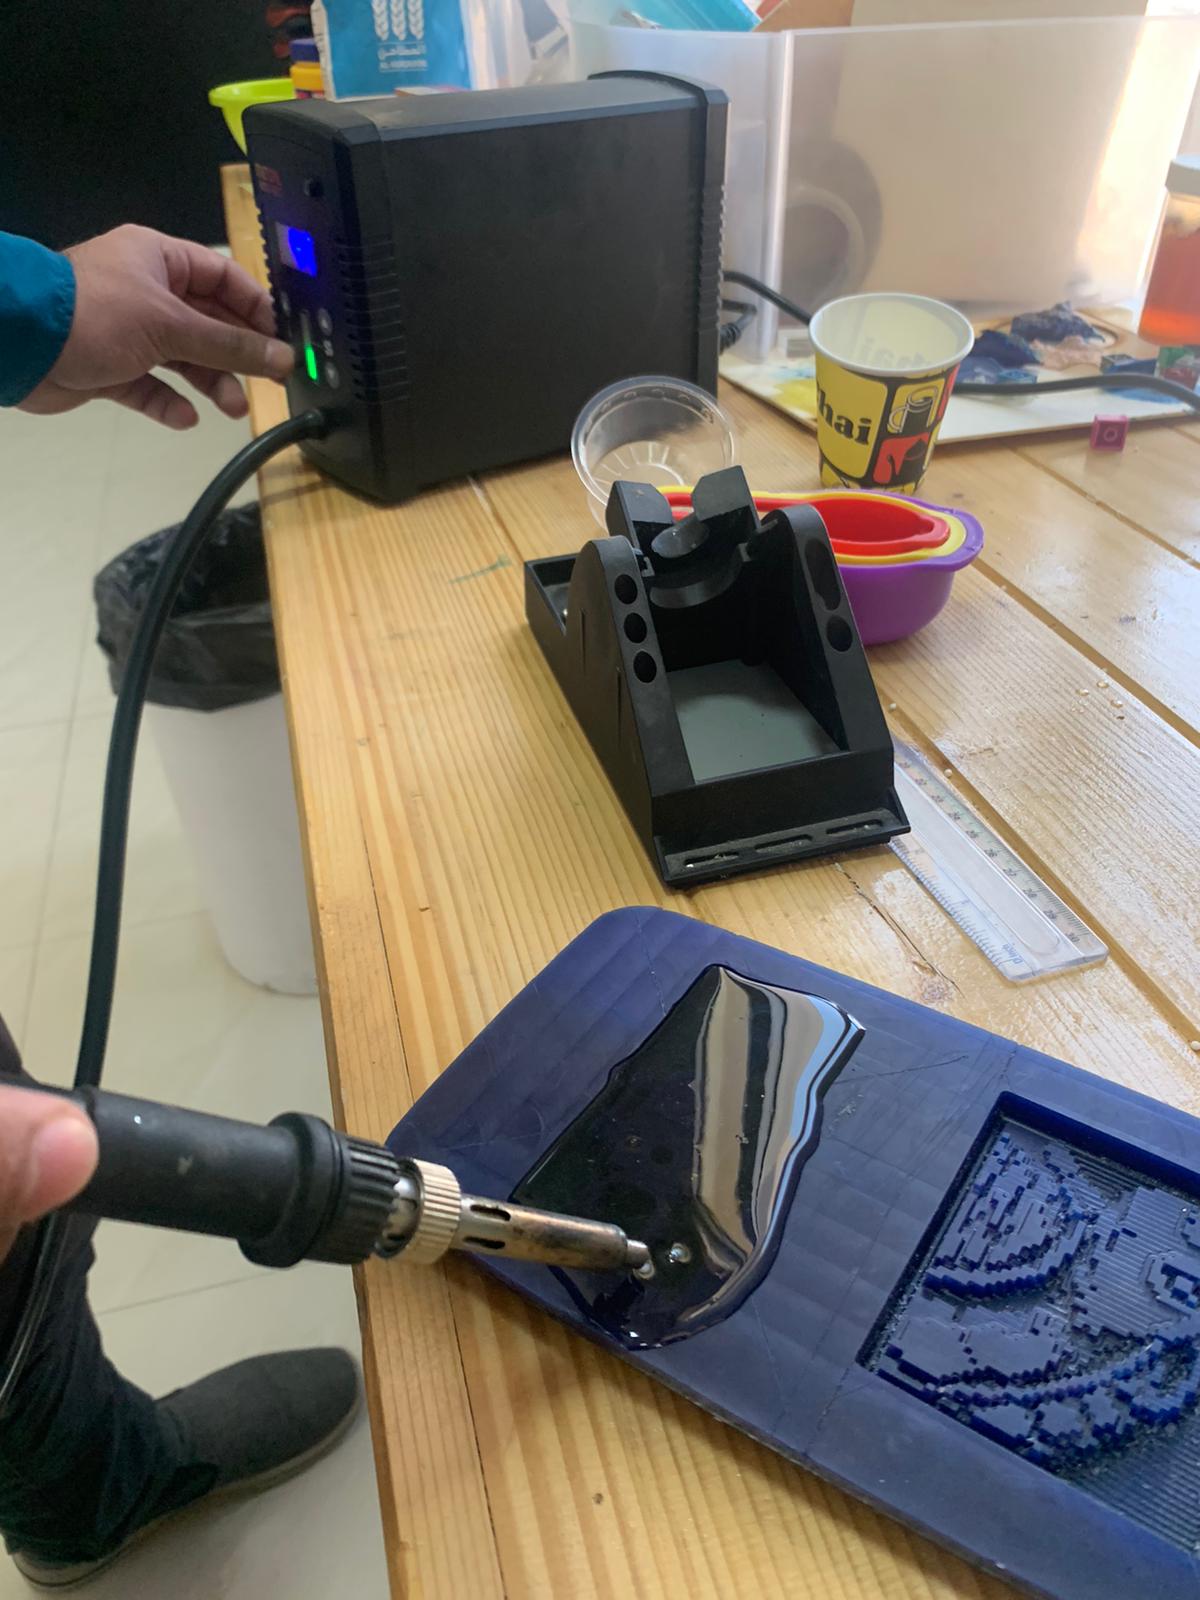
- The product is in the right.
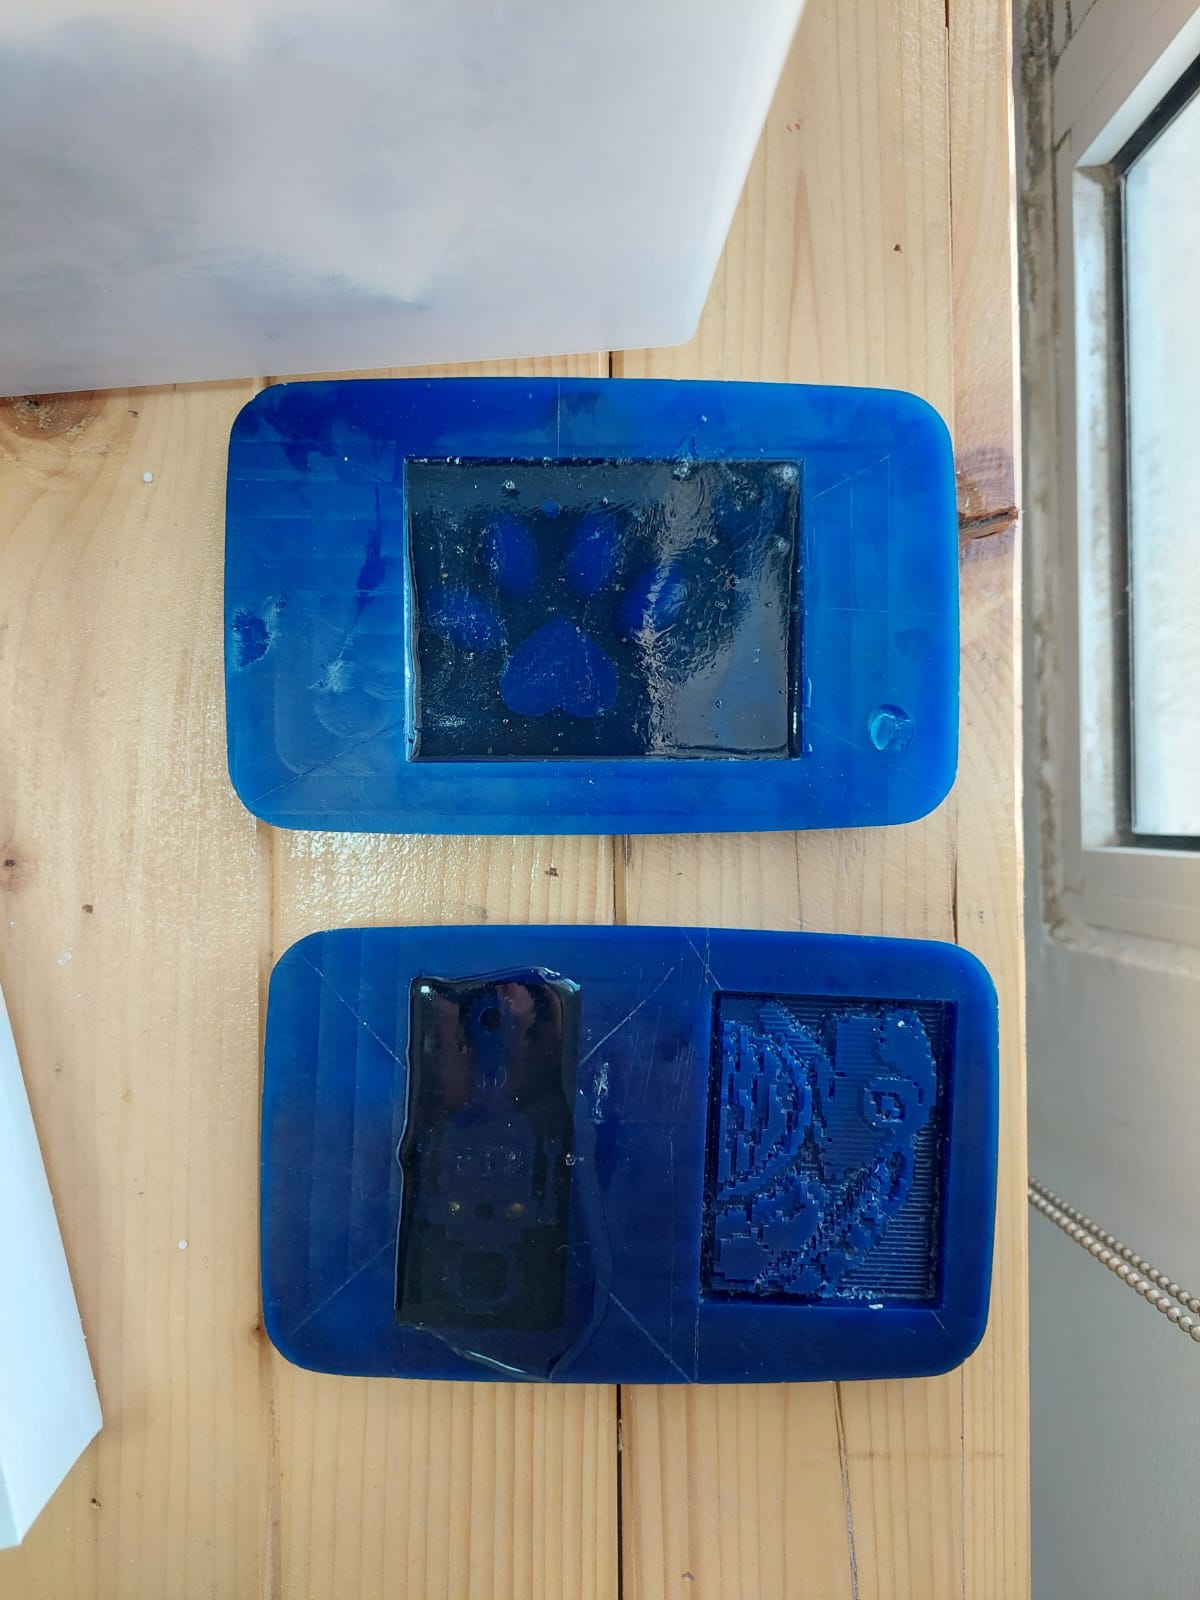
- After one day, we removed the mold. We faced some trouble while removing it maybe because there was so much details in the negative shape mold (The blue one).
4.3.2 Molding ReusableMold similar to 4.1.2.2 ReusableMold 07
We prepared another ReusableMold using the same amount as 4.1.2.2 ReusableMold 07
- Once it was done we poured it in the mold. The product is in the left.
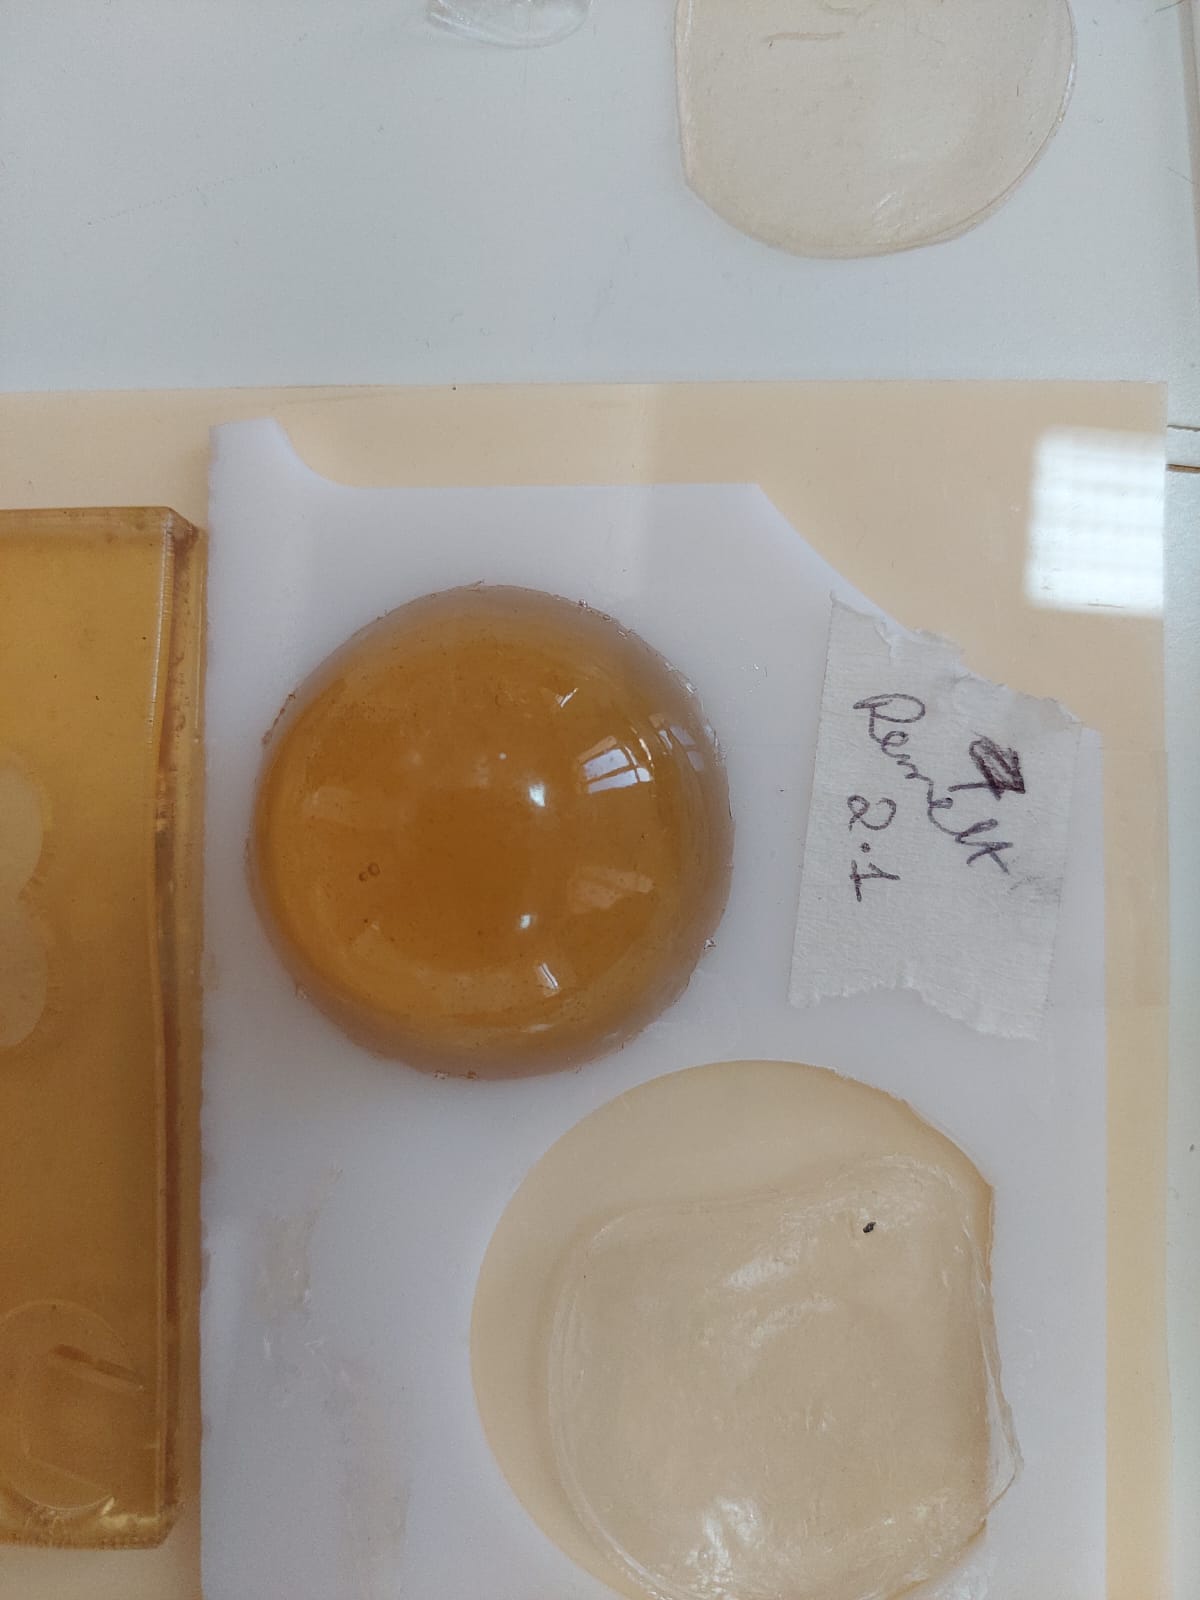
- We poured the remaining solution in another mold. We labeled it as 7 Remelt but we edited the label to 2.1 Remelt.
- After one day, we removed the mold. It was very good and better than the previous one.
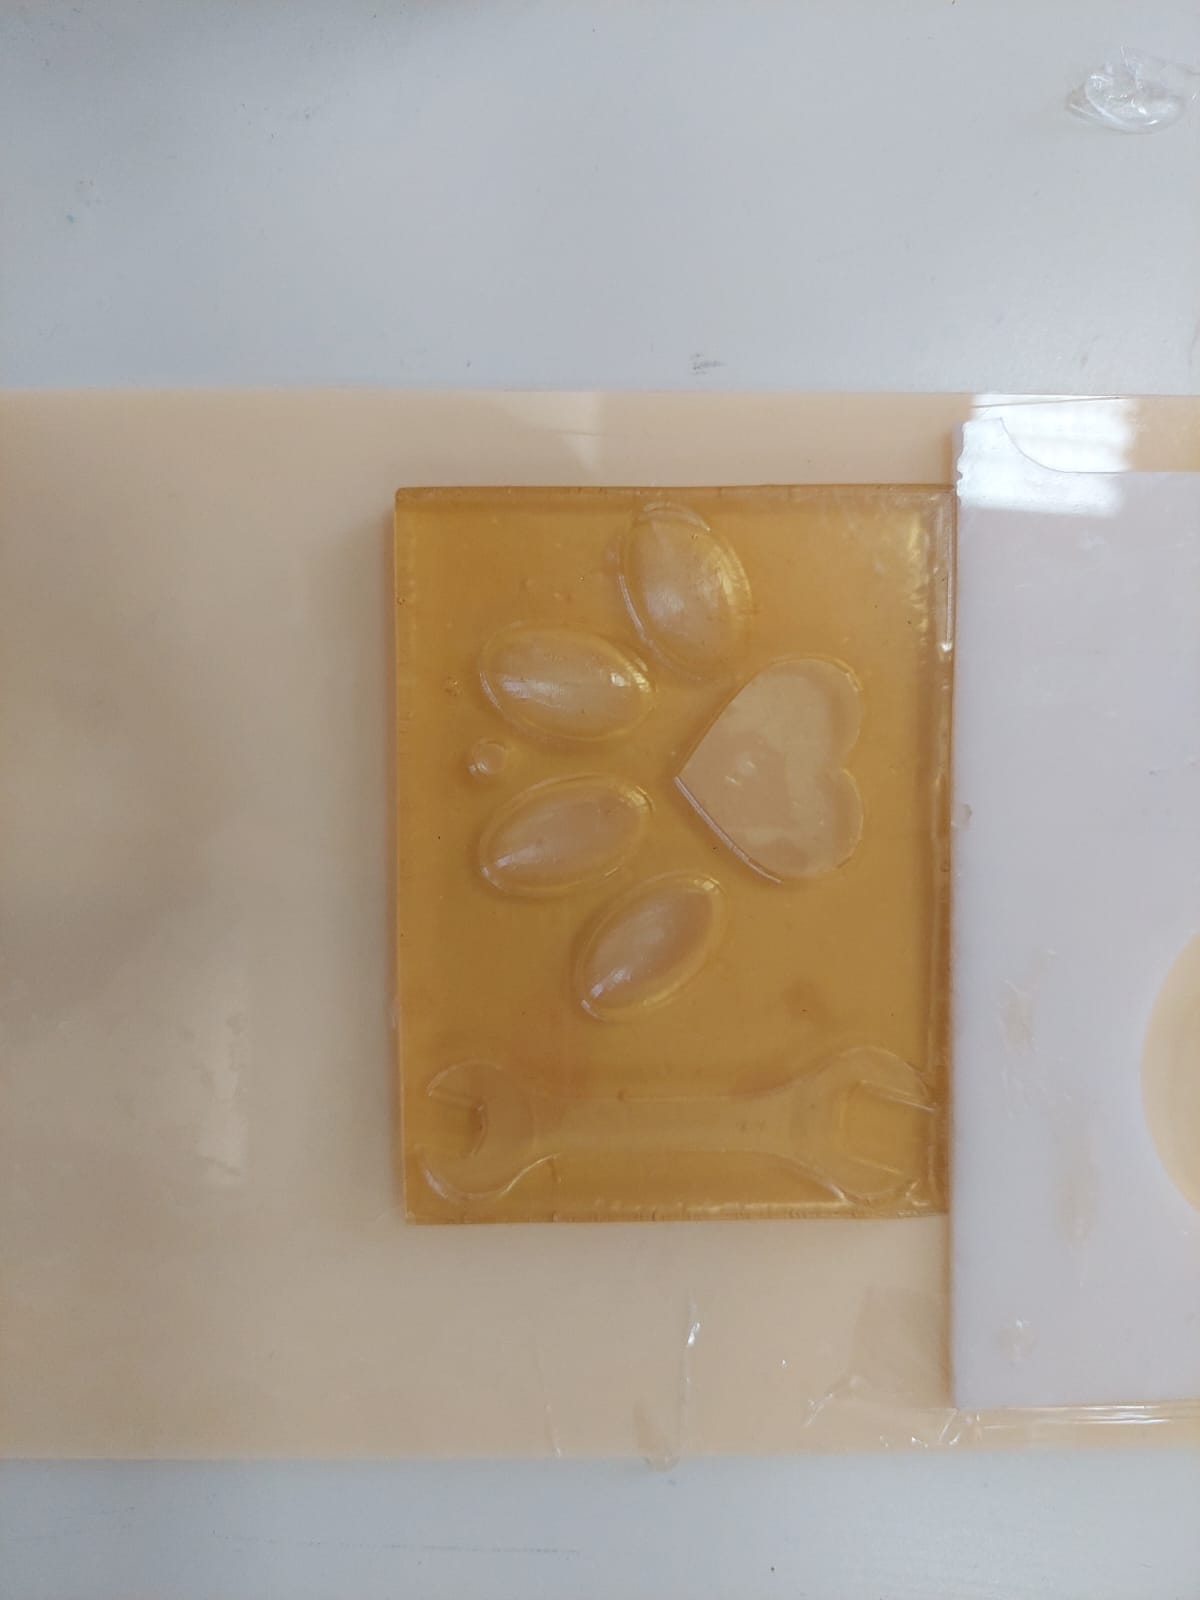
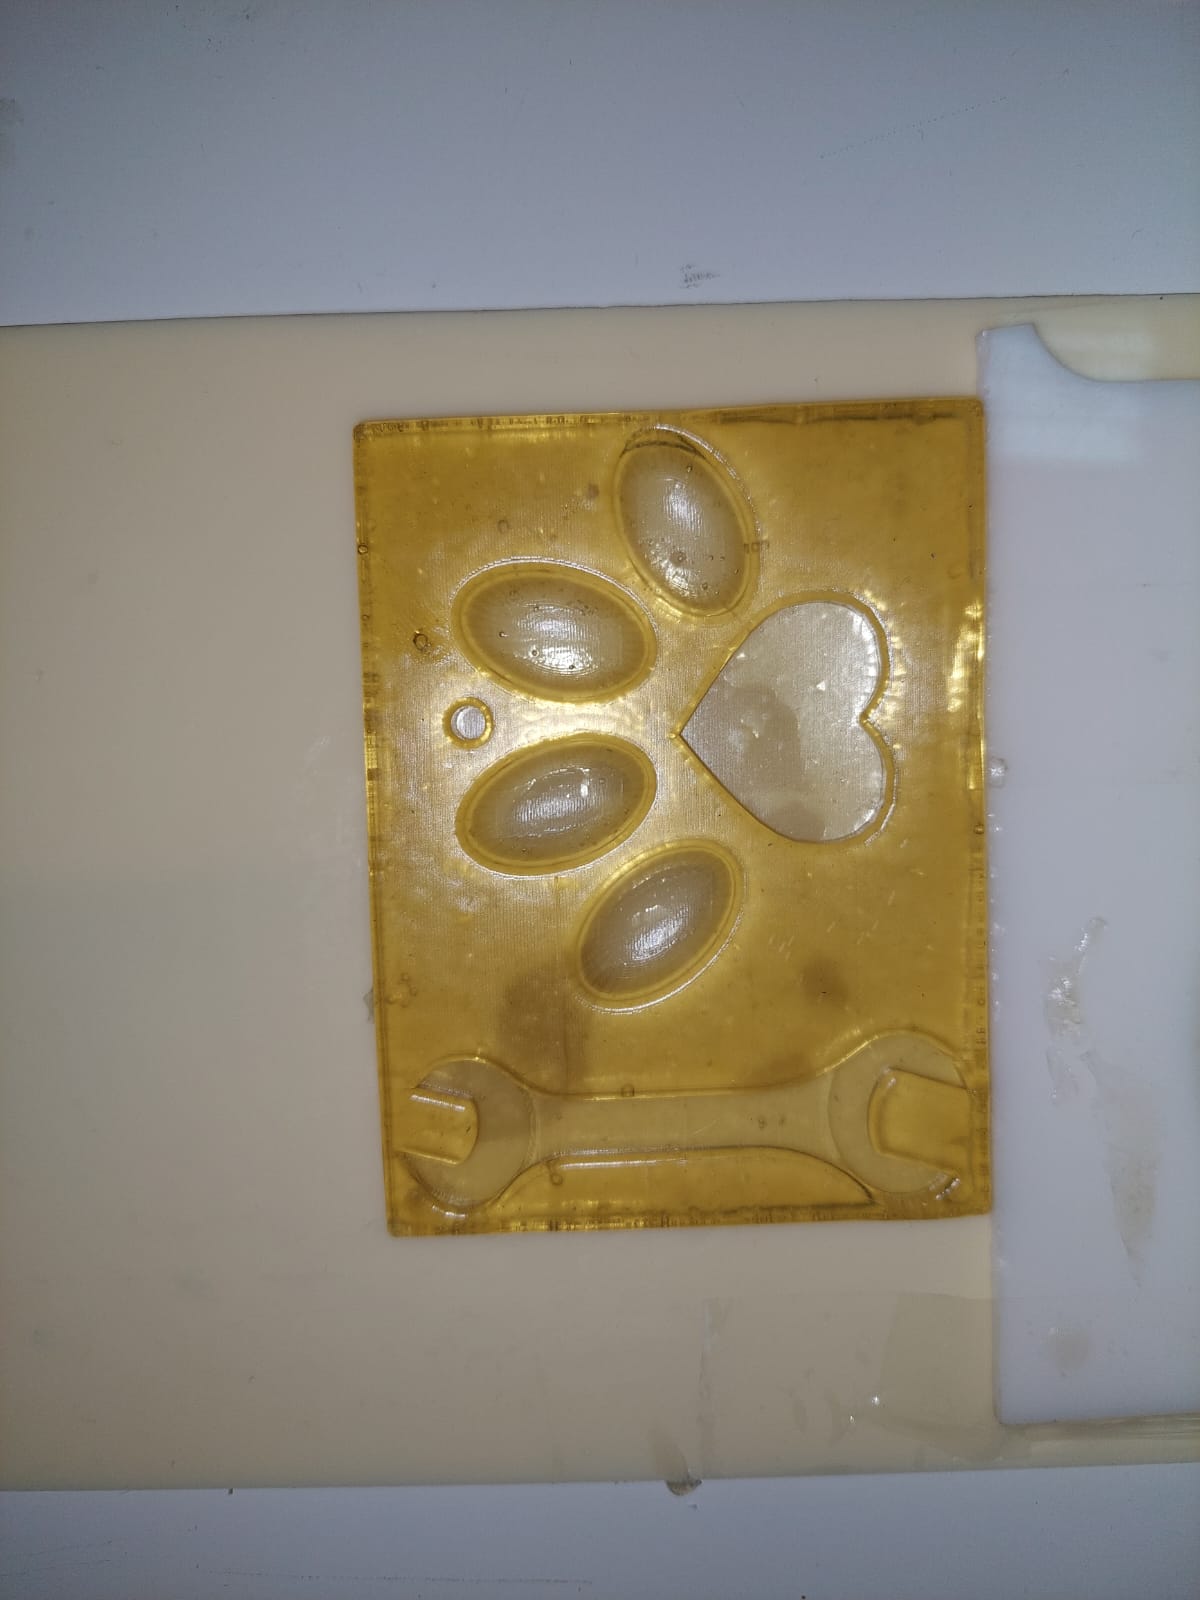
- This is the one that we poured in the red mold.
Week 6
In this week, we tried to work more with the recipes.
6.1 Recipes
6.1.1 ReusableMold.
Our instructor Abdullah wanted to test the reusable mold, he wanted to use it for a joystick. We decided to make a reusable mold using the same amount as reusable mold 7 but with different ratio. You can refer to reusable mold 7 by clicking here.
He brought his own mold that is 3D printed to pump the reusable mold into it.
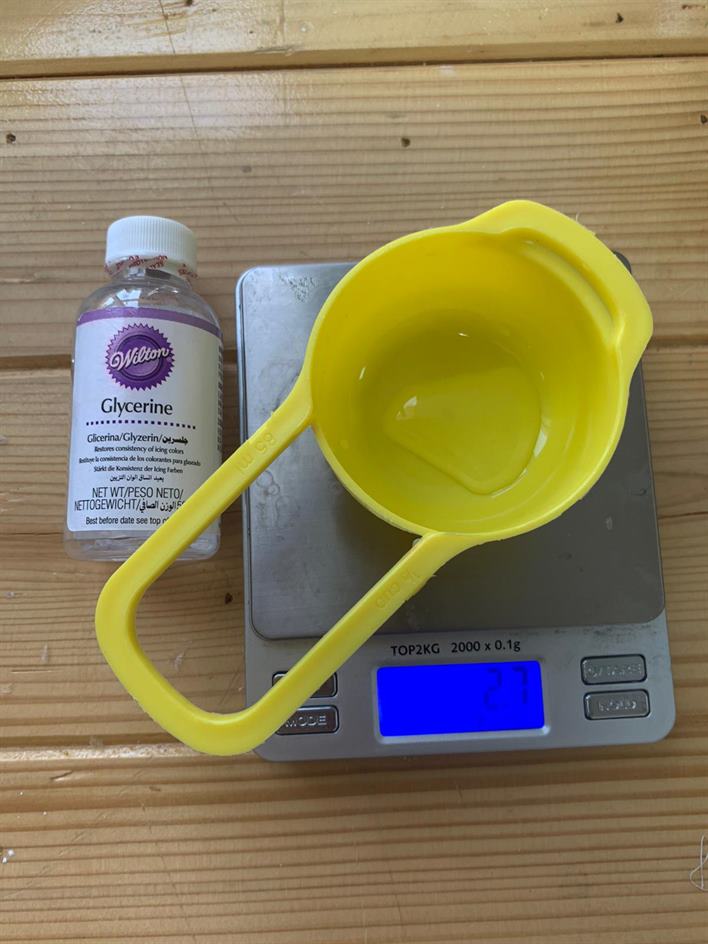
These are the used amounts.
| Glycerine (mL) | Water (mL) | Gelatin (g) |
|---|---|---|
| 50 | 75 | 25 |
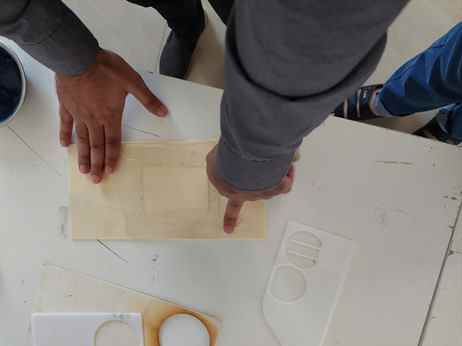
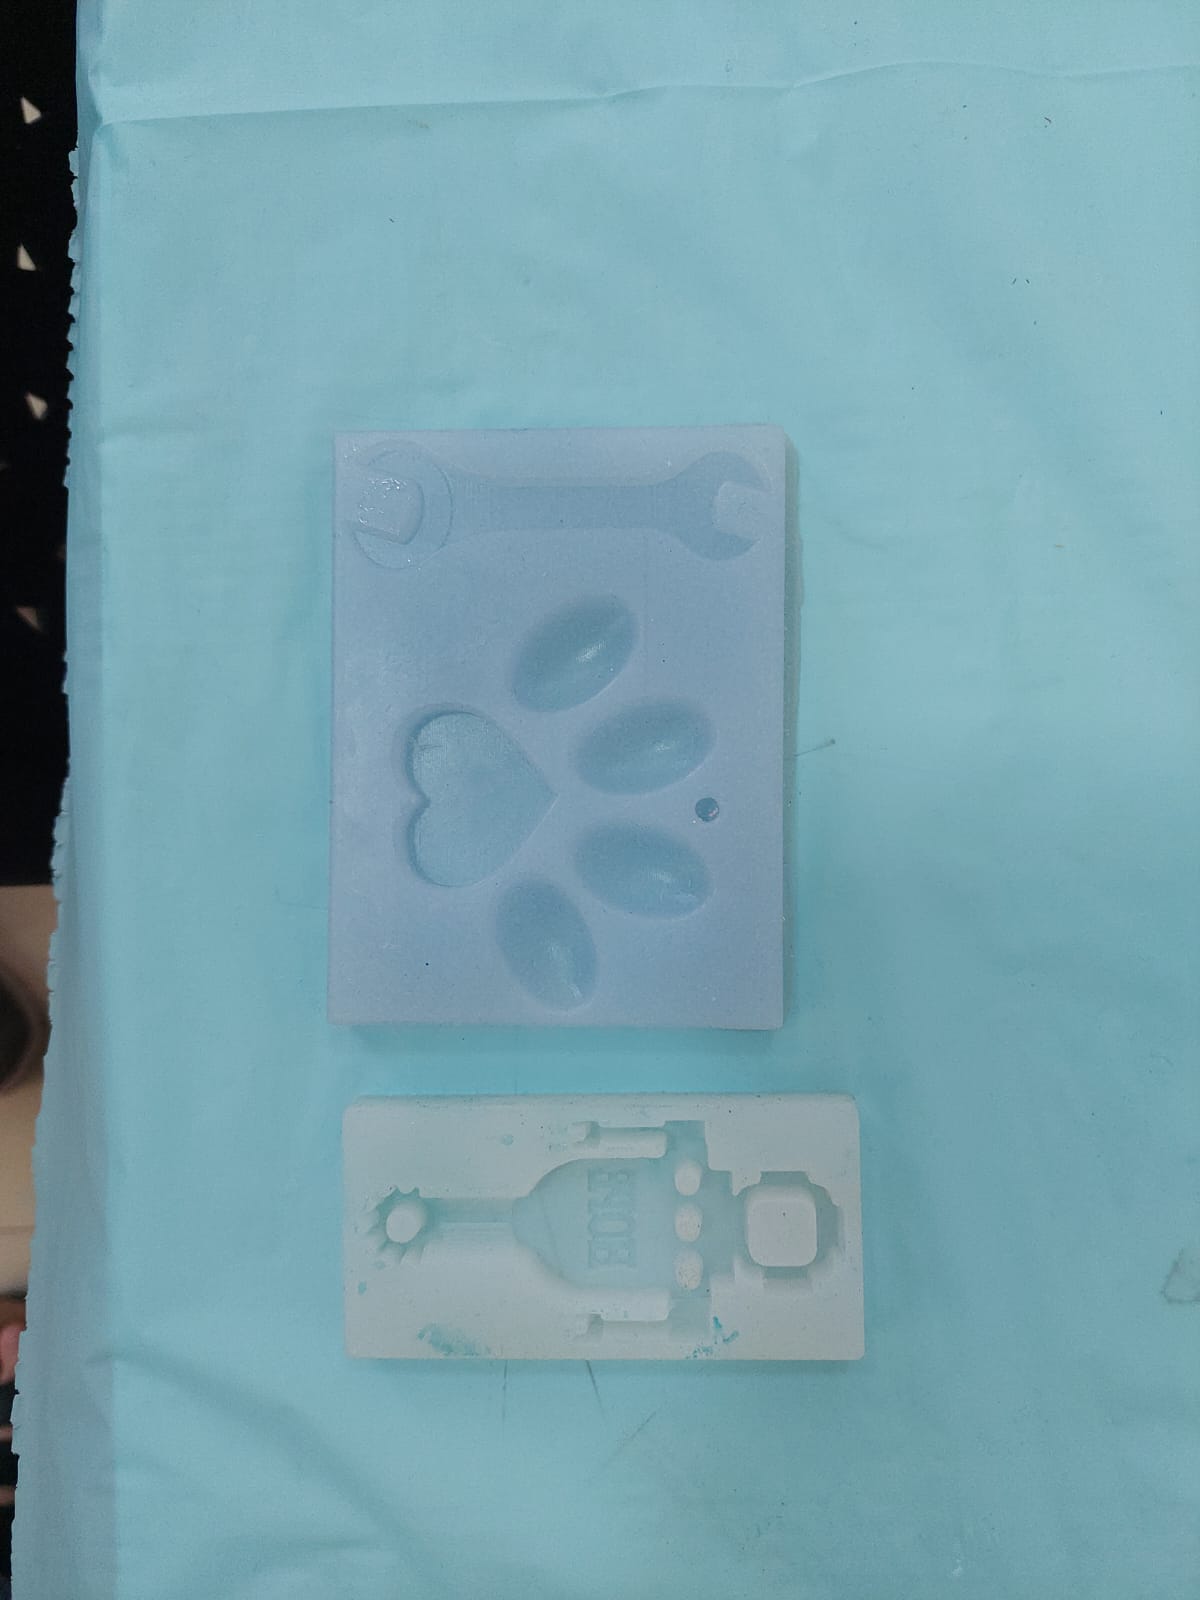
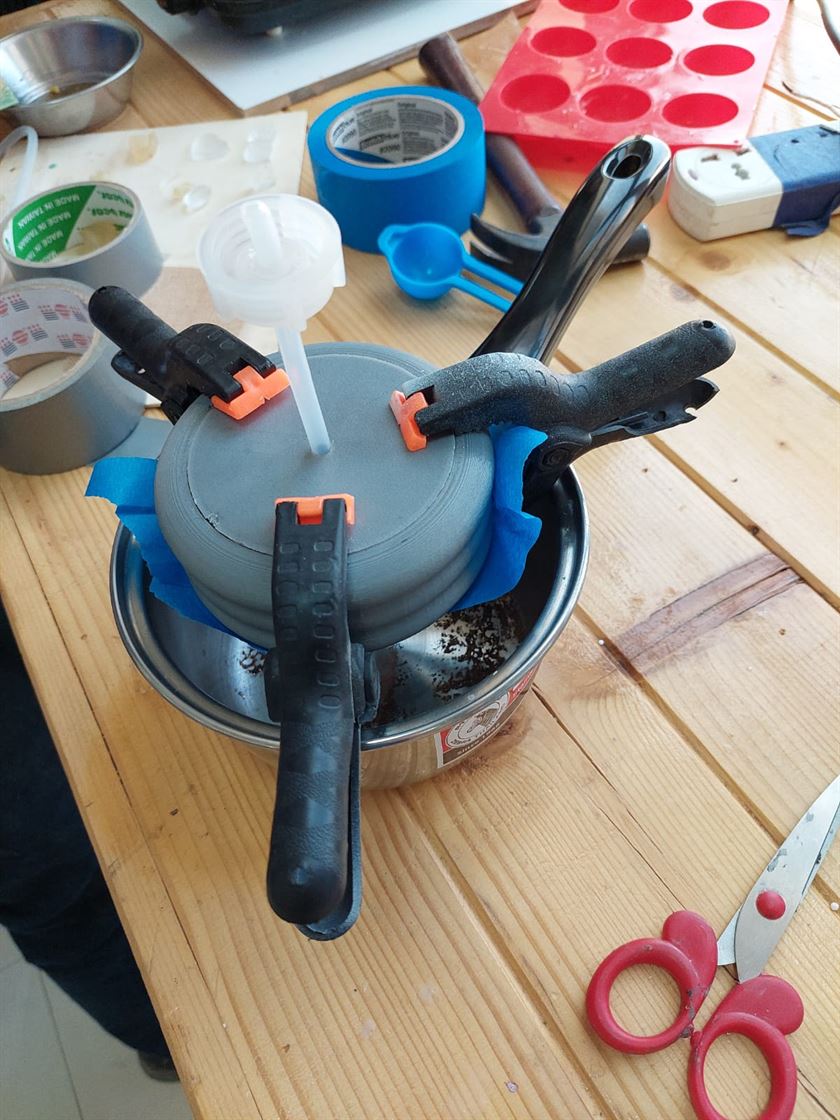
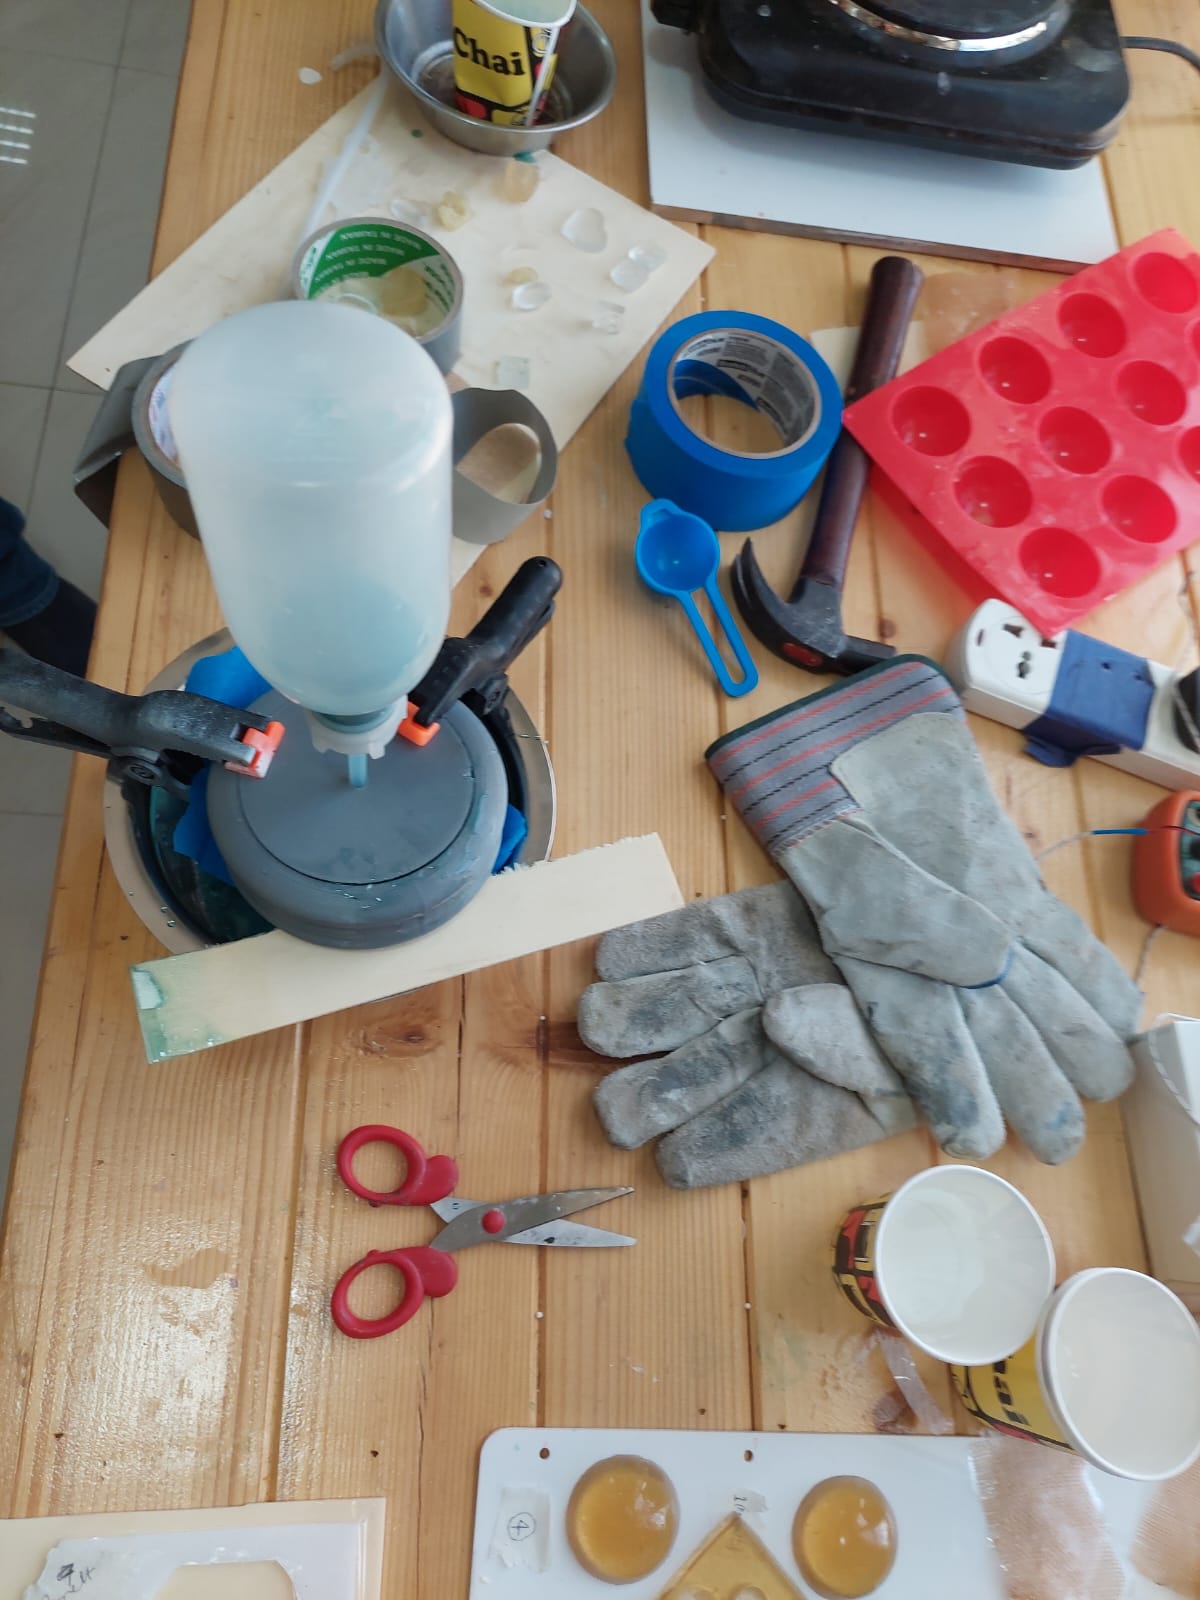
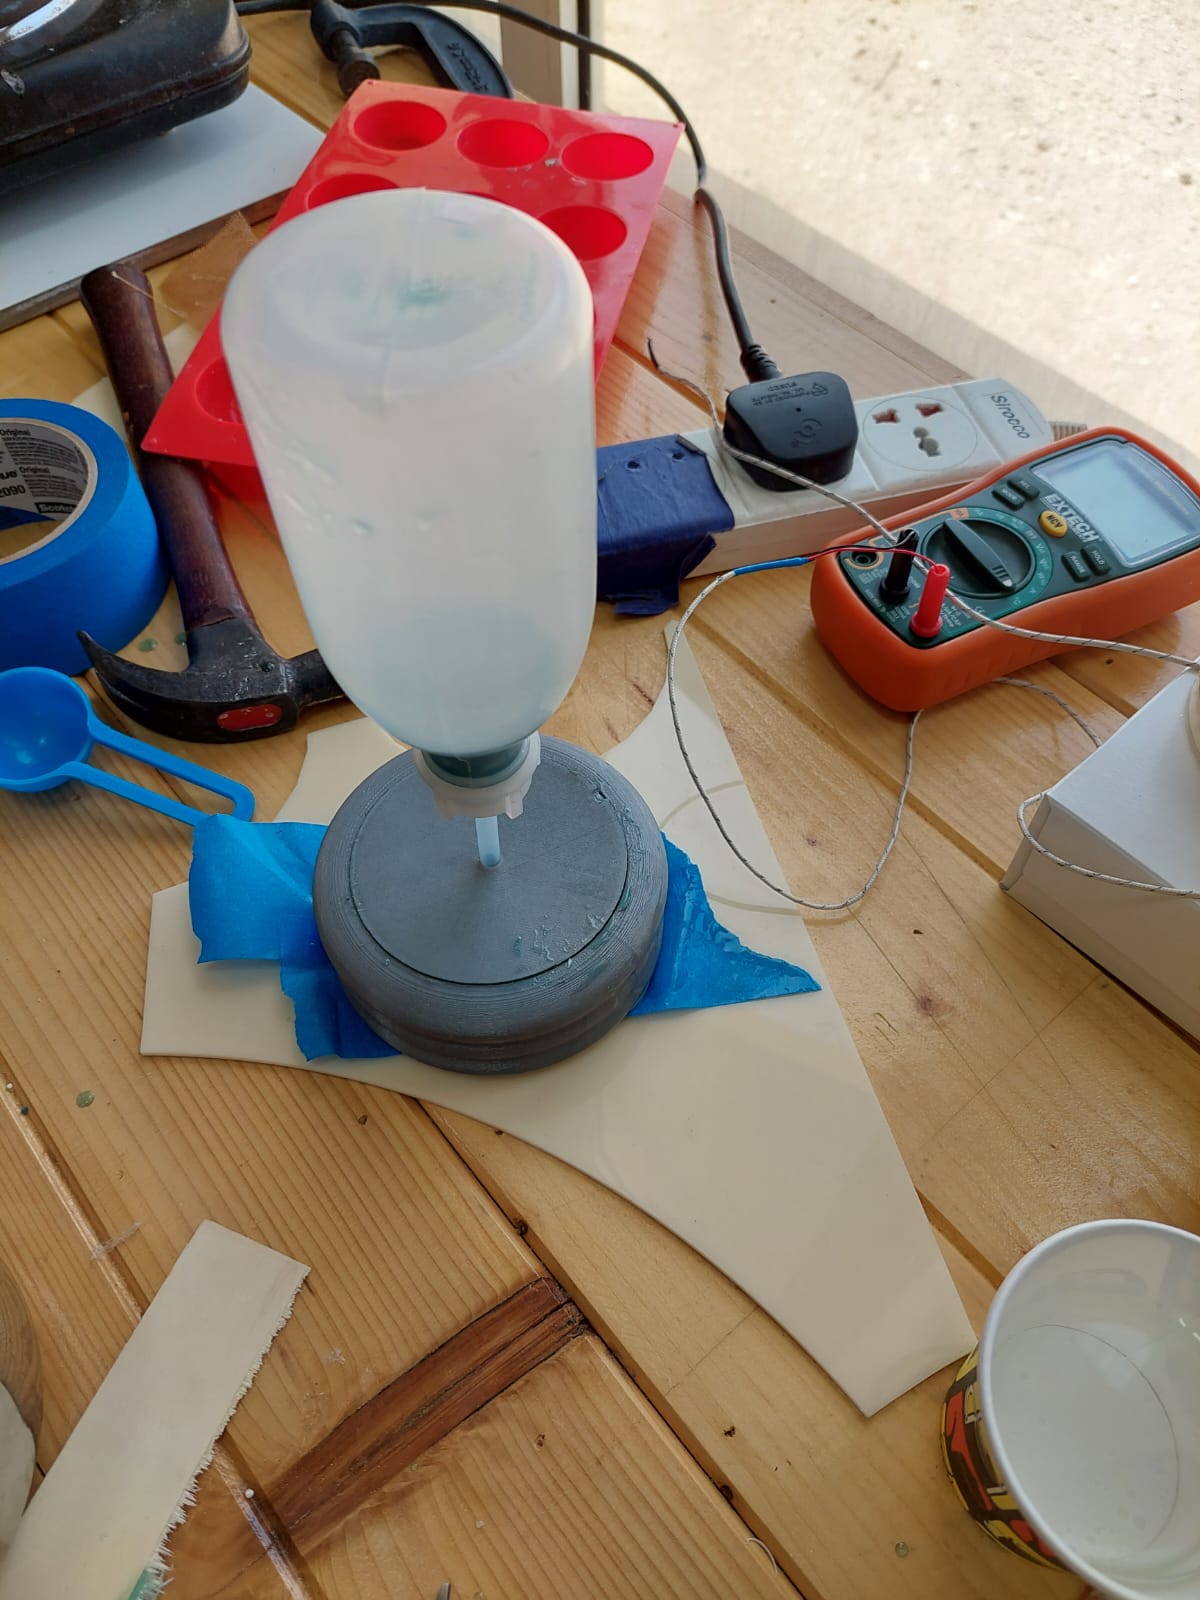
- We used this 3D printed mold and we used the clamps to hold it.
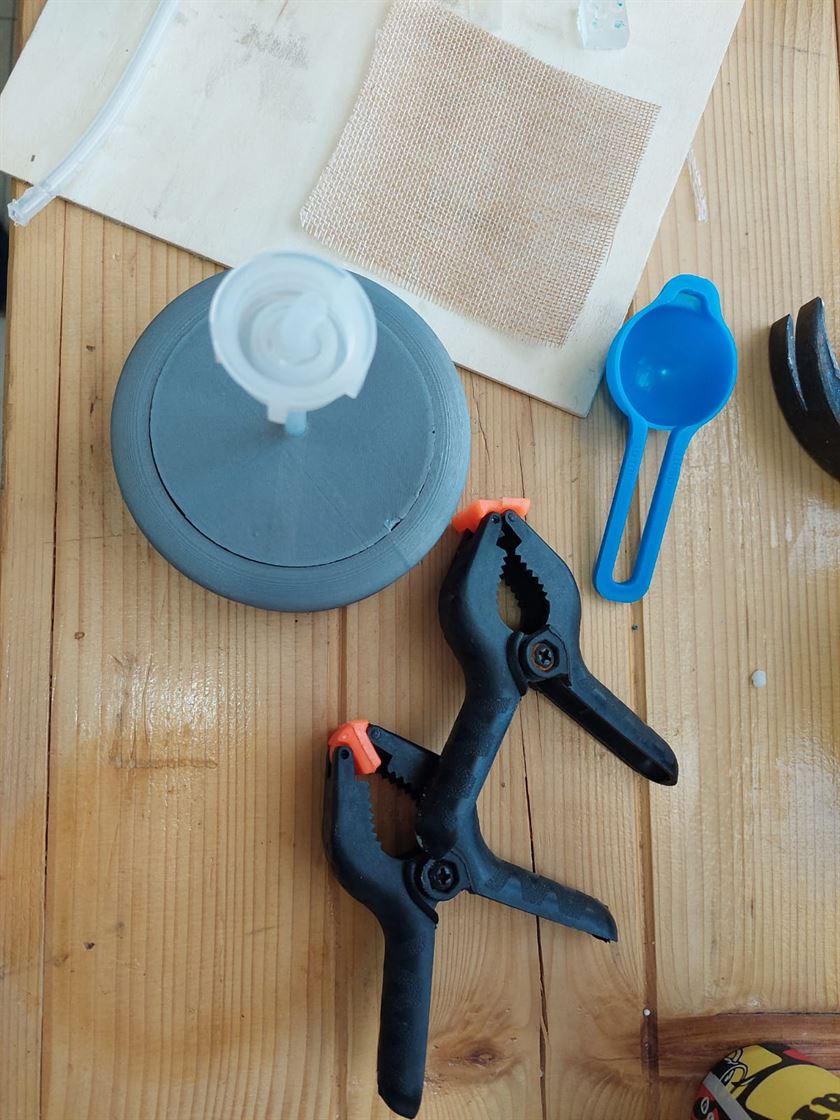

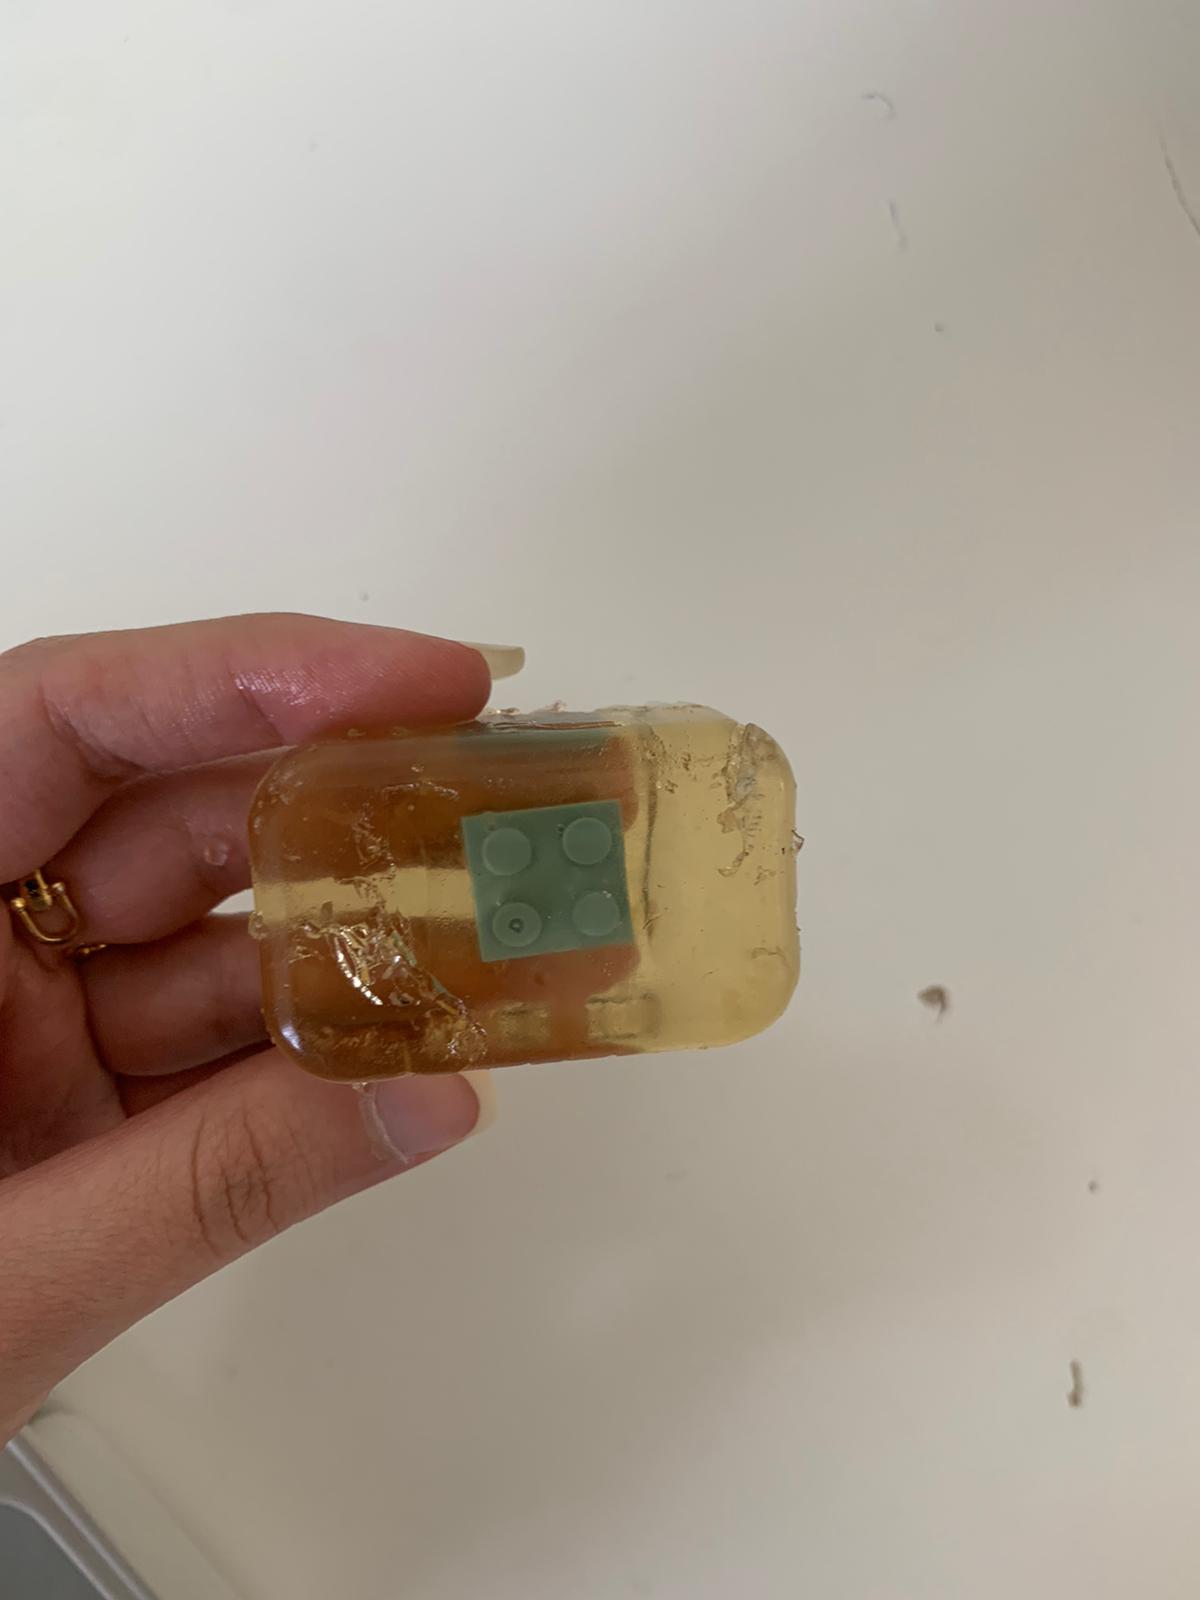
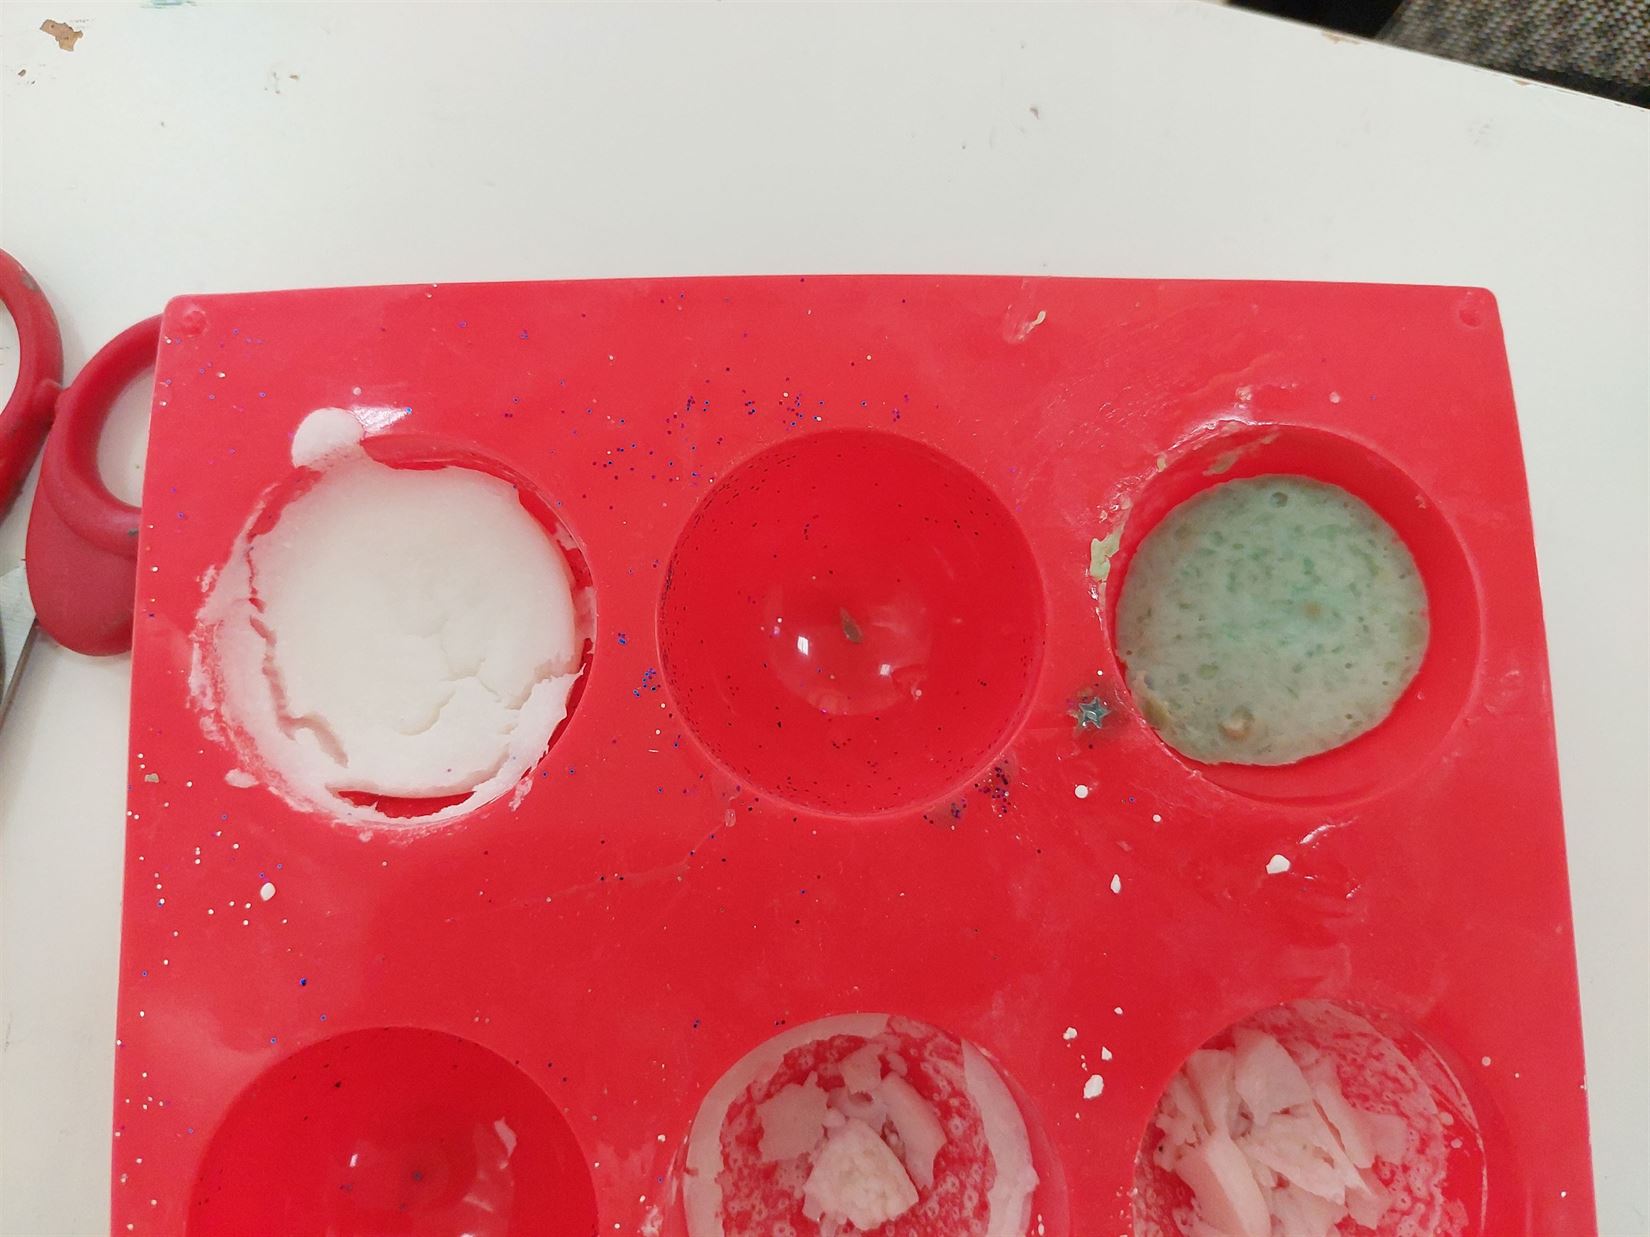
- We prepared the mold and the clamps. The tape was used to reduce the leaking of the reusable mold.
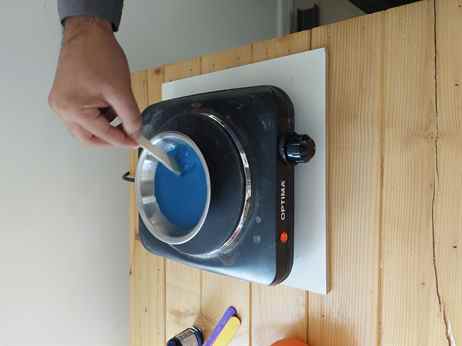
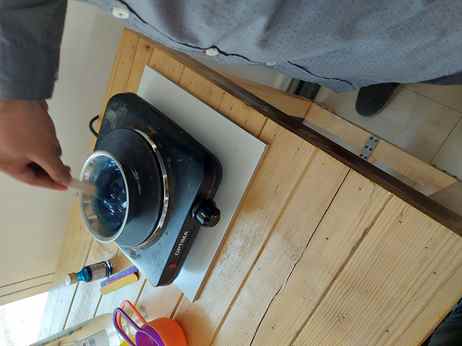
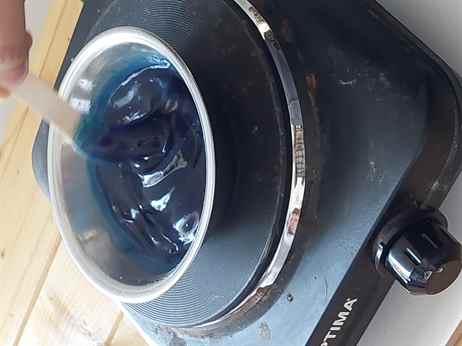
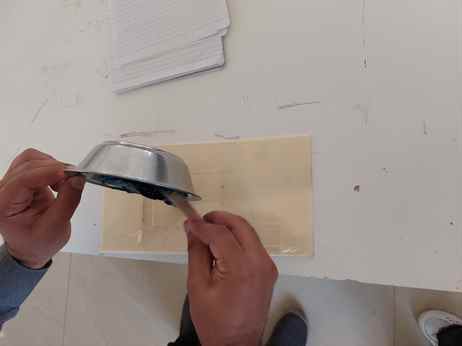
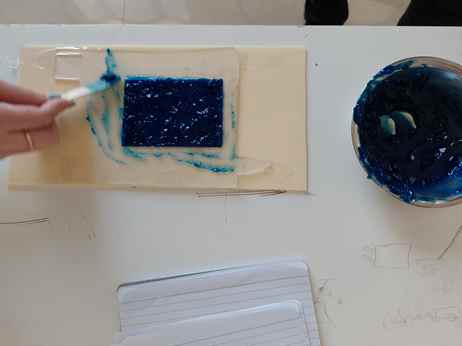
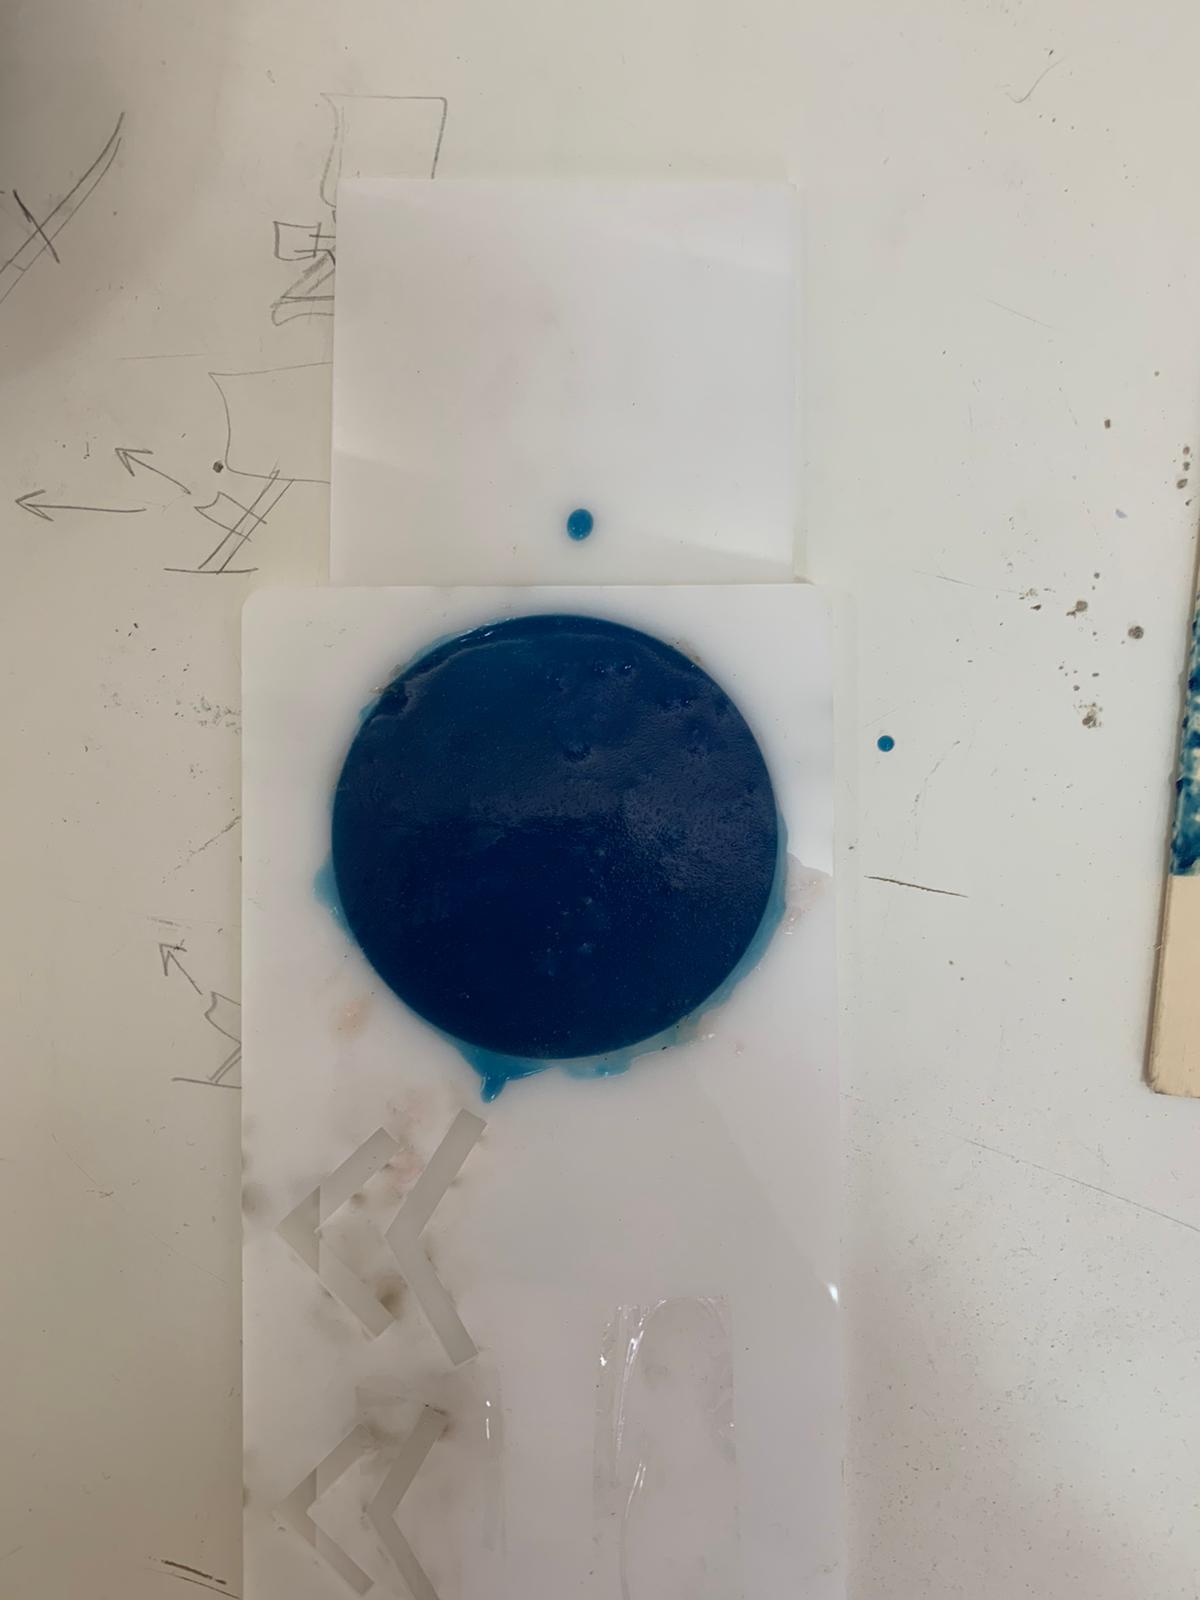
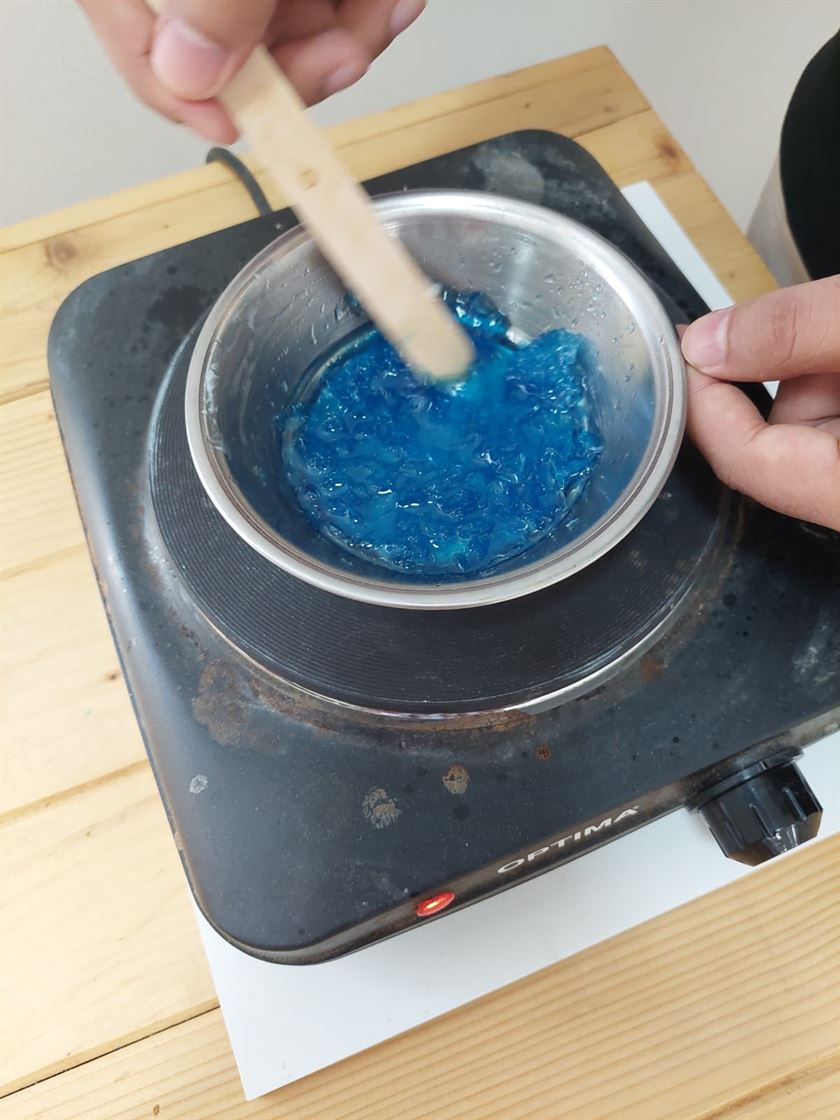
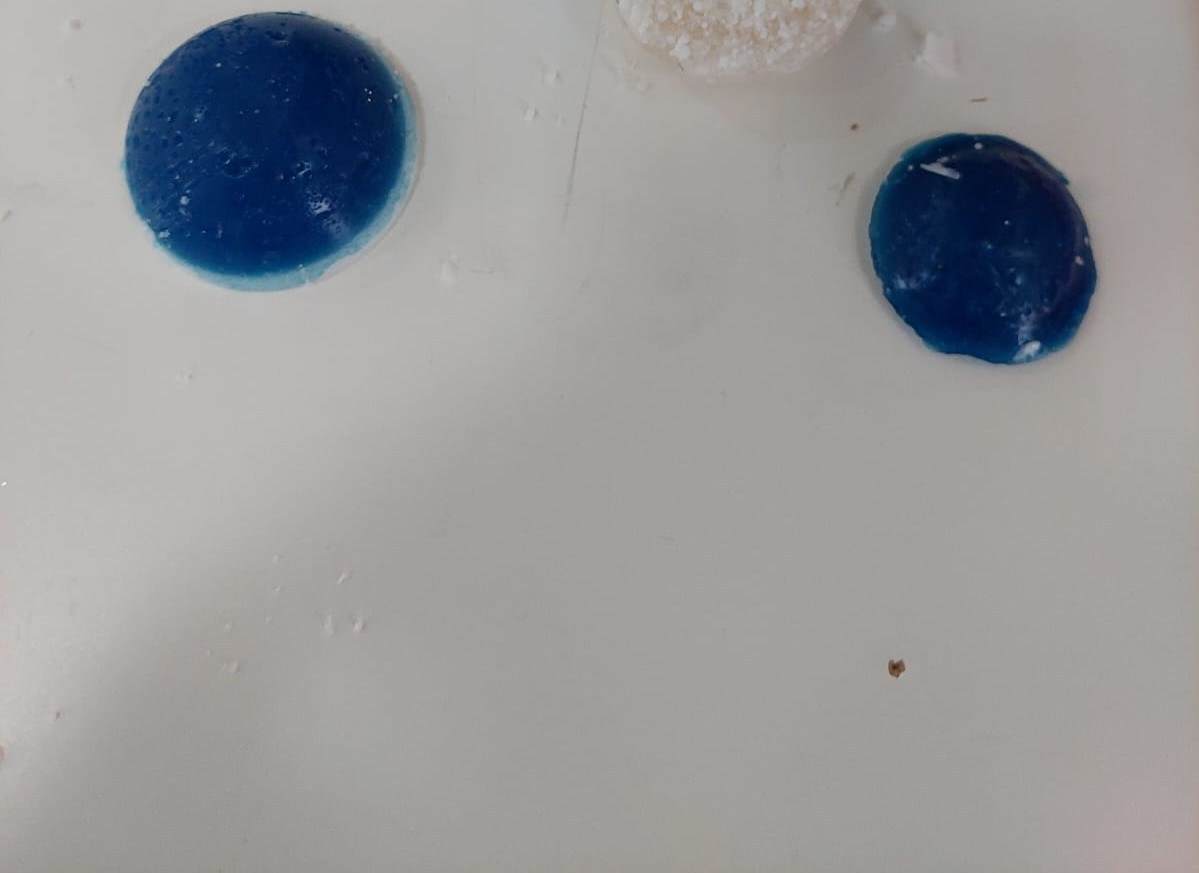
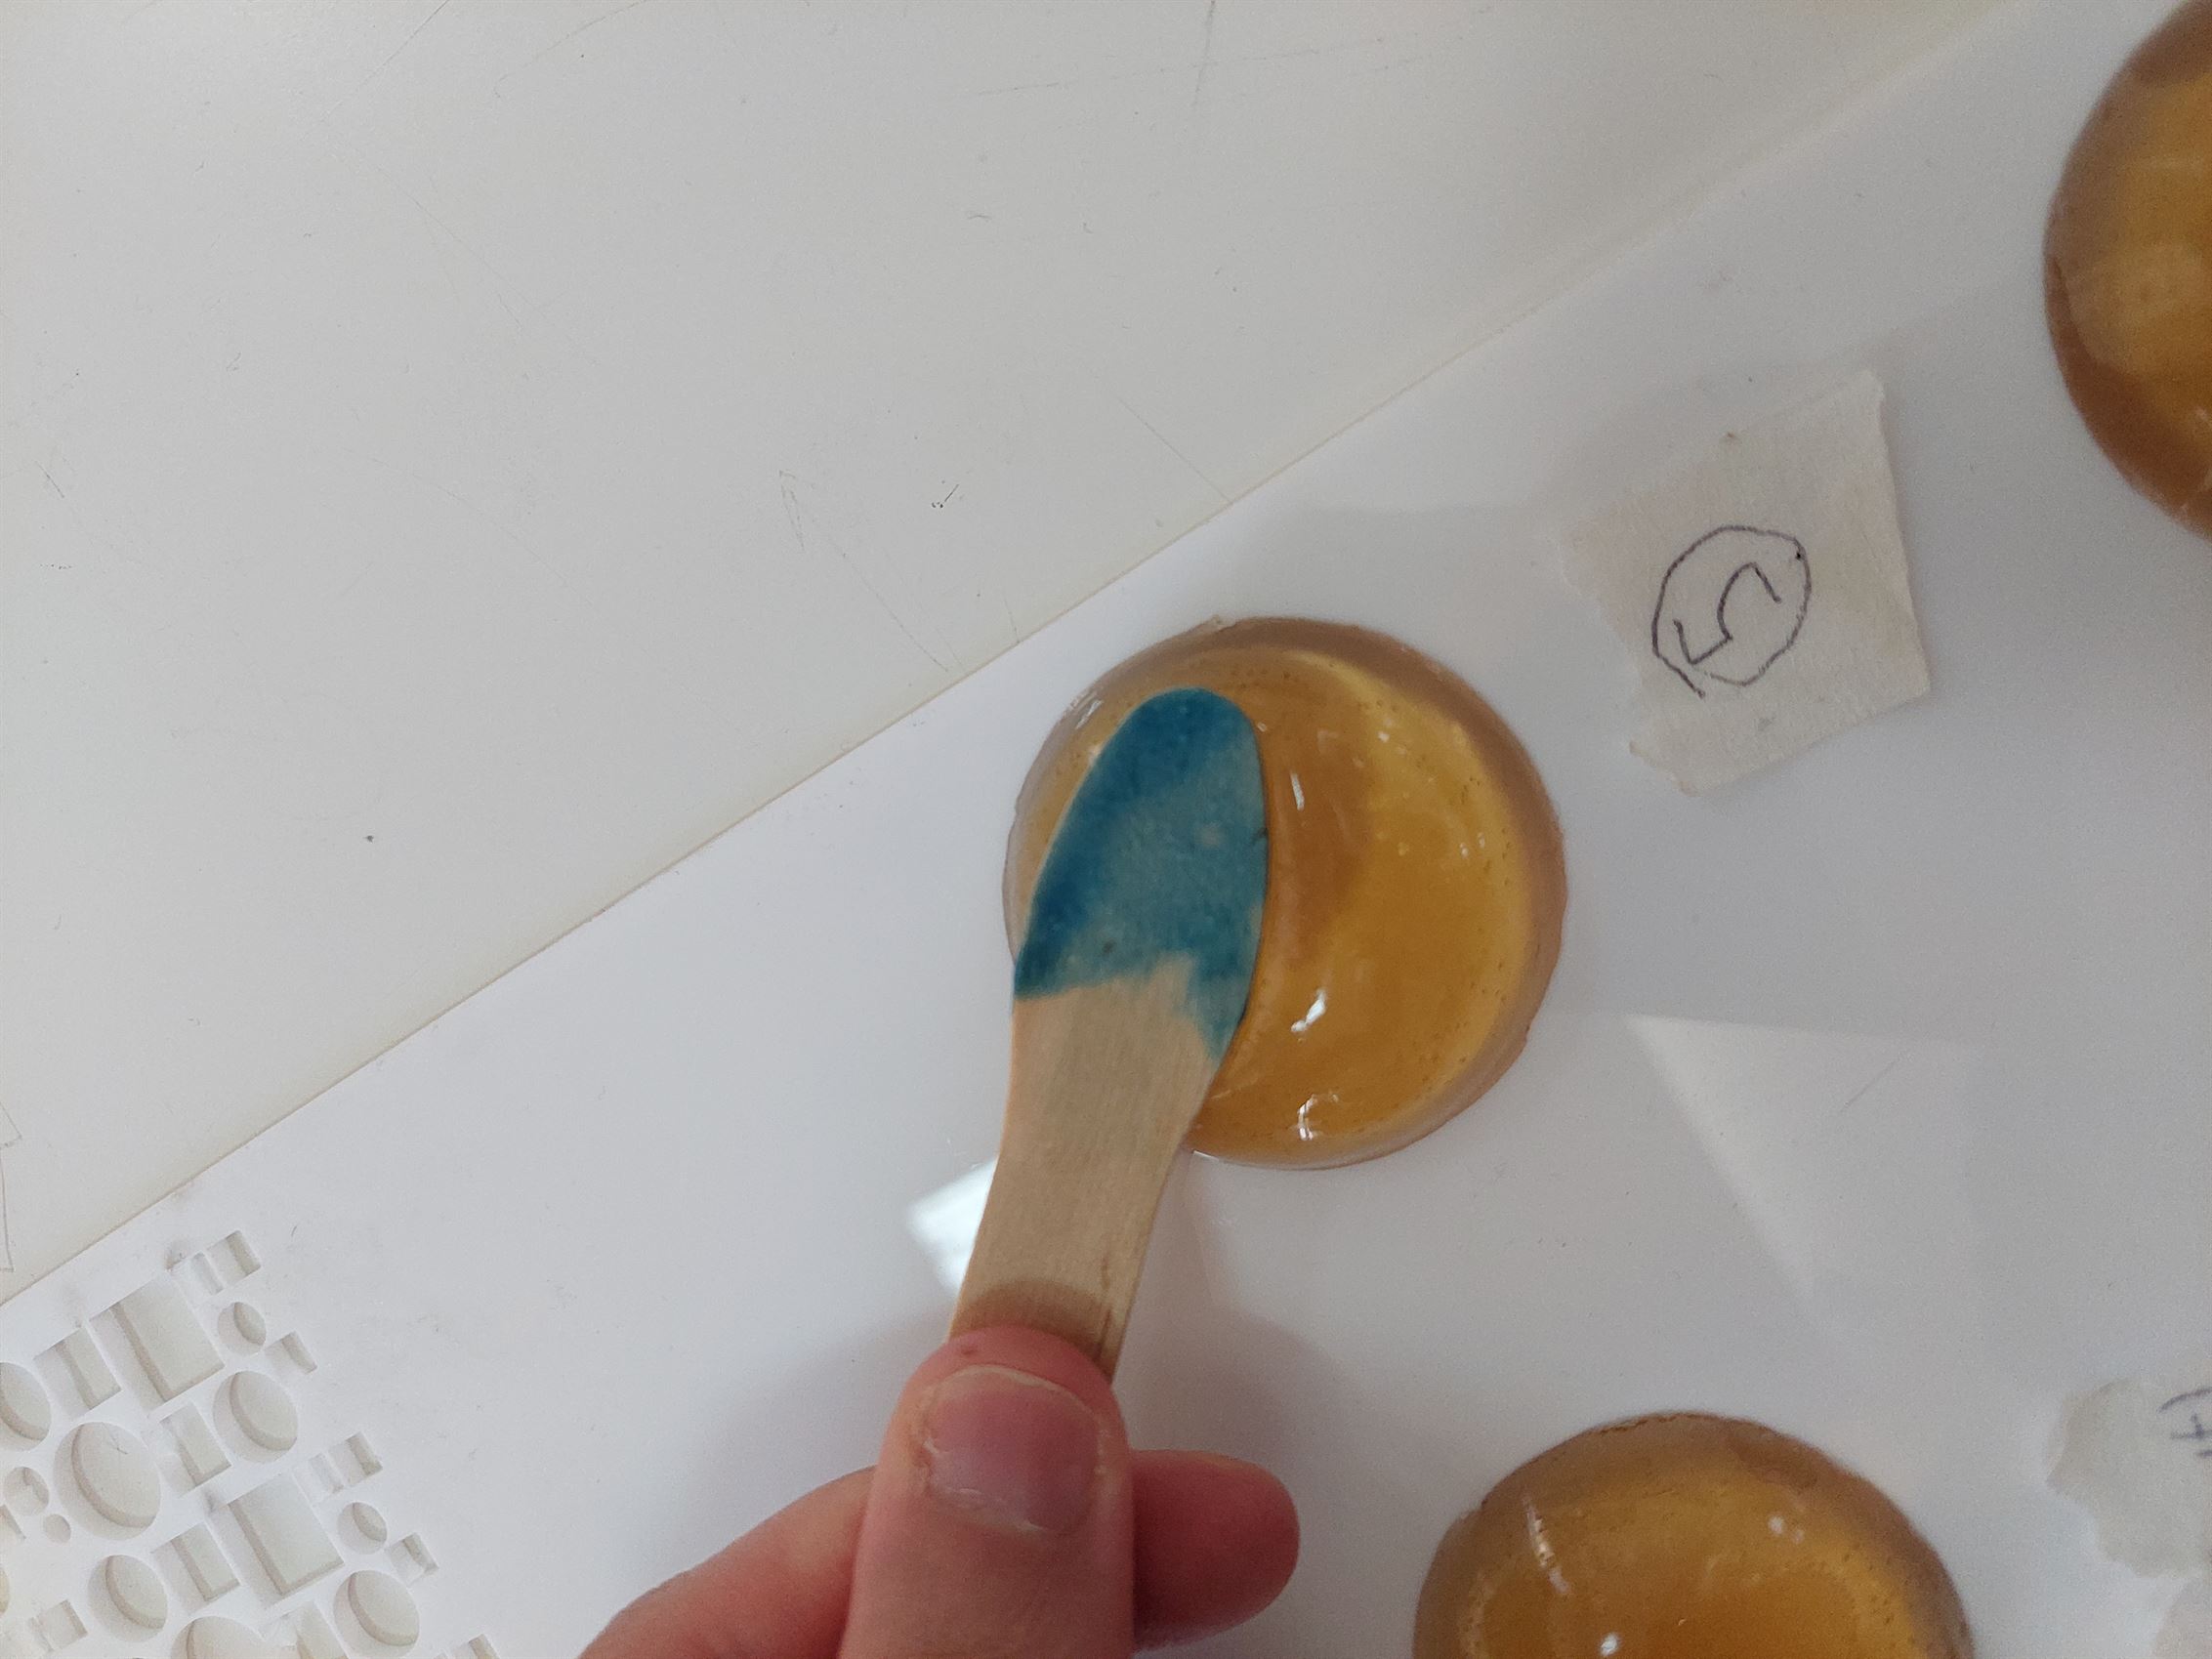
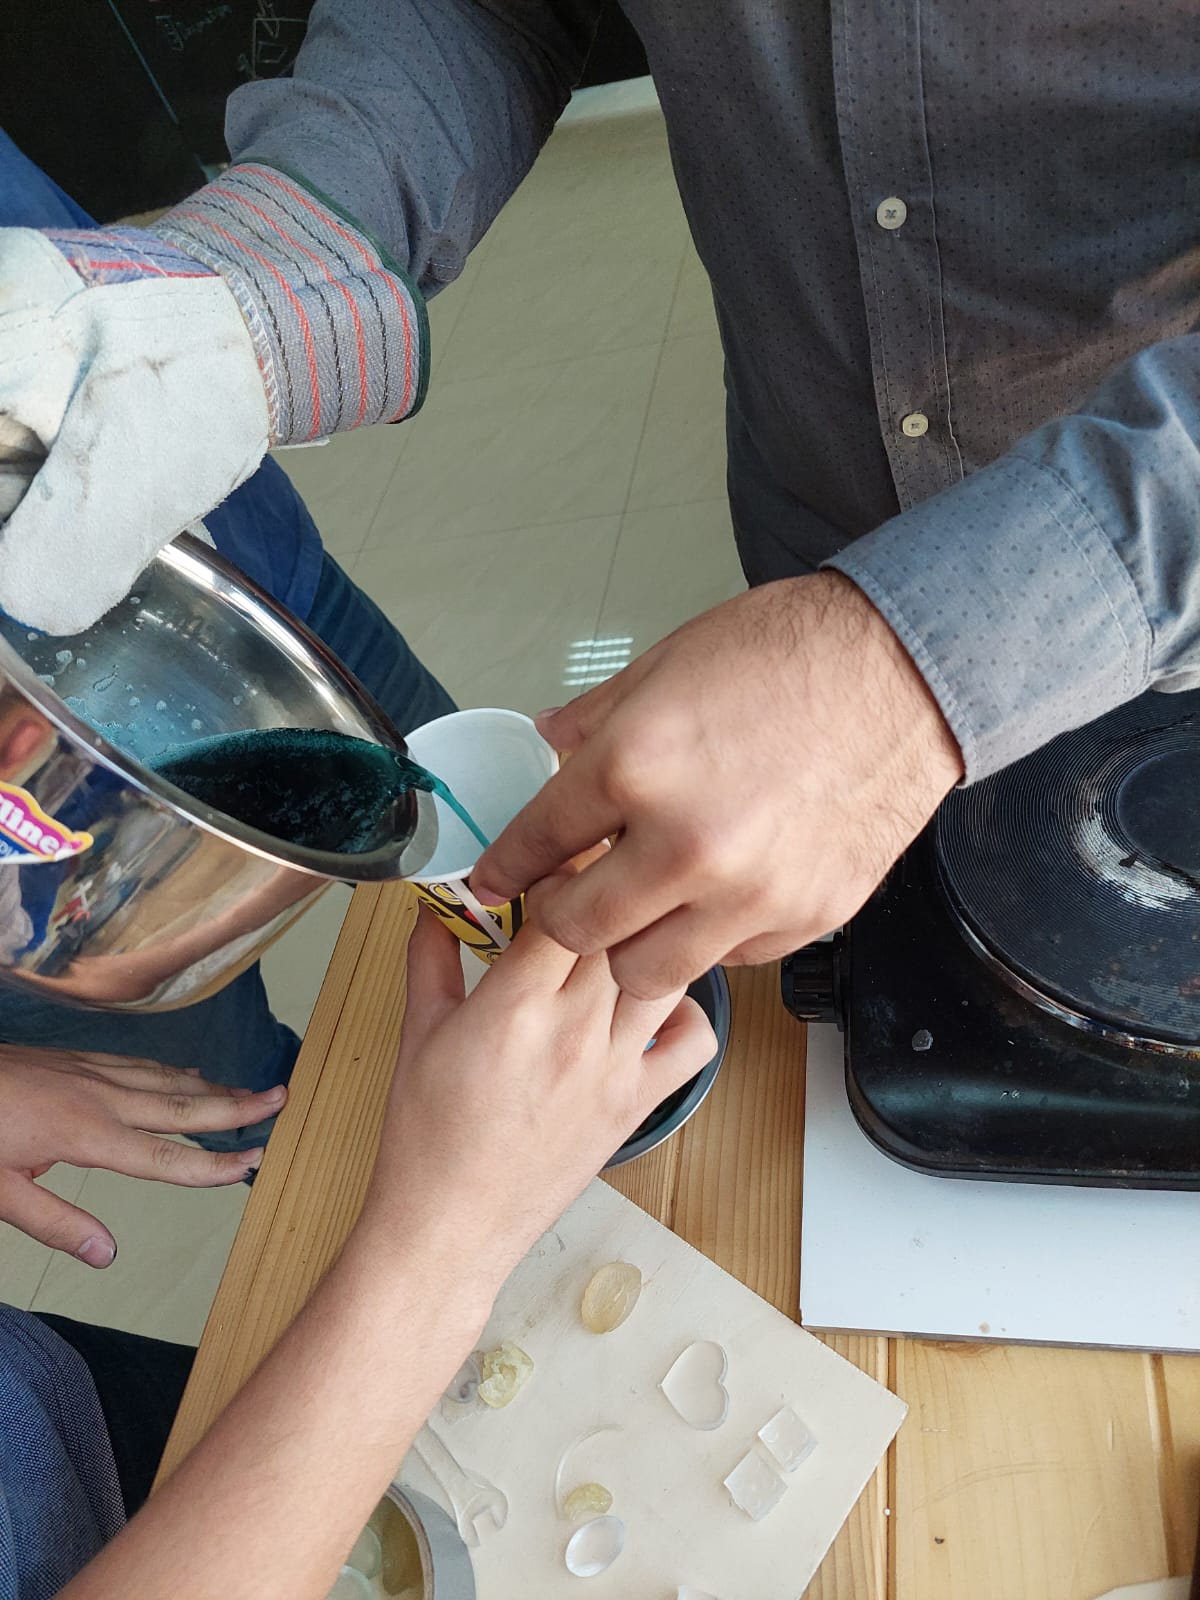
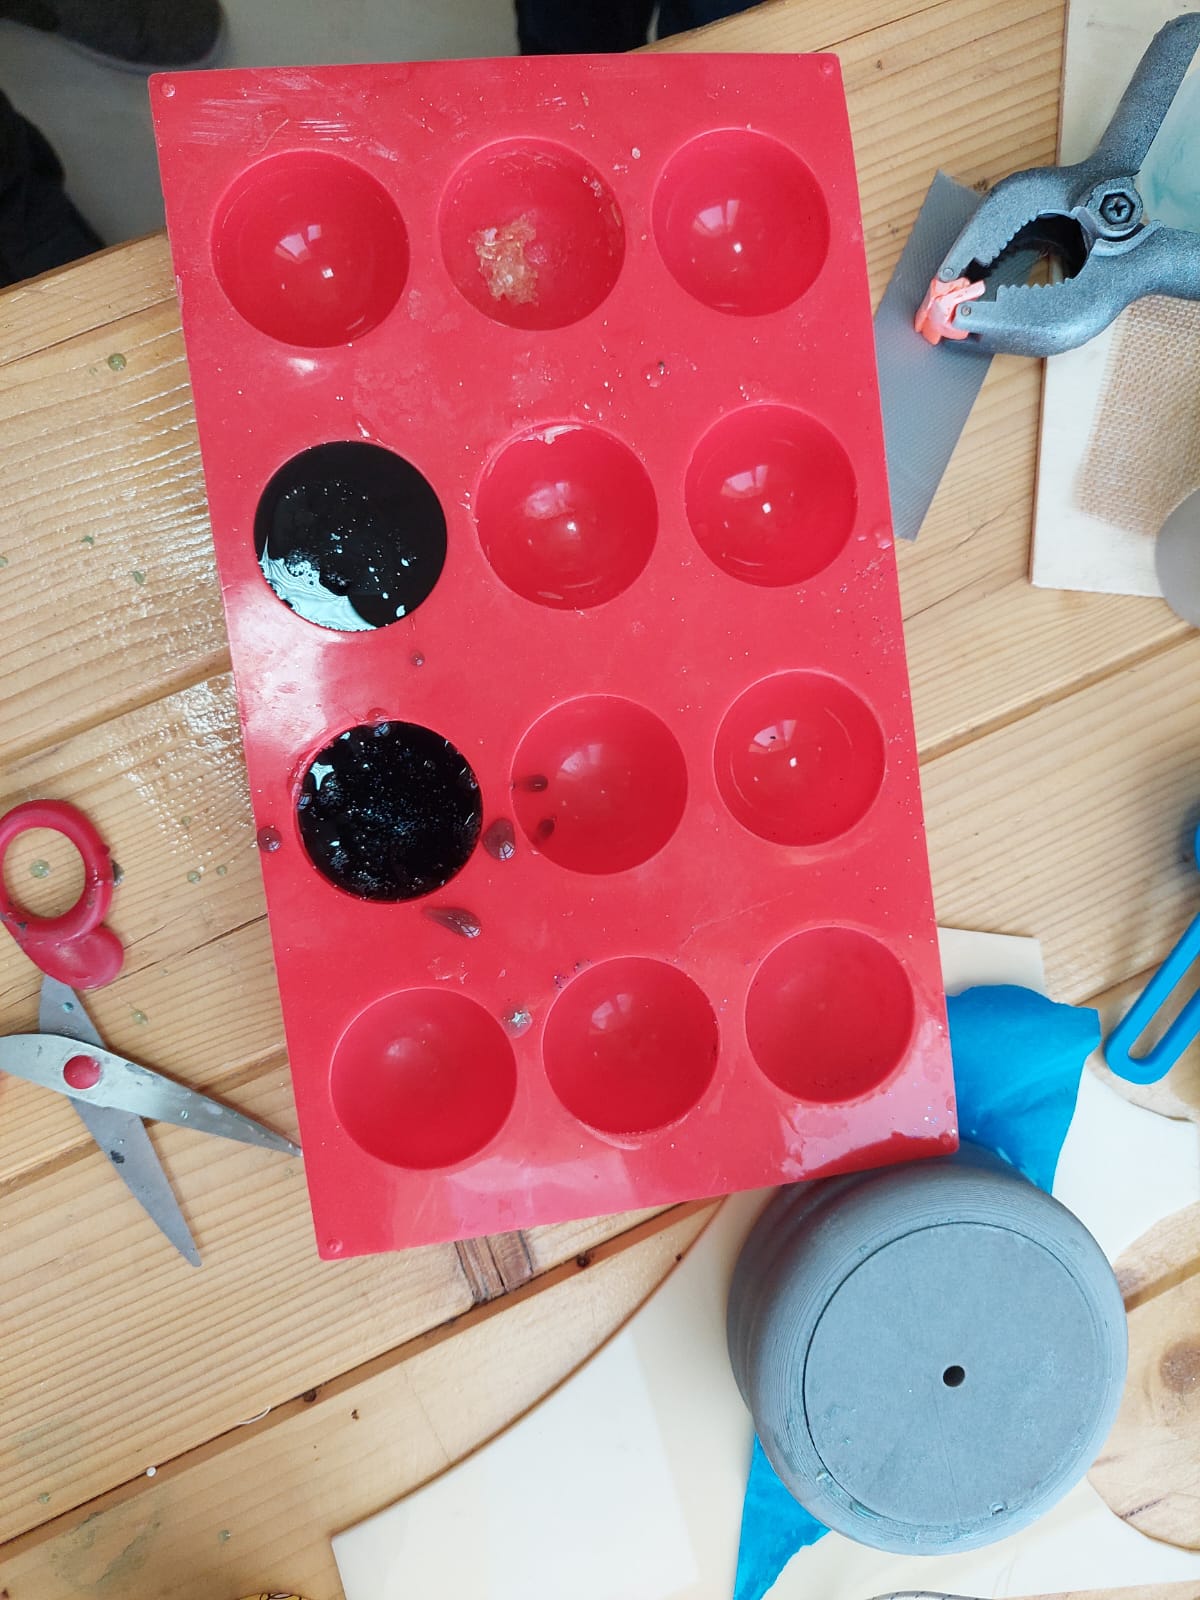
- We made the reusable mold with the same steps that we used in the previous weeks. In this recipe wo added a color. It is a blue color but since the reusable mold has a yellowish color, we ended up with a green color.

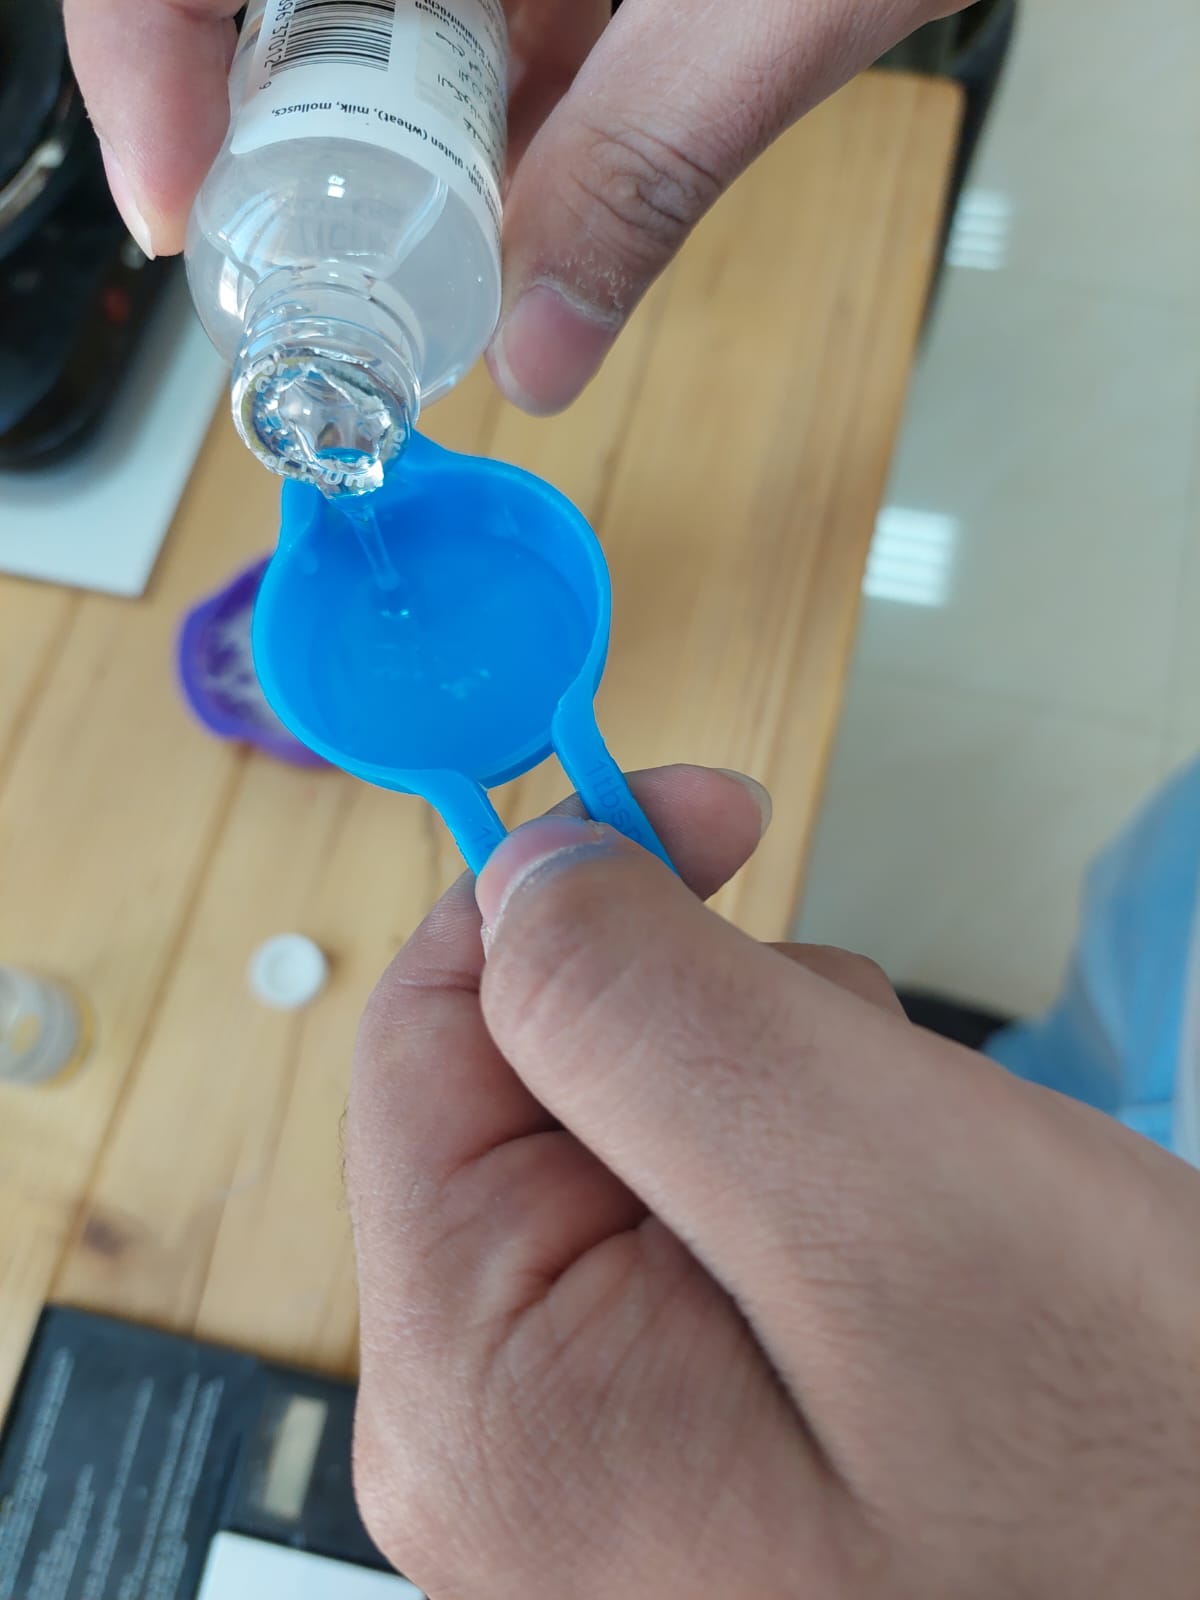
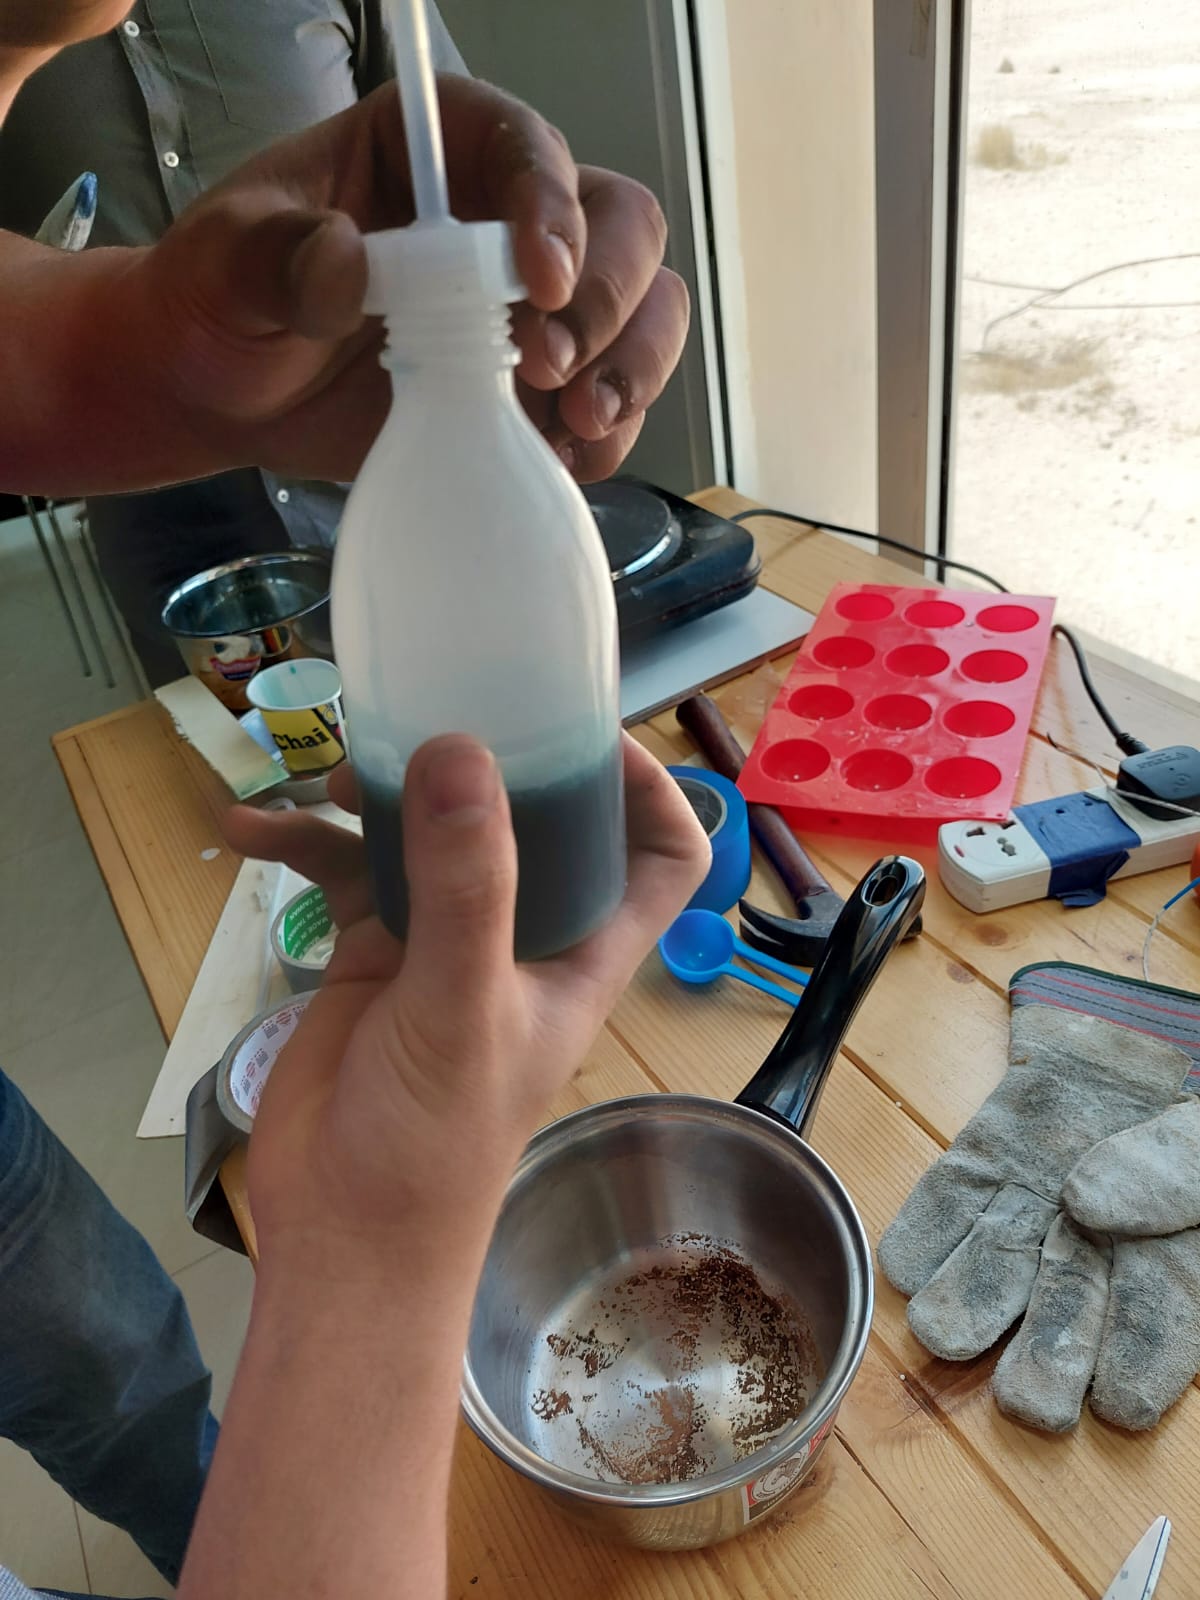
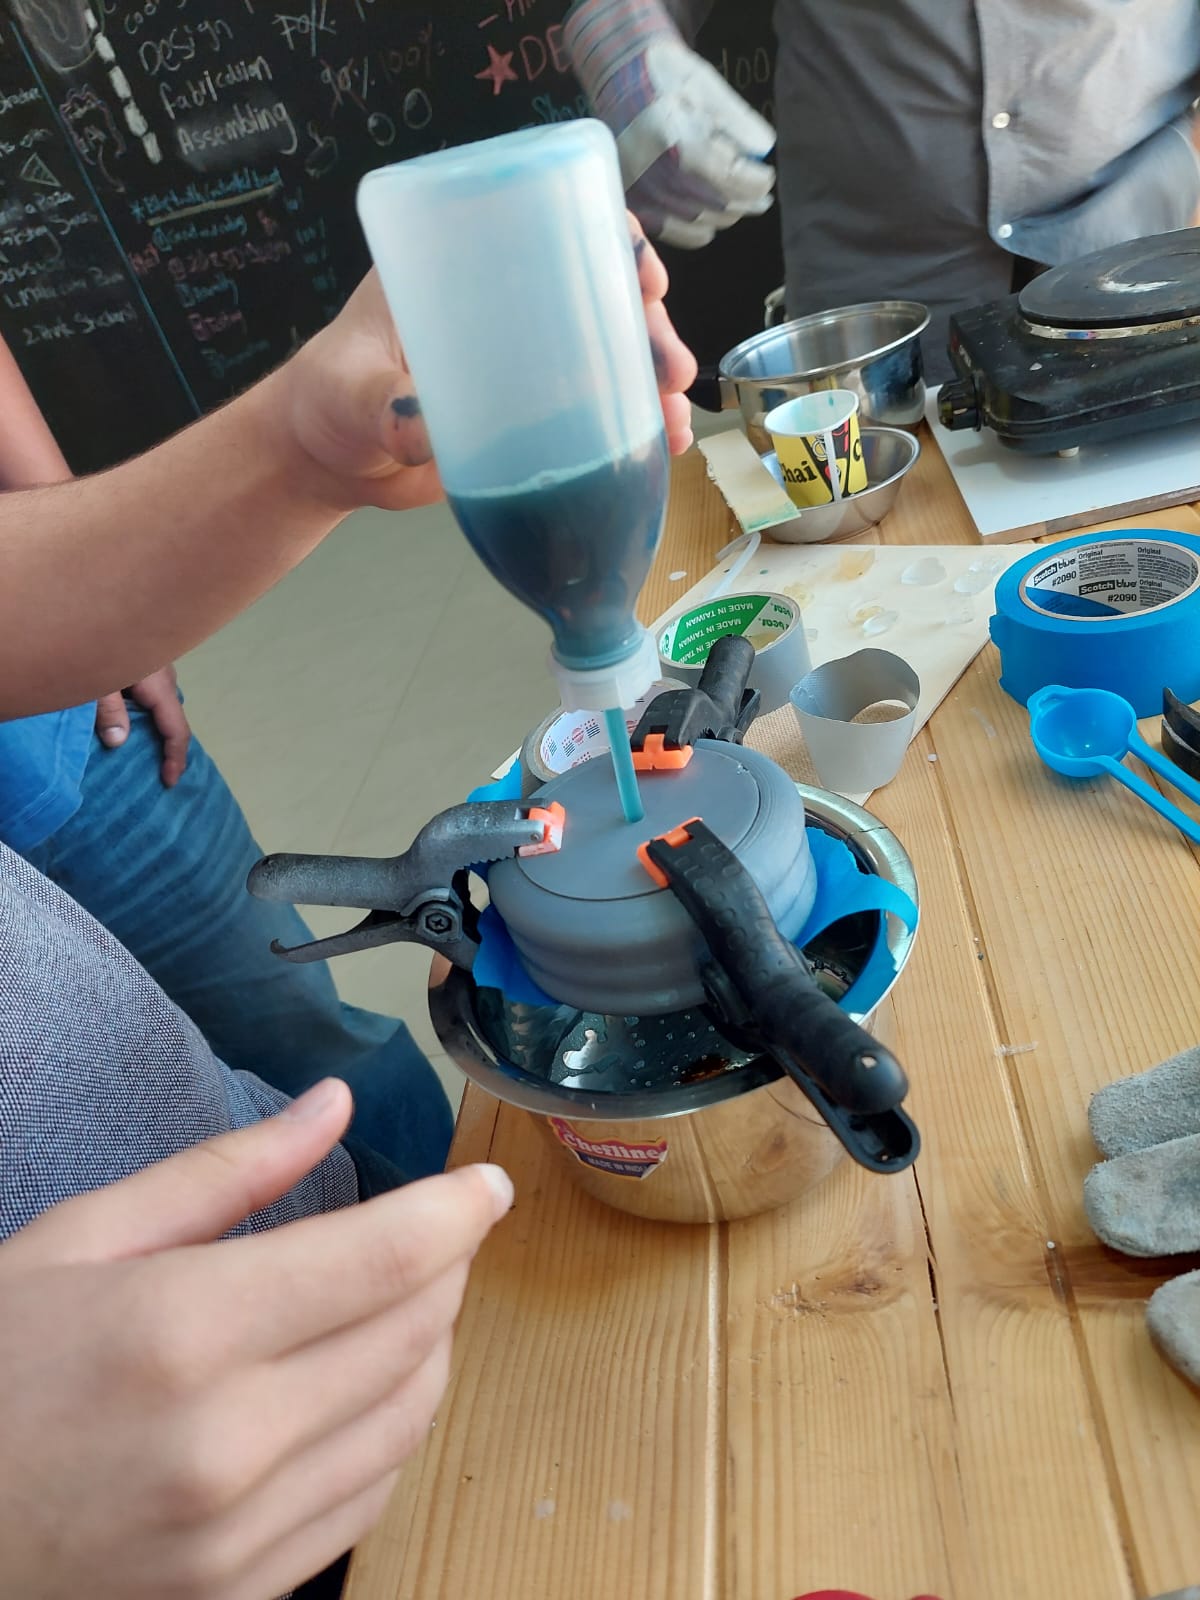
- We poured the reusable mold into a bottle that can be pressed with the hand. It is the same bottle that I used it in the chemistry labs in the university which is used for distilled water. Then we closed the bottle and connected it to the 3D printed mold.
- We kept pressing the bottle carefully to pump the reusable mold into the 3D printed mold..
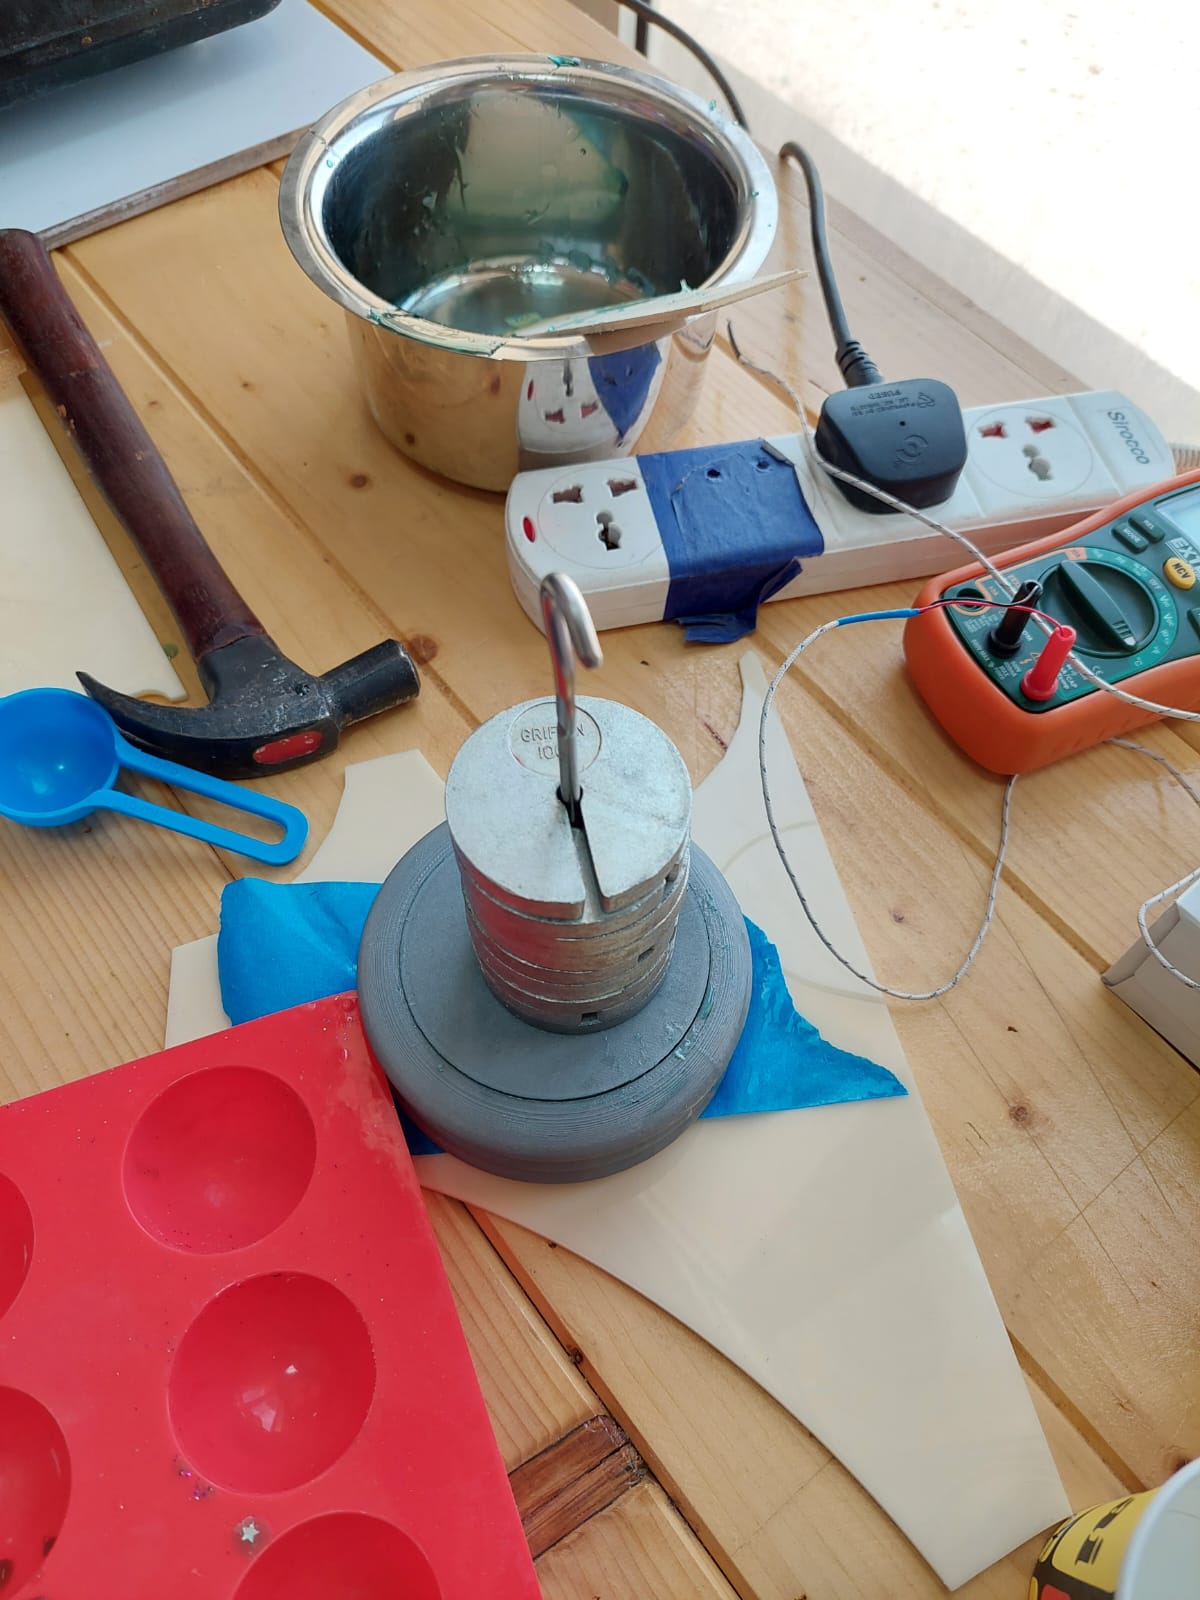
- While doing so, one of the clamps broke and flew away. Luckily we did not get hurt. Maybe this happened because the clamp was not strong enough to hold the mold. Then, another clamp broke too. So we decided to keep the mold on the table and we put a weight on it.
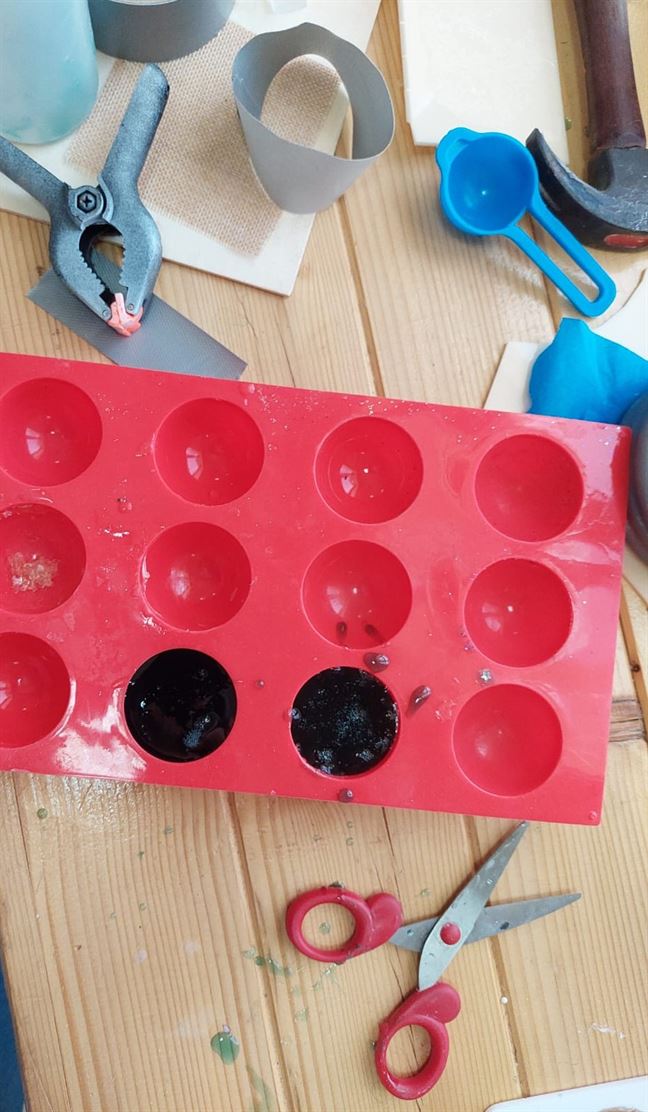
- We poured the excess reusable mold into this mold. We also tried to add some flexible bioplastics that we made in the past weeks just to test if it will stick together or not. I did not take a picture with the bioplastic included.
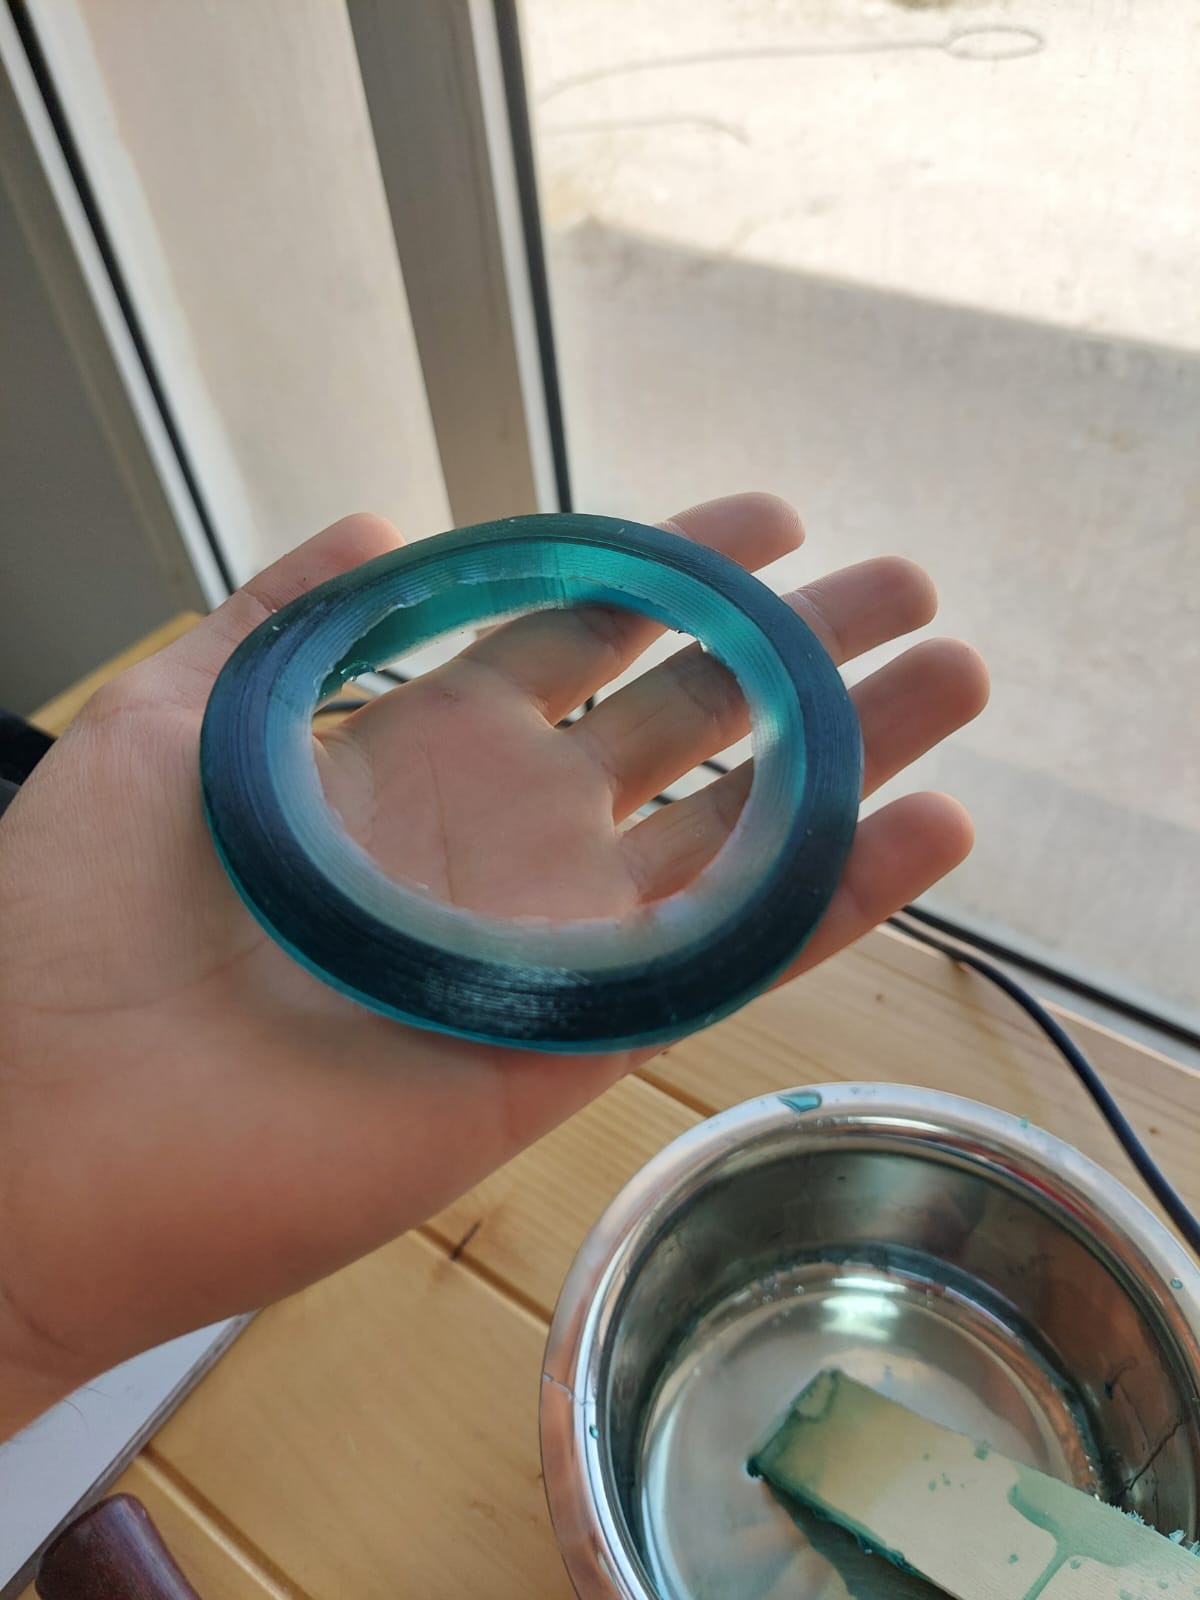
- After one day, we removed the reusable molds. The molds were same as reusable mold 7.
- Abdullah wanted the inner circle to be stronger than the result because the resulted mold had a very thin inner circle as shown in the last picture. This was just an experiment so we may need to find a better recipe.
Week 7
7.1 Finalizing our work.
In this week, we finalized our work for all the previous weeks.
We found a video that explains how to make a reusable mold using glycerine, water, and gelatin. We did different tests by changing the amounts of the ingredients. The reusable mold is environmental friendly and does not cost much and it is a good replacement for the silicon molds, but it has some drawbacks like low melting point which is around 54 degree celsius.
For our first try, we used lower amounts for the ingredients than the video. The product was very good. You can refer to the recipe here.
After this, we tried to change the amounts of the ingredients several times to see if we will be able to come up with a better recipe than the first one, and we eventually found a better recipe. It was stronger and better. The difference between this recipe and the first one is that we used a lower amount of the glycerine and more amount of the gelatin. We tested this recipe for casting which was very good. You can refer to the recipe here.
Then, we tried to come up with a better recipe and we ended up with a better recipe that the previous one. It was stronger than it too. We increased the water and the gelatin for this one. We did not try casting with this recipe. You can refer to the recipe here.