5. 3D printing and scanning
This week I worked on 3D printing and scanning. I faced some difficulties while scanning but the last try was the best.
5.1 Scanning.
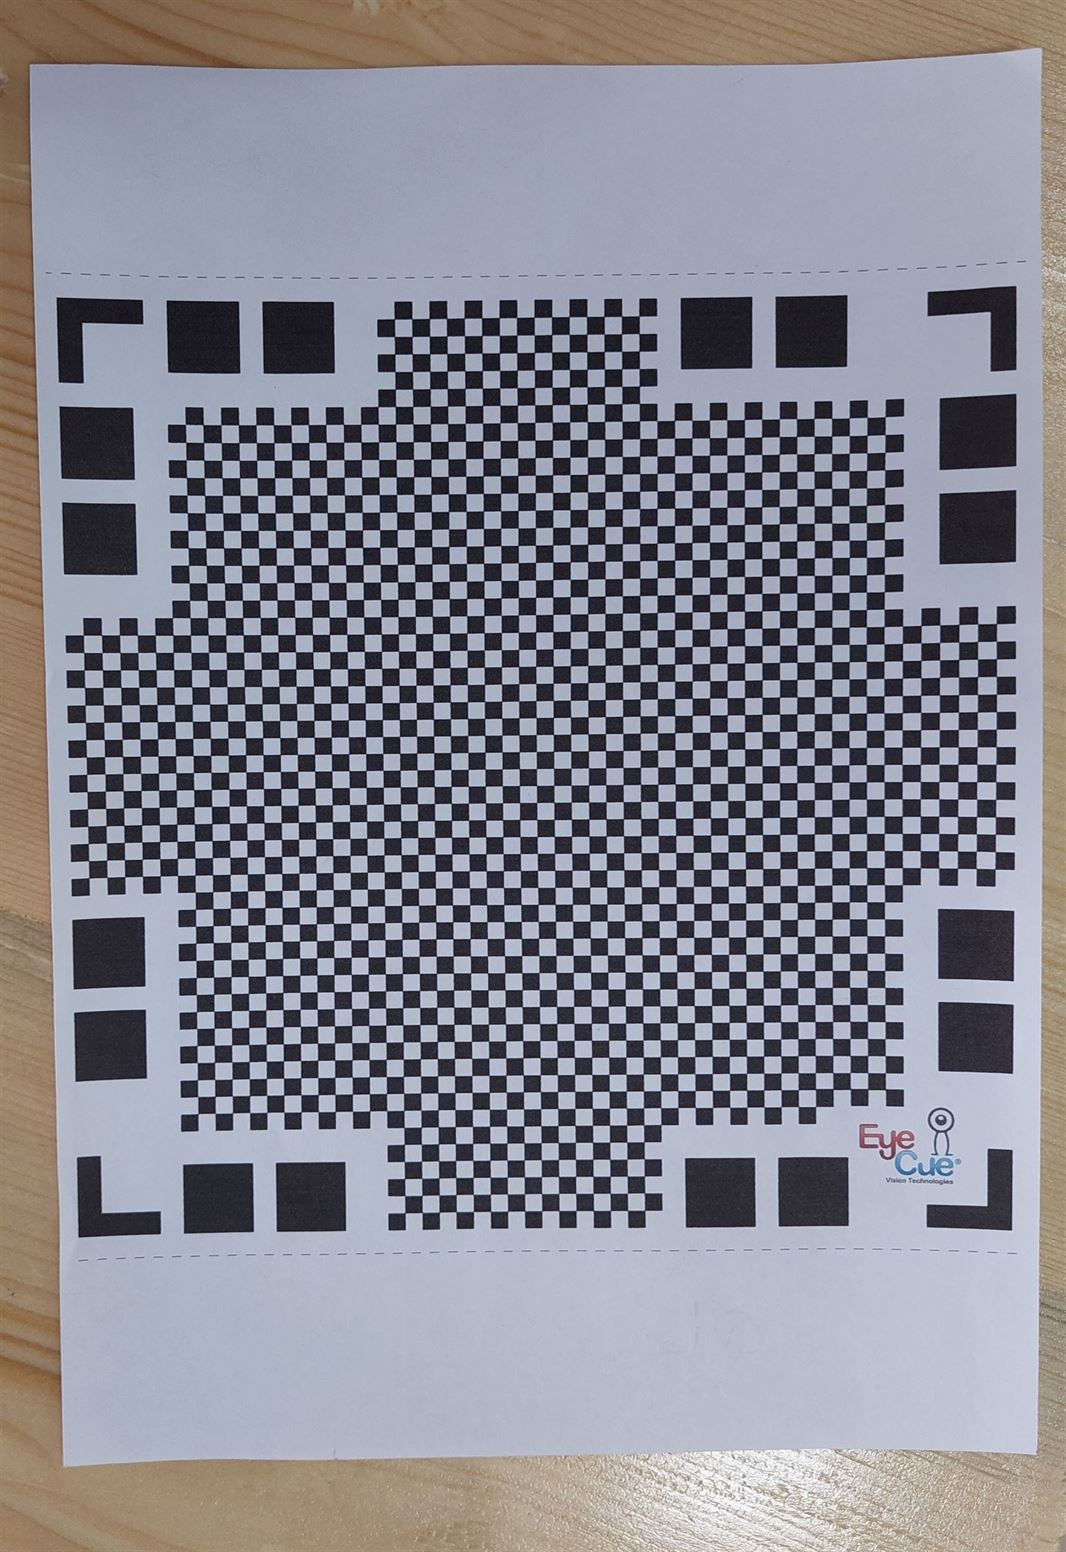
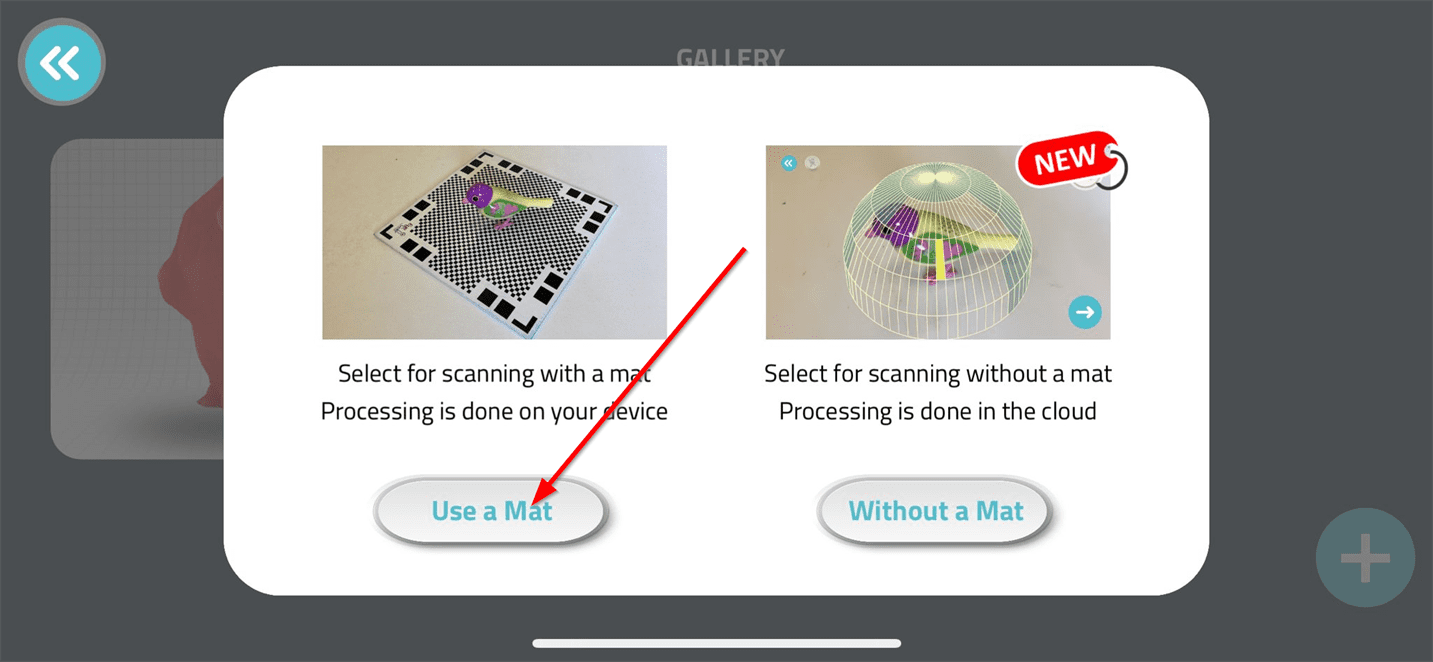
We used a printed paper that contains some black shapes which is similar to QR codes. We also downloaded an app called Qlone 3D Scanner. We used both to scan some of the objects available in Fab Lab.
While scanning I faced some difficulties because the app was not working properly and the scanning always flickers.
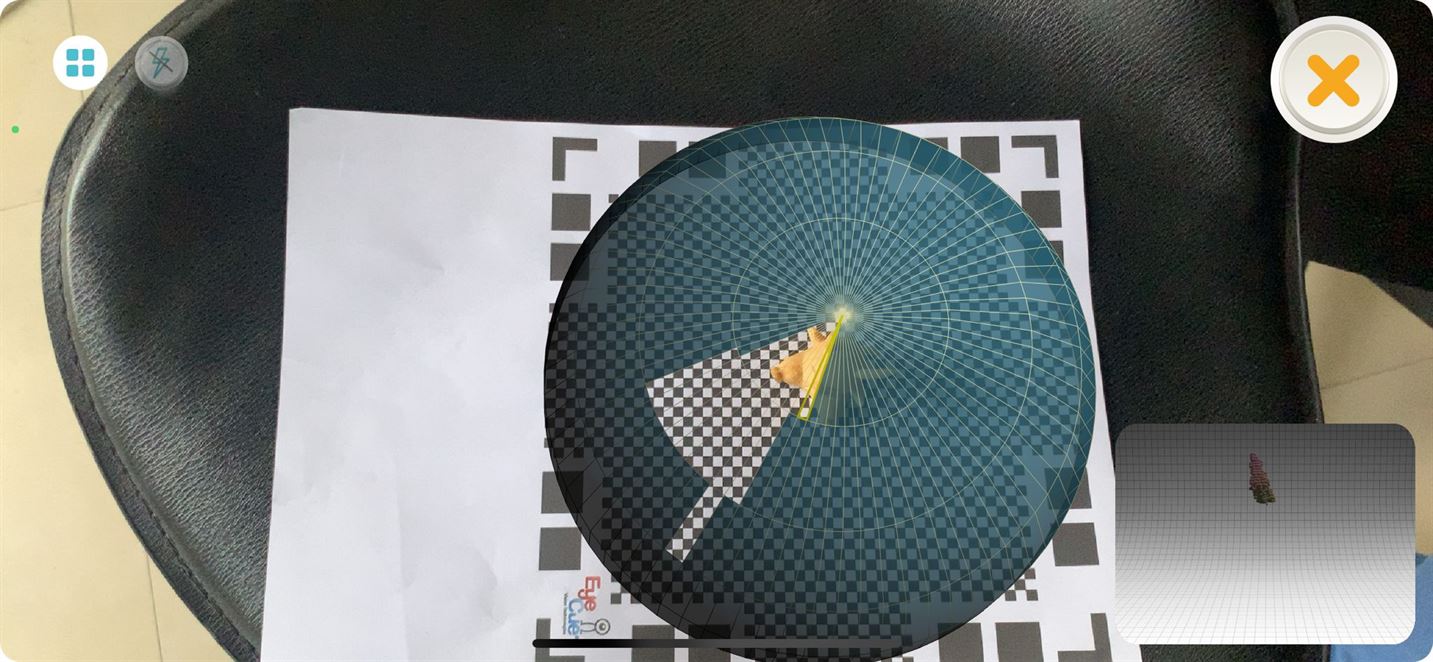
We used a chair that rotates which made the scanning much easier.
- I downloaded and installed Qlone 3D Scanner.
This is the link: Click Here.

- I used this paper.
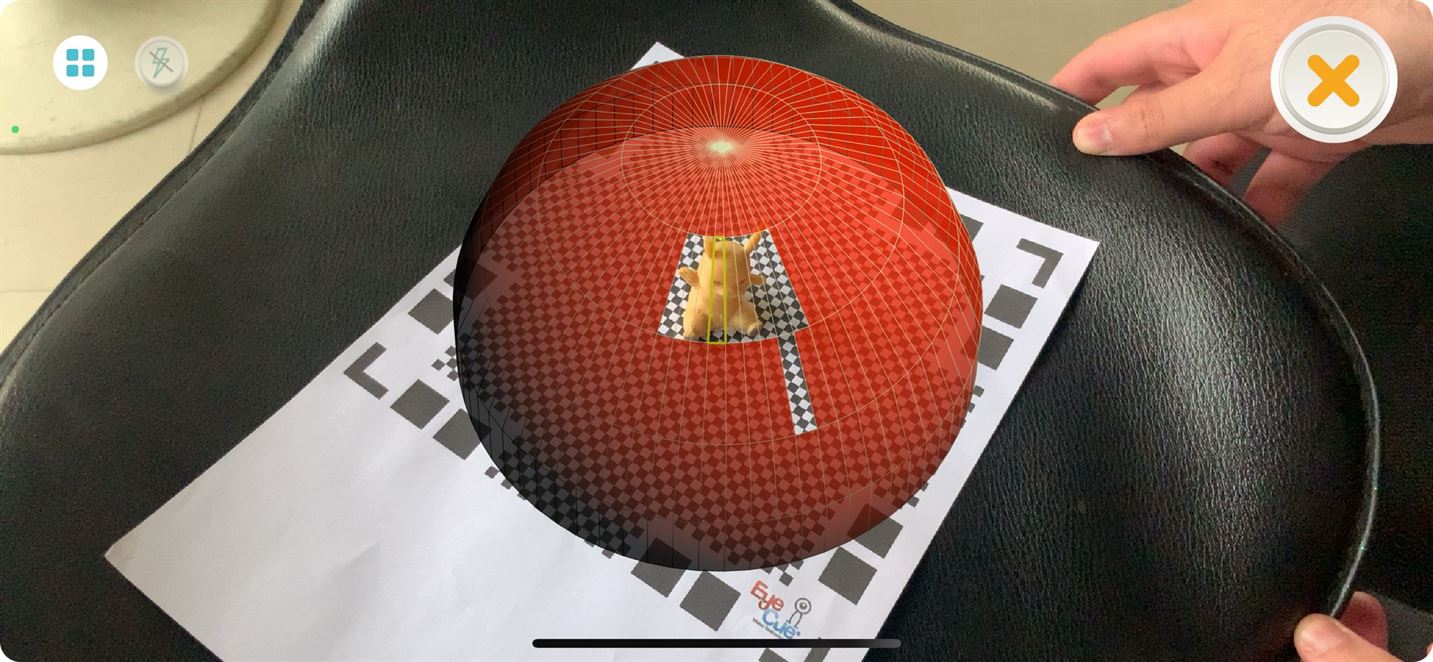
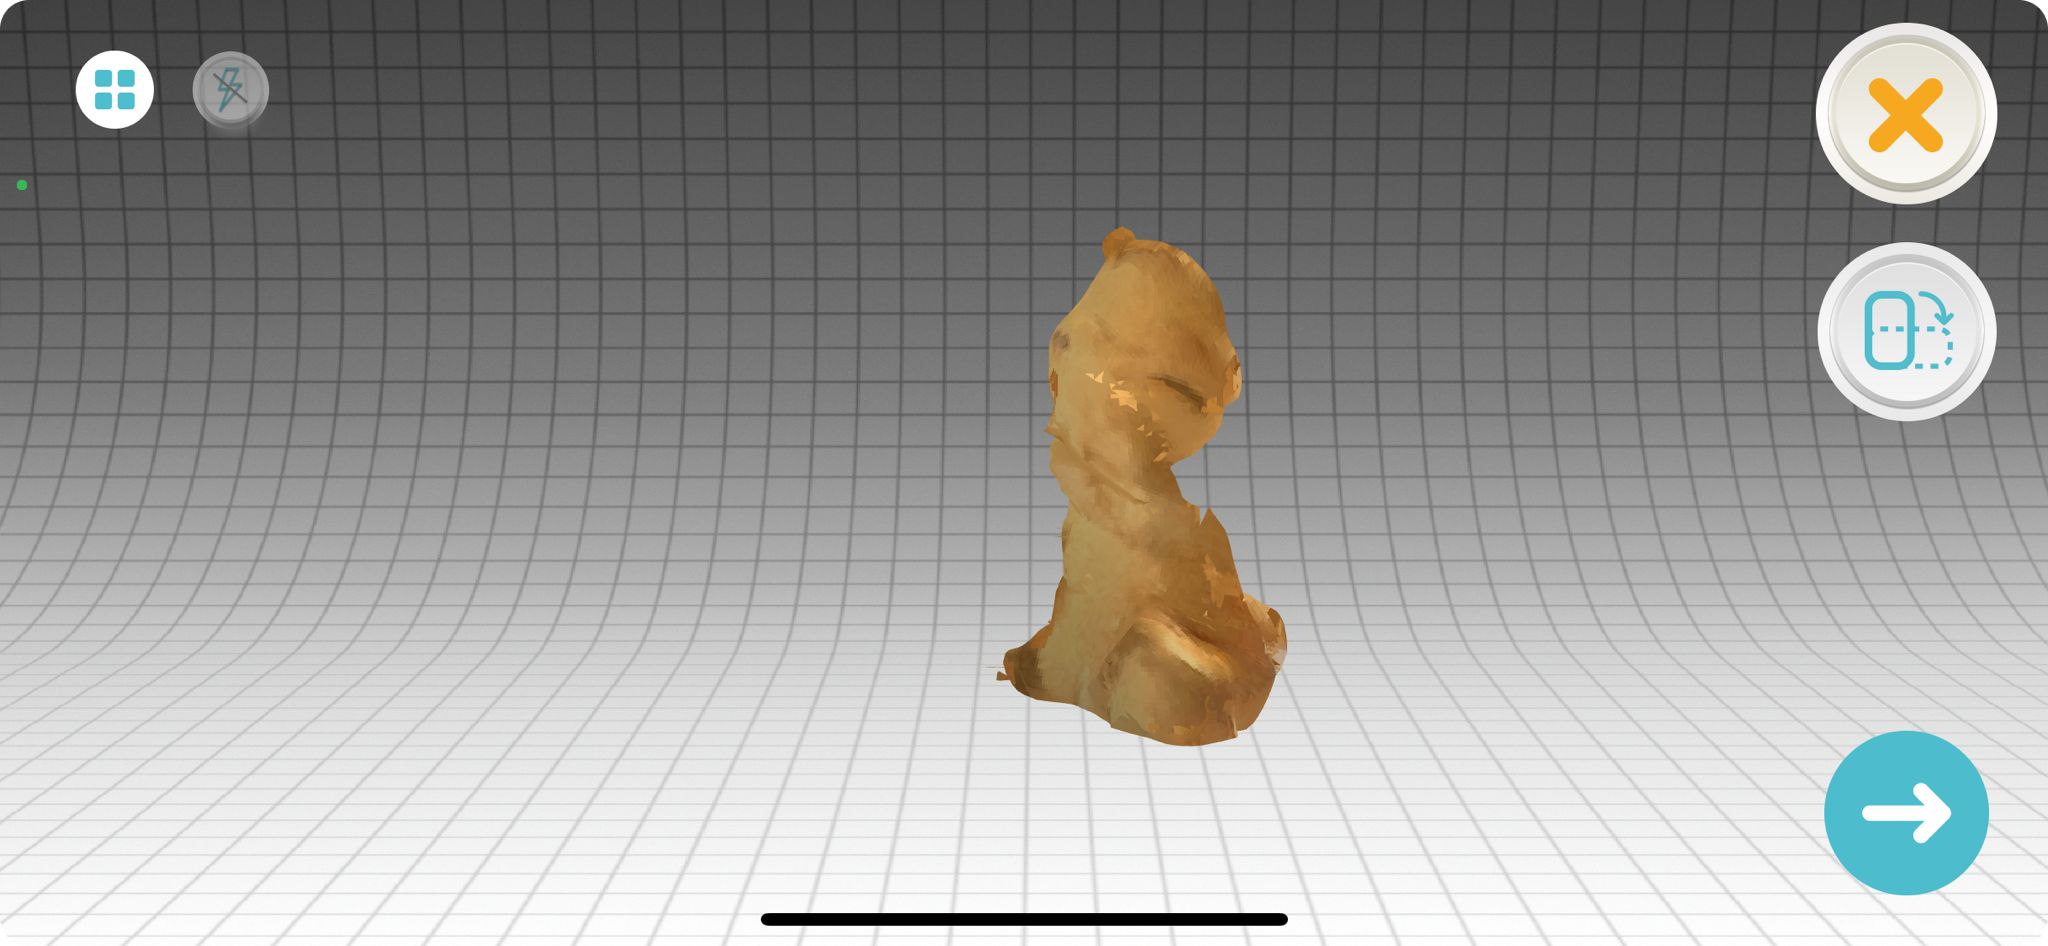
5.1.1 First Scan.
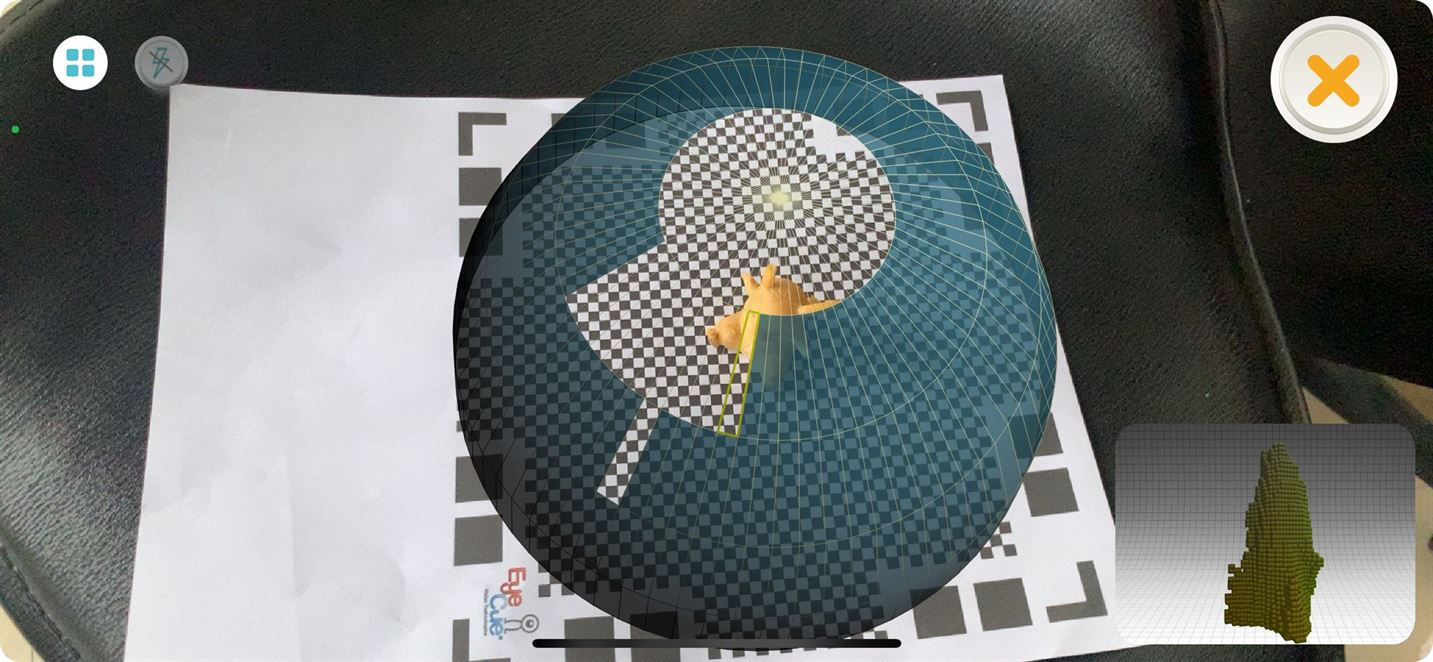
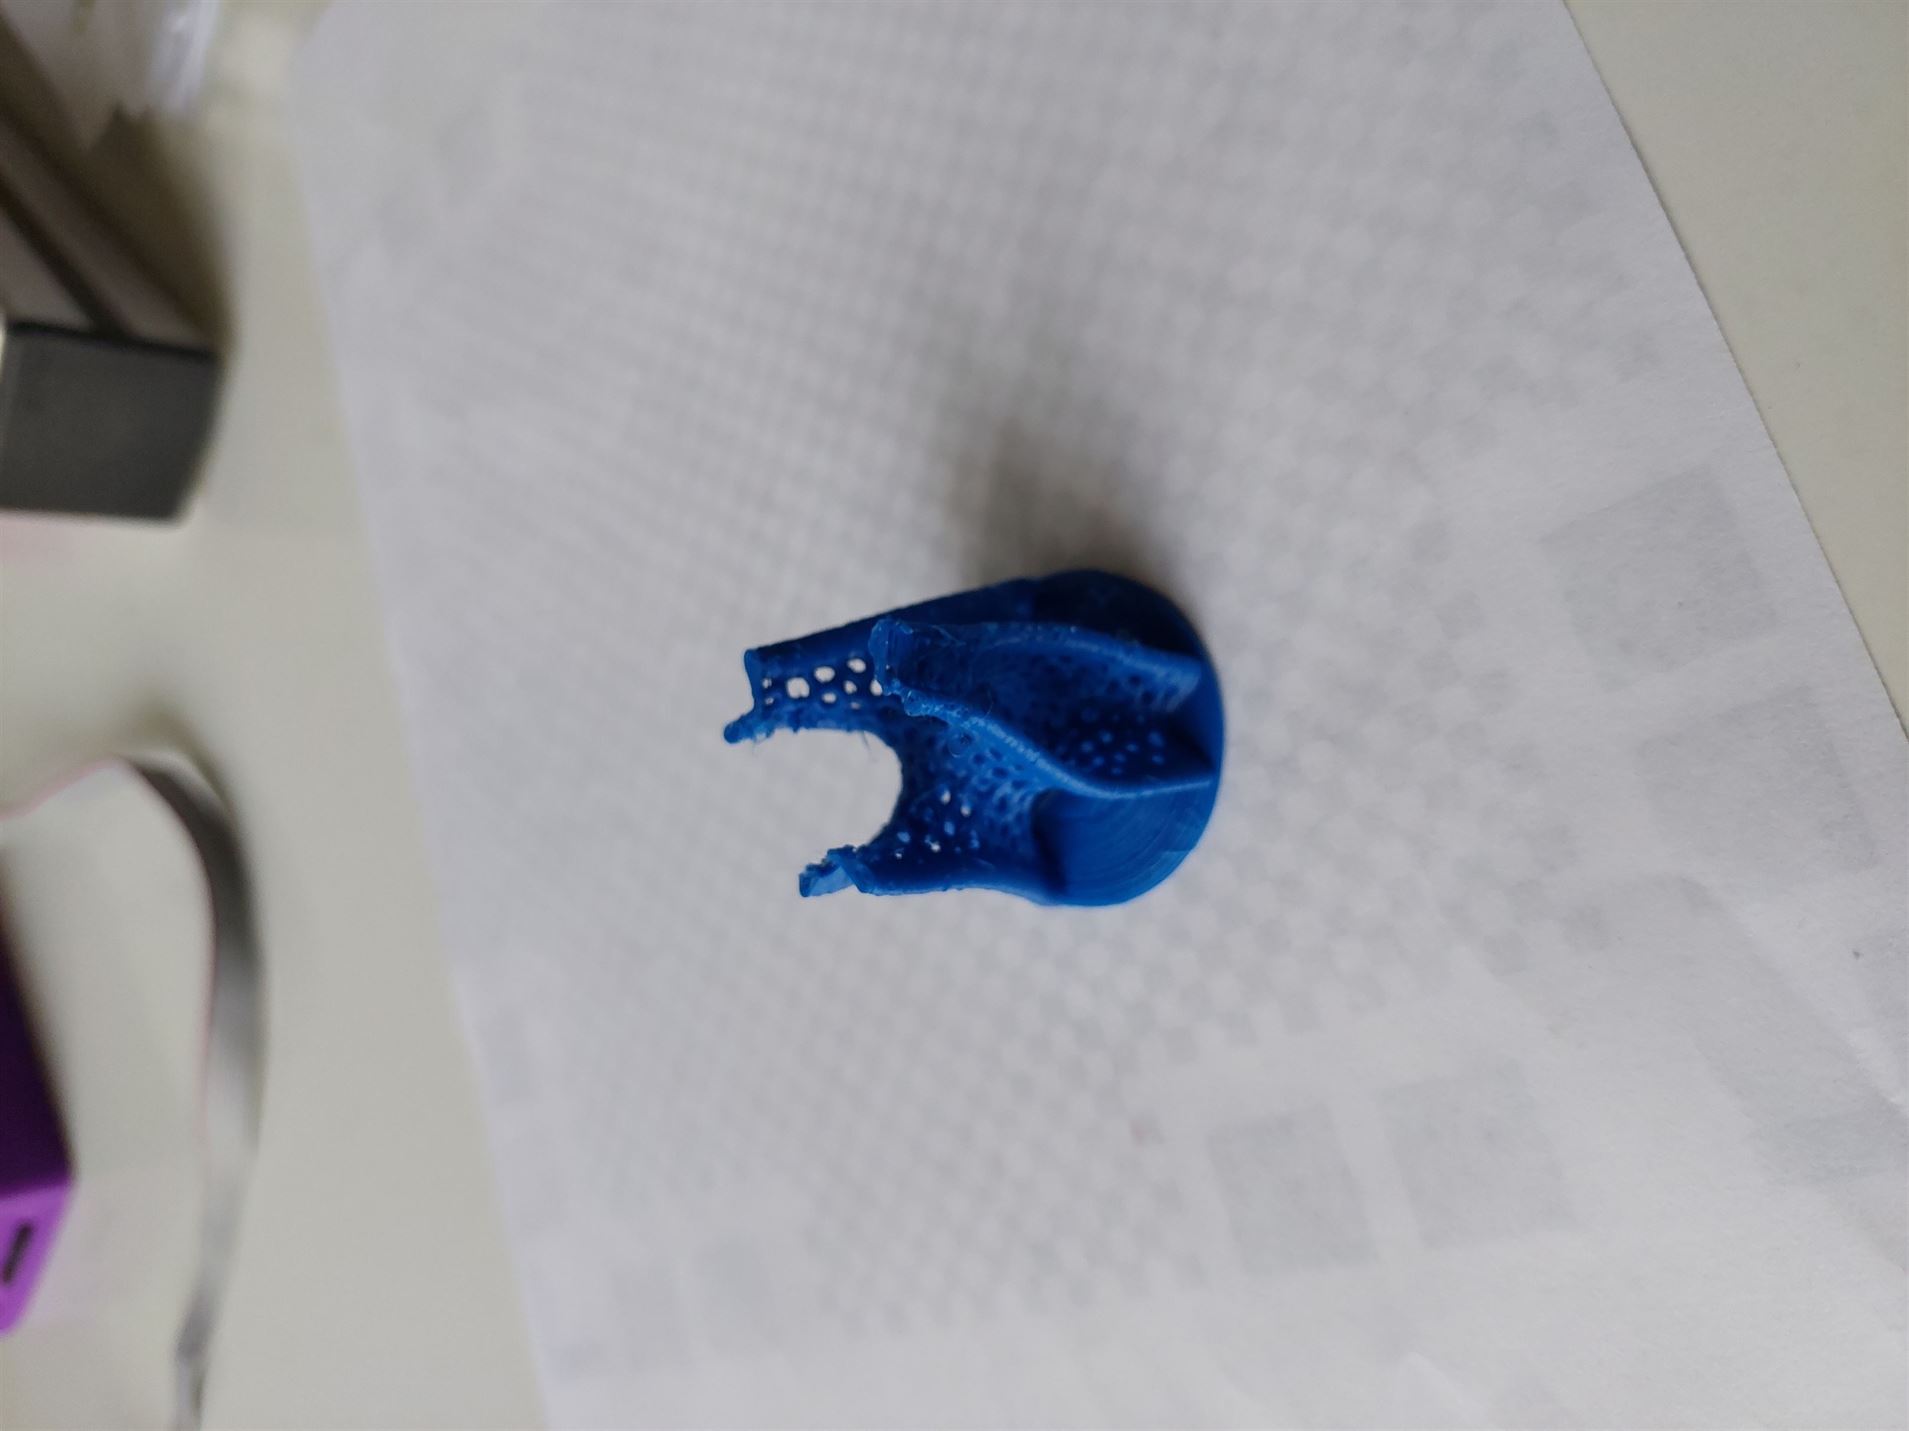
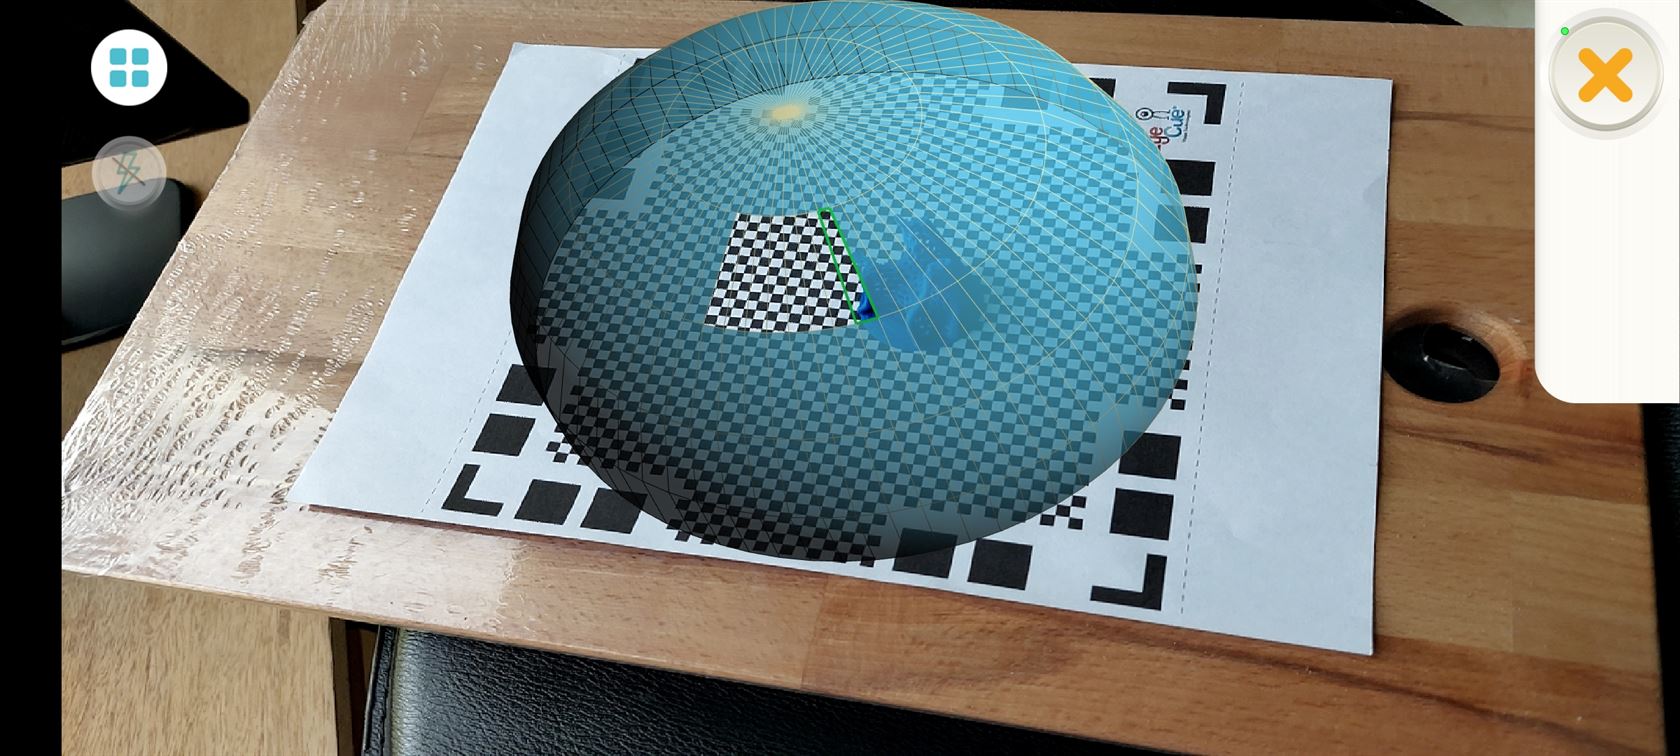
- My first try was with this 3D printed object.
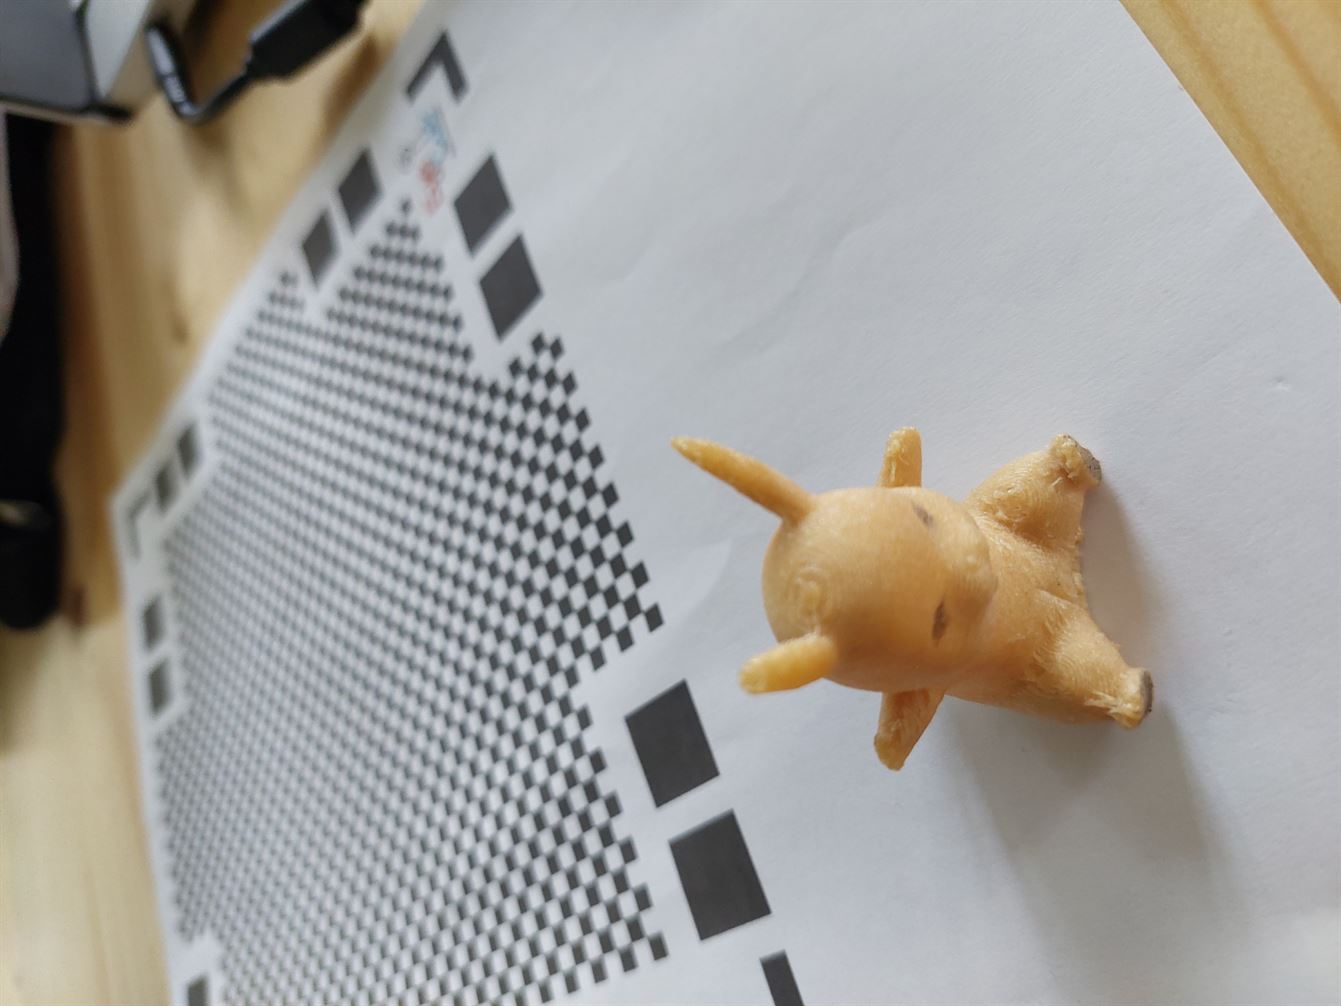
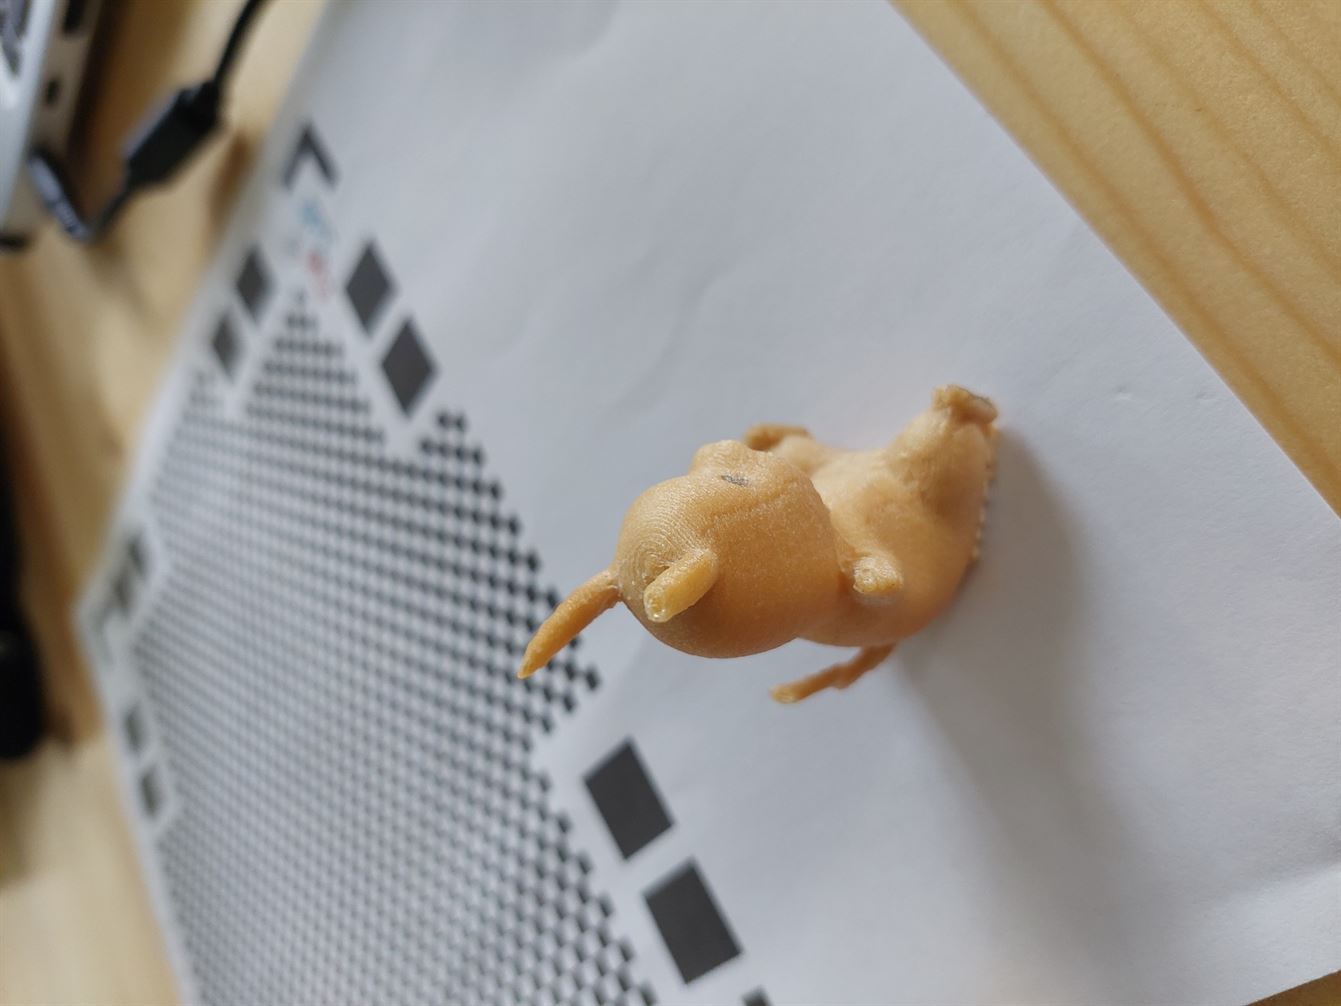
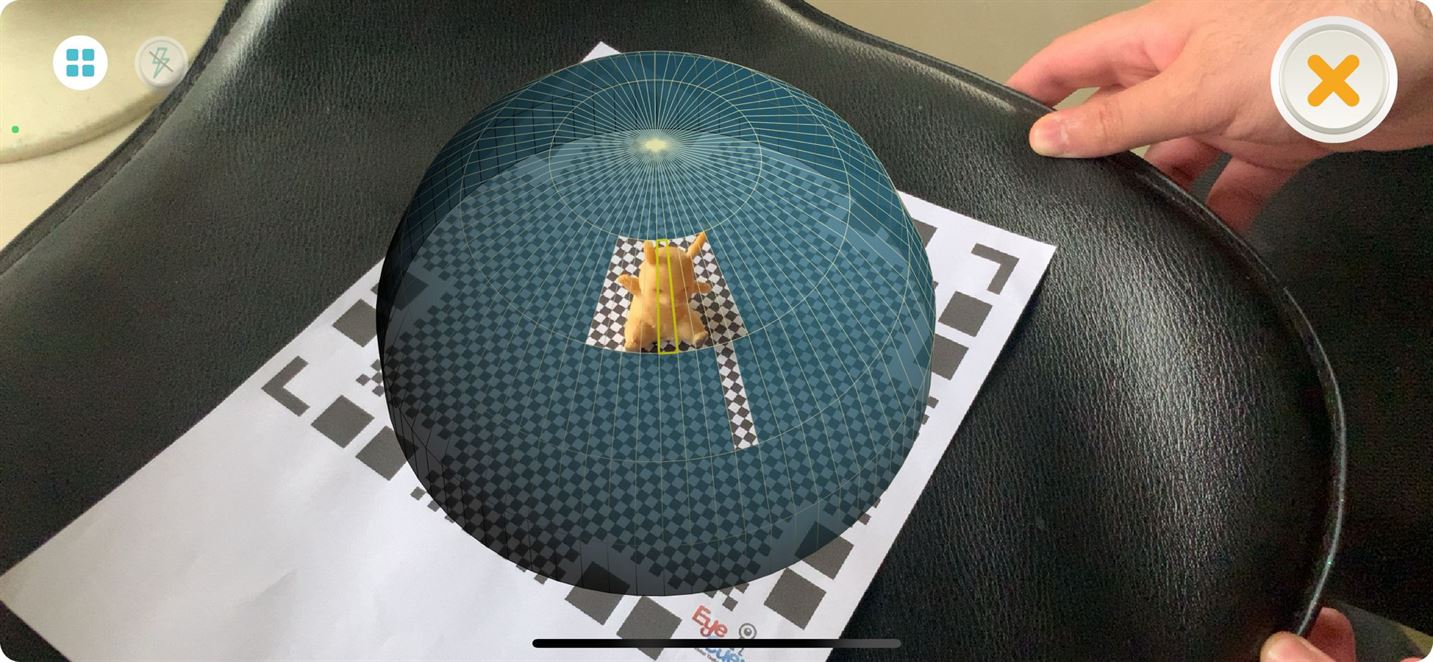
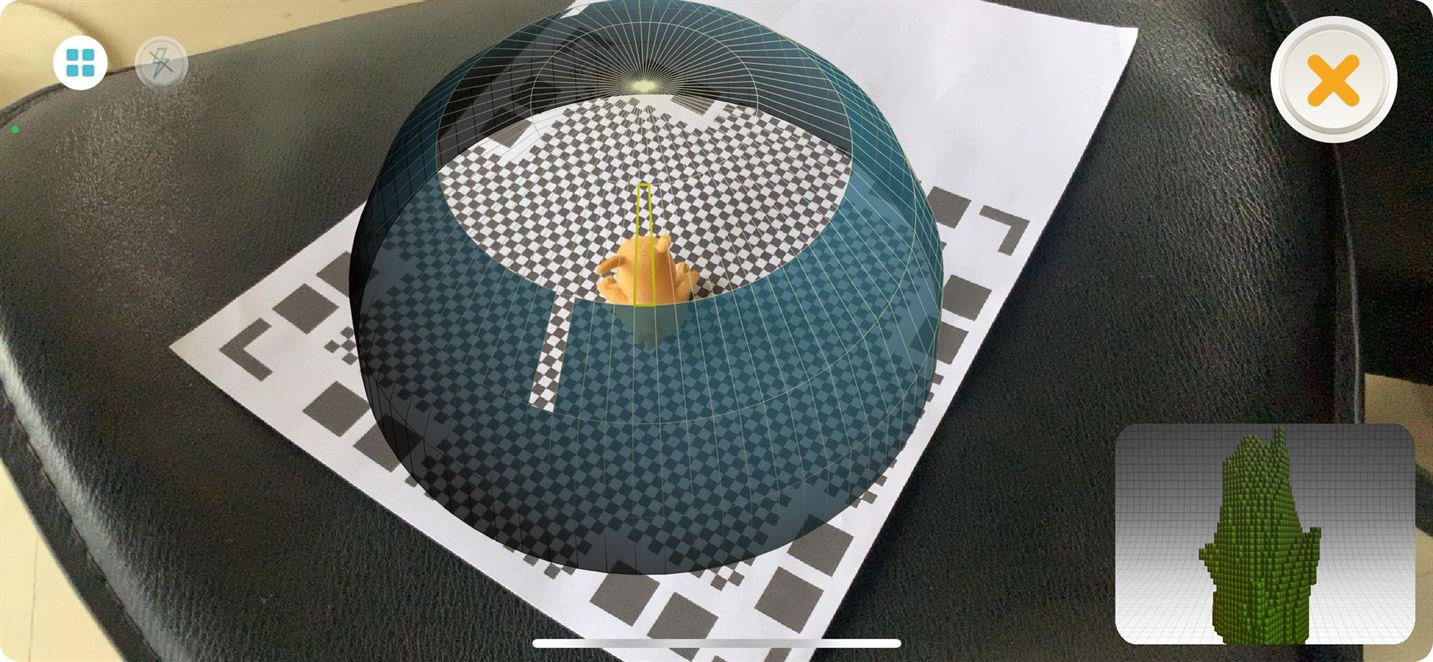
- I started the scanning.

- The final result was not good but this was my first try. I did not save the file so I did not include a gif image for this result.
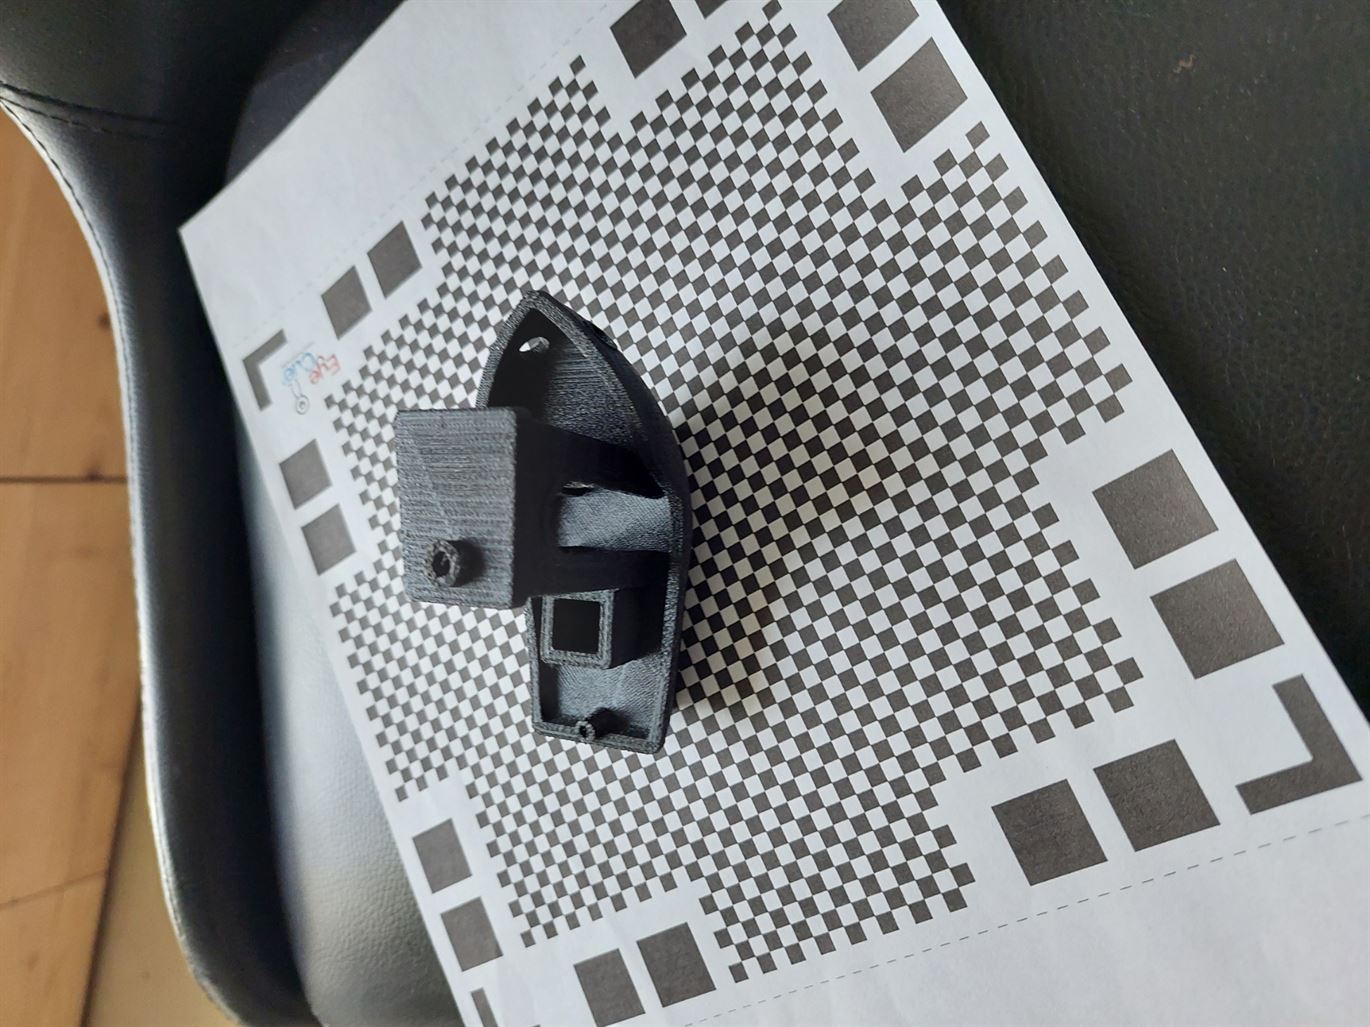
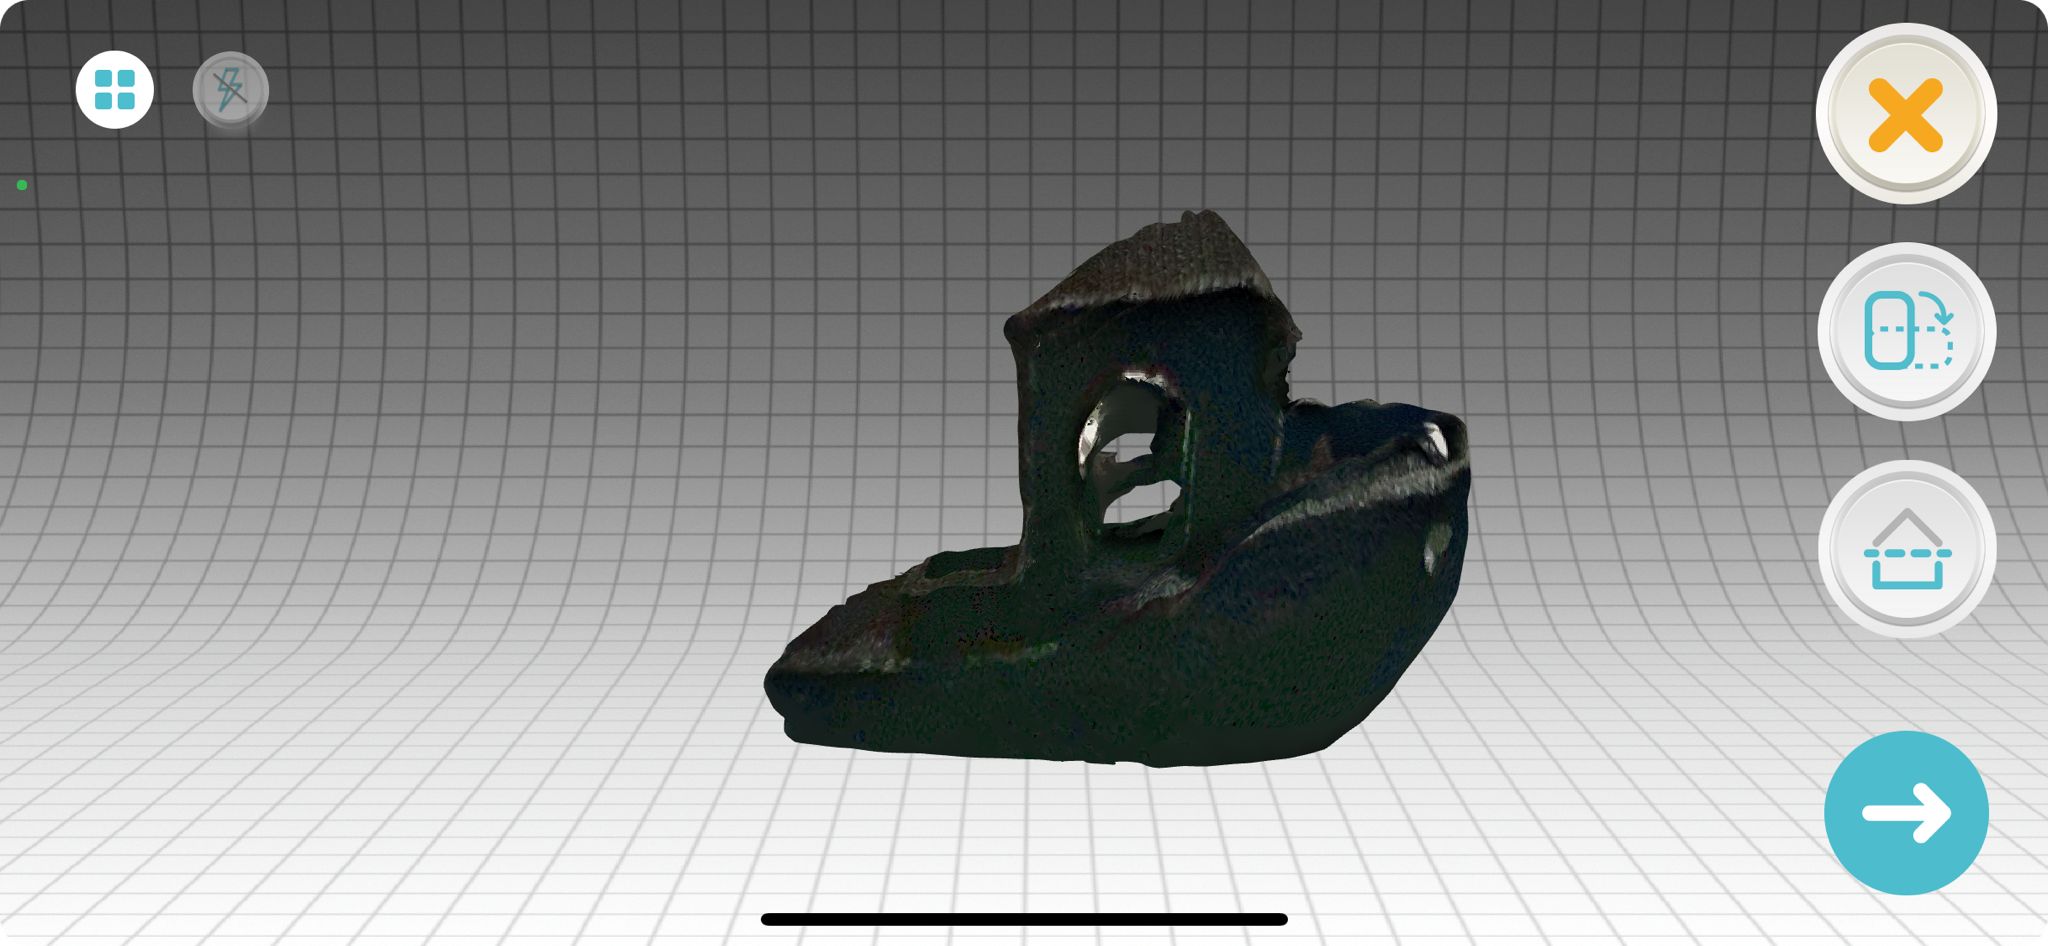
5.1.2 Second Scan.
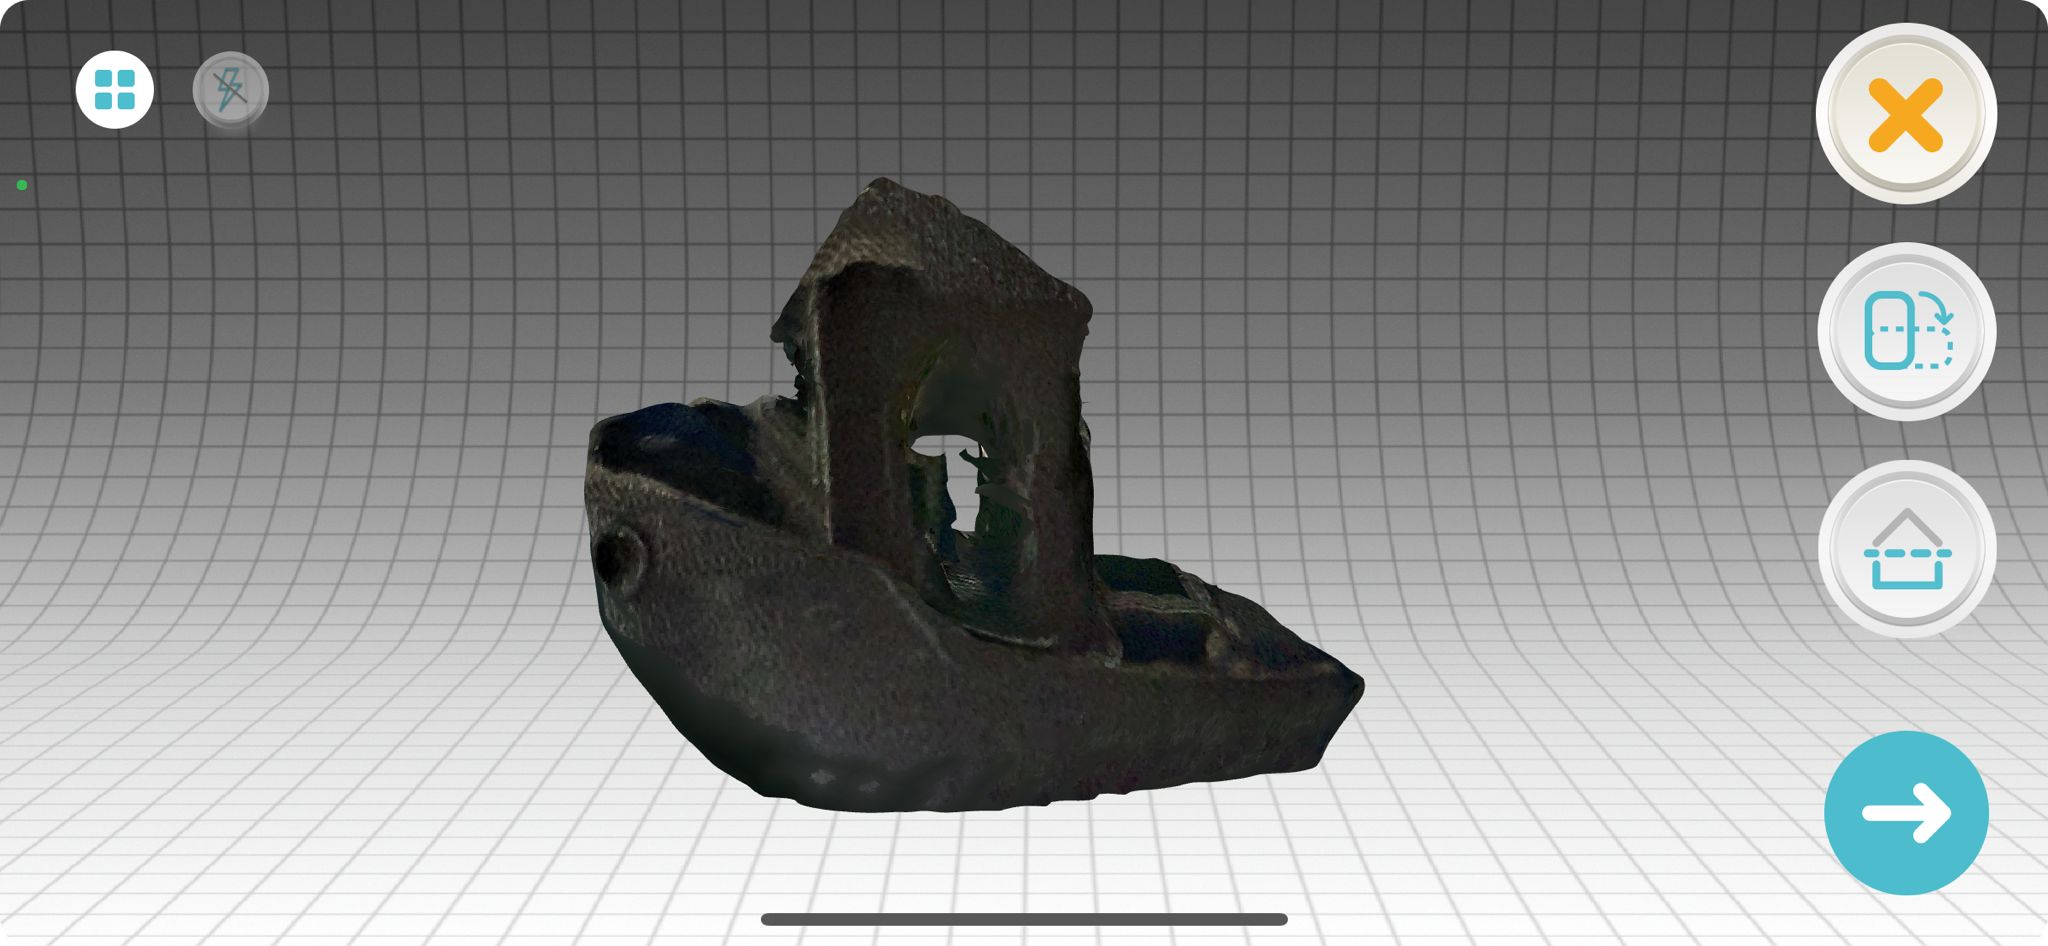
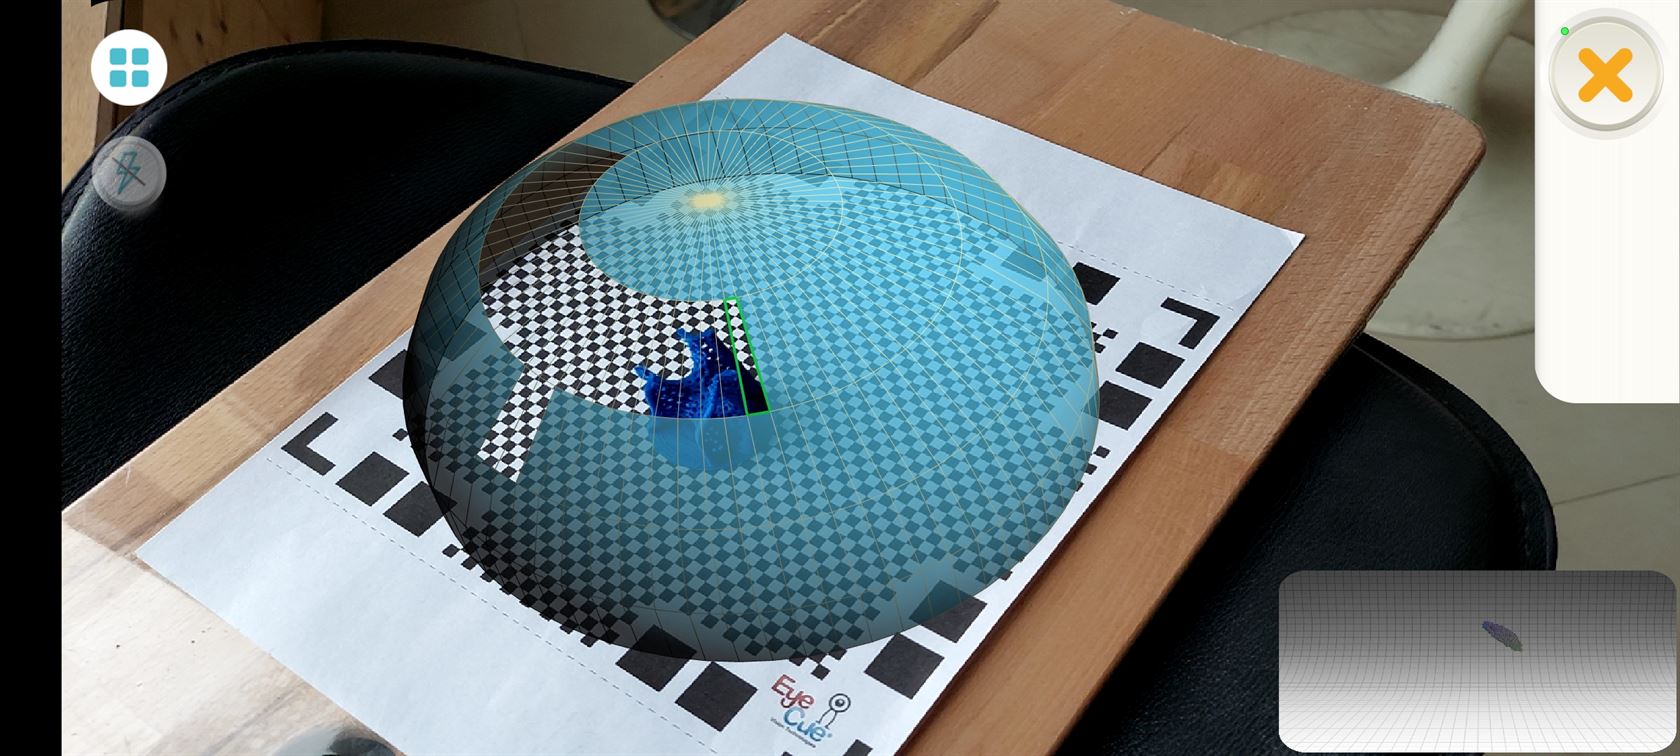
- For the second try I tried to scan a 3D printed boat.

- This is the final result which was better than the first try.

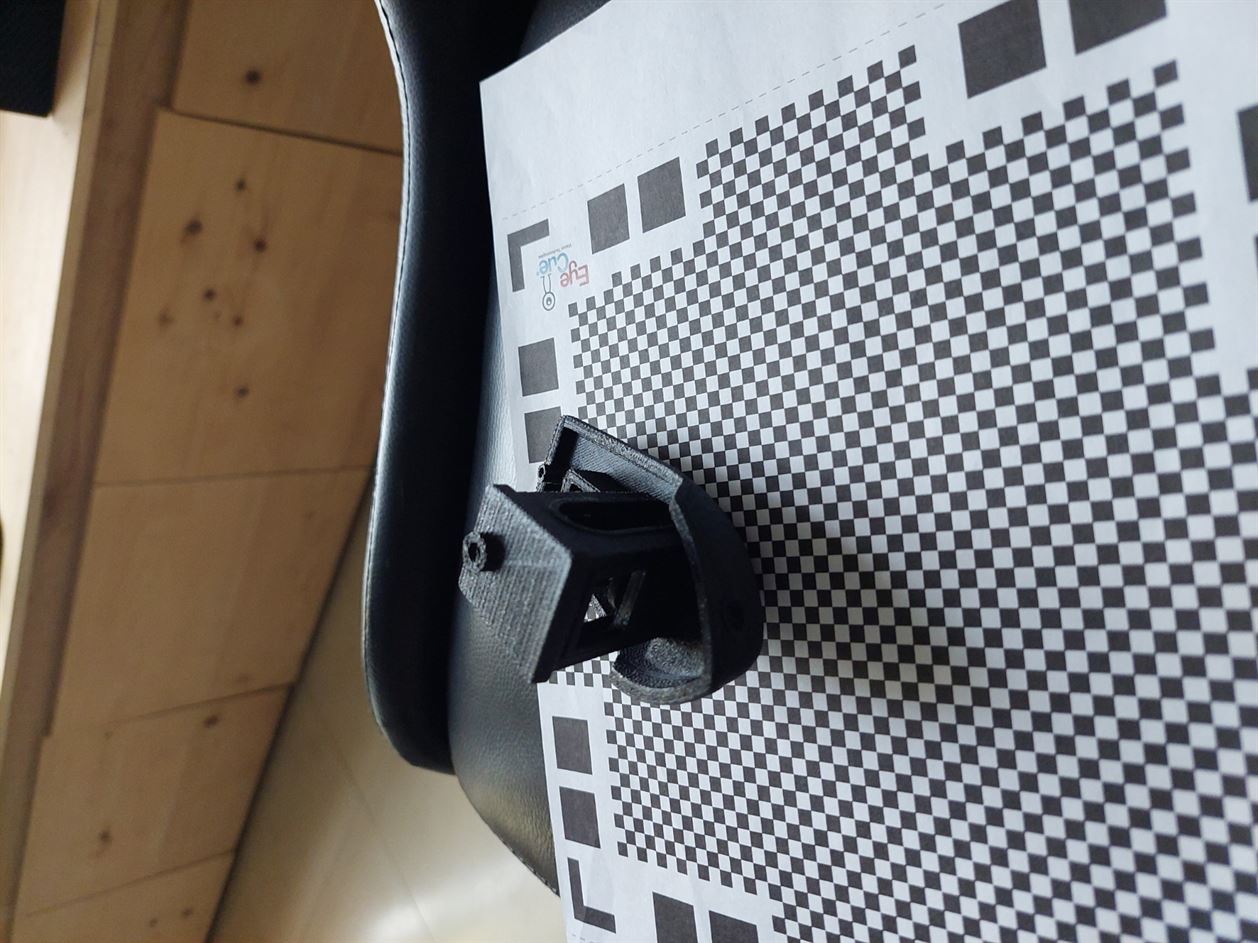
5.1.2 Third Scan.
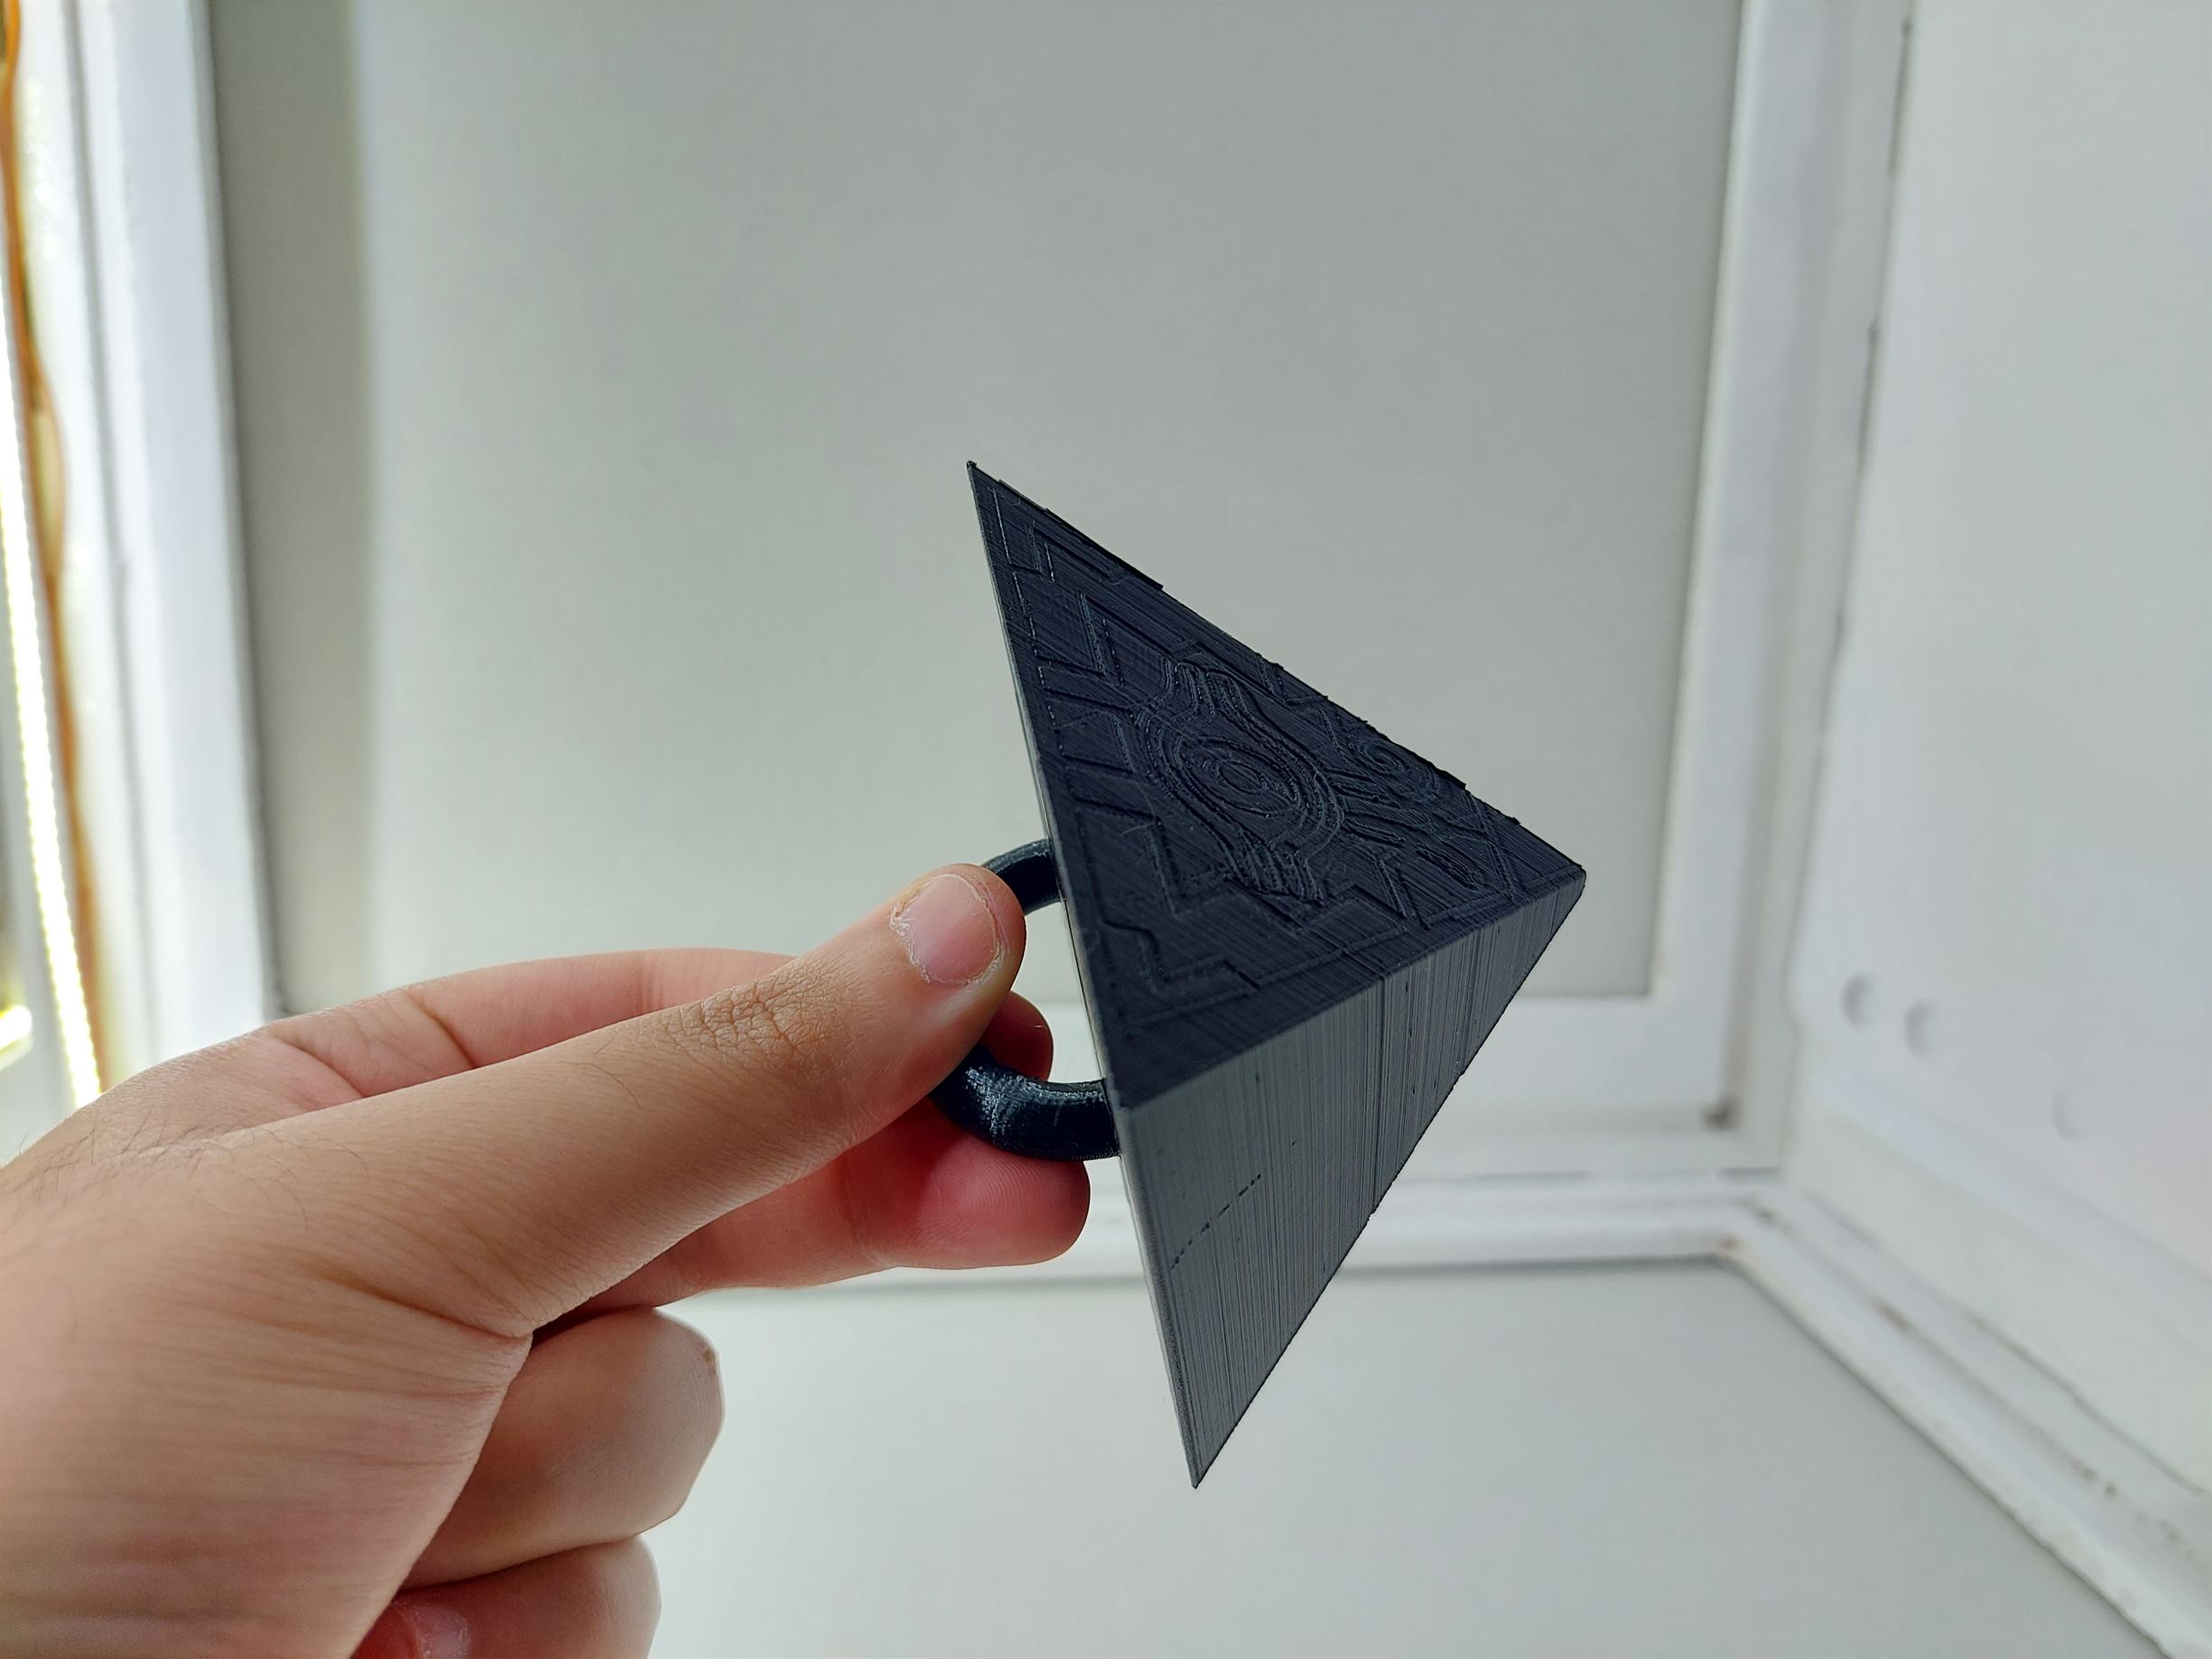
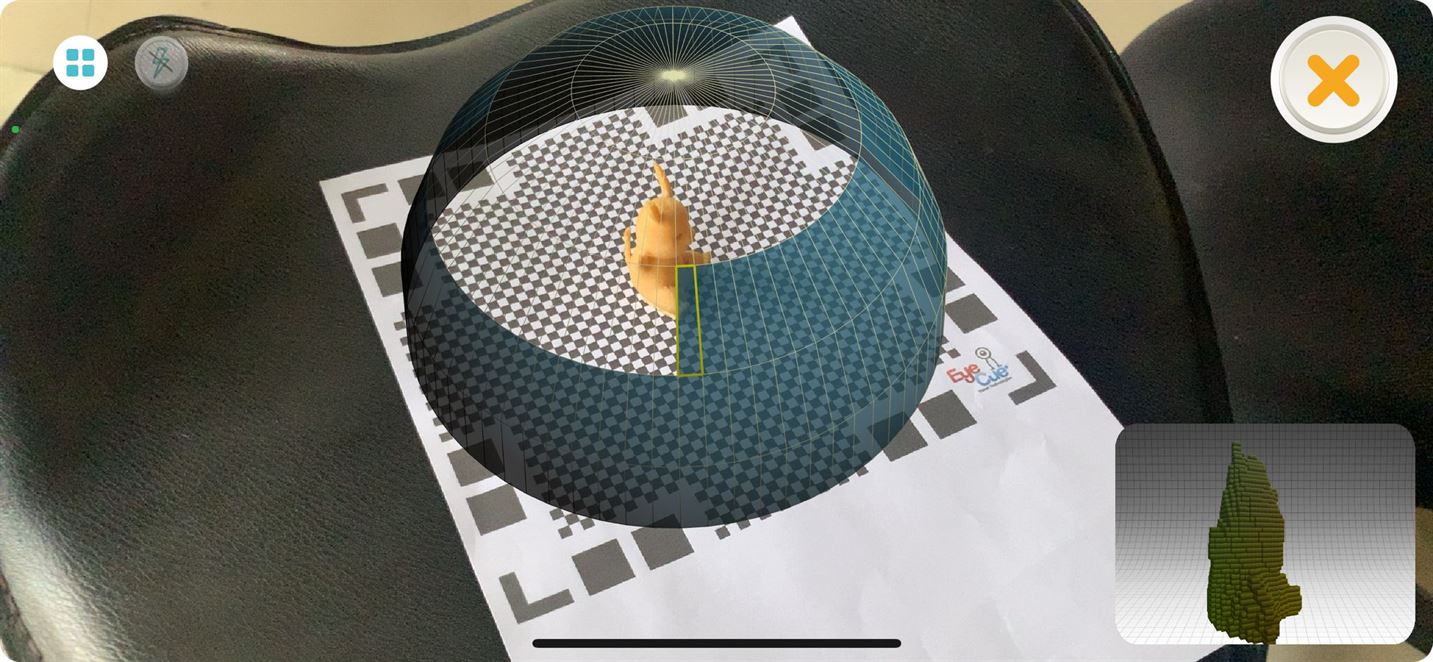
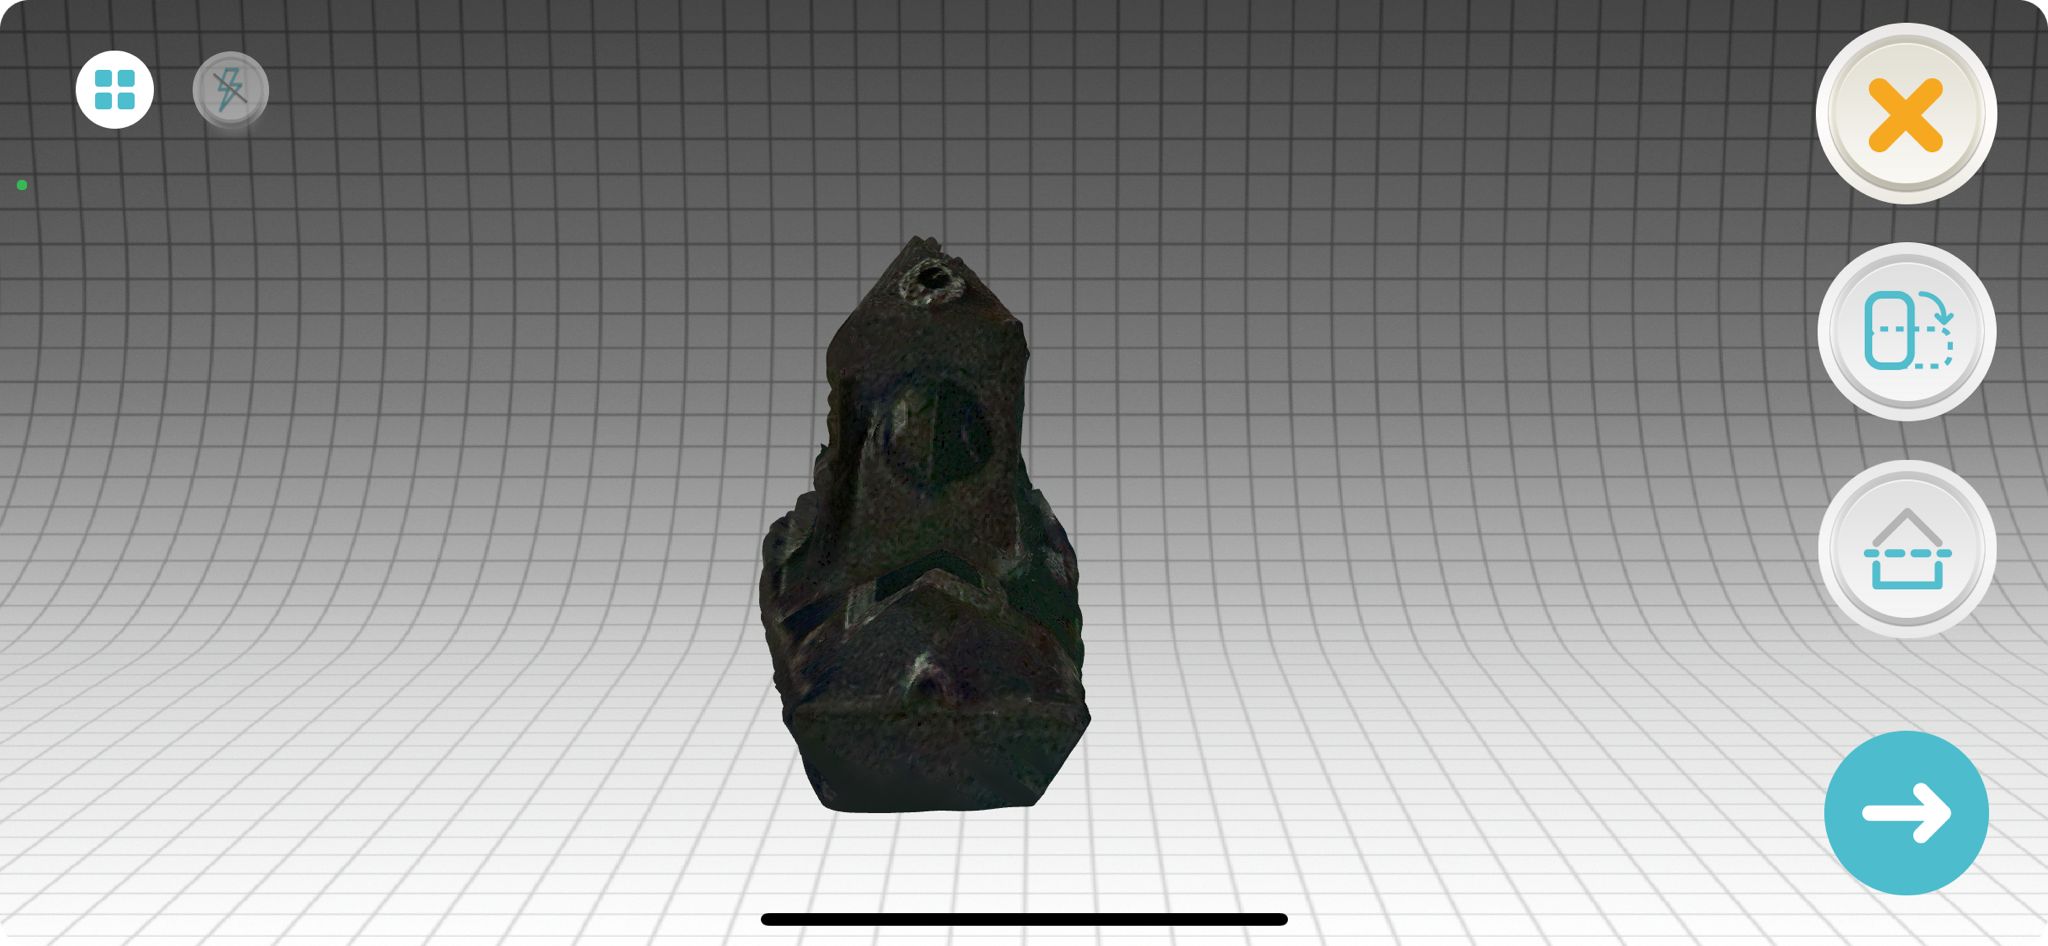
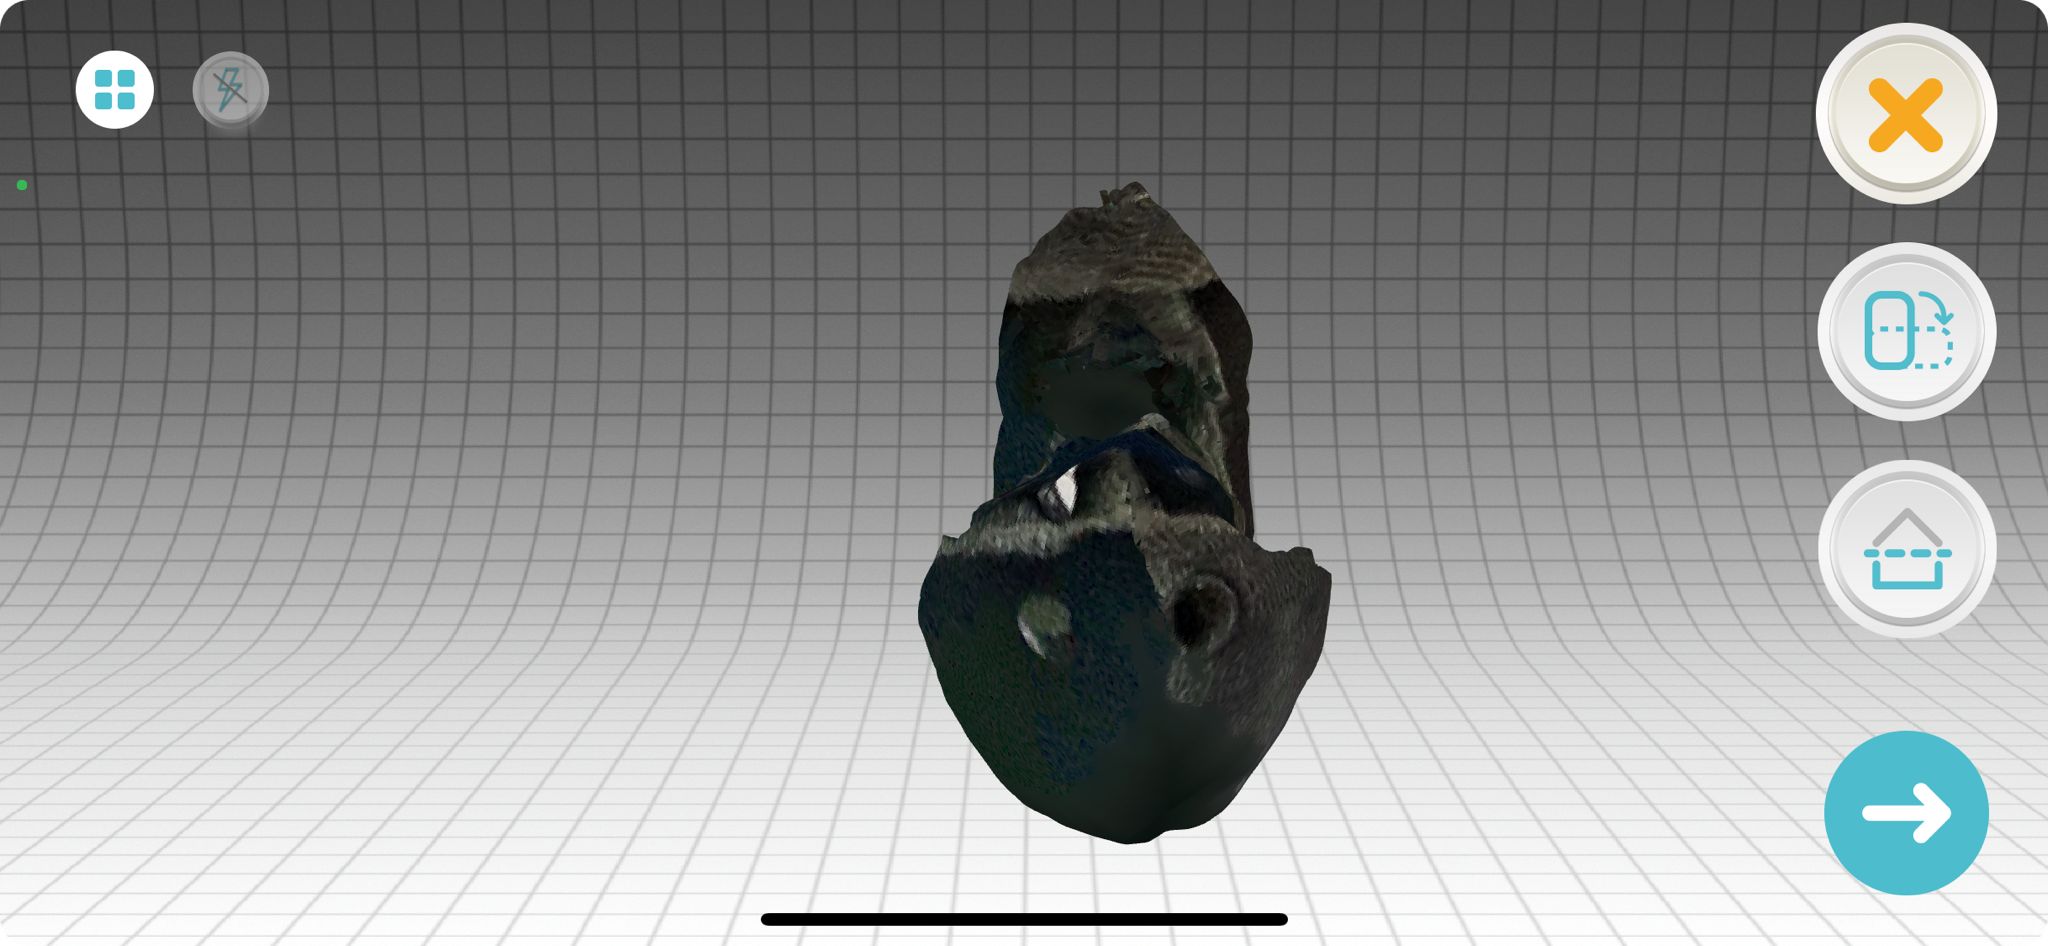
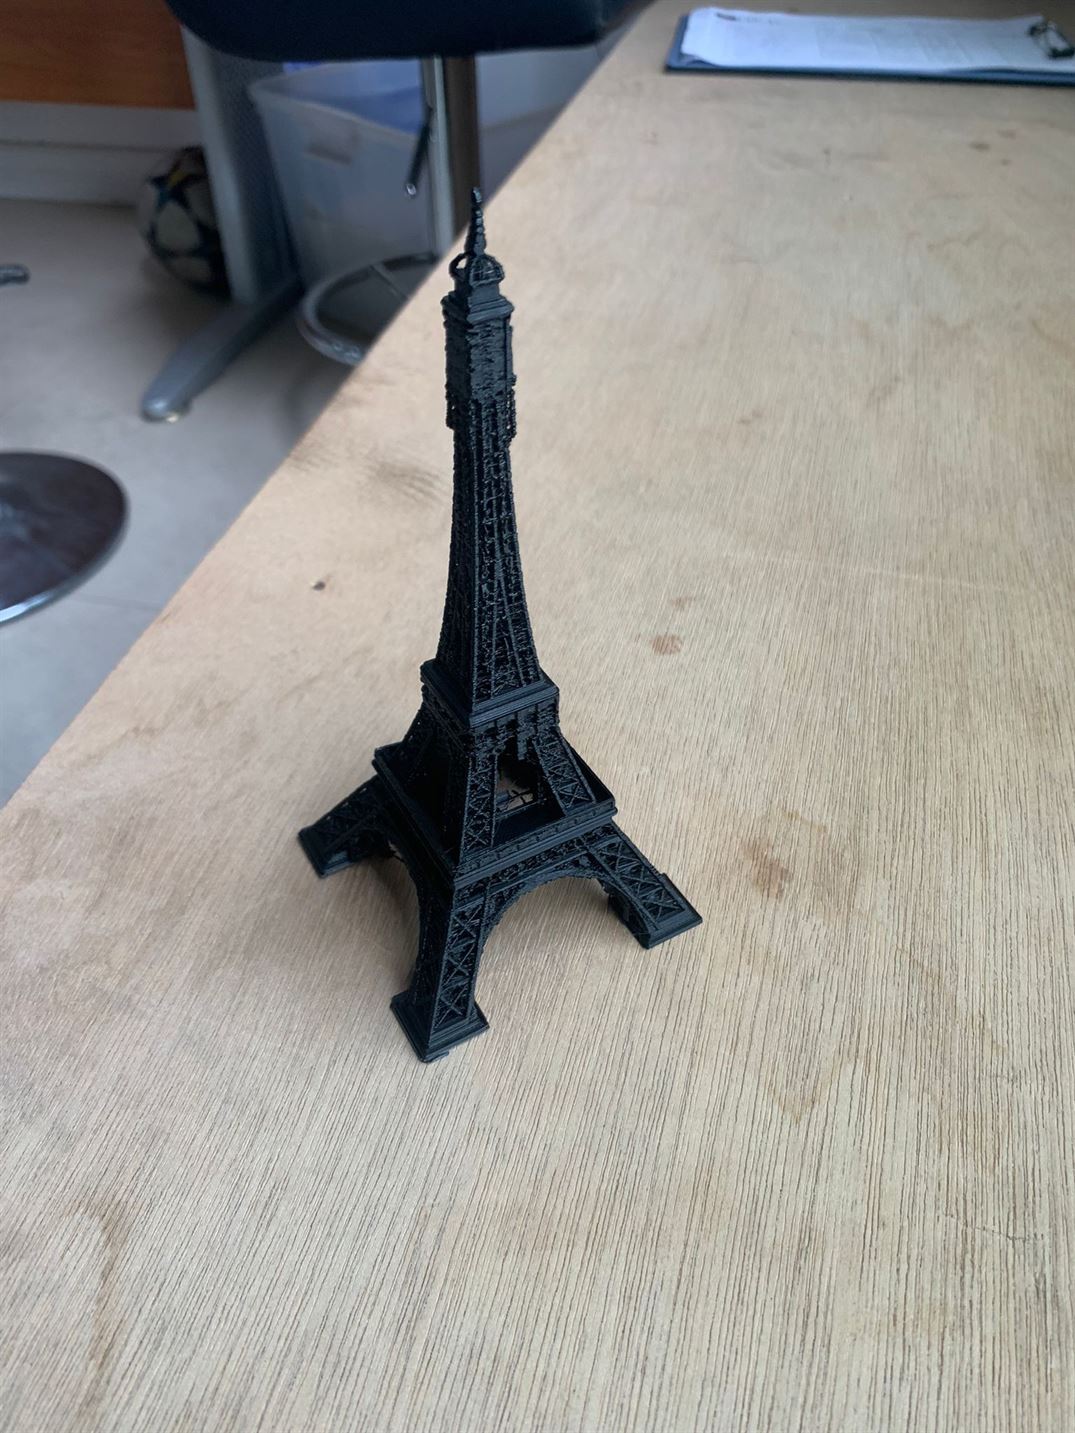
- For the third try, I scanned a 3D printed shape.
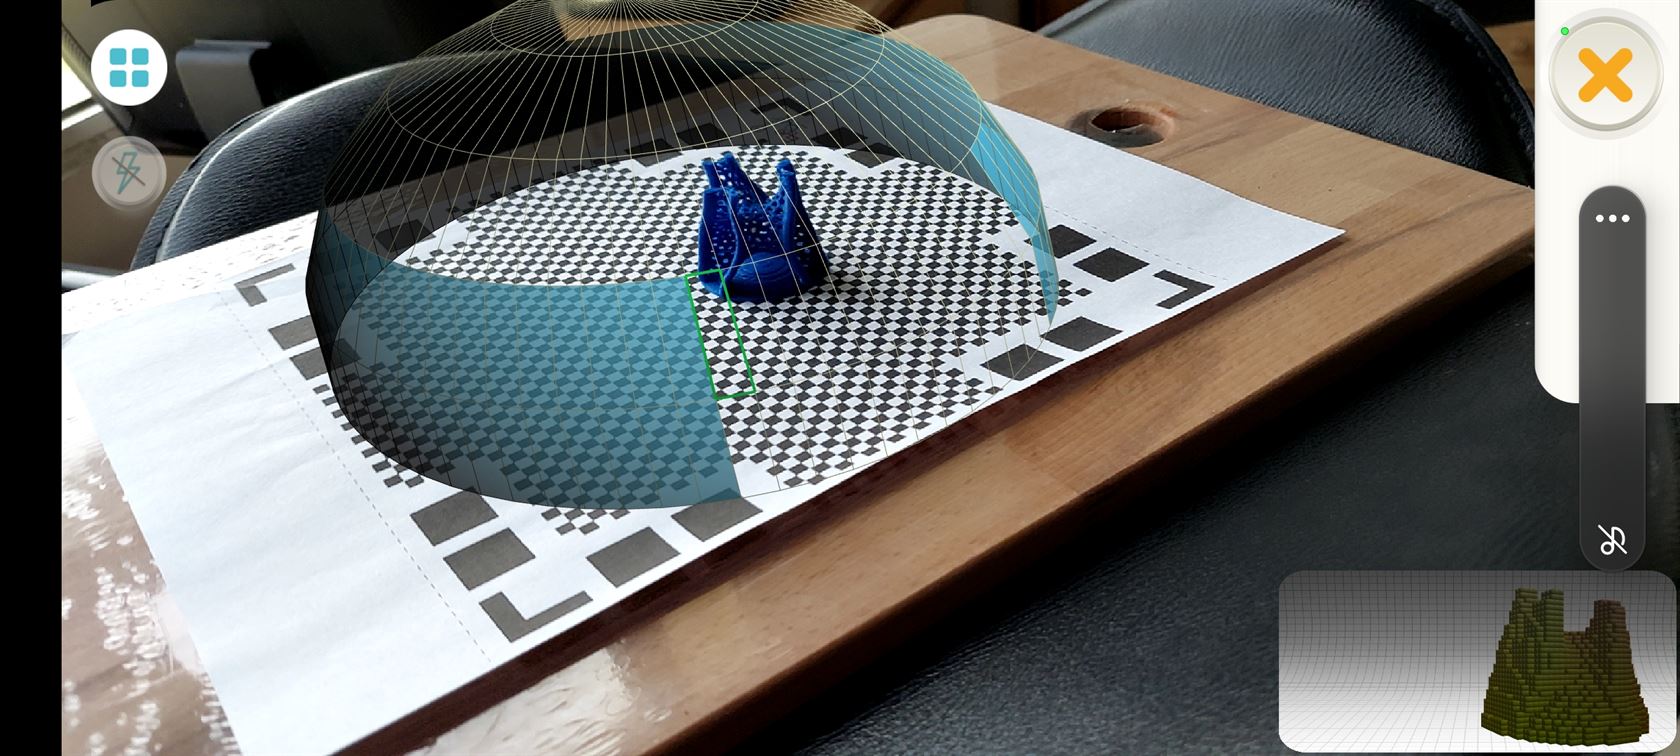
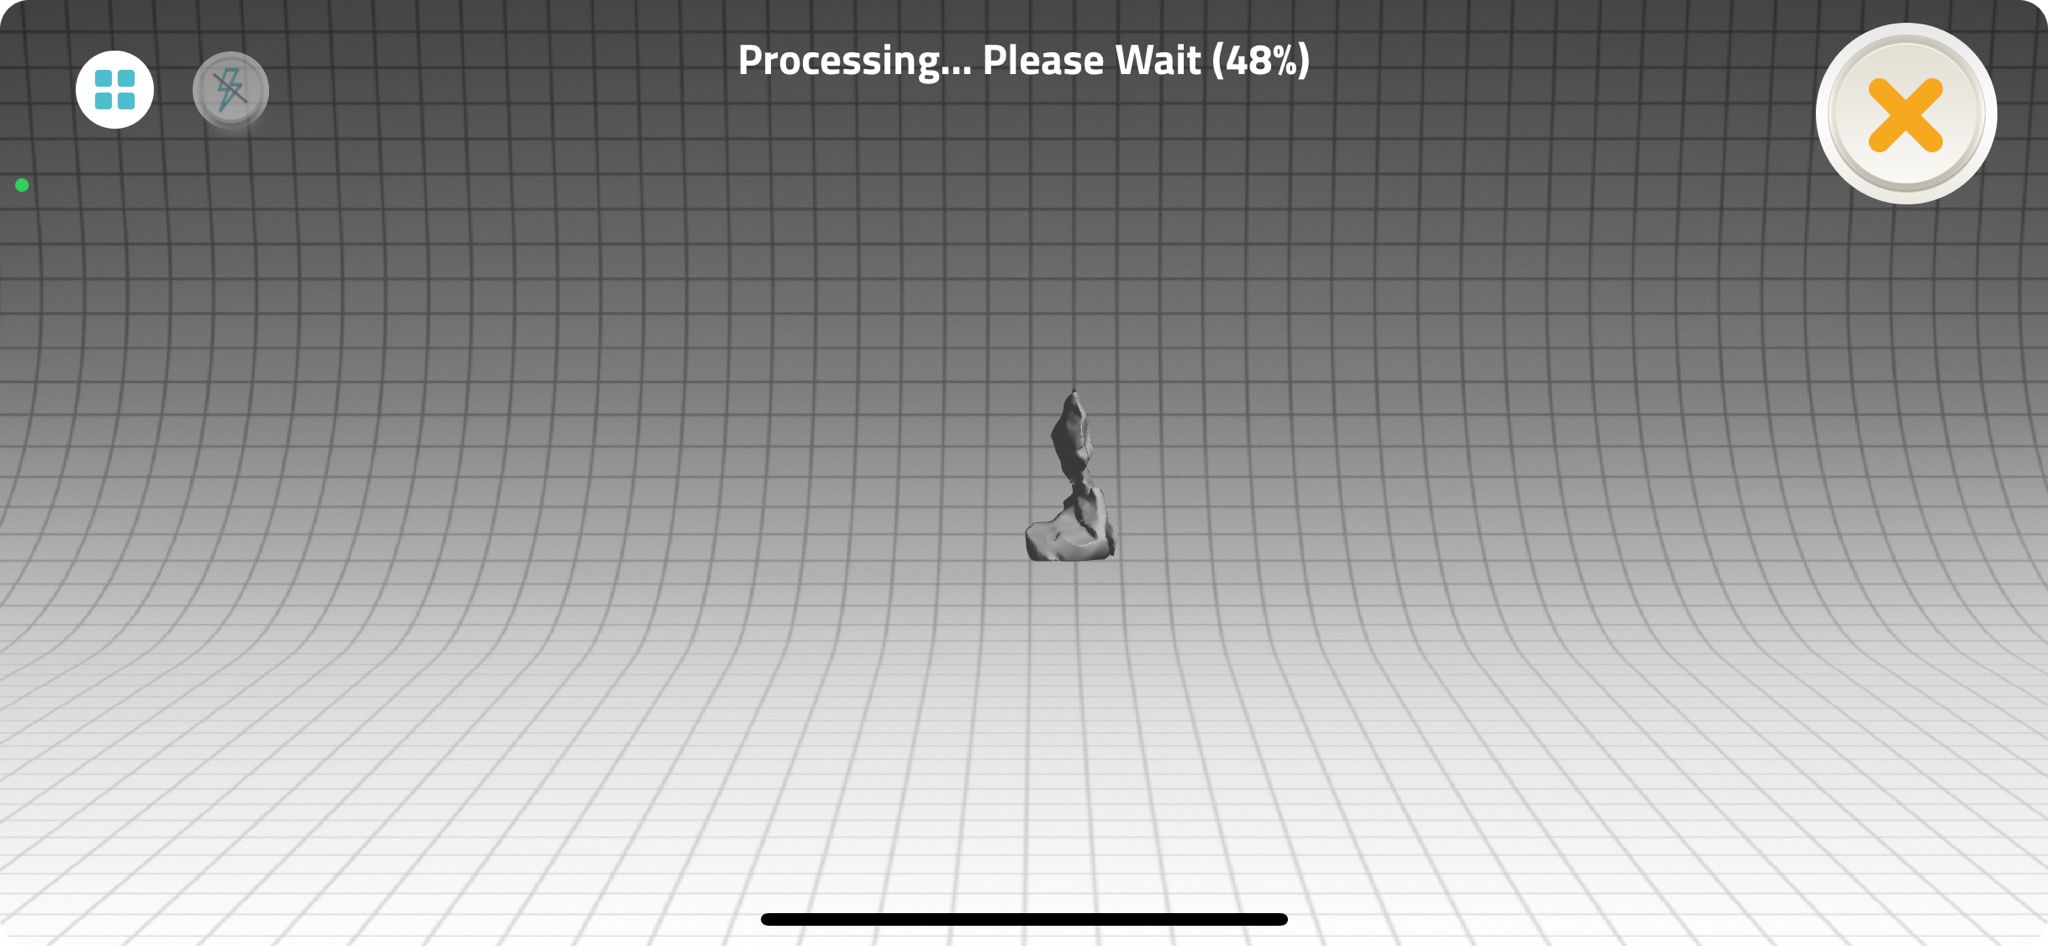
- The final result was good too.
5.2 3D Printing
It is an additive method to create a 3D objects using materials like PLA.
5.2.1 Group assignment
We tested the printers and we documented explained what are the limits of the printers. We also printed a design as a test.
This is the test that we printed.
You can refer to my partner’s page below to see our assignment.
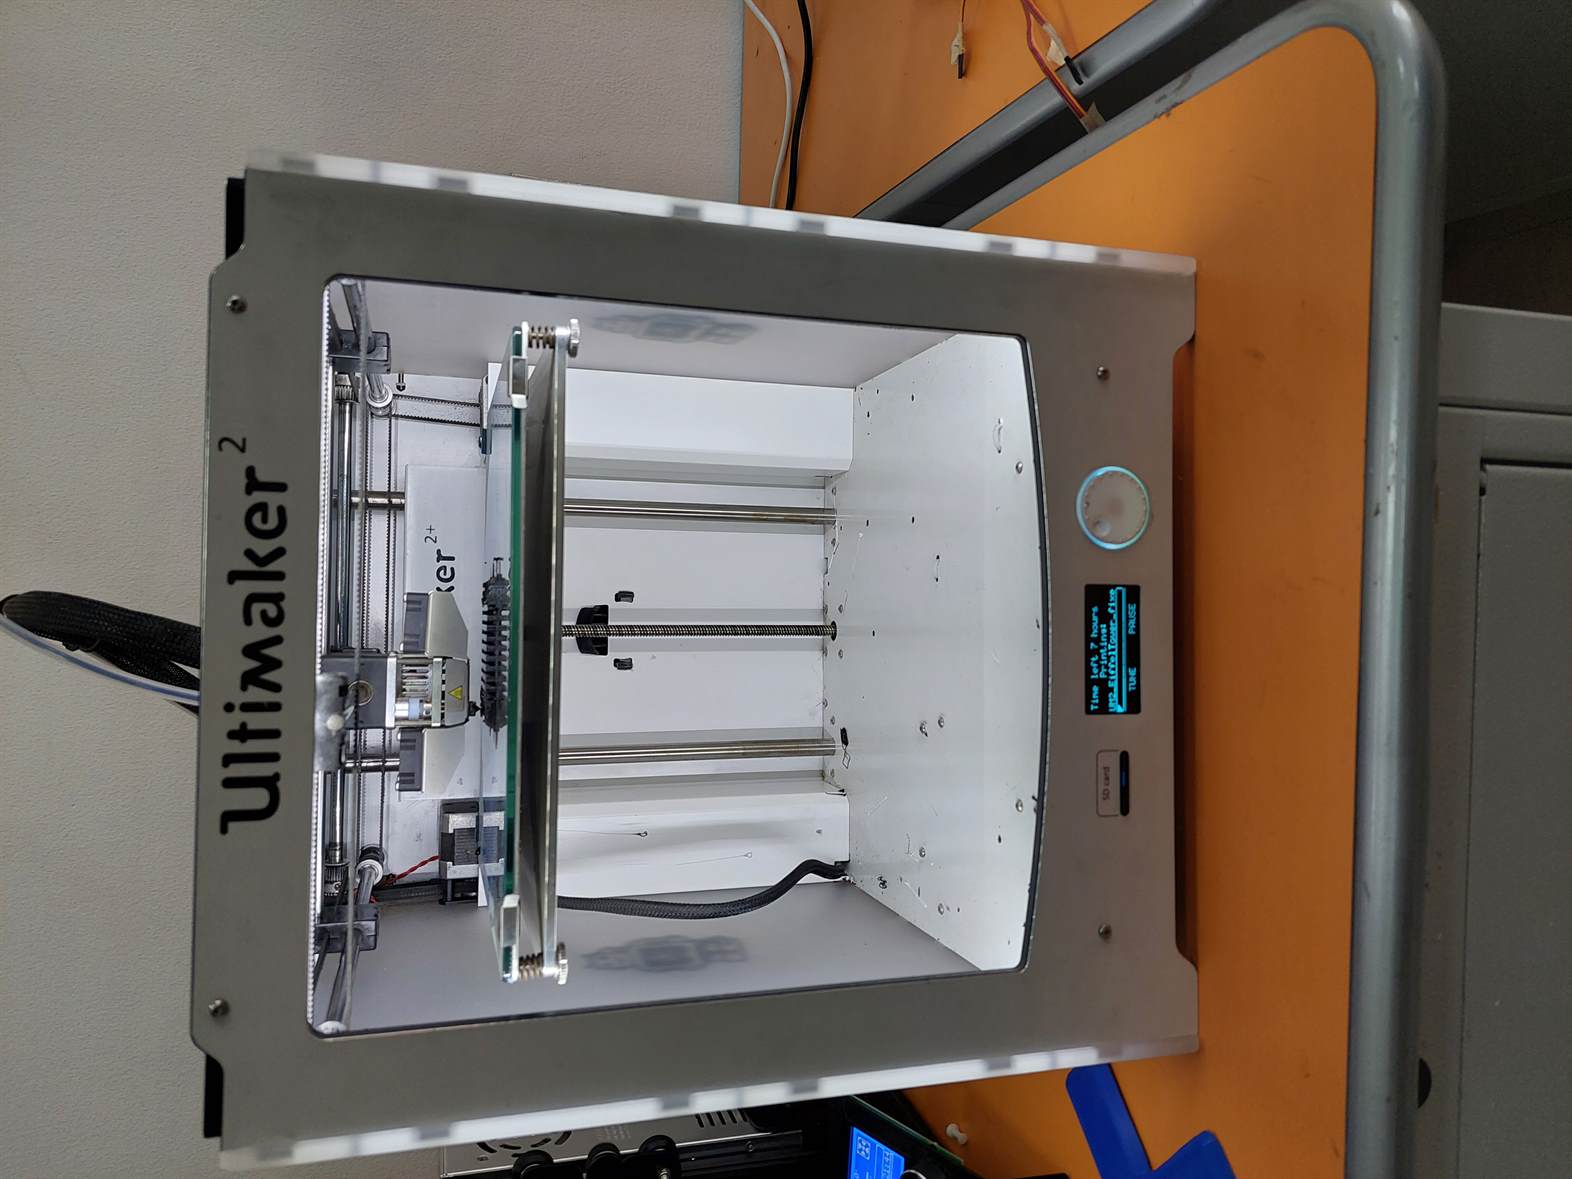
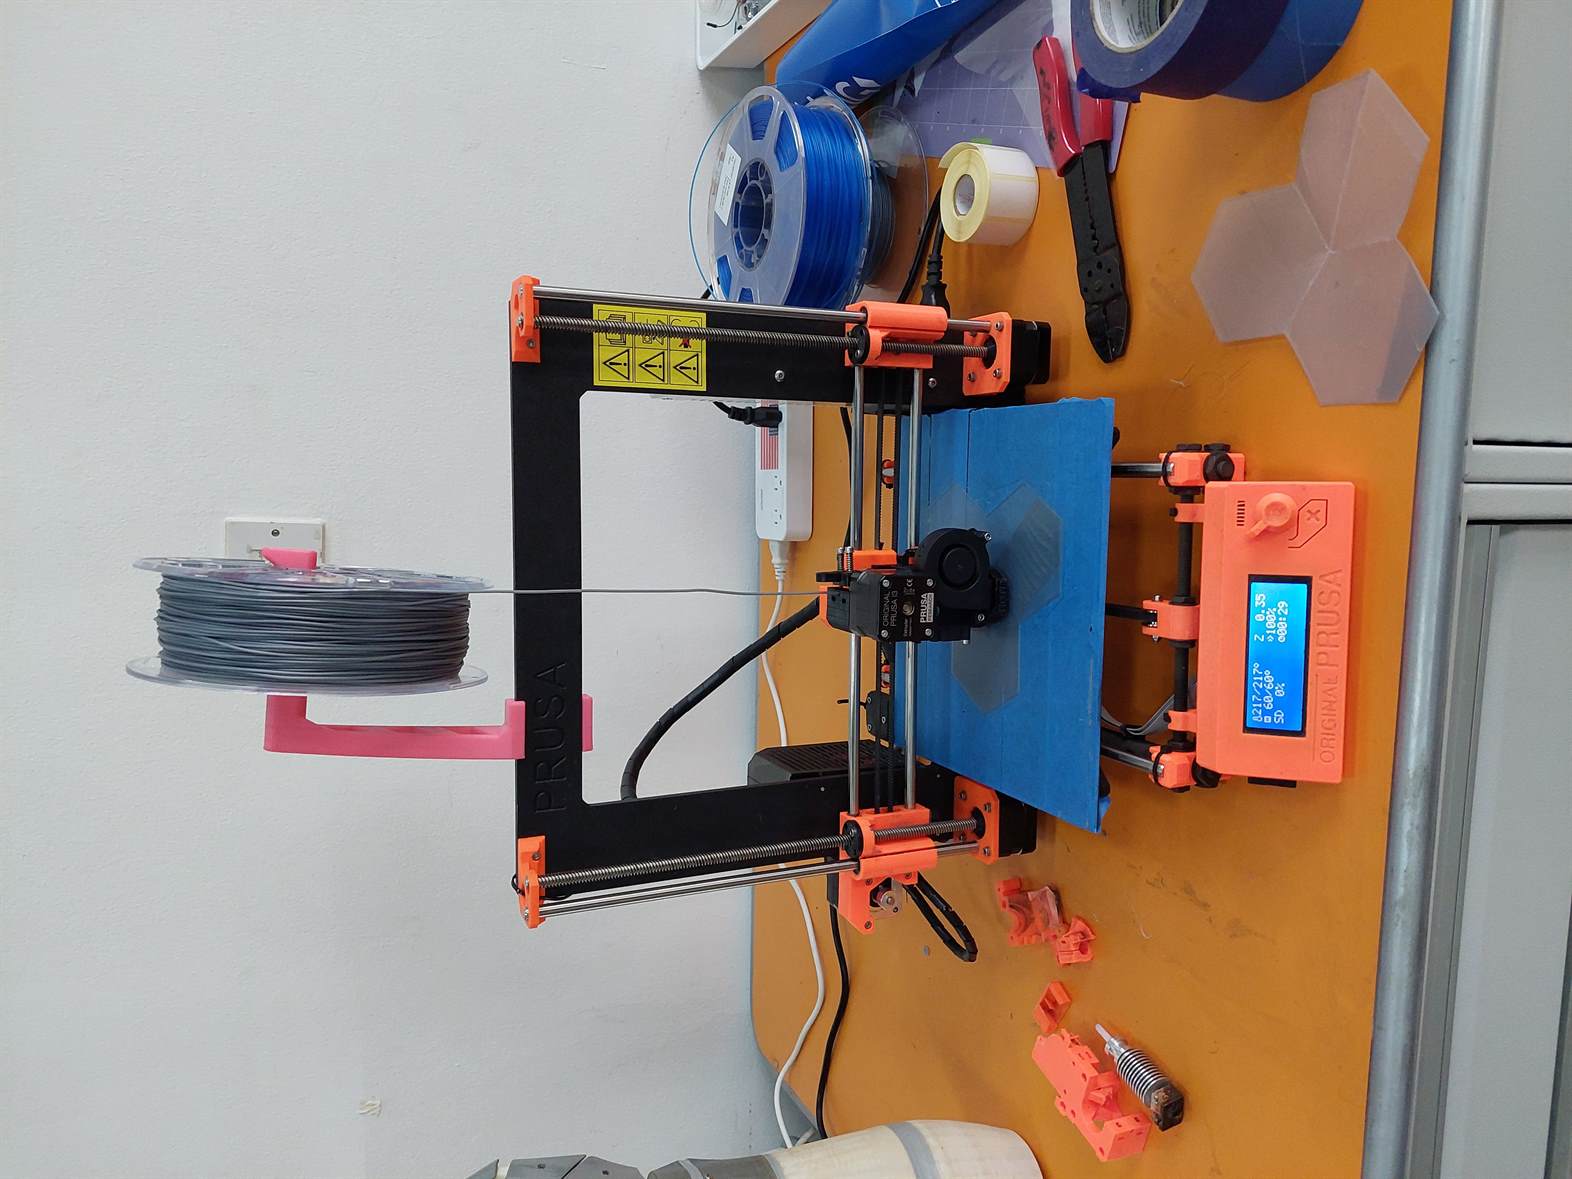
We used 2 different printers, Ultimaker 2+ and PRUSA.
- This is the Ultimaker 2+
- This is the PRUSA
The printers have fans for cooling. The problem with PURSA printer is that it will increase the dan speed to a very high value once it finished the first layer. This will affect the heating which is needed to heat the filament to a certain temperature.
The 3D printers uses 3 axis which are x, y, and z. In the Ultimaker 2+, the base can moves up and down in the z axis, while in the PRUSA printer, the print head is the one that moves in the z and x axis, and the base moves in the y axis.
The filaments that is used in the Ultimaker 2+ and the PRUSA is the PLA.
The printing speed can be changed. In general, printing faster will result in lower quality.
We need to be careful while working with the 3D printers because there will be heating.
5.2.2 Individual assignment
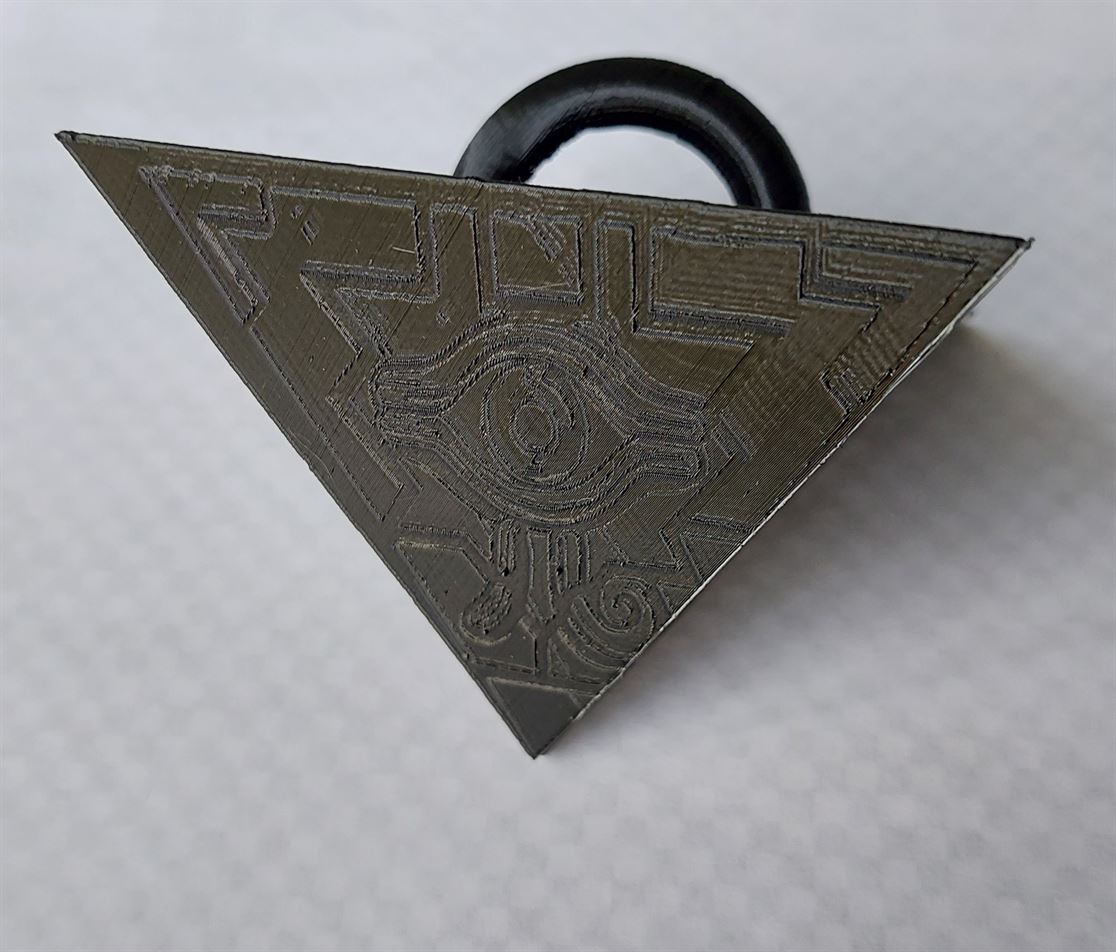
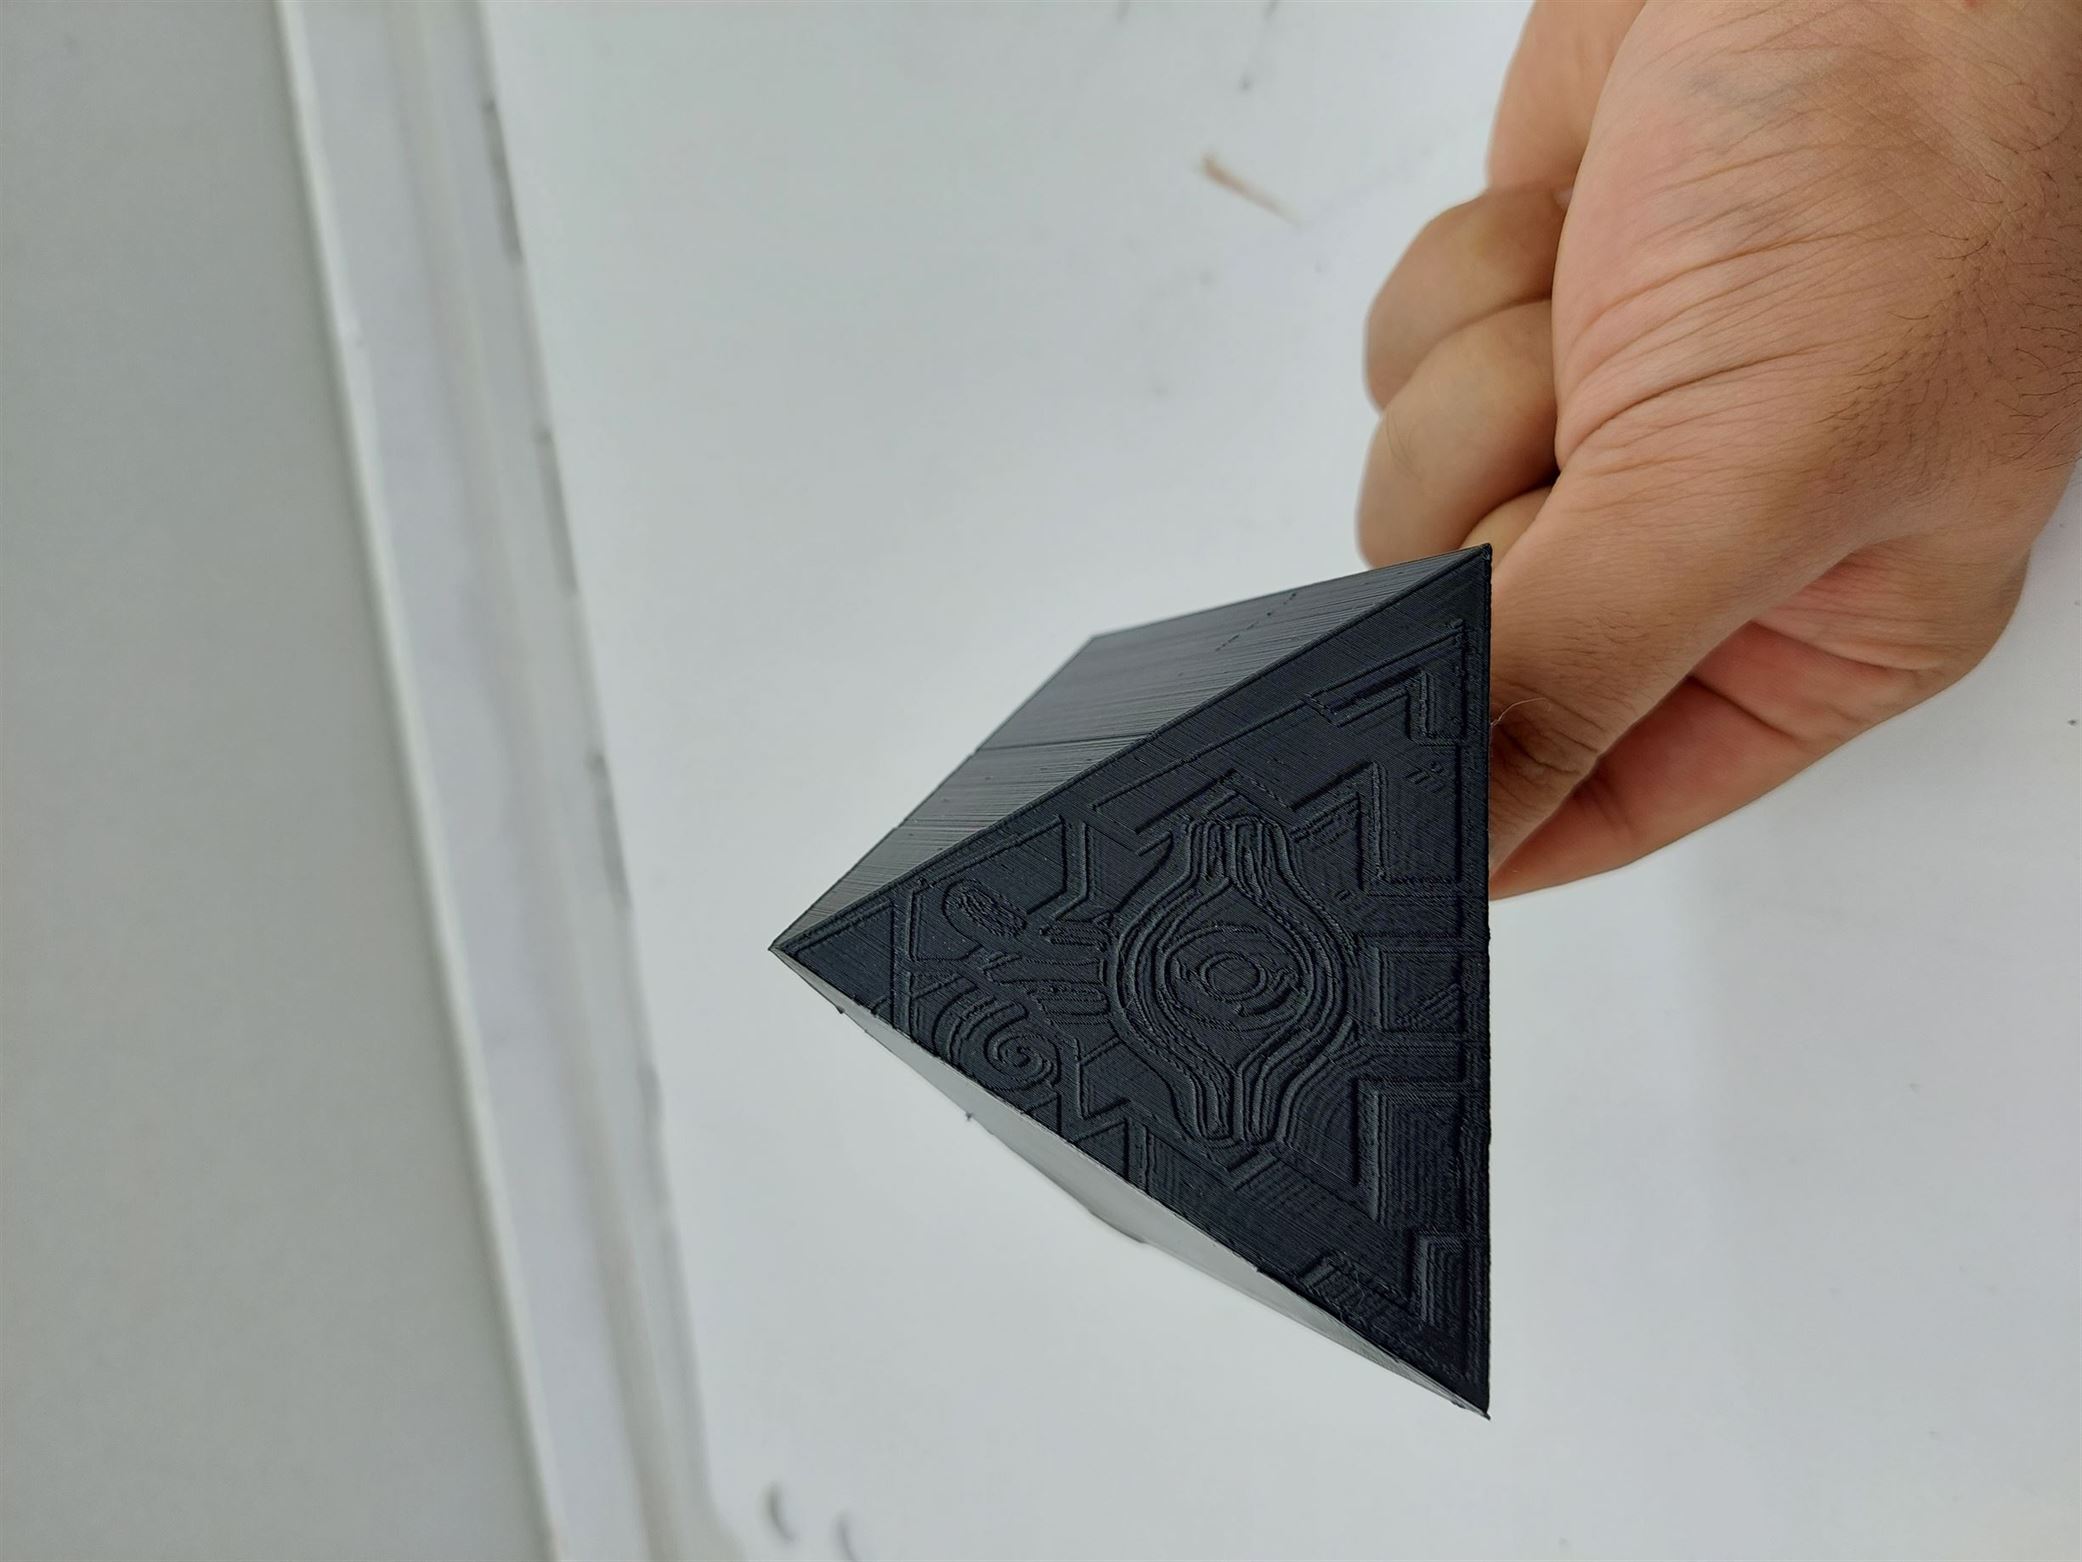
We designed a 3D shapes and printed them. I used the same design that I made in Week 2. Check the link below for more details.
- This is a picture for my design.
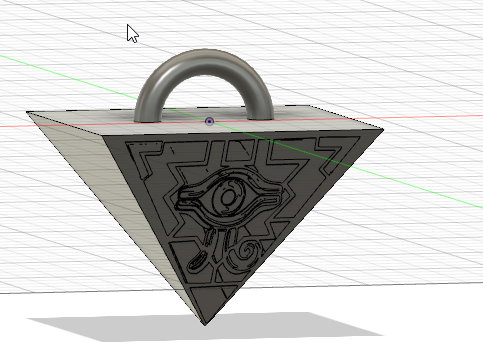
- This is a 3D view.
Download files:
- Fusion 360 file (.F3D)
- STL file (.STL)
- SVG file (.SVG)
- gcode file (.gcode) for 3d printing.
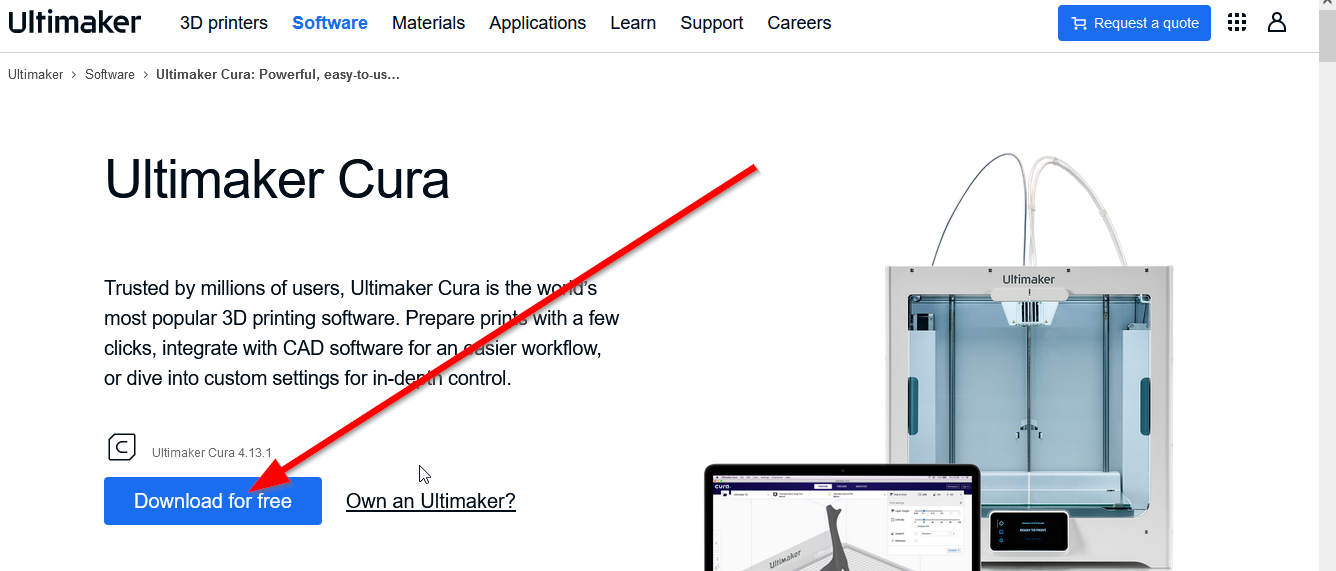
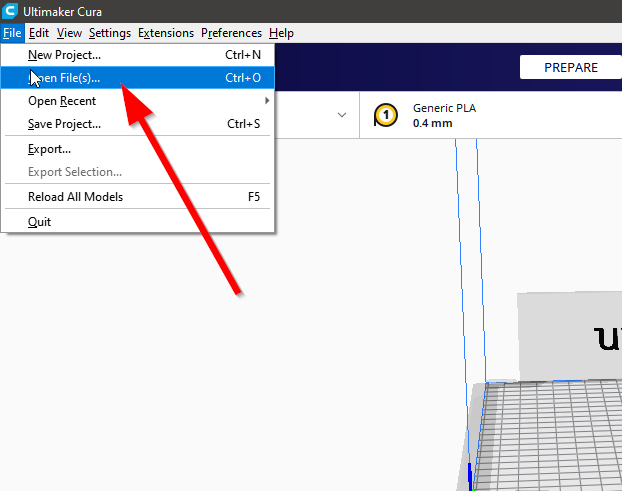
- I downloaded and installed Ultimaker Cura which is used to convert the 3D STL files to a supported format for the 3D printer.
- I skipped the account creation.

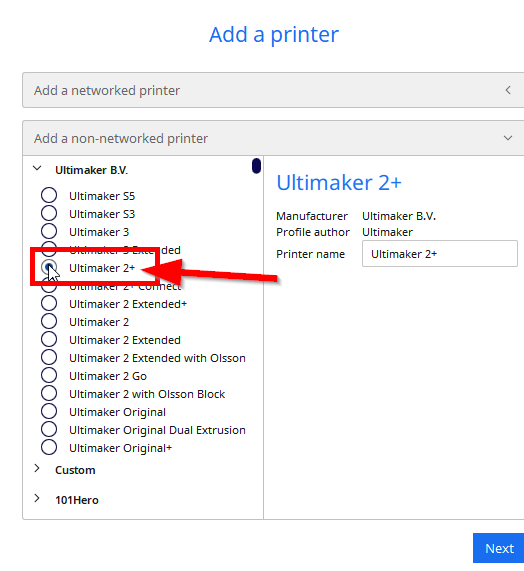
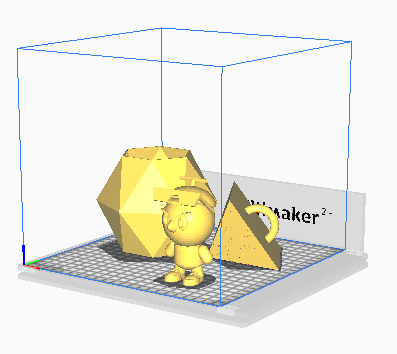
- I chose Ultimaker 2+ because this is the printer that I will use.
- To save time, I included my partners' designs with mine so we can print all of them together in one start.
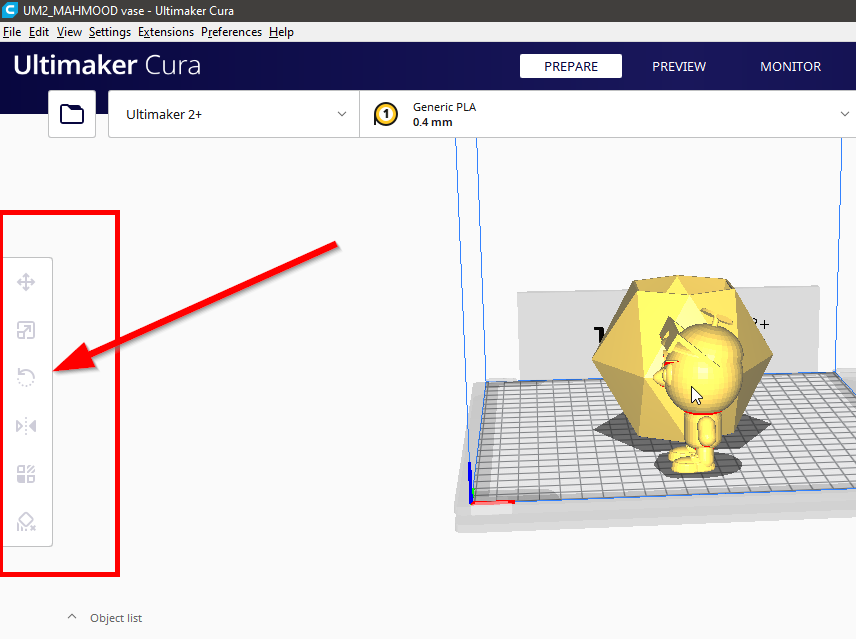
- To adjust the size, position, and rotation I used the tools in the left.
- These are the designs after the adjustments.
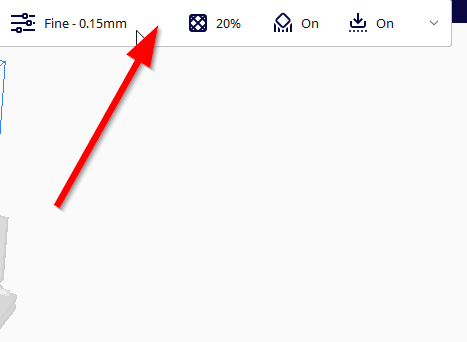
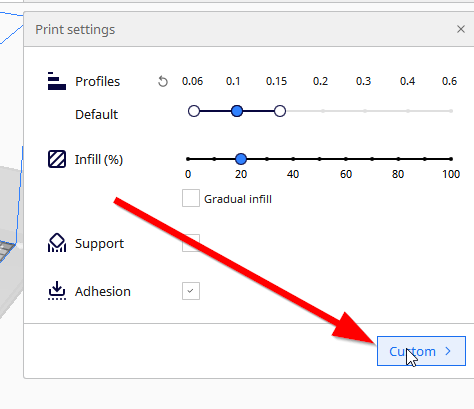
- To change the print settings I clicked on this tab and then clicked on Custom.
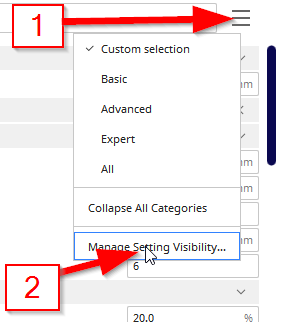
- I needed to show some hidden settings, so I clicked on the three horizontal lines and then I chose Manage Settings Visibility..
- I typed "tree" in the search and I checked the options.

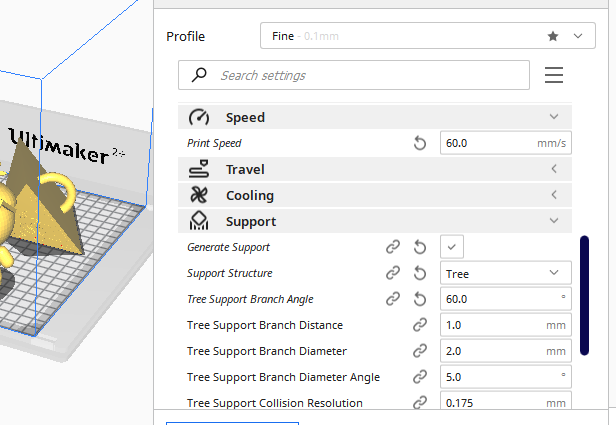
- These are the settings that I used.
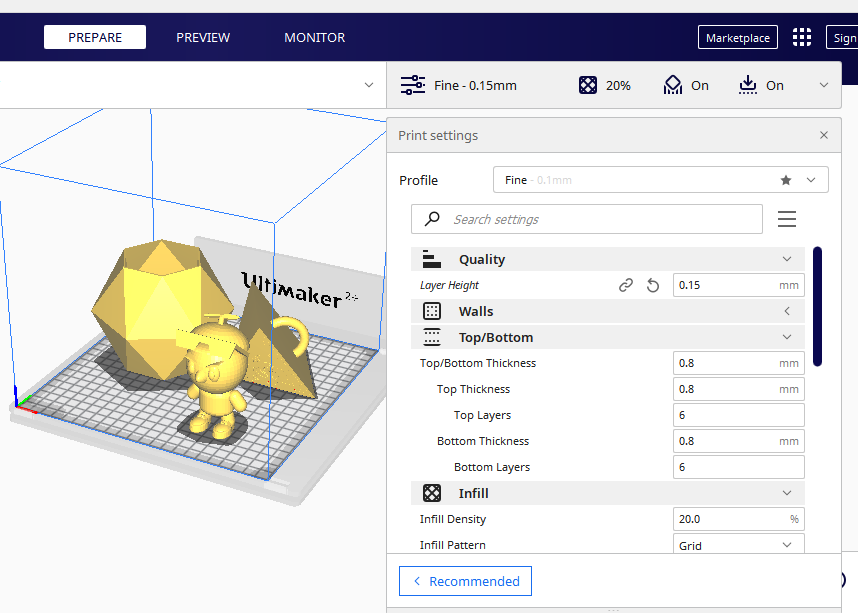
- Quality:
- Layer Height: from 0.1mm to 0.15mm.
- Speed:
- Print Speed: from 50mm/s to 60mm/s.
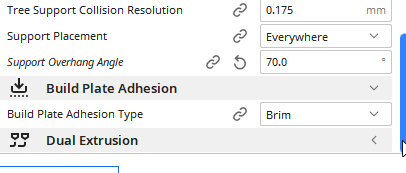
- Support:
- Support Structure: from Normal to Tree.
- Tree Support Branch Angle: from 40 to 60.
- Support Overhang Angle: from 50 to 70.
- The support was needed for my design so it does not fall while printing.
- The layer height was increased to get a good resolution within a good time. In general, increasing the layer height will make the printing faster but with a lower resolution.
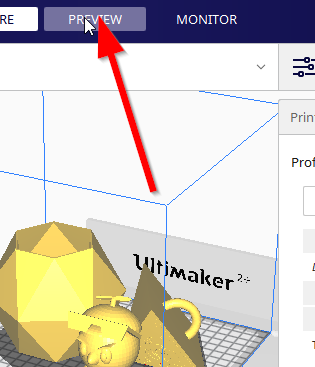
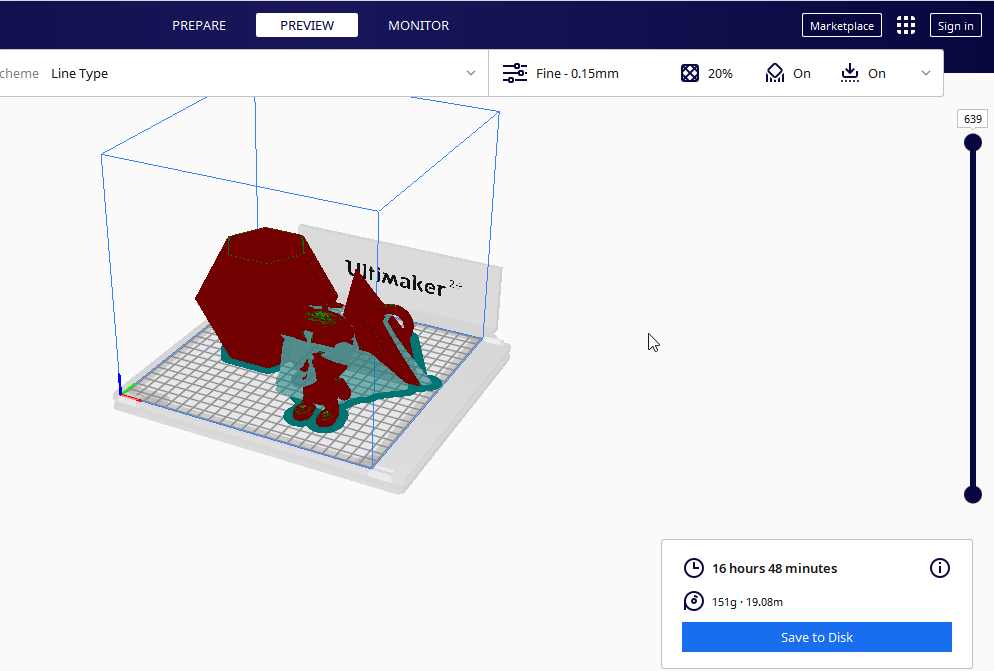
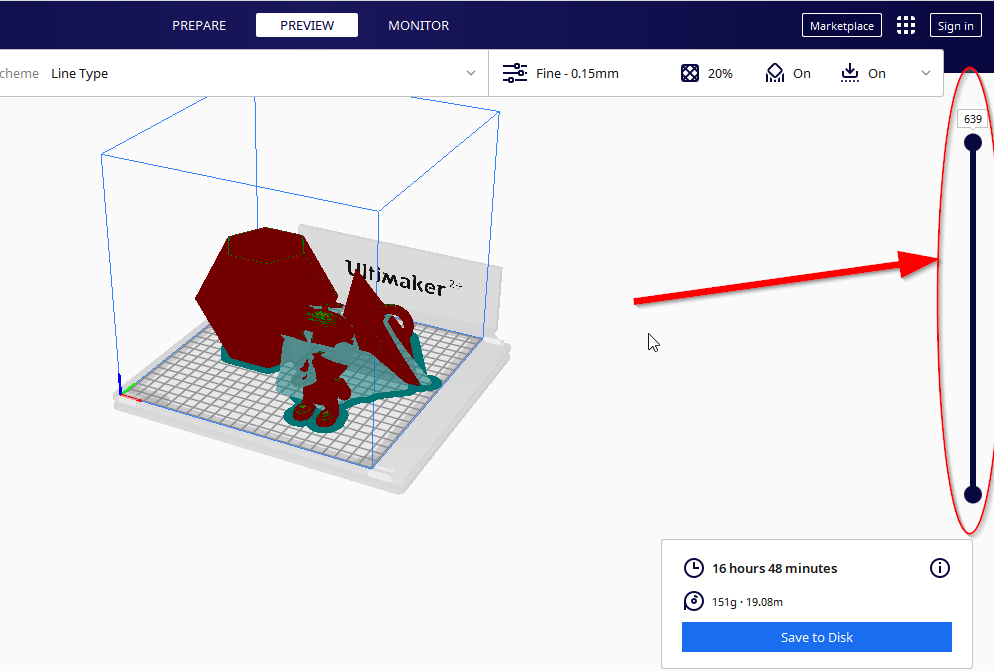
- To preview the designs before printing I clicked on "Preview".
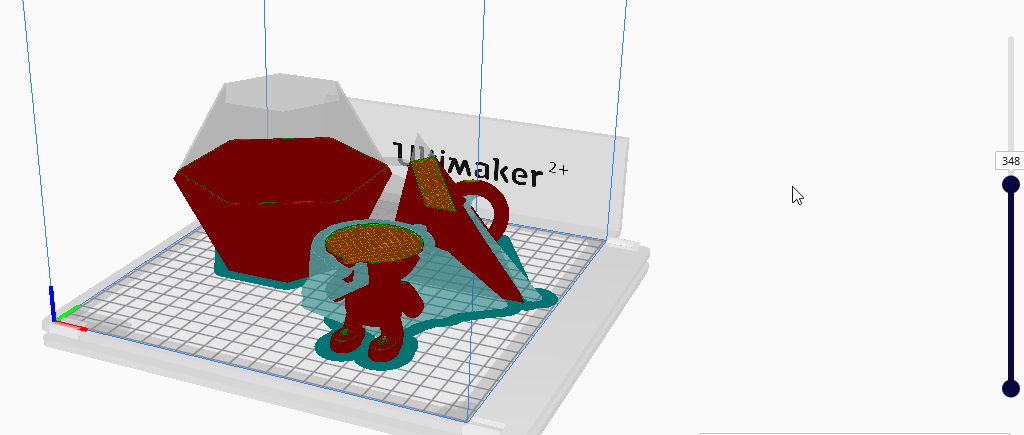
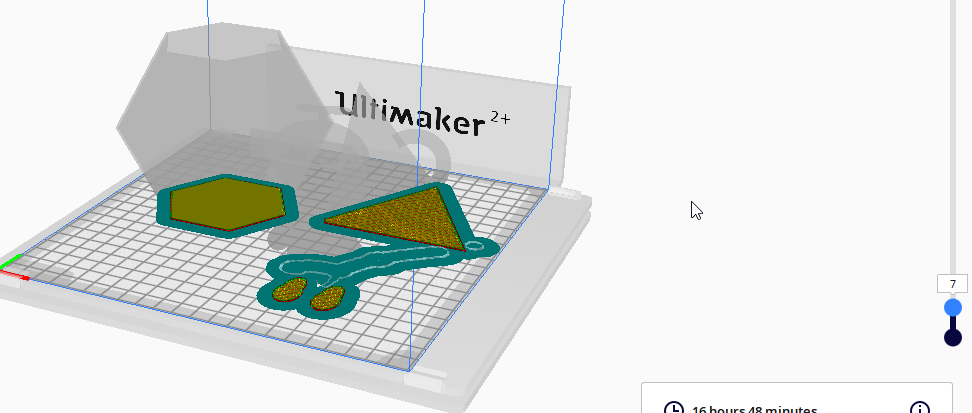
- To check the layers I used the slider in the right.
- After this I connected the memory card to my laptop and I saved the file to it.
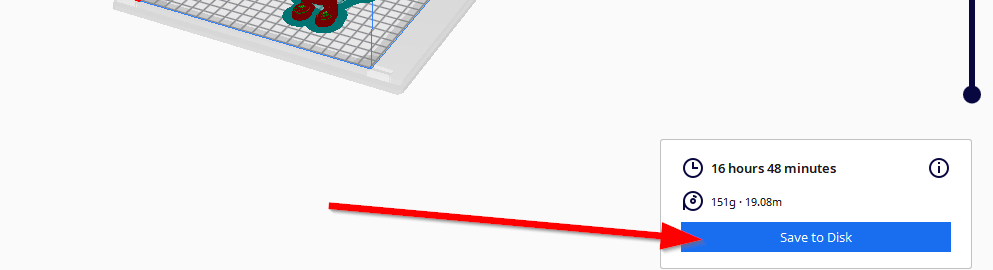
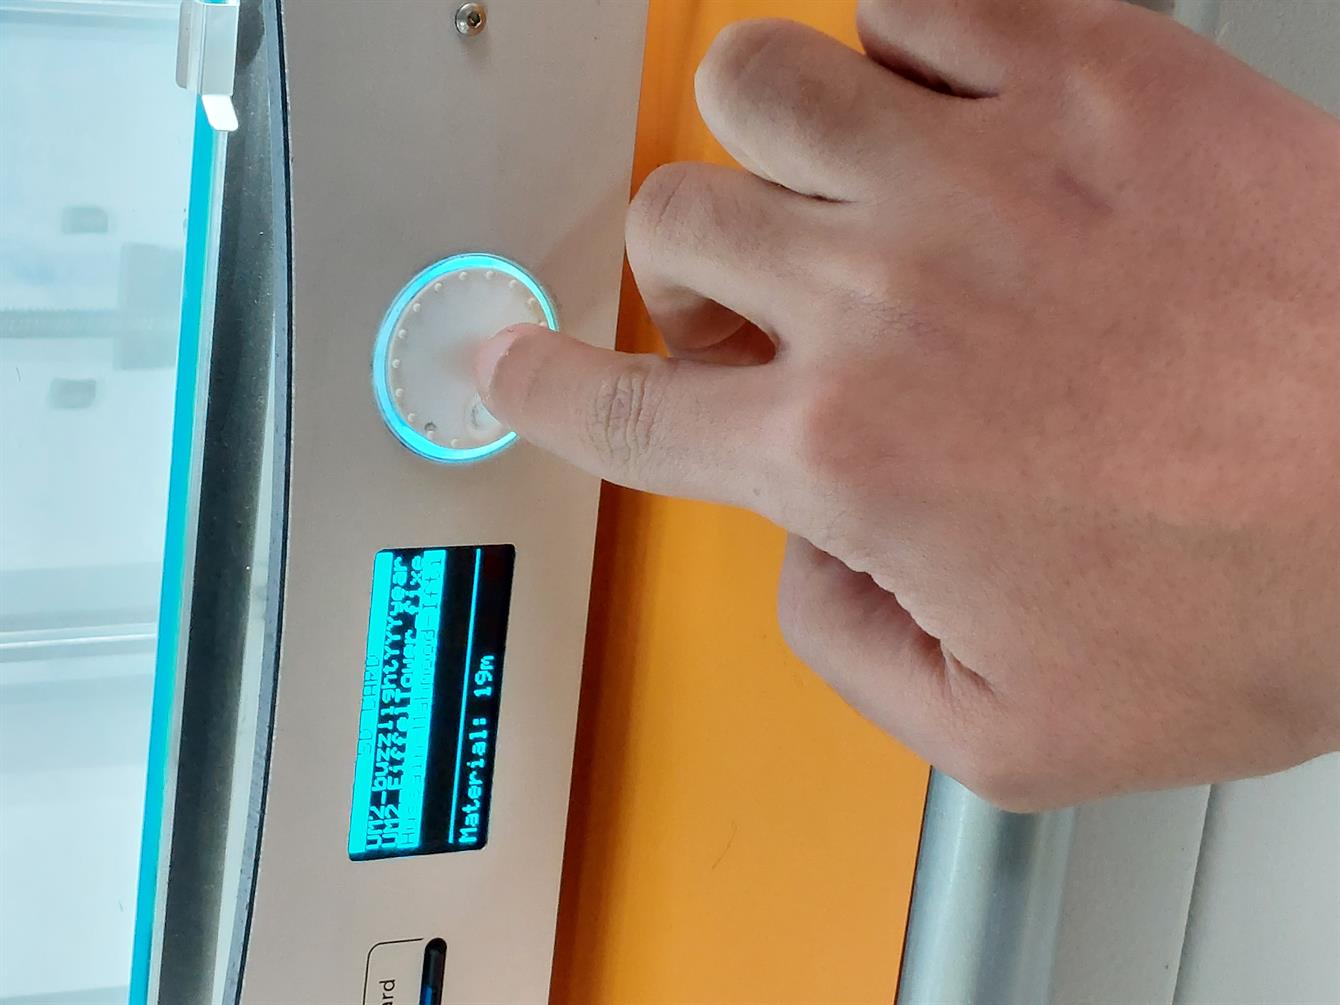
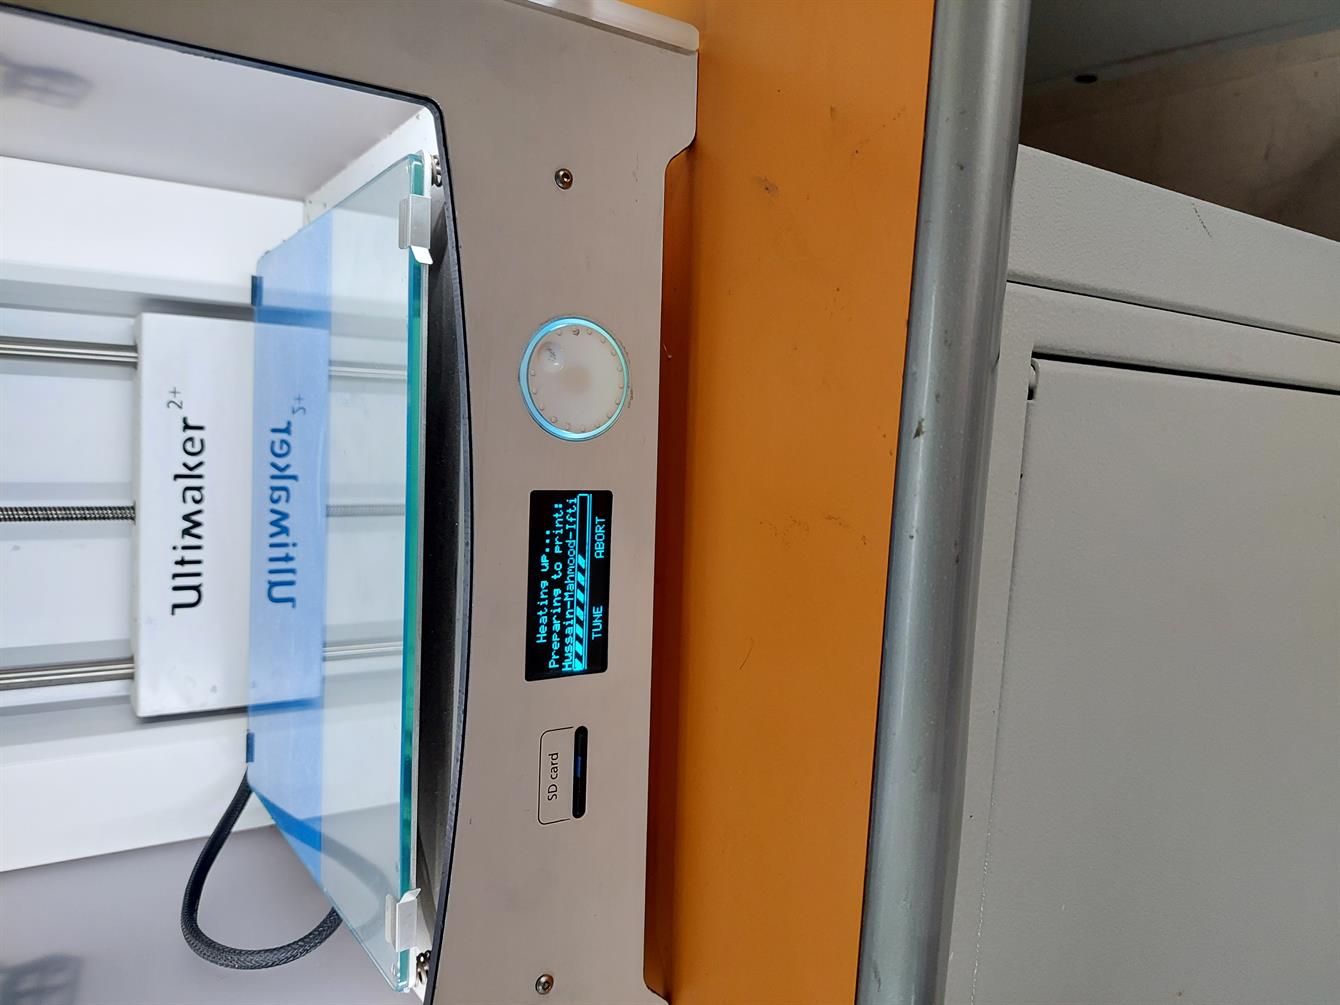
- We printed our designs in the Ultimaker 2+. First we chose the file.
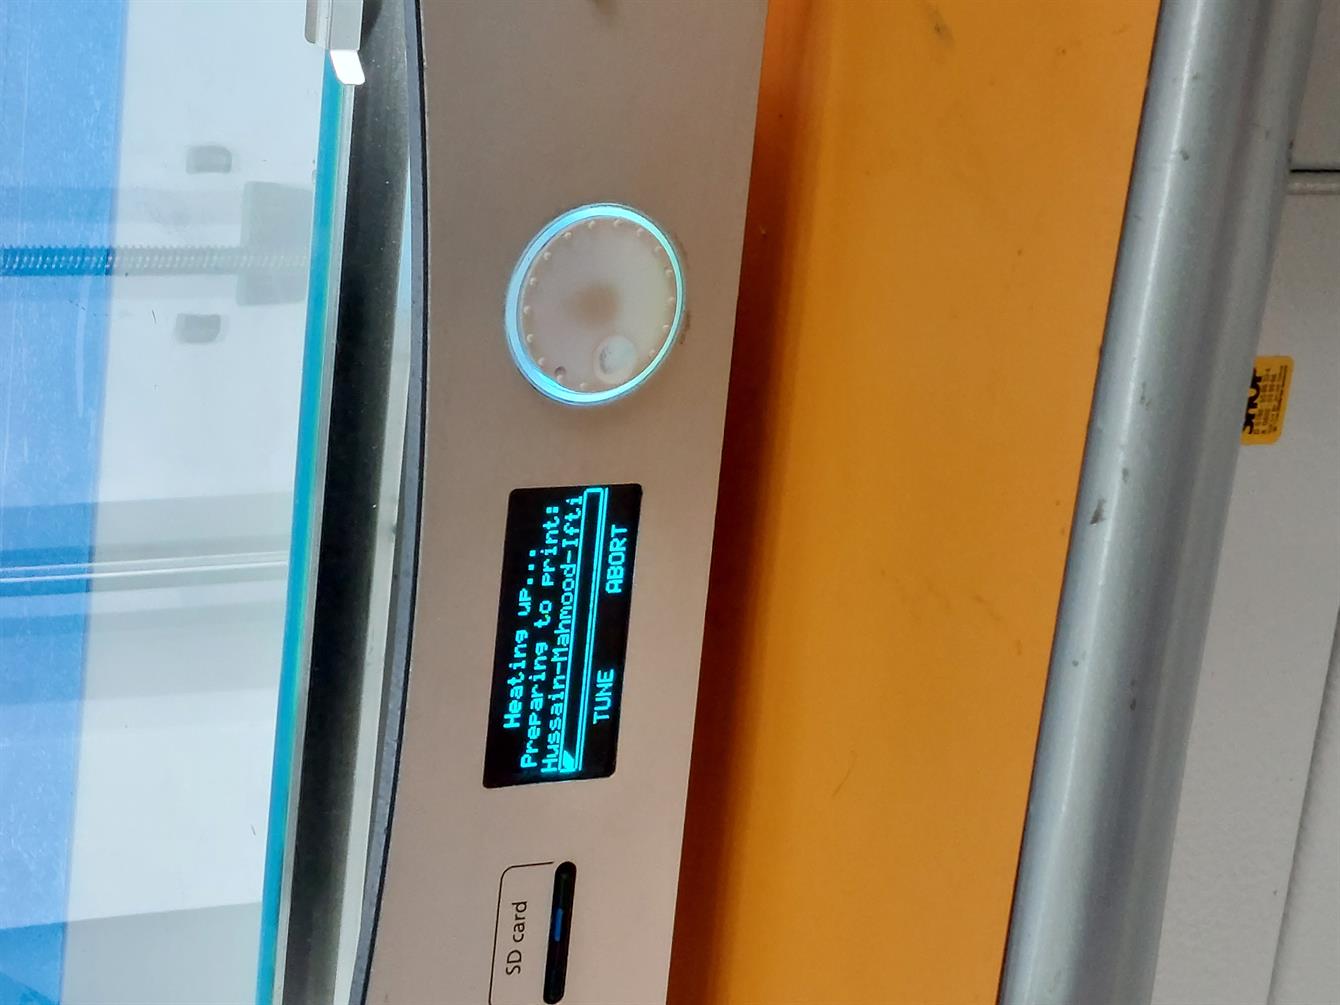
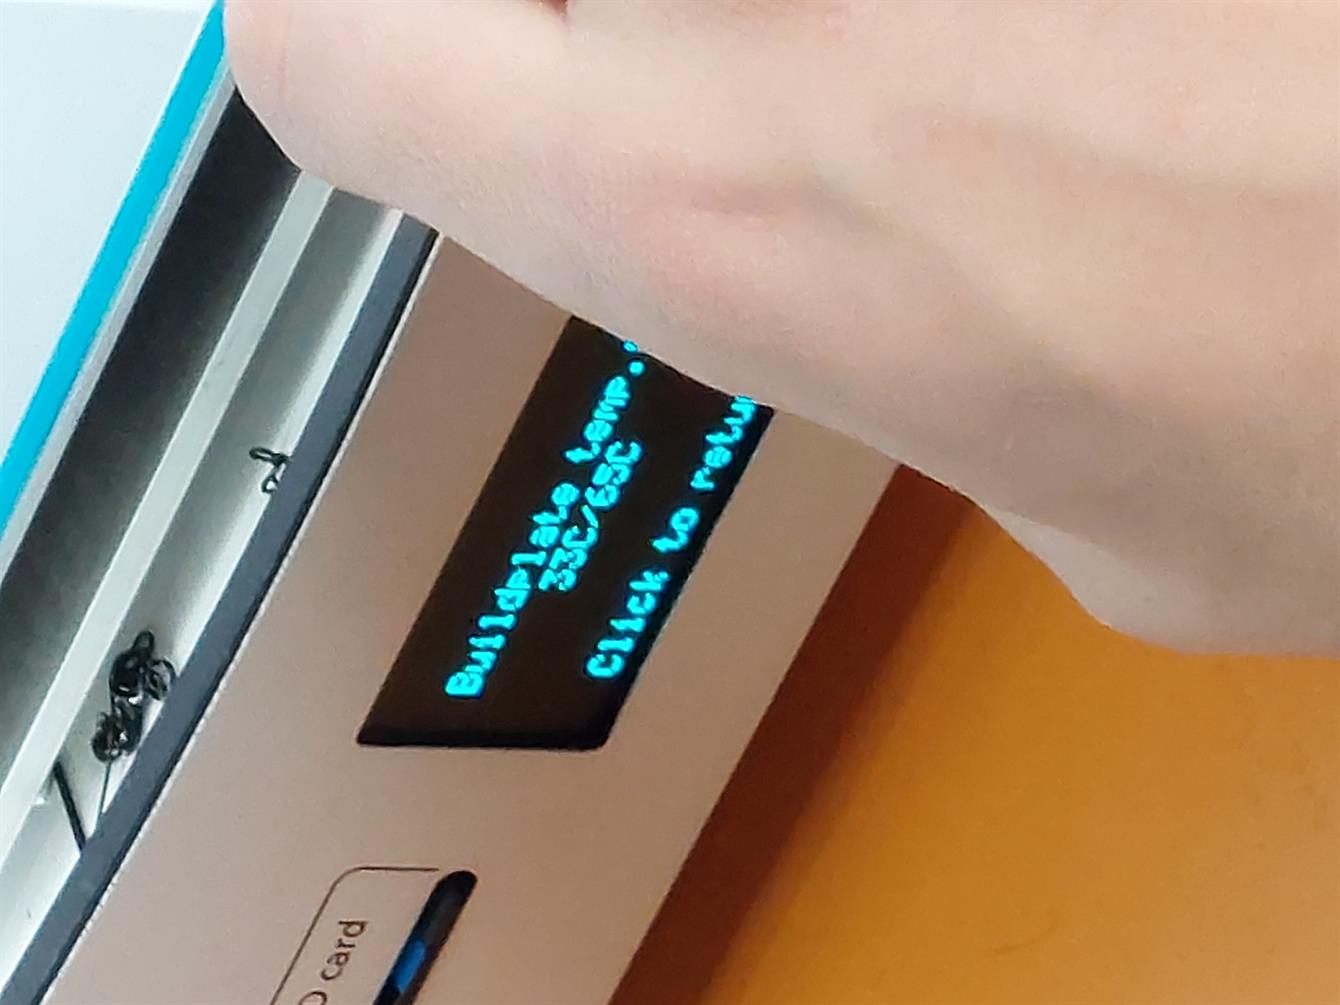
- Then, heating up is started.
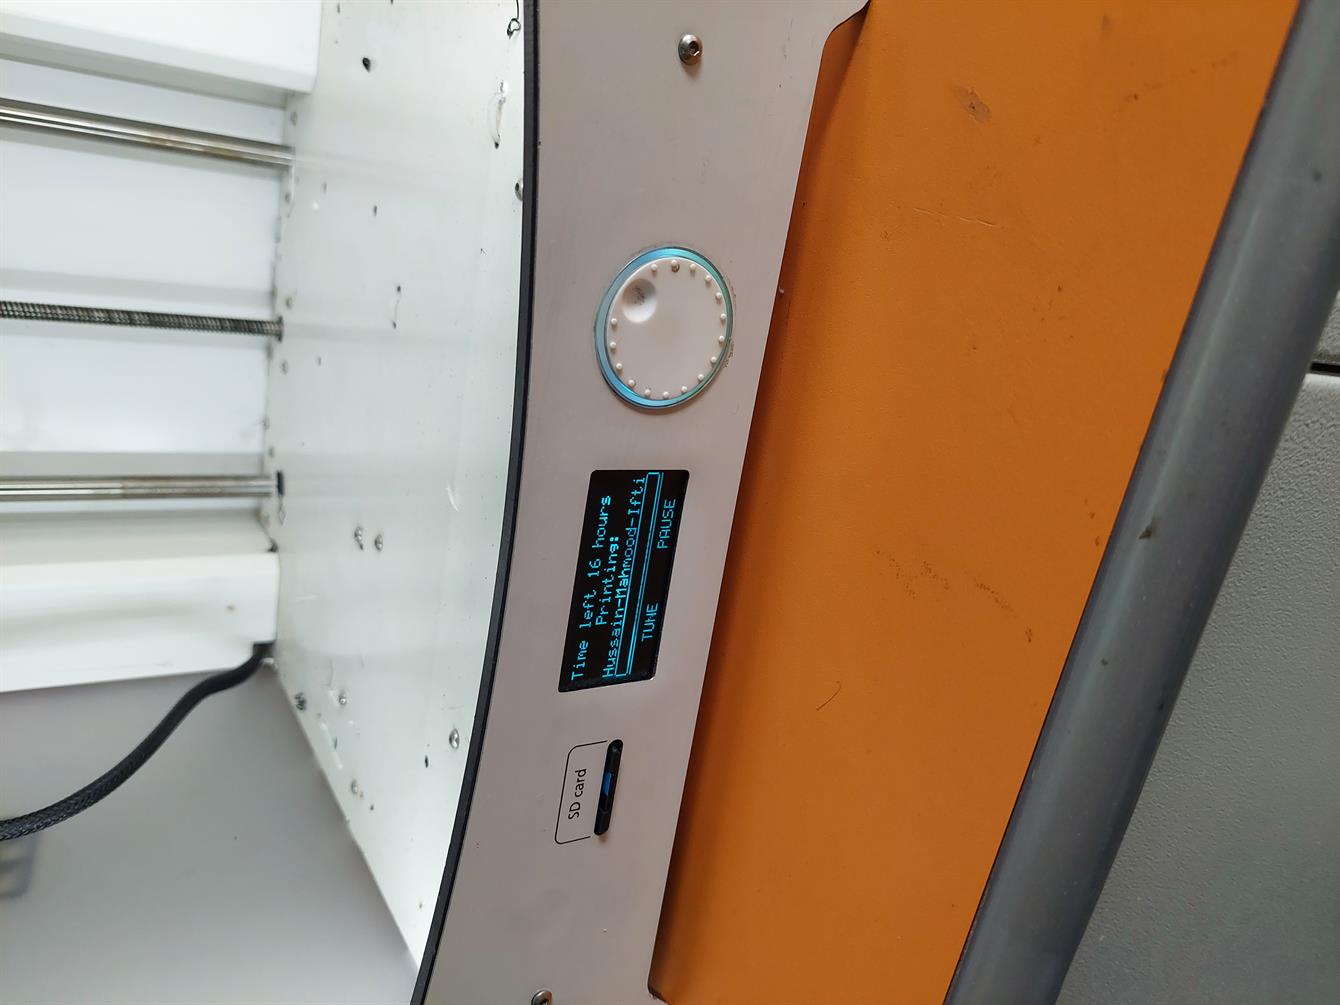
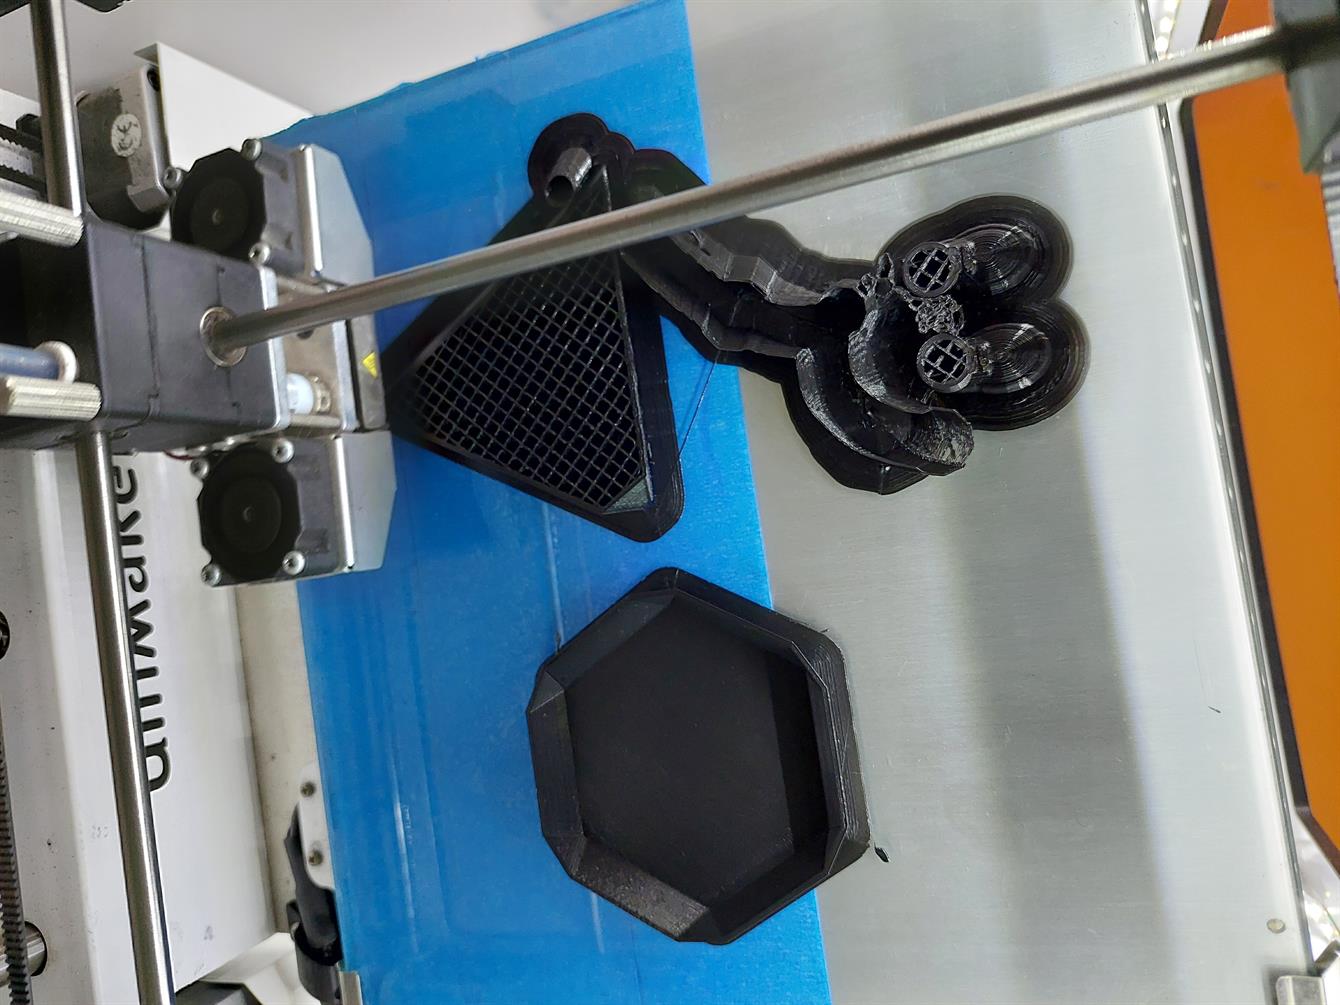
- Now the printing has started and the time left is shown in the monitor.
- It printed each layer for each design instead of printing each design completely because if it did this, the head won't be able to move freely and it will hit the other printed designs.
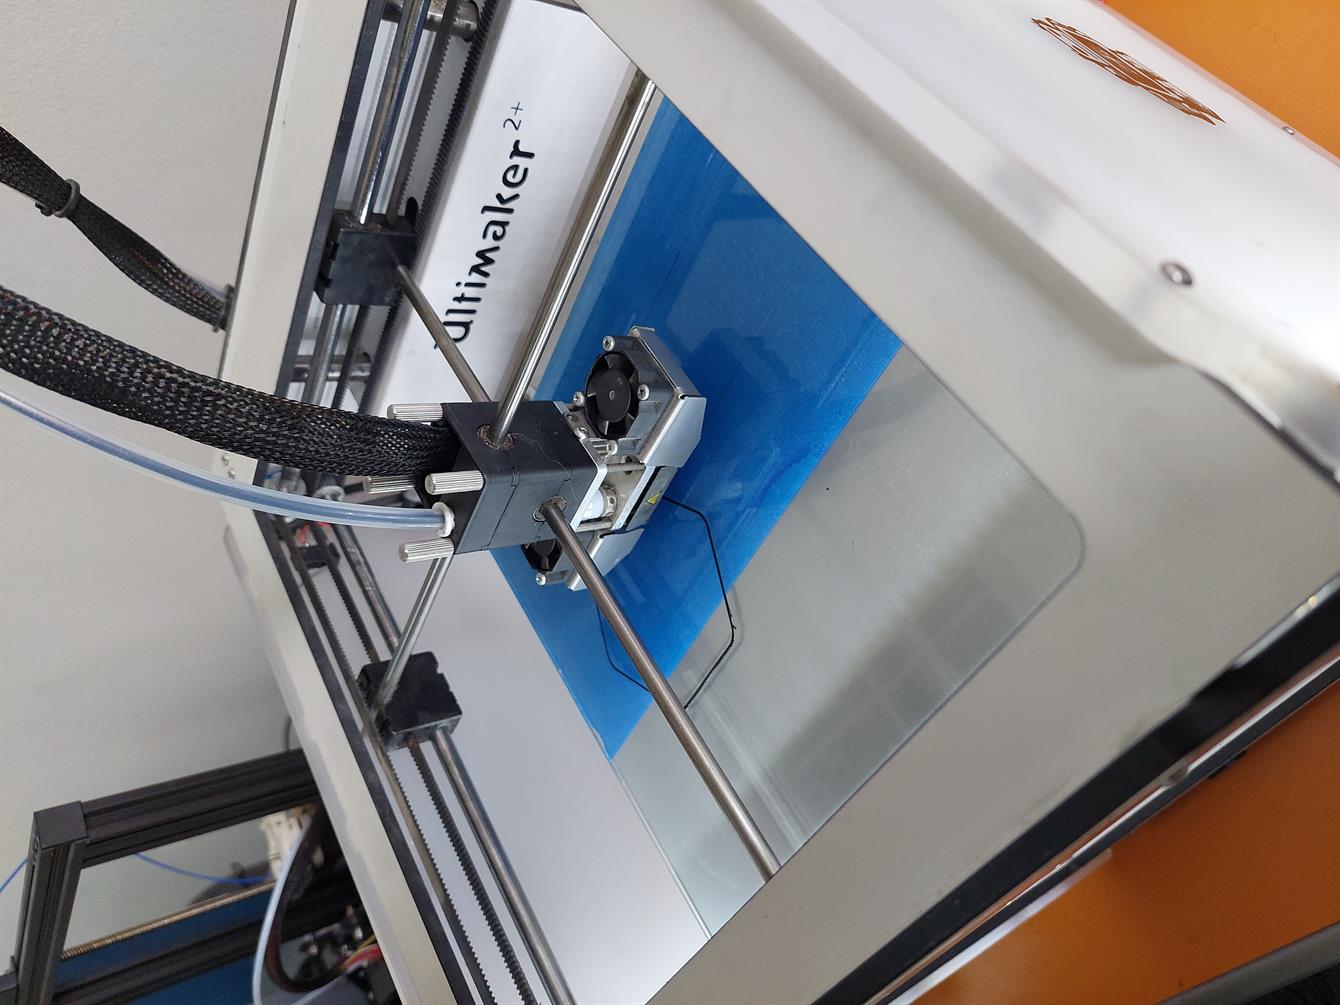
- After 10 minutes.
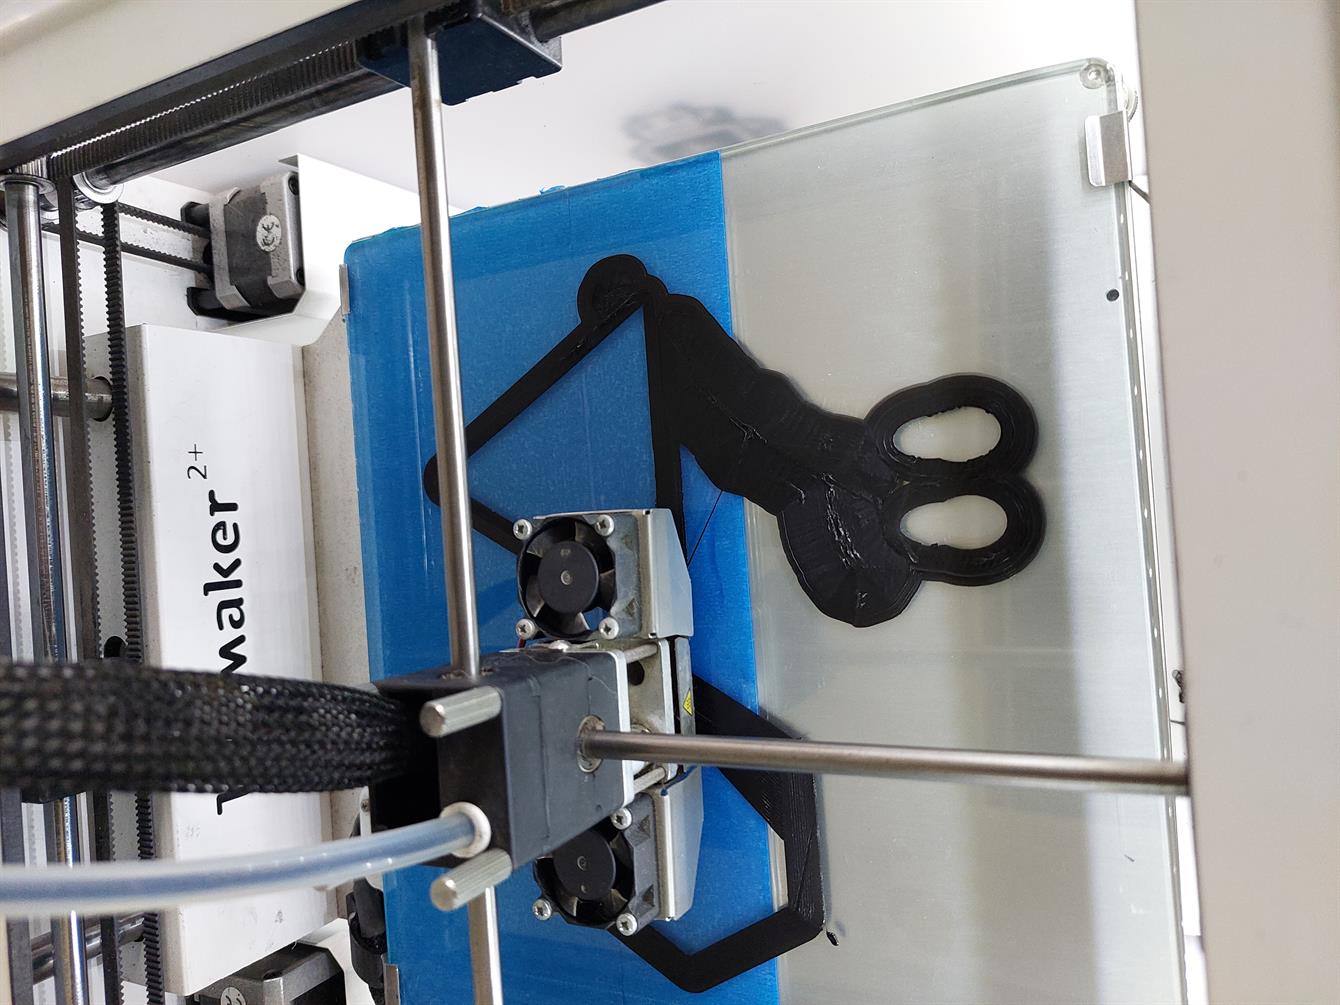
- After 2 hours and 15 minutes.
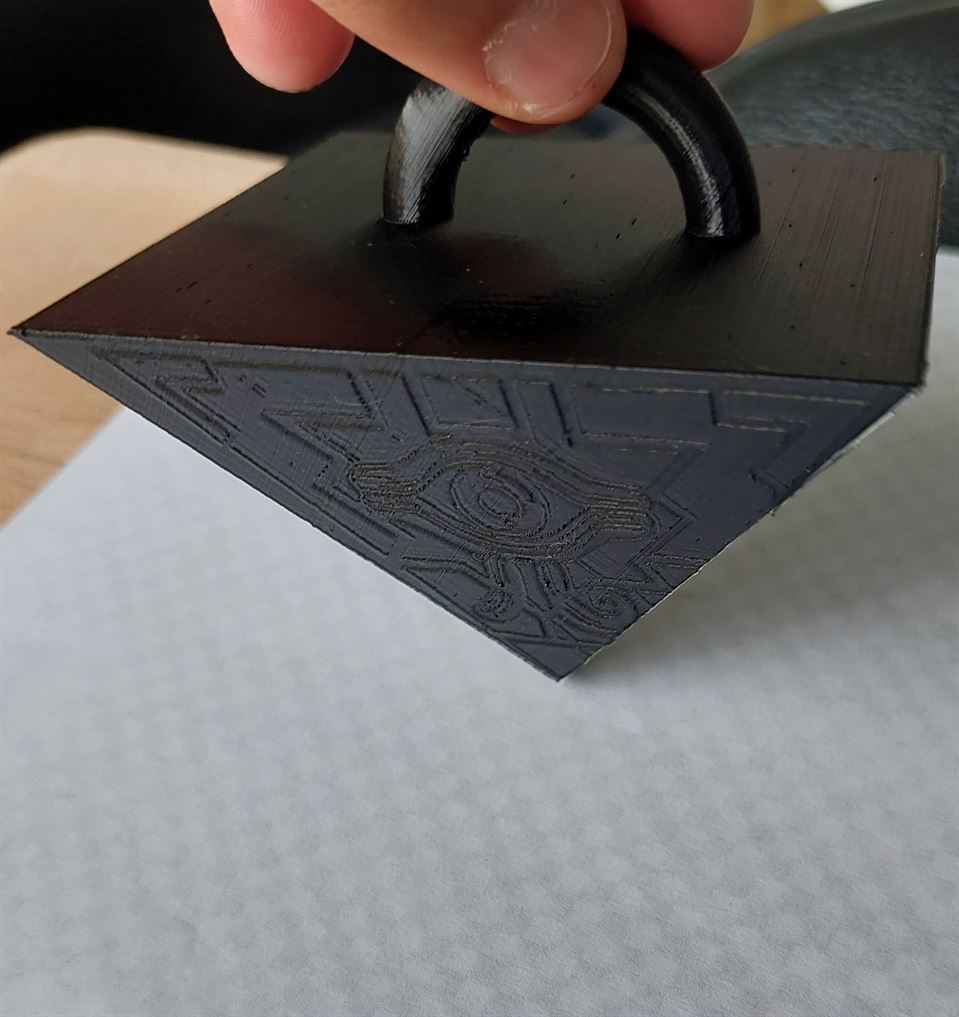
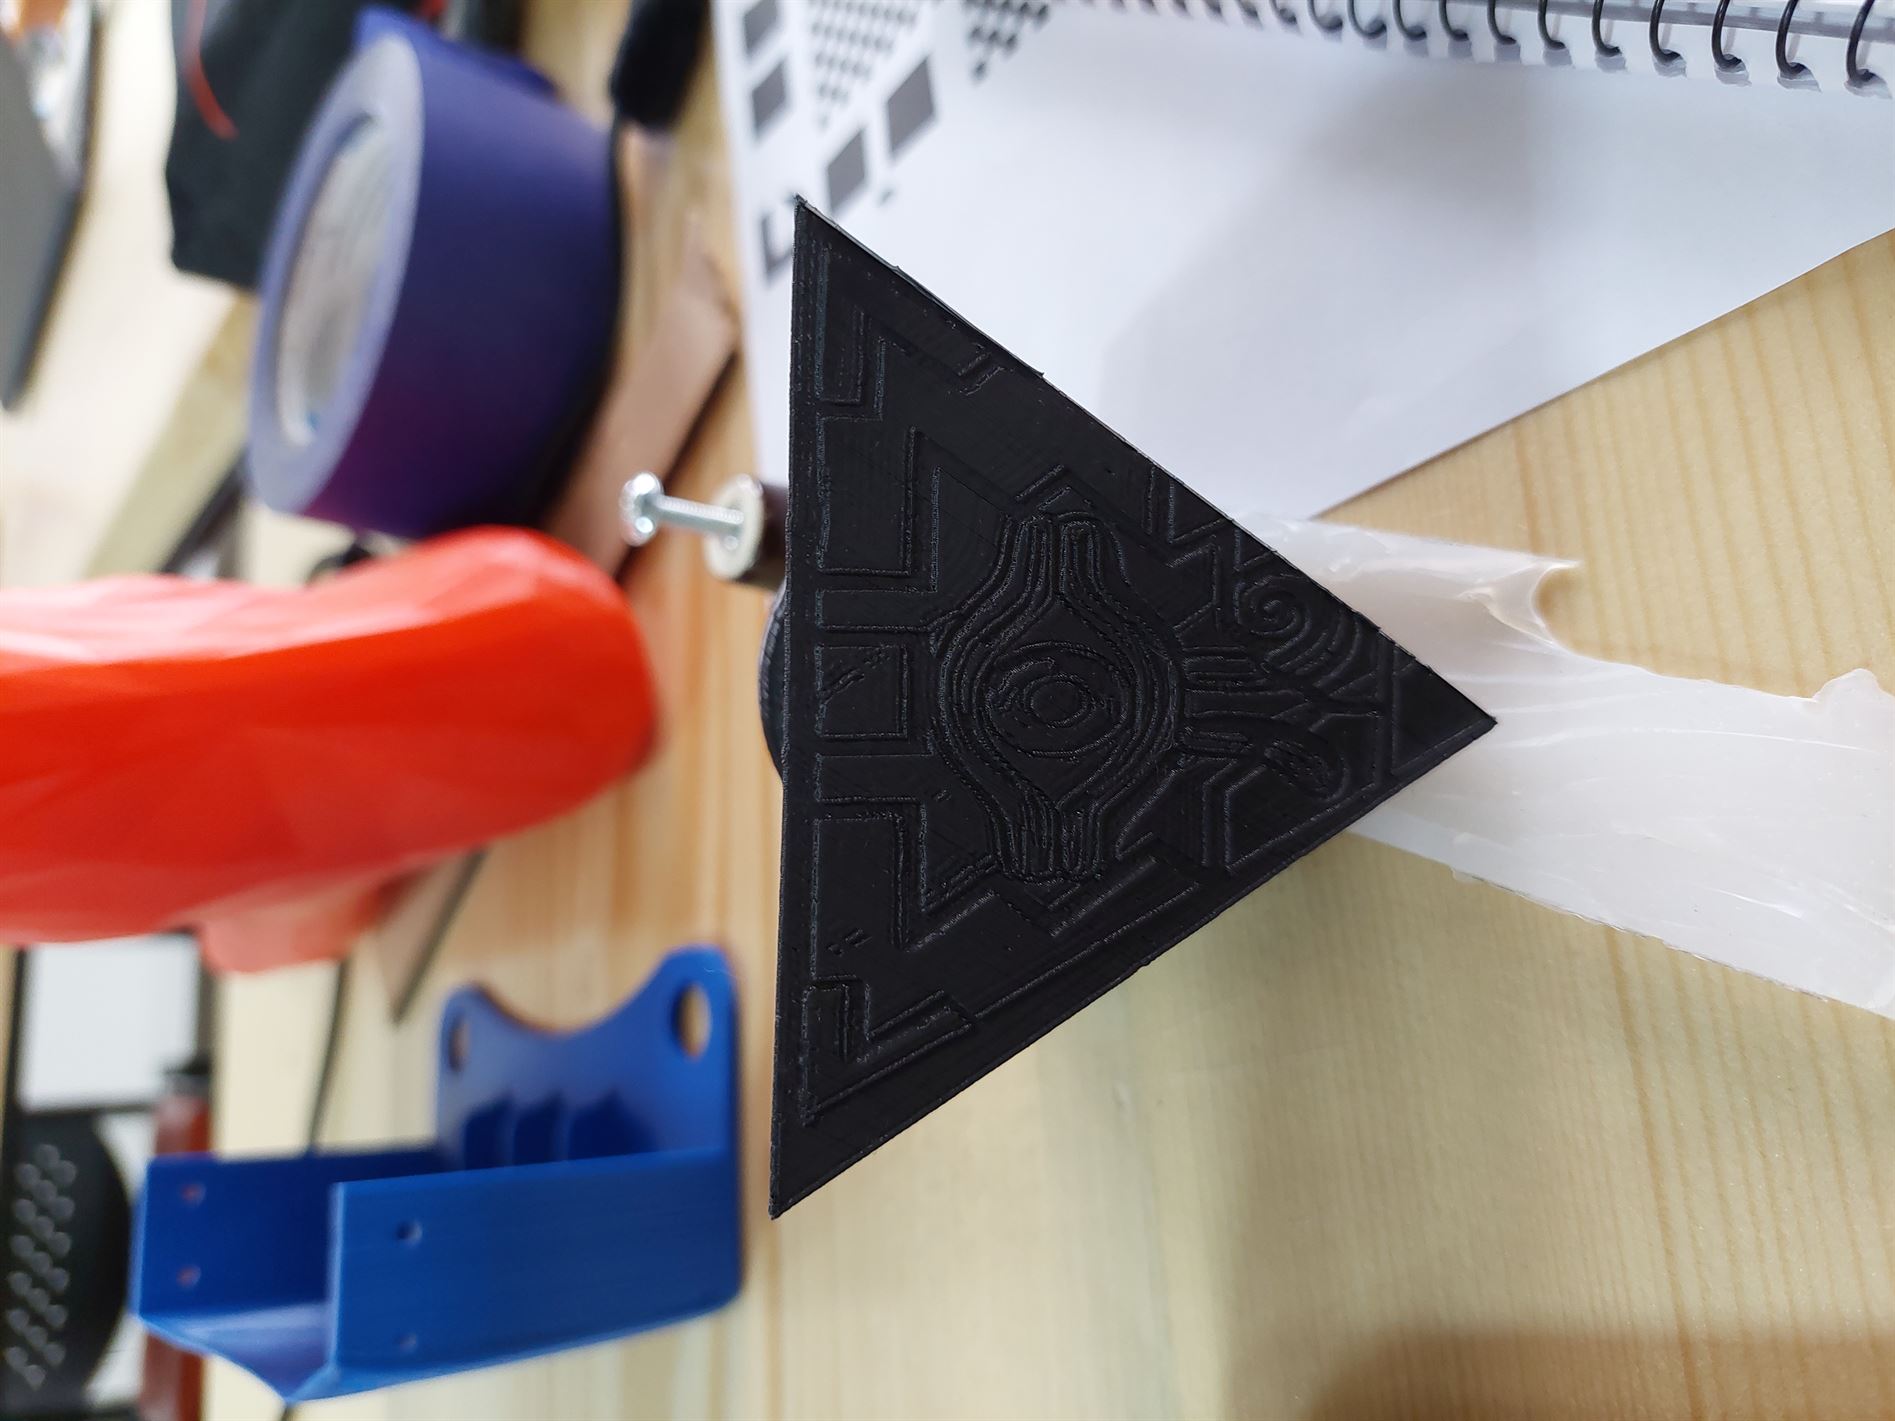
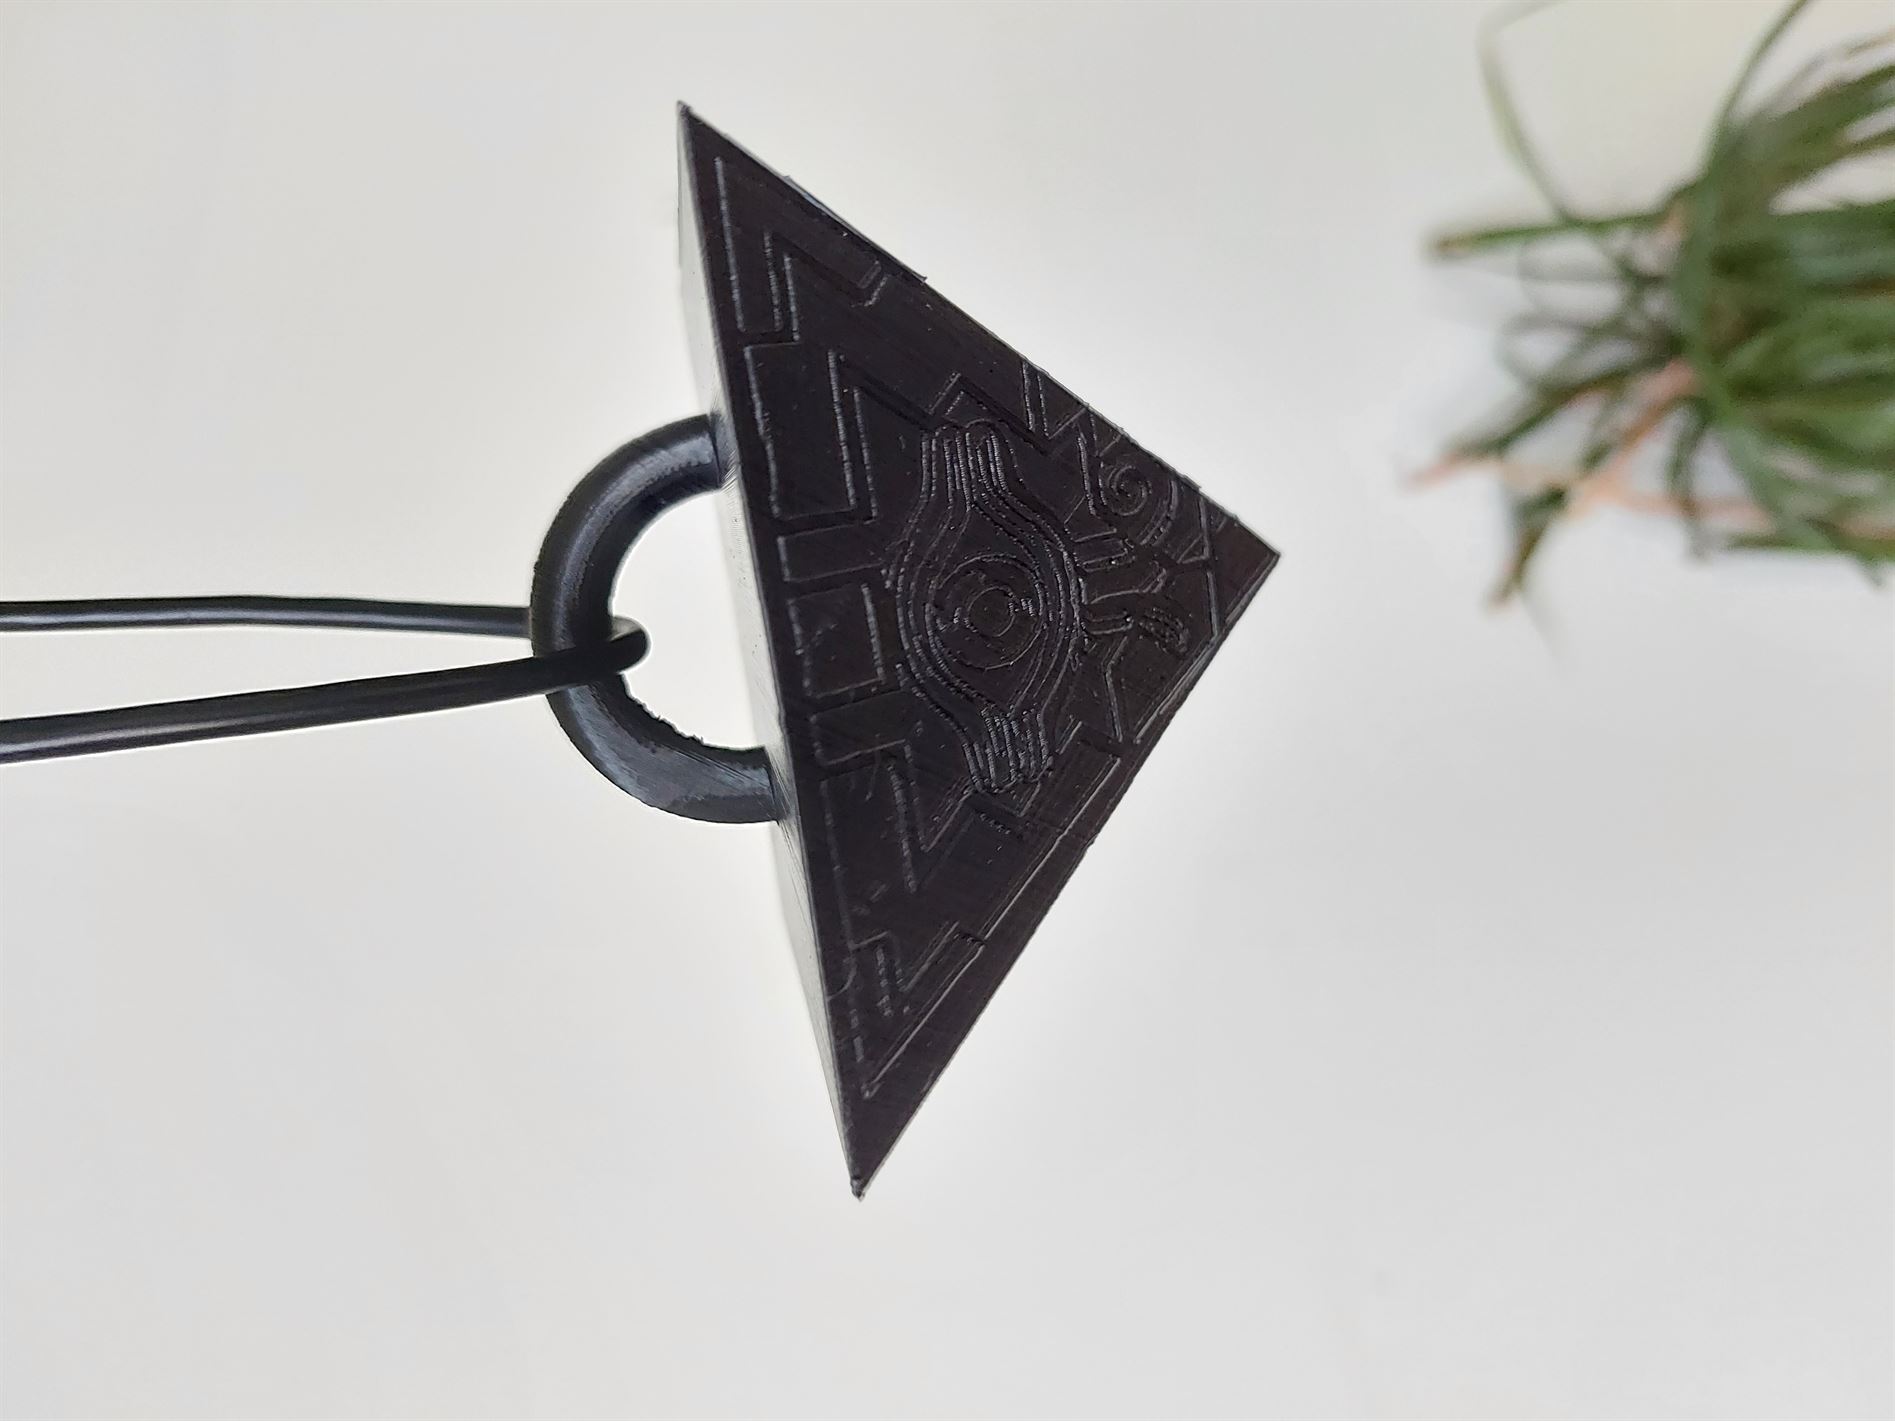
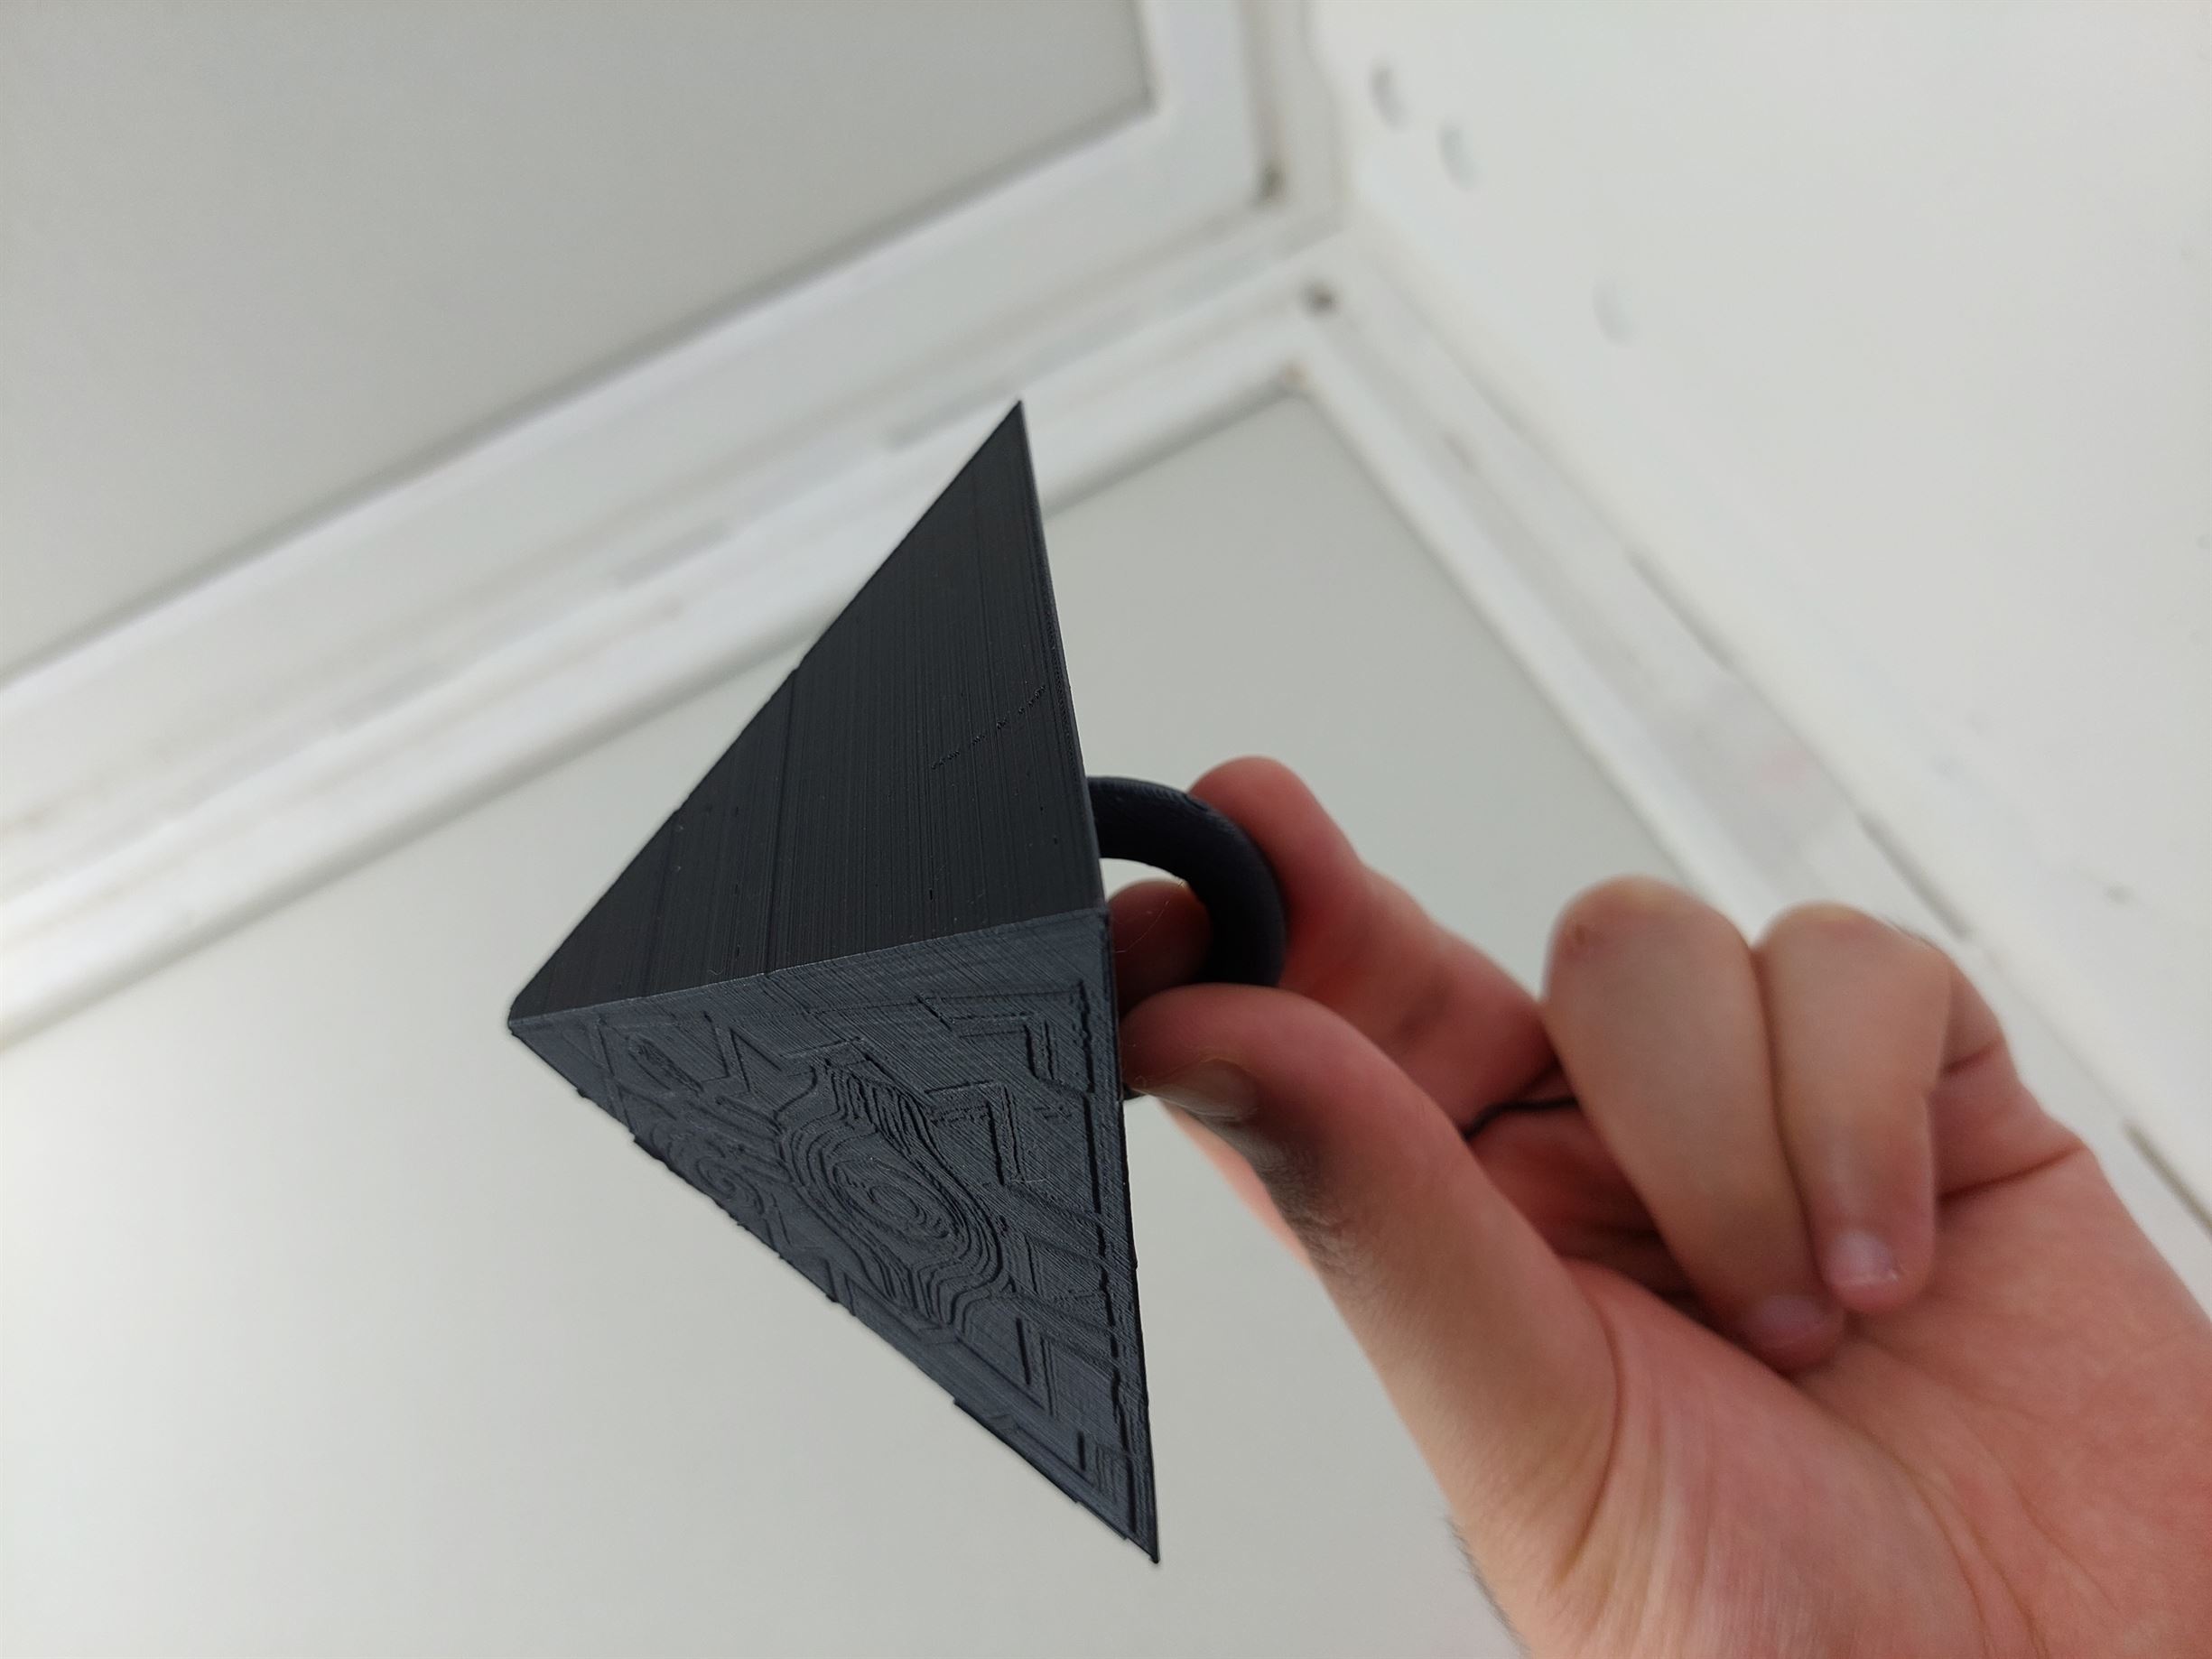
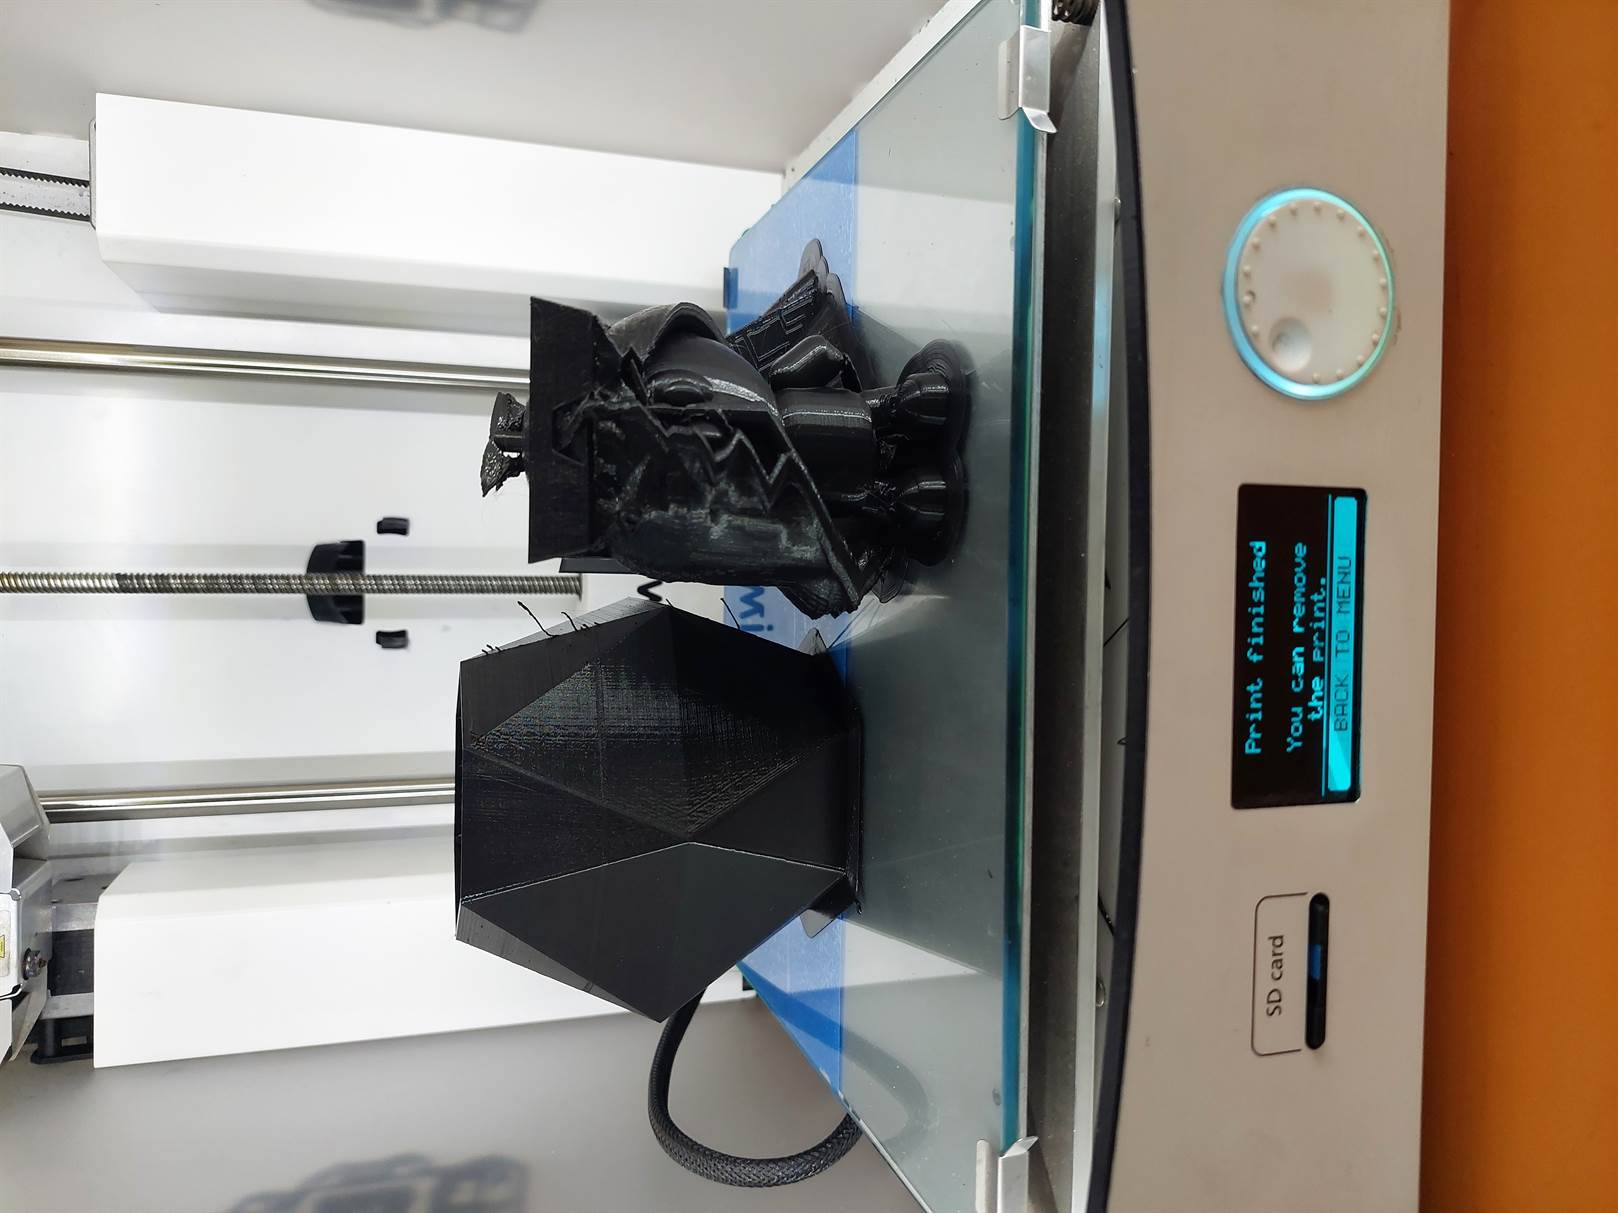
- This is the result after finishing the printing.
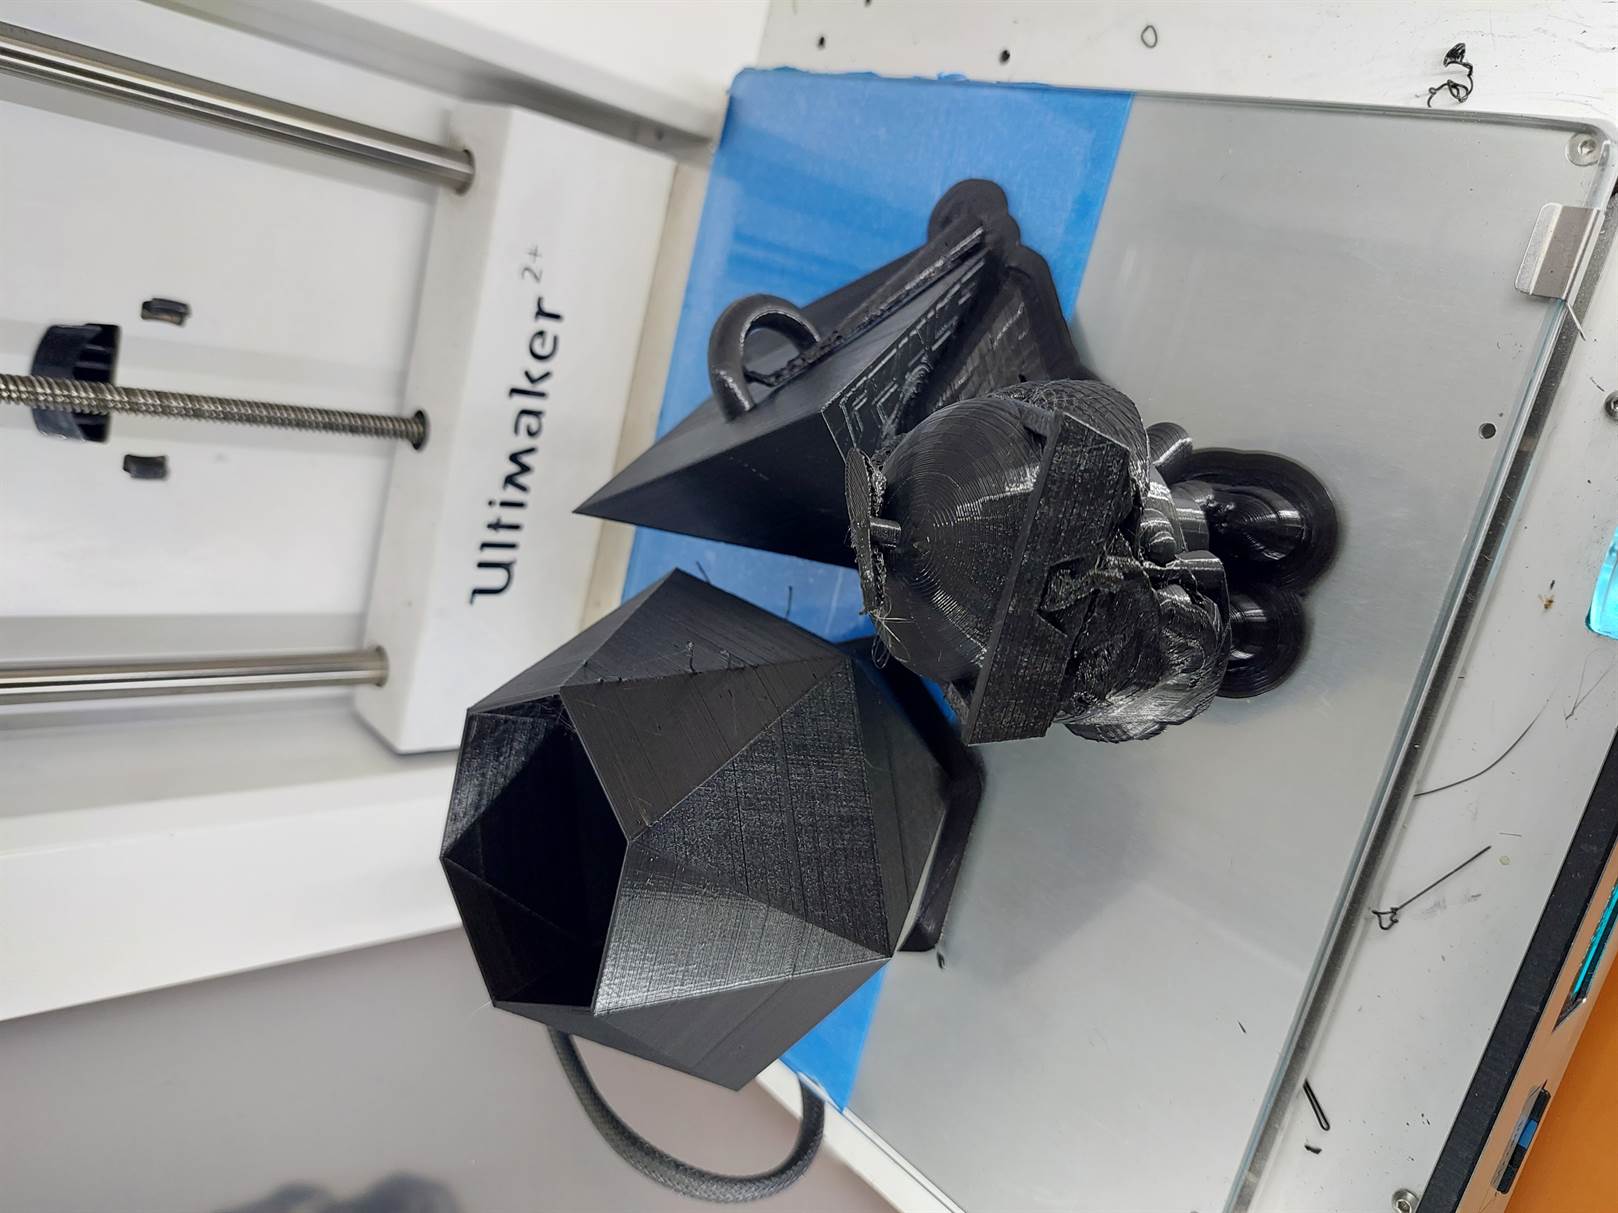

- The final result after removing the support.