6. Large format CNC (computer controlled Machining)
CNC is the literal biggest machine that can be found in the entire Fab lab. For this week we were tasked to produce a child-theme piece of furniture which we would eventually be donating to a designated charity of our choice.
CNC is a great example of a subtractive type of machine. As such, safety is a huge precaution when it comes to using and handling the machine. The usage of a CNC ranges from house hold furniture to architectural buildings.
For this week we’ll be using End mill bits. Curved bits are particularly used for 3d printed pots and pieces. The CNC machine works by drilling a material (by the use of these bits) and literally eating away the programmed design.
- Feeds is the speed of movement
- Speeds are the rpm= rates per minute (rotation)
For different feeds and speeds we are expecting different results. Big chips = high speed and vice versa. Sound is a great indicator of the speed of the machine. The Feeds and Speeds setting are calculated generally with calculators or internet charts. However for the Group assignment we’ll be testing out those features based on trial and error.
-
Tool paths are the ways that you could design using the machine. They come in different shapes and sizes and each with its own product.
-
Sacrifice Sheets are as the name says a wooden sheet you would generally use to test out a design
-
To fix a material you would secure the sheet with screws. In the tool path you would insert tabs for the screws and once the design is ready you’d generally just sand it down.
-
3D roughing provides great texture to a design. An image to surface is also an option which translates pixels to depth and can be used to add texture to a surface.
A machine’s limitation is exclusively connected to the joints that you design. T-bones and dog bones are great joint solution when wanting to cut at 90 degrees.
Some examples of softwares to use for CNC designs are Grasshopper, Rhino and Sketch chair.
Group Assignment
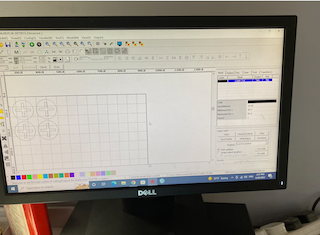
For our first steps we downloaded Vcarve Unfortunately Vcarve is not supported on a MacOS however that would not be a source of hinderance since it simply exports a design to the CNC machine while also being a great software for stimulating the design. The computer connected to the machine has the Vcarve software installed onto it therefore I’ll be attempting to use it directly from there.
Steps for setting up Vcarve :
1. Set the sheet for the designated size.2. All the tool shapes can be found on the left side bar.
3. Drag a square and size it to all the corners and offset 25 inward. This step is to leave a margin to avoid breaking the drill bits with a screw.
4. After importing your design, place it on one corner
5. Go to tool paths on the right side bar, choose profile and select the shapes that you want to cut while holding shift, starting depth is 0, thickness is 13 (the actual thickness is 12 the extra 1 is for the sacrifice sheet )
6. Change the tools units to mm and bed size to 6
7. All of the three features below are essential to document and understand since they differ widely based on the type of material :
Spindle speed
Feed rate for wood would be 100-120
Plung rate
8. Select the number of tabs for the design and then calculate
9. A warning might pop up for the thickness size since we exceed the thickness size by a mm for the sacrifice sheet.
10. Go ahead and preview your work with your desired speed rate to check how your work would be cut.
For the Group Assignment we were tasked to test out the Feeds and Speed, Alignment and Tool paths (cutting and pocket) of the CNC.
Link to the Group Assignment page
Individual Assignment
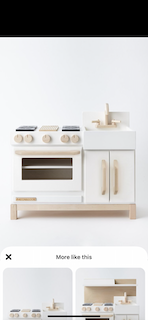
For the children’s orphanage I decided to design and build a children’s play kitchen. Personally one of my favorite toy growing up was my blue and grey kitchen. It had a tiny oven door and stove tops and it was overall a memorable toy to have. Below is my inspiration, it’s nothing similar to my own kitchen but I wanted something that was easy to design and sturdy to use.
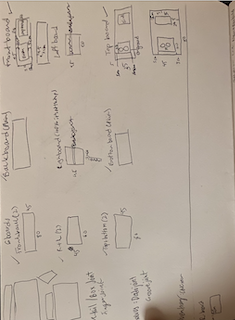
I started off with sketching out the 6 board pieces that I’ll be designing on a piece of paper before starting with a computer software.
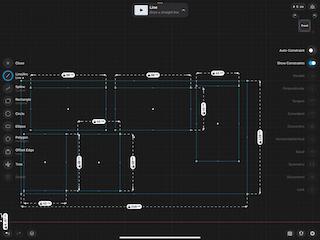
I used Shapr3D initially to help me visualize the boards before I went ahead and solidified my design on Fusion360.
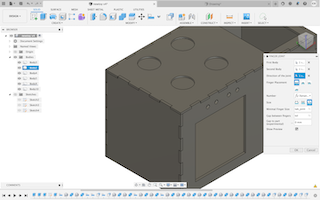
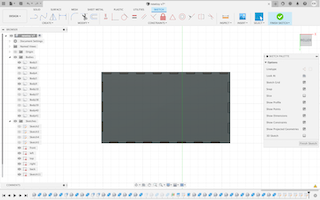
In Fusion360 I simply sketched out the front and back boards (800mmx450mm), the right and left boards (600mmx450) and the top and bottom boards as (800mmx600mm). I felt restricted in terms of the desired height that I wanted the play kitchen to be since the wooden sheet that I was to cut my design off of was 2440mmx1220mm.
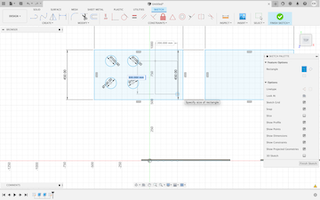
I struggled when it came to designing the fingerjoints but with the help of the finger joint add-in it made my work alot more efficient. All the joints were designed parametrically to make any mistakes post production easy to fix.

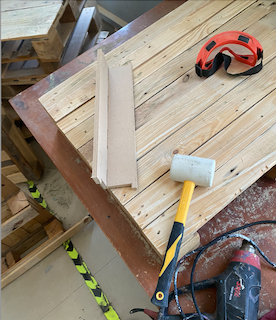
At first we cut off a tester sample to test out if the joint fit or not and luckily they did.
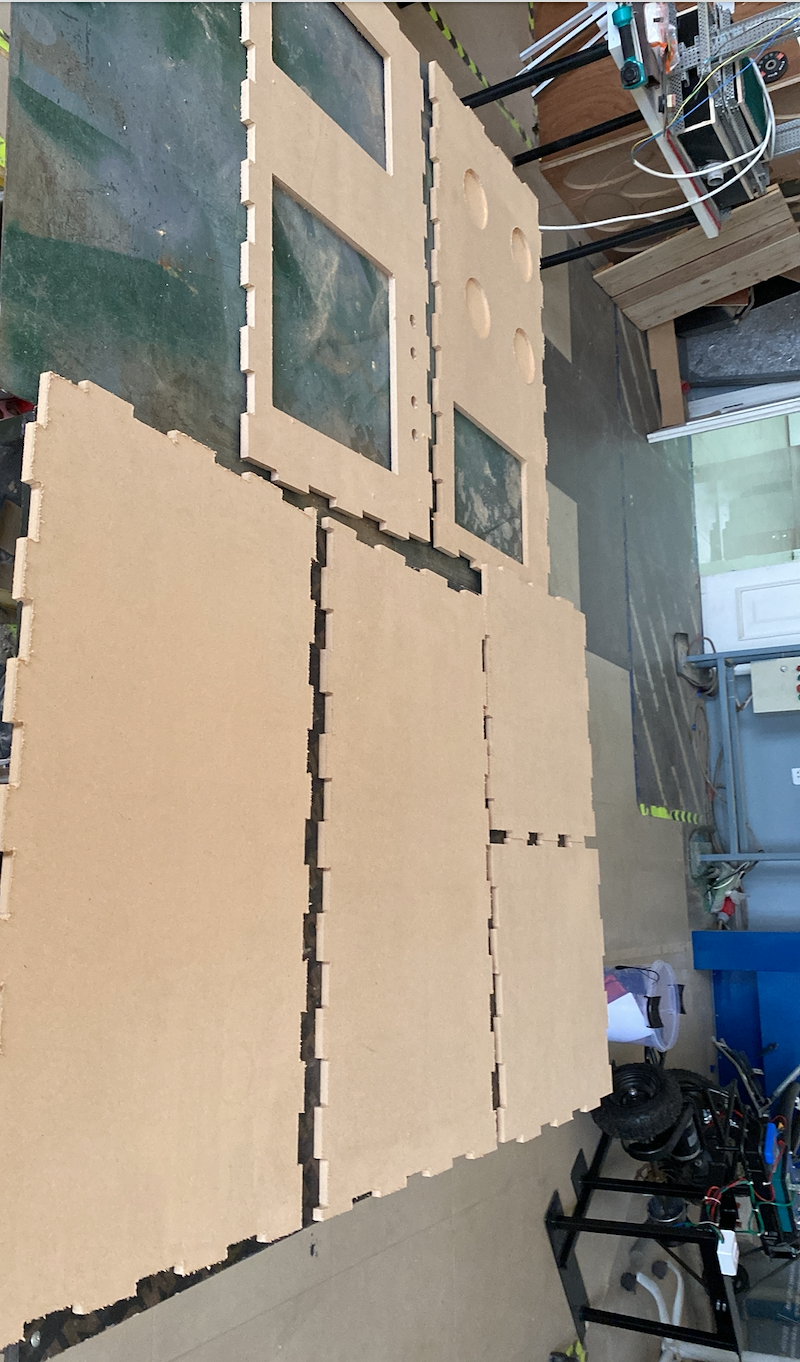
Following the successfully tester trial we cut all the pieces by using Vcarve on the CNC are here are the results below:
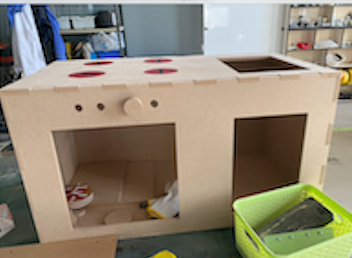
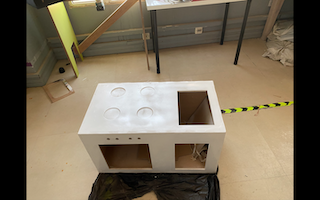
After a lot of sanding and the use of a mallet to fix the joints in together the kitchen was assembled. A special thank you to my super helpful and supportive instructor Abdulgafoor.

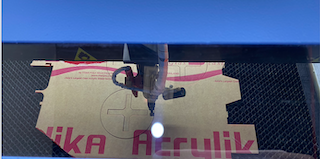
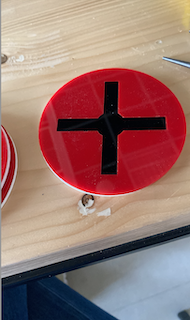
For the stove tops I laser cut 3mm of acrylic with red and black colors to give the aesthetic of an actual stove top.
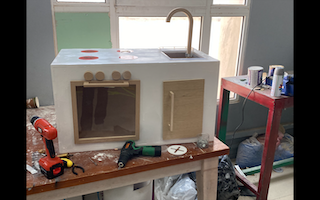
Here is what the kitchen looks like after putting in the stove tops.
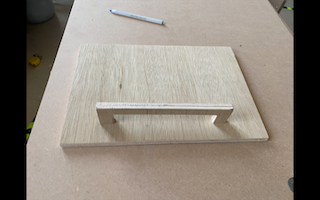
I also decided to add in accessories to match the kitchen. I designed them in Fusion360 as well and cut it with the use of the CNC. I also had to sand down the edges
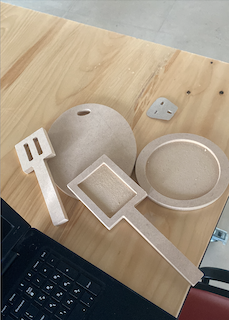
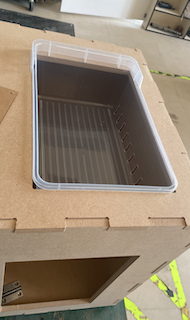
For the sink portion I bought an external clear basket which was 20x30 cm which is the precise measurements of the sink hole.
After it all the parts and pieces were fixated I then had to use filler to fill in the gaps that occured due to the fingerjoints that I designed. Since the material used was mdf, the presence of gaps between joints was inevitable, a better design method was to potentially have pockets instead of joints.
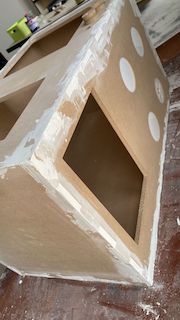
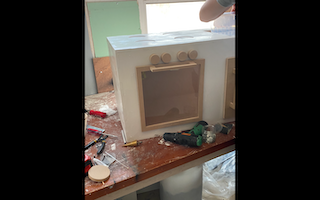
After two weeks of applying filler and waiting for it to dry to sand it down, the kitchen was finally in a place where it was ready to be primed and spray painted. We covered up the openings for the oven, cabinet and sink to ensure that the primer would only target the exterior surface.
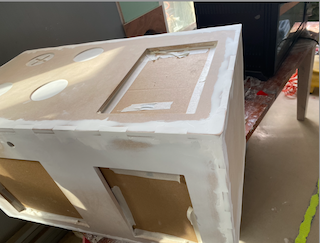
Here it is after one coat of primer. Since the primer had an extremely foul smell, we performed the procedure outside in plain air.
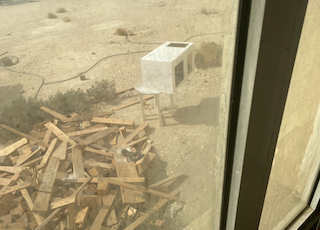
After a couple of days under the sun and rain, and multiple coats of white spray paint the kitchen was finally back into the workshop allowed to dry completely before we began to work on it.
The cabinet and oven doors were amongst the first pieces to be assembled onto the kitchen with their respective hinges.
Hero shots

Design Files: