8. Moulding and casting
Moulding is the process of printing the design onto a machinable wax where you then cast/pour material to form the 3d design. It’s a three step process of milling, moulding and casting.
We start off with a hard block of wax and plastic which is known as machinable wax. It can be carved up to great detail which helps portray all the tiny details of a specific design. A milling machine similar to the CNC carves up the block with the programmed design, we then pour liquid silicone into it and for the final step we then pour our designated material into the mould.
Unlike 3d printing, milling is down with a top down viewpoint so certain hooks and knocks wont be executed as promised due to the machine’s limitation. The milling pits length is also a constricting factor when it comes to cutting. Therefore the depth of certain design are constrained to the length of the milling pit. If for example, the design has holes that are smaller than the diameter of the flute it’s execution wont be possible.
In summary, side holes and holes that are smaller than the diameters flute wont be milled.
Group Assignment and Safety Data Sheet
For our Group assignment we were divided into teams of two and given the freedom to choose any of the materials to research about and fill in the required information in a google document which we shall all share and have access to.
https://docs.google.com/document/d/12ByllVieo6asJD00Mv90nltQ2n2xXfJFa3pNoTXEFJI/edit?usp=sharing
Individual Assignment
I was very much inspired by the Jaguar car logo. It has a seamless design that would serve as a great design to mill because of its not so detailed details and curvatures that make it almost impossible to cut out with any off cutting machine wether it be the laser cutter or the CNC.

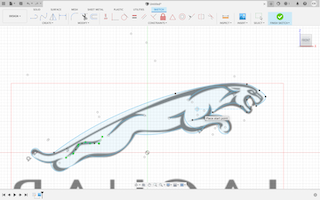
I drew inspiration from the logo itself so it was only fit that I trace it, I started off with tracing it using arches and slopes in Fusion360 but switched to Inkscpae which has a more efficient way of tracing images since it is a vector driven software.
After placing the image on the working field I then selected the trace bitmap tool from the Paths in the bar at the very top and adjusted the setting to my liking and till I found a result that I was satisfied with.
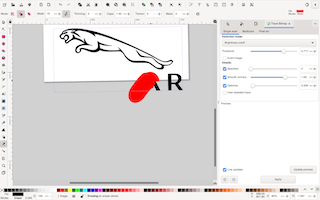
After it was all to my liking I erased all the other unnecessary pieces of the image that I wont be needed to use for milling and exported it as a dxf to Fusion360. I used the erase tool on the side bar to do so but increased the width to take up more erasing space at one single time.
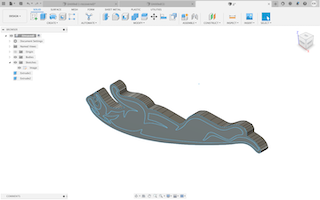
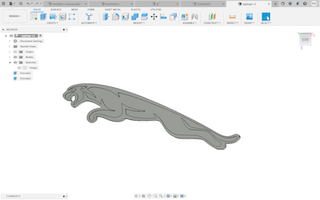
After opening the file in Fusion360 I then had to extrude the designated areas and chamfer it to my liking so that the arm and tail details would get milled as hoped. I had to export the file as STL which counted as the final step in the design process.
We then used RS player which is the software designated for uploading designs onto the milling machine.
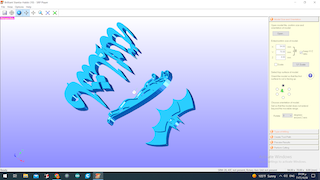
My two designs, the jaguar as well as an additional necklace design along with my classmate’s design where placed on the printing field and where scaled appropriately.
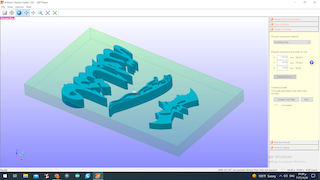
After setting up the RS player with our preferred settings, the machine took approximately 4 hours to mill
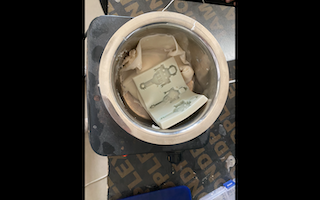
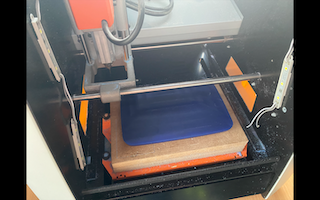
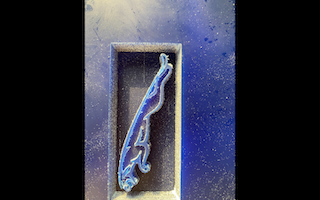
In order to make the silicon mold I had to reuse old molds and melt them down to make liquid silicon which will then be used as my mold.
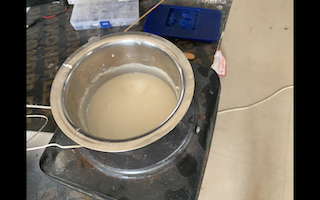
In order to form liquid silicon, the pot was heated to 200C and then shut off while stirring continuously. After the pot was cooled for a minute I poured it into my milled wax

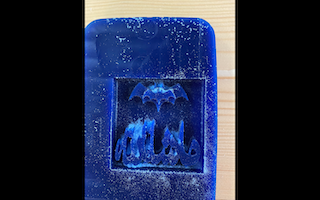
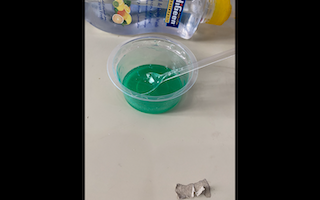
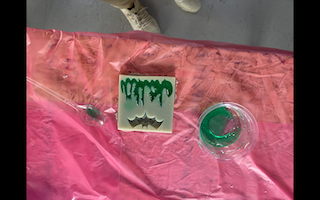
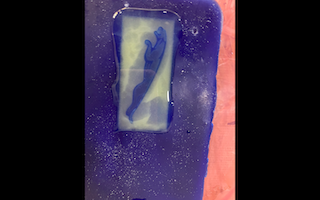
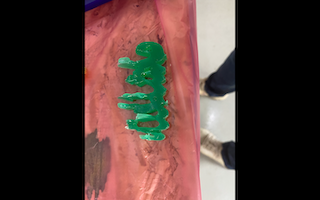
Above is the silicone mold that we achieved by following the steps above and with that successfully done I moved on to the next step which was filling it up with resin. I used the same ratio as I did in my group Assignment which was 6 grams of hardener to 10 grams of Resin and added two drops of bright green into the resin mixture.
I allowed the mixture to harden for 48 hours before picking it off of the mold
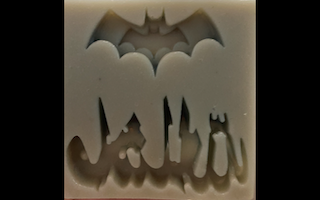
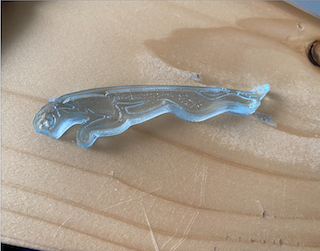
As for the jaguar, after using a smaller mill bit we were able to mill it as seen below however if you look really closely in real life you would’ve been able to see a small tear near the bottom tail and top eyebrow. This happened because of using the smaller mill bit the piece itself was very small and therefore got torn while milling but thankfully it formed no issues when pouring the mold.
Hero shots
Design files
Mashallah necklace design file as dxf
Mashallah necklace design file as stl
Problems faced
-
the initial size of the the jaguar logo was too big for the block of wax that we were supplied with so I had to scale it down in Inkscape
-
The details on the face of the jaguar were tricky to mill because of the fine details that required a smaller milling pin size so I had to distort the face in-order for it to acceptable for milling.