2. Computer Aided design
During the first and the second day of week two, I have experimented various 2D and 3D software. The programs that I have used were:
2d software: Adobe Illustrator and cuttle.
3d software: Tinker cad and Solid works.
1) Adobe Illustrator
Adobe Illustrator is a software that is used to design custom shapes, icons, posters, drawings, typography, and complex illustrations.
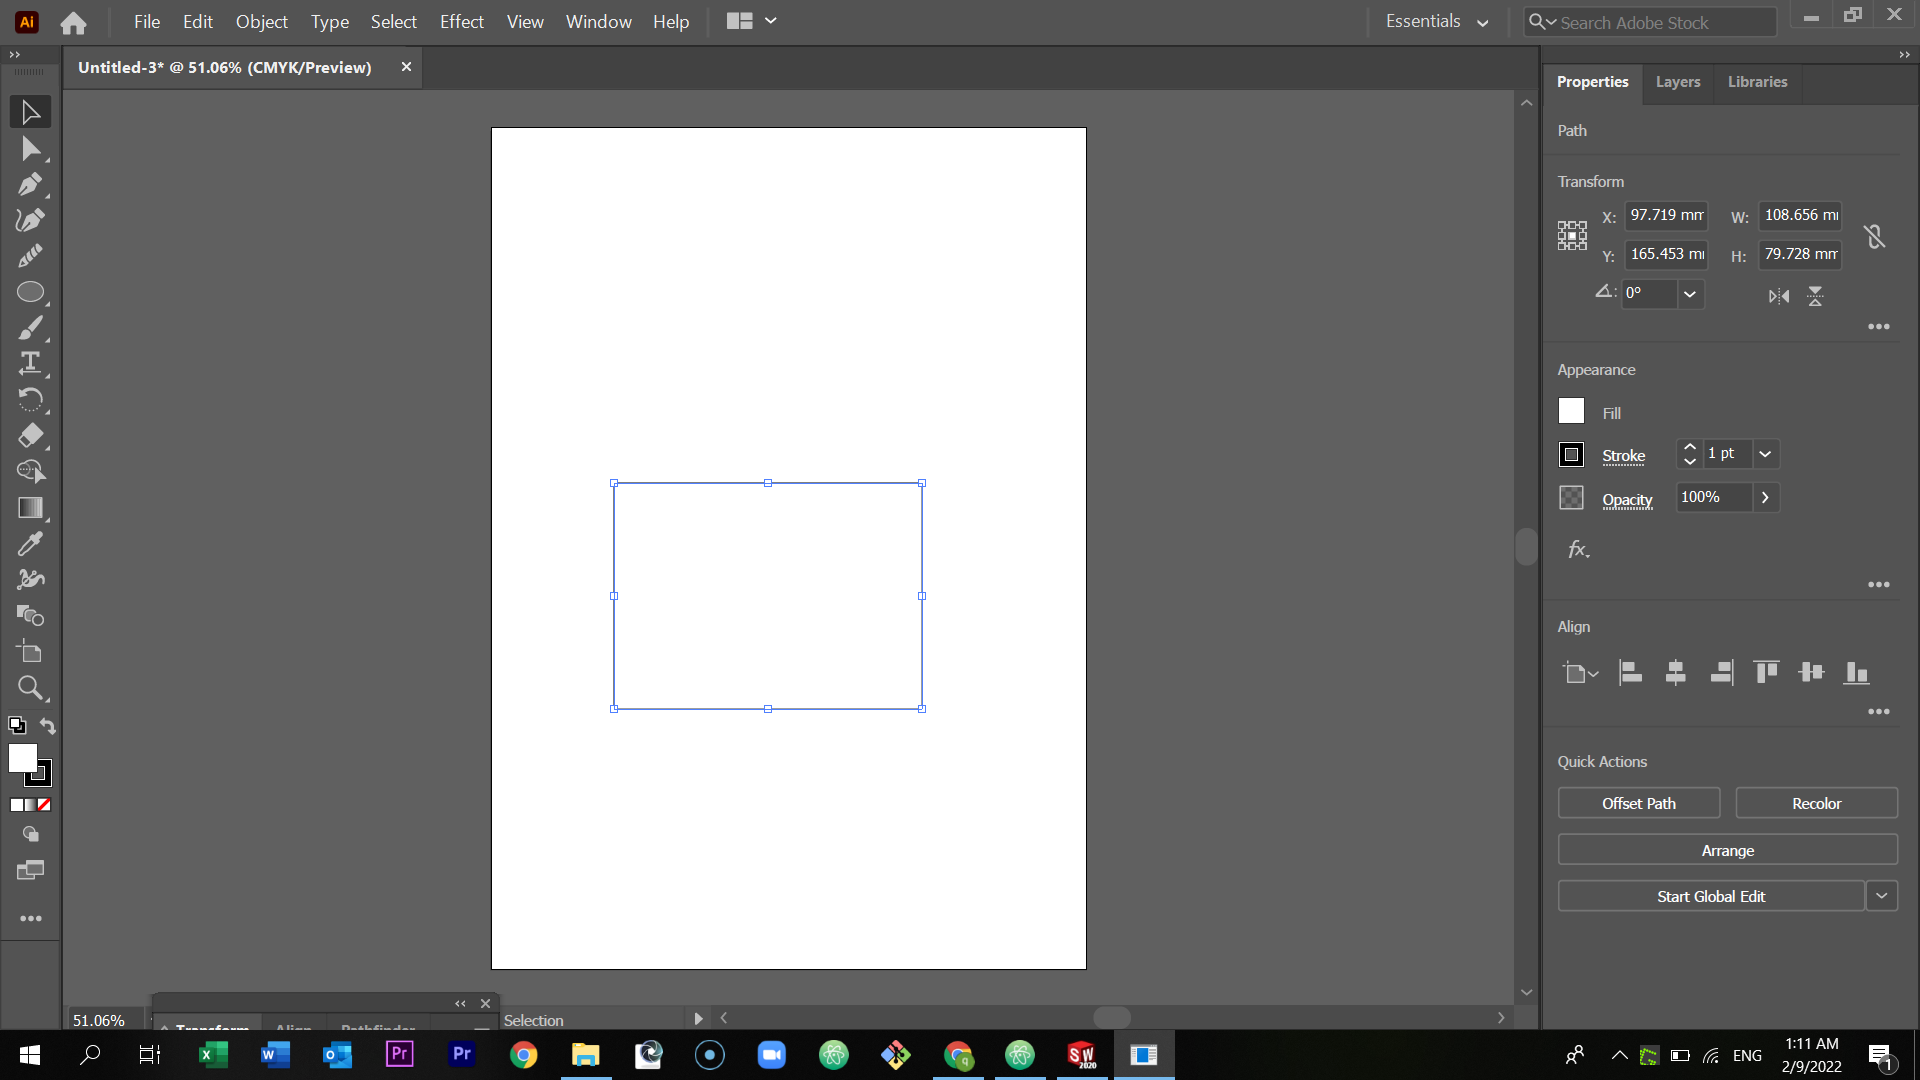
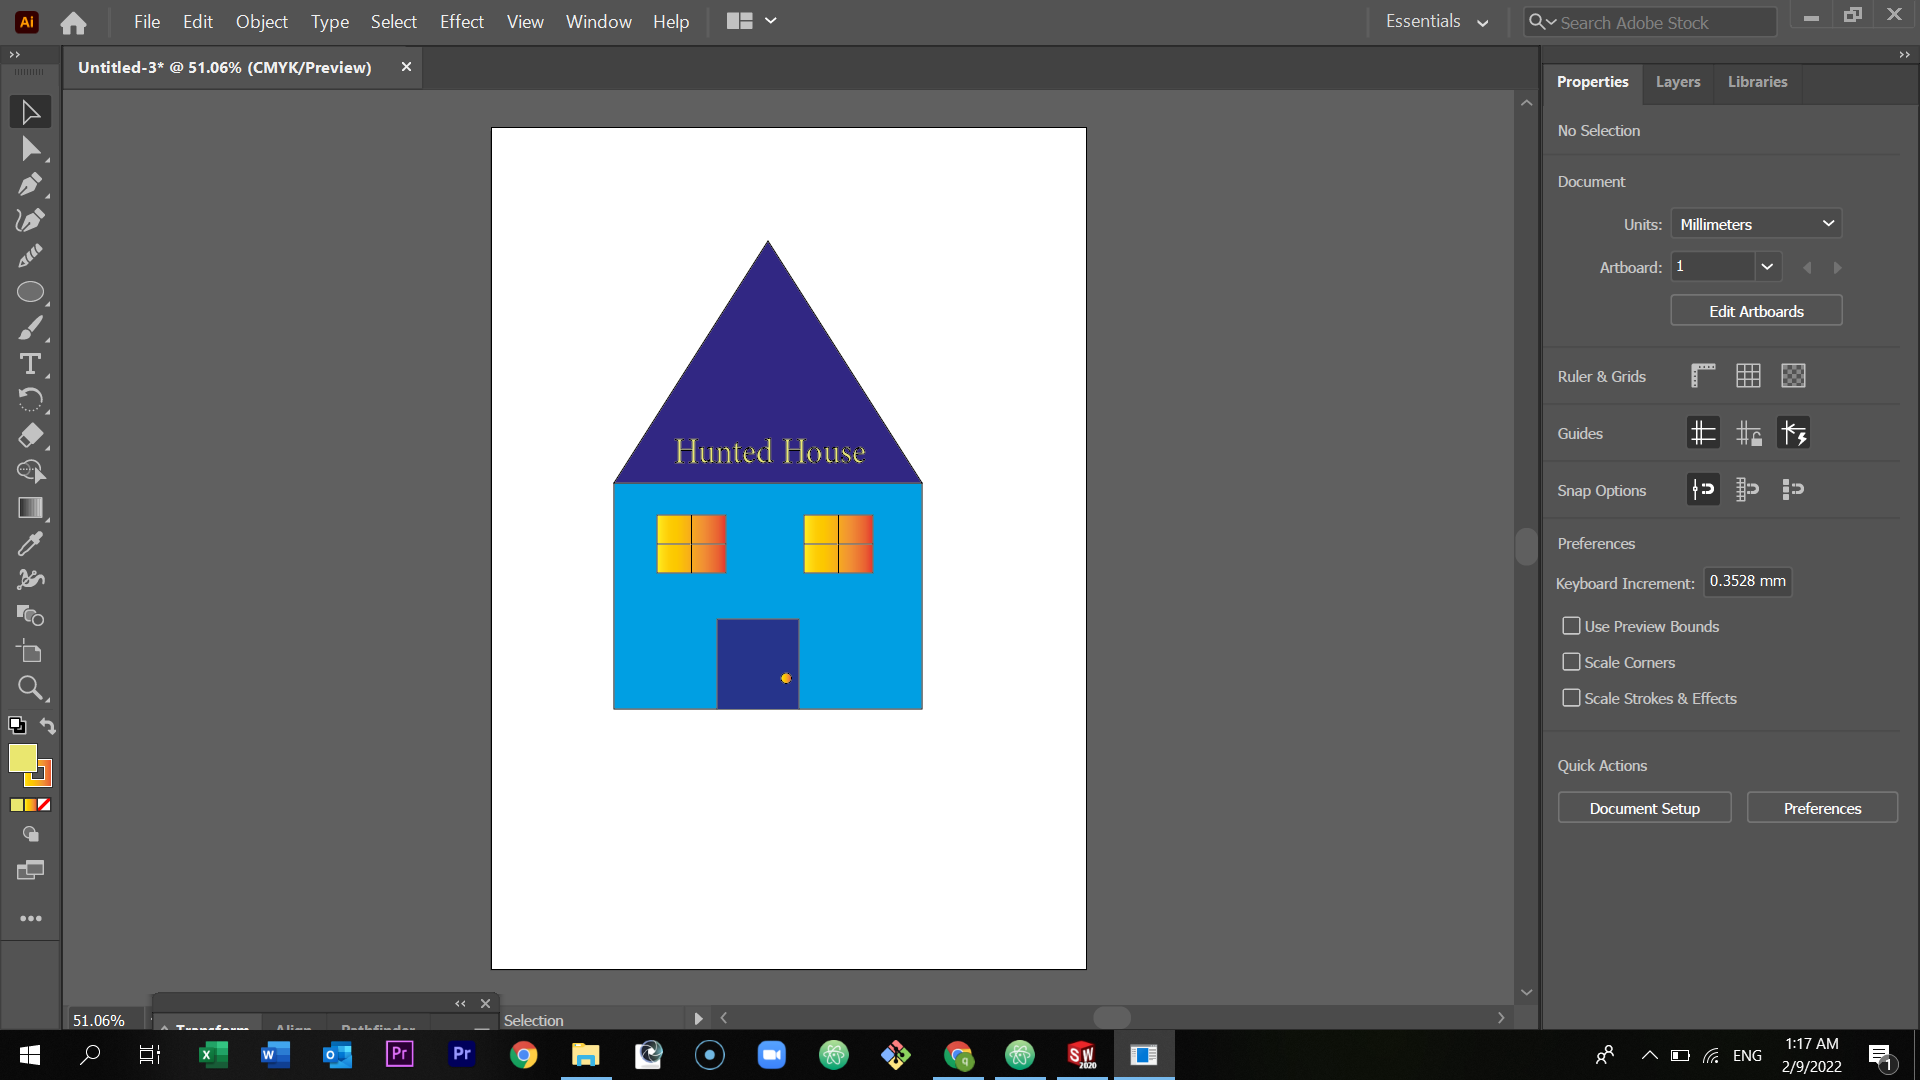
First of all, open the program.
At the left corner select create new.
Select the type and the size of the page (I have chosen A4)

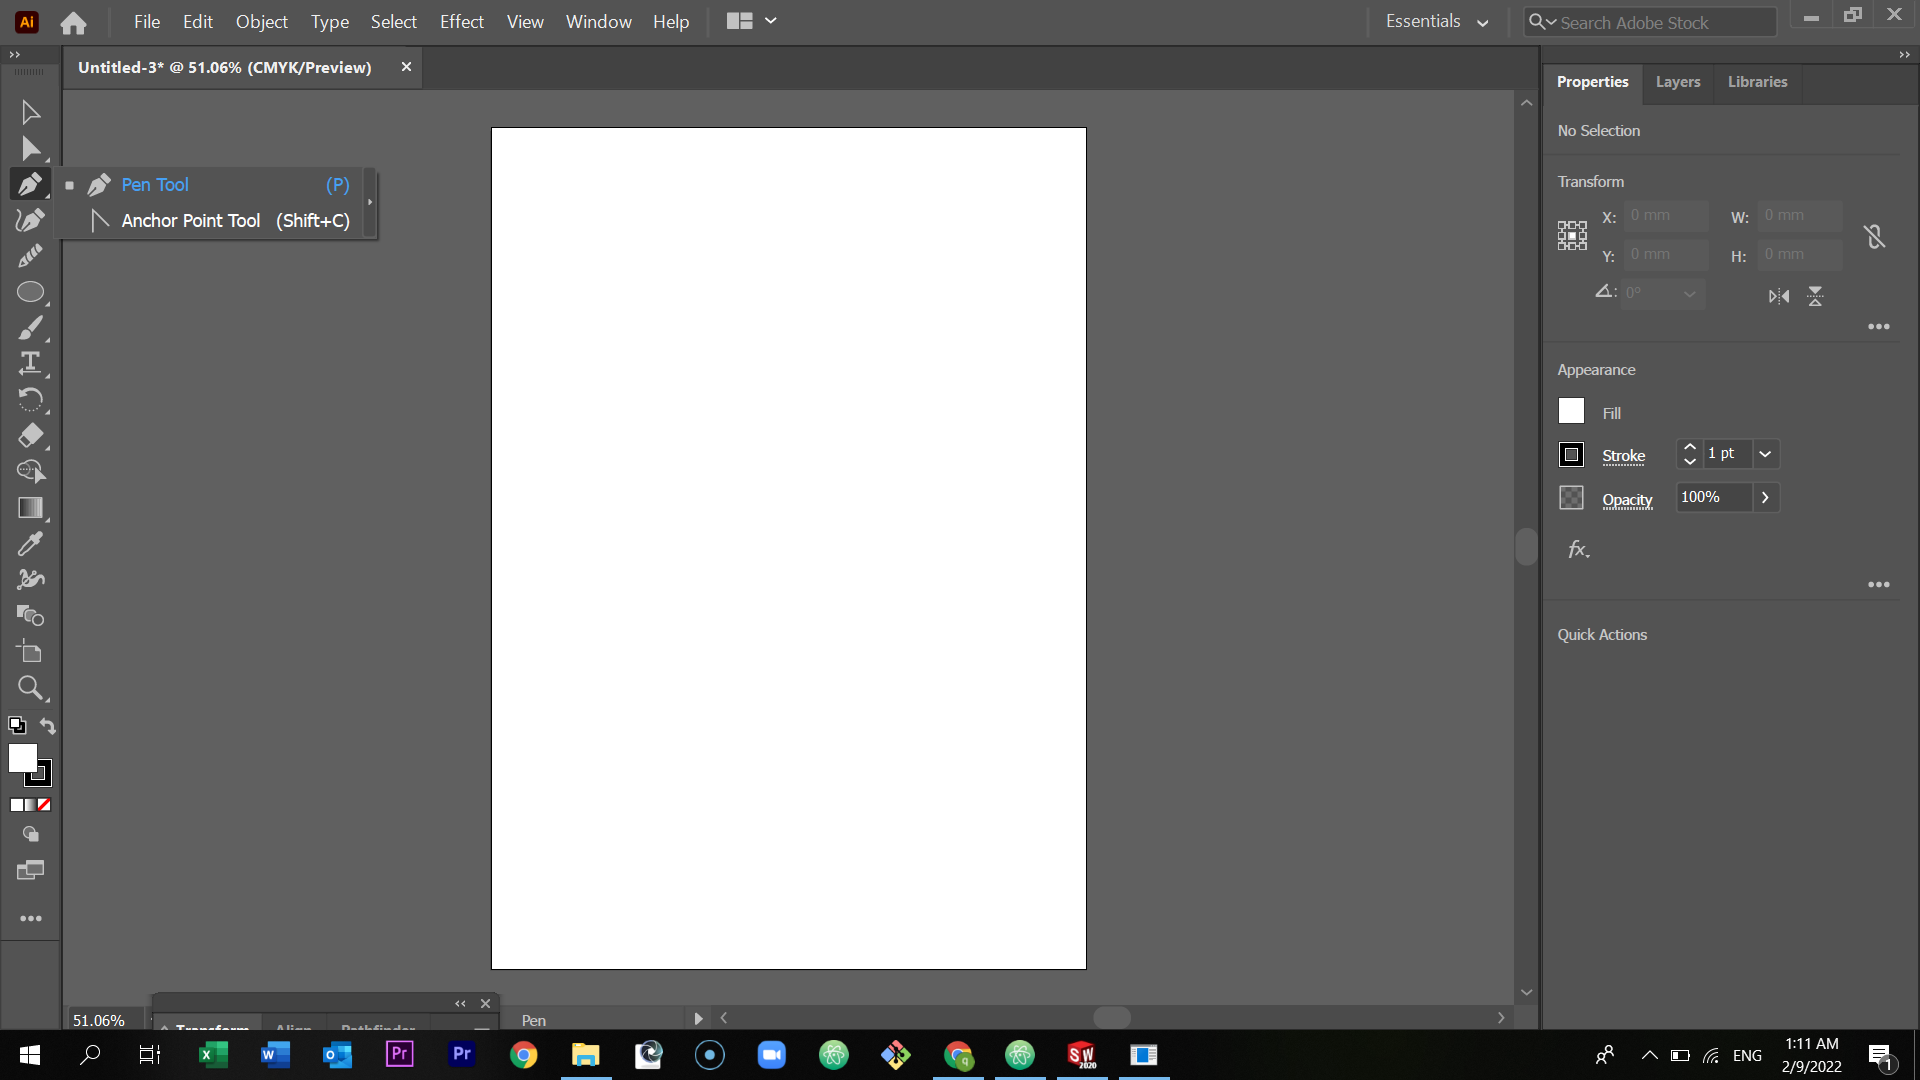
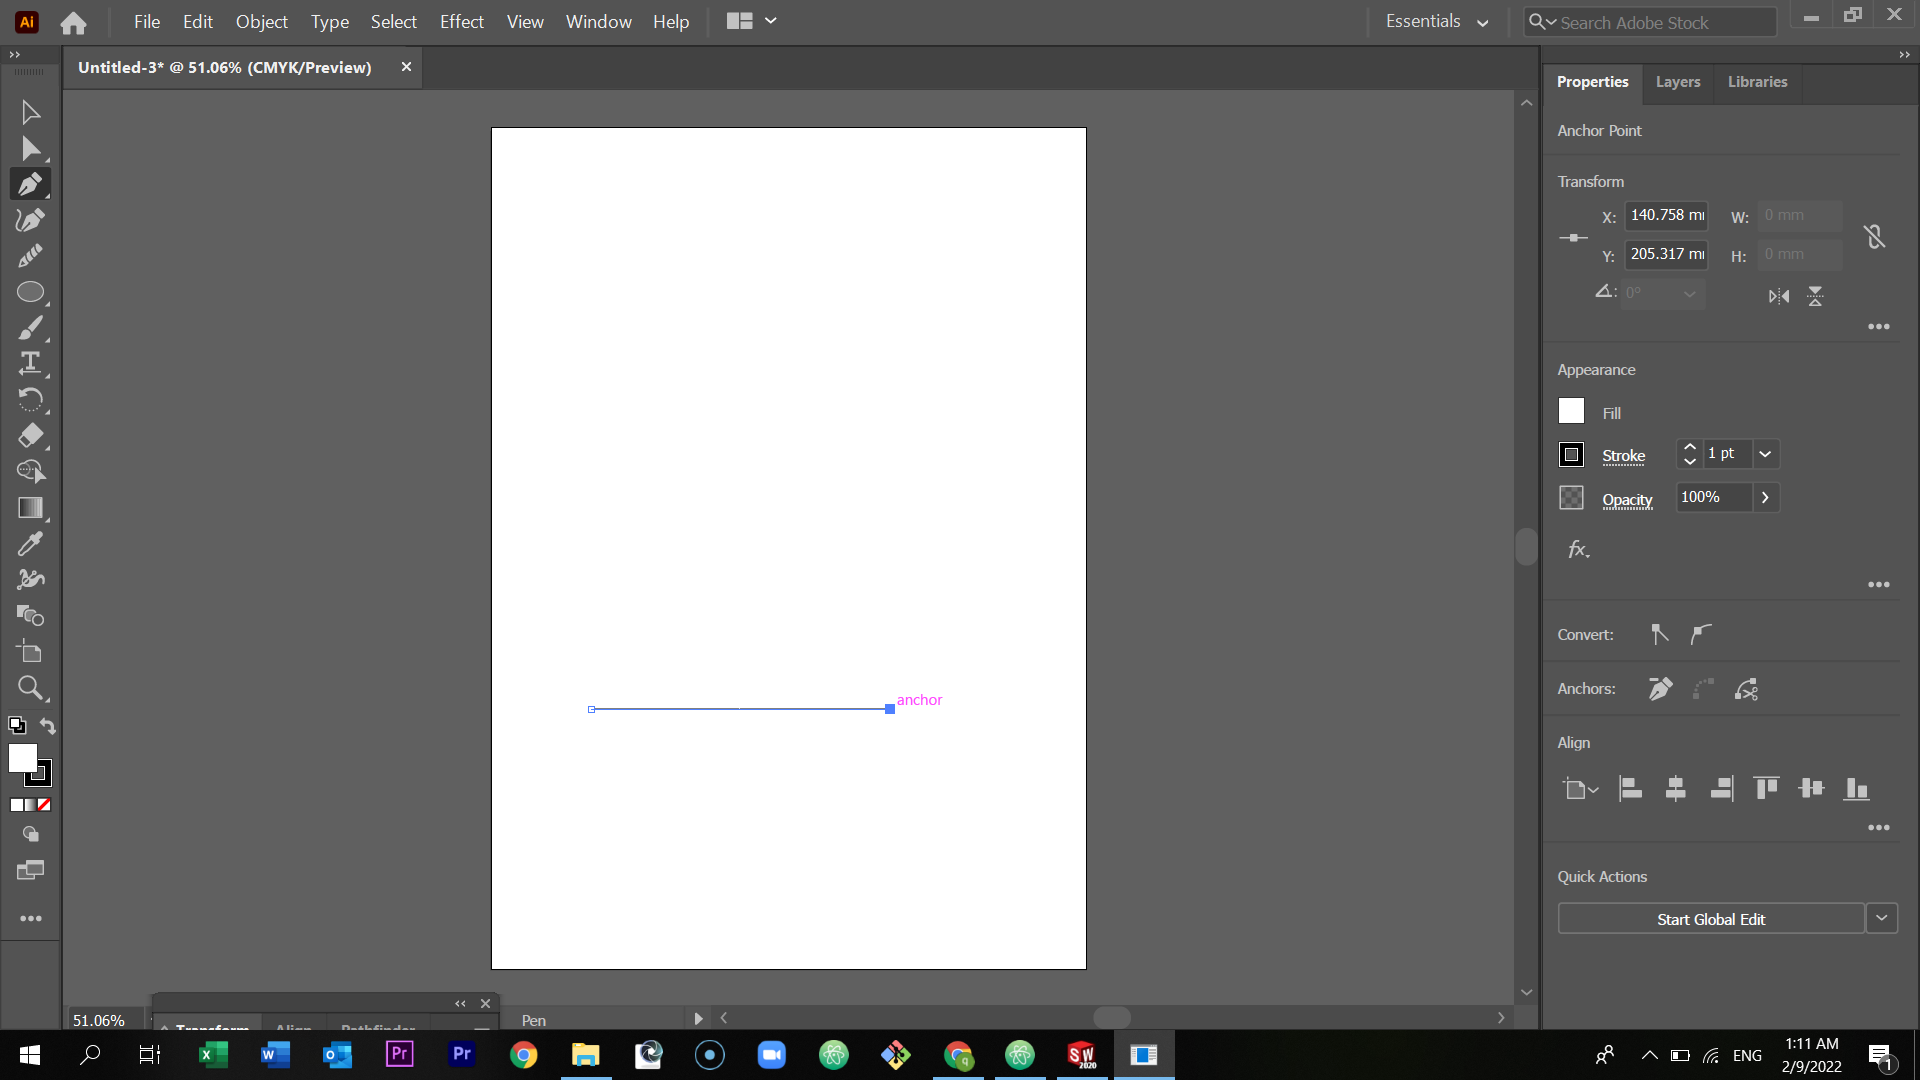
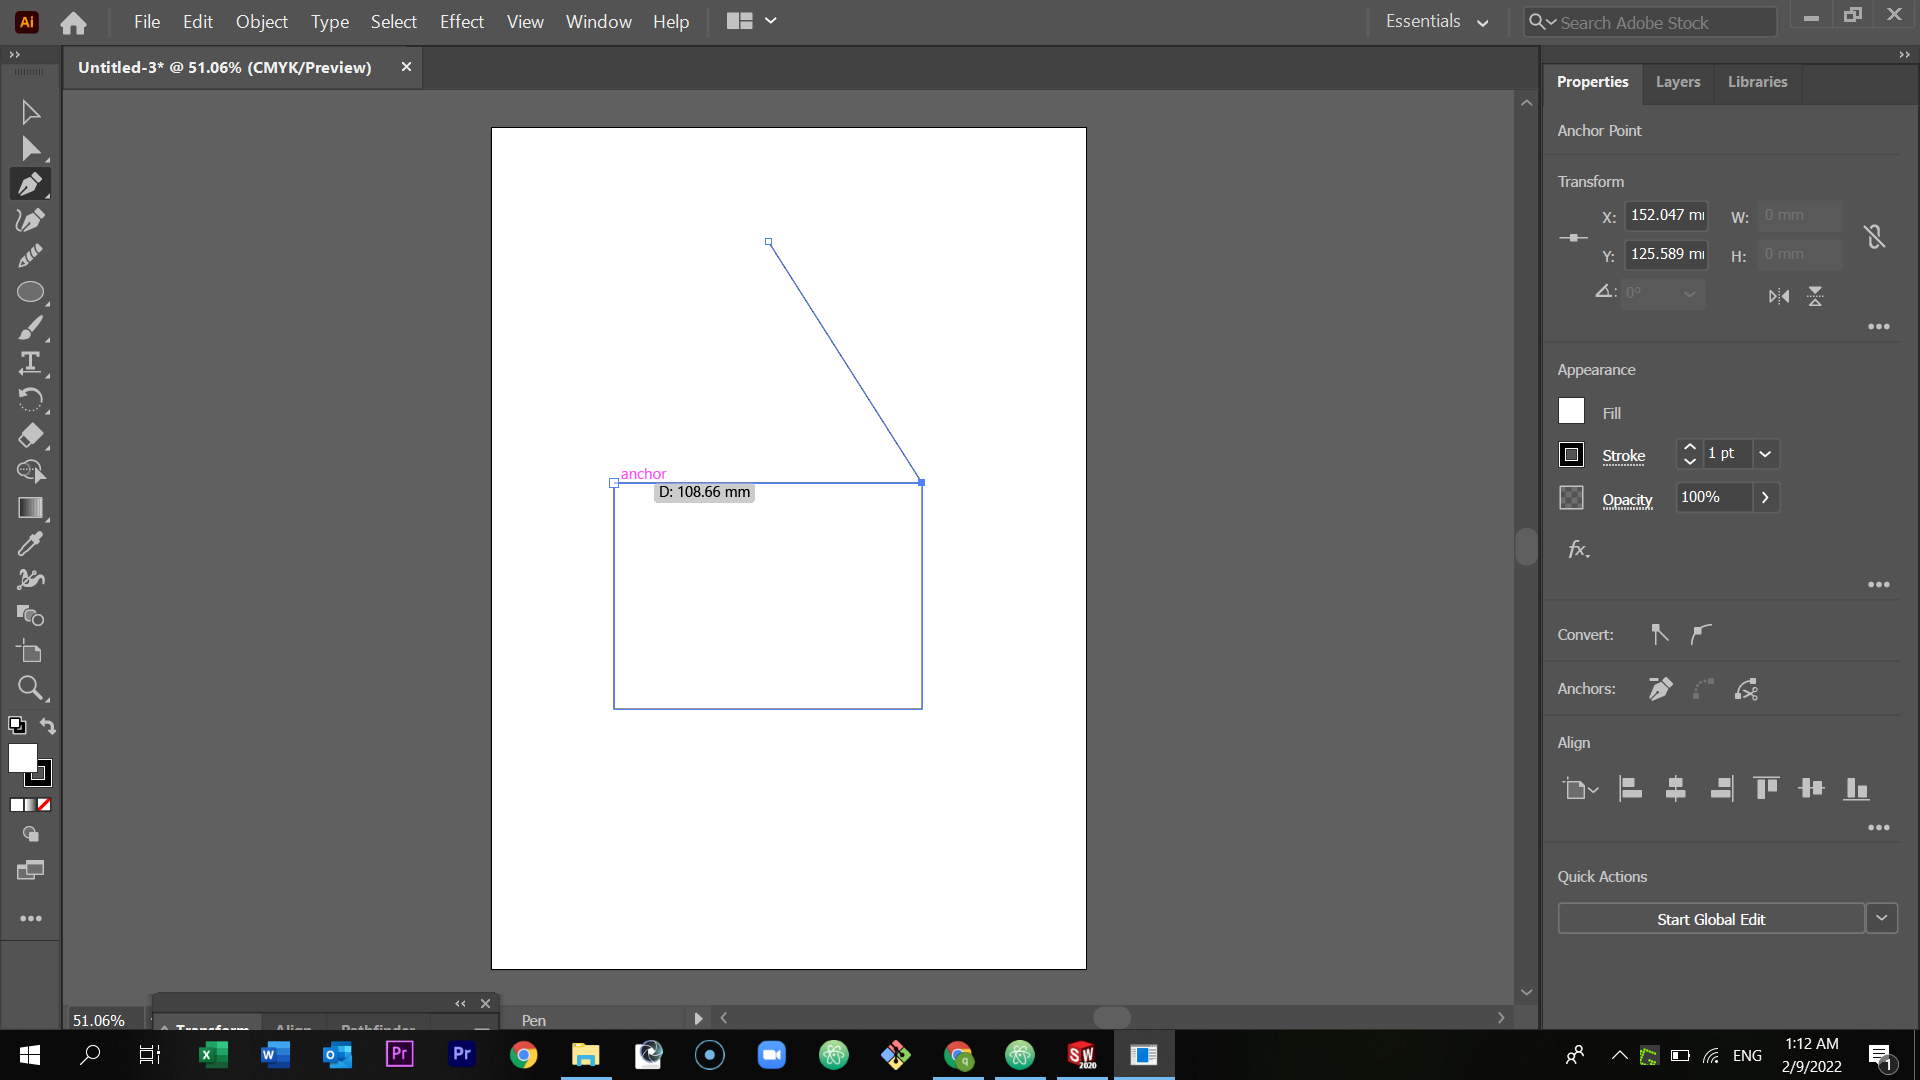
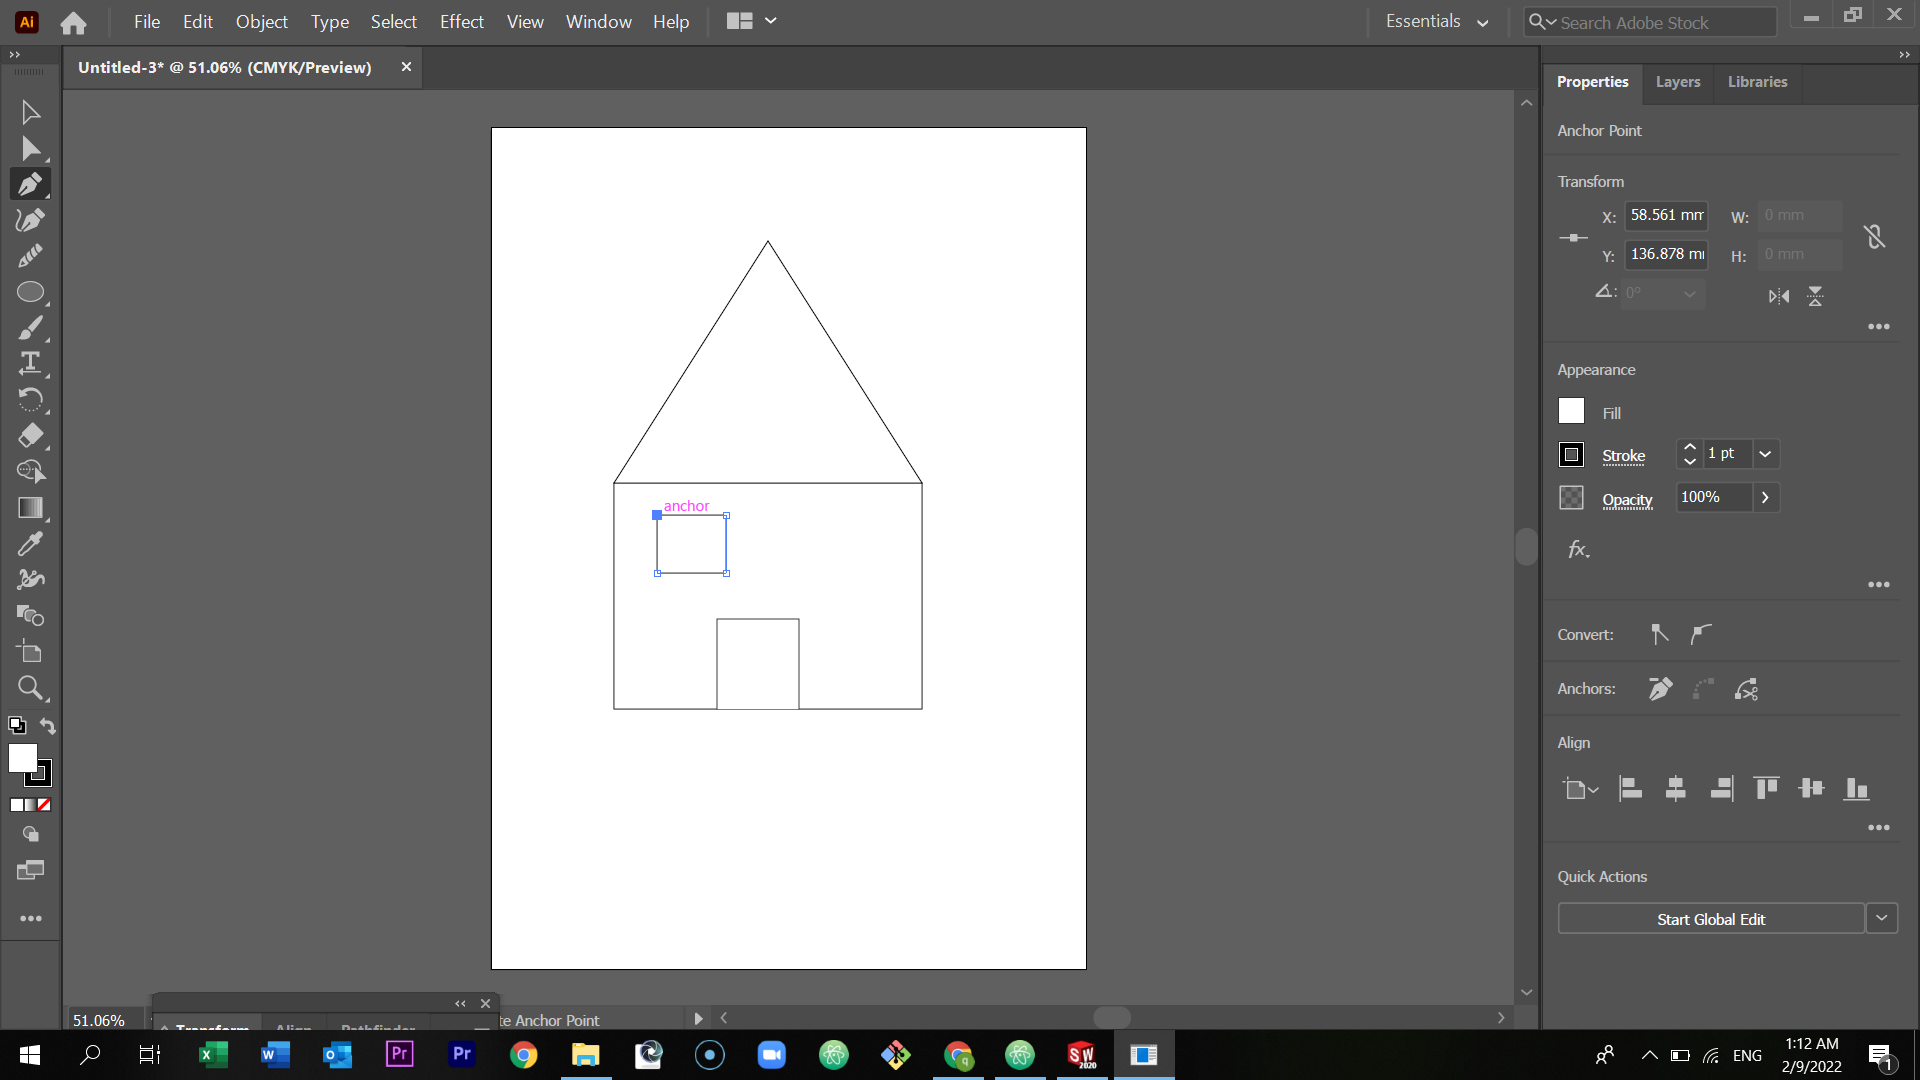
A blank page will appear. Then, select the pen tool which is located at the left in the toolbar.
Draw a line in the bottom
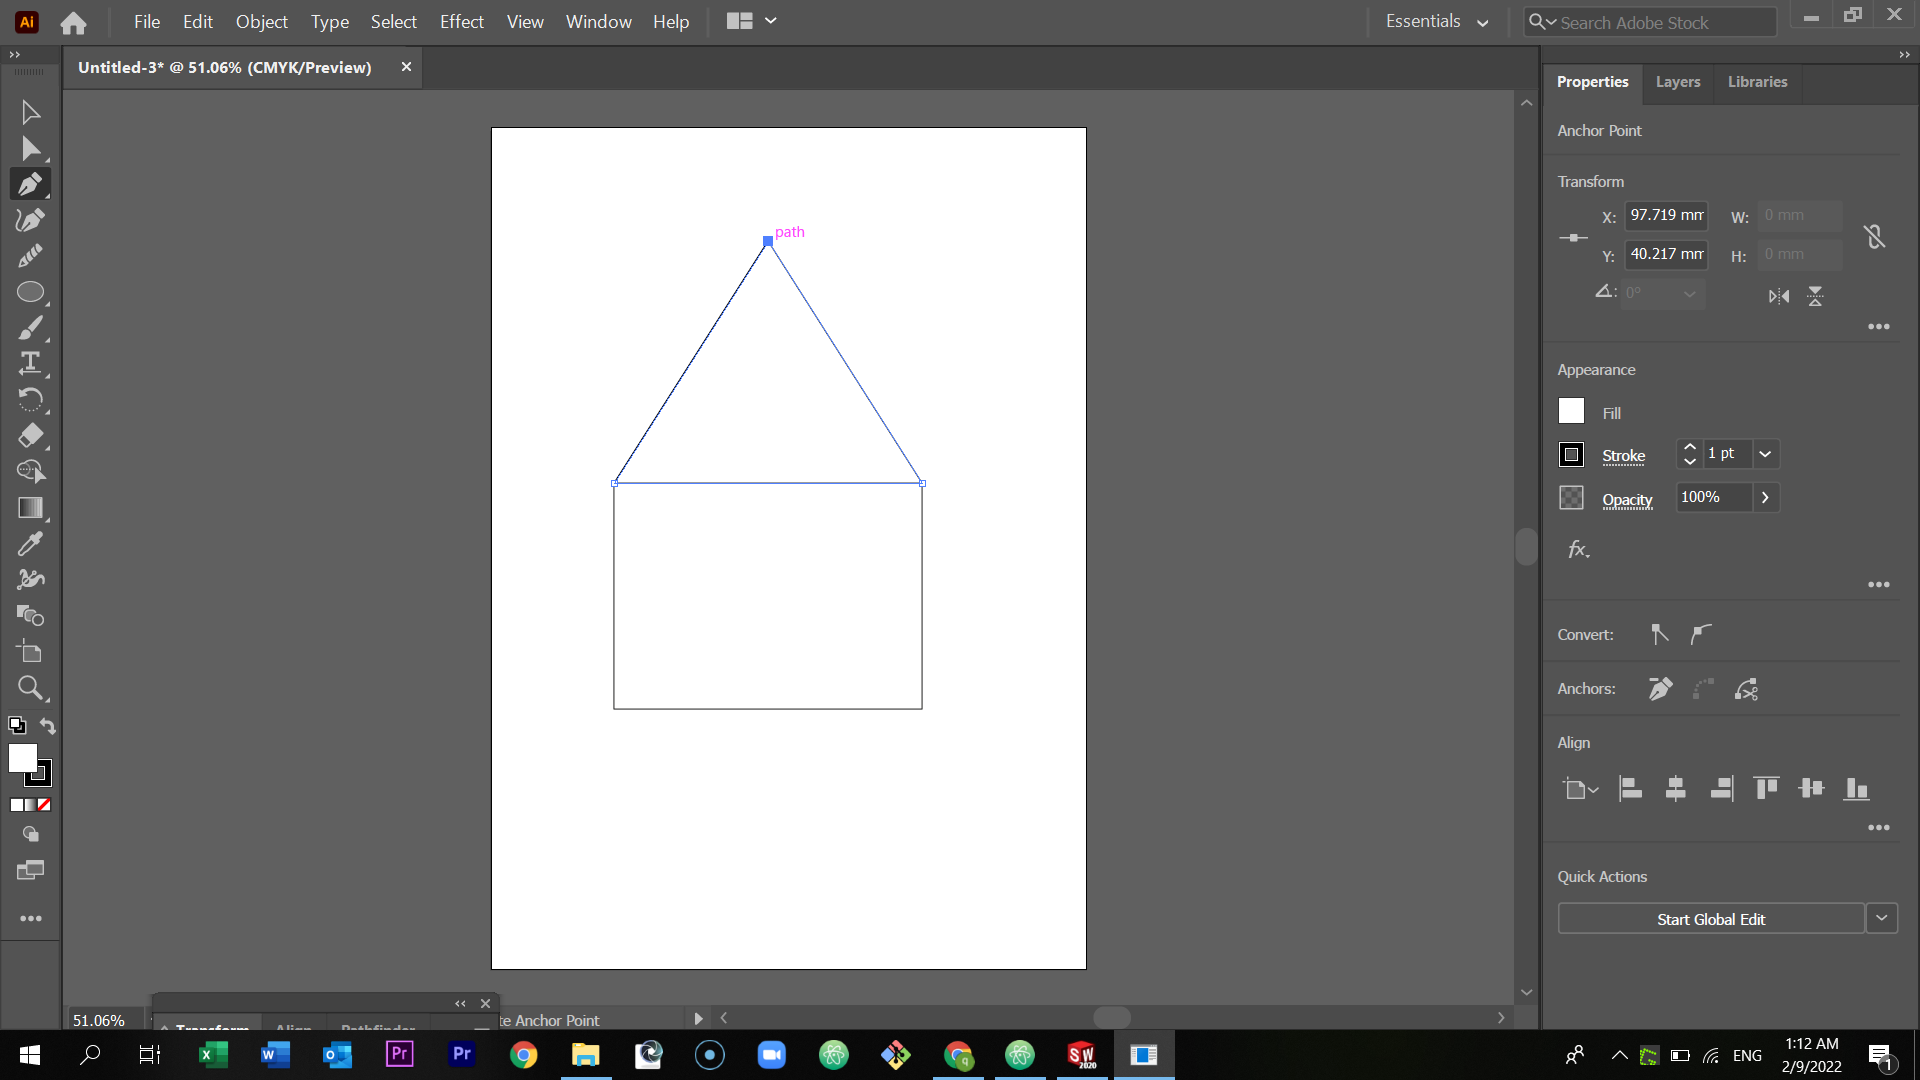
Pen tool is a flexible tool, you can draw any figure using it. (I drew a square)
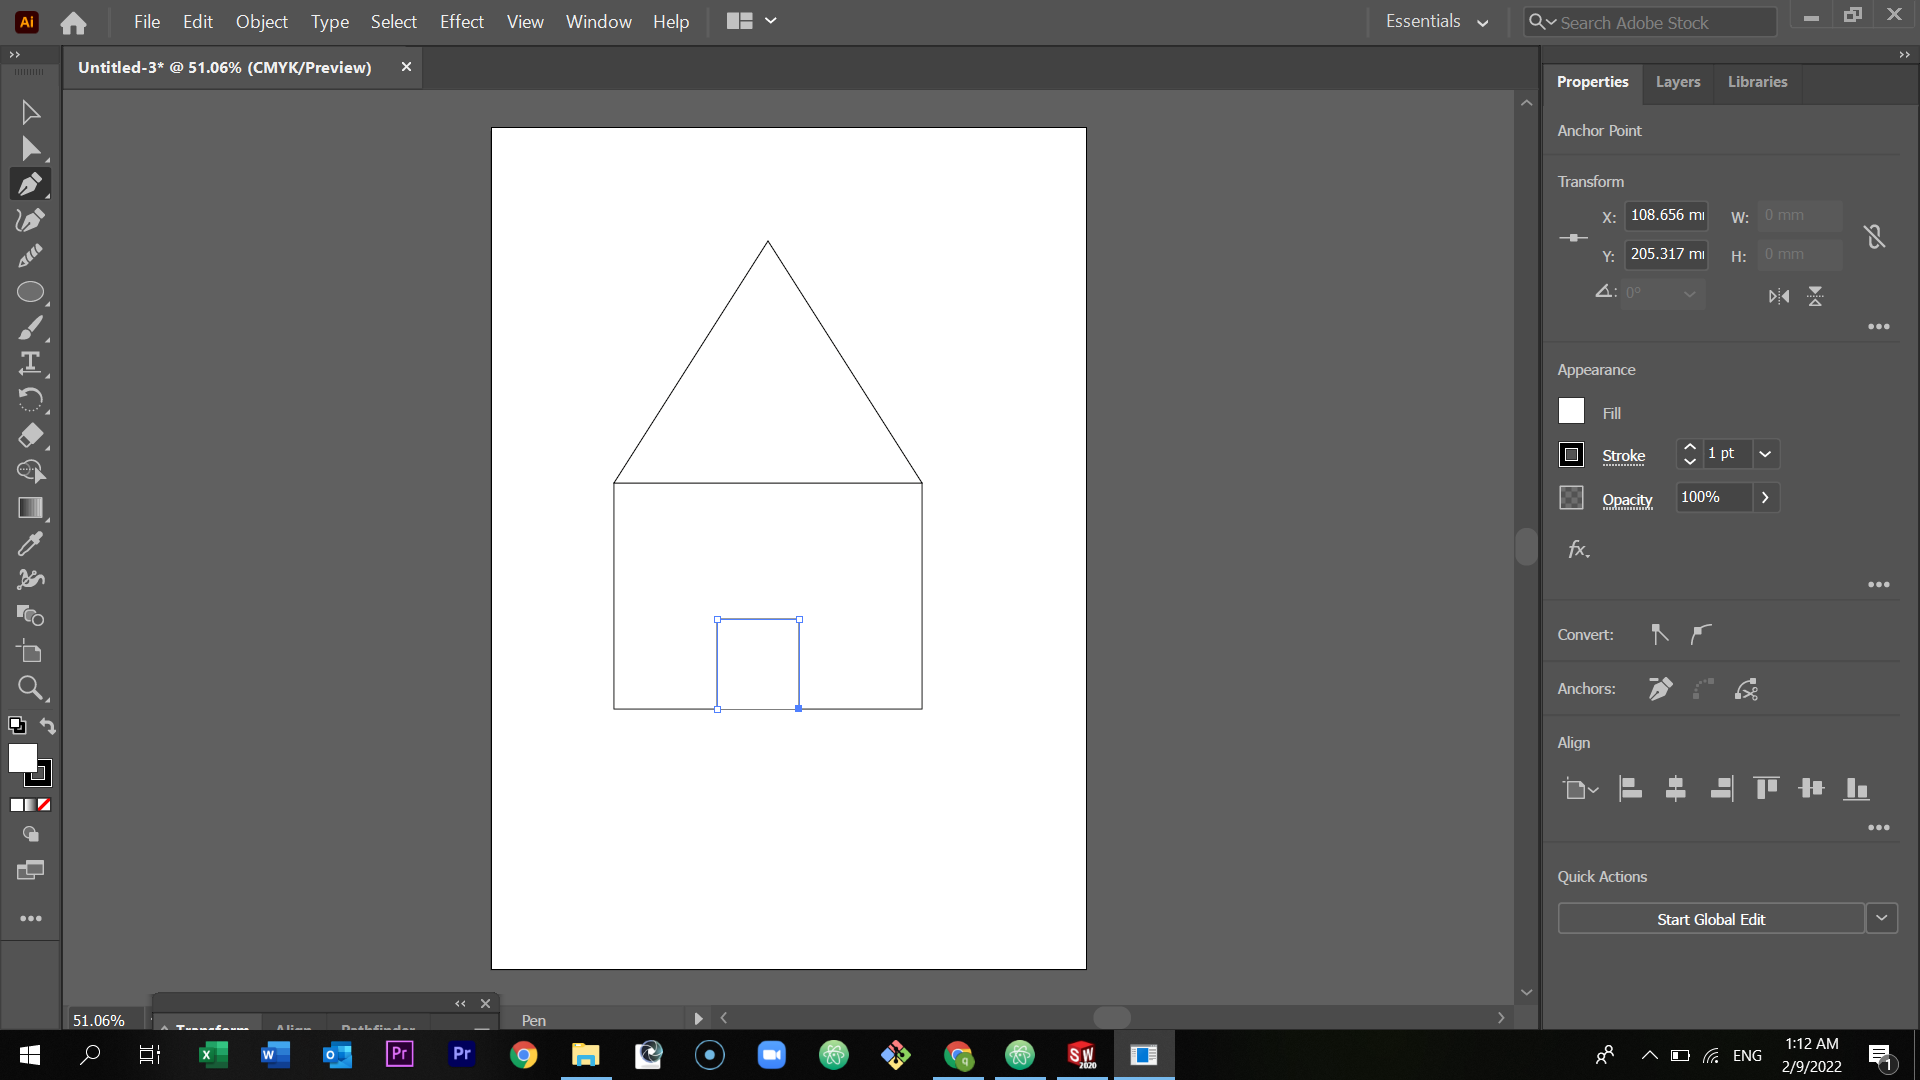
Then draw a triangle above the square. (The roof)
Then draw a small rectangle inside the square using the pen tool. (The door)

Then draw a small square inside the big square (the window). After that, Select the window you drew and press alt and drag it to the next side to duplicate it (The second window).
Select the ellipse shape from the toolbar which located in the left to draw the door knob.

Using the pen tool draw the lines inside the window.

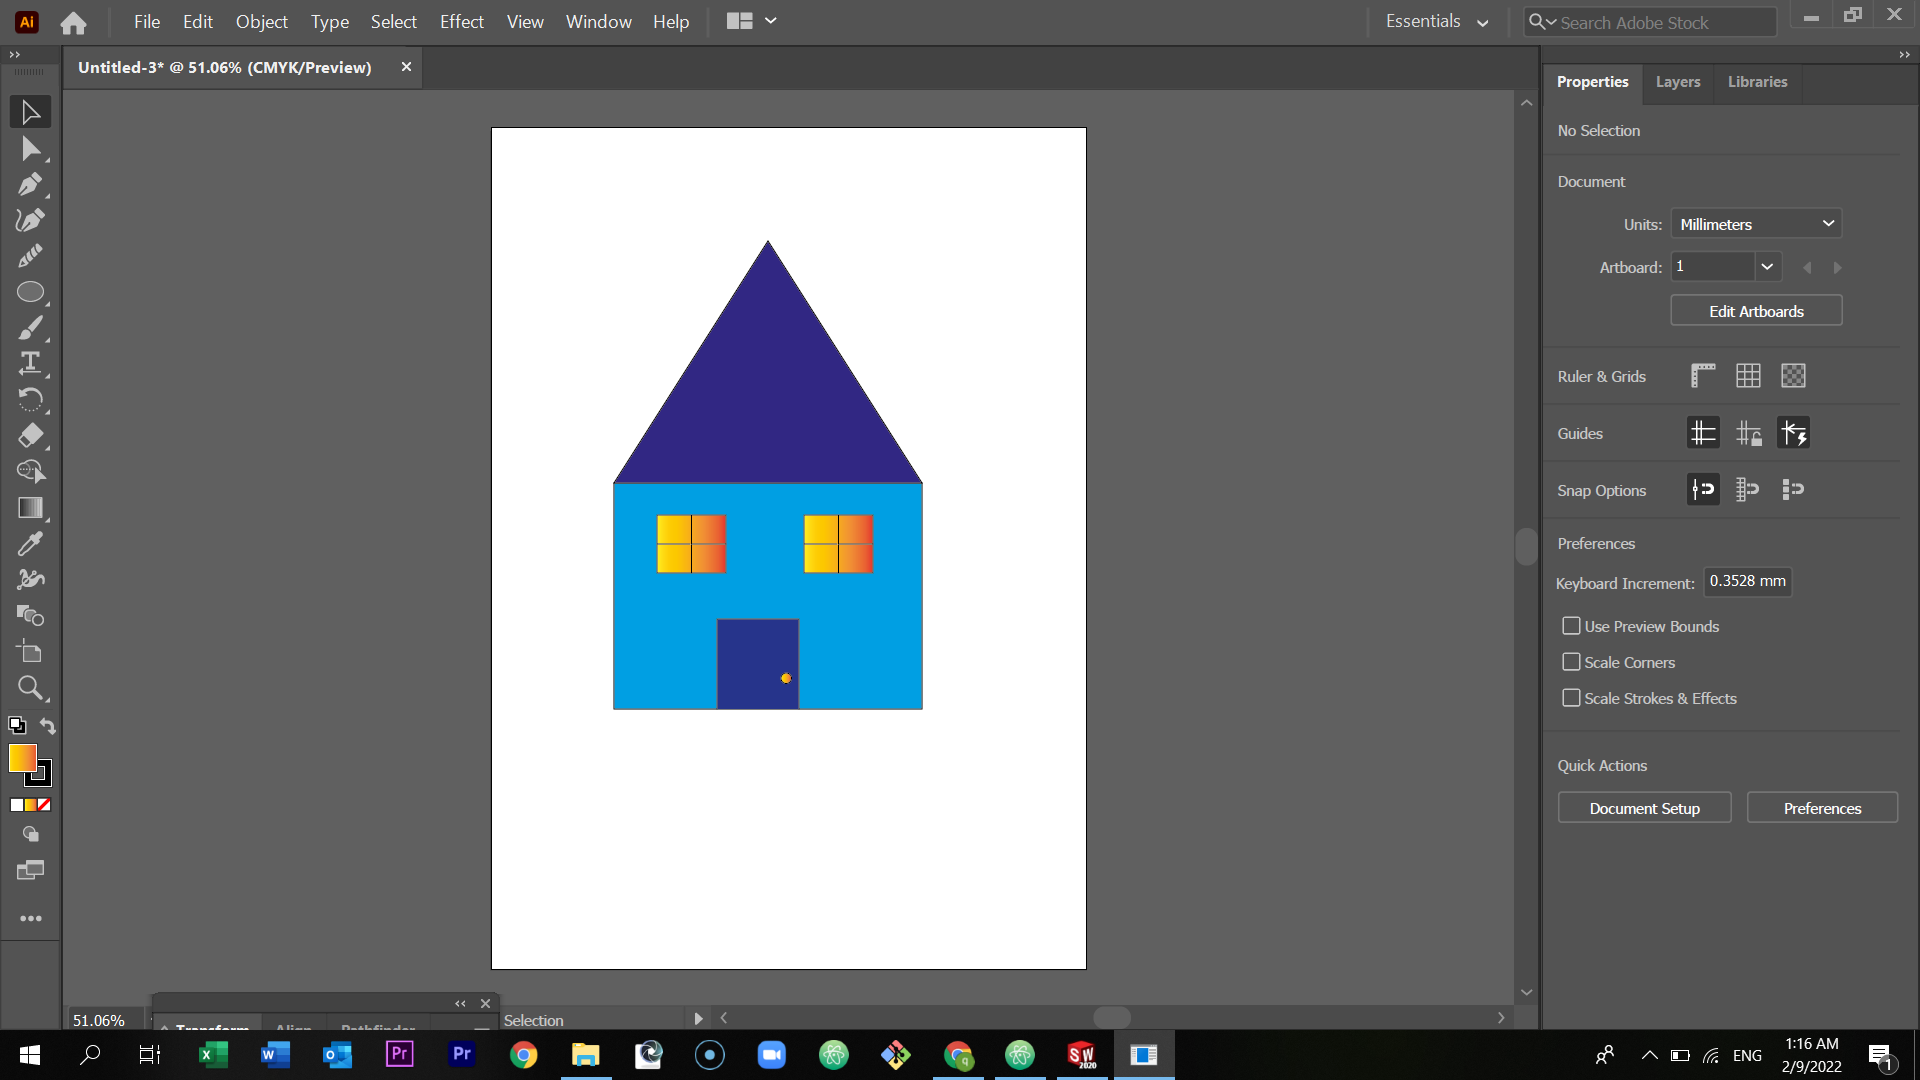
Now its time to color the shapes. First, select the triangle shape and in the left side of the screen select fill and choose the color you want.


Do the same process to color the rest of the shapes.
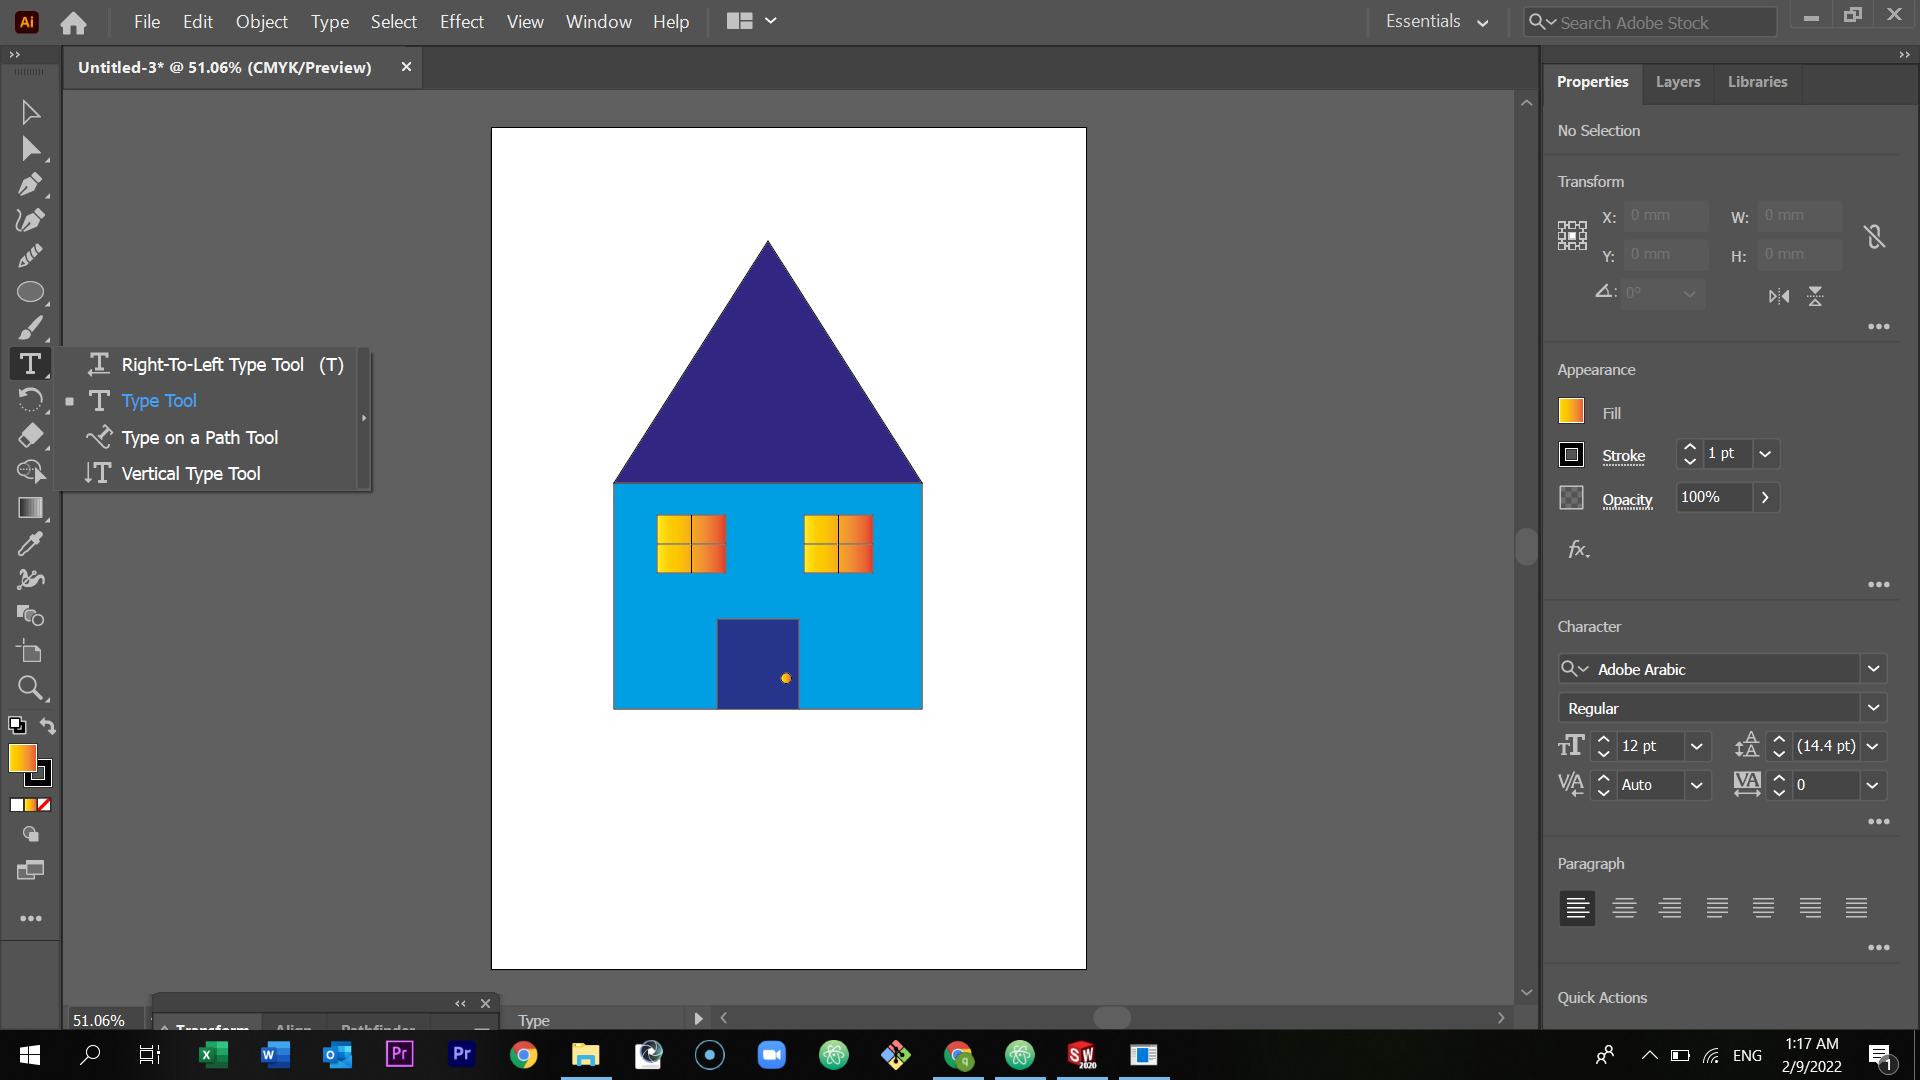
To add a text, select the T icon in the toolbar at the left.
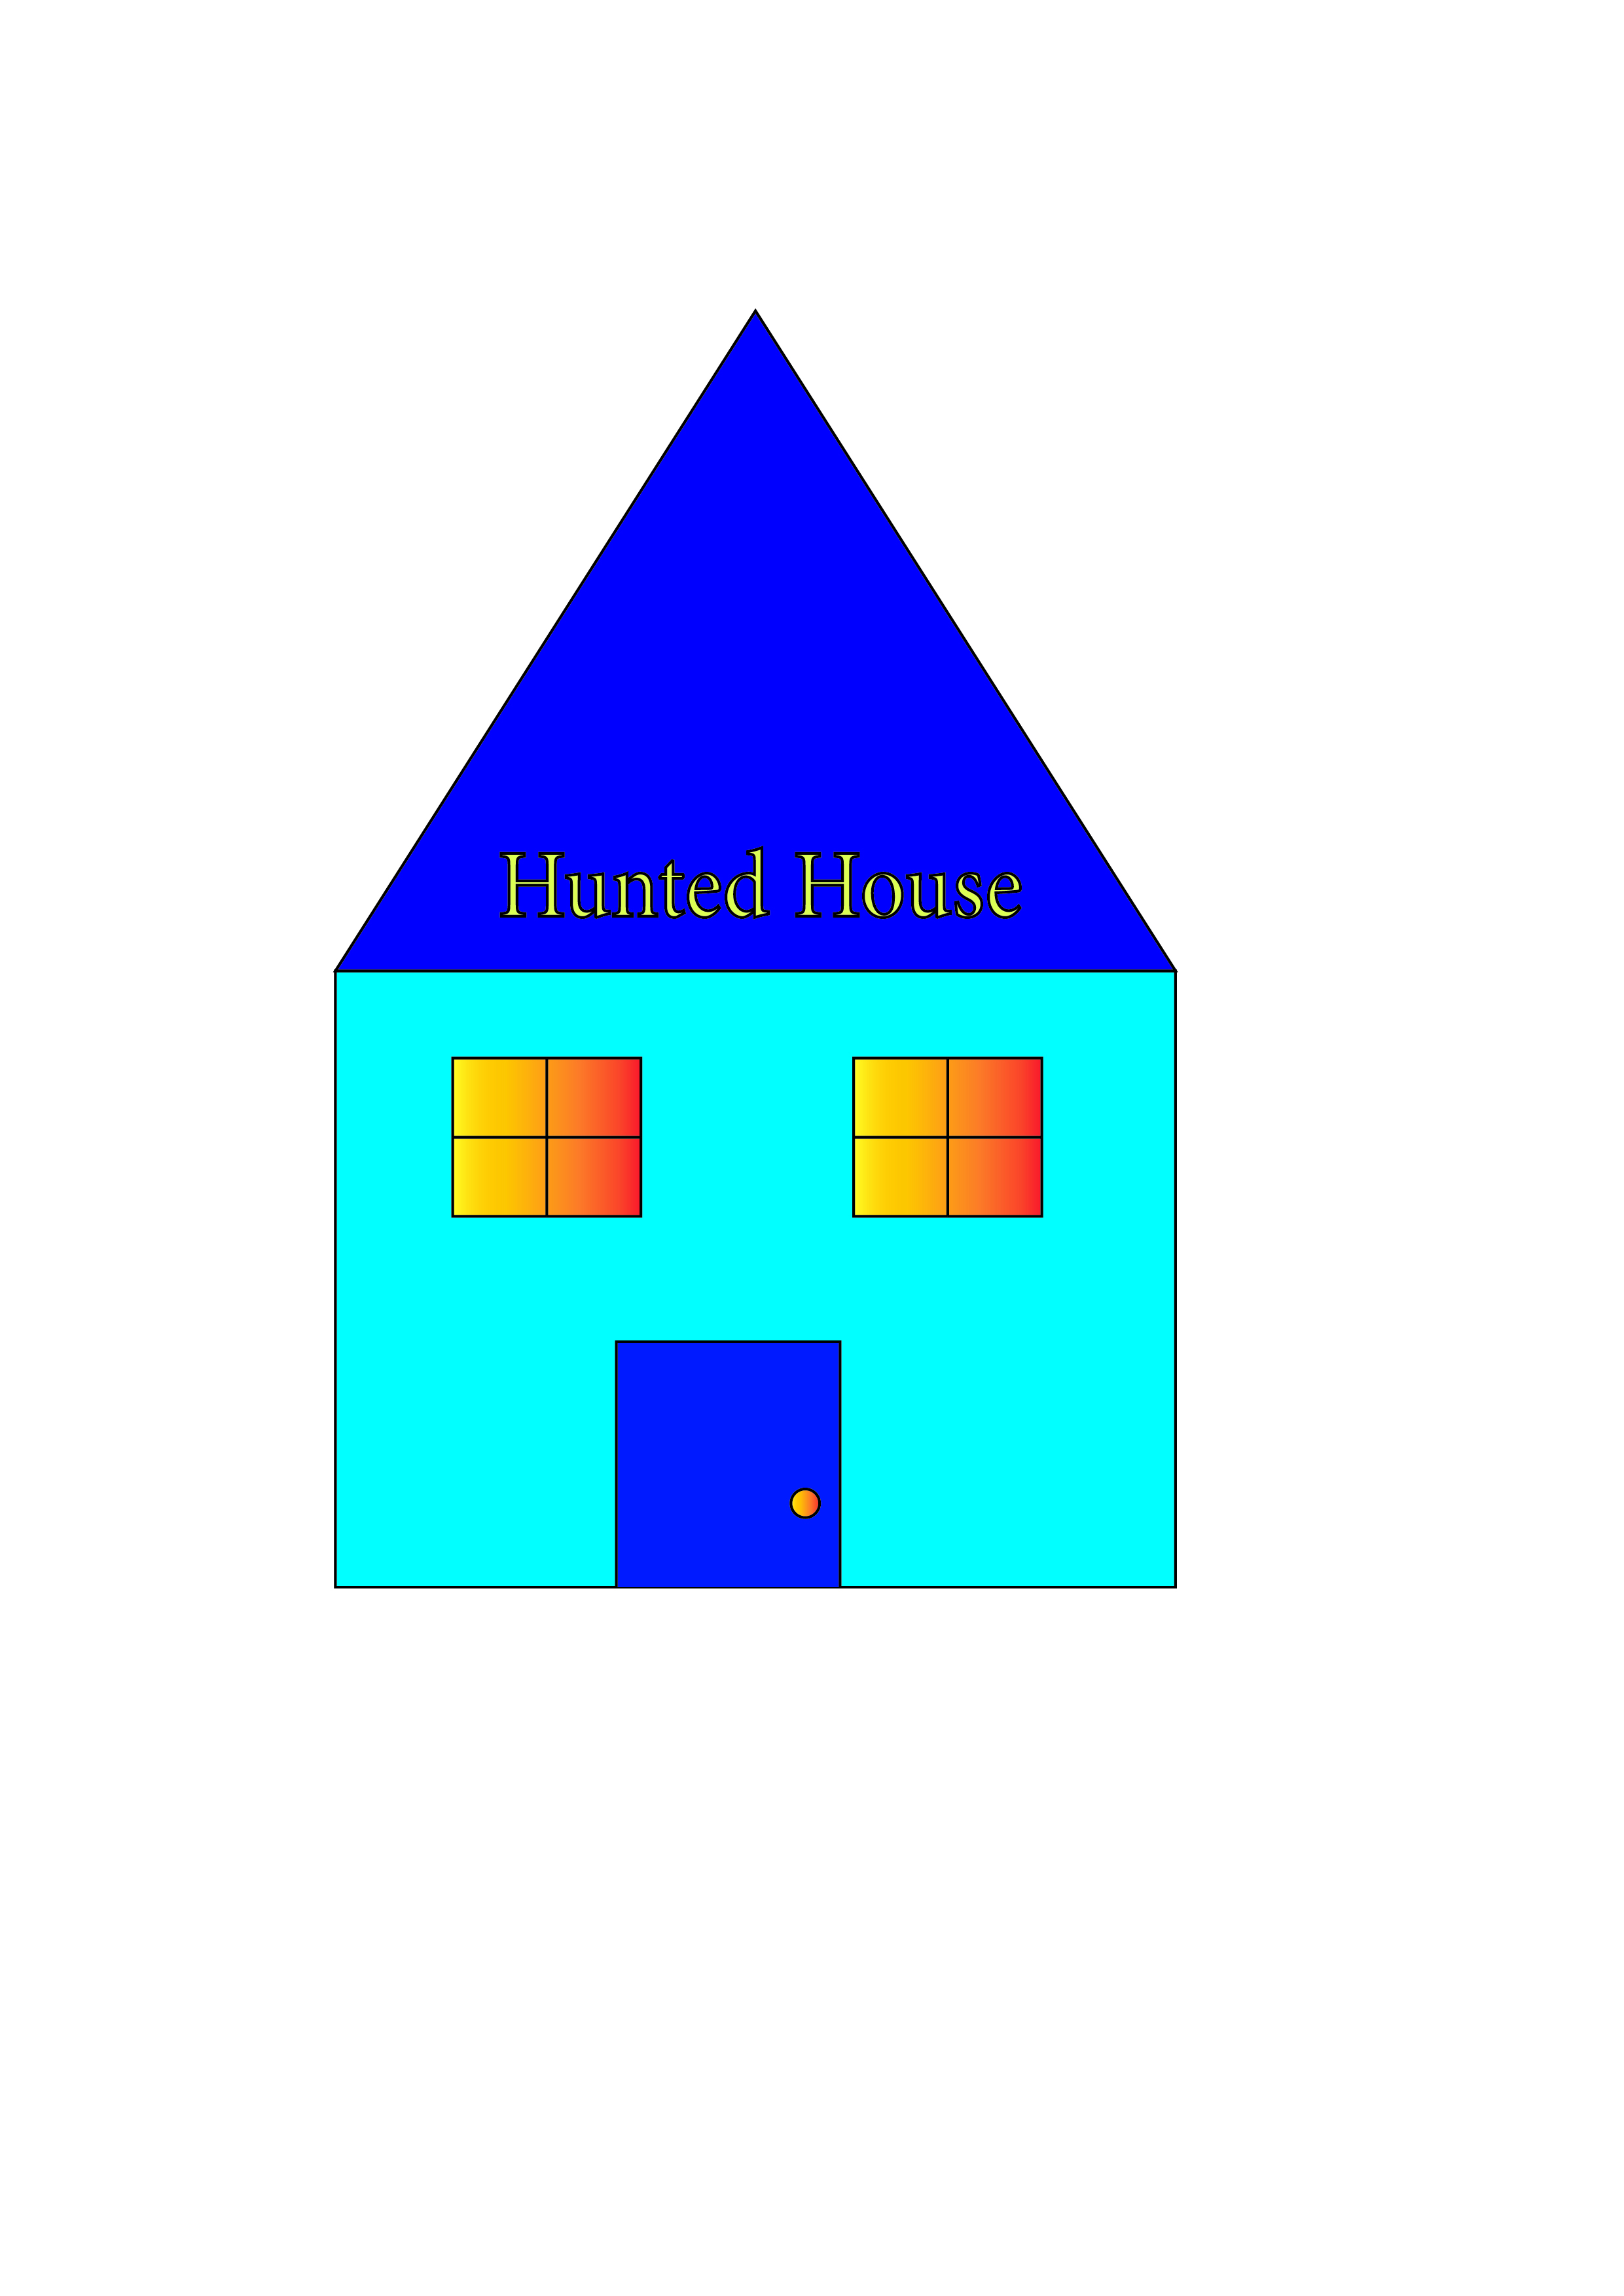
And here is the final shape.
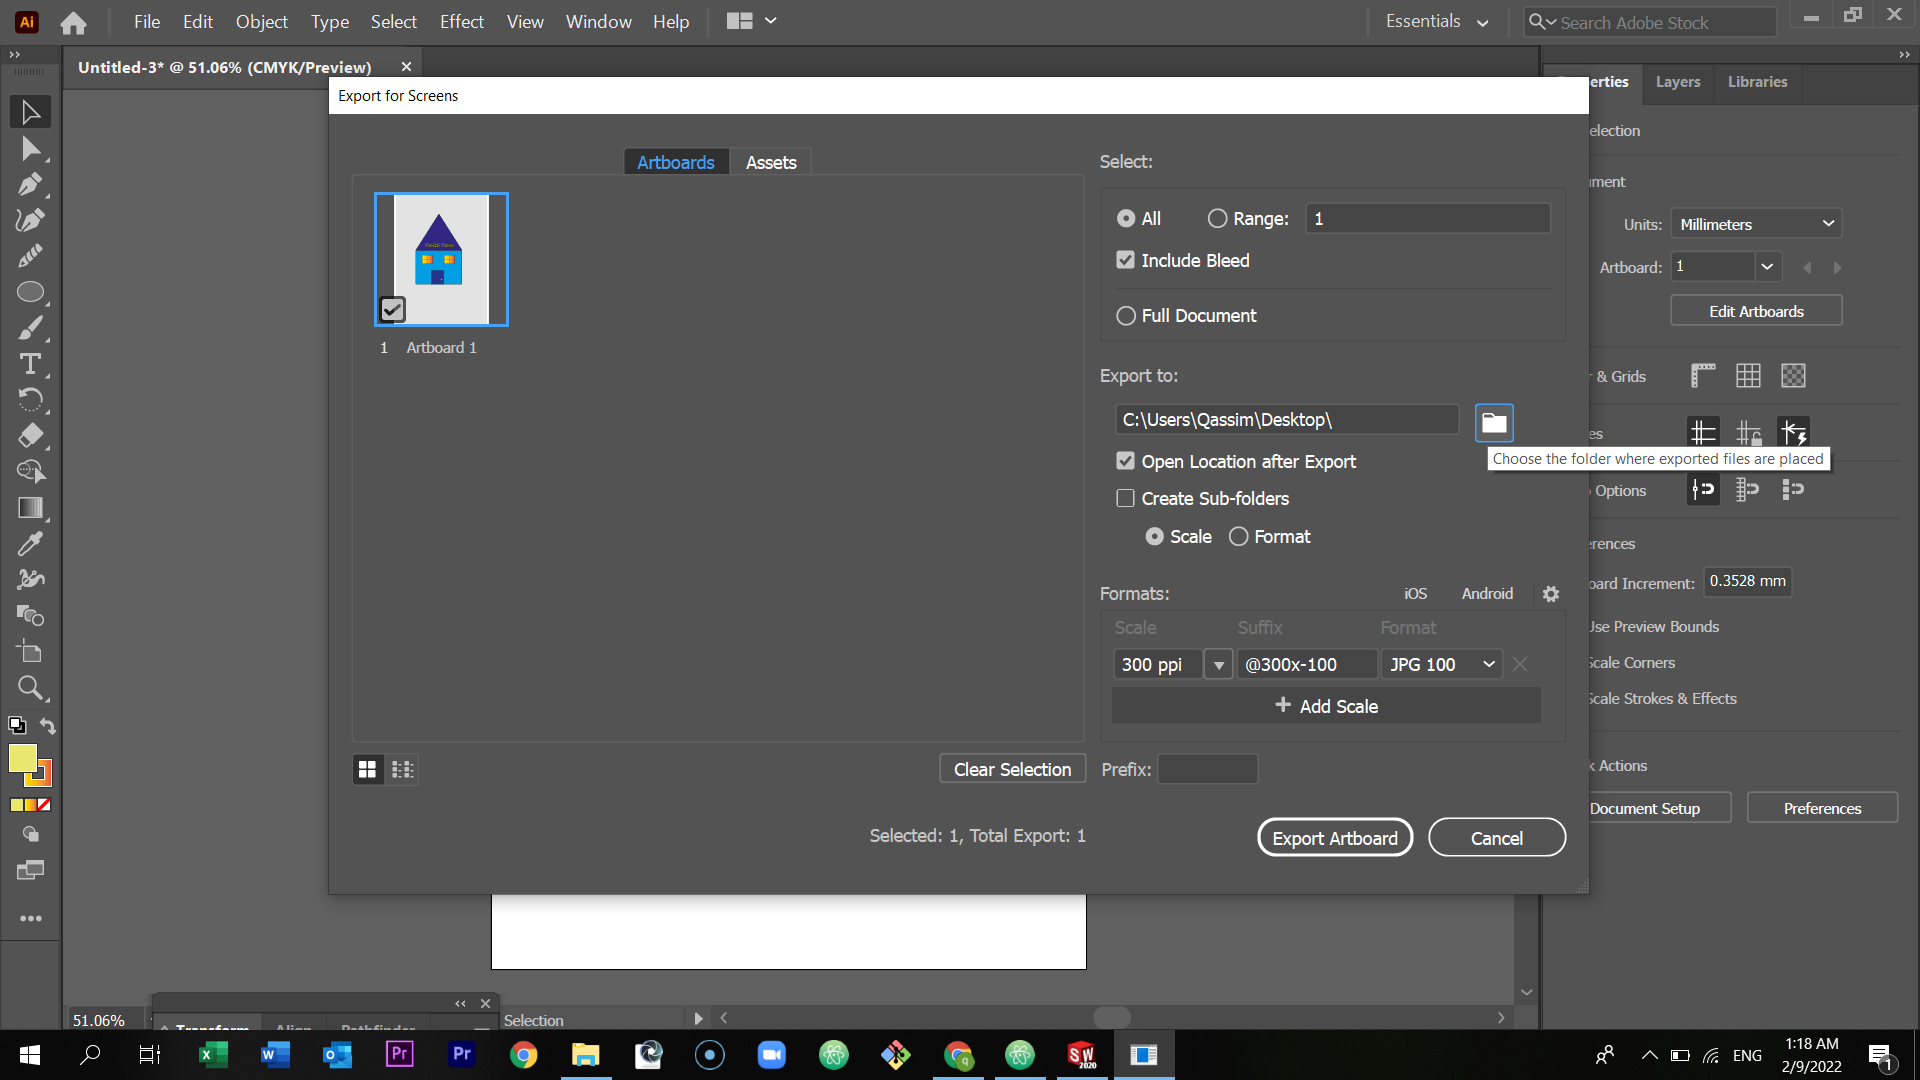
To export the house, select file.

Export - Export as screen
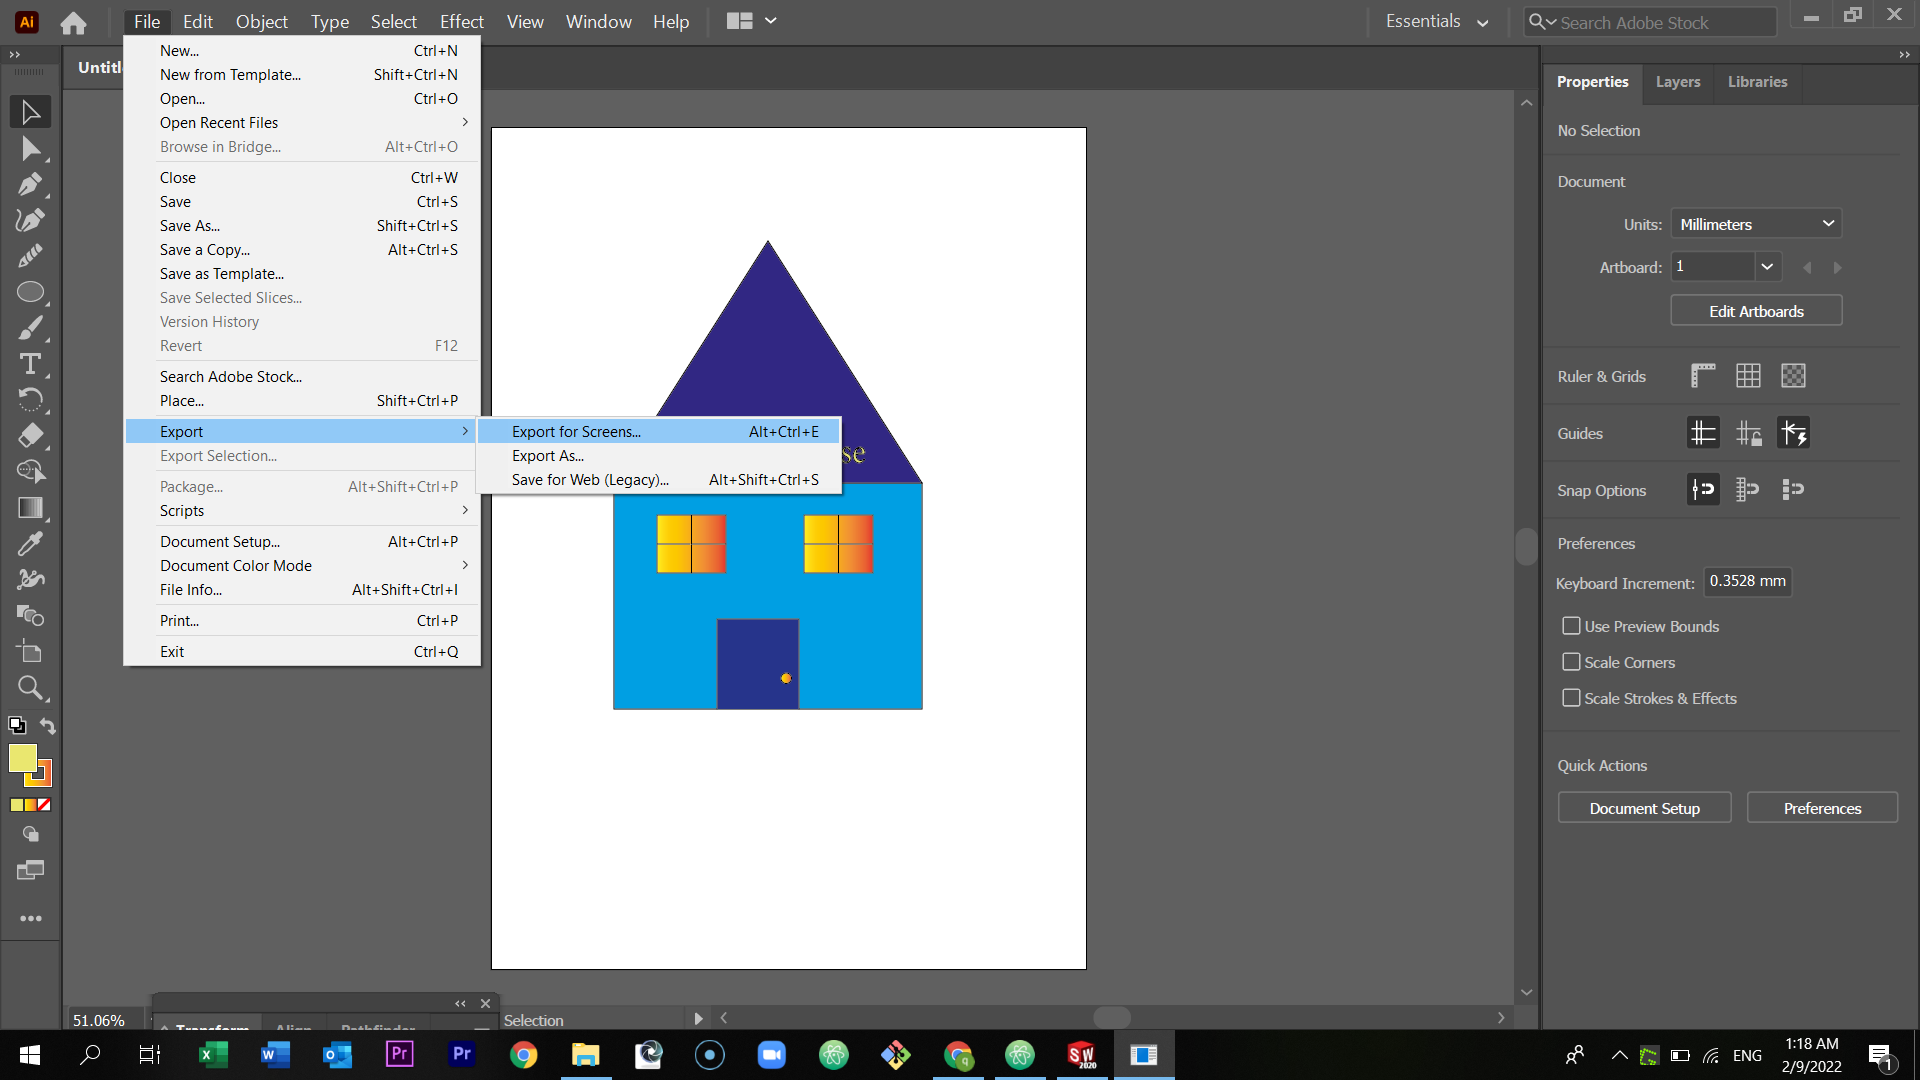
Browse the location of the exported file, and then select export artboard.
Final Result
Click here to download the final picture of the house
Click here to download and edit the design
2) Cuttle
Is a 2d software that uses vector to assemble the designs.
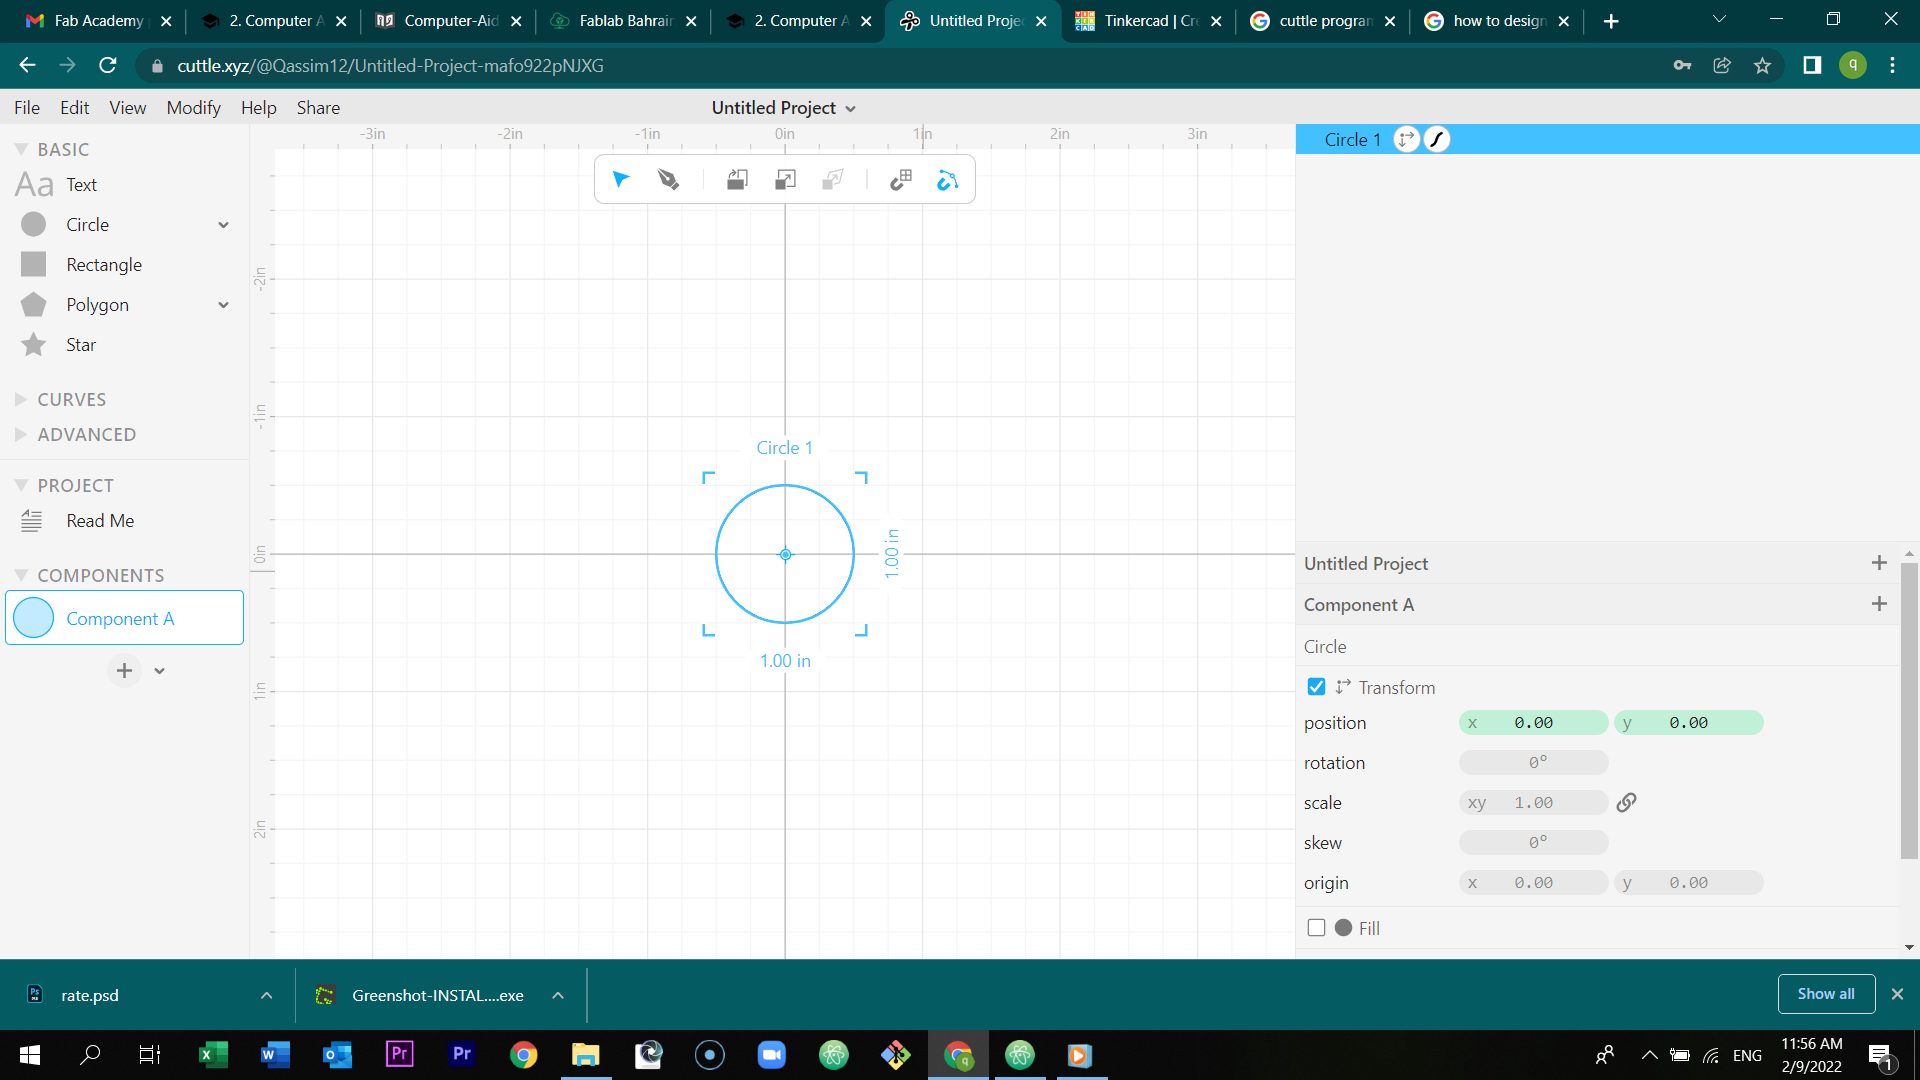
First of all, open the cuttle program by just typing cuttle in google.
Create an account and select sign up.
Select create new project.
You will get this page.
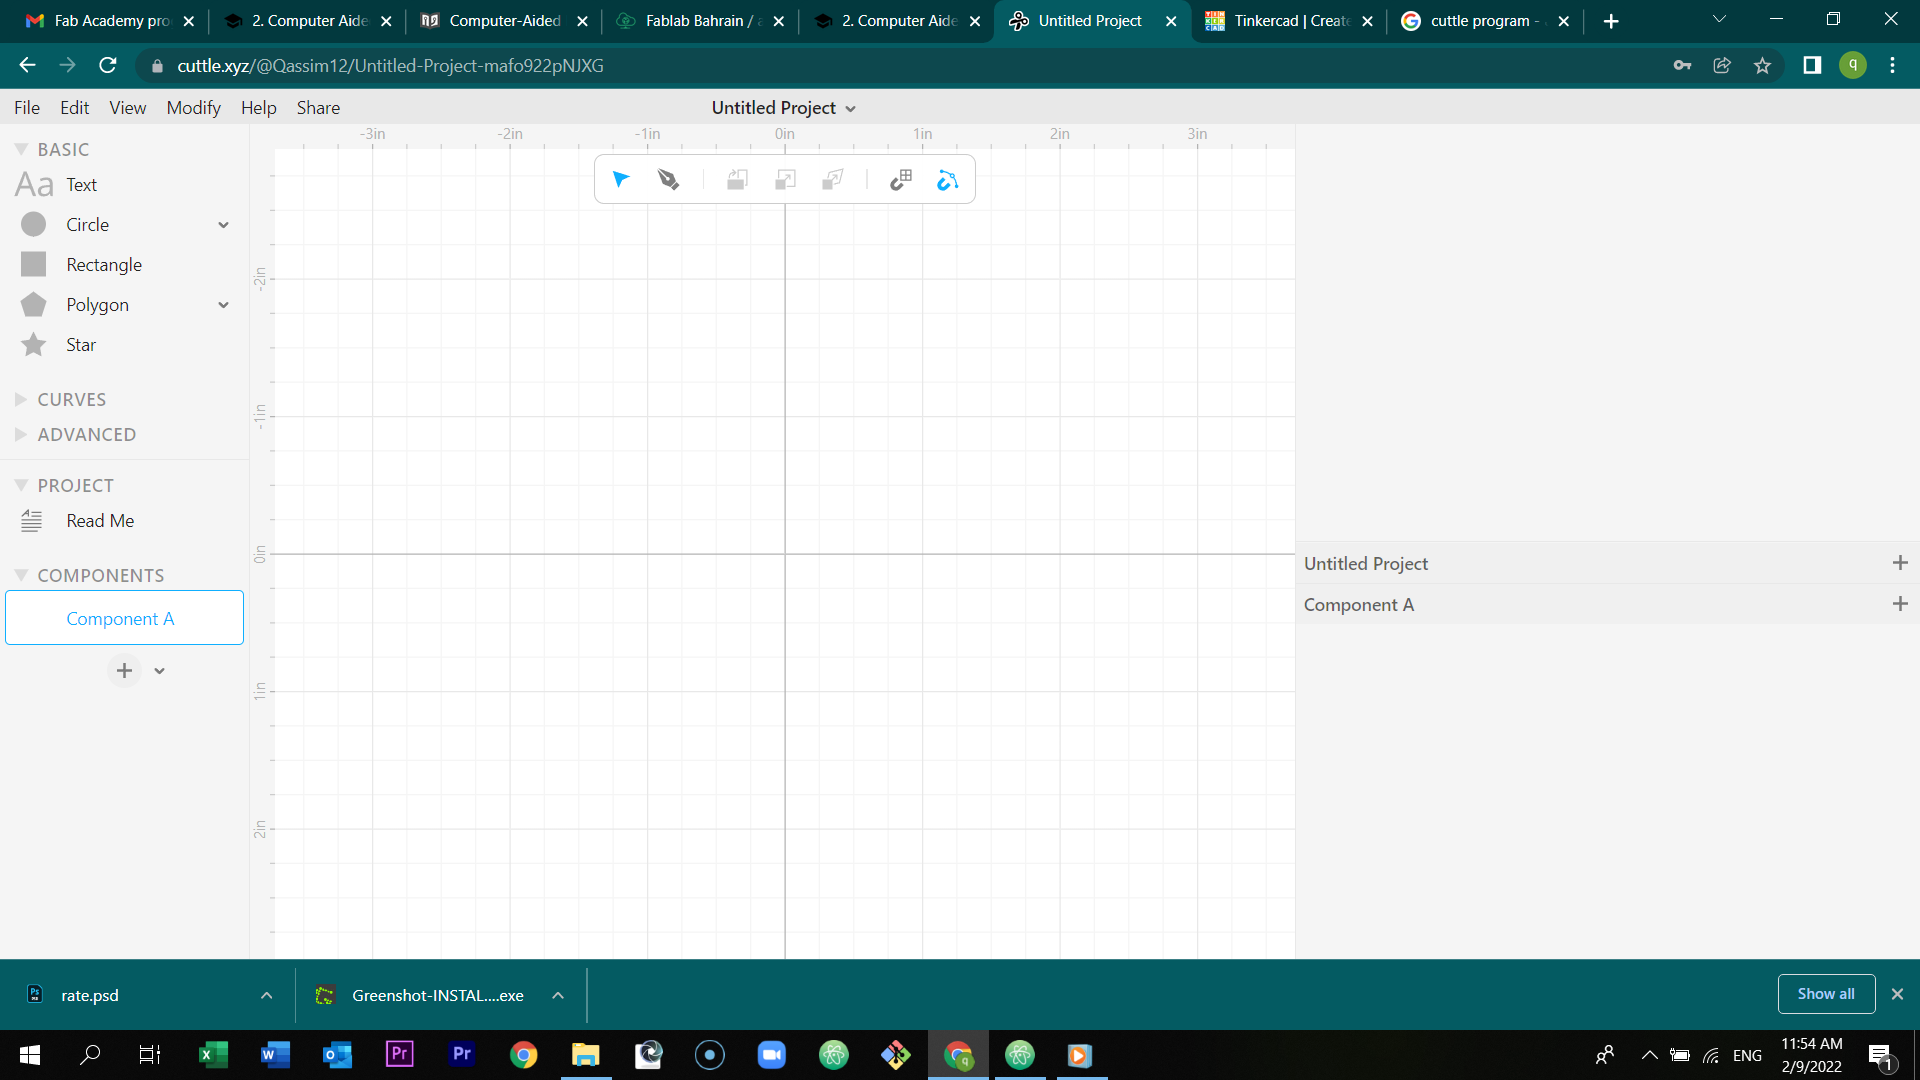
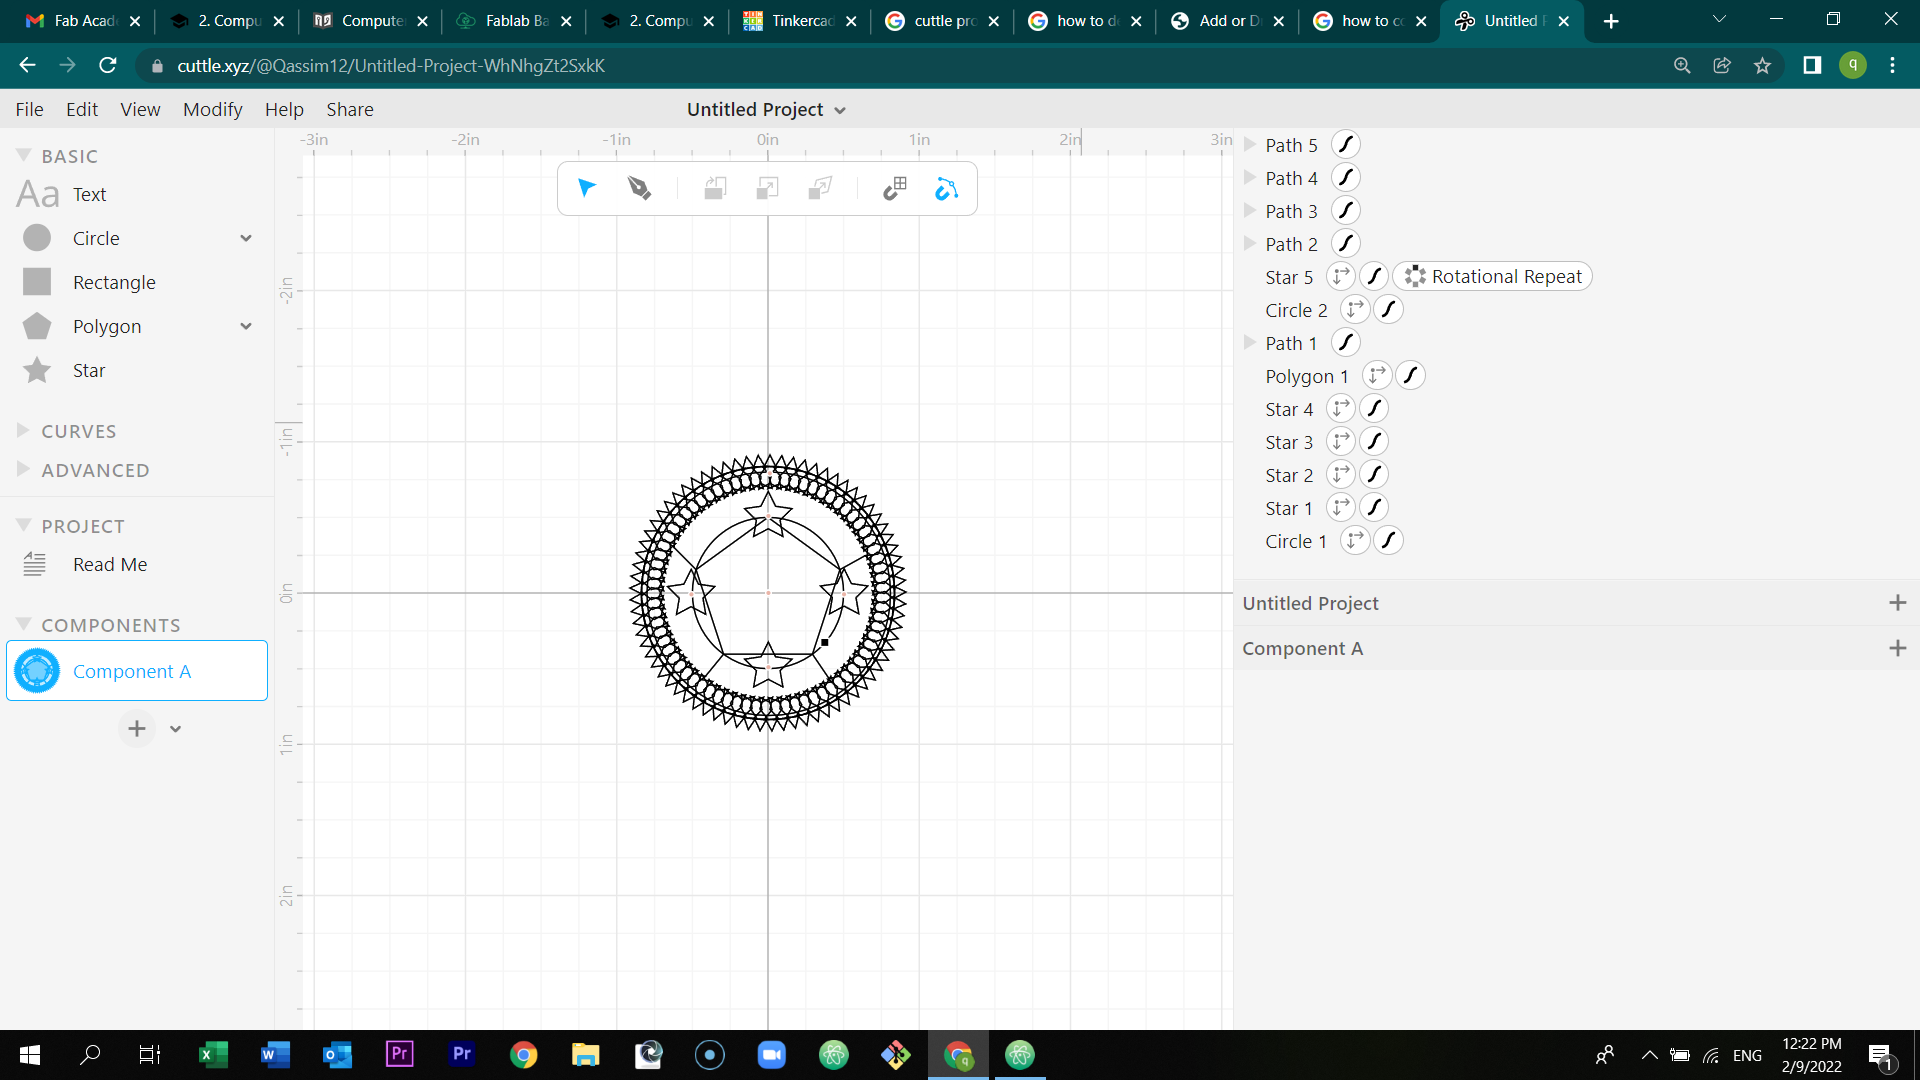
Select the circle icon from the toolbar which is located at the left of the page, and drag it to the center.
Select the star icon from the toolbar which is located at the left of the page, and drag it.
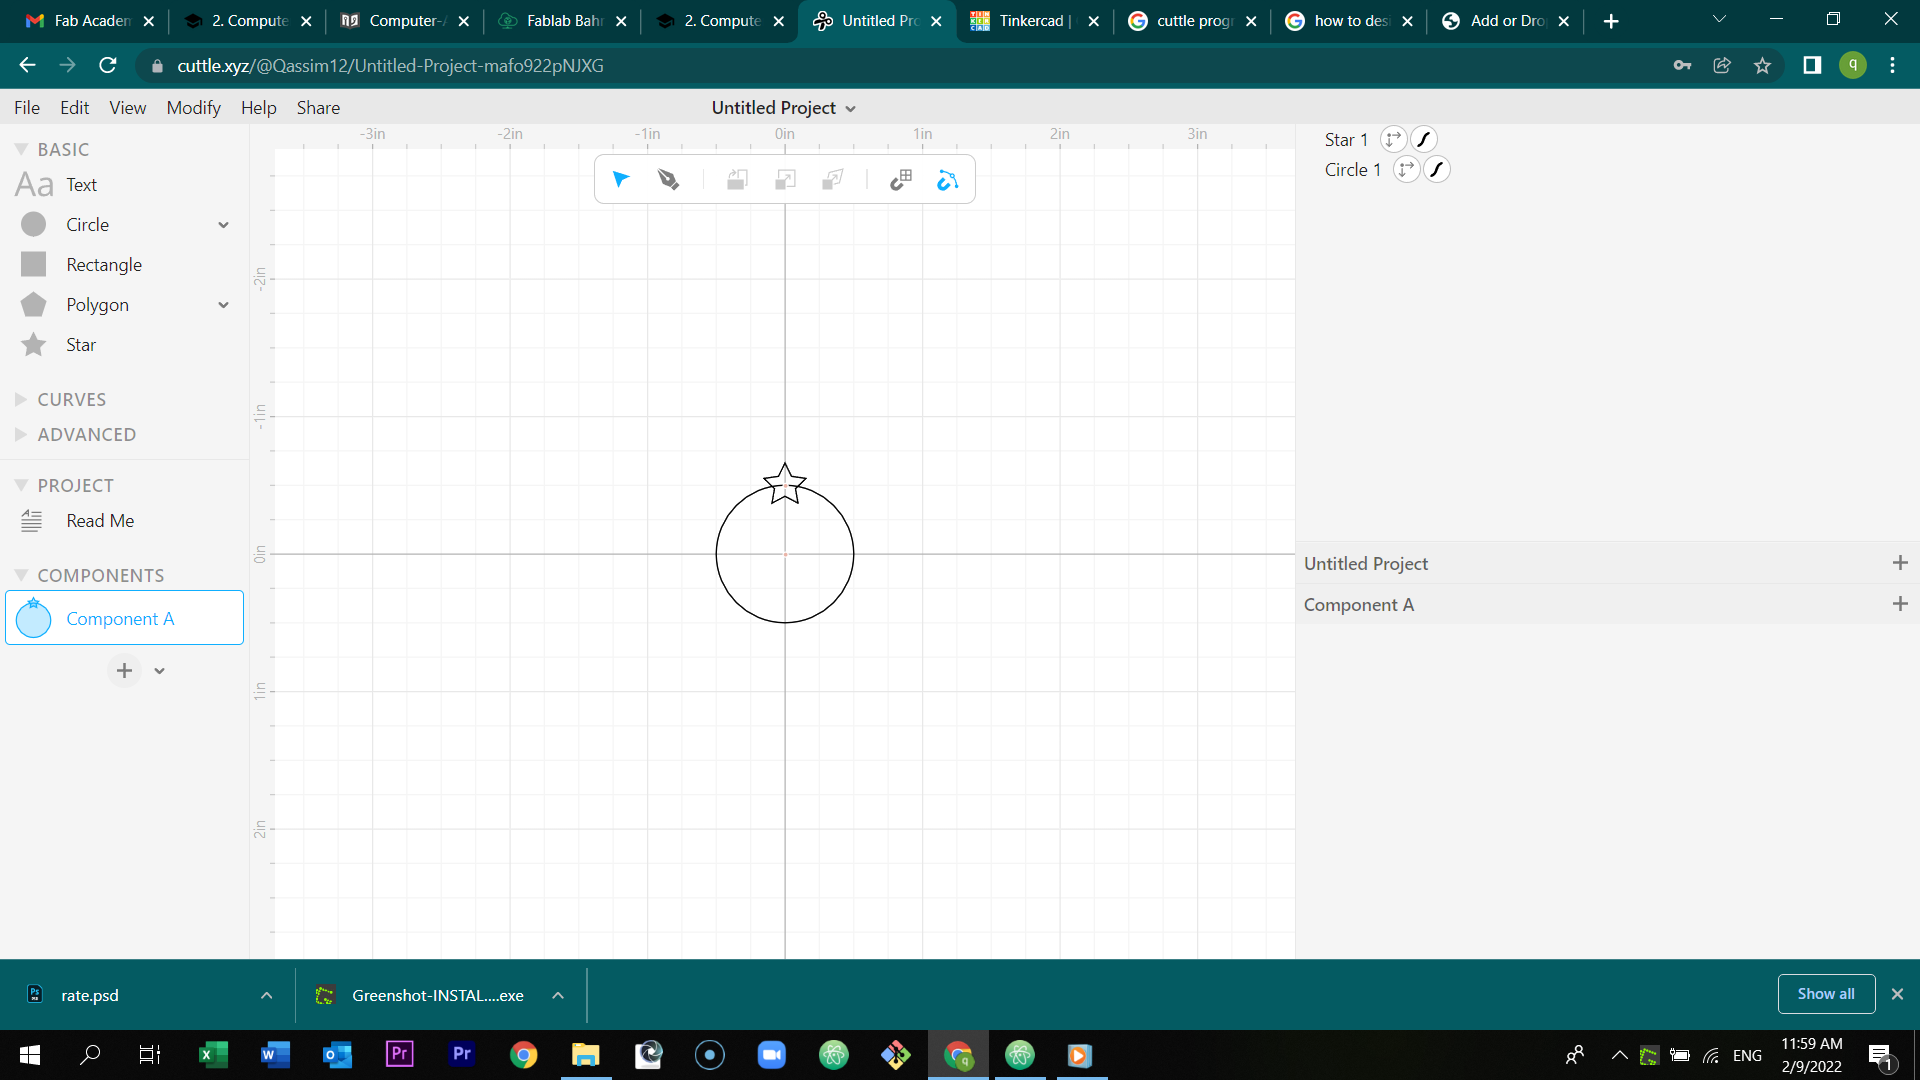
Select the star you drew and press alt and drag it to the next side to duplicate it.

Do the same process to the rest of the stars.
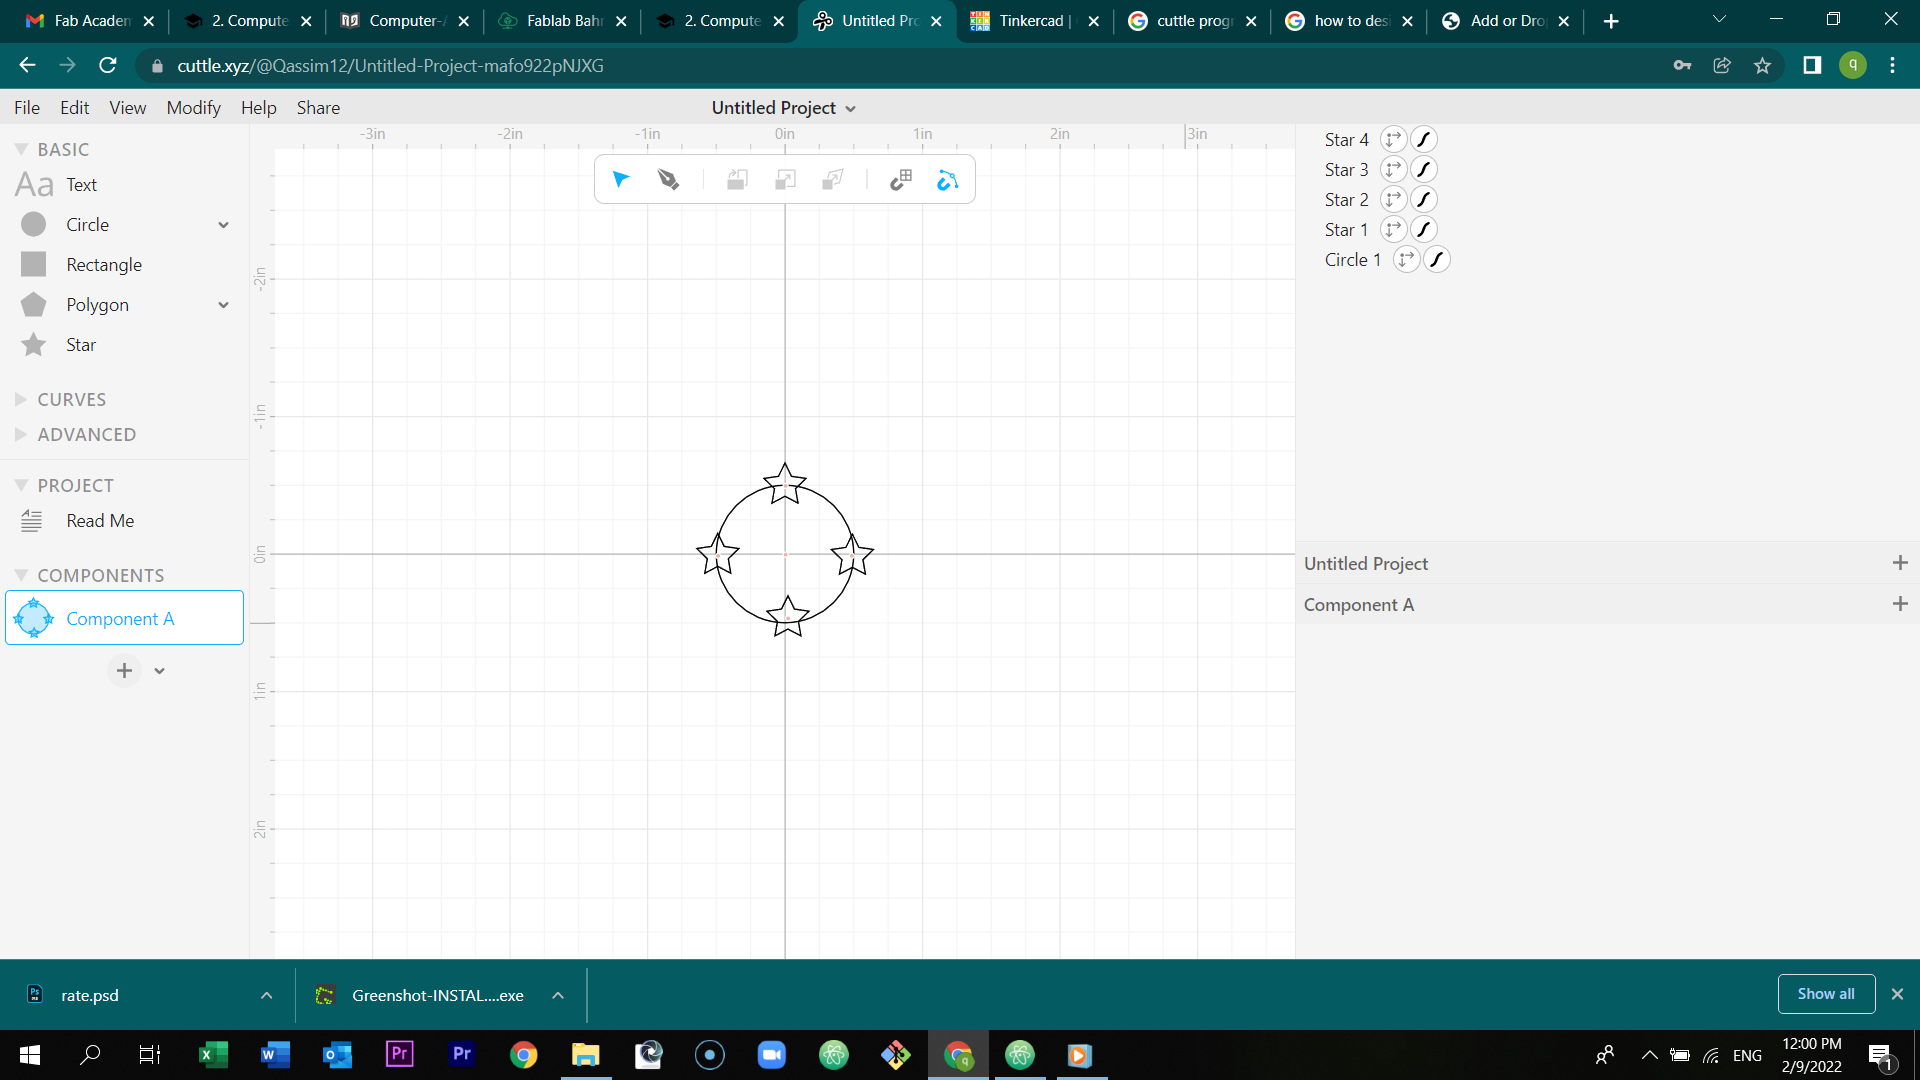
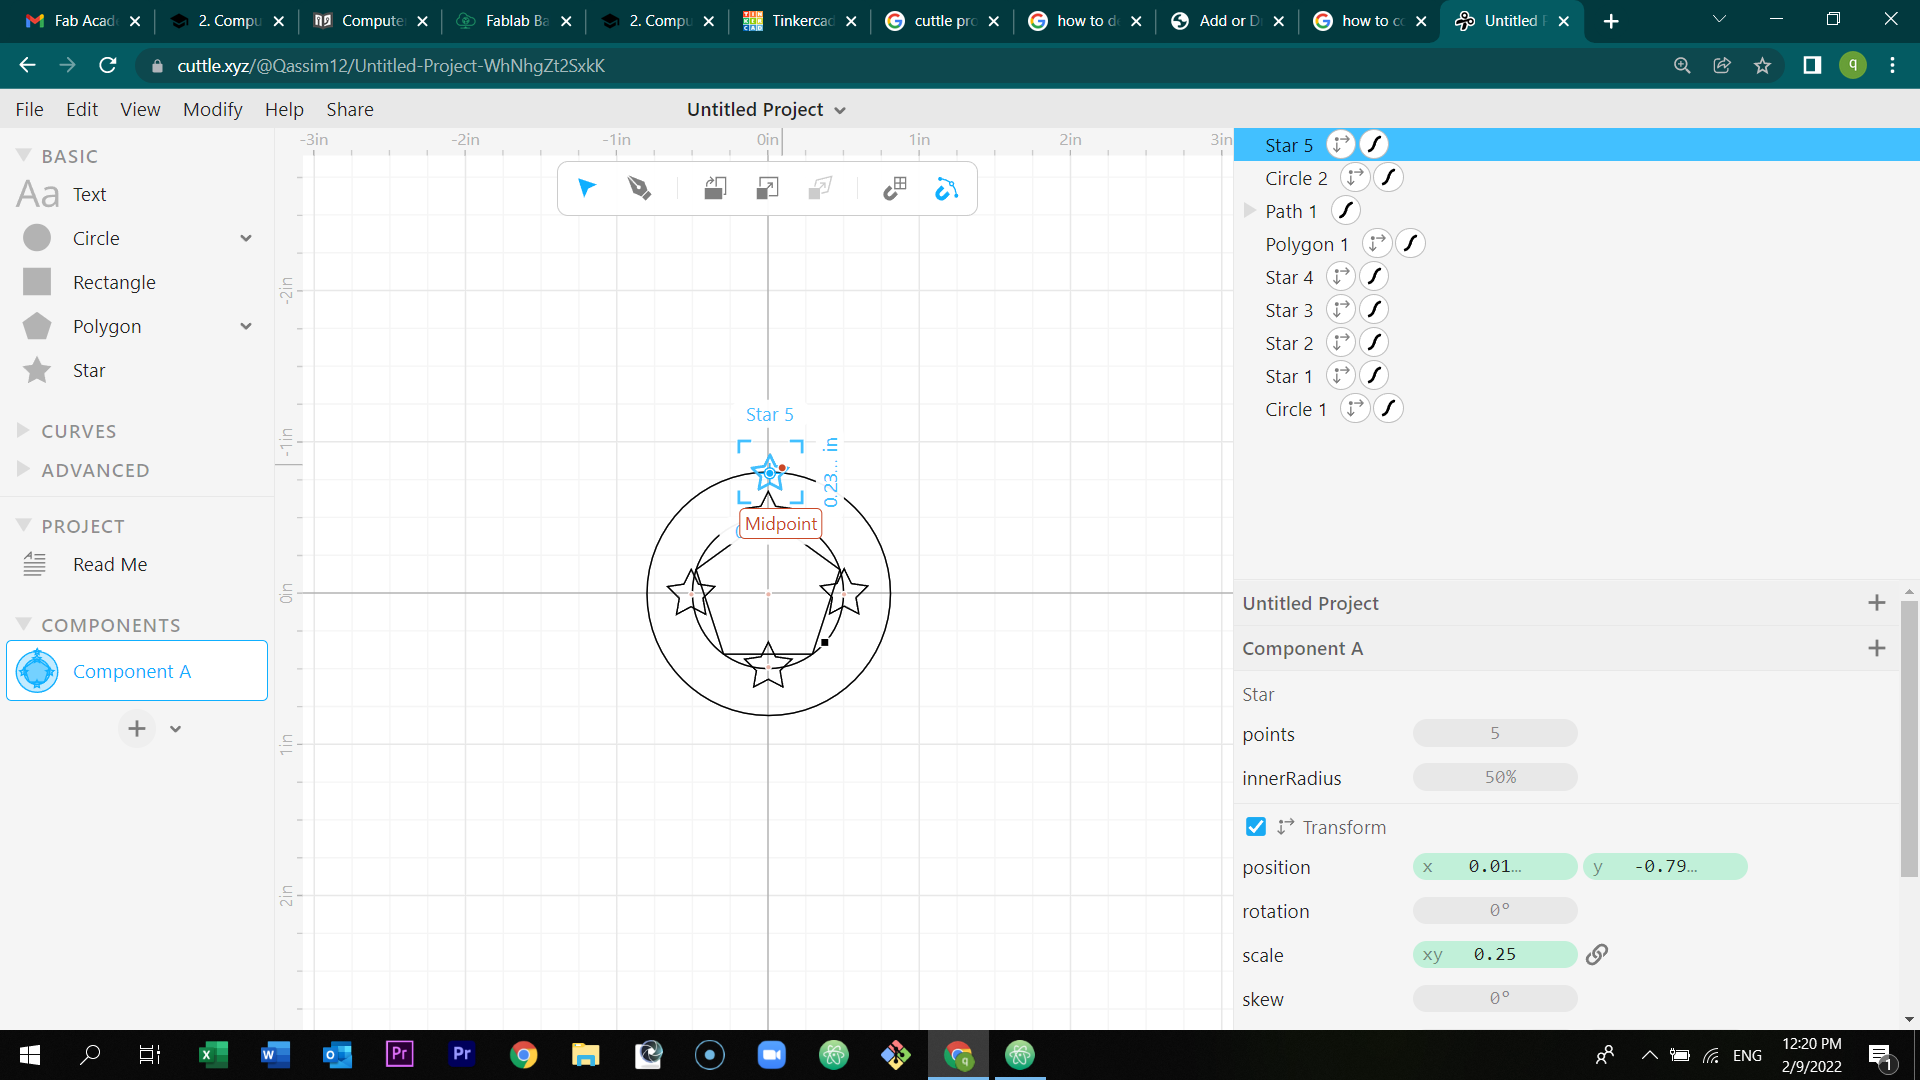
Select the polygon icon from the toolbar which is located at the left of the page, and drag it inside the circle.

Drag the circle and place it around the figure.
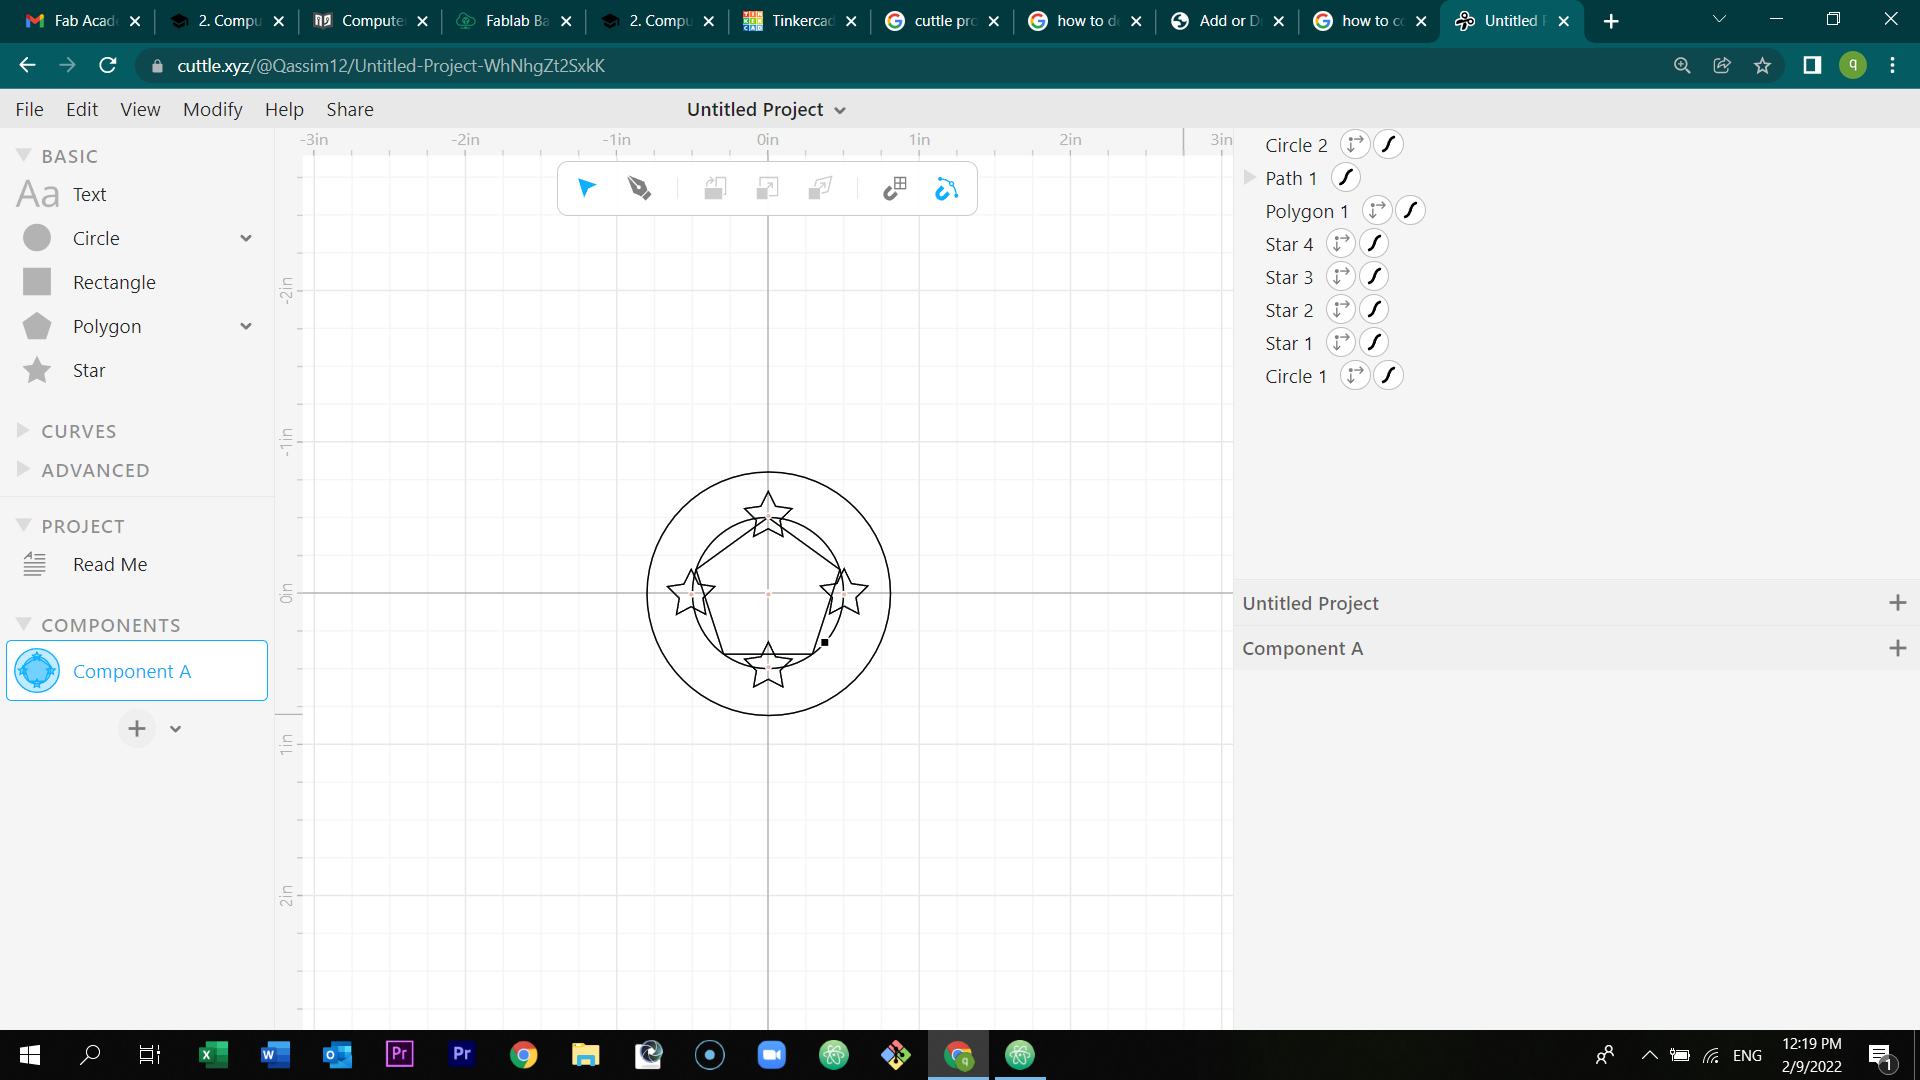
Drag a star and place it around the bigger circle.
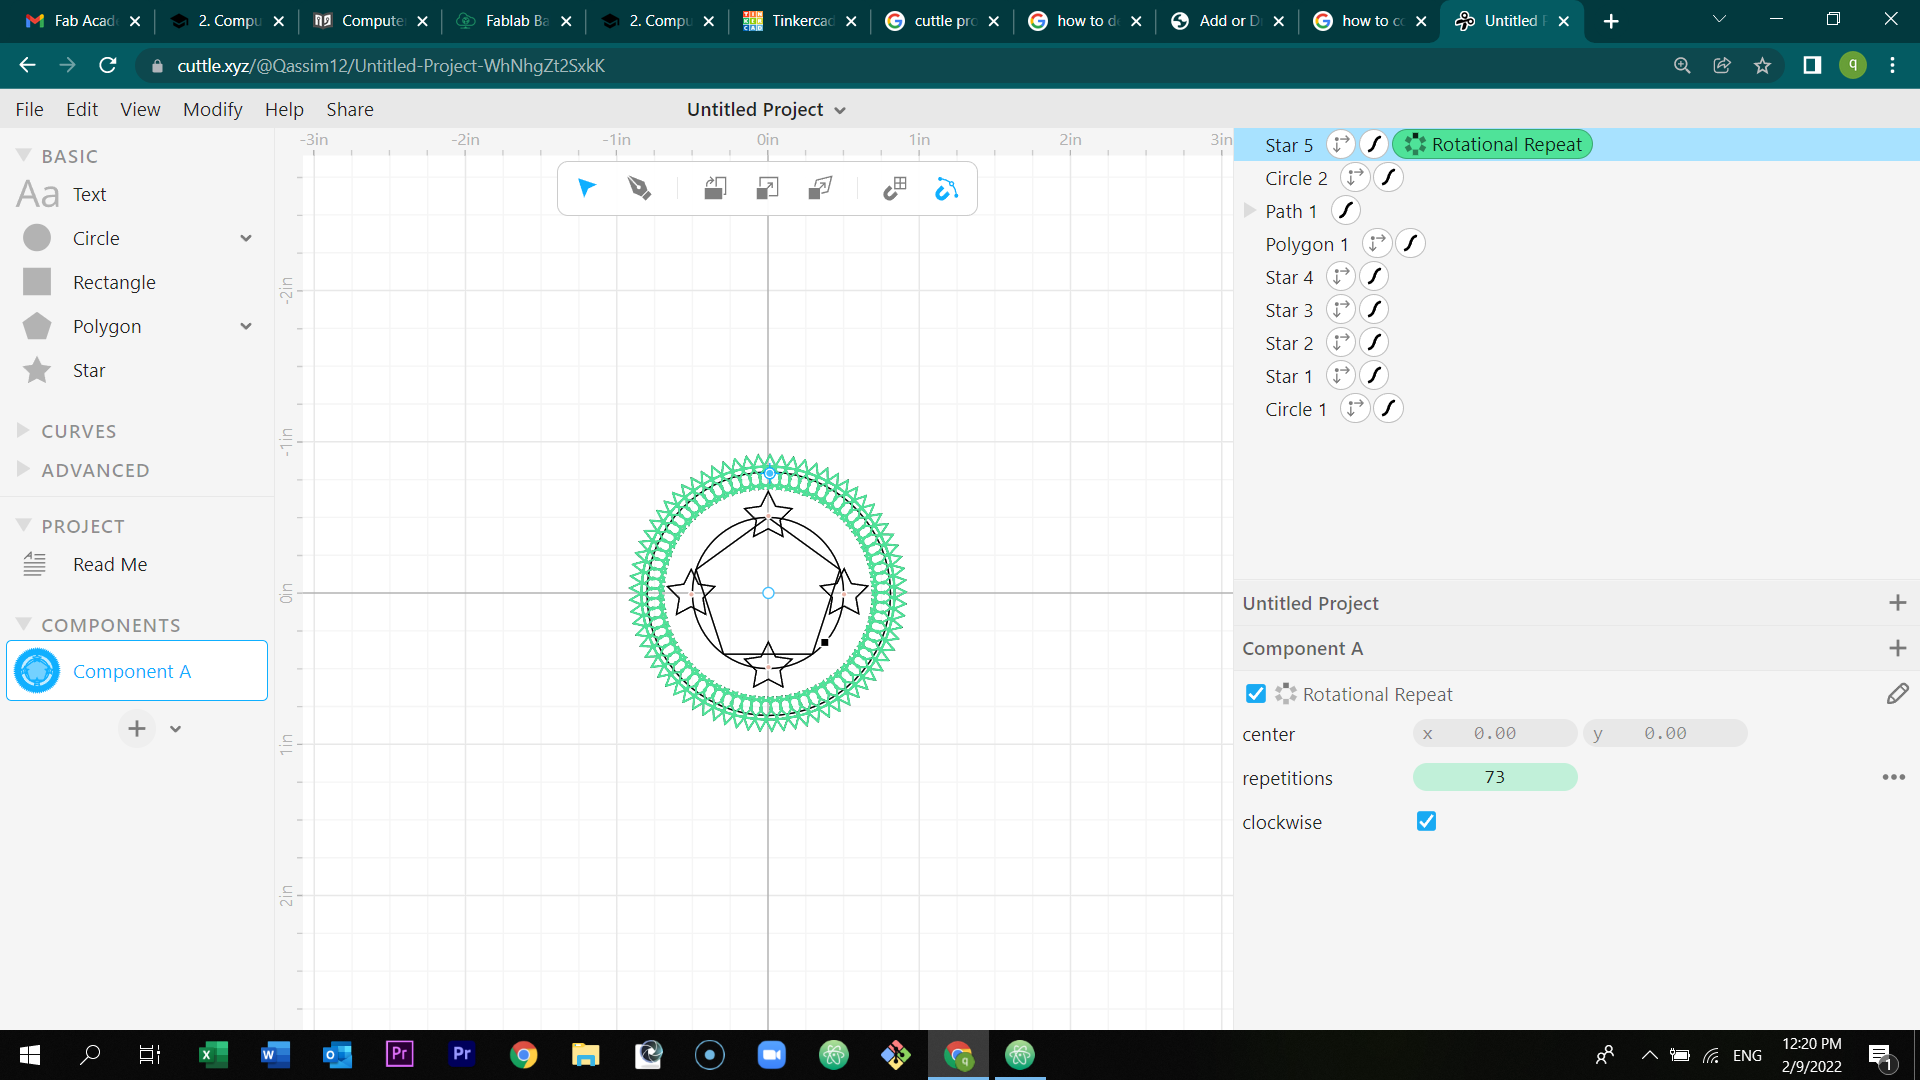
Select modify - rotational repeat
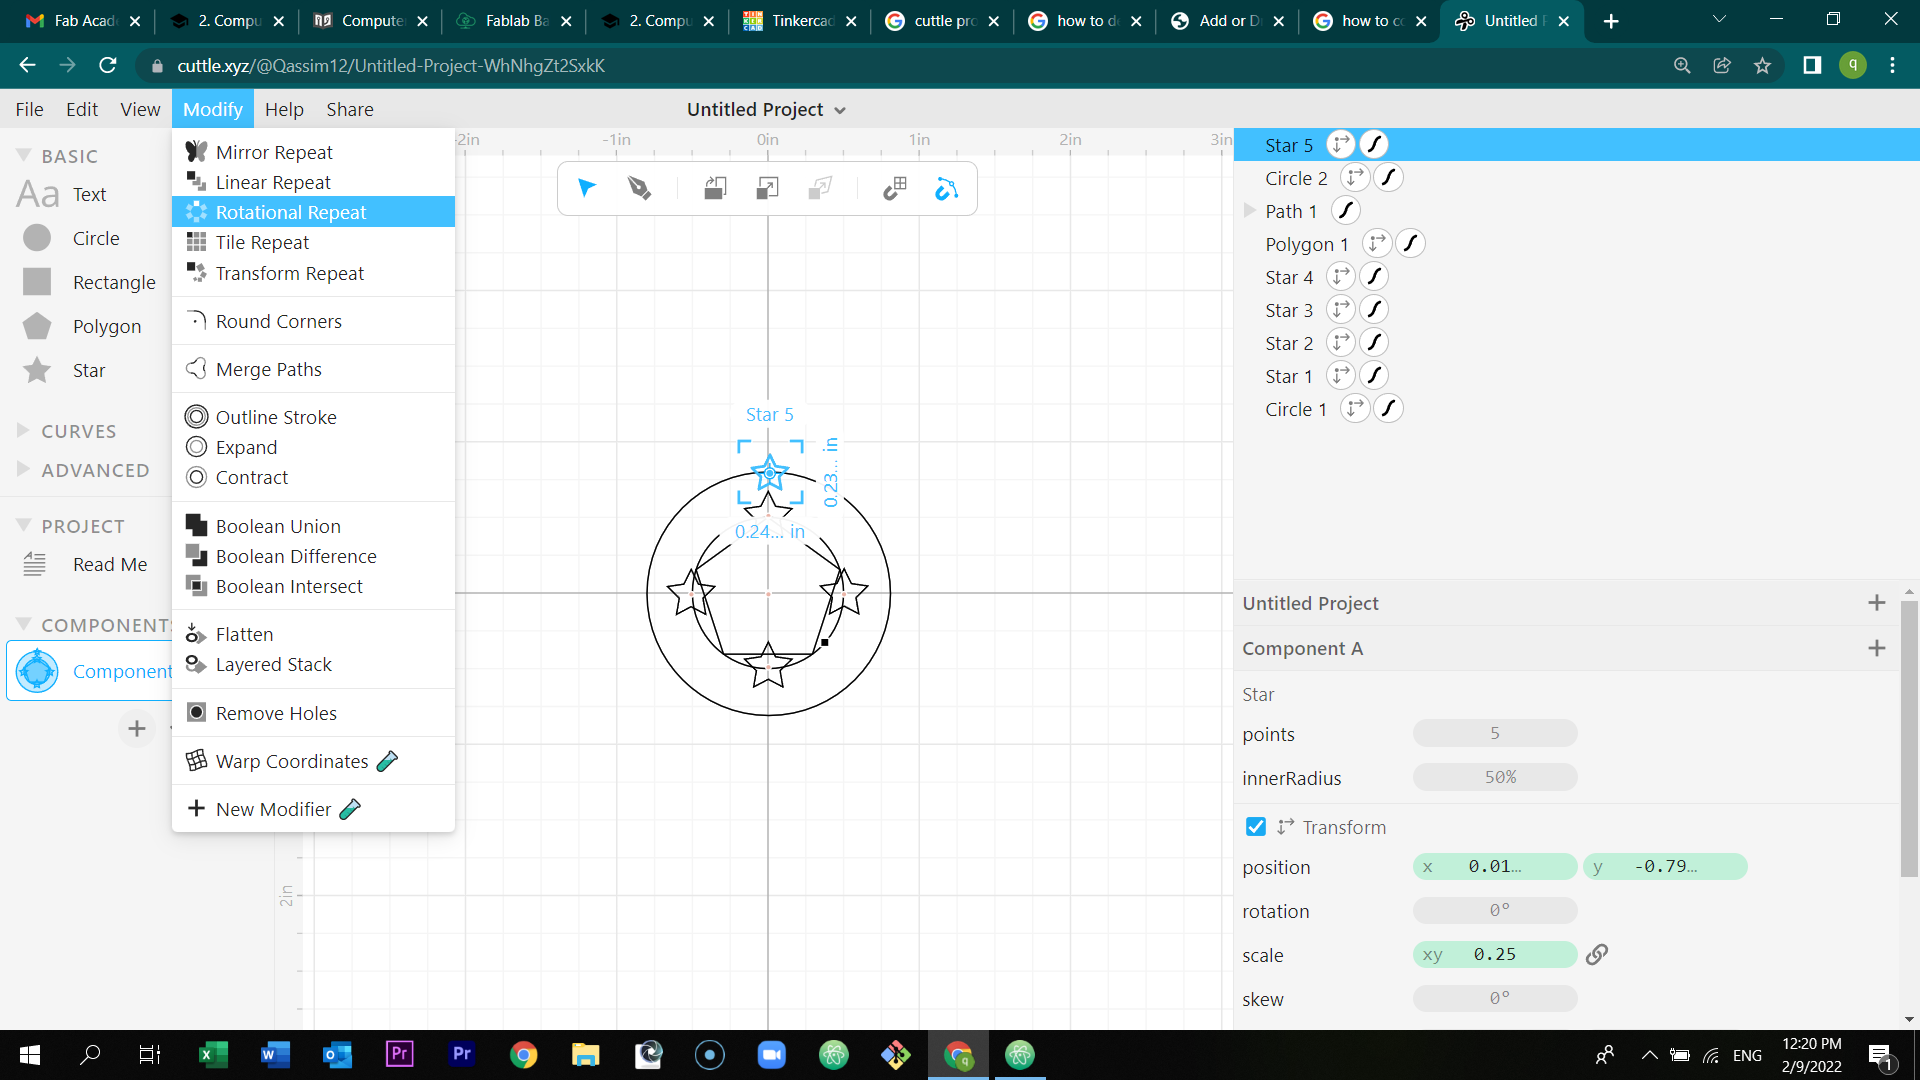
Increase the repetitions to 73.
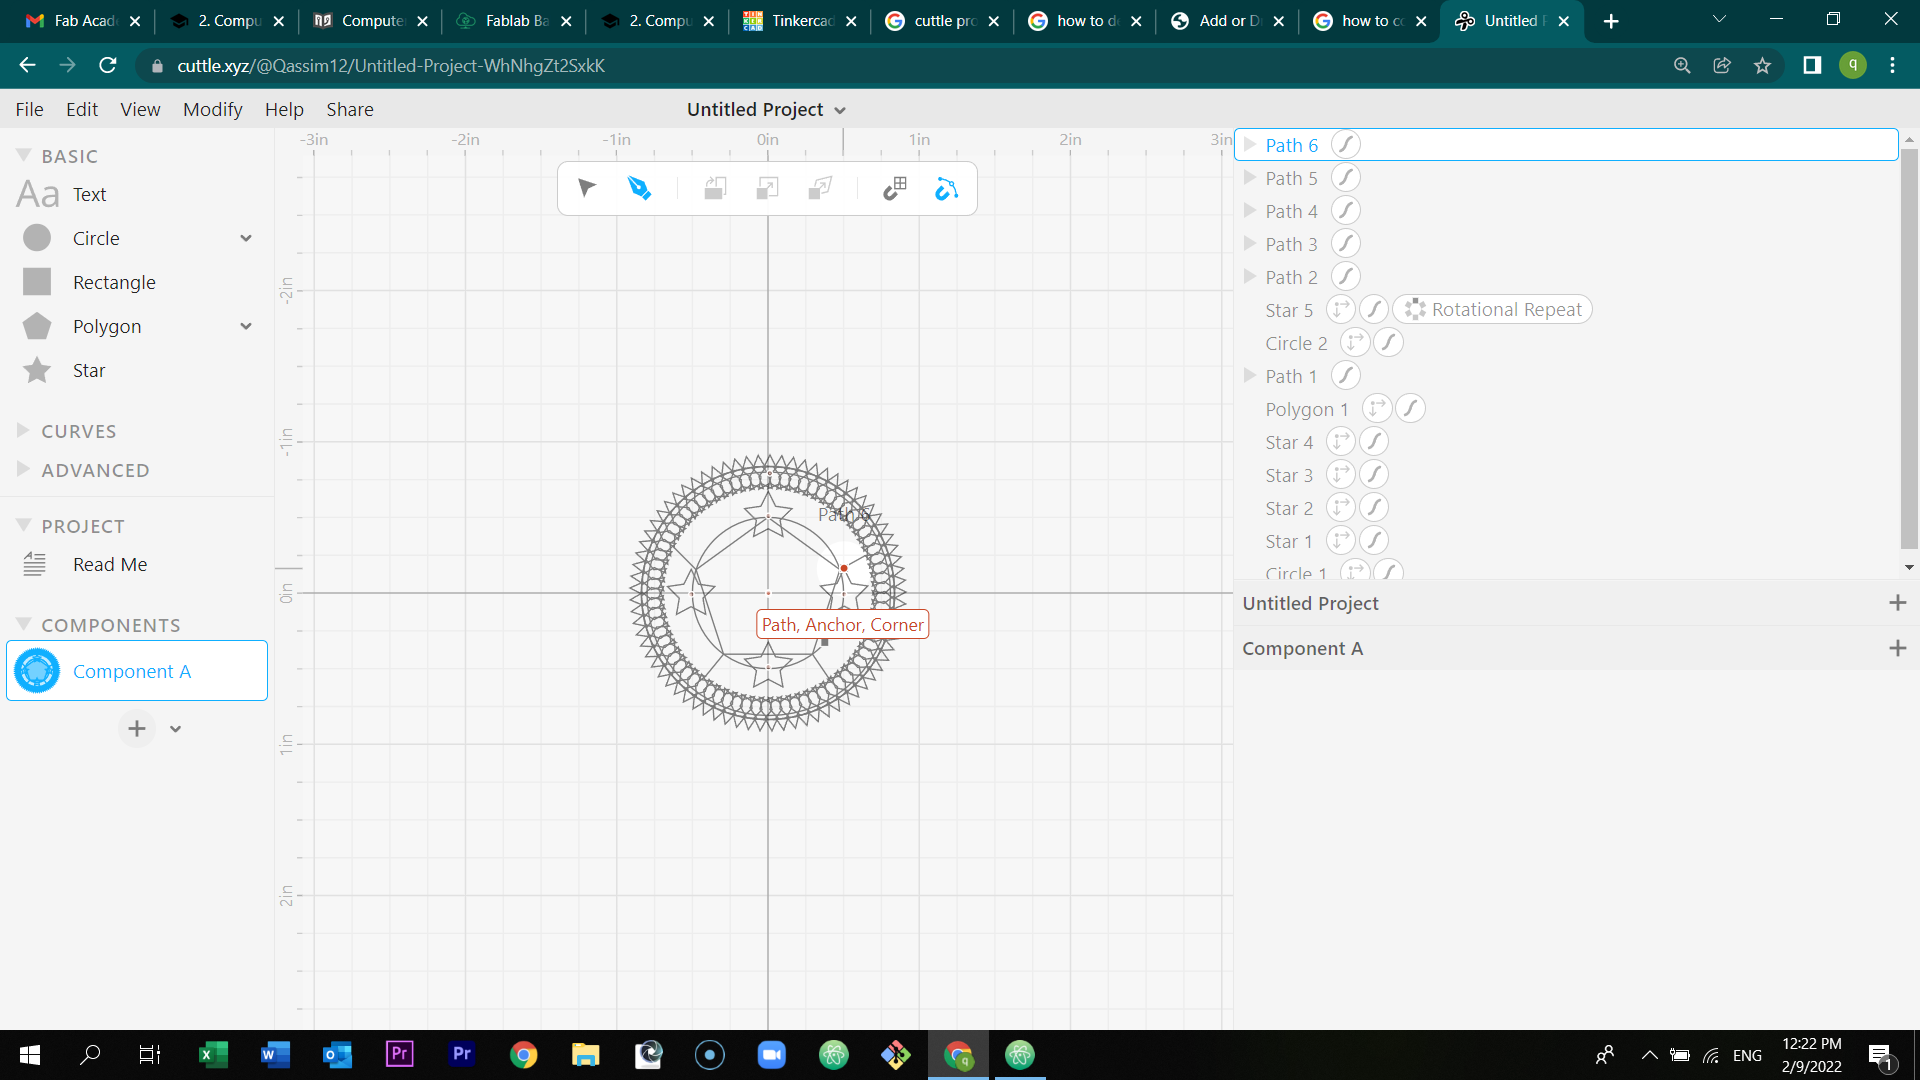
Using the pen tool, draw a line from the edges of the polygon to the circle (do this to all of the four edges).
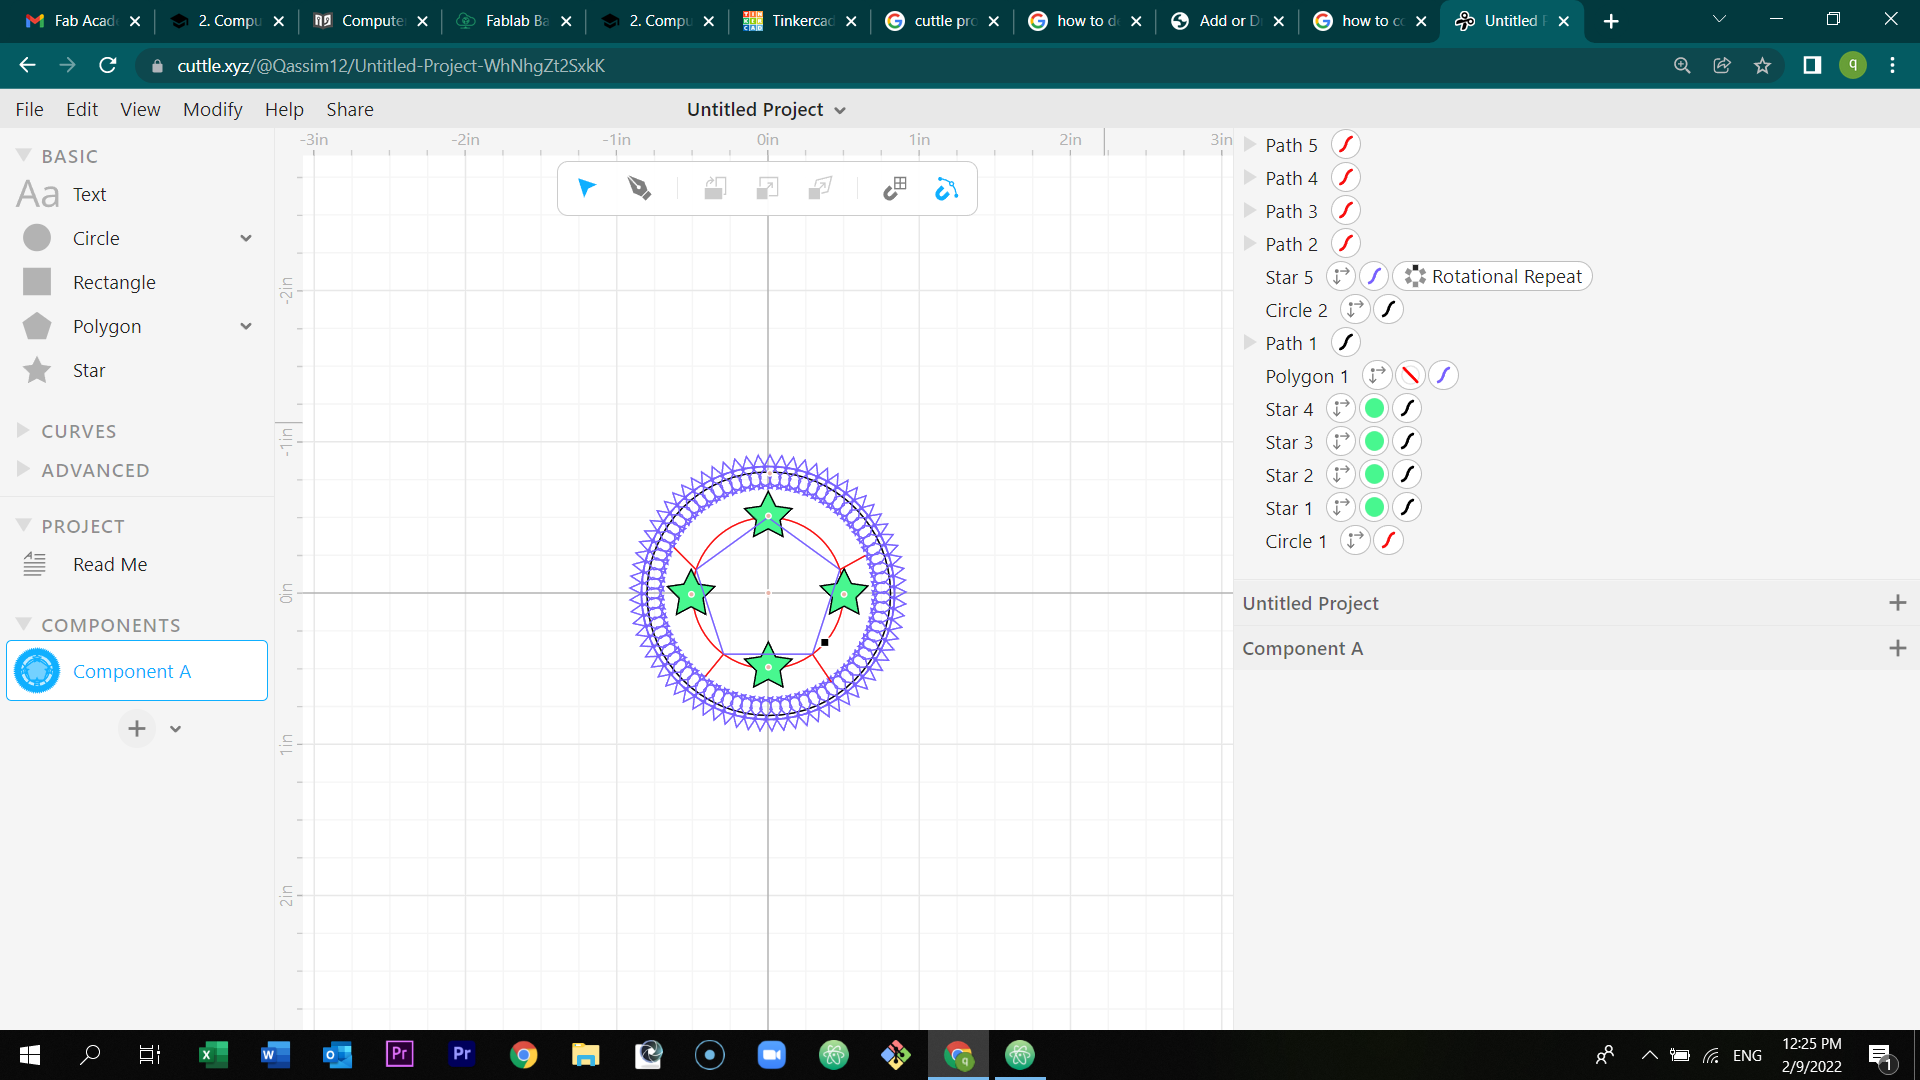
Select one of the shapes and in the right of the page select color and color the shape.
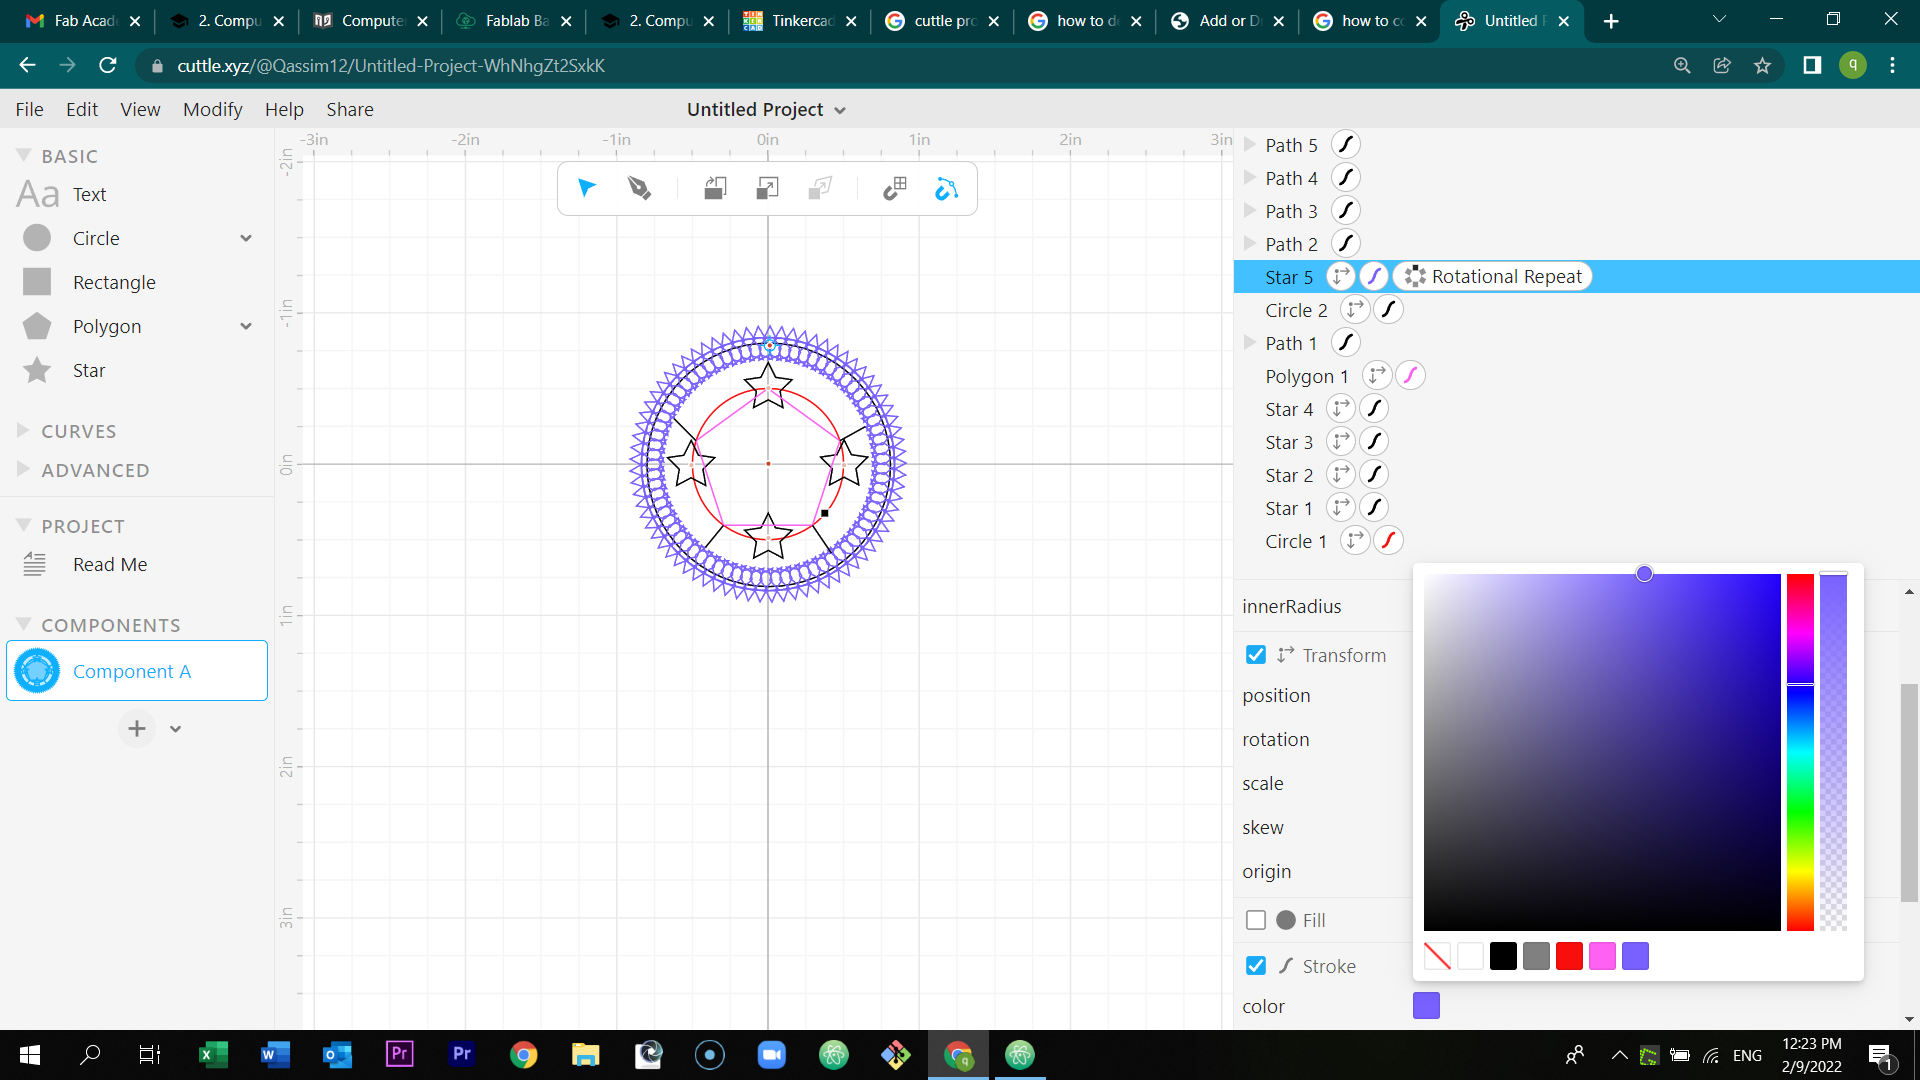
Color the rest of the shapes.
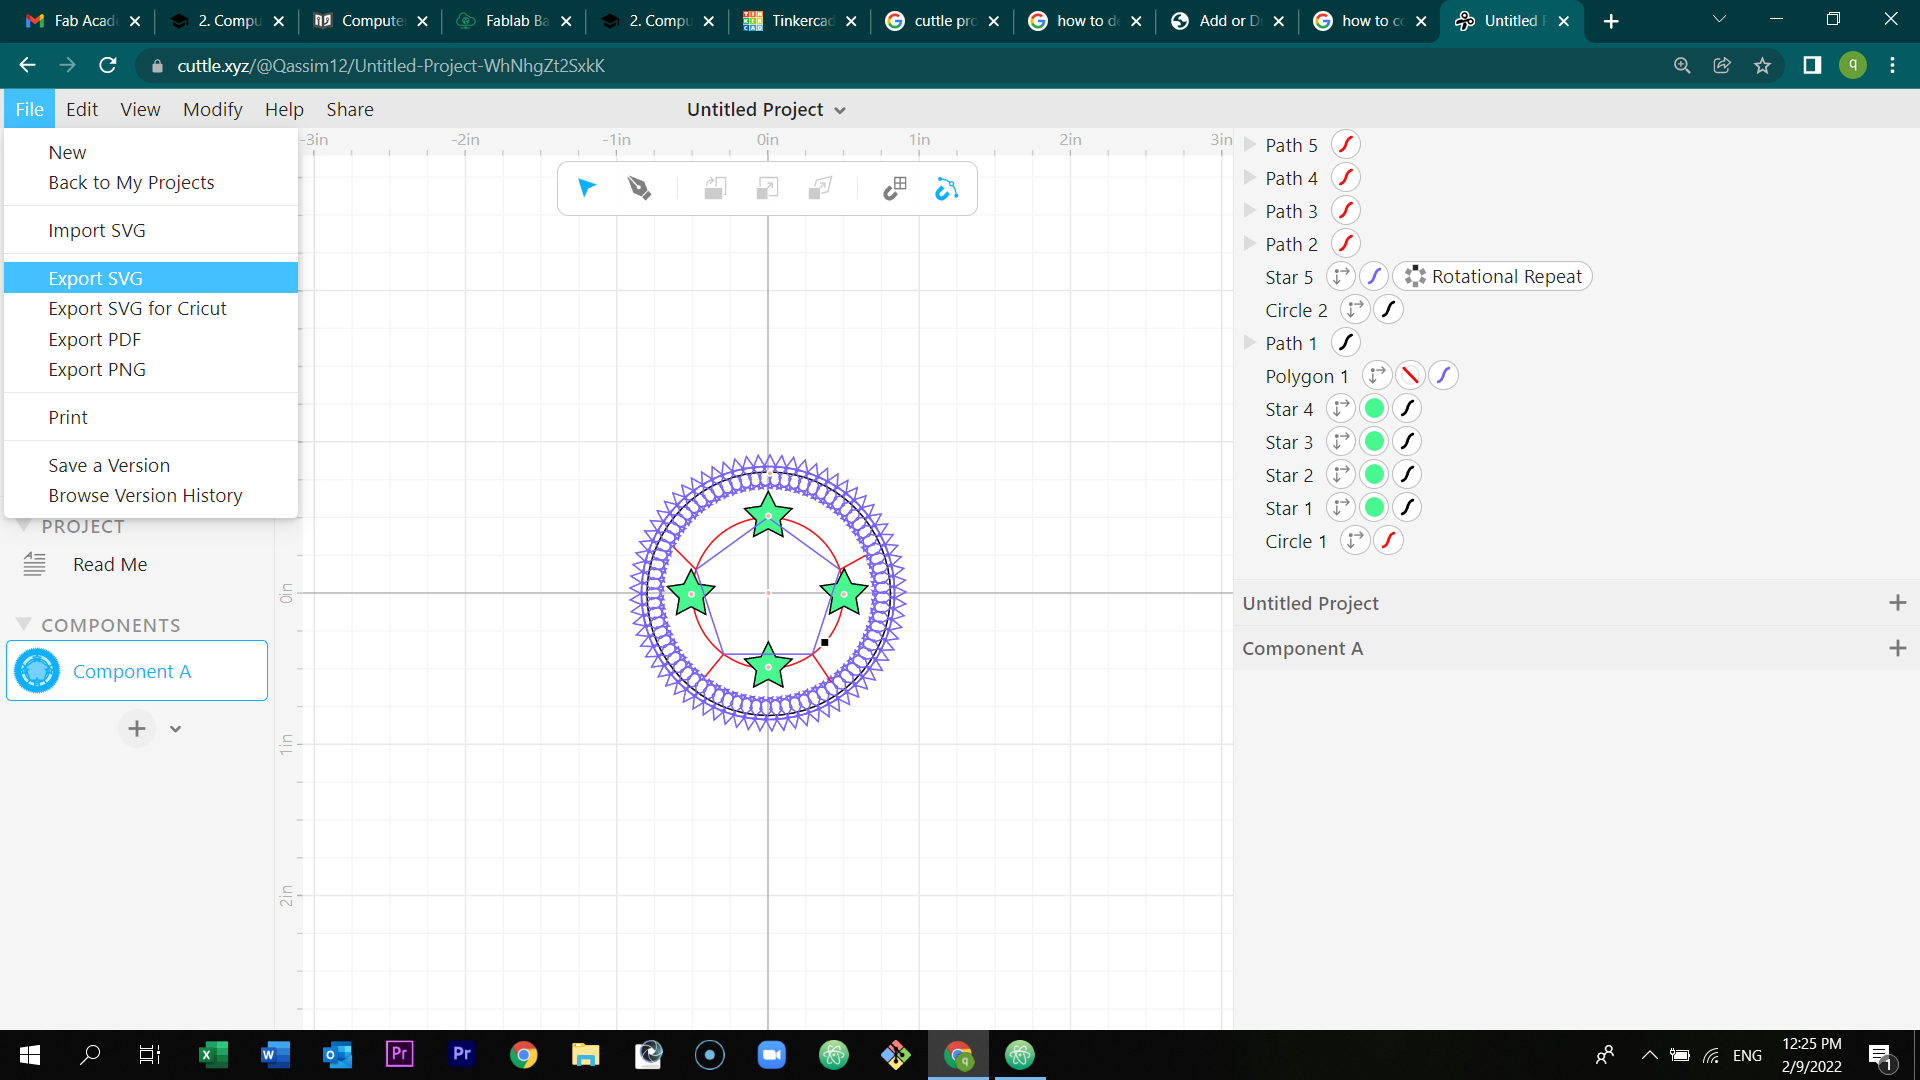
After that, select file - export SVG.
Final Result
Click here to download the final picture of the design
Click here to download and edit the design
3) Tinker cad
Tinker cad is a software that enables you to design any 3d objects.
Open tinker cad software in google, and click at start tinkering.
Create a personal account.
Create a new design.
The work plane page will appear.
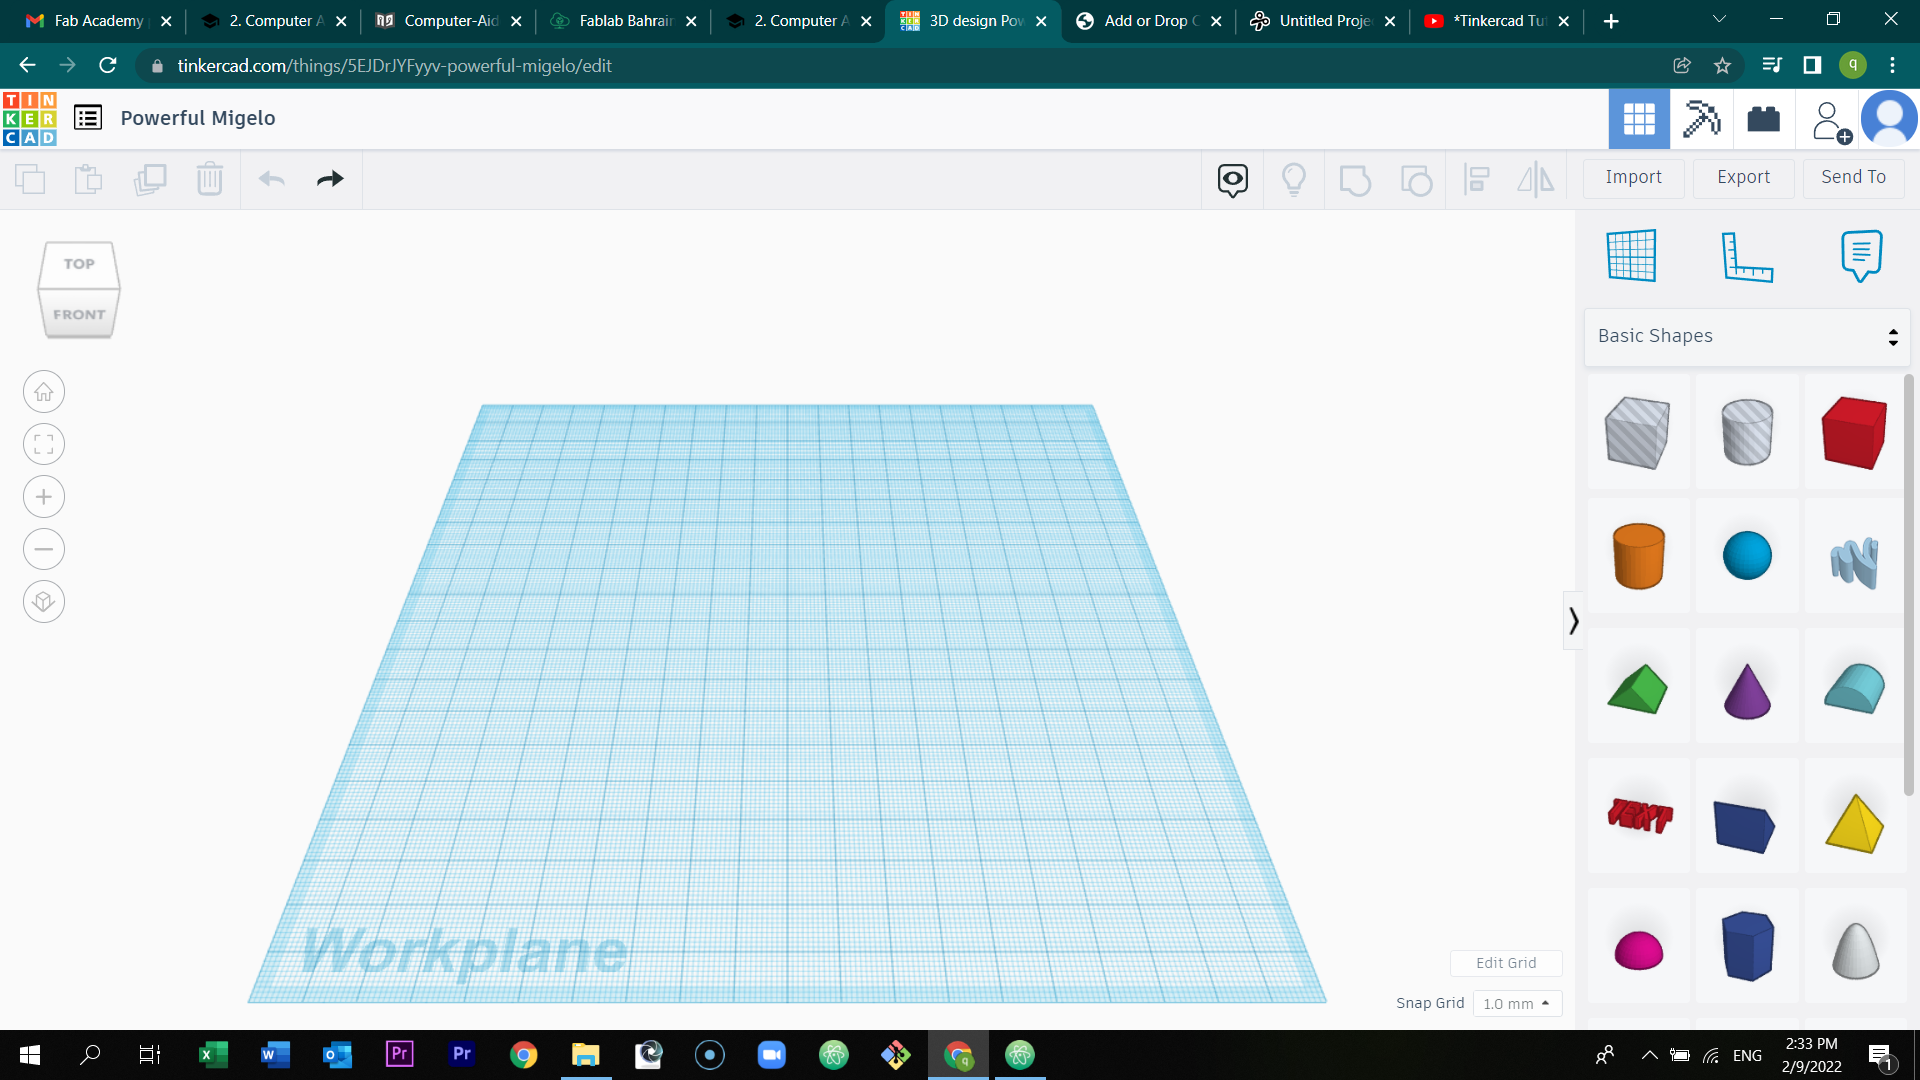
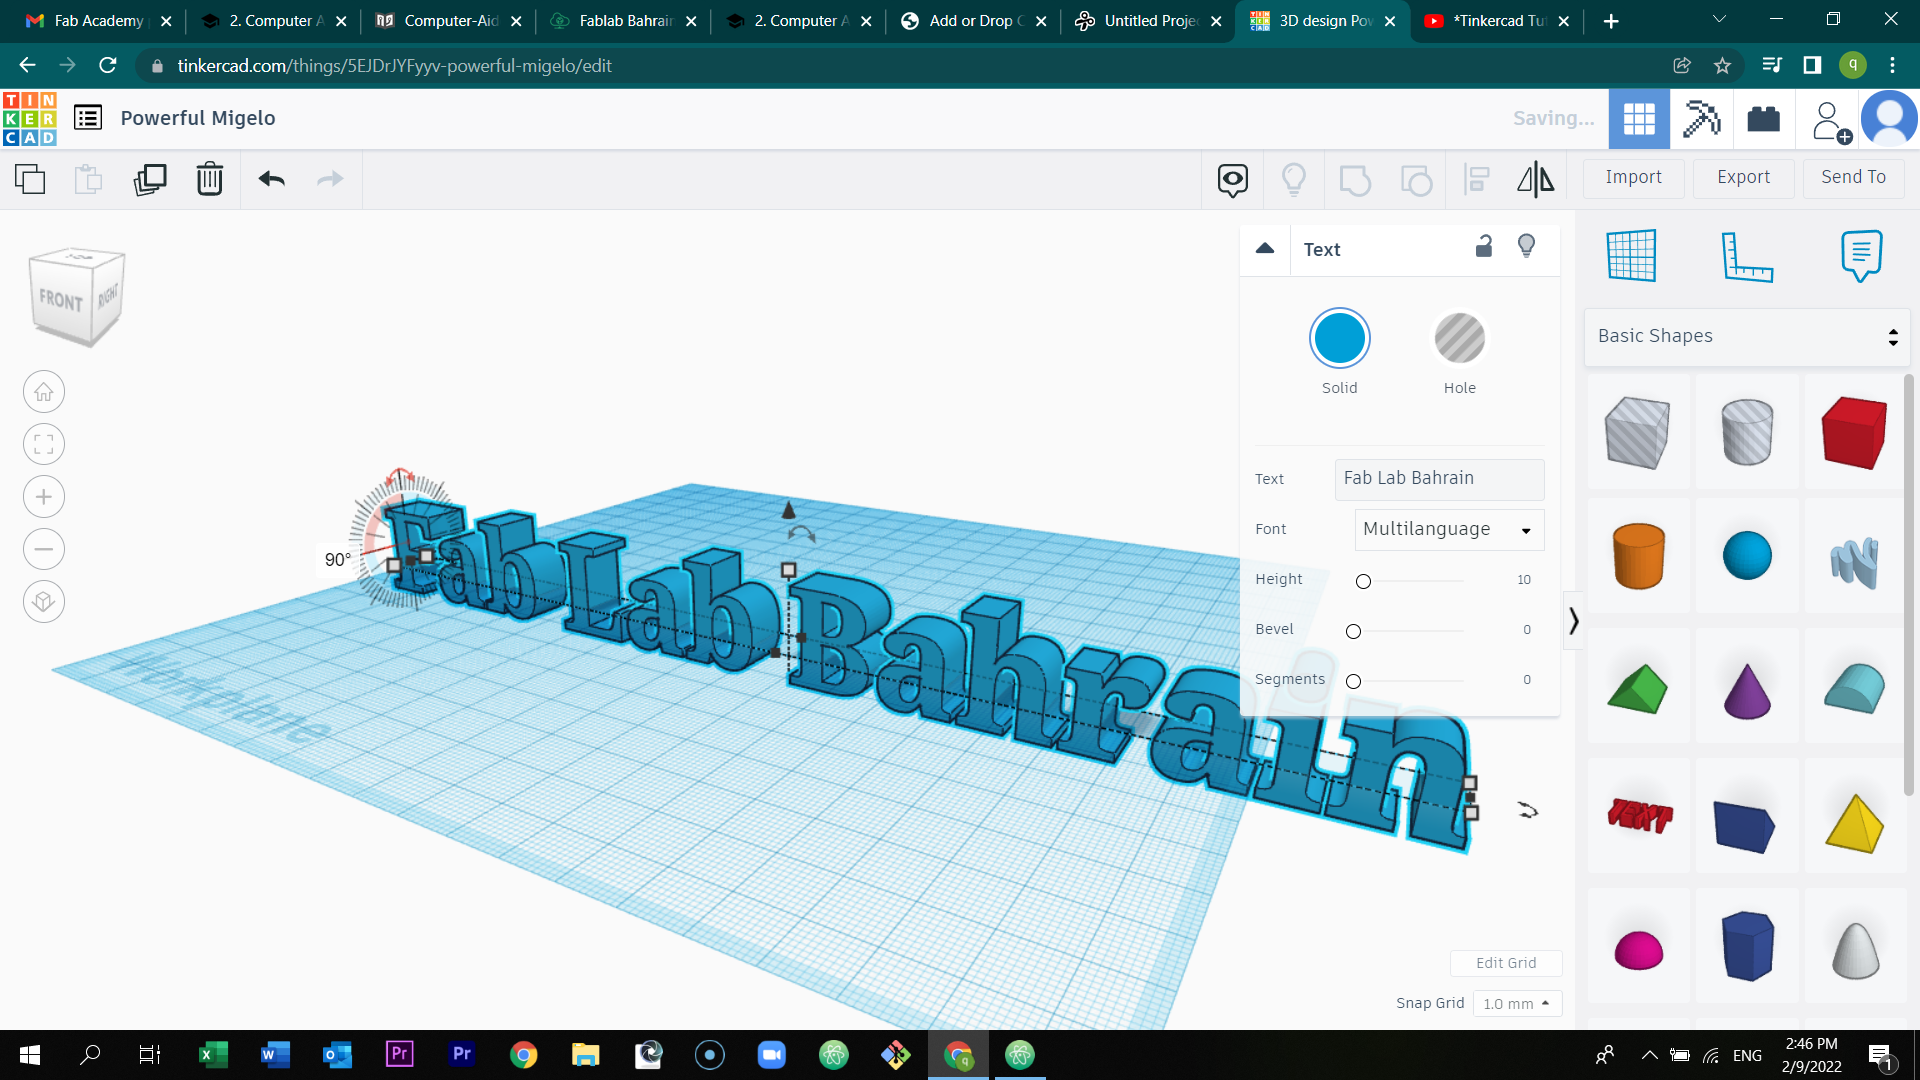
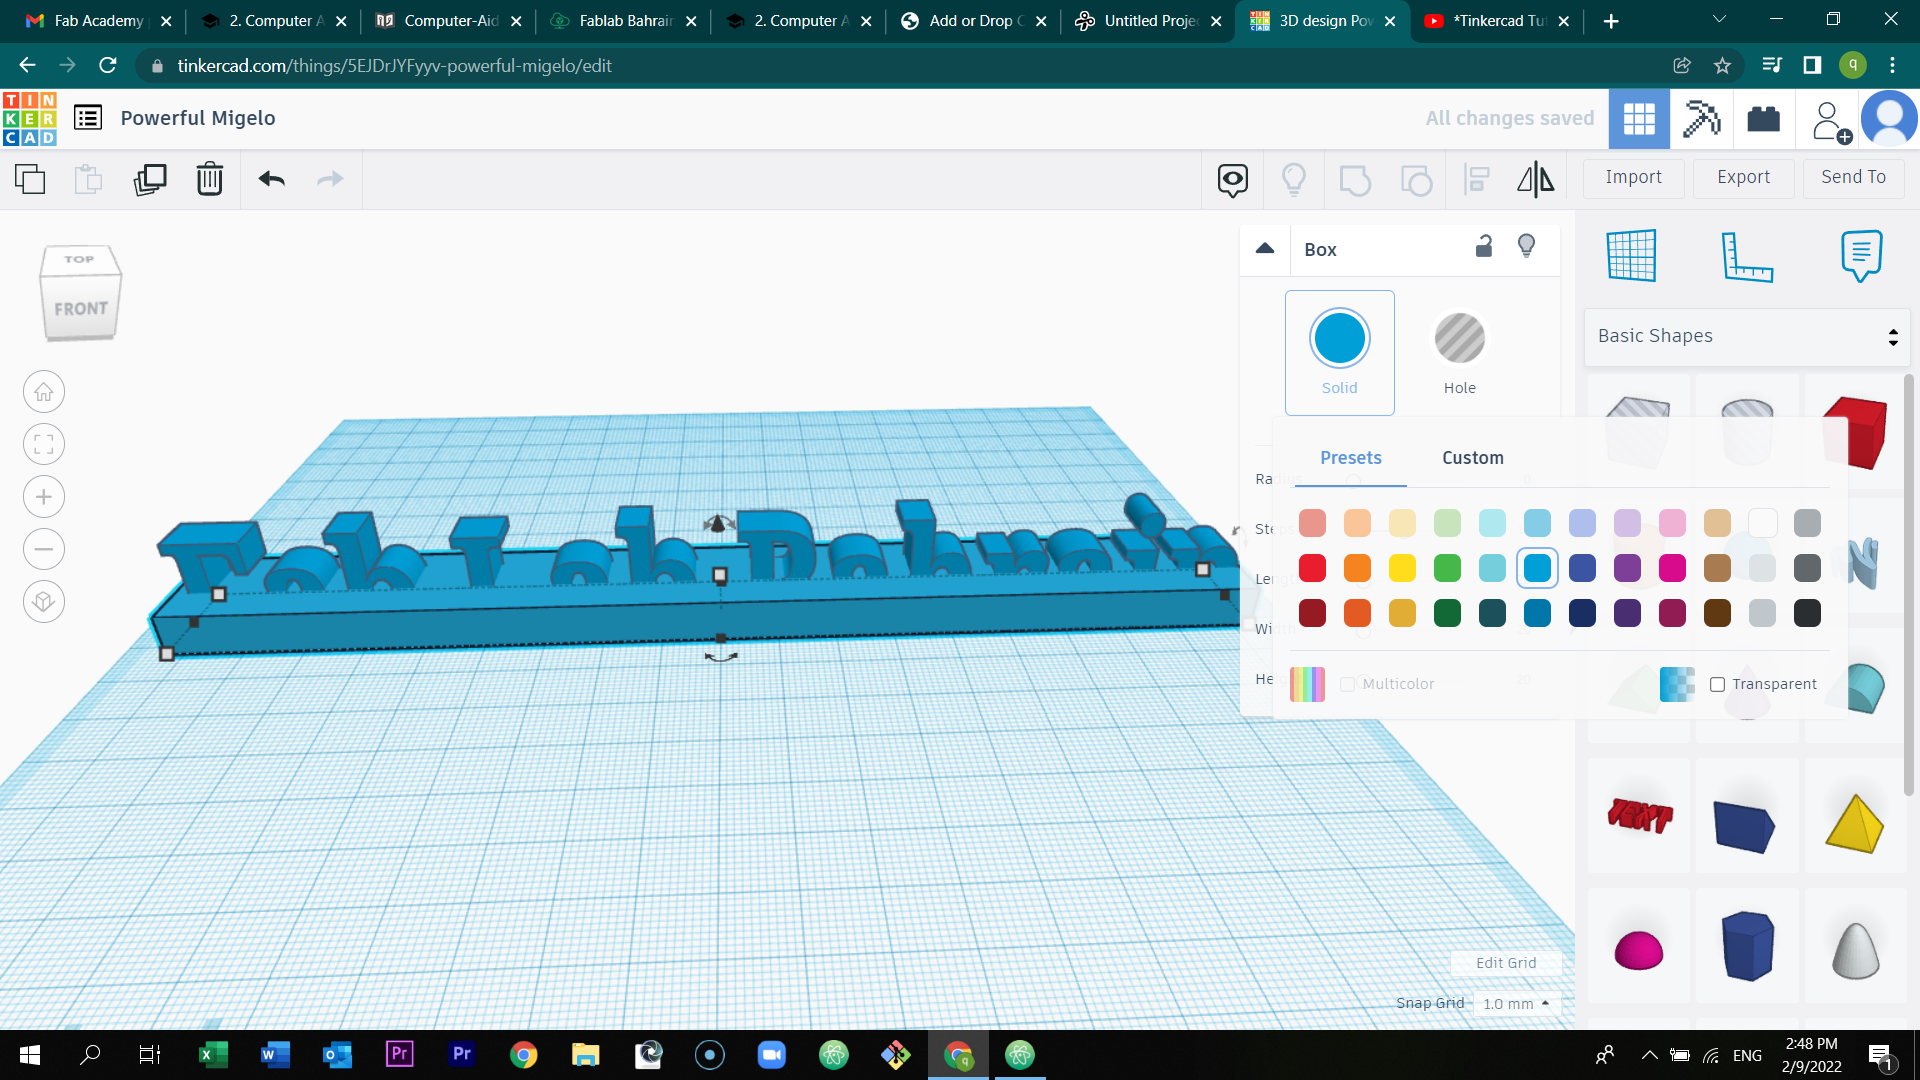
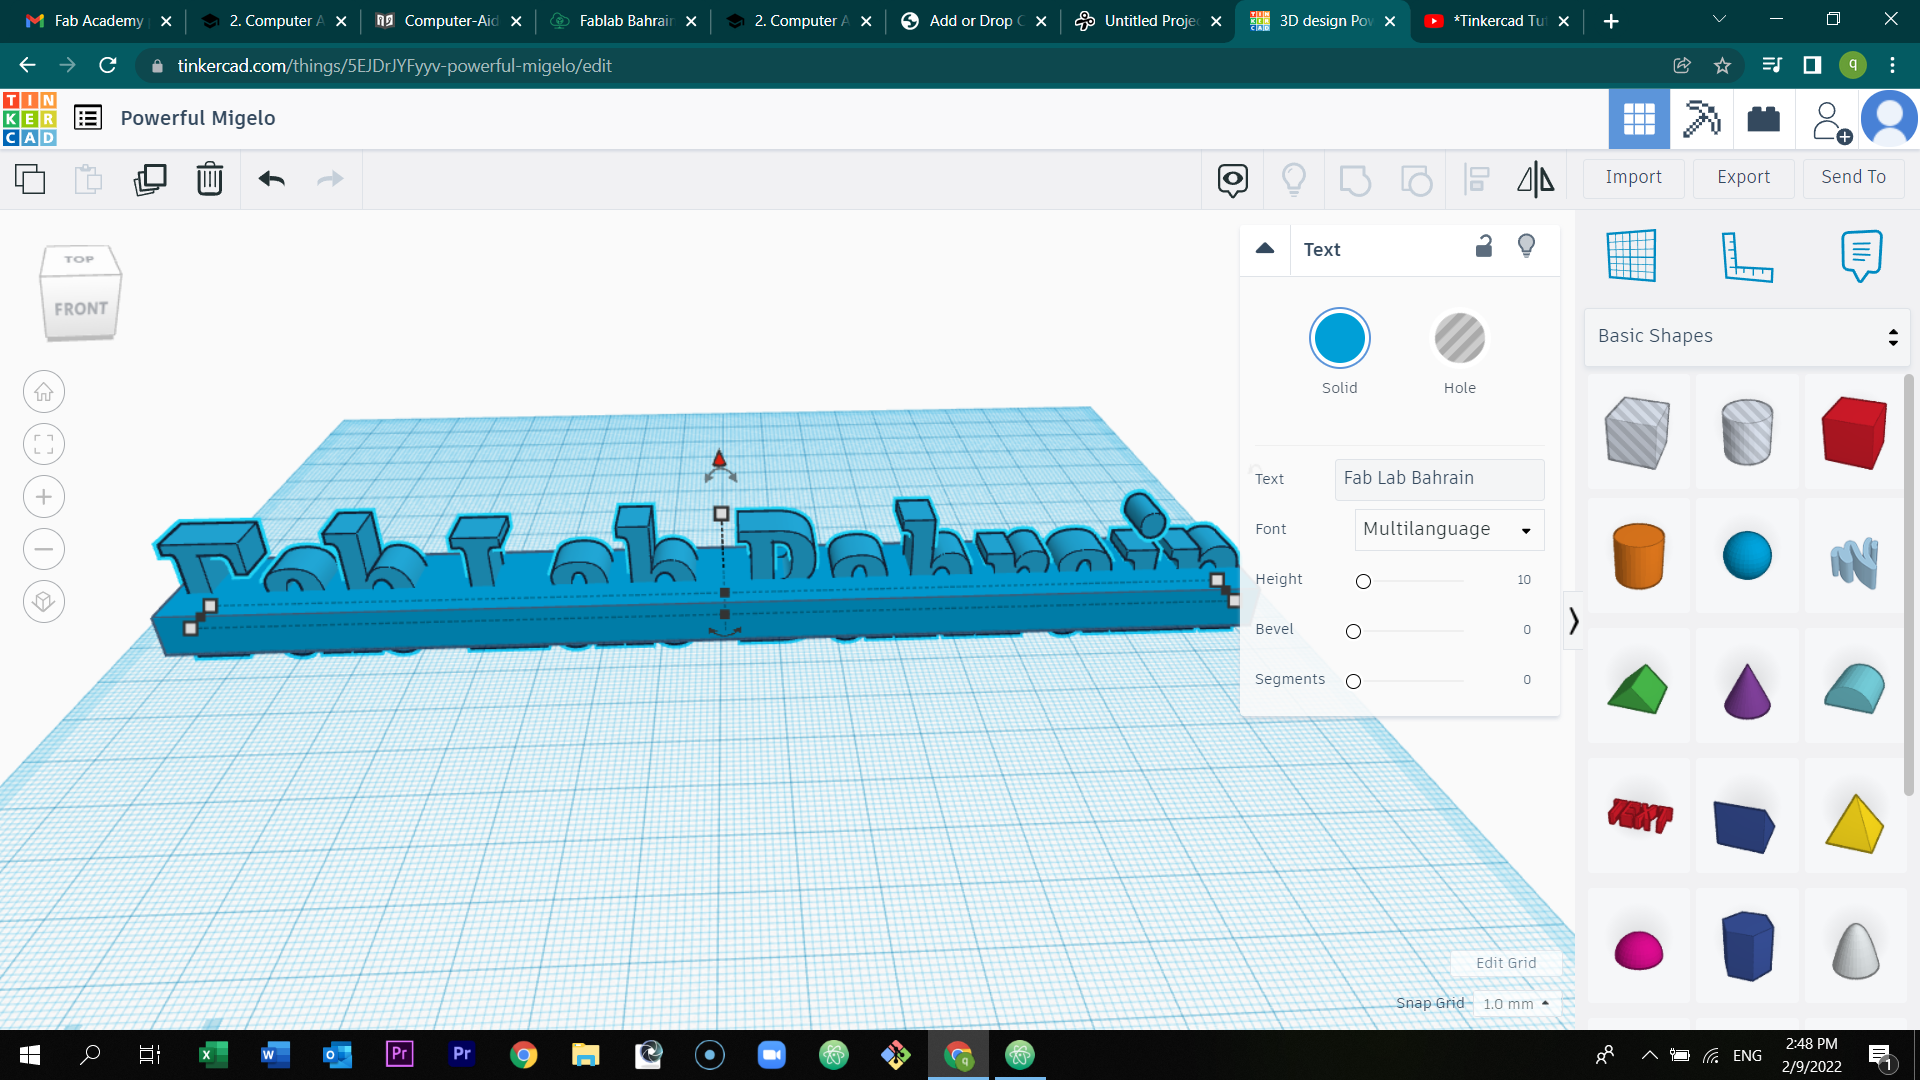
Insert text from the basic shapes which located in the right of the page.
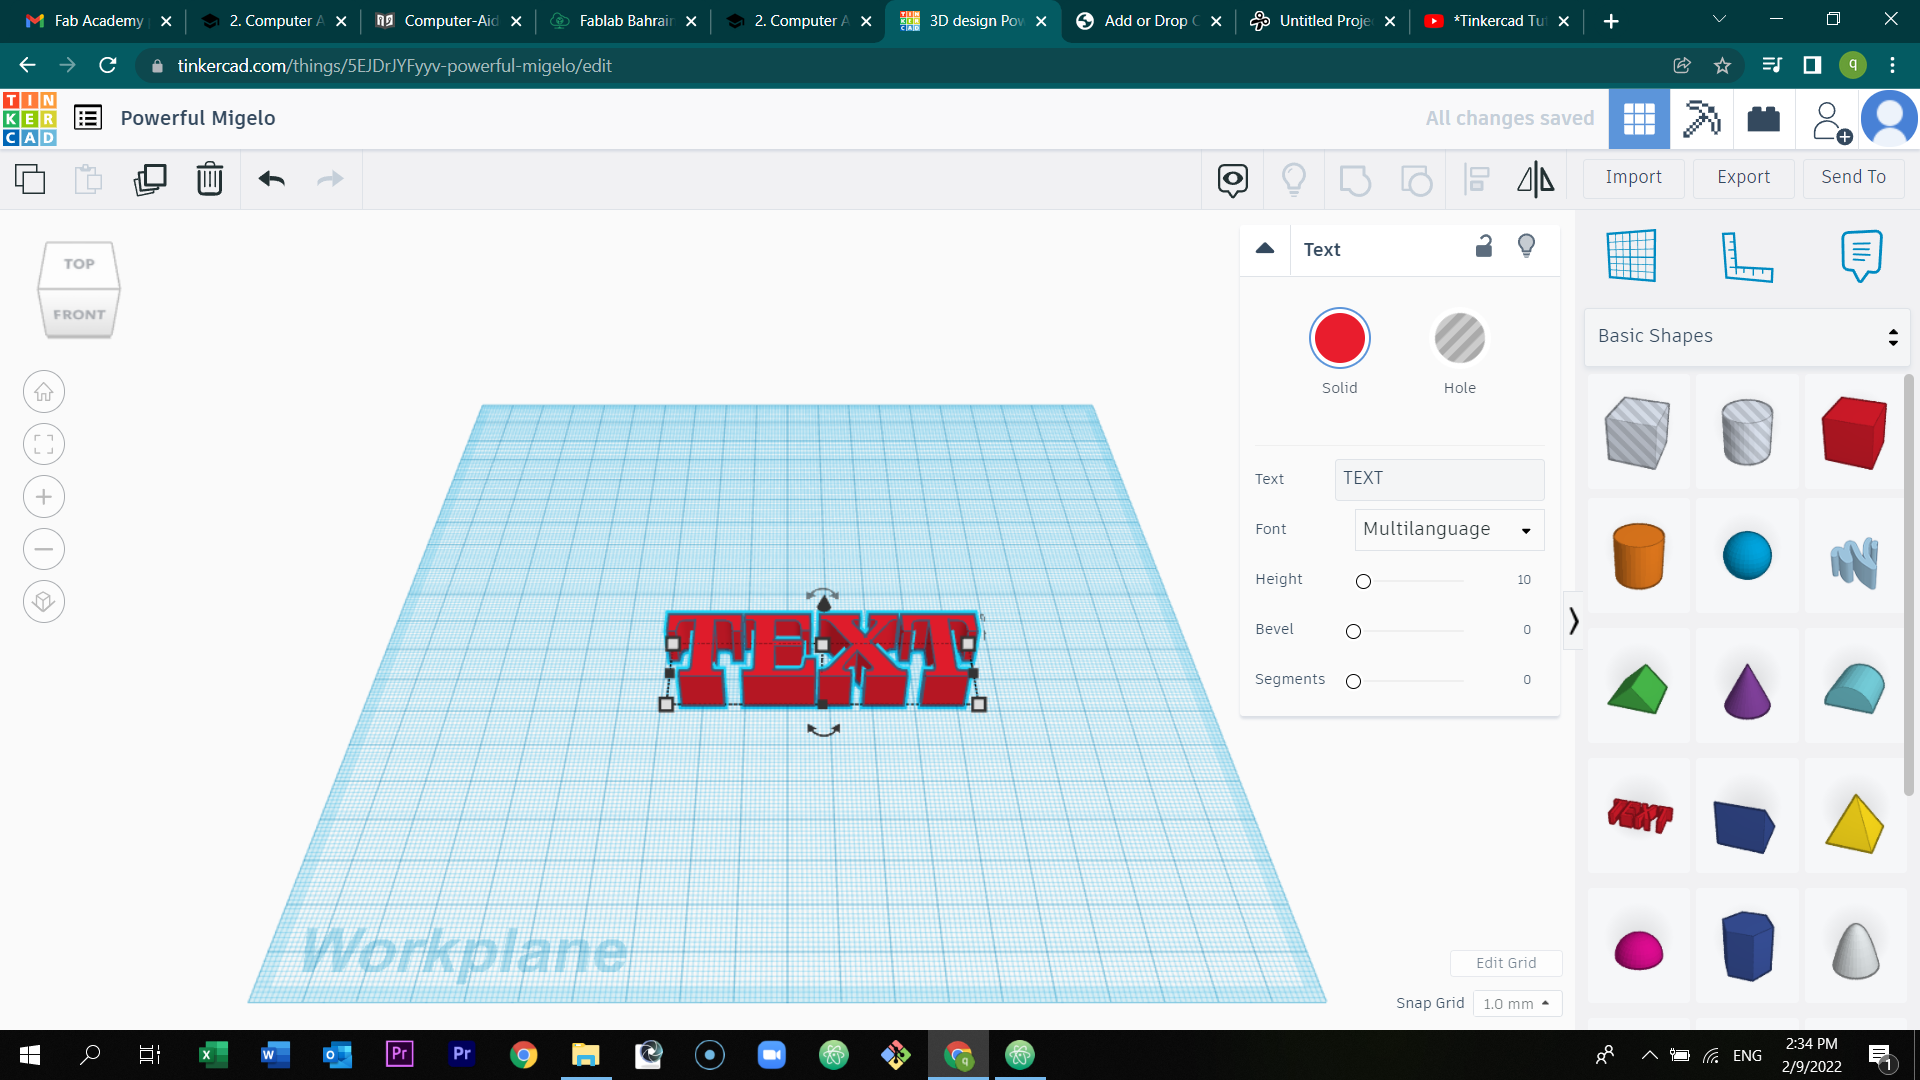
Change the text to Fab Lab Bahrain.
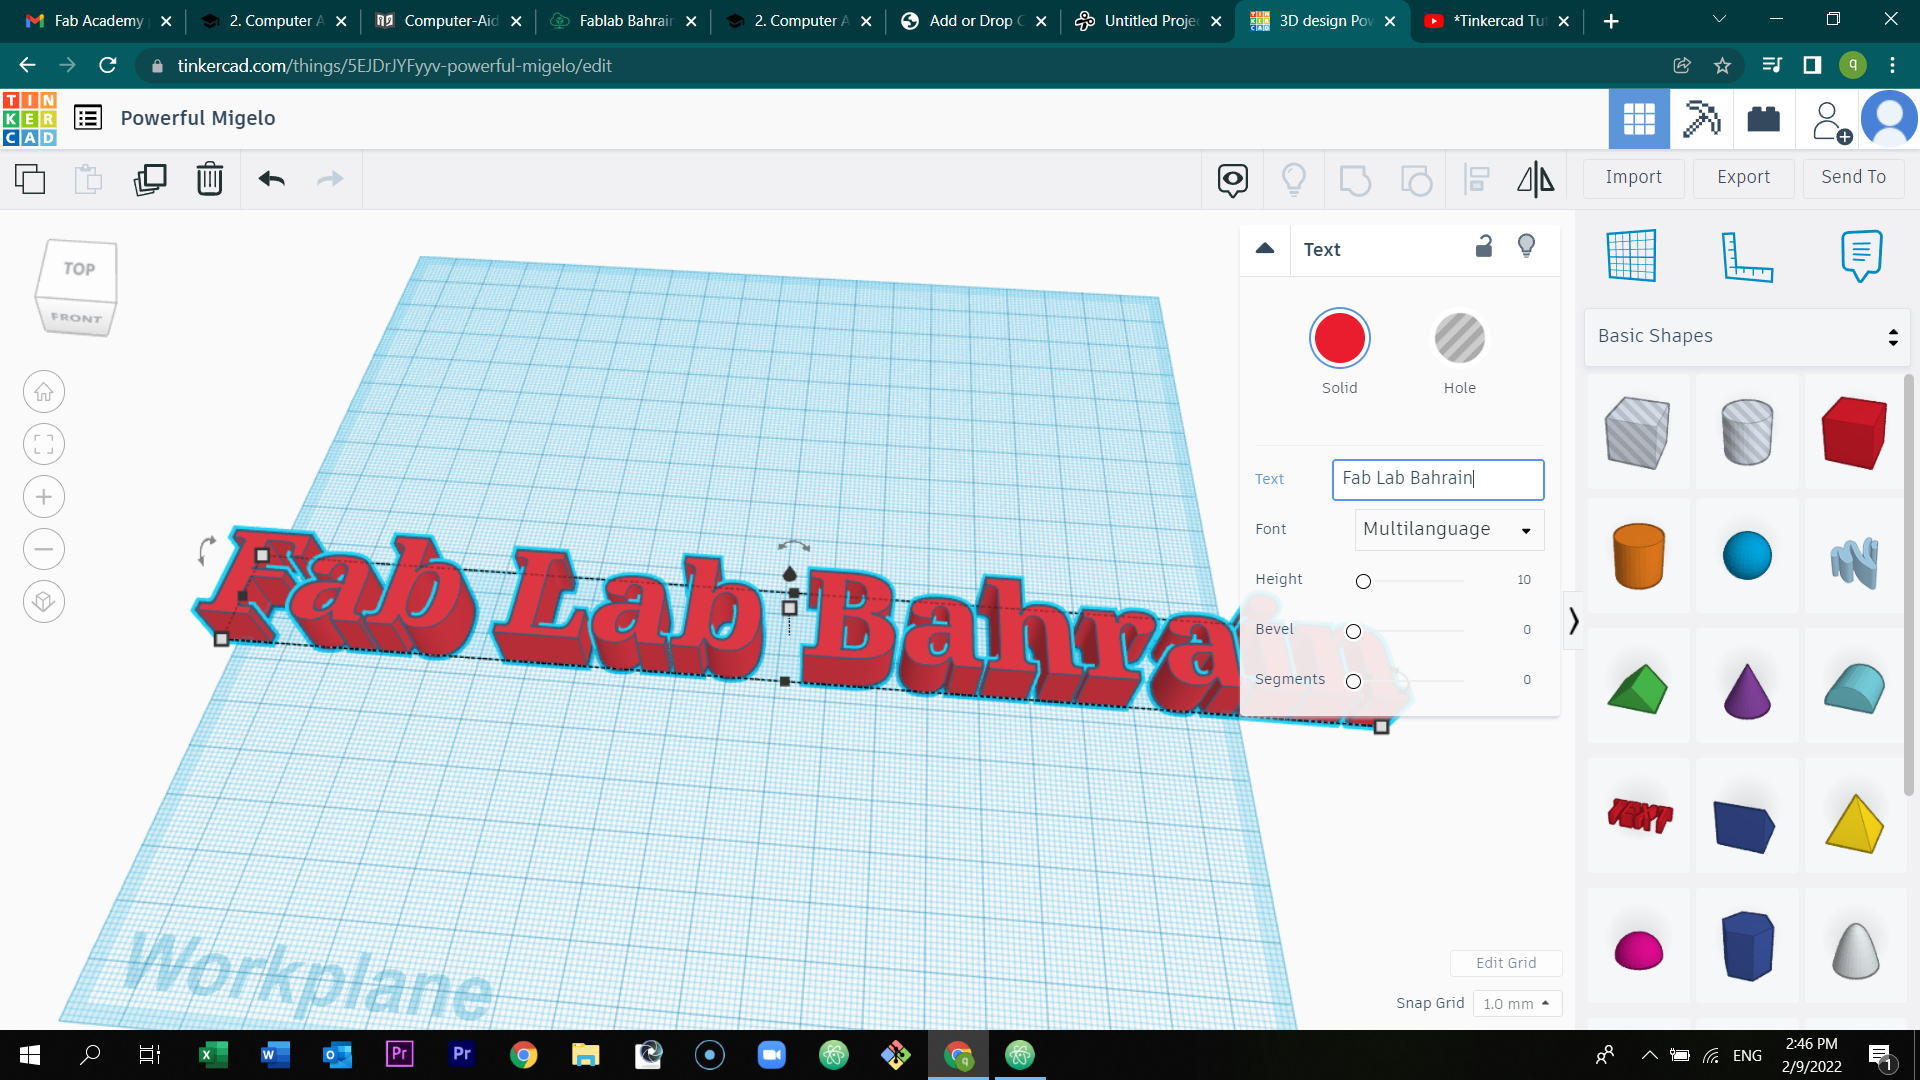
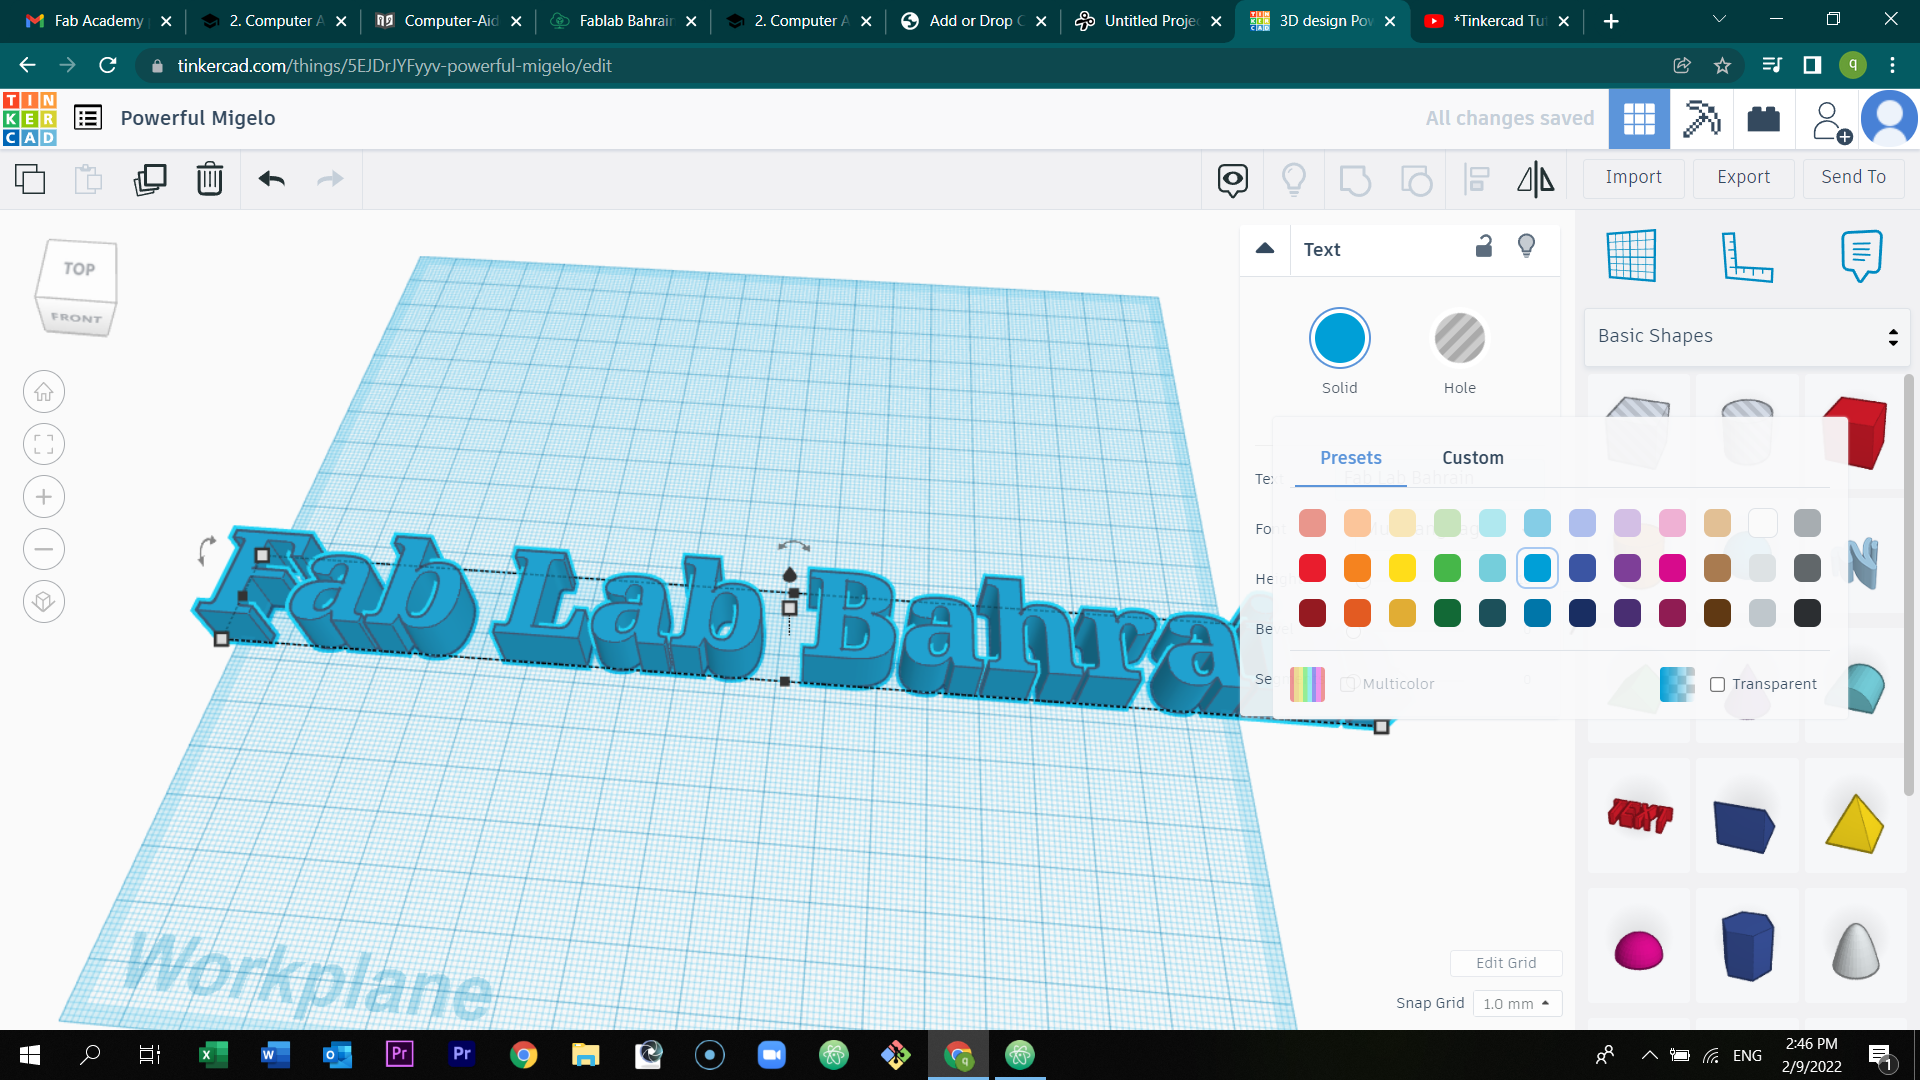
Change the color to blue.
Rotate the model to 90 degree as shown in the picture.
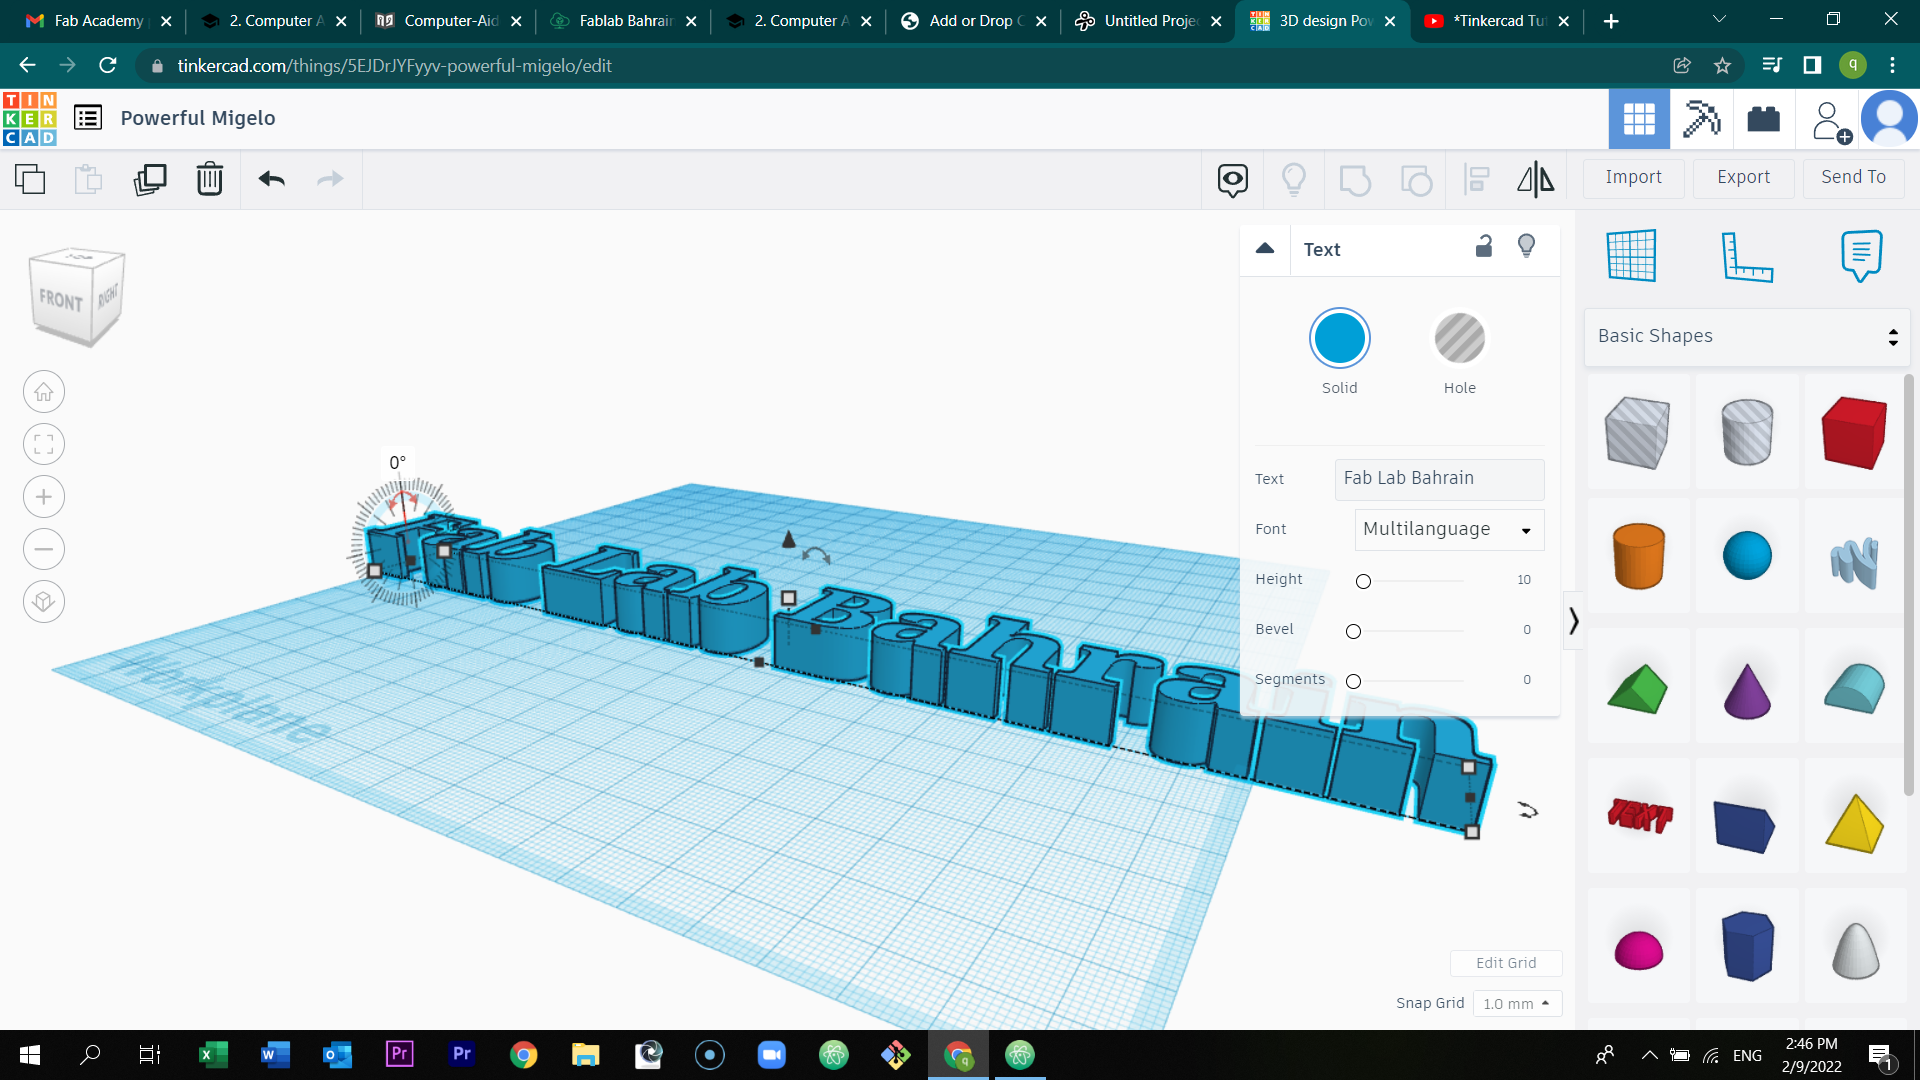
90 degree tilted.
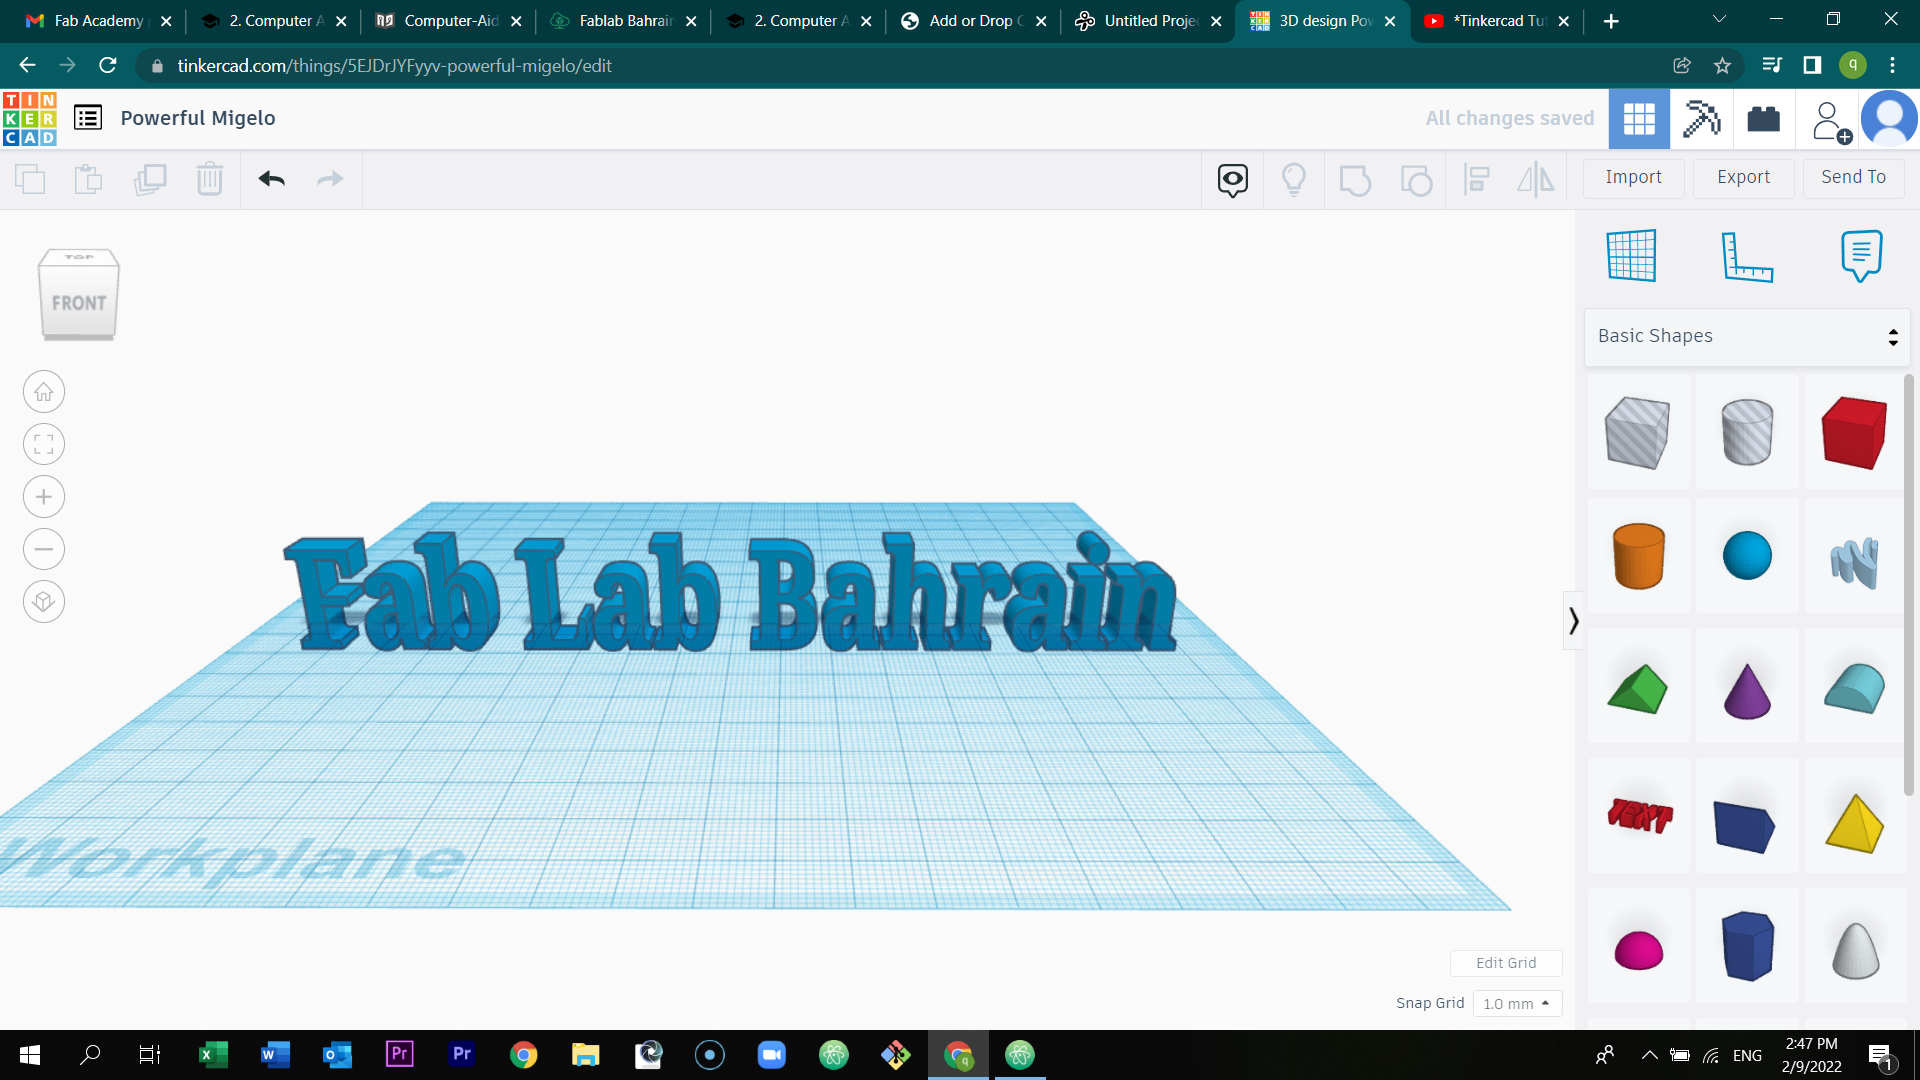
Insert a box from the shapes section.
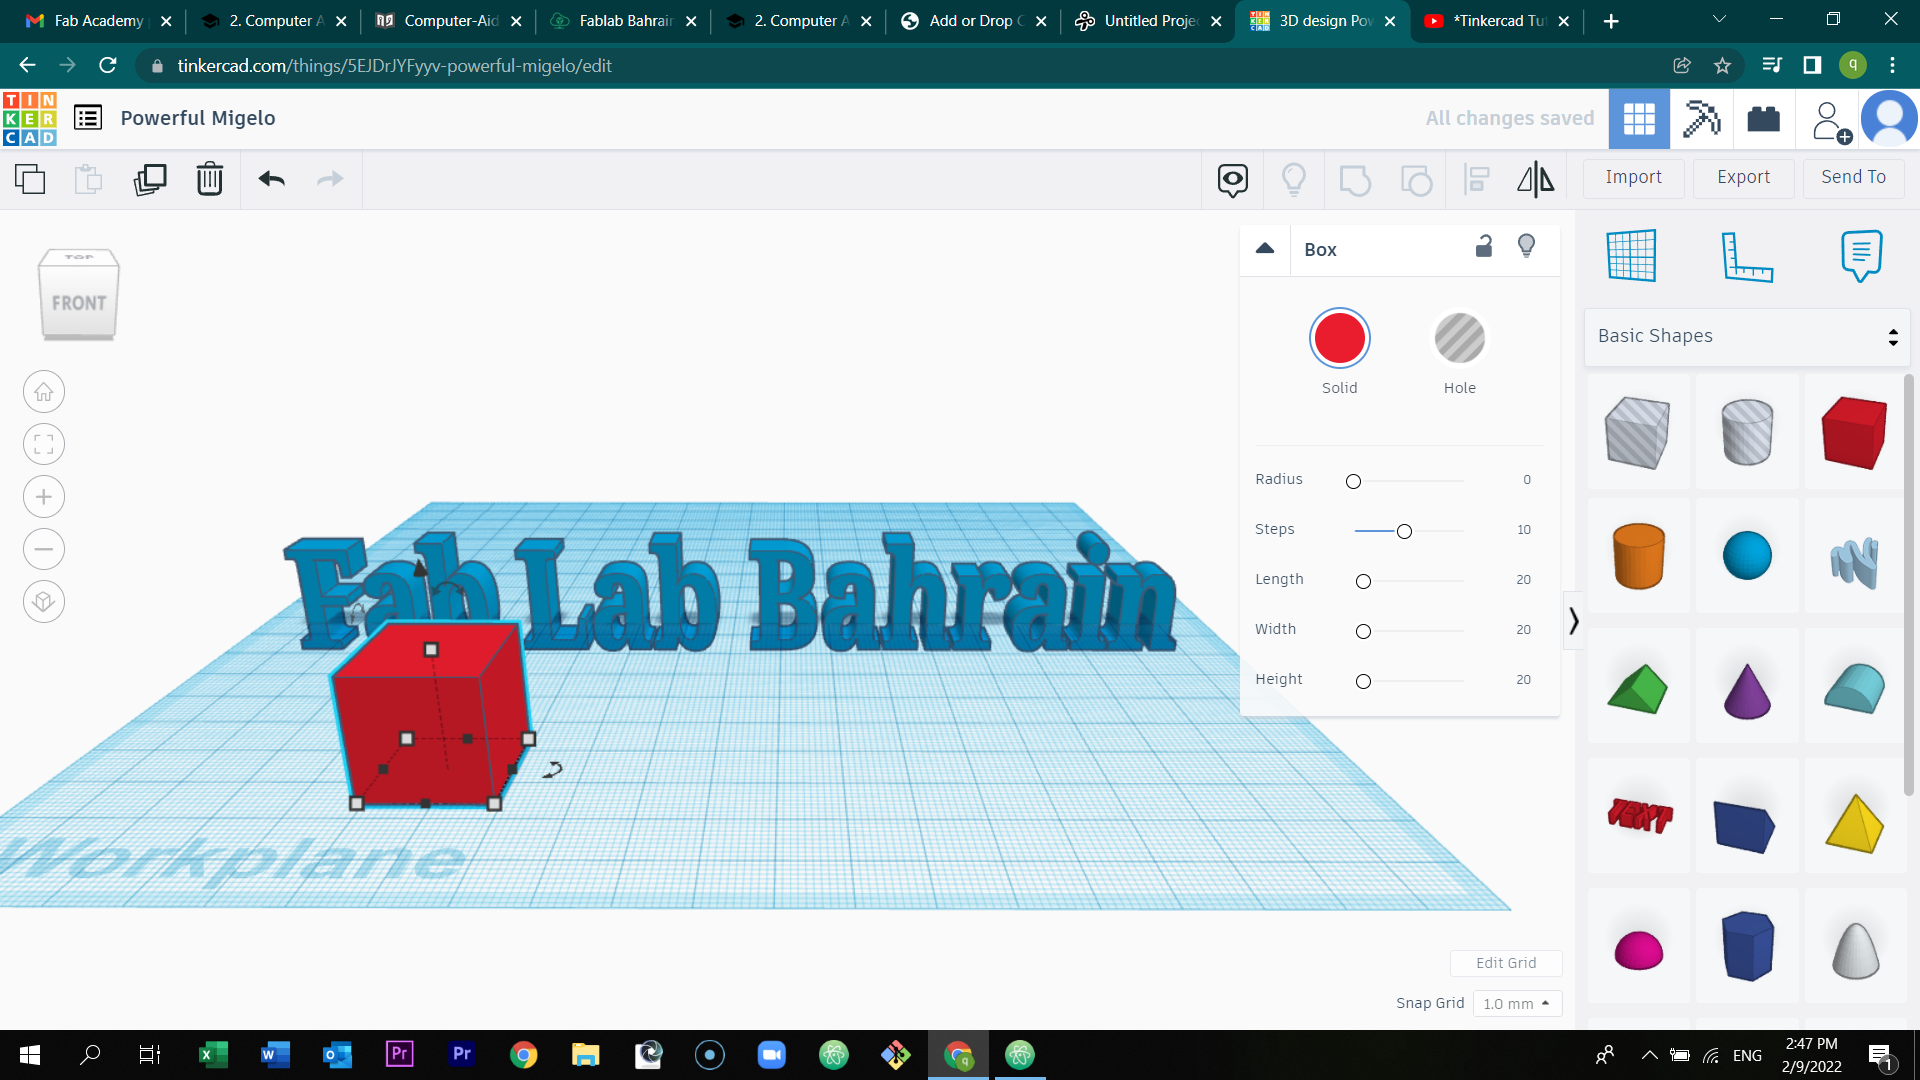
Stretch the box shape and place it between the words.
Change the color of the stretched box to blue.
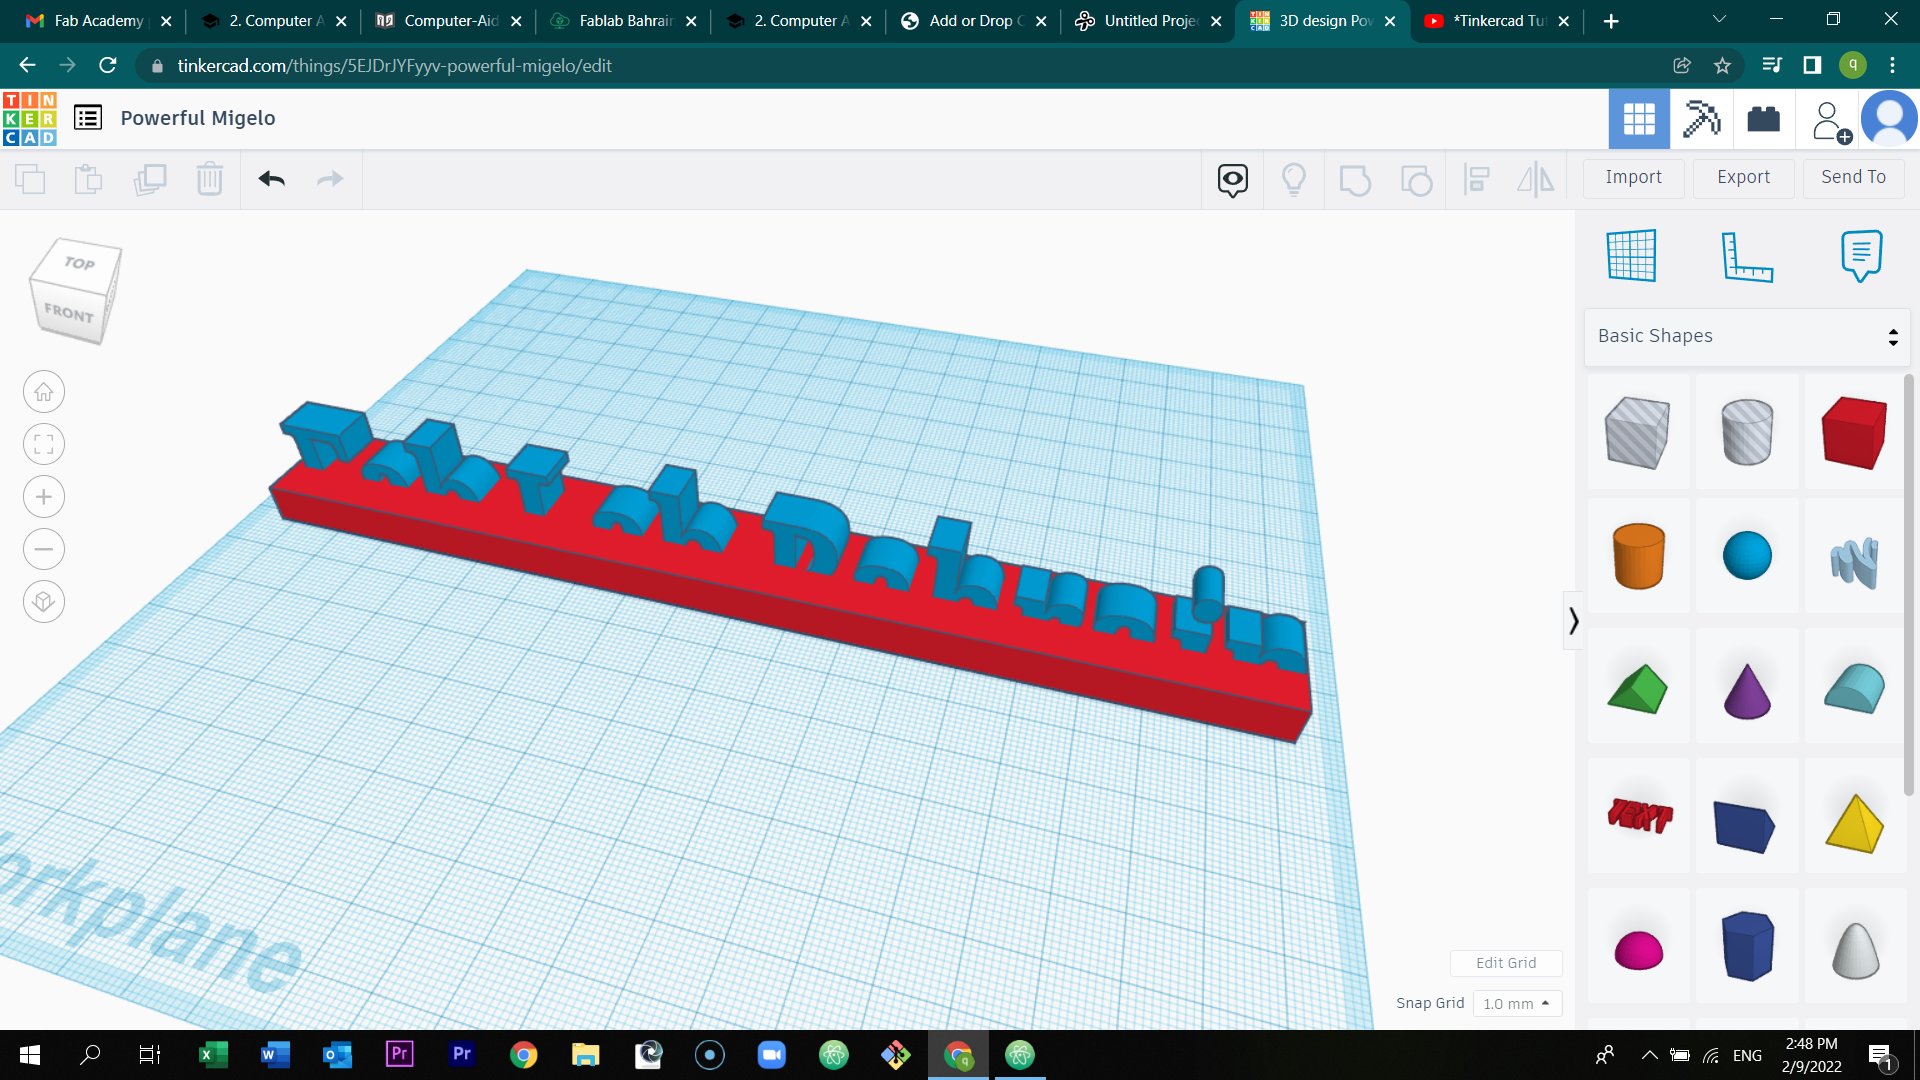
Move the words above the stretched box, by clicking at the black arrow and dragging the words upward.
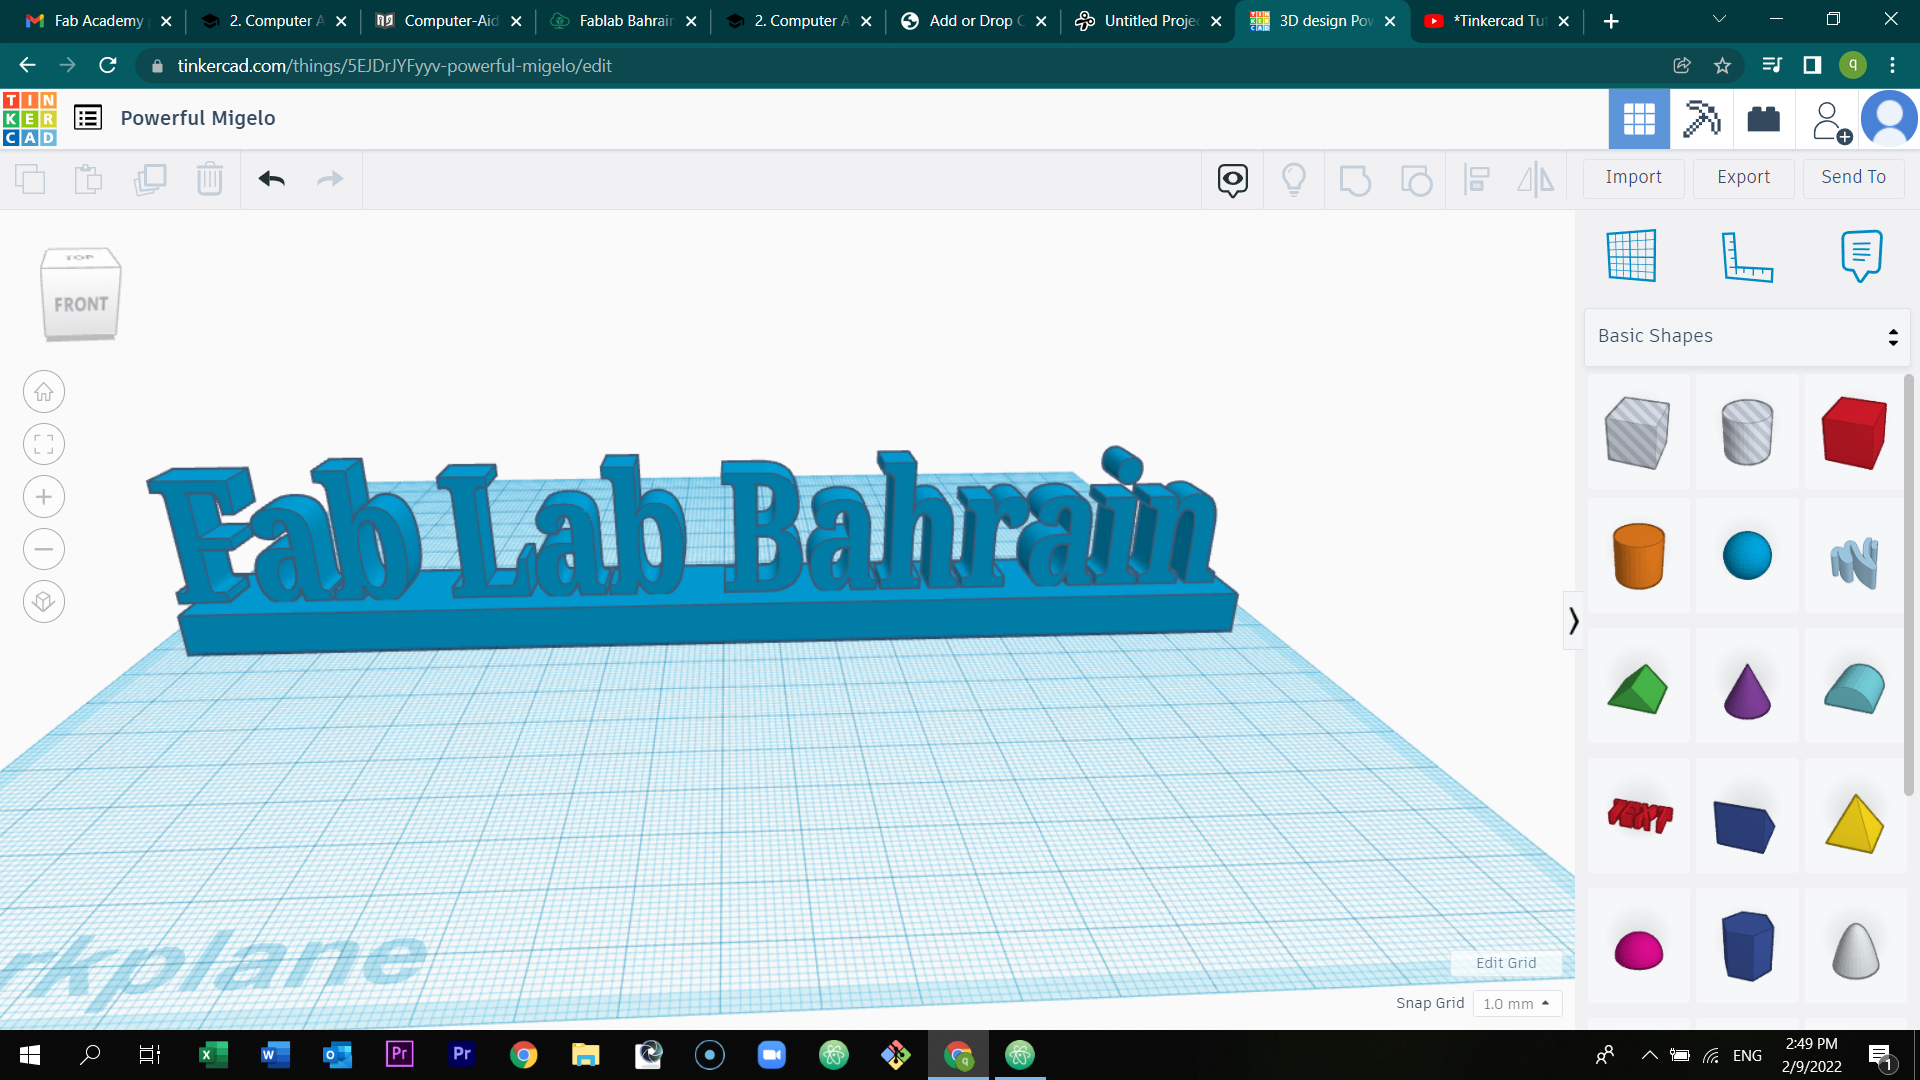
Change the radius of the shape to make more creative and neat.

Final Result
Preview the model below
.
Click here to download and edit the design
4) Solid works
Solid works is a software that enables you to design any 3d object.
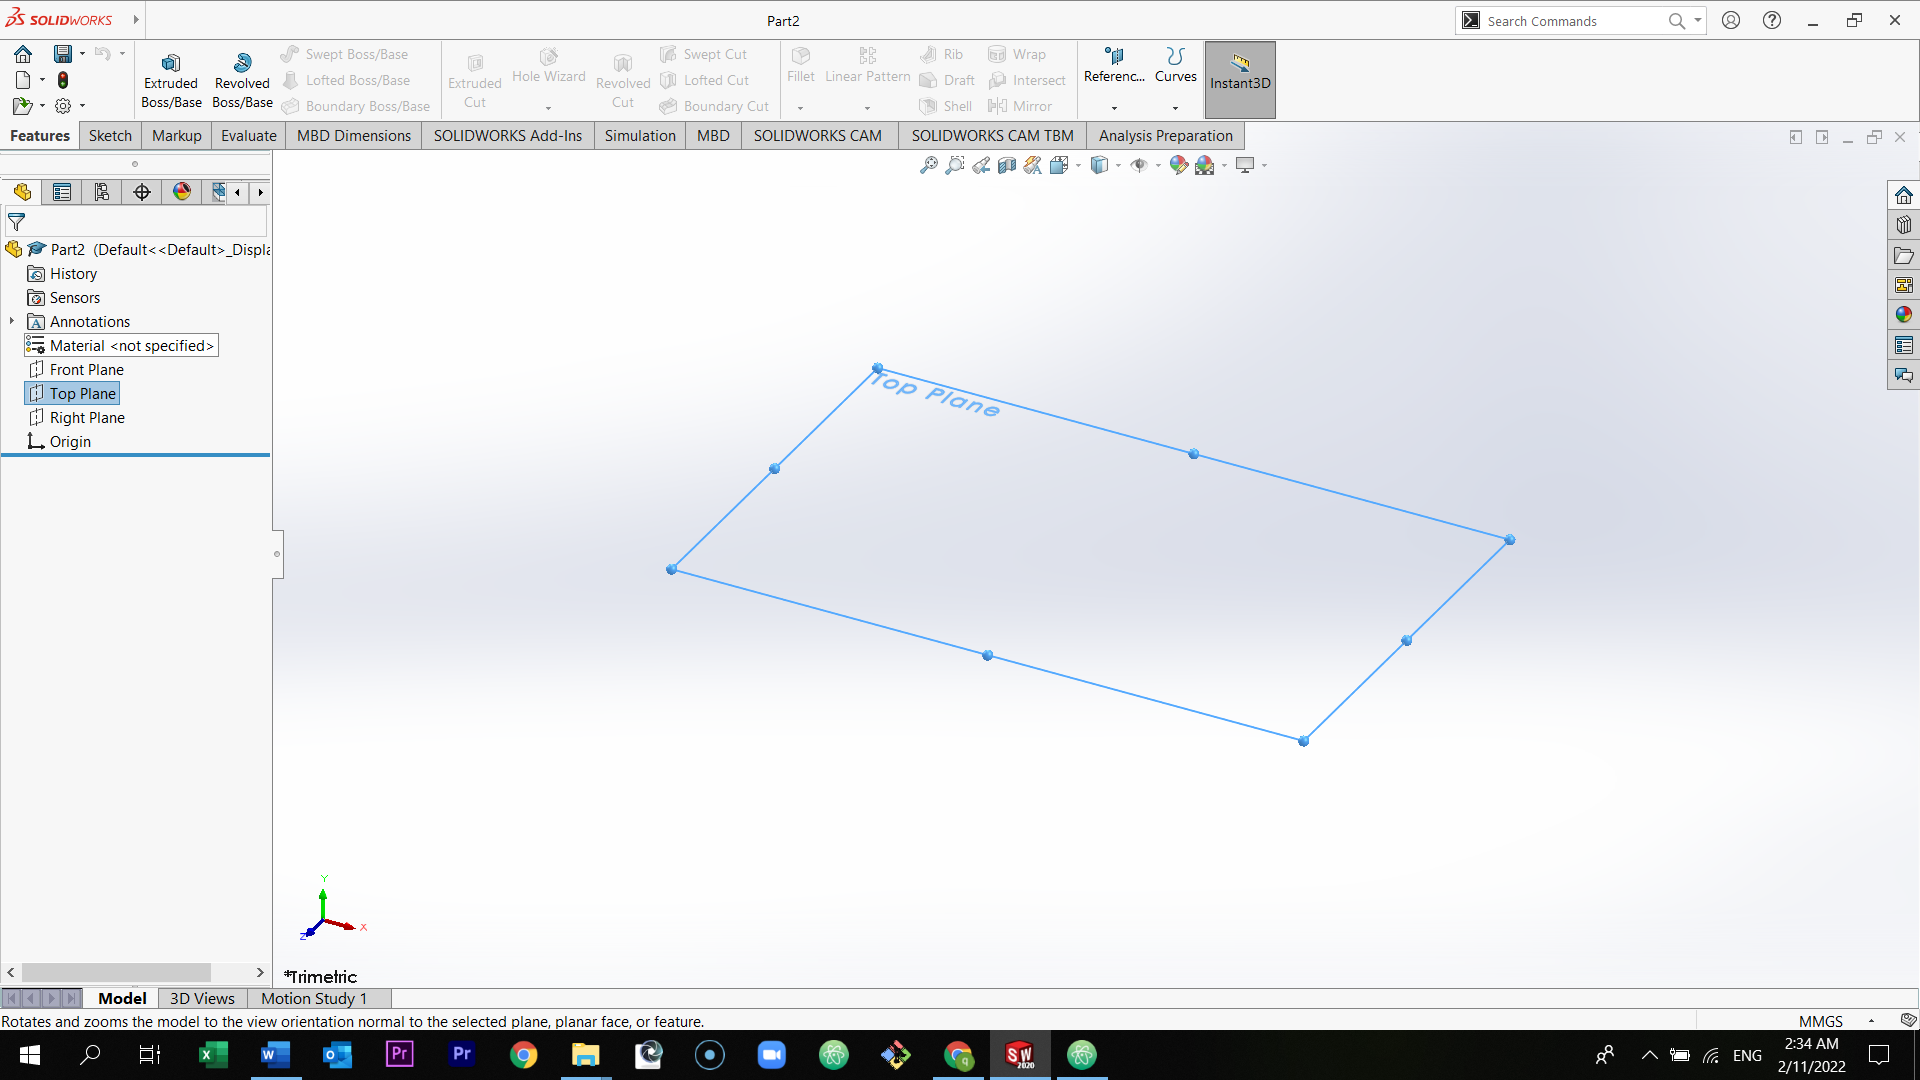
Open solid works and select the home icon which is located at the top left of the page. Then select part.
Select the top plane.
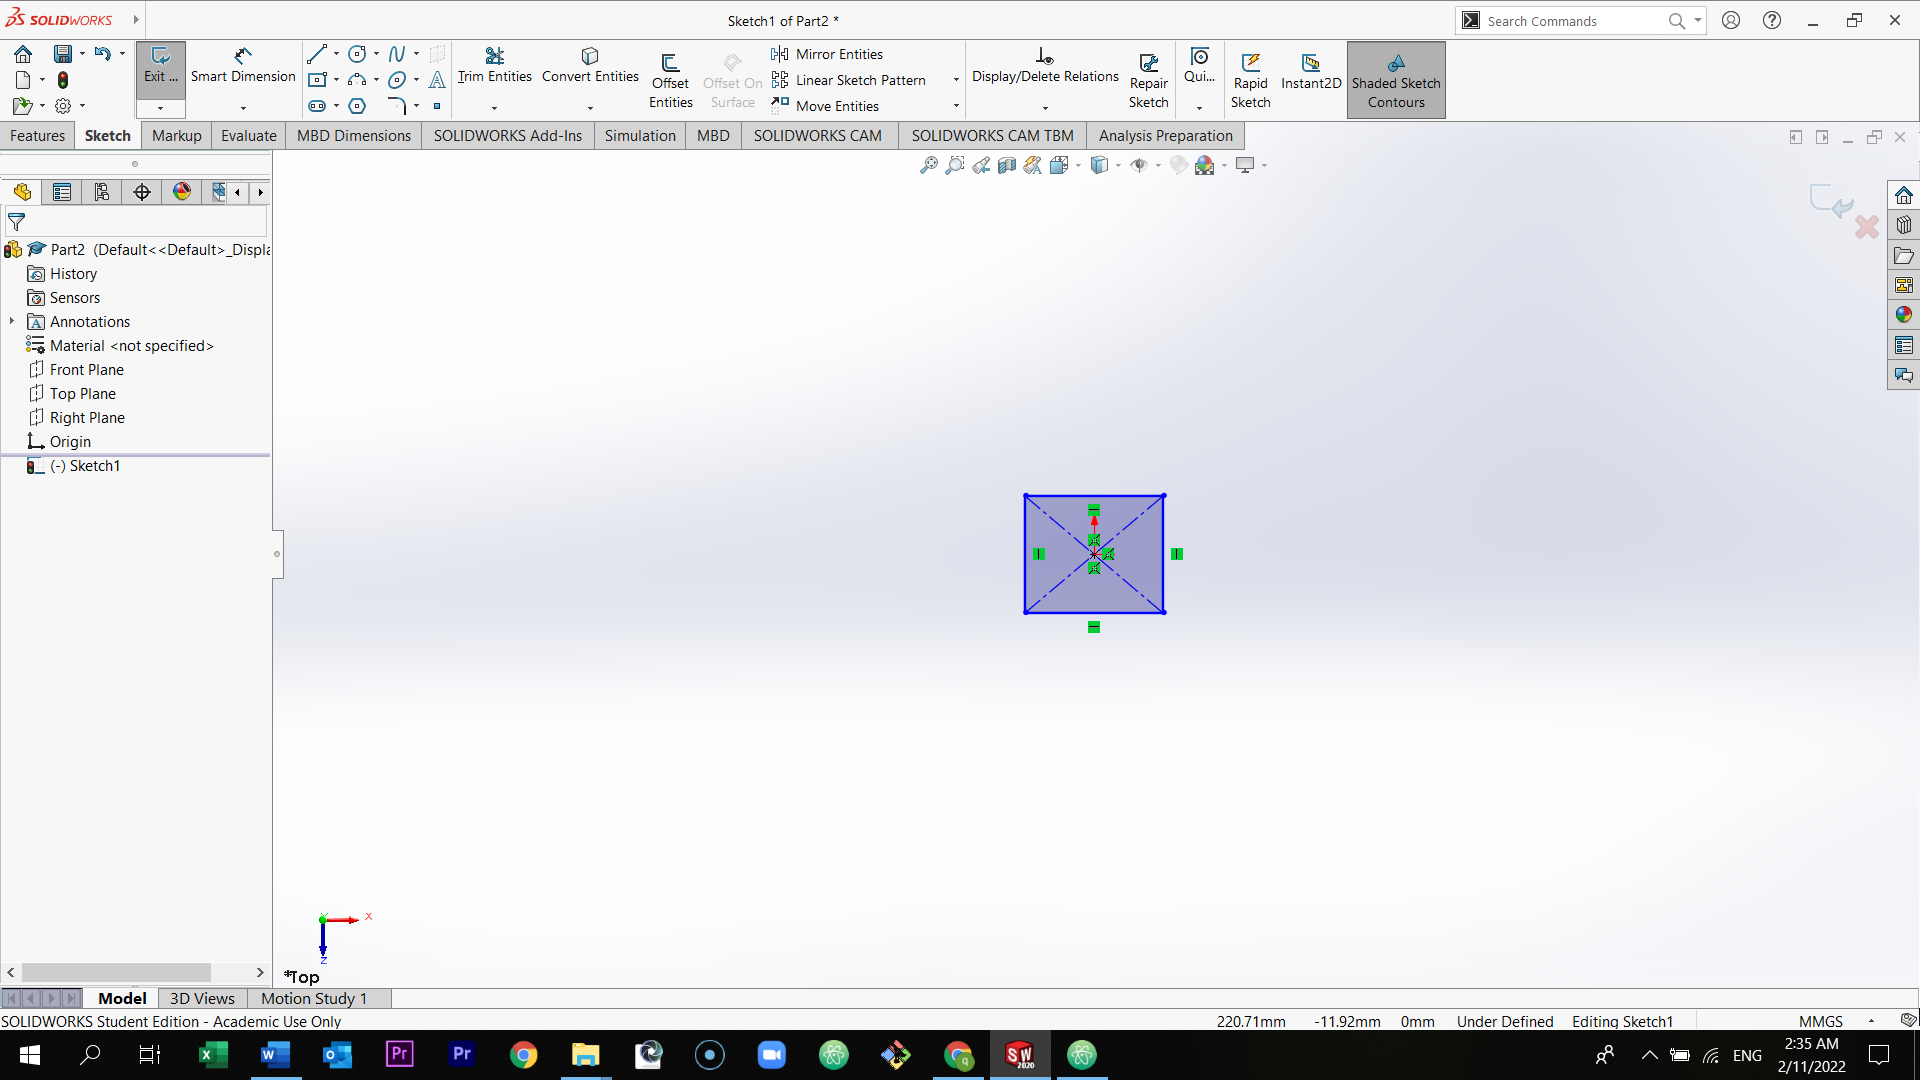
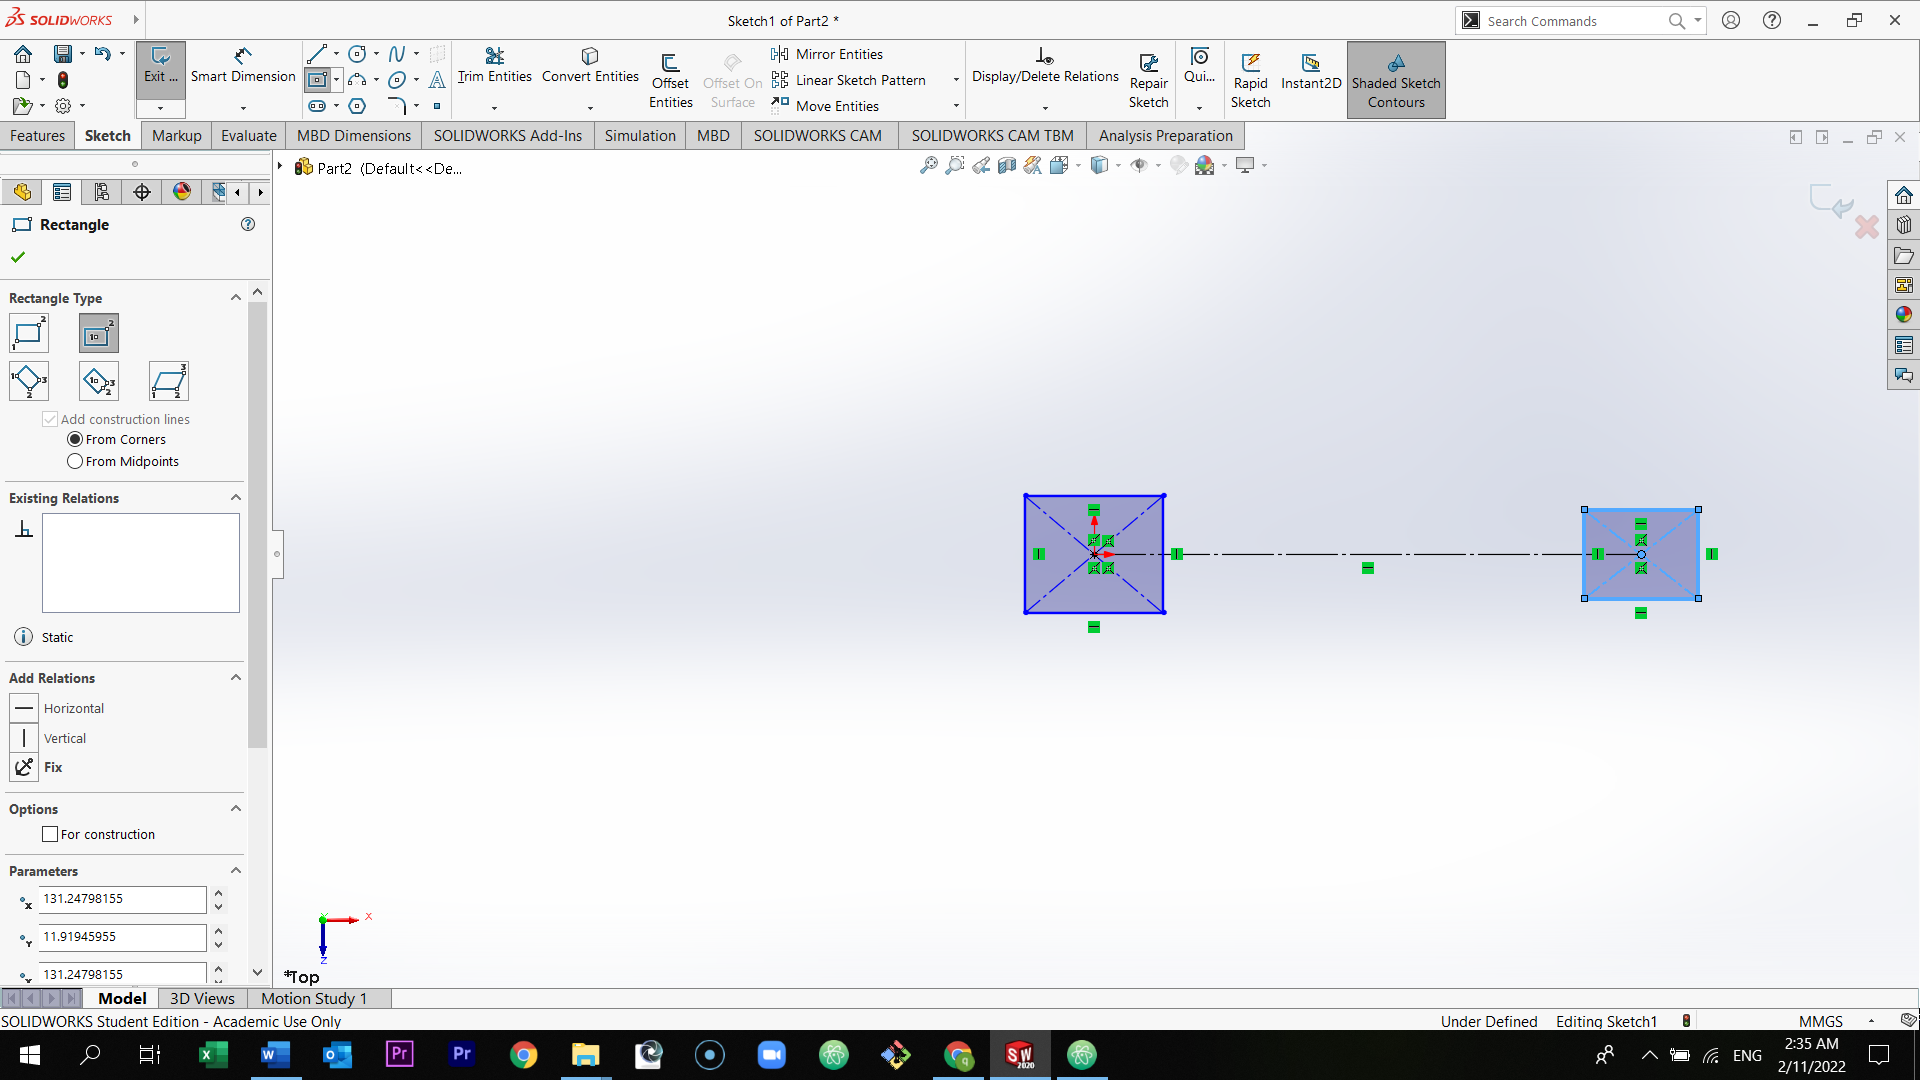
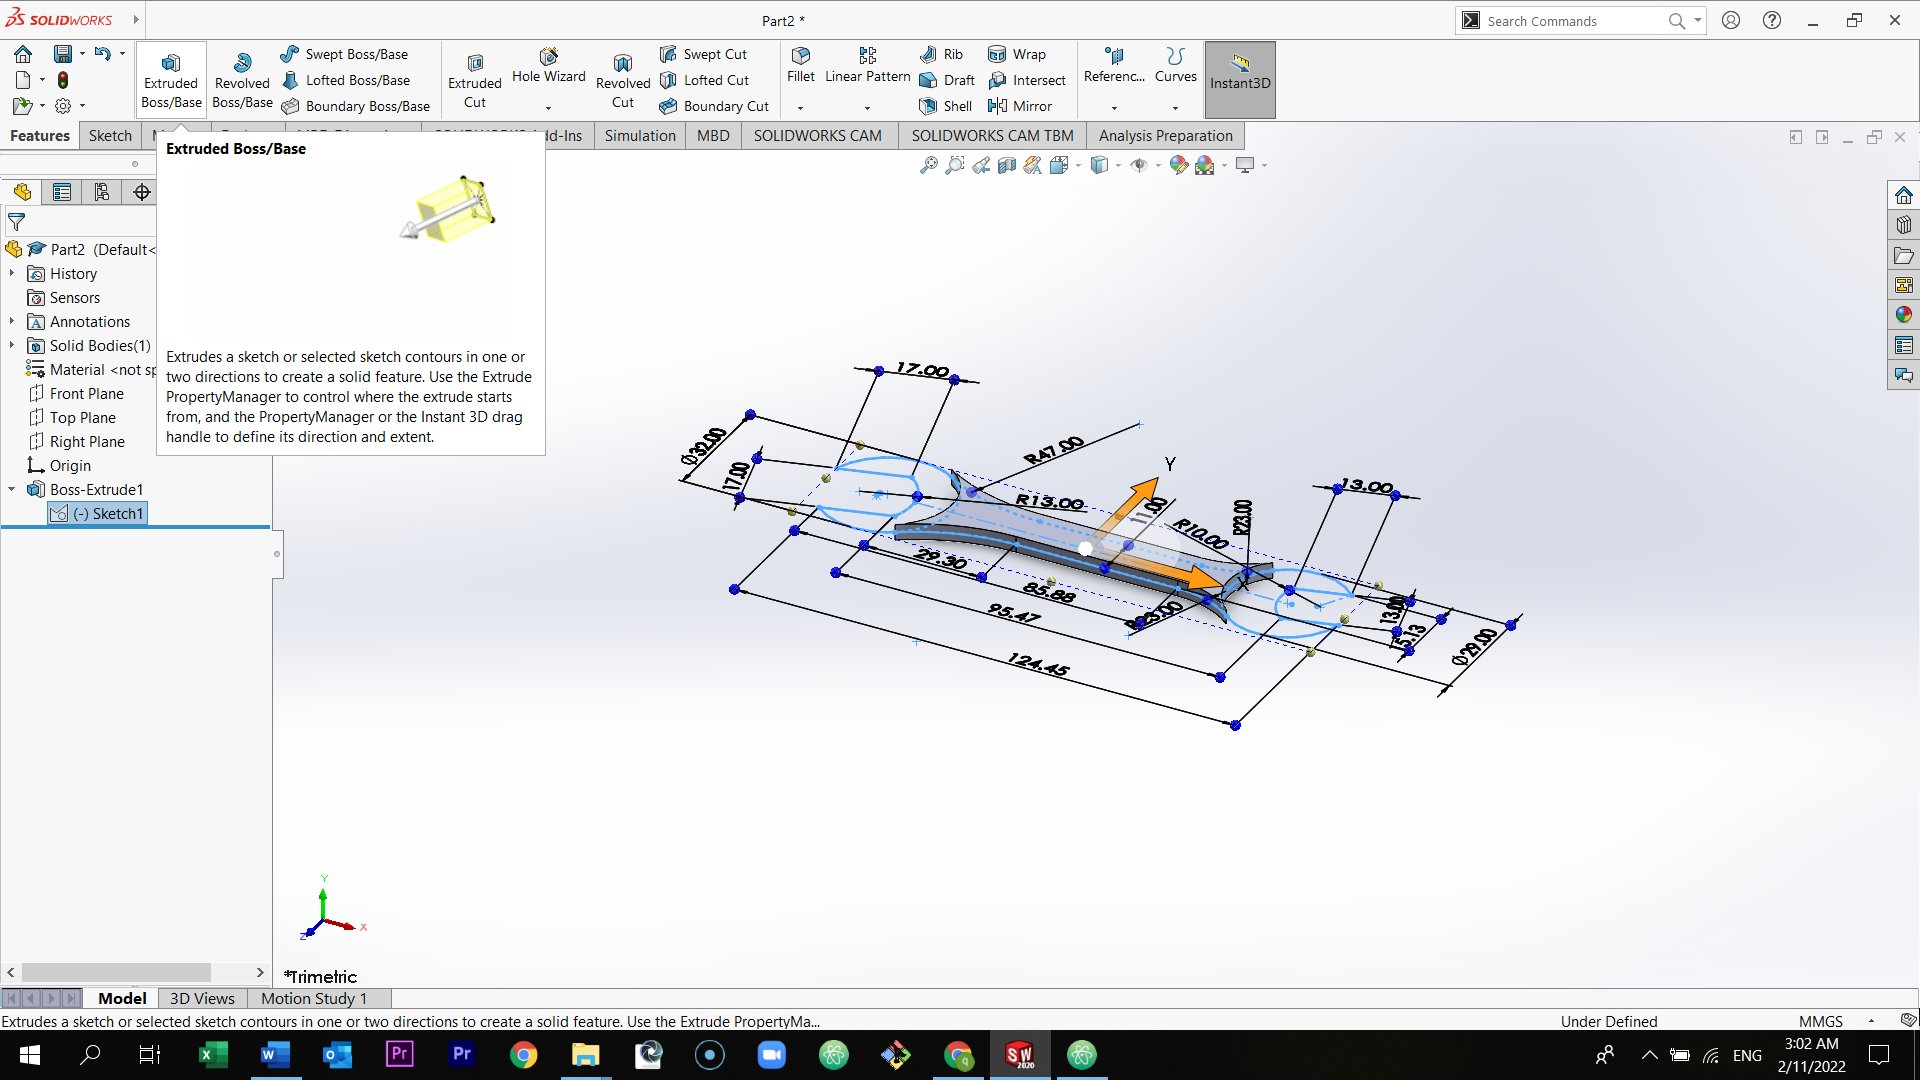
Select the center rectangle and draw it in the center of the page.

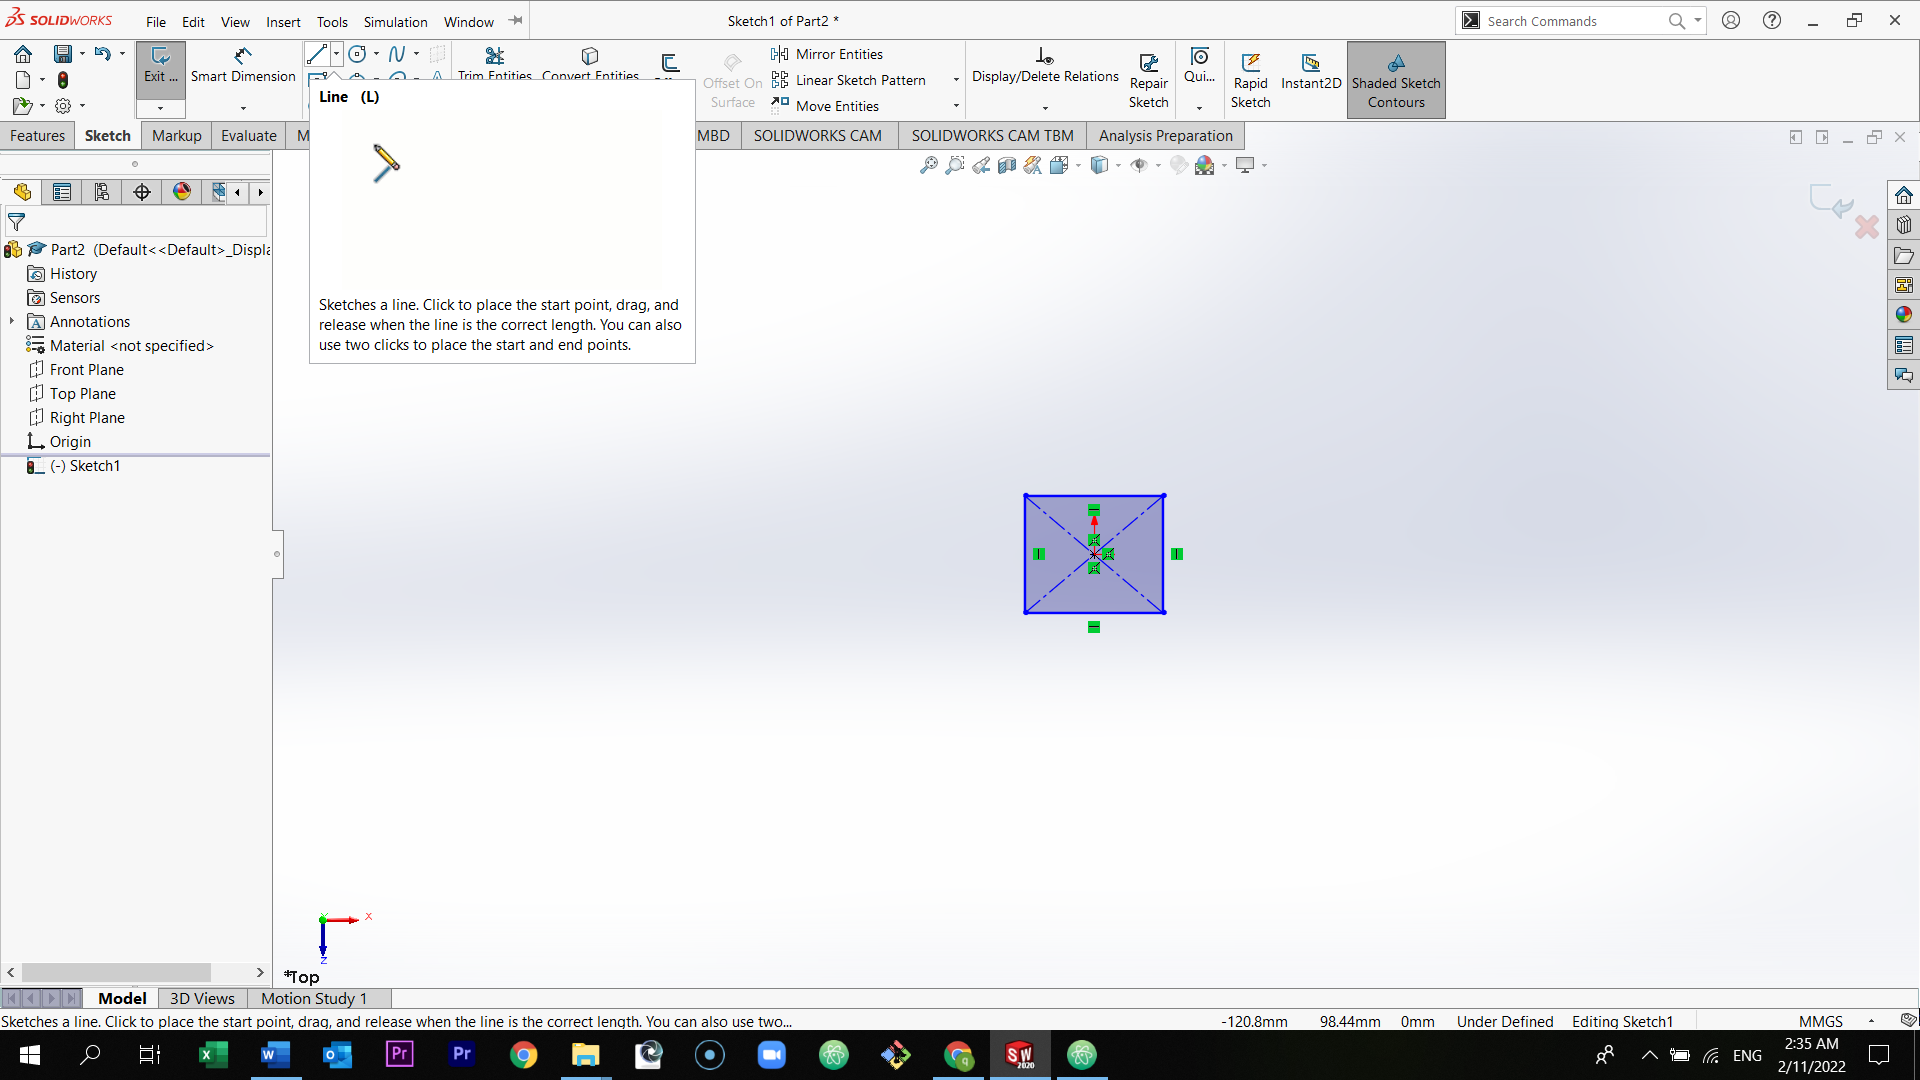
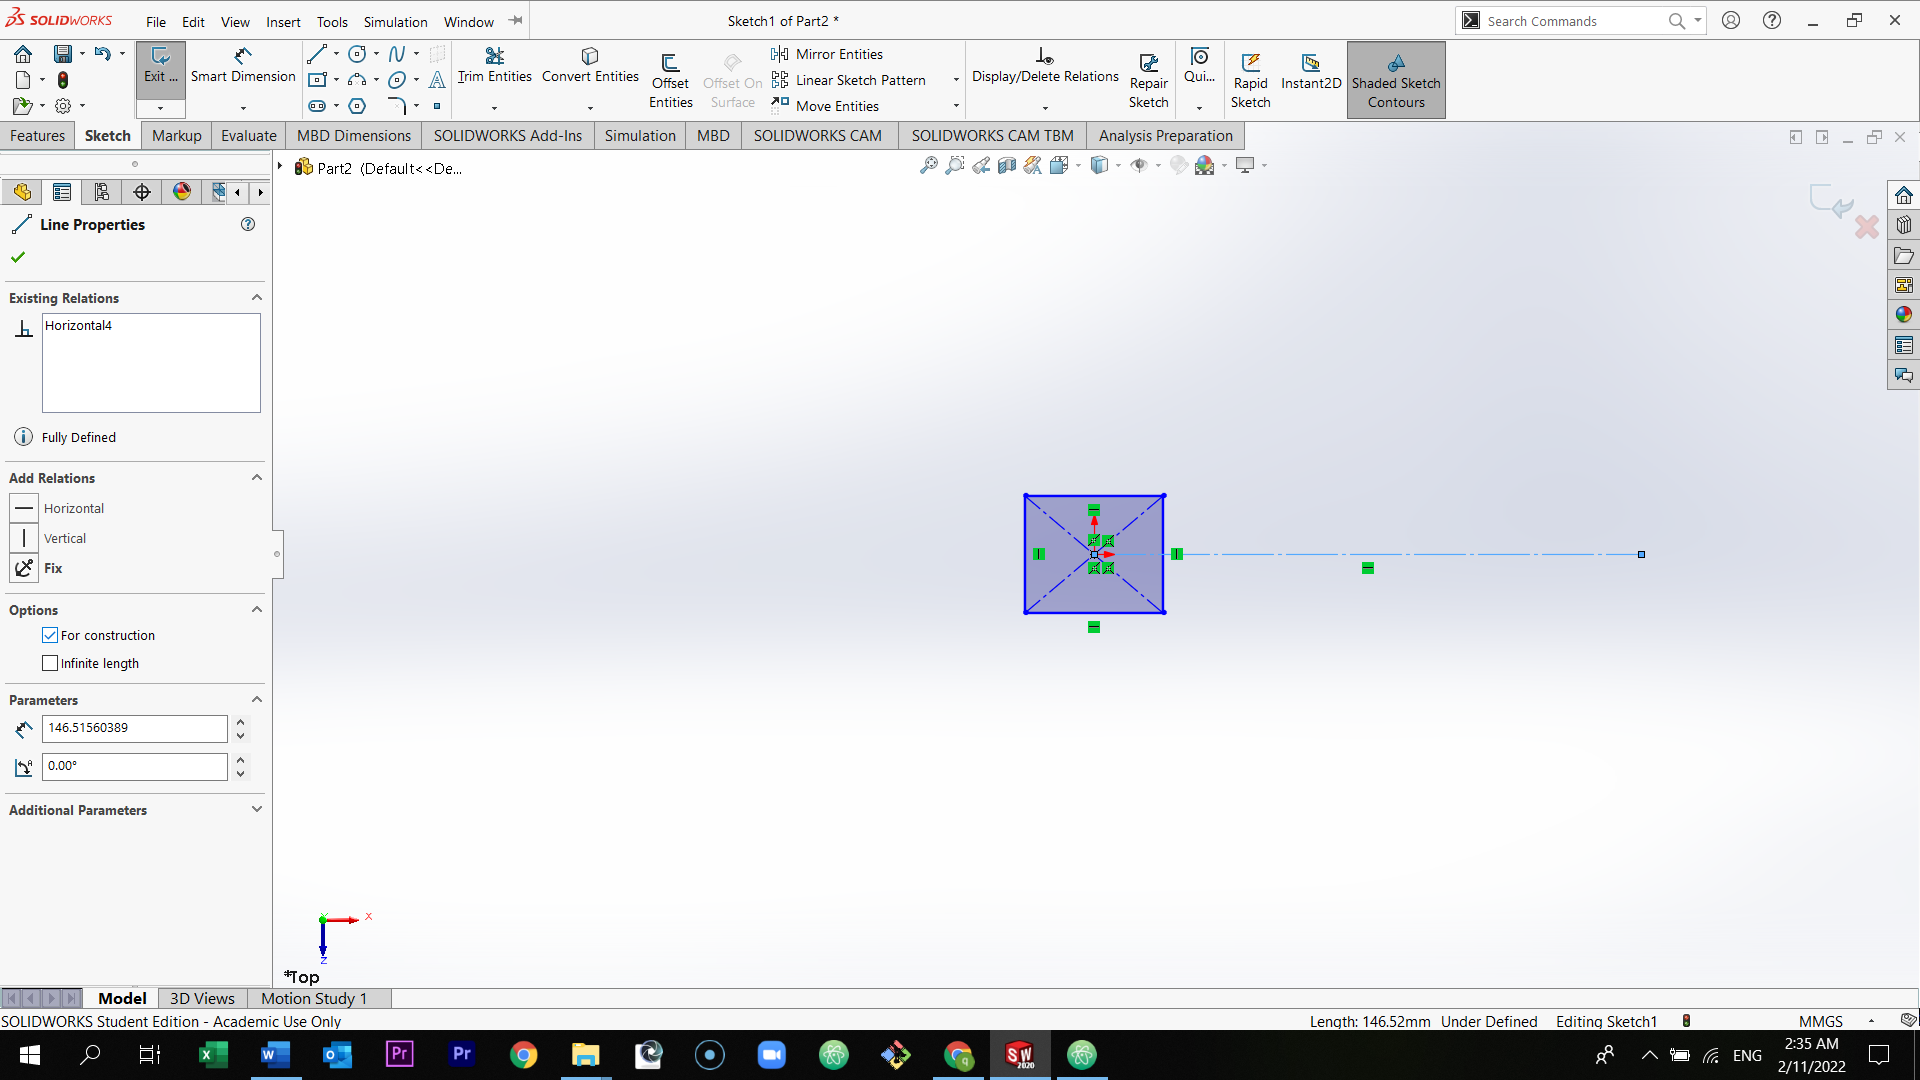
Select the line and draw it from the center of the rectangle to anywhere in the page. Select the line and in the left of the page select for construction.
Draw a second center rectangle.
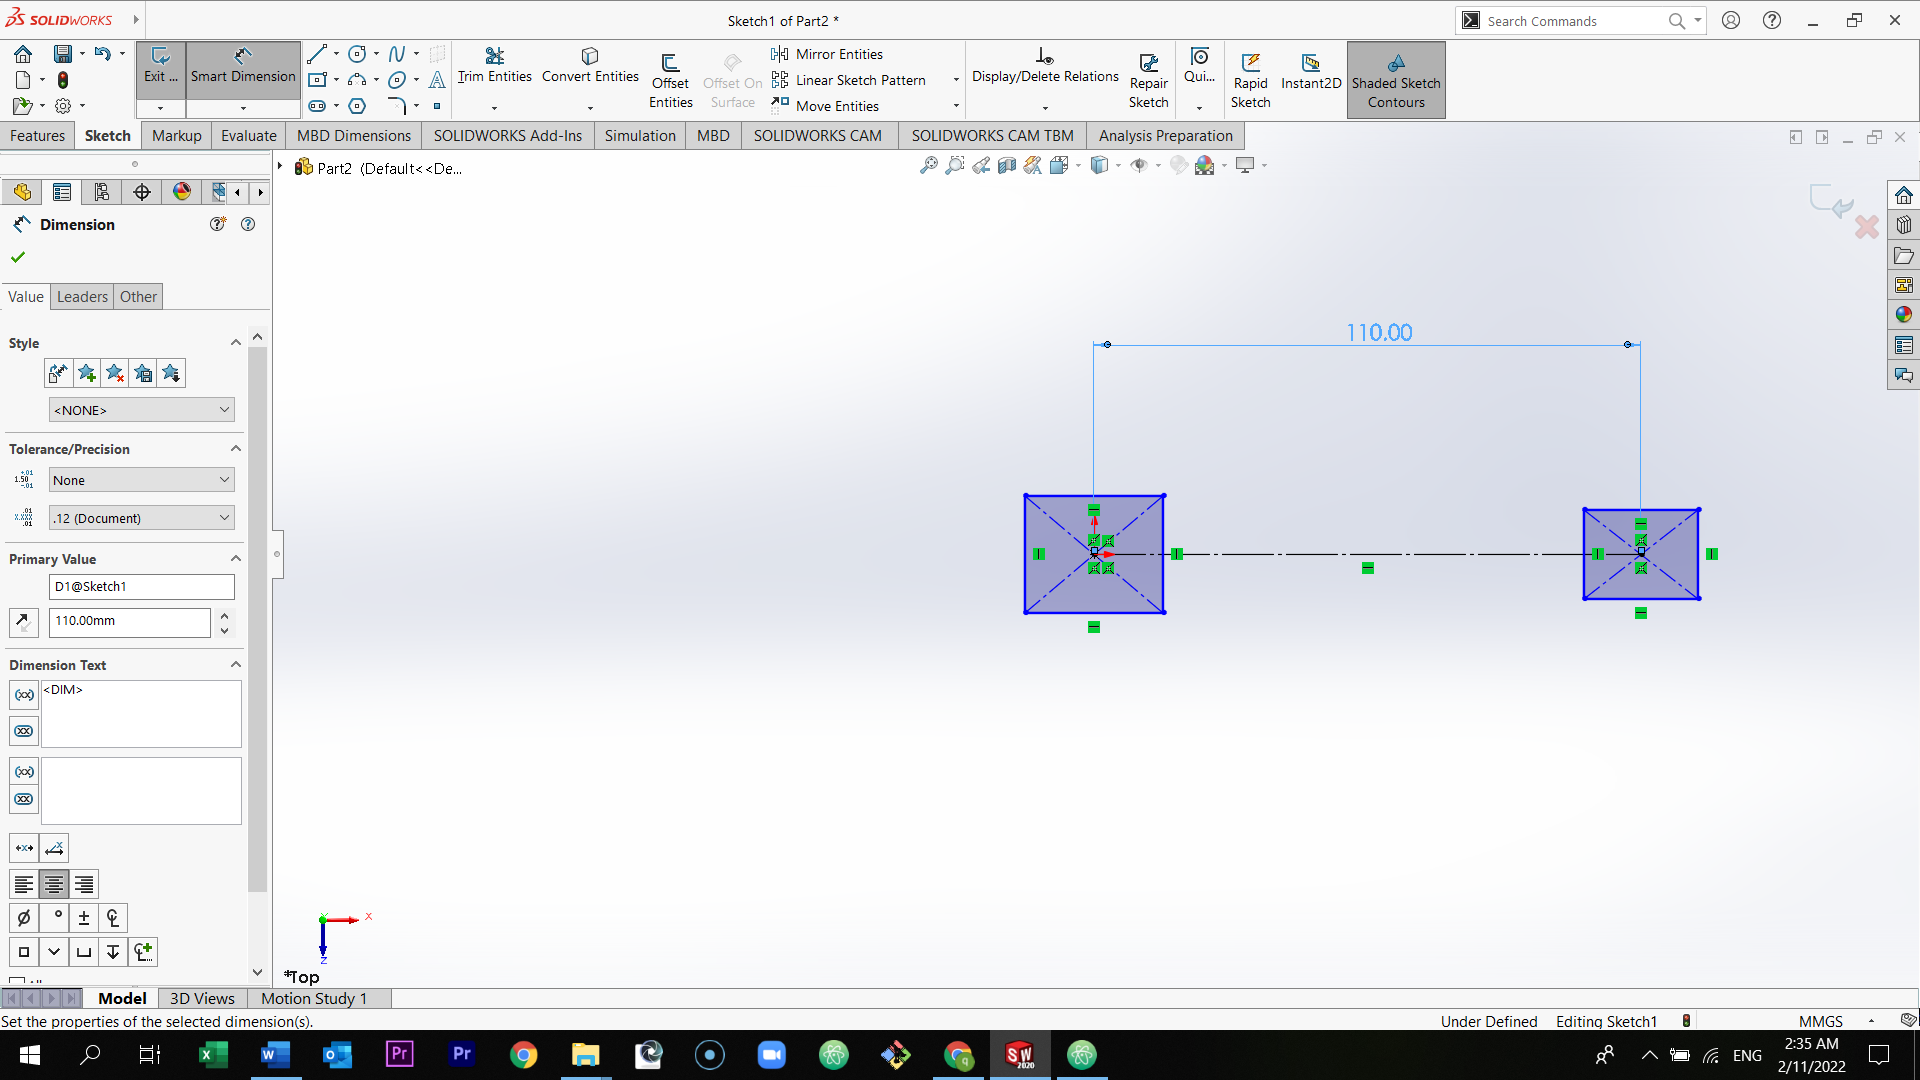
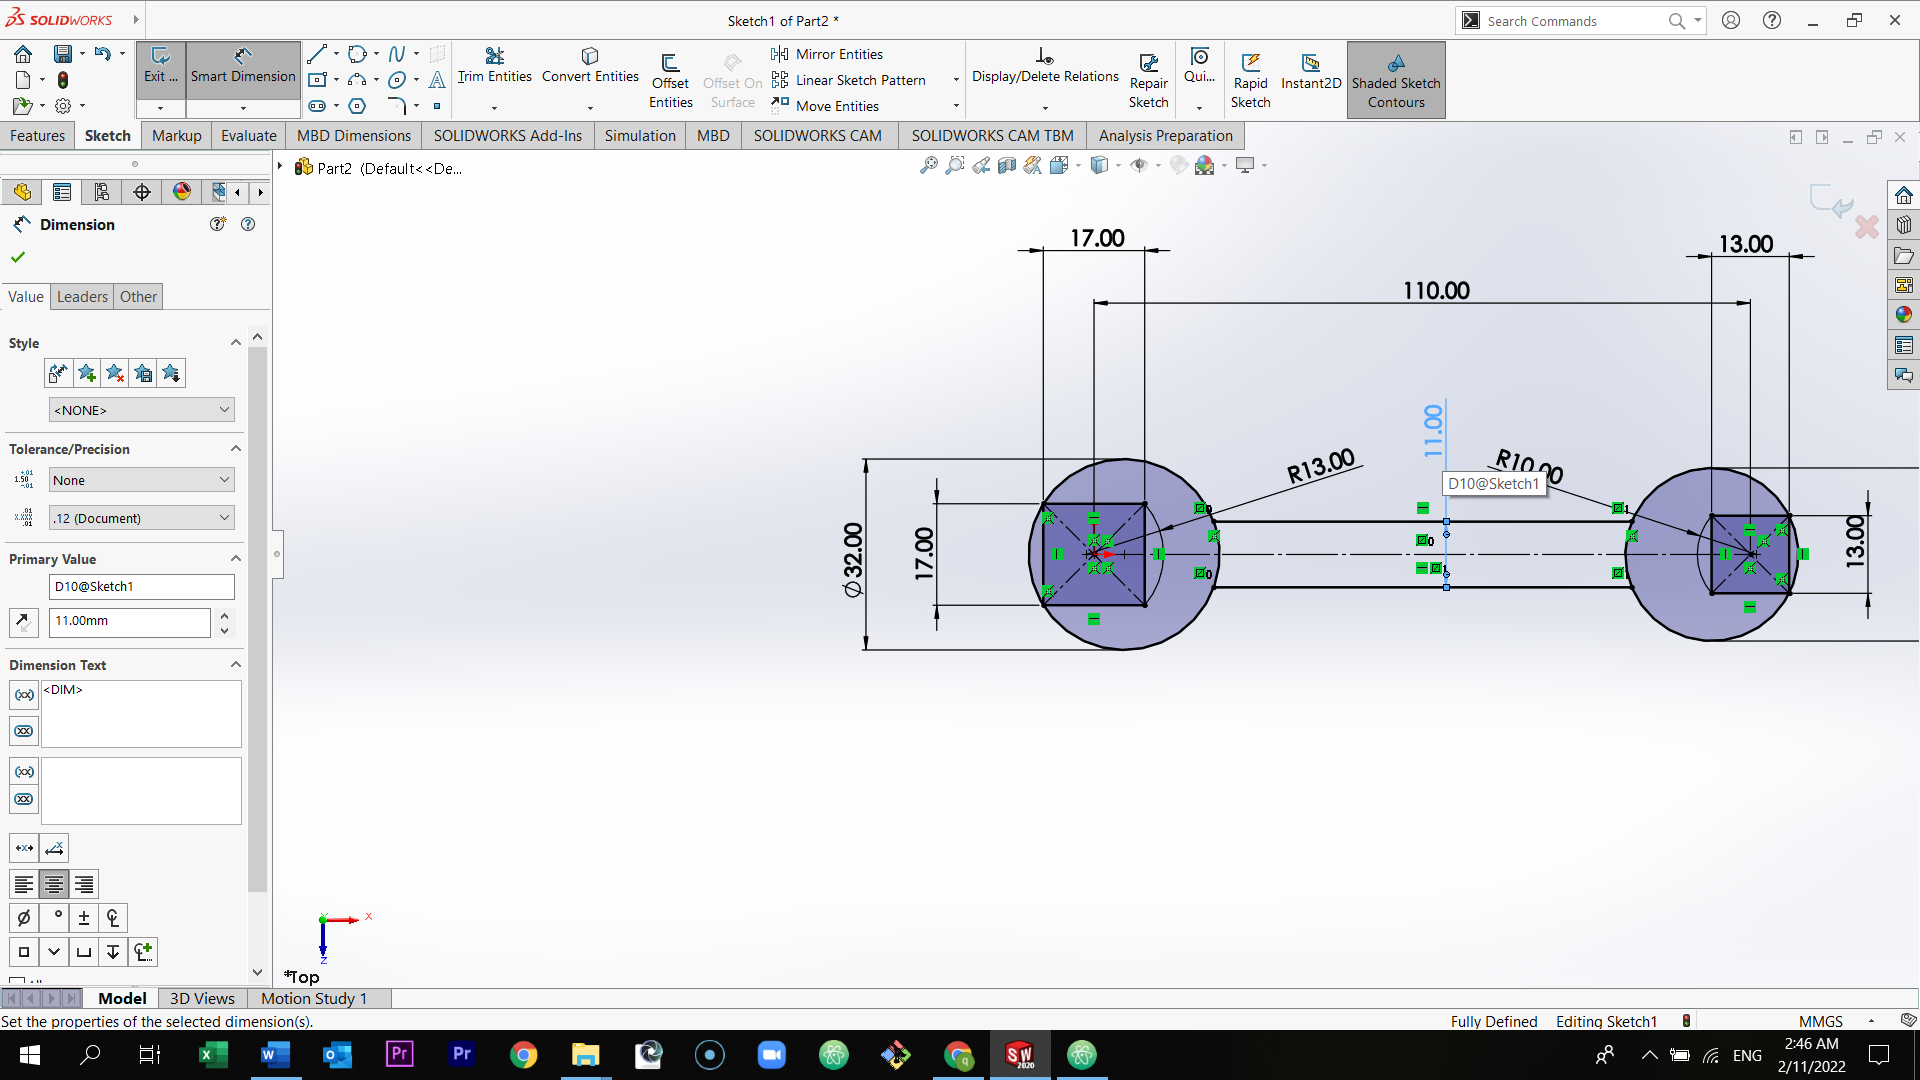
Select smart dimension and select the two points shown in the picture below. (The smart dimension measures the distances between any 2 point, adjust angles and etc.)

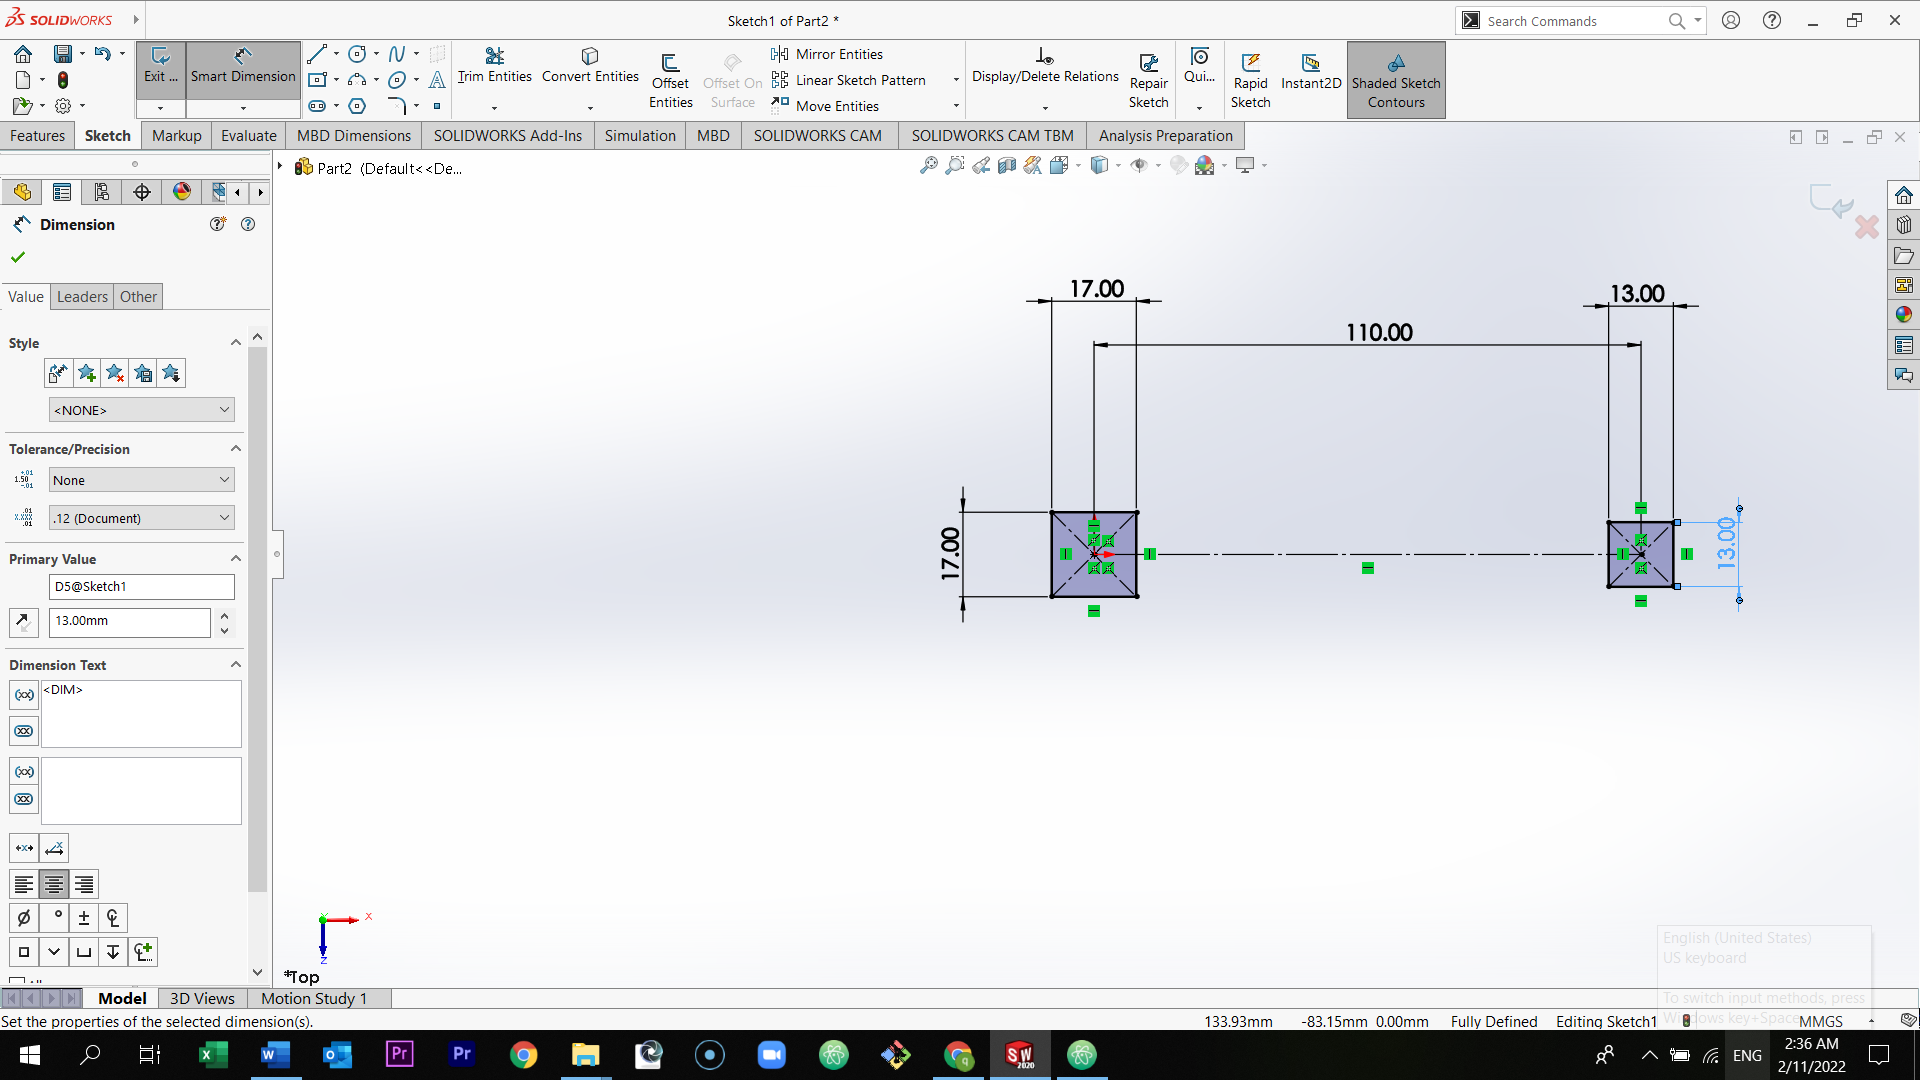
Continue with the smart dimension, and follow the measurements that are shown in the picture below.
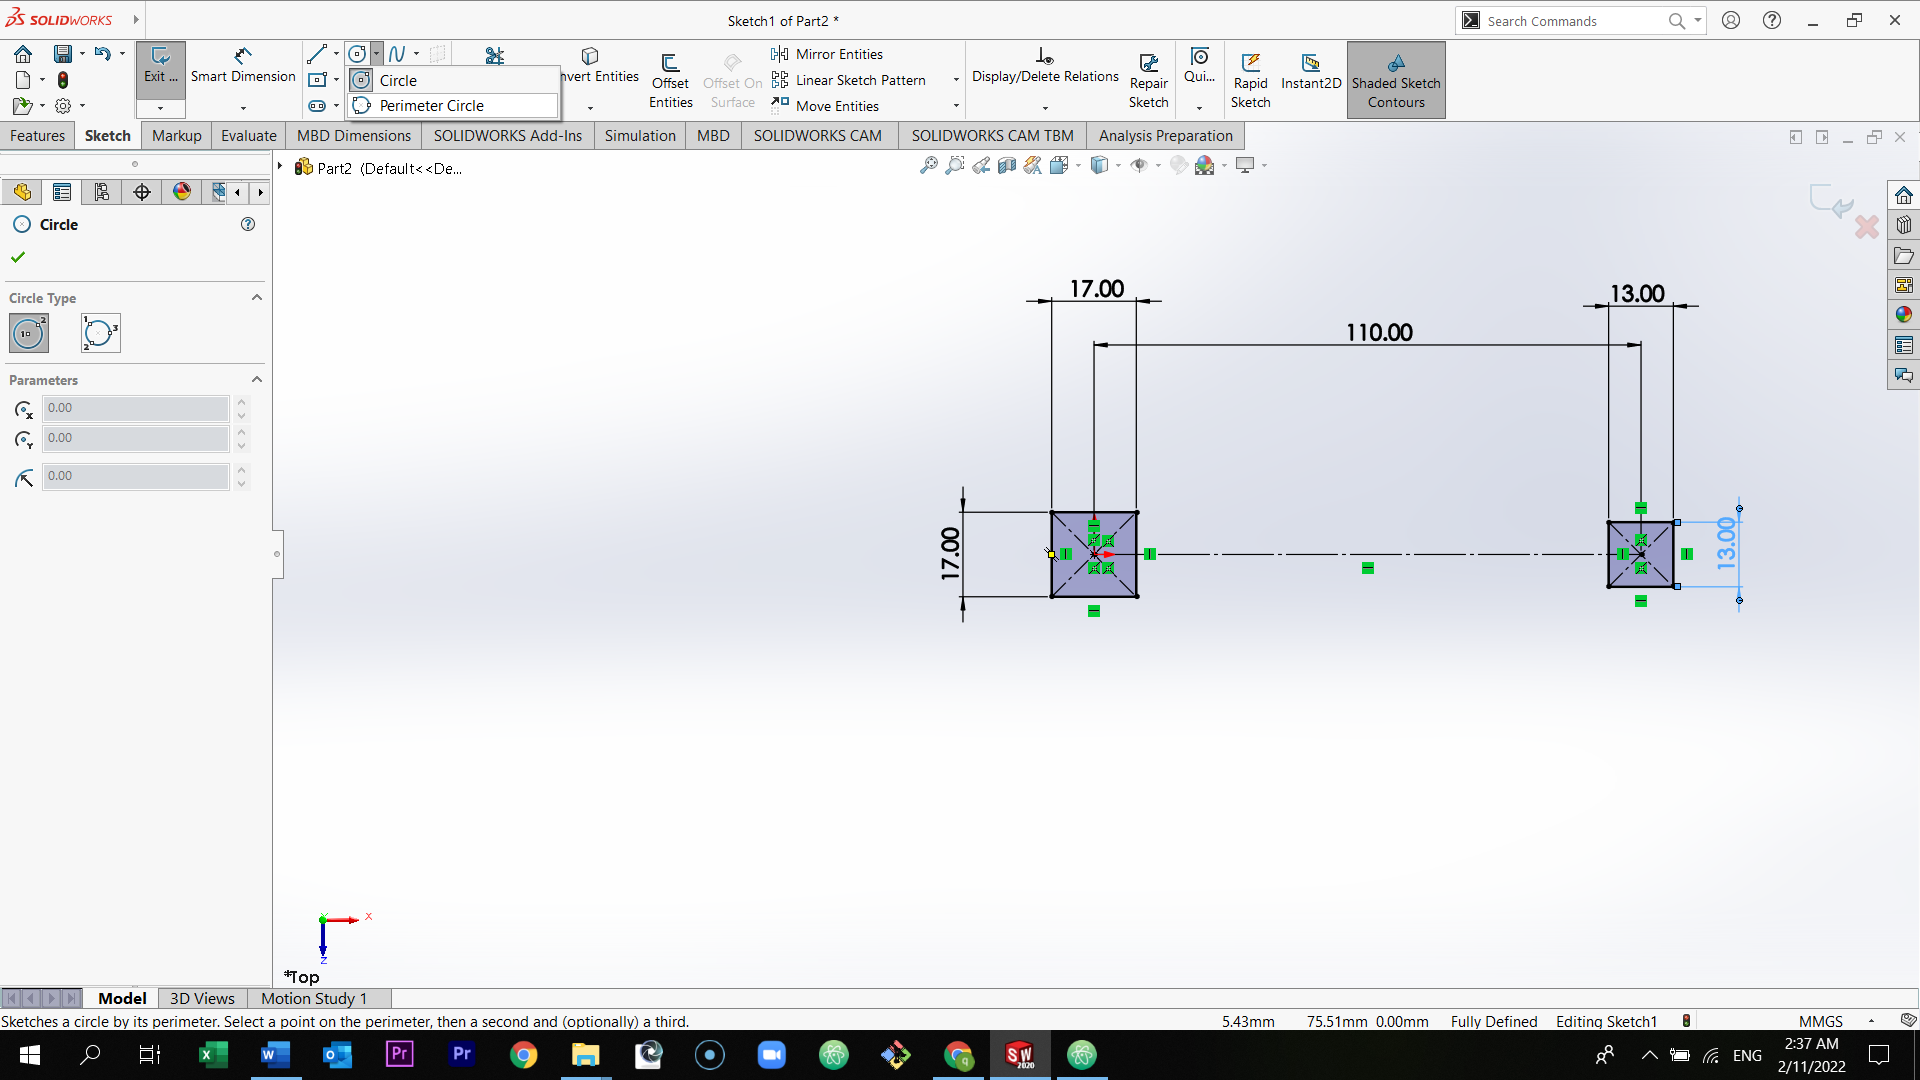
Select the perimeter circle icon, and draw the circle. Repeat the same step for the second side.
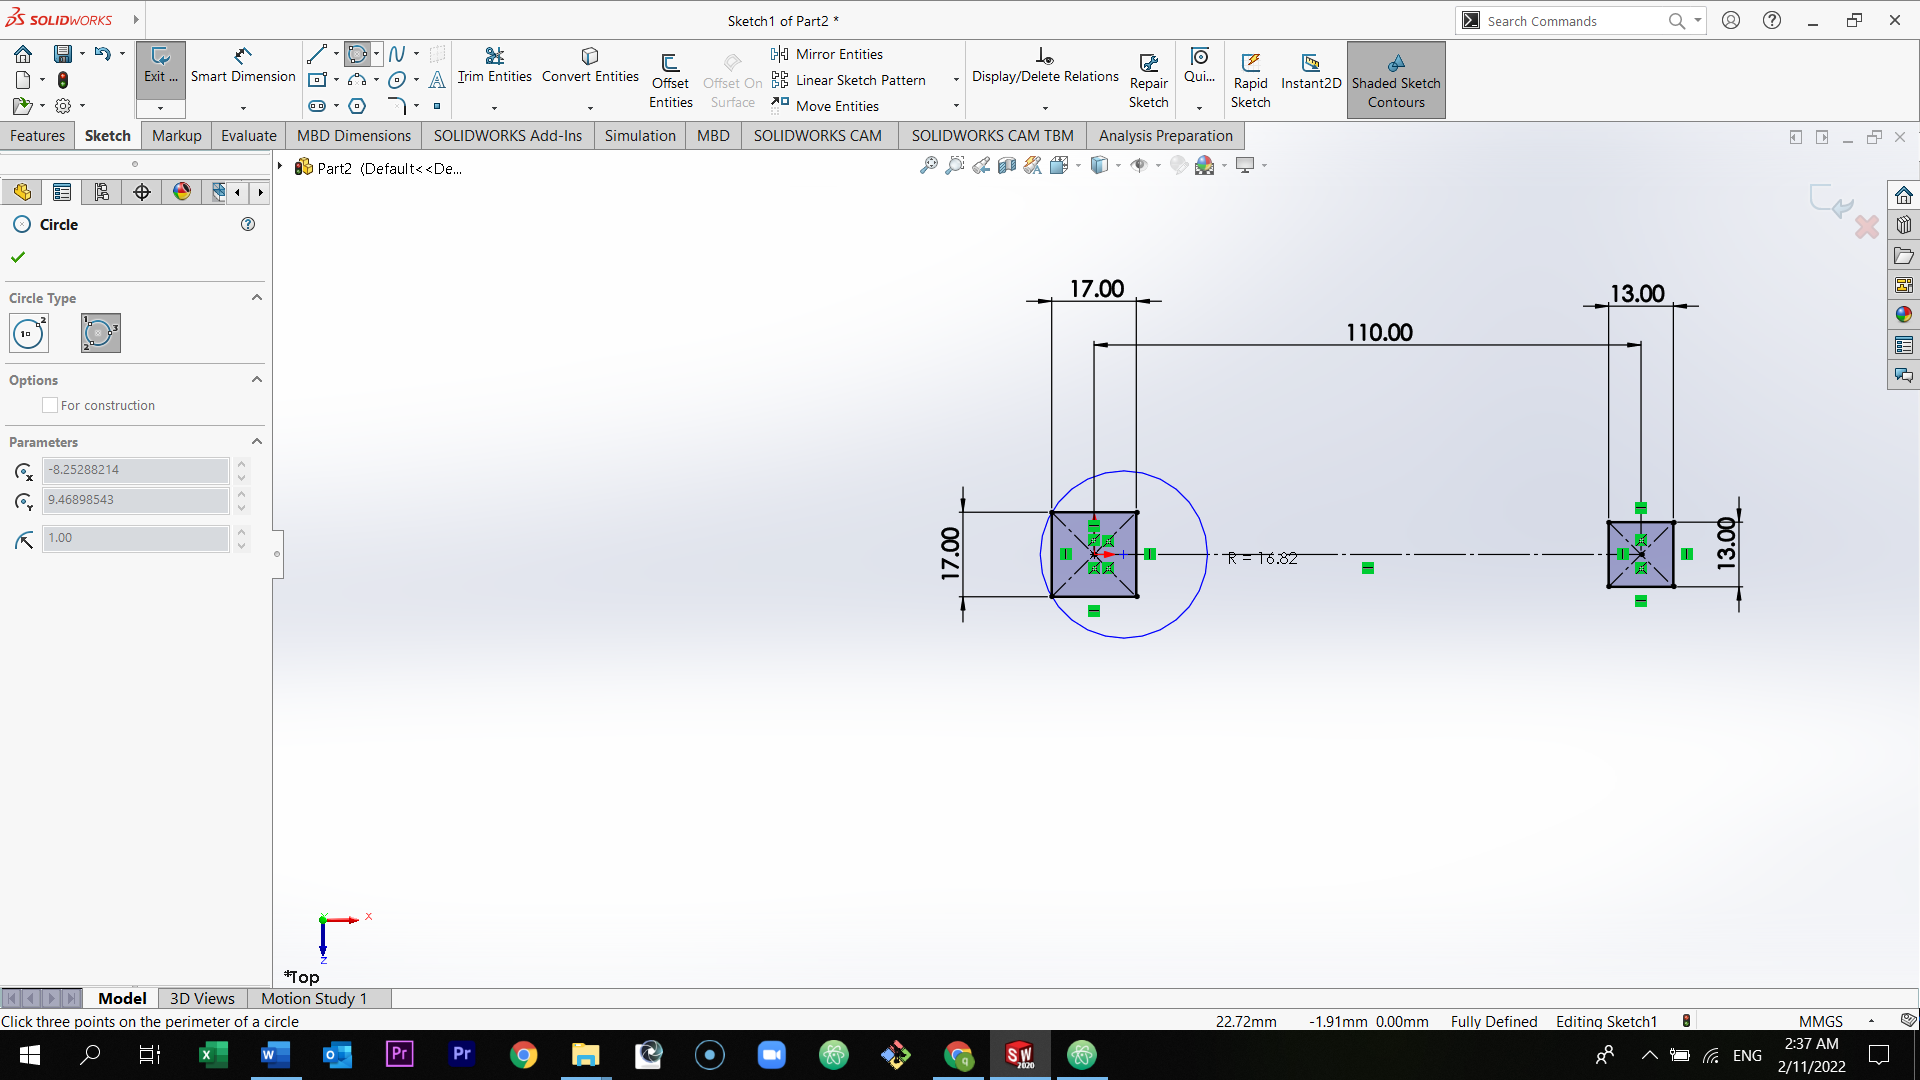
Follow the dimension of the circle as shown in the picture. Then, select the 3 point arc, and then select the two corners of the rectangle, and draw the arc.

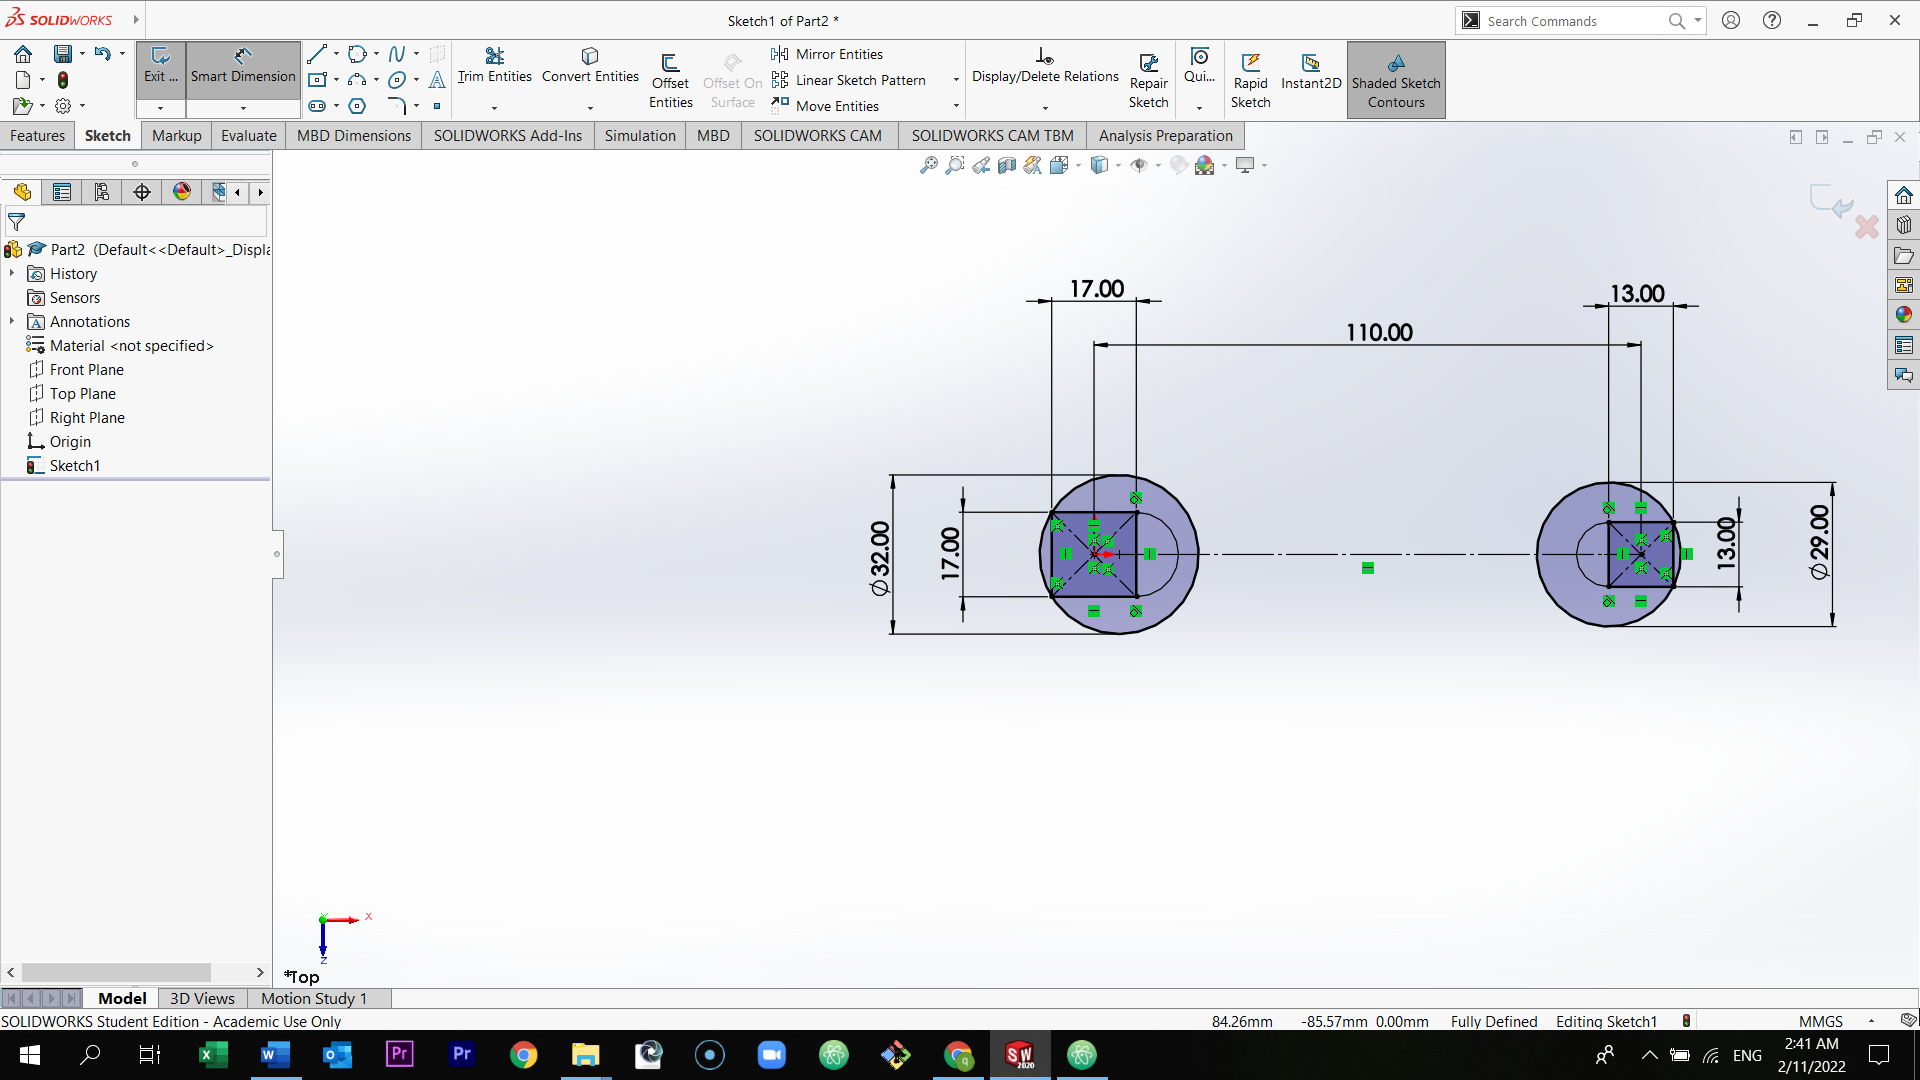
Put the dimensions of the arcs.

Select the line icon.

Draw a line from one of the circles to the another above the construction line.. Then select the mirror icon from the section above.
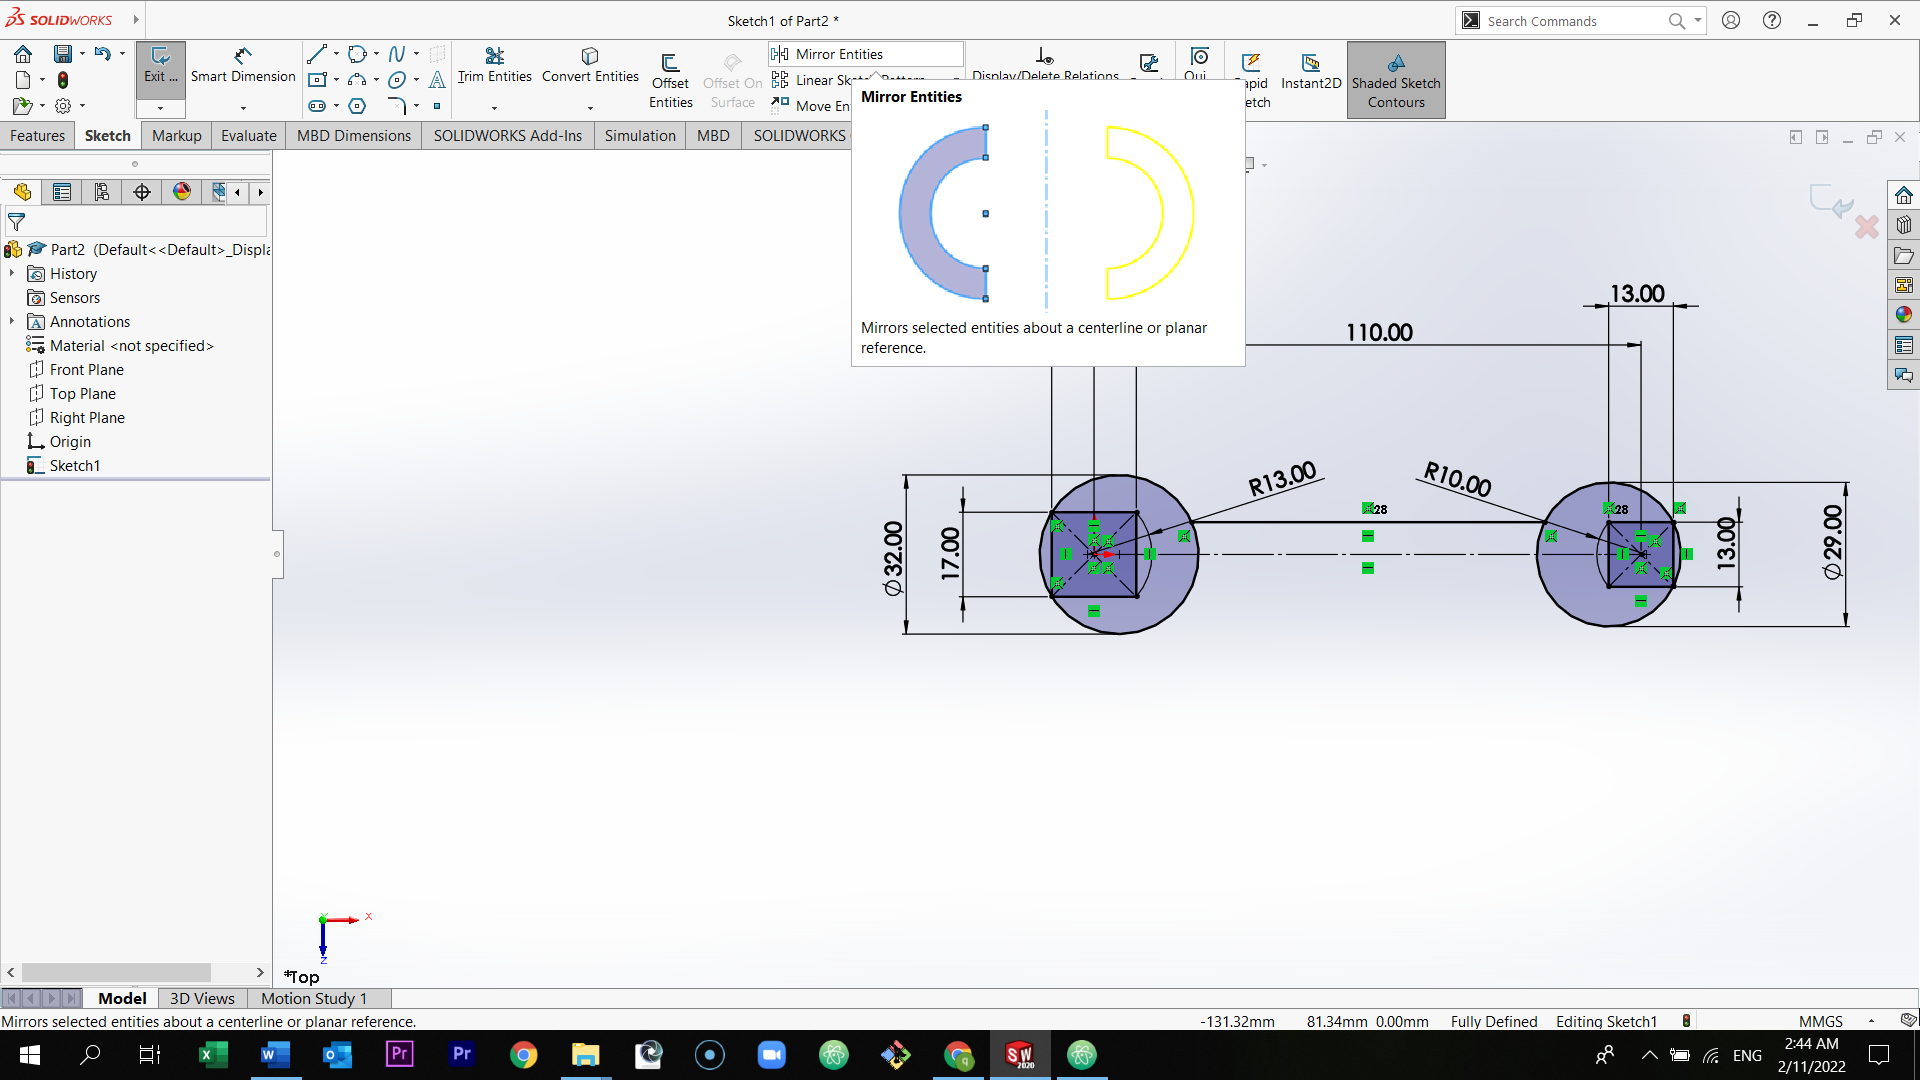
Select the entities you want to mirror, and then select mirror about. (You select these by just clicking on the parts required)
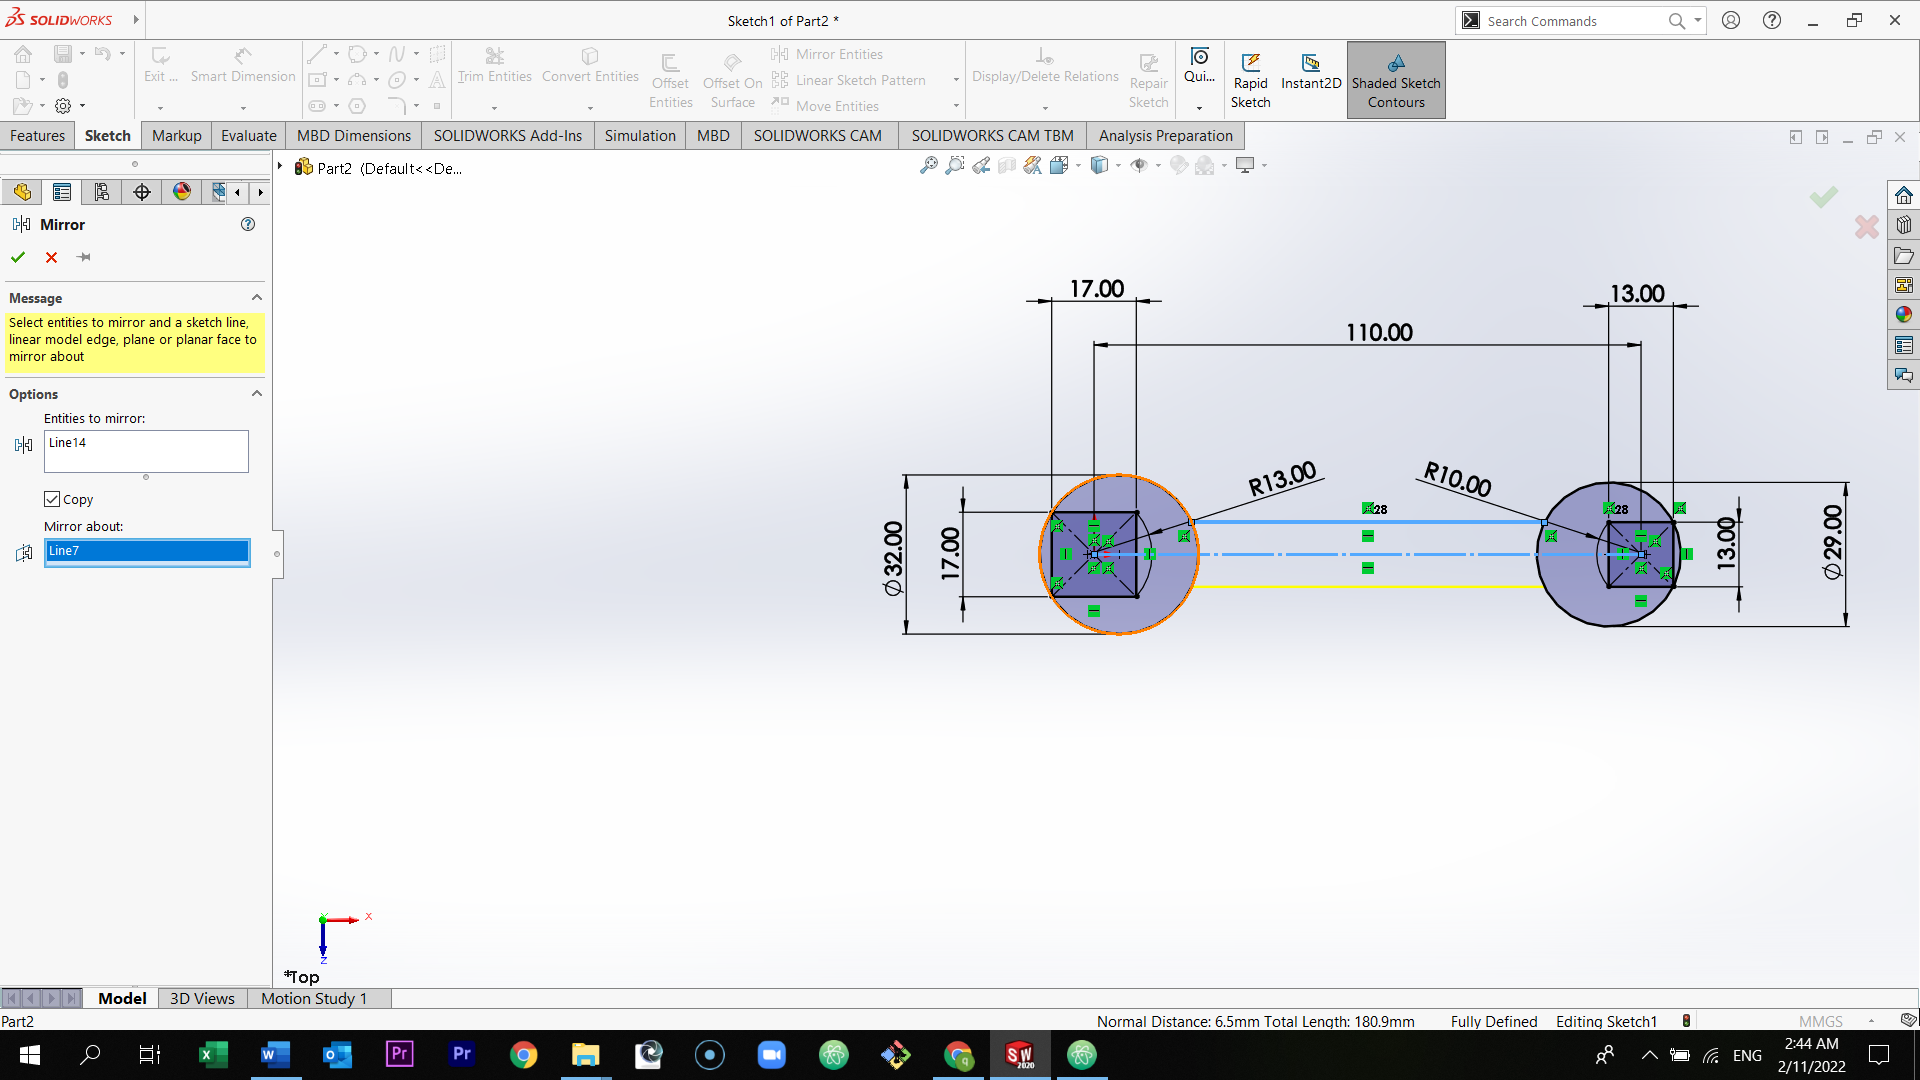
Put the dimension between the two lines.
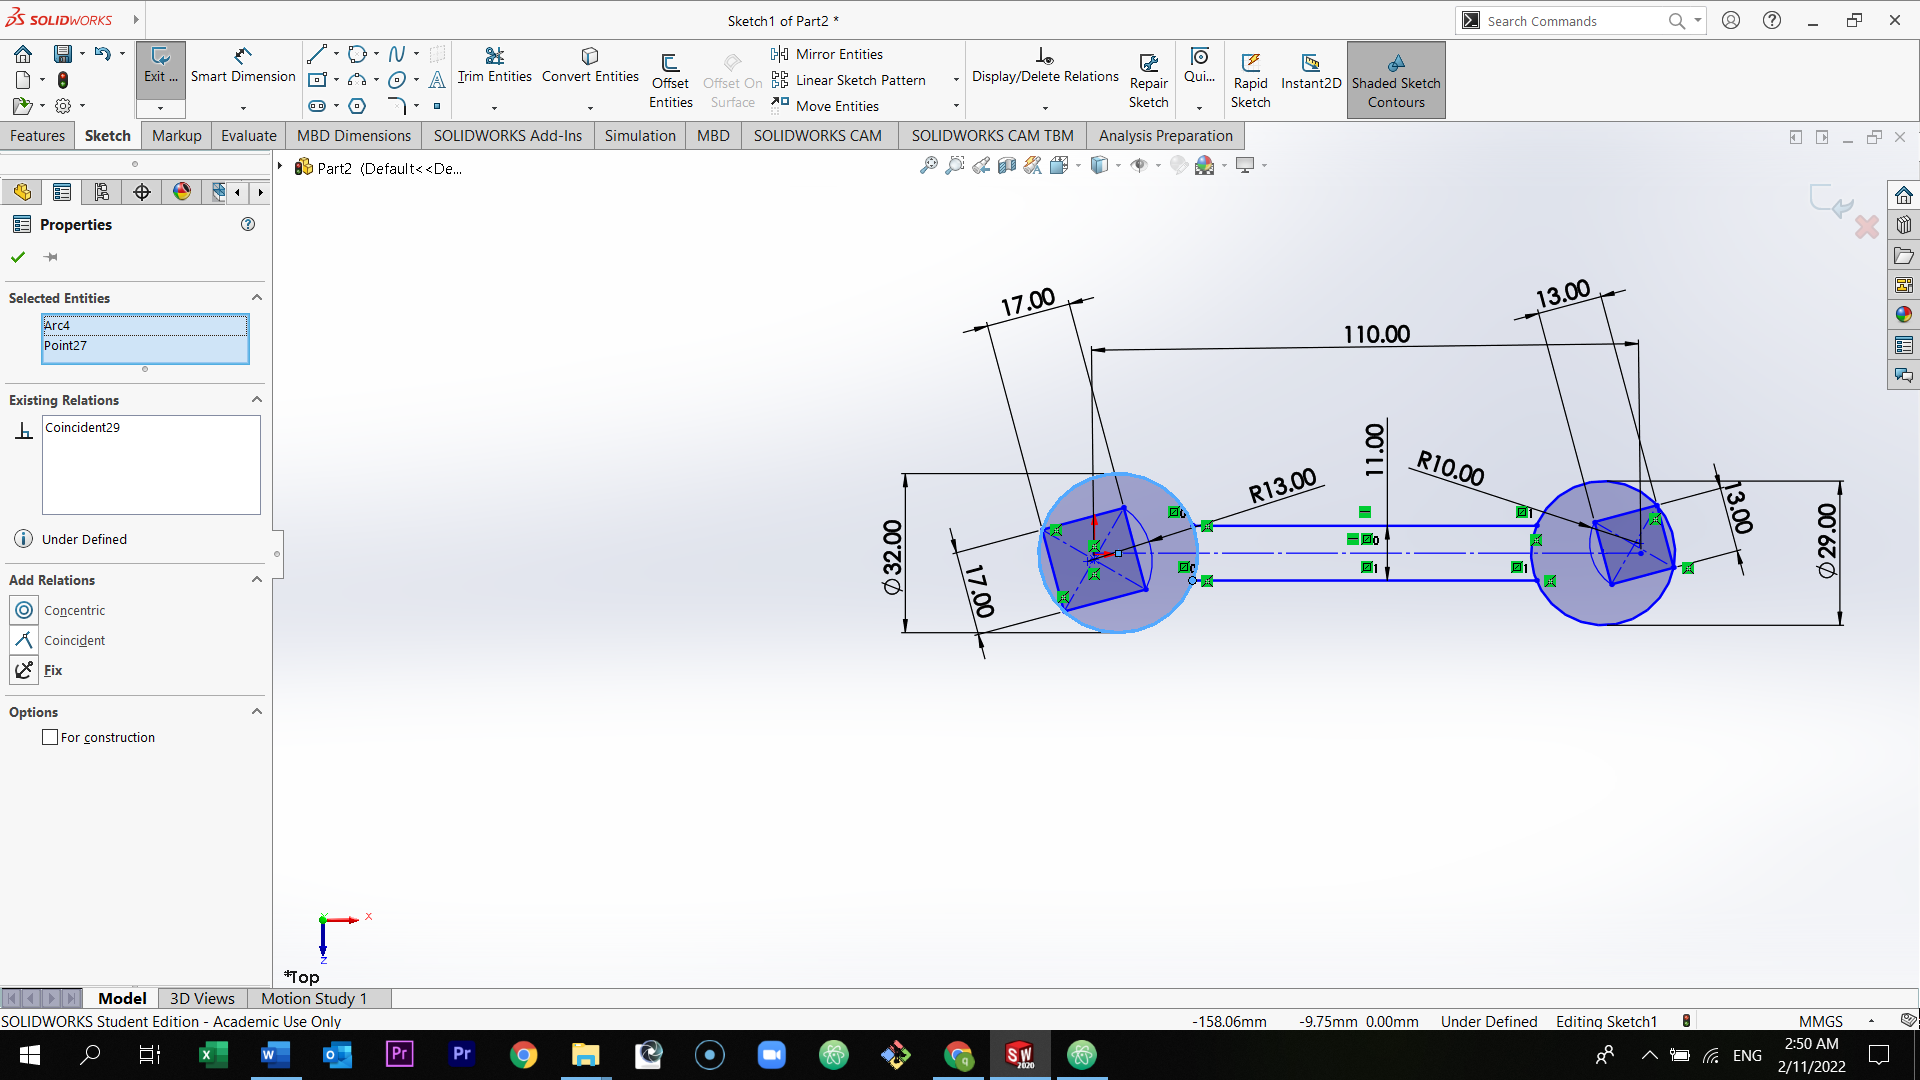
Select the everything inside the first circle.
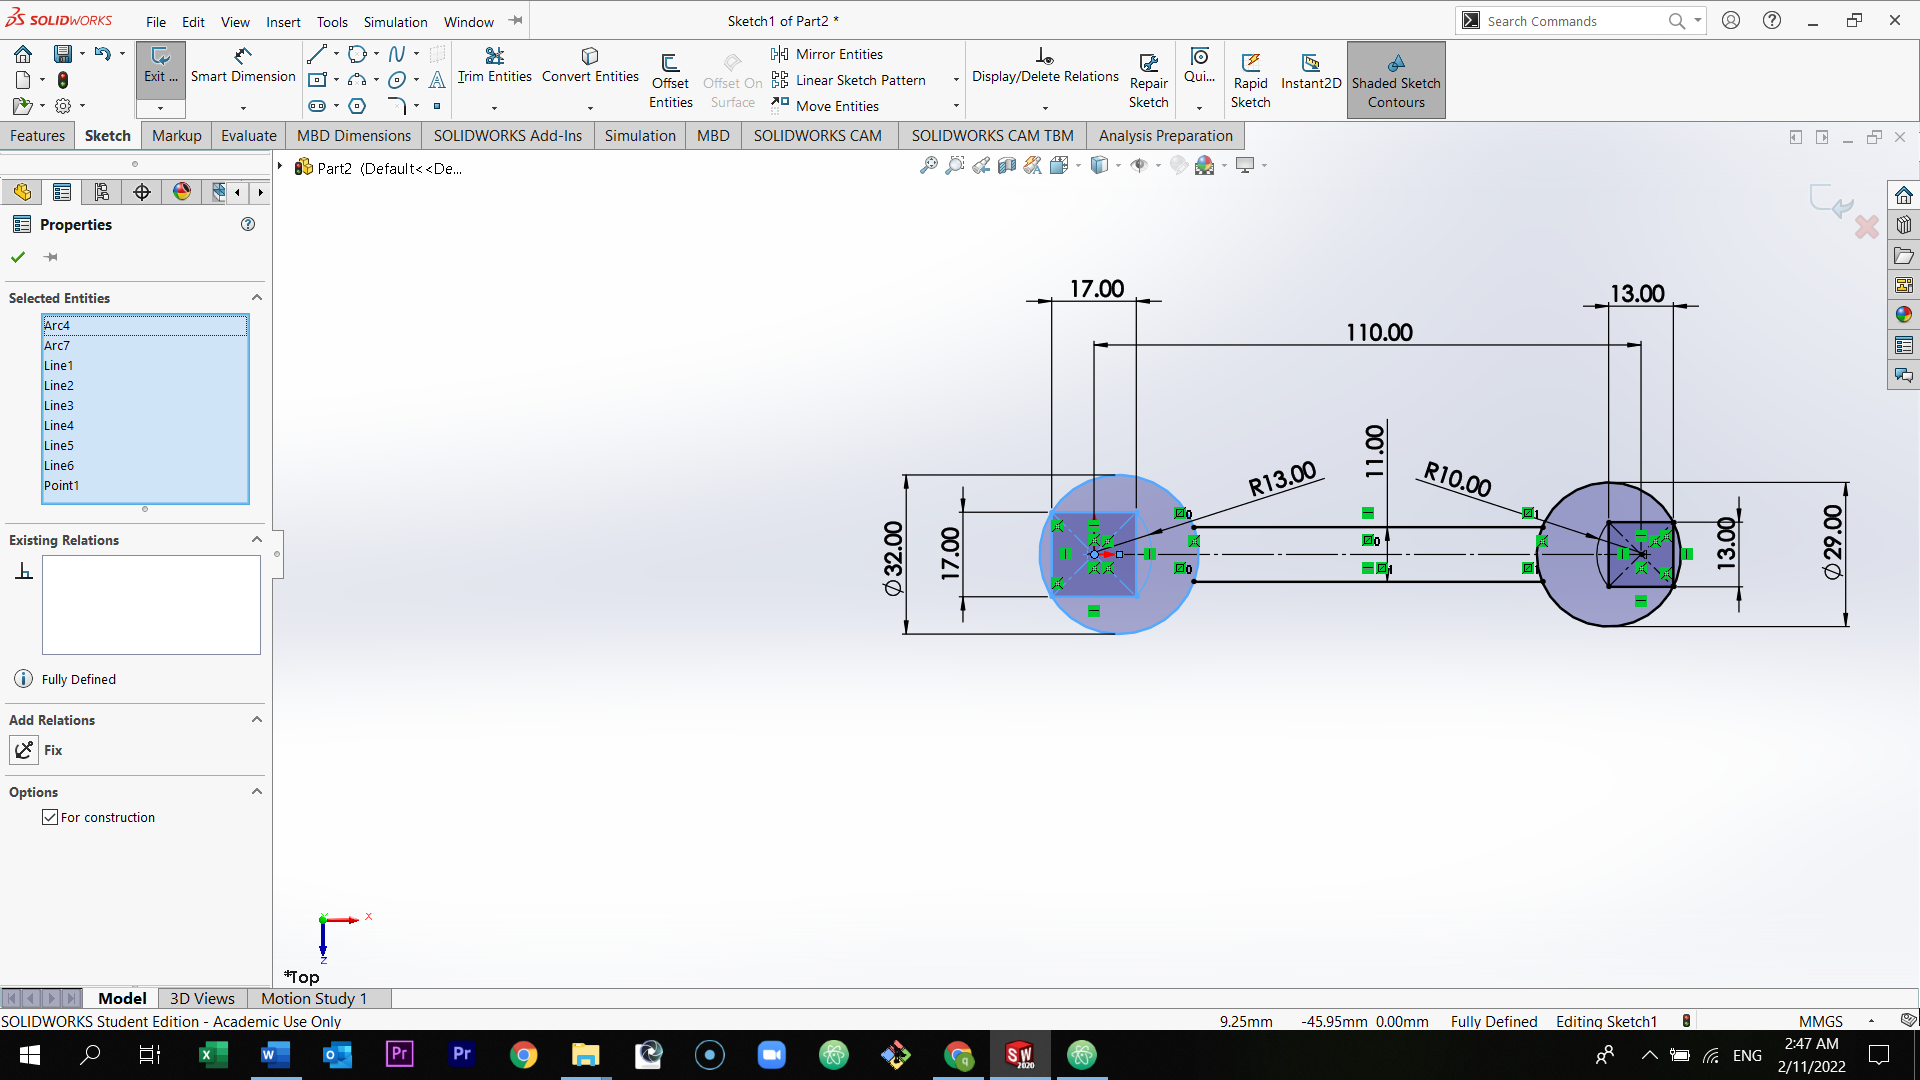
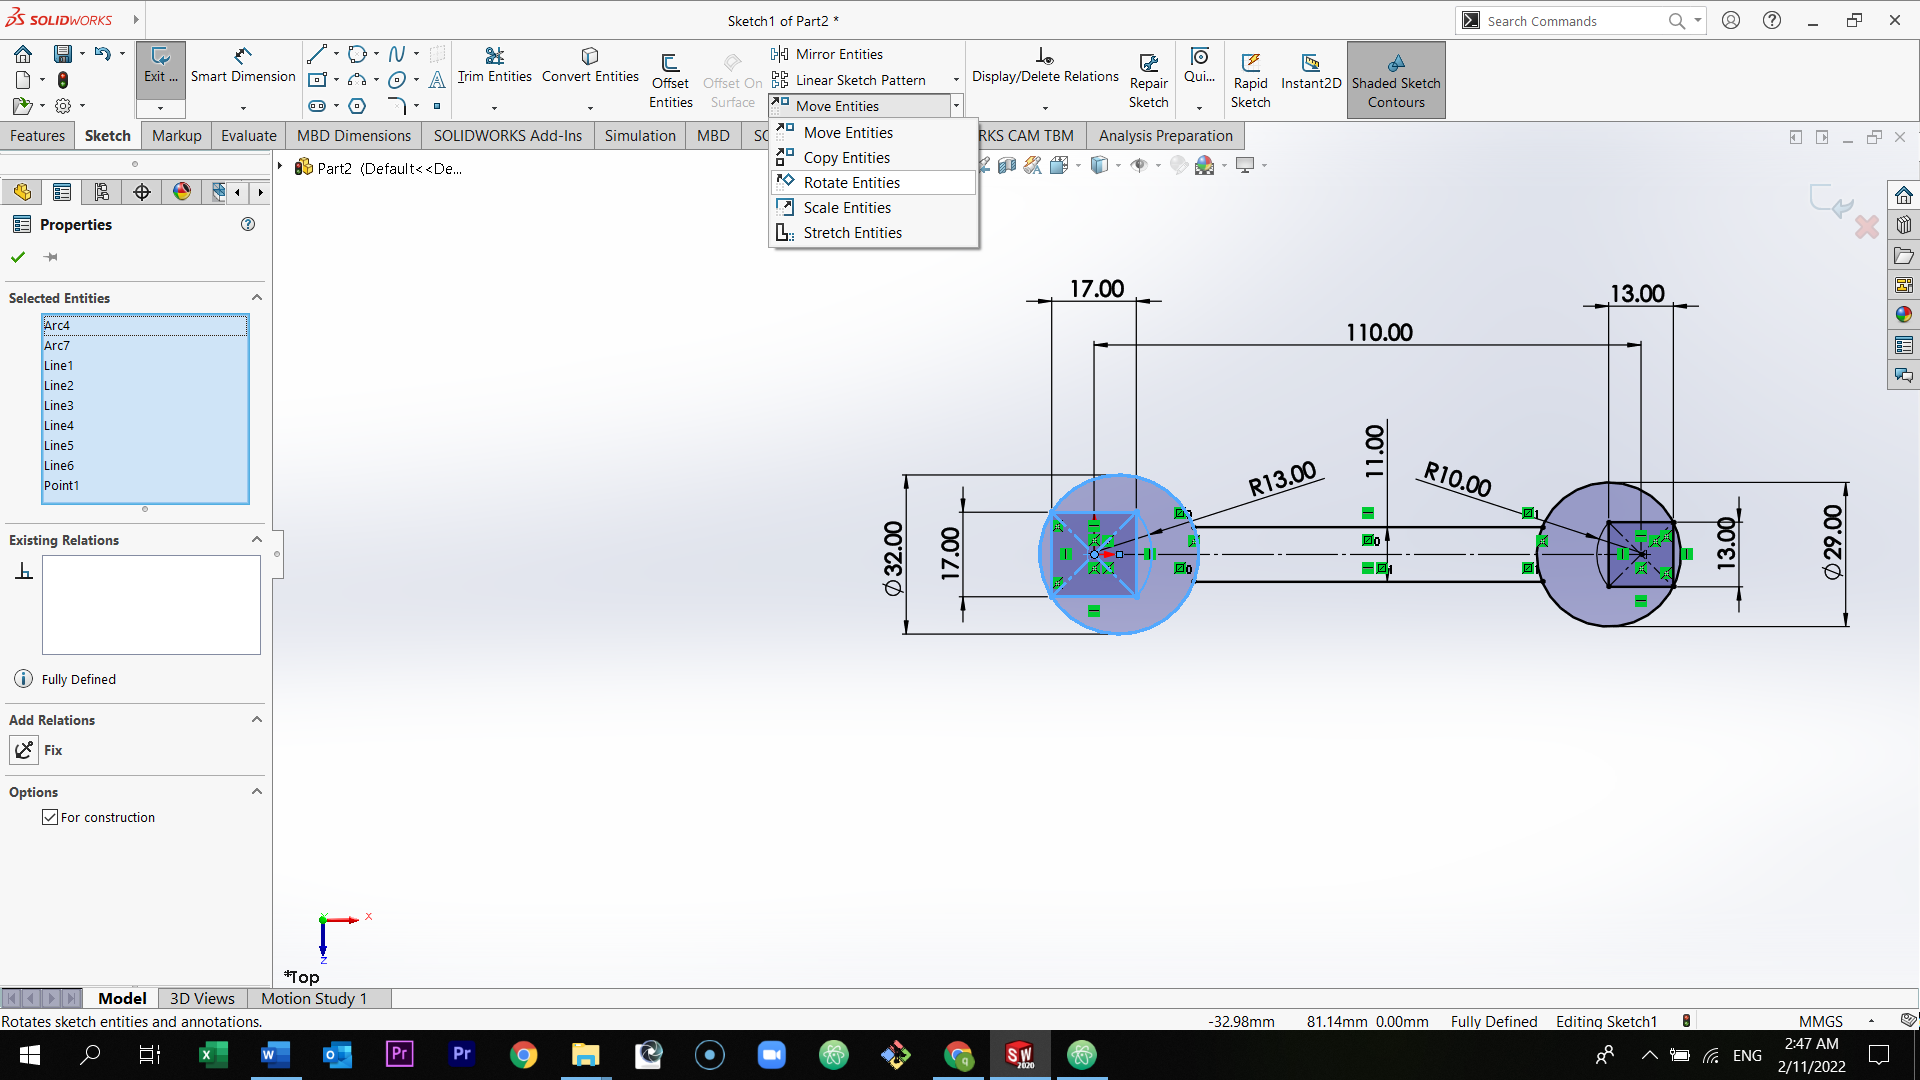
Select move entities from the above section and then select Rotate entities.
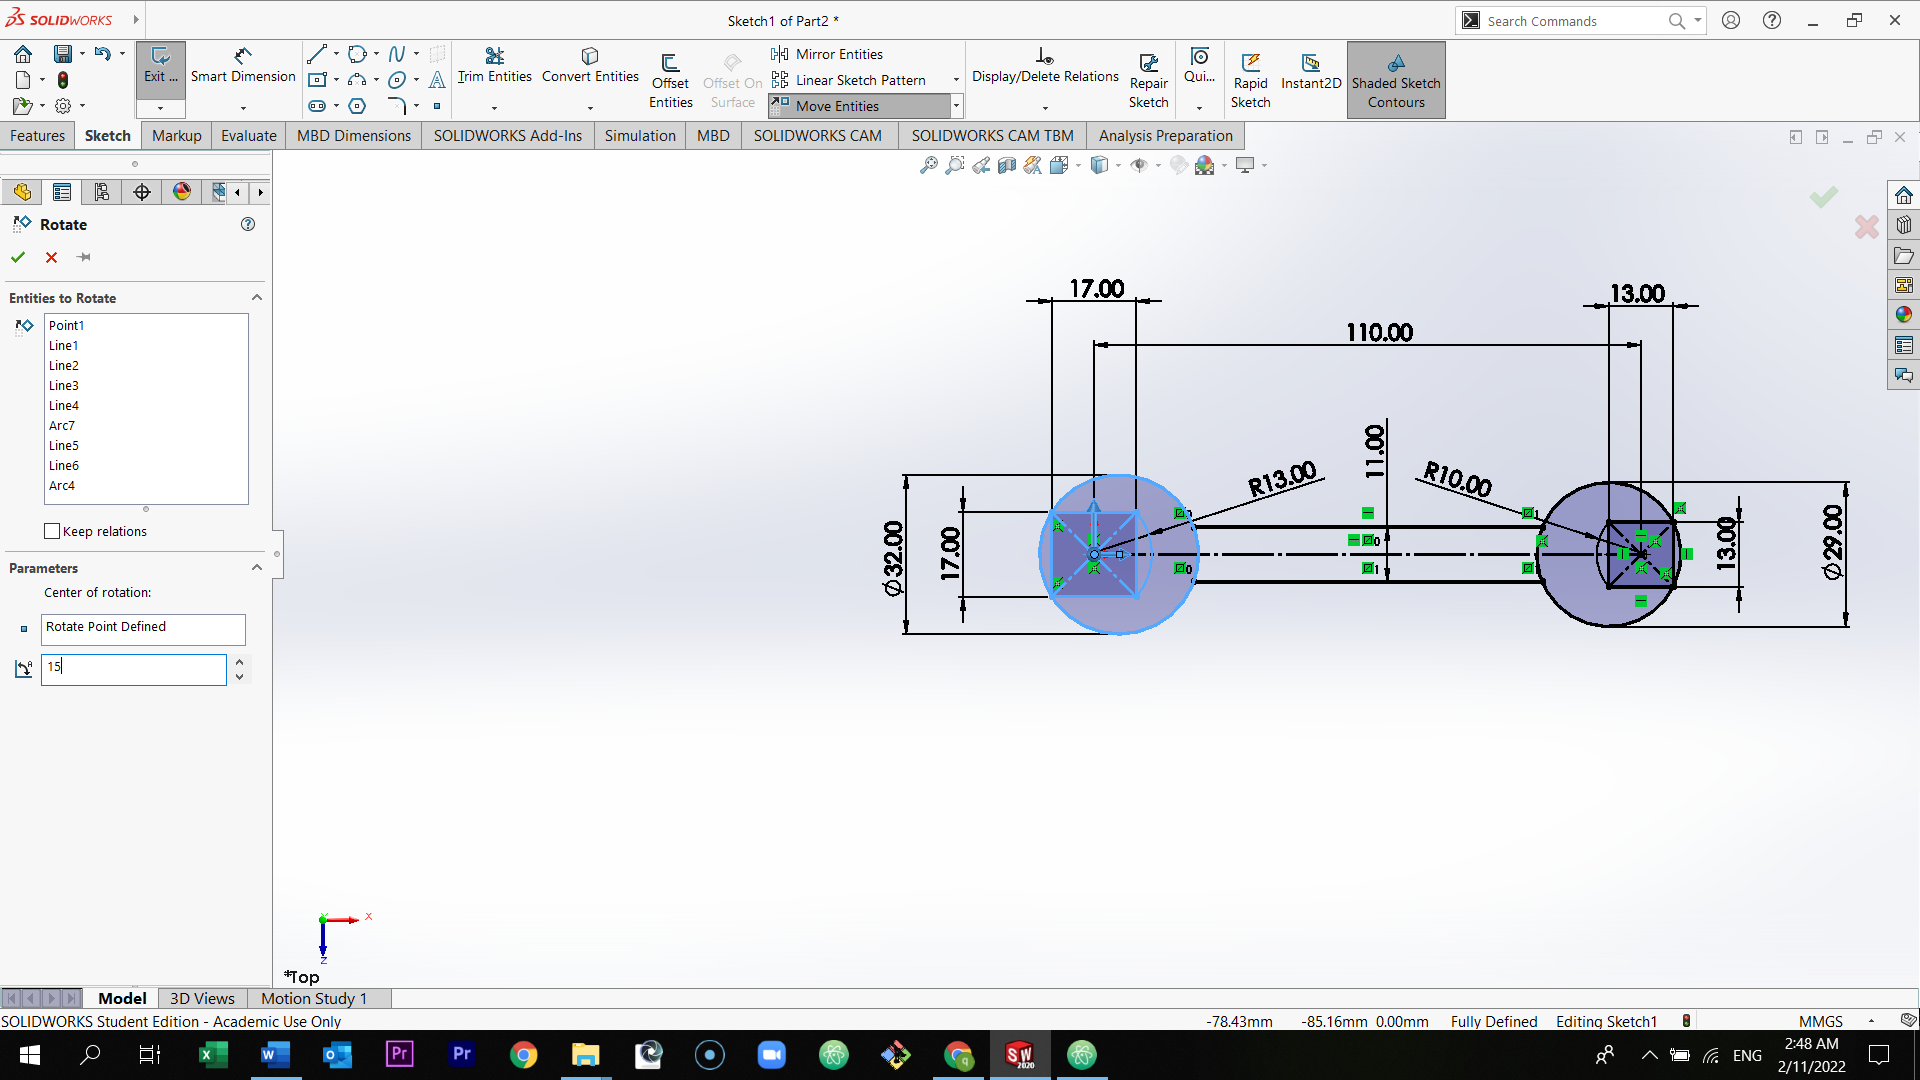
Select the center point of the circle and then type 15 degree.
Select every point individually plus the circle and select coincident.
Select trim entities and trim the parts as shown in the picture below.
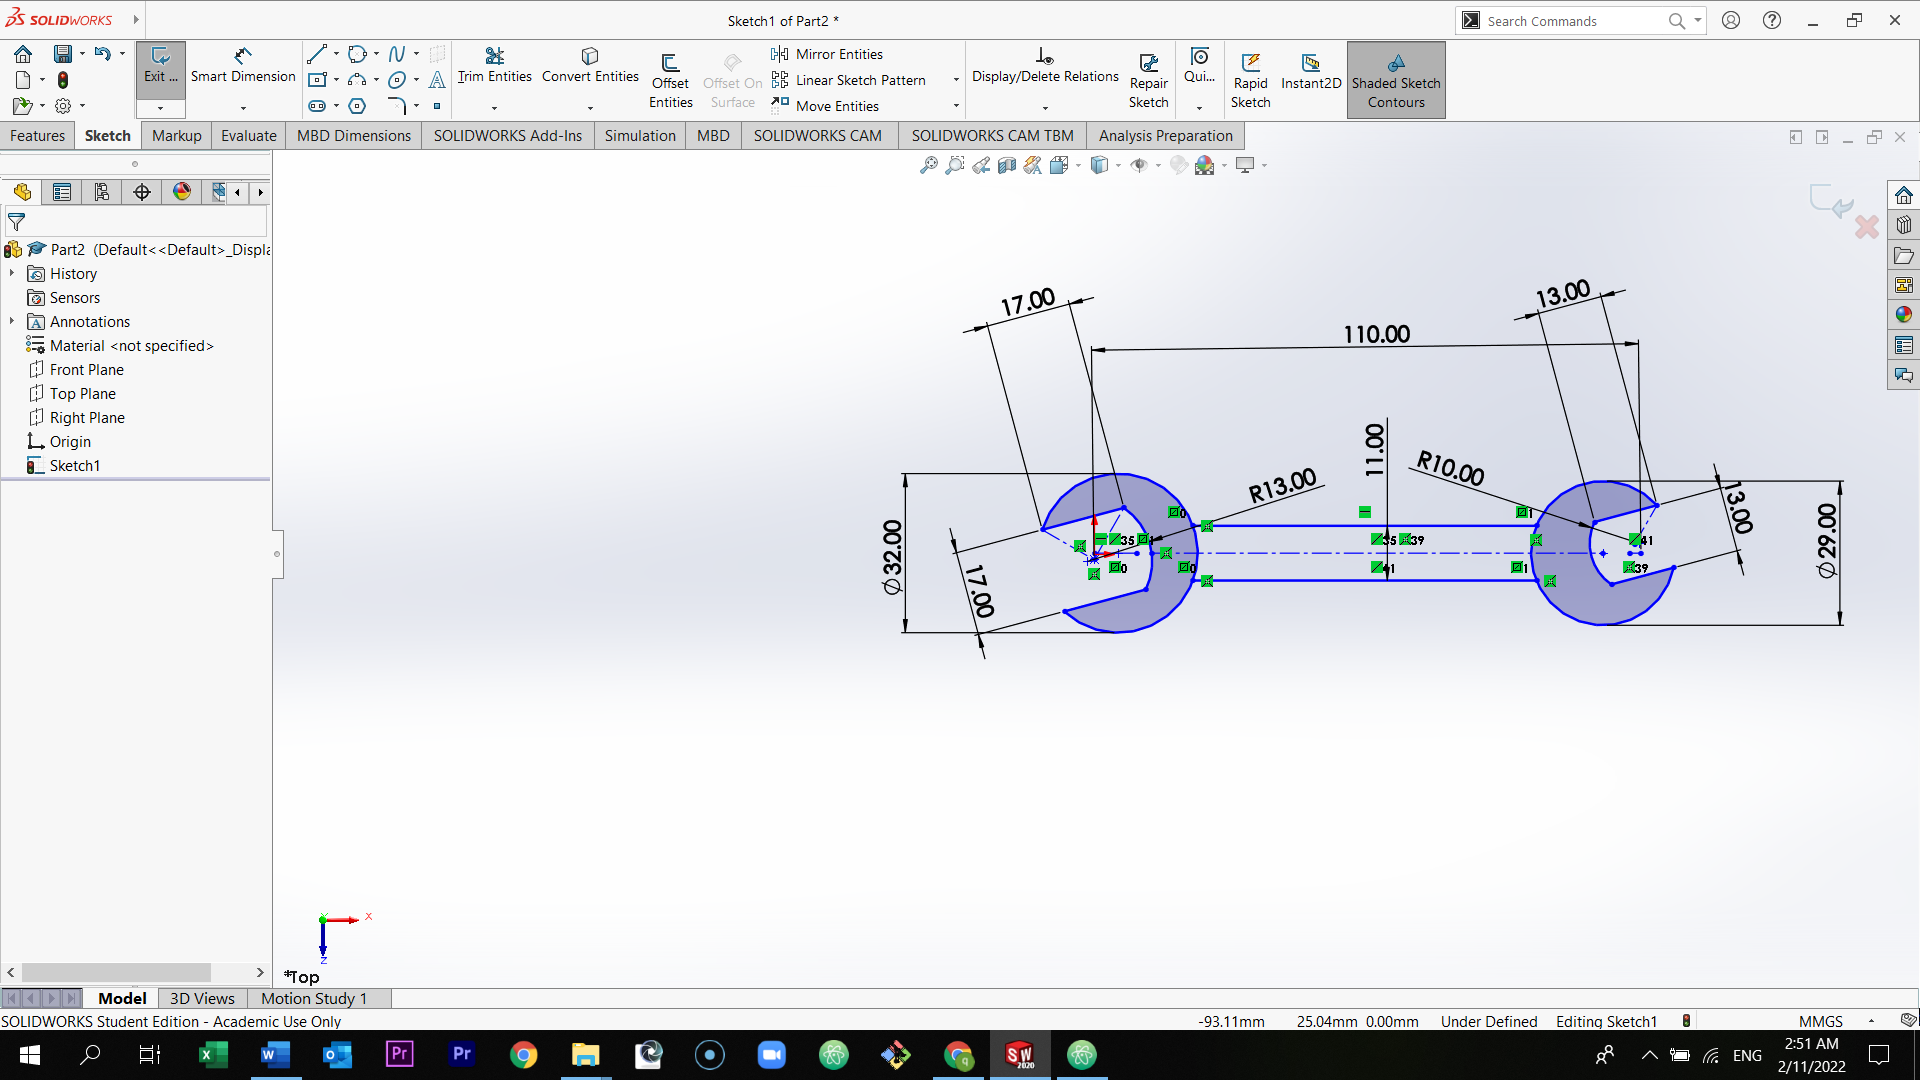
Select the three point arc and draw it as shown in the picture below.

Do the same thing in the other sides, on the right side and below.
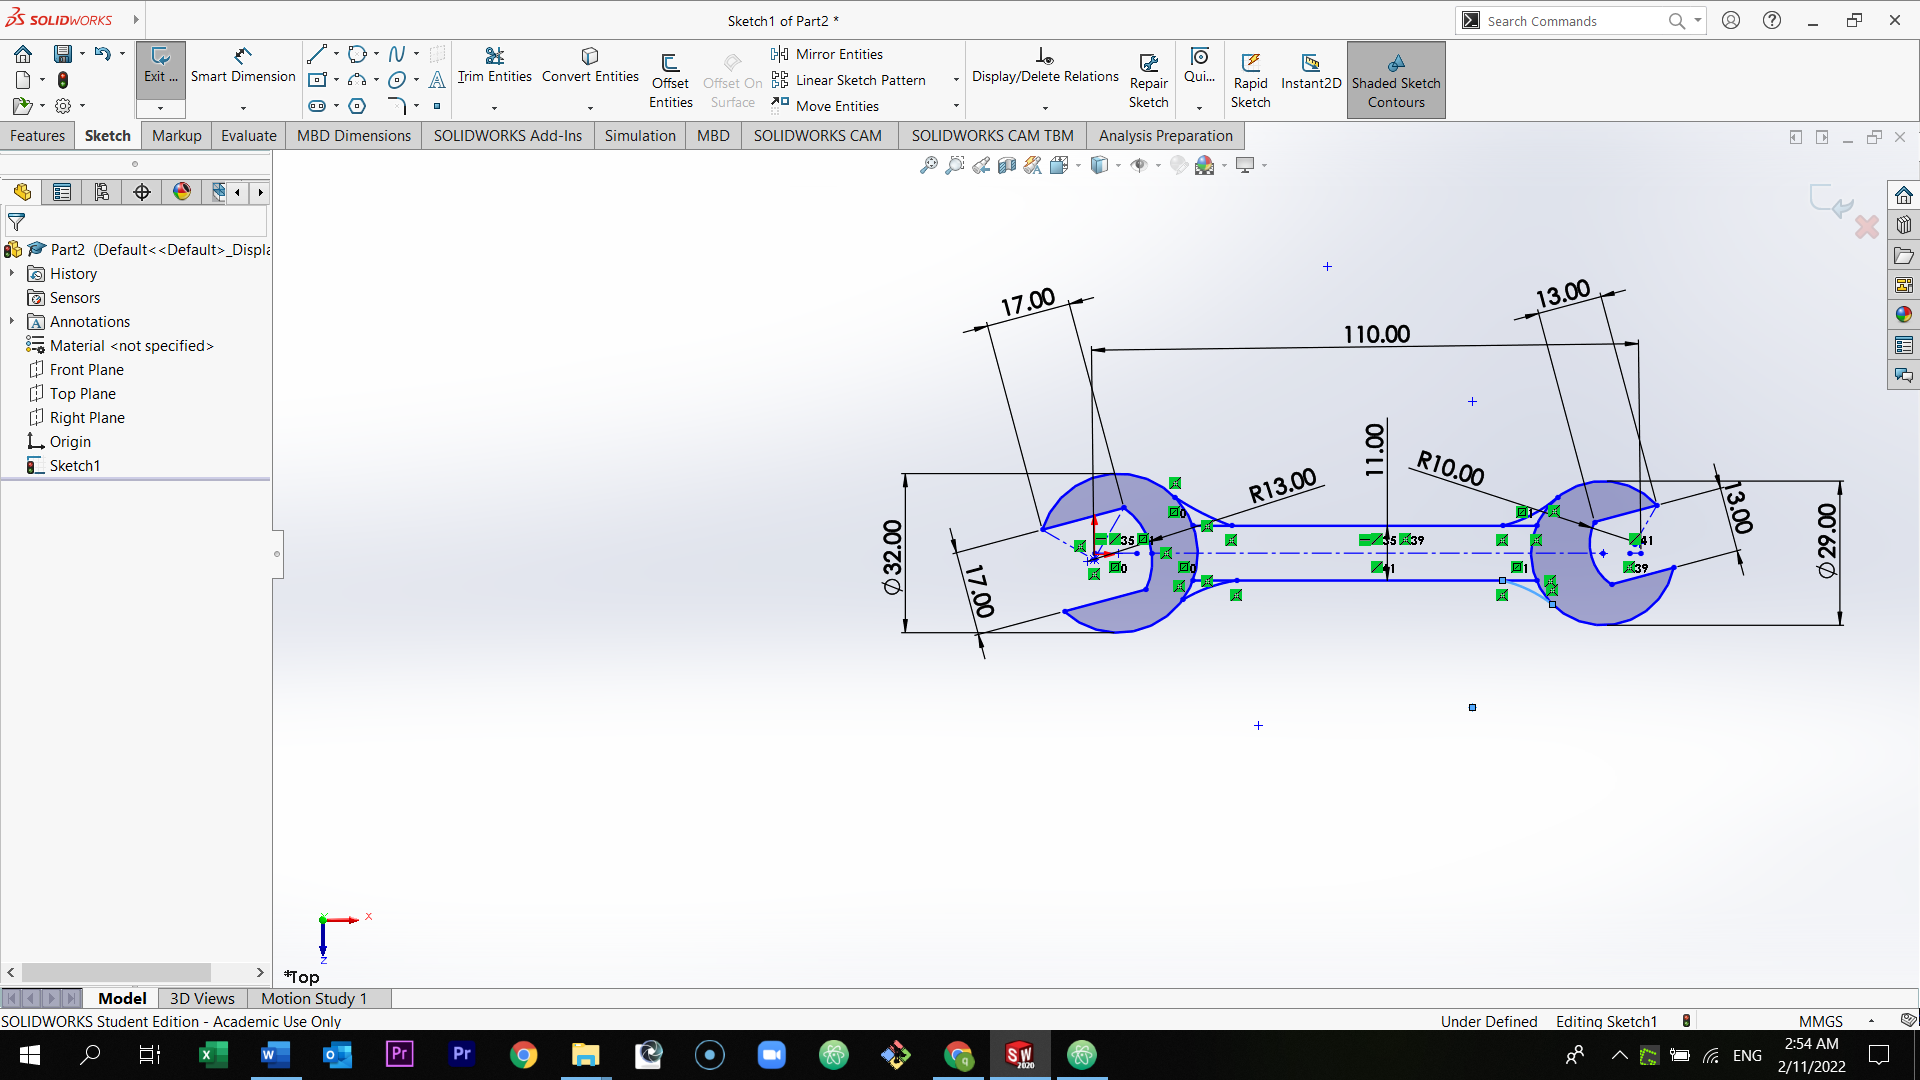
Select every arc + the line + the circle and select tangent. (Do this for all arcs)


Put the dimension.
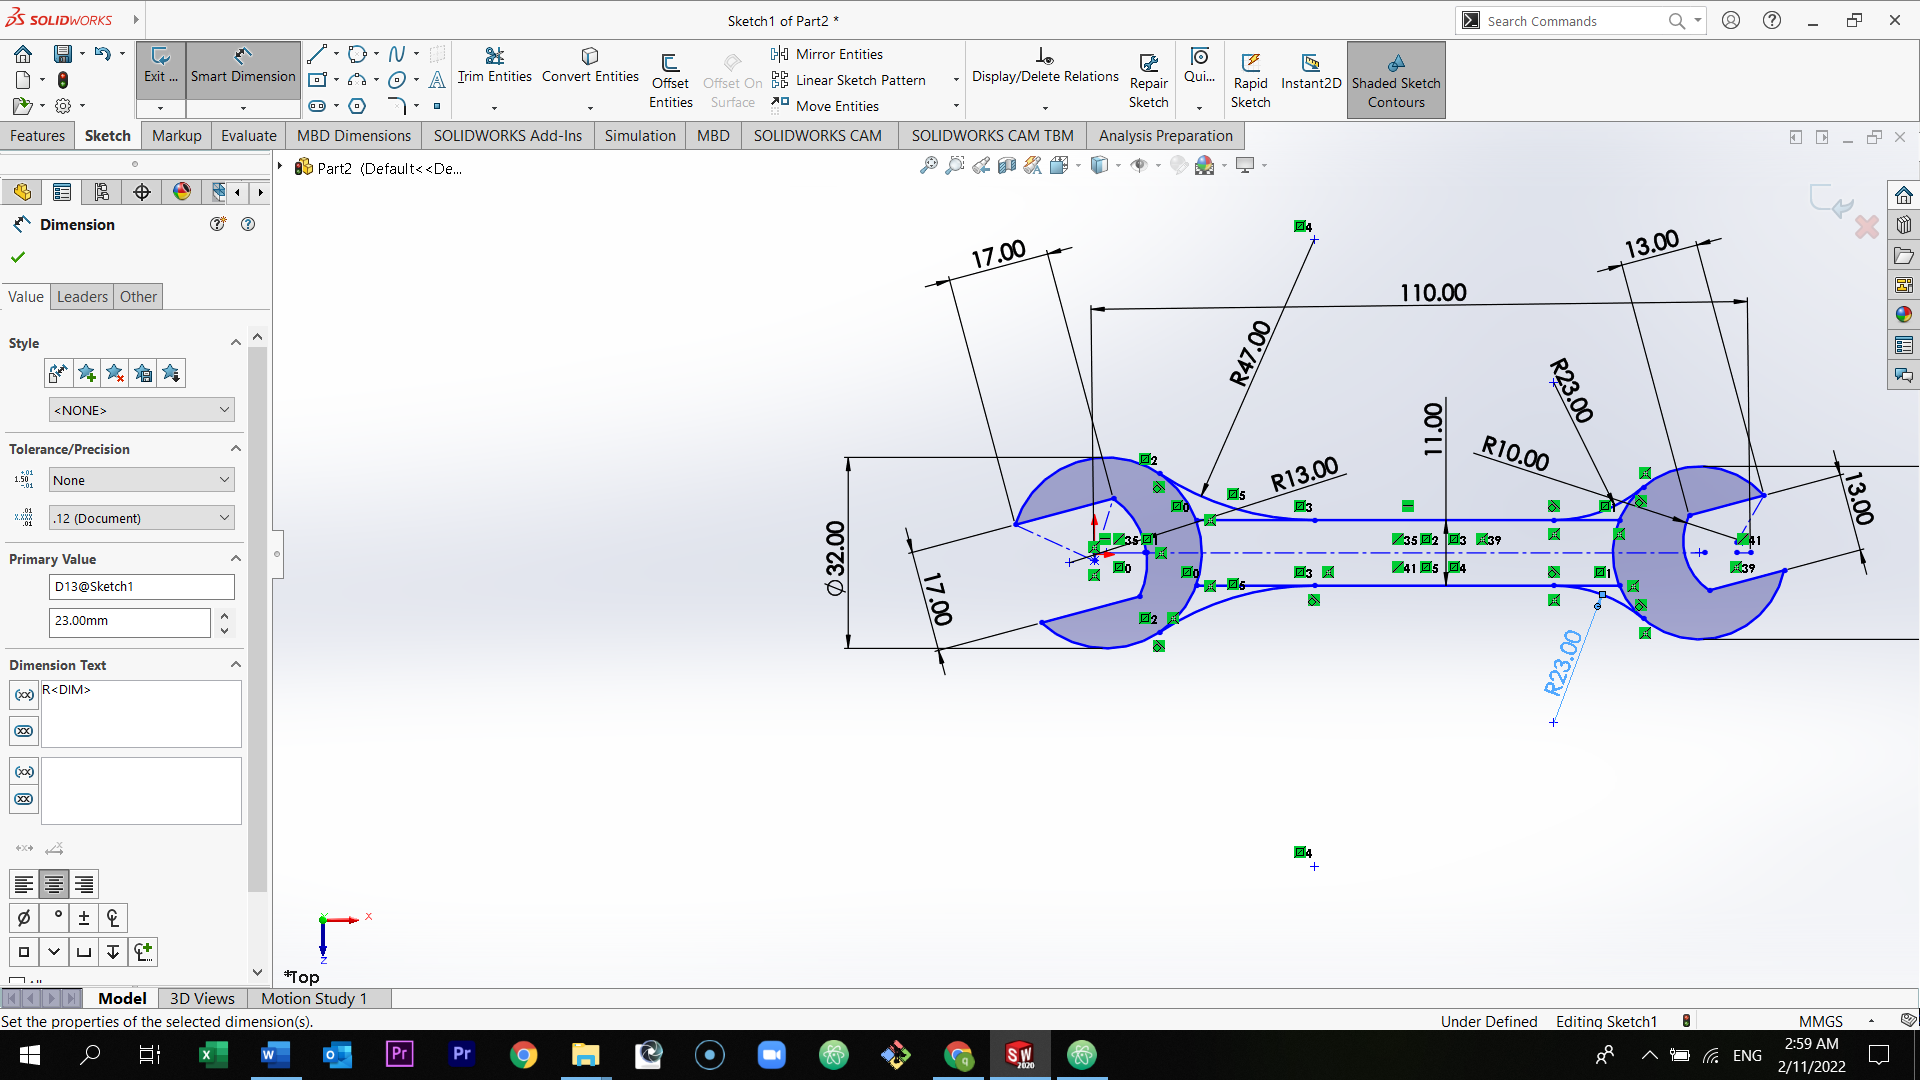
Trim the part of the line which located under the arc.

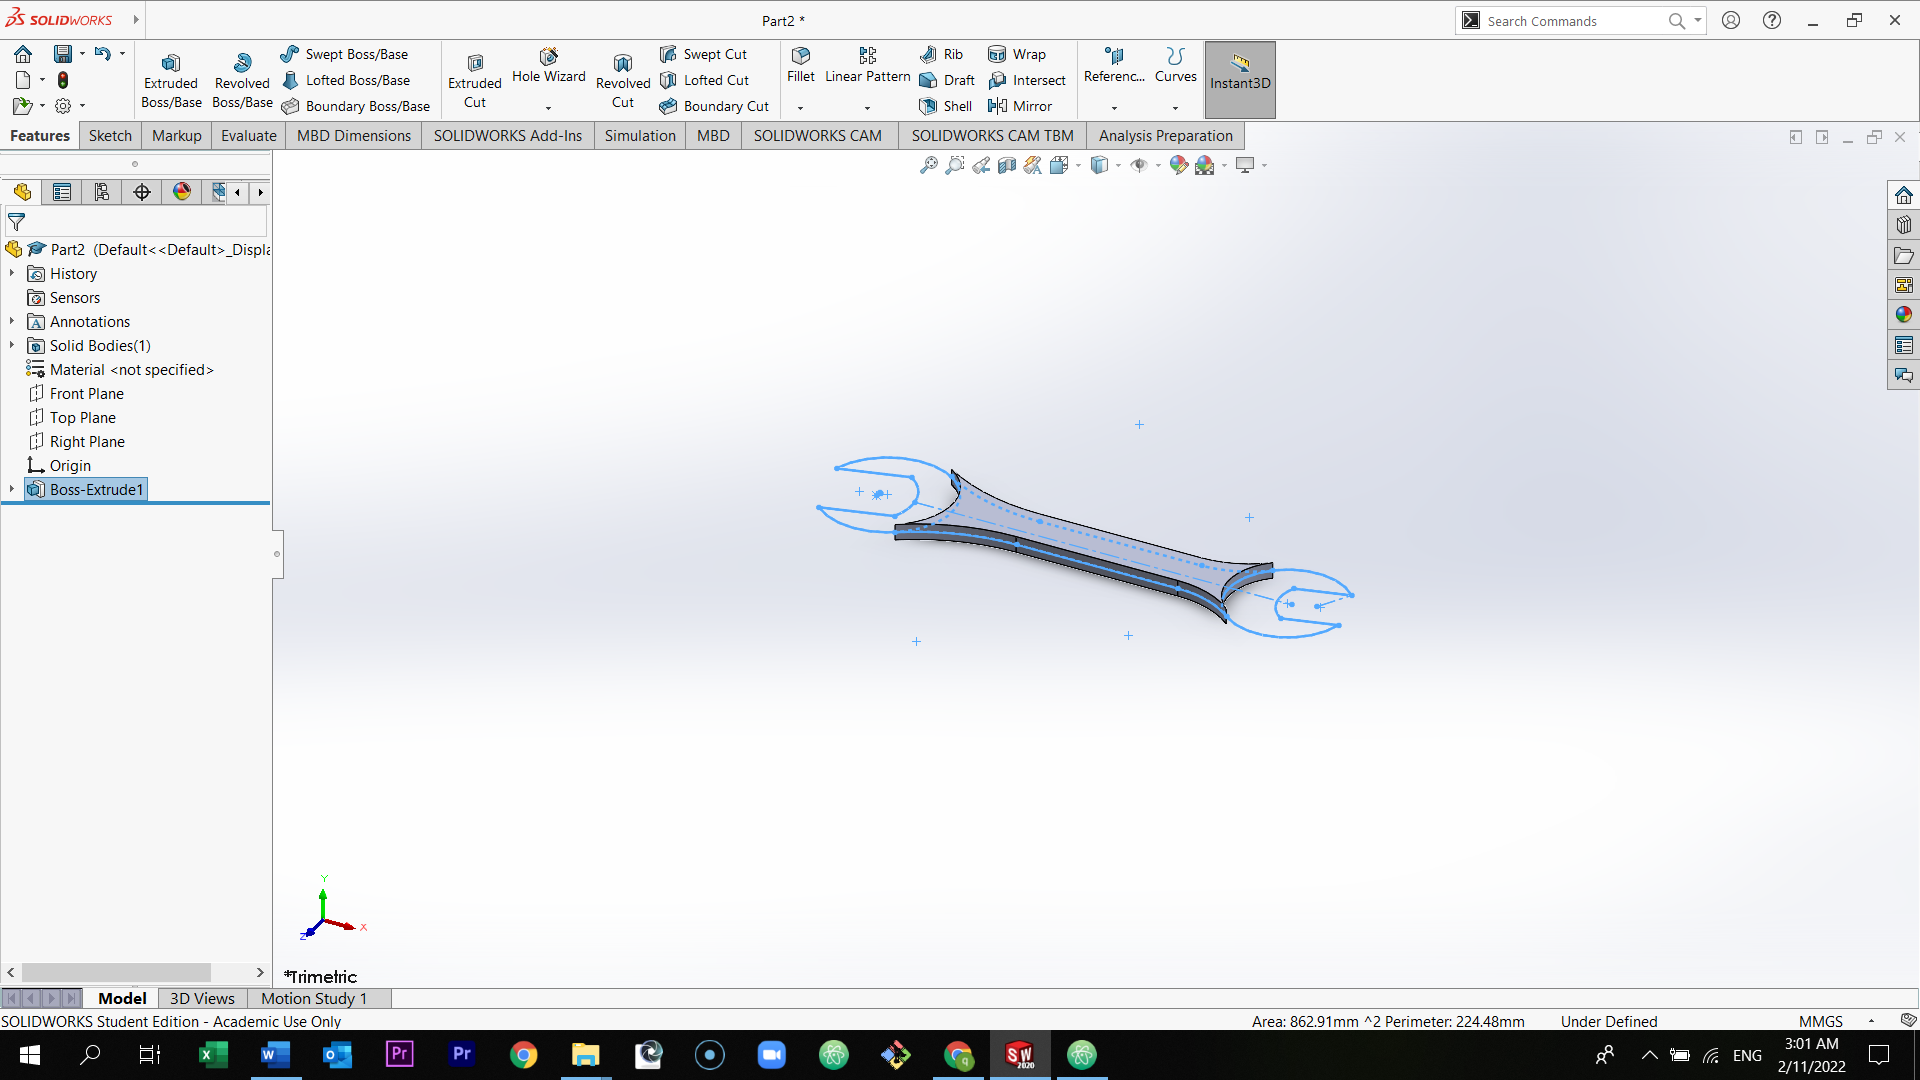
Select feature from the top section, and then select extrude boss/base.
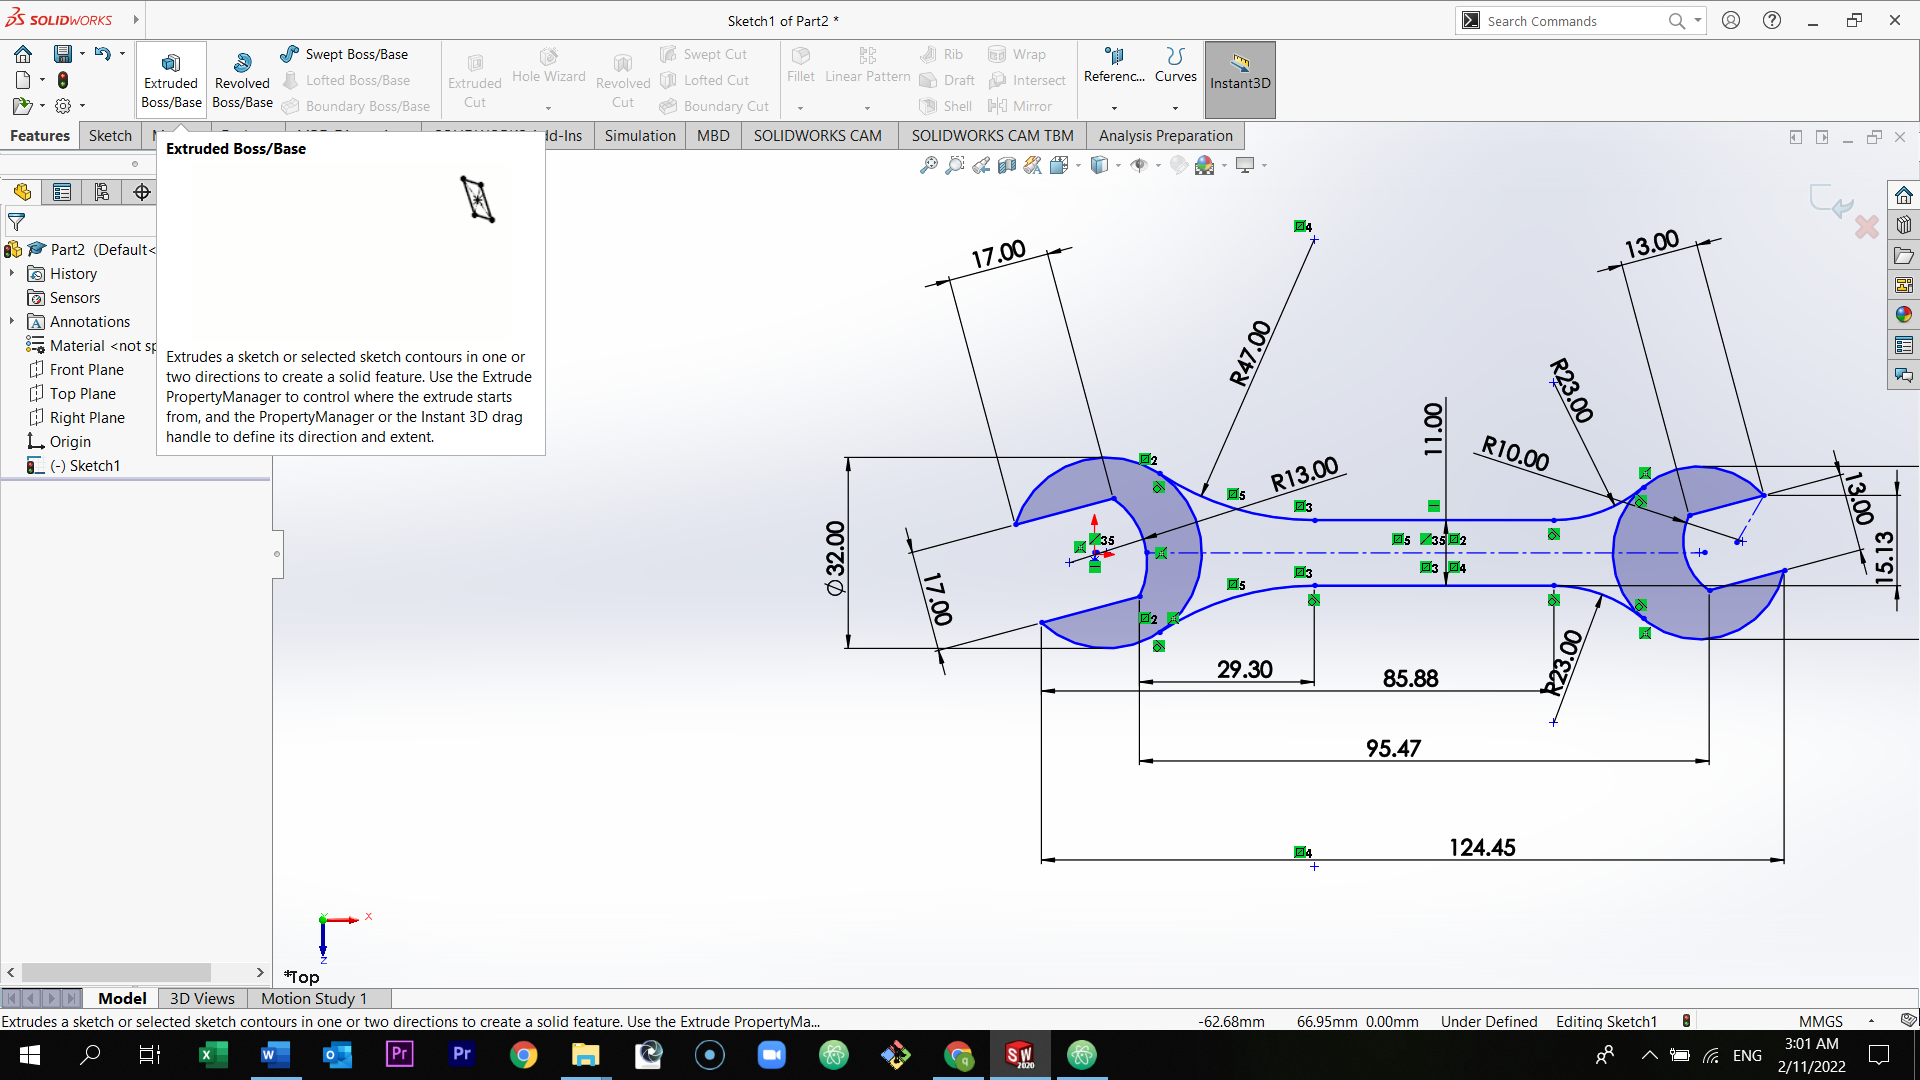
Select the body of the wrench and then in the left side of the page, select in the direction option, mid plane 4mm.
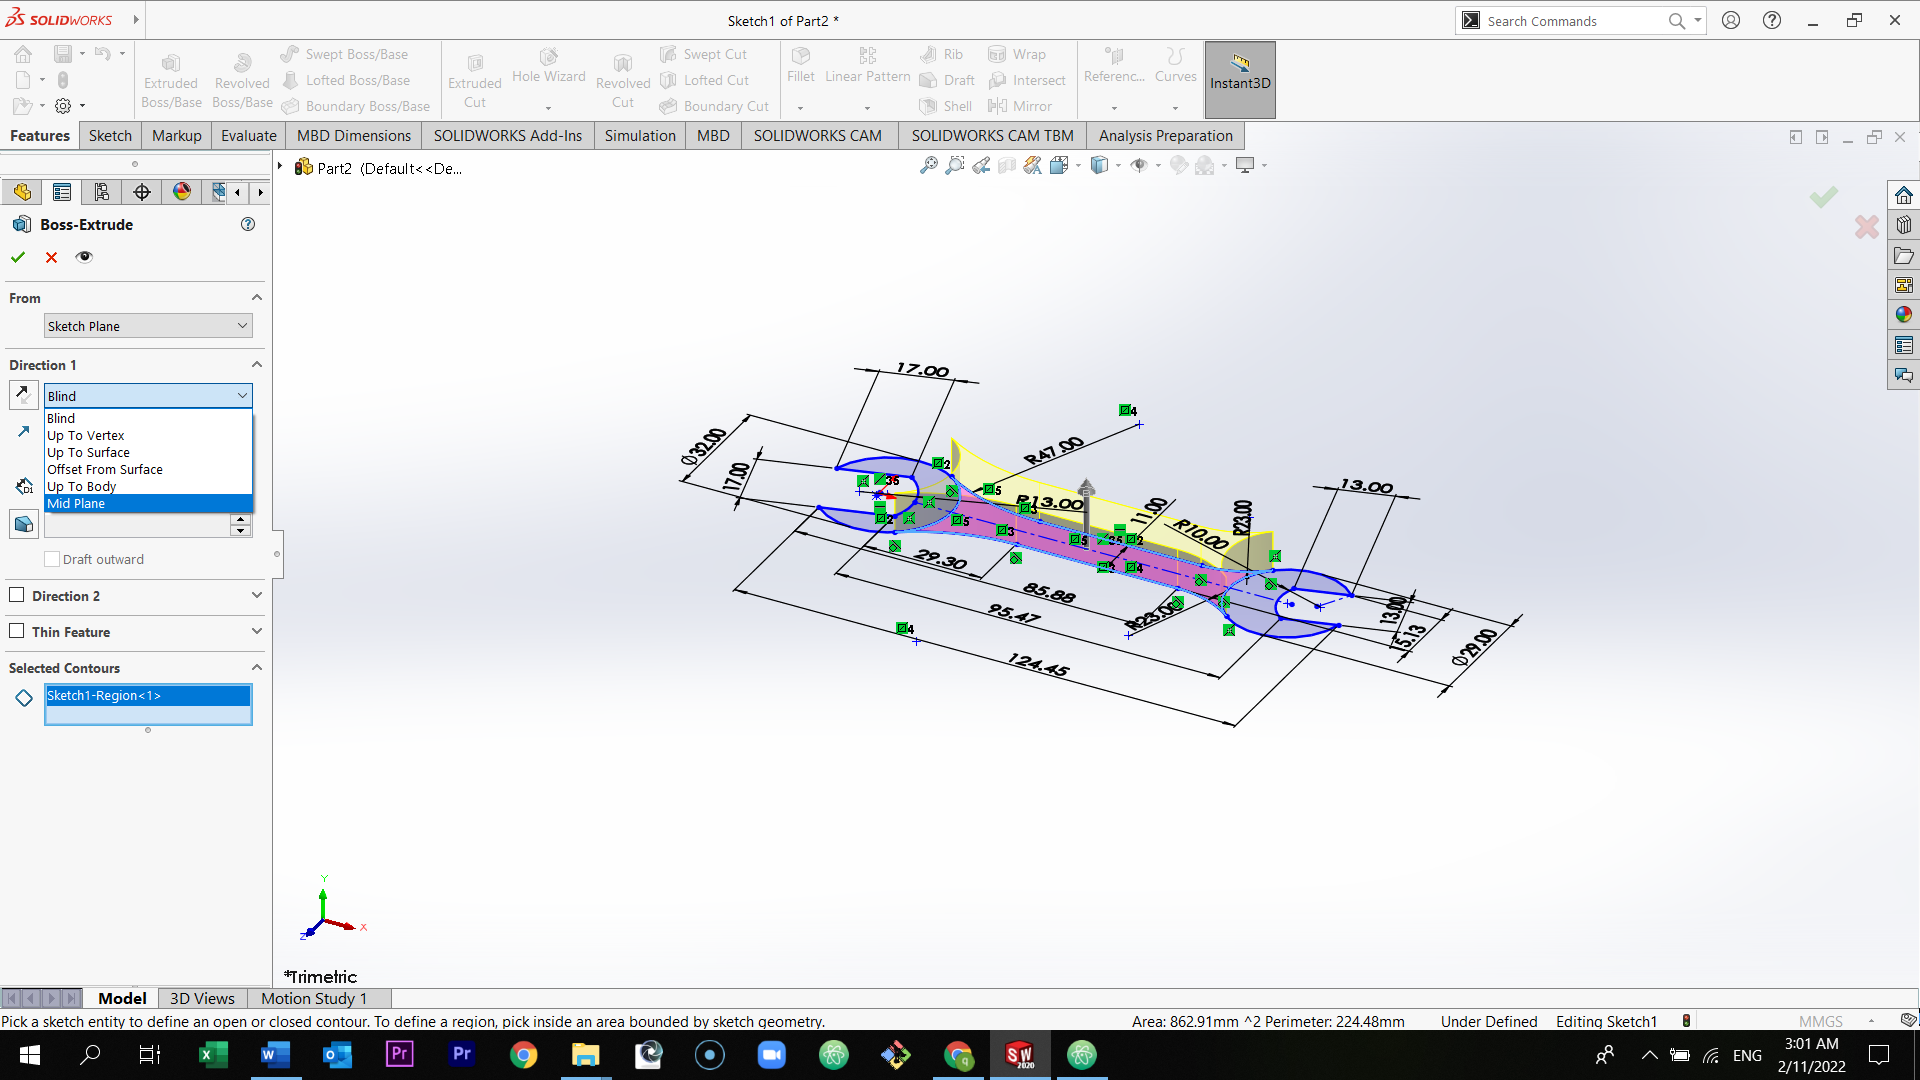
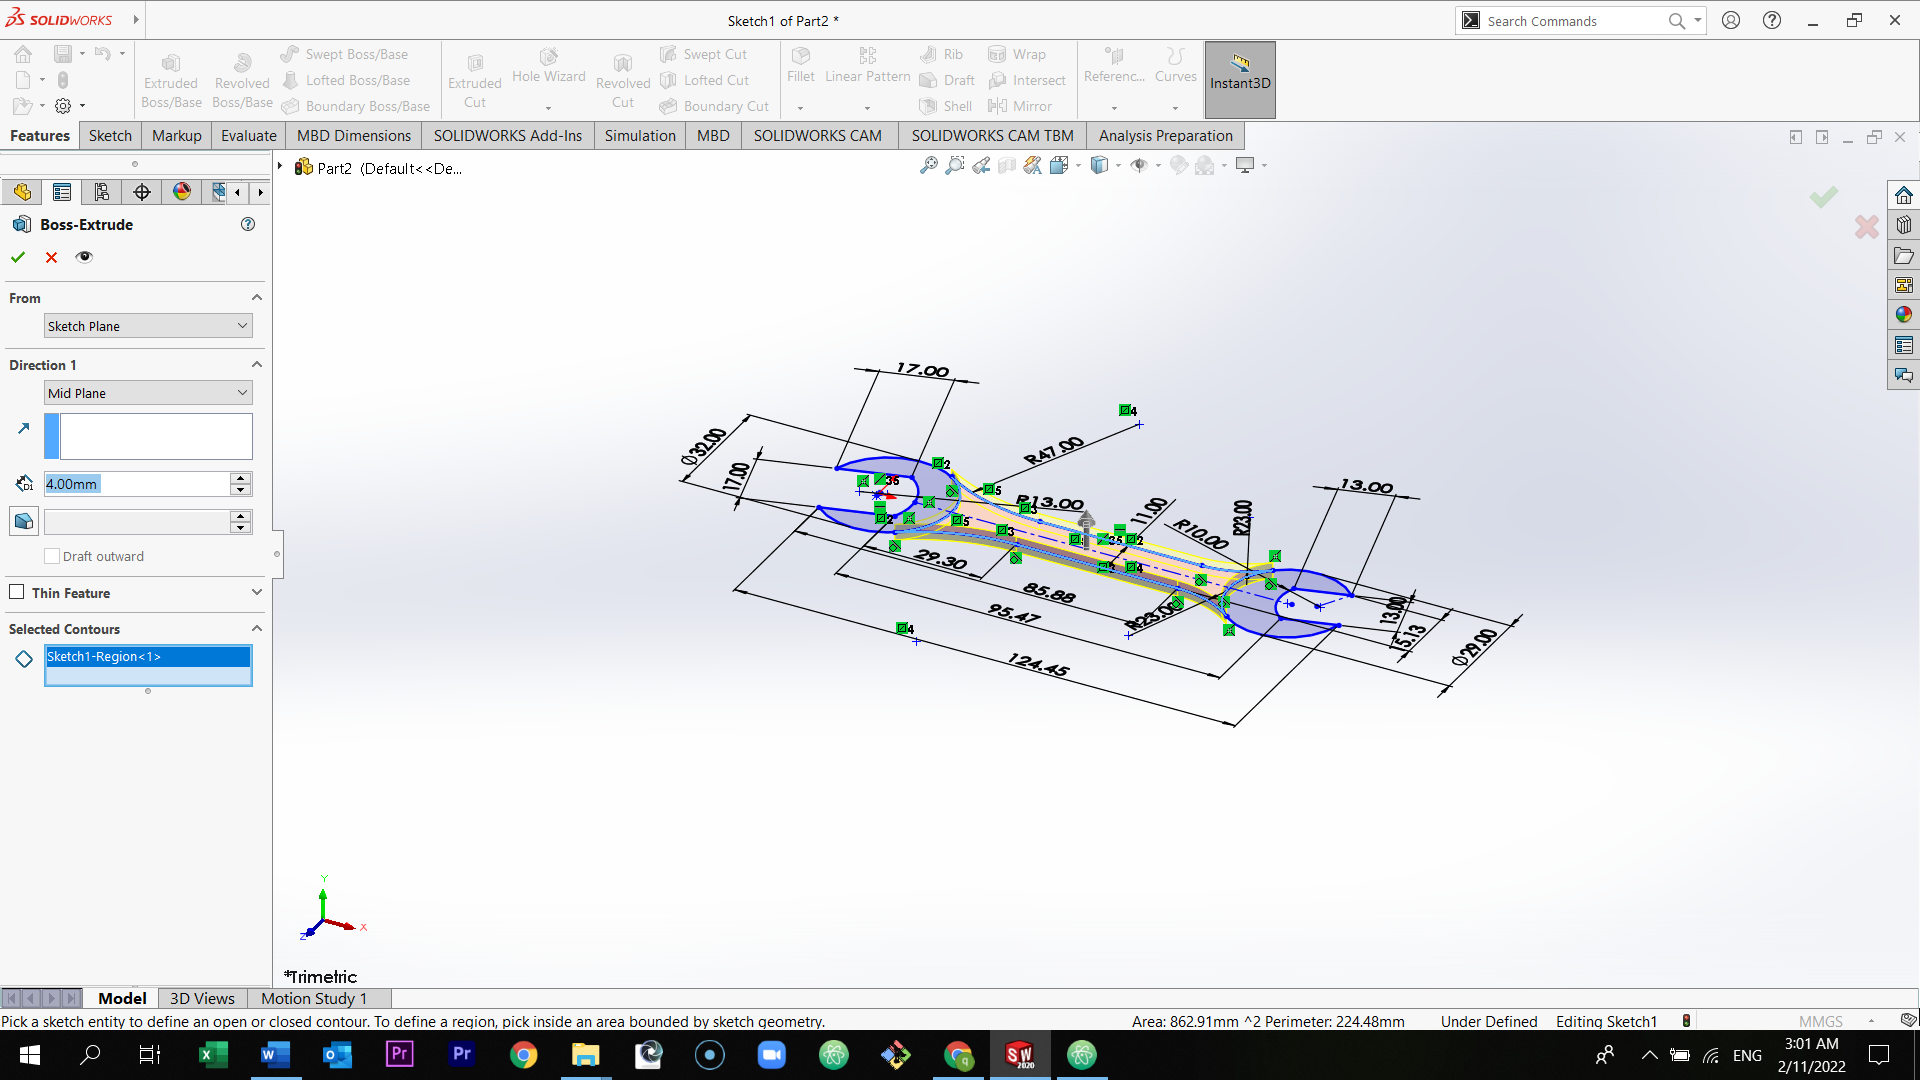
Select the correct icon to extrude.
Select boss extrude and then select at sketch and select extrude boss/base.
Select the two sides of the wrench and then in the left side of the page, select in the direction option, mid plane 5mm.

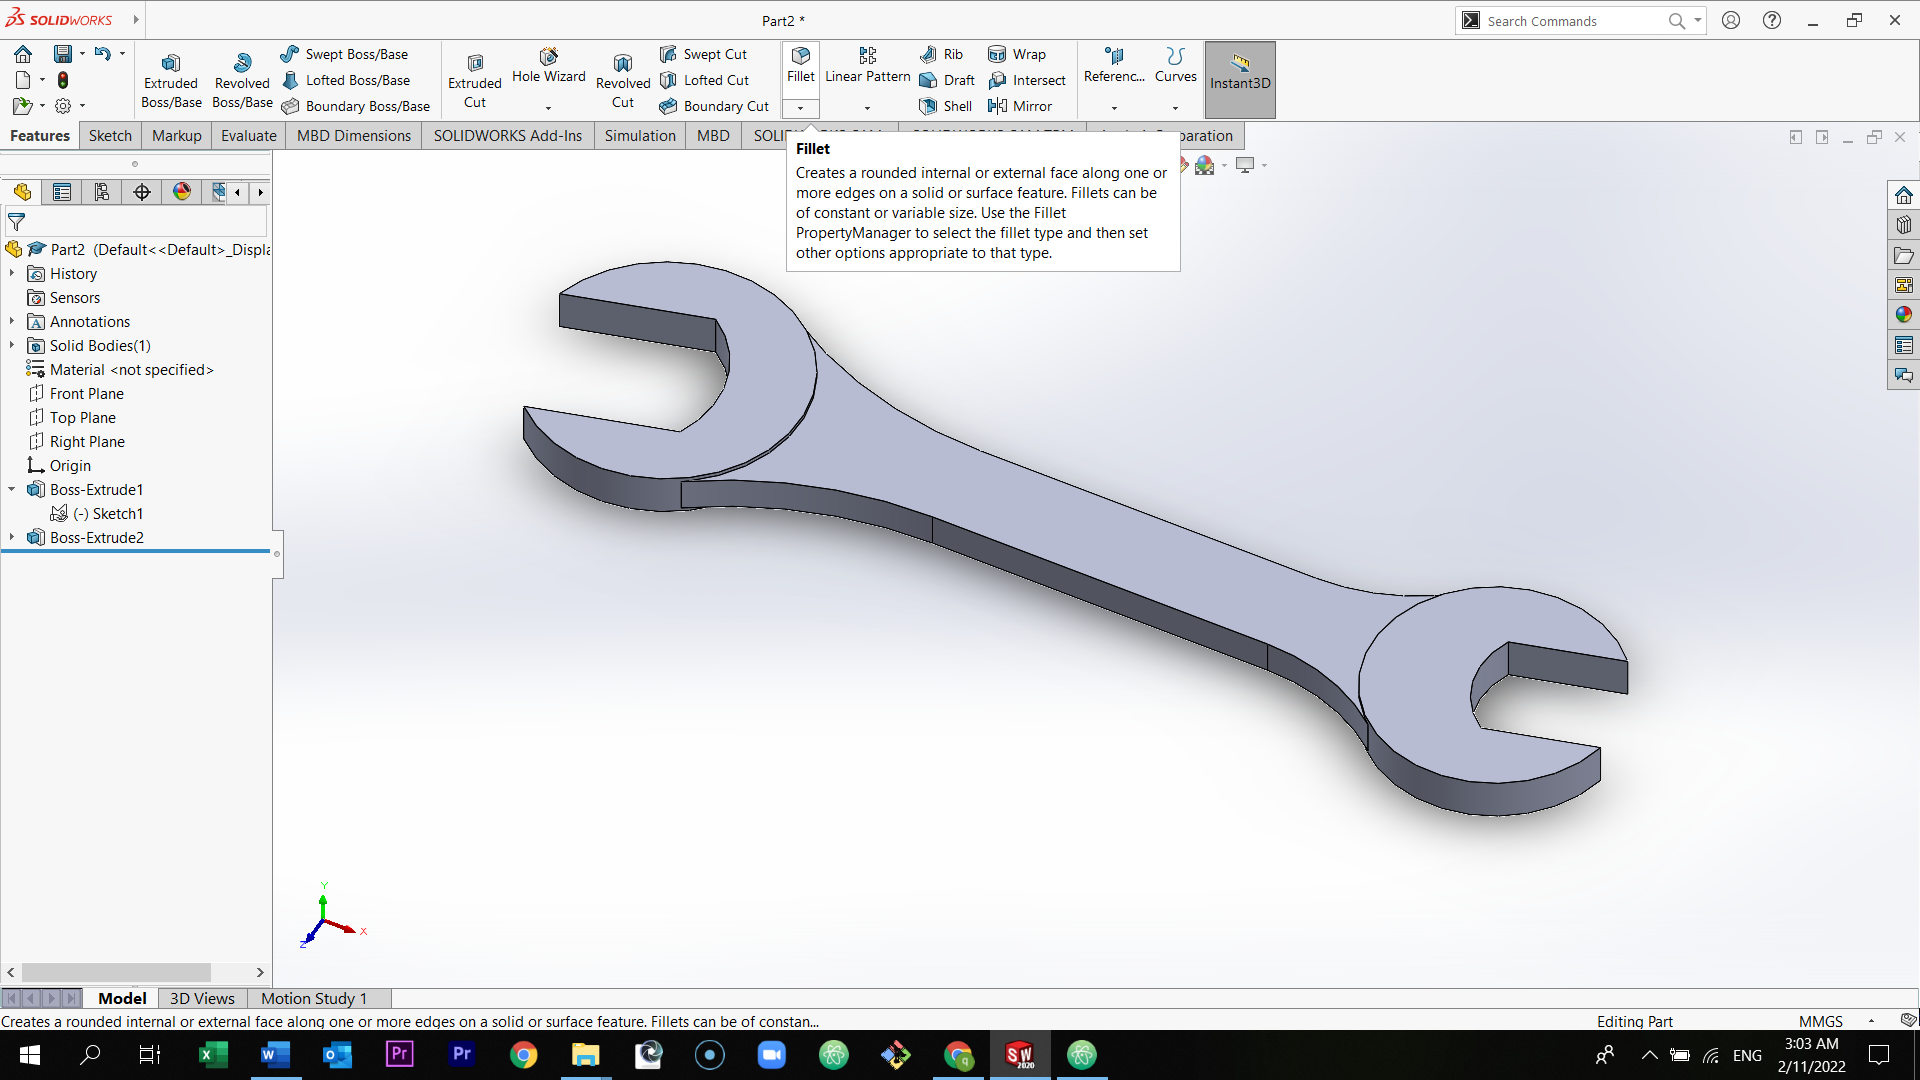
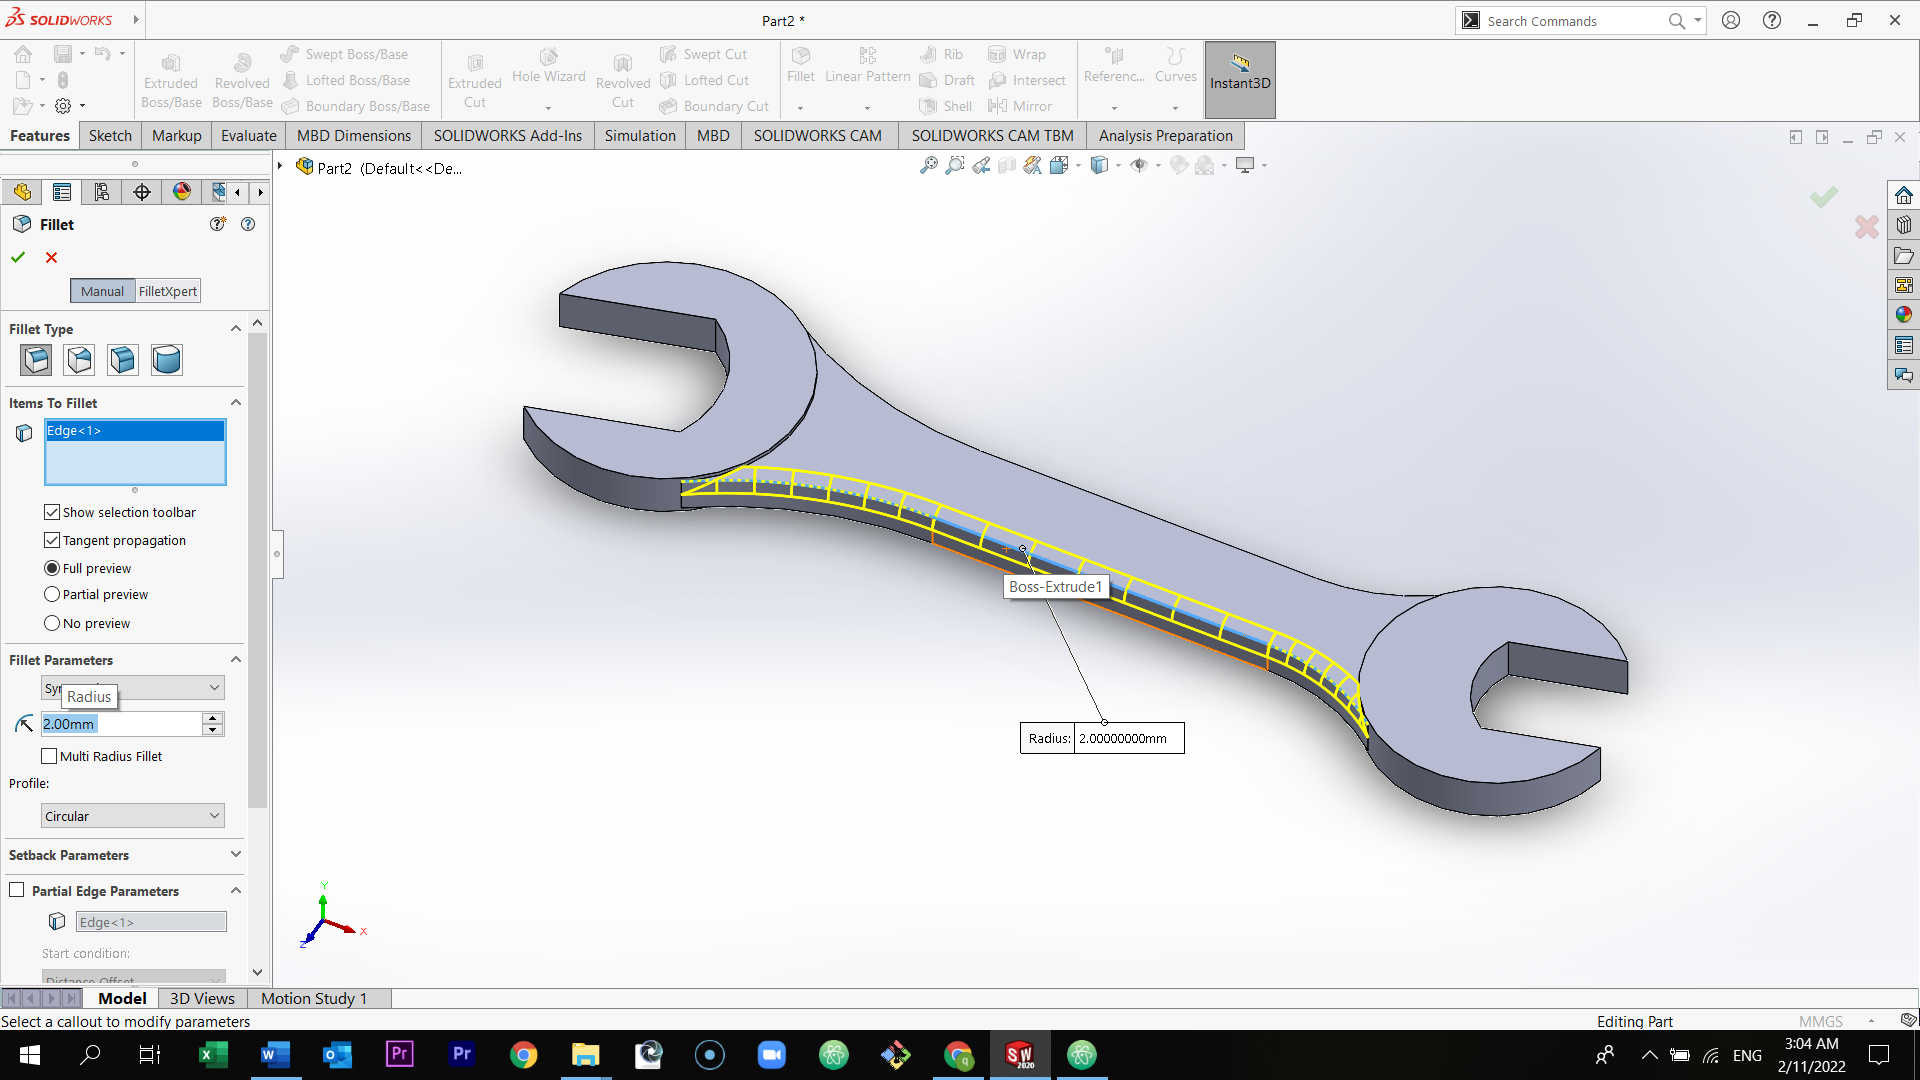
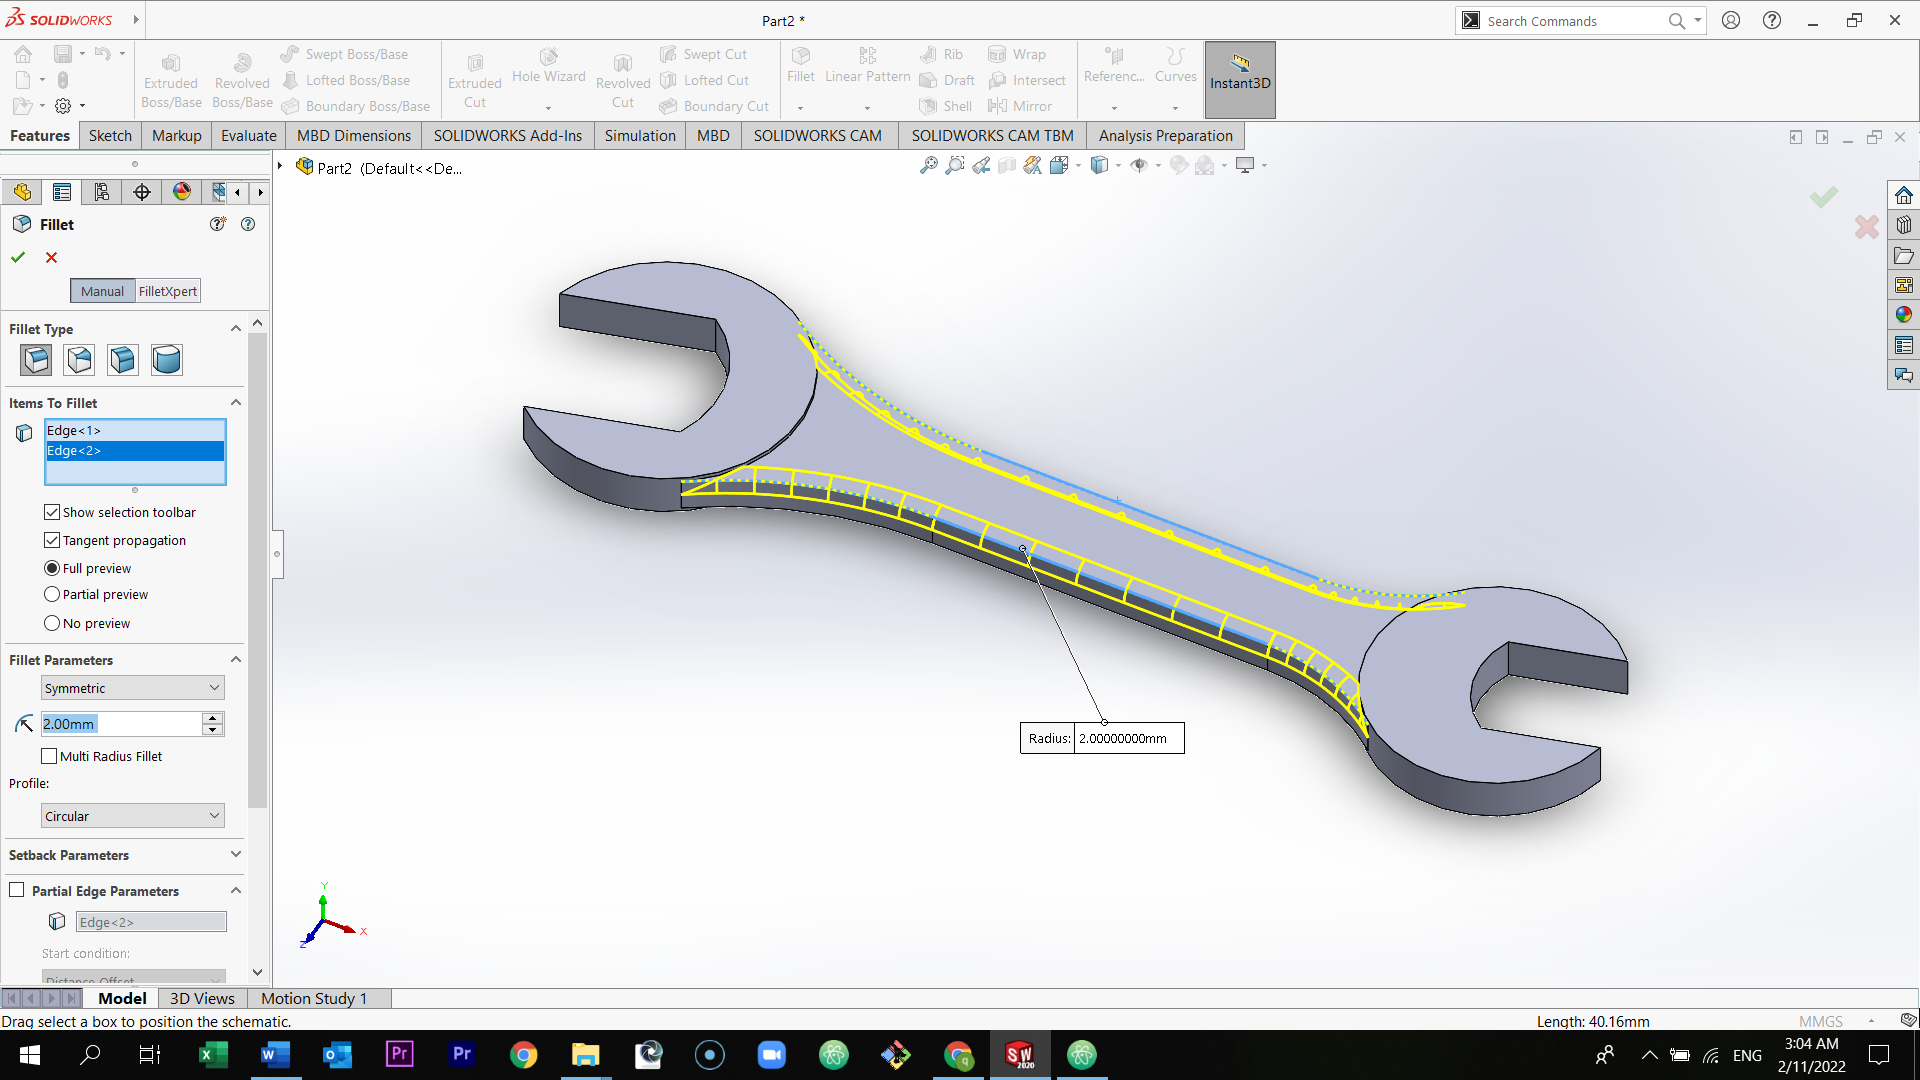
Select fillet from the section above and then select the two sides of the wrench and change the fillet to 2mm.
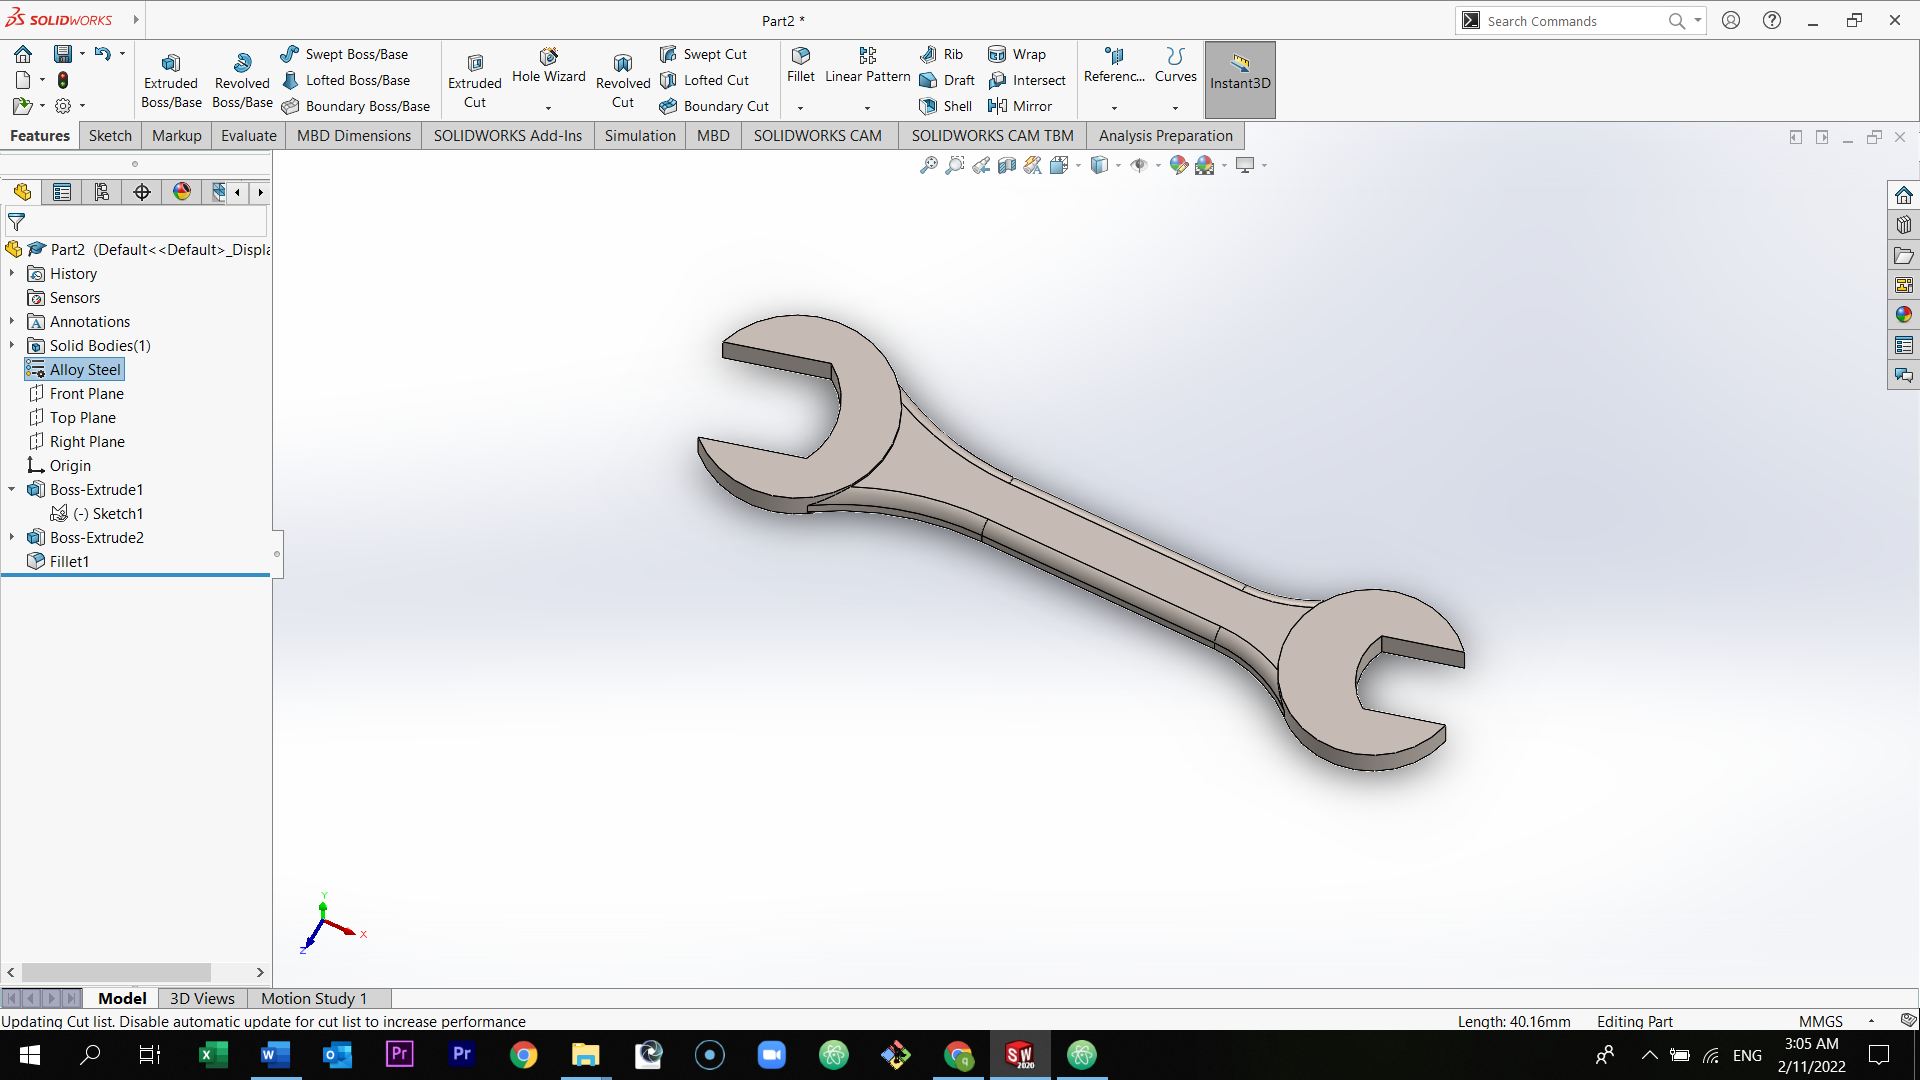
Select the type of material of the wrench.
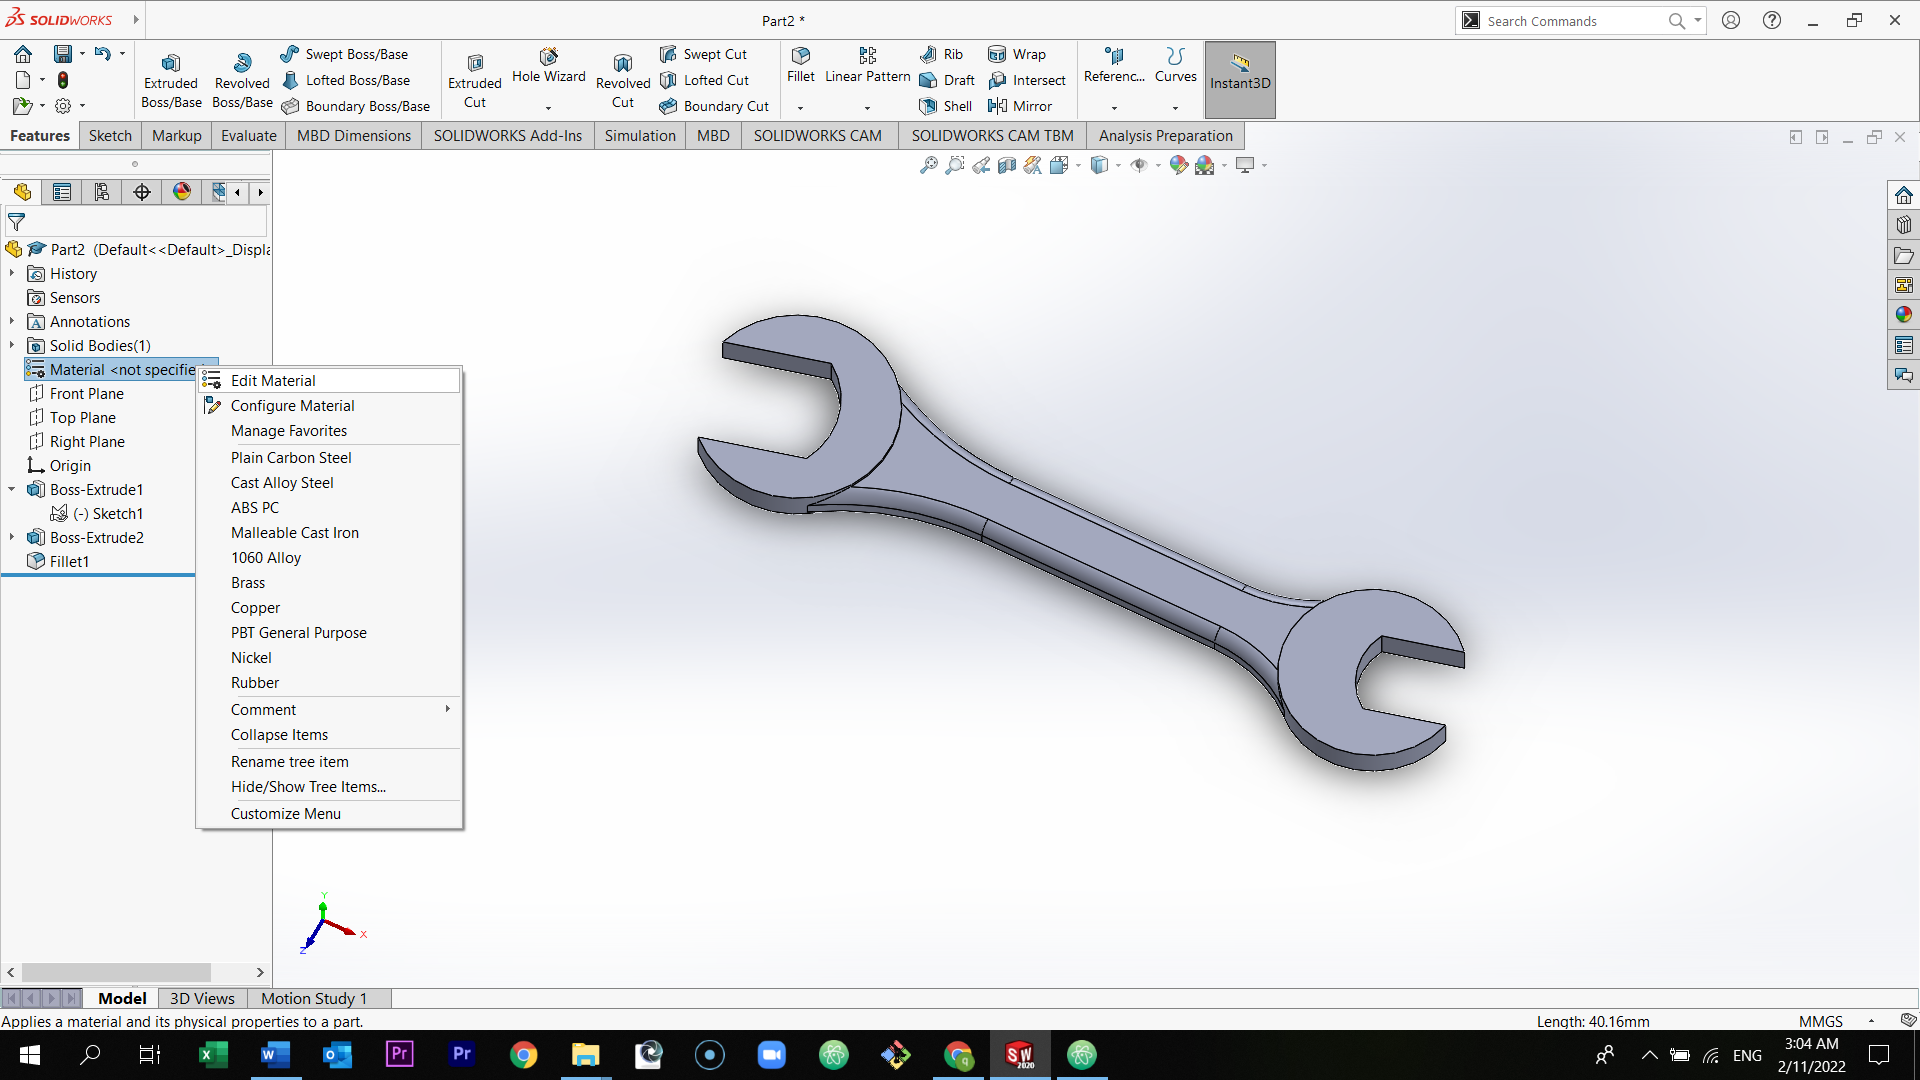
I have selected Alloy Steel. You can select what ever material that suits you.

You can change the color of the wrench be selecting at the colored ball in the right of the page.
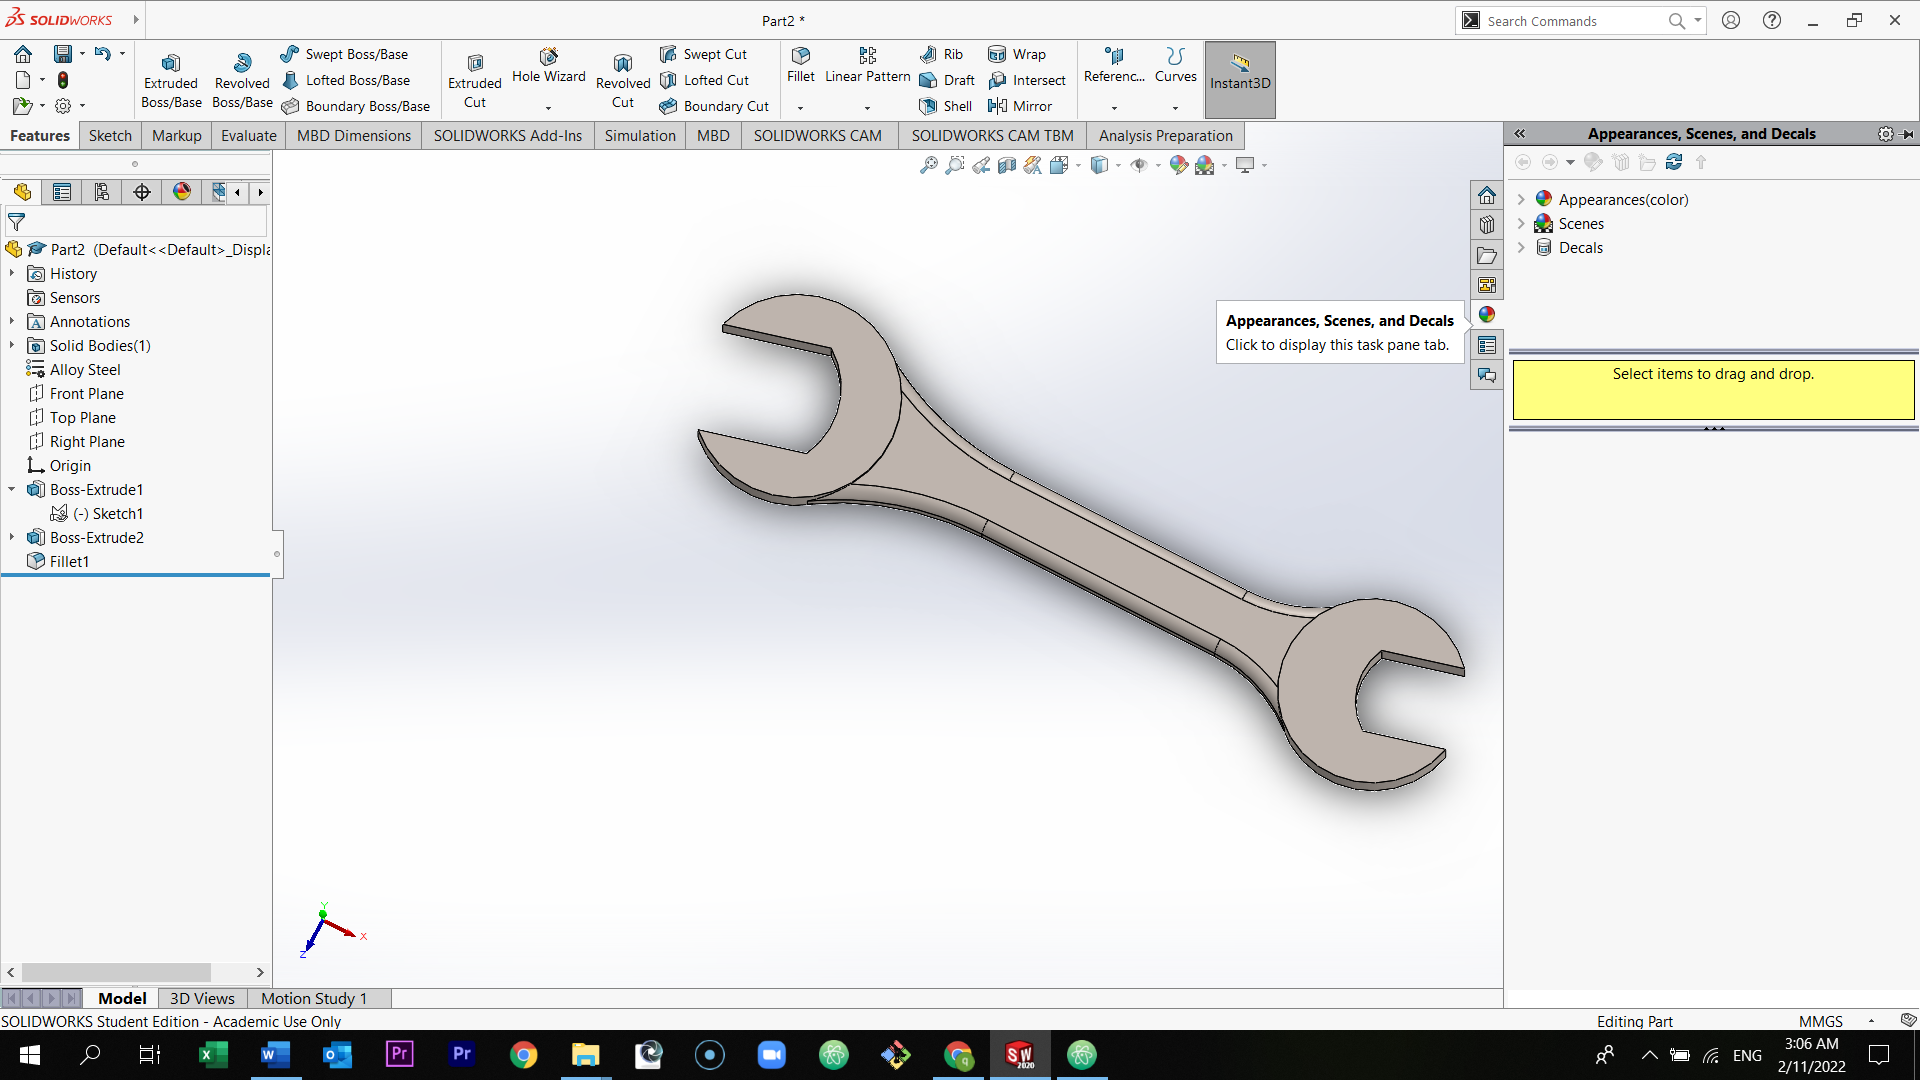
You can select whatever color you want. Just drag the color into the wrench.

Final Result
Preview the model below
.
Click here to download and edit the design