3. Computer controlled cutting
This week, I have experienced using the vinyl cutter and the laser cutting machine. Vinyl cutter is a type of computer-controlled machine. This machine, has a blade that is used to cut out shapes from sheets. While the laser cutting machine is used to cut or etch a specific design on materials such as steel, plastic or wood.
Vinyl Cutting
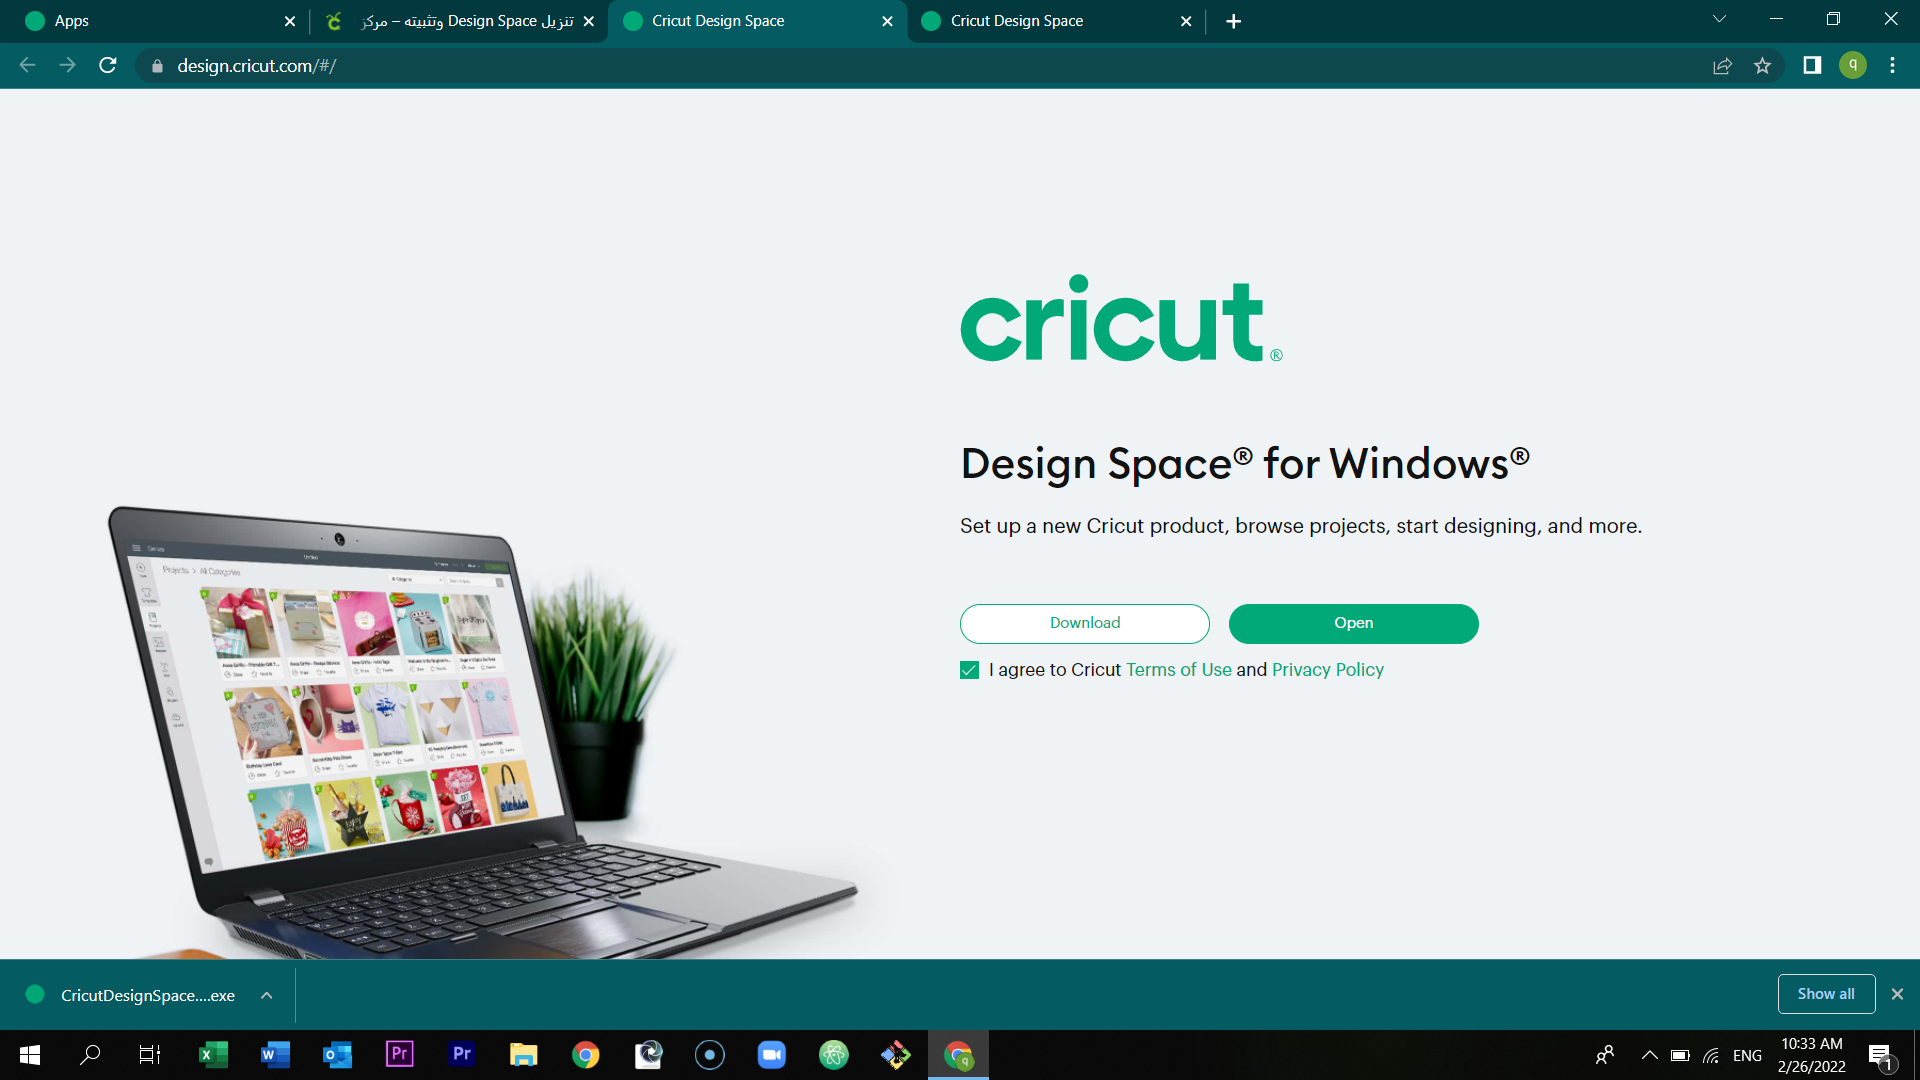
First of all, download the software. Click here to download the circuit design space software. Open the page and click at download.

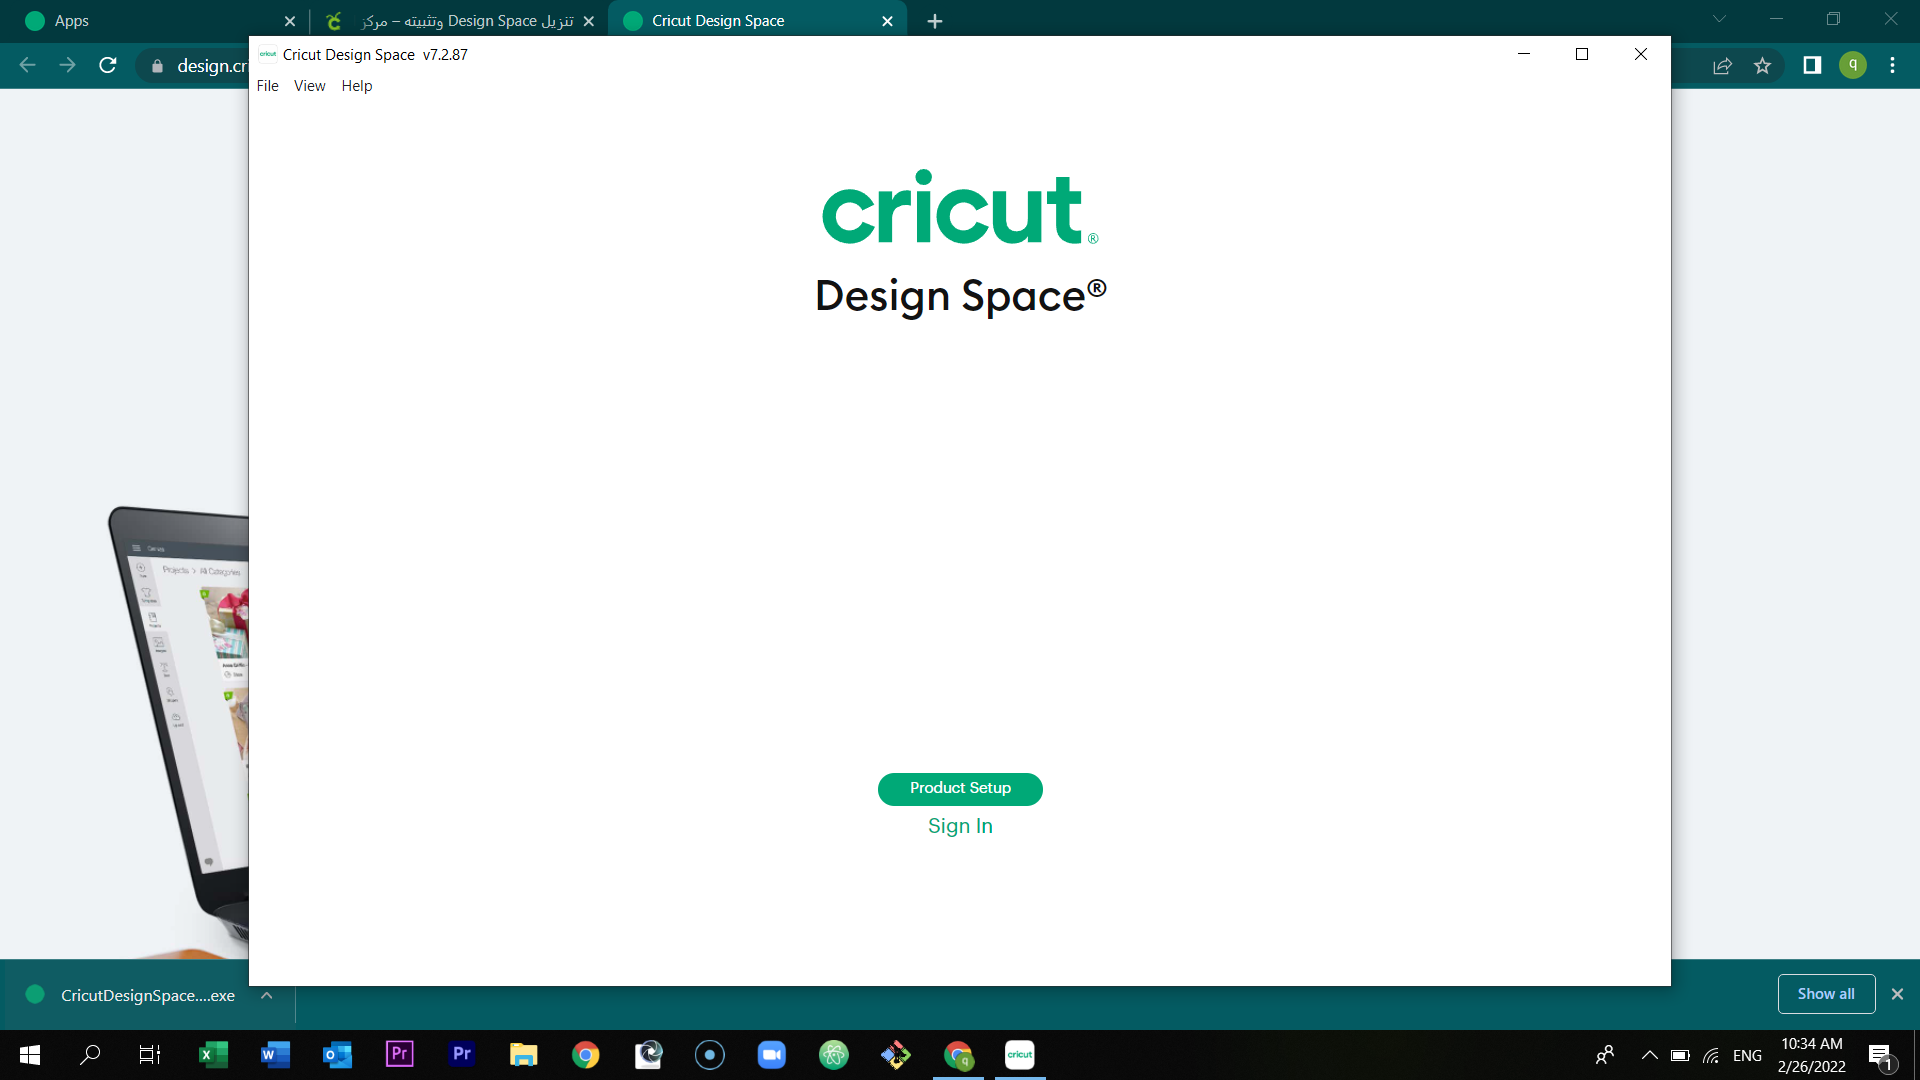
Select product setup.
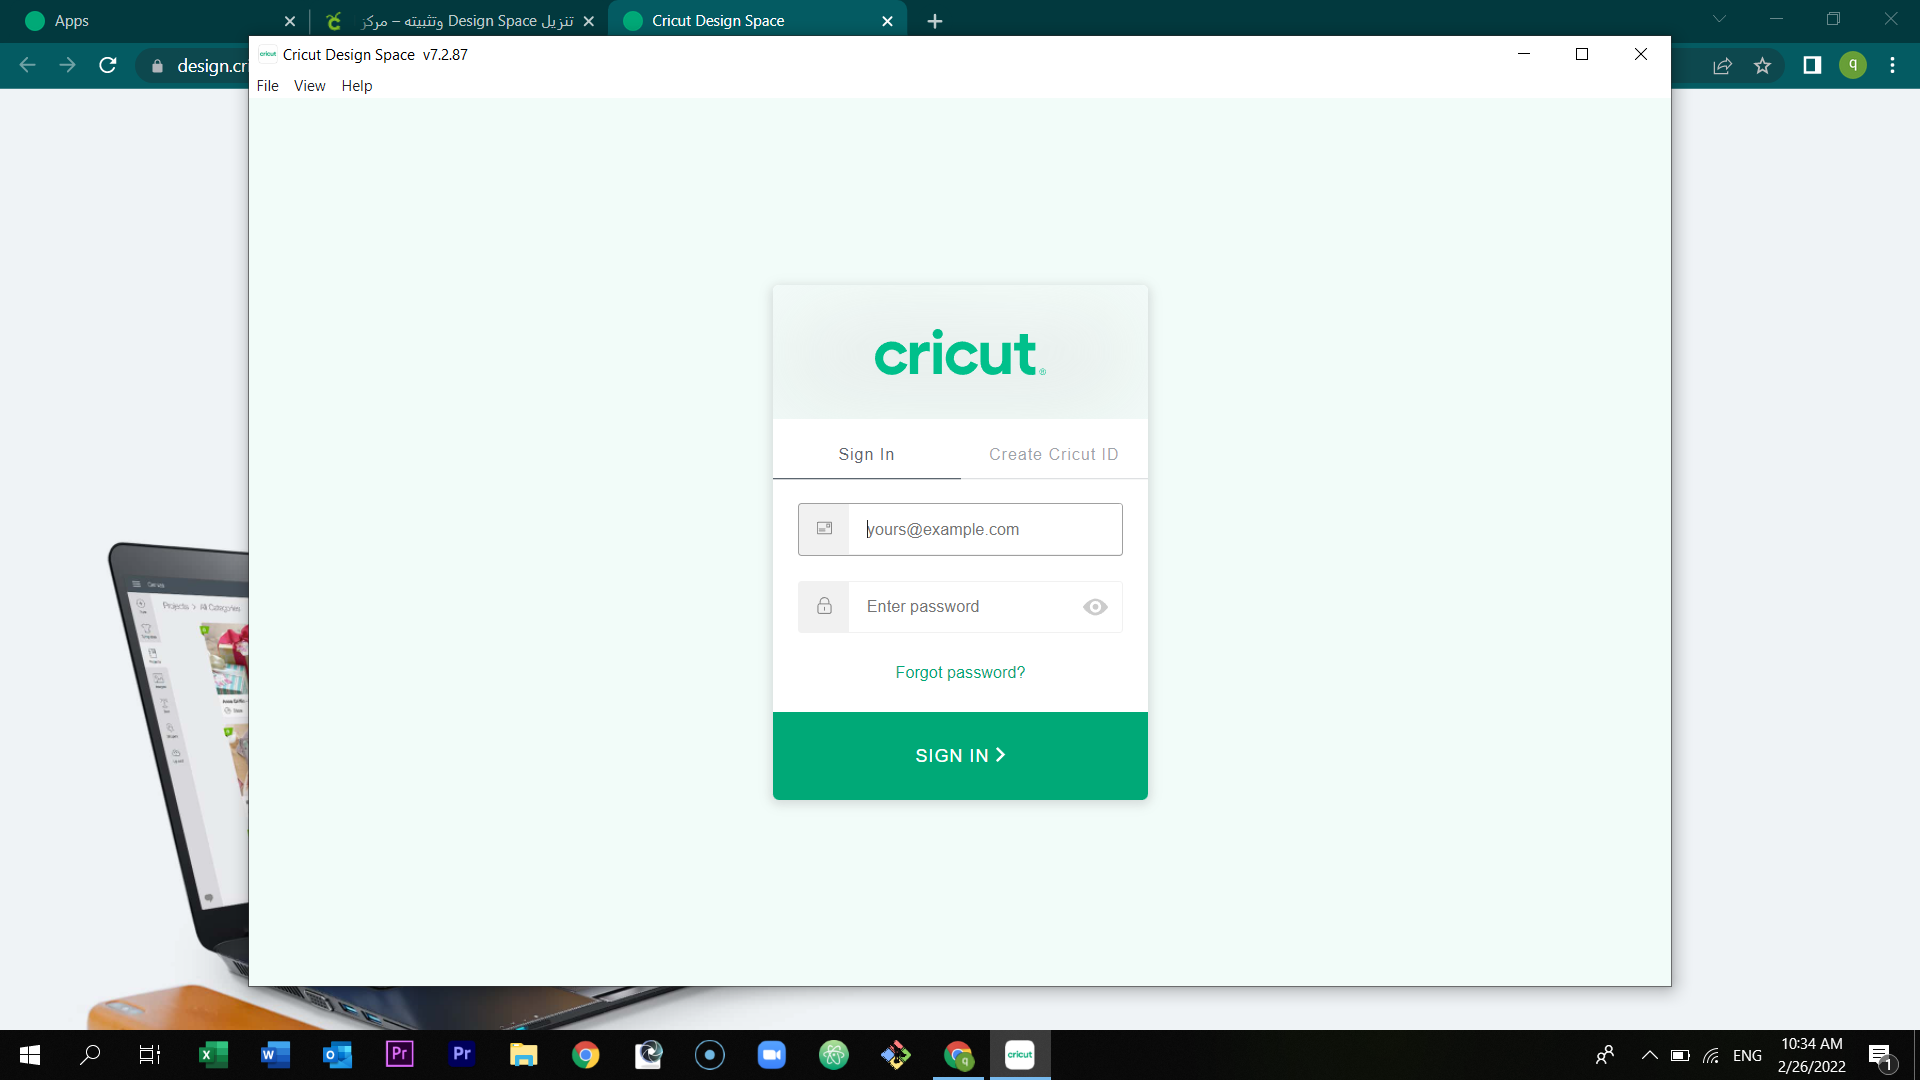
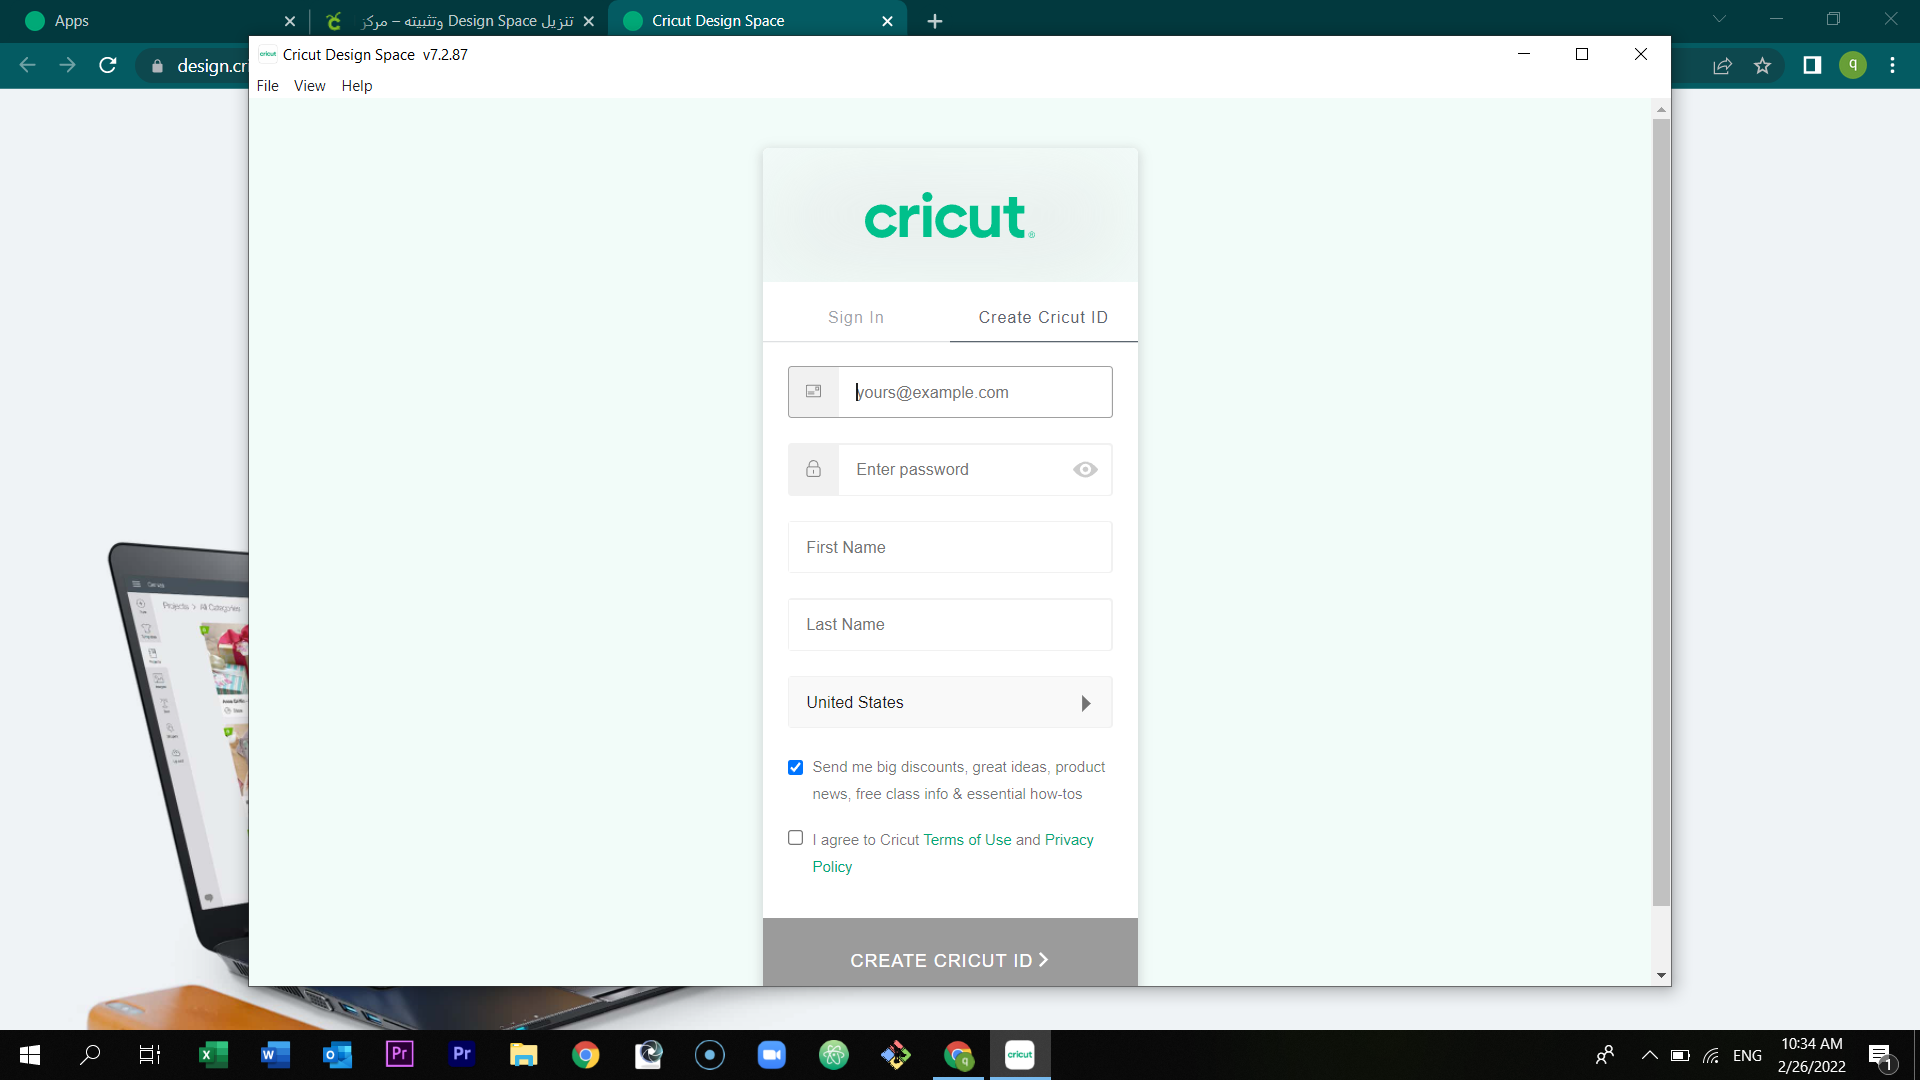
Then, create your cricut id by filling the information required.
Once you opened the program, select the new project which is located at the right corner of the page.
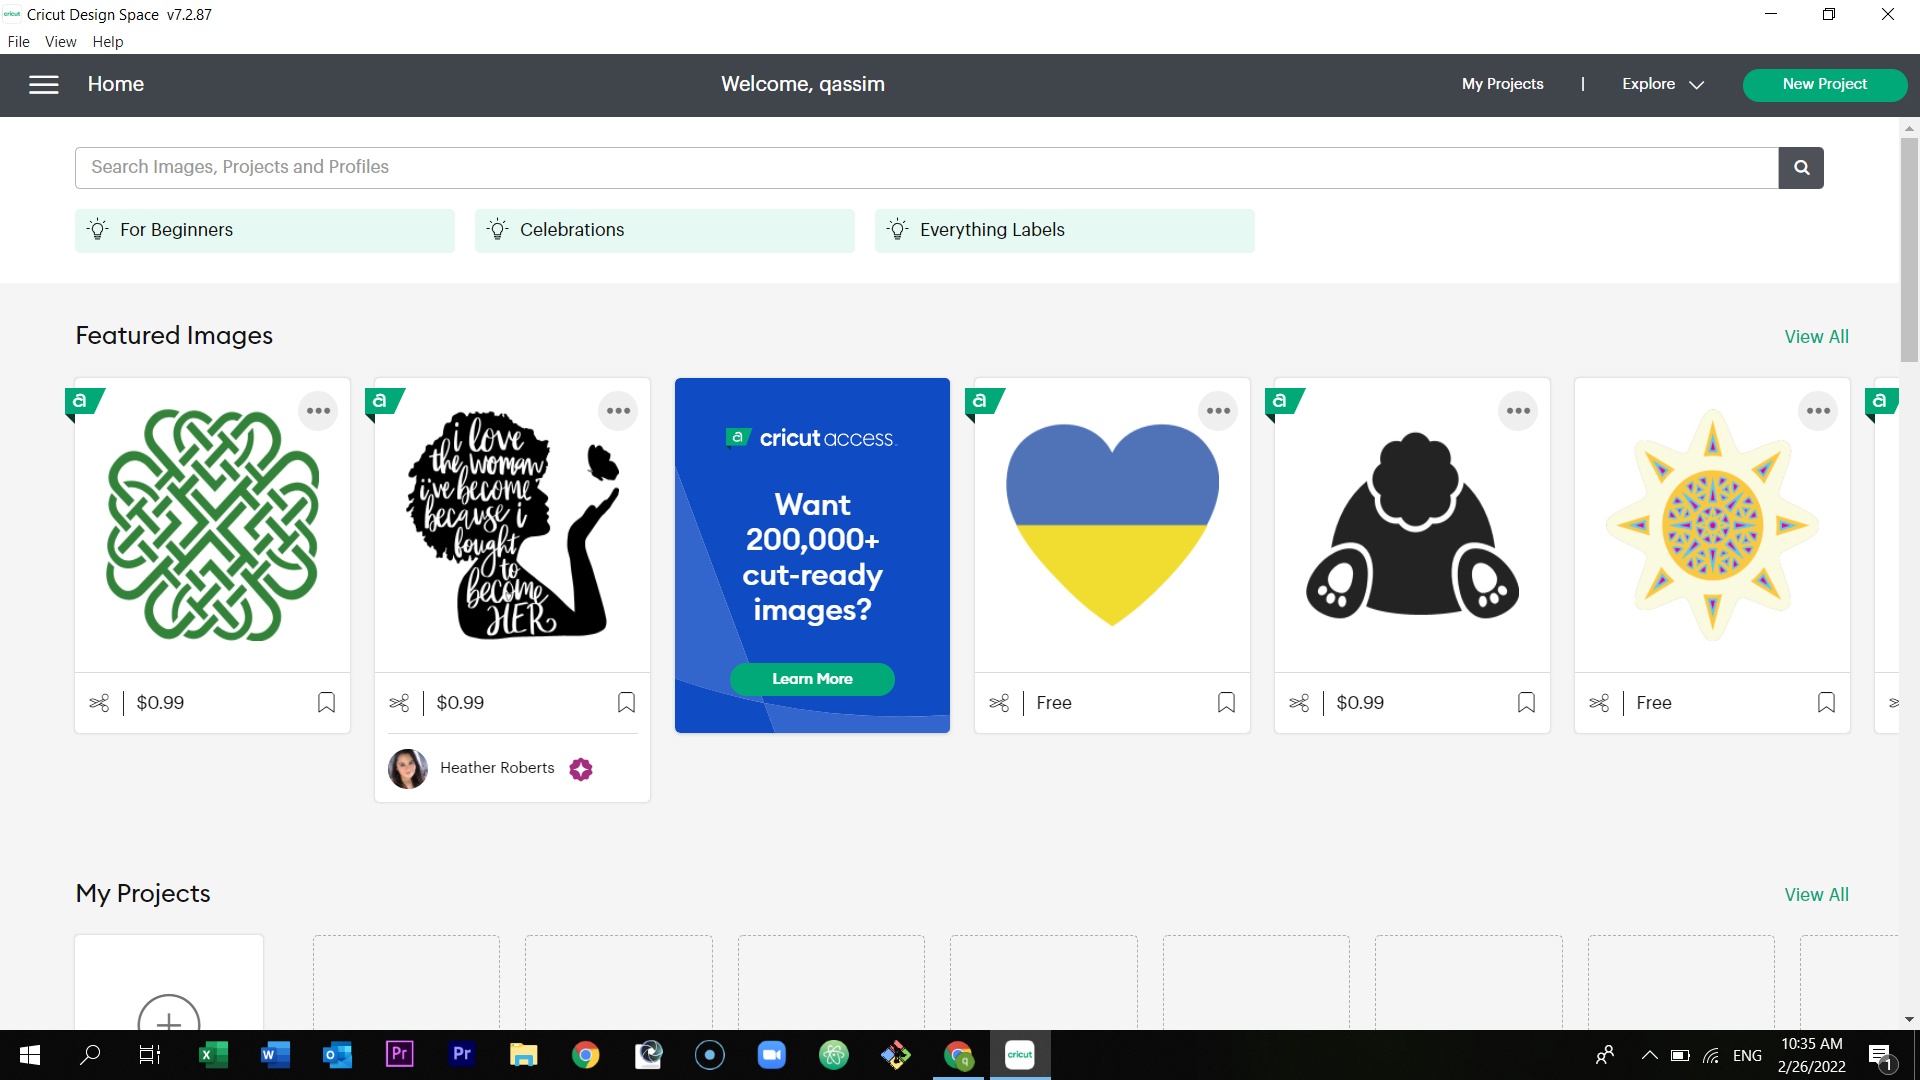
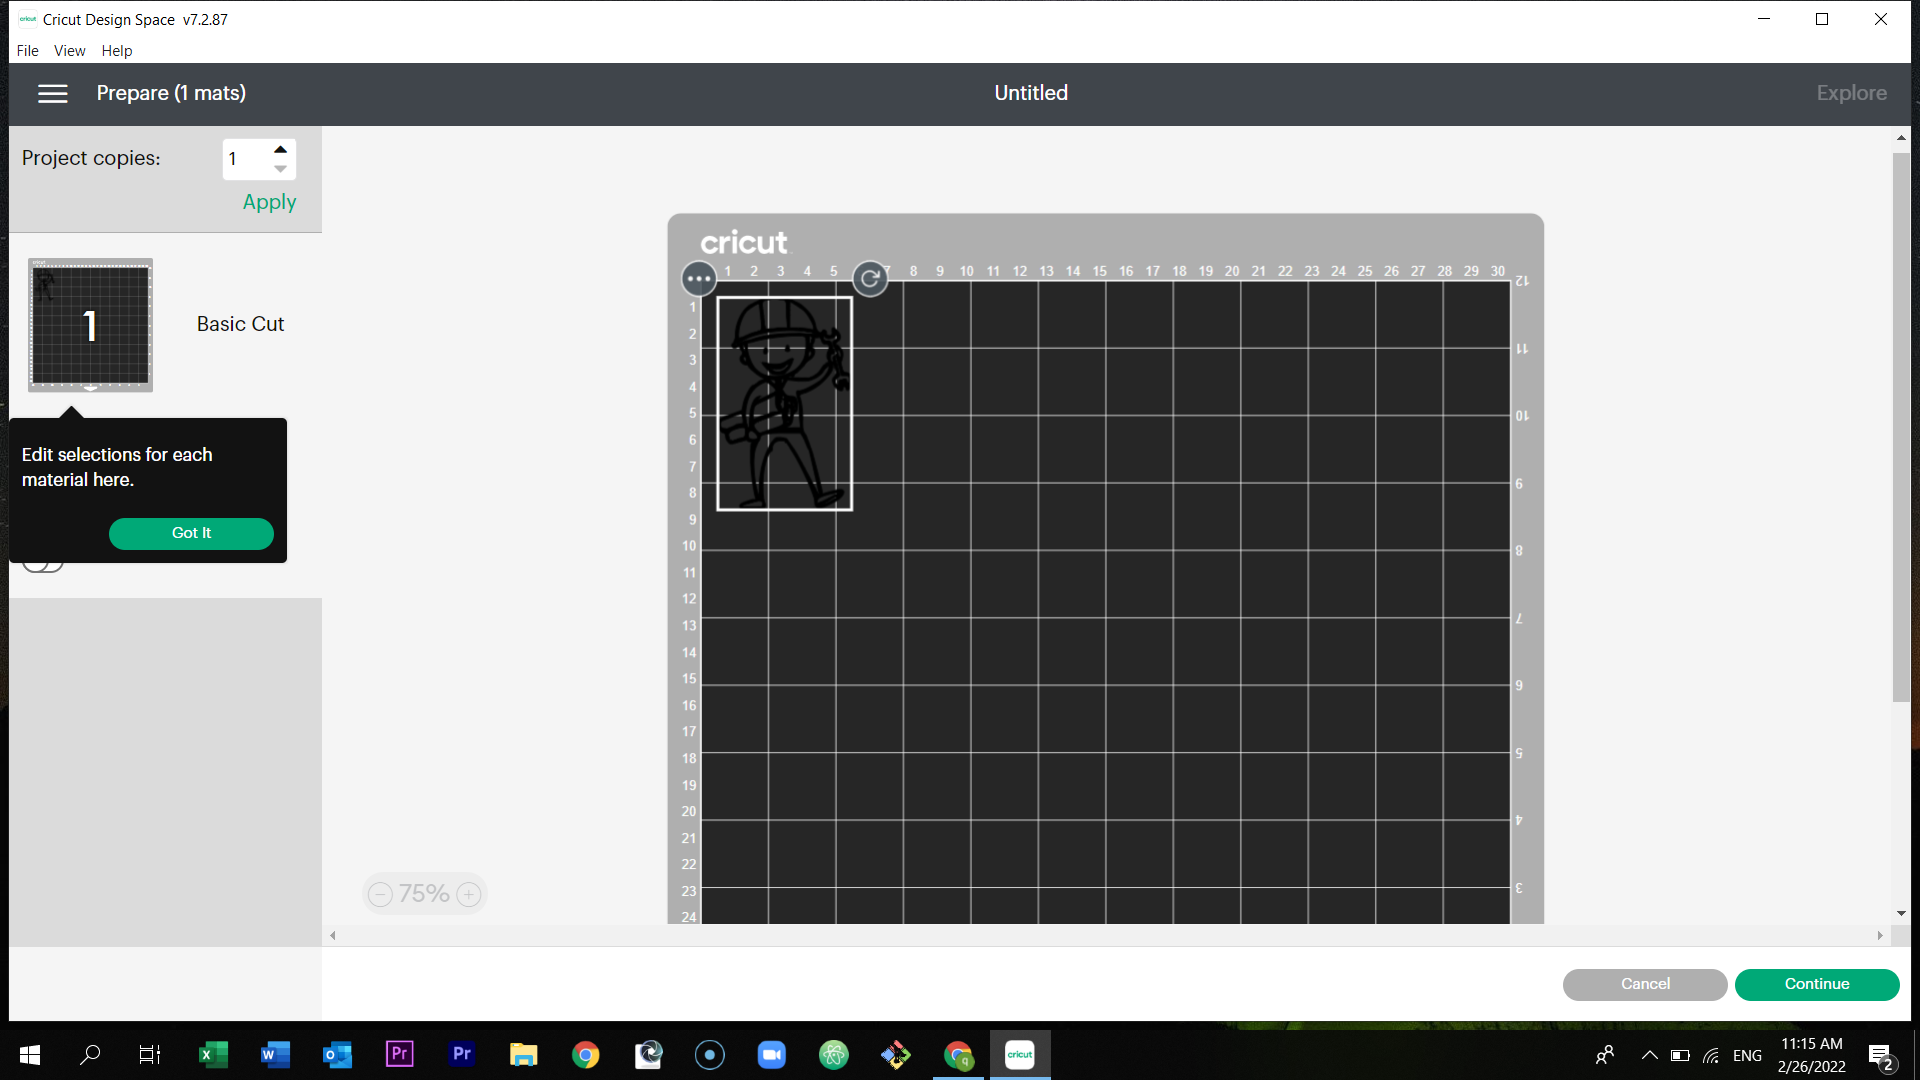
You will get this page.
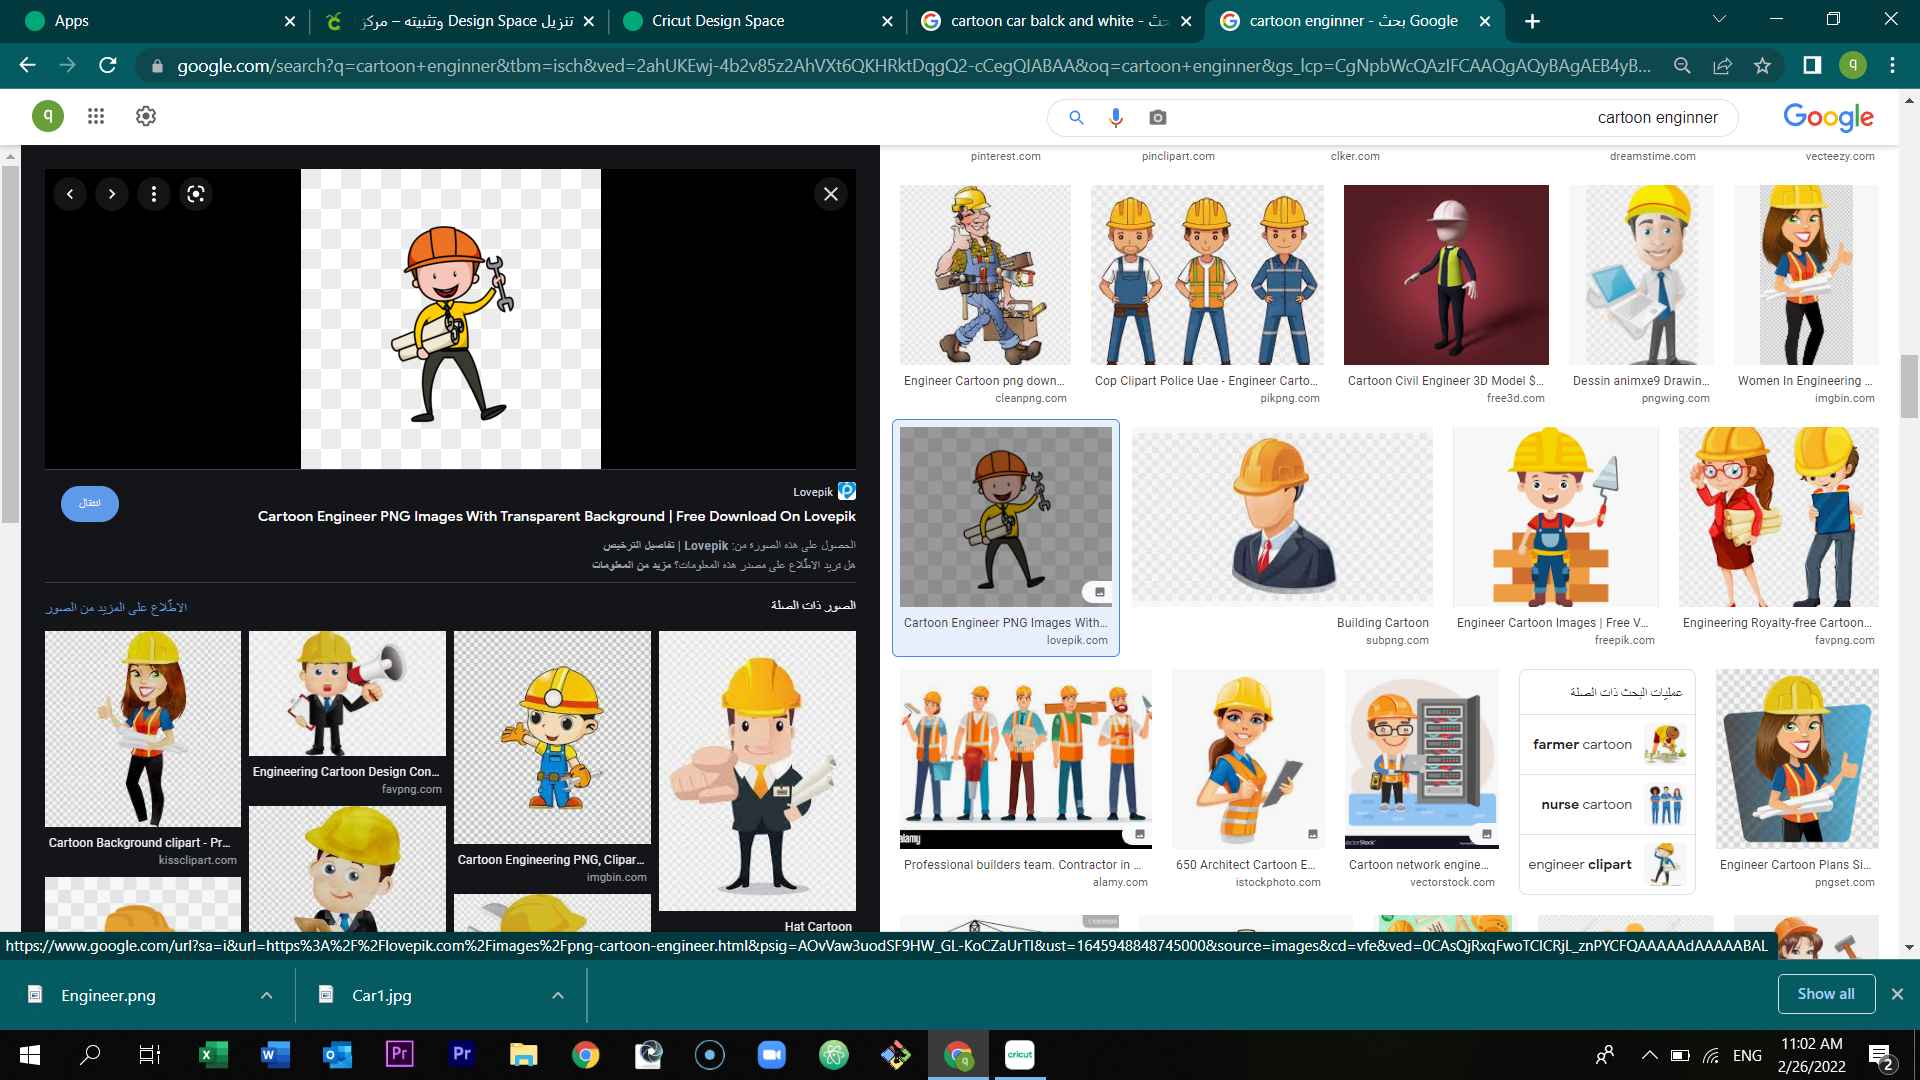
Take a picture from the internet, and save it in your desktop.
Now select upload which is located in the left bottom of the page. After that, select the picture you wanted to cut.
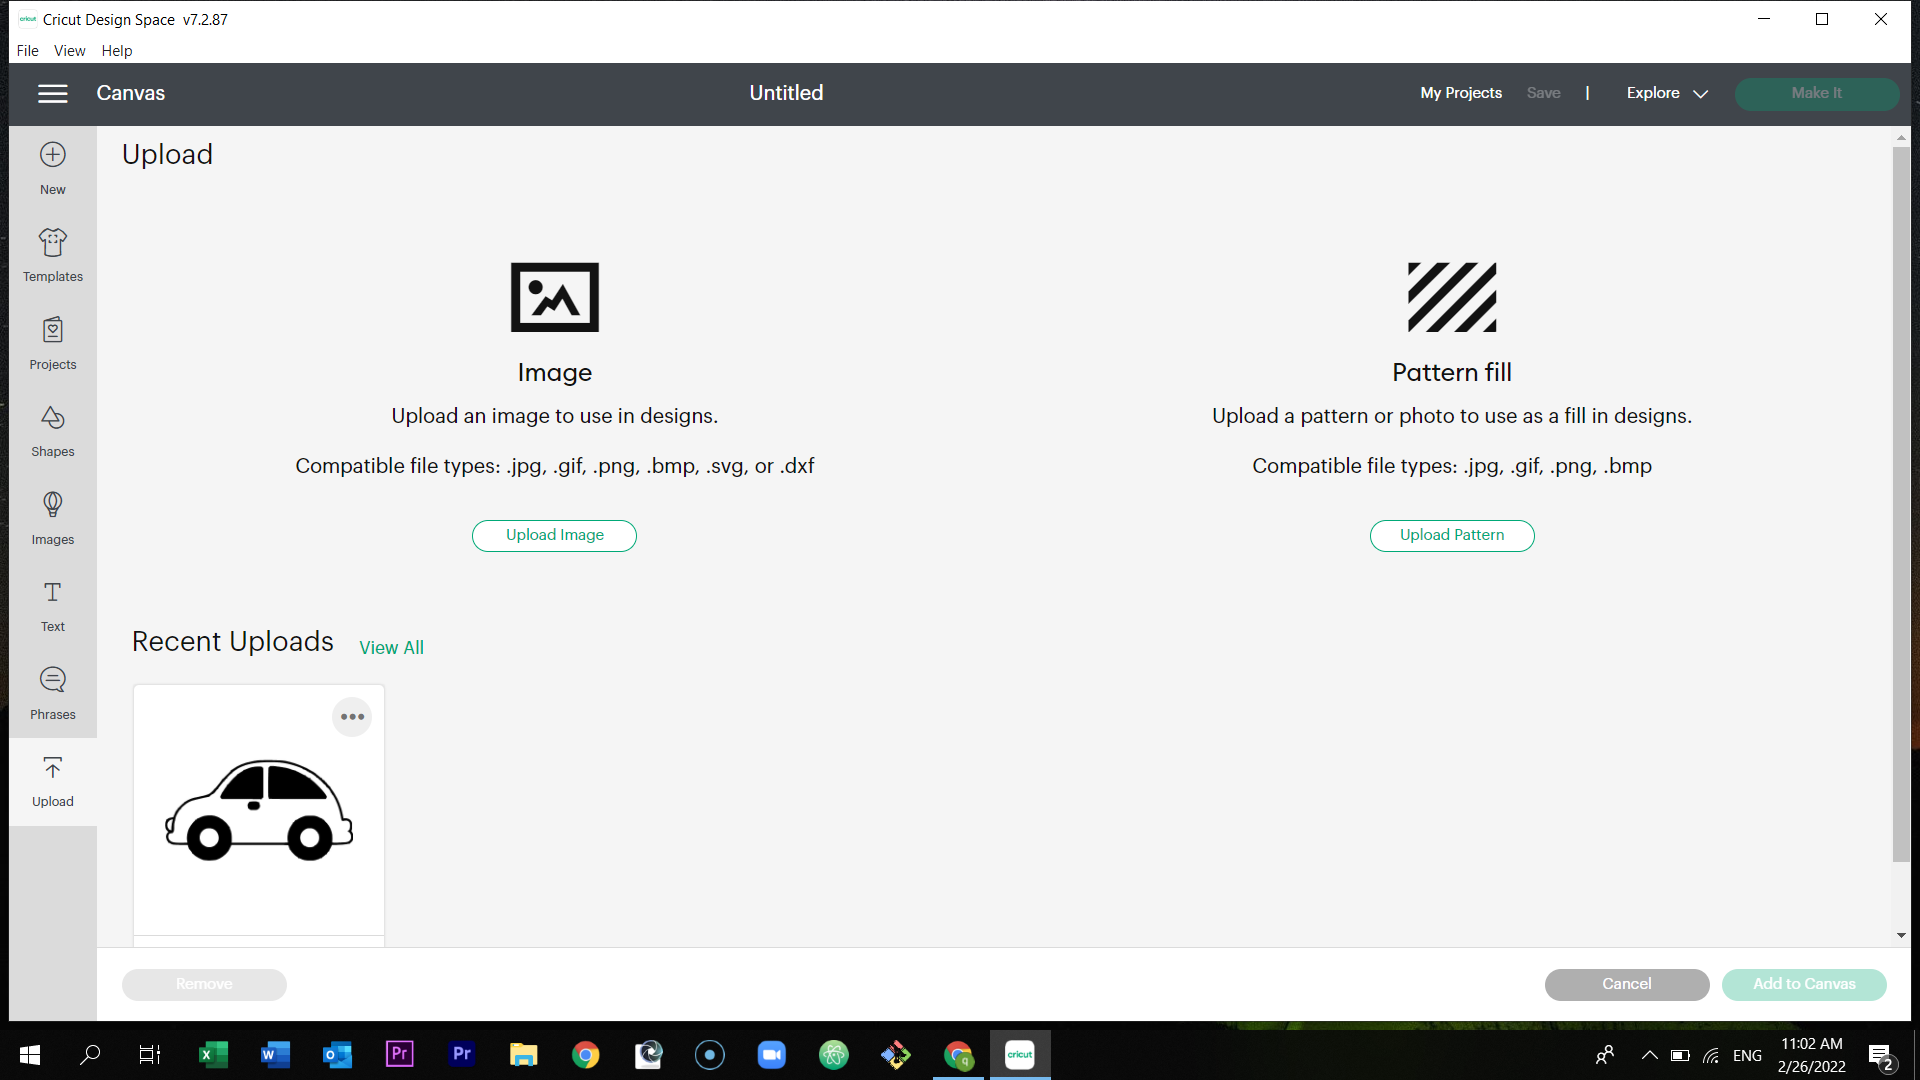
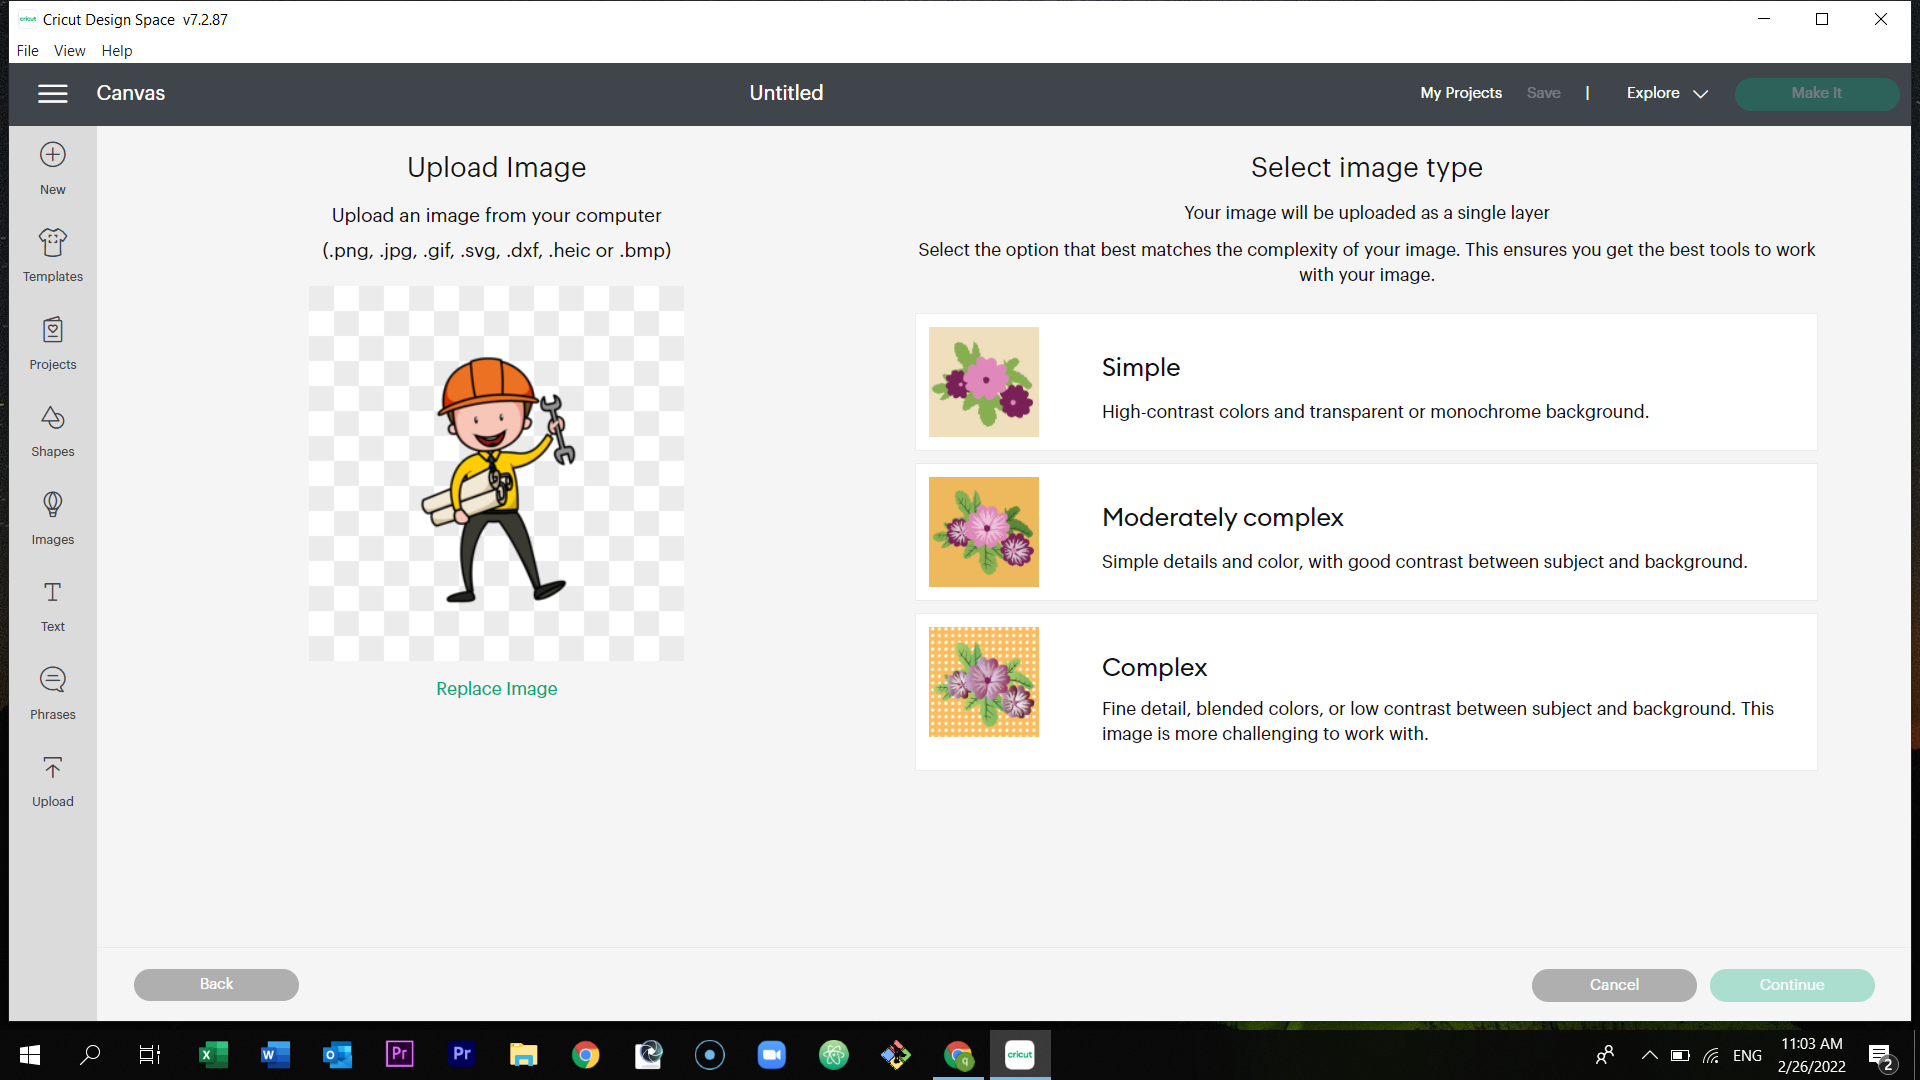
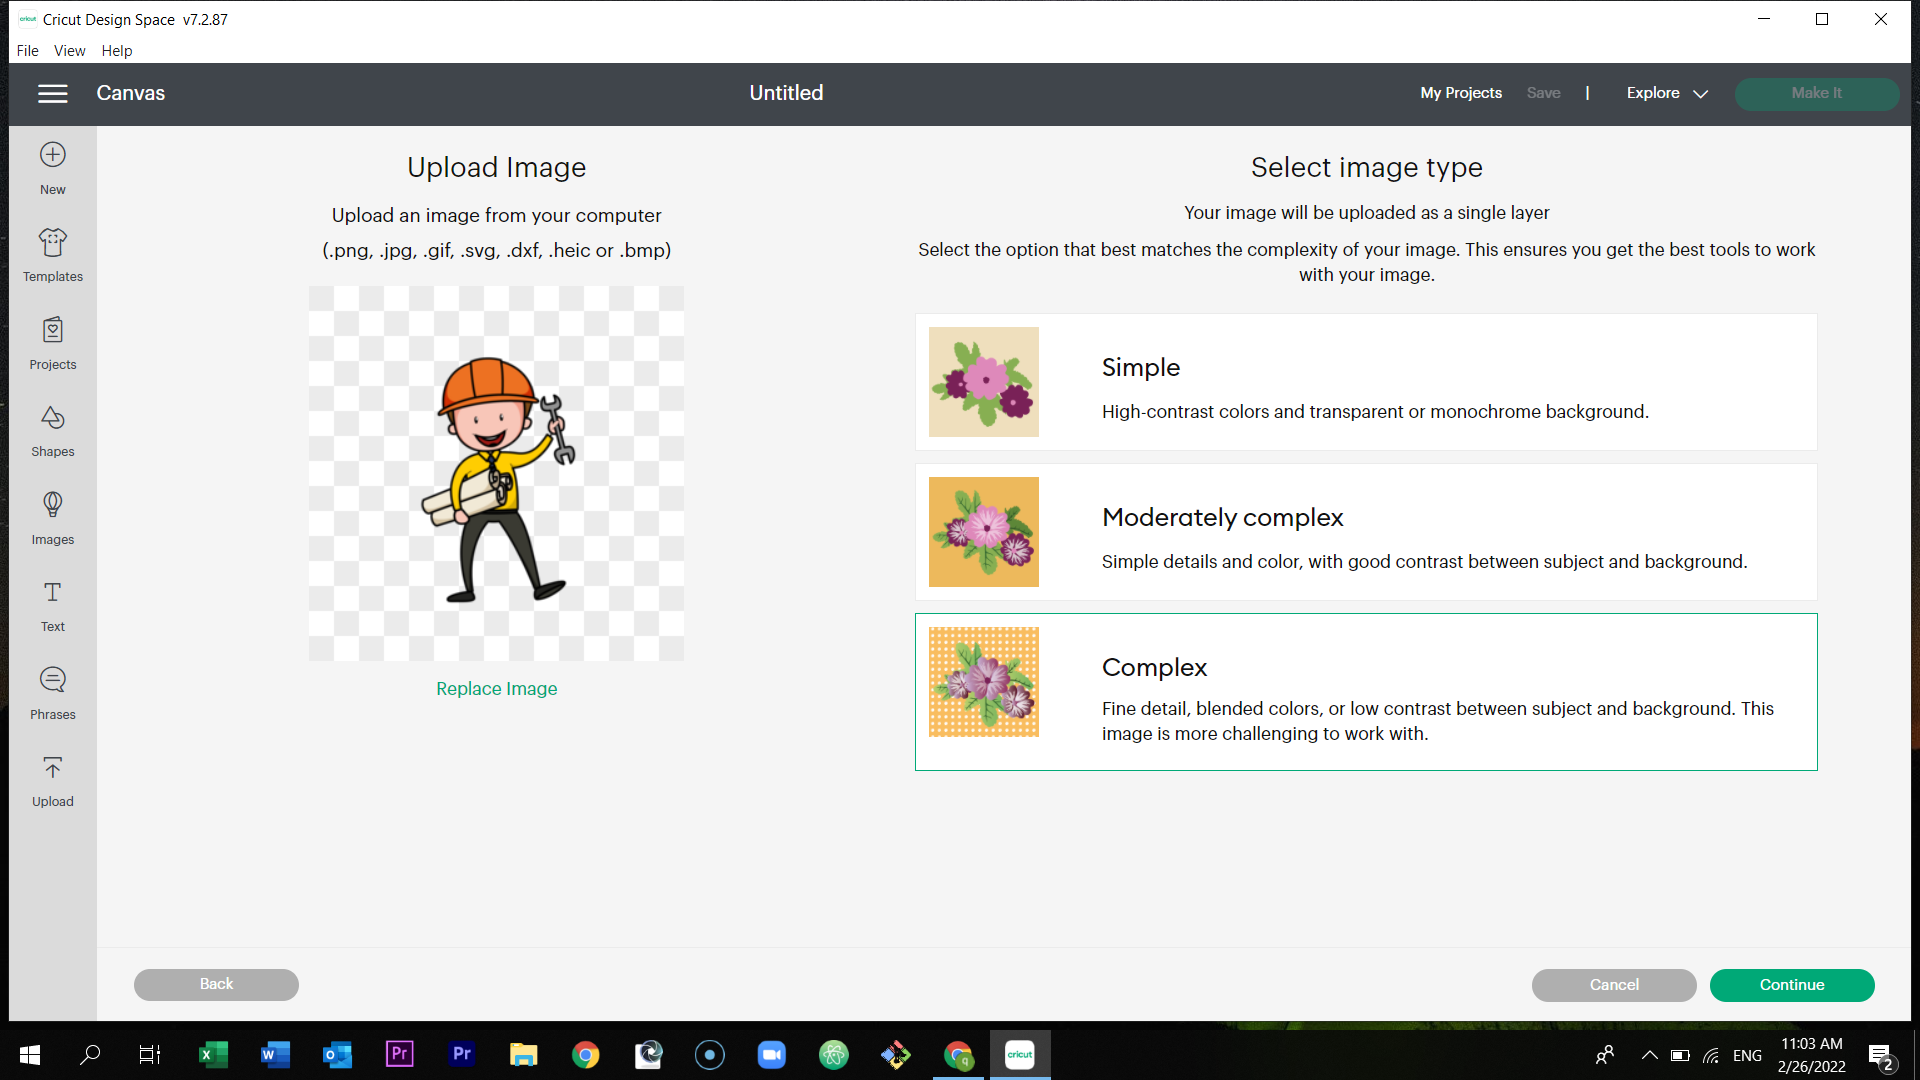
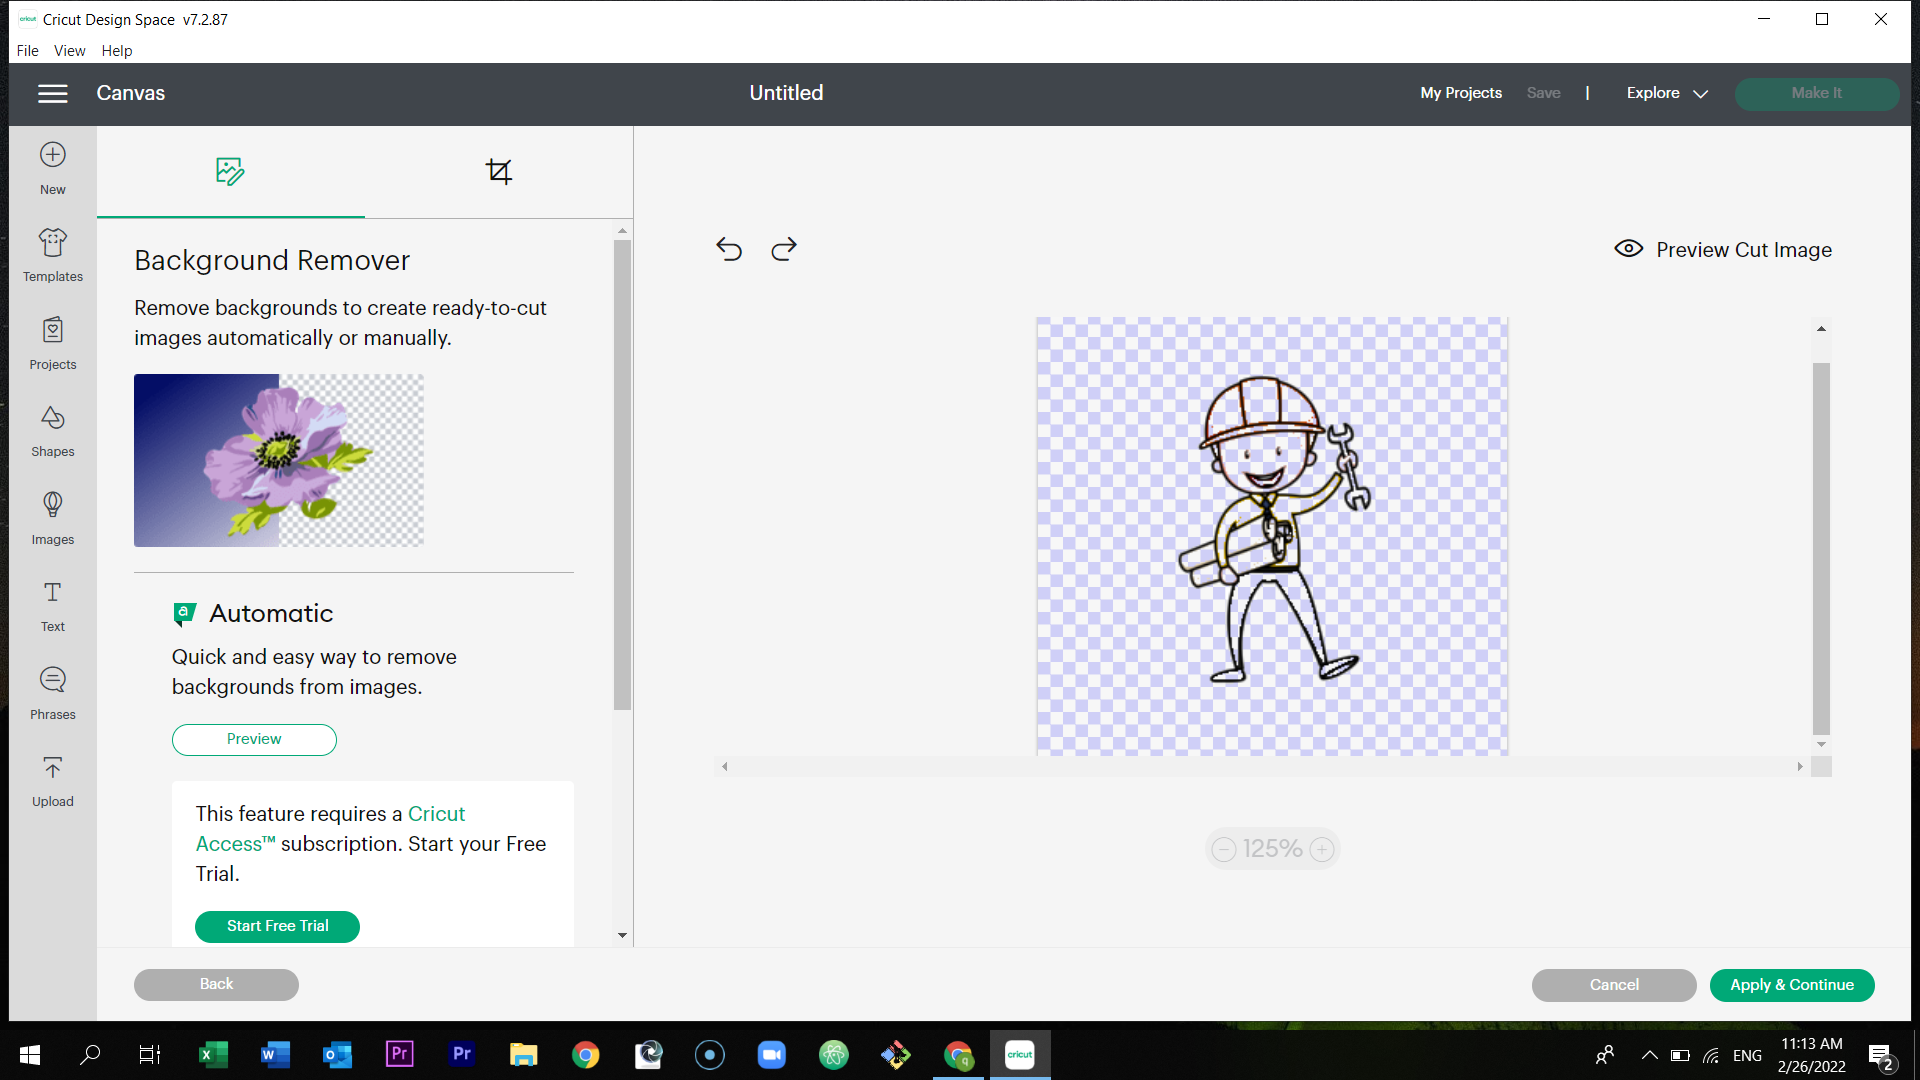
In the image type, select the option complex, and continue.
Then remove the background to cut your figure properly.
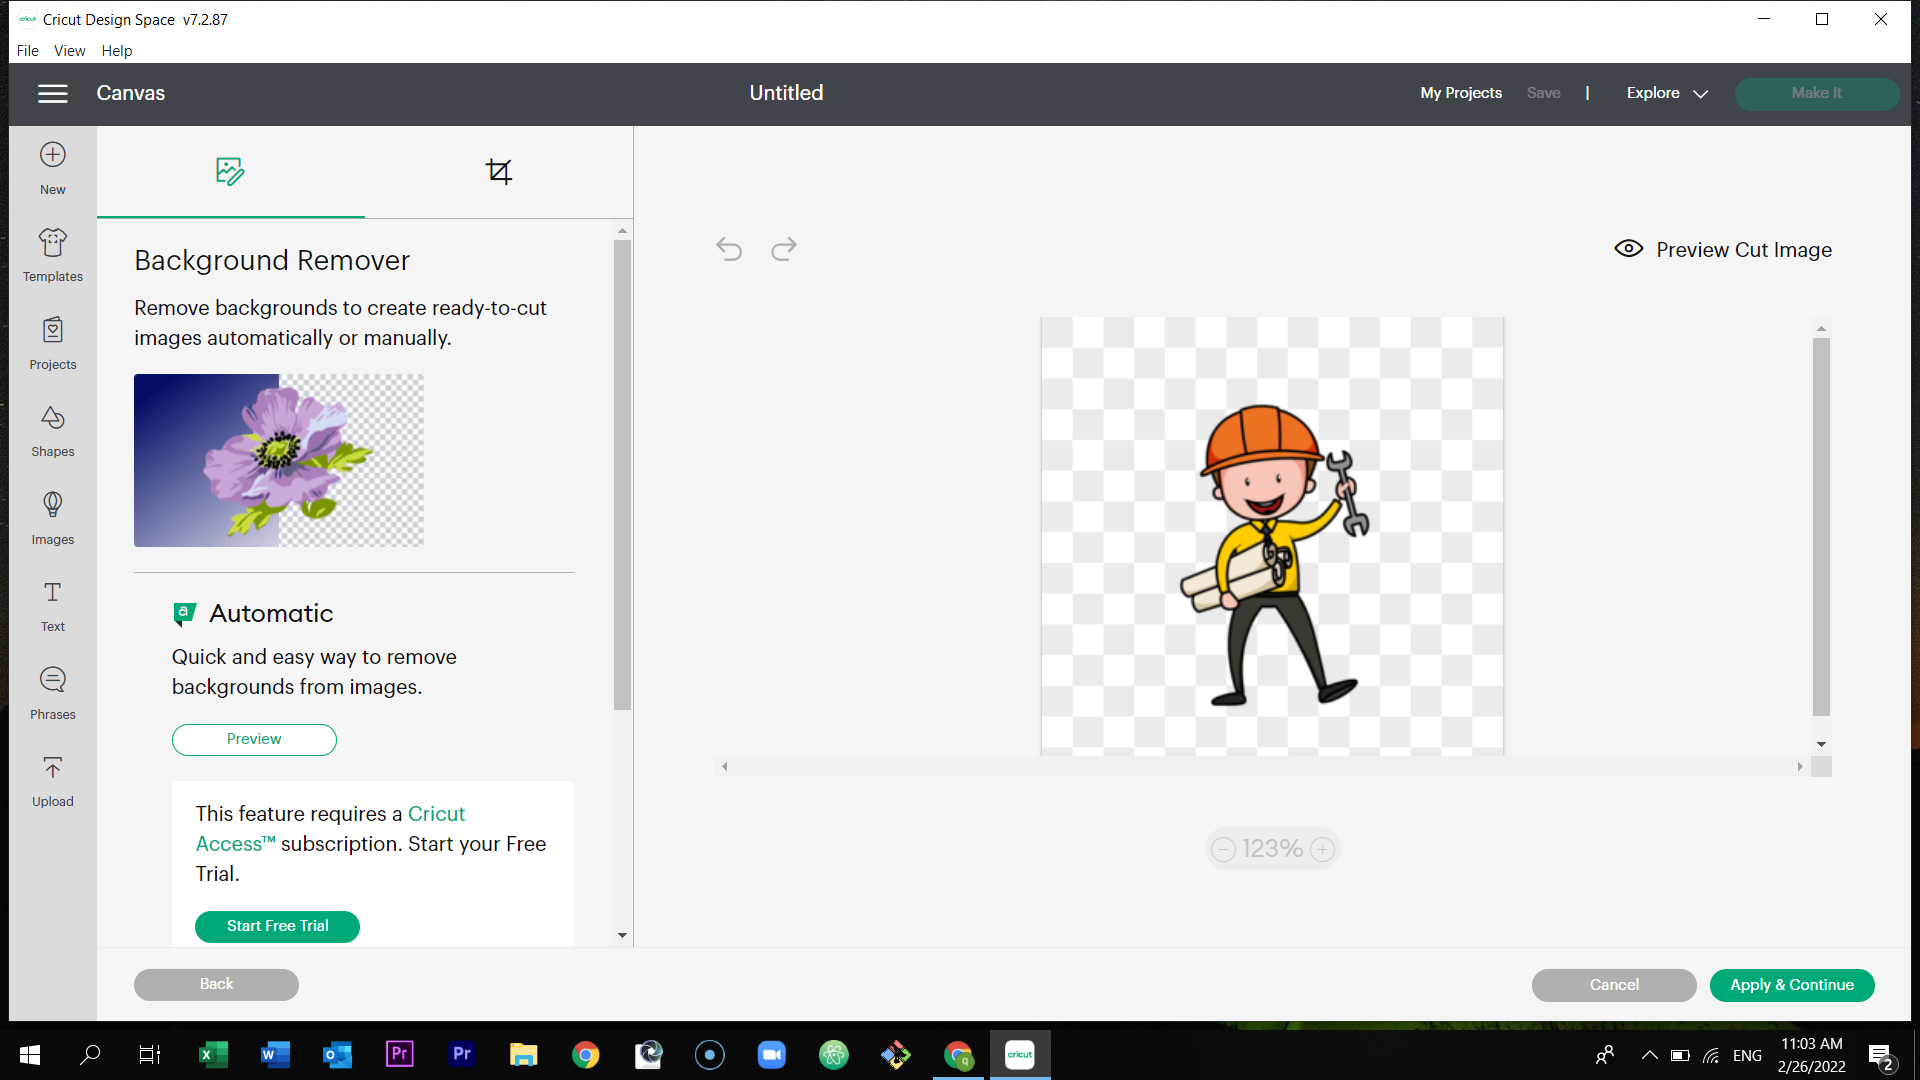
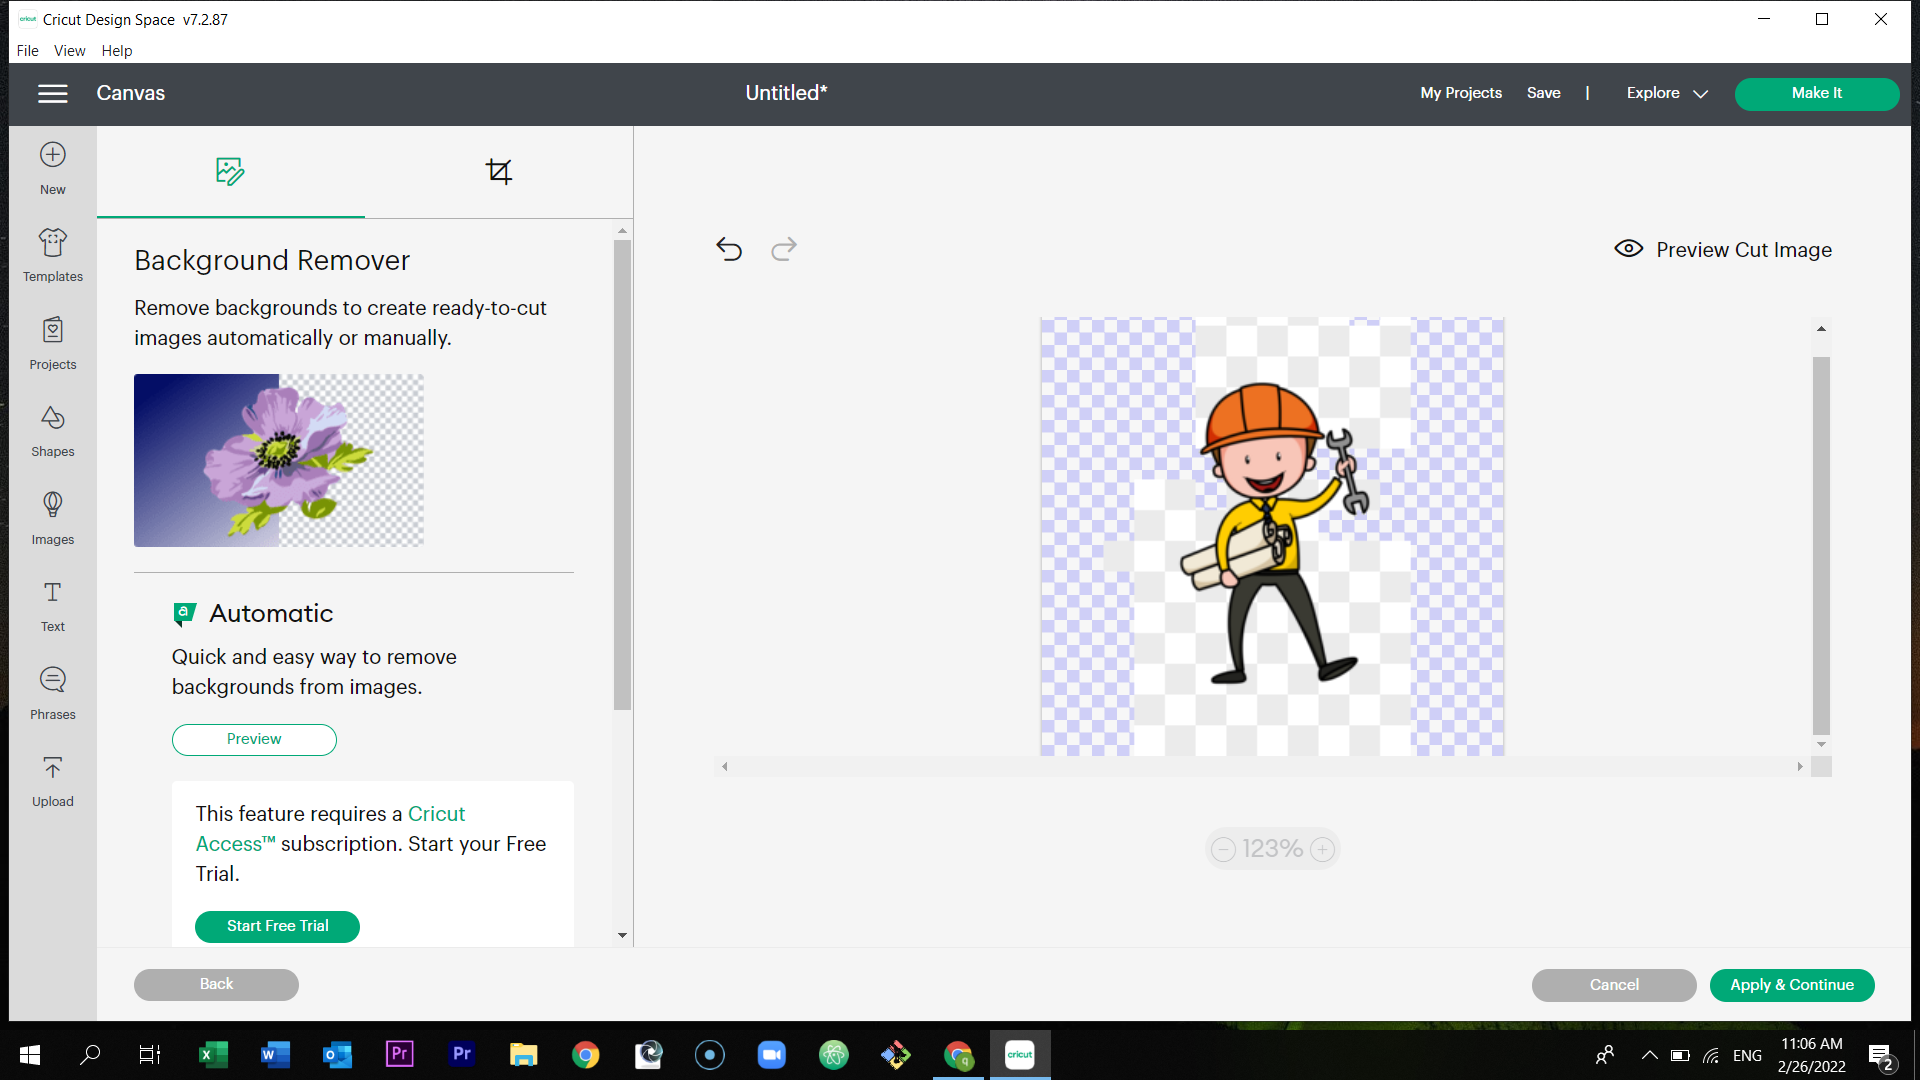
After removing the background, select apply and continue.
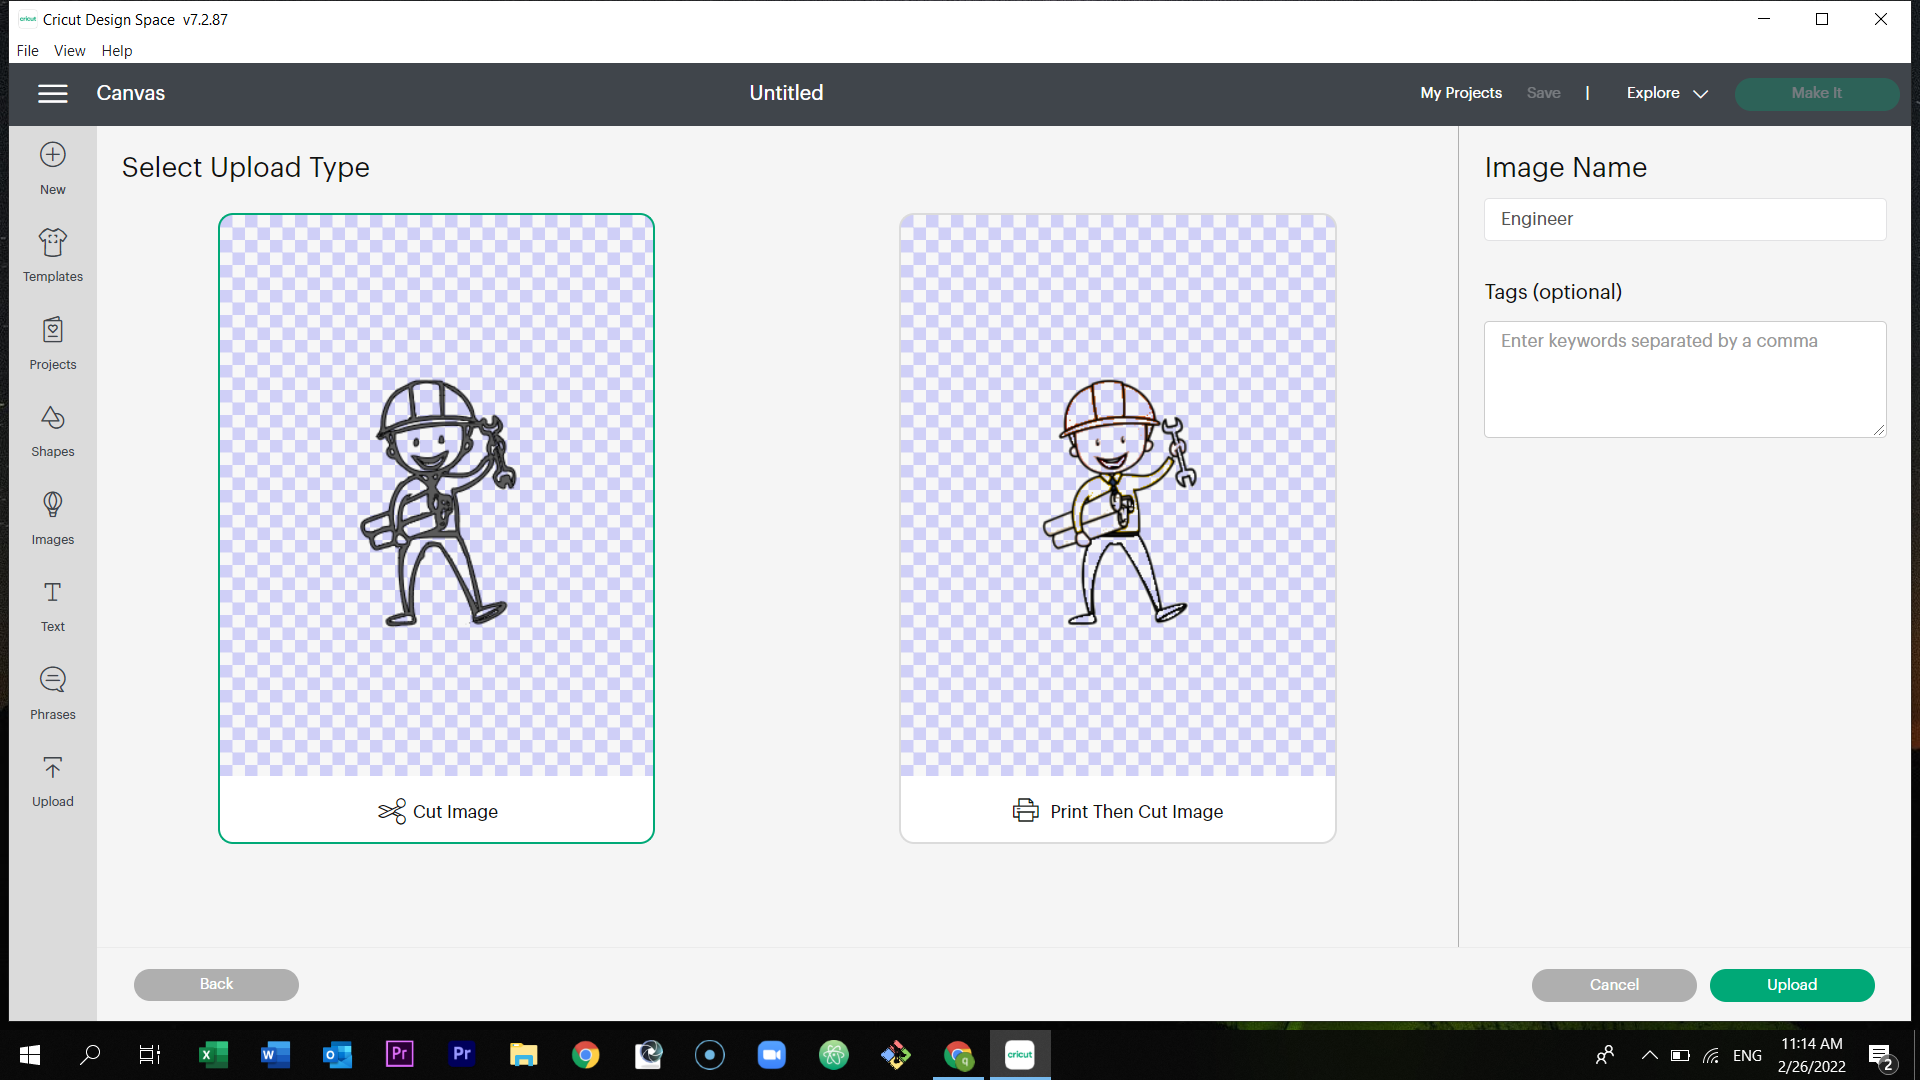
Select cut image and upload.
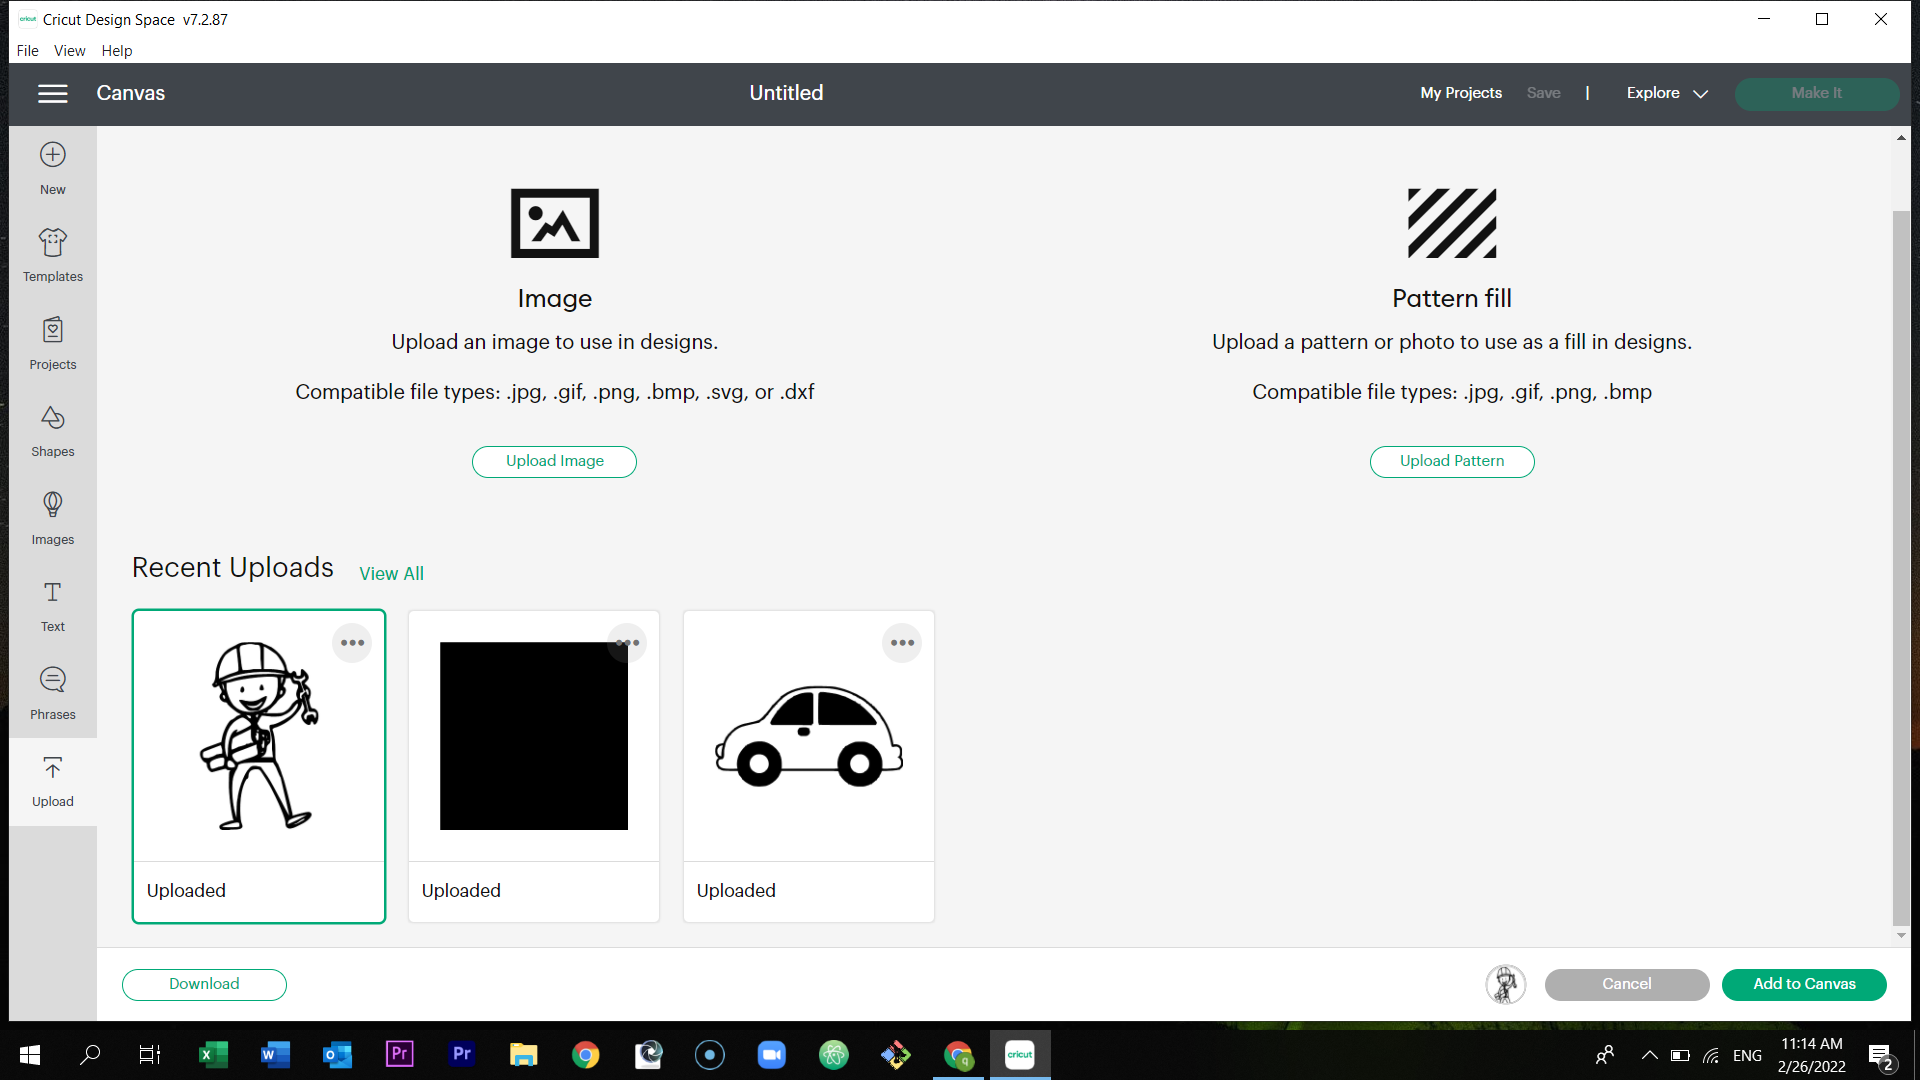
After uploading it, select add to canvas which is located at the bottom right corner of the page.
After it was added to the canvas, select make it which is located at the top right of the page.
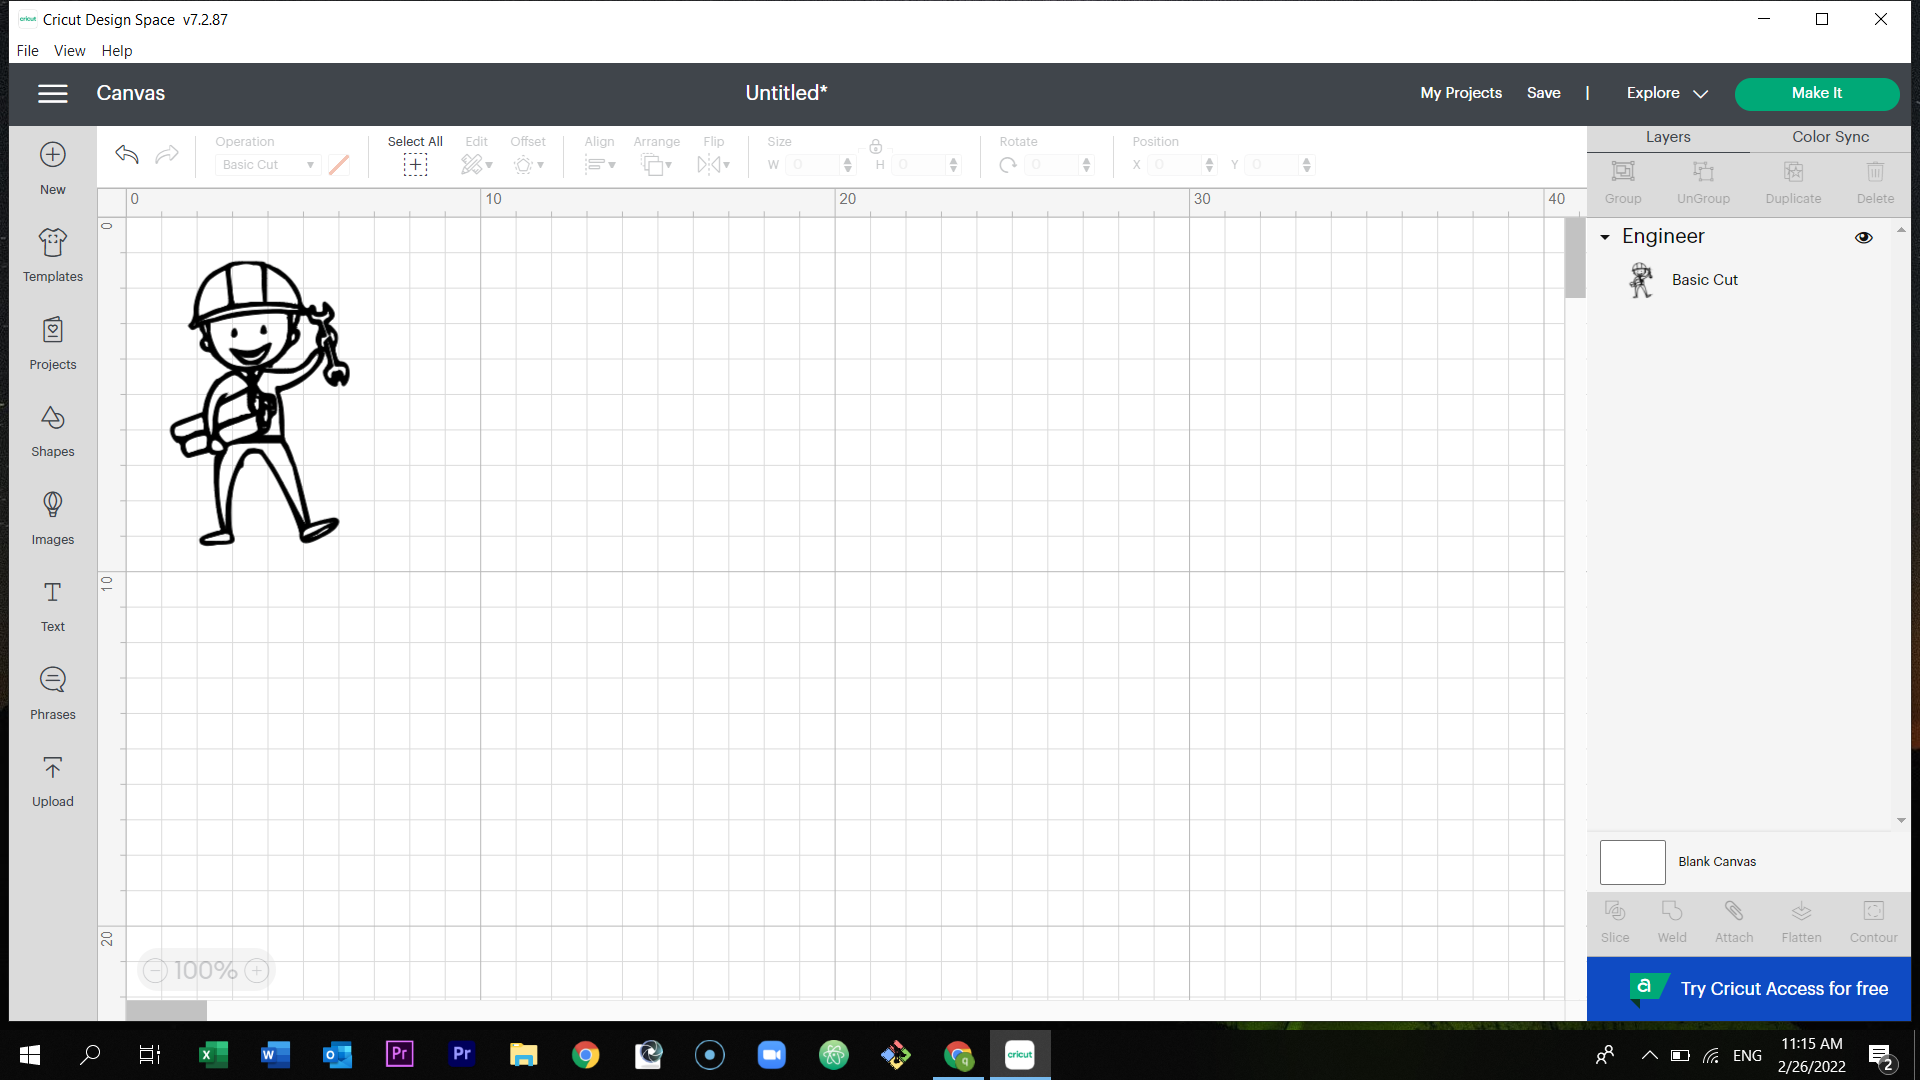
Adjust the position of the figure, and connect the vinyl cutter machine to your laptop.
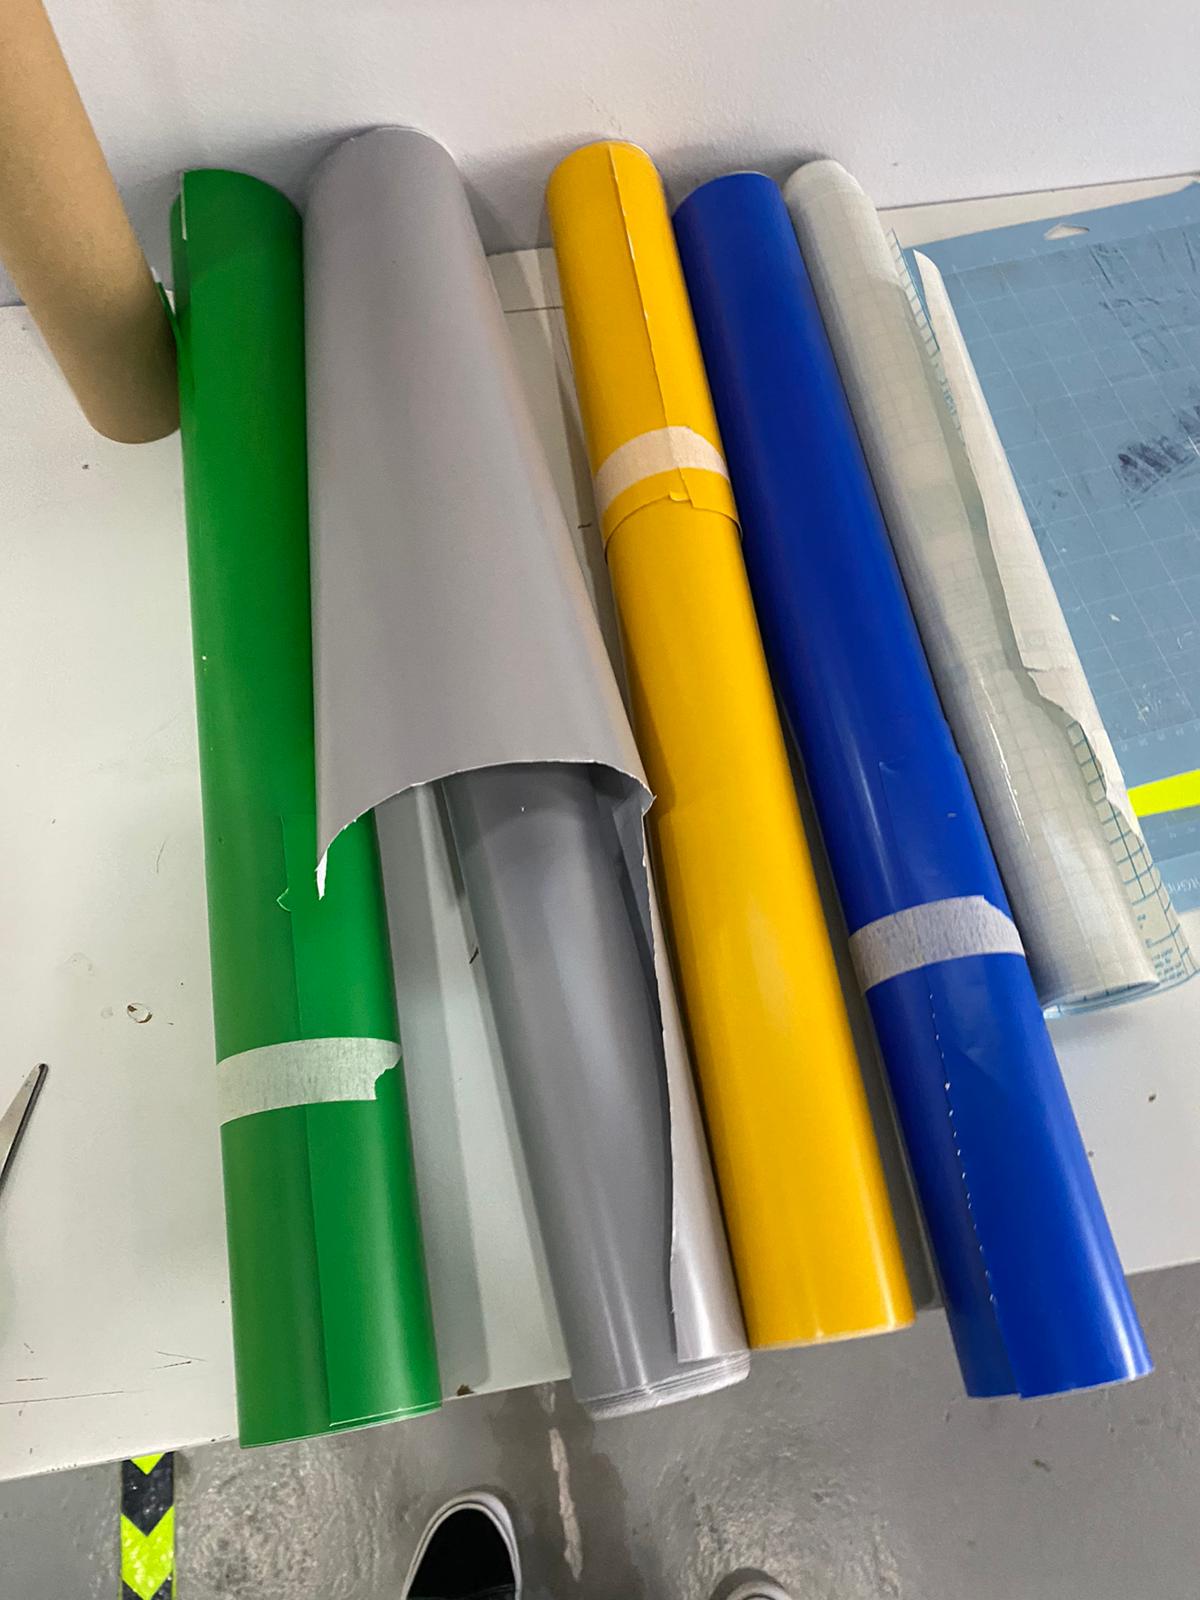
Choose the color you prefer to cut the figure on.
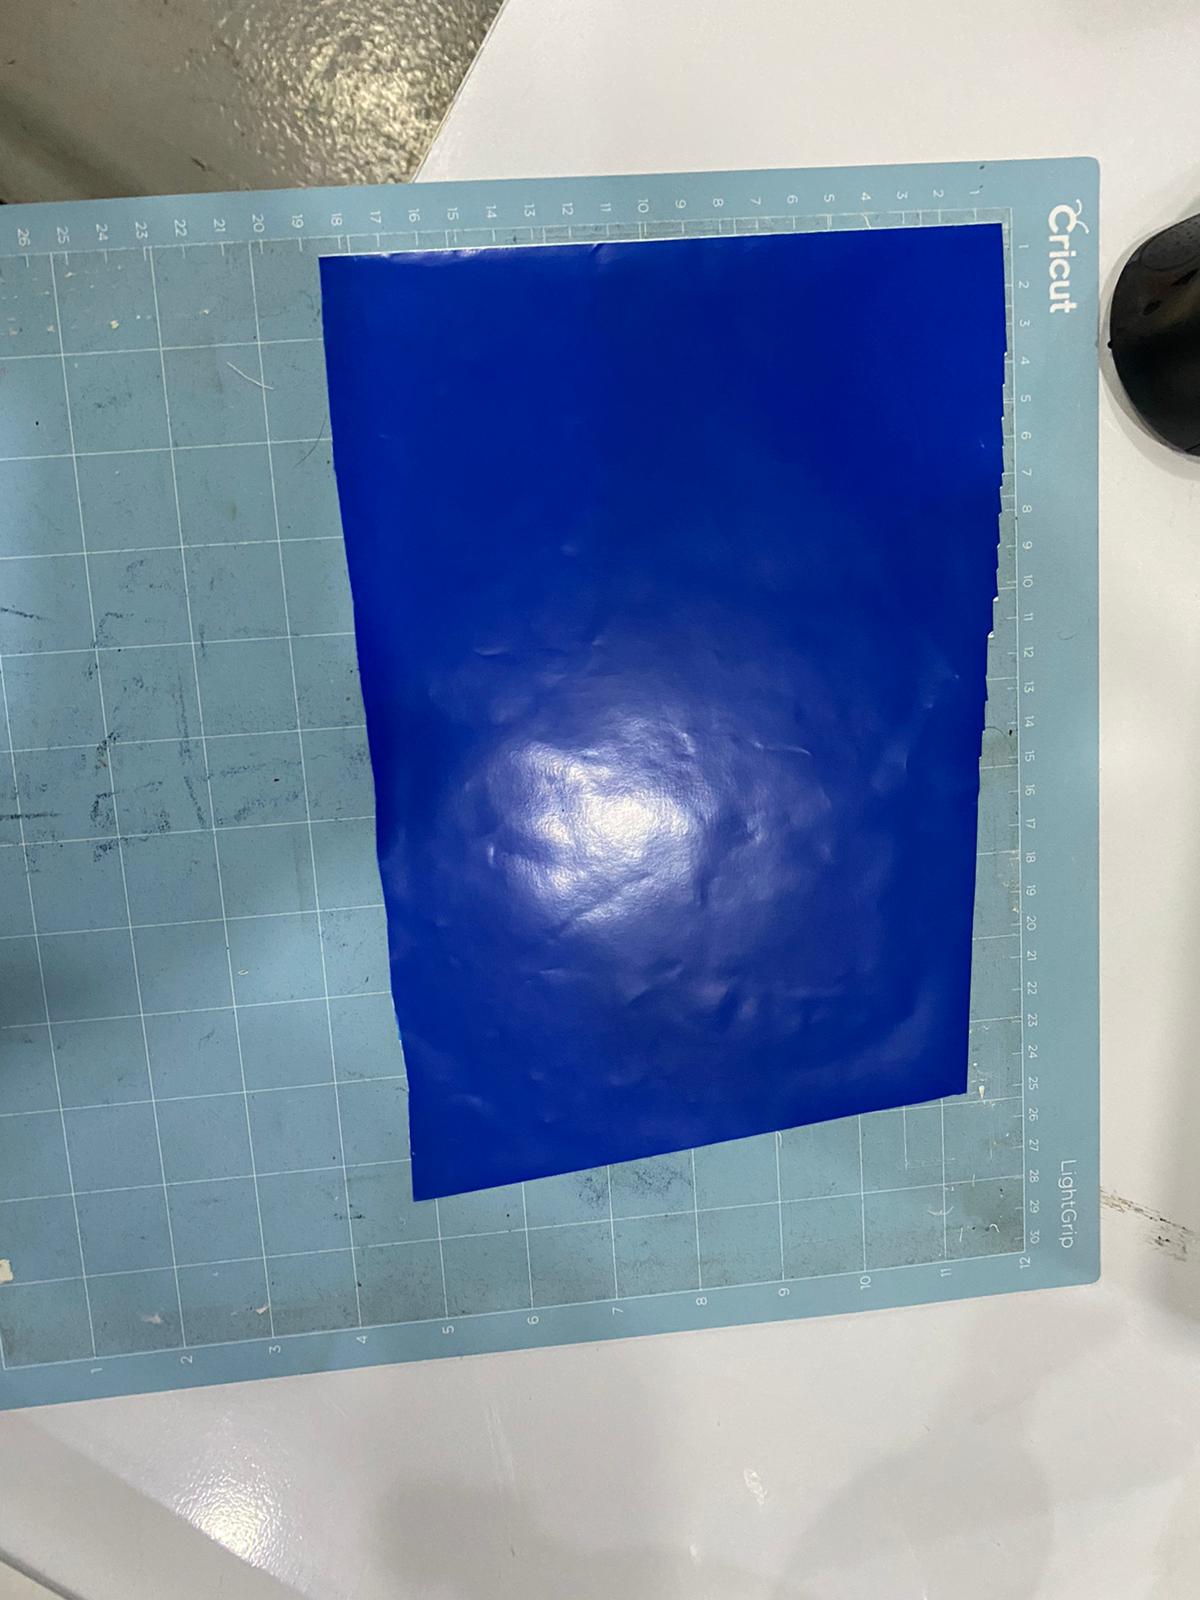
Stick the colored paper on the circuit sheet.
Place it inside the machine.
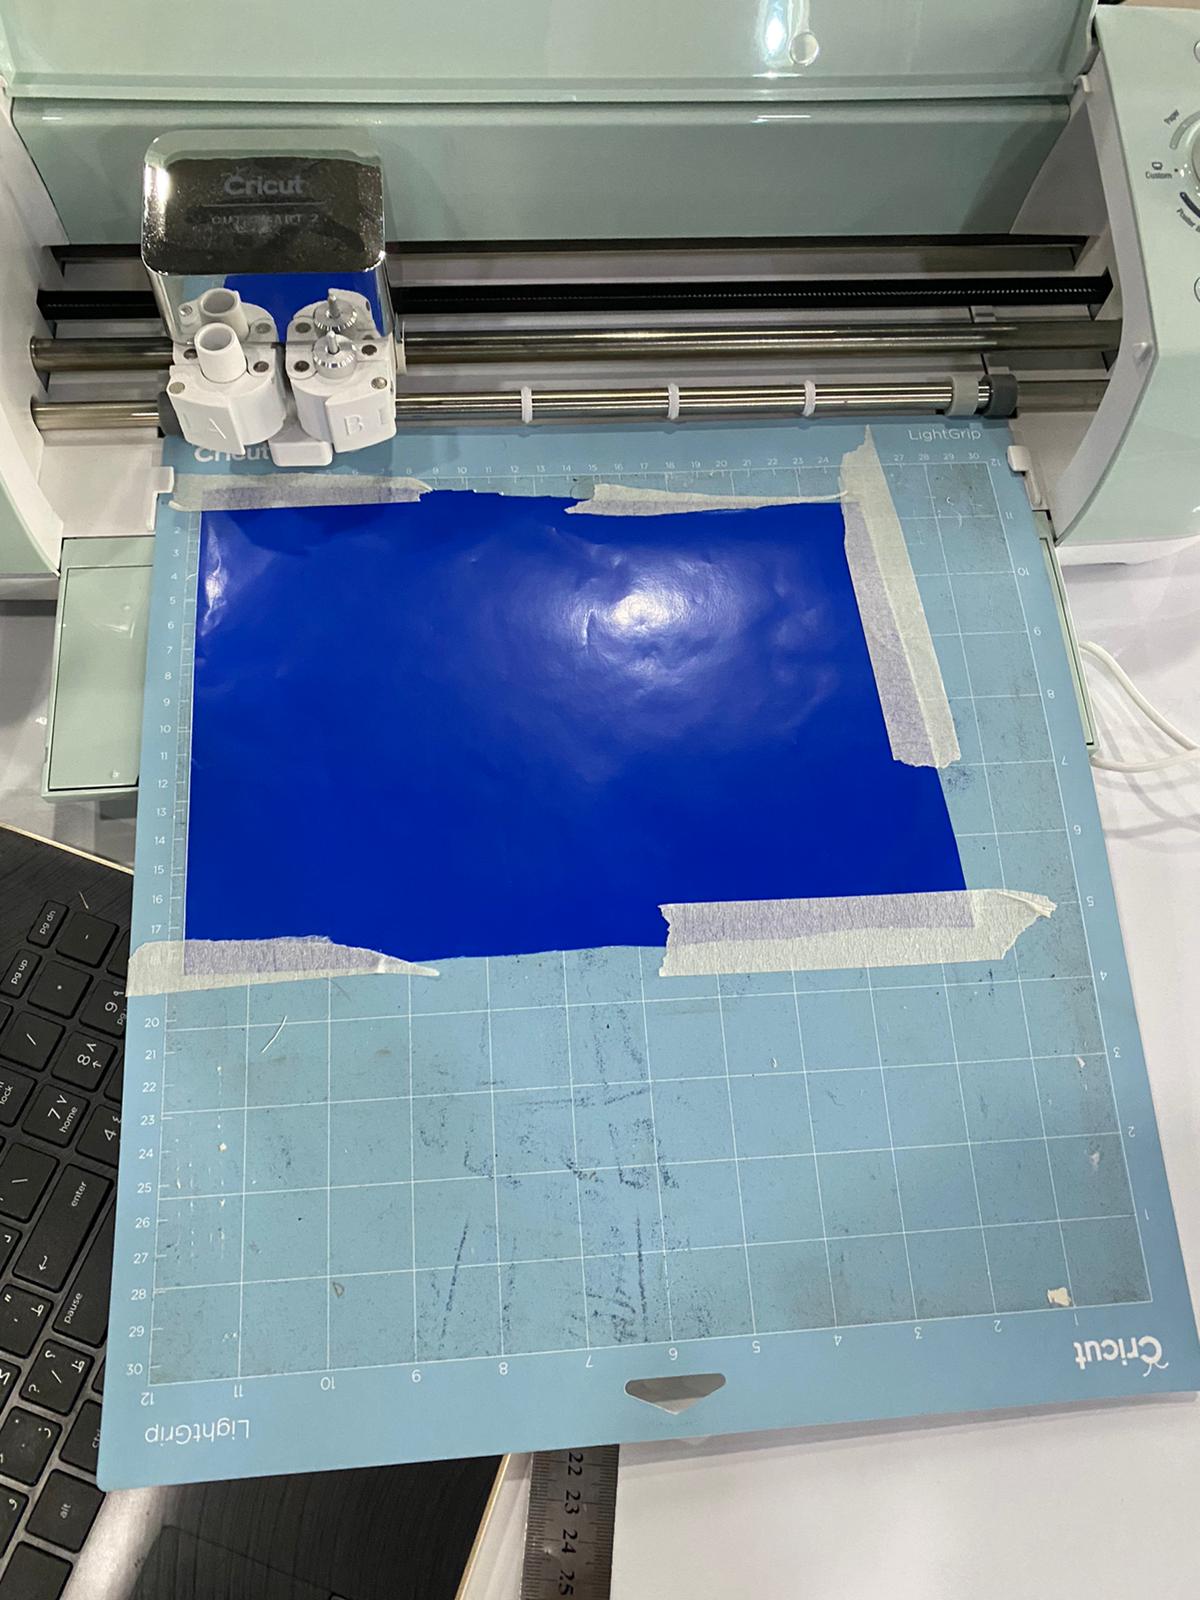
Adjust the knob to point at the vinyl. Then, select at load.
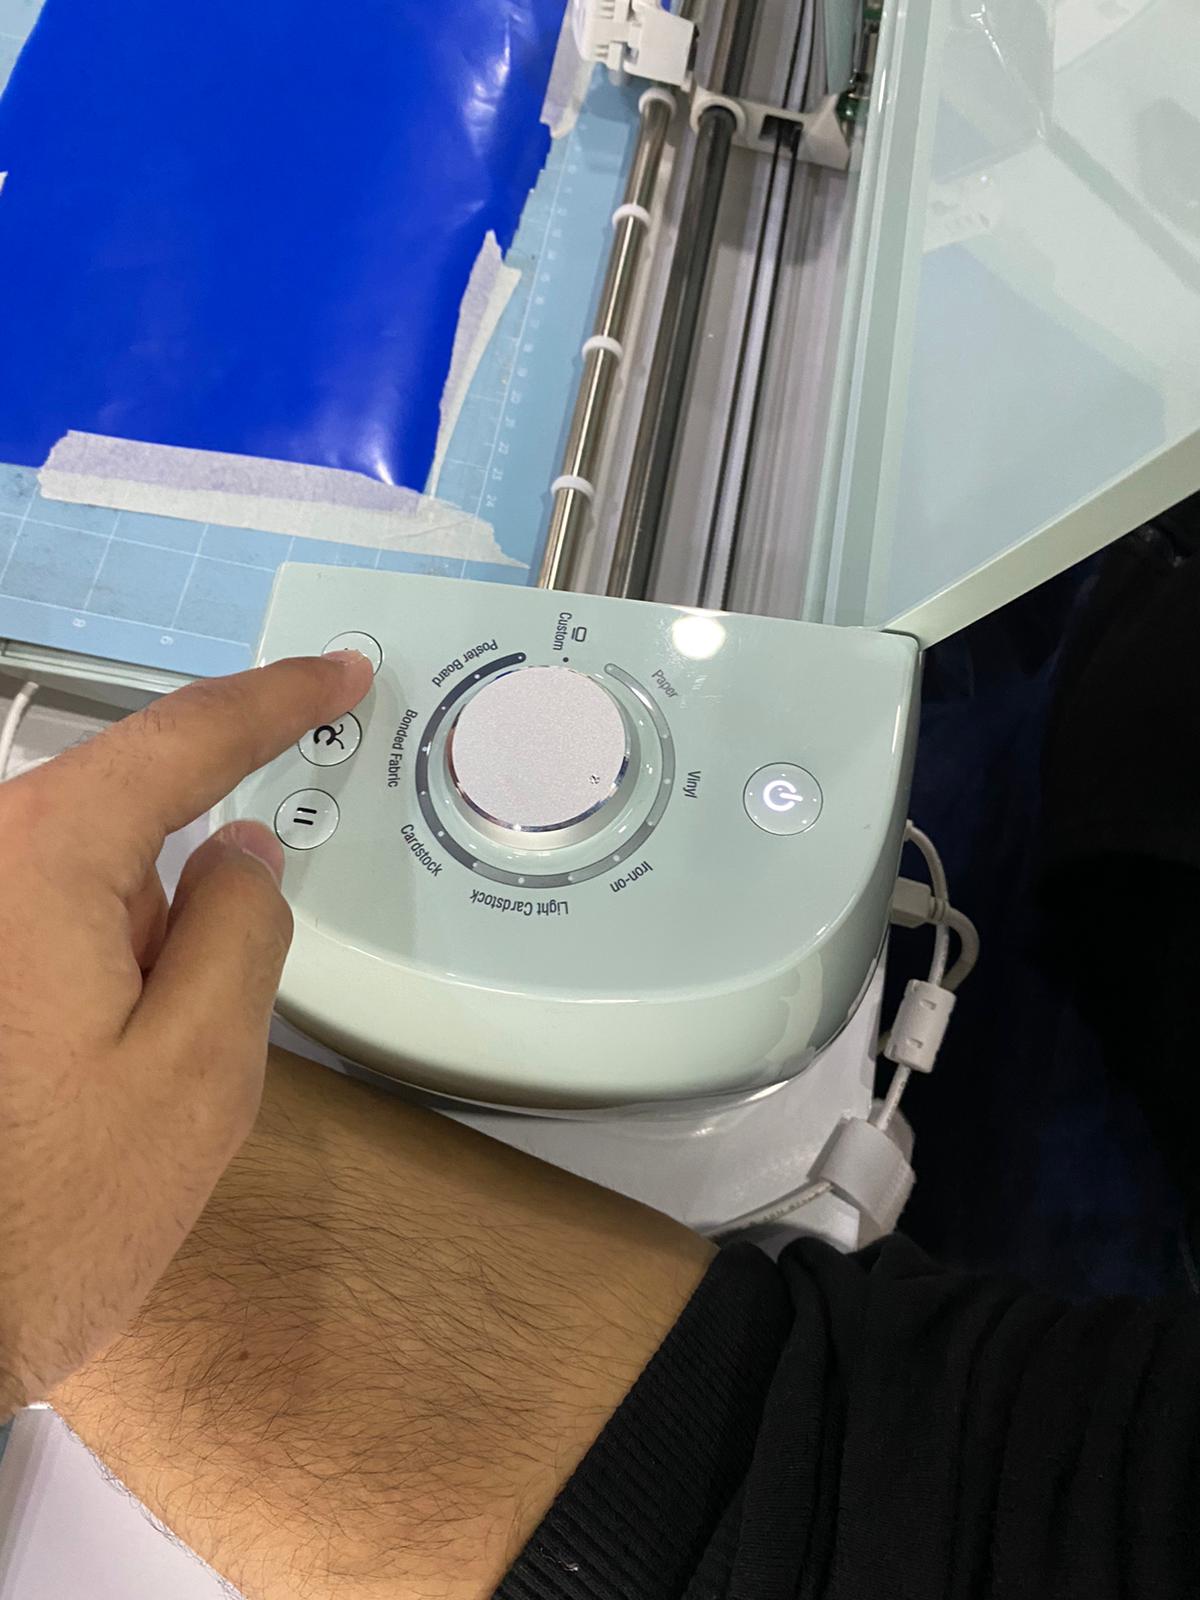
Then, select at start.
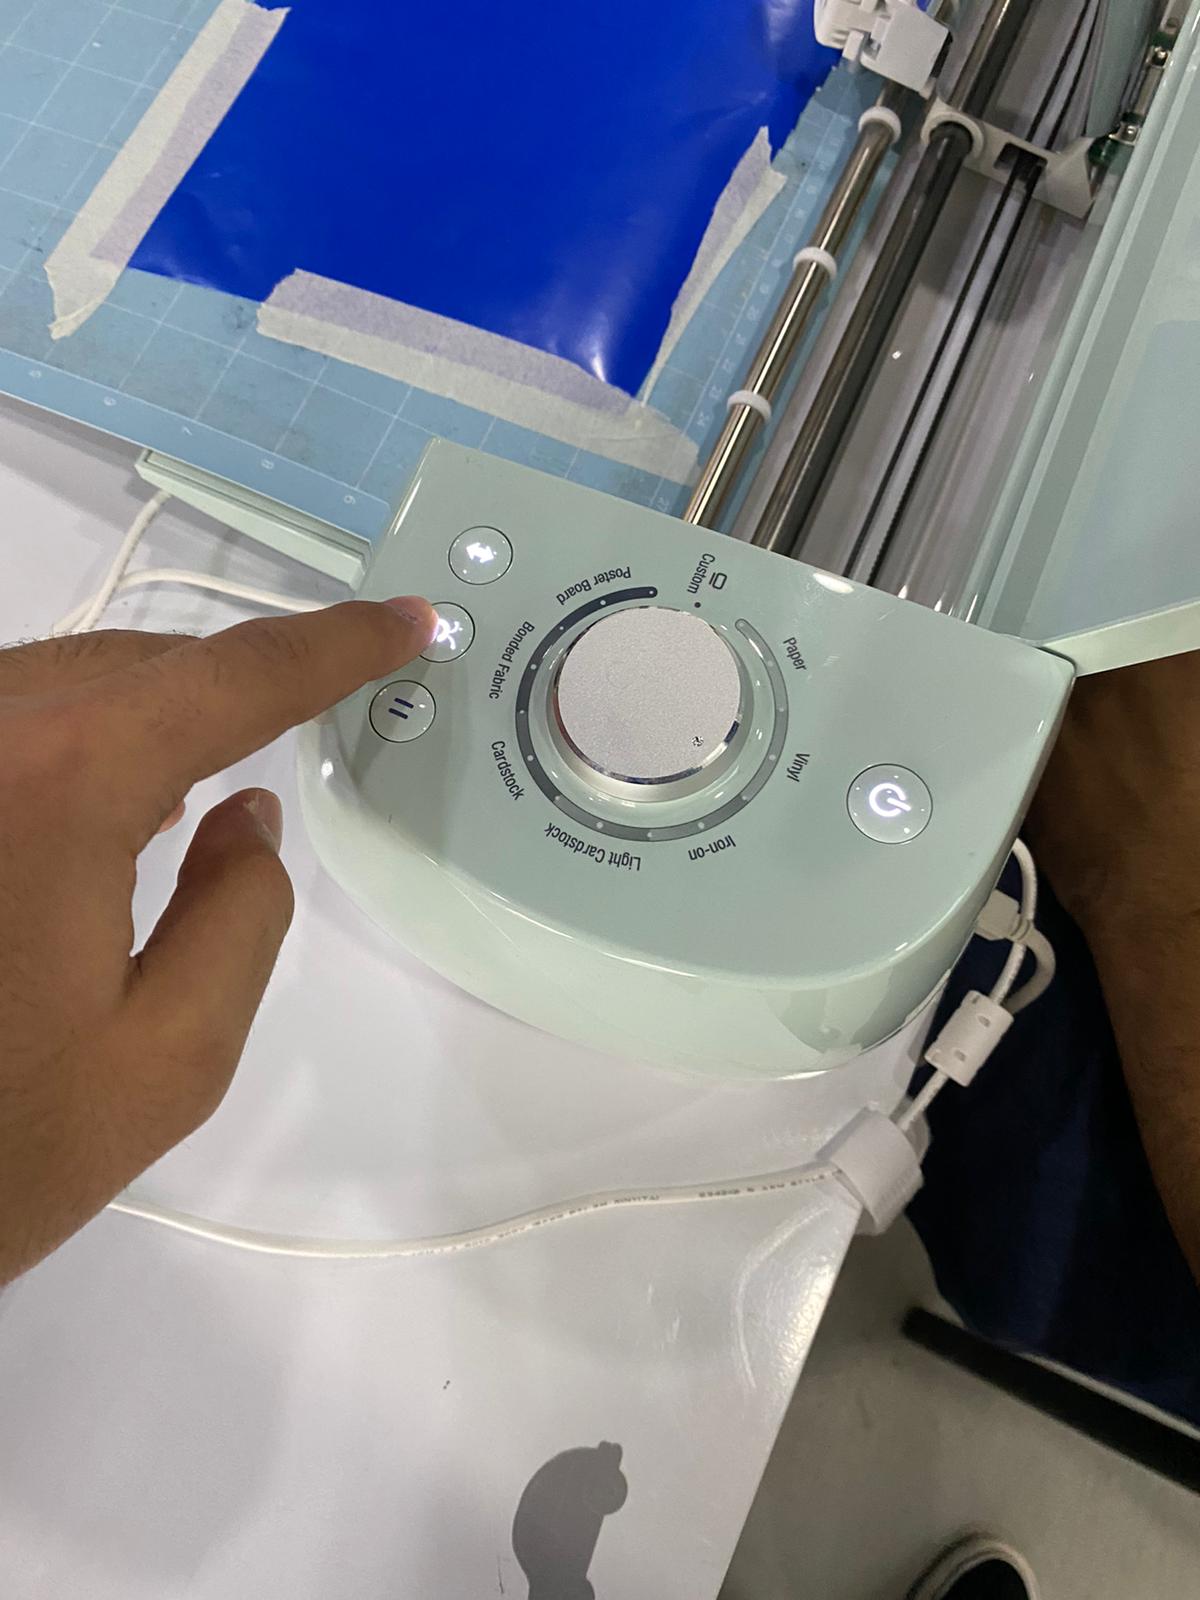
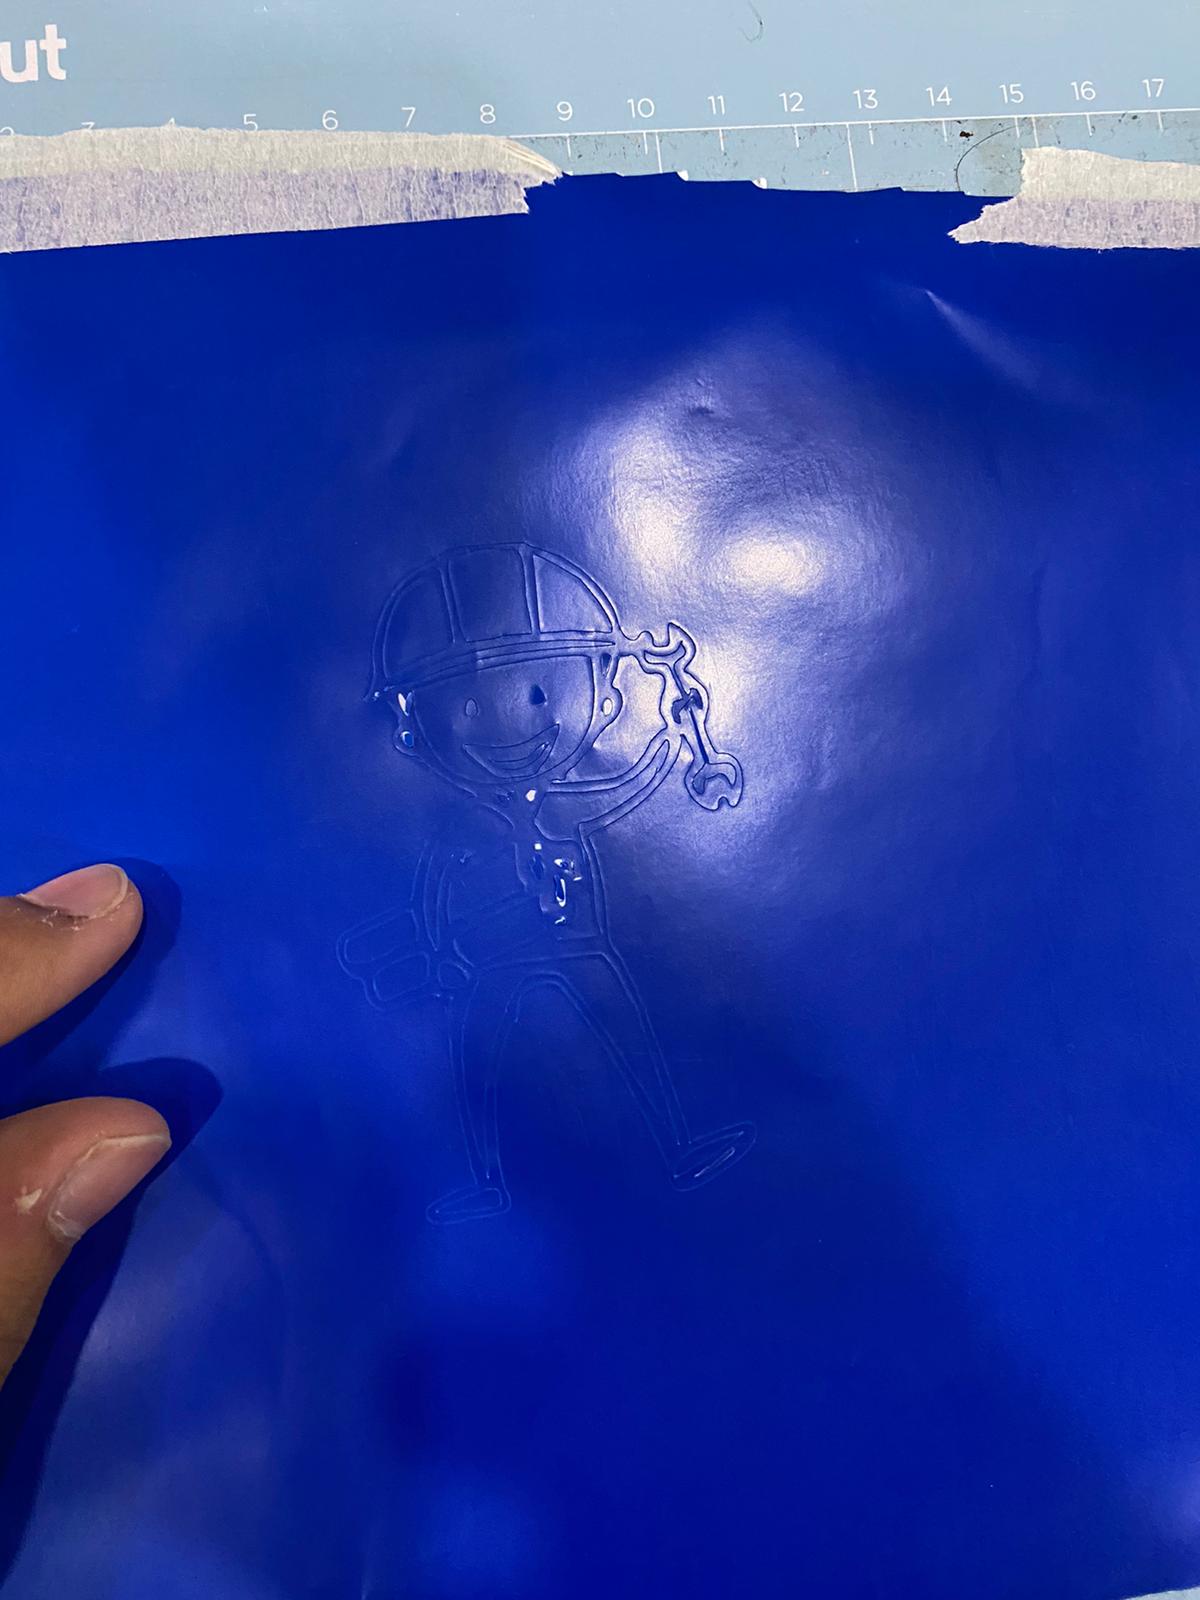
It will start cutting.

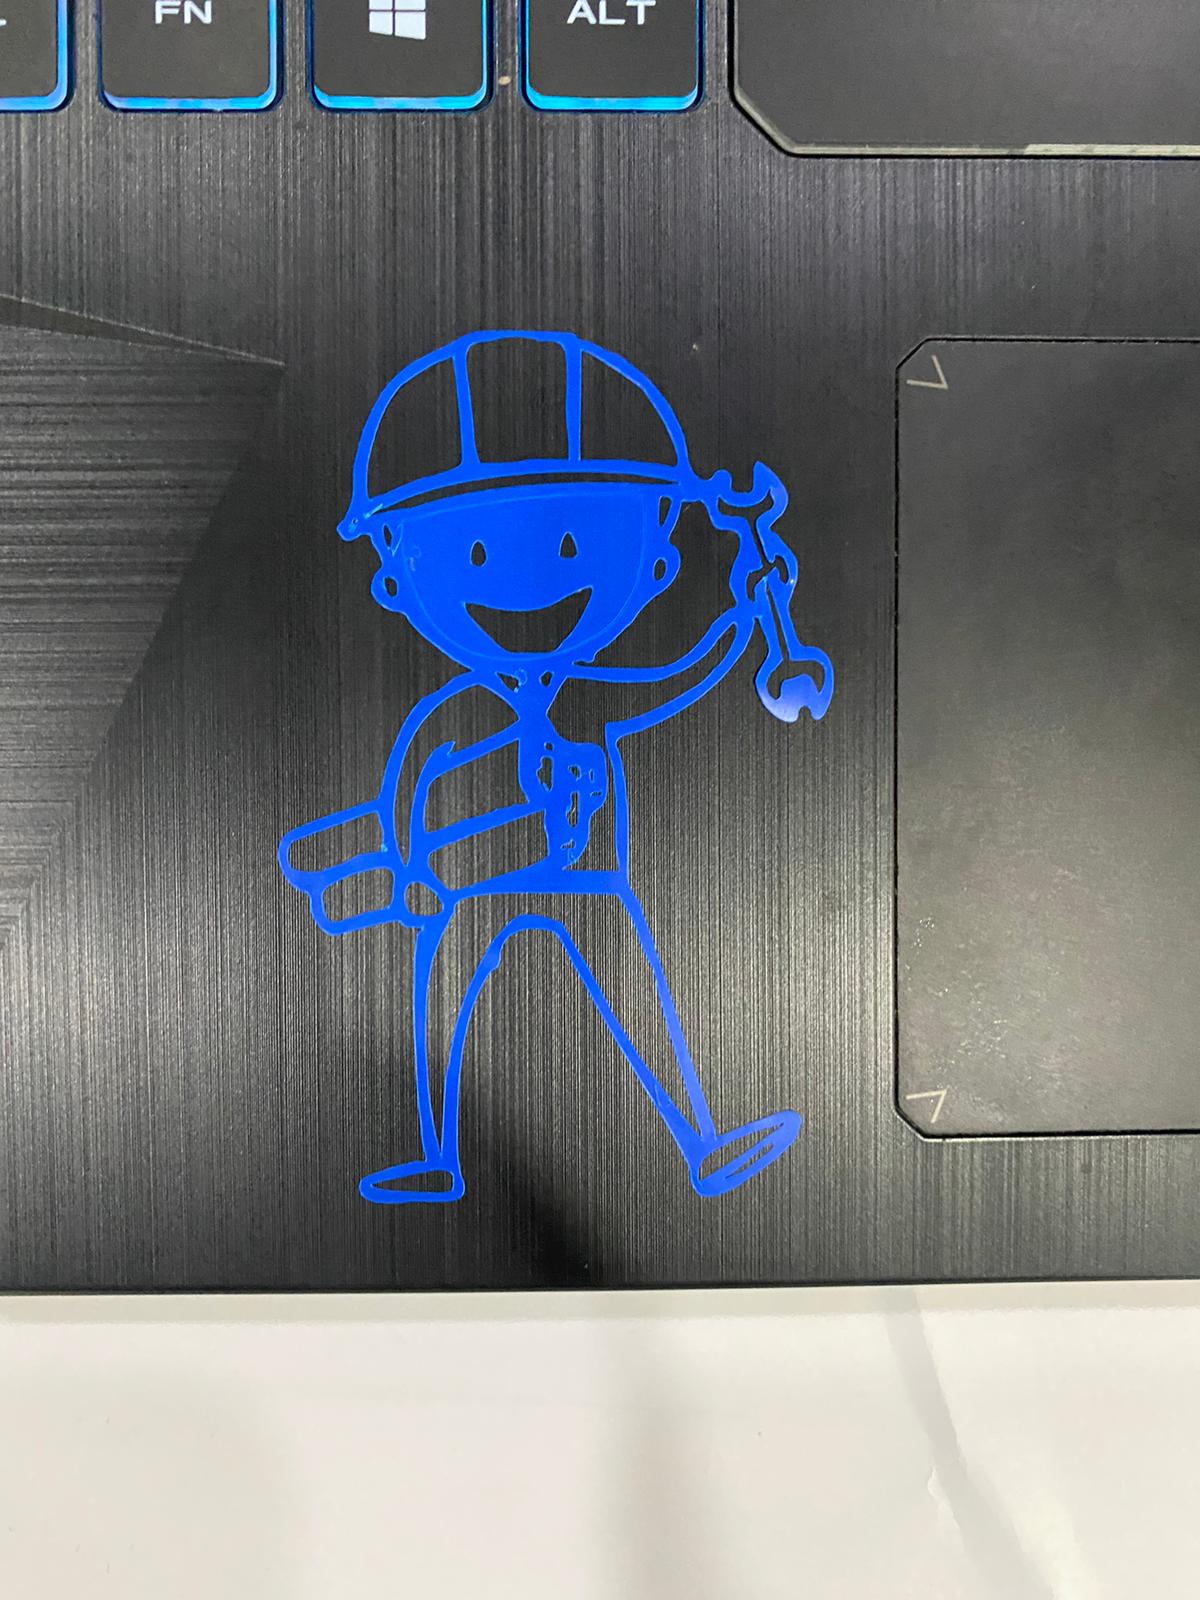
Here is the printed figure.
Hero Shot
Design file
The original design file that was cut be the vinyl cutter can be found here
Laser cutting machine
First of all, I have deigned a press fit in solid works.
Designing the press-fit kit
To do this you should:
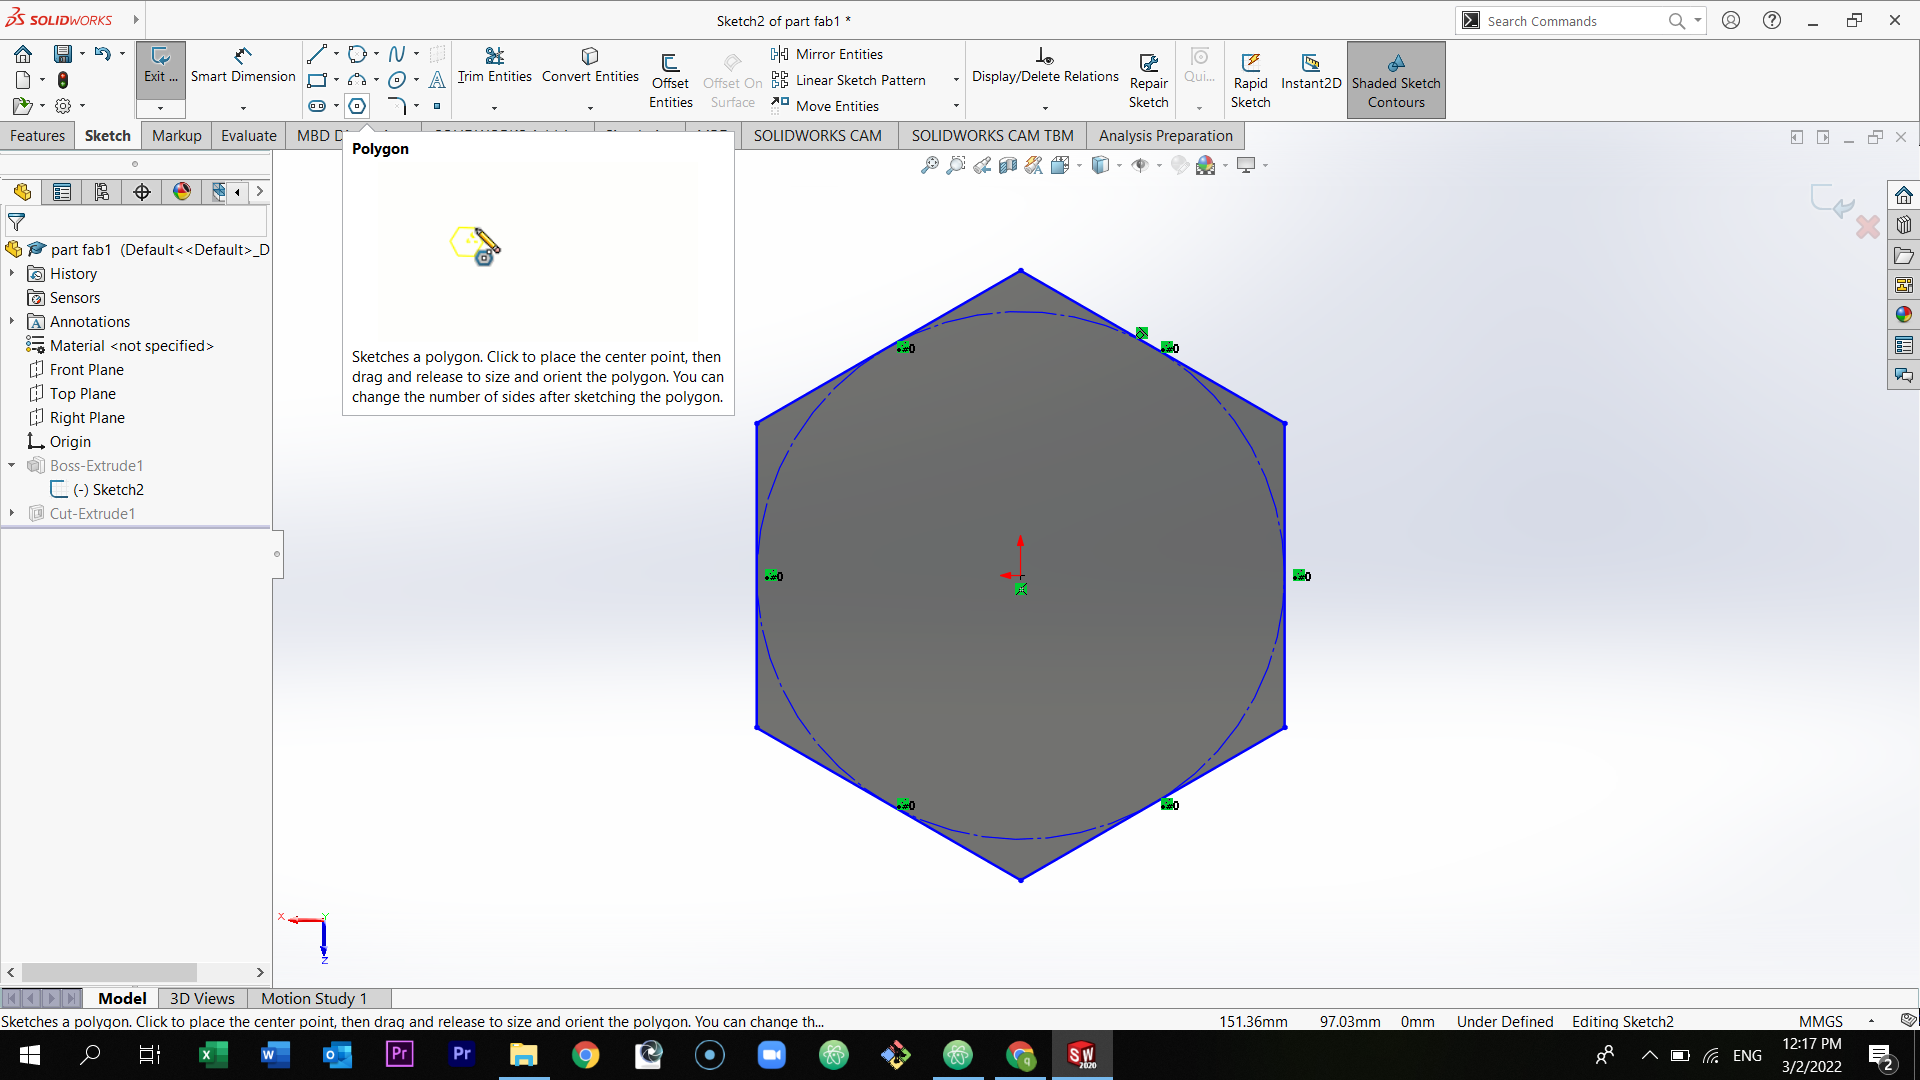
First, draw a polygon.
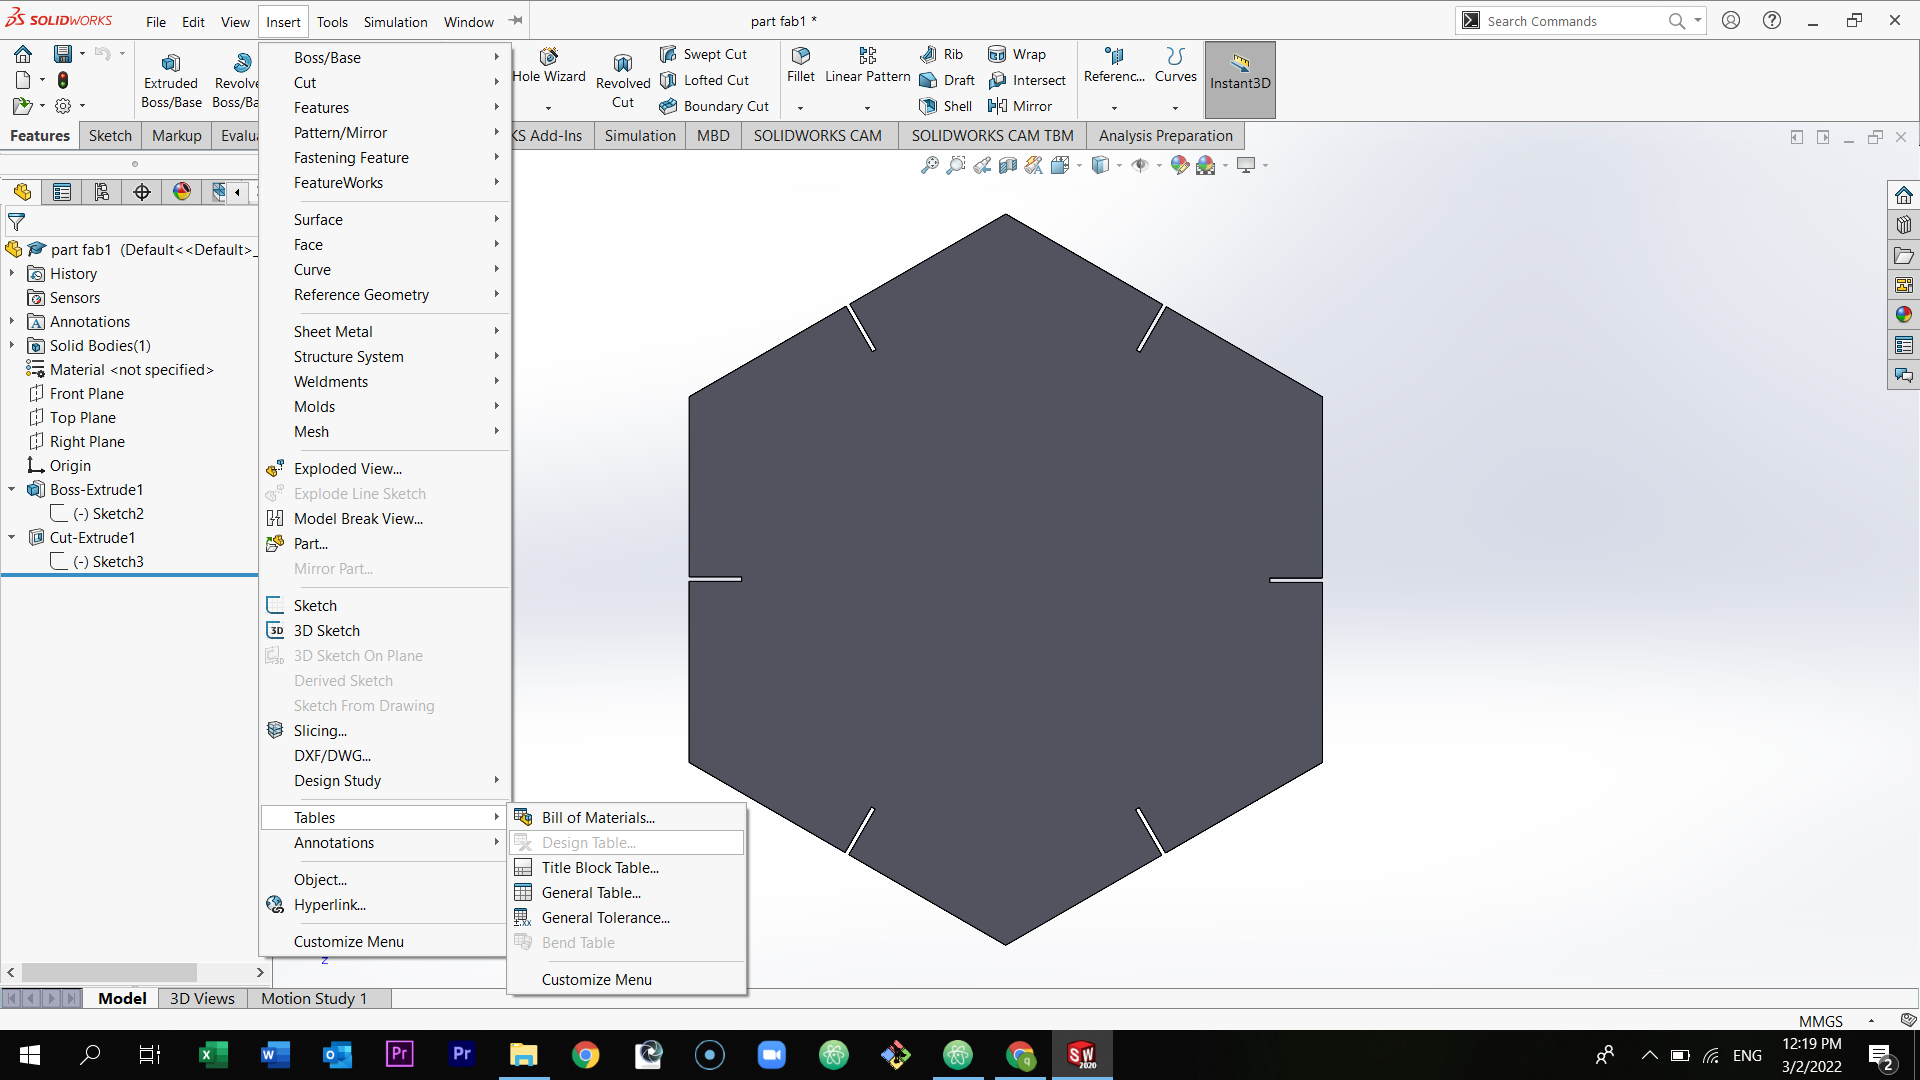
Draw a small rectangle in one of the positions inside the polygon.

Select circular sketch pattern to draw the rest of the rectangle gaps. Then, extrude cut the gaps.

### Parametrically Designing the file
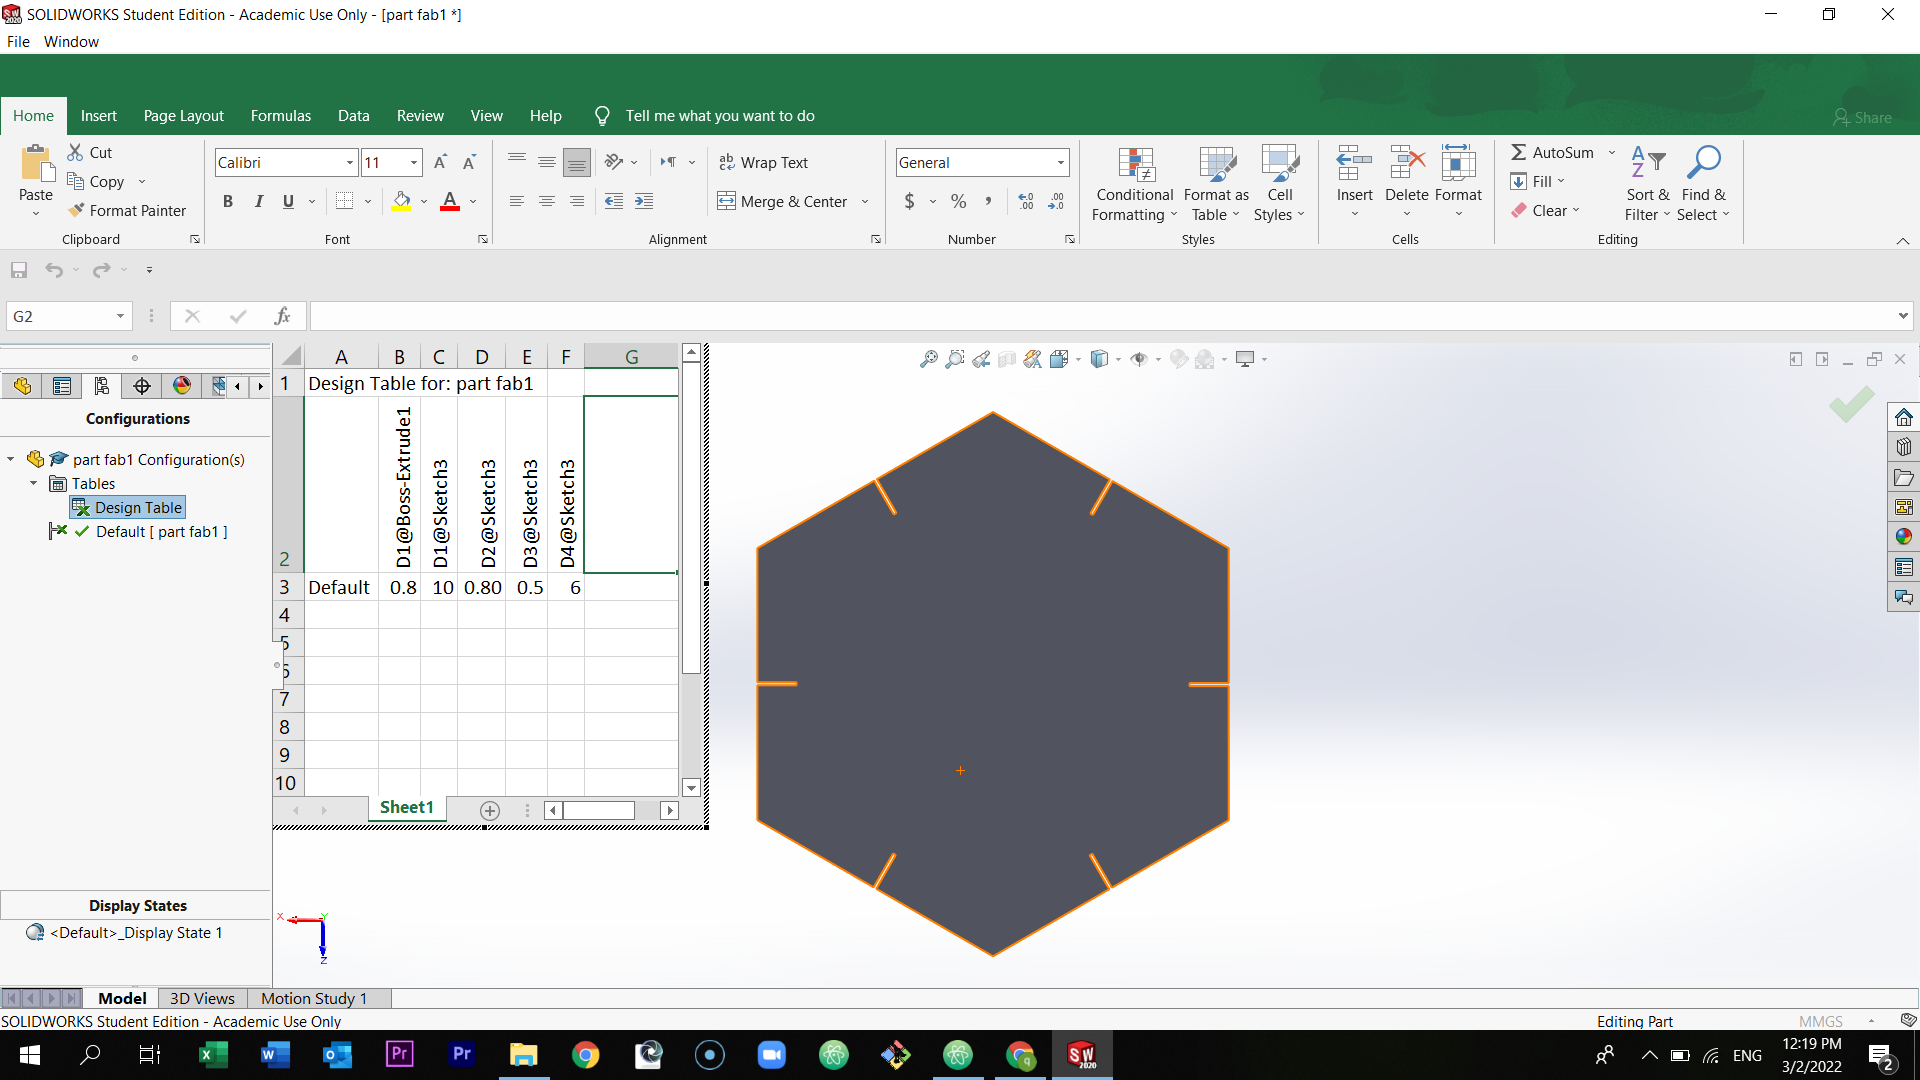
In solid works, after designing the press-fit kit, select insert - tables - design table.
Now you can adjust the sizes of the gaps in the table. Once you change the number, all of the gaps will change.
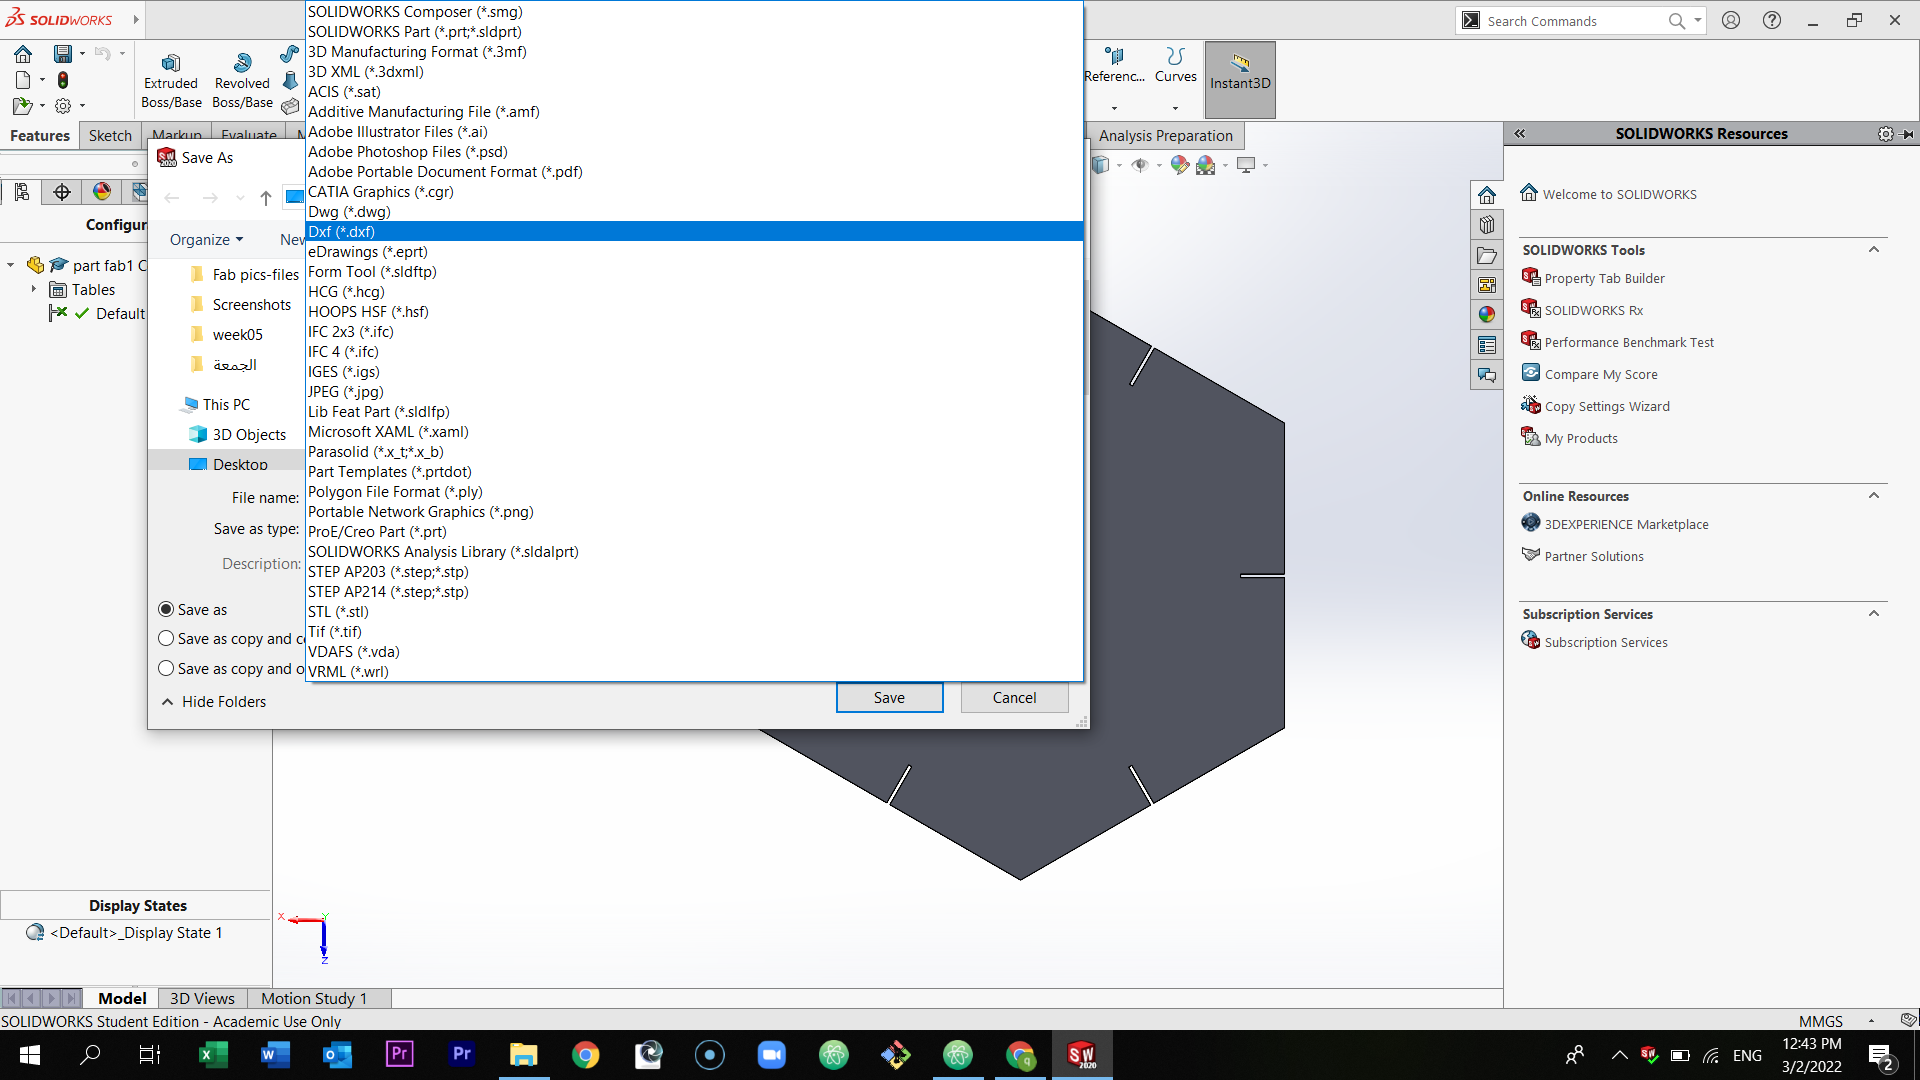
After completing the design, save as DXF. Then, send the file to Fab lab team through email.
After that, go to the laser cutting machine. In the computer screen, setup the setting to what’s shown below.
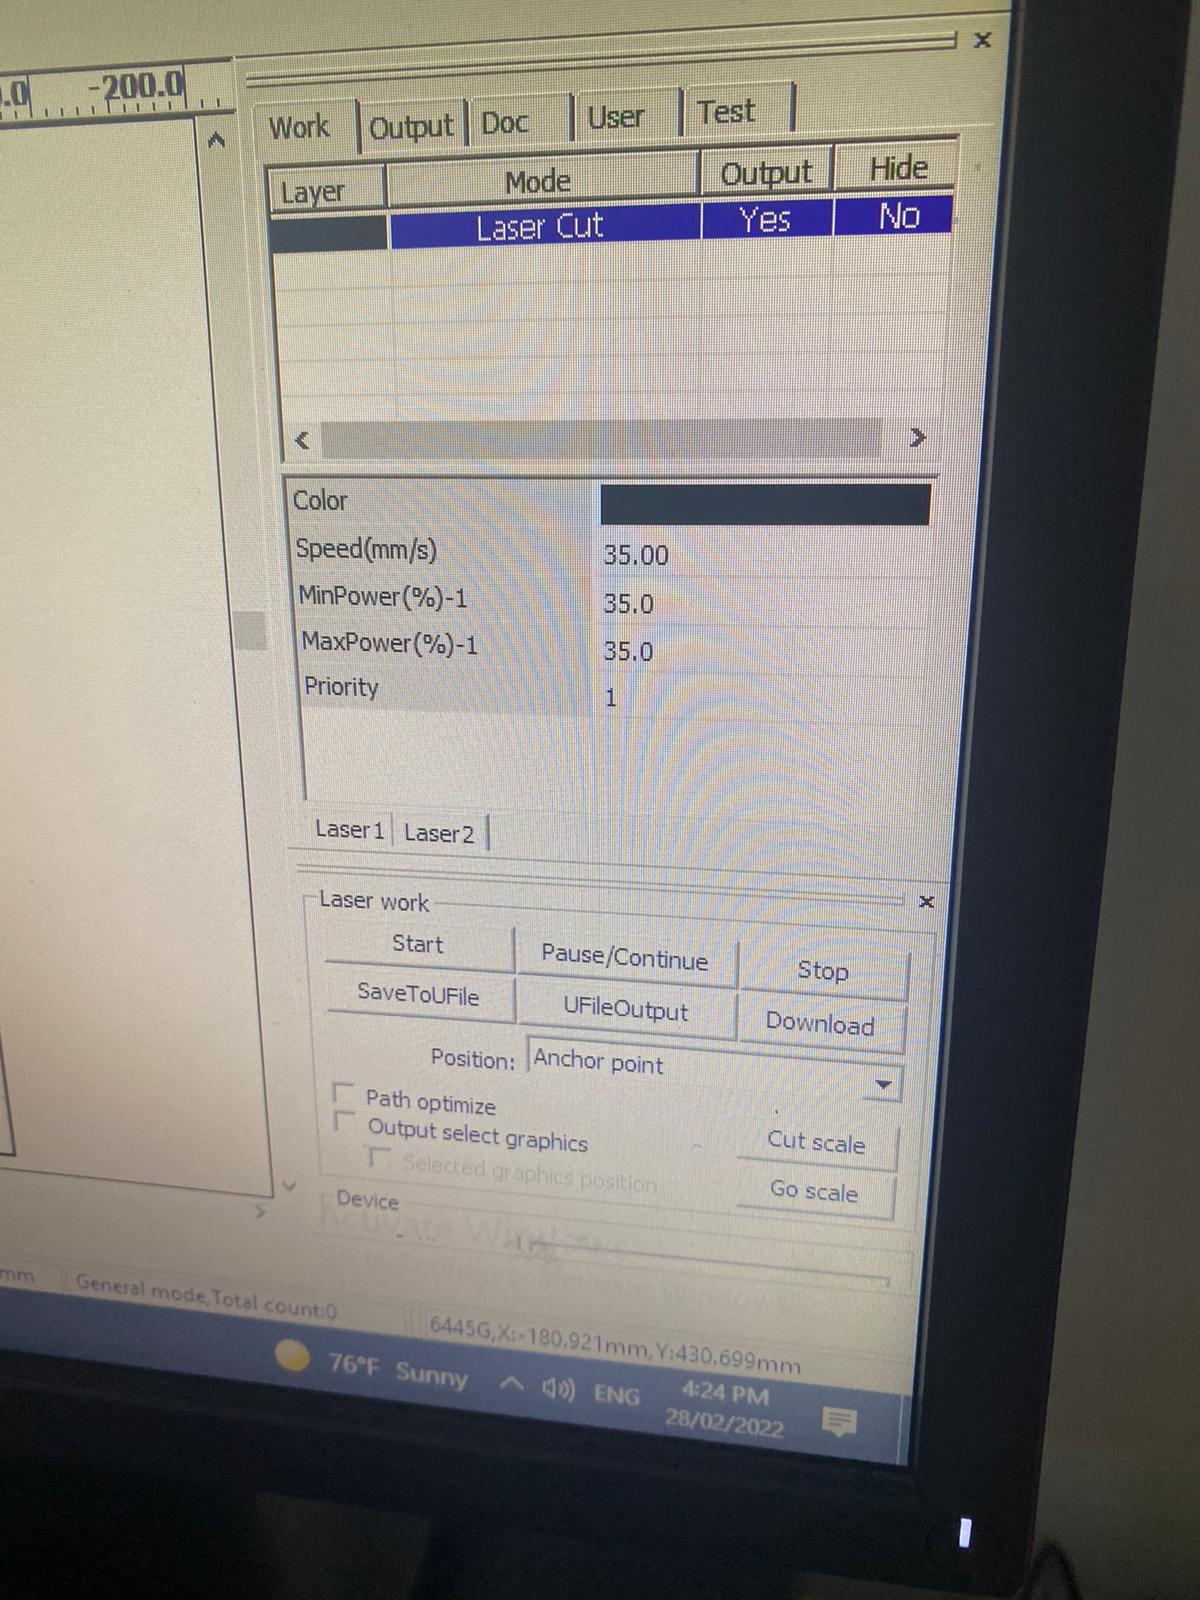
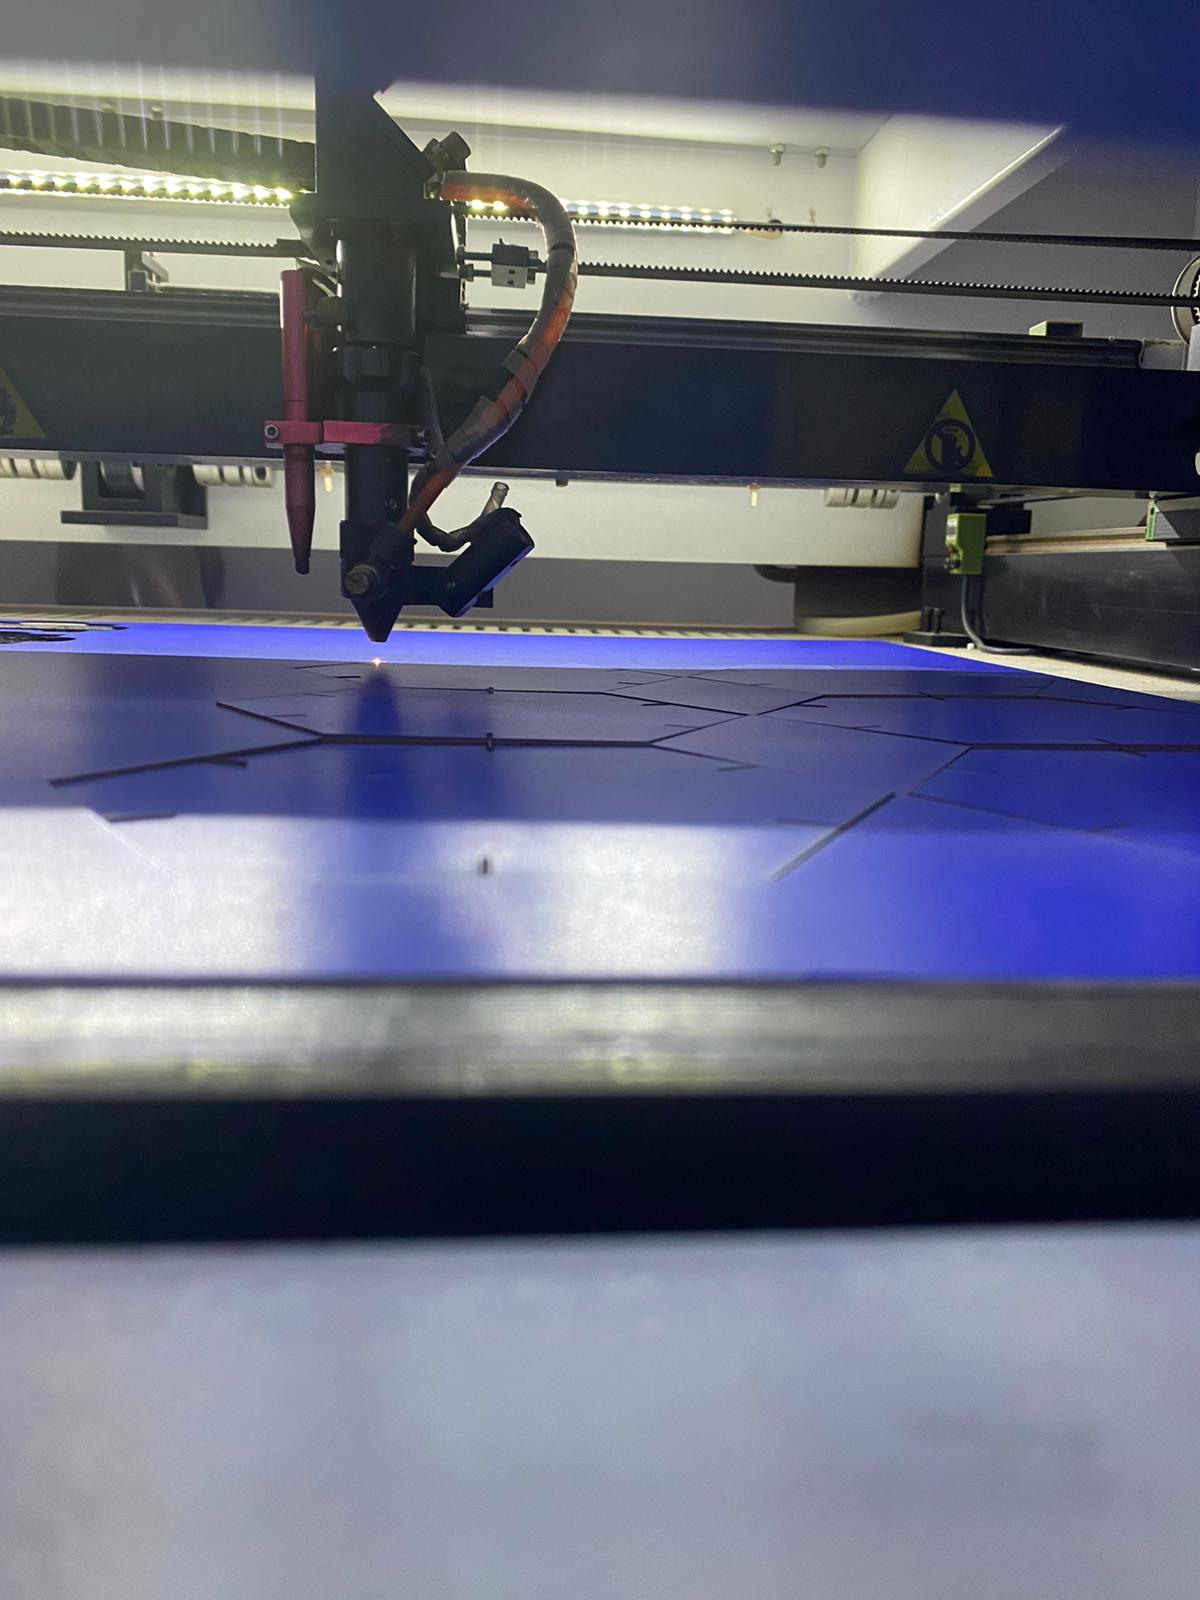
The laser machine will start cutting.
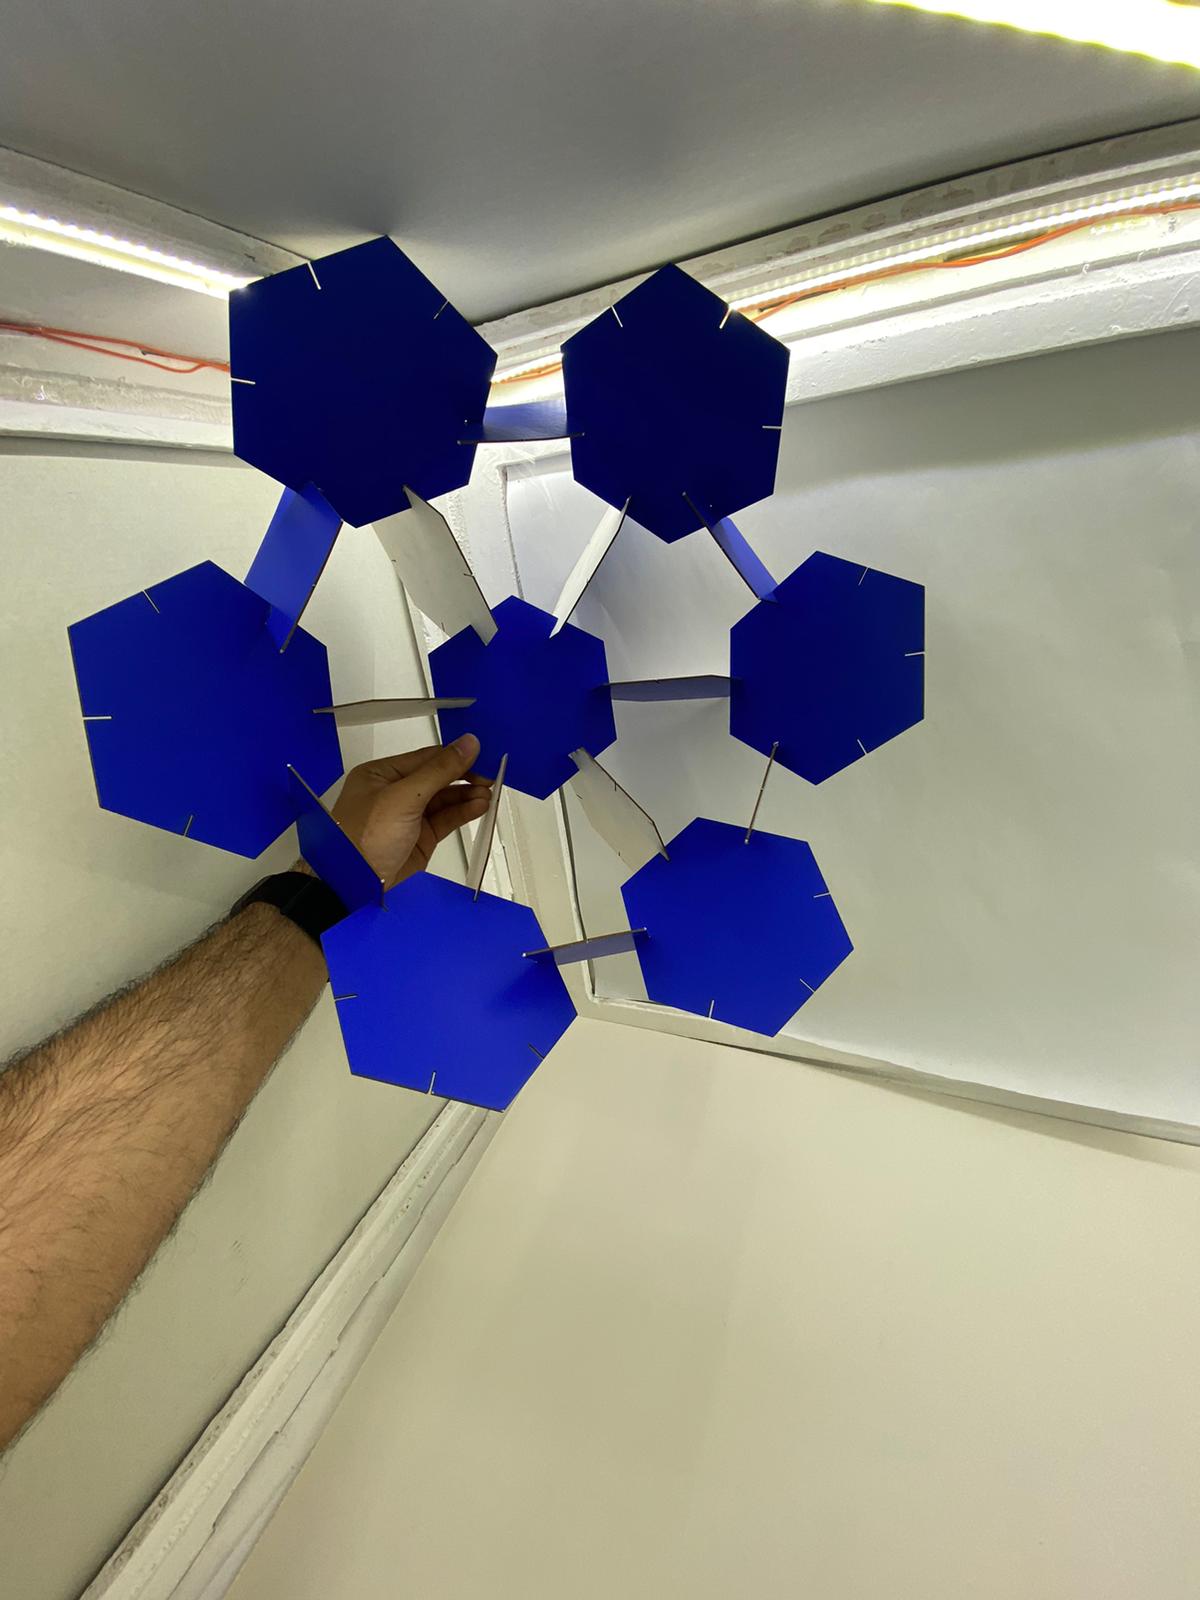
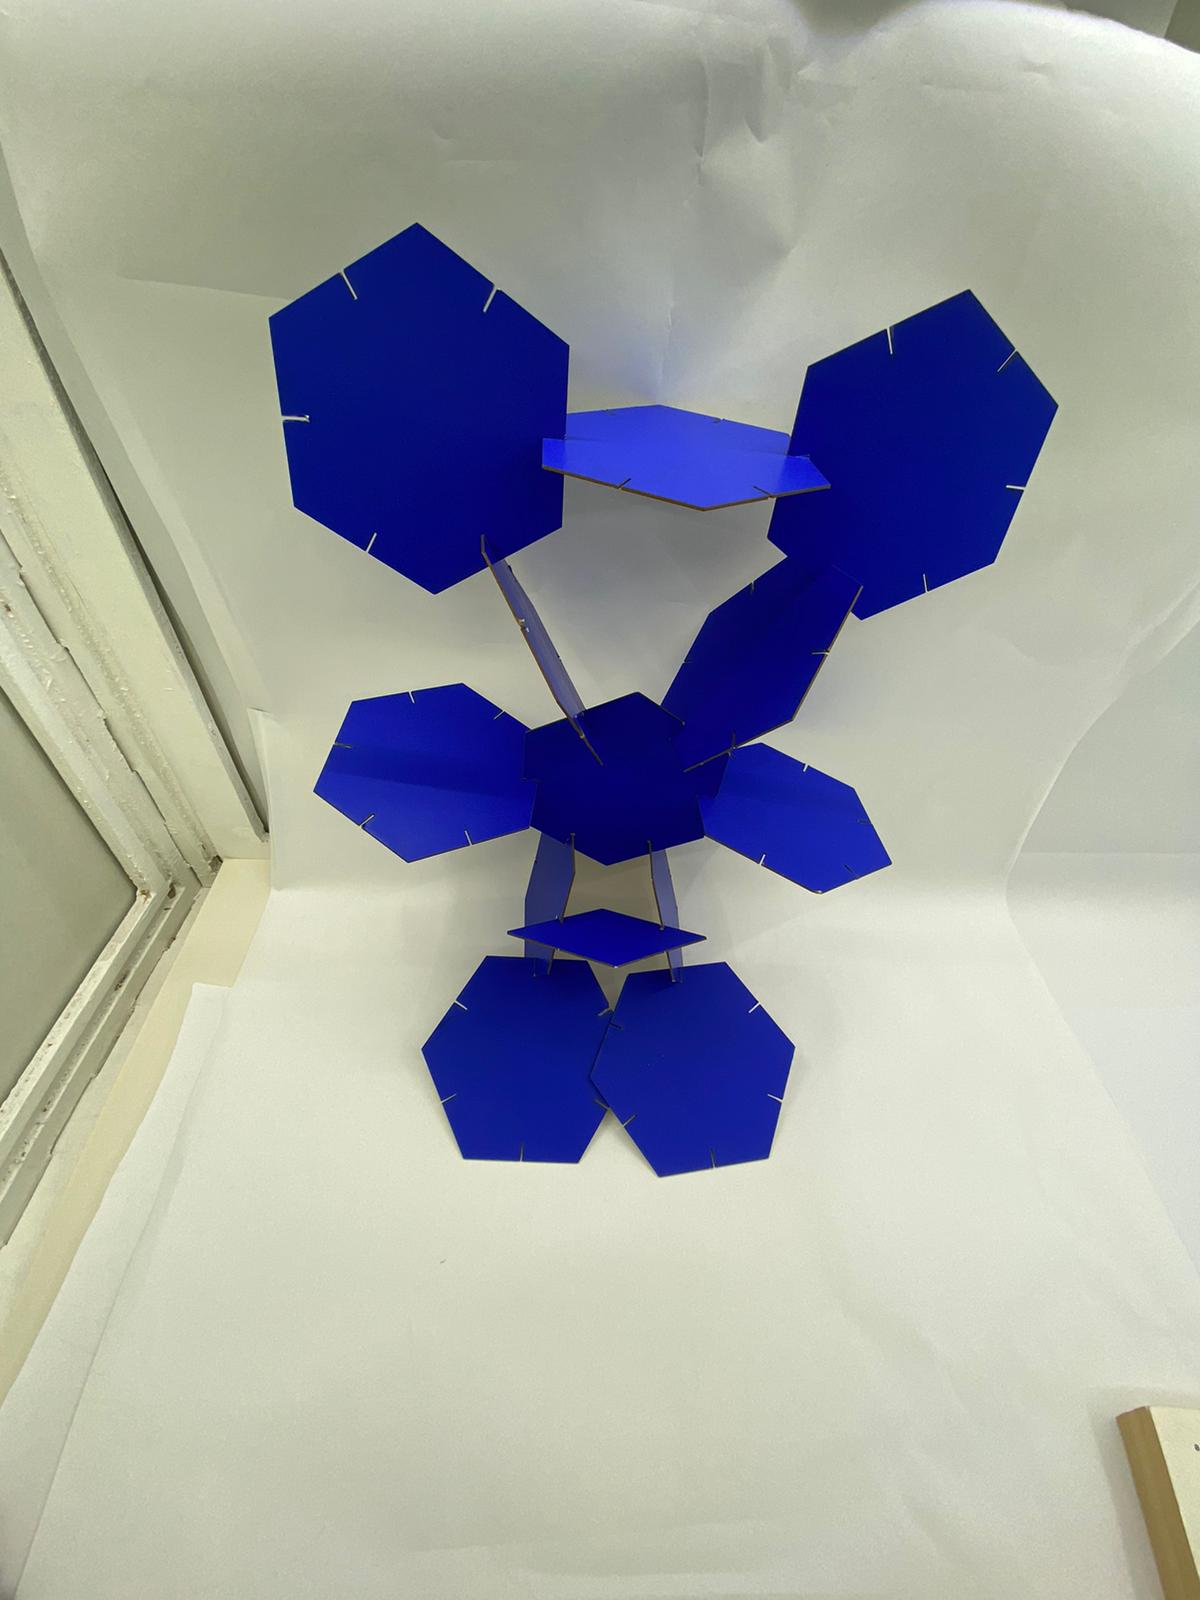
Hero Shot
The first design:
The second design:
Design file
Click here to download the final file of the press-fit kit
Click here to download the final DXF file of the press-fit kit
Group assignment
Click here to view the group work