5. 3D printing and scanning
During the first day, I have experimented two 3d scanner software; Qlone and Skancet. After that, as a group I have experimented three 3d printers; prusa, ender, and ultimaker2+.
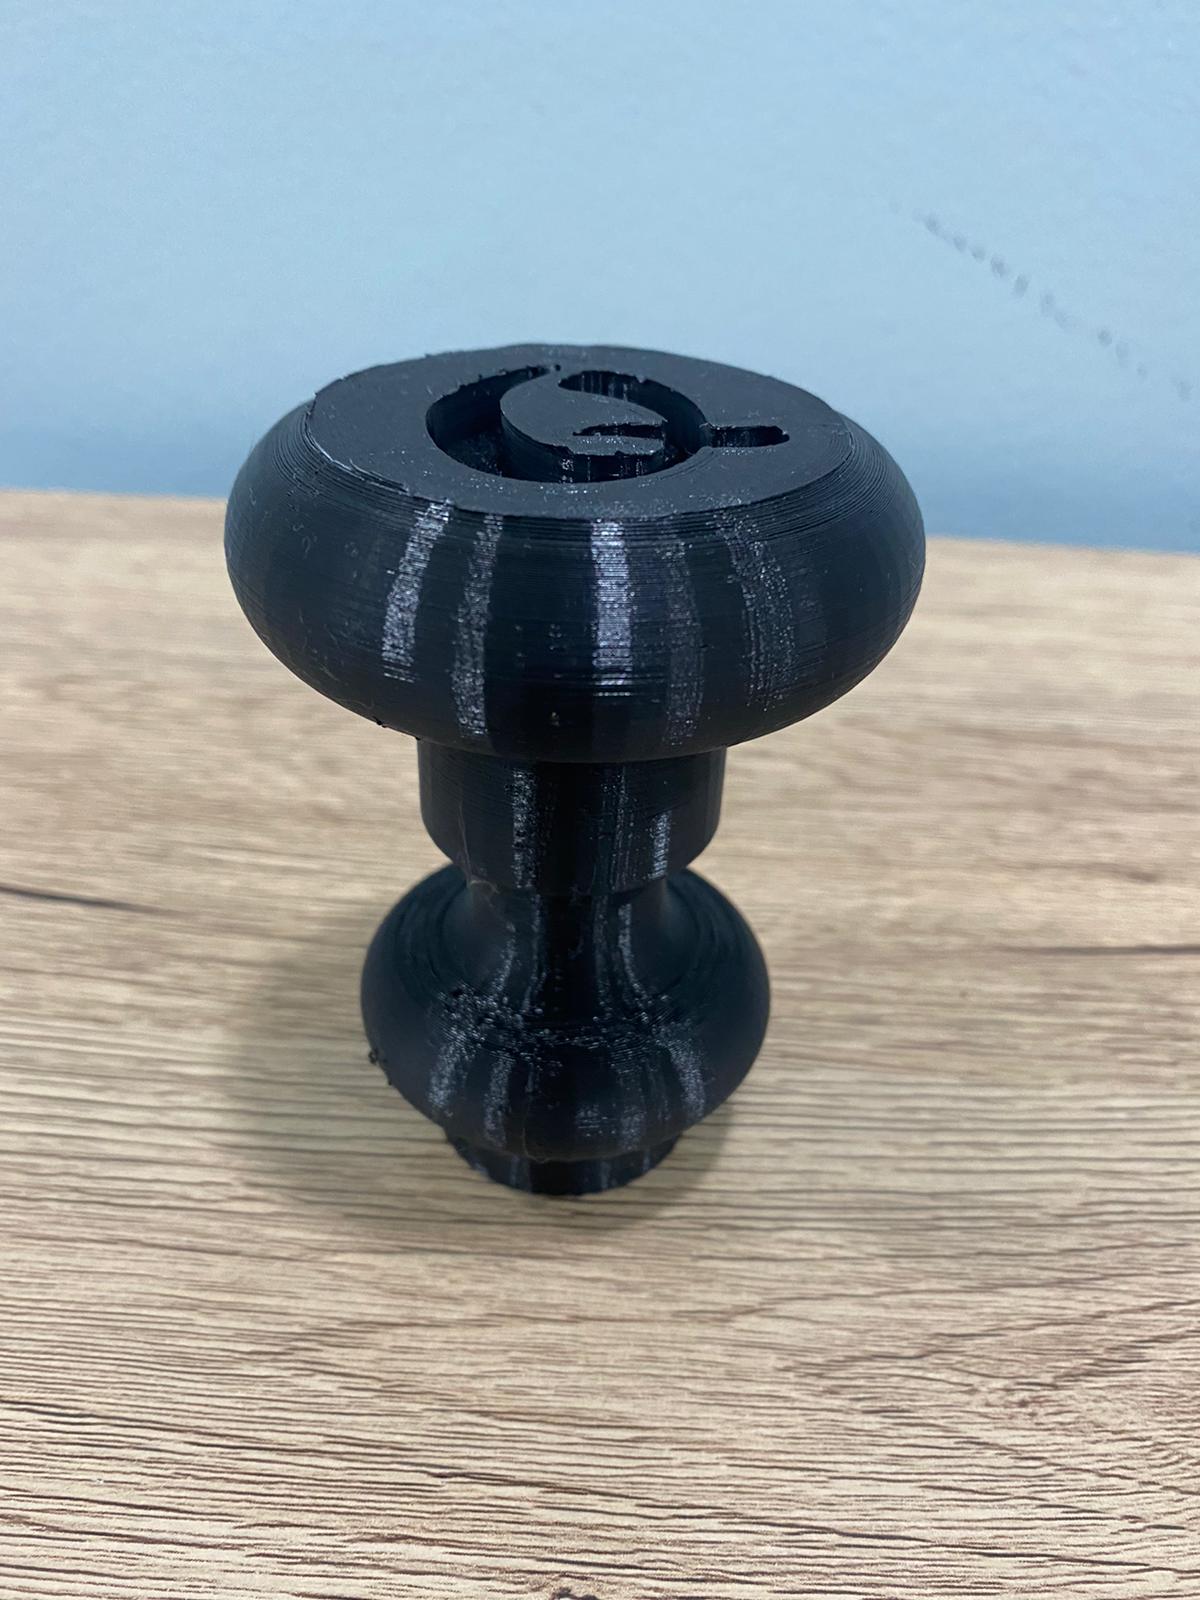
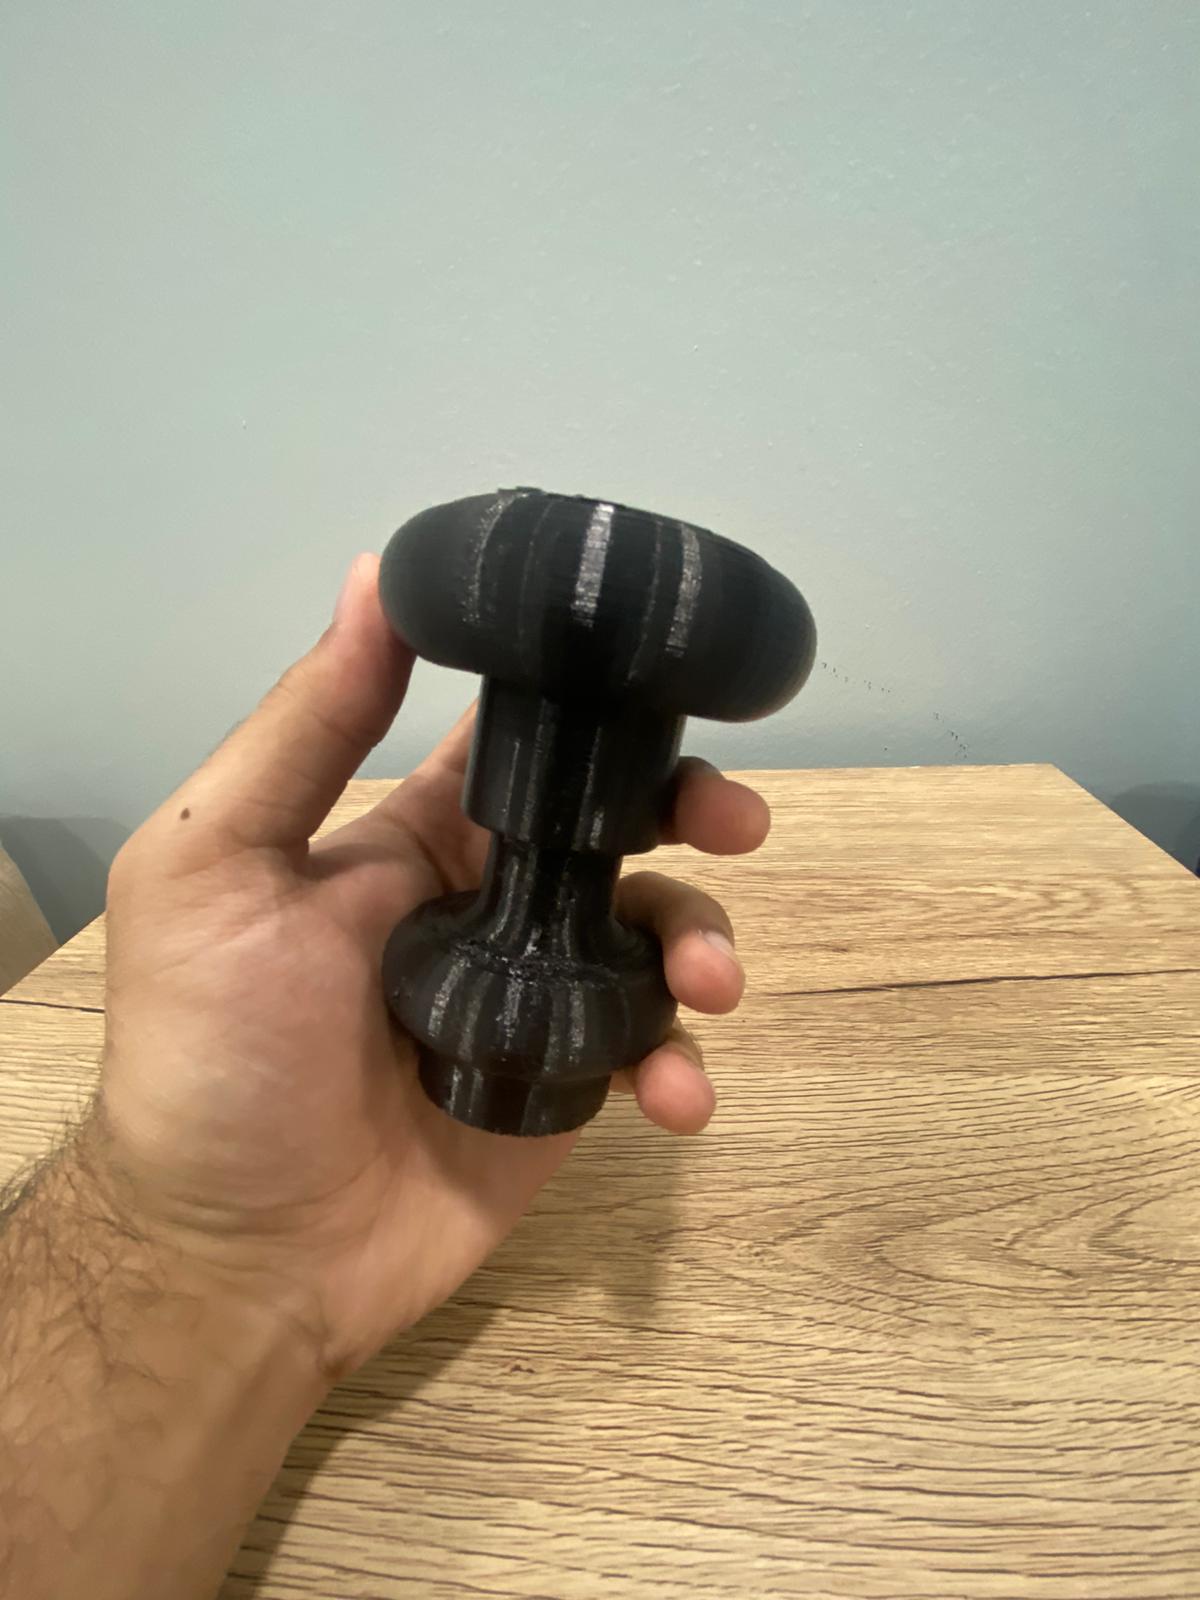
During the second day, I have printed the 3d door knob that was designed by me using ultimaker2+ 3d printer.
1) 3d scanning
Is a method of capturing any physical object, and converting it into a 3d digital model in the computer world with its exact shape and size.
Click here to know more about 3d scanning
Qlone (3d scanning app)
Qlone is a 3d scanning app that enables you to scan different objects easily.
Watch this video to understand how qlone works
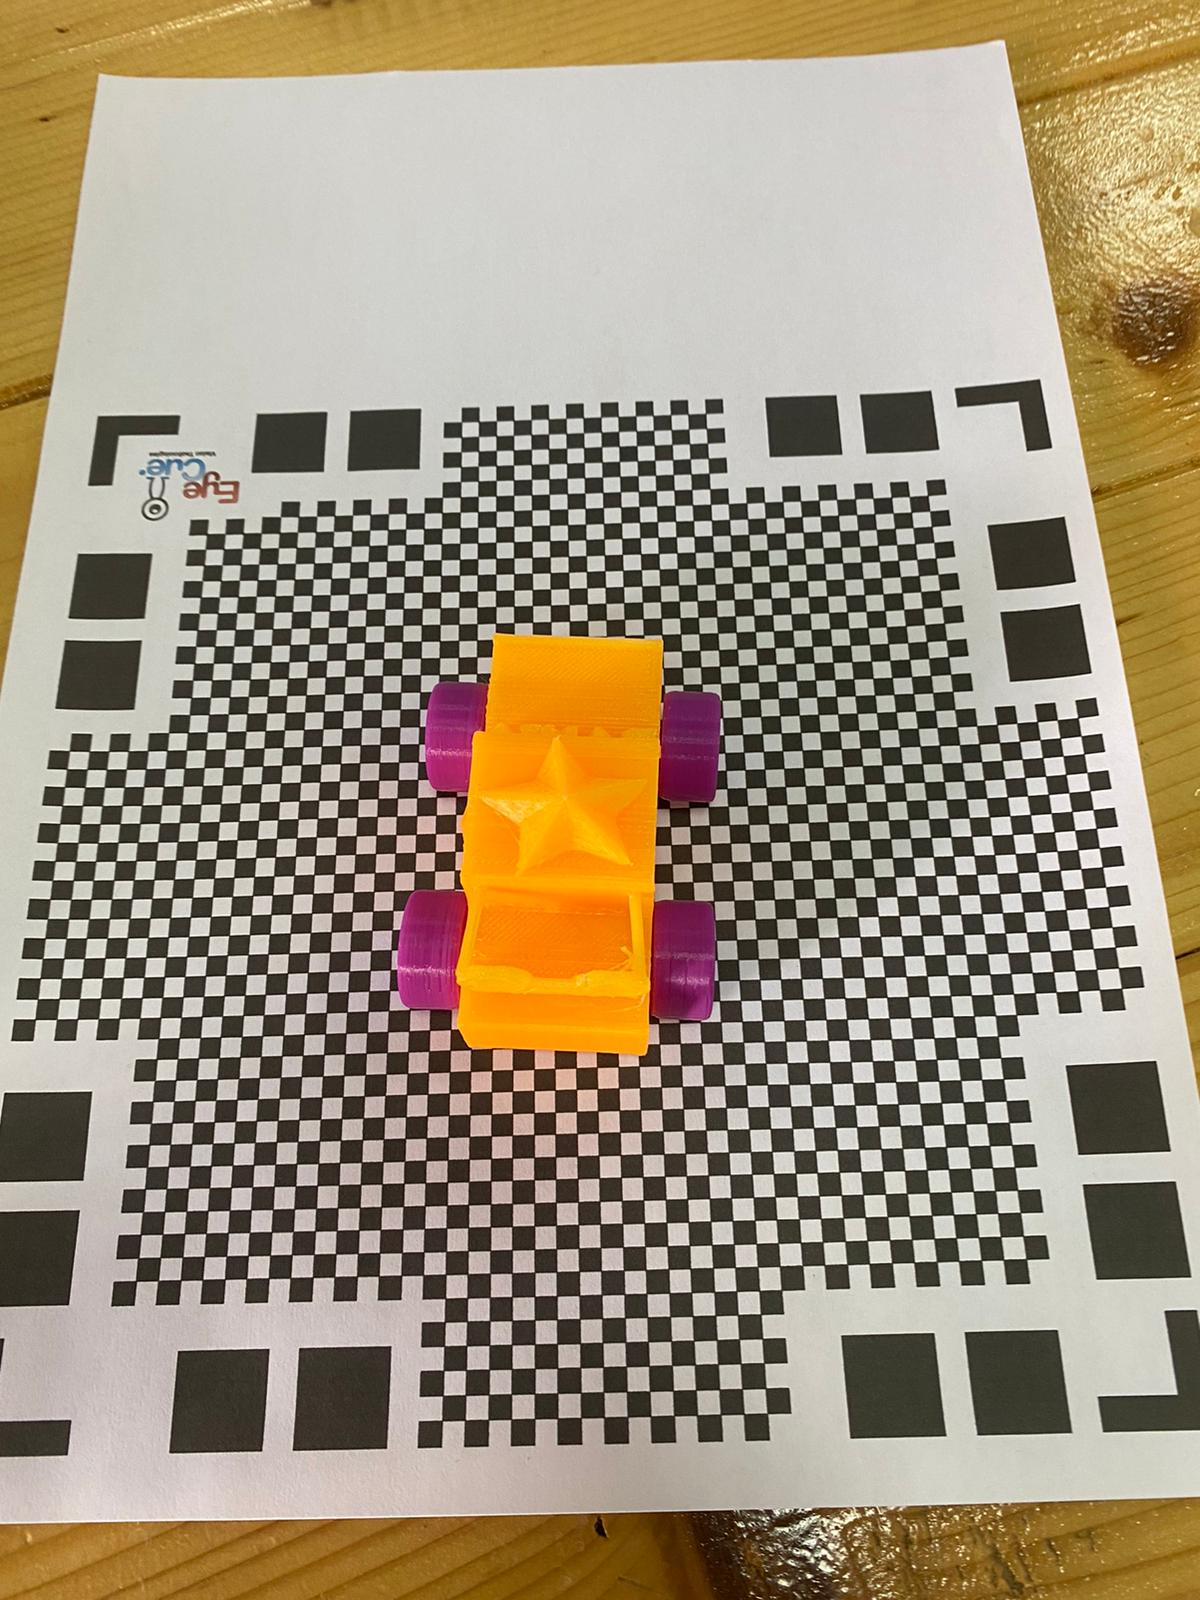
Before starting, print the mat. This will help you to have a better 3d scanned object.
Steps:
First of all, we were given different objects.
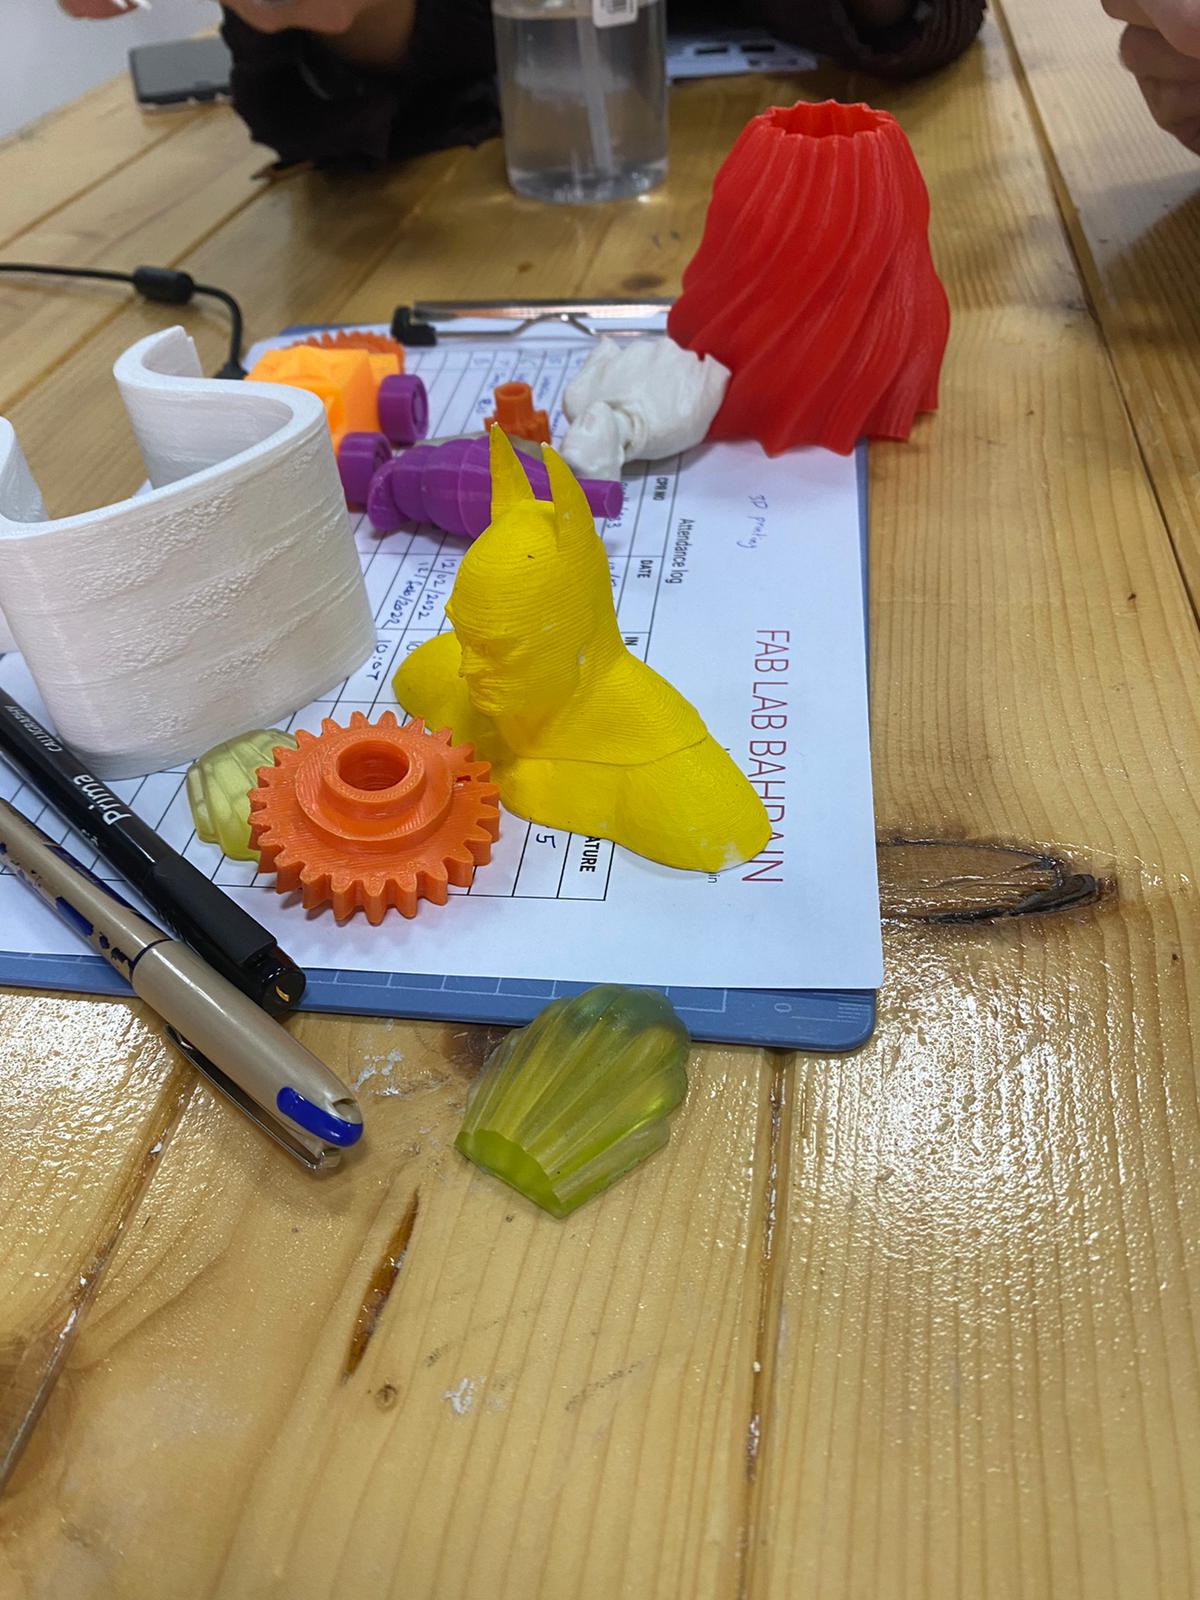
Then, we were given mats to place the object above it.
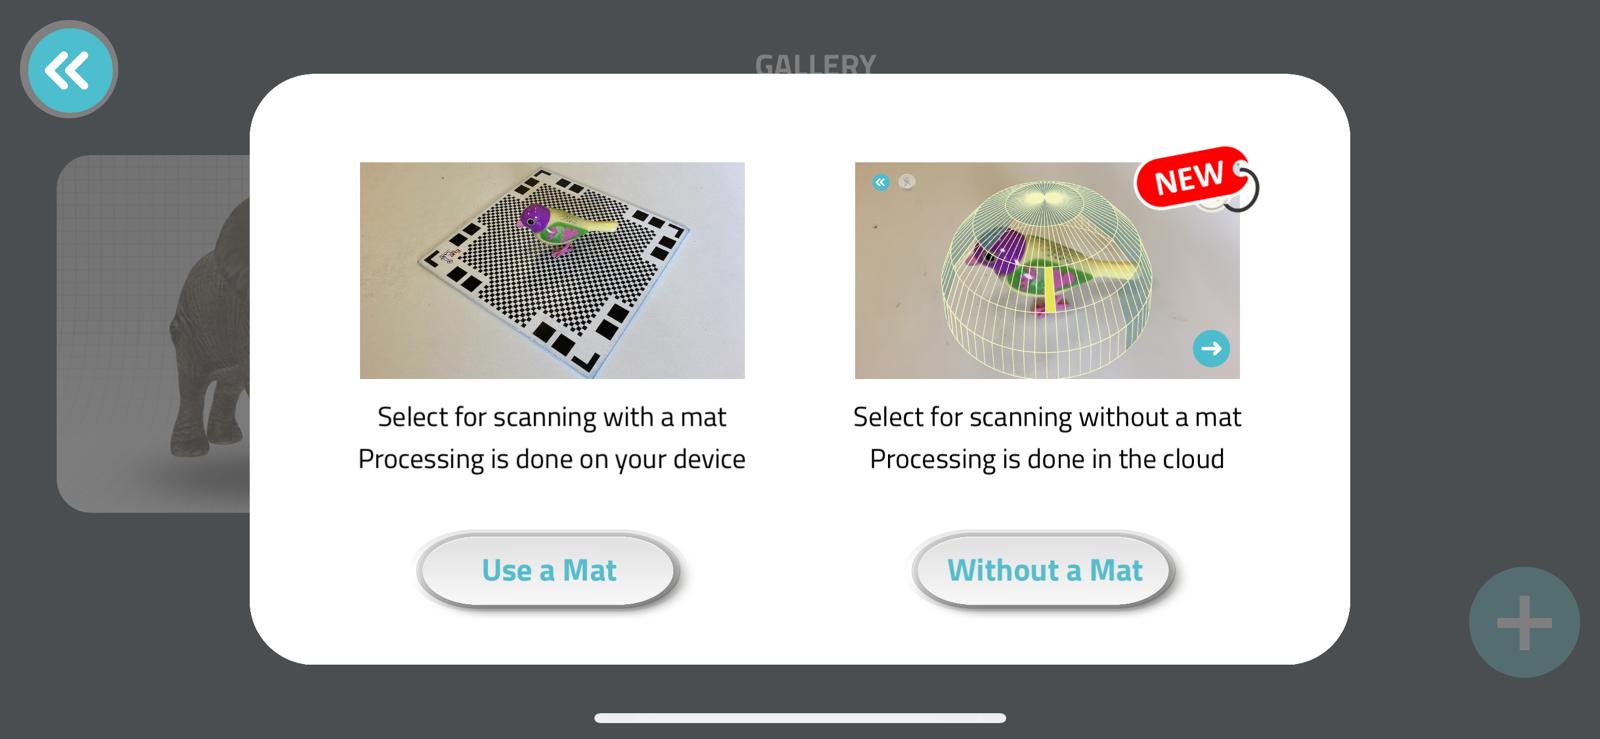
After that, I downloaded the Qlone app in my phone. Then, I opened the app and I have selected the add sign which is located at the right bottom of the page.

Then I chose the option Use a mat.
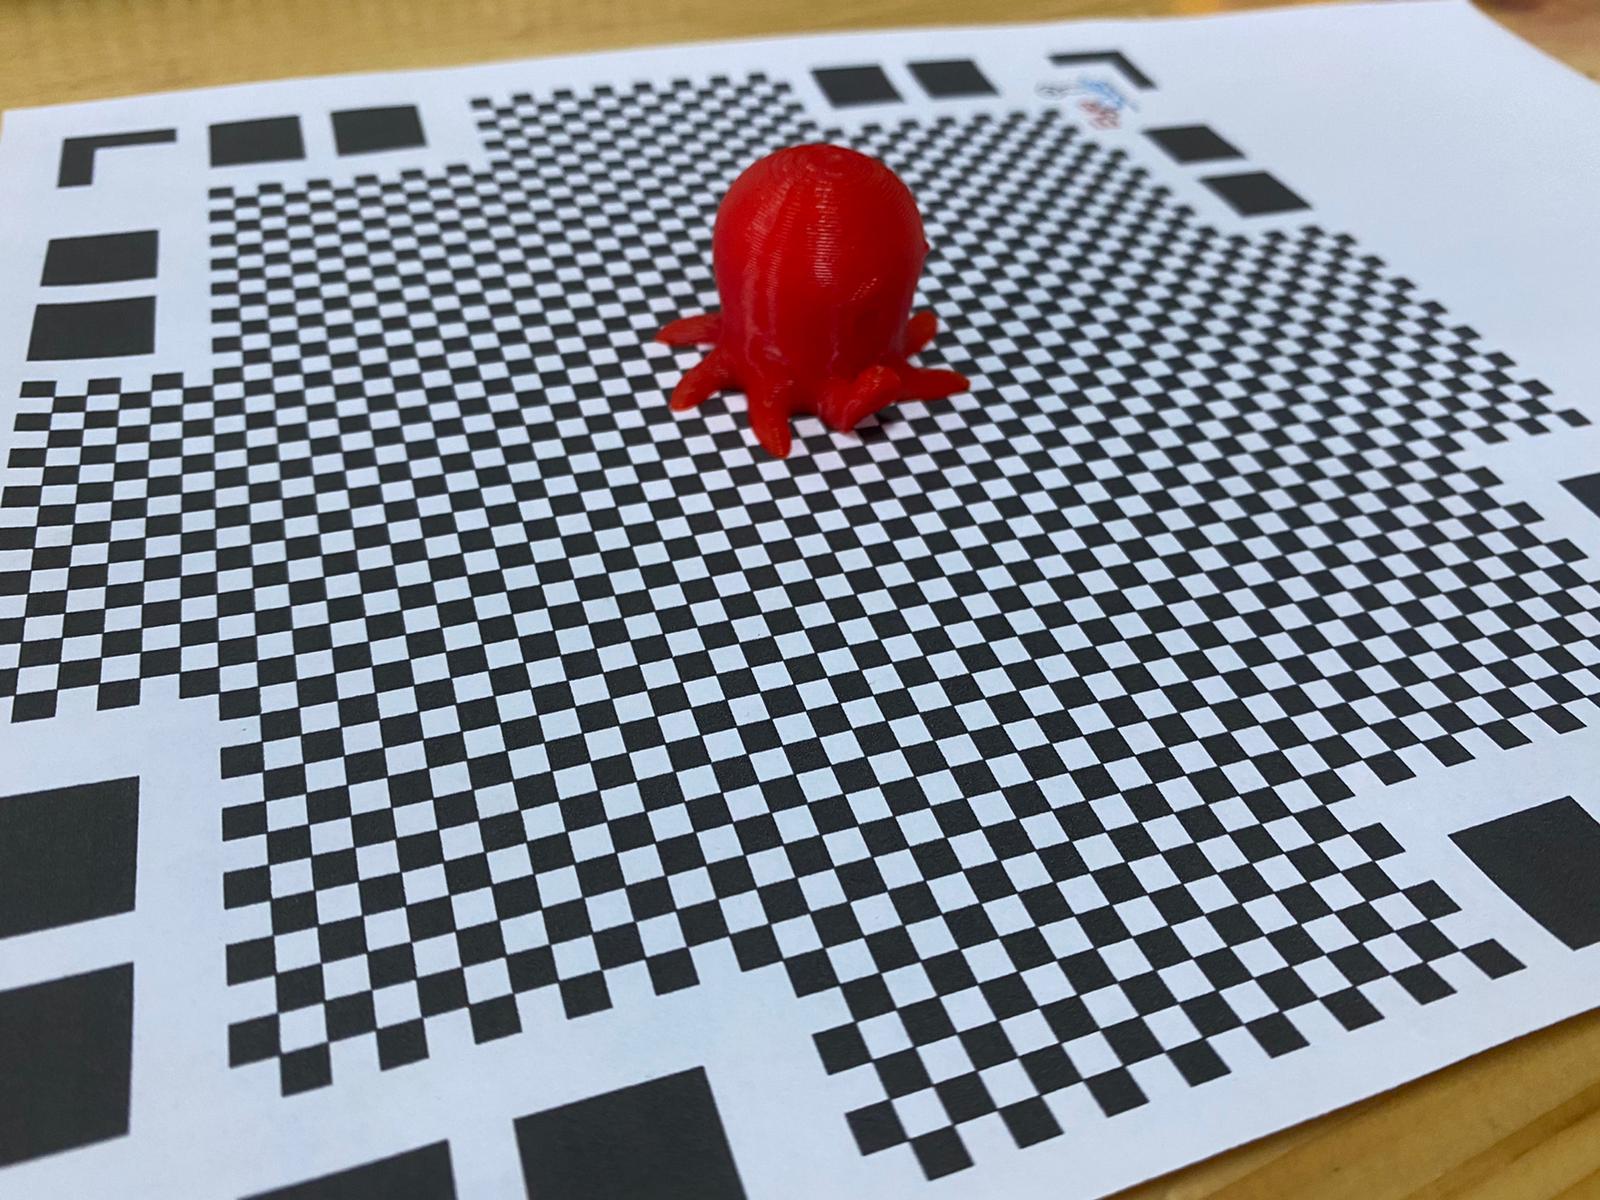
I started scanning by rotating the phone in all of the directions around the object chosen until it stops and you will get the final result as shown. (You can export the 3d scanned file in different versions such as sdl but a premium version is required)
I have repeated the same process using a different object.
Here is the final result.
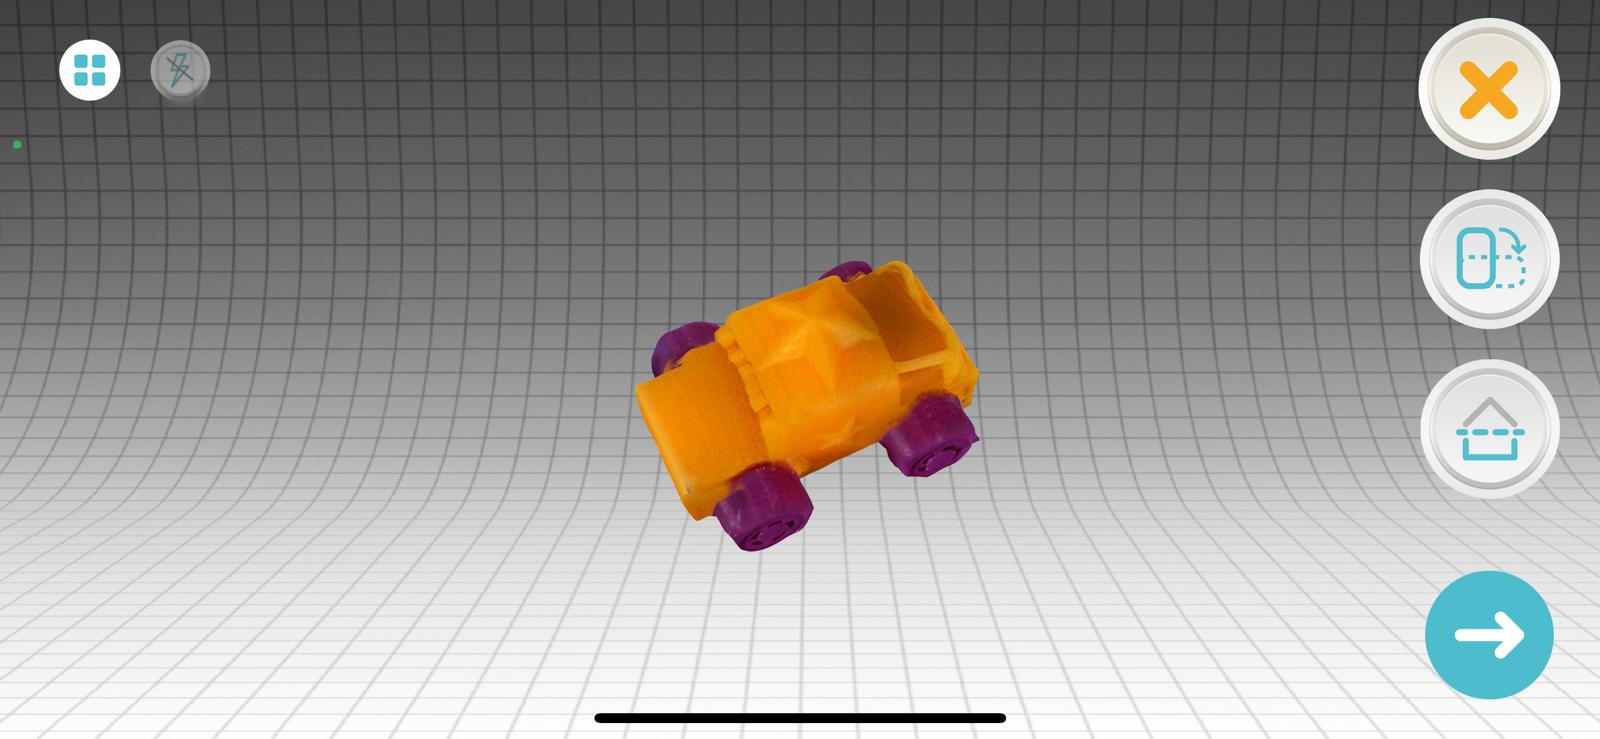
Final Result
(You can export the 3d scanned file in different versions such as sdl but a premium version is required)
Preview the 360 video of the first object
Preview the 360 video of the second object
Skancet (3d scanning software)
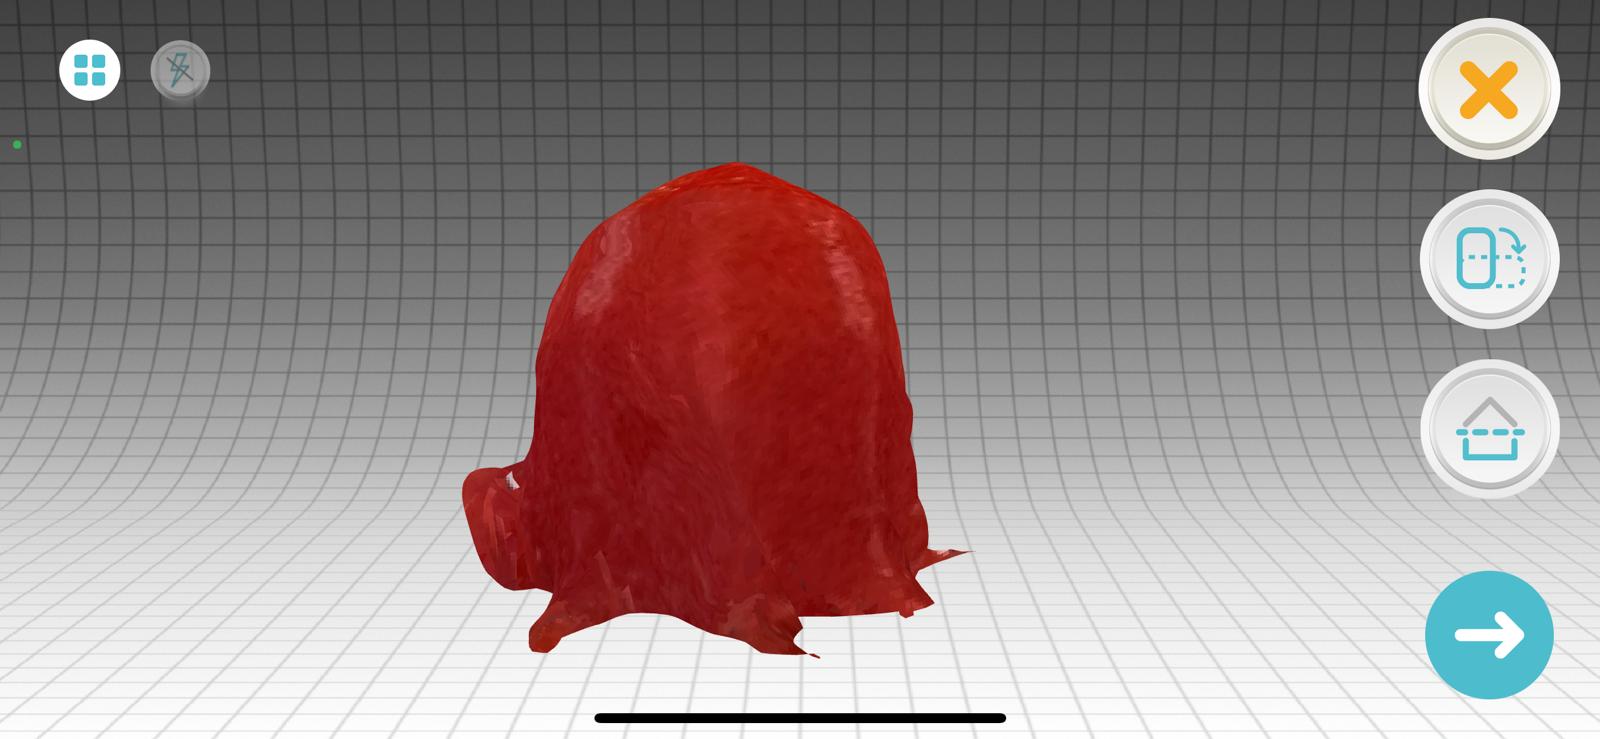
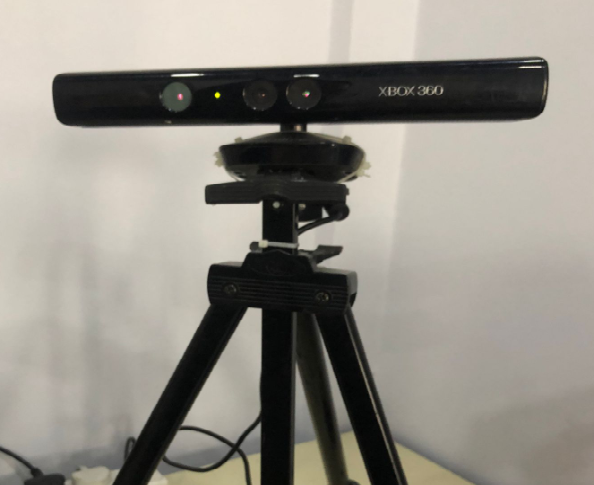
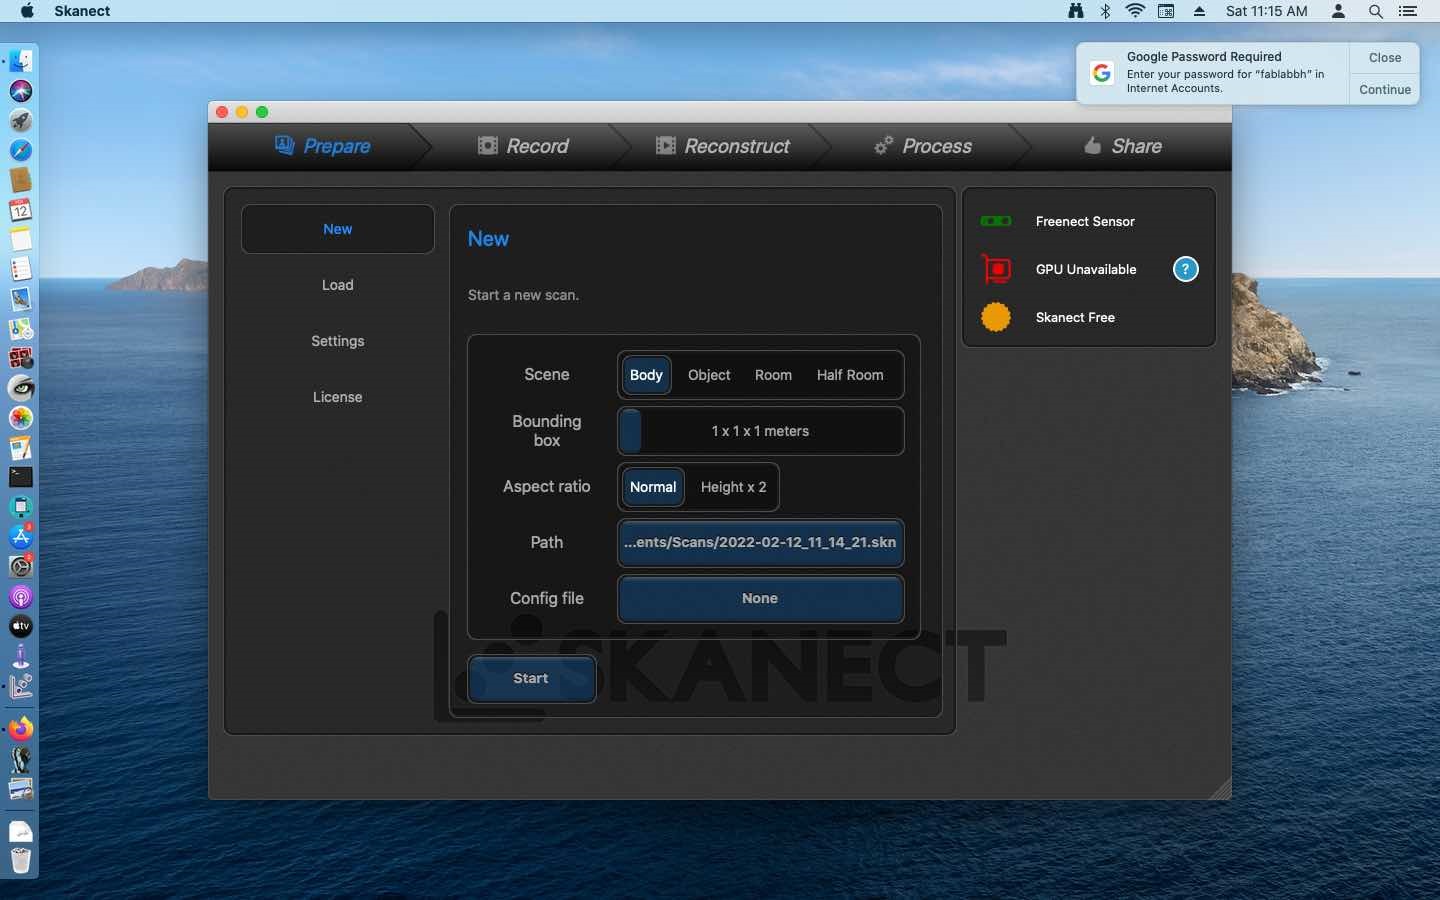
Skancet is a software that is used to scan large objects or areas using an XBOX 360. I have used it to scan myself.
This was the device that I used to scan myself.
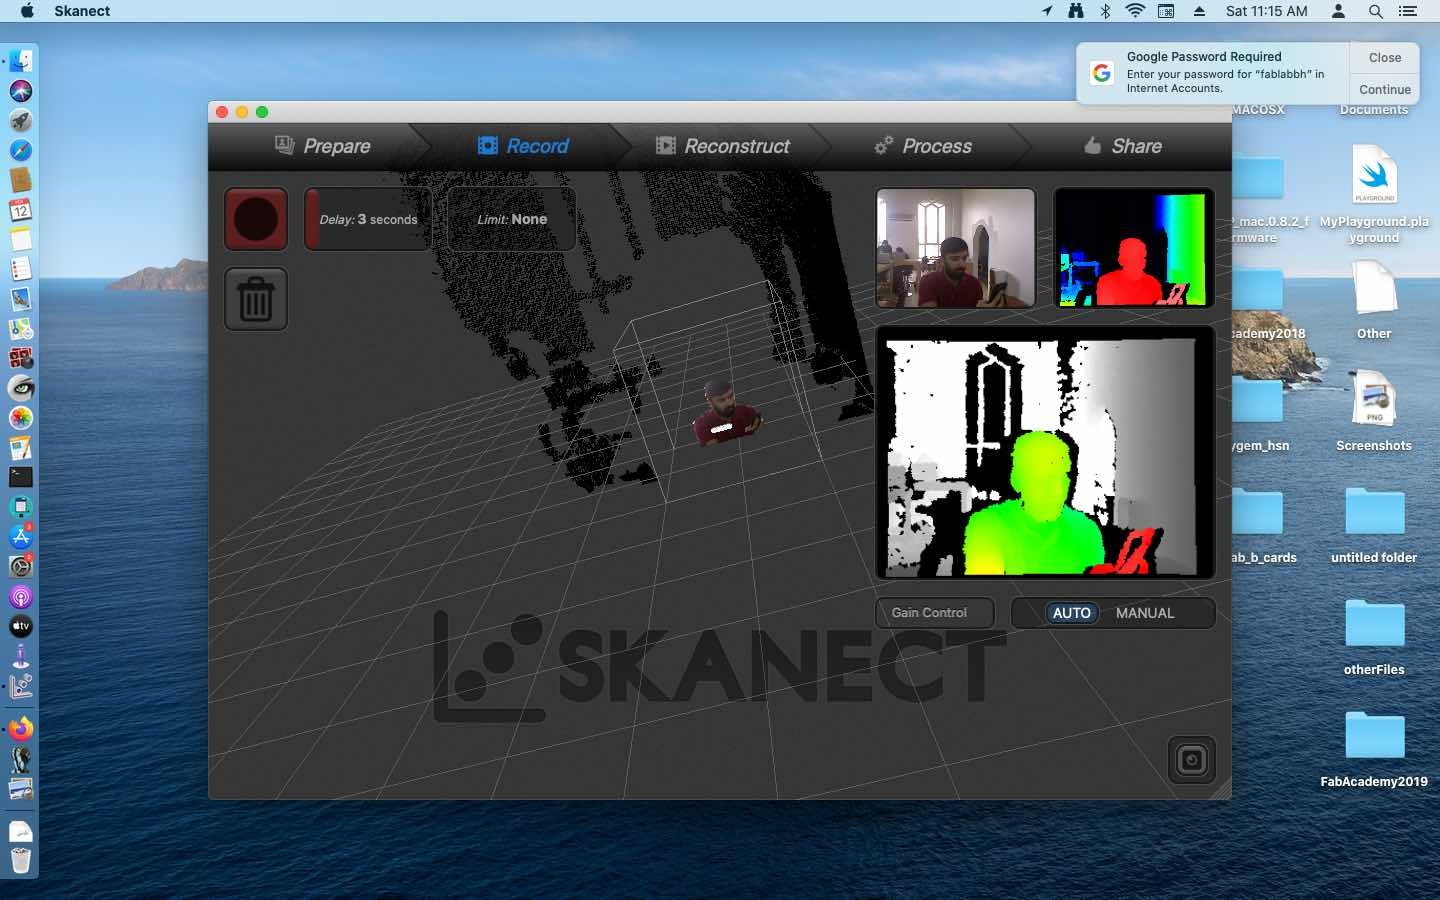
Since I am going to scan myself, I have selected the option body, and clicked start to begin scanning.
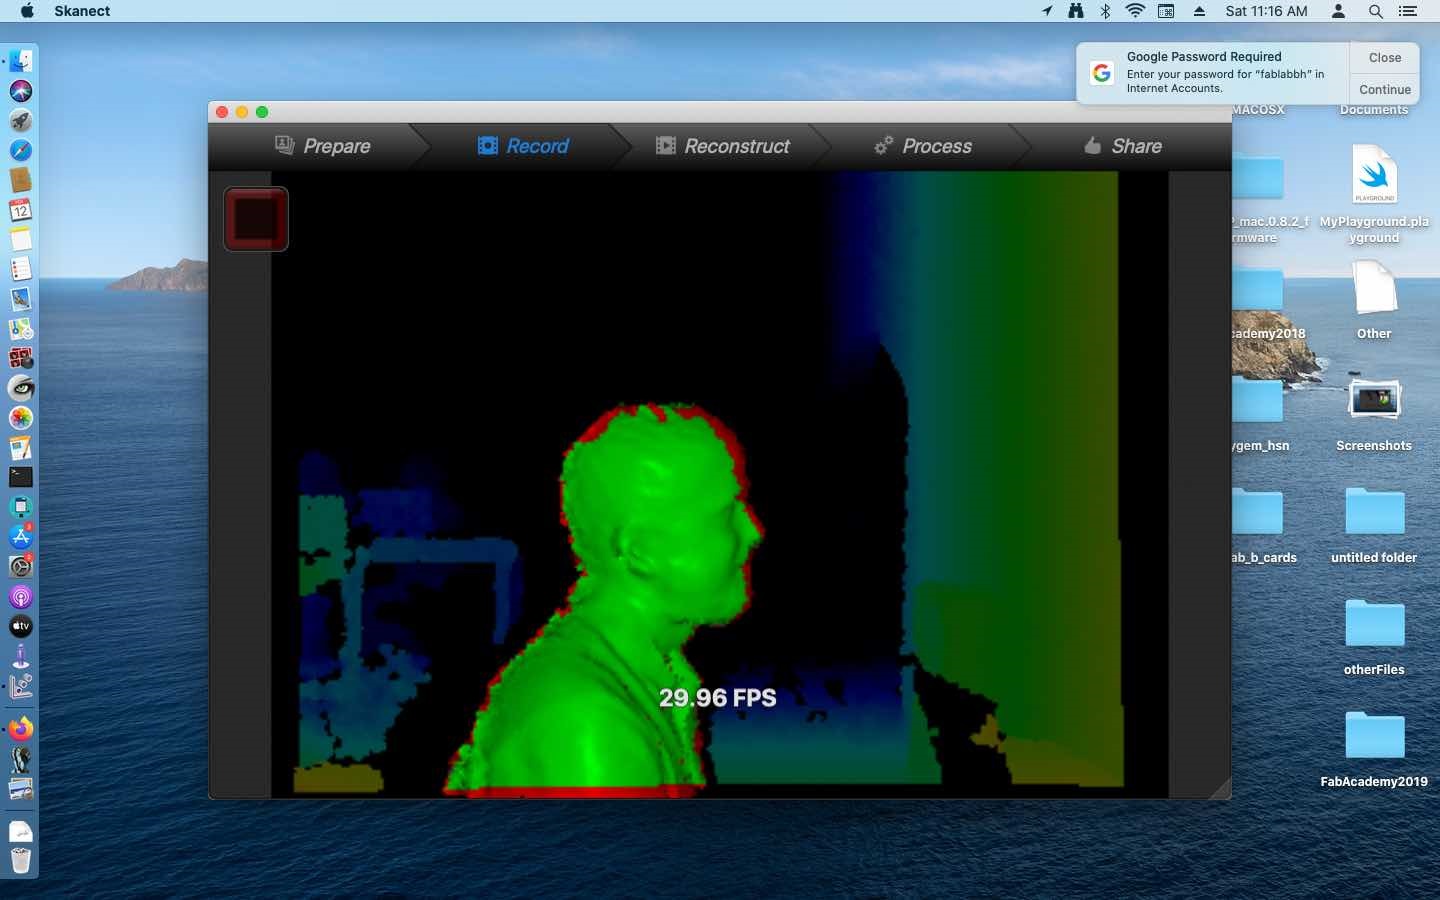
I should rotate 360 degrees. Now, I begin to rotate slowly.
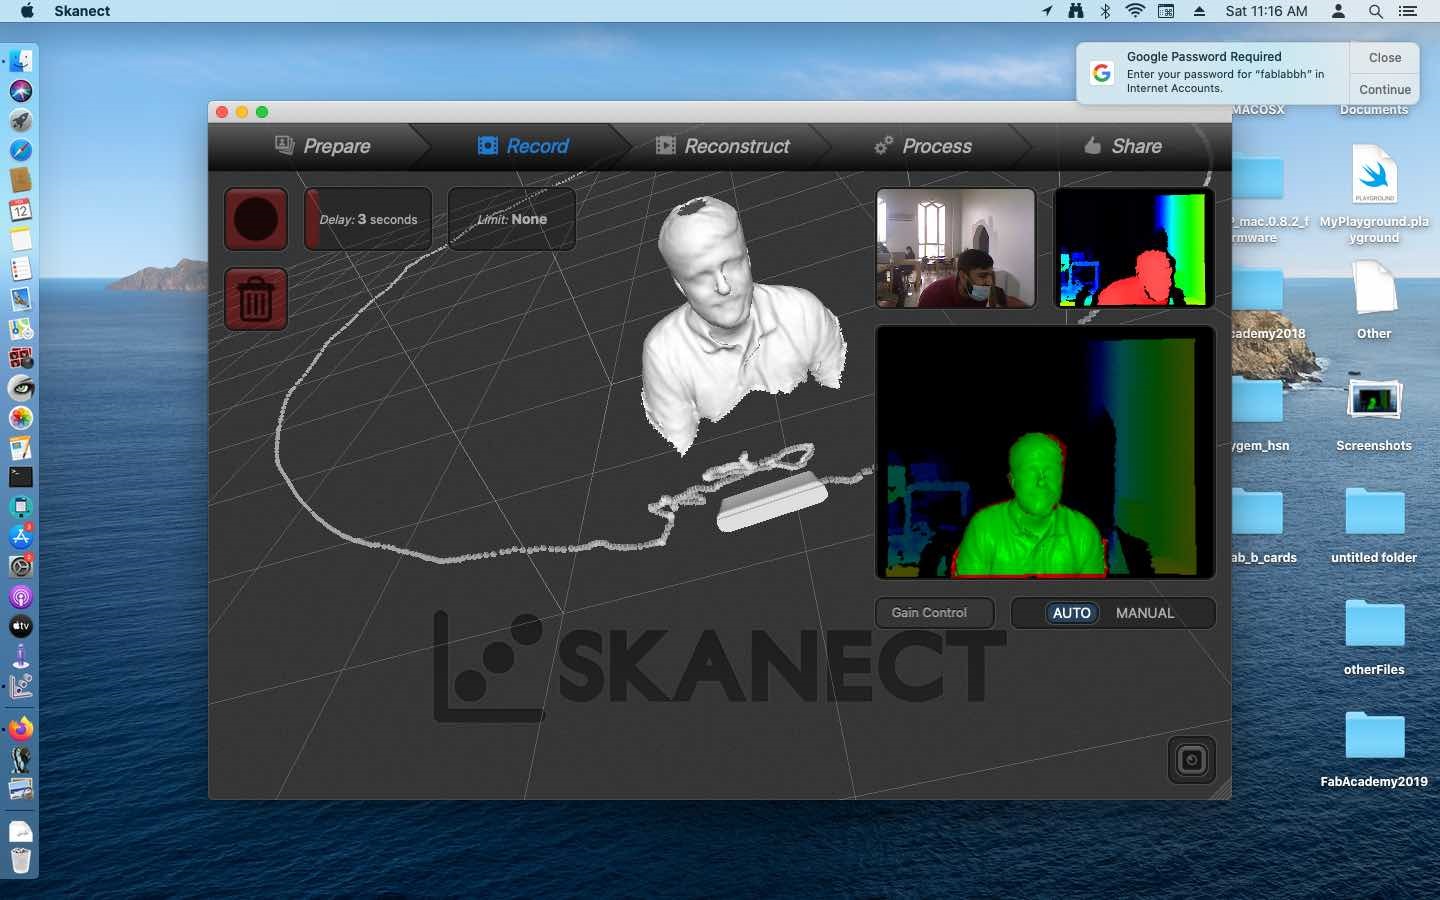
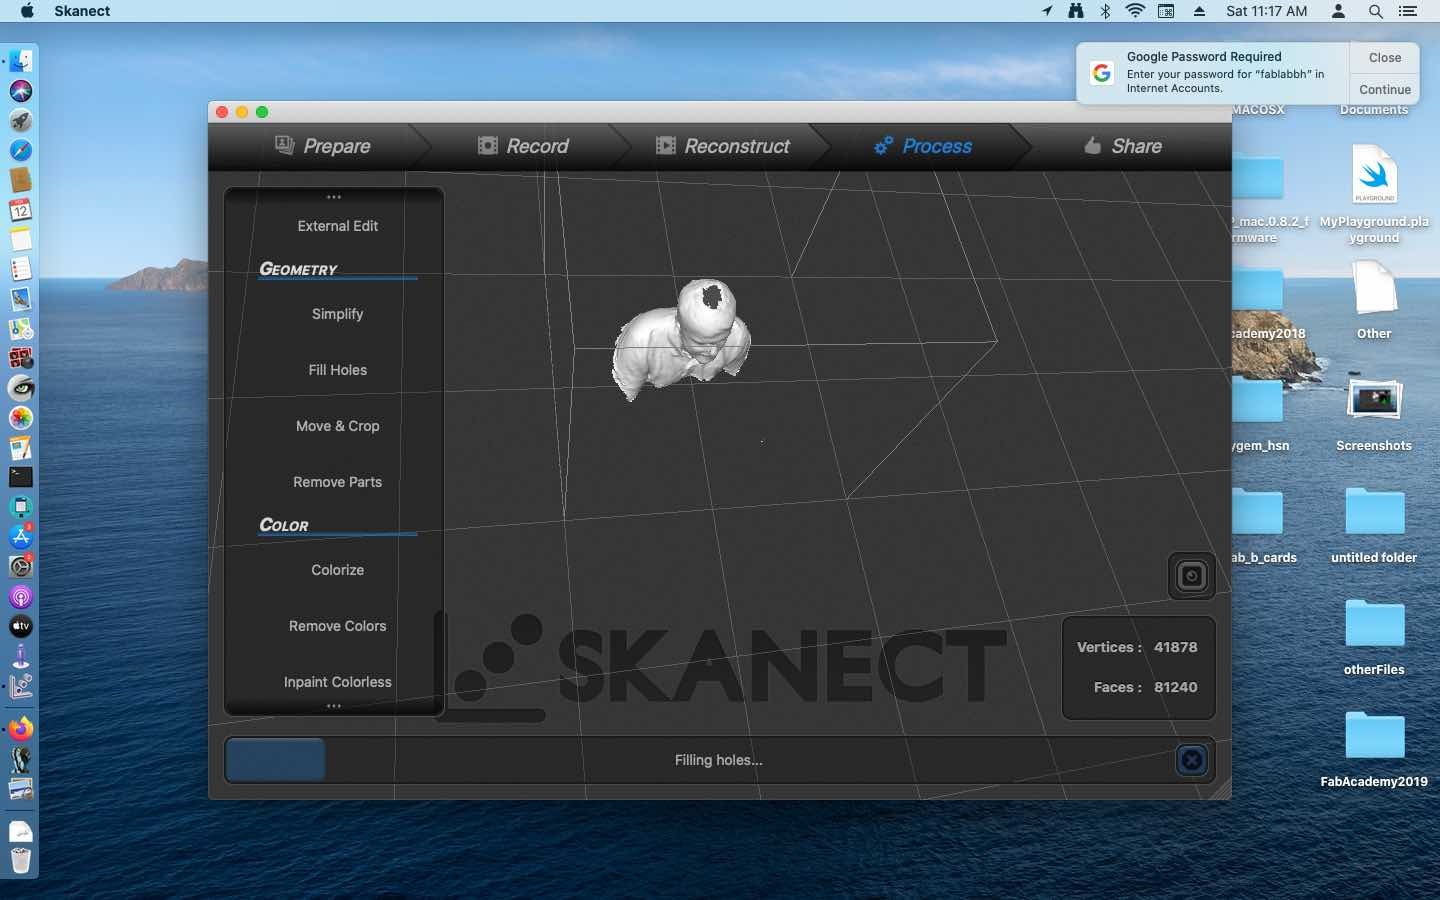
After I am done with the scanning part, I have realized that there is a hole on my head. This hole was shown because the devise could not recognize what’s on the top of my head so it assumed that there was a hole there.
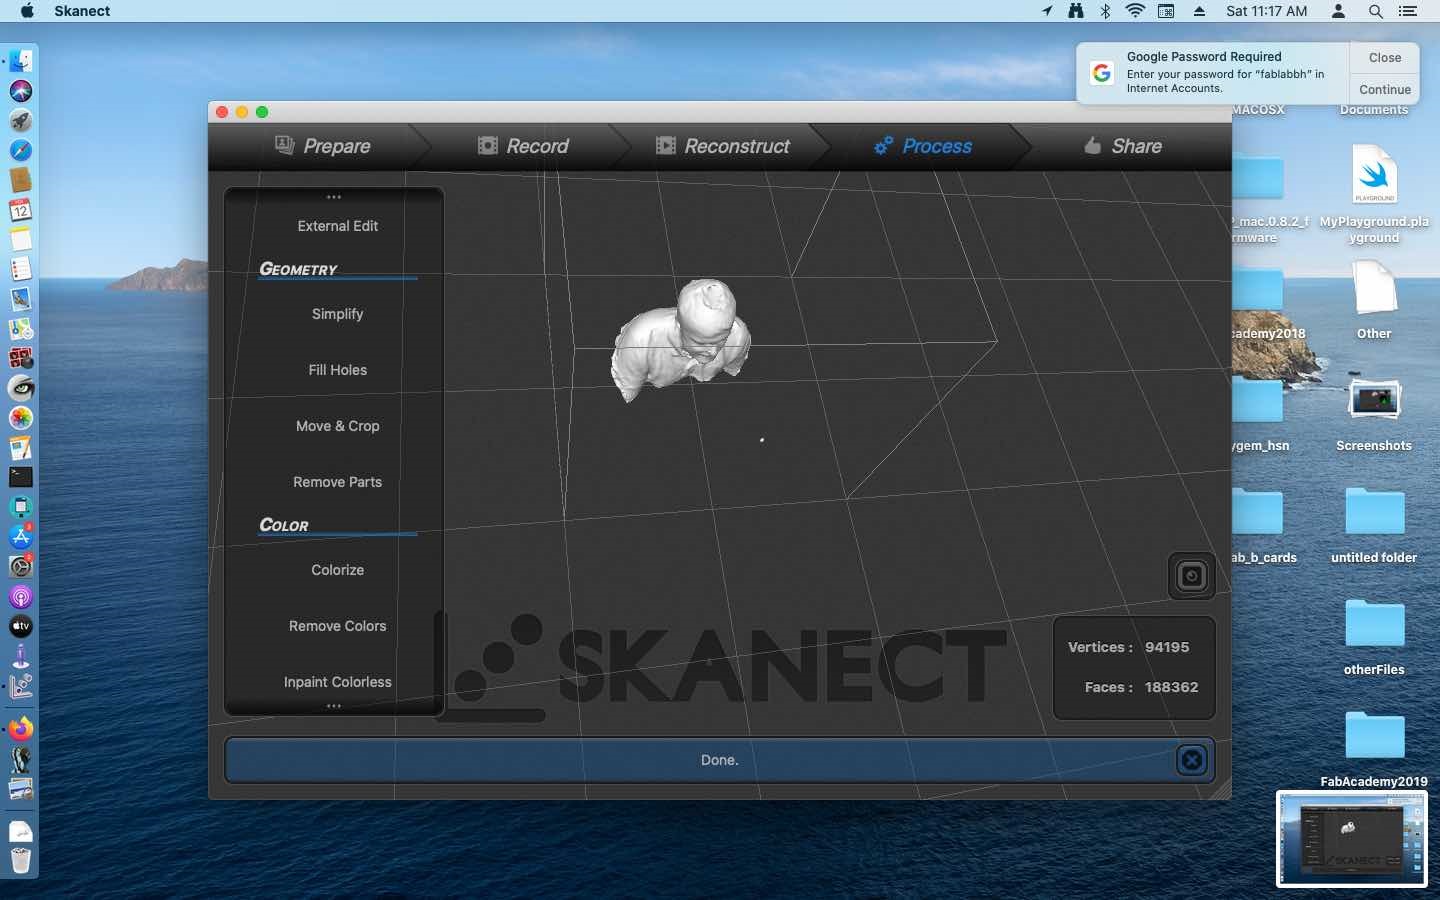
To fix this, I have selected process and filled my head by selecting fill holes.
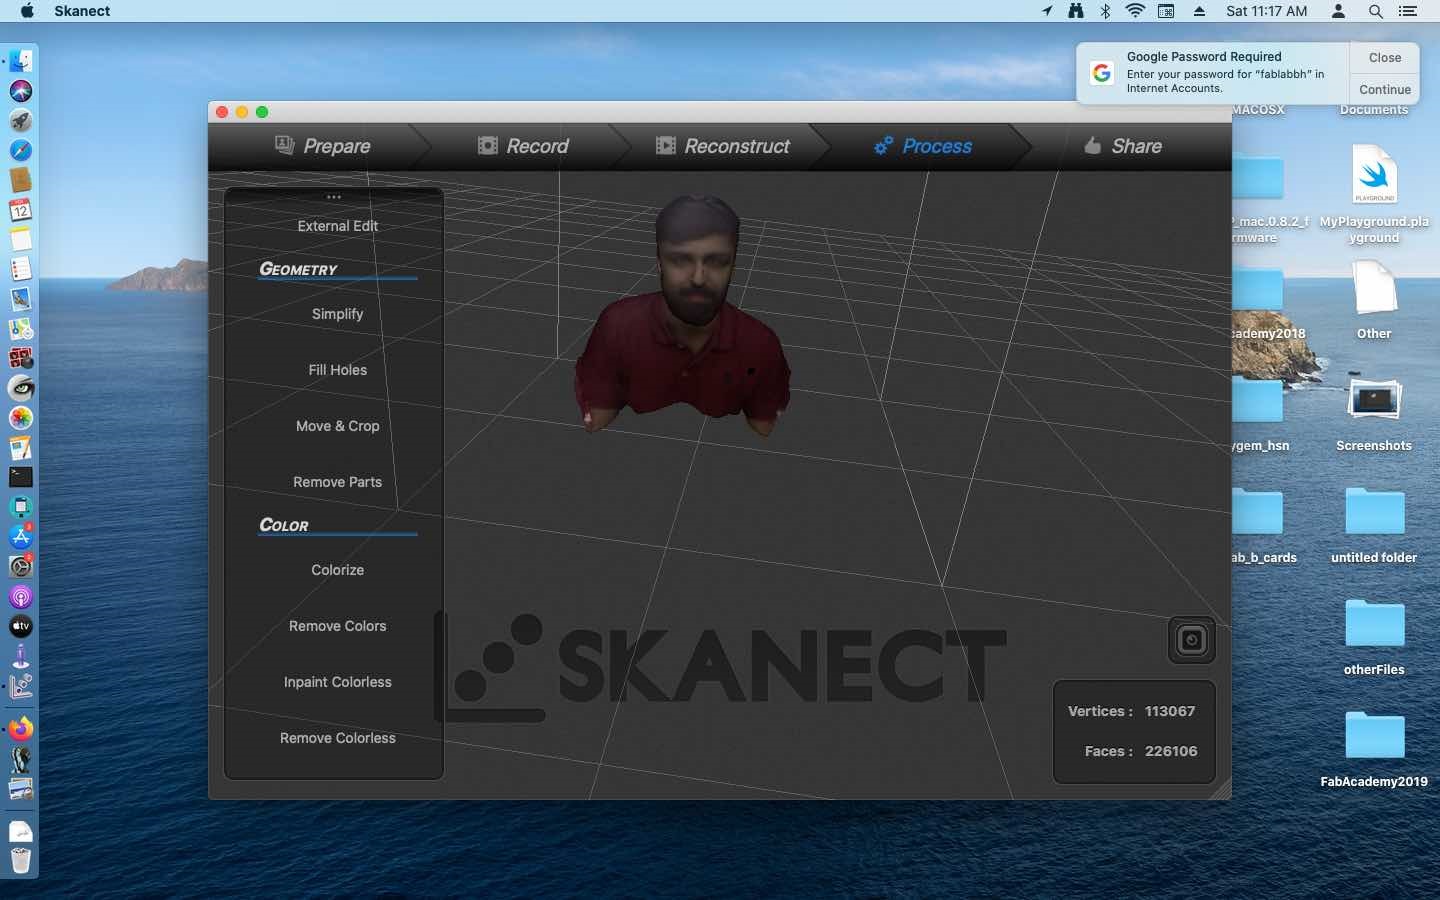
Final Result
2) 3d printing
3d printing is an additive manufacturing technique that turns a digital design into a physical thing. When the 3d printer starts operating it creates thin layers of material, fusing them together until the complete object is created.
Click here to learn more about 3d printing
3d Solid part (Door knob)
At the beginning, I have designed a 3d door knob using solid works.
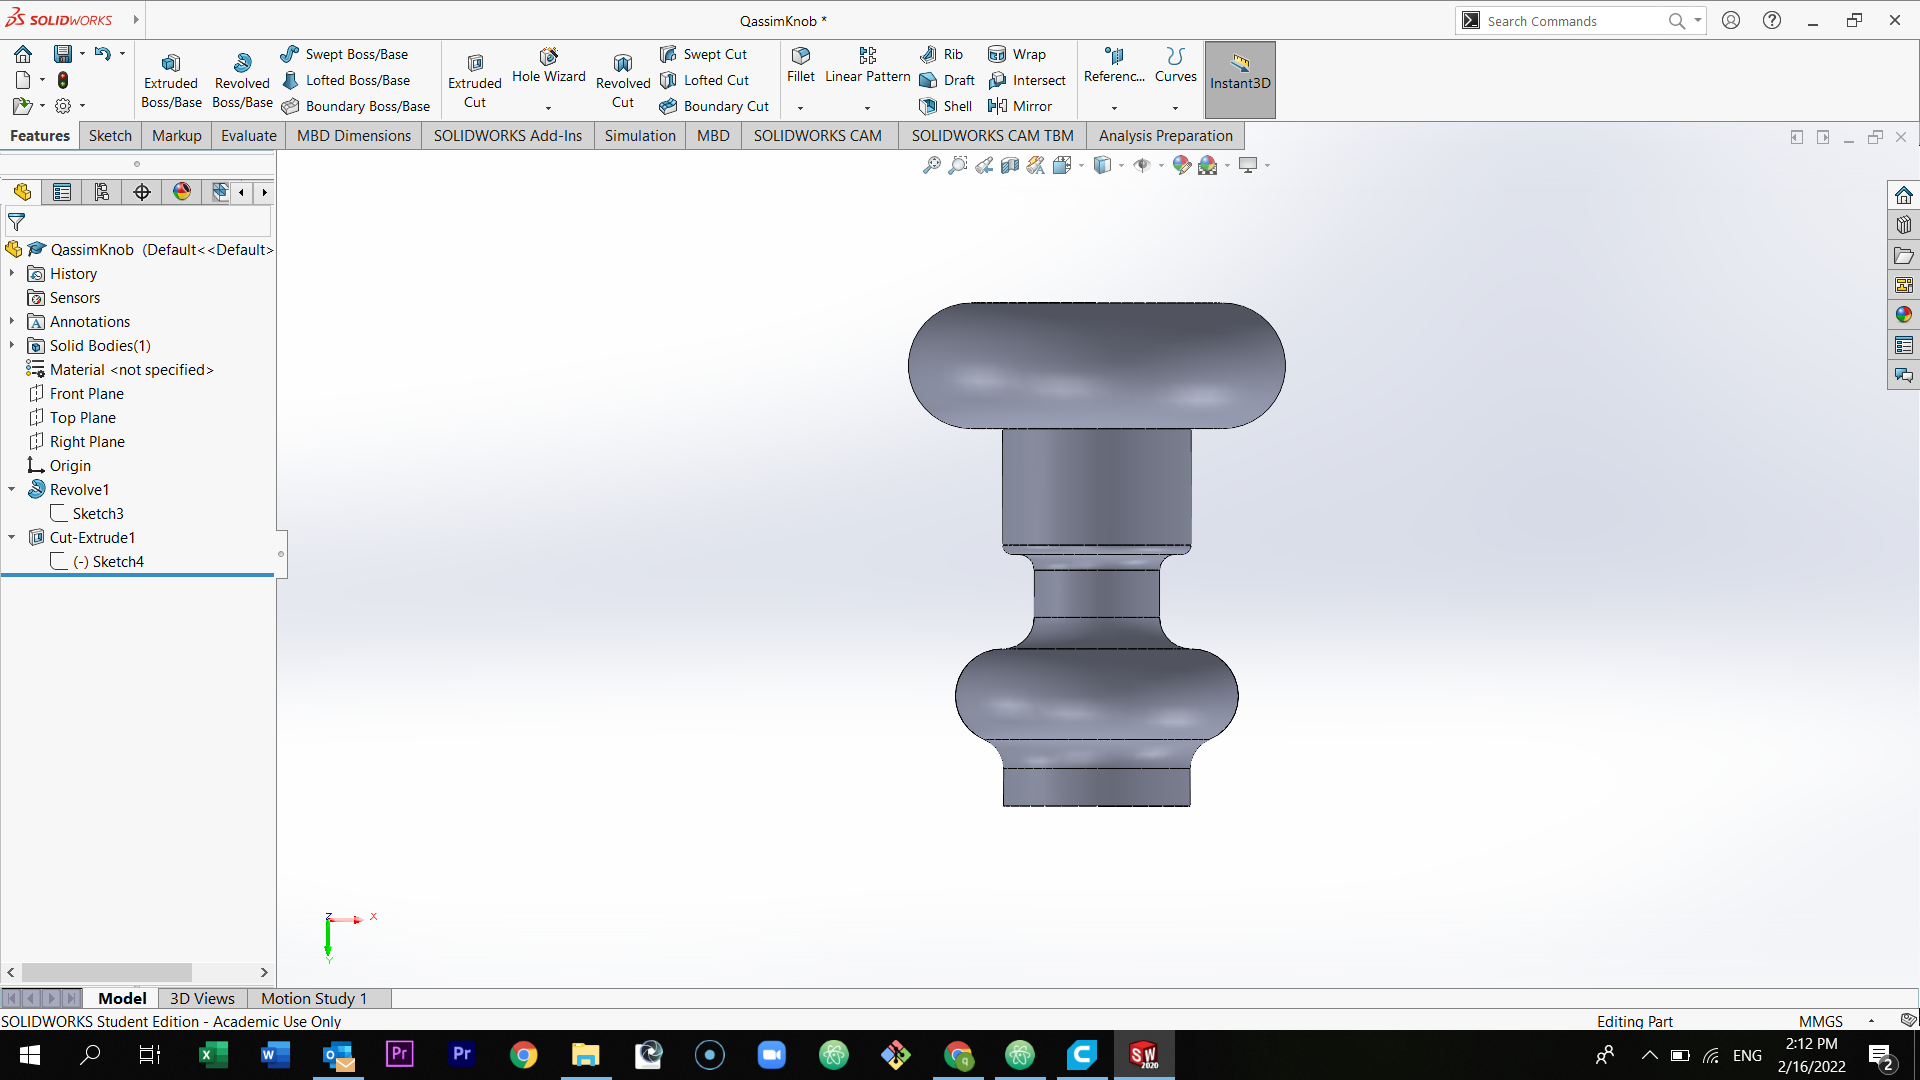
First of all, sketch the designs using lines and arcs.
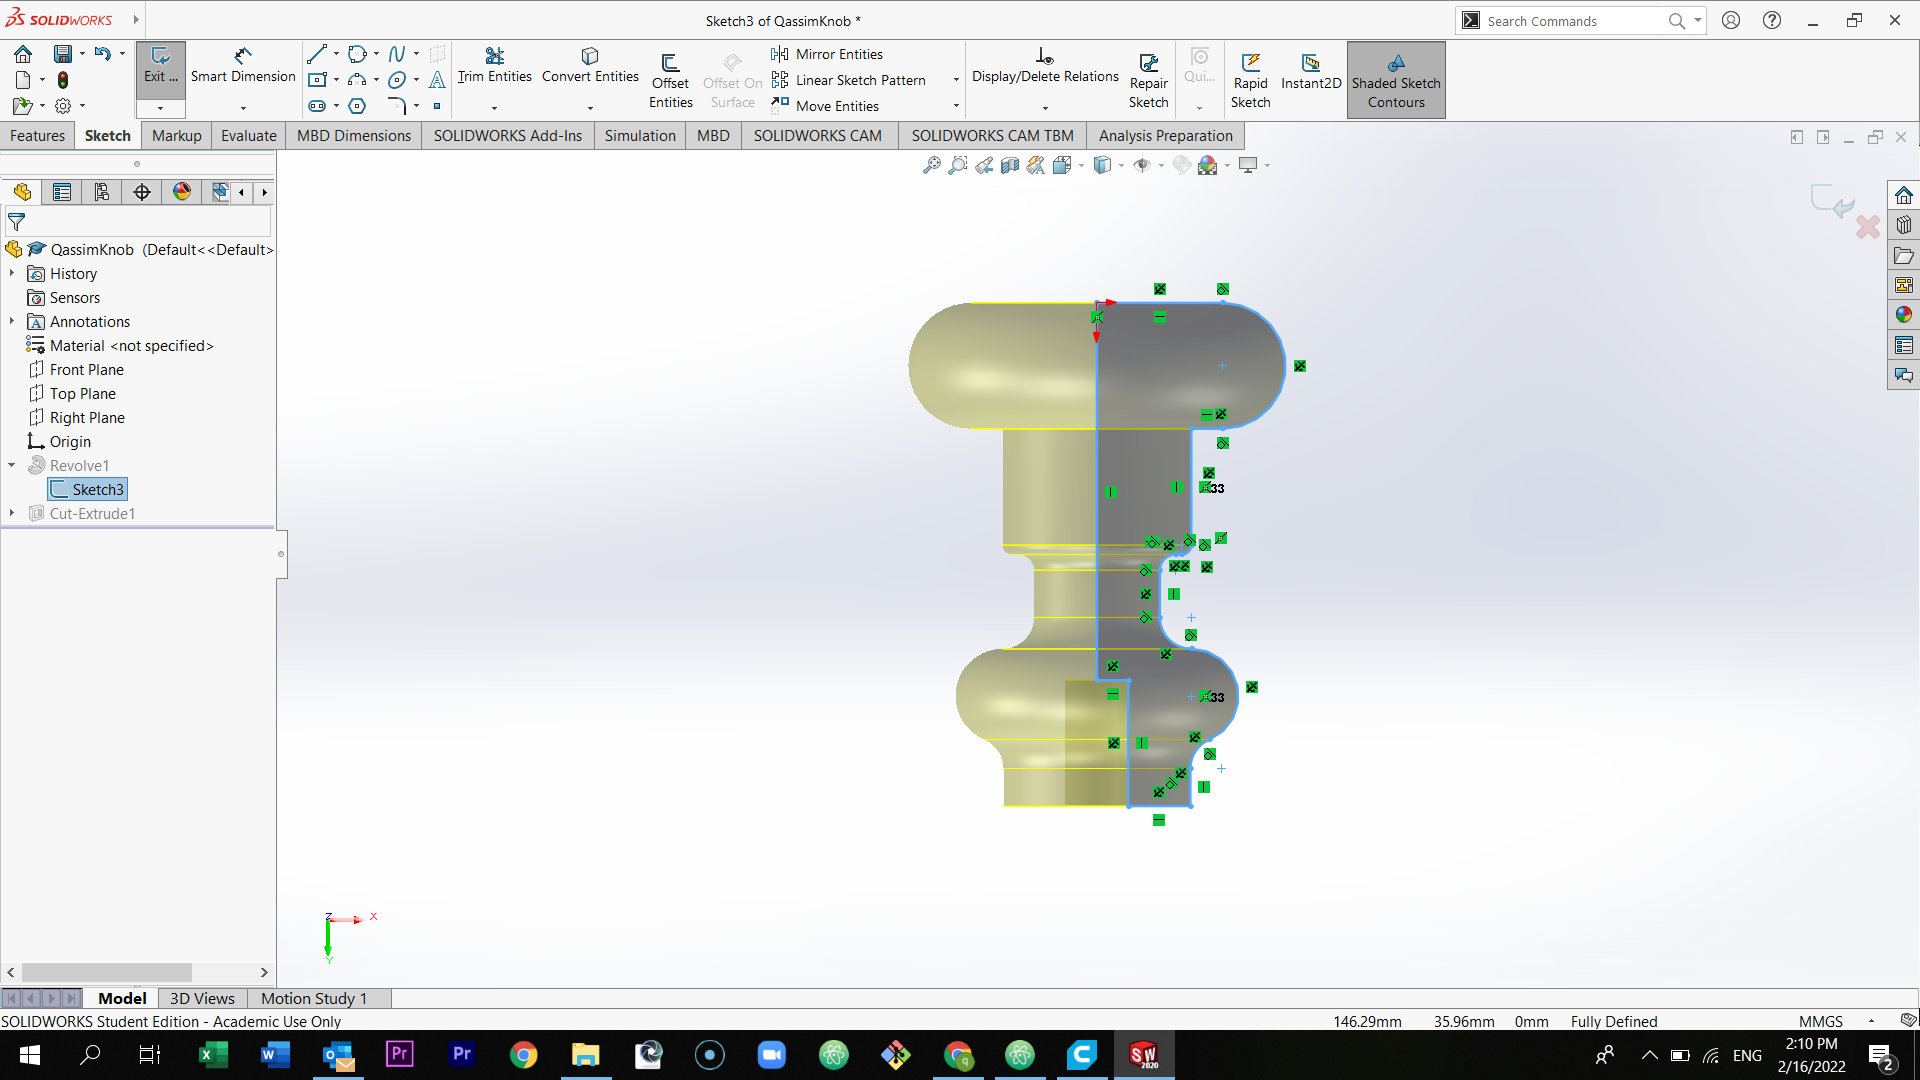
After drawing, select the option features and then select revolve which is located above in the tools section.

You will get this figure.
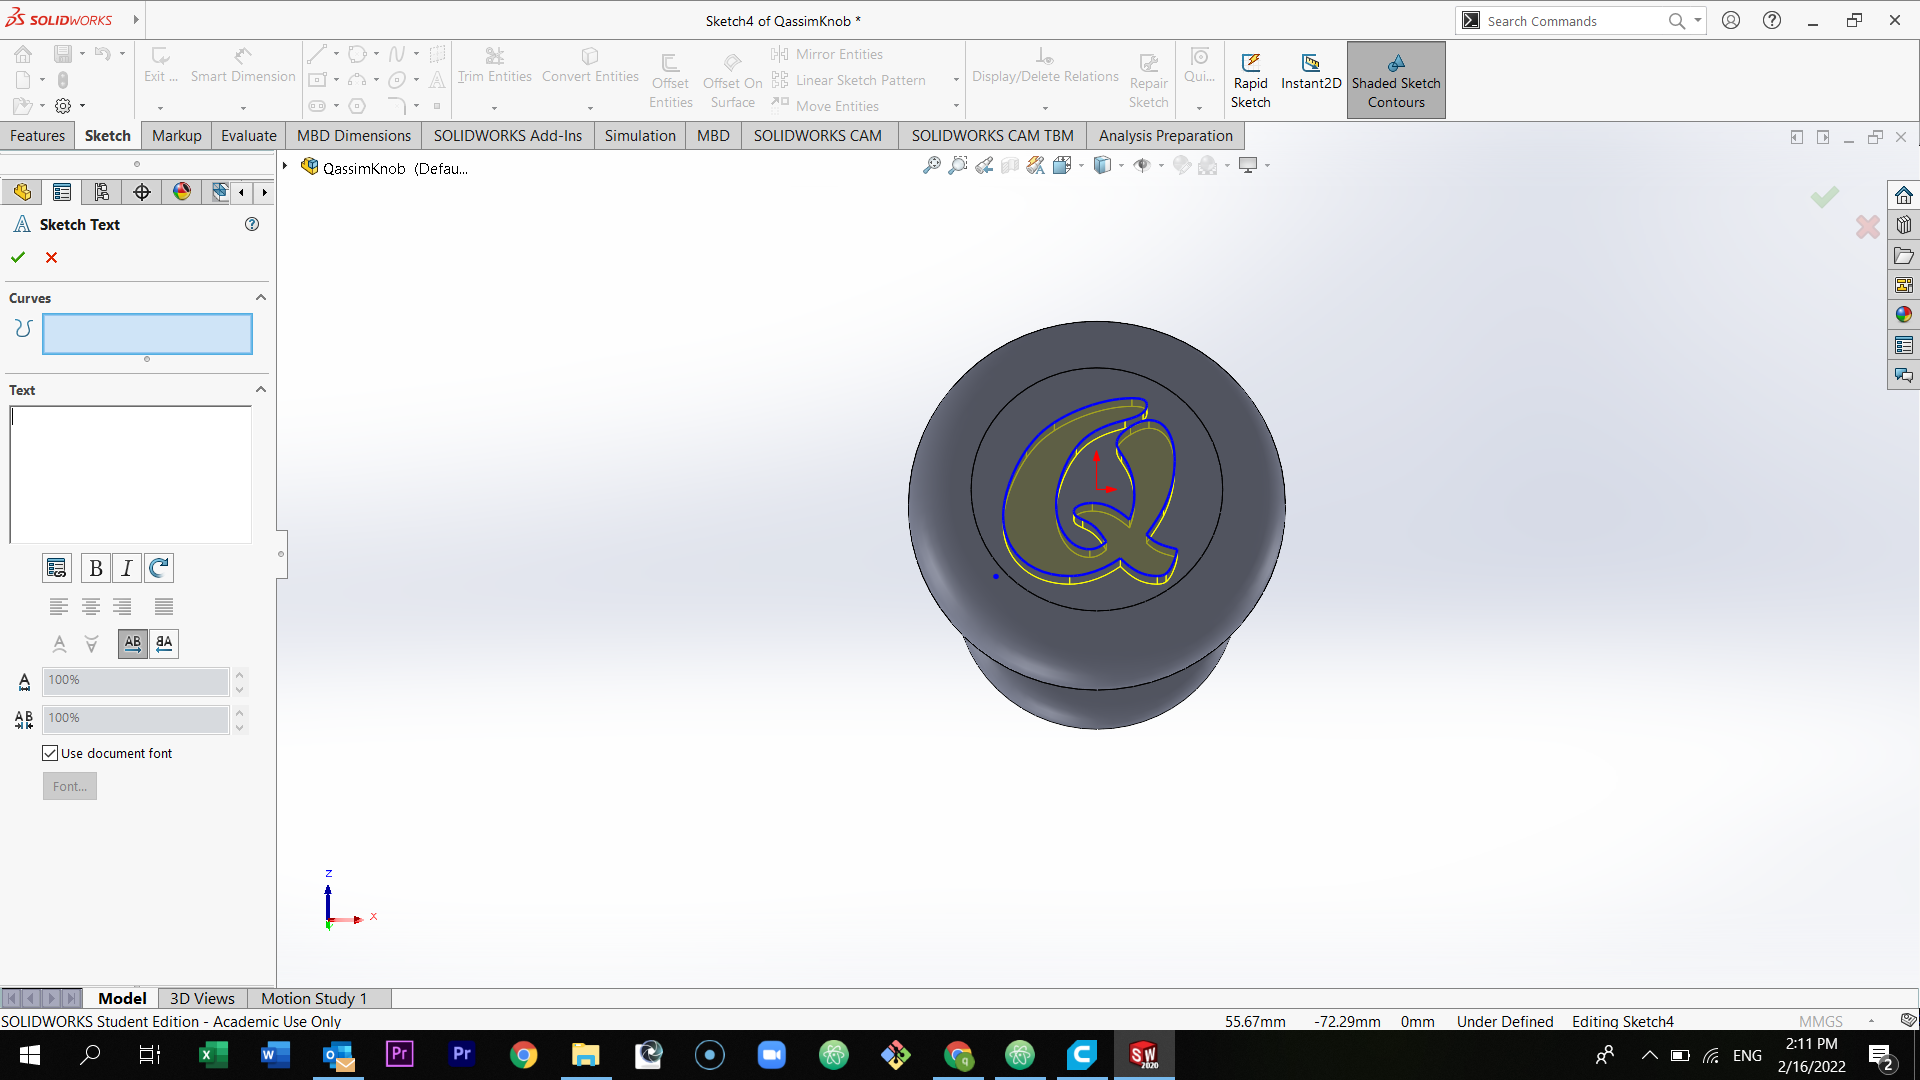
Select the letter A option which is located above to write a text.
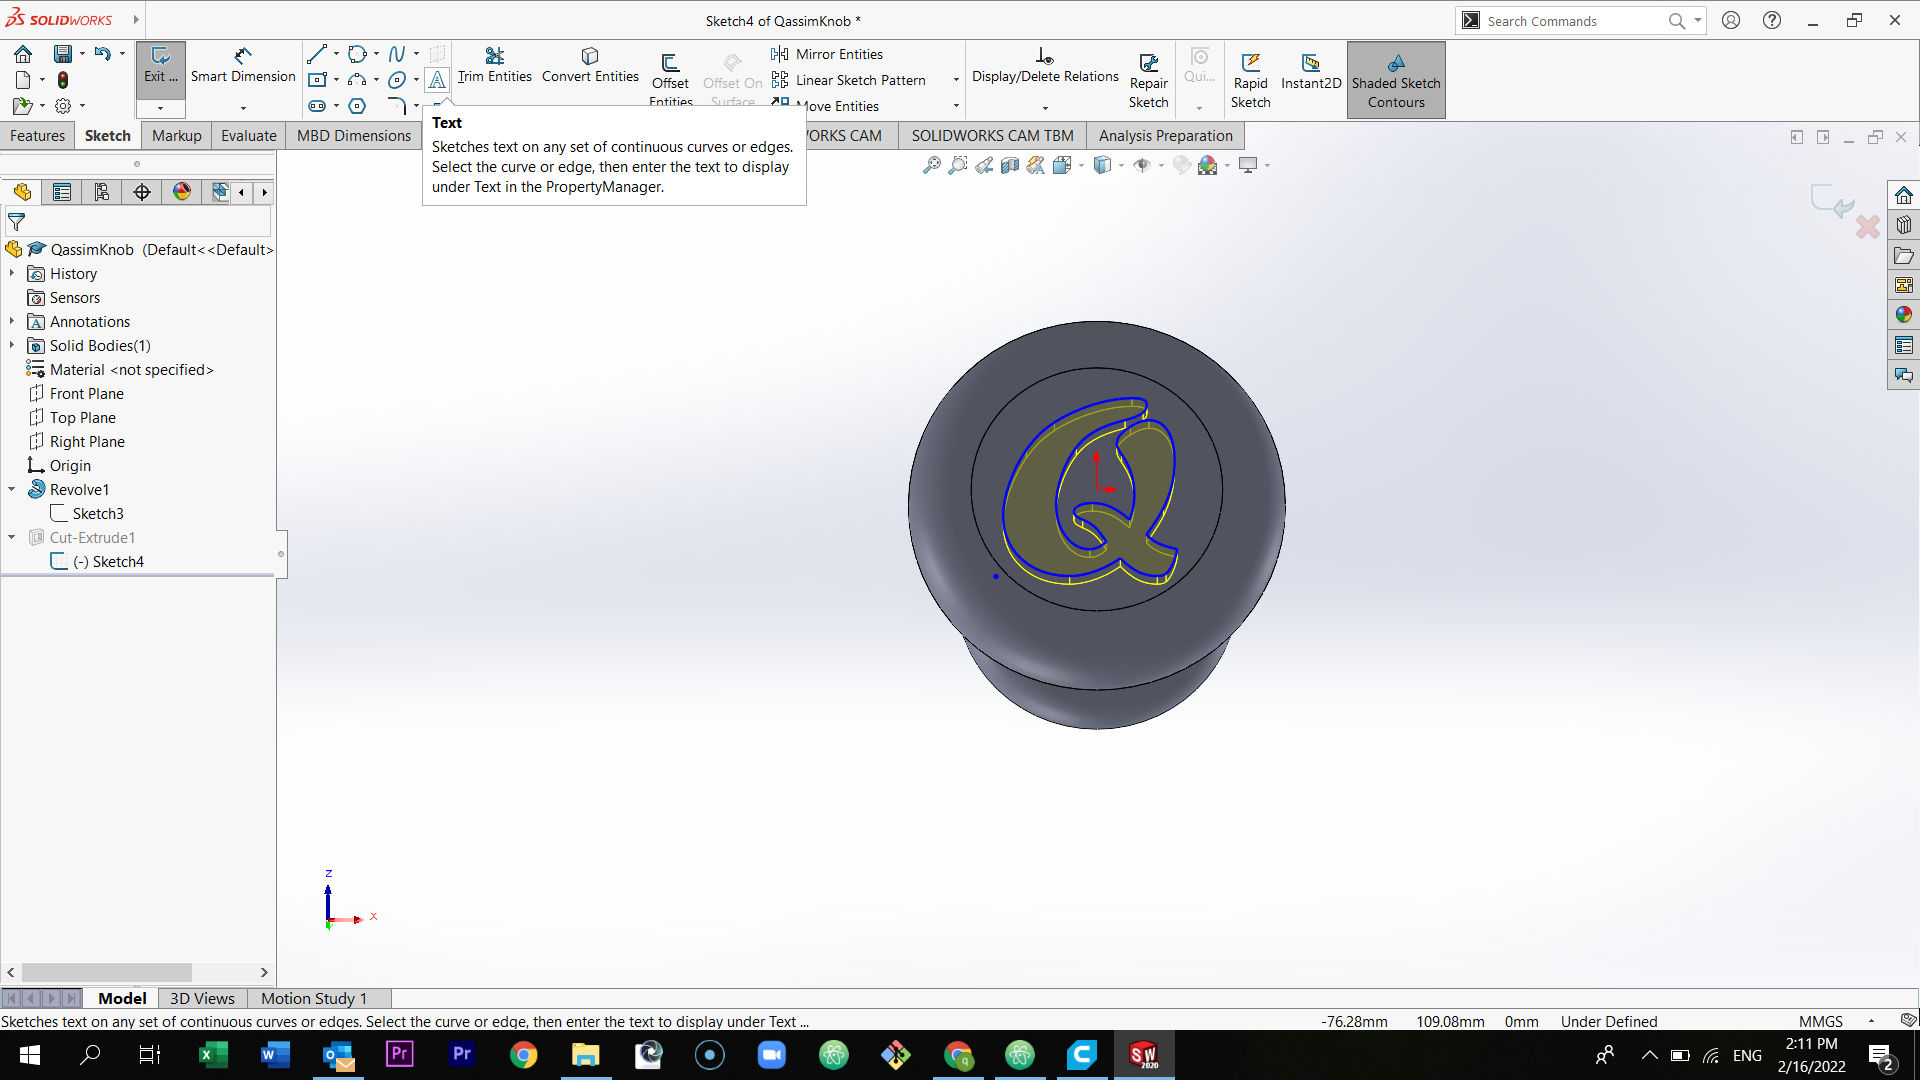
Select the top surface of the solid part and write your the first letter of your name in the text box. Then, change the size or the style of the text be selecting font.
Select feature and then select cut extrude, and extrude it to 10mm.

Here is the final figure.
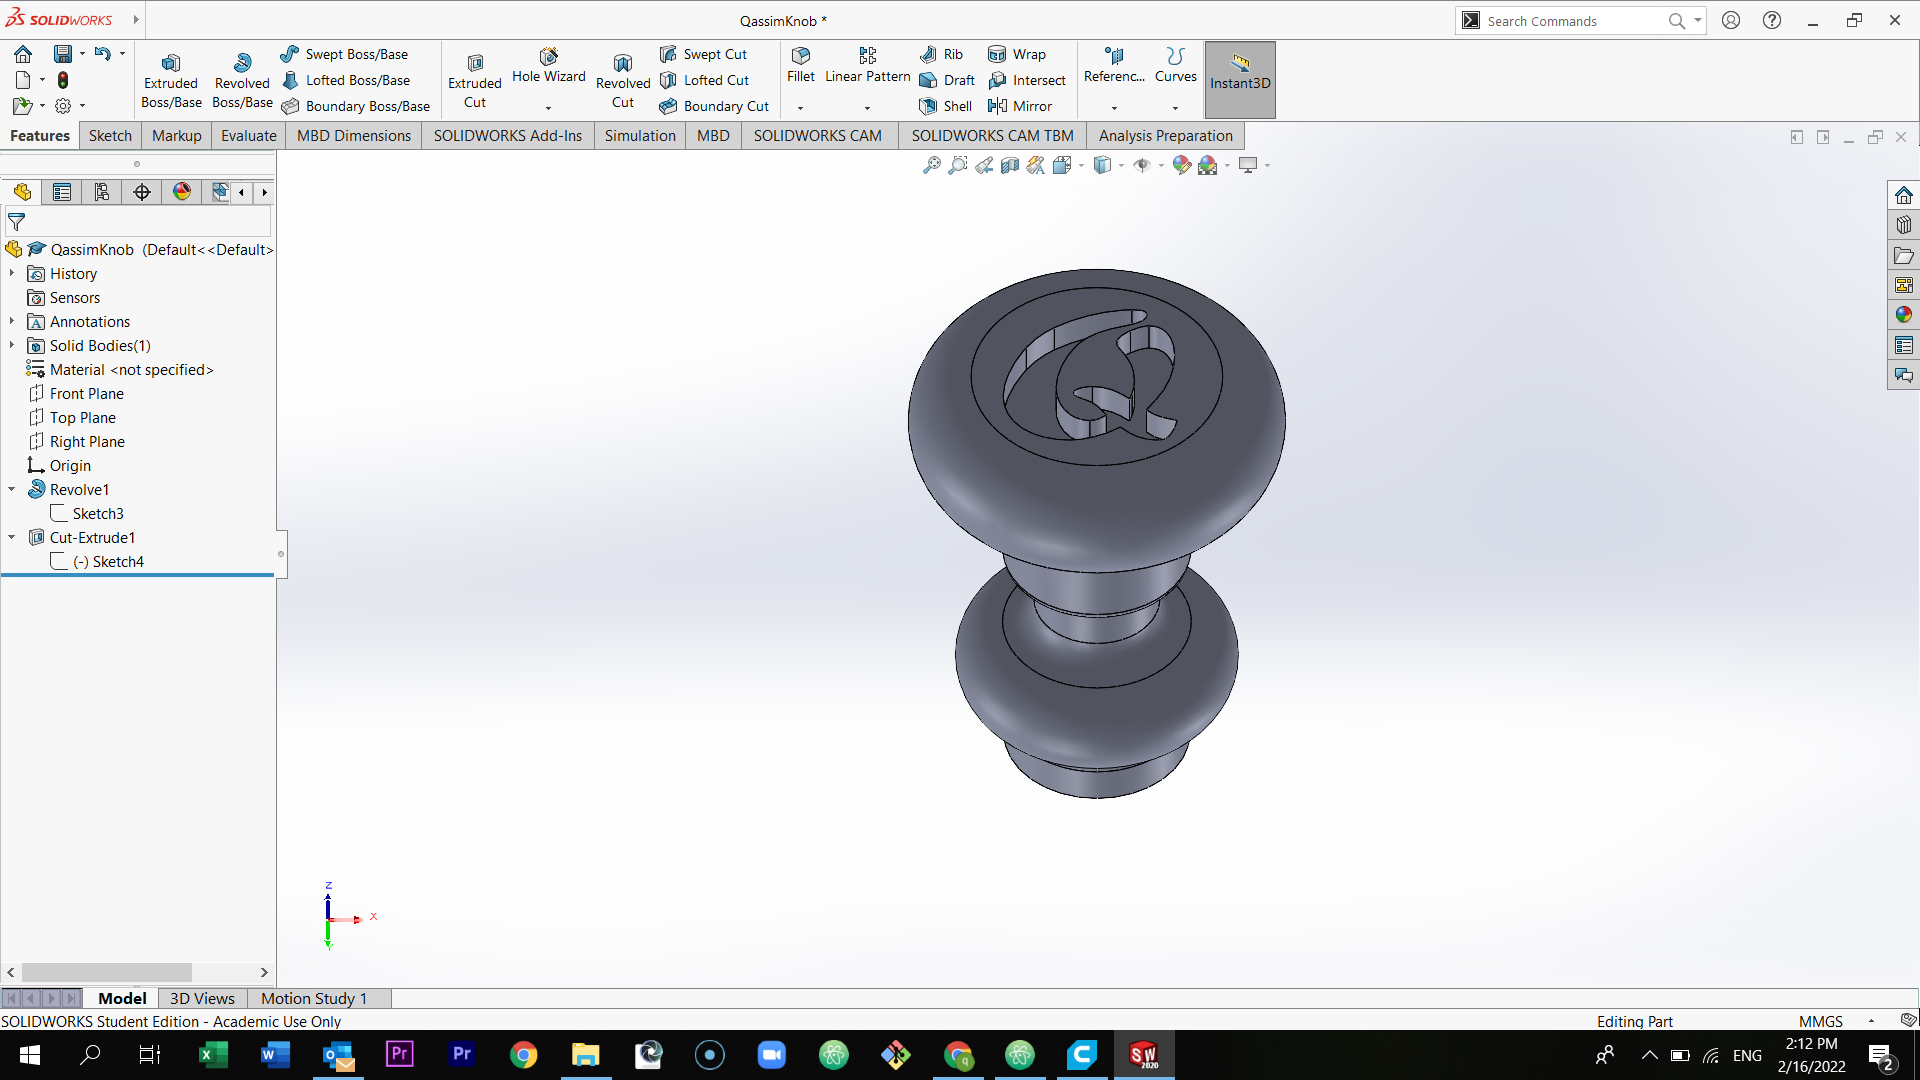
Final Result
Click here to download the final file of the door Knob
Preview the model below
Click here to download the Sketchfab 3d model, Scroll down and select Download 3D model
Why this part could not be easily made subtractively ?
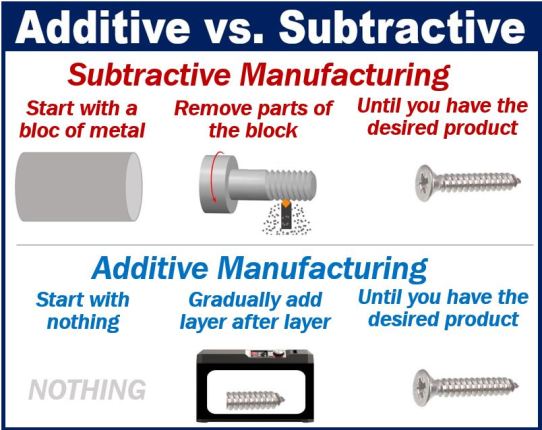
To answer this question, you should first understand the difference between Additive and Subtractive Manufacturing. Additive manufacturing is the method that we are using in the 3d printers. It is a method of building a an object by laying layers (layer by layer) until completing the full object. However, subtractive manufacturing begins with a solid part, such as rods, blocks, metal, plastic or any type of material and then it starts removing the material to create parts. Therefore, a lot of 3d parts can’t be easily manufactured subtractively because of how complex this part is. Some 3d parts have a lot of tiny details, curves, and designs that cannot be created easily using the subtractive method. In my case, the door knob has many curves and bends that can’t be easily made subtractively.
- Examples of subtractive machines:
Lathe machine - turning, milling, drilling, sawing, thread-cutting and gear-cutting.
Laser Cutting machines
CNC machining (turning, drilling, boring, milling and reaming)
- Examples of Additive machines:
3d printers - prusa, ender, and ultimaker2+
Click here to learn more about Additive and Subtractive methods of Manufacturing
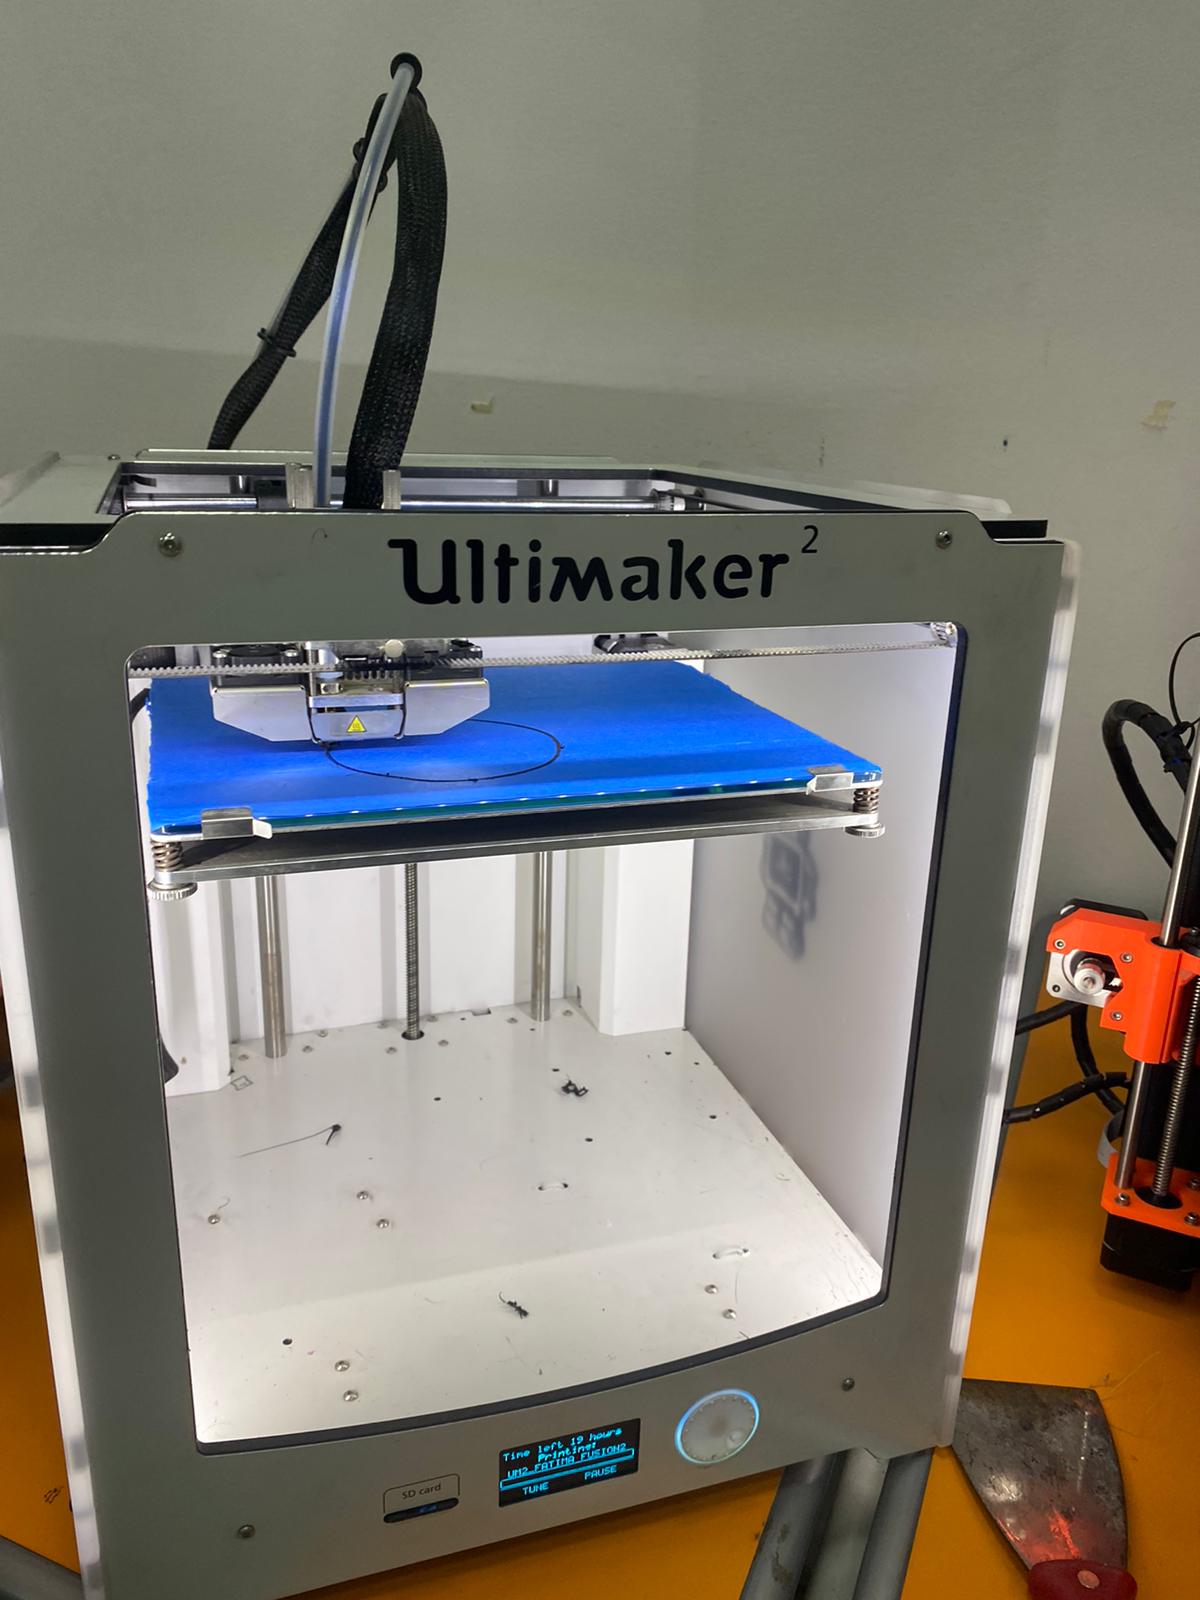
3d printer (ultimaker2+ printer)
First, I have downloaded Ultimaker cure software. Once you have download the software, setup the program in your laptop, continue with the default options.
Click here to download ultimaker cura software
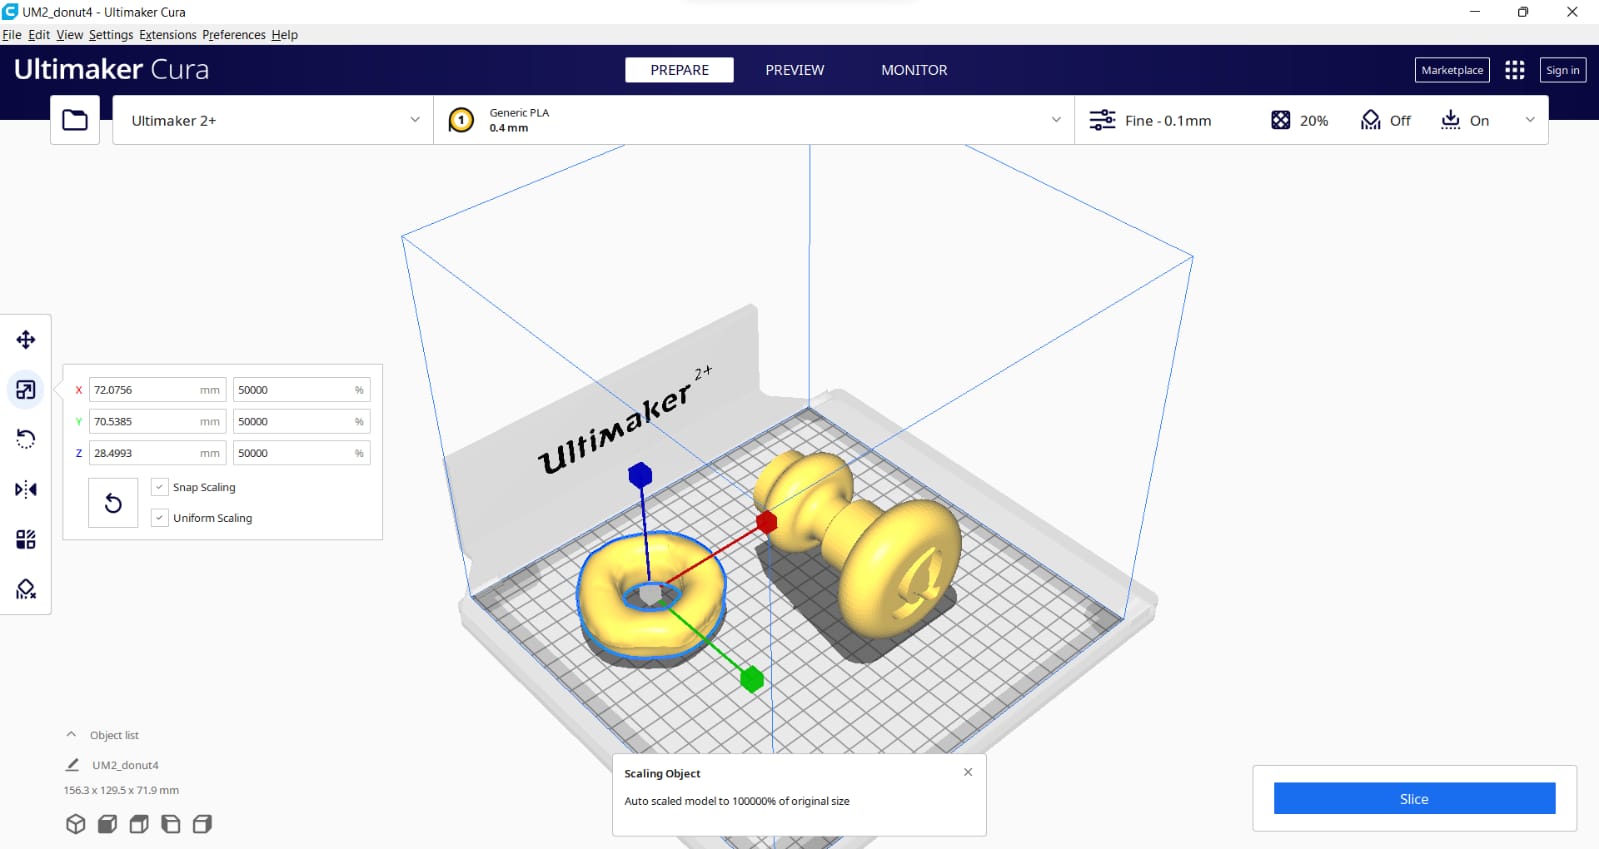
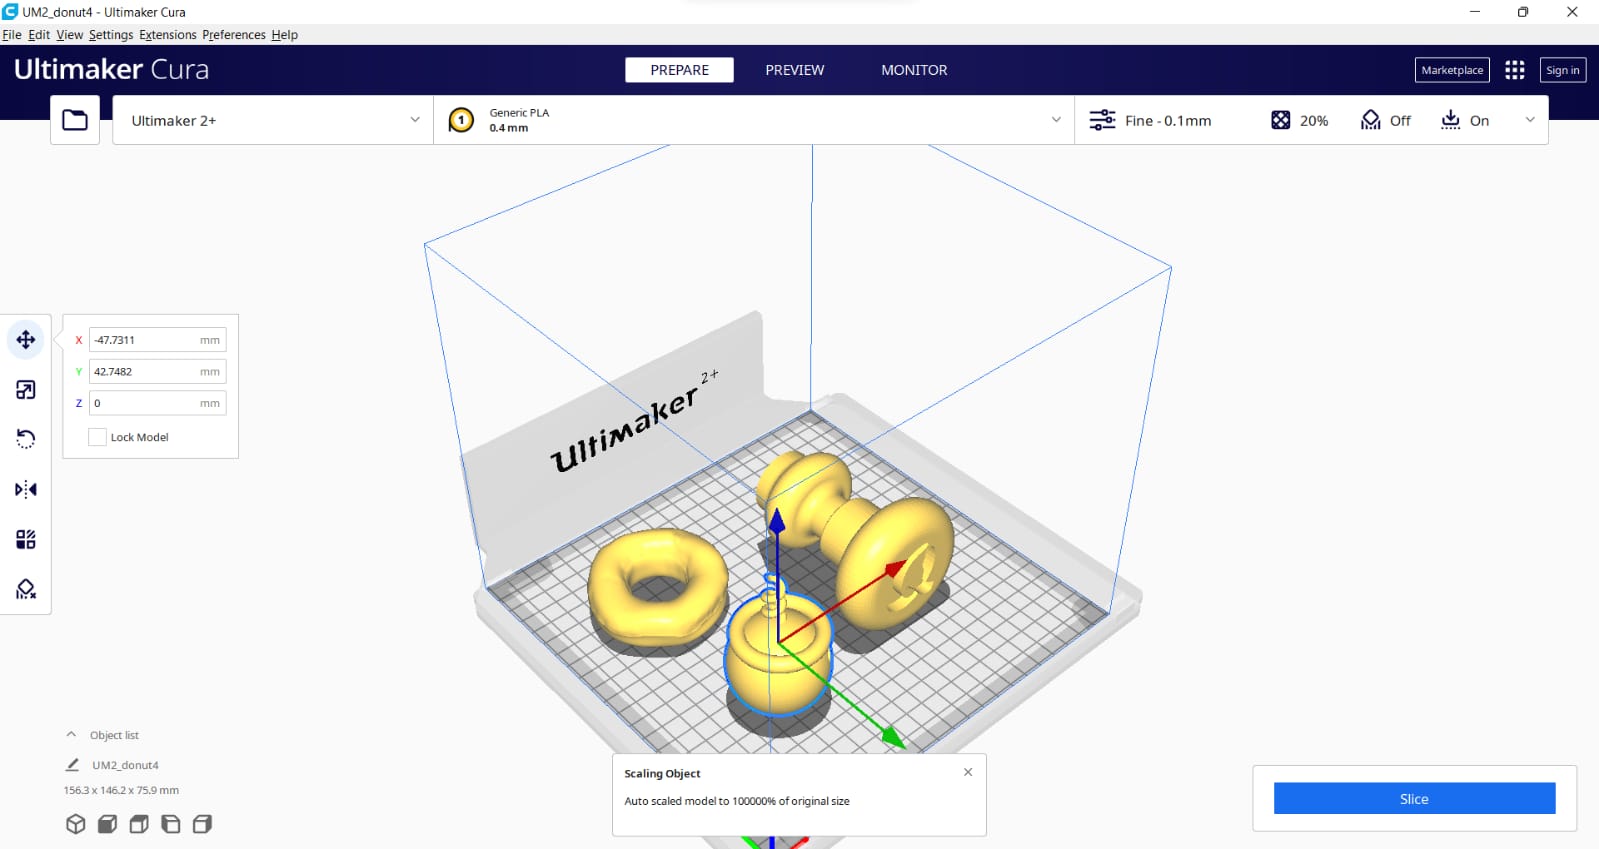
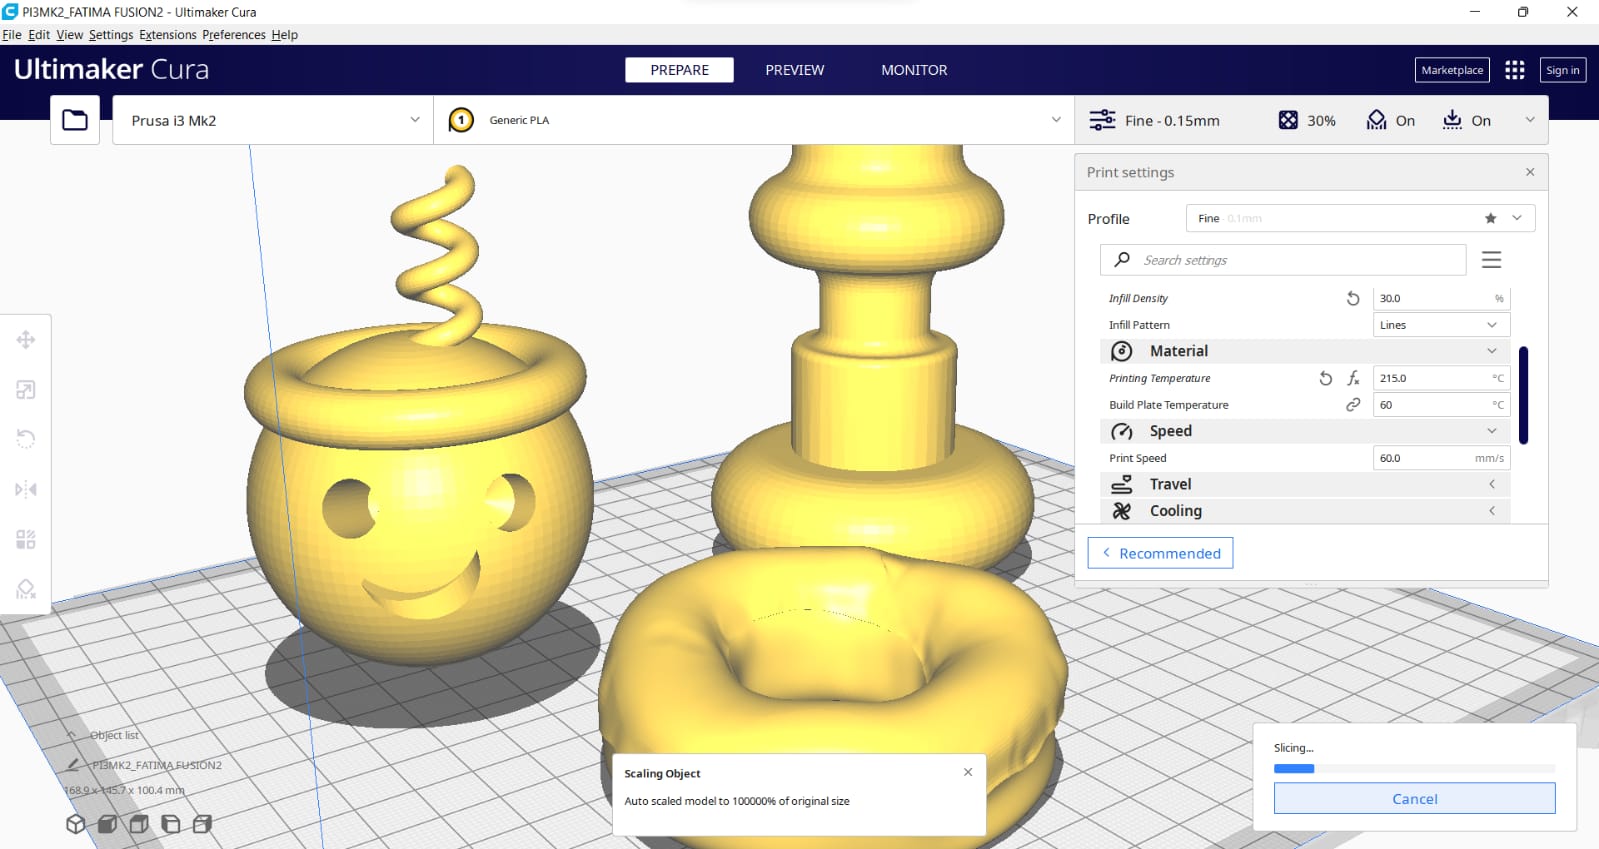
Then, I have converted my 3d part to sdl and attached it in the software with two other 3d solid parts. This is because each 3d printer will print 3 objects. Adjust the sizes of all 3d parts to fit within the bed boundaries.
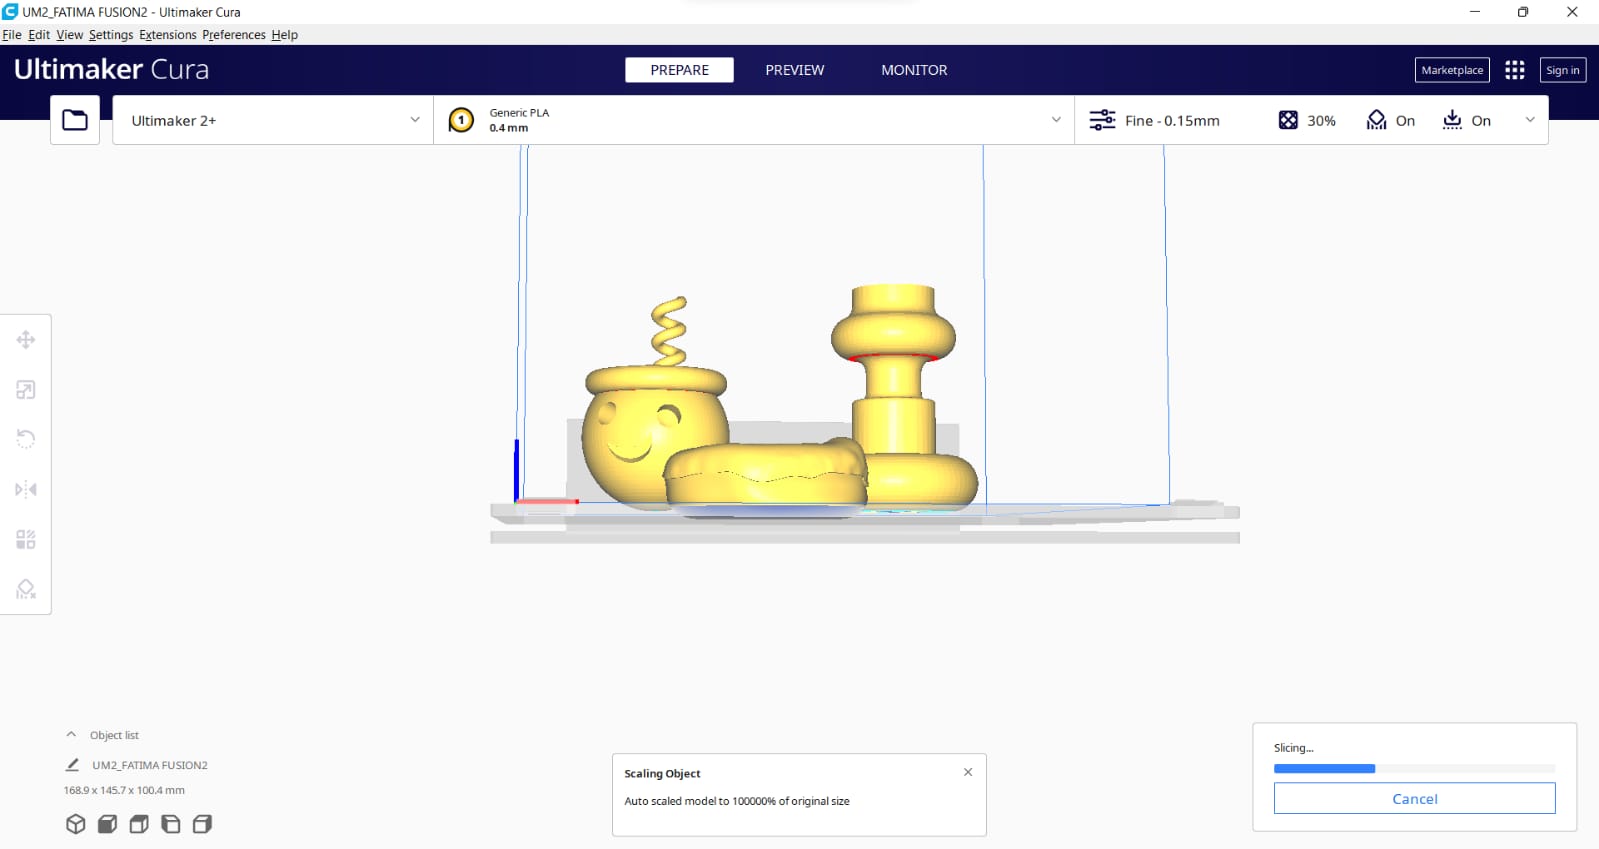
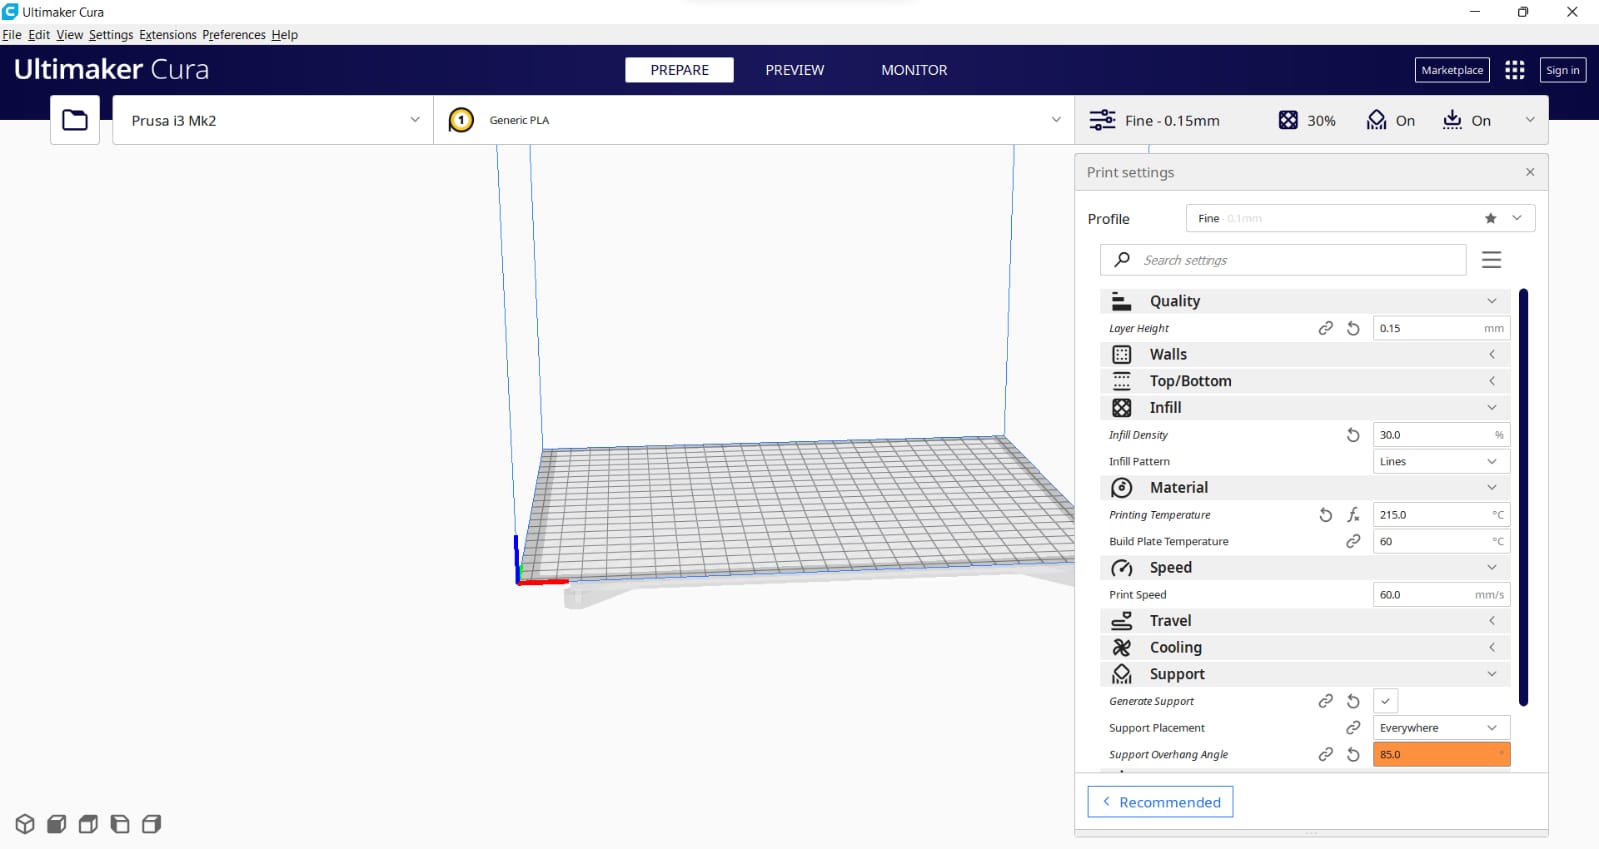
After that, adjust the printer setting to the following. (Change only the written setting below, the rest keep as default)
Material: Generic PLA filament
Quality: 0.15mm
Infill: 30%
Speed: 60%
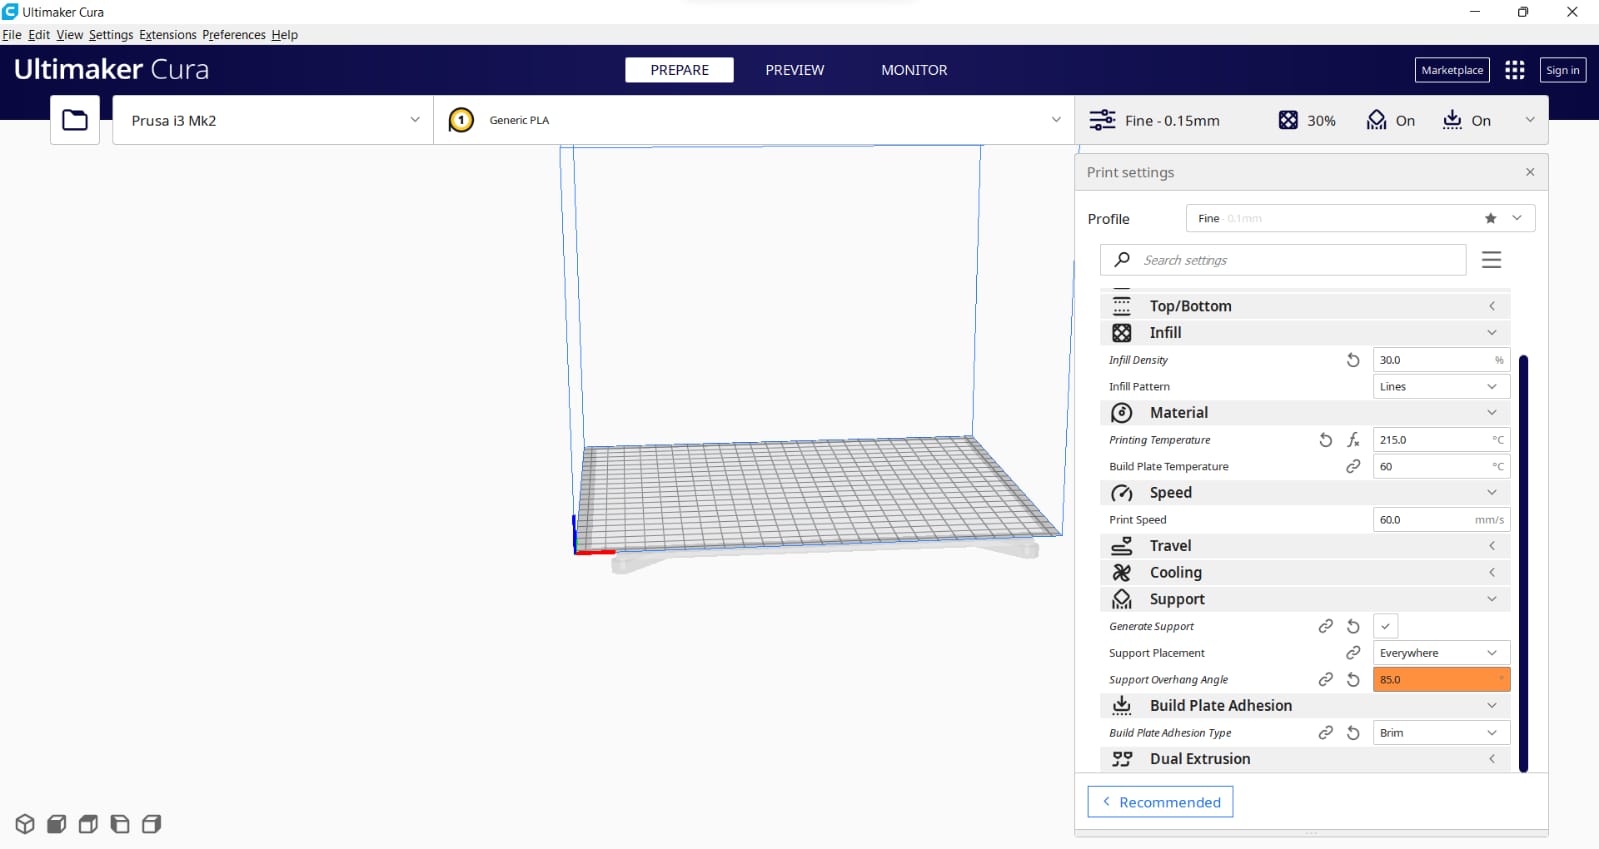
Support: click at generate support, and in the support placement select everywhere, and in the support overhanging angle type 85.
Build Plate Adhesion: Brim
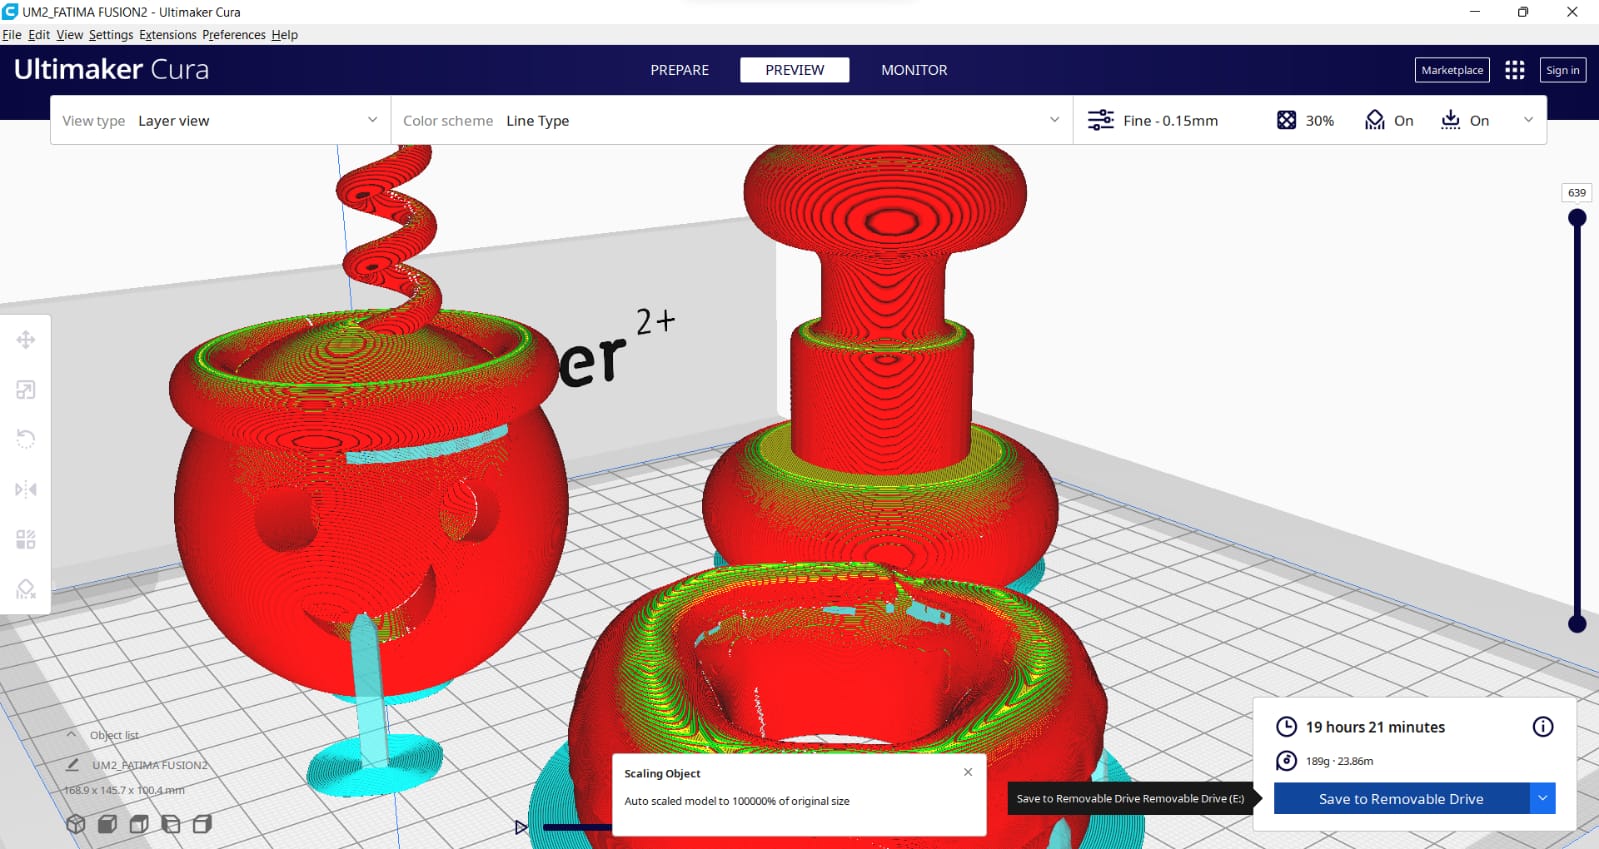
Click on the Slice button to see the amount of time that the printer would take to print the designs.
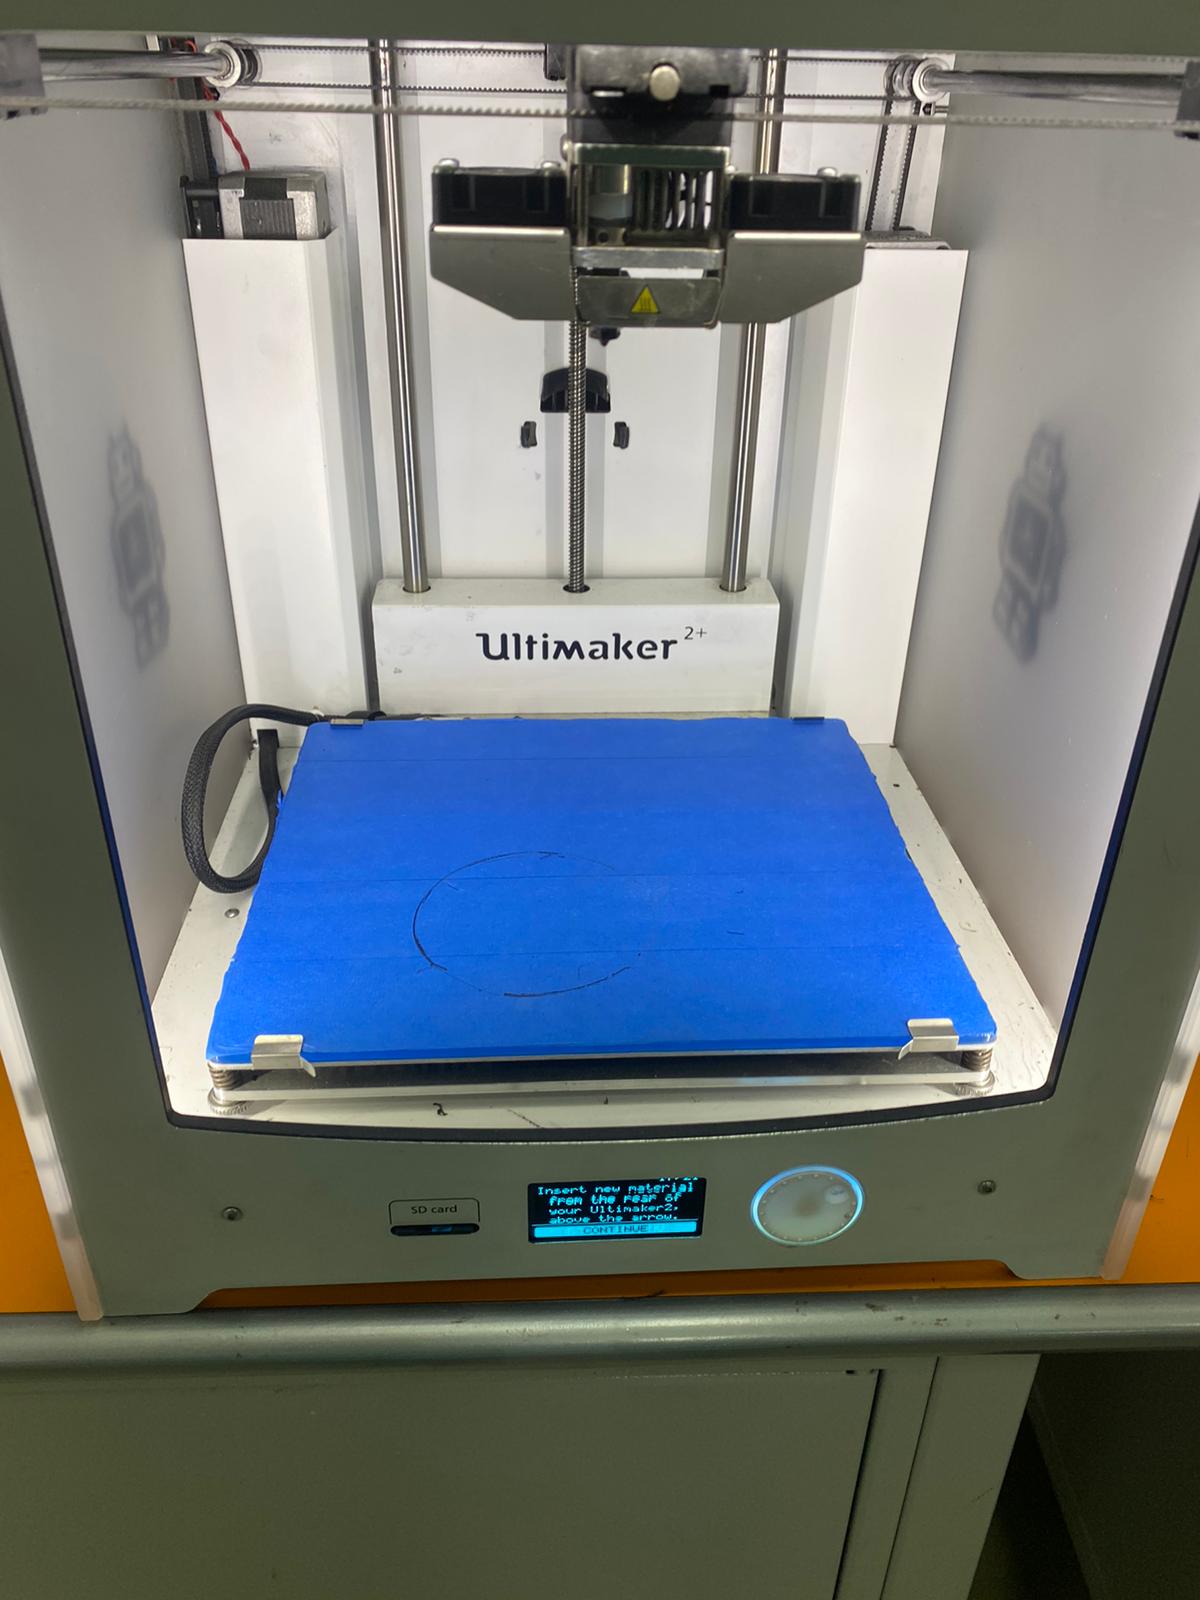
The file then was transferred to the SD card, and we attached the SD card inside the ultimaker2+ 3d printer. Next, adjust the setting of the ultimaker2+ screen.
Steps for adjusting the screen:
1) Insert the SD card.
2) Select print.
3) Select the folder that you want to print.
4) It will start printing.
What have I learned from 3d printing?
After printing the door knob, I have learned a lot about the advantages and the disadvantages of 3d printers.
Advantages of 3d printing:
-
Can easily print complex designs.
-
You can be more creative in drawing the design.
-
The 3d printers can be customized very easily using the ultimaker cura software.
-
The 3d printers sizes are small and that makes it easy to have them in labs.
-
Less filament usage.
Disadvantages of 3d printing:
-
You have limited area to put the 3d design in the software in order to print it.
-
Very slow in printing, it might take 12 hours to one day. This is because it prints layer over layer until completing the whole design.
Hero Shots
Click here to preview or download the door knob video
3) Group Work
Click here to view the group work