Week 4: 3D Scanning and Printing
This week we learned about 3D printing machines in terms of their functionality, features and how to operate them. We also designed and printed our own 3D designs.
All About 3D Printers
Types of 3D Printers
Info
You can read more about 3D printers here.
There are different types of 3D printers, including the following:
Stereolithography (SLA)
This type of 3D printing uses a laser to rapidly cure resin as it is printing. It’s used for prototyping and making end-products for many different industries.
Selective Laser Sintering (SLS)
This type of 3D printing also uses a laser to sinter (combining but not melting) small particles of polymer powder into a solid structure. This type of printing does not need support structures for over-hangs, unlike the next type of printing.
Fused Deposition Modeling (FDM)
This last type is the most common type of 3D printer that is commerically available, and is the type we will be using. These 3D printers work by melting filament (e.g., plastic) and extruding the softened filament through an extruder.
Tip
Think of this like piping icing on cupcakes! 
It will then draw out a 3D model in thin cross-sections called layers. It can essentially break up each layer of a three-dimensional object into stacked two-dimensional objects, and just draws over each of those.
Types of Filaments
Info
You can read more about filaments here.
The types of filaments used for 3D printing depend on the object being printed as well as its purpose. We will explore several different types, but focus more on the ones we have available to us to print with in the lab.
| Type of Filament | Features | Uses |
|---|---|---|
| Standard PLA | Easy to print Biodegradable |
Plastic film Plastic bottles Biodegradable medical devices |
| ABS | Durable Impact resistant |
Mass-produced products LEGO bricks Keyboard keys Pipes Power-tool housings |
| PETG | Durable More flexible than PLA or ABS |
Packaging for plastic beverage bottles and food products Packaging for medical products Electronic insulators |
| Nylon | Durable Flexible Strong |
Reinforcement in rubber material like car tires or ropes Injection-molded parts for vehicles and mechanical equipment |
| TPE & TPU | Extremely flexible Rubber-like Wear resistance |
Mobile phone components Cables, plugs, and sockets Shoe soles and scuba flippers |
Group Assignment 1: 3D Printing
We started this experiment by downloading UltiMaker Cura that we will be using with our assigned 3D printer, which is the Prusa i3 MK2. We’ll be using UltiMaker Cura to load our 3D models, choose the settings for our 3D print job, and convert it to GCODE for the 3D printer to understand.
Choosing and Downloading our 3D Models for Printing
We’ll start by visiting Thingiverse for our test 3D print models. This website is great resource for finding thousands of projects that we can readily download STL files of for printing! We’ll be downloading three 3D models to prepare for printing for this assignment.
3D Printer Test Cube
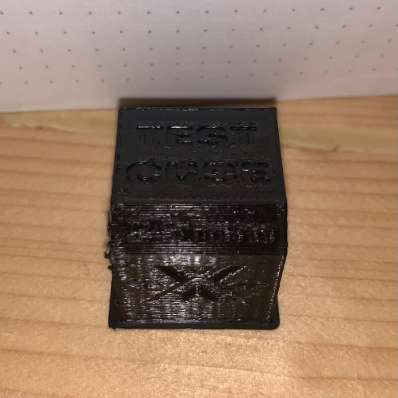
We first download the 3D Printer Test Cube since it is a test to display the maximum angle that can printed without supports, as well as a good calibration tool. They help you fine-tune your 3D printer’s settings, achieving maximum precision and accuracy.
You can download it here.

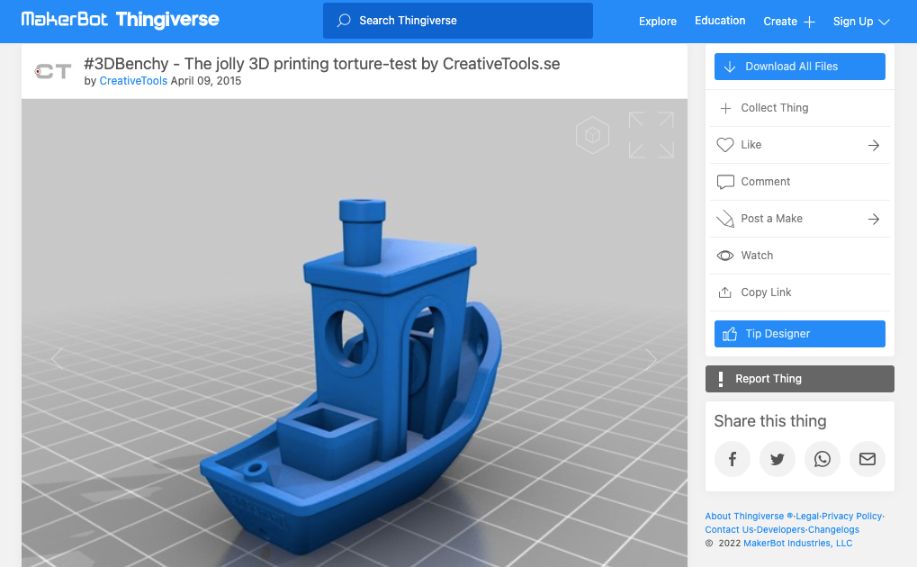
3D Benchy Boat
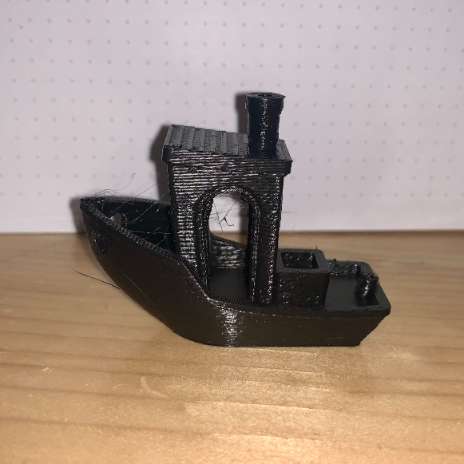
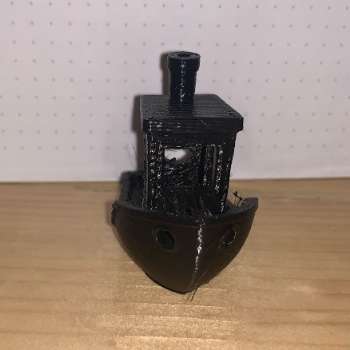
Next, we download the 3D Benchy Boat, which is another model specifically made for testing and benchmarking 3D printers.
You can download it here.
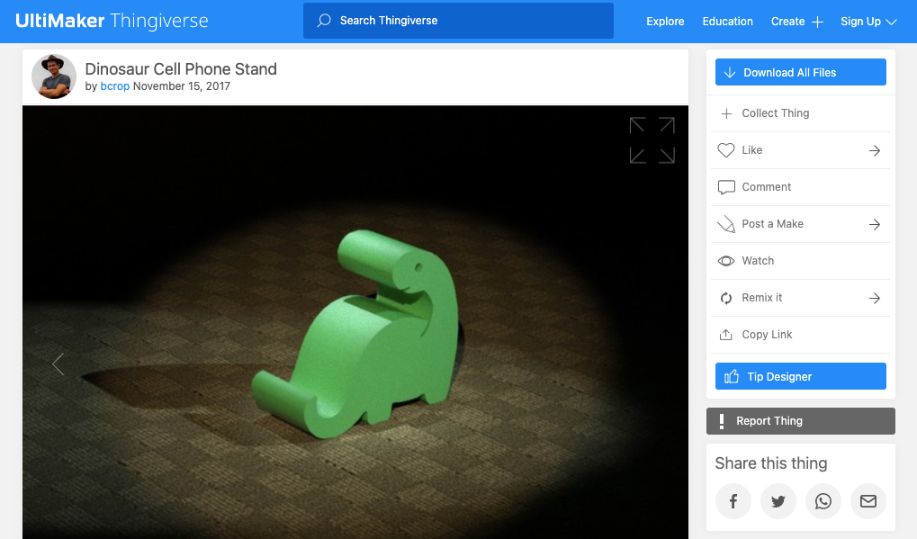
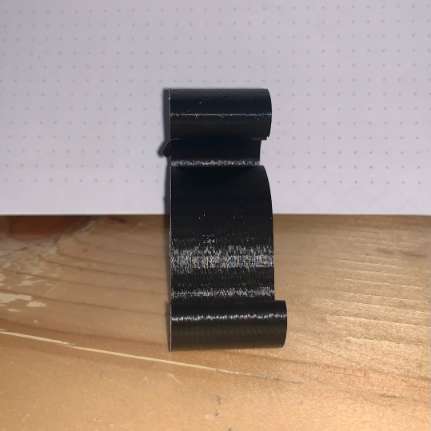
3D Dinosaur Phone Stand
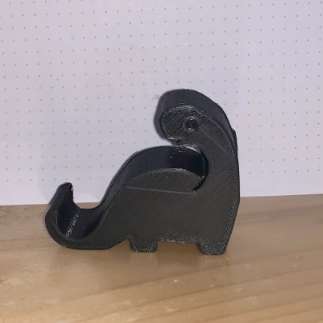
Last, we download the 3D Dinosaur Phone Stand as the model we will be printing for our group assignment. It’s a cute but also functional tool to have on your desk for propping up your phone!
You can download it here.
Setting Up for Printing
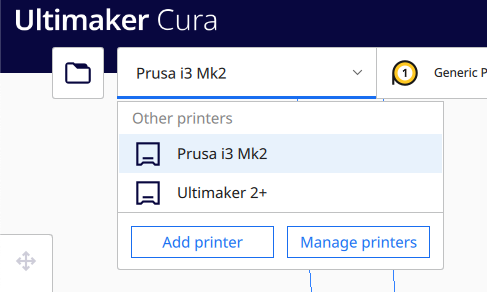
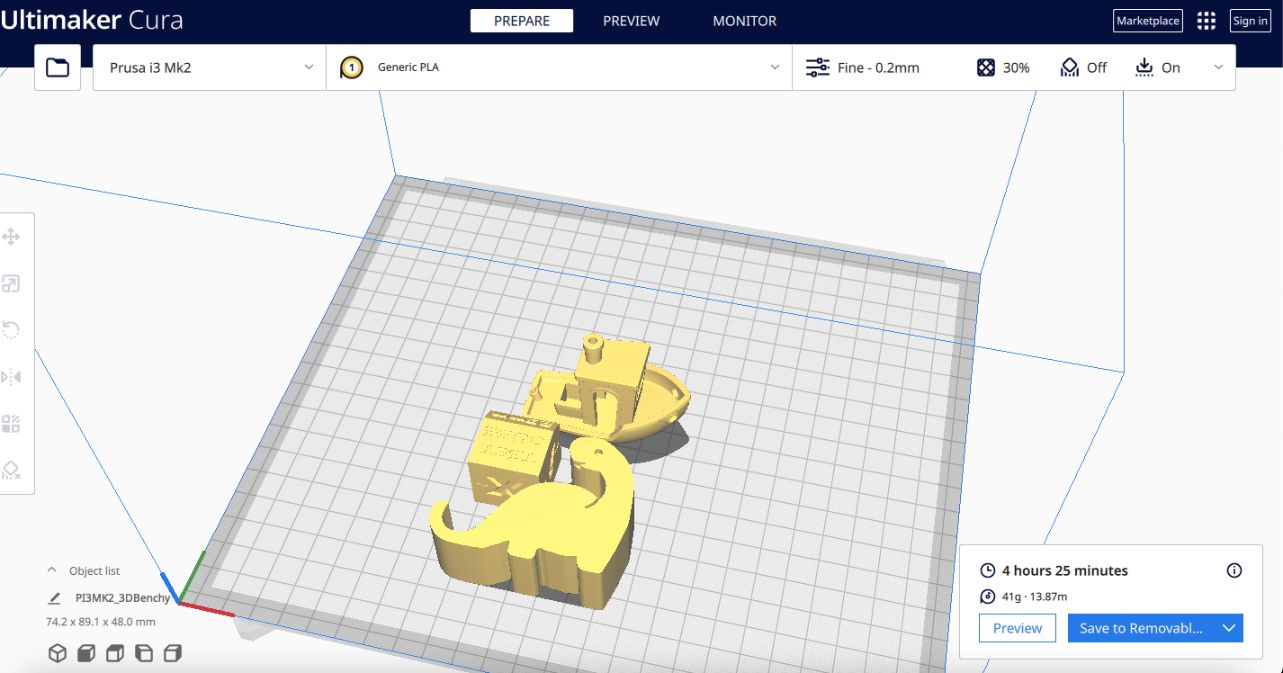
We open up UltiMaker Cura to load in the STL files we downloaded of the three 3D models. The first thing we need to do is add the printer we will be using, which is the Prusa i3 MK2, since this matters for the specific 3D printer bed size dimensions and how the application presets will be.
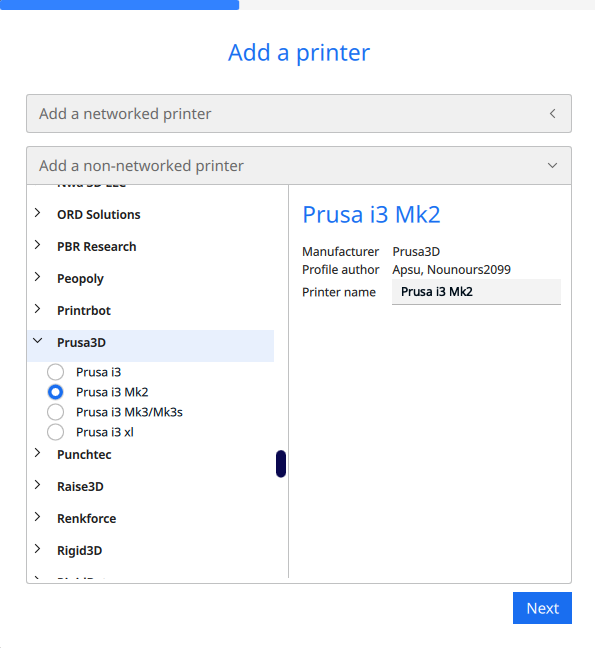
Note
As seen below, you can switch between different pre-saved printers on Cura depending on which one you need to use at the time.
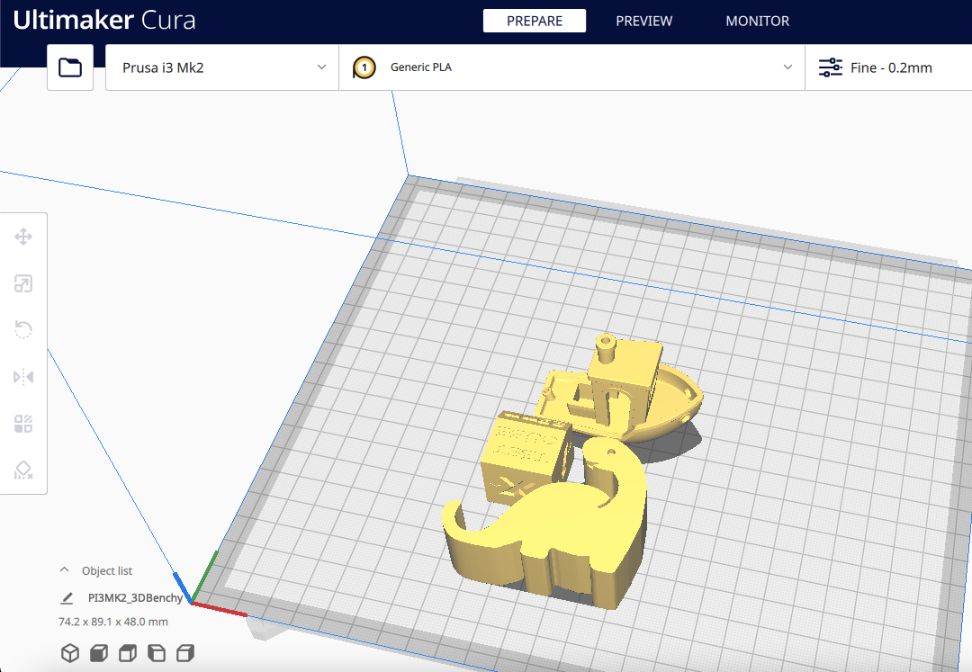
We can load the STL files of our models in now by clicking on the  folder icon on the top left and navigating through our local files for them.
Note
We’ve also selected the type of filament we will be printing in as Generic PLA. This step is important for Cura to preset the Printing Temperature when heating and extruding the filament.
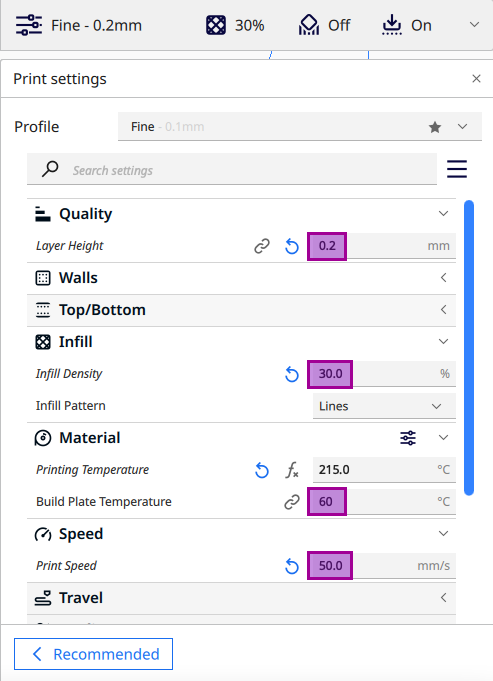
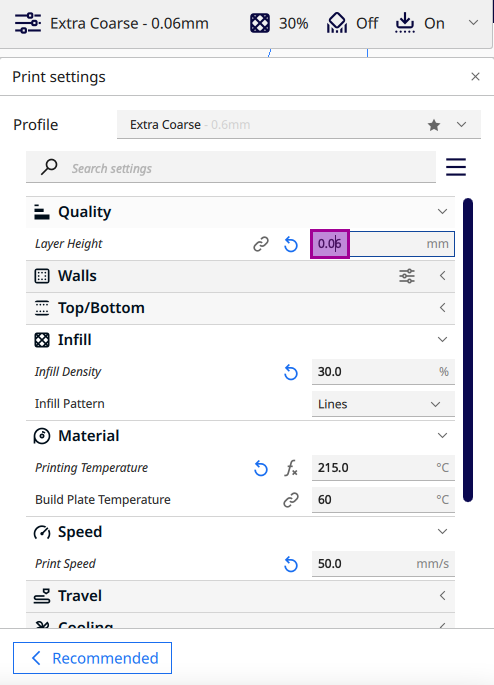
Next, we will adjust the settings for our print as the following:
- Layer Height:
0.2 mm
This will be the thickness of the lines extruded. The smaller the height, the finer it is, and the more detail will be printed with precision. Alternatively, a larger height will print faster with less fine details.
- Infill Density:
30%
This defines the density printed on the inside of the model. Higher densities will make the printed model heavier, and are only really necessary for small tools like nuts and bolts. We use a lower density because its satisfactory enough, will make the model lighter, and will take less time to print.
- Build Plate Temperature:
60°C
This is the temperature of the 3D printer bed, and is preselected by Cura. It is lower than the Printing Temperature to allow the print to slowly cool while its on the plate.
- Printing Temperature:
215°C
This is the temperature of the 3D printer’s extruder, and is preselected by Cura specifically for Generic PLA, because it is the temperature required to melt this filament for extrusion.
- Print Speed:
50 mm/s
This is the speed that the 3D printer will print in, and is preselected by Cura.
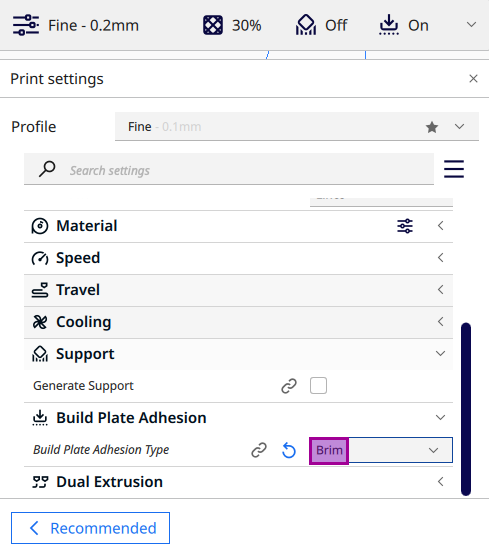
- Build Plate Adhesion Type:
Brim
This is printed as the first layer in order to have the 3D print stay in place during the printing process. We use Brim because it has a higher surface area for adhesion, and it will still be easy to break it off from the 3D printer bed when the print is done.
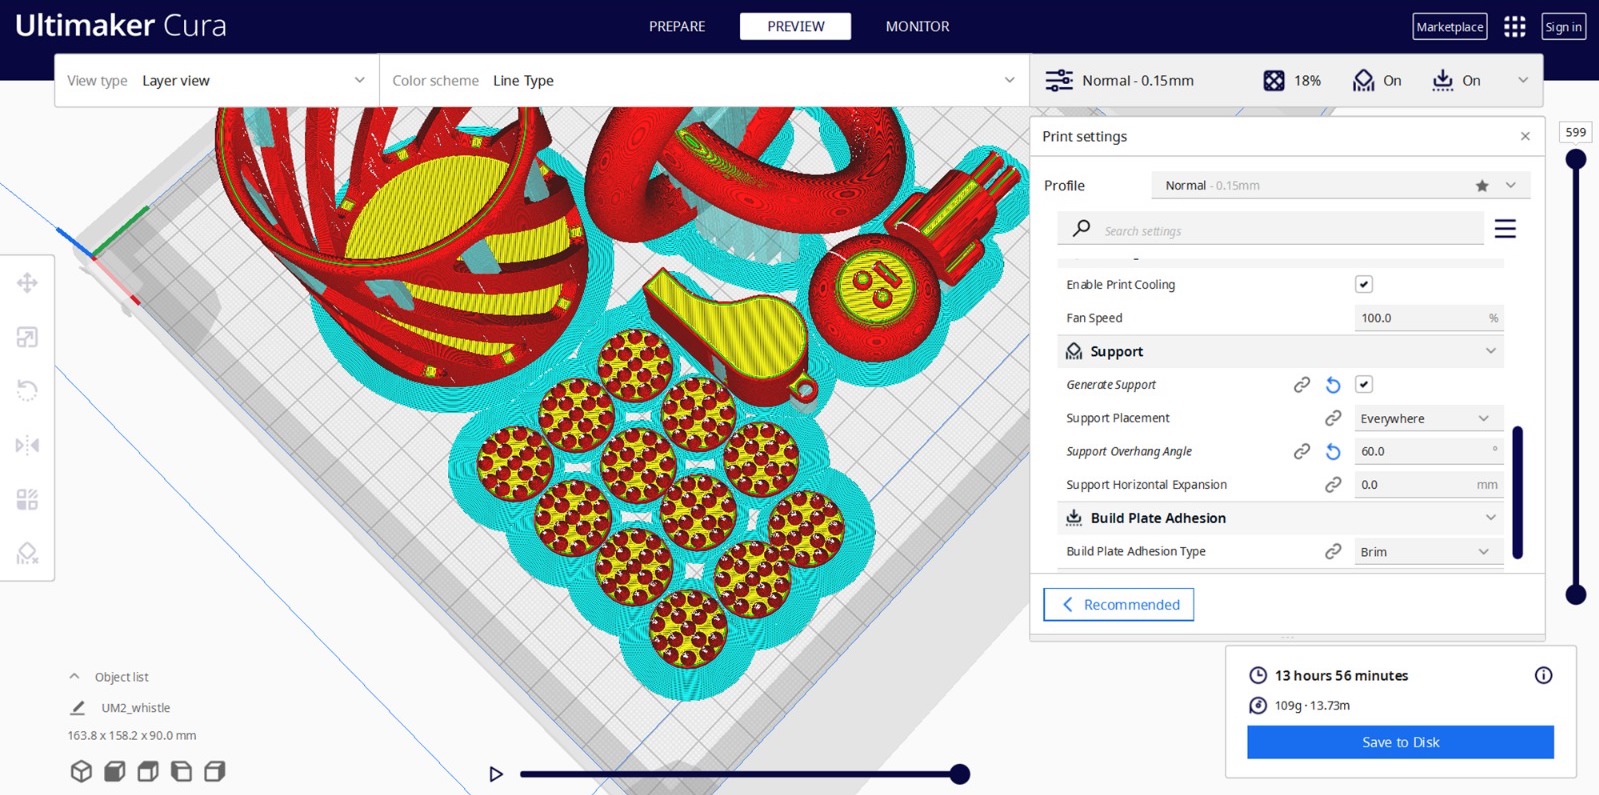
After choosing all our settings, we click on Slice (bottom-right corner) to see Cura’s estimate for how long the print will take. We can see below, with our current settings, that it will take approximately 4 hours and 25 minutes to print our three models together.
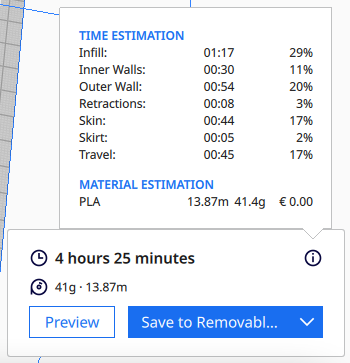
We can read further details about this estimate by hovering over the  information icon, where we can see the time estimate for each stage of the print, as well as how many grams of the filament will be used so we can ensure we have enough before we start.
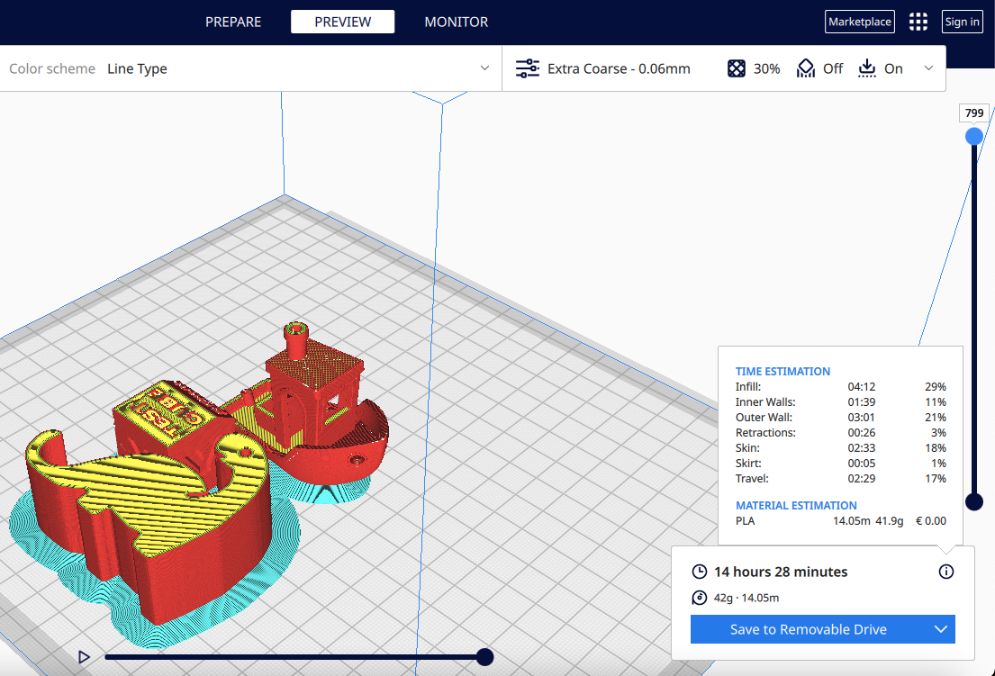
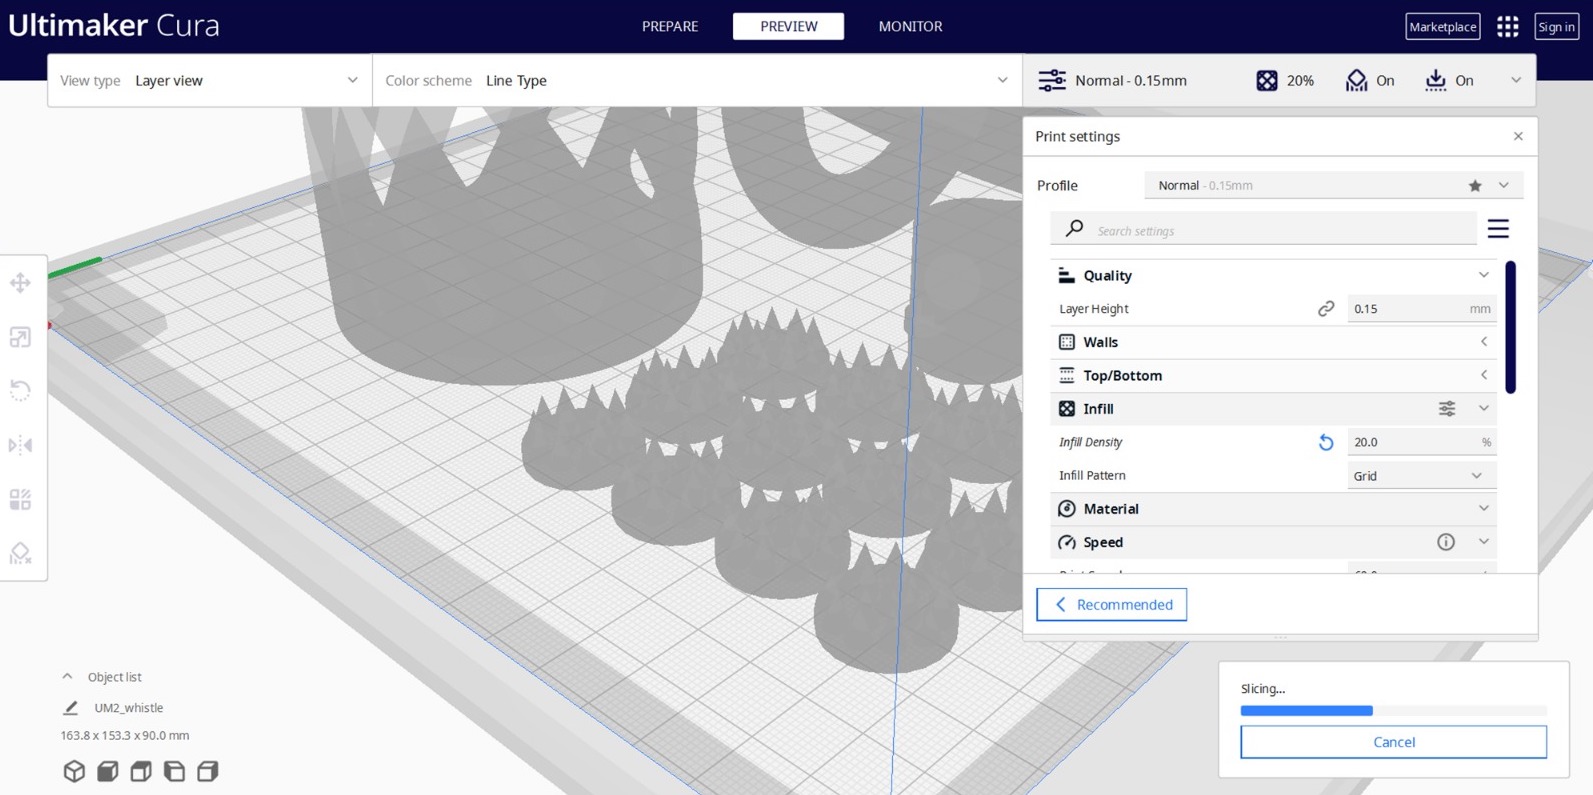
Before we move forward, we will experiment by changing the layer height to a smaller number, such as 0.06 cm, to see the difference during Slice. We will keep all other settings the same.
Because of the smaller layer height, the print will be much finer, which will take longer to print. This added 10 more hours to our printing process. Note that you can also see the brim and the different layers of the print below.
3D Printing
In order to download our models to print with their settings to the 3D printer, this information must be converted to GCODE for the printer to understand our instructions. We can do this by inserting an SD card (that will appear as a Removerable Drive on my device) and saving the GCODE to it from Cura.

After this, we can start by setting up the 3D printer. This is the Prusa i3 MK2 we will be printing with for this assignment. We’ve loaded our black PLA filament into the machine already, and plugged it in to power it.
Info
Fun fact about Prusa 3D printers: Some of its parts are 3D printed by other Prusa printers!
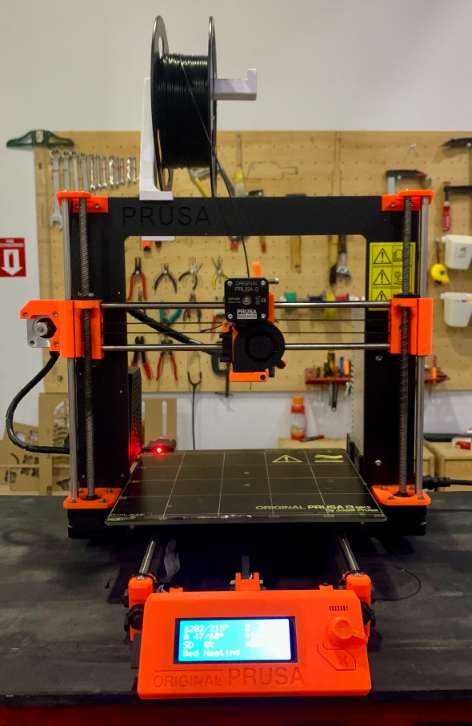
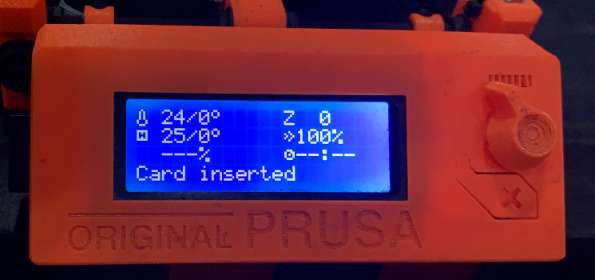
We insert the SD card with our GCODE into the 3D printer. We will be navigating the settings by clicking and scrolling the orange knob on the right side of the screen.
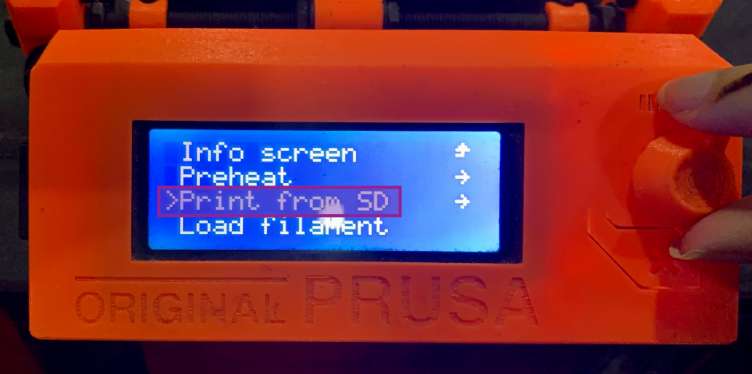
We will select Print from SD to have the machine read our print information.
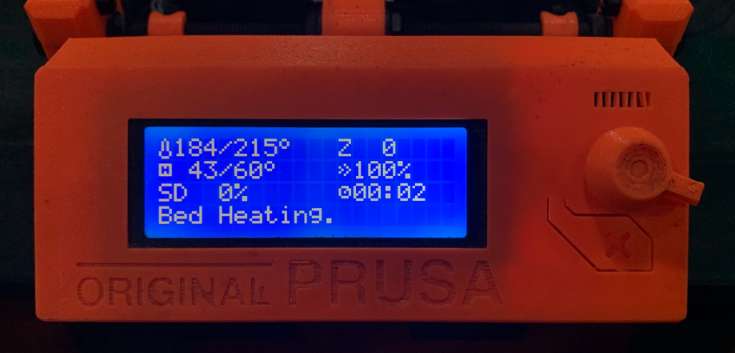
After selecting our GCODE file for printing, the 3D printer will start preparing by heating up the bed to 60°C and the extruder to 215°C, as we chose in our settings on Cura. It will also show a precentage and a time duration to indicate the completion of the print when it starts, and how much time has elapsed.
Final Product of 3D Printing
3D Printer Test Cube
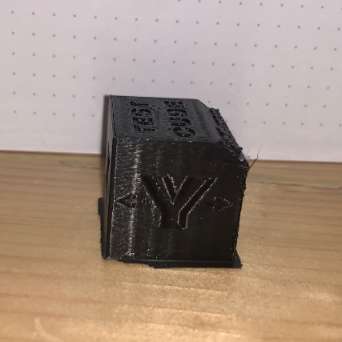
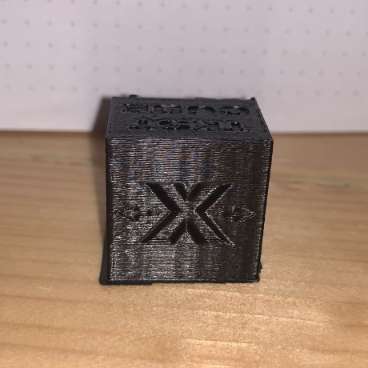
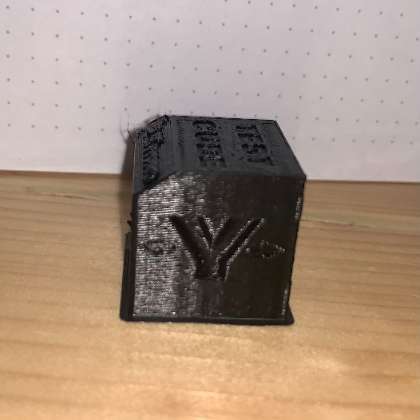
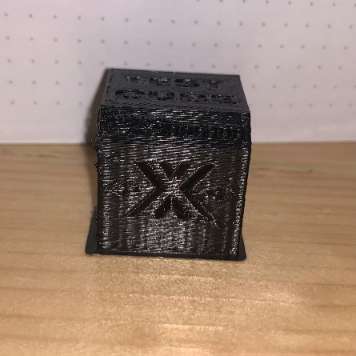
Here we can see the results of our 3D Printer Test Cube, notice the slanted edge side that was printed, without the need for supports. Also notice that because I took these photos with flash on, you can see the lines that indicate each layer that was printed.
3D Benchy Boat
Next is the result of our 3D Benchy Boat, where we can see it printed it and got all the fine details and the smaller parts correctly, as well as the thinner walls of the outside of the boat and the empty space in the middle.

3D Dinosaur Phone Stand
Last, is our final print for the 3D Dinosaur Phone Stand. It came out perfectly, and we can see how smooth the slope of its tail is for propping up your phone!
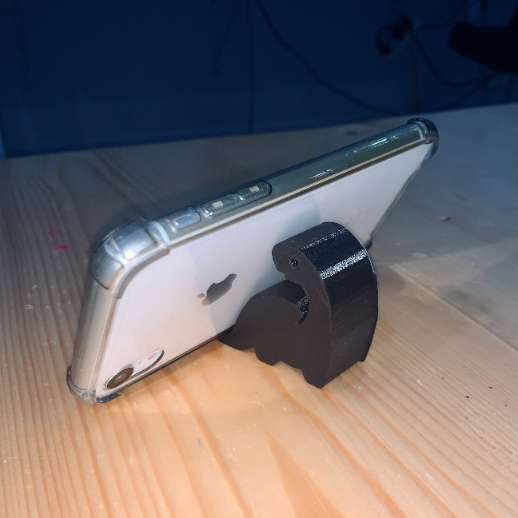
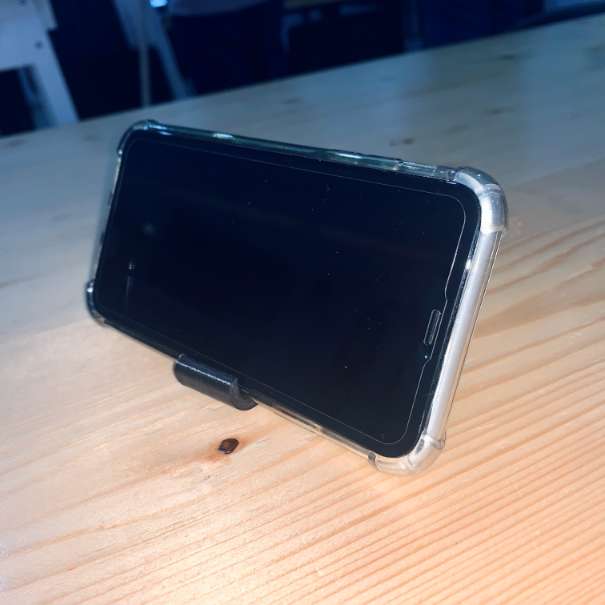
Here is a photo of us propping up a phone onto it, it holds it up at an angle from either the longwise or sidewise position. You can see the slight curl at the end of its tail is what secures the phone in place.
Group Assignment 2: 3D Scanning
The purpose of this experiment was to create our own full portrait scans using a camera to map out ourselves as 3D models.
Setting Up for 3D Scanning
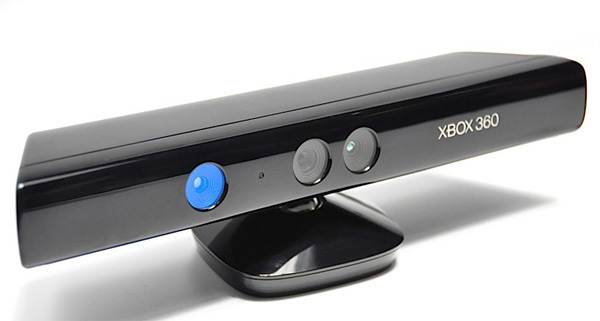
To do this, we used the Skanect 3D scanning software, which required a camera for scanning. For this, we used the XBOX 360 Kinect V1, pictured below, to record the scan.
Info
You can read more about using Kinect for 3D scanning in this helpful tutorial.
Starting to 3D Scan
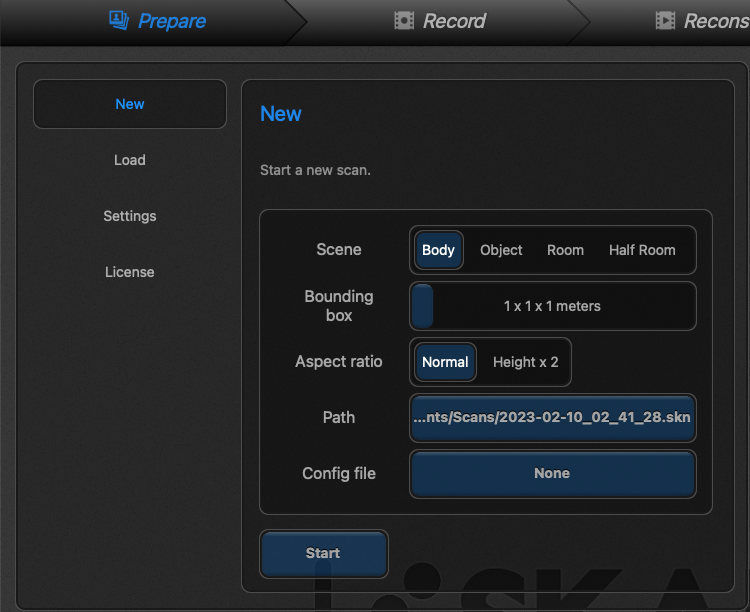
First, we start up Skanect and selecting a Body to 3D scan, since we will be scanning portraits of each group member. When we’re ready, and the Kinect is set up, we can simply click Start.
We have each group member that is being 3D scanned positioned on a swivel chair in front of the Kinect, and after we hit Record, we will ask them to slowly rotate themselves on the chair until they complete one whole revolution.
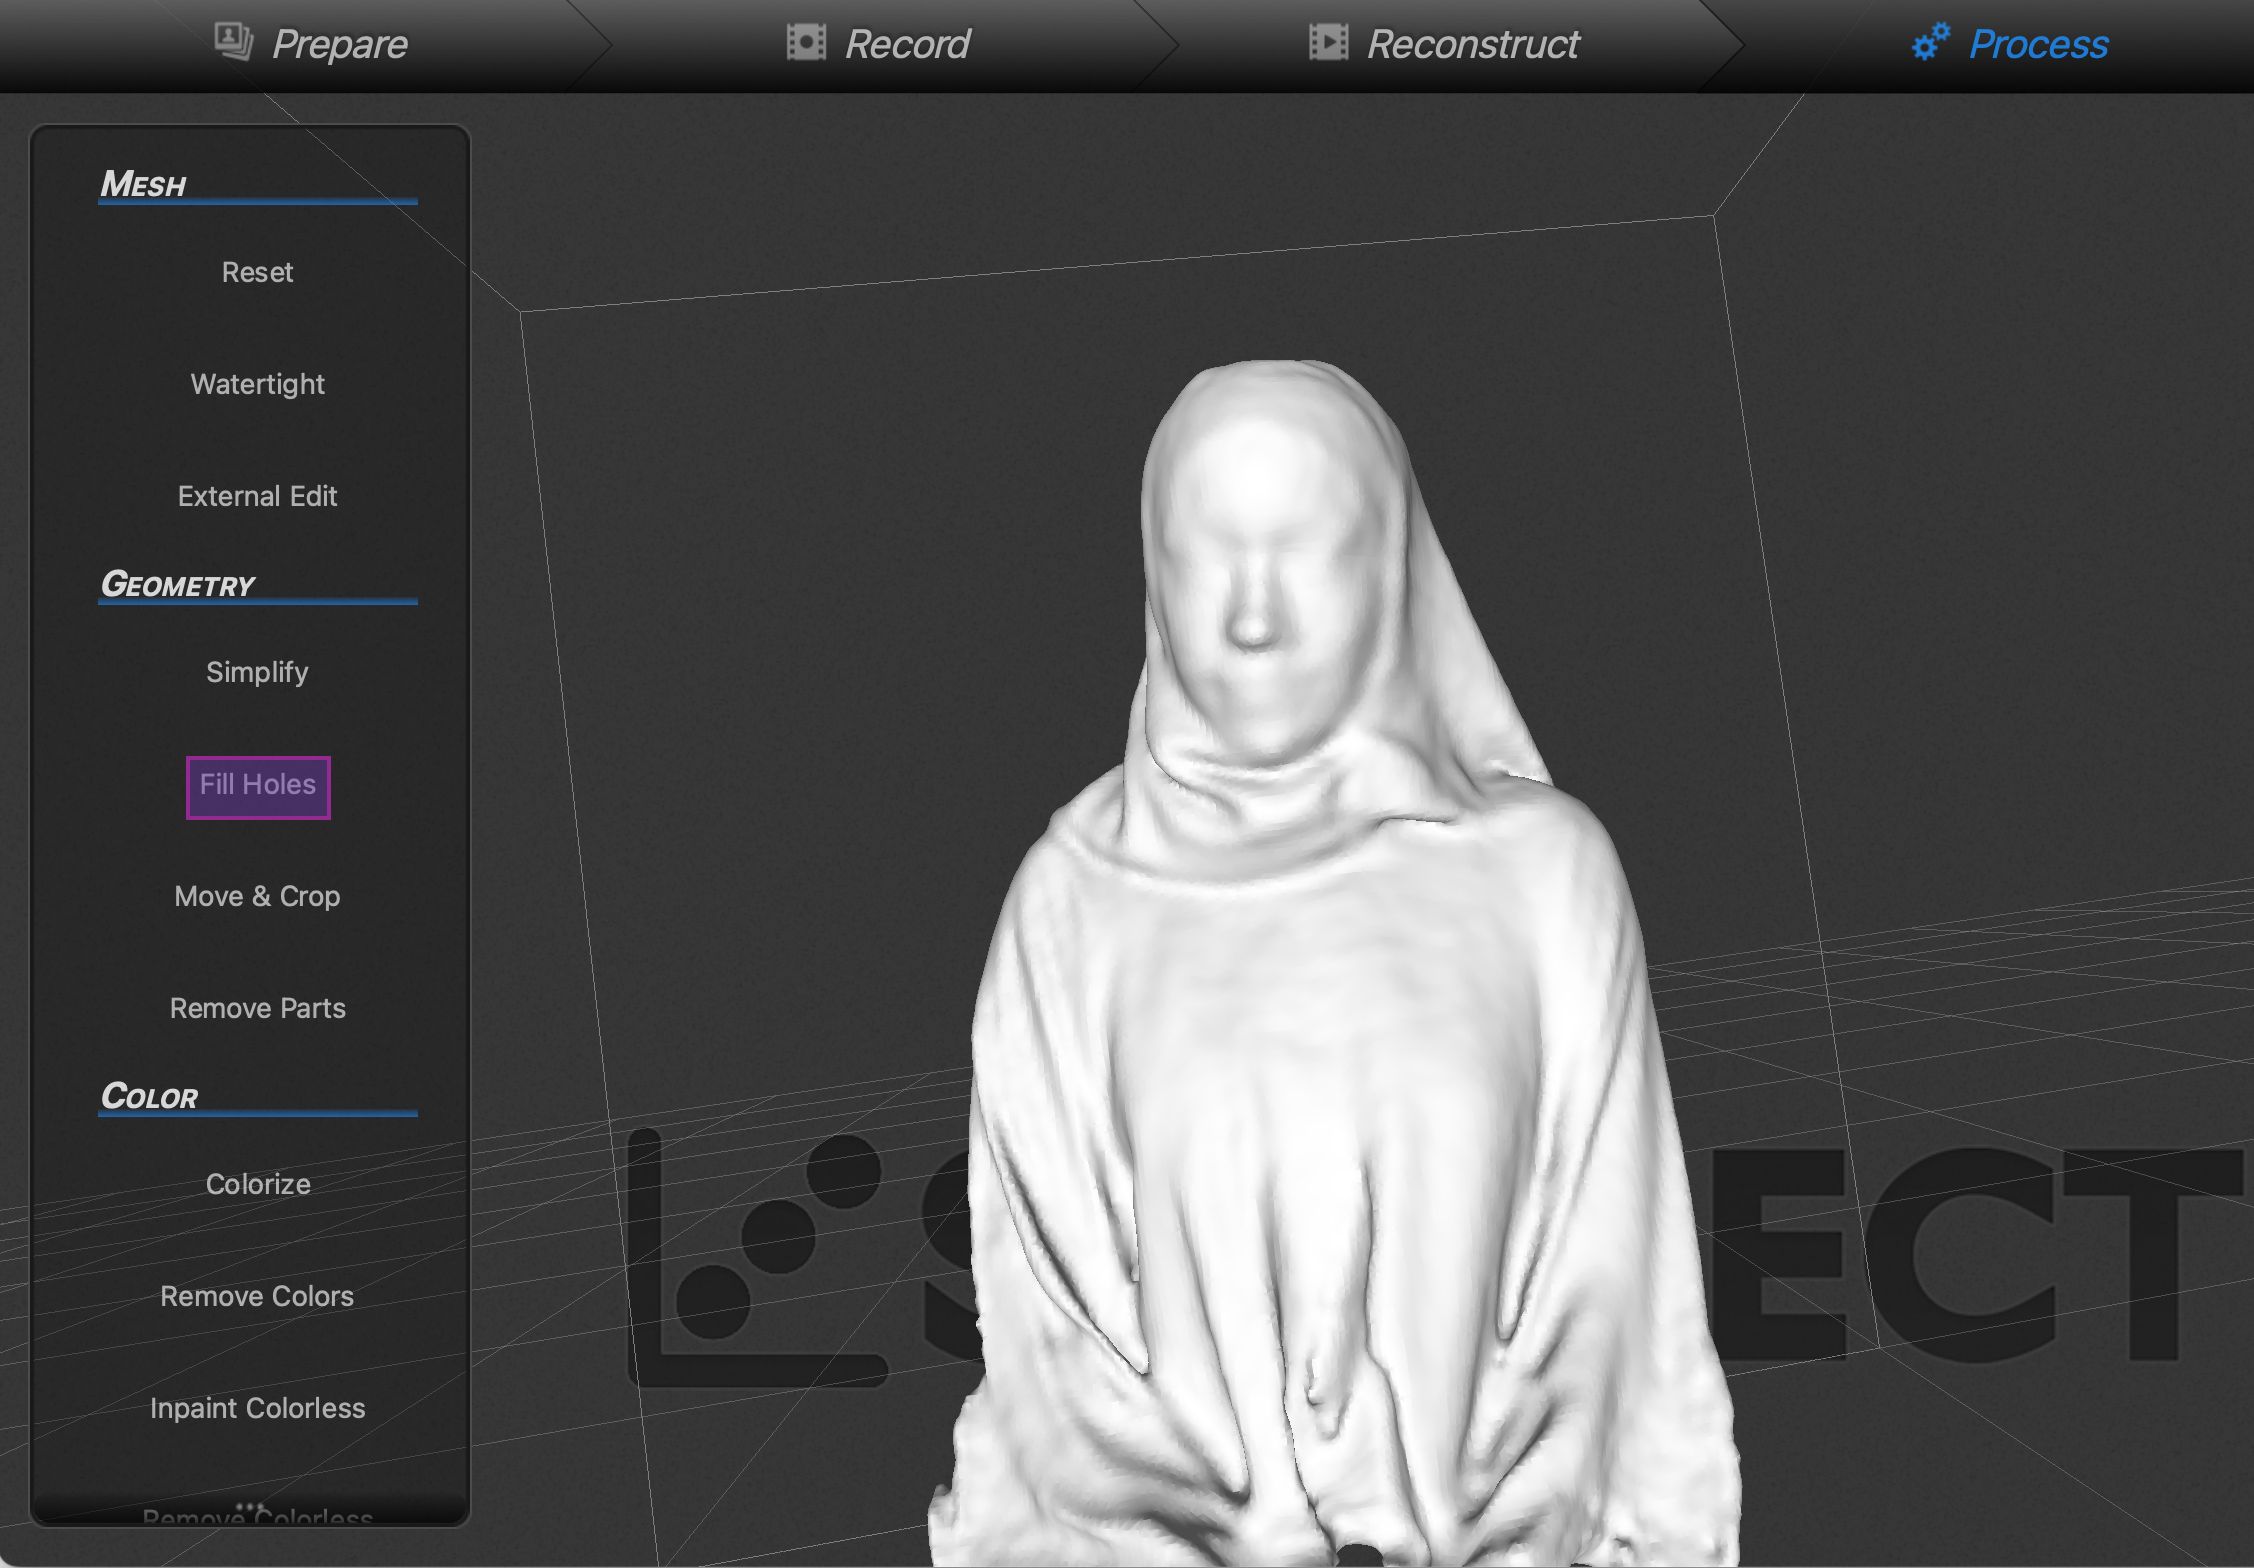
This was the result after scanning my group partner, Fatema  . You can view this in the Process tab of Skanect.
Tip
The results will be more accurate and consistent if the subject rotates very slowly, remains in the same posture and facial expression; so repeating as many times as needed will get you the correct result.
Due to the face that the scan cannot reach the top part of the head of the subject, we will be using Geometry > Fill Holes to fill the hole at the top of the head, as well as any other random areas.
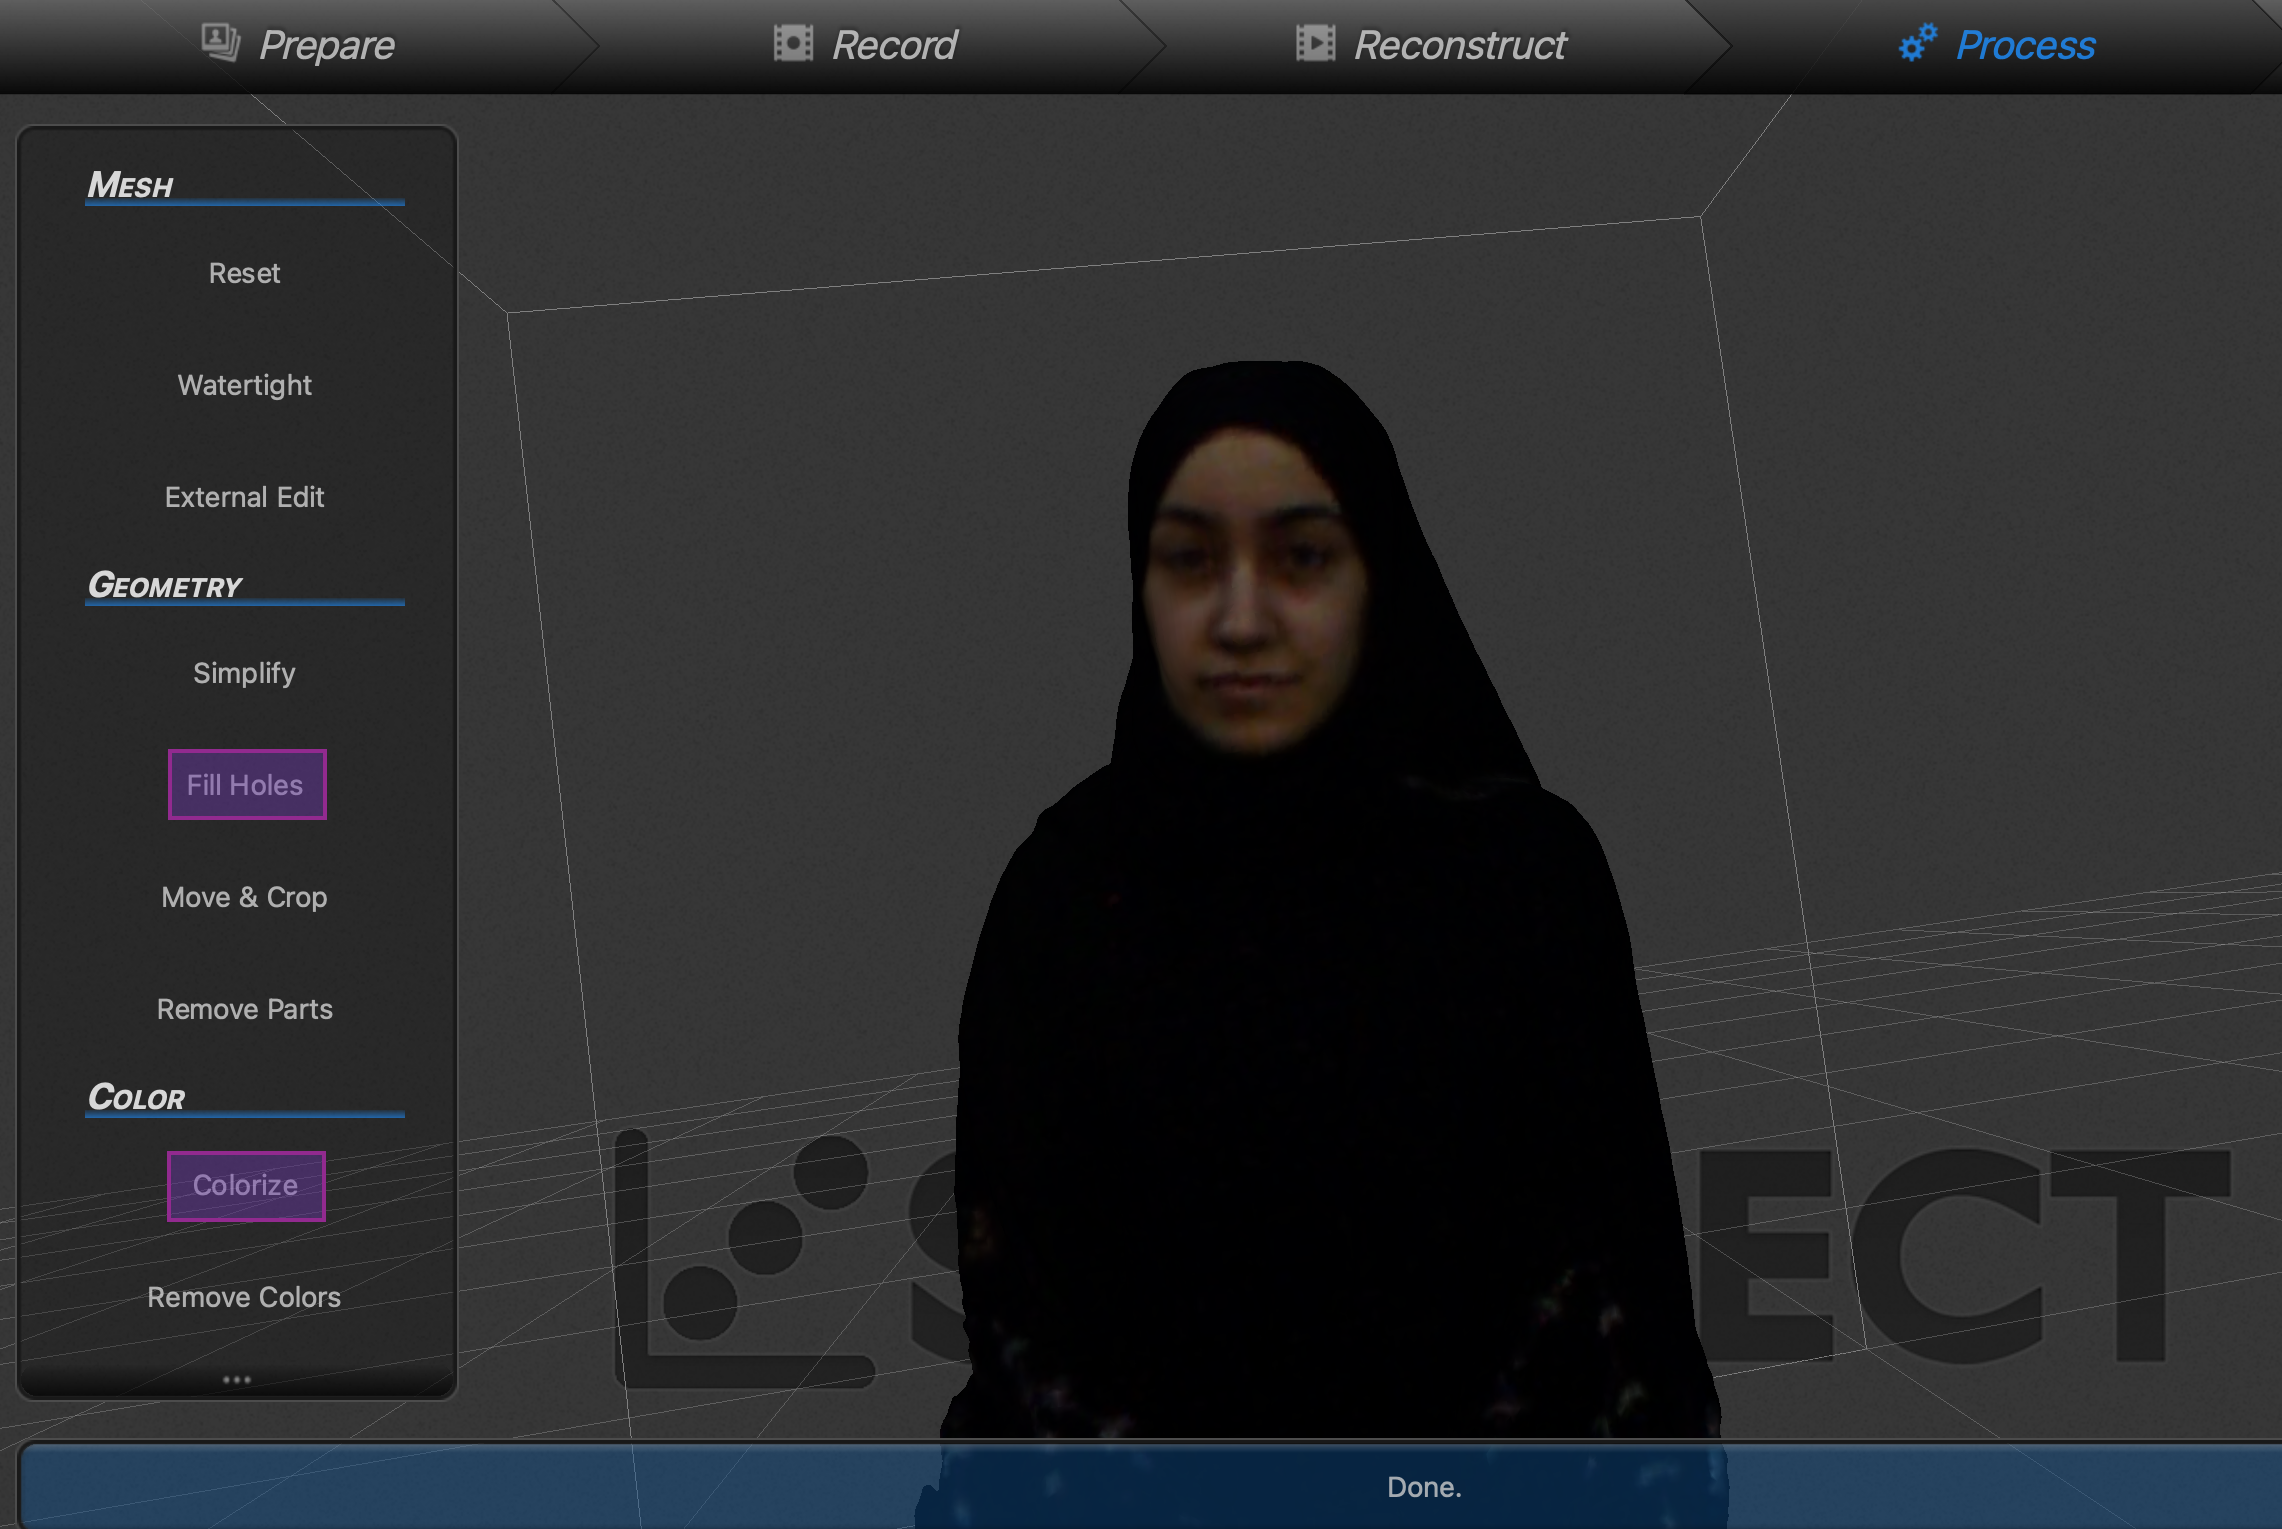
We can then use Color > Colorize to paint in the colors that the scanner picked up.
Tip
This may be darker if the lighting of the environment during scanning was dimmed, so make sure to start your scan in a well-lit environment.
This was the final result of the scan that I loaded the STL file for onto Fusion 360:
Individual Assignment: Creating a 3D Model for 3D Printing
For my 3D model design, I decided to use Fusion 360 to create a character. We were given the limitations to create our design as a maximum of 5 x 10 cm, and that it should be a model that can only be produced by a 3D printer, and not by either a laser-cutter or CNC machine.
The First Failed Attempt
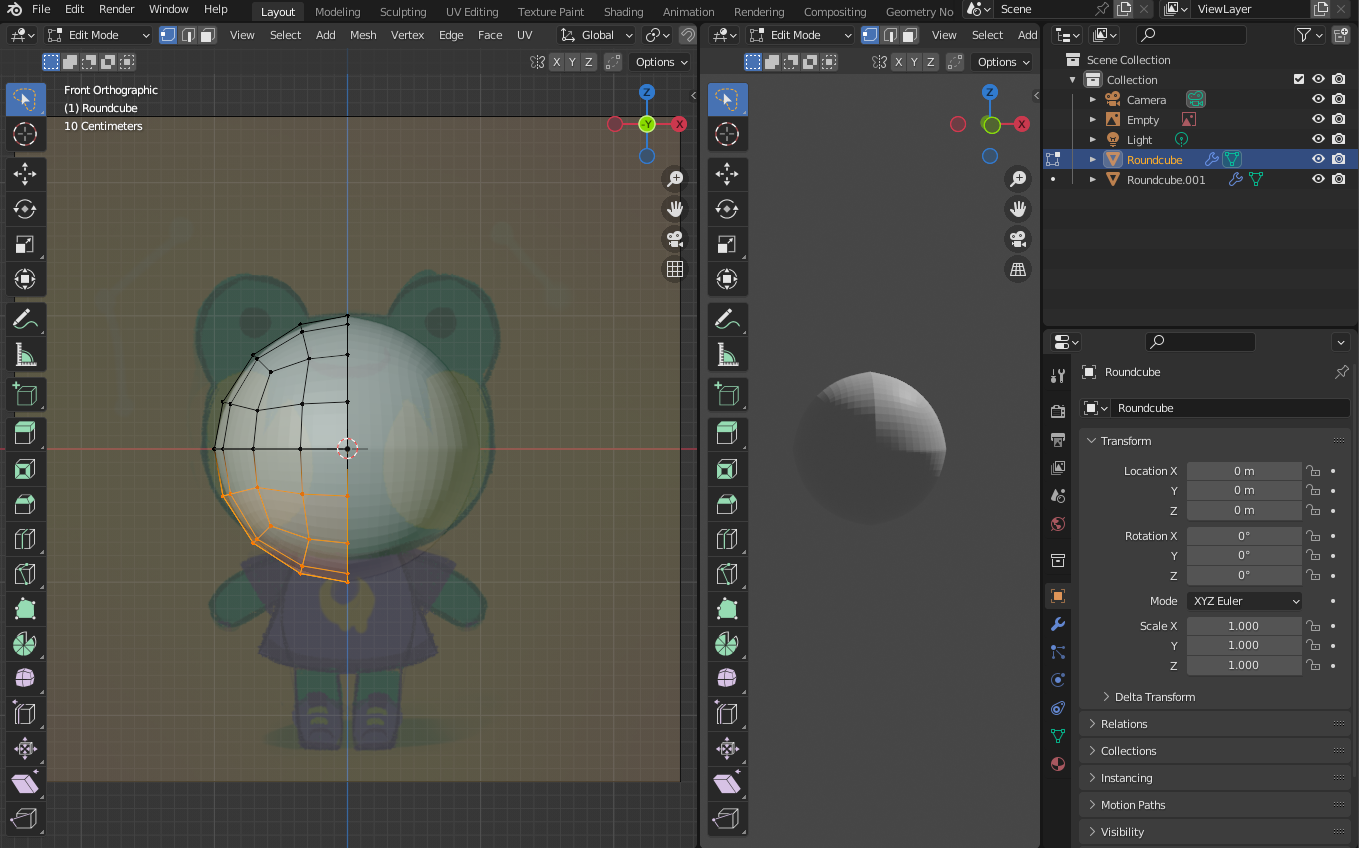
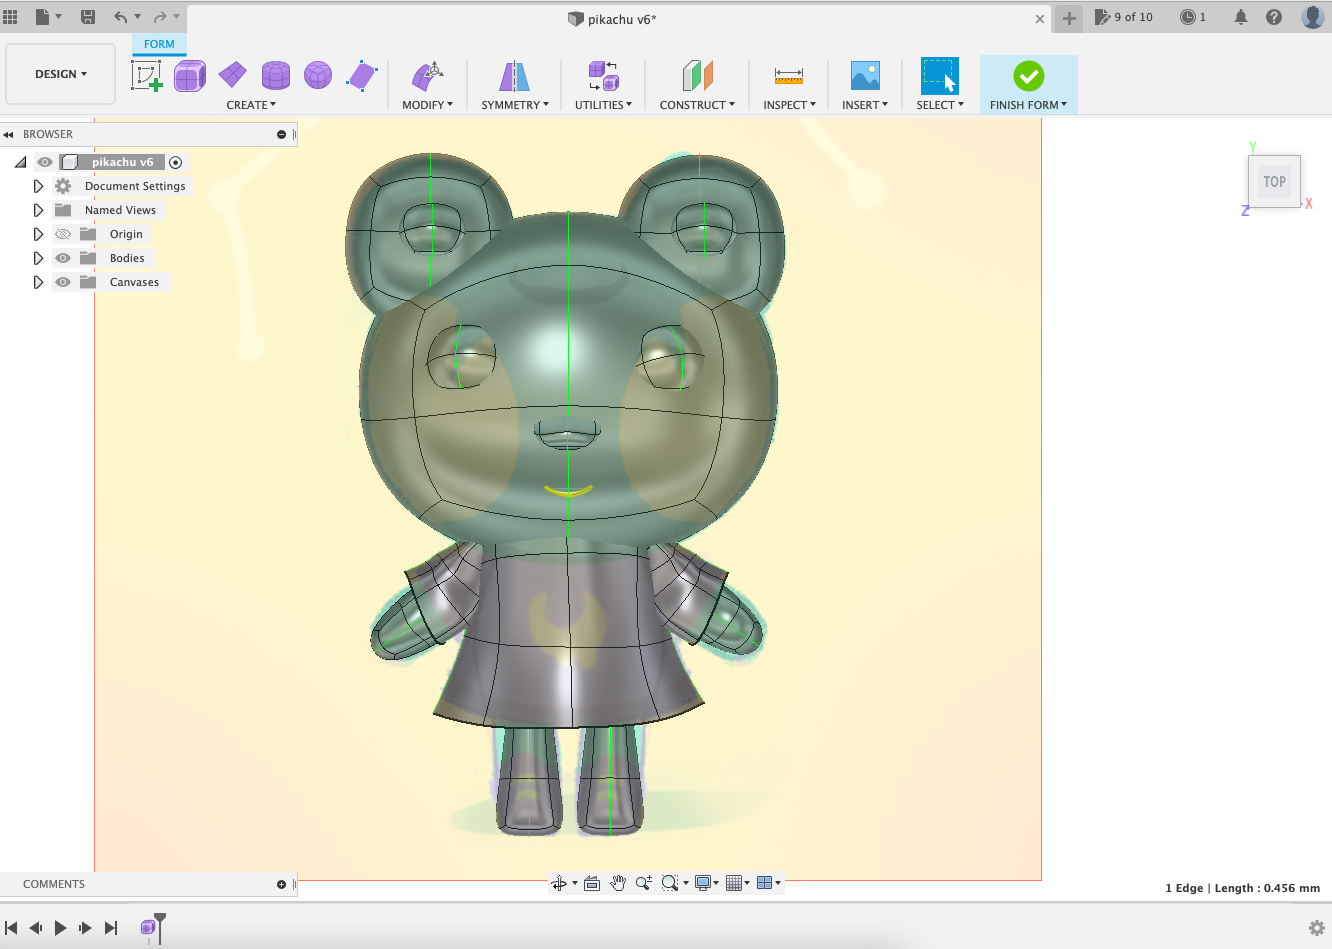
I had an idea to create a small figurine of a cute character for my 3D print model, but I never made one before! So, I first attempted to follow a Blender tutorial to make one, but quickly became overwhelmed and confused, because it was a lot more complex than my simple 3D doughnut model from my Week 2 Assignment. I ended up getting stuck on sculpting the head, as can be seen below.
Next, I decided to look for a tutorial on 3D sculpting on Fusion 360, since I was more familiar with it at this point. I tried following through with this design and thought I had completed it, albeit not perfectly as I imagined it to be, since it was supposed to be a cute bear. I ended up having too many export problems that I couldn’t upload it to Cura for printing, as can be seen below.
Finally, I decided to scrap the sculpting idea and use Fusion 360 in the way that I’m familiar with to make a different cute figurine.
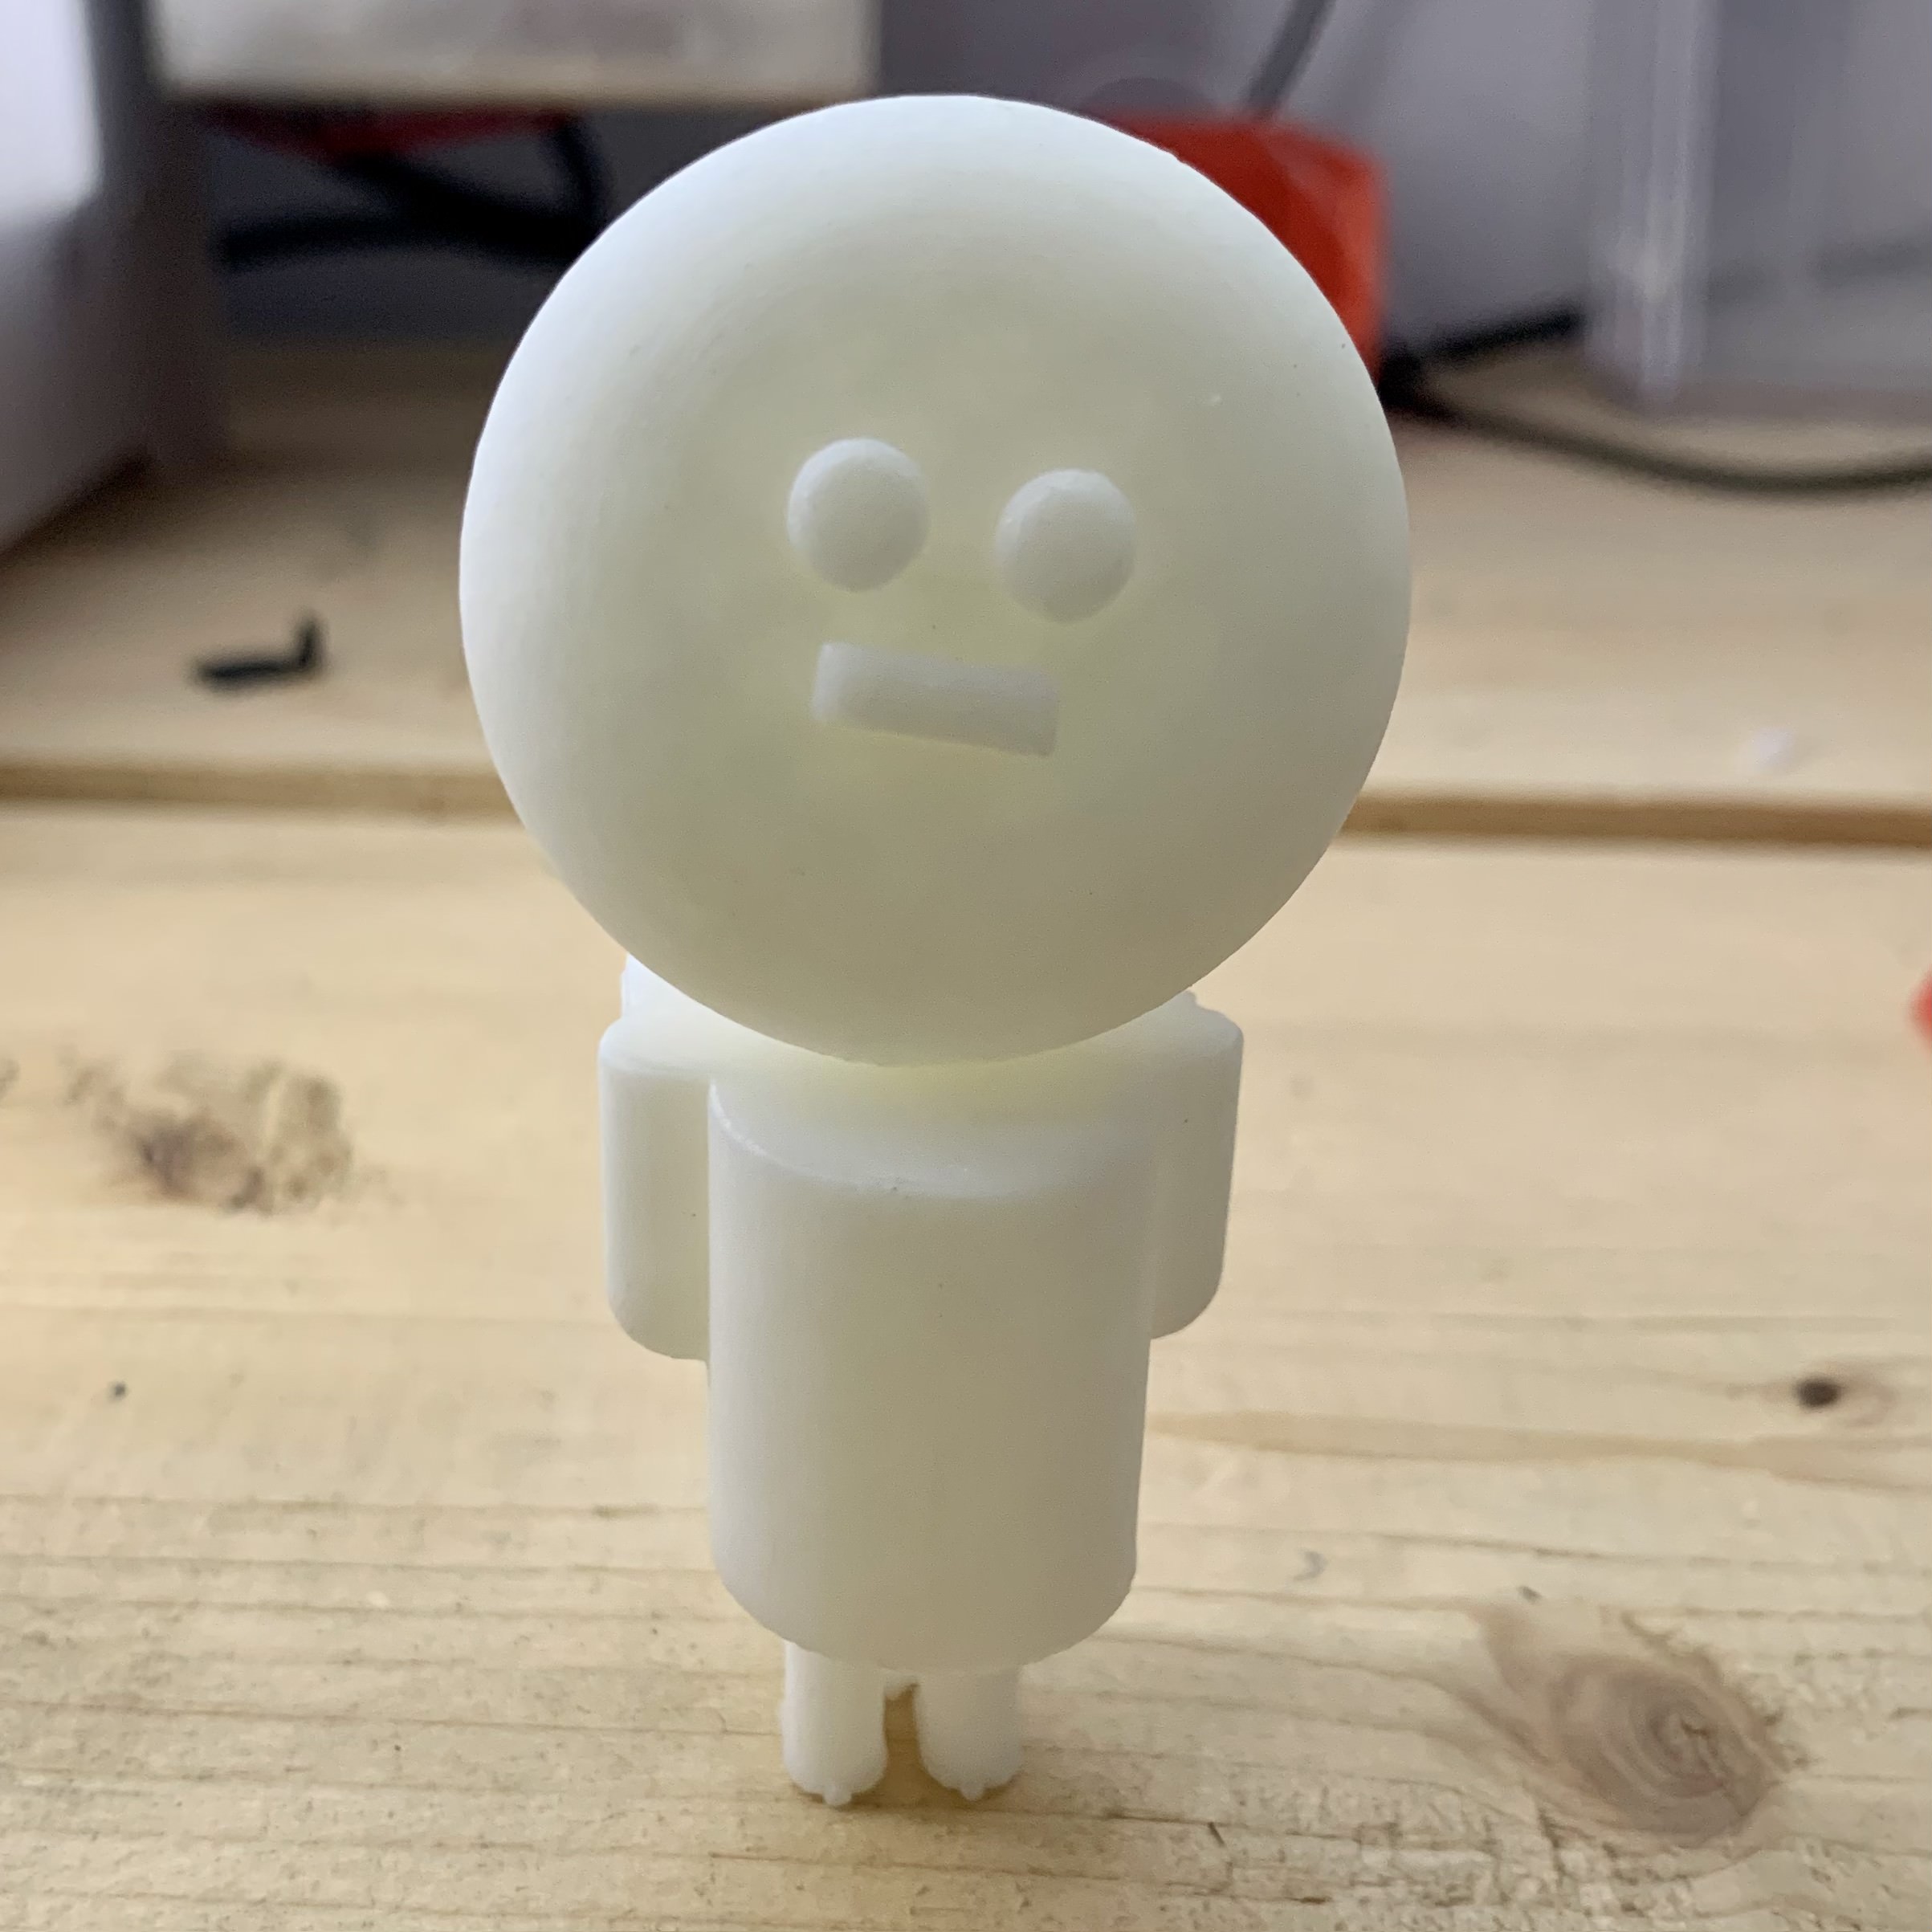
The Final 3D Model: Robotic Gingerbread Man 
My original idea for this was to make a cute little Robot, but it ended up looking more like the Gingerbread Man from the cult-classic movie Shrek, but with a comically small face and large head.
I started my design by first sketching out each of the individual body parts of the figurine—the head, the body, the arms, and the legs— then extruded them.
I wanted the design to not be box-y and sharp, so I filleted every corner to completed round them out, including the head, hands and body.
At the end, I created a new sketch on the face of the head (i.e., the extruded circle) to draw on the facial features— two eyes and a mouth.
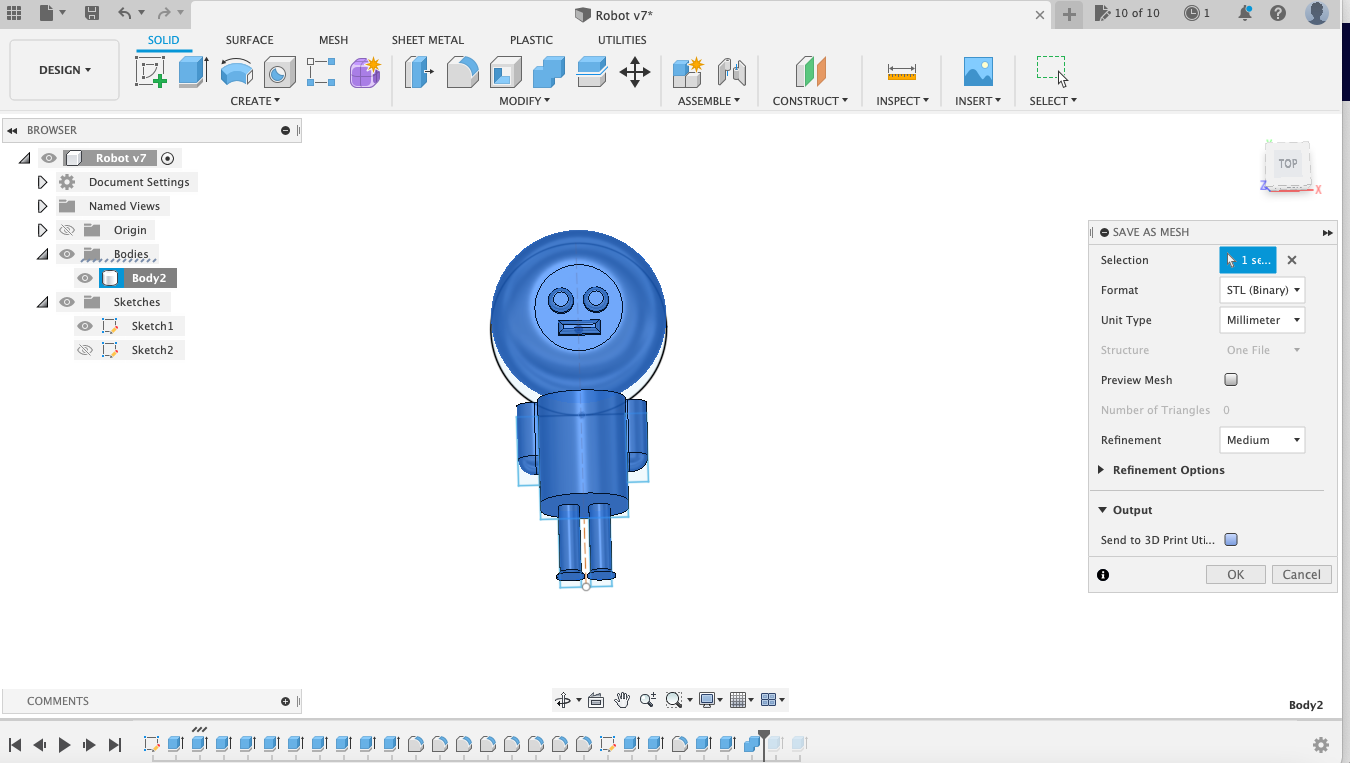
This is the final 3D model on Fusion 360:
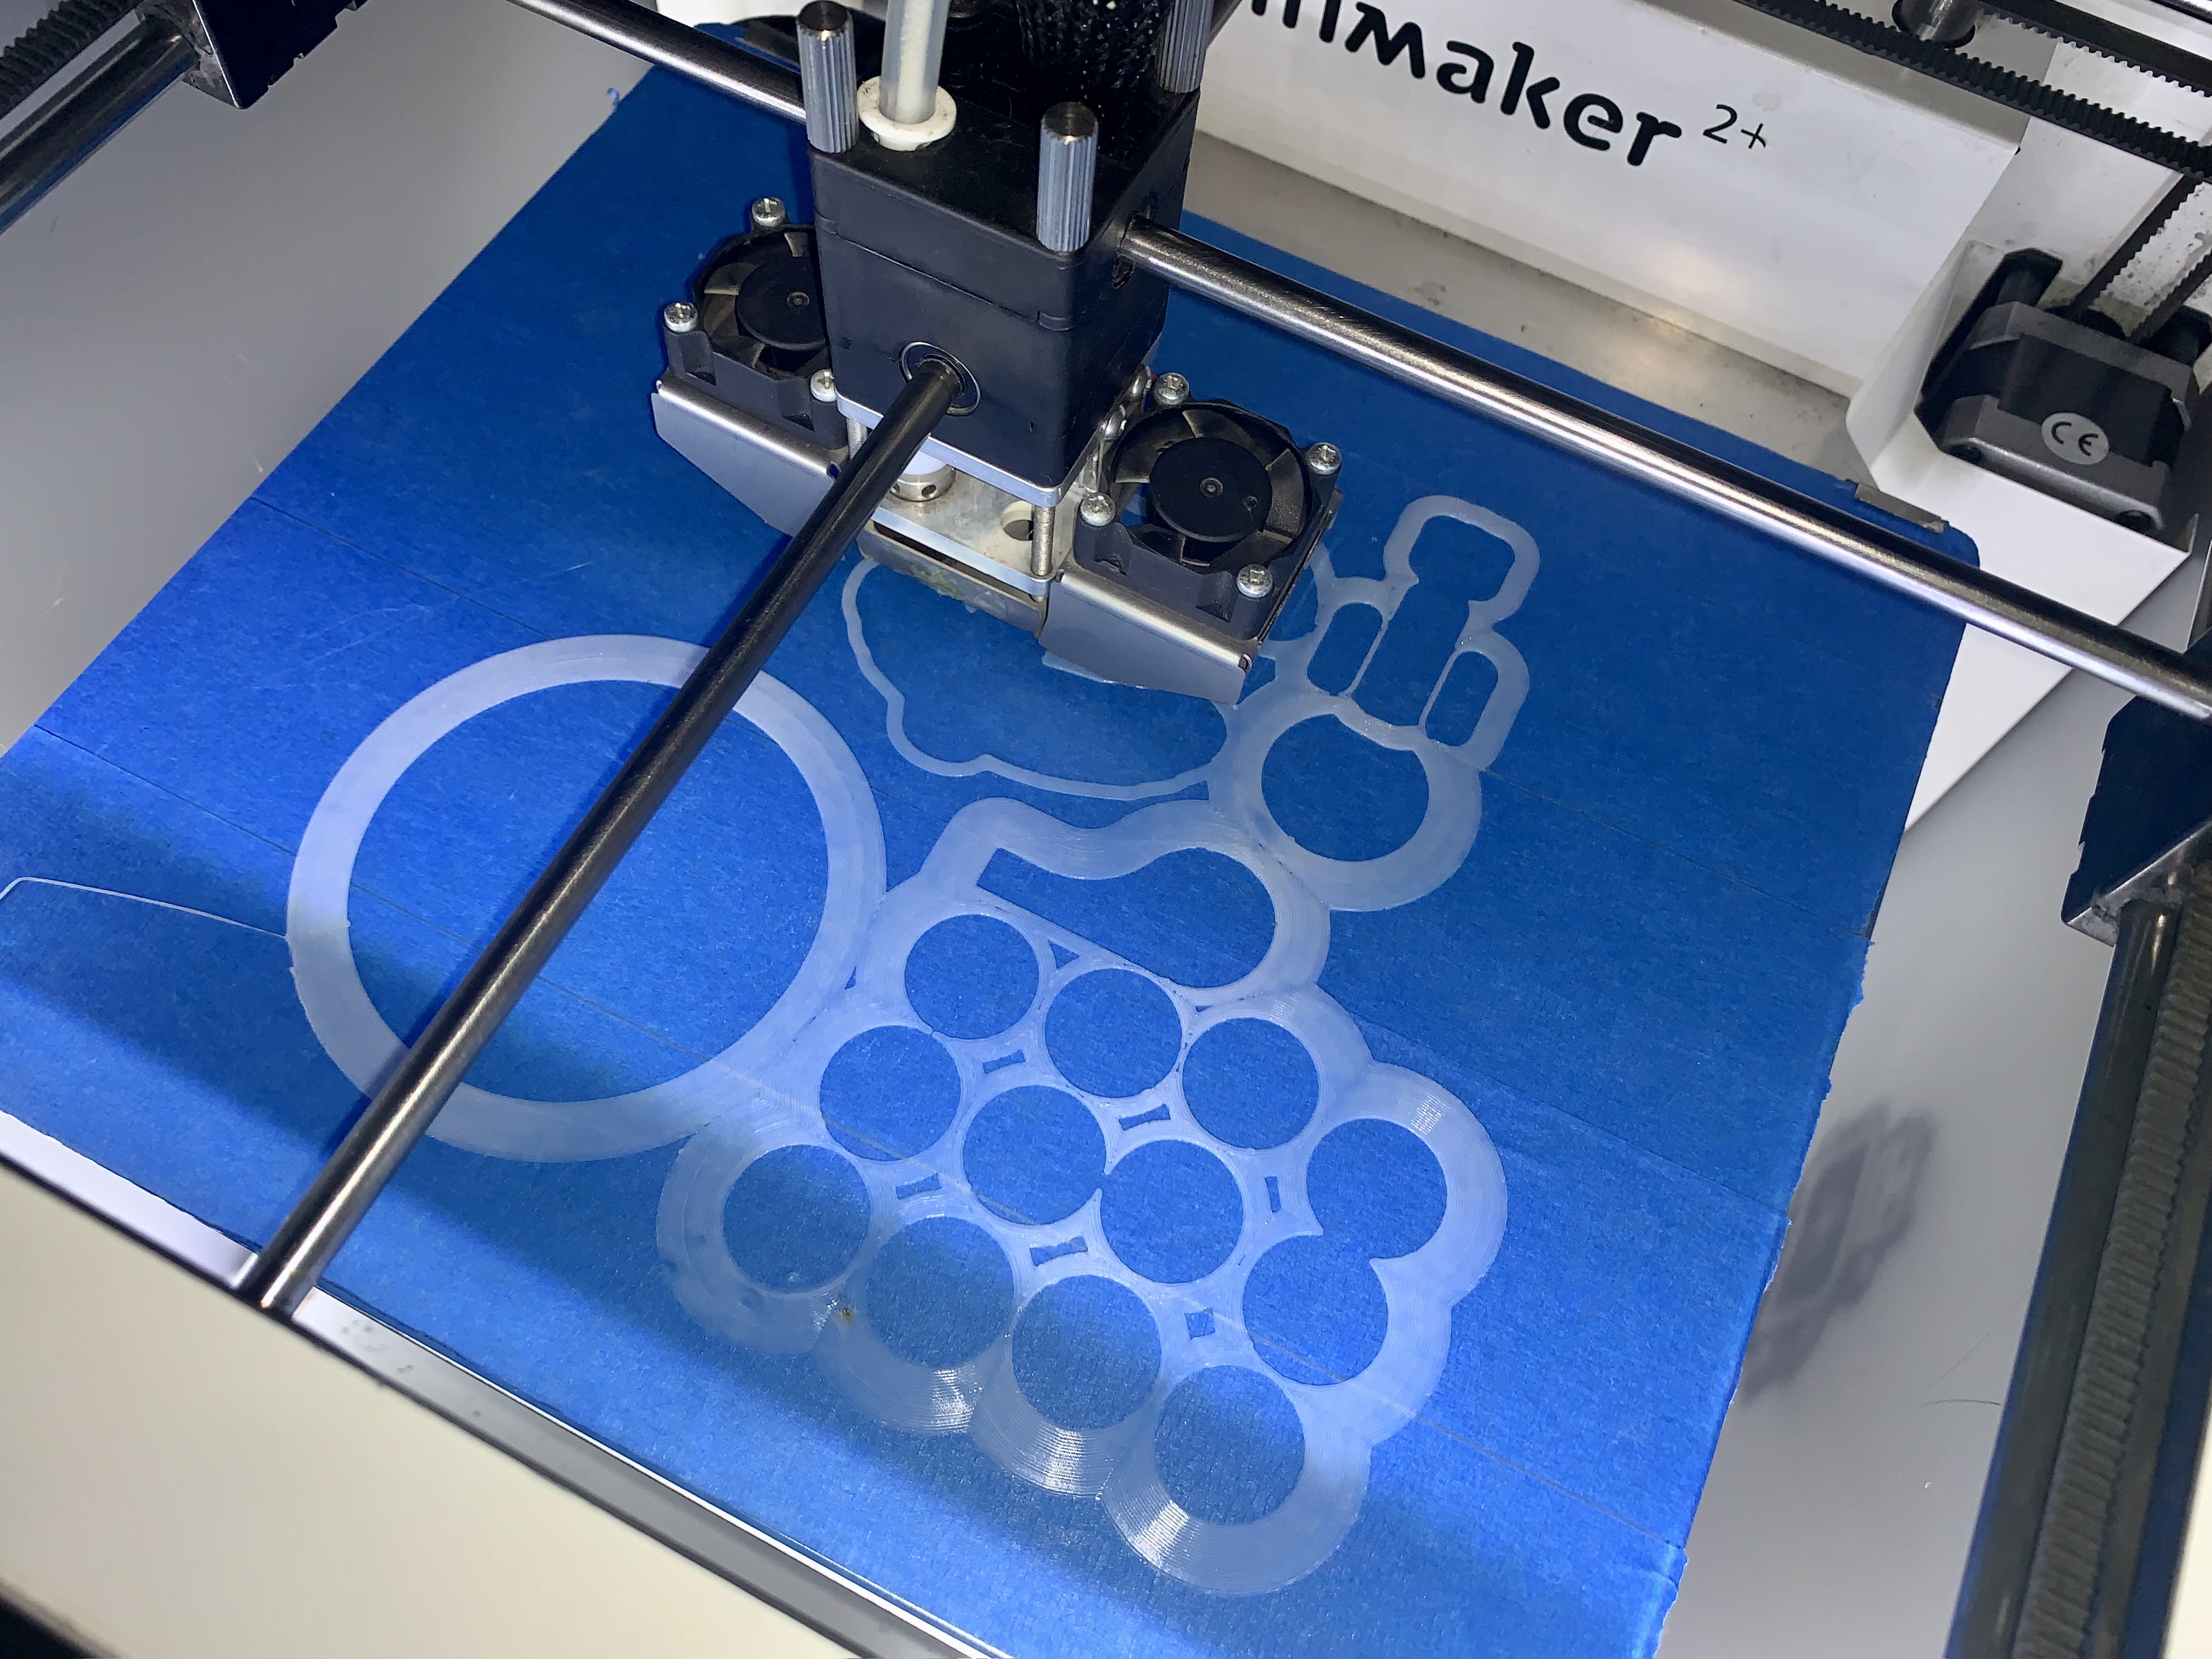
3D Printing My Robotic Gingerbread Man 
For this print, we used the UltiMaker 2+ and had multiple different people’s models printed at once for the sake of efficiency. This is also the advantage of having all our models be a limited size for printing.
We loaded each design onto Cura, chose UltiMaker 2+ as our printer, then Generic PLA as our filament, and chose the rest of our settings, as we learned to do from Group Assignment 1.
Then we started printing!
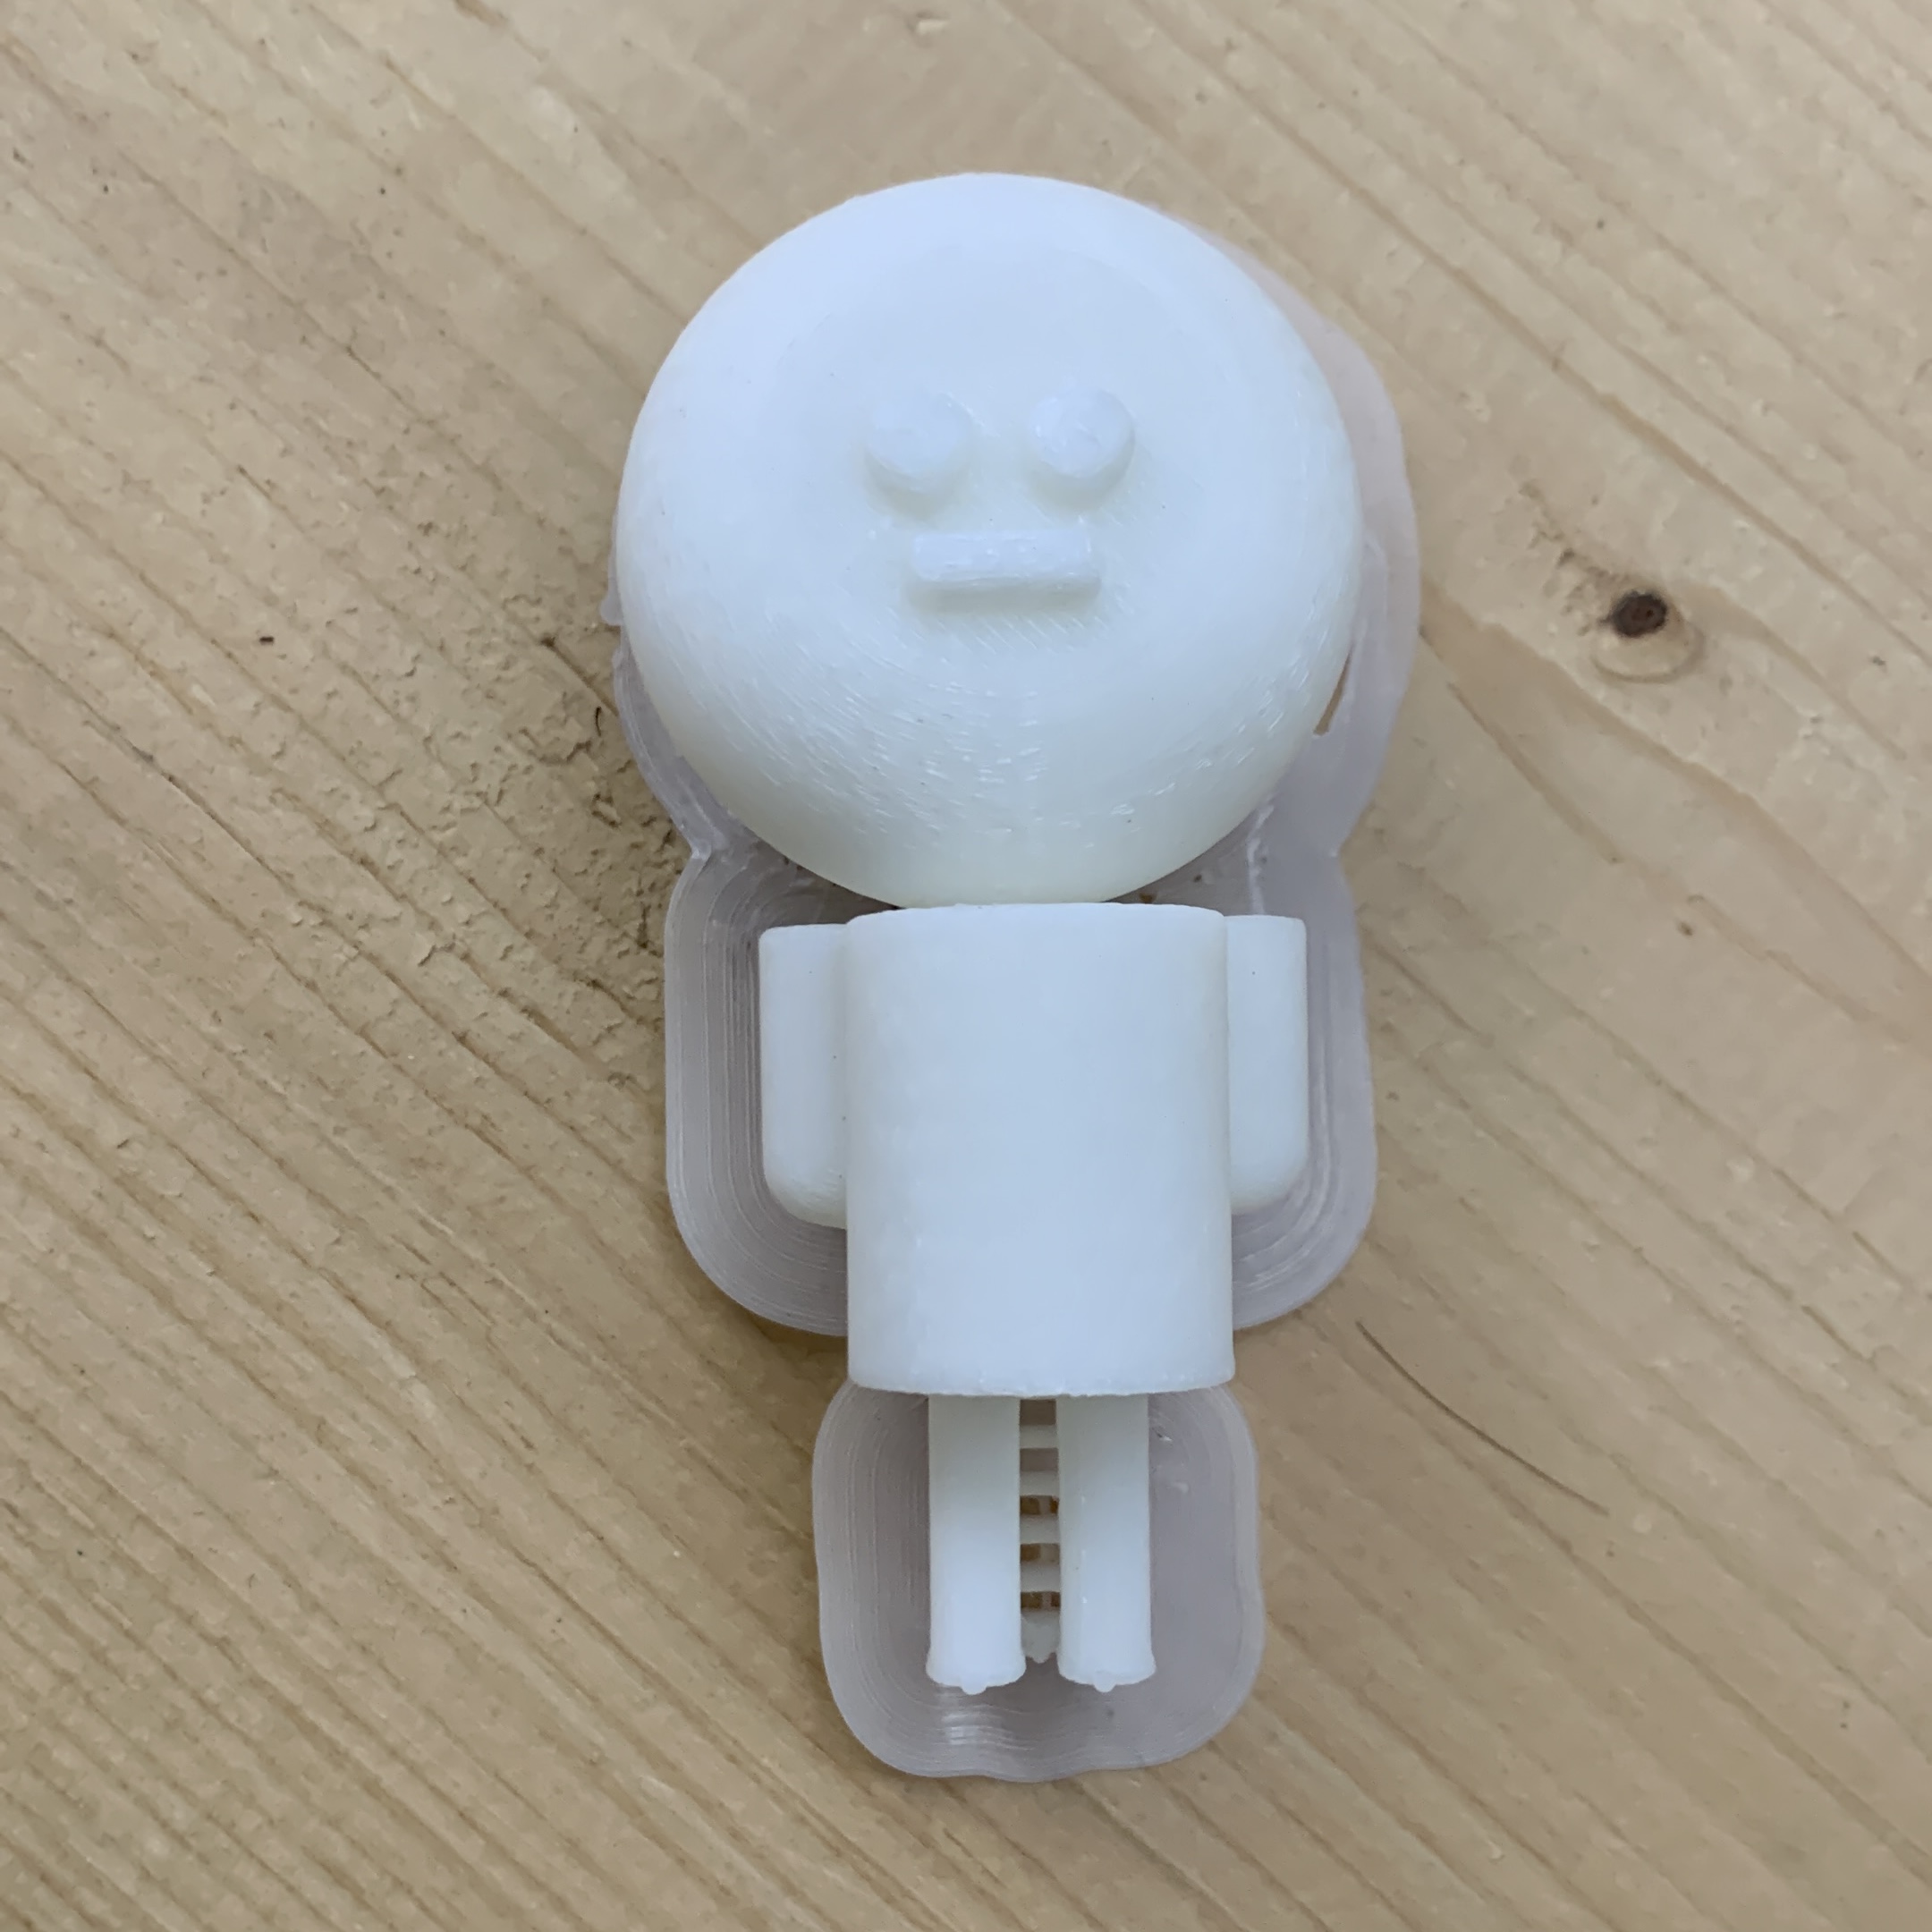
This was the result of my 3D printed Robotic Gingerbread Man. If I were to repeat this design, I’d like to try actually recreating this character, including his candy buttons and broken legs. It would also be nice to try to challenge myself to try to do it on Blender. Other than that, I wish I had a better support for its huge head, since it broke off after these photos were taken and I had to glue it back on… 
Pictured below, you can see the brim and the supports that were holding the model in place while it was printing.
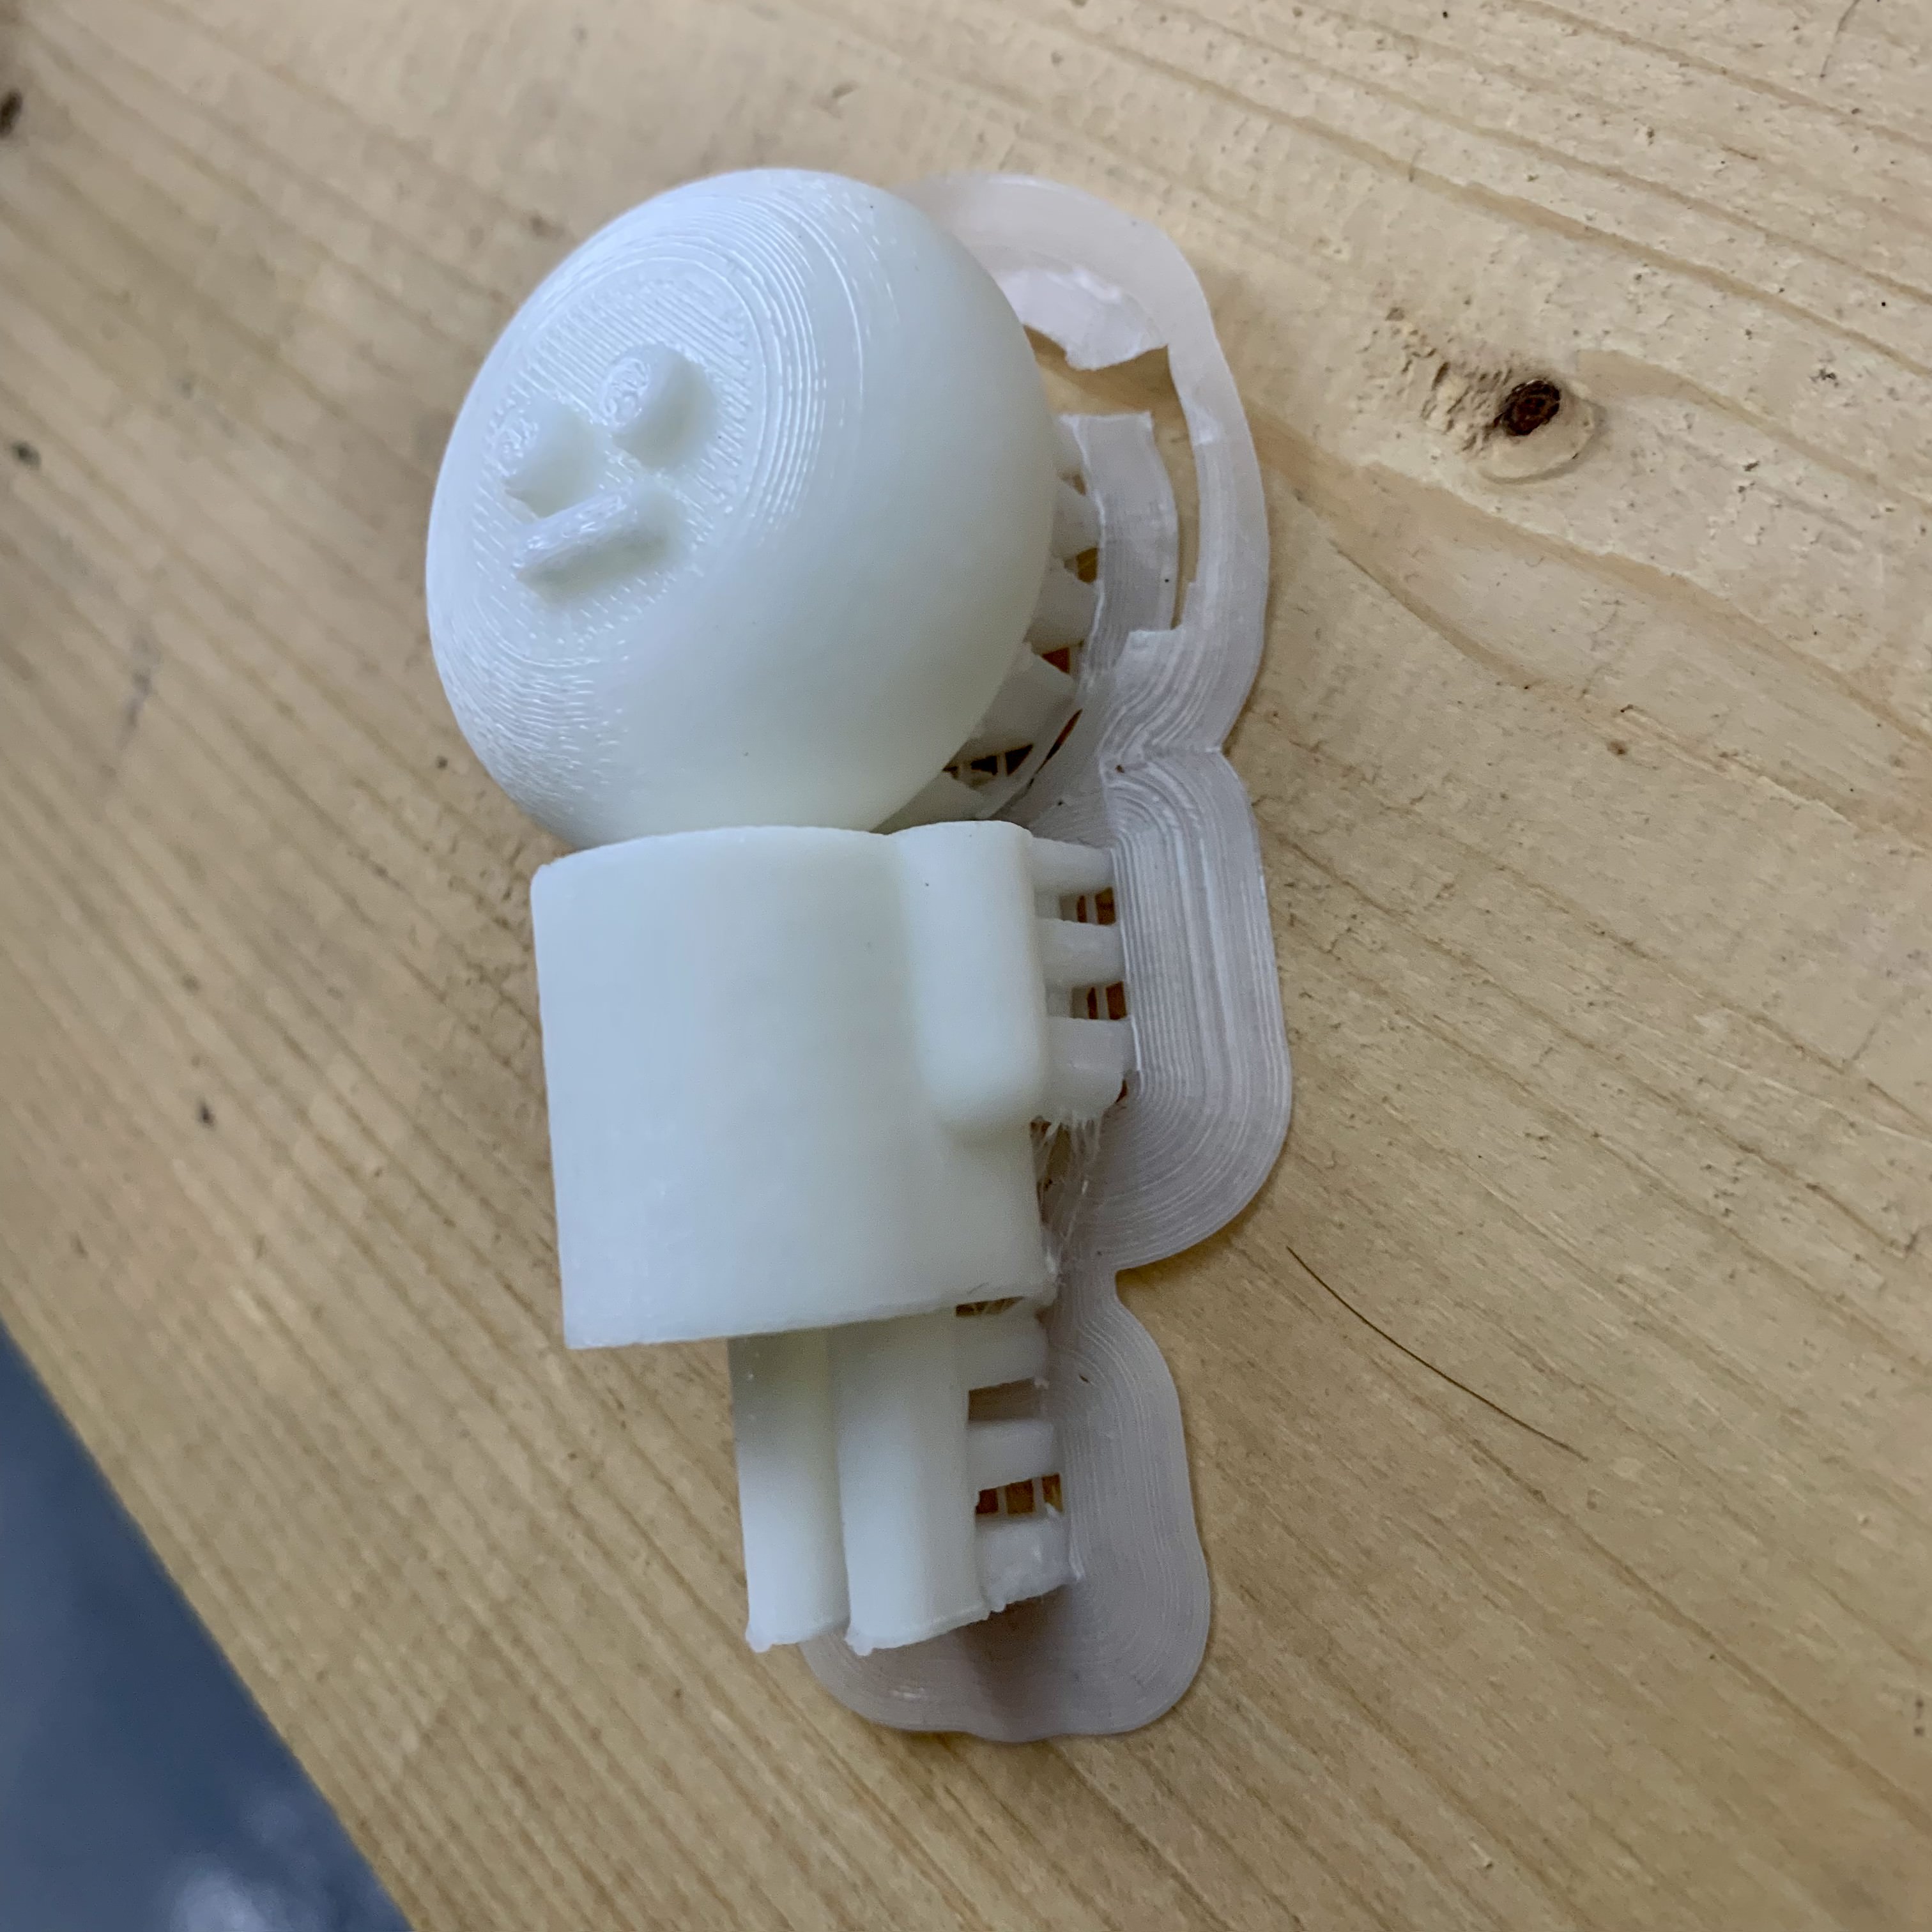
After removing the brim and supports, I can set my little strange figurine up to stand!