1. Project management
Week Objectives:
-
Student learn more about the Fab Academy program and what is expected from them.
-
Student create and edit their website on Gitlab
-
Upload the website to the class archive.
-
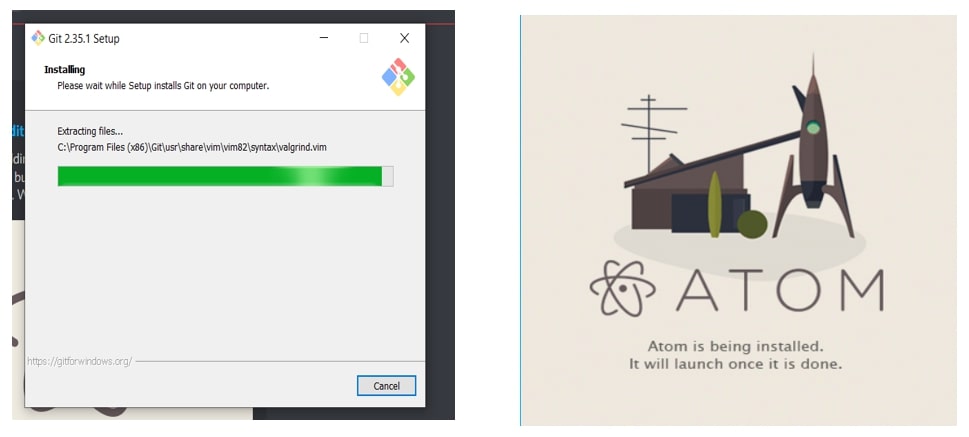
Student requested to download and utilize “Gitbash” and “Atom” Softwares.
Introductory Day
Throughout this day, I was introduced to the program stages, technologies will be covered, valuable link was shared to us, and we were given multiple action points to work on.
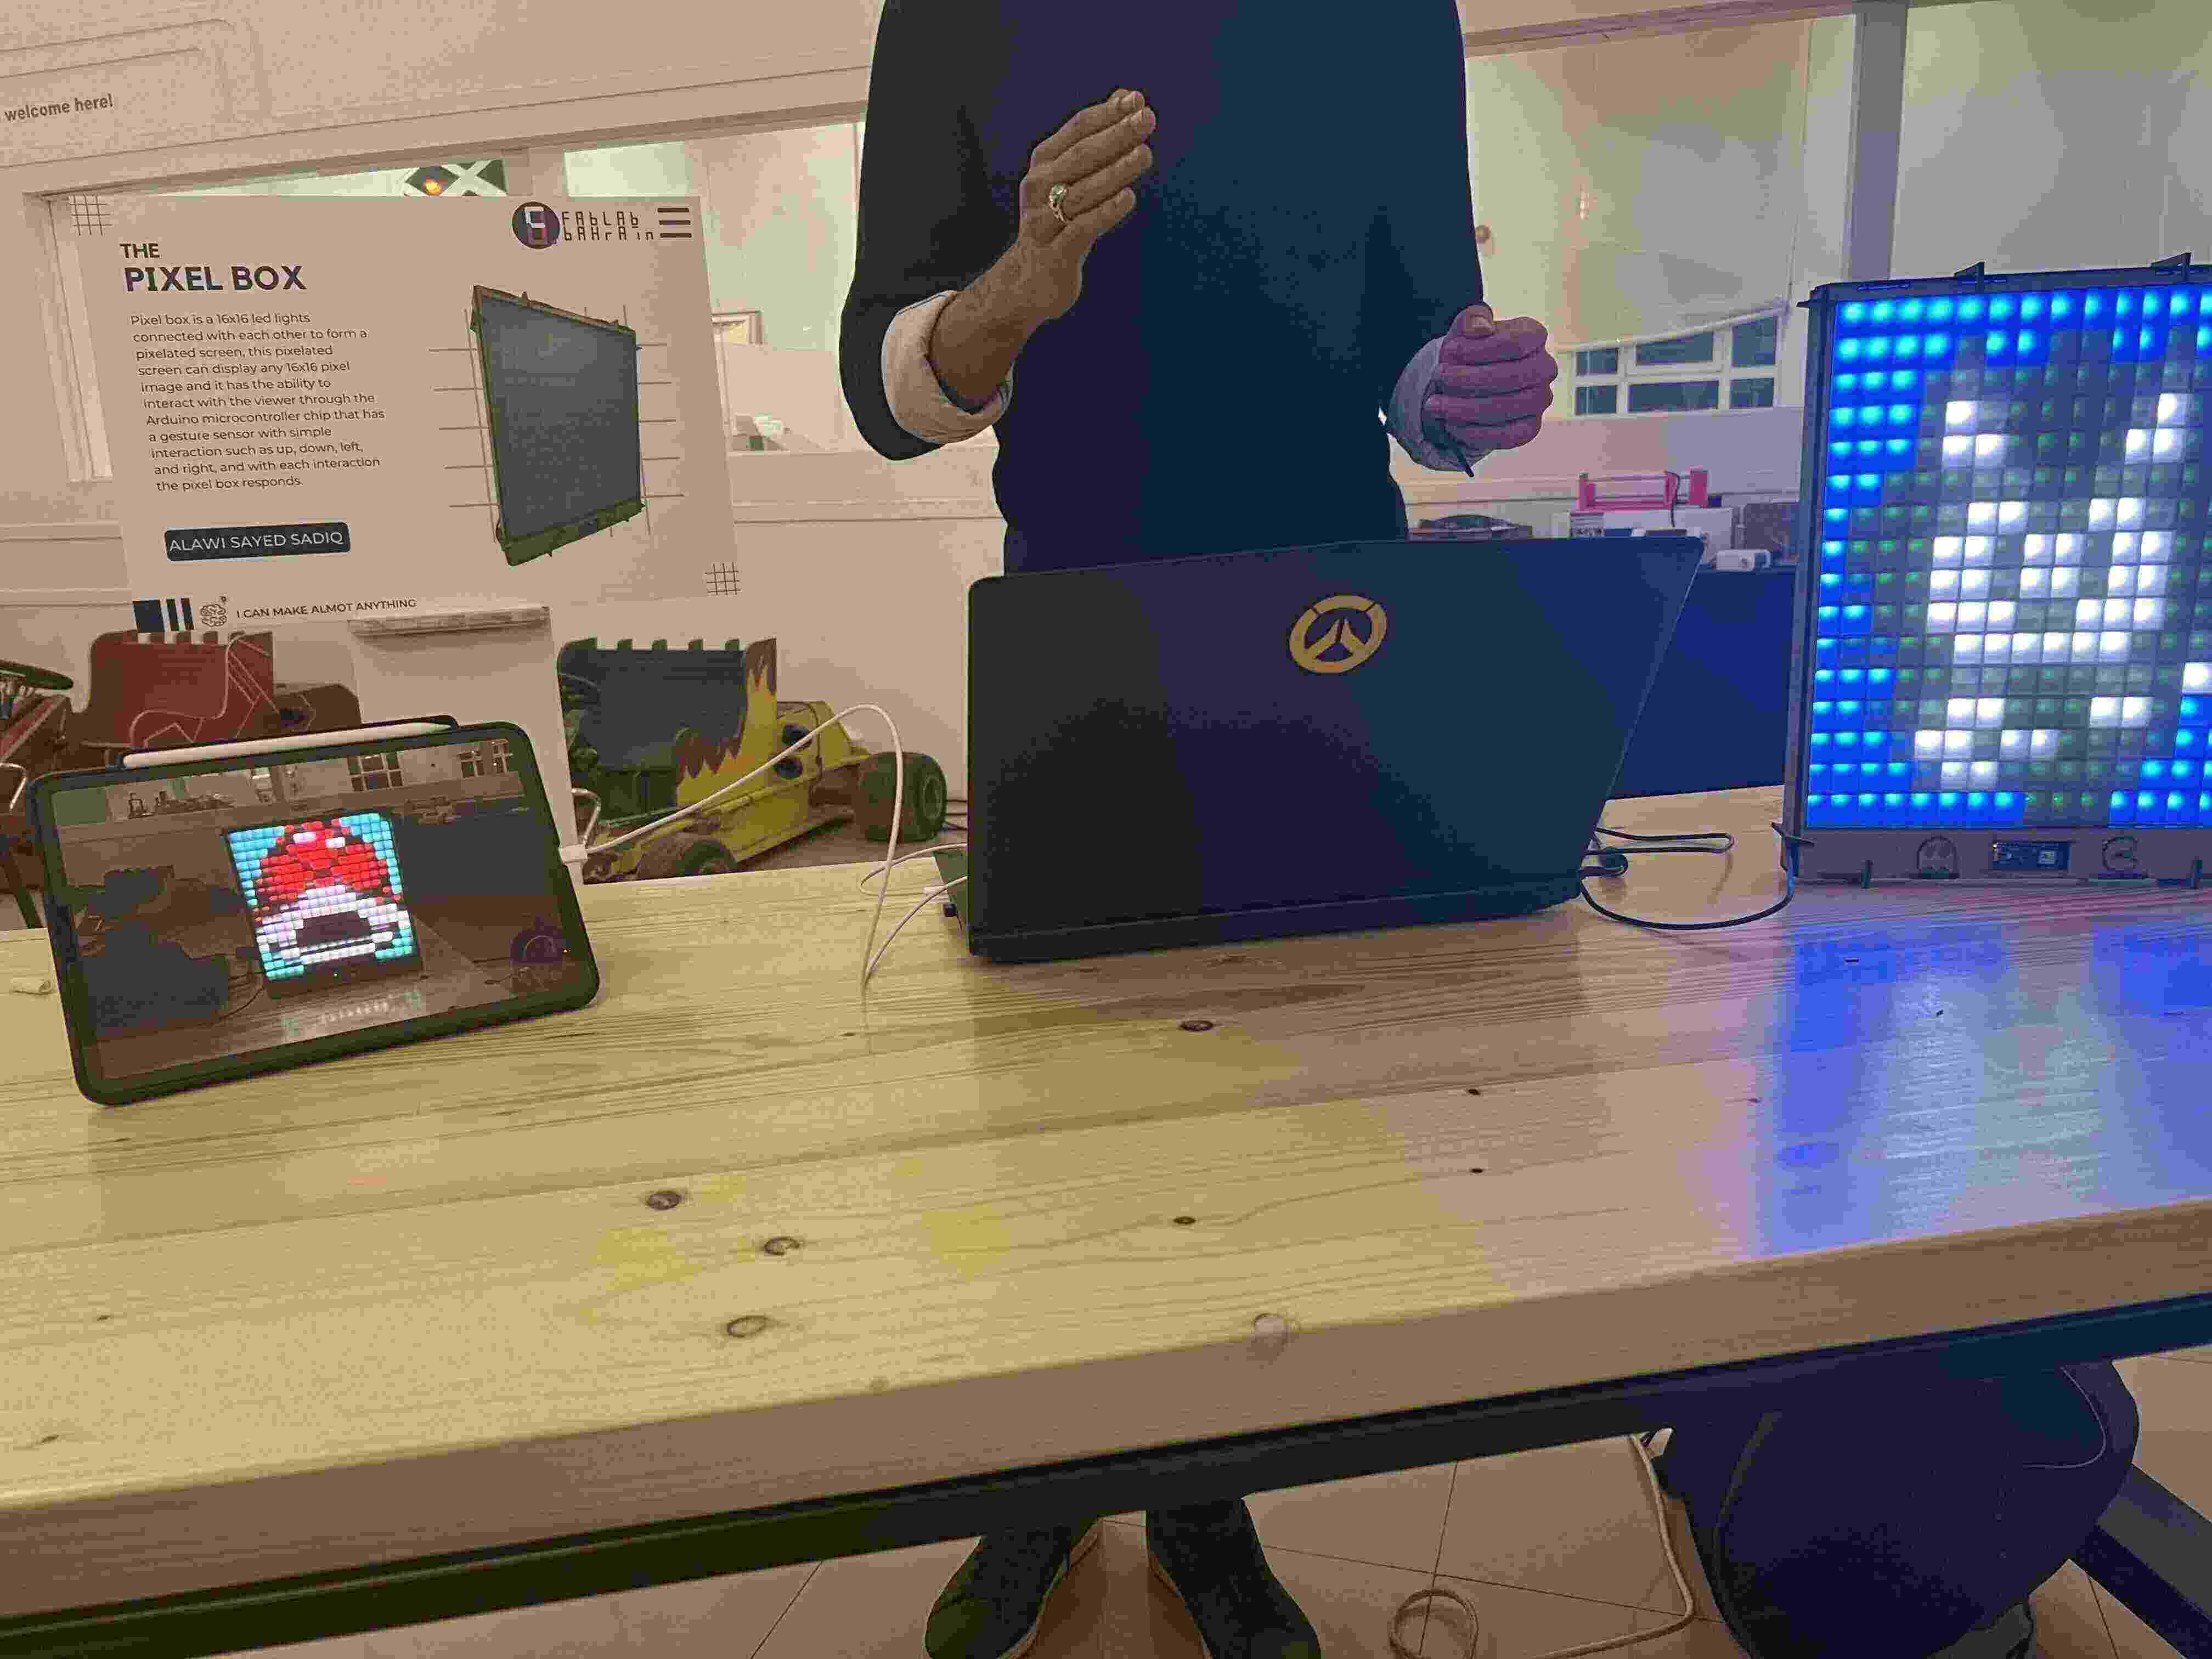
Then, I have attended the exhibition to see what the previous batch students have achieved. Below is one of the interesting projects that I have saw:
Day 1
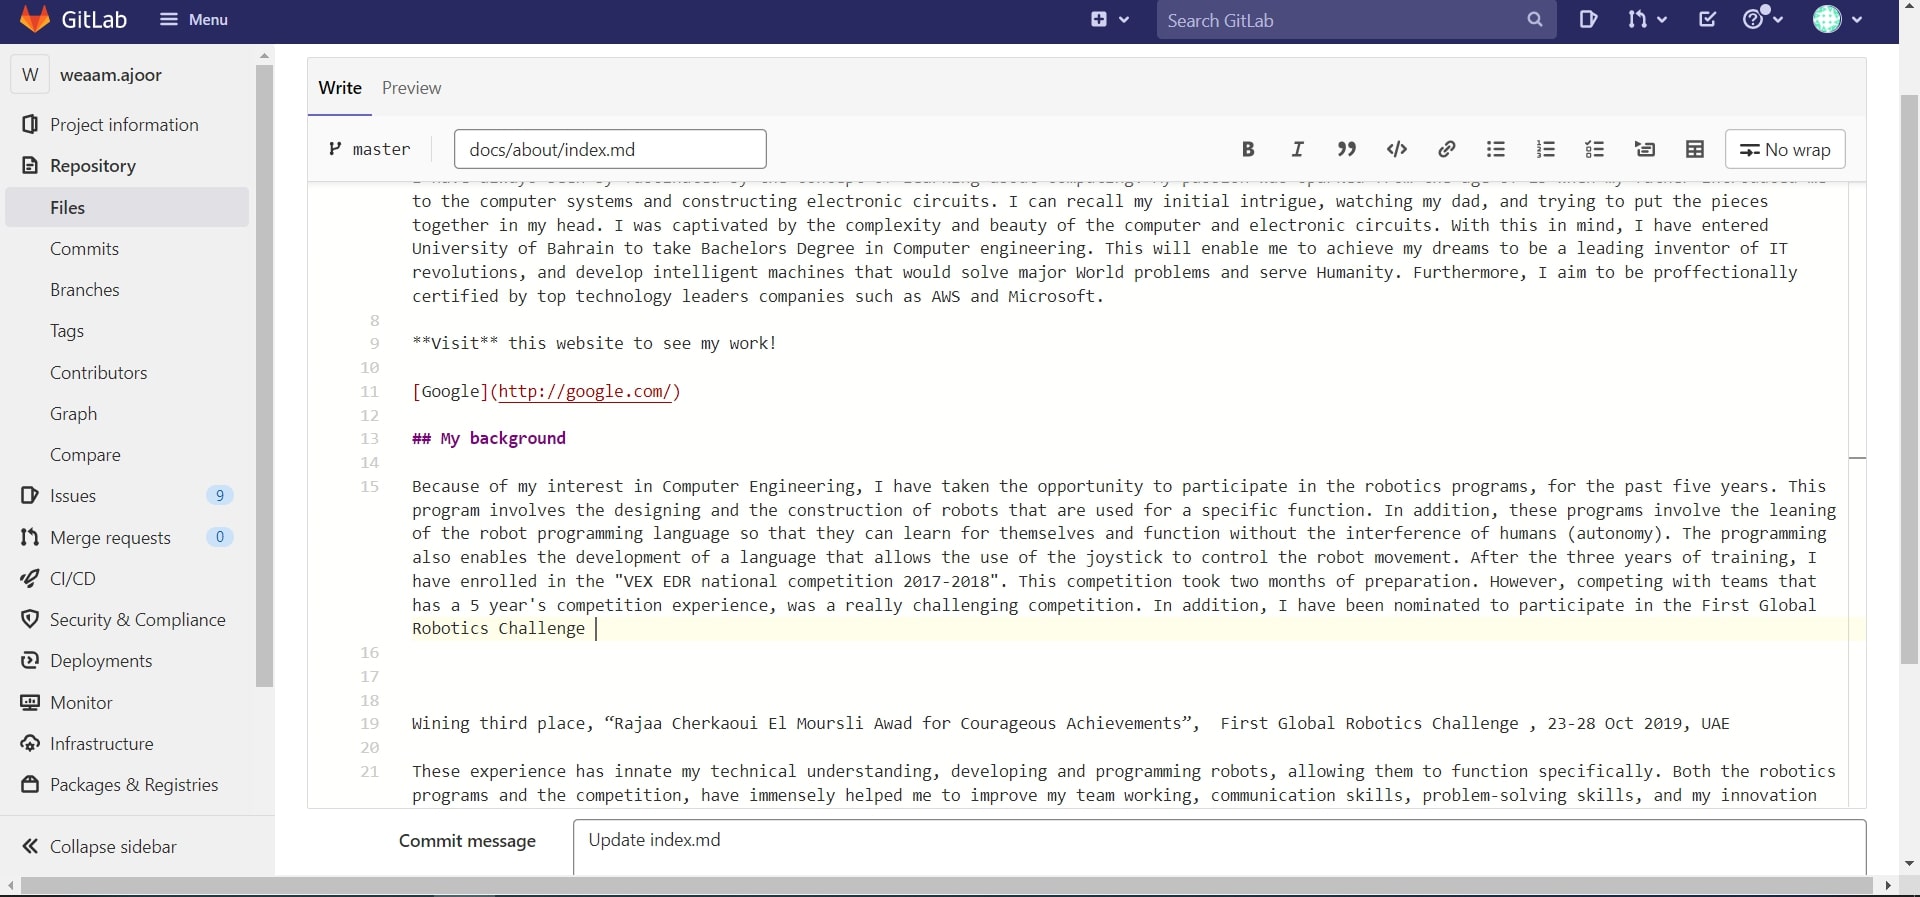
Starting off with the first class of week 1, we have created our accounts on Gitlab. Then, I learnt how to edit my website on Gitlab to document all my progresses. I have noticed that the main advantages of Gitlab software is that a simple text files are written in Markdown format, can be simply transformed into a website. The photo below shows my progress while editing “About” page online on the Gitlab.
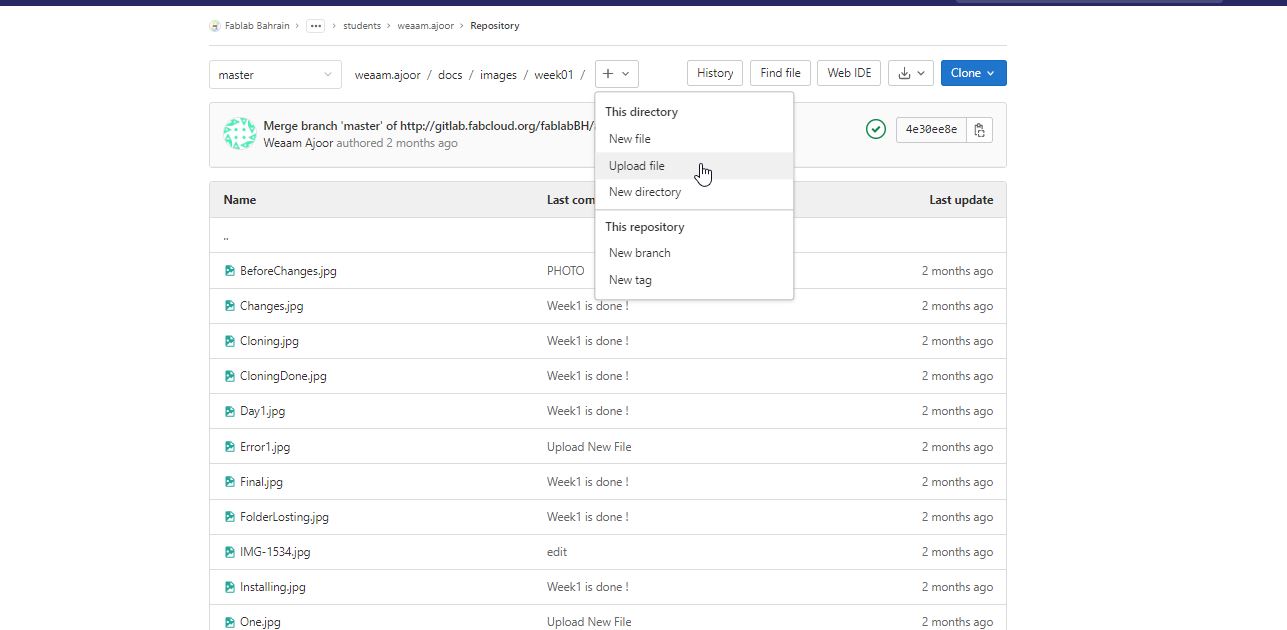
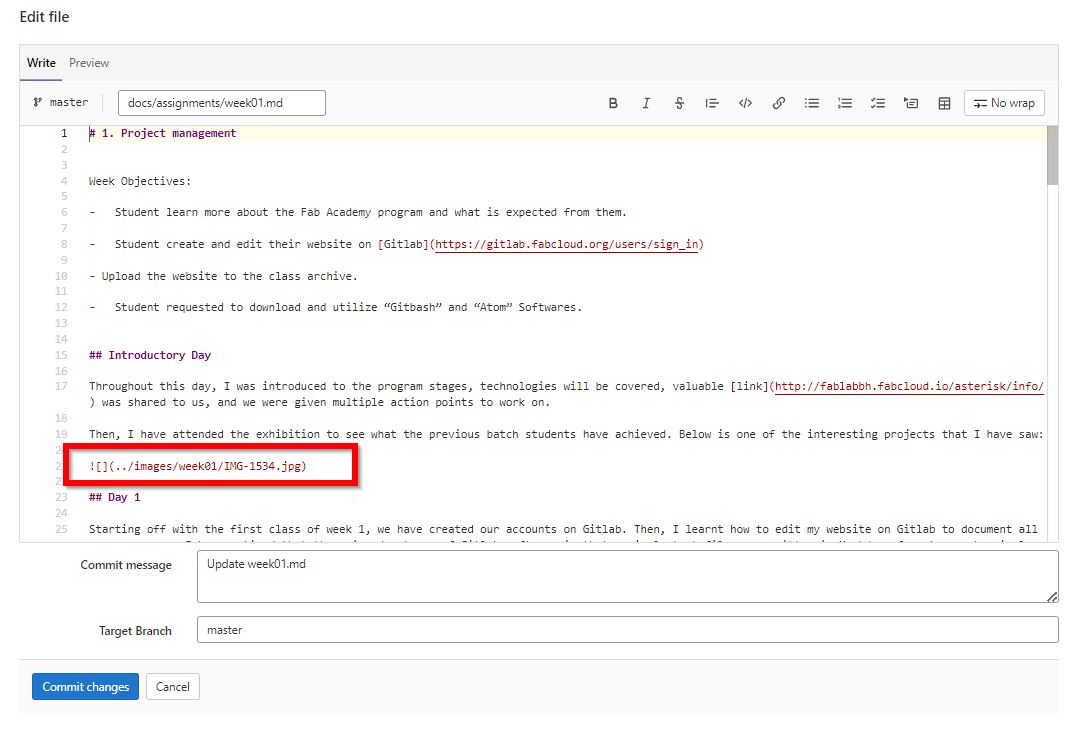
As for uploading the image through Gitlab, I did the following steps:
1- Press Doc > images > week01 and then click on upoald button from here:
2- Then, you may reference your image in the assignment page as follows:
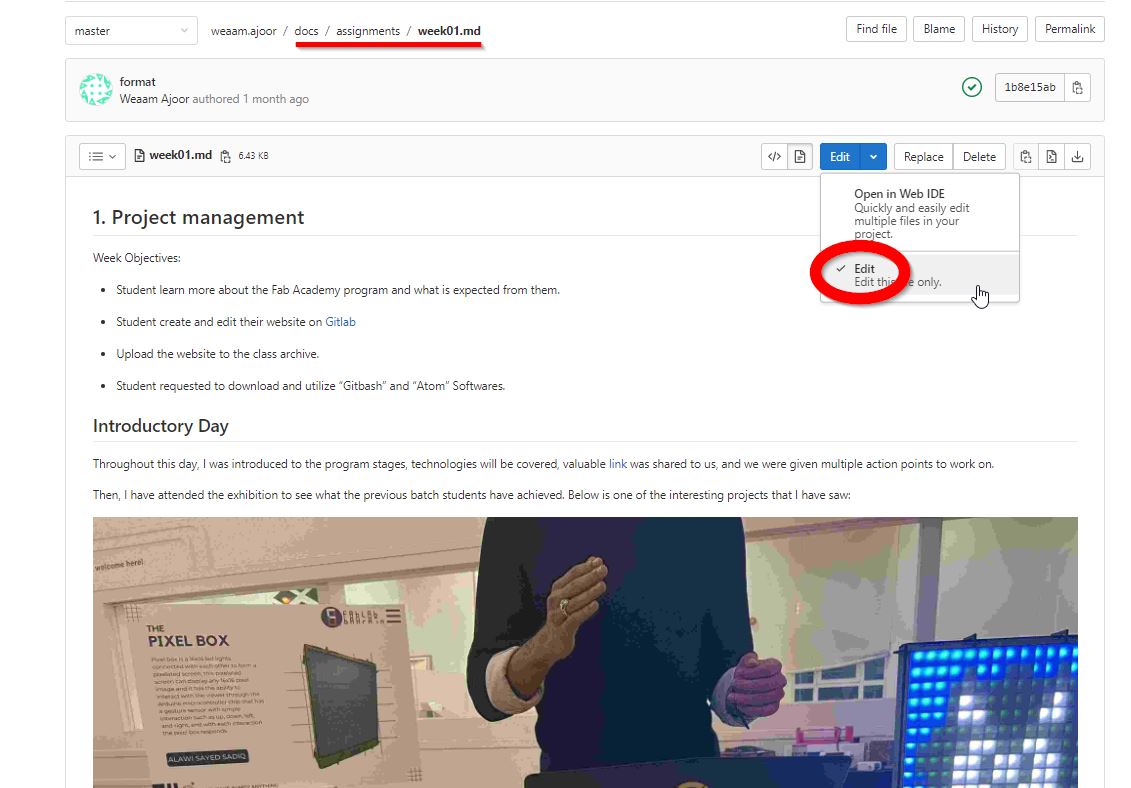
3- Finally, use the following syntax to display it in your page:
Day 2
To improve my documentation process for the coming weeks, I have downloaded both “Gitbash” and “Atom” Software. Because, the Gitlab platform allows me to add photos one by one only and it needs internet connections to edit the website. Therefore, using the two new software, I would create a copy of the repository live onto my computer; where I can add and edit the repository locally and then upload it easily to the website. Thus, before demonstrating my steps for setting up GIT, let’s go through these important concepts:
Version Control System:
It is a system that records changes to a file or set of files over time so that you can recall specific versions whenever you need to. This tool consider as a way to help managing projects in a group, since changes by multiple people are all merged into one source code over time.
GIT:
Git is a free and open source distributed version control system designed to handle projects with speed and efficiency. It enables users to track the changes made to the files and revert specific versions when needed. As mentioned previously it is useful for managing group projects. Git software runs locally; meaning internet connection is not needed. In addition, the files and their history are stored onto the computer.
GIT Bash Software:
It is an application for Microsoft Windows environments which provides the communications between github and the local copy of the code; and run GIT commands. Also, the repository can be cloned from github to the local machine, edit website, commit message, and push changes back to github.
Atom Software:
Atom is a free and open-source text and source code editor developed by GitHub for macOS, Linux, and Microsoft Windows, with git integration and supports plug-ins written in JavaScript.
MkDocs:
MkDocs is a static site generator designed for building documentation websites. Written in the Python programming language, MkDocs is an open-source project with a lot of community support. A variety of themes are available.
Setting up GIT
Step 1: Install GIT Bash and Atom Software from the following links:
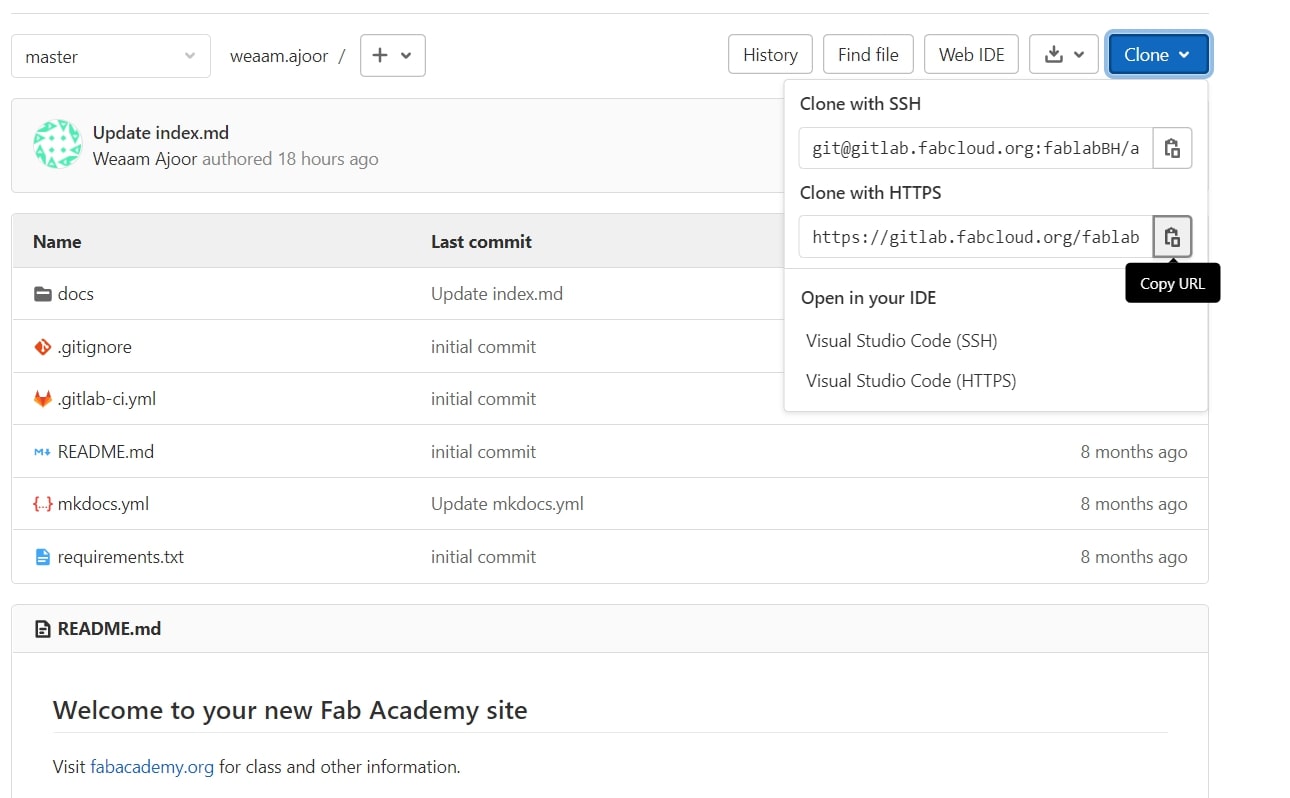
Step 2: Using GitBash, the repository from GitLab was cloned to my computer.
1.The http address for cloning was get from GitLab:
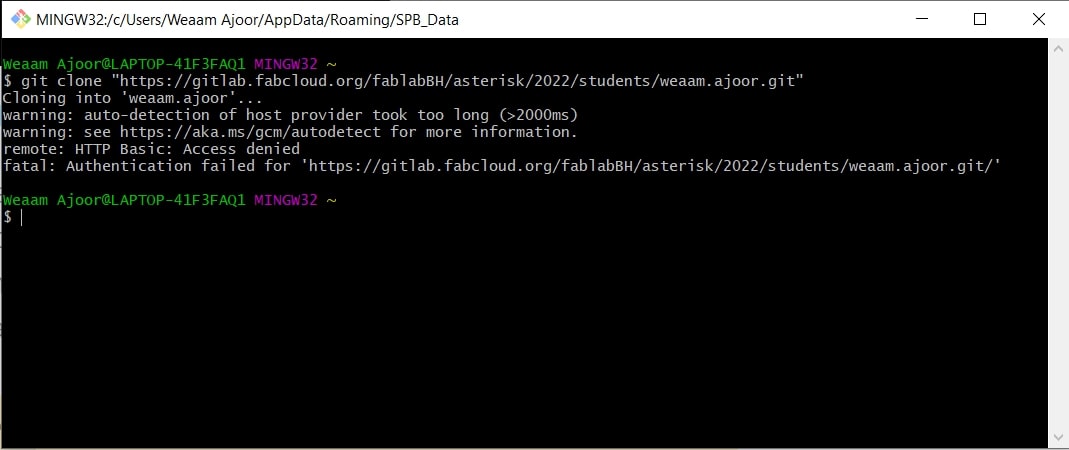
2.The GitBash have been entered and the following command was typed:
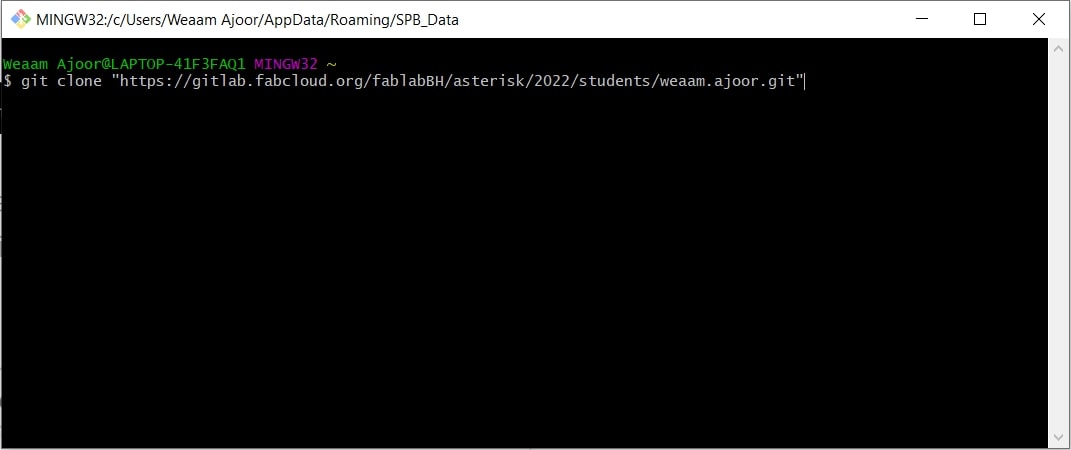
Note: The cloning syntax is ((git clone “Address”)).
3.I was requested to enter my credentials:
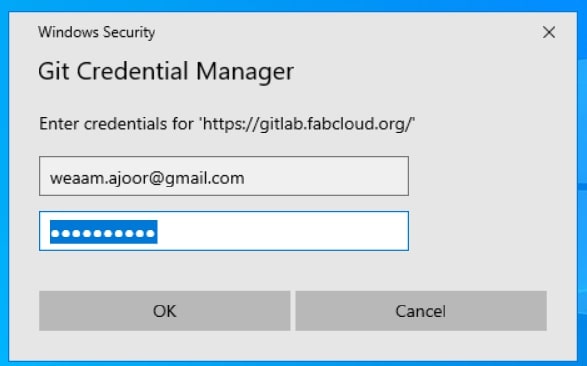
While I am trying to clone the repository in the GitBash, A problem occurred: “Access Denied”.
Hence, to overcome this issue I have reset my password and be more cautious about the case while entering the username.
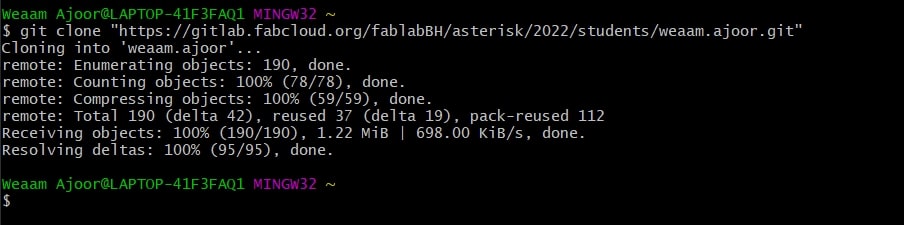
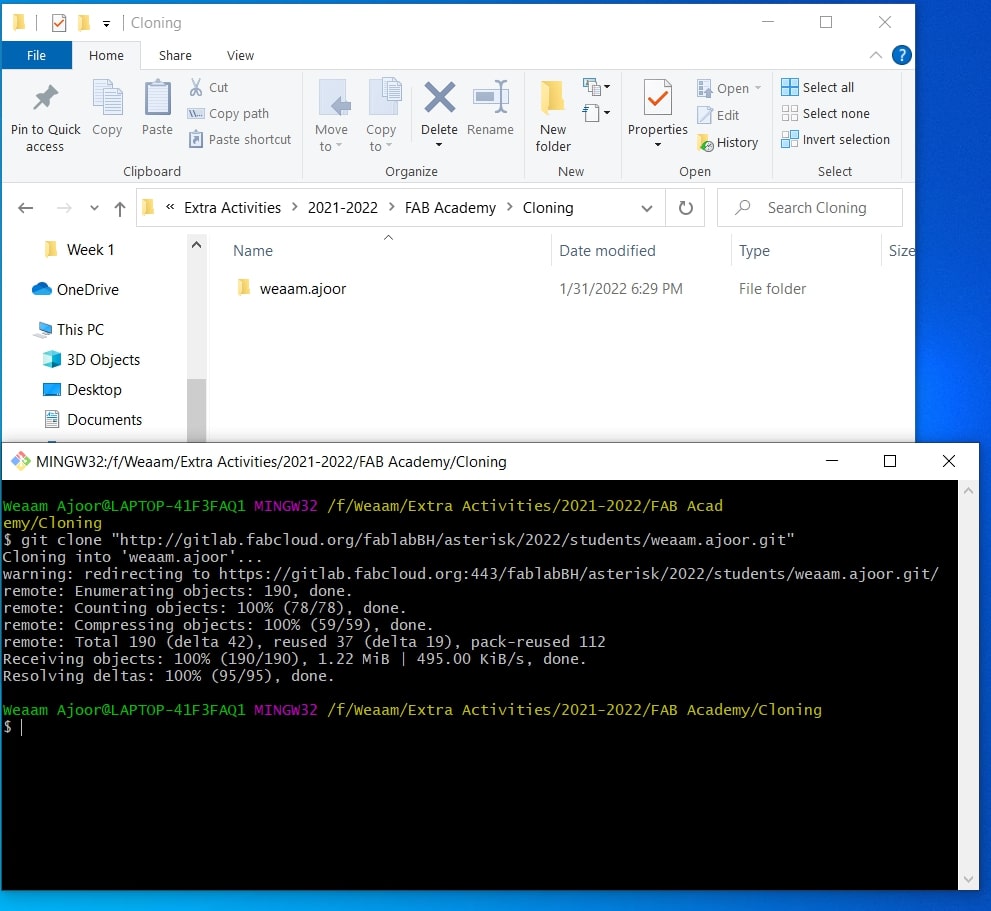
4.Cloning was successfully finished.
I tried to find the cloned folder through tracking the directory using (pwd) command. But, unfortunately I was not able to find it.
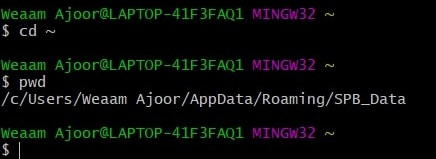
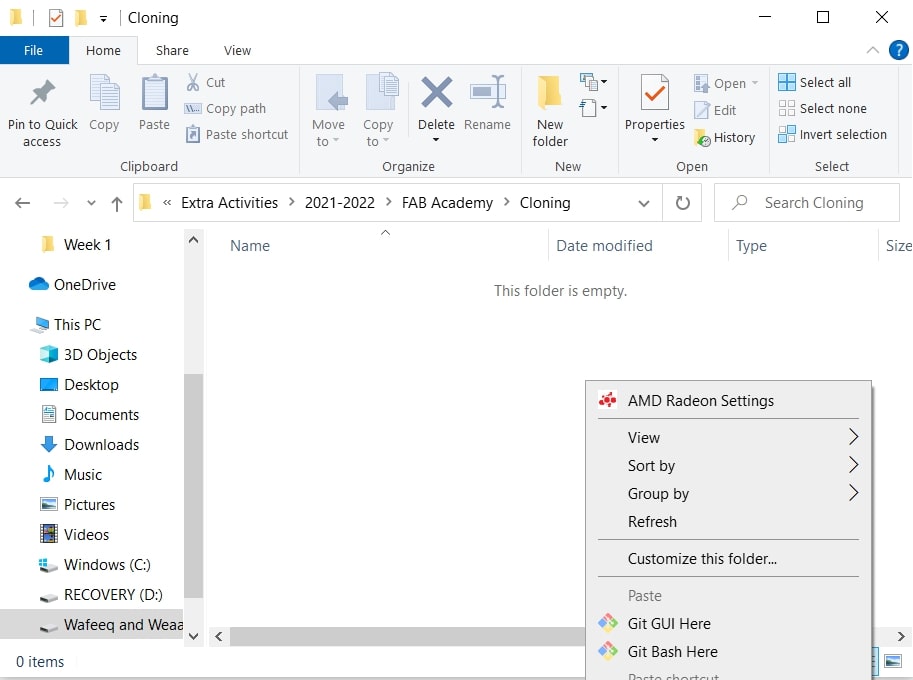
Hence, I went to the folder that will be used to store the cloned repository. Then, right click on it, and select open folder here. Finally, the cloning was finished. As follows:
Relocating the Cloning Folder :
Cloning is done !
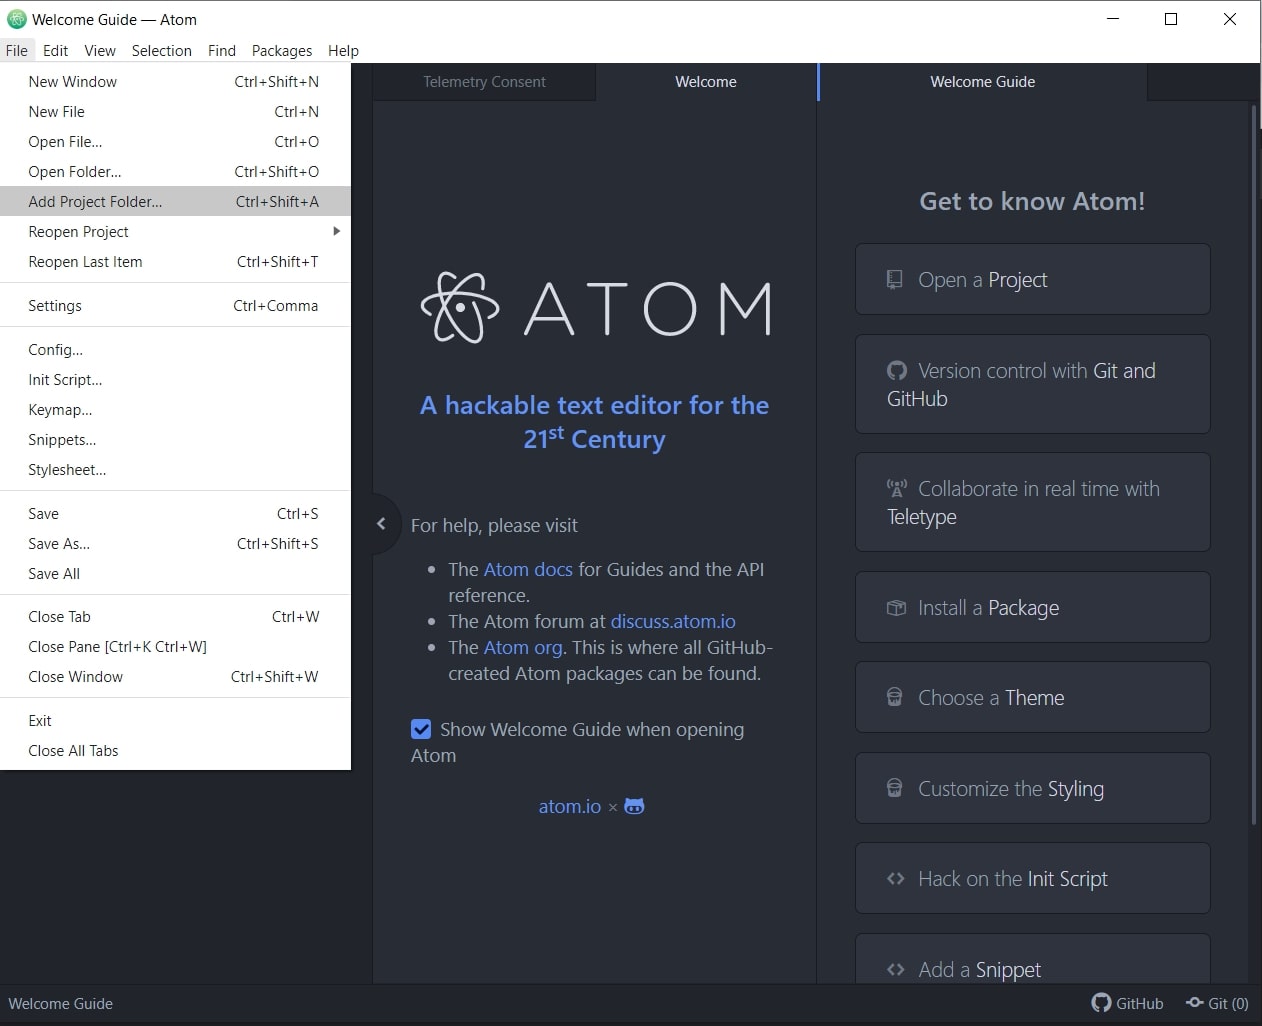
Step 3: Cloning my repository into Atom
1.The ‘file’ button was selected, and “Add Project Folder” have been clicked. Then, the folder that previously downloaded from the GitBash have been selected.
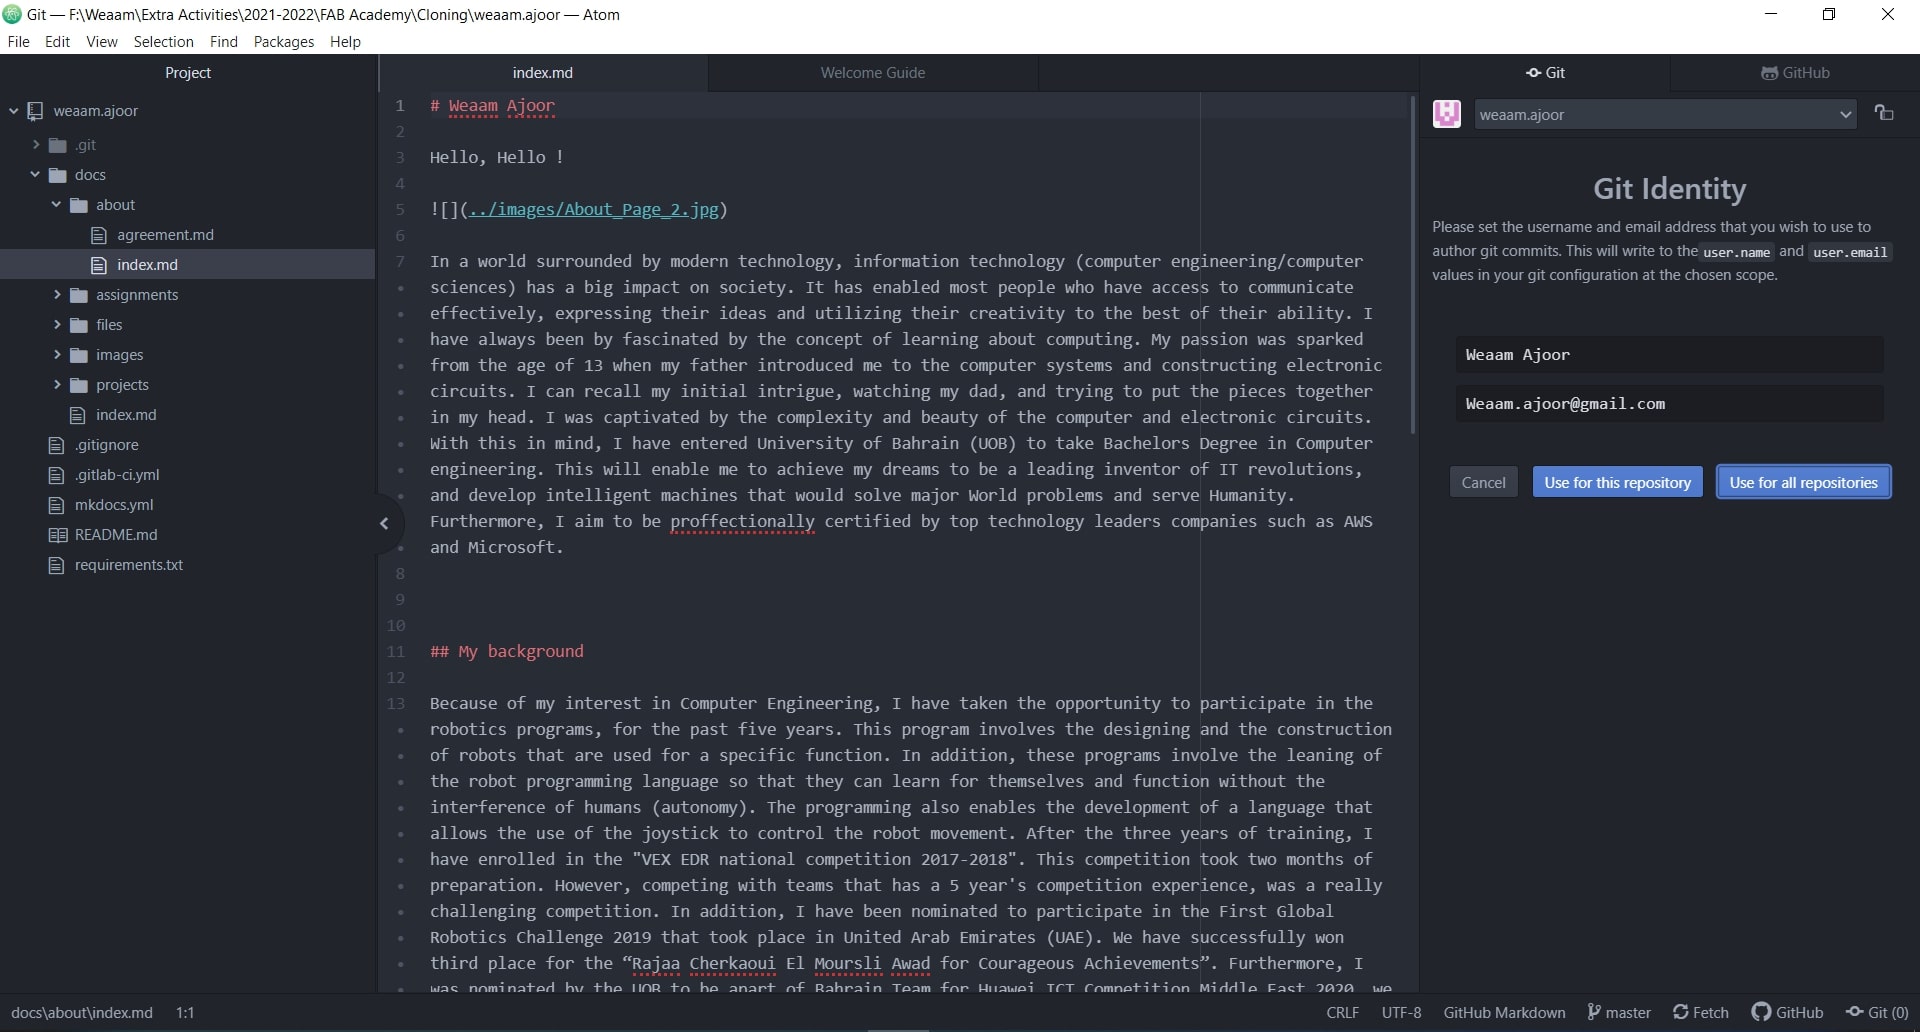
2.The “Git” button at the button-left of the page was selected and the ‘git identity’ was filled.
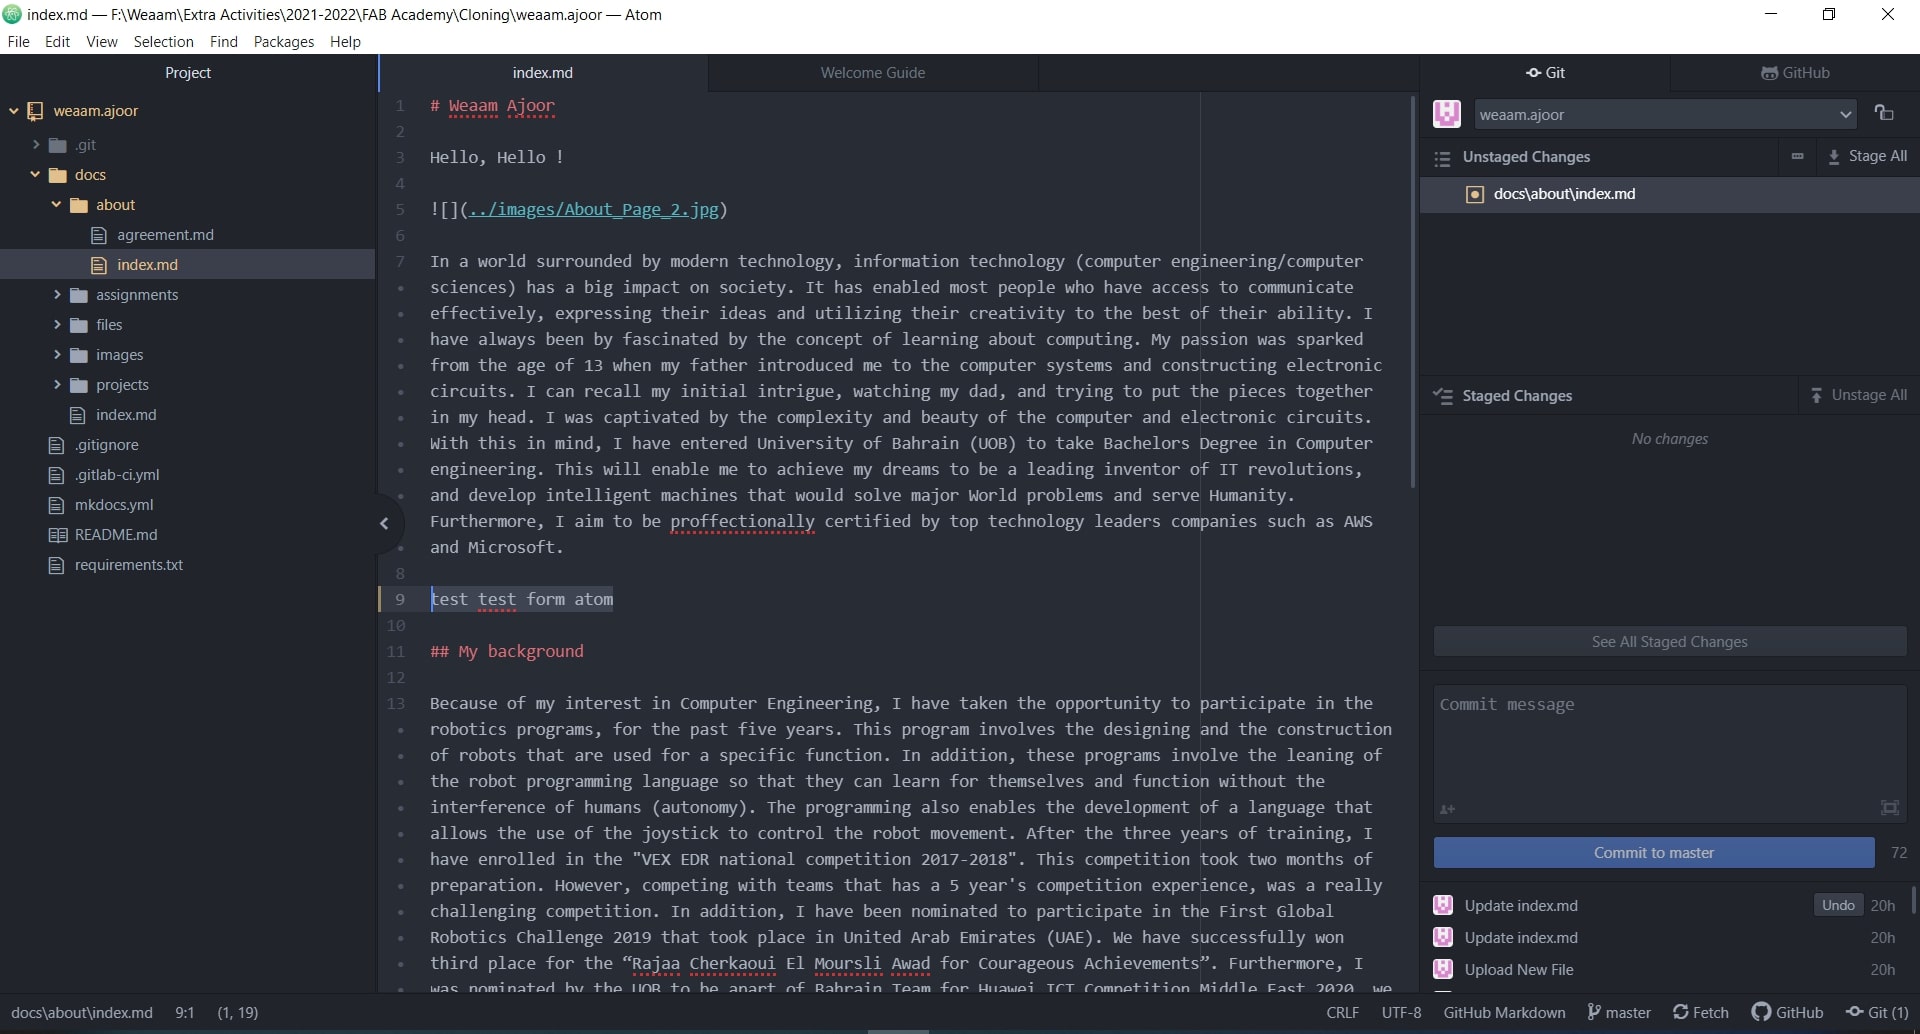
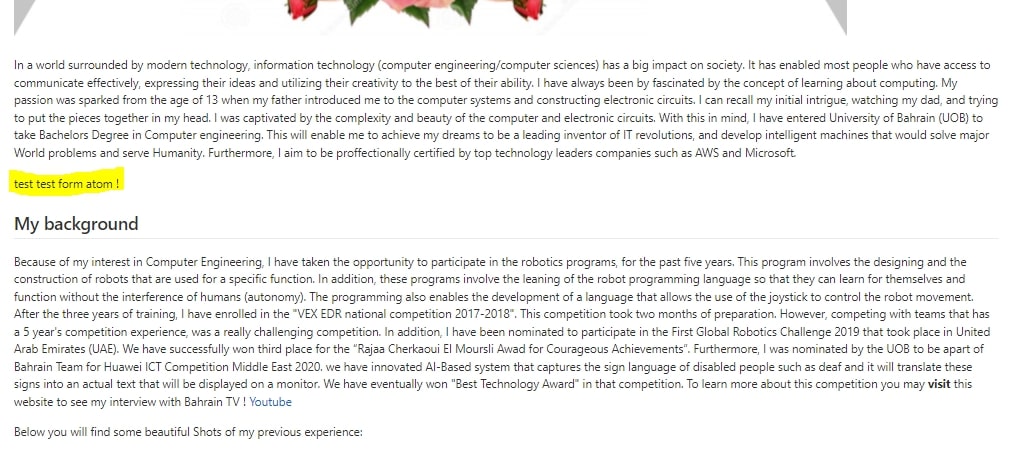
Step 4: After settling everything, I was able to do changes in the website. The following example presents the editing steps in Atom Software.
1.I have selected the “About” page, and added this sentence (test test from atom!):
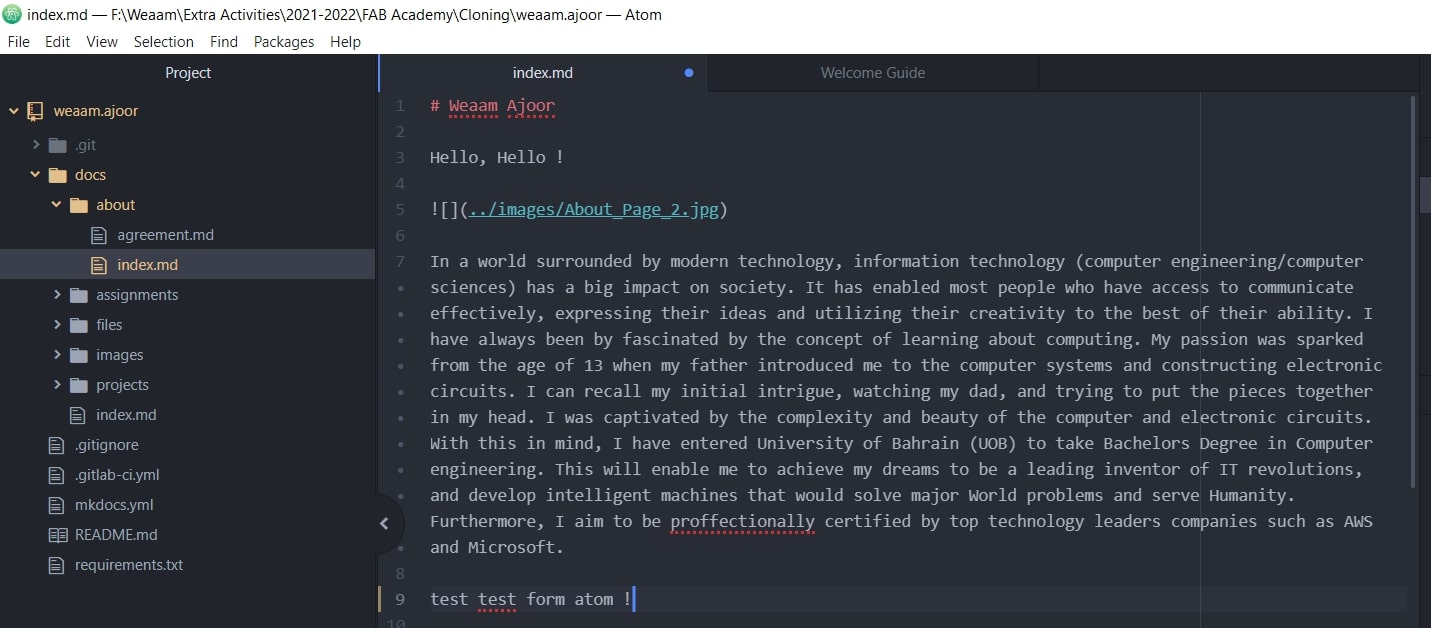
Note:
When changes are made, a blue dot will appear next to the folder name. This means that there are changes that have not been saved yet.
Also, on the left-side of the screen the folder will turn to be a yellow colored. This means that the folder have changes locally but not been pushed to the gitlab.
After adding the sentence the screen have showed blue dot and folder was highlighted with yellow color as follows:
2.I have saved all the changes by right-clicking on the ctrl+s.
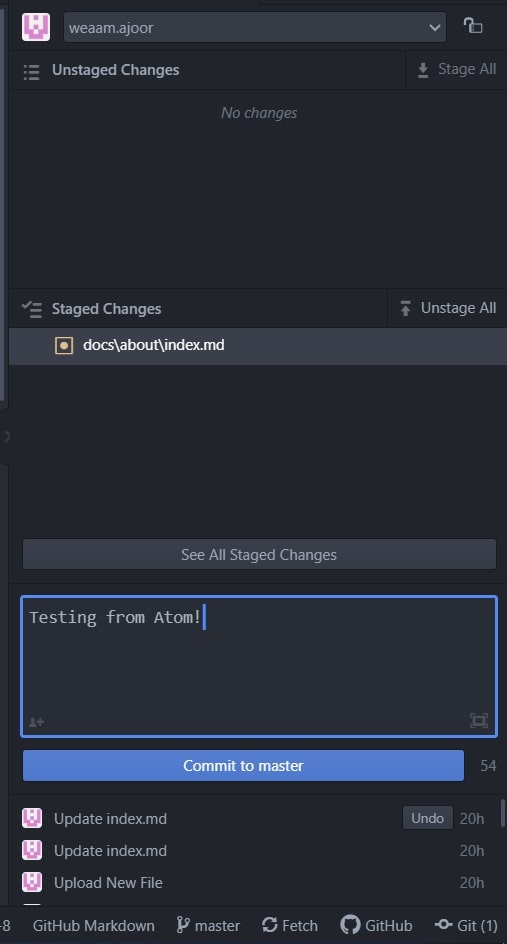
3.I have pushed the changes to the gitlab:
- Click on “Stage All” button located on top right of the screen; and add a commit message. As follows:
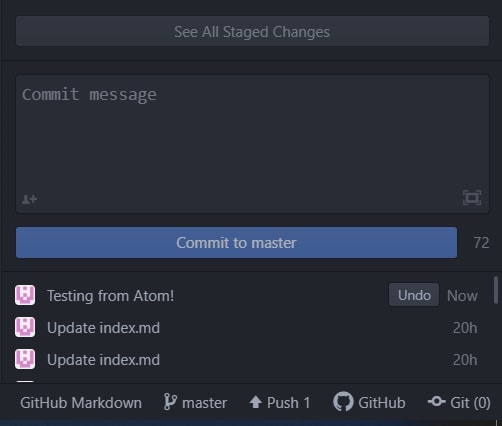
- Click on “Push” button located on the bottom of the screen:
Final Results
Before Changes:
After Pushing the Changes:
Thank you for Reading !