8. Molding and casting
Week Objectives:
As a Group:
-
Review the safety data sheets for each of your molding and casting materials
-
Make and compare test casts with each of them
As a Individual:
- Design a 3D mold around the stock and tooling that you’ll be using, mill it (rough cut + (at least) three-axis finish cut), and use it to cast parts.
Introduction
Milling Concept
Milling is the process of machining using rotating cutters to remove material by advancing a cutter into a workpiece. Milling covers a wide variety of different operations and machines, from small individual parts to large, heavy-duty group milling operations.
Molding Concept
Molding is a manufacturing process that involves shaping a liquid or malleable raw material by using a fixed frame; known as either a mold or a matrix. The mold is generally a hollow cavity receptacle, commonly made of metal, where liquid plastic, metal, ceramic, or glass material is poured. There are various types of molding as follows:
1- Inject Molding: is used for creating high-quality three-dimensional objects, that can be commercially reproduced. The molding process begins by melting plastic in a hopper. Then the plastic is injected into a tightly closed, chilled mold. The plastic quickly takes the shape of the surrounding mold. Once it has completely set, the mold is opened and the plastic object is released. Yogurt pots, butter tubs, toys and bottle caps are made using this process.
2- Insert Molding: is where you put something in the mold and cast the material around it.
3- Over molding: is where you mold material on the material often used to make flexible material around the hard material.
4- Vacuum Former: where you heat a piece of plastic and you pull a vacuum to pull over a form.
5- Blow Molding: is how bottles are formed, you have a polymer tube, you heat it, inflate it and blow it into the mold.
6- Rotational Molding: you tumbled the mold ( rather than filling the mold it forces with every material into a layer around the surface of the mold.
Casting Concept
Casting Concept: is a manufacturing process in which a liquid material is usually poured into a mold, which contains a hollow cavity of the desired shape, and then allowed to solidify. The solidified part is also known as a casting, which is ejected or broken out of the mold to complete the process. There are various types of casting, here are some types:
1- Die casting: is a kind of metal casting that involves pushing molten metal into a mold chamber under high pressure. Operators machined the two hardened tool steel dies into form and operate in the same way as an injection mold throughout the operation to produce the mold cavity.
2- Investing casting: uses a disposable wax pattern for each cast part. The wax is injected directly into a mold, removed, then coated with refractory material and a binding agent, usually in several stages to build up a thick shell. Multiple patterns are assembled onto common sprues. Once the shells have hardened the patterns are inverted and heated in ovens to remove the wax. Molten metal is then poured into the remaining shells where it hardens into the shape of the wax patterns. The refractory shell is broken away to reveal the completed casting.
3- Plaster Casting: is a process used to manufacture non-ferrous alloy parts with a smooth, even finish. Precise detailed parts with dimensional accuracy are normally produced using this plaster casting. As with many modern designs, the pattern for the casting is created in CAD or some type of software and includes allowances for shrinkage.
4- Sand Casting: uses sand molds to form and shape castings. It is a common production method for the manufacture of metal parts of varying sizes and weights and can produce complex detailed parts using any type of metal alloy. Though sand casting is a cost effective and economical method, it is capable of efficiently producing high quality parts. All of the materials used in the process are reusable and recyclable, which adds to its low cost.
Week’s Key Words
-
Sprue: is where the material come into the mold
-
Runner: how the material travels through the mold
-
Gate: where the material goes into the mold cavity
-
Vent: how air leaves the mold
-
Parting line: is it seen at the boundary faces.
-
Flashing: if you have a mold, their is a little hole to pass the material through it.
Note: these key words are been captured from the lecture recorded video.
Group Assignment
For this week, as group assignment we learnt more about the safety guidelines of all the molding and casting materials. In addition, we have identified the procedures for the molding and casting materials. Moreover, we have successfully compared the material results throughout testing them.
Now, let me present to you my work in the group:
Testing phase
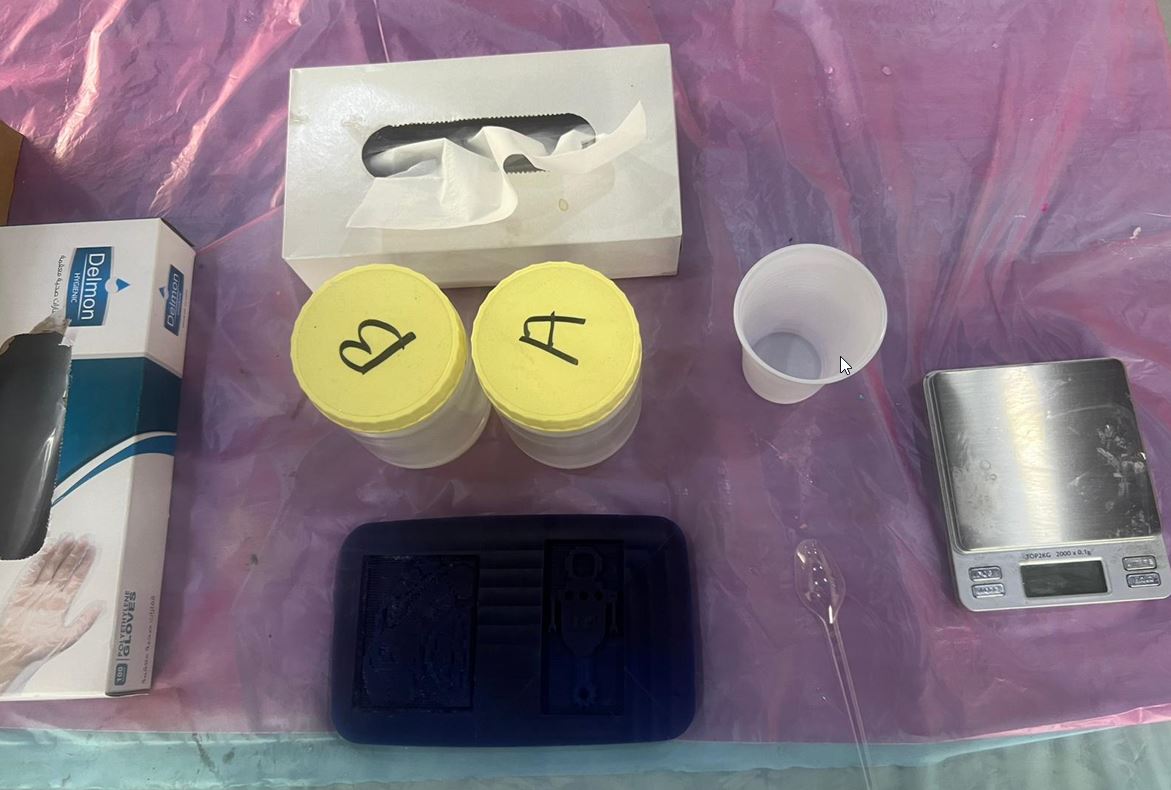
Every student chose a material and went on trying it, for instance I choose the ((Silicon A & B )). Below you will find the steps for trying it out:
-
First we added Silicon A and Silicon be with a ration of 1:1. As Follows:
-
Then, we mixed the two material together and make sure to prevent the air bubbles to be produced.
-
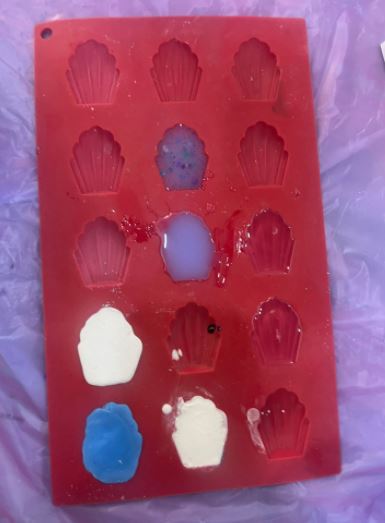
Pour it in the Mold.
The following video will illustrate further the testing process accomplished:
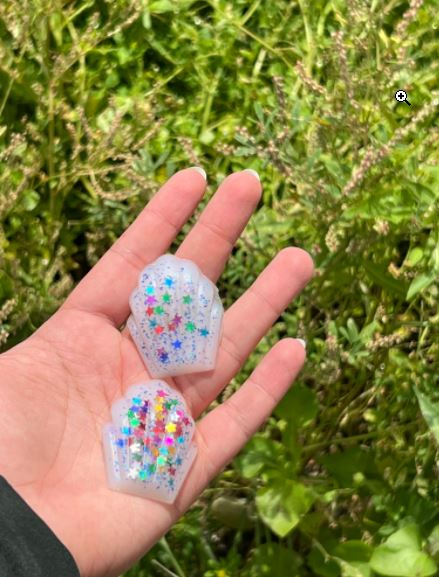
Final Result
Group Assignment Link
For more details, please refer back to my colleague’s group work page:
Individual Assignment
Designing Process
Problem Description
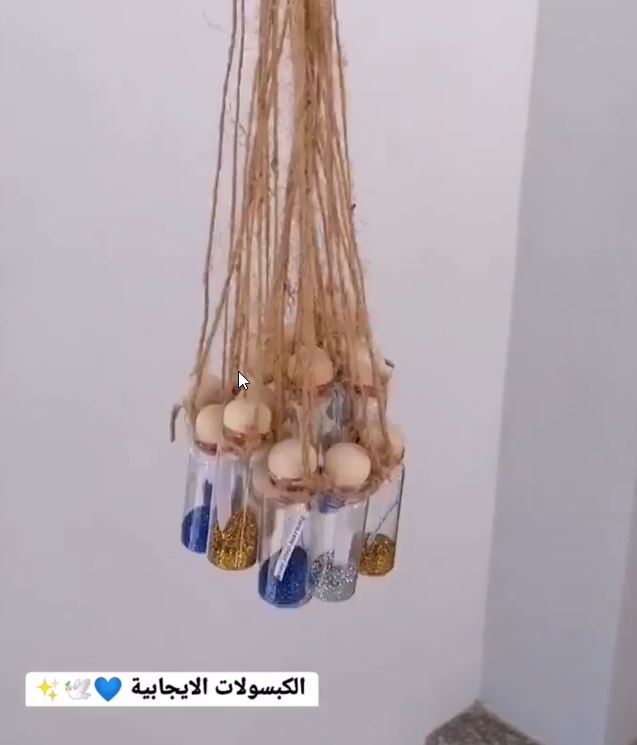
Whenever I meet new people, I always try to leave a enormous impression and make sure to spread positive words all around. For the past 4 years, I kept preparing and distributing small jars that have positive quotes embedded within them, as follows:
Unfortunately, one of the main issue faced during these giveaways preparation; is that sometimes I run out of the jars and most of the time it is difficult to find the right size in the market. Hence, this have motivated me to create my unique giveaway keychain mold for this week assignment. Since, I am always passionate about robots and technology, I chose to create a robot keychain that have positive word embedded into it. So, I can distribute it all around the world !
Thinker CAD
The following steps were achieved to create the Robot KeyChain:
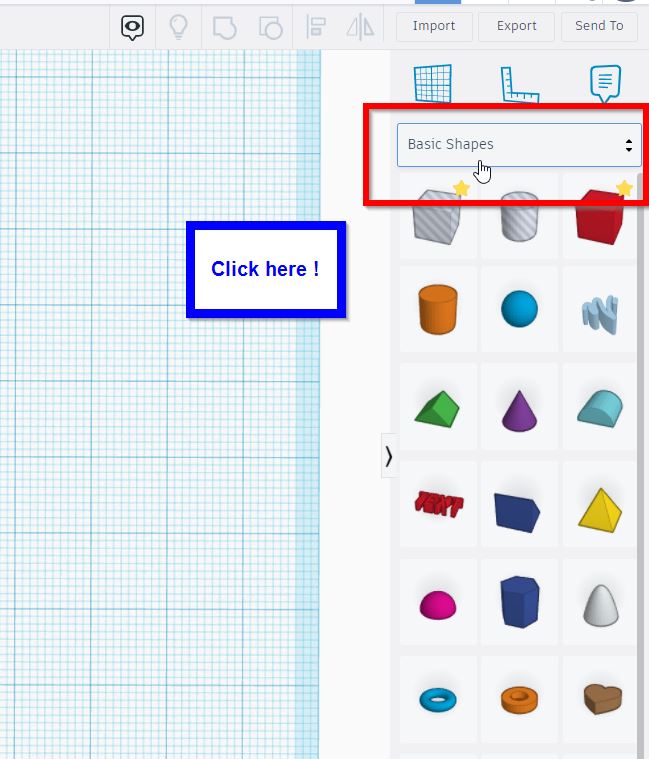
1- First I have uploaded my robot design created in week 2 using Inkscape Software; by clicking on “Import” and “Choose a file” button. Then, select the .svg folder and do the following settings:
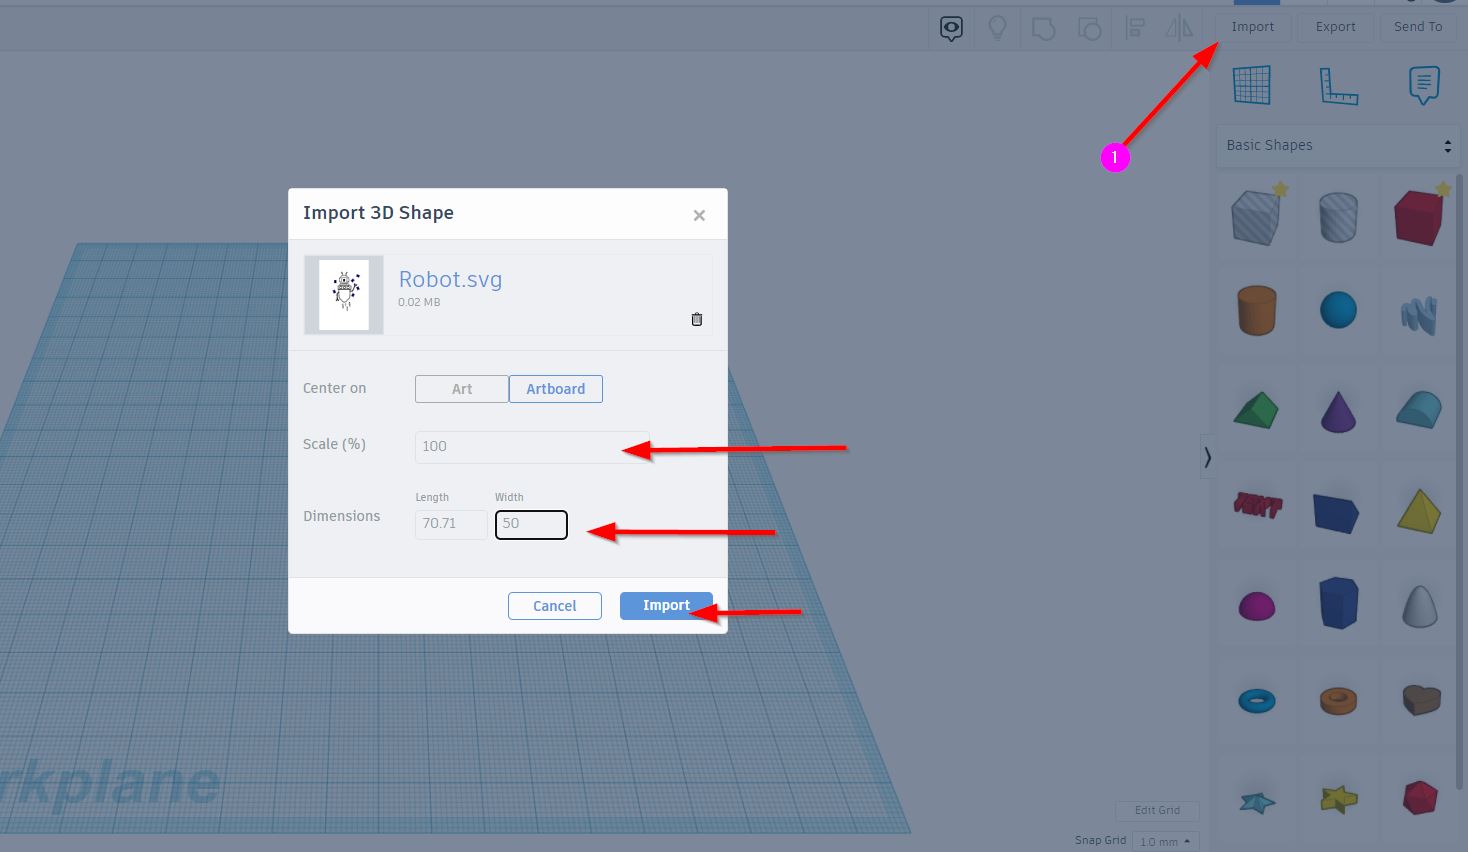
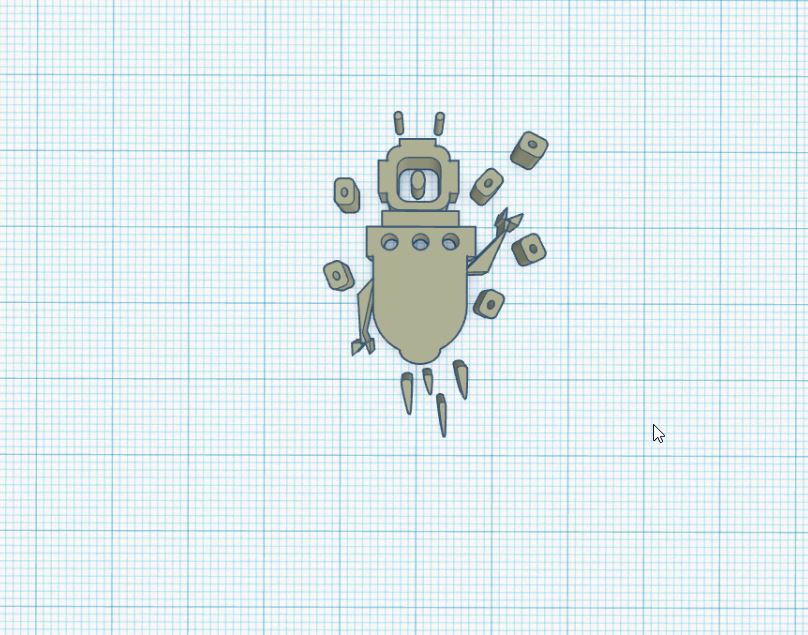
After pressing “Import” the following design have been displayed:
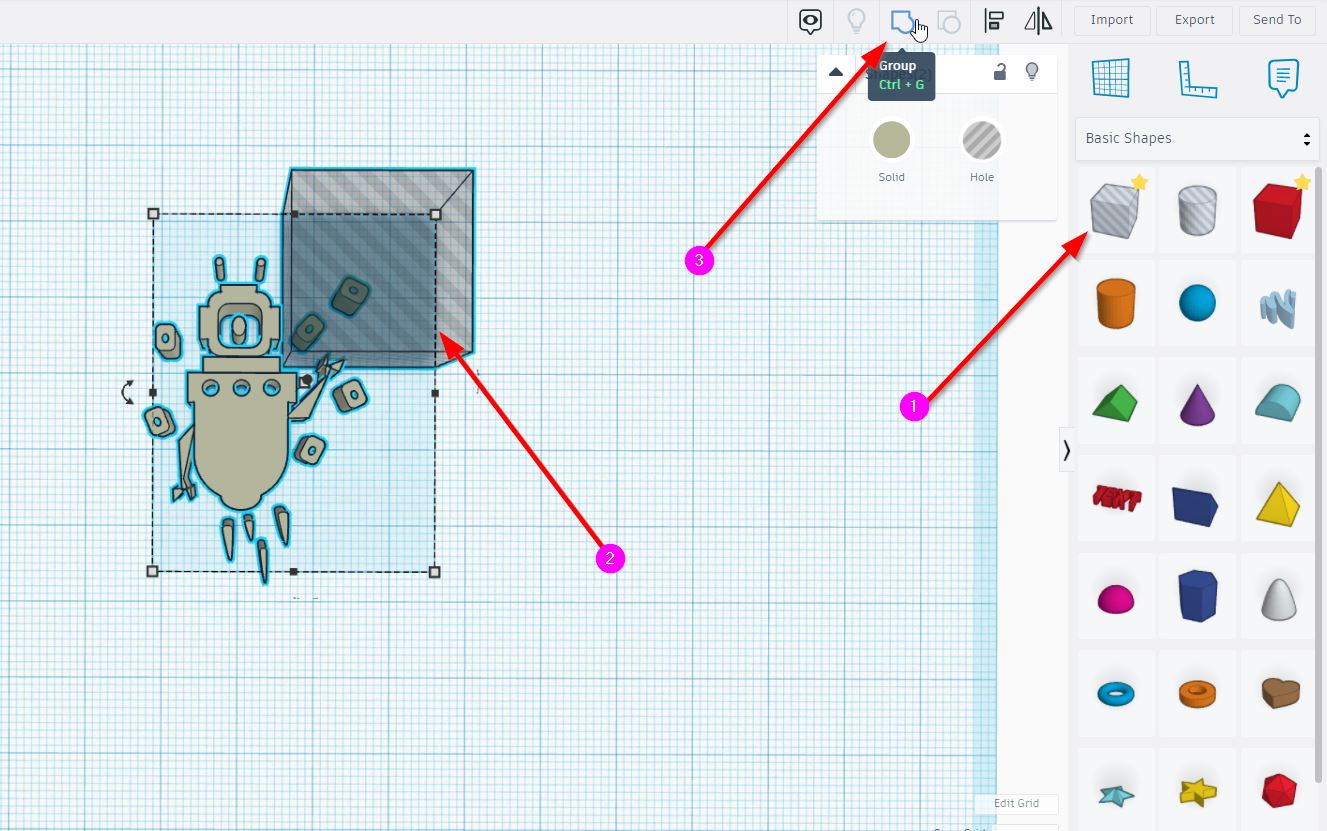
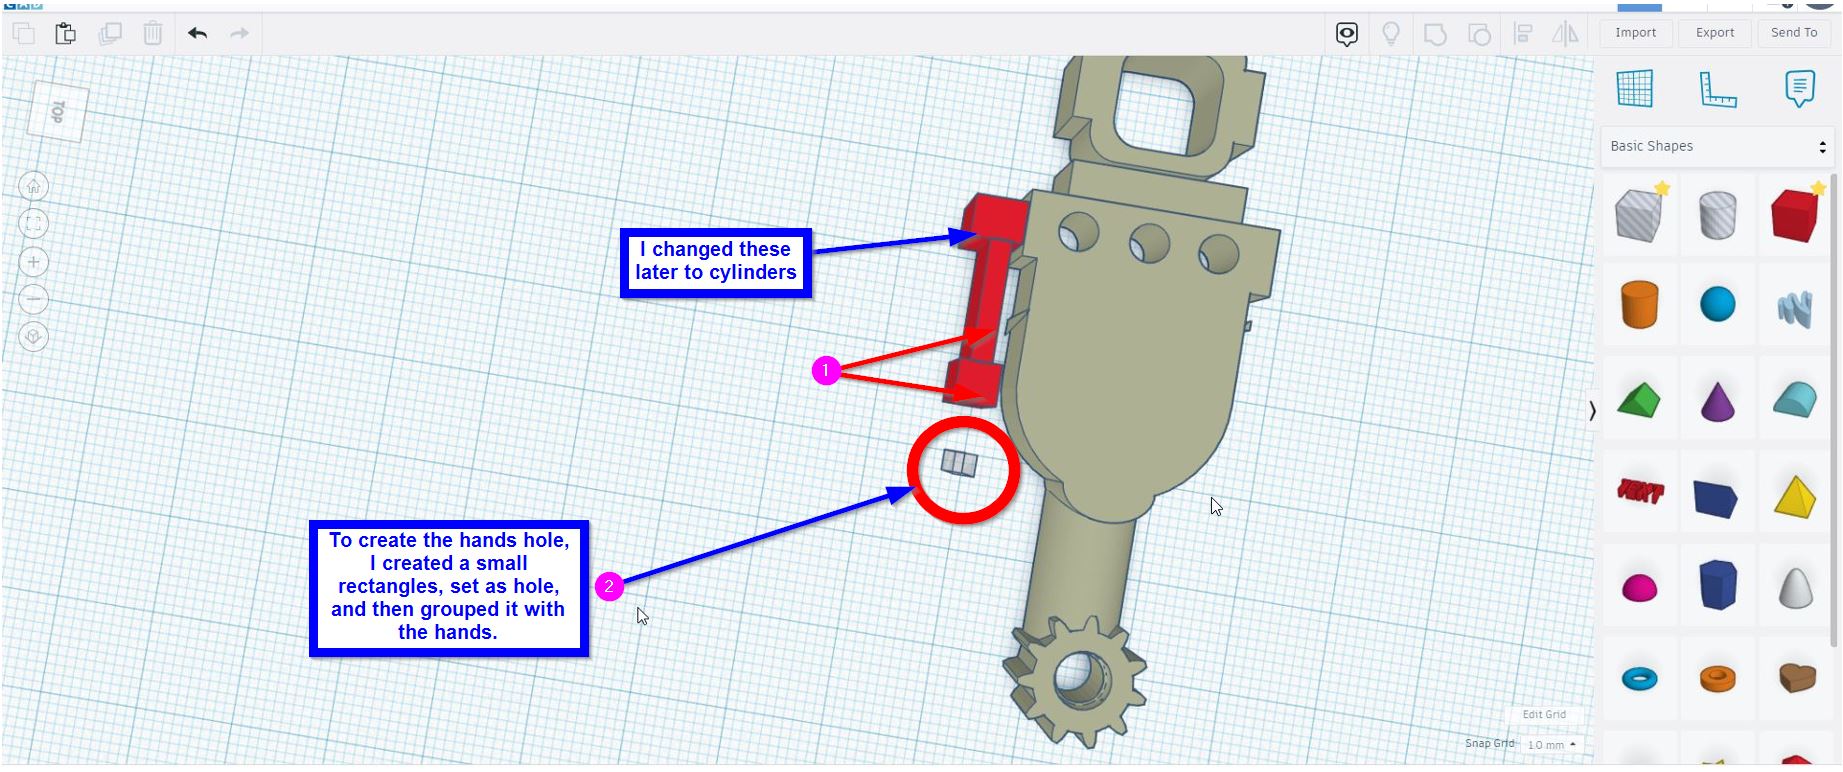
2- Then, I started removing the undesirable parts. I did that by creating squares/triangles, selecting them as “hole”, place them at the targeted place, and “Group” the parts:
3- For the hands, I also removed them because after we settled the tool path and pressed “Preview Results” the hands were shown very thin as follows:
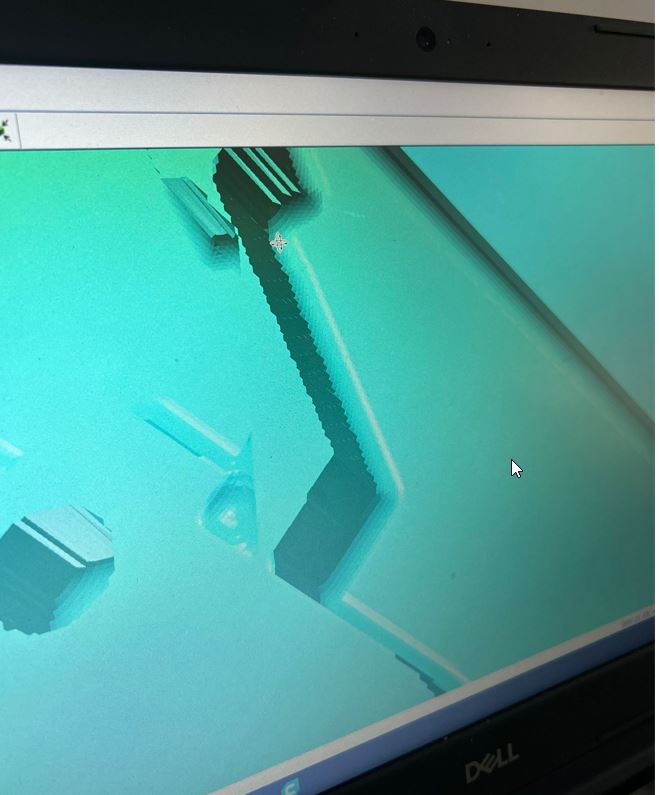
Therefore, if I kept them they will be fragile. Thus, I removed them as follows:
Afterwards, I went on and created new hands using the cylinder and rectangles, as follows:
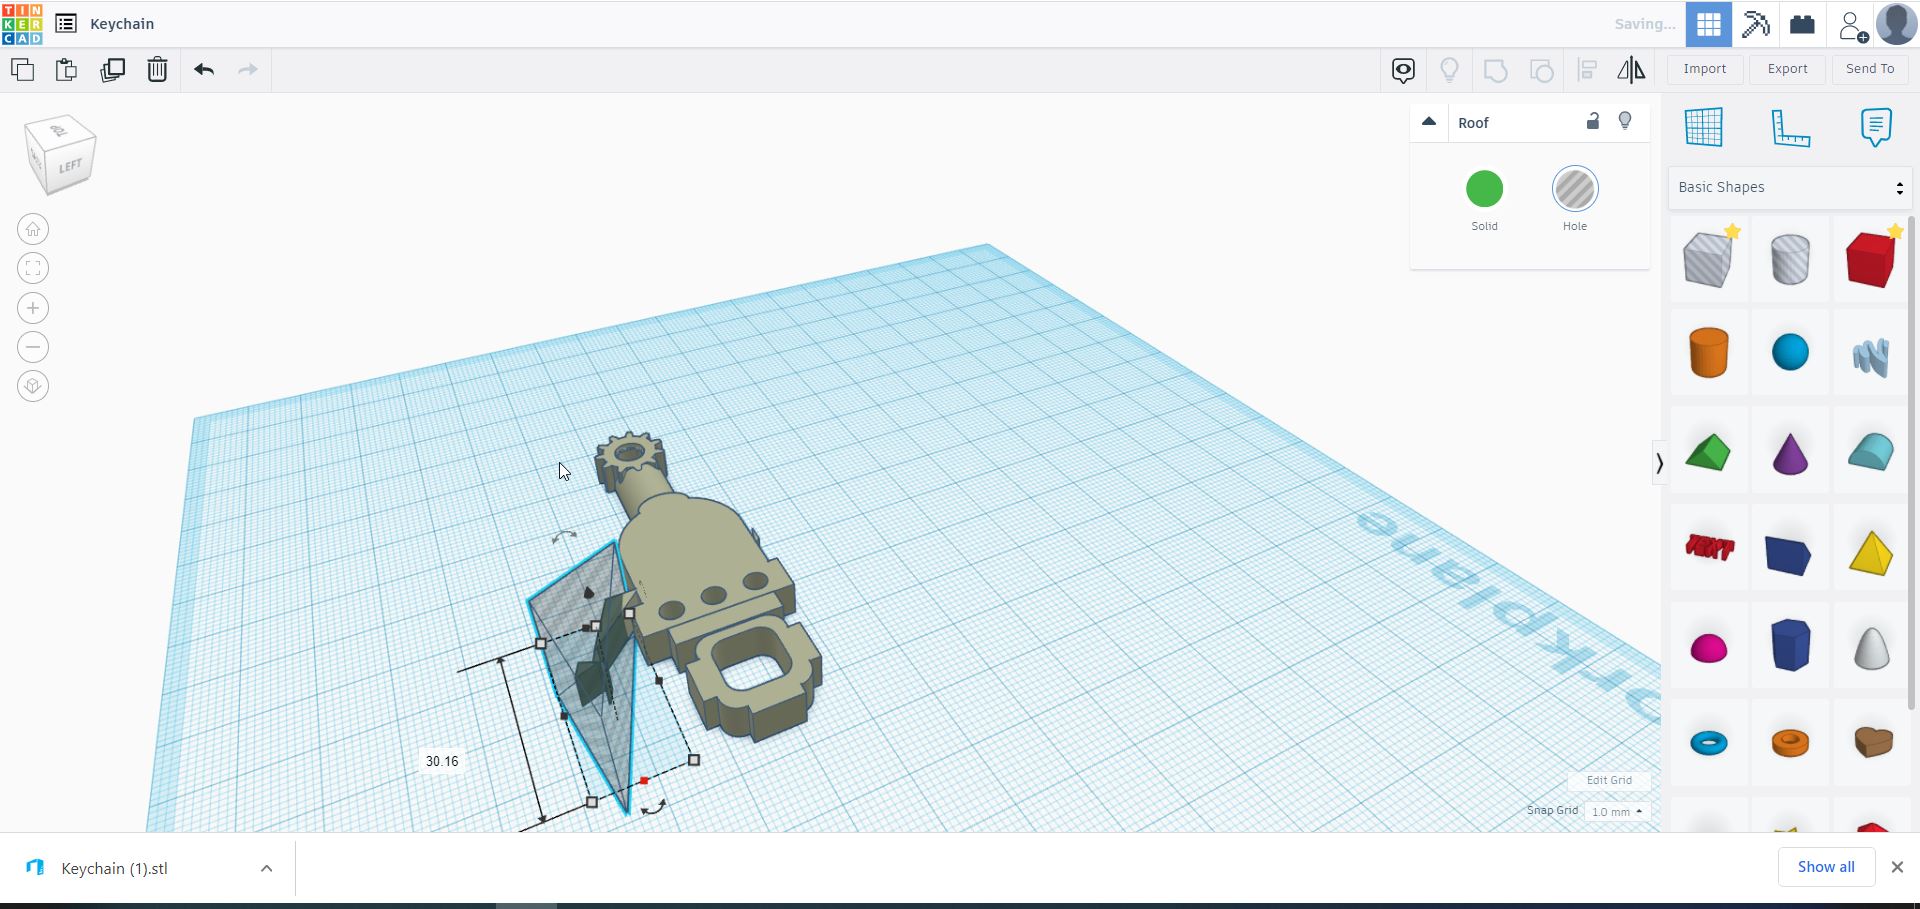
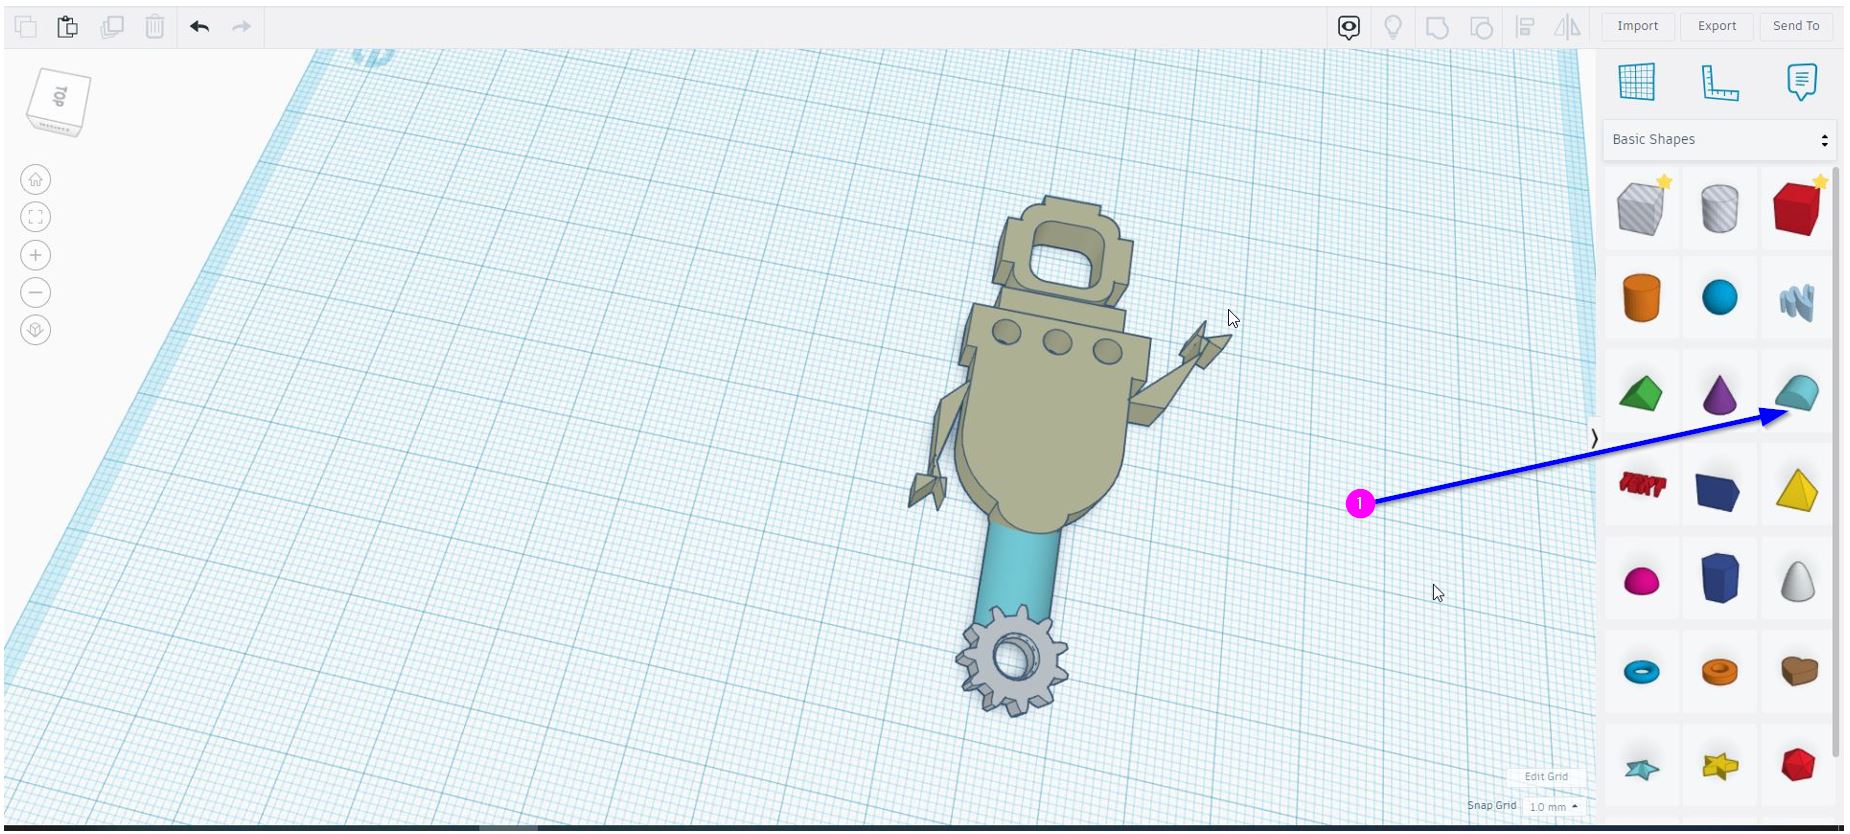
4- As for the robot legs, a “Round Roof” and a gears was used tp create them. As follows:
5- You can find gear design template from here:

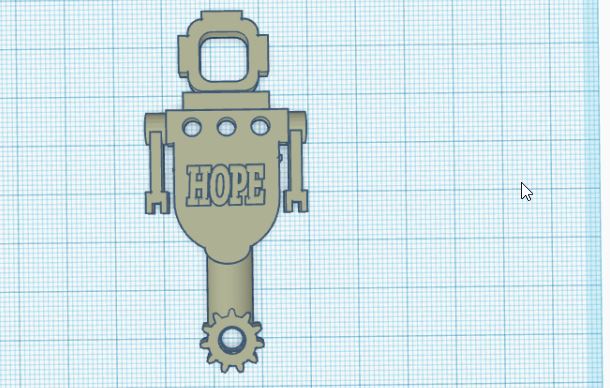
6- Then, using the text tool I typed and added “Hope” :
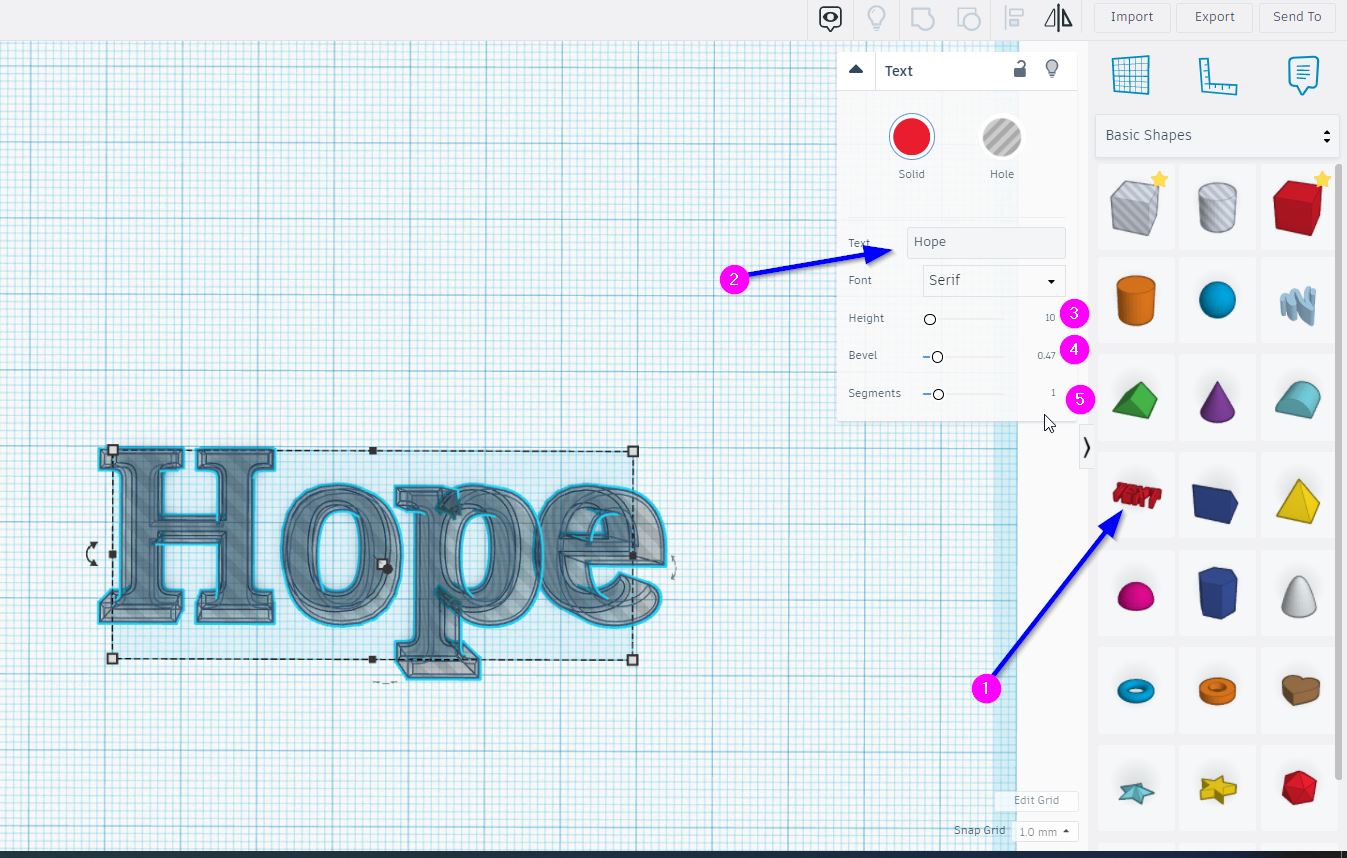
The following was the final design:
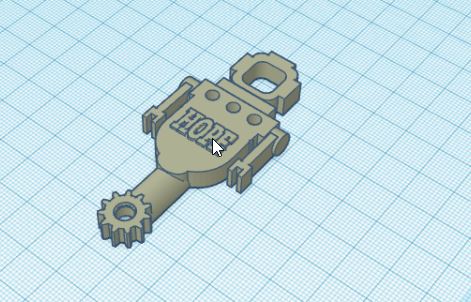
3D Model View
File Design
You can easily download my 3D model by clicking here:
Download Robot Keychain 3D Design
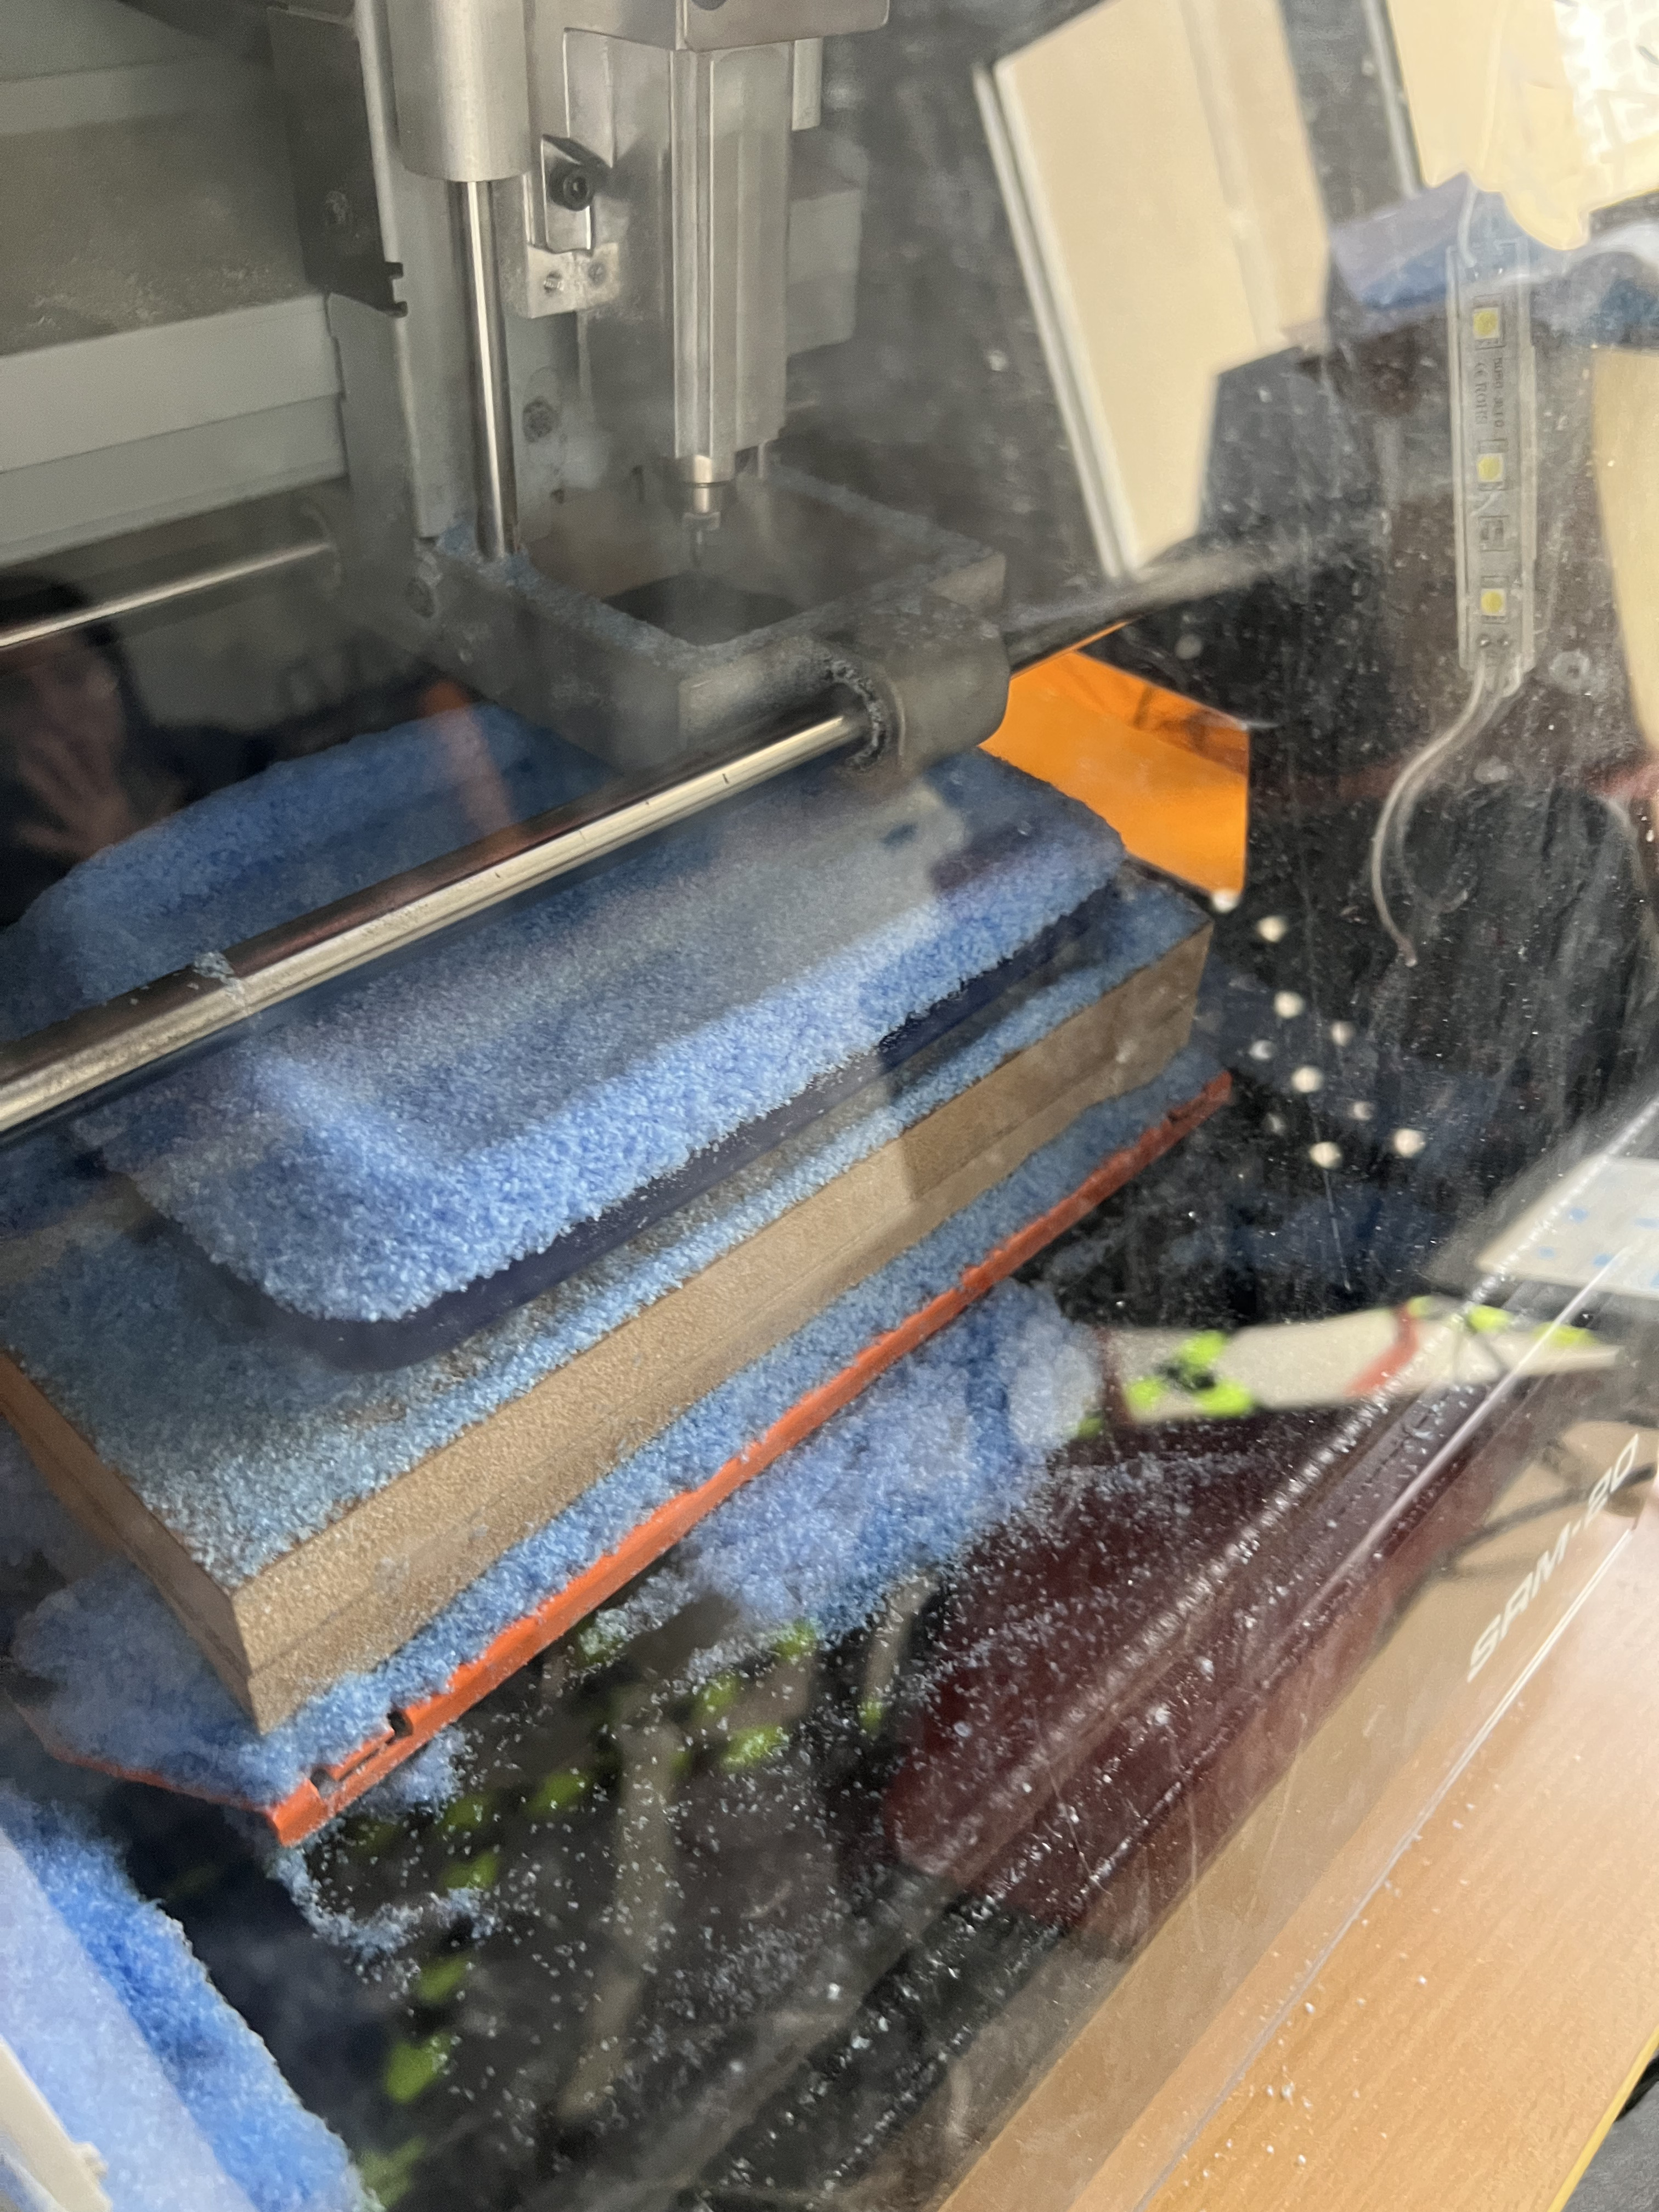
Milling Process
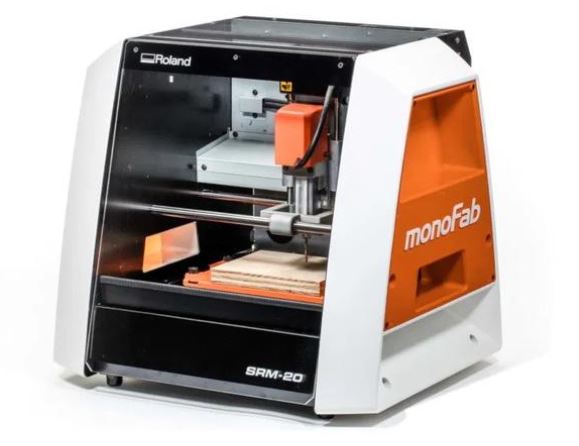
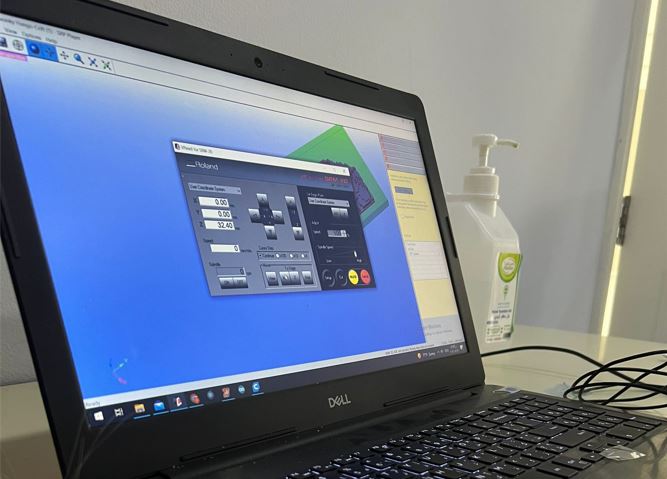
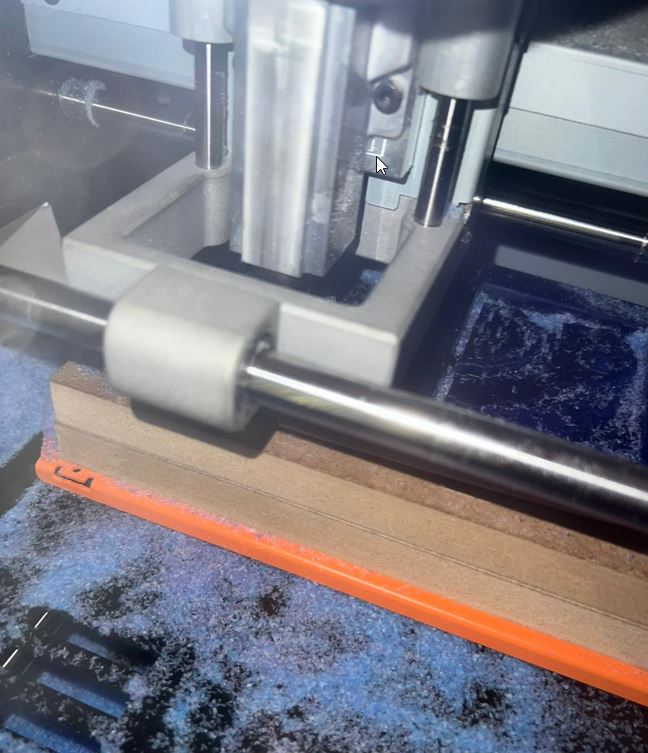
The figure above shows a Roland-SRM-20 which is the machine used for the milling process. In addition, “Machinable wax” was used during this process. The following steps were accomplished for the milling process:
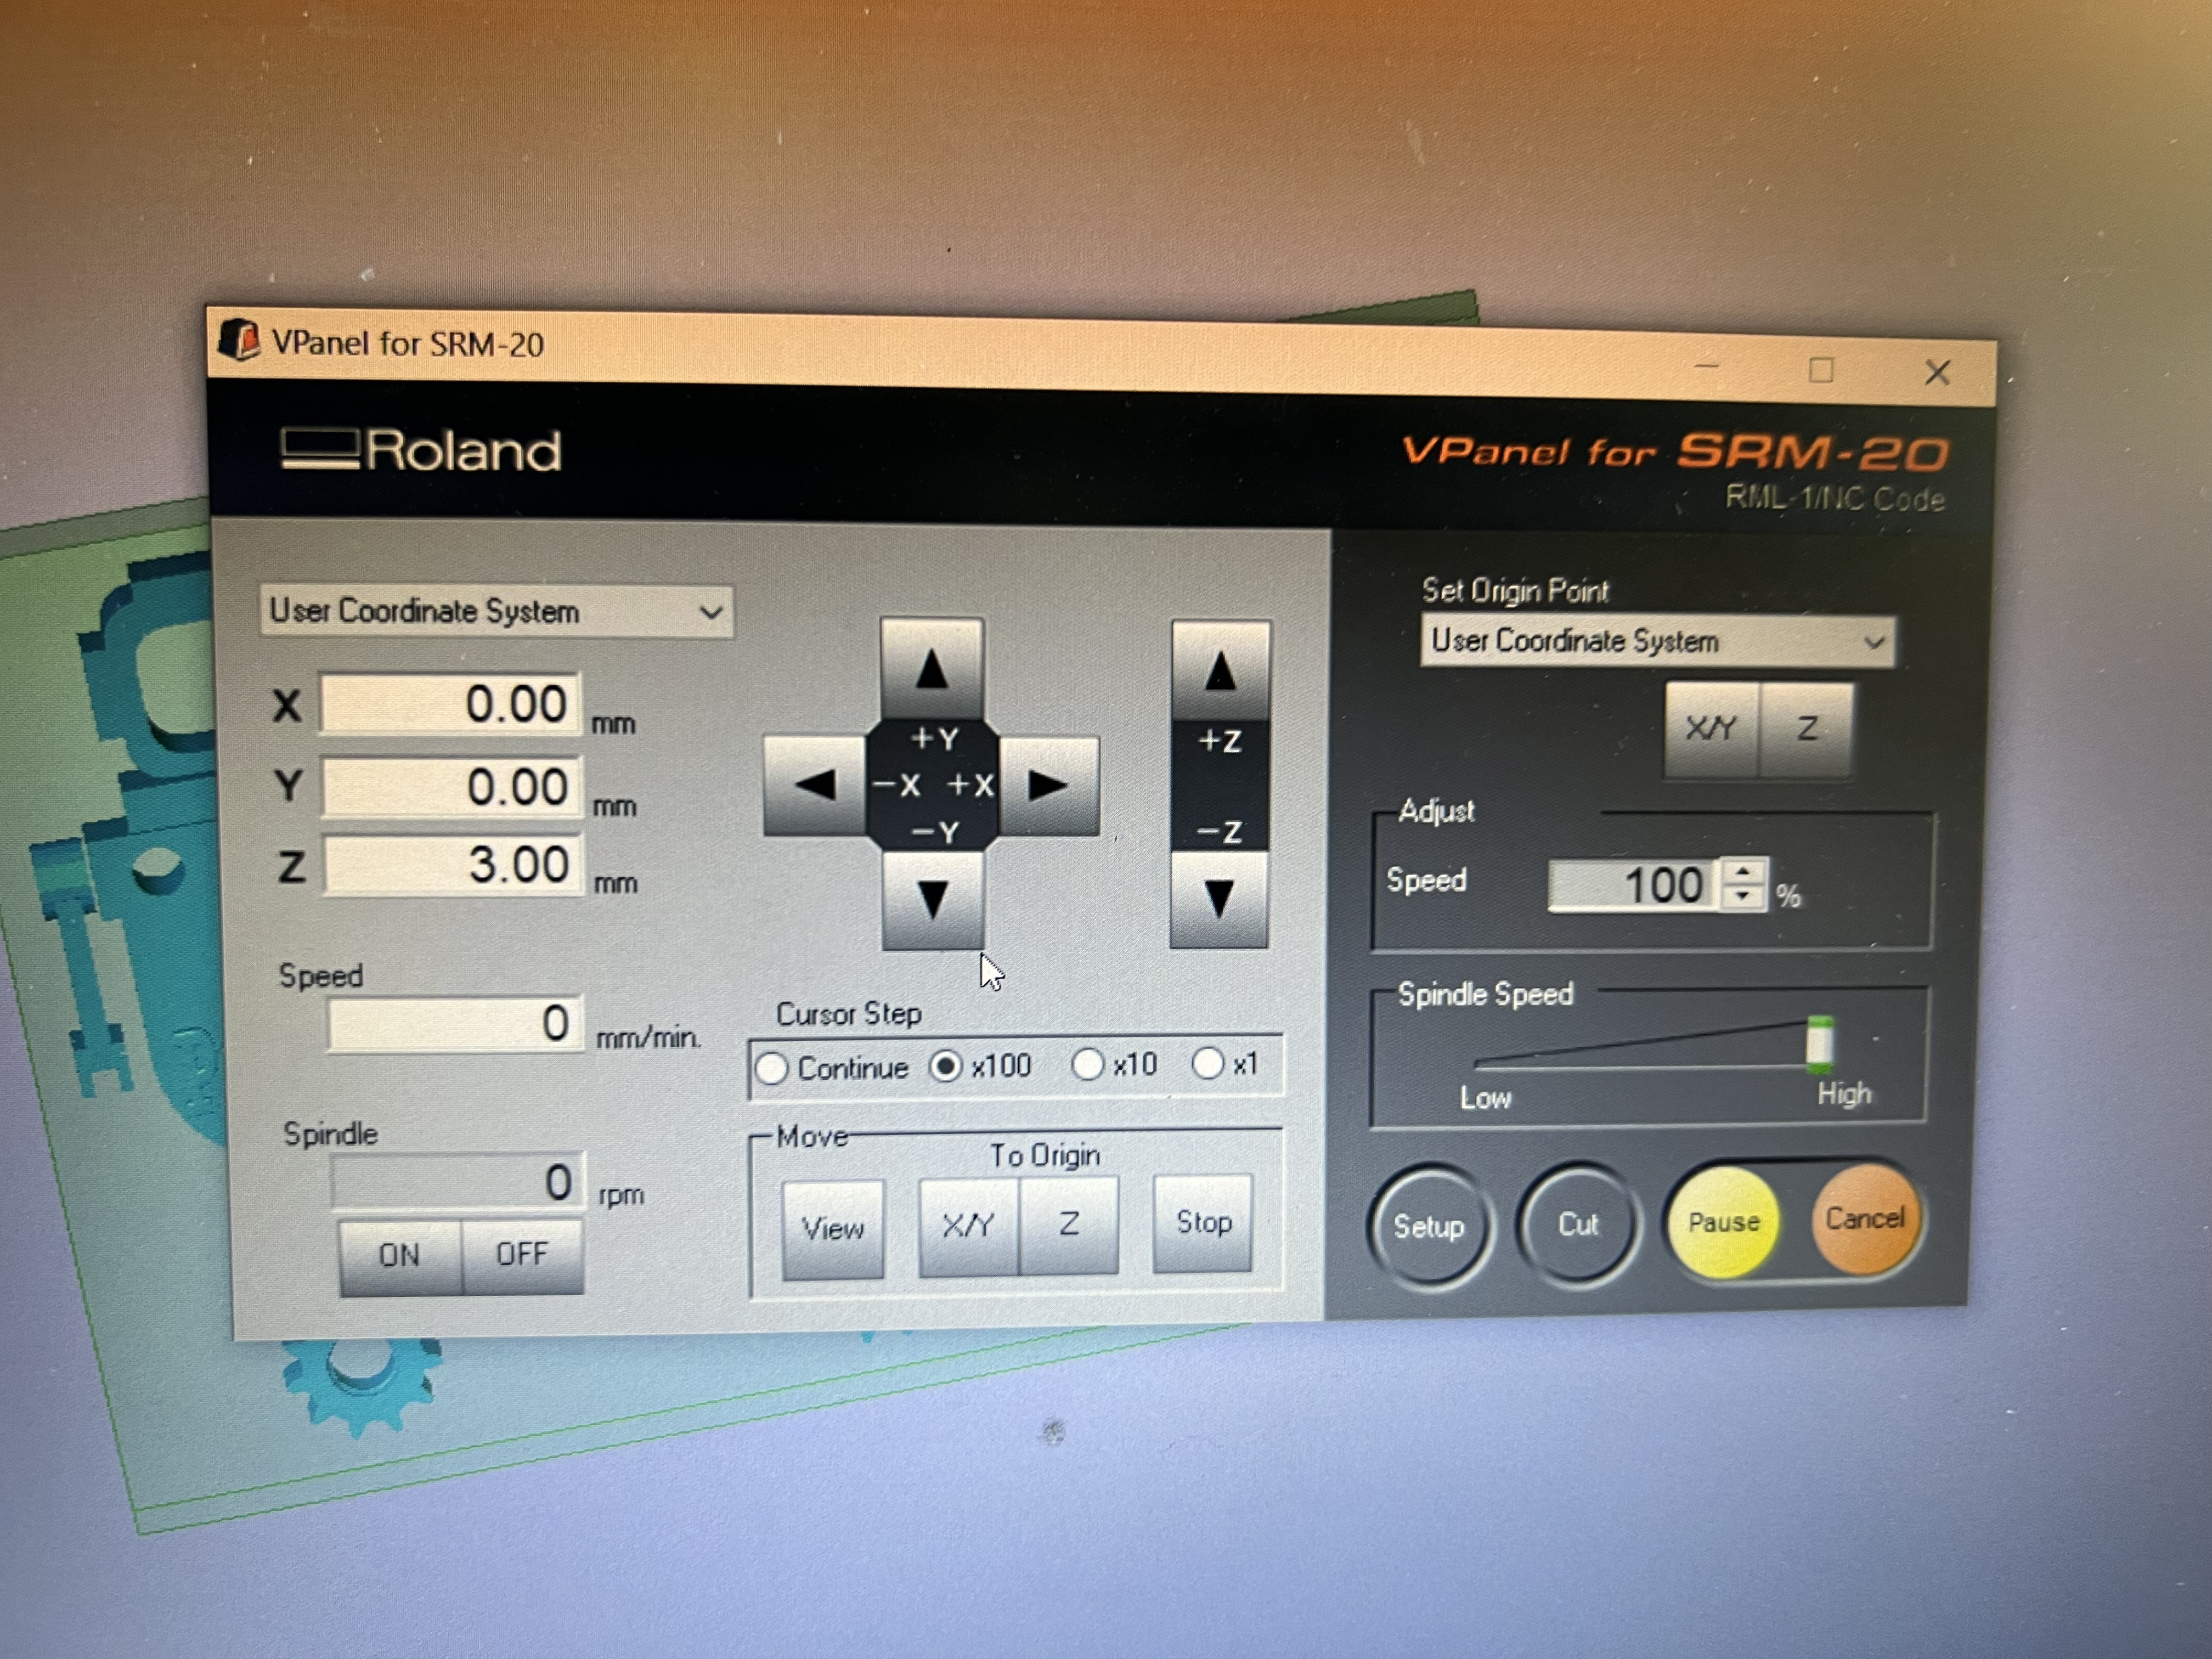
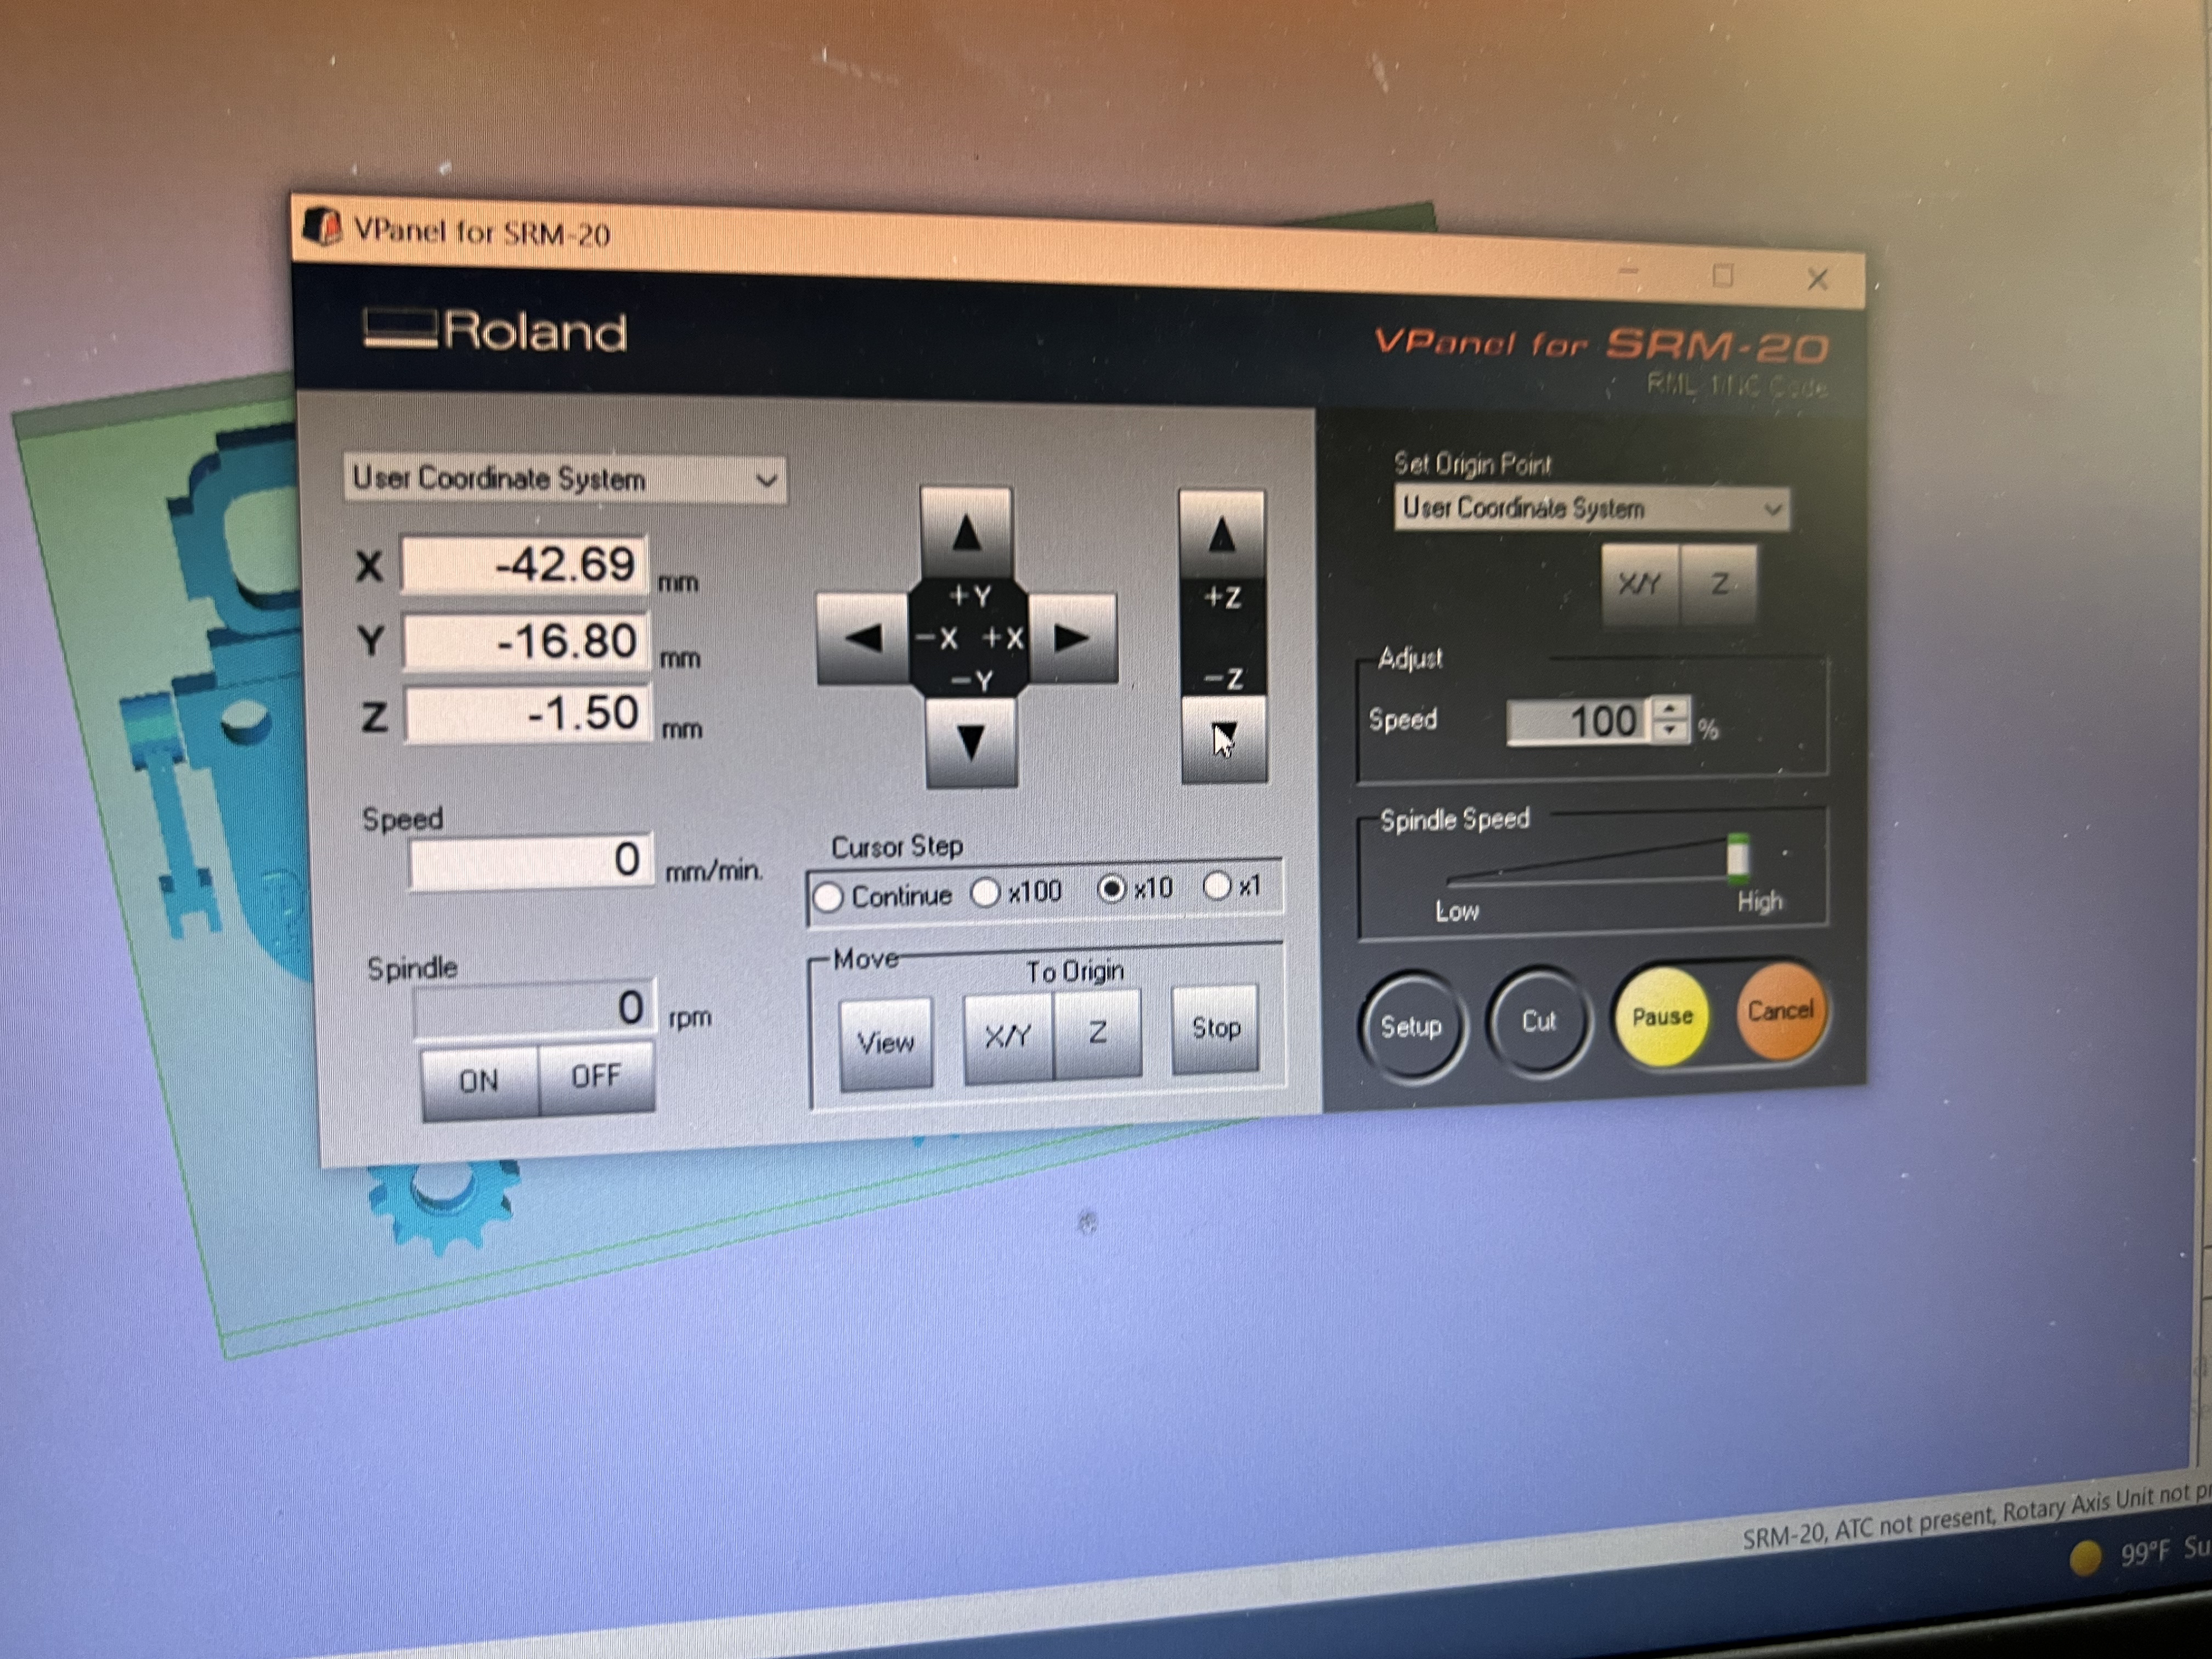
1- First we place the nozzle in the center of the machinable wax as follows:
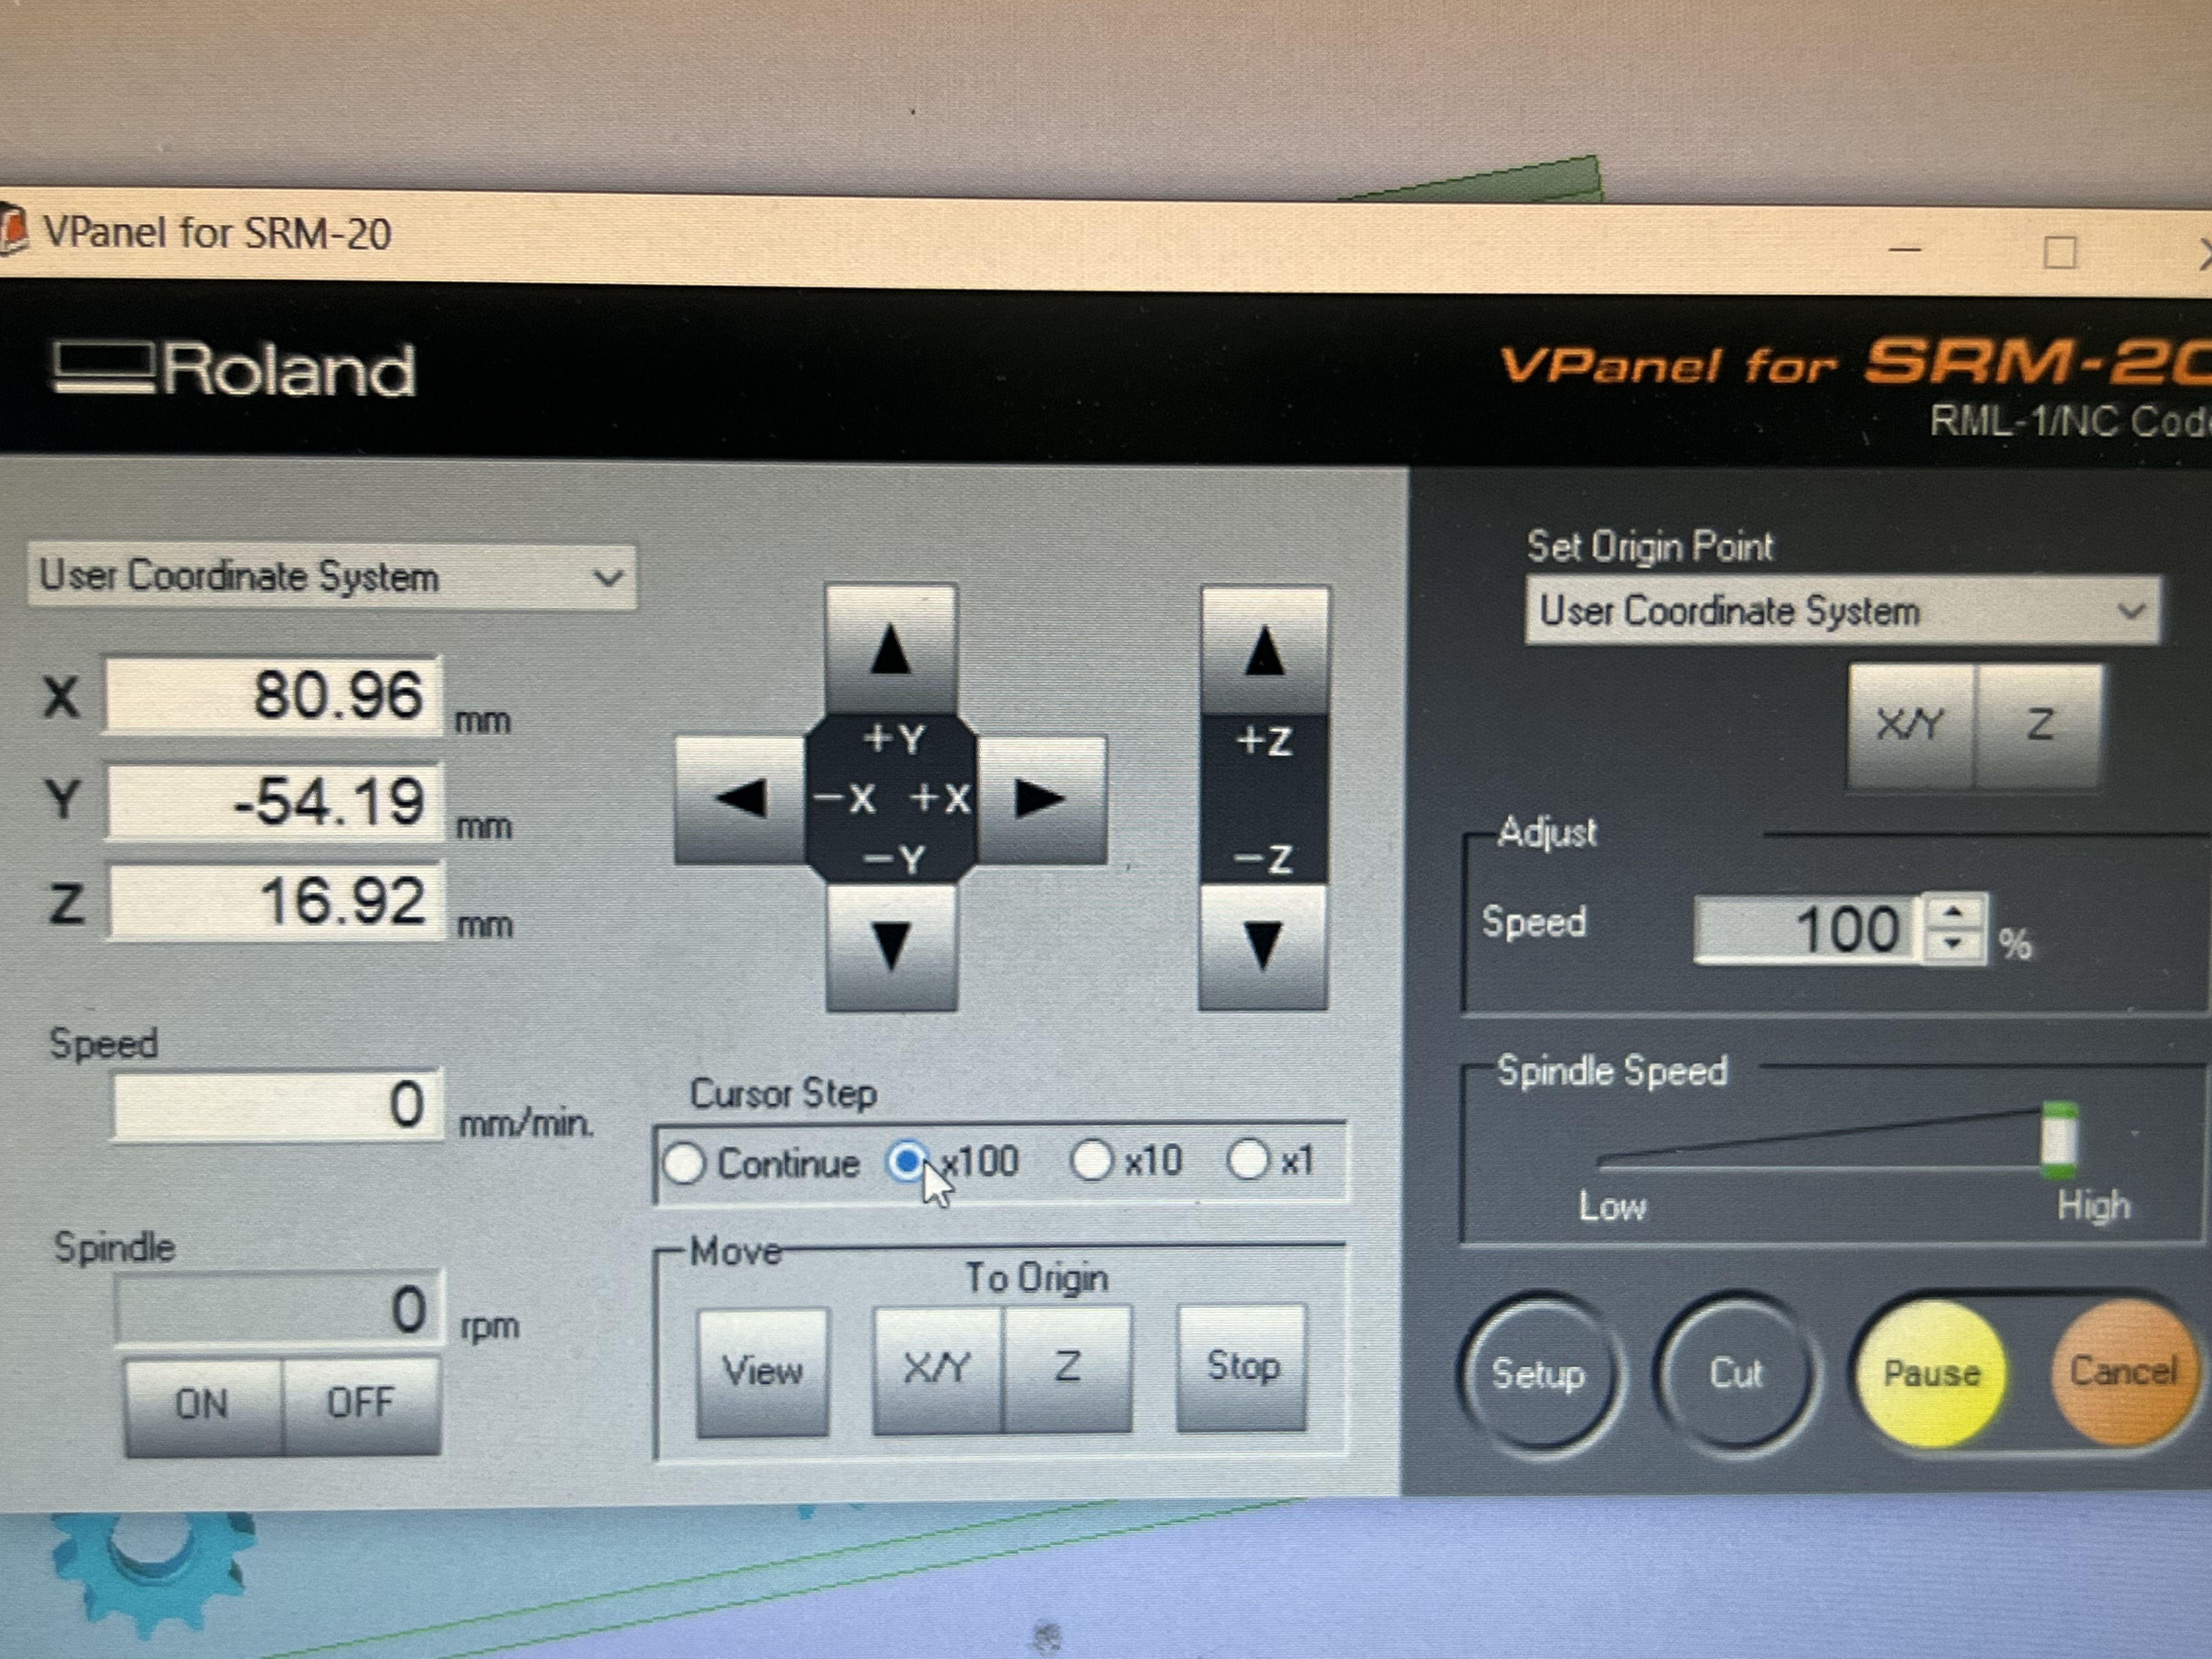
To move the nozzle to the origin, we used a program called “Magnificent Snaget” which was further used to control the Roland-SRM-20 machine and adjust the milling settings.
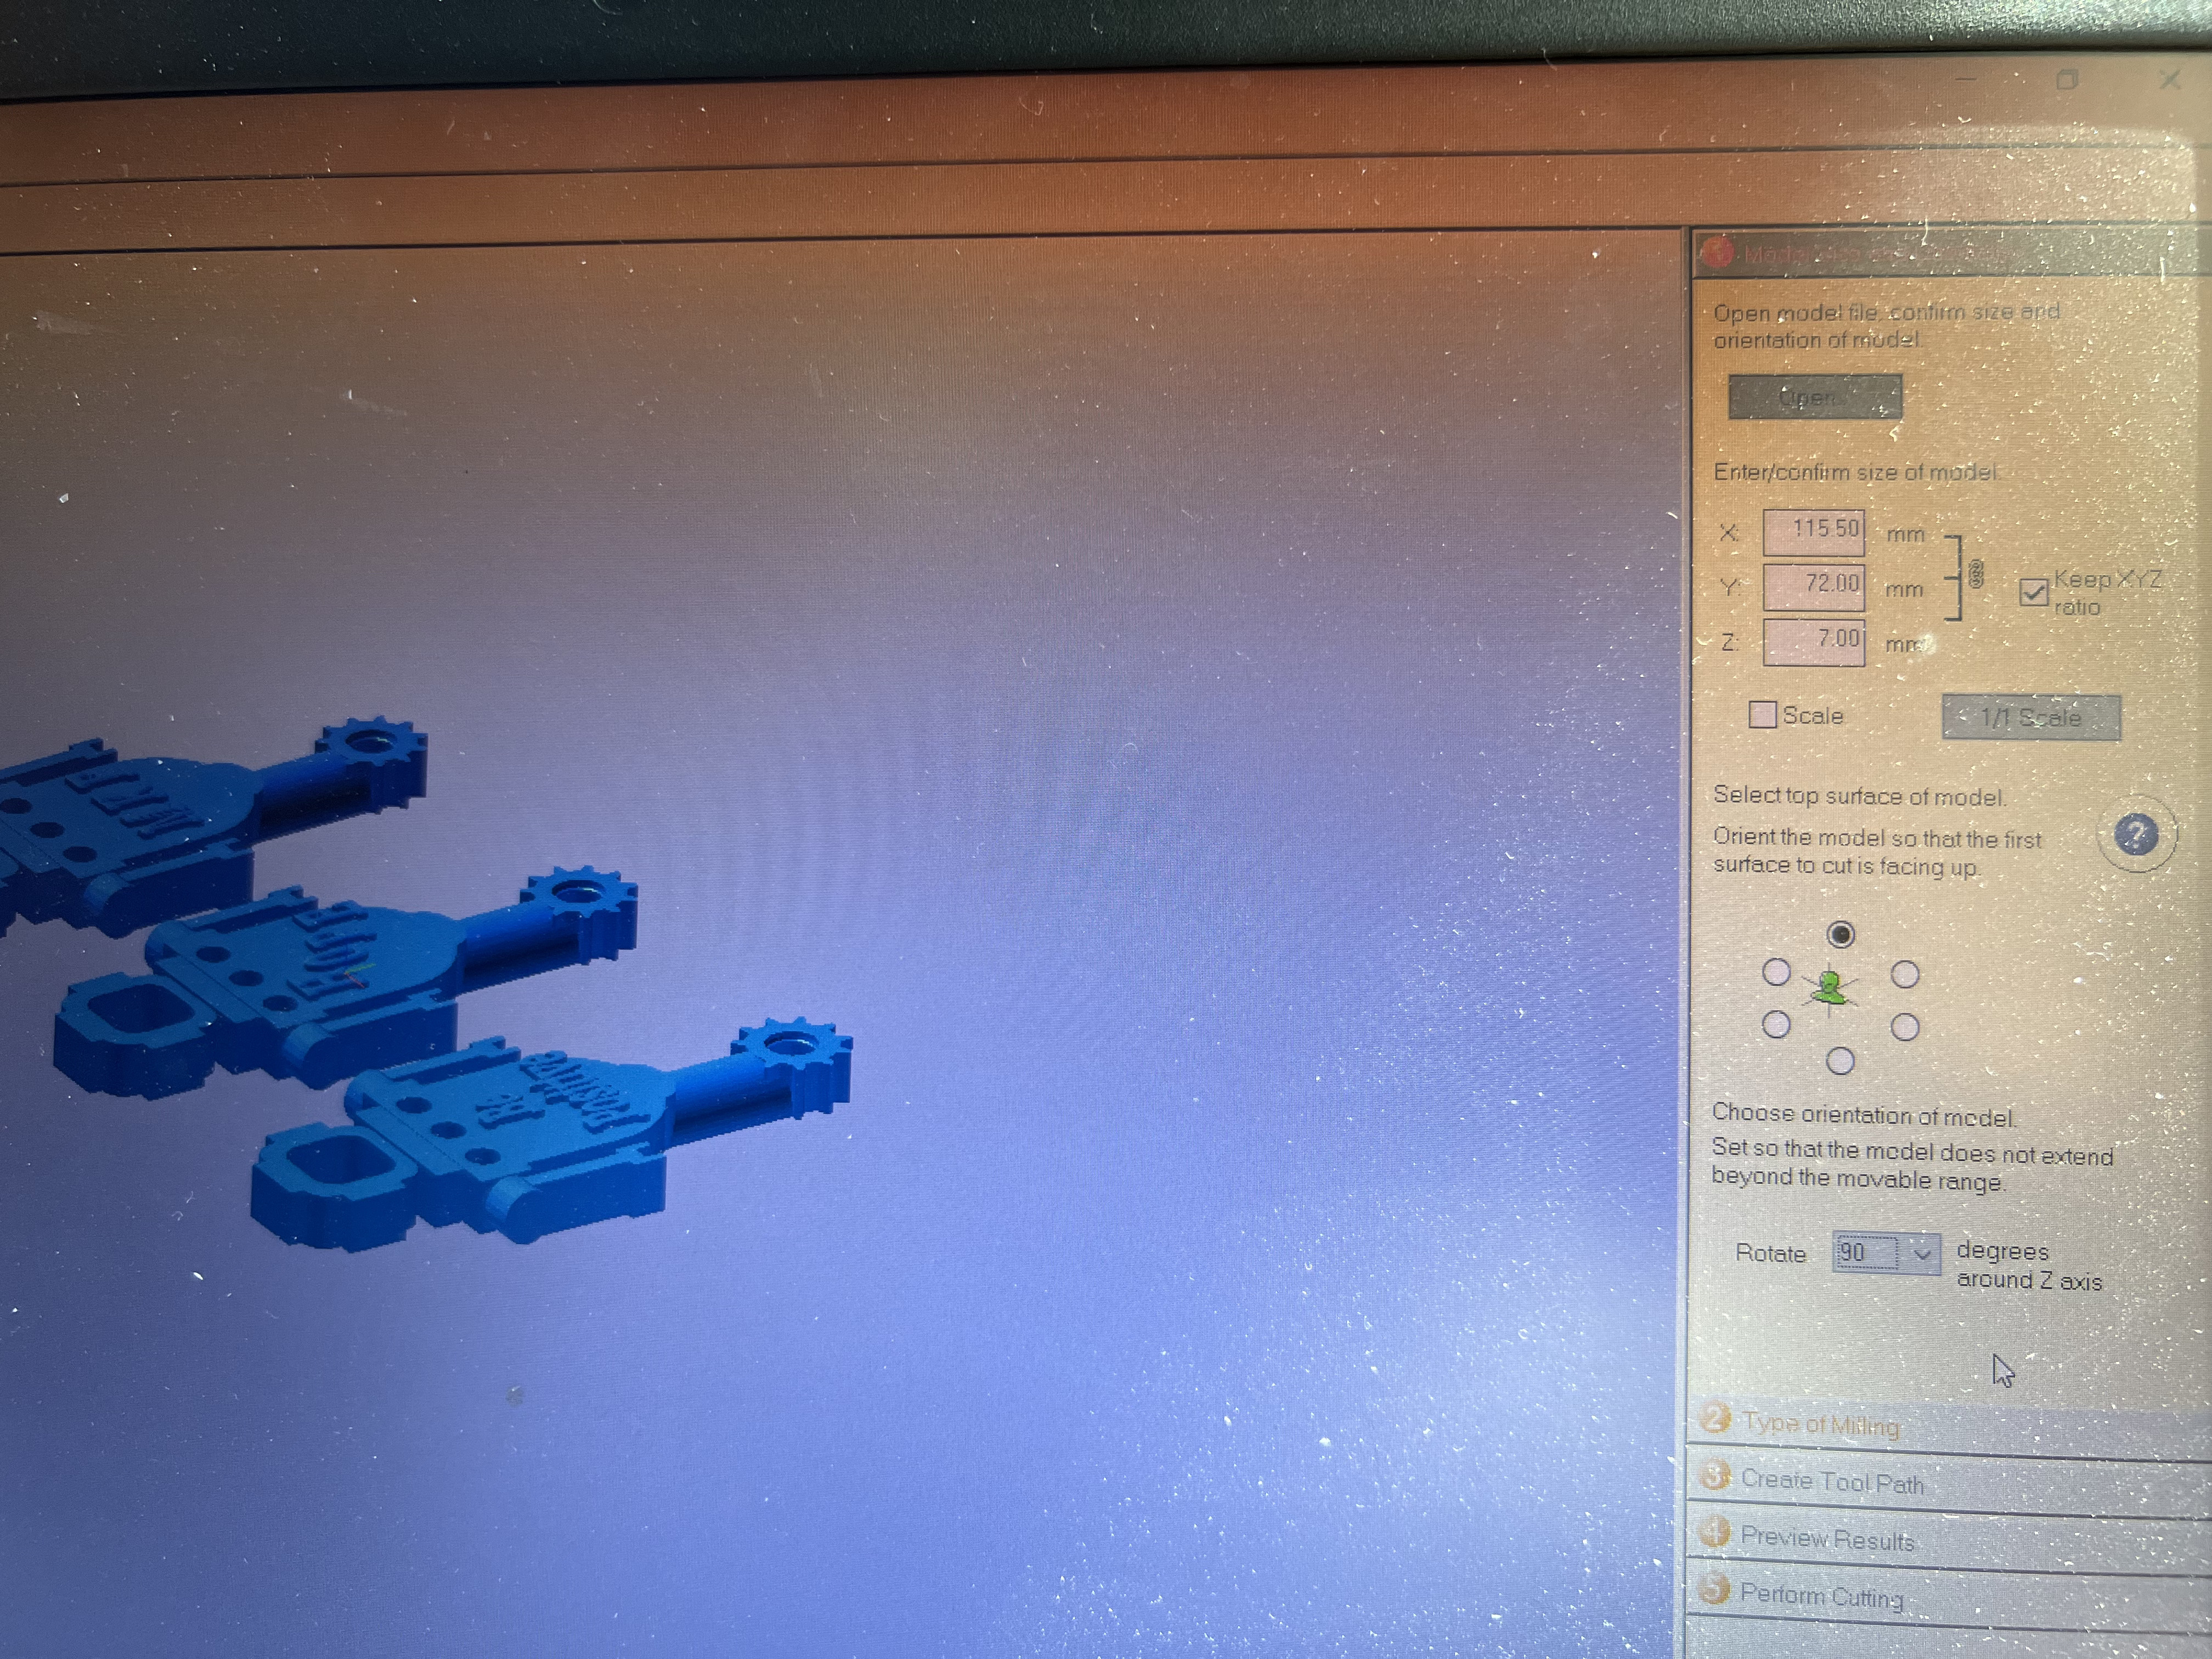
2- The design then have been uploaded in the software.
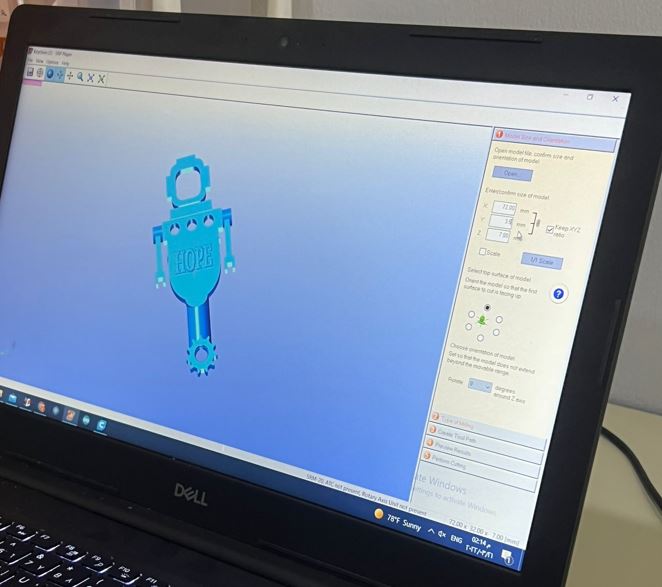
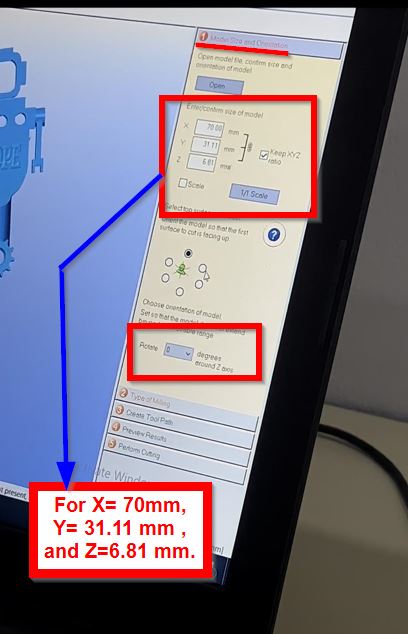
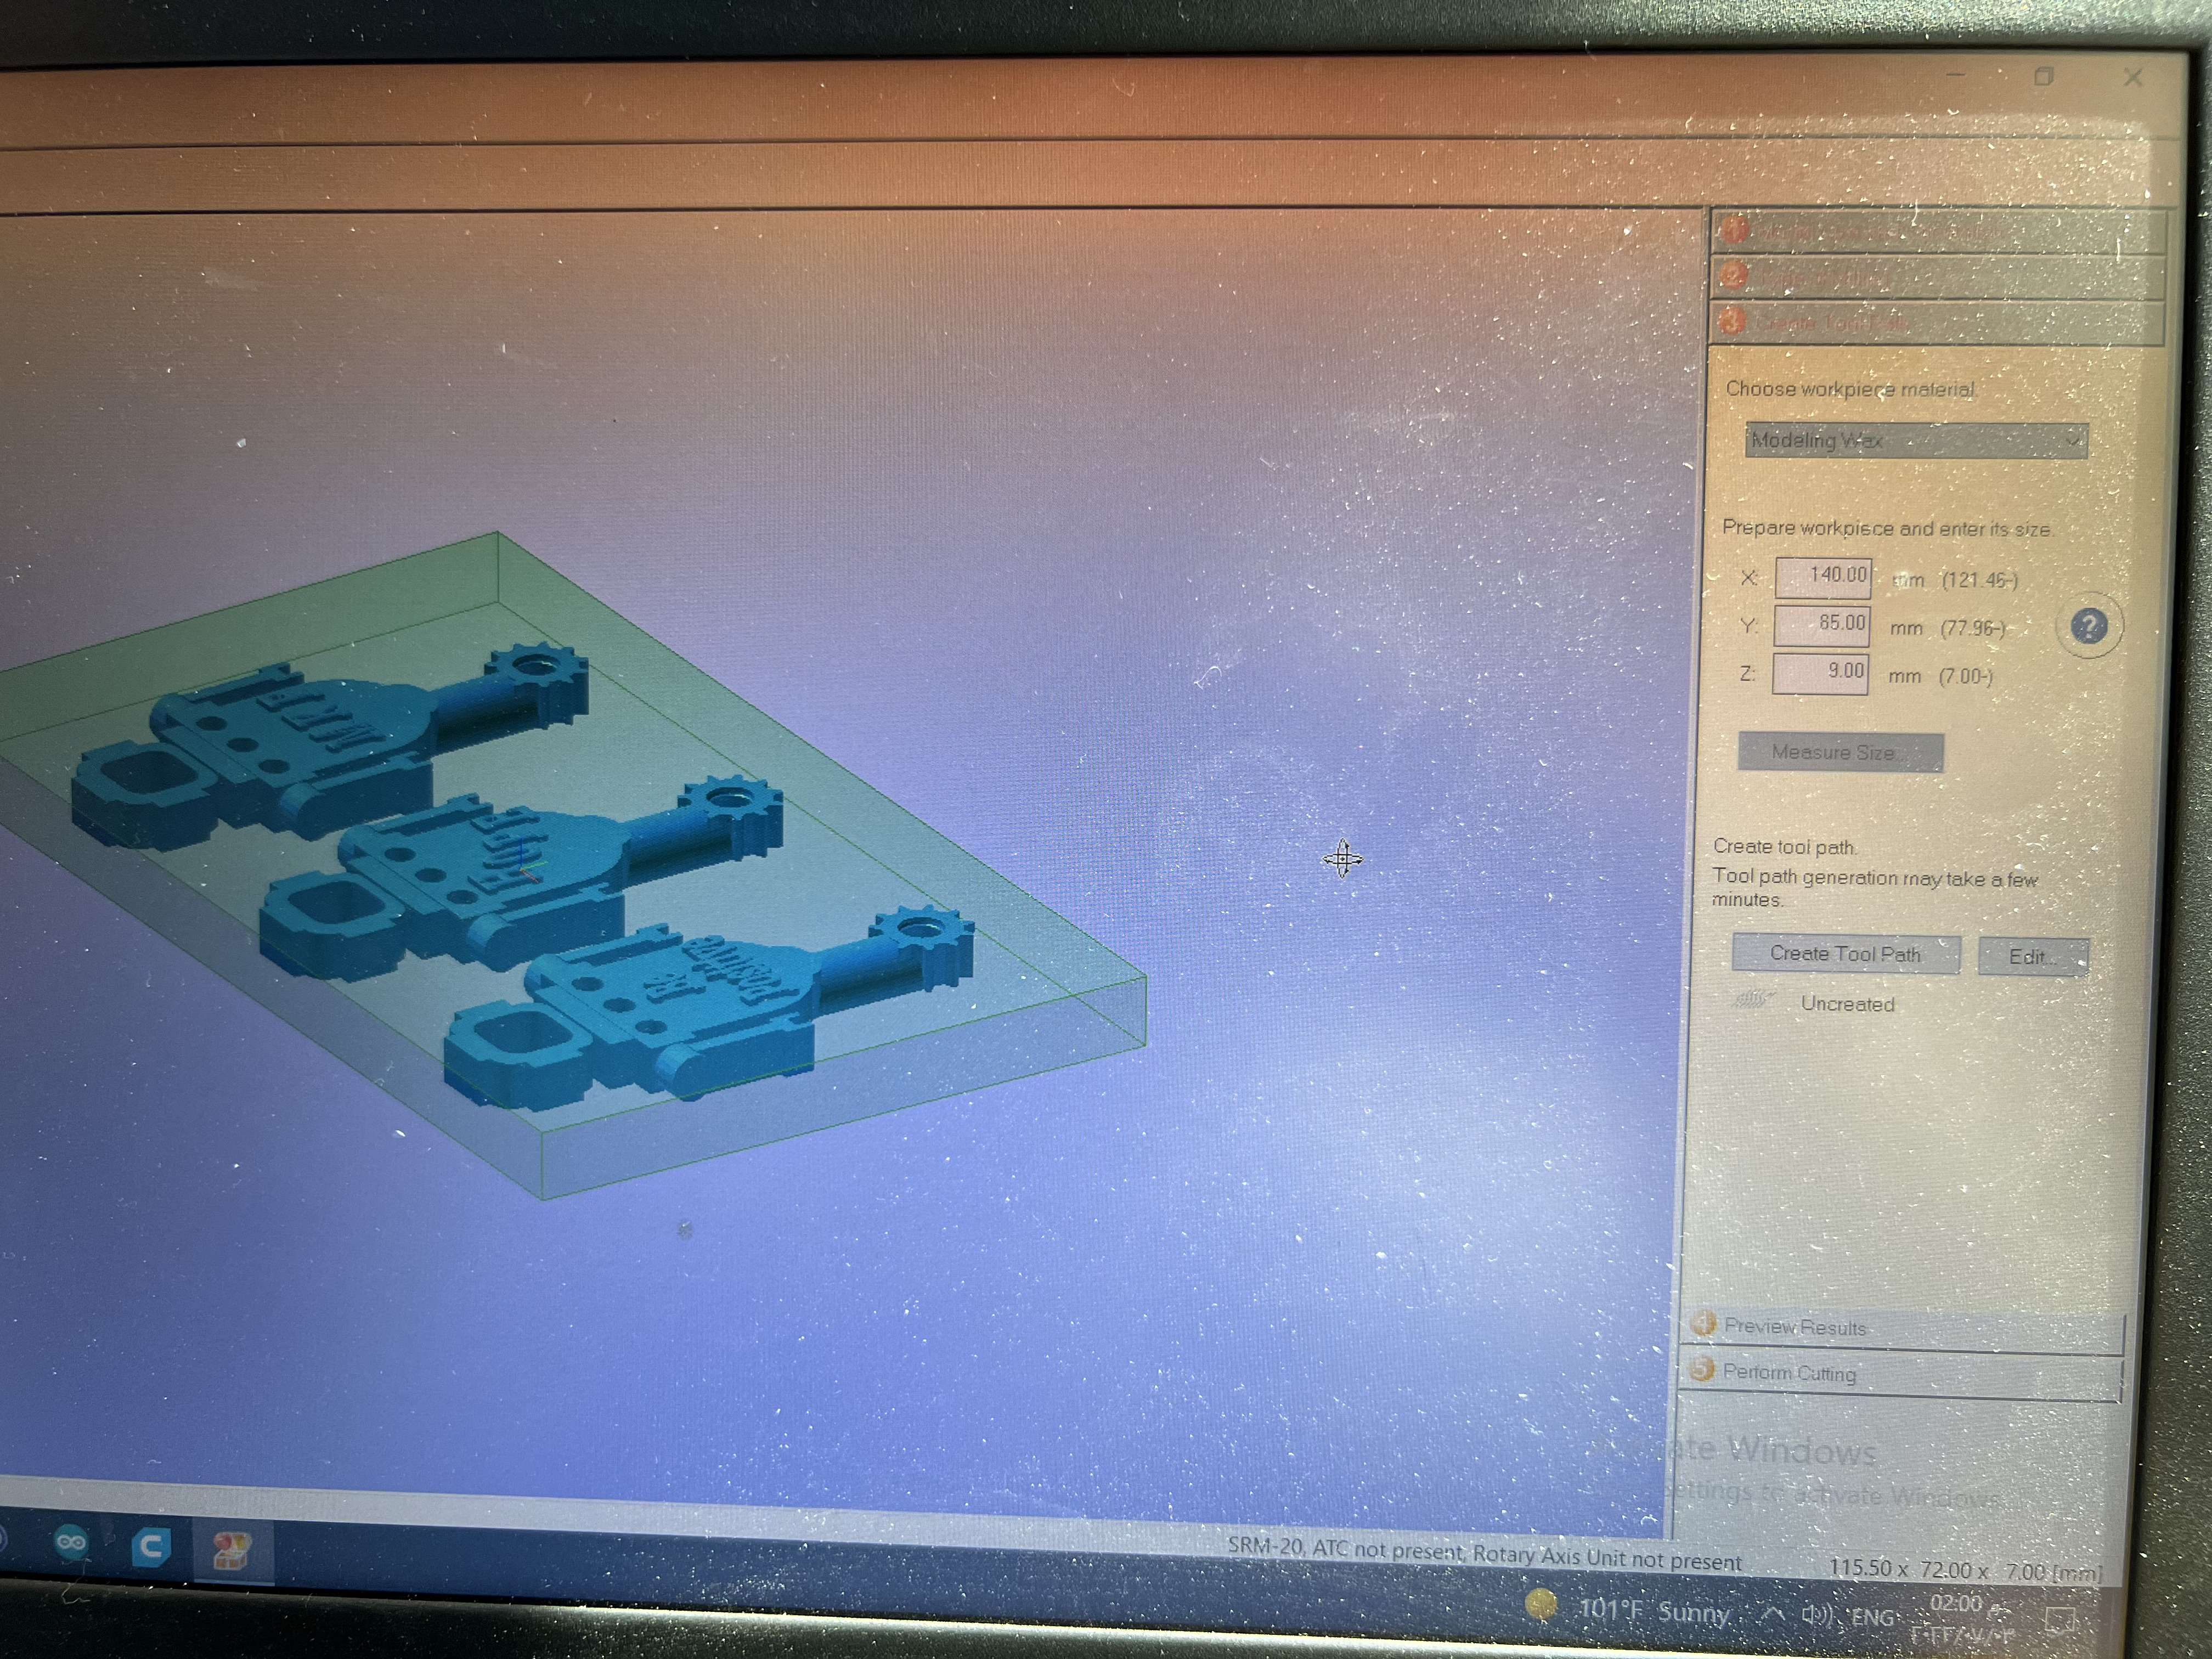
3- We then set the dimensions of the model as follows:
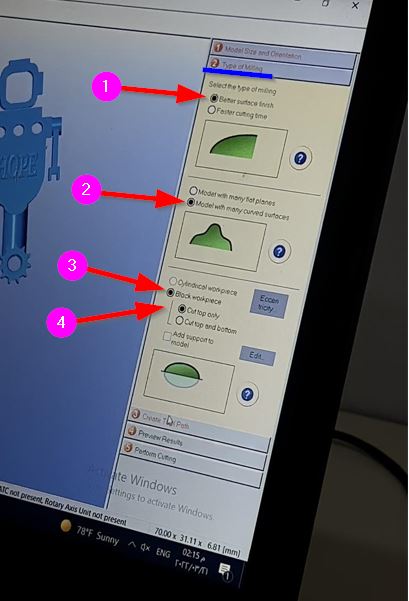
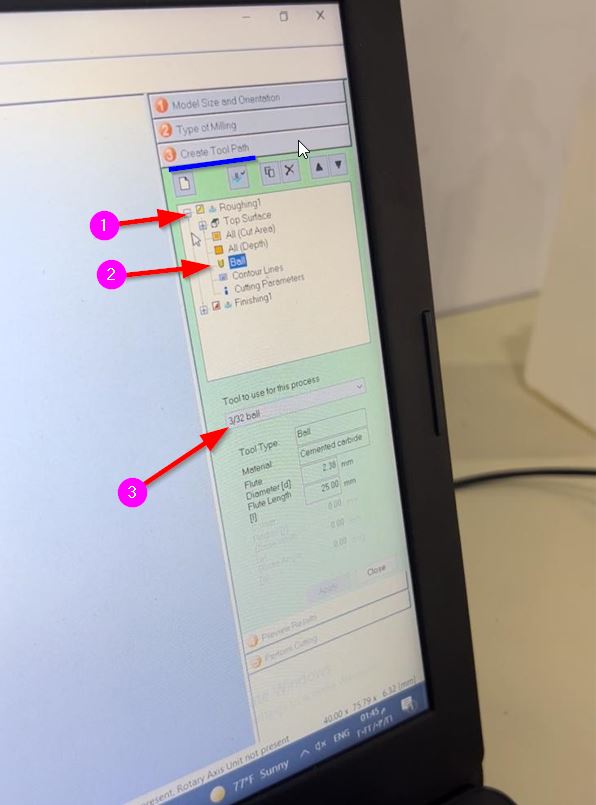
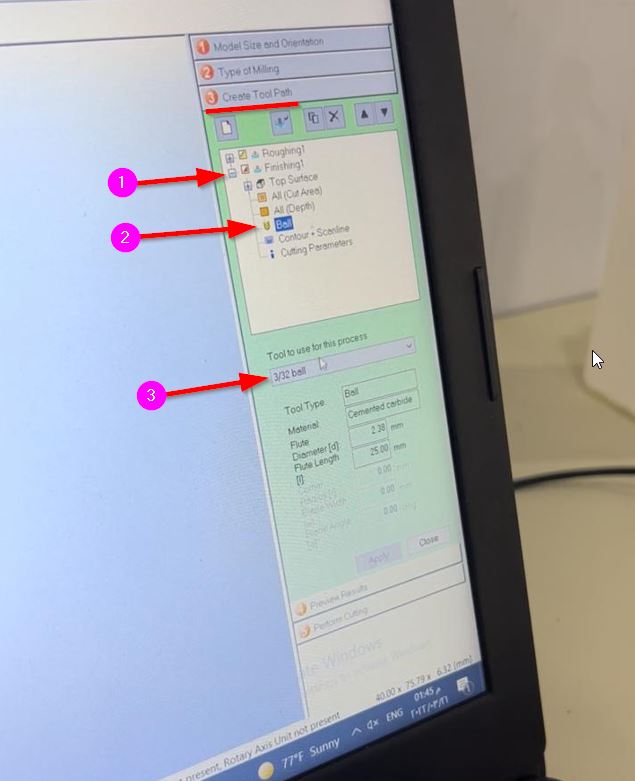
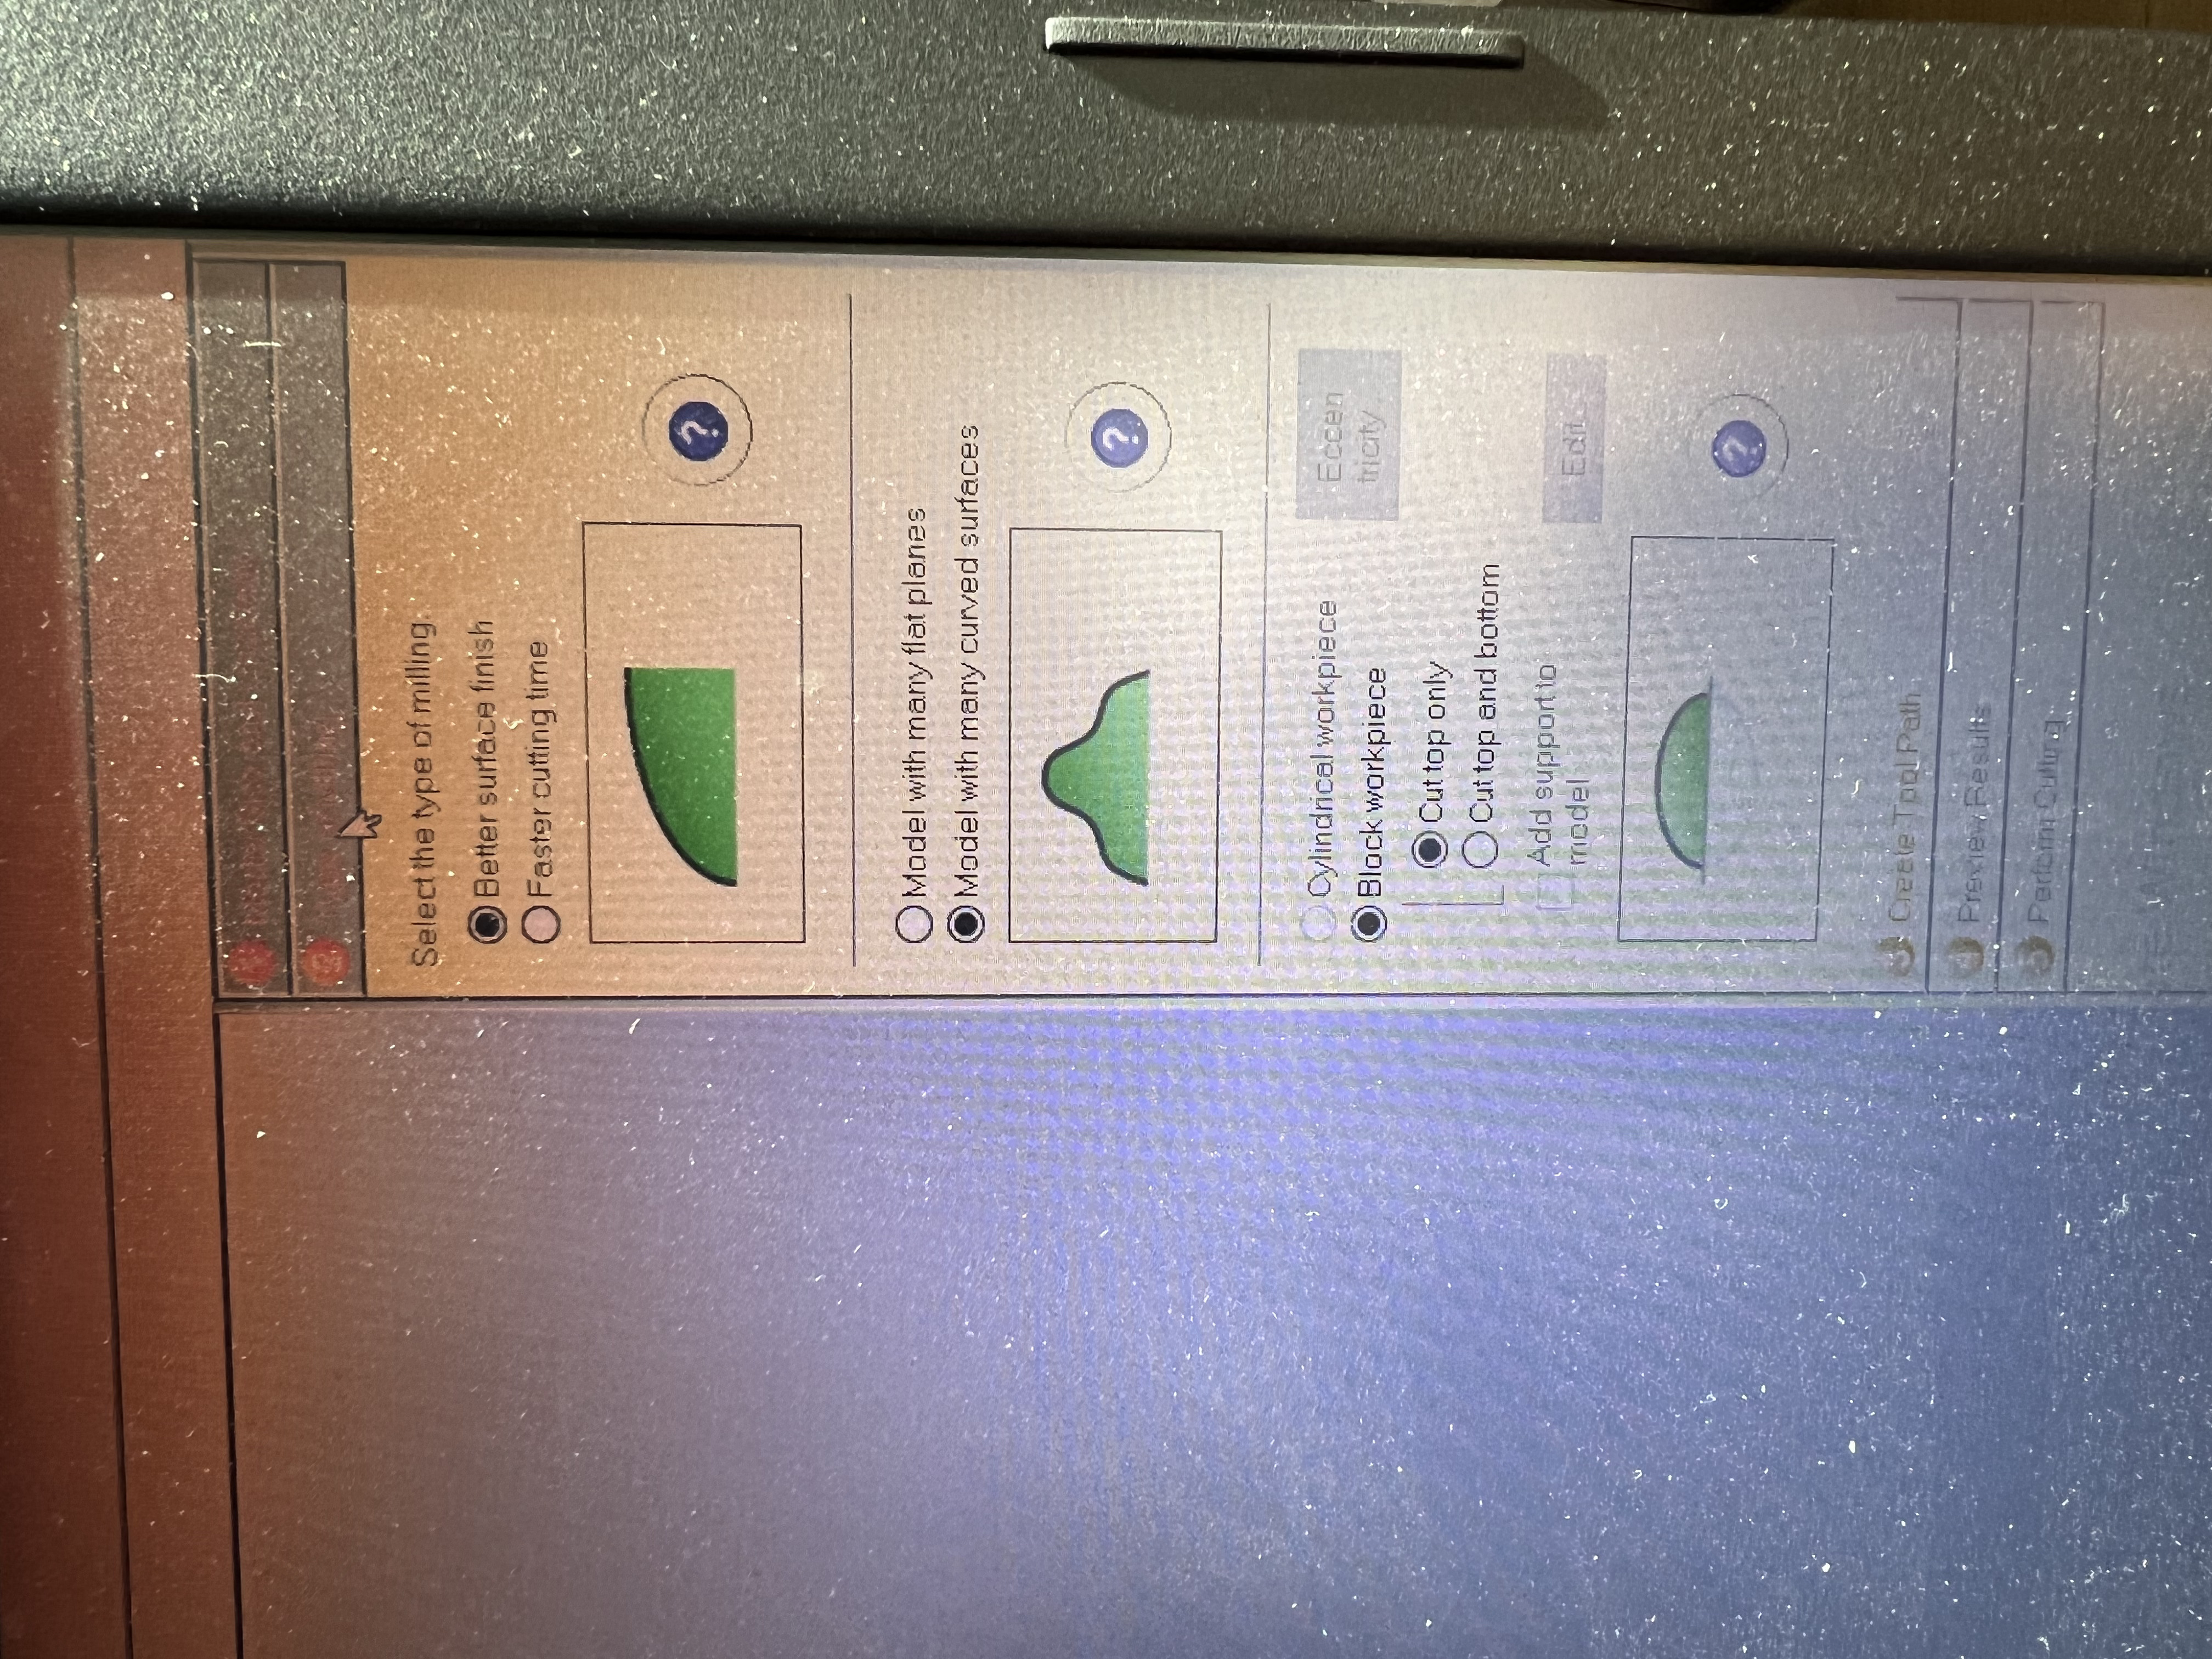
4- Afterwards, there was various options for the type of milling. So, since my model have curves the following options were selected these options:
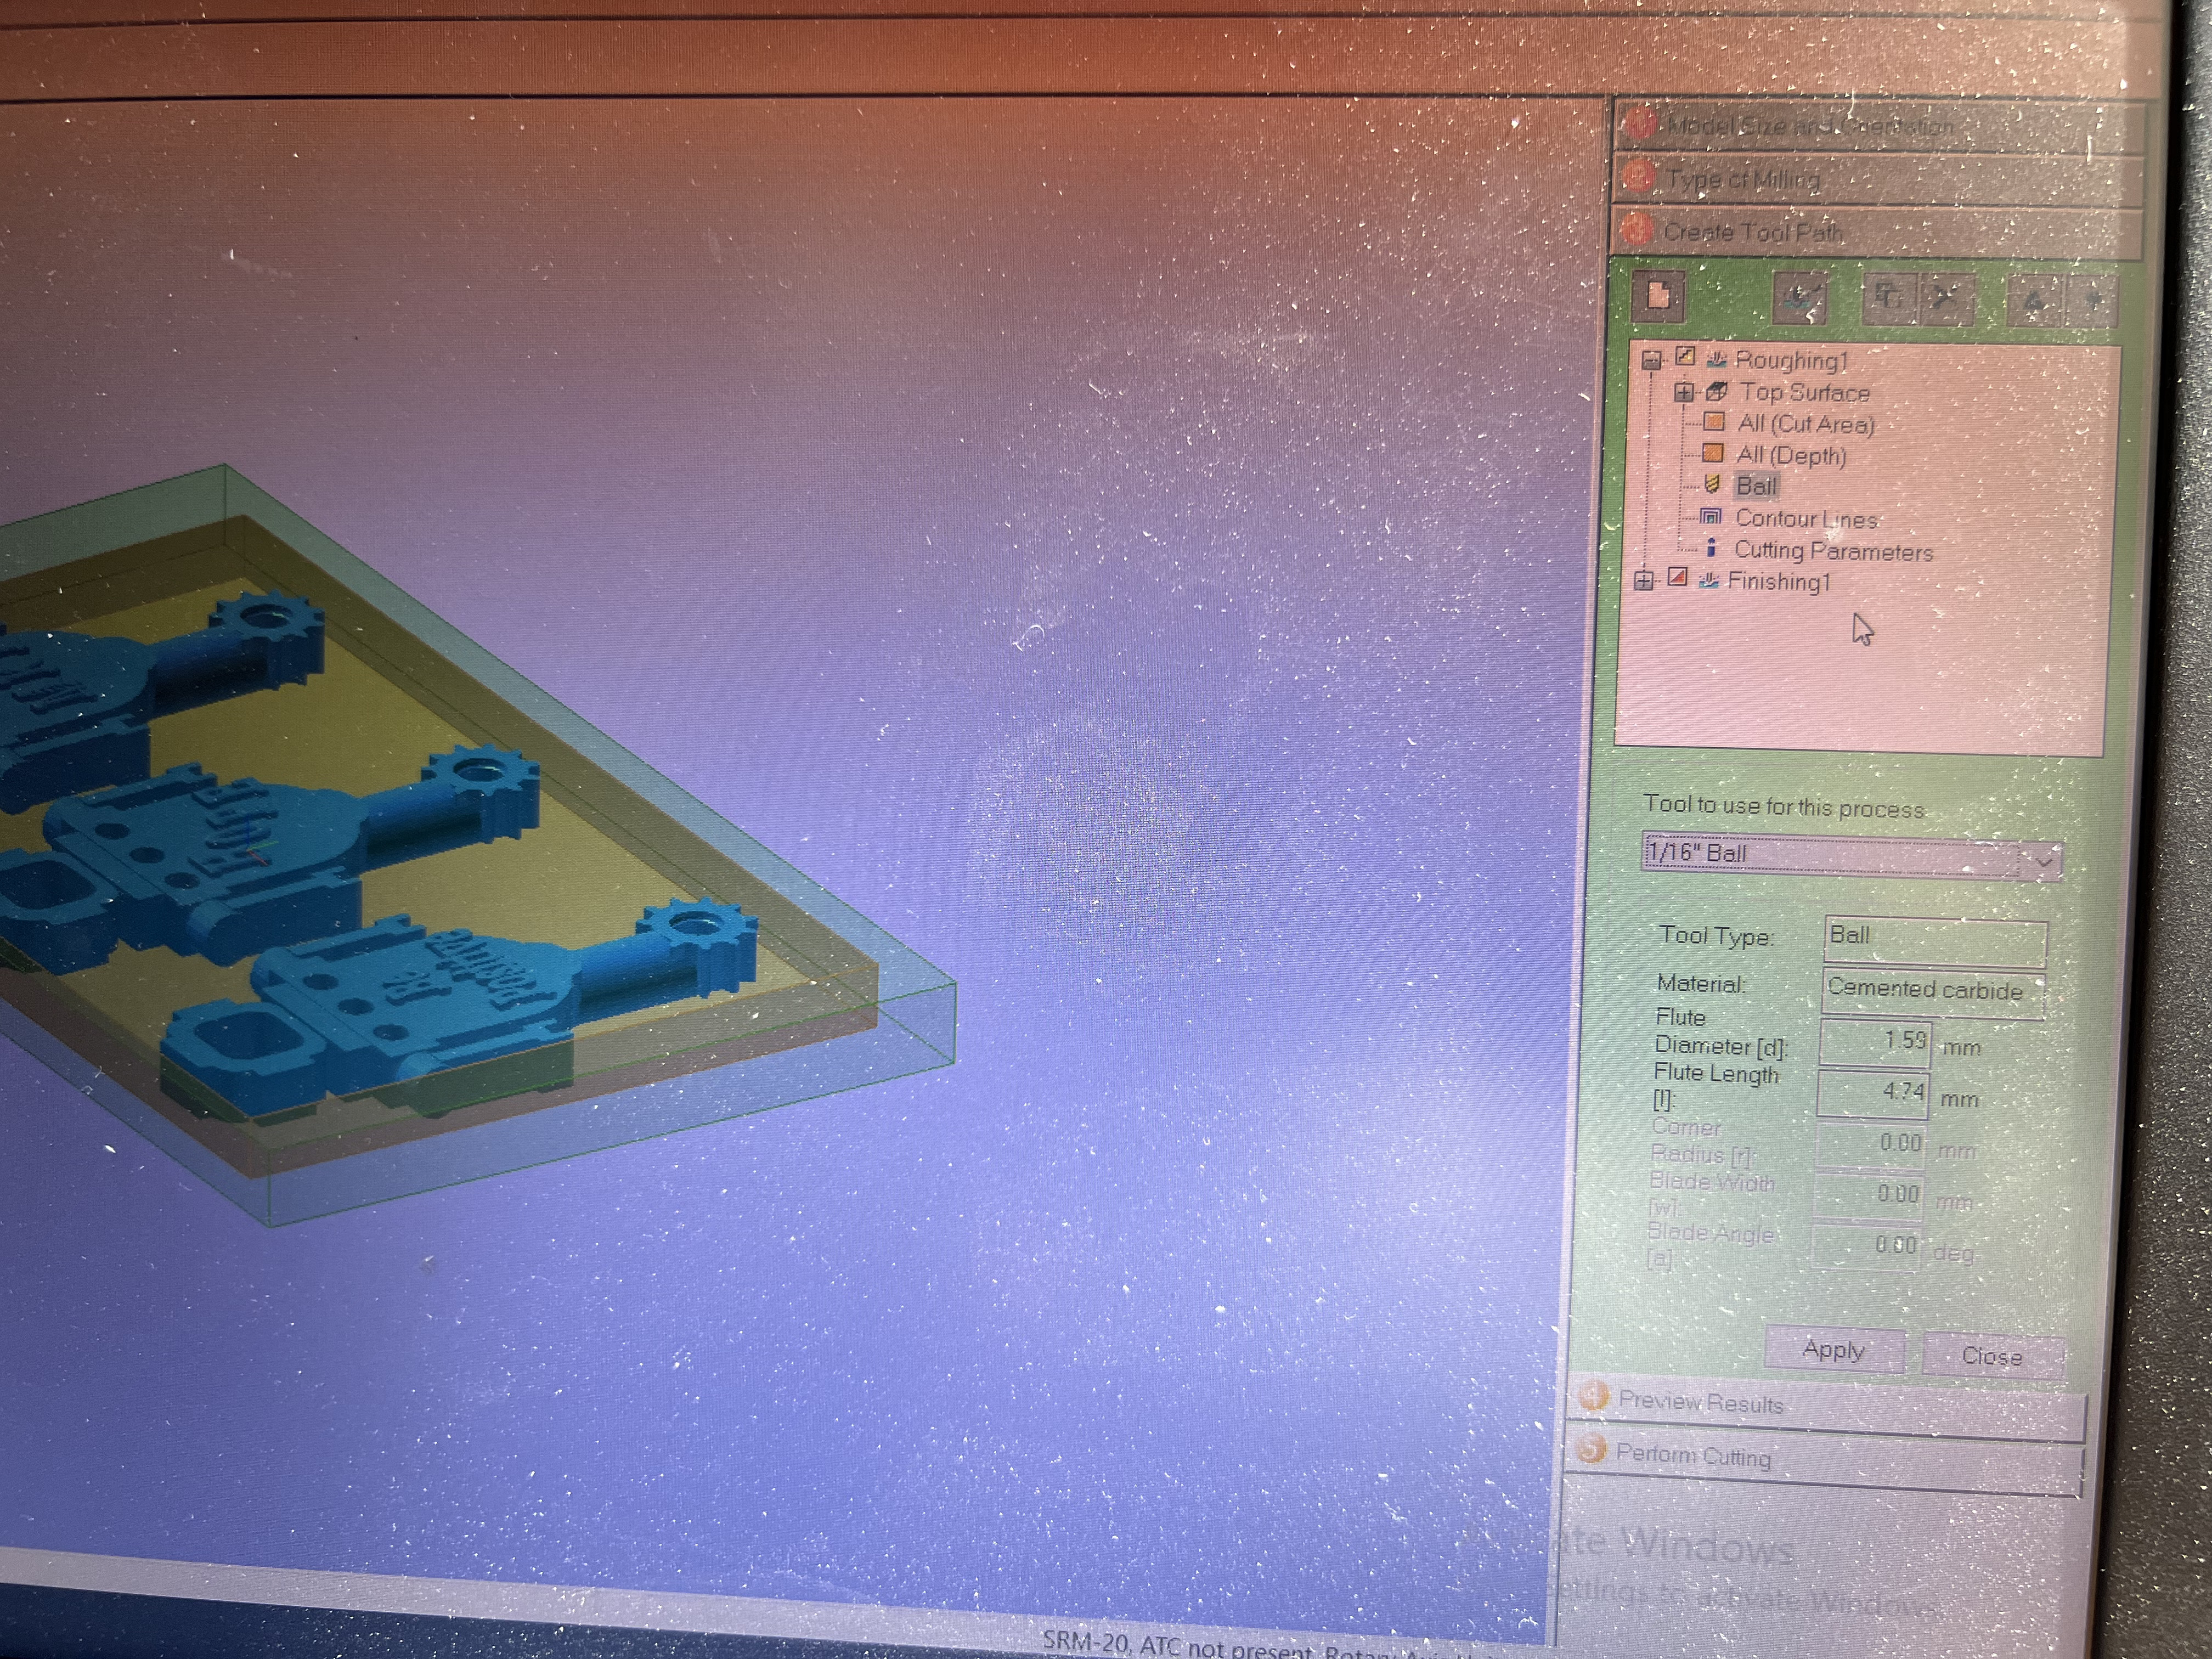
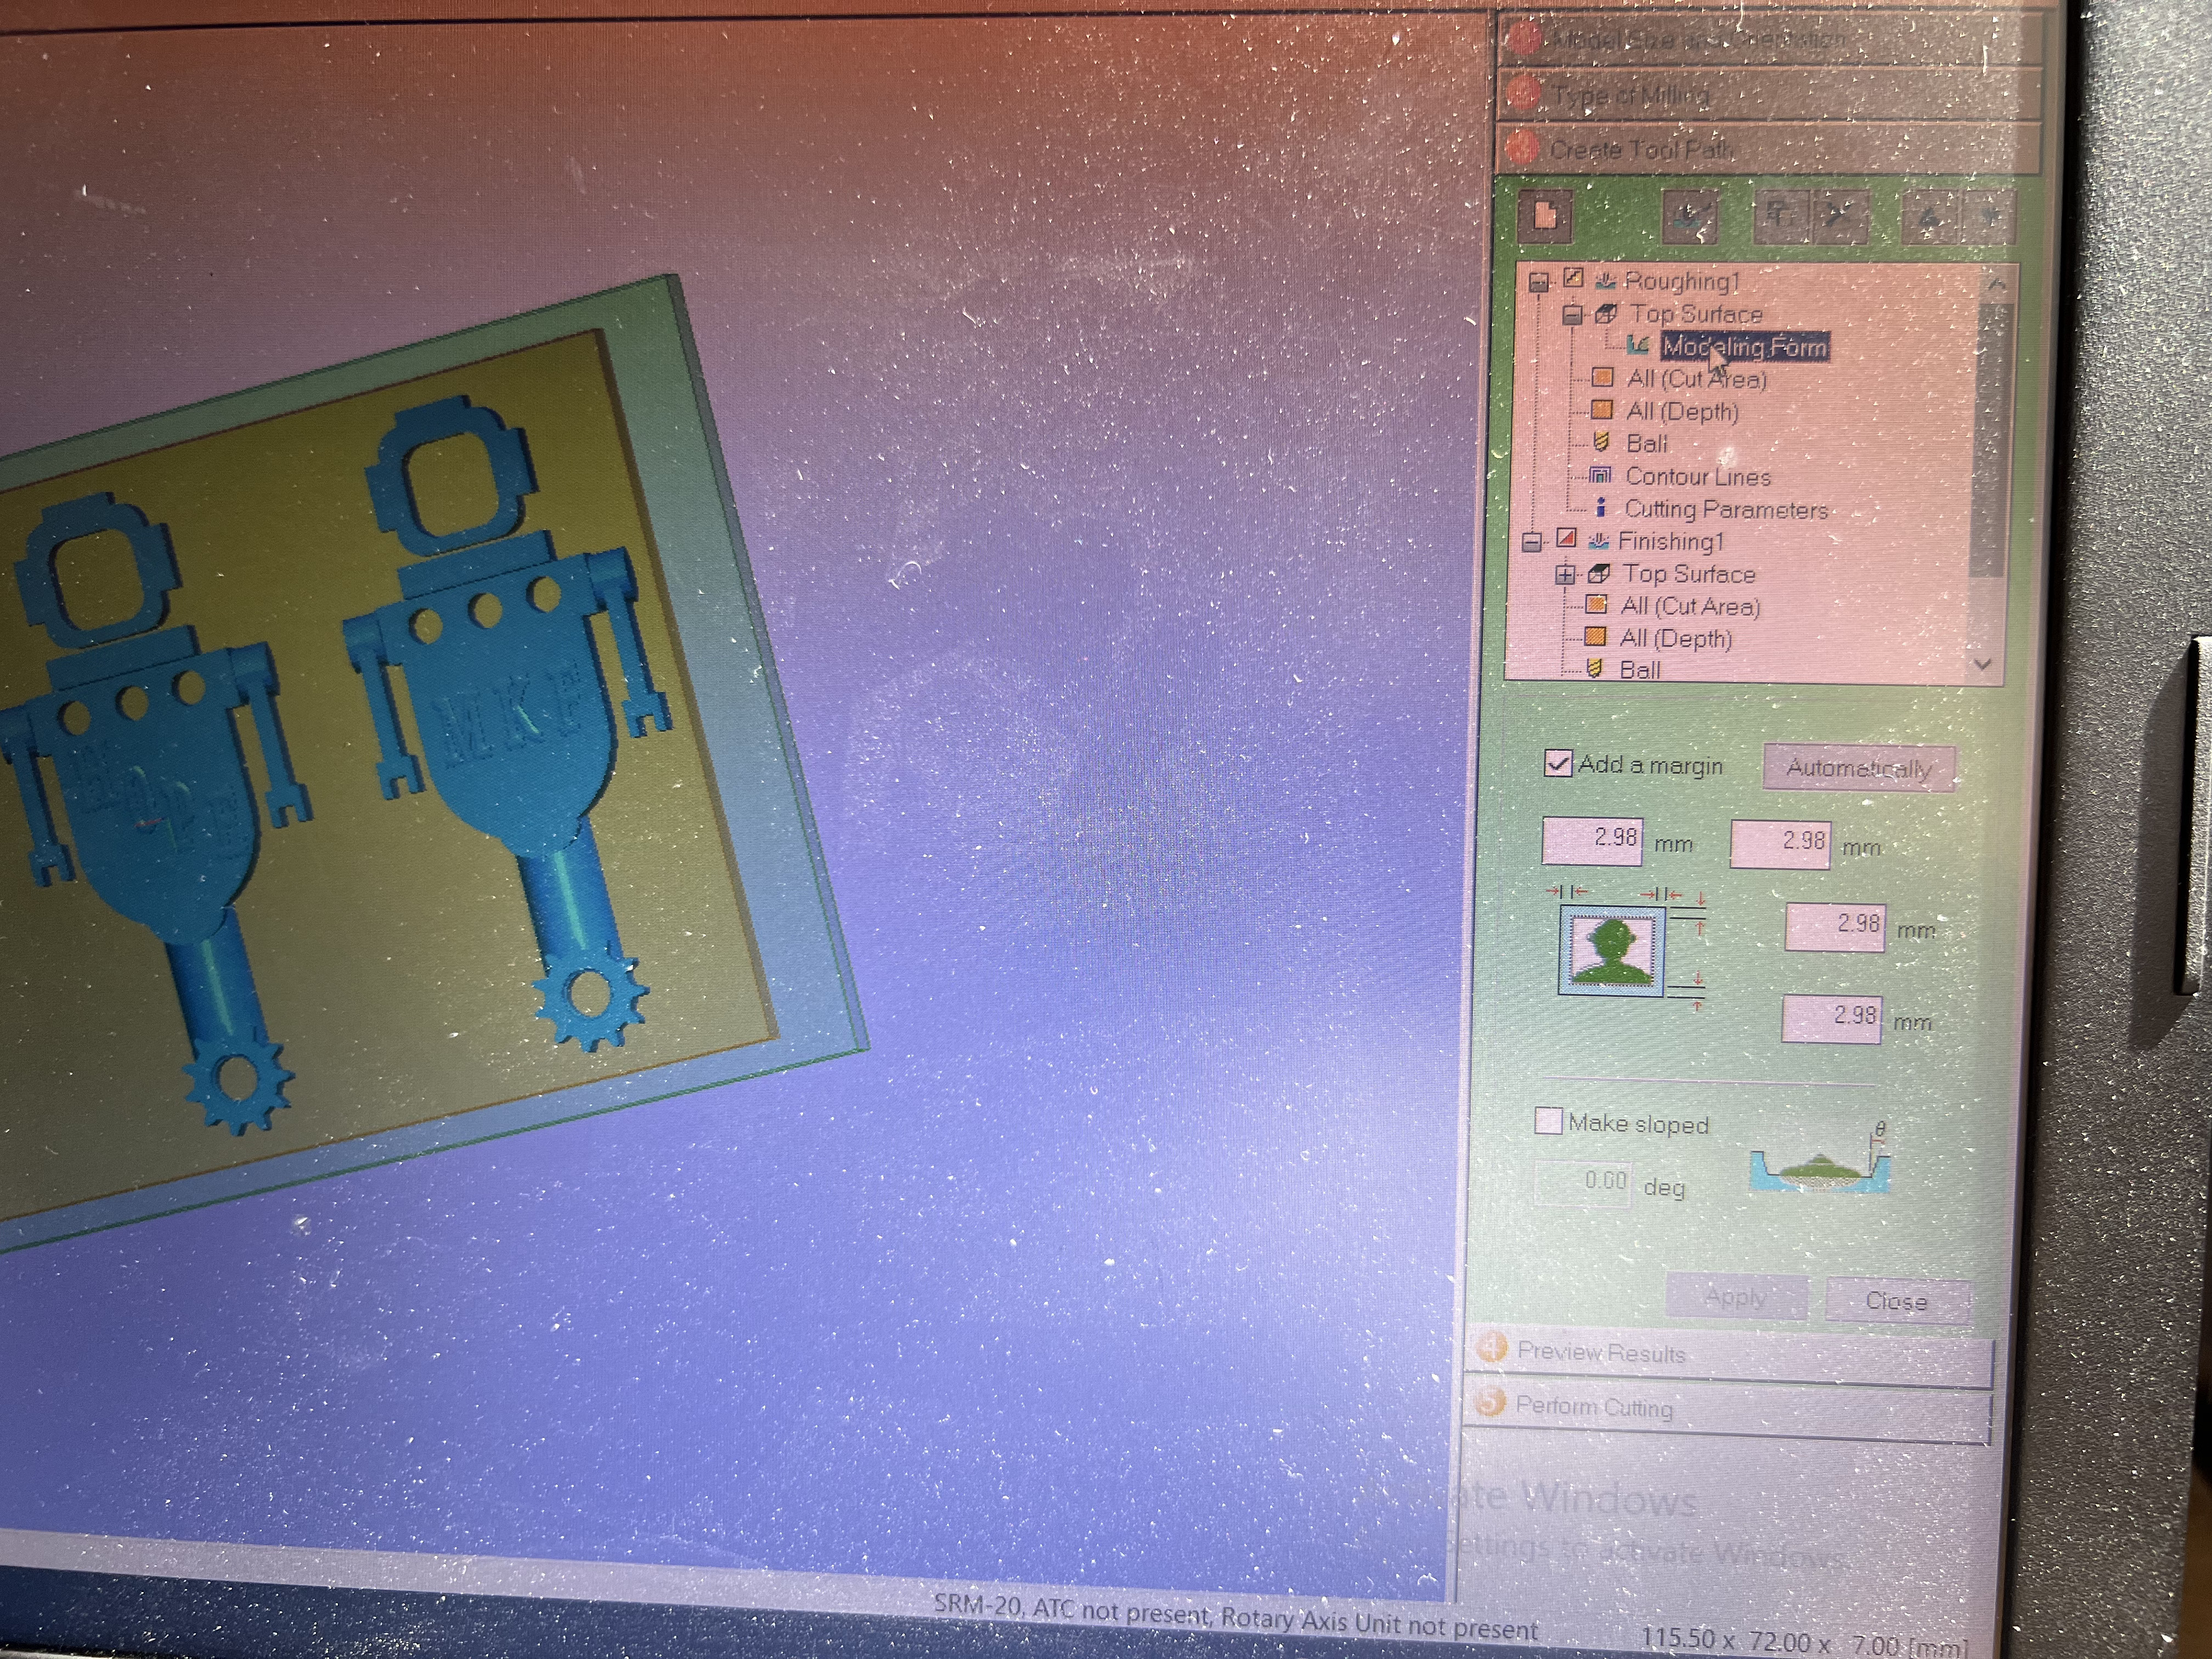
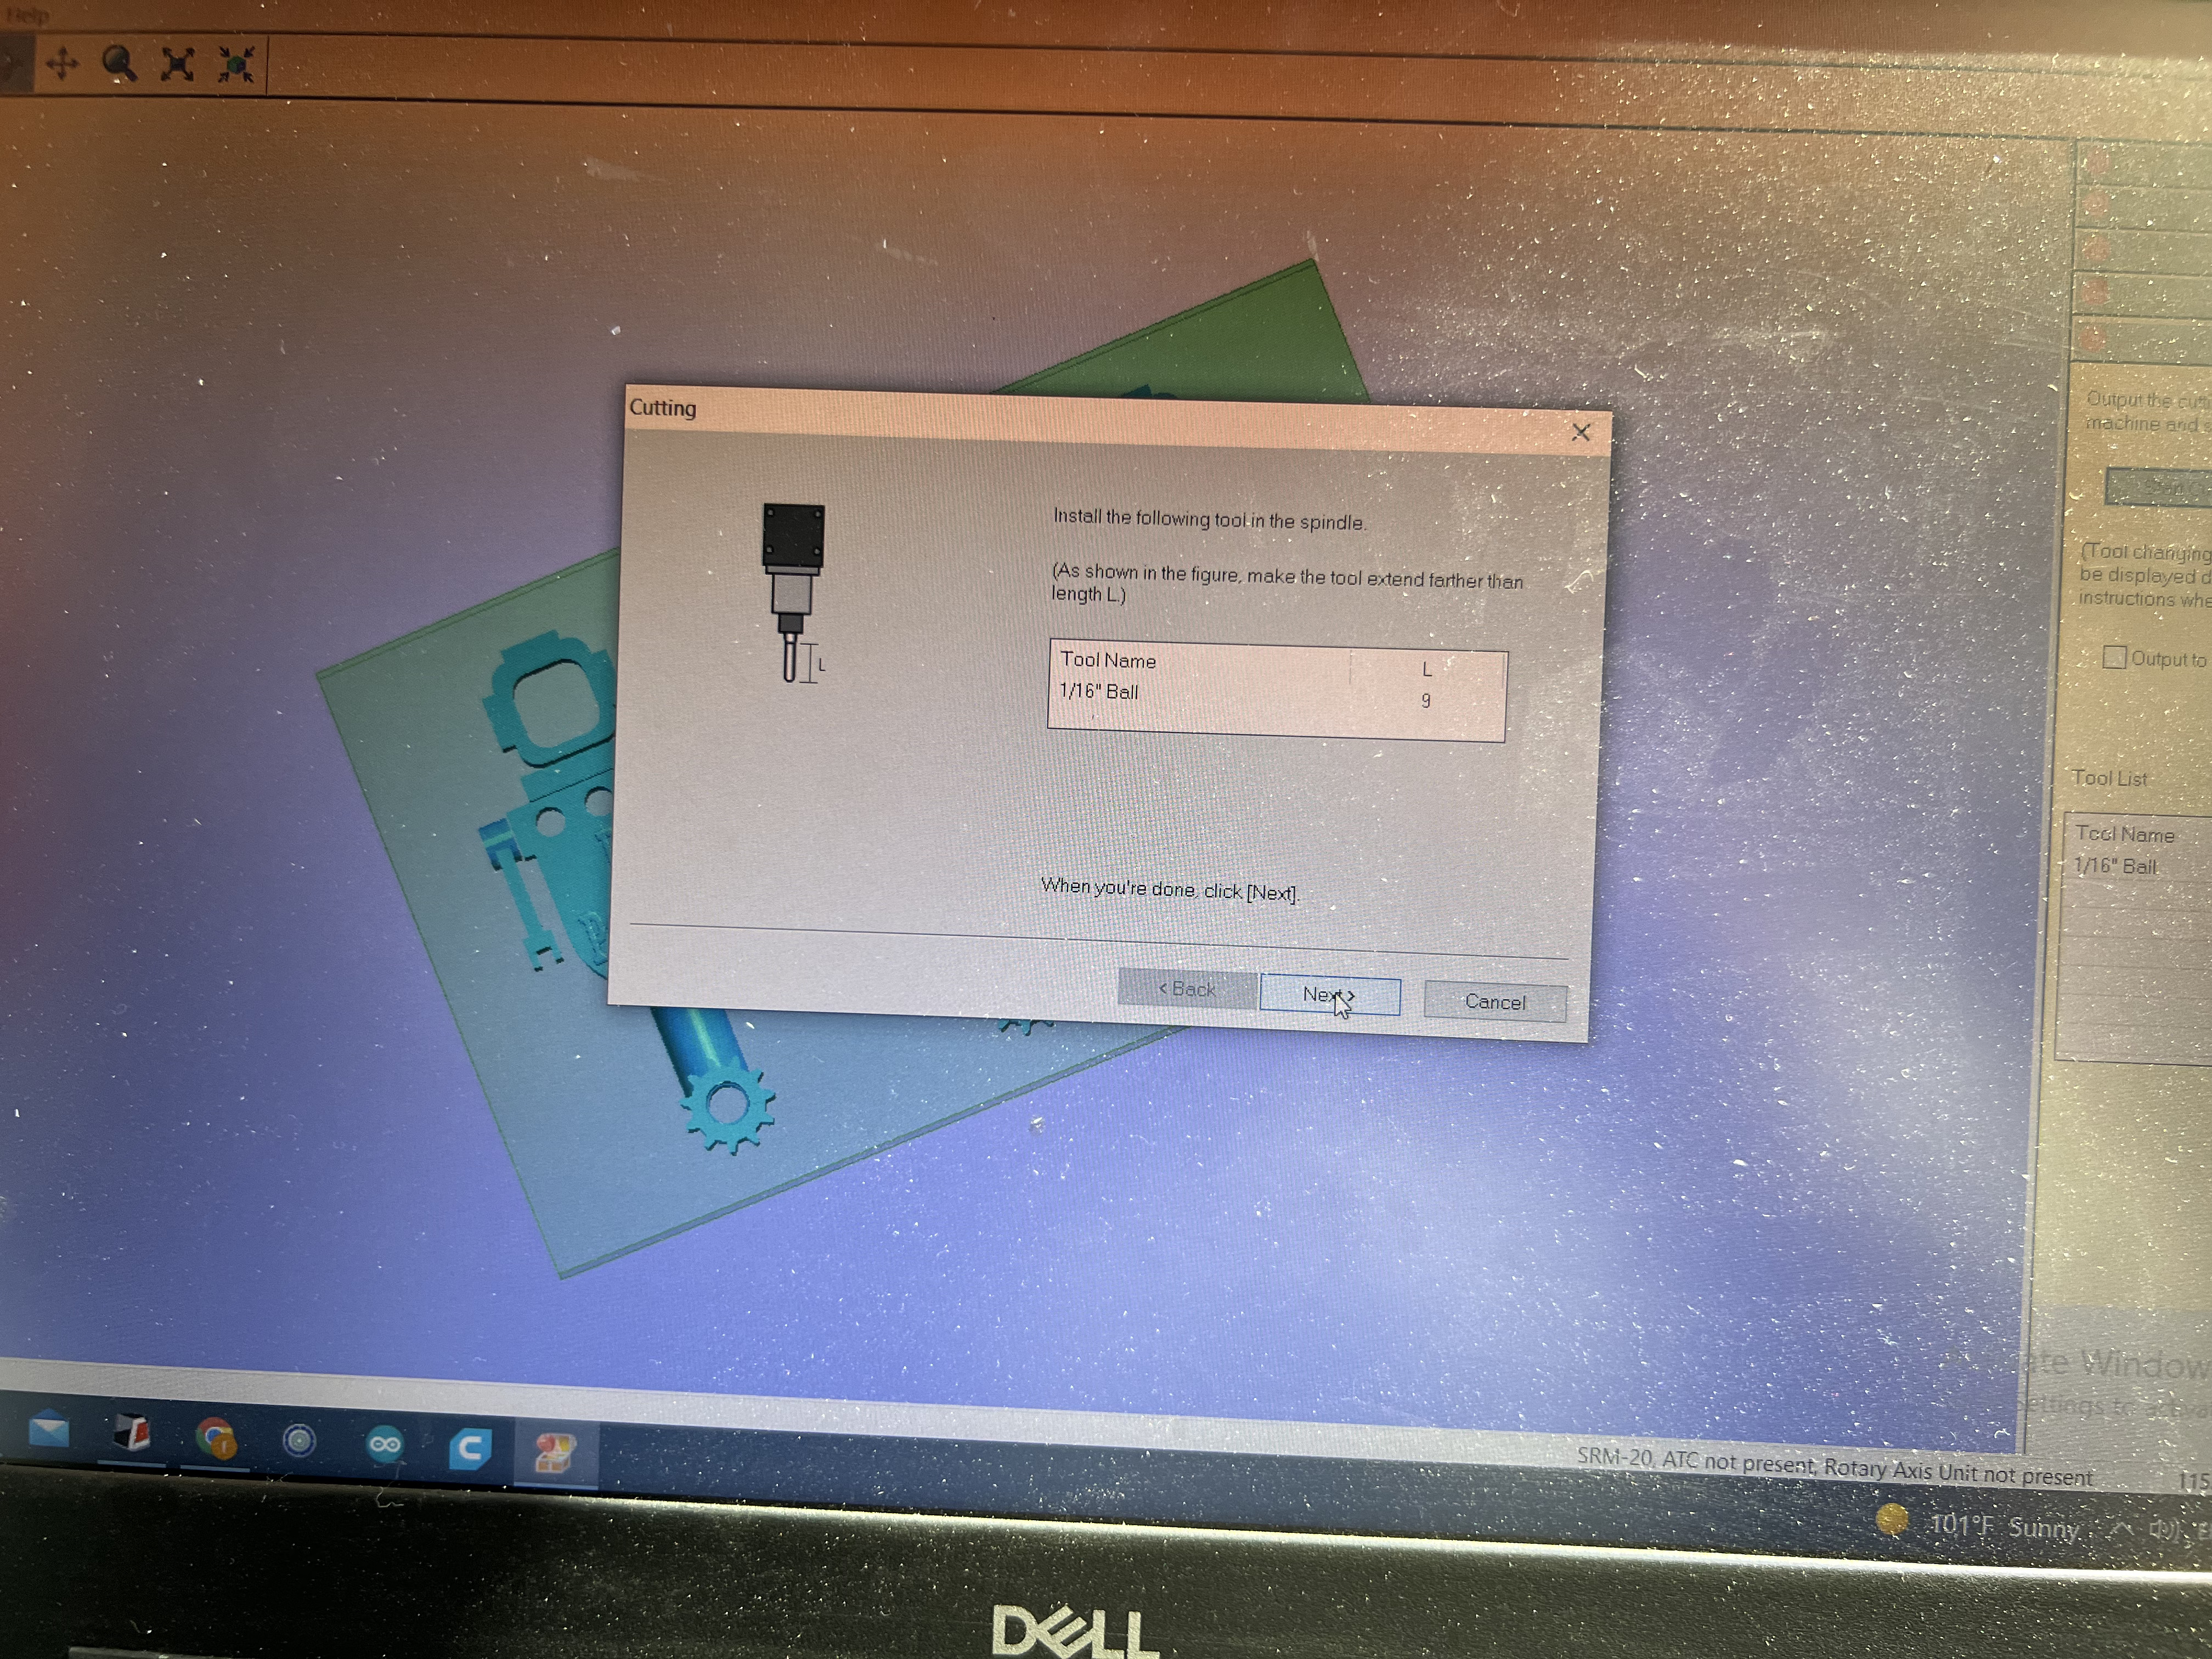
5- As for creating the toolpath, the machinable wax’s plate dimensions were inserted, setting “1/32” square bit for the Roughing process, and the 1/32” bit for the finishing process. As shown in the figure below:
6- Before starting the milling, we selected “preview” to and assess the final objects’ view:
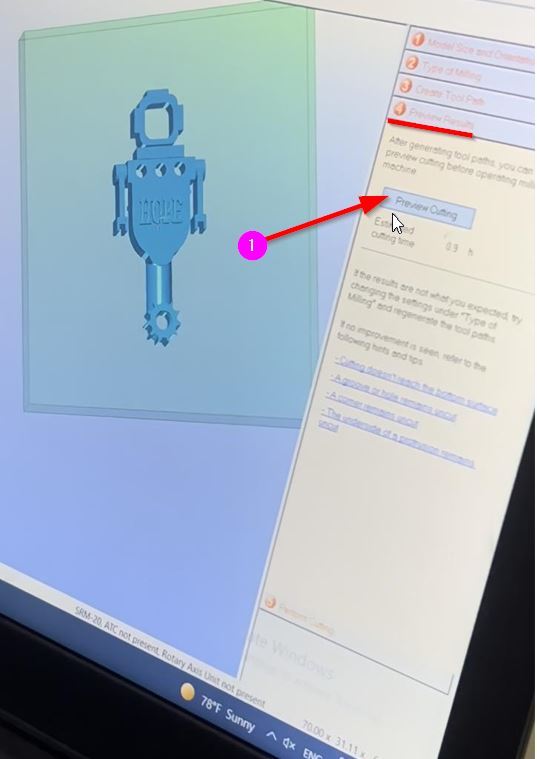
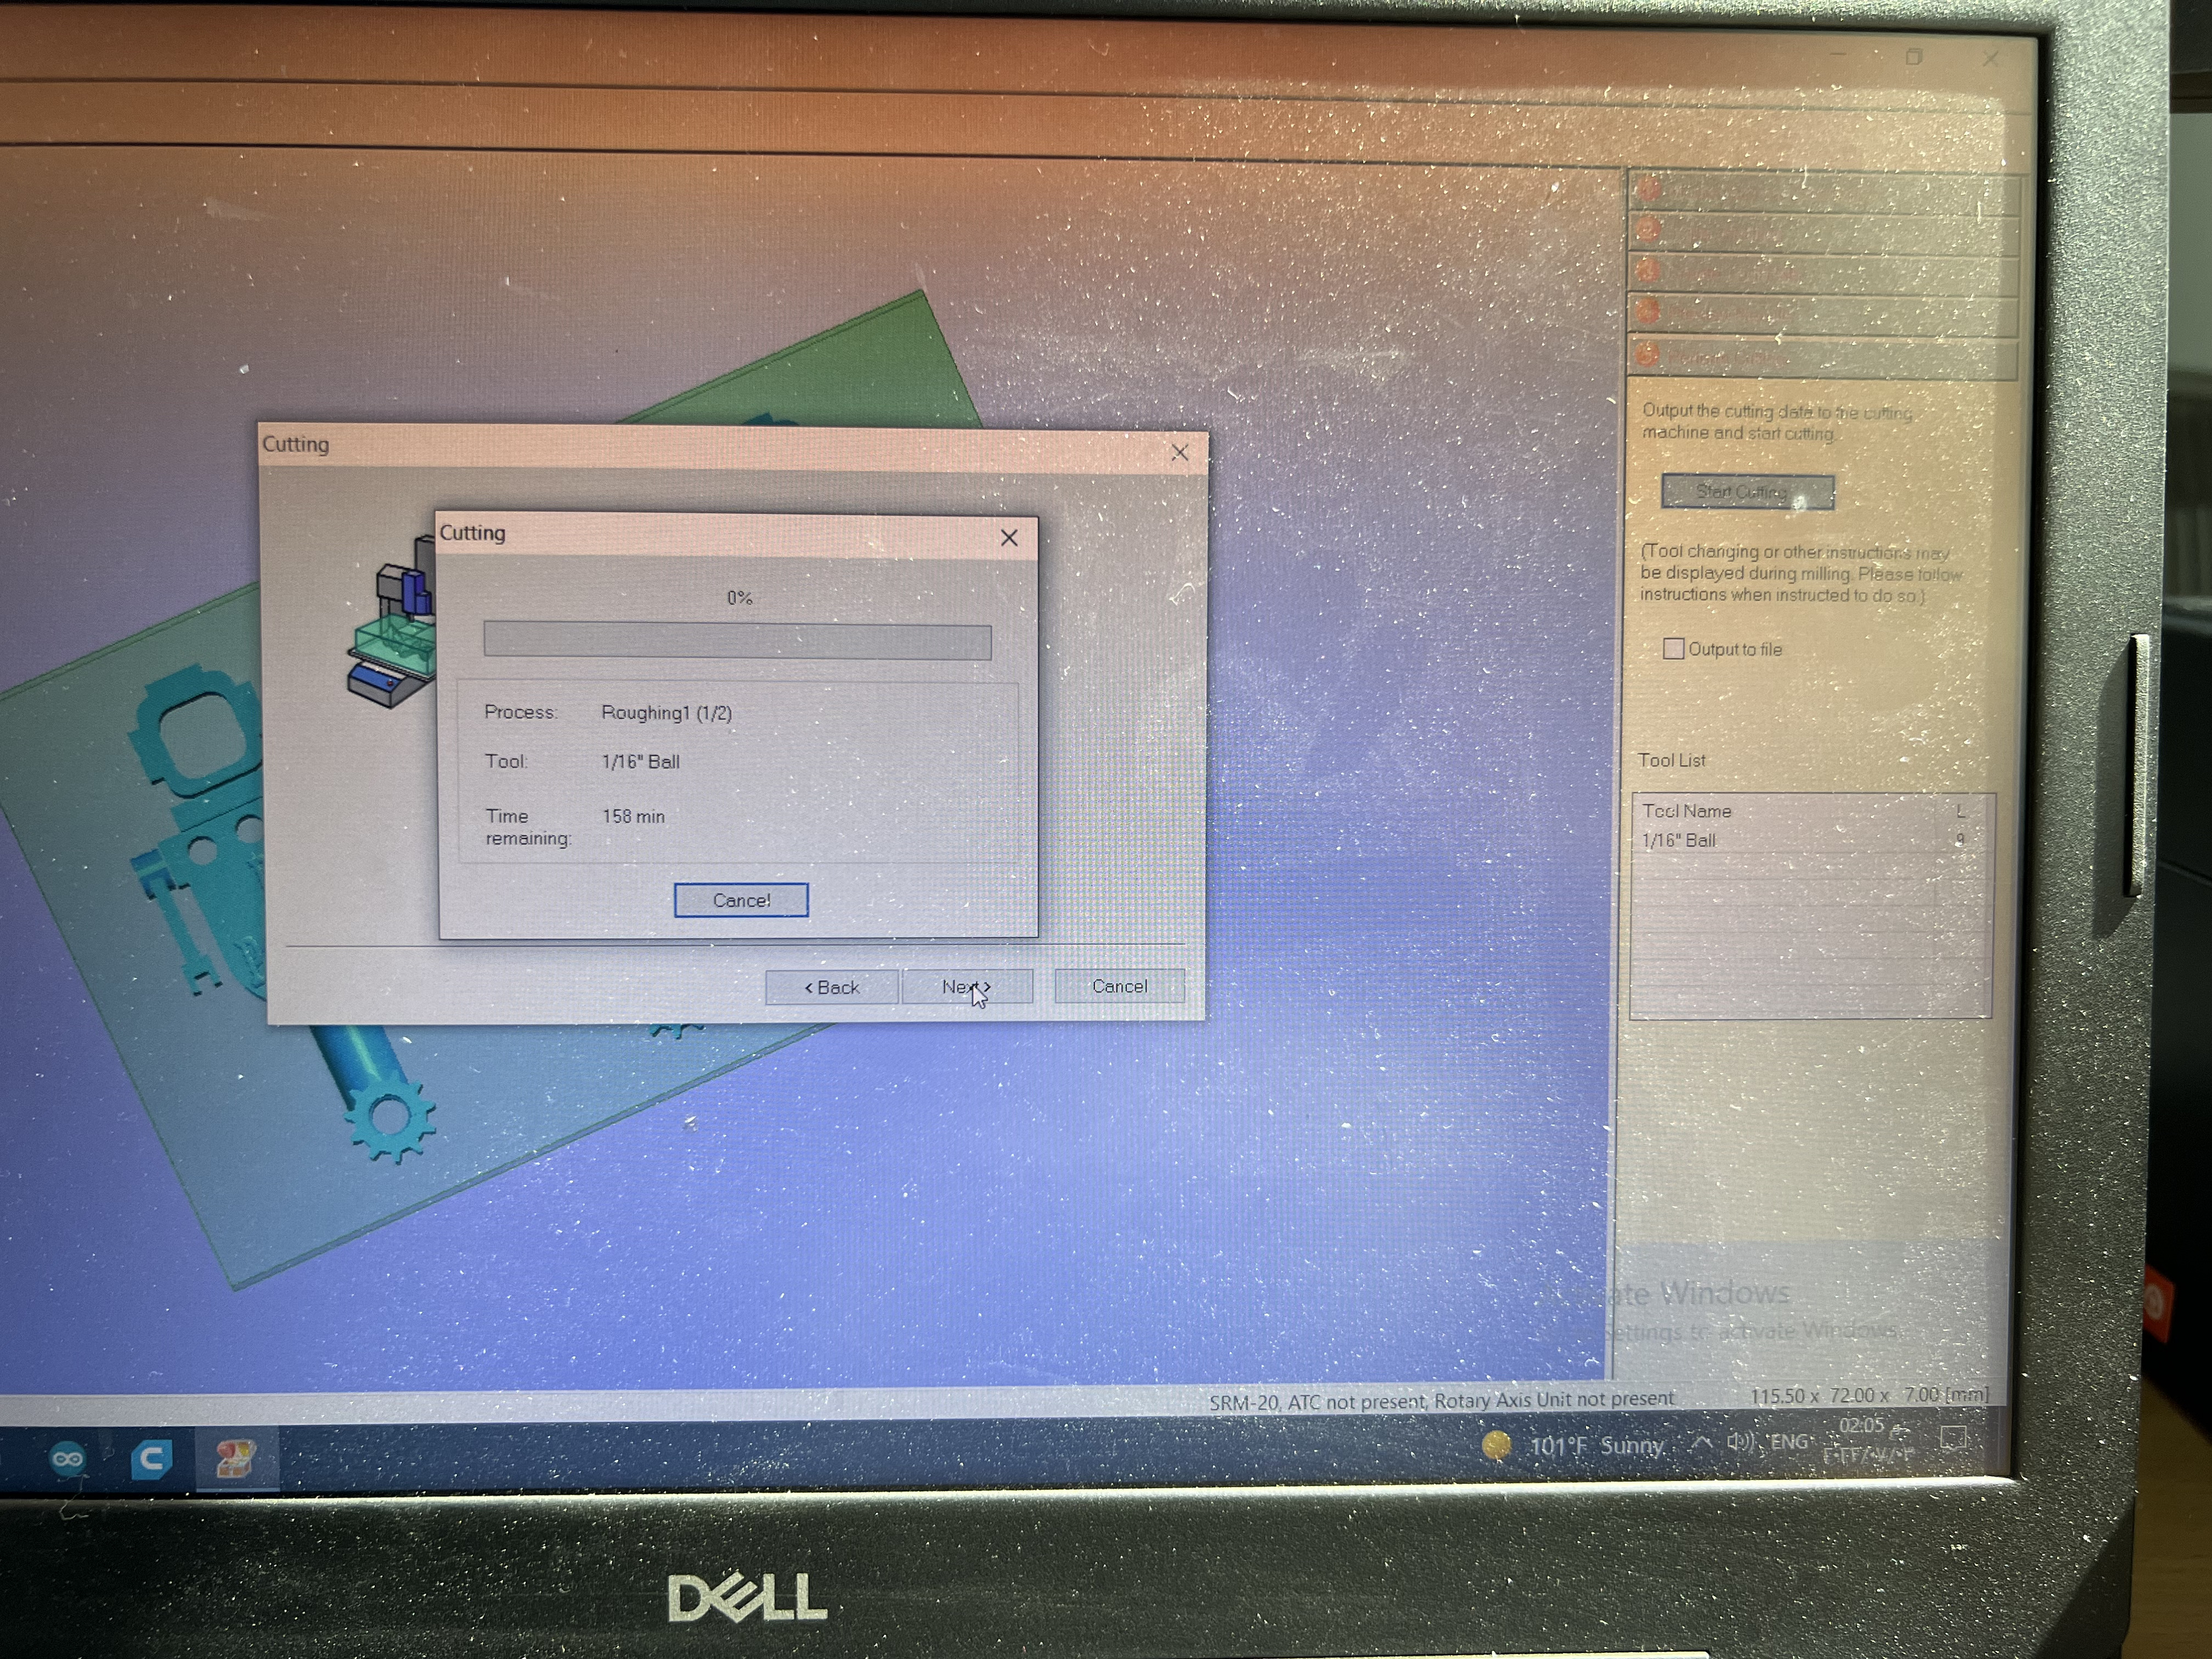
7- Finally, the milling process have started by clicking on “Start Cutting” button.
Peak on the milling process:
Video !
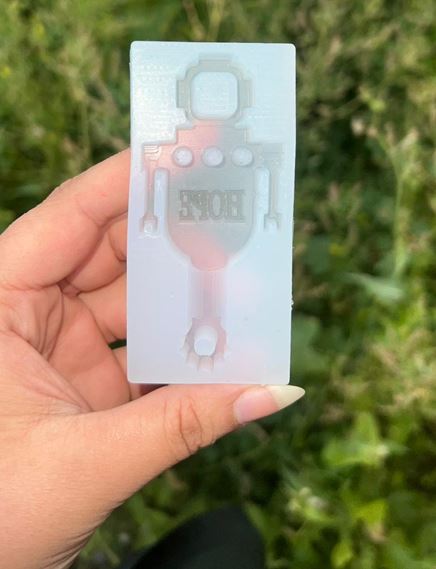
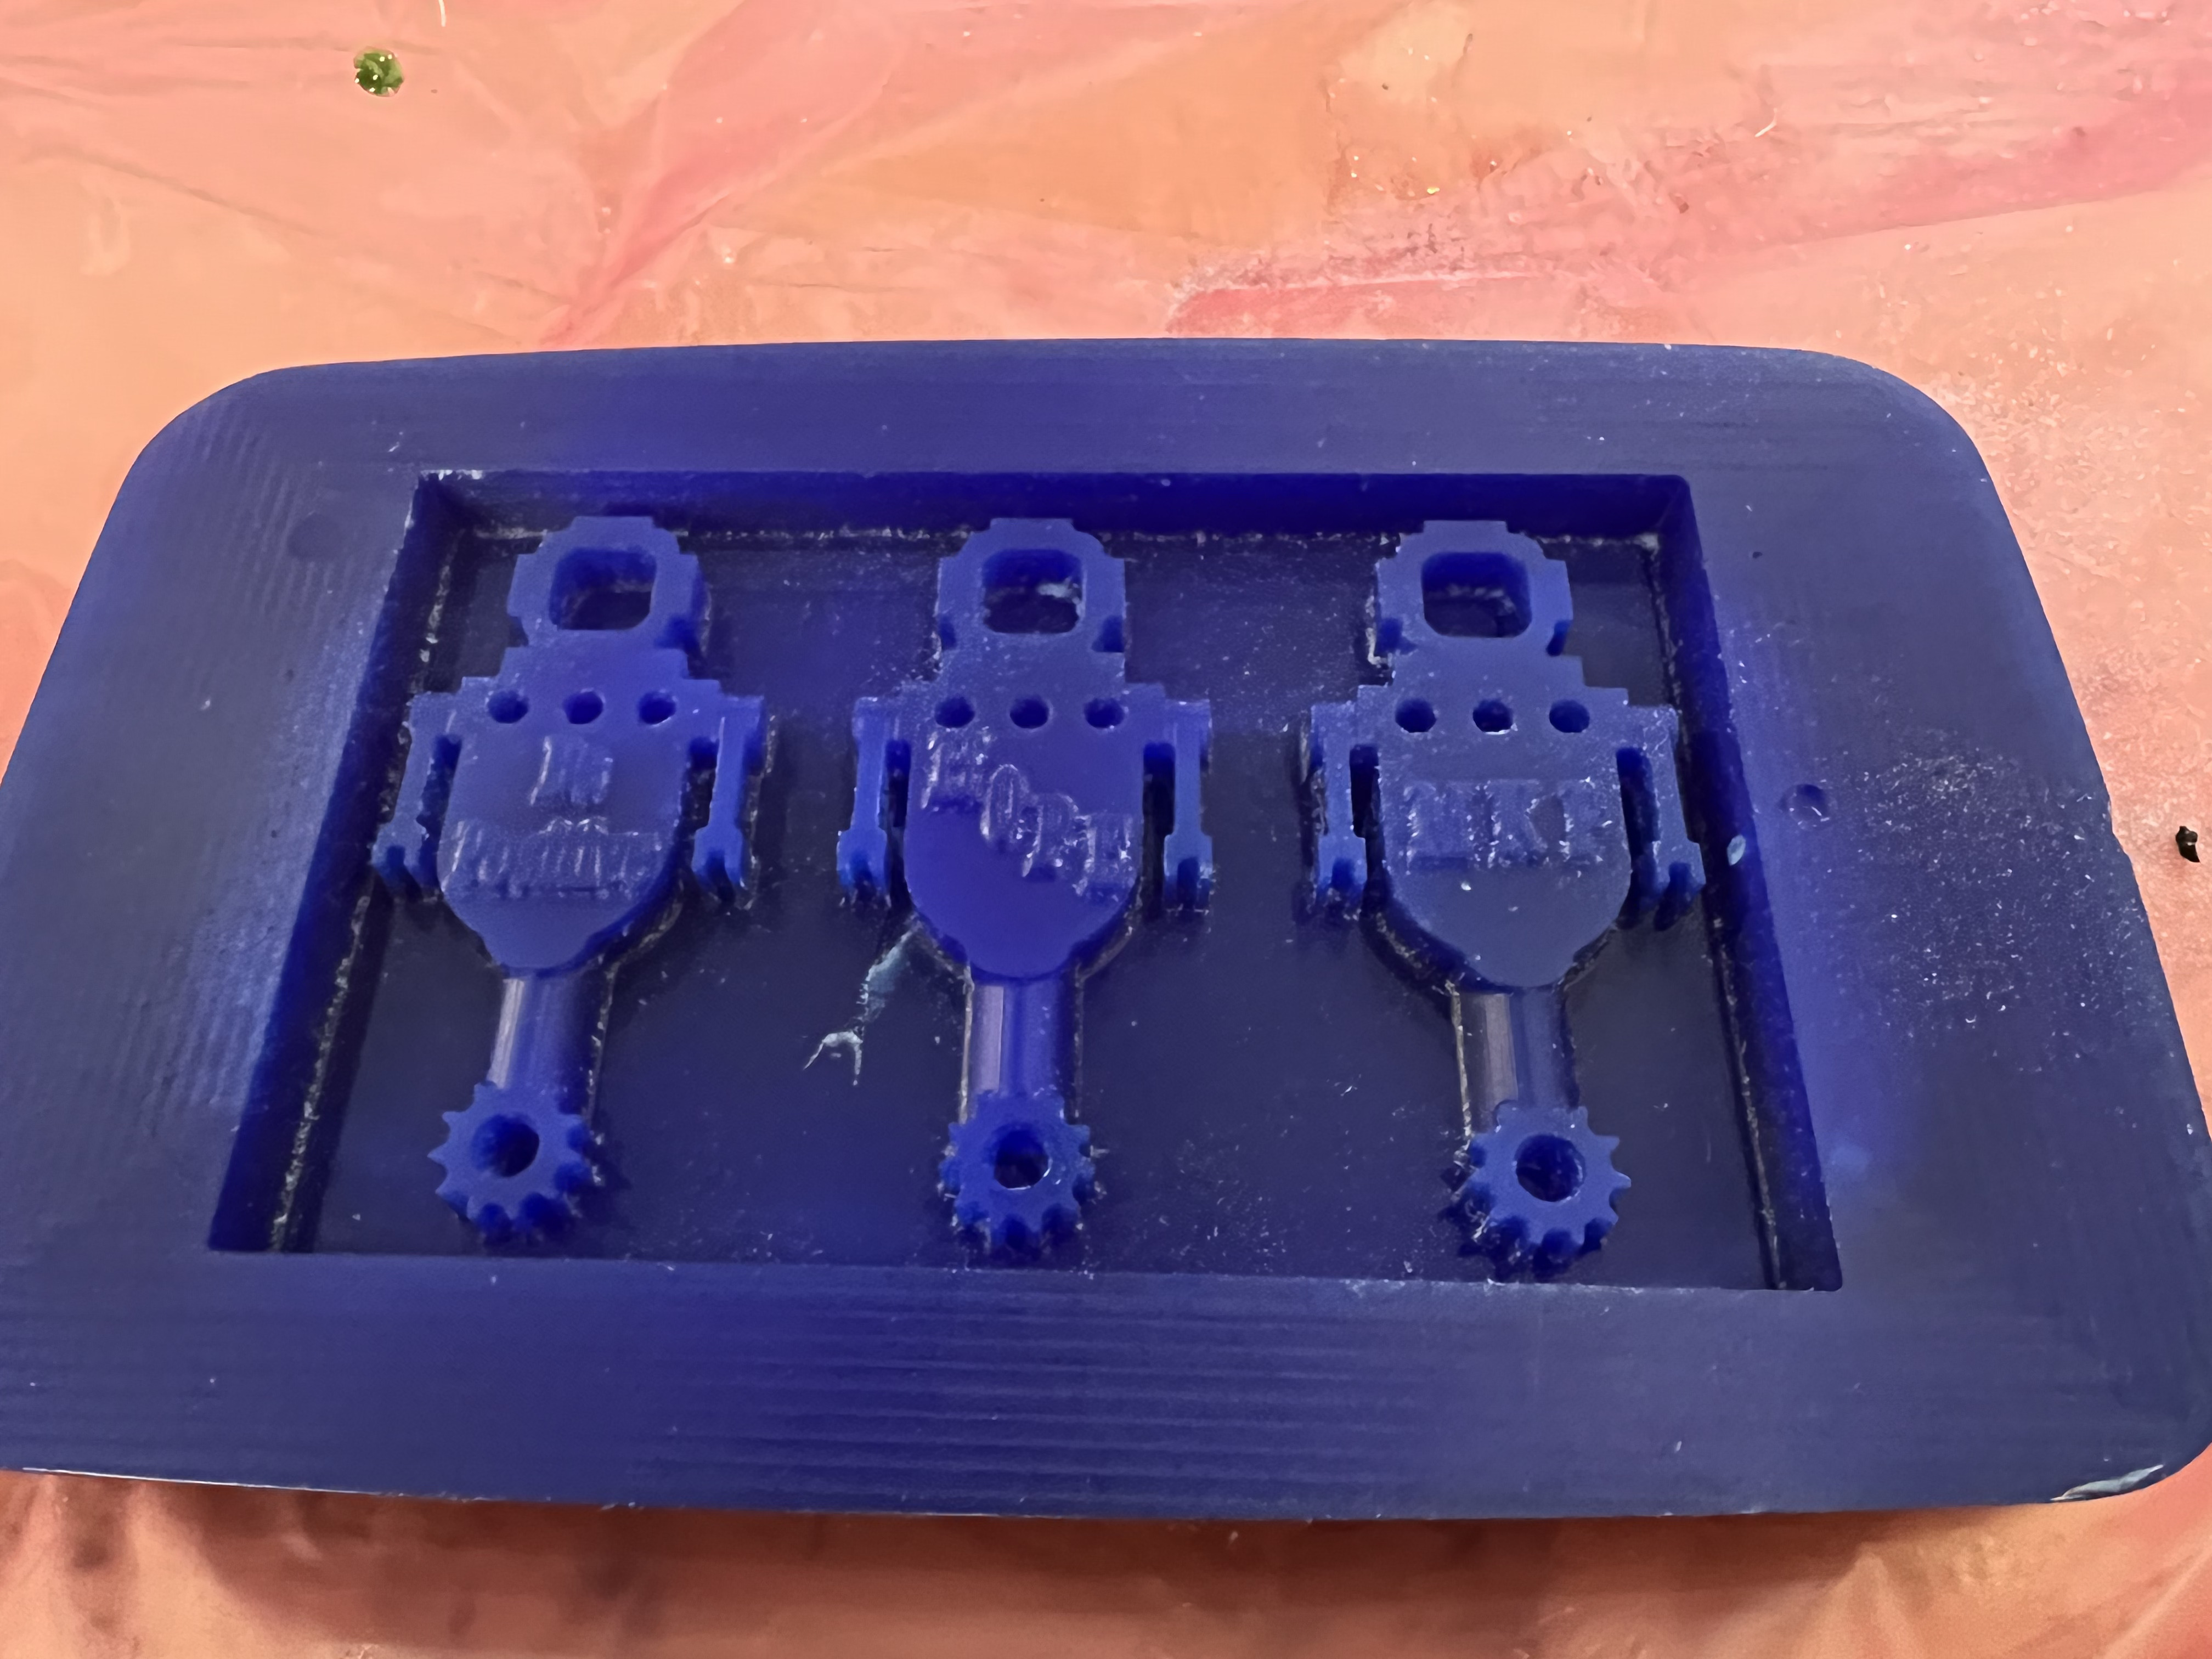
Hero Shots
Final Result:
From different view:
Molding Phase
For the molding process, I have produced a short vlog that displays the full molding process:
Notes to be declared:
1- Health and safety: Make sure to wear gloves while doing the molding process to ensure that you do not face any skin’s sensitivity issues.
2- Mixing process: Please make sure to:
-
Mix the mixture for 5 minutes.
-
Try to mix it carefully to prevent any bubbles presences. You make refer to the YouTube video below to learn the proper way of mixing the silicon:
- Pour the silicon mixture precisely. You make refer to the tutorial video below:
3- Silicon Ratio: 1:1 of silicon A & B. So for my case, after measuring the amount of silicon mixture (it turn out to be 26g); I have added 15g of silicon A & 15g of silicon B.
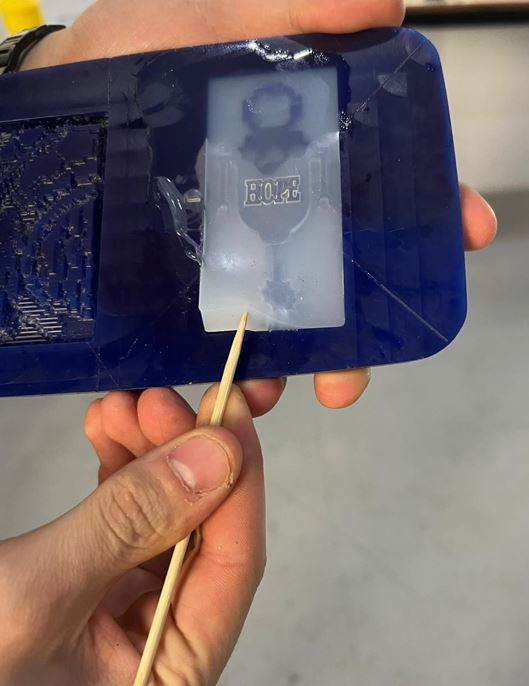
4- You may remove the mold by a thin stick as follows:
Hero Shot
Casting Process
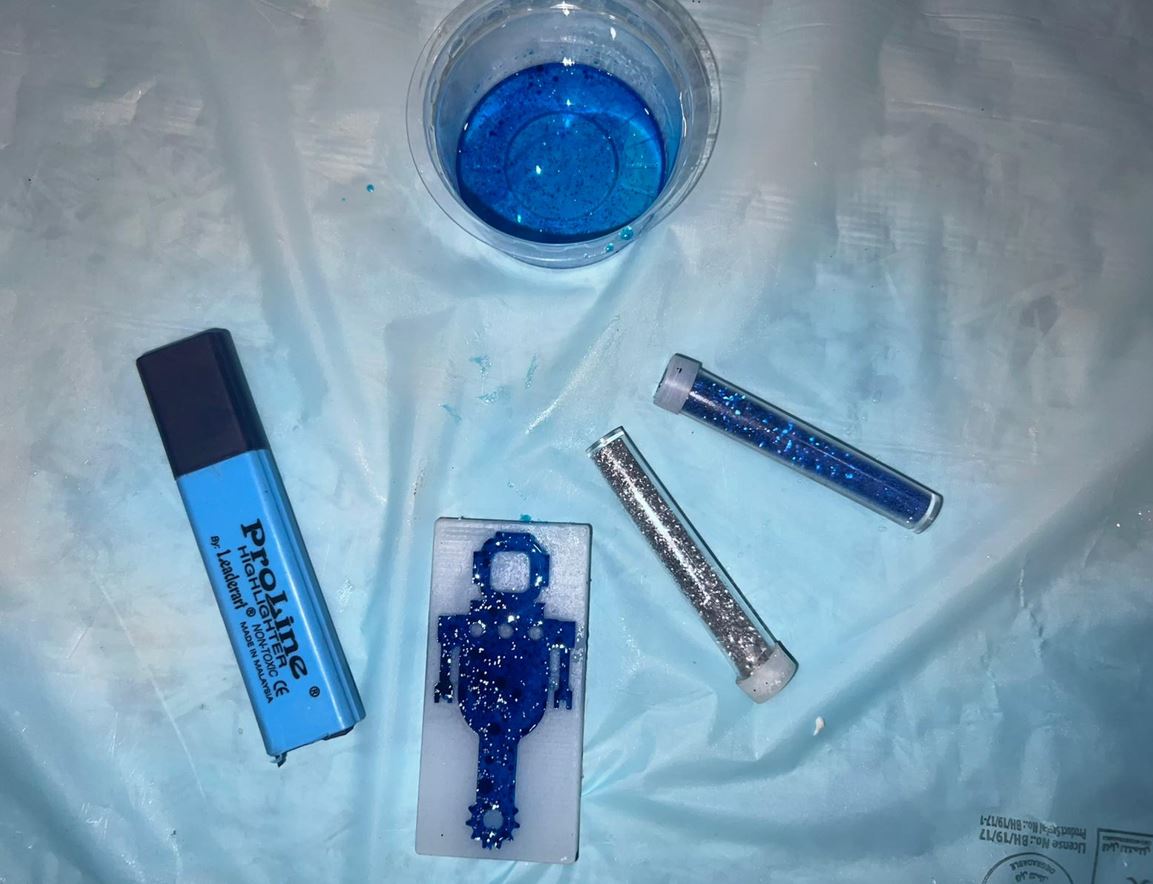
For the casting process, I have also created a short vlog to present all the casting process accomplished:
Notes to be declared:
1- Health and safety: Make sure to wear gloves while doing the casting process to ensure that you do not face any skin’s sensitivity issues in future.
2- Mixing process:
Try to mix it carefully to prevent any bubbles presences. You make refer to the YouTube video below to learn the proper way of mixing the silicon:
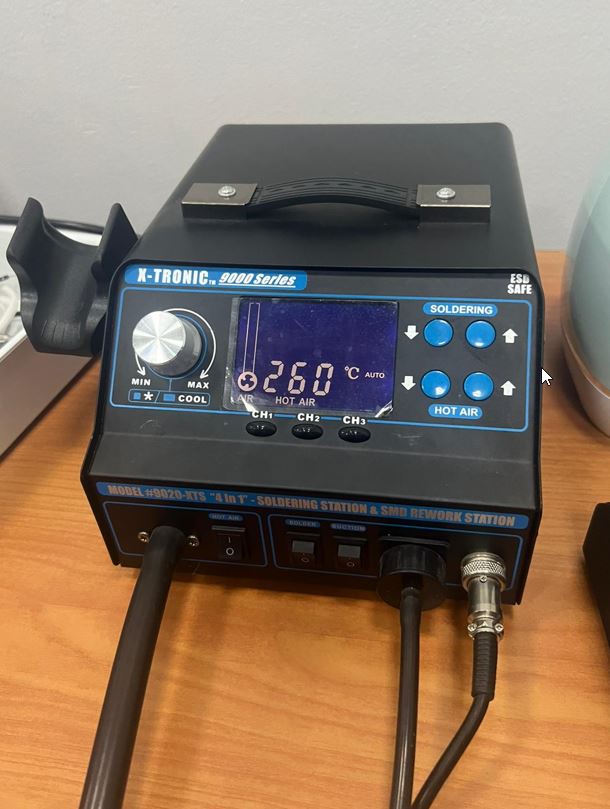
Here you may find techniques to get rid of the bubbles produced:
As for me, I have used the following machine that releases hot air to remove the bubbles:
3- Resin Ratio: 10g of resin and 6g of harder. The following image shows how the mold looked after pouring the resin:
4- It’s better to melt the soap for 10-15 seconds, as 20 seconds may be too much, and a burning smell might appear.
Bonus Work:
After trying Resin and soap, I was interested to try Epoxy resin. Hence, I repeated the same process however the ratio for the epoxy resin was 100A:33B. This how it looked after pouring it in the mold:
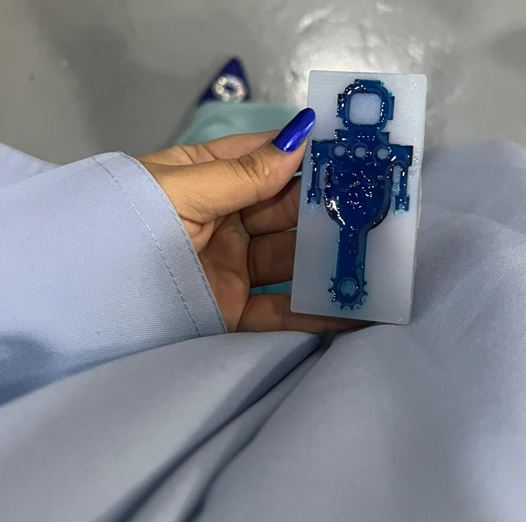
Here is the final result:
Hero Shots
Robot Soap
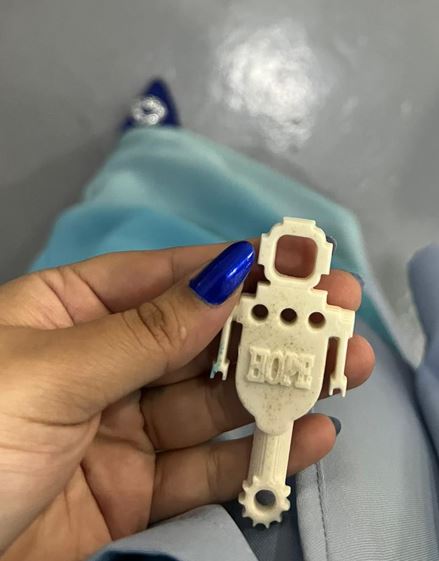
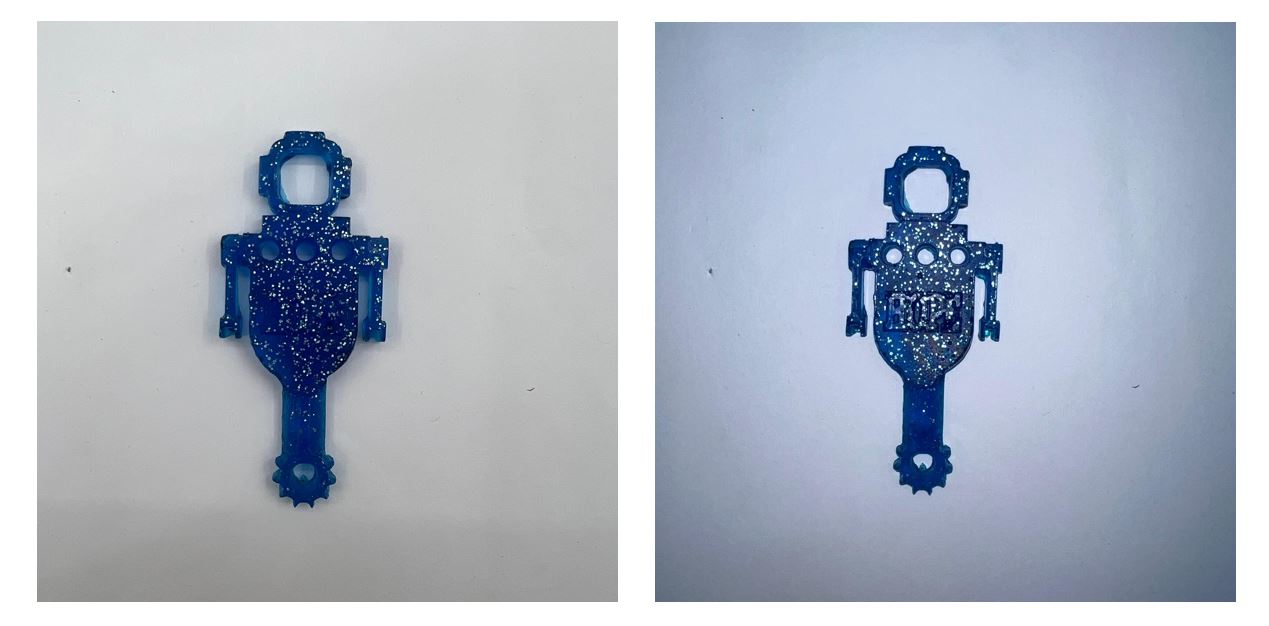
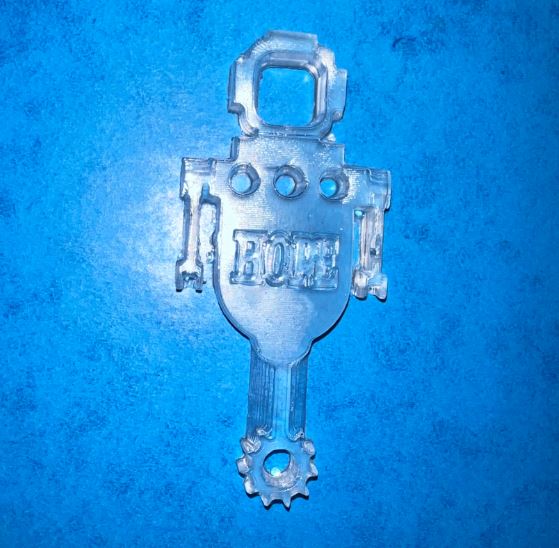
Robot Keychain
Using Resin:
Using Epoxy Resin:
MKF Project
All the process mentioned above were made during the ‘Fab lab Bahrain Academy Program’ that was taken place during Jan-April 2022.
However, since I am a student at Al Mabarrah AlKhalifia Organization (MKF). MKF is my second home and it was my greatest pleasure to be a Rayaat student. Therefore, during the summer I was so excited to fix all the errors made in the first design, edit the word embedded within the robot, and finally create a new mold for MKF. Thus, below you will find the steps that was achieved:
Step 1: Editing the design.
Step 2: Melting the wax into the right block size (to make sure it can fit the milling machine). The melting process take between 45-60 min (depending on the wax type). Then, leave the wax block to cool for 1-24 hours.
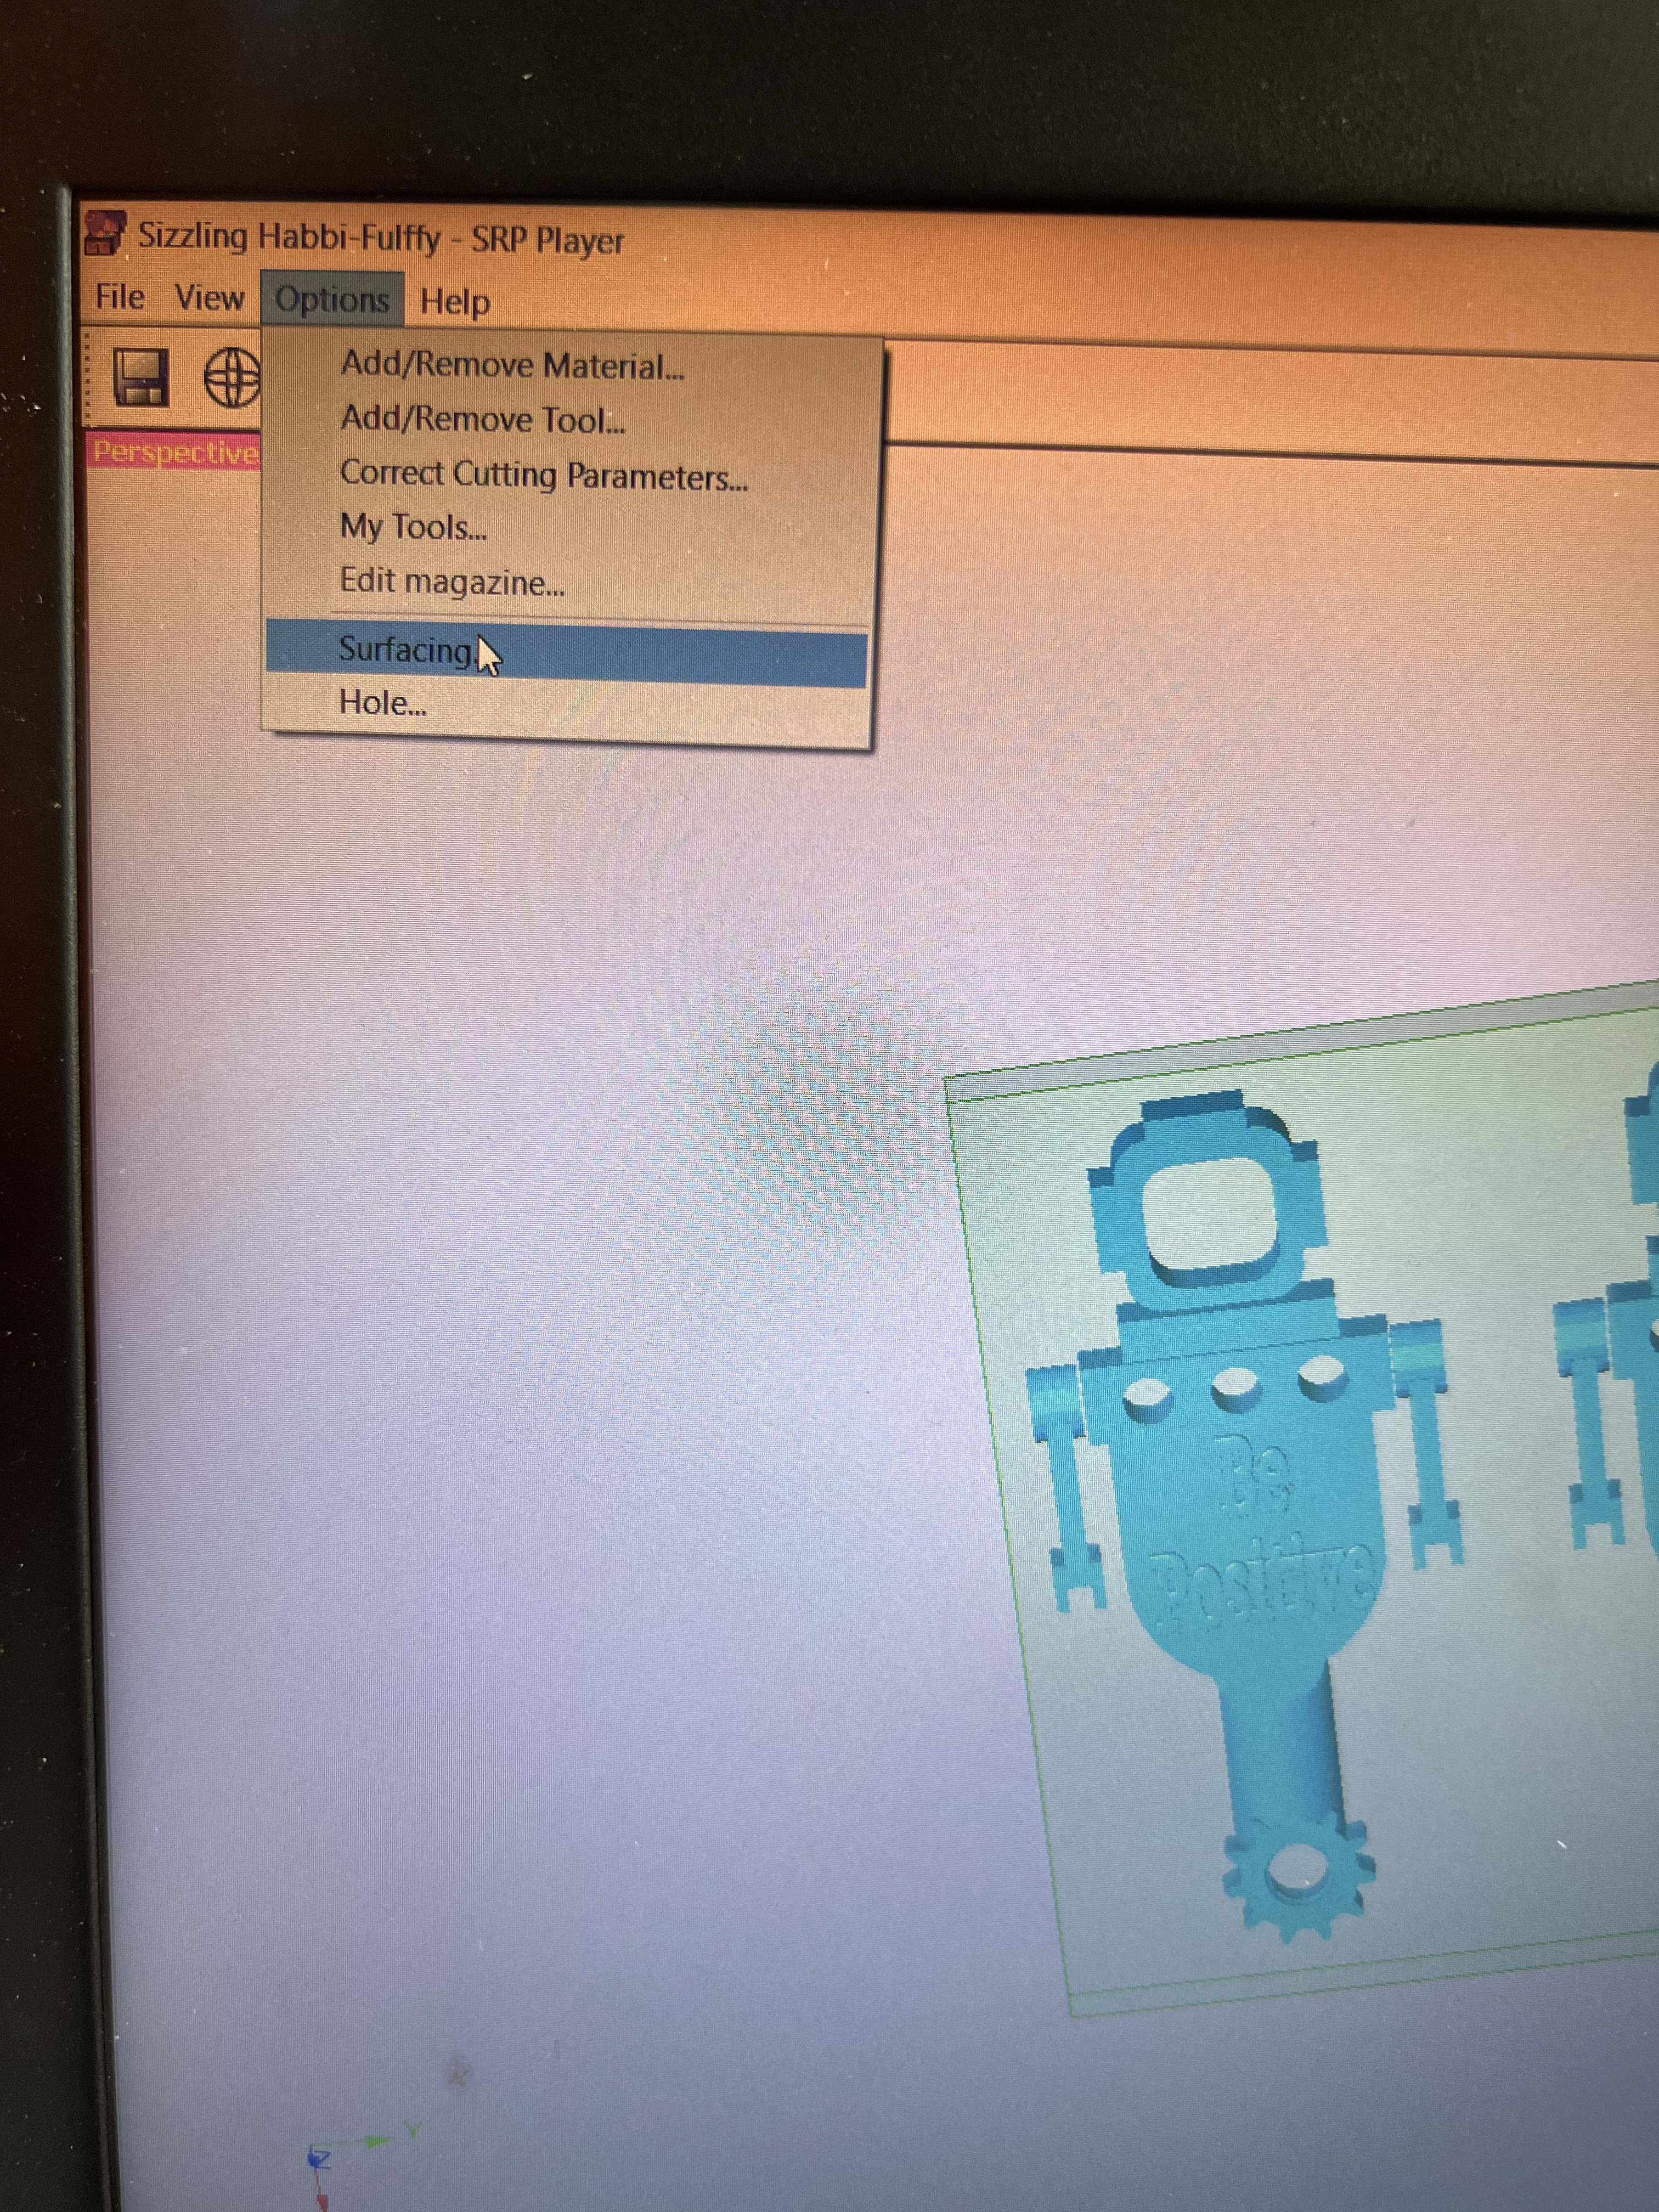
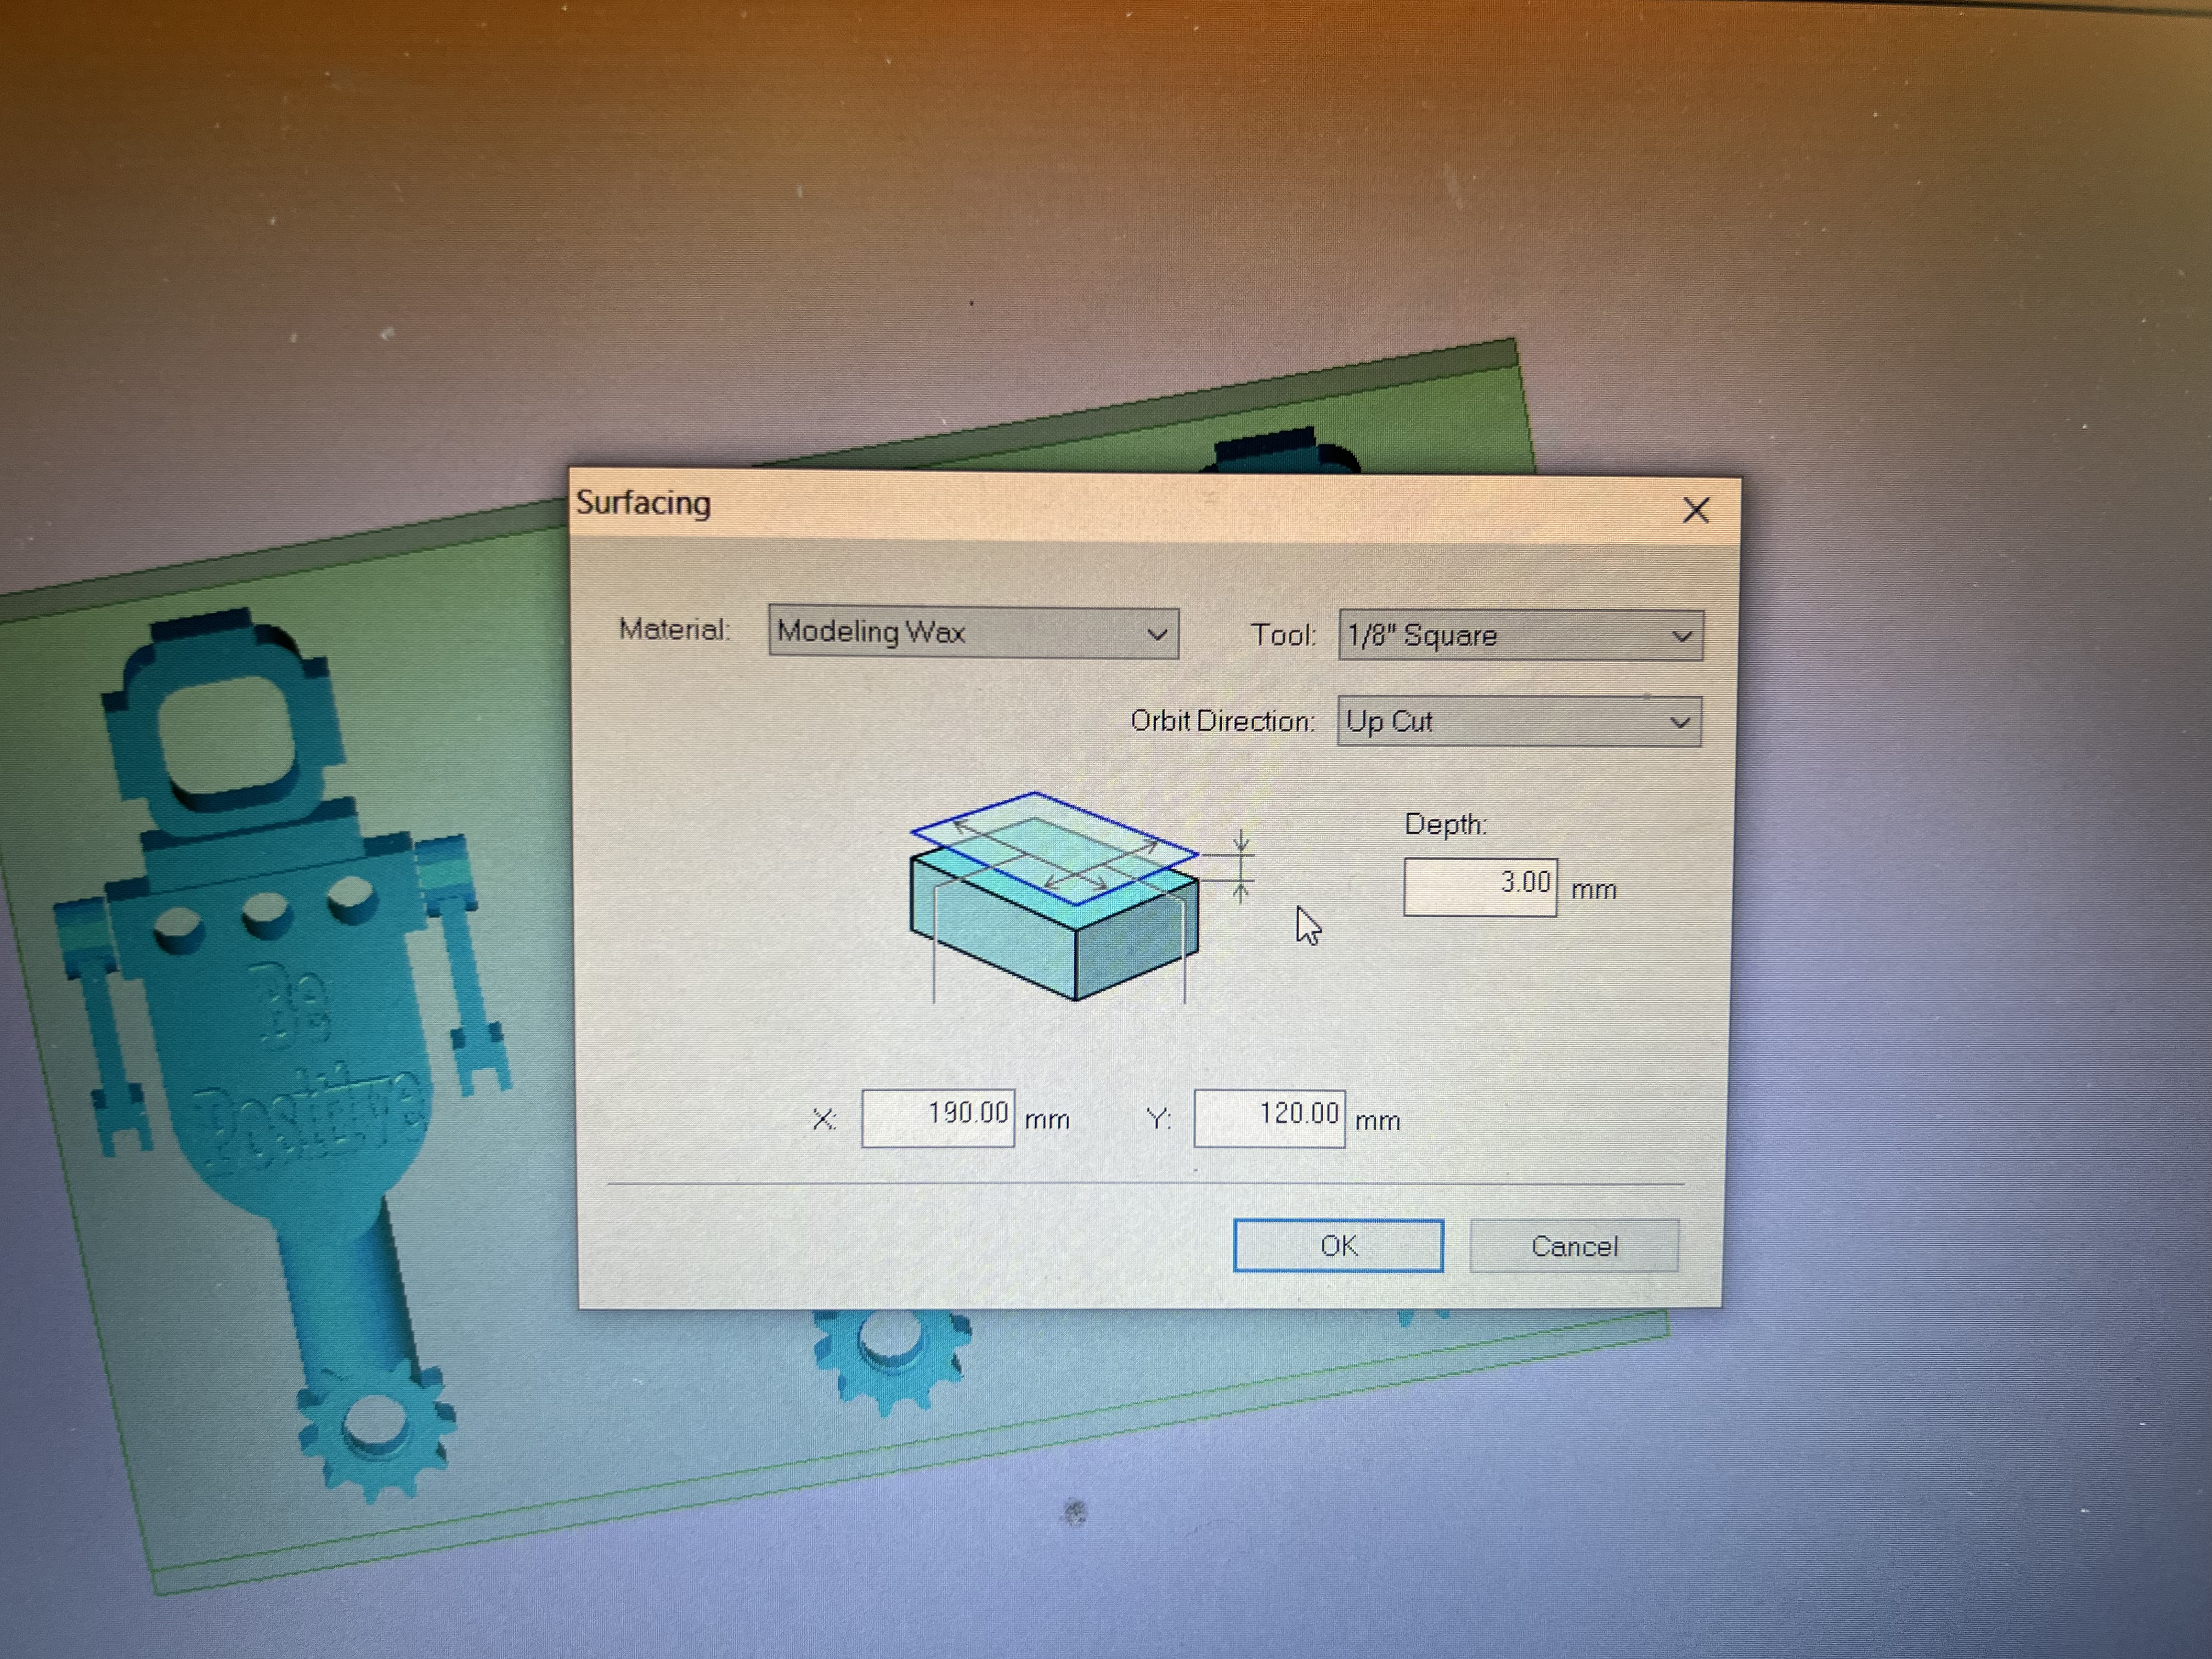
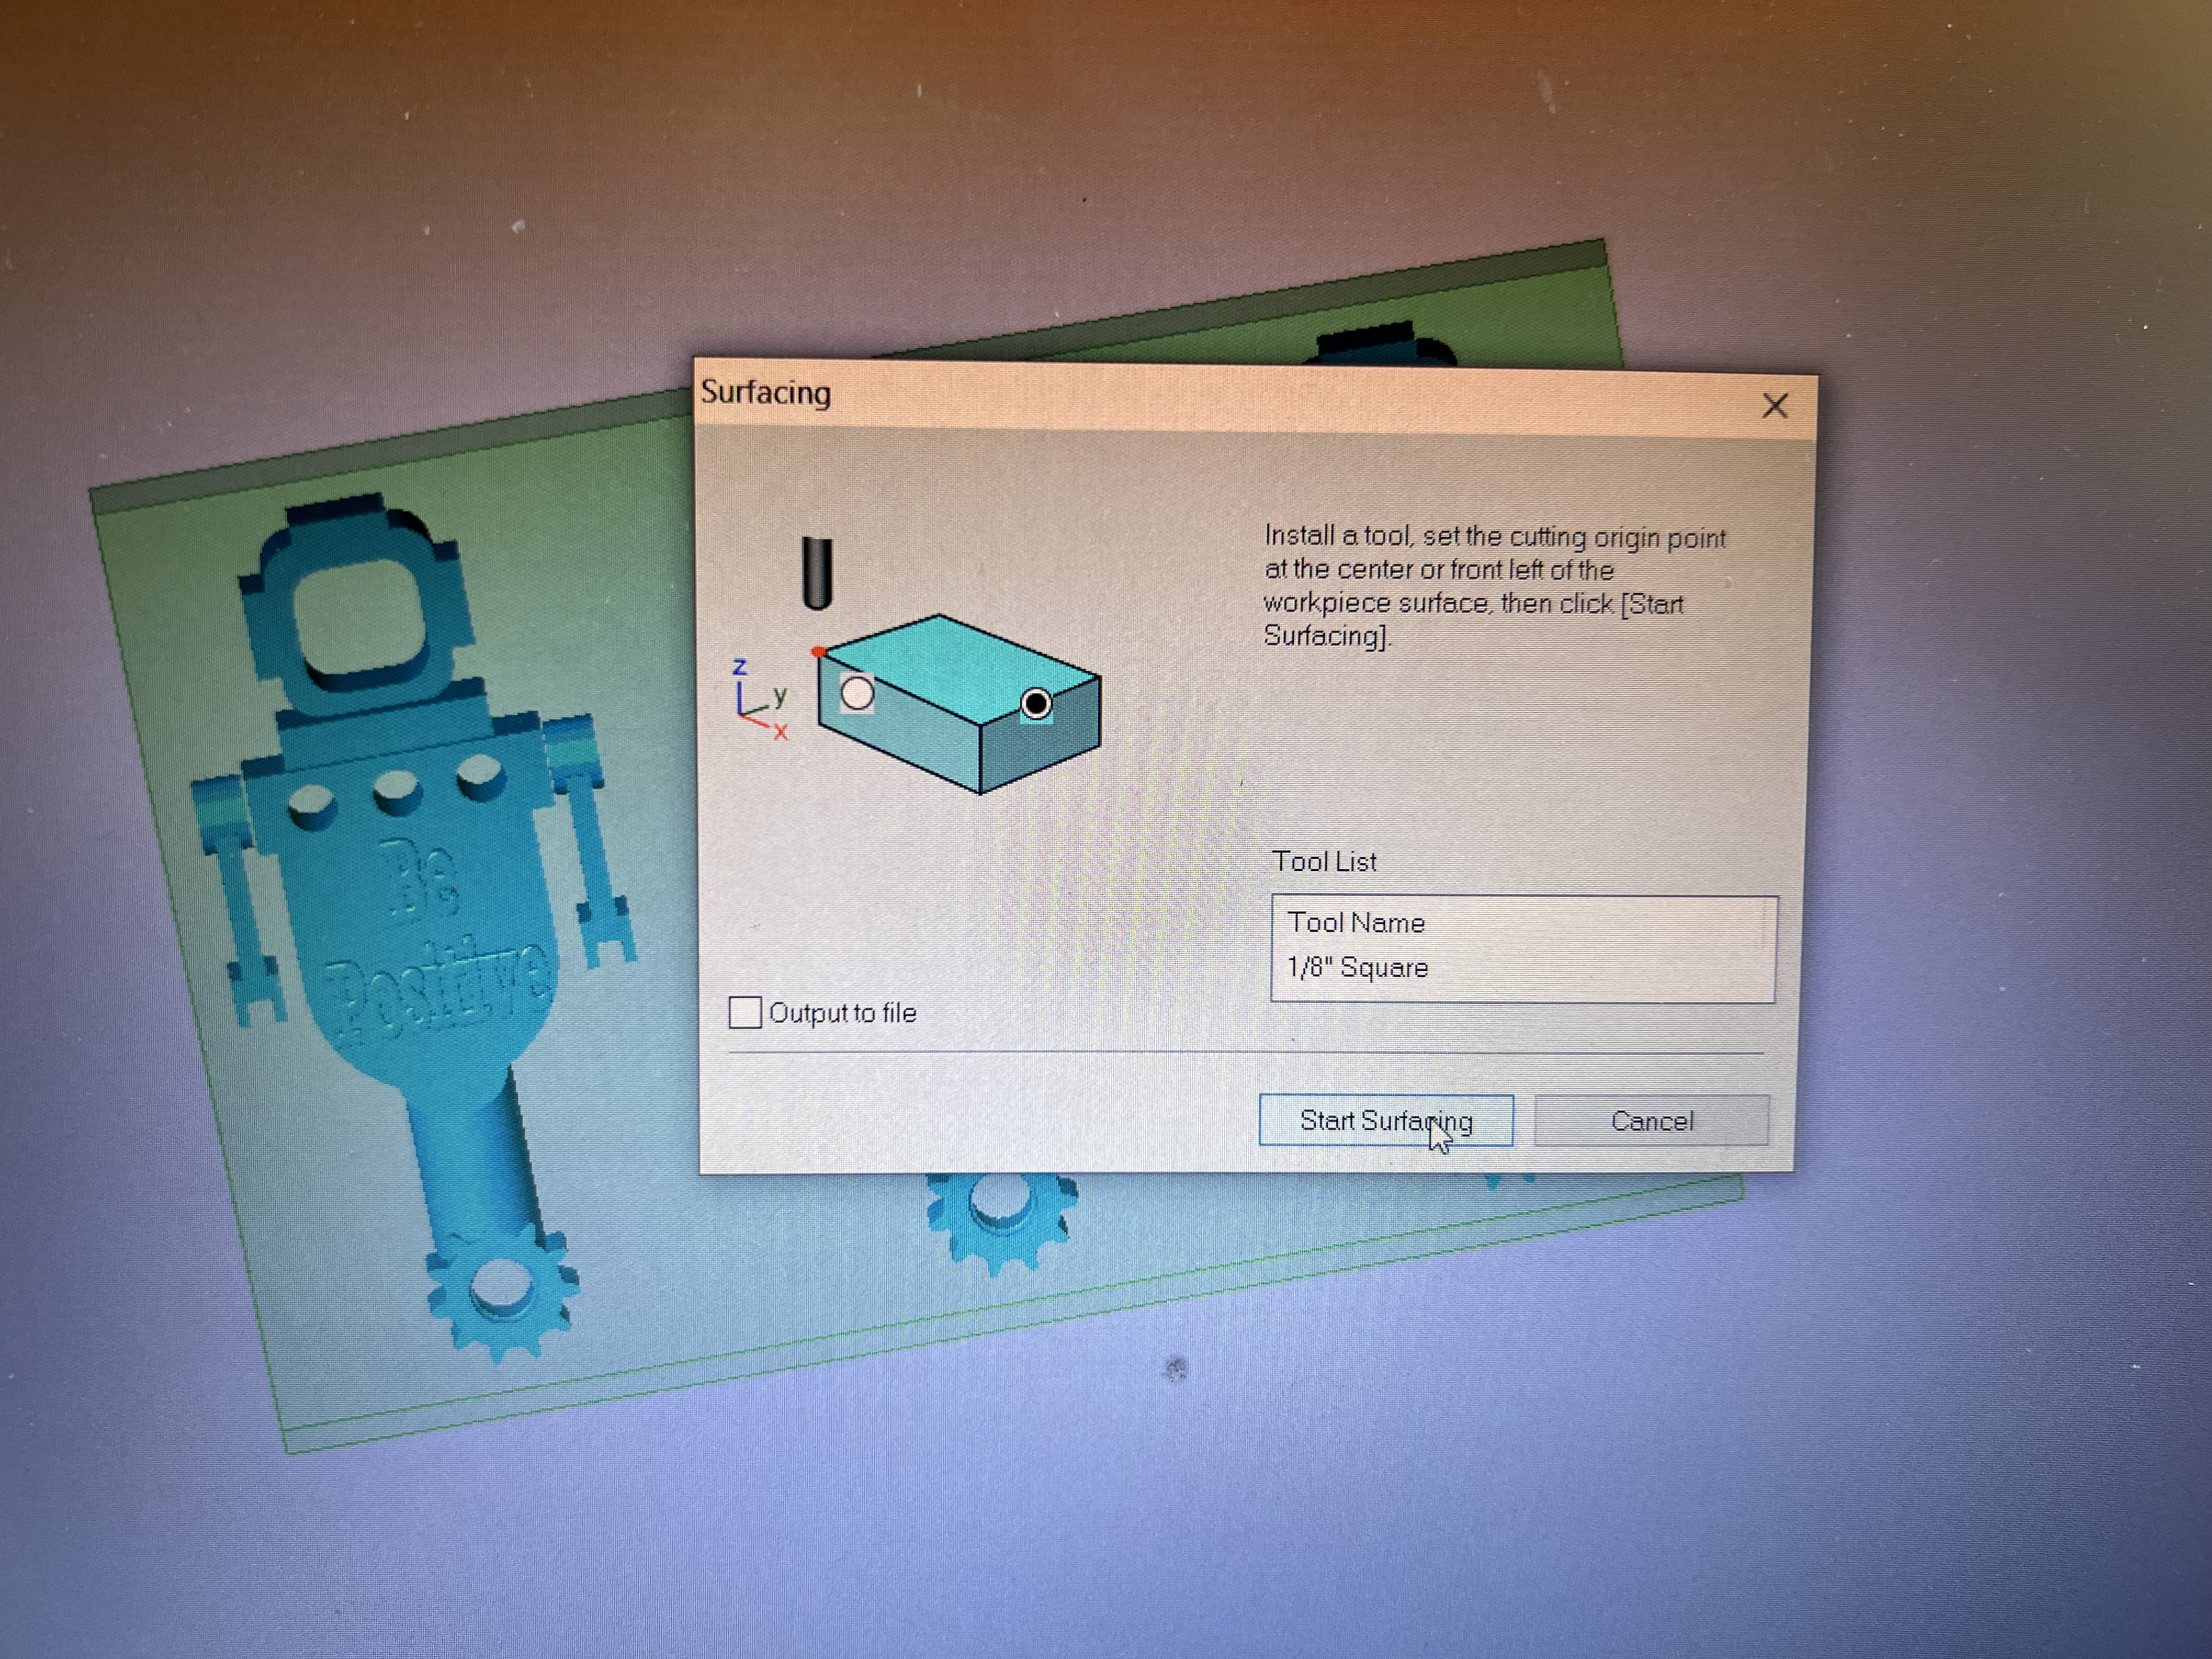
Step 3: Surfacing the Wax block to engrave the design as follows:
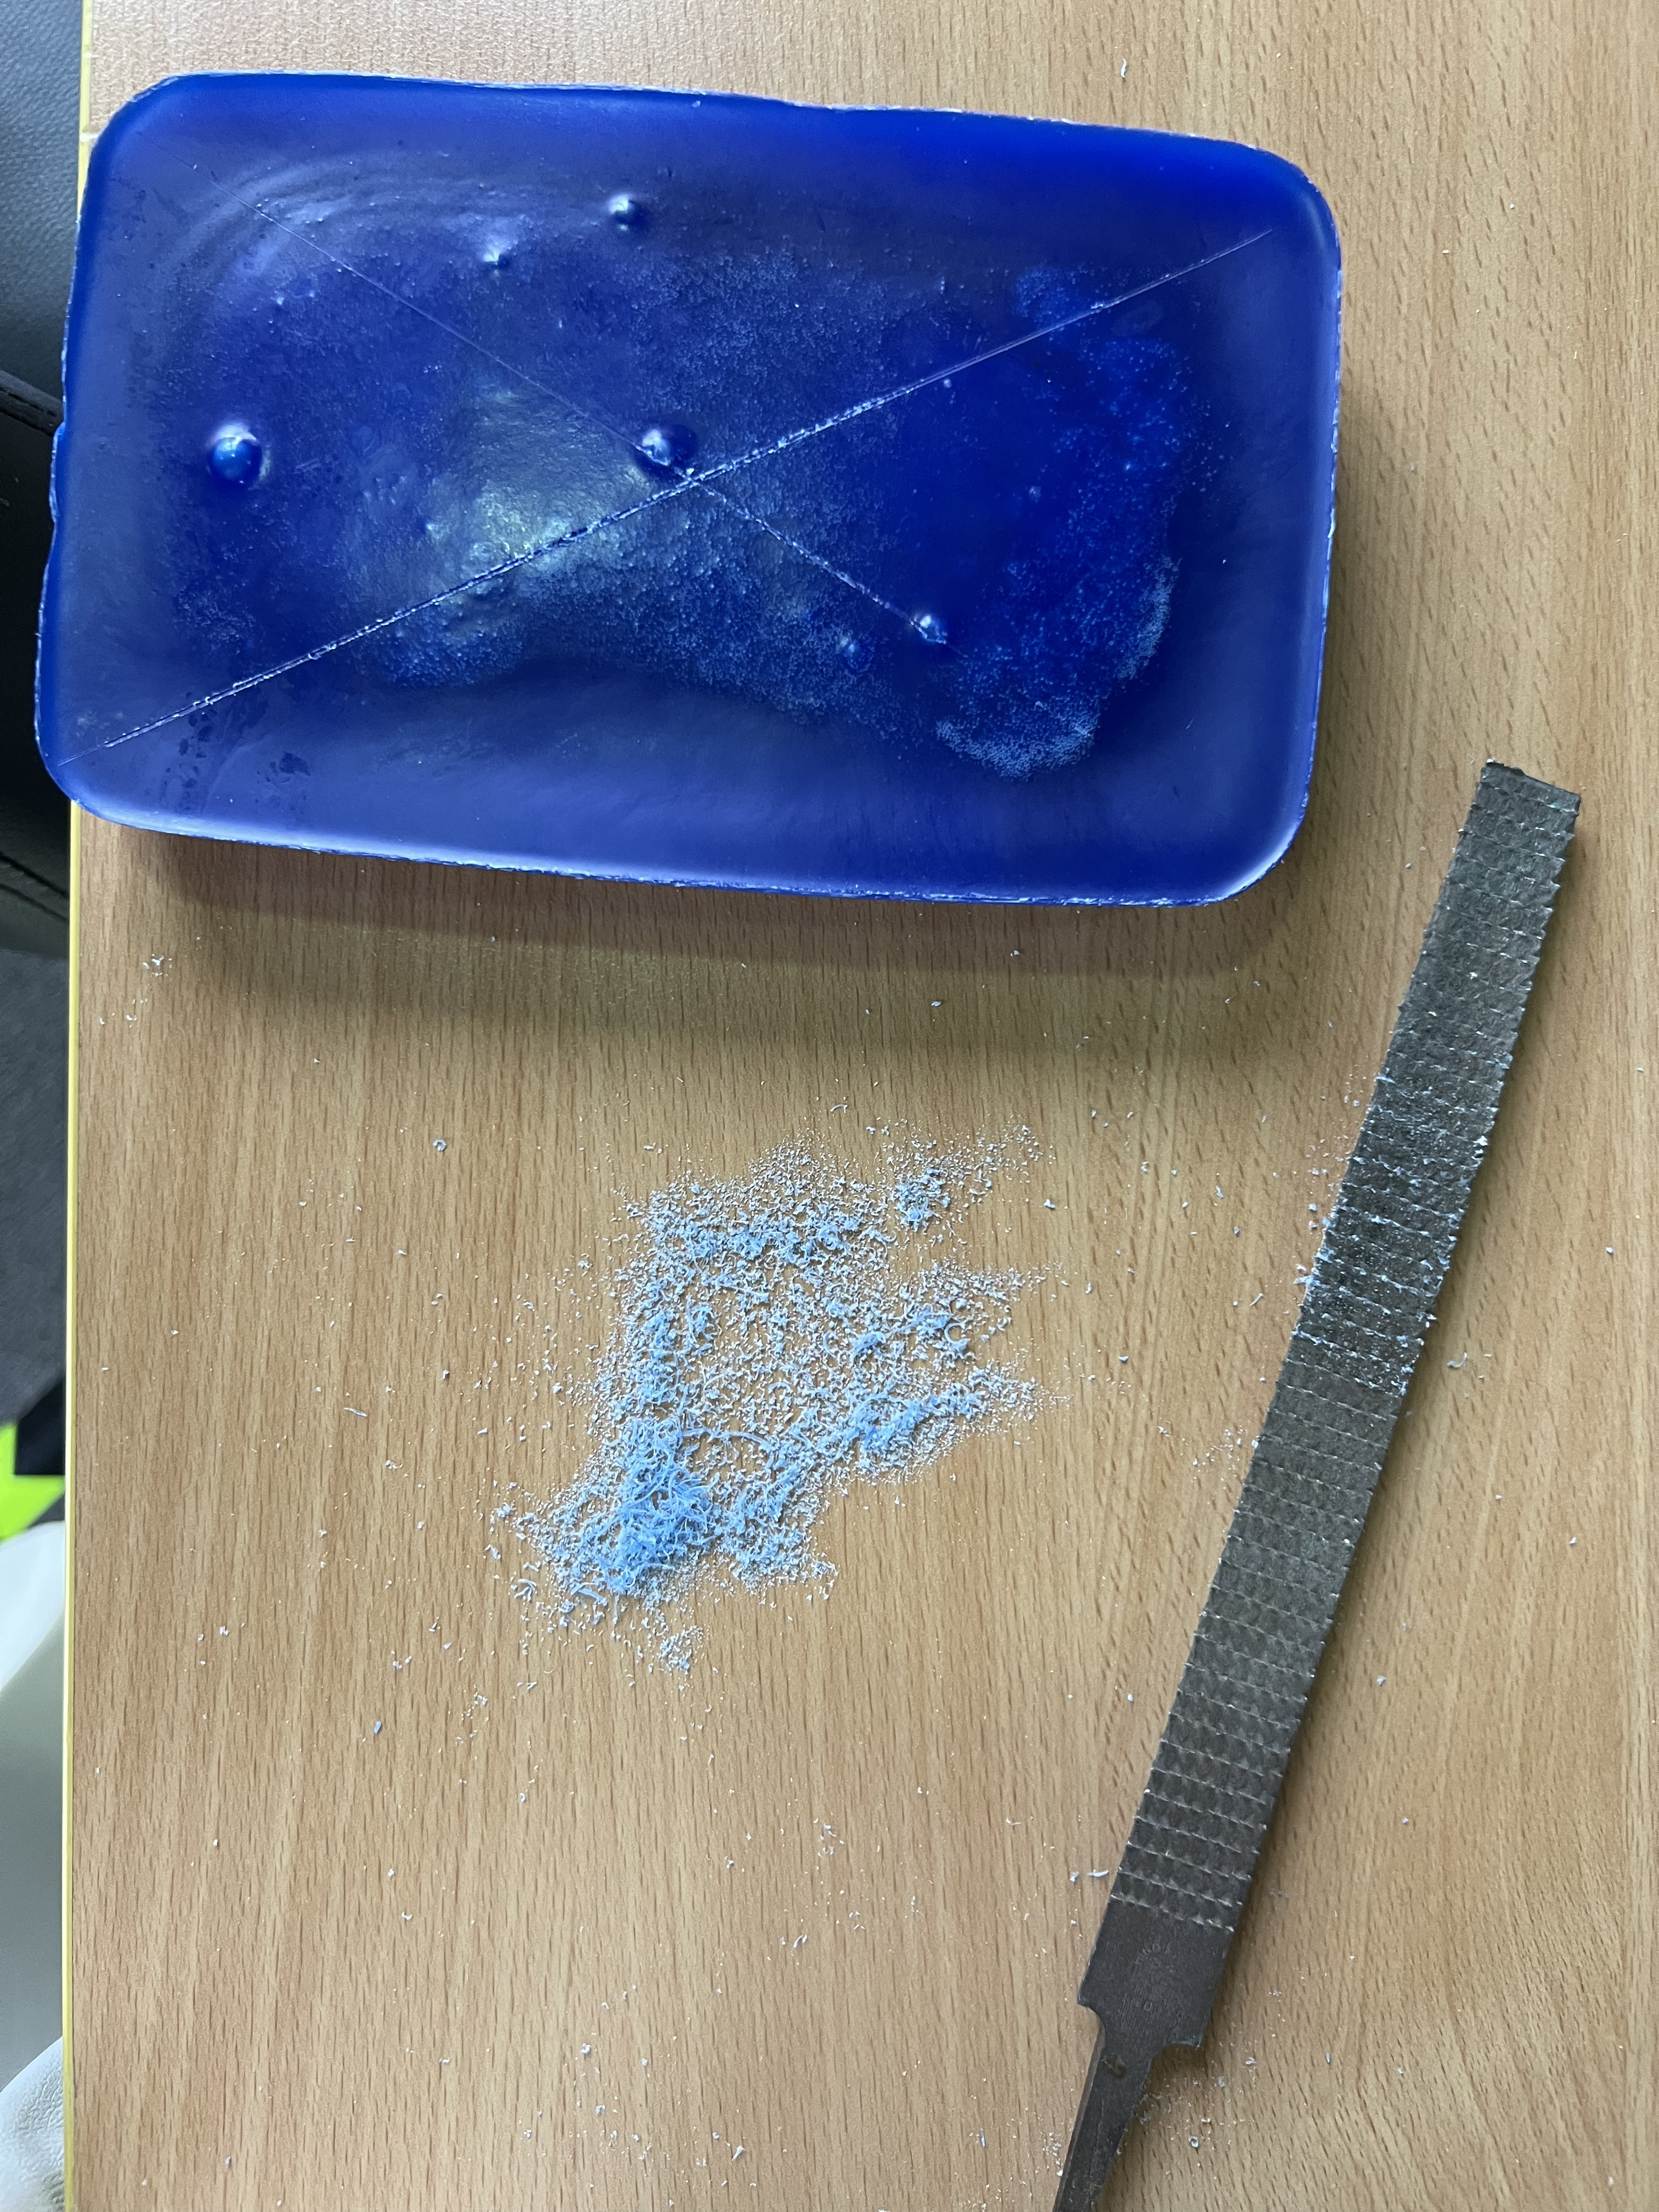
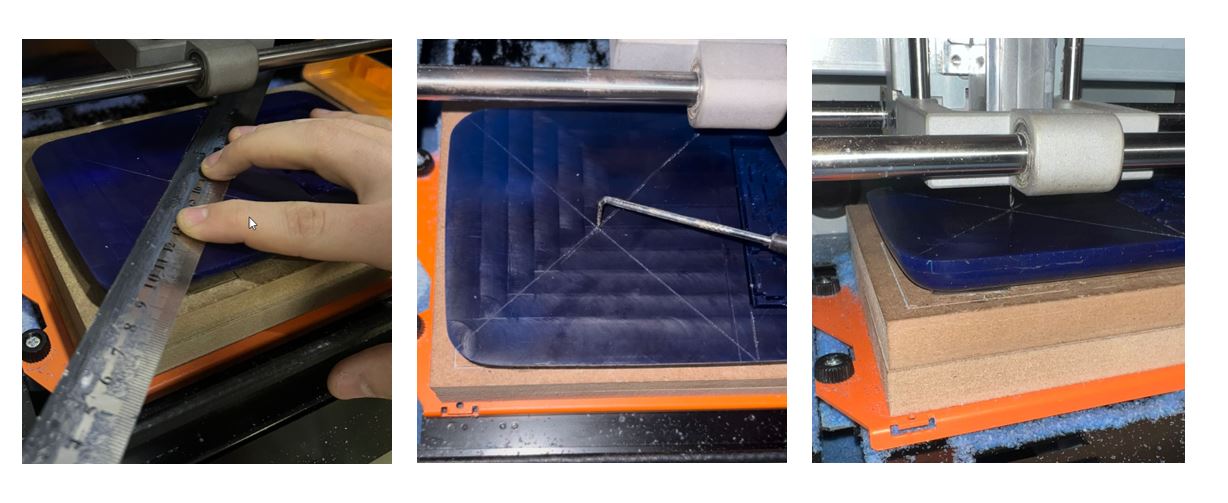
Step 4: Stick double tape under the wax block to make sure that the block in place during the milling process.
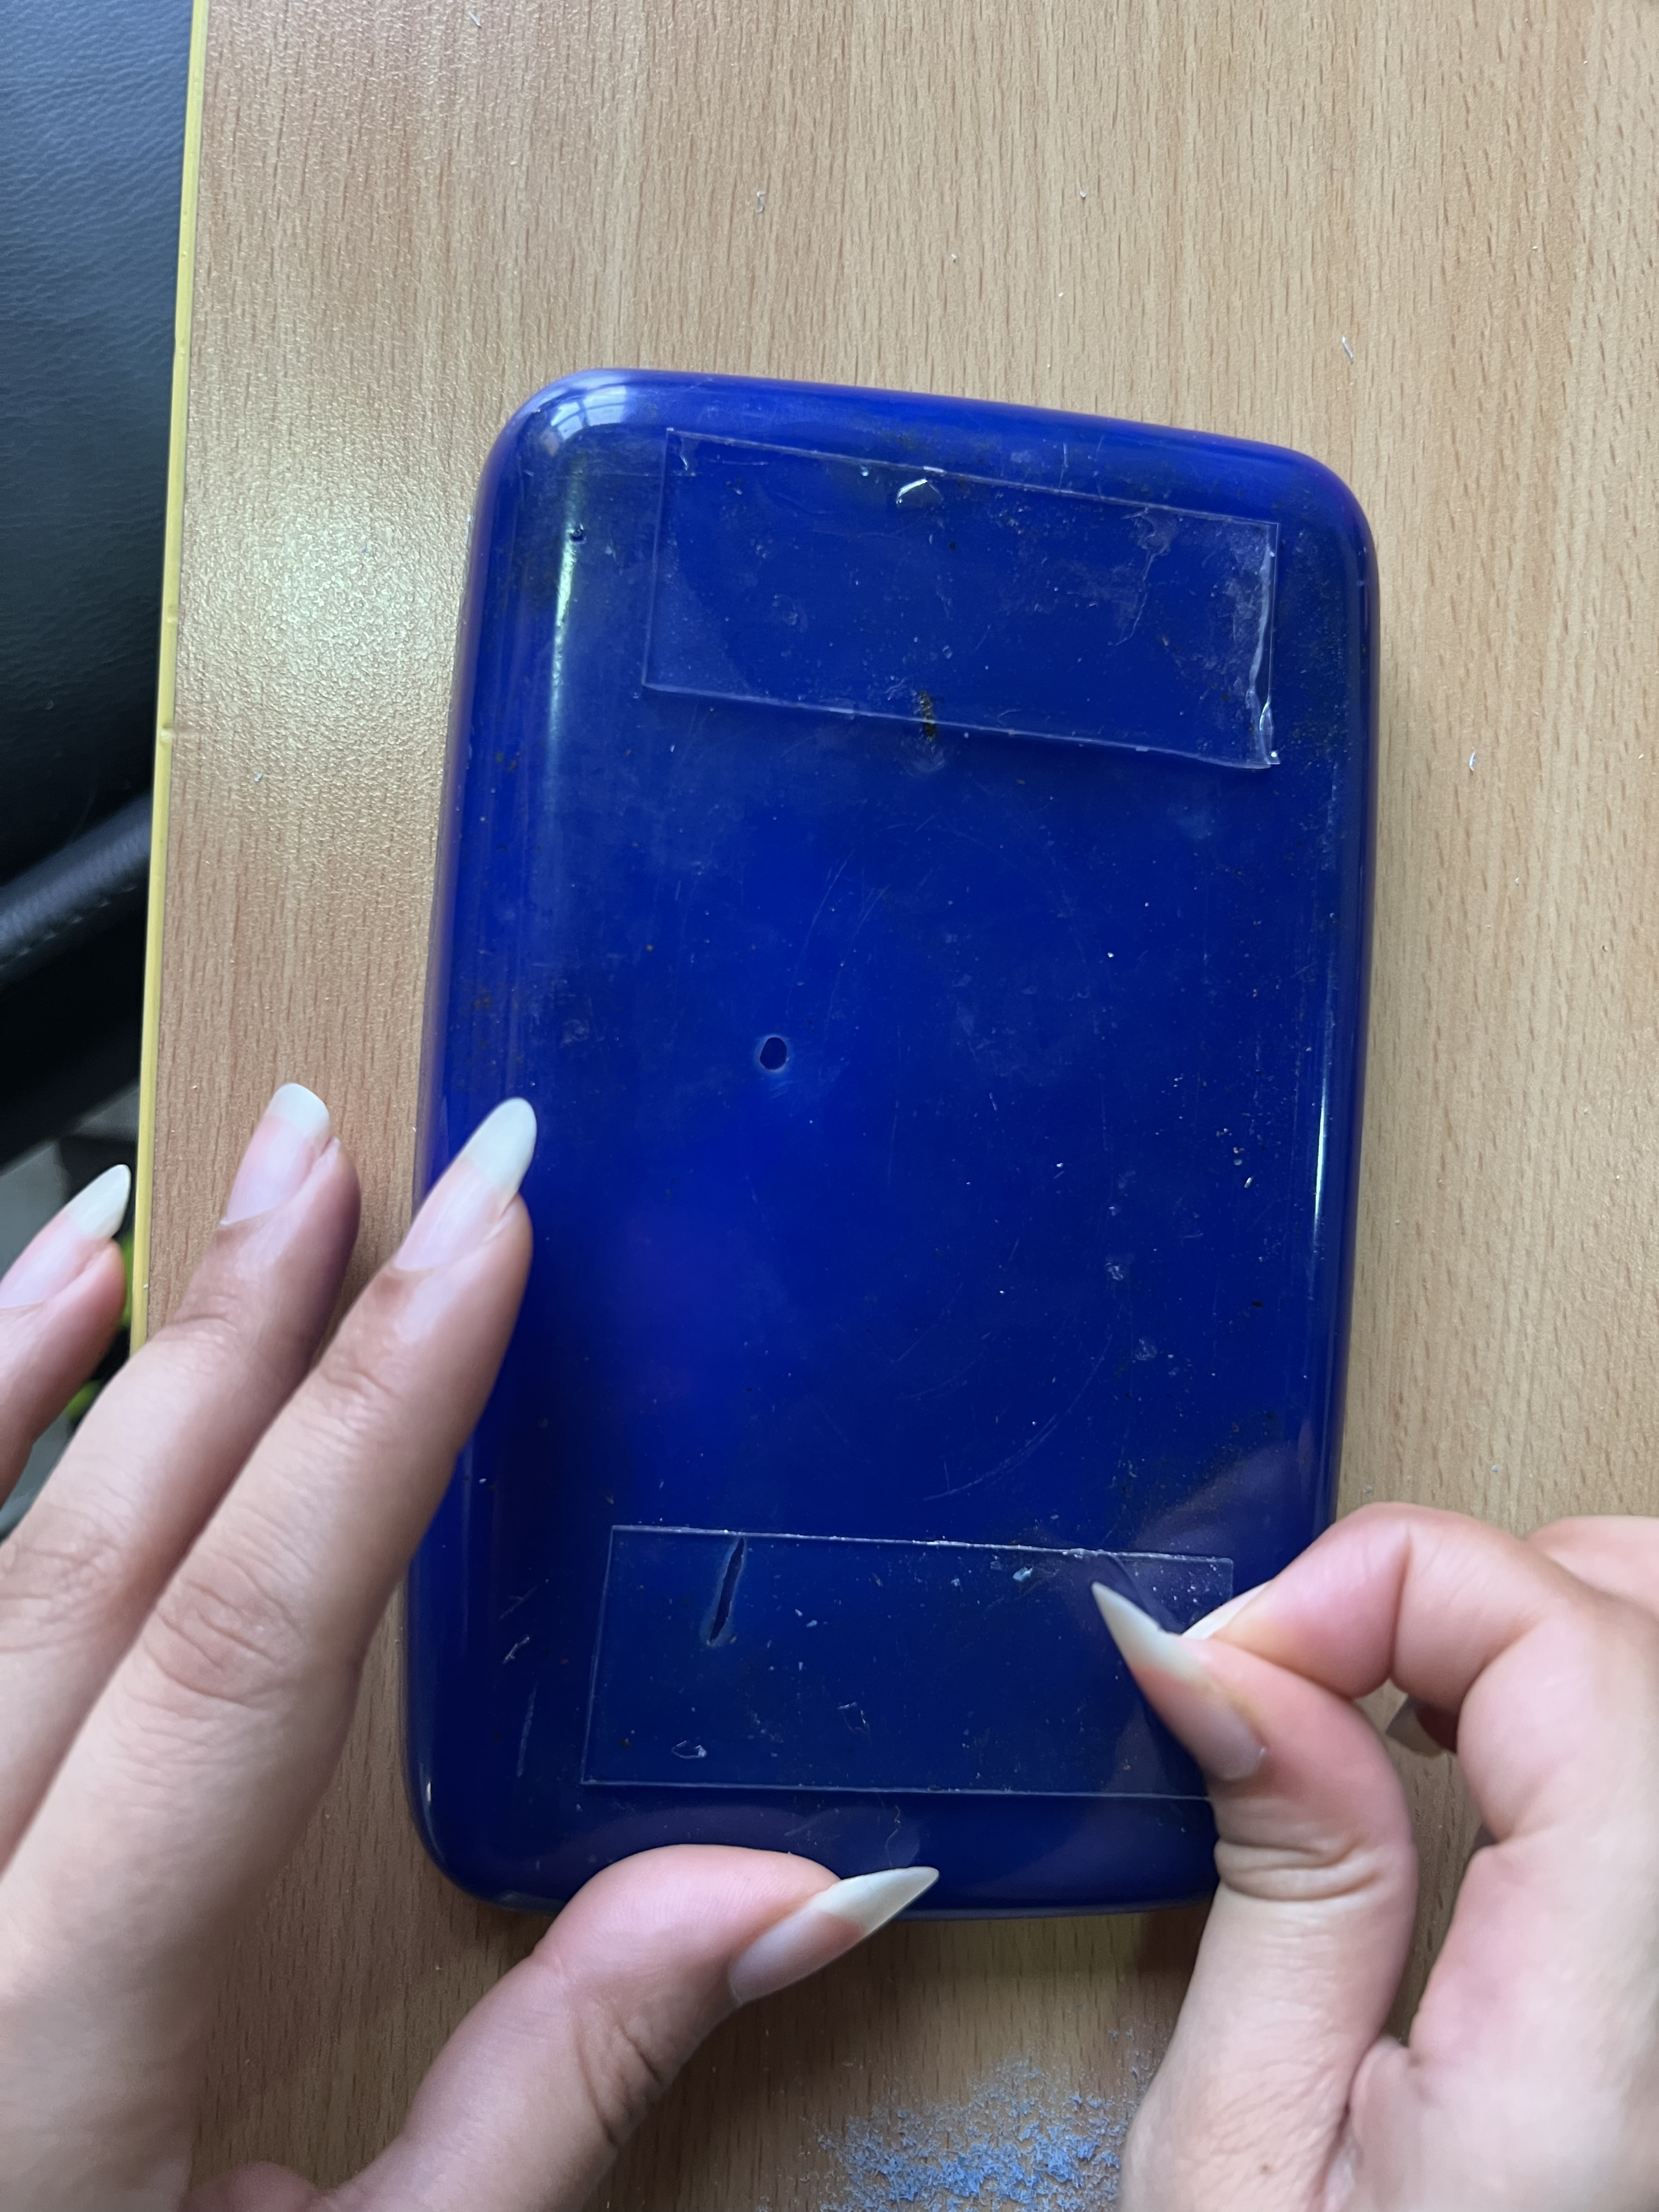
Step 5: Make sure to draw diagonal line and then set the machine origin to the center of the block.
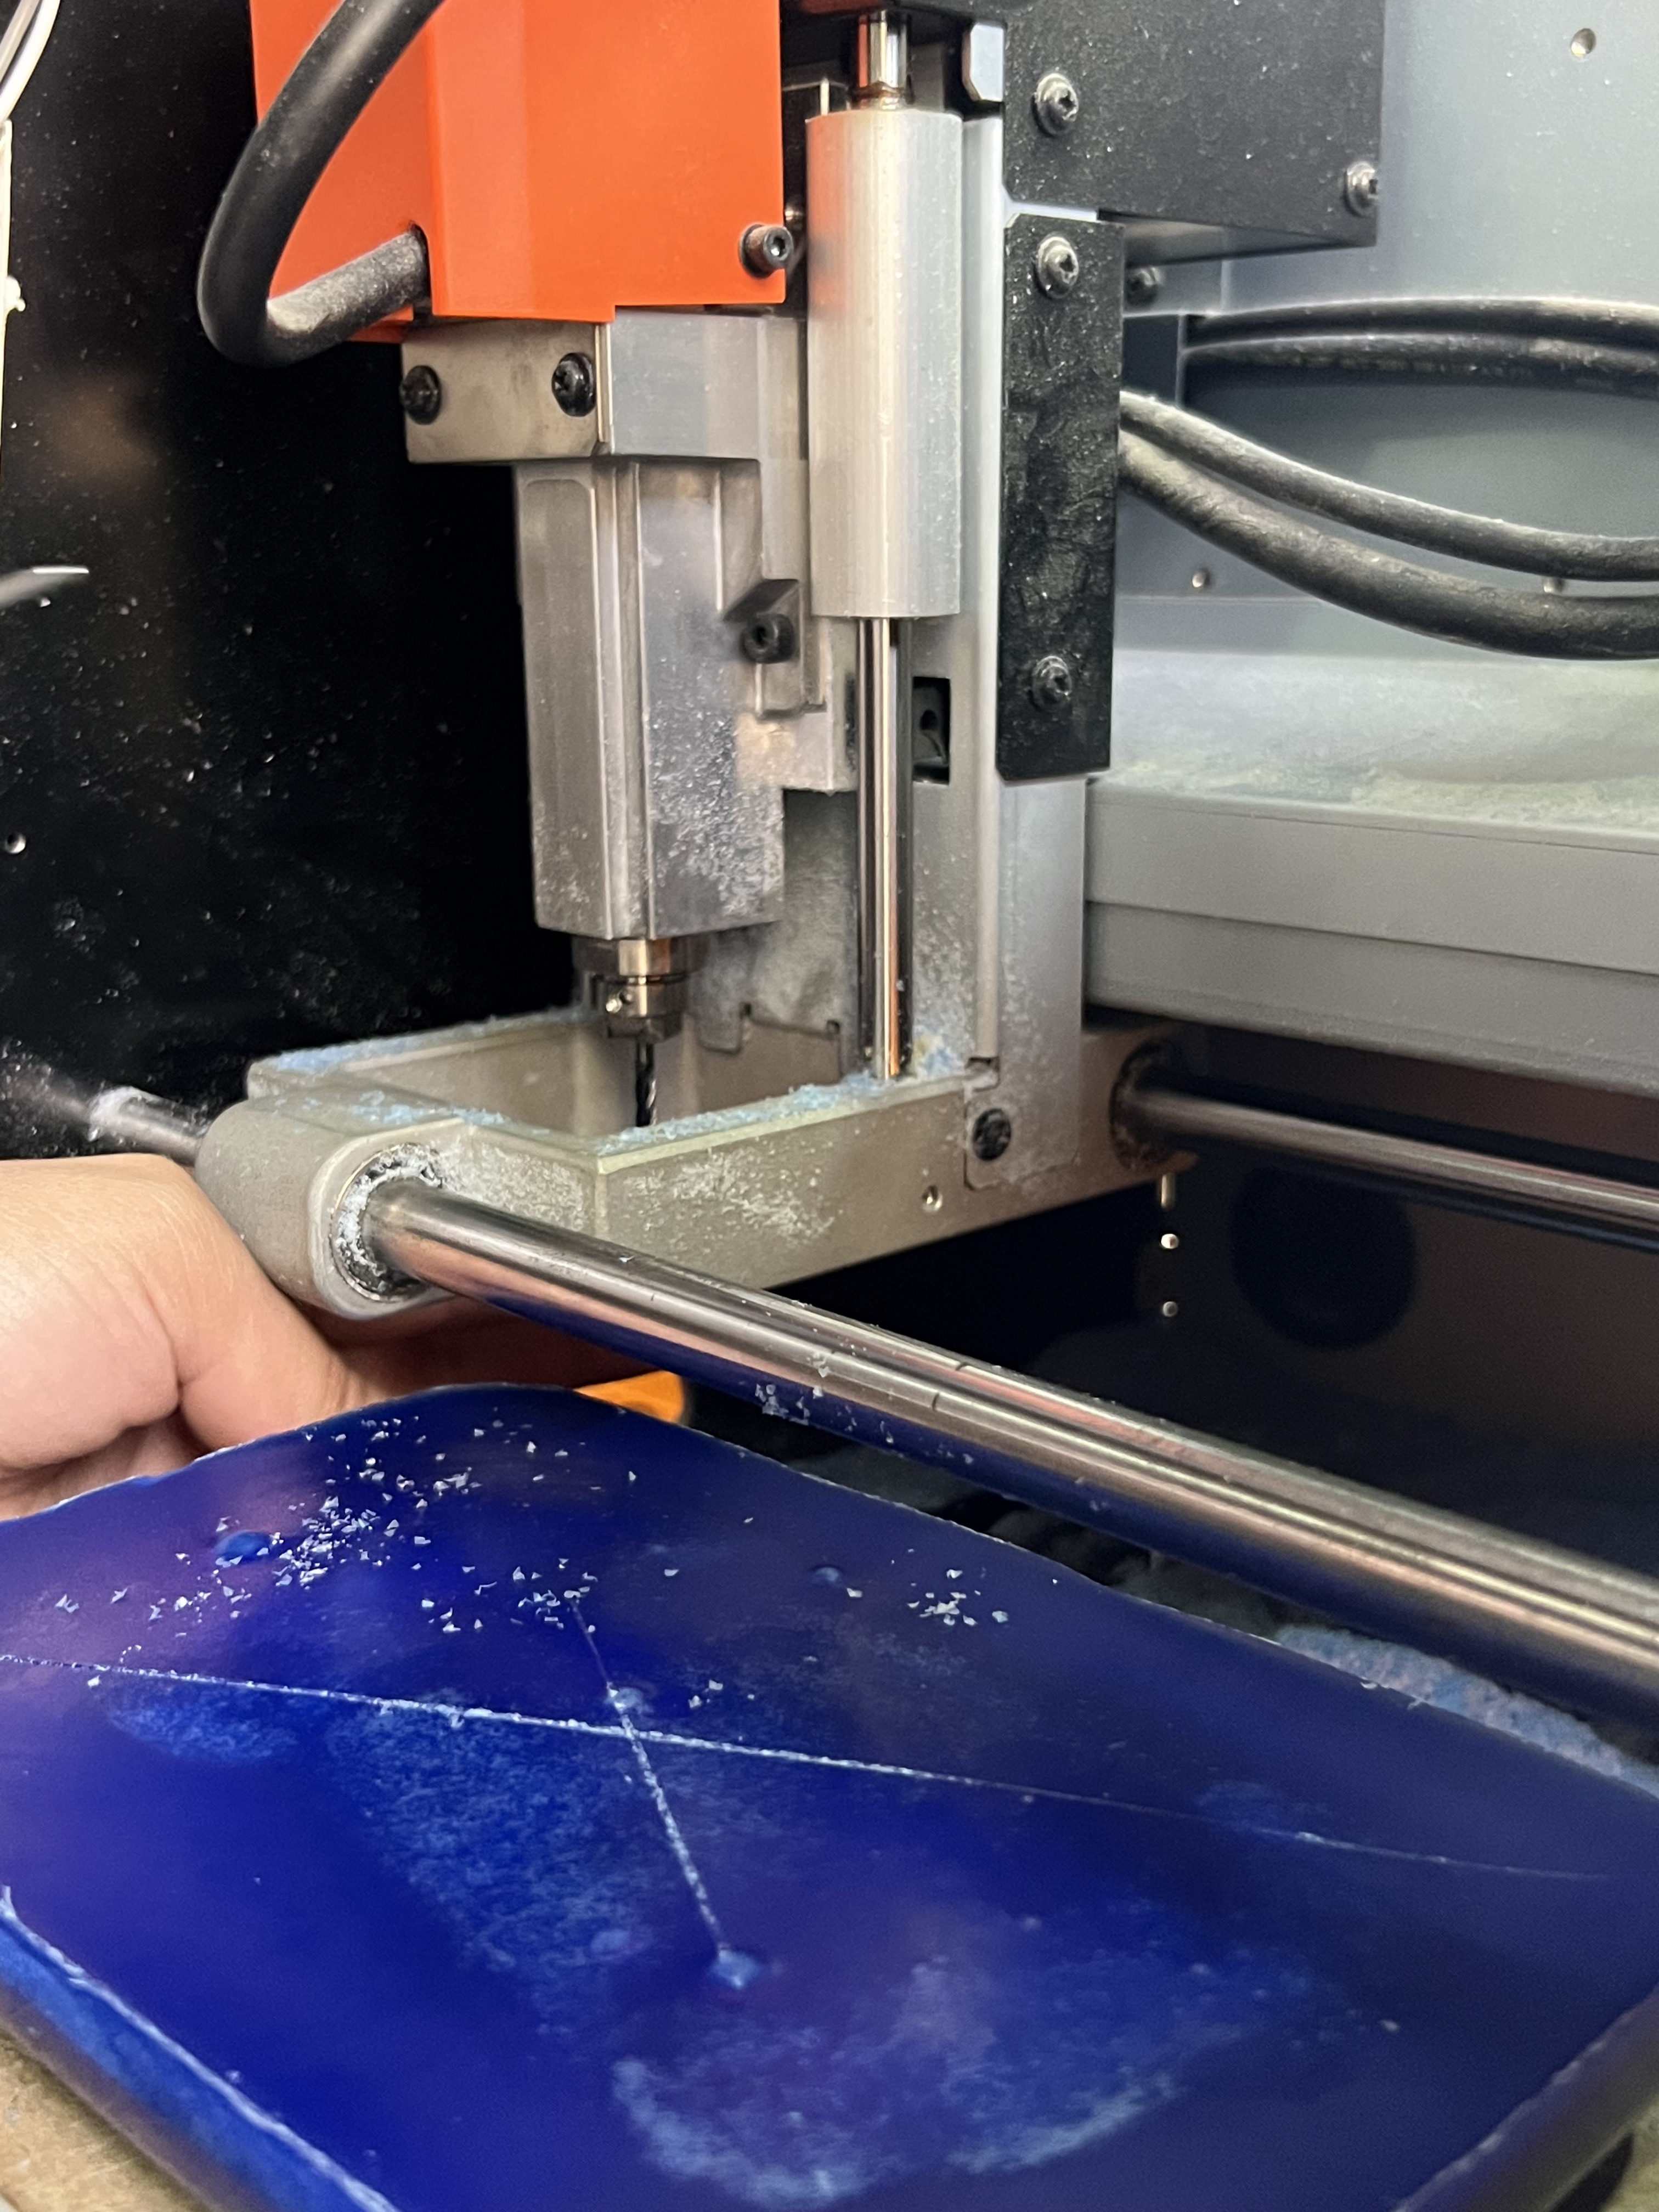
Step 6: Do the following settings in the milling machine software:
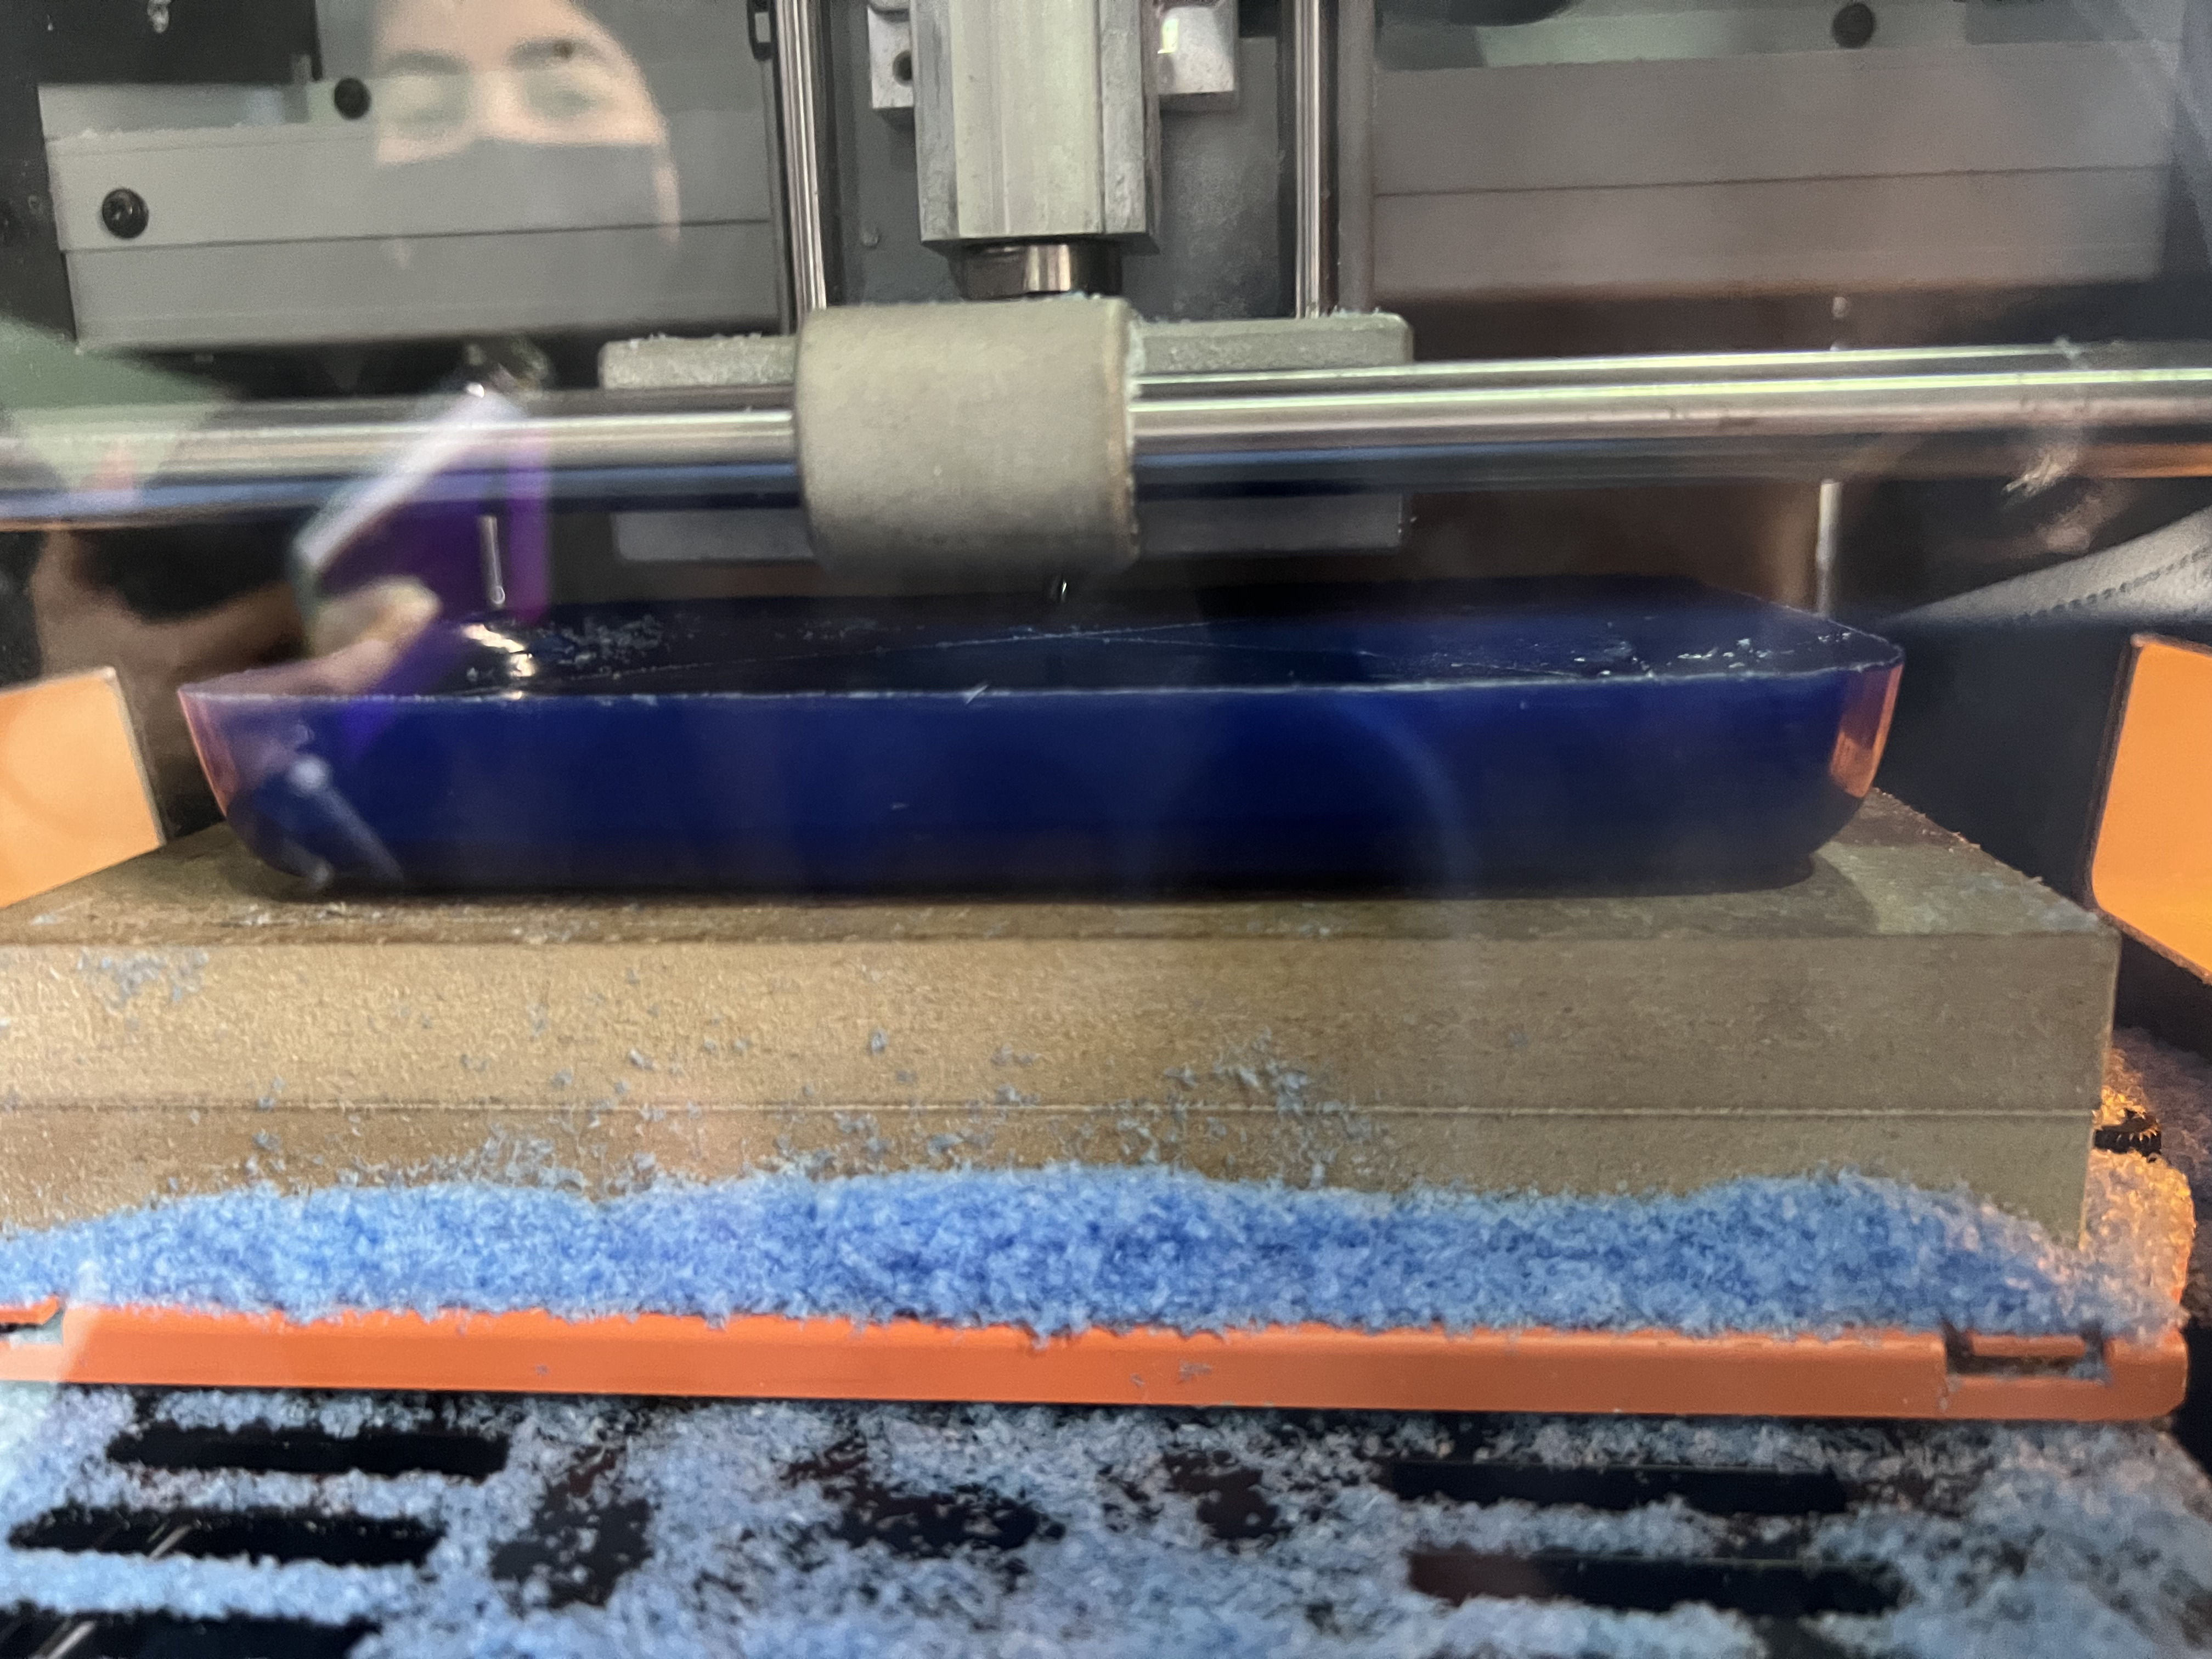
Step 7: After the surfacing is done, change the milling machine bid size. Then, set the following settings:

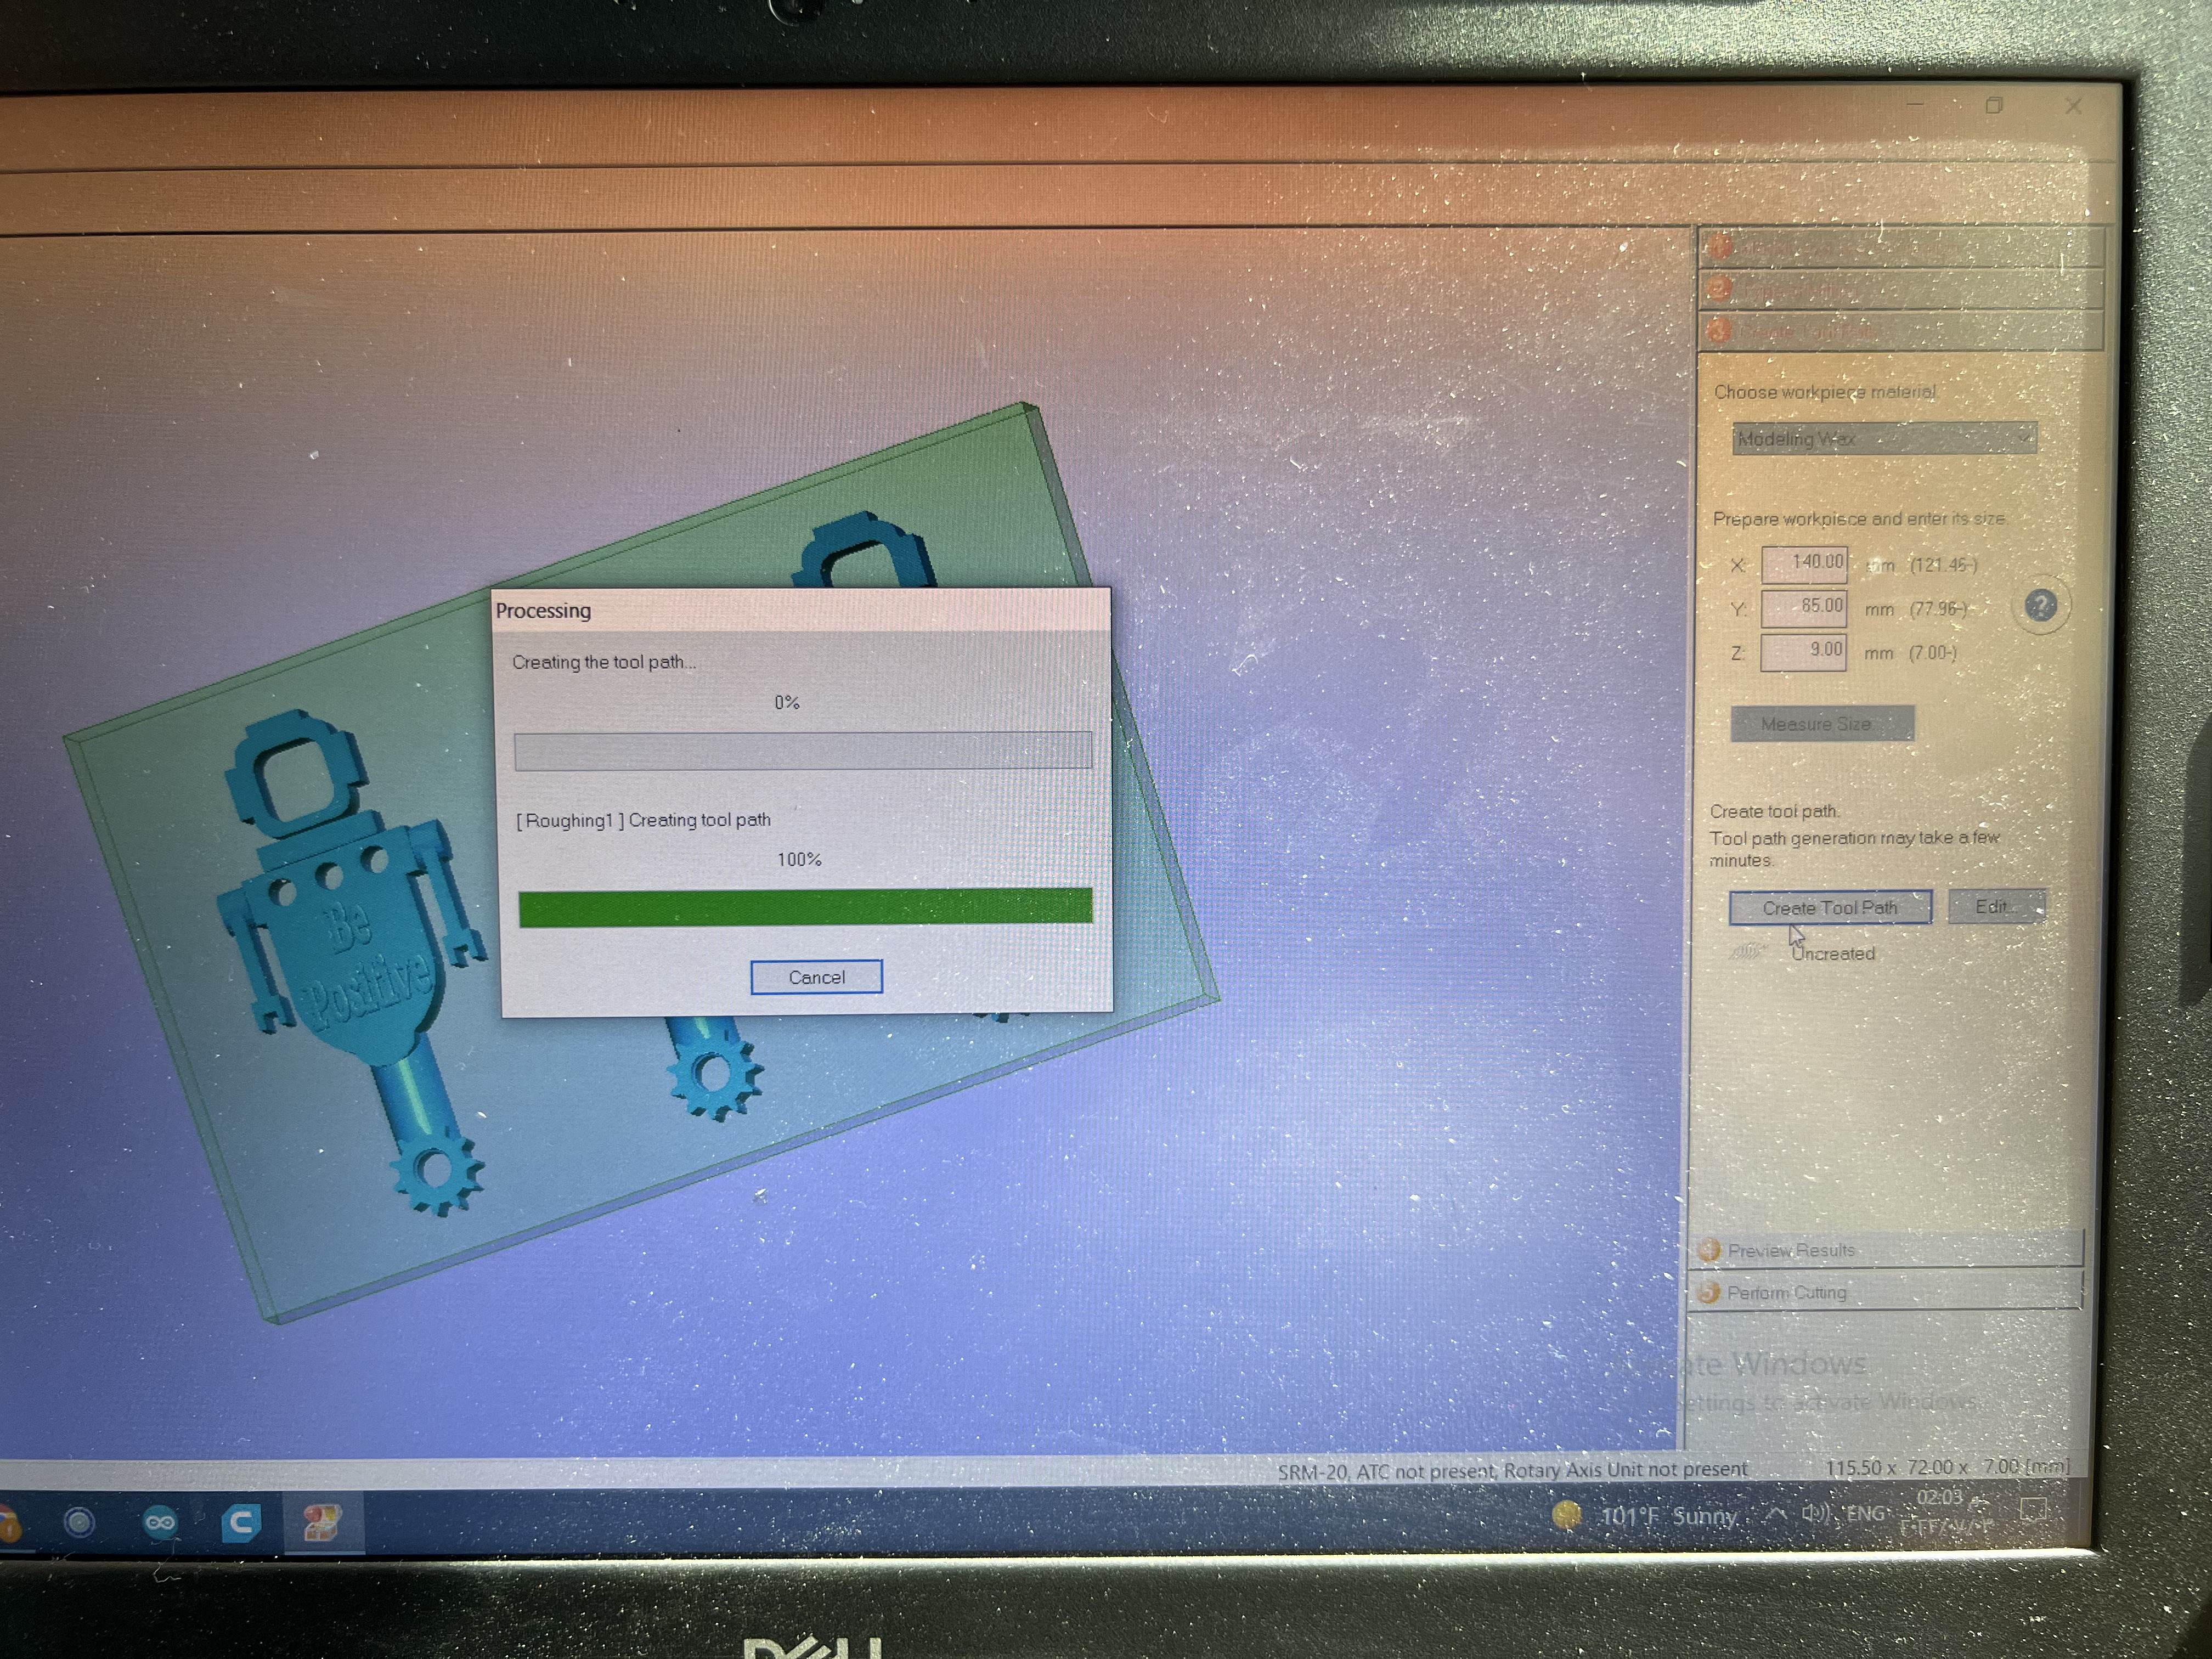
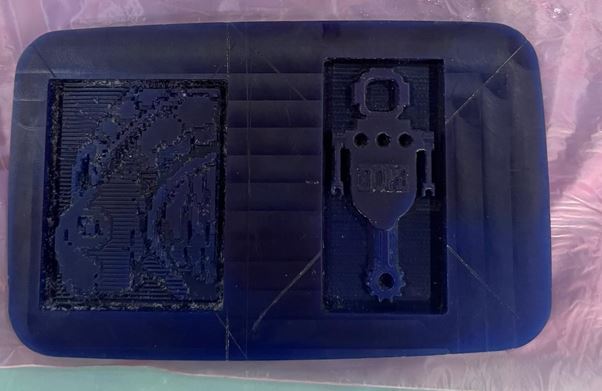
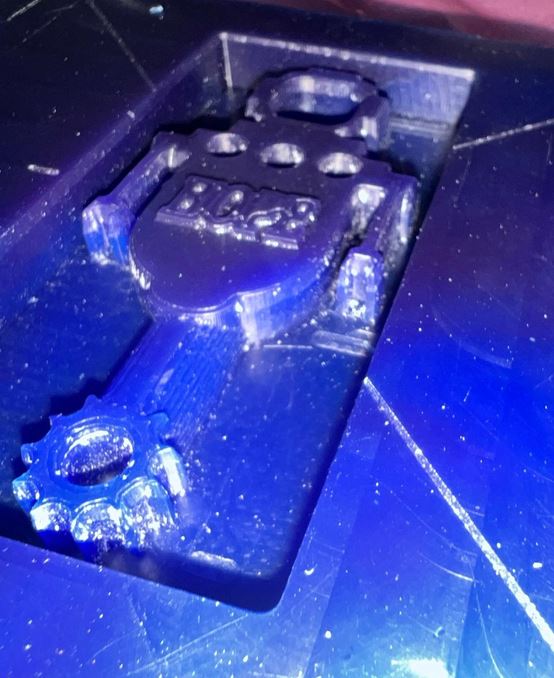
Step 8: After six hours the milling process was finished and the following are the results:
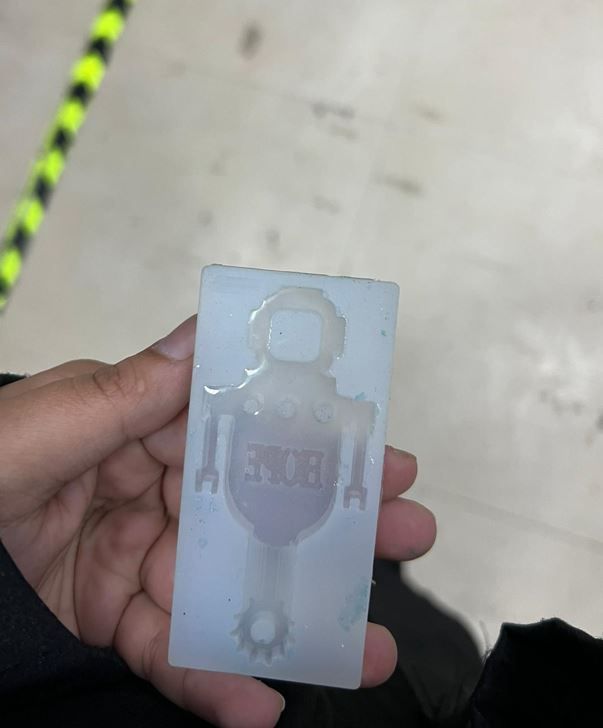
Step 9: Using the silicon mixture the mold were made.
Step 10: Resin then was used and poured in the silicon mold to create the keychains !
Thank you for Reading !