5. 3D printing and scanning
This week I worked on 3D printing and scanning.
Group Assignment
You can acccess the group assignment from here.
3D printers
3D printers consist of several parts. All of them in a basic sense heat filament, which is commonly plastic, on to a surface in layers until they form a 3D object.
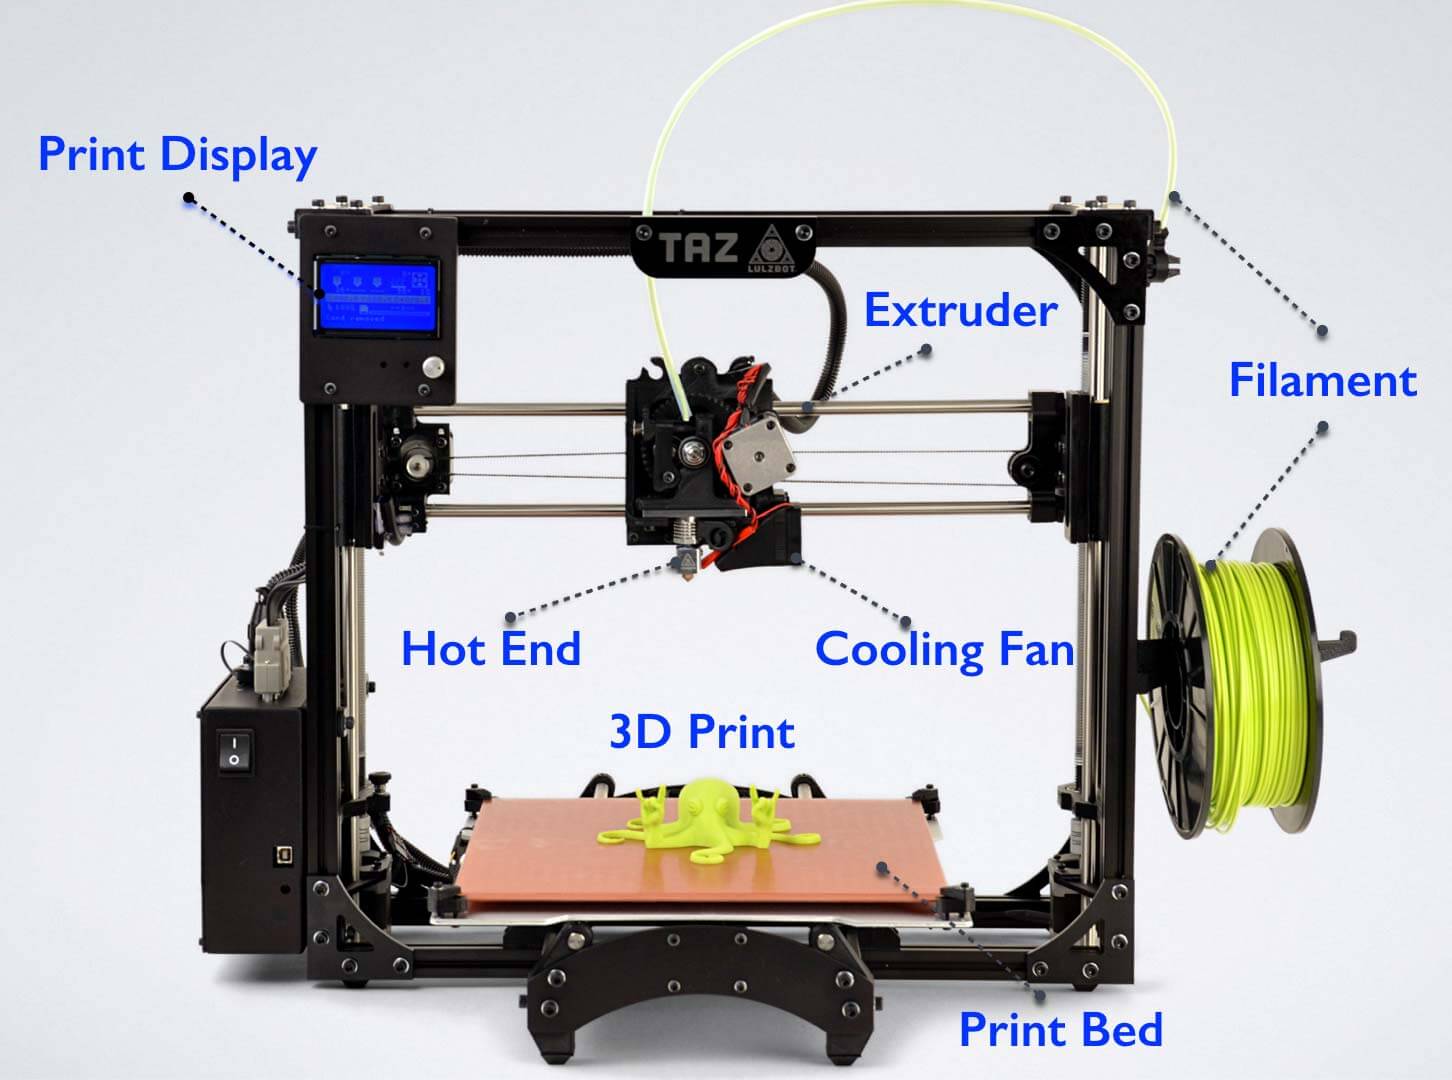
What I have found from using different types of 3D printers is that they do not have a lotof differneces in what they do (which is heat filament). The only reason you would choose a printer over another would be for its utility. For example, some printers are better at heating metal filaments than others which would be a reason to choose them.
3D printing
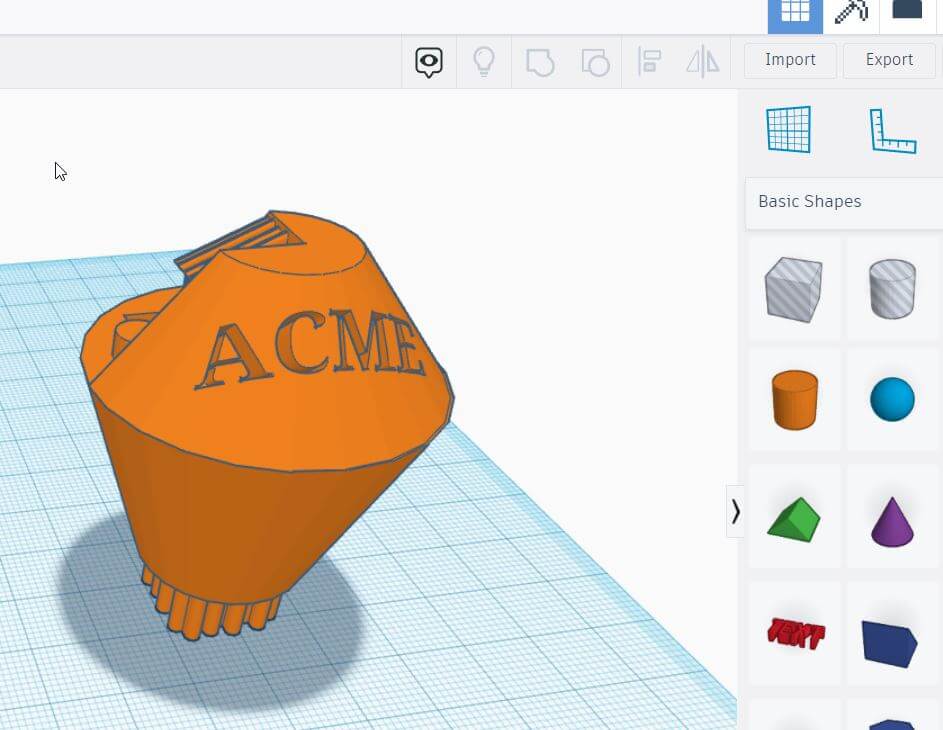
I used TinkerCAD to create the model, at first I wanted to use the model I created in week 2 , however i was told by my instructor that it could be made subtractively.
This means that the model in week 2 could be created with something other than a 3D printer (e.g laser cutter). I used the same techniques I learned from week 2 to create a model of a Water tank.
This time I made sure to make something that has enough volume to where it can only be made with a 3D printer.
You an download the tinkerCAD file from this link
I downloaded the ultimate cura software from the following link and imported the model.
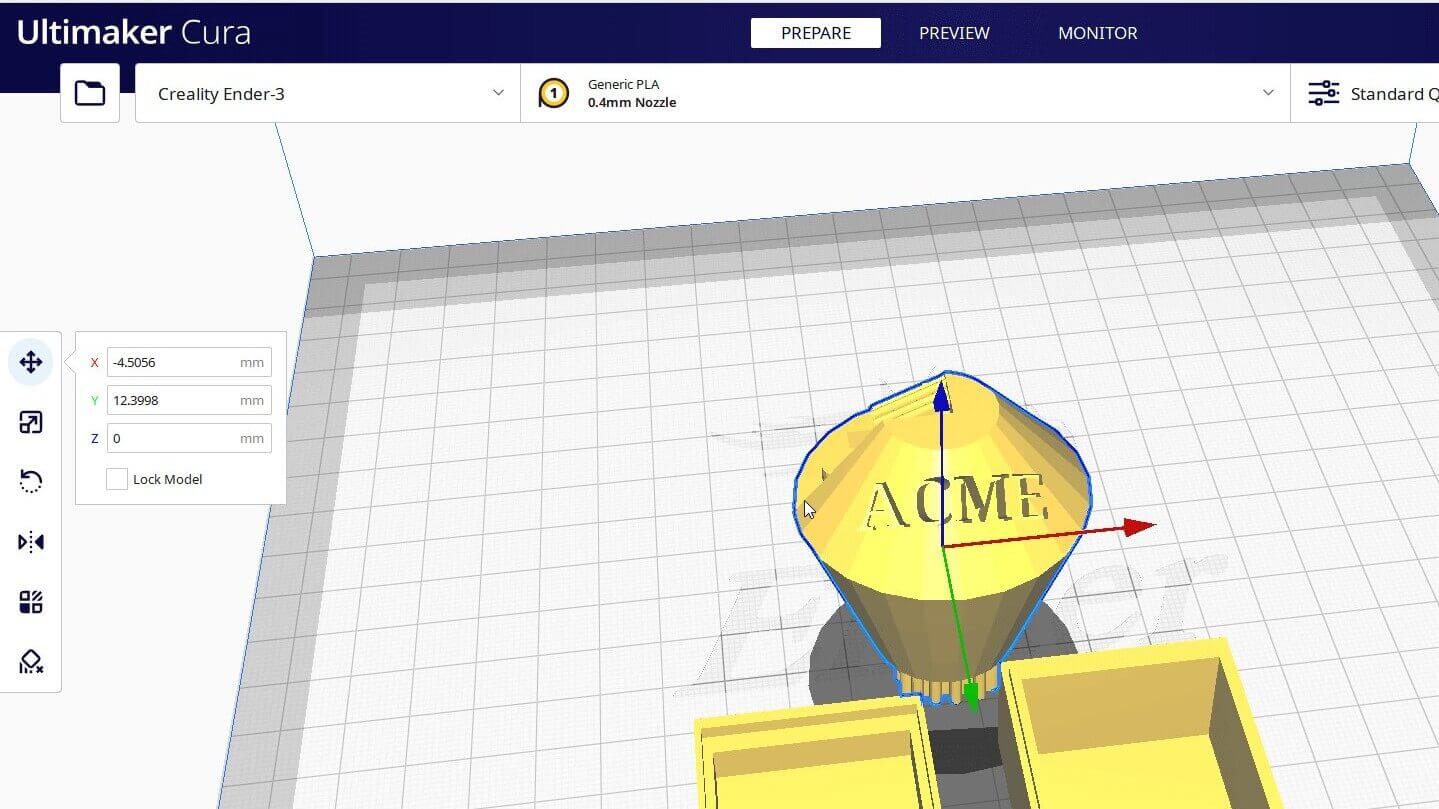
The software begins to cut the model in slices so that the 3d printer can print the model layer by layer.
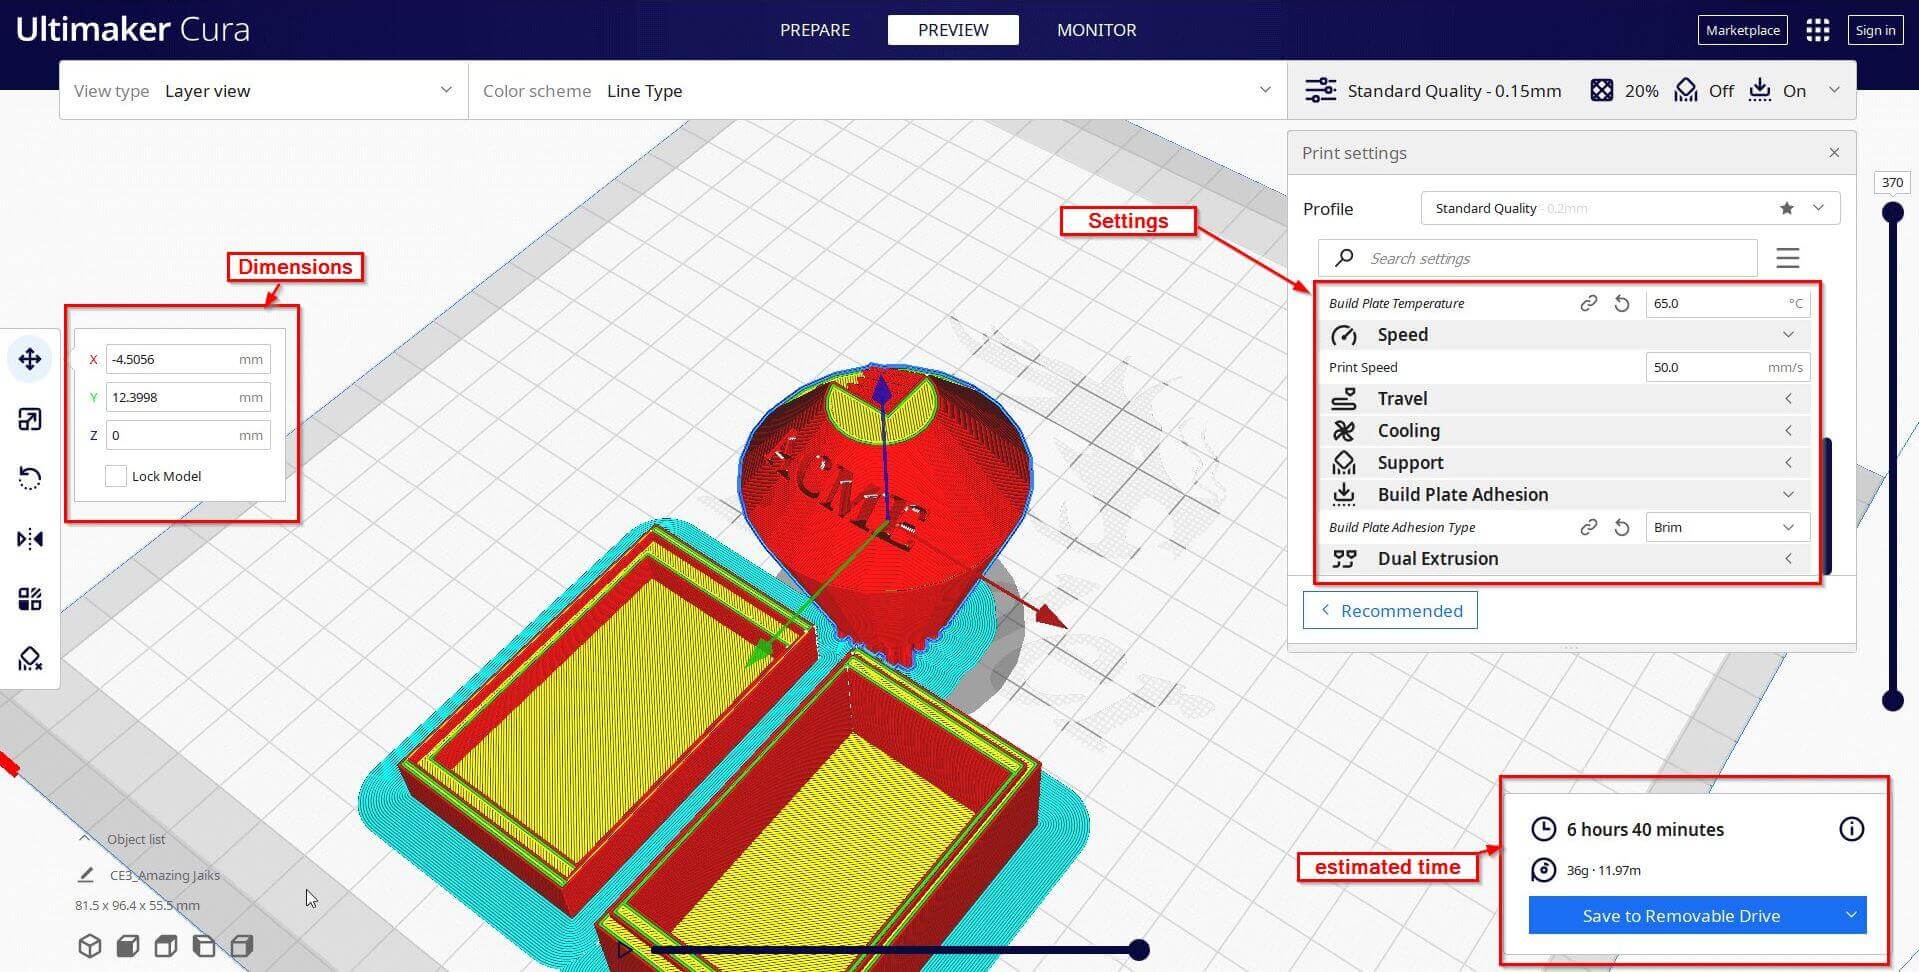
The 3d printer will start printing the model.
This is how it looks like in the end
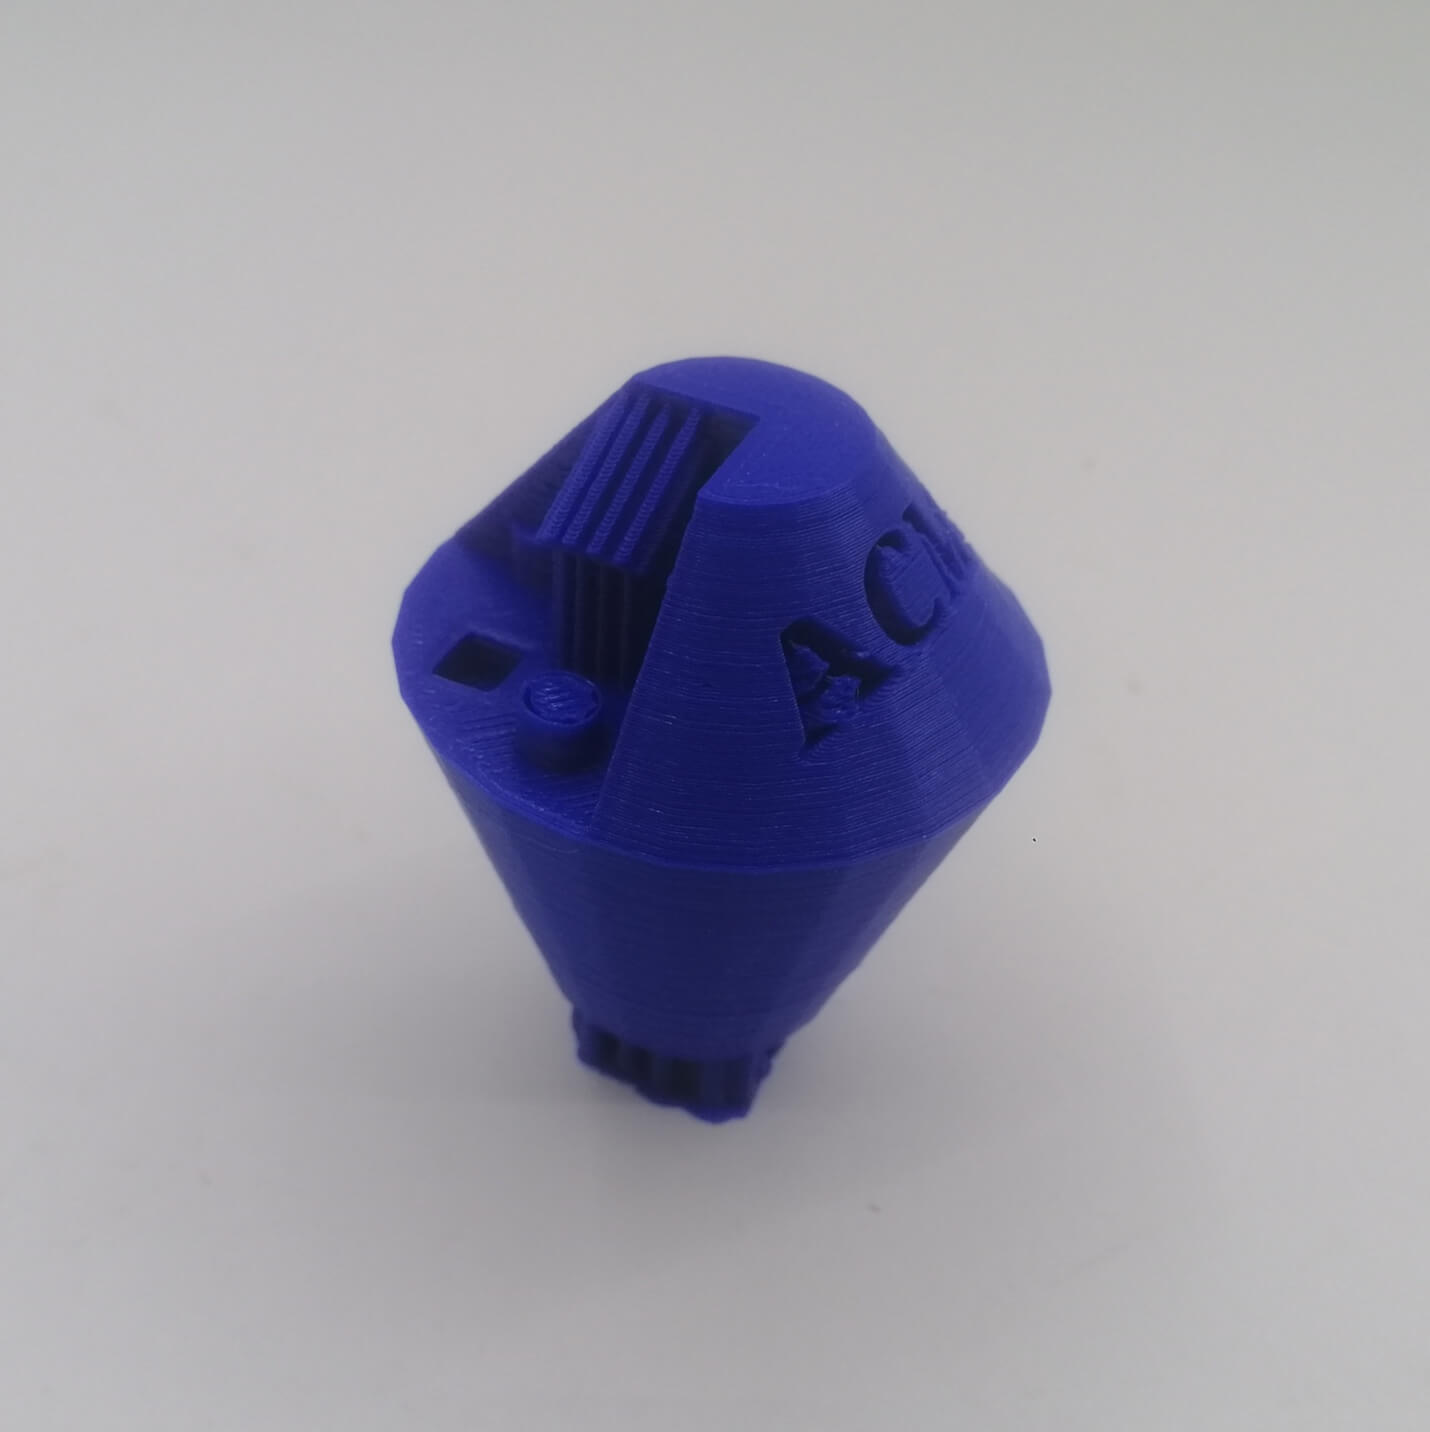
You can download the cura file from here
3D scanning
At first I used an app called SCANN3D, i was not able to scan an object using this app. I attempted the following steps 3 times and still was not successful.
SCANN3D (failed attempt)
| Screen | Description |
|---|---|
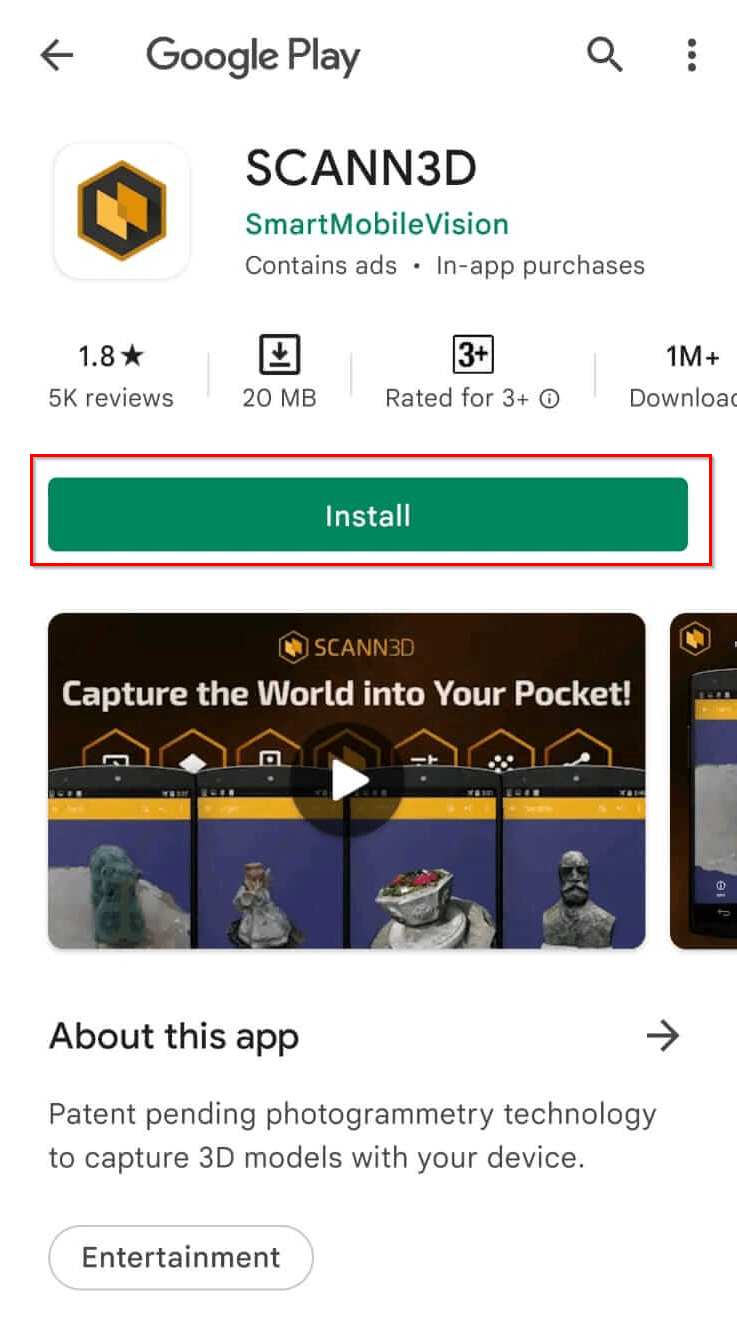 |
First I downloaded the app from the Google play store |
 |
I signed up using my google account |
 |
I read the short user guide for the app |
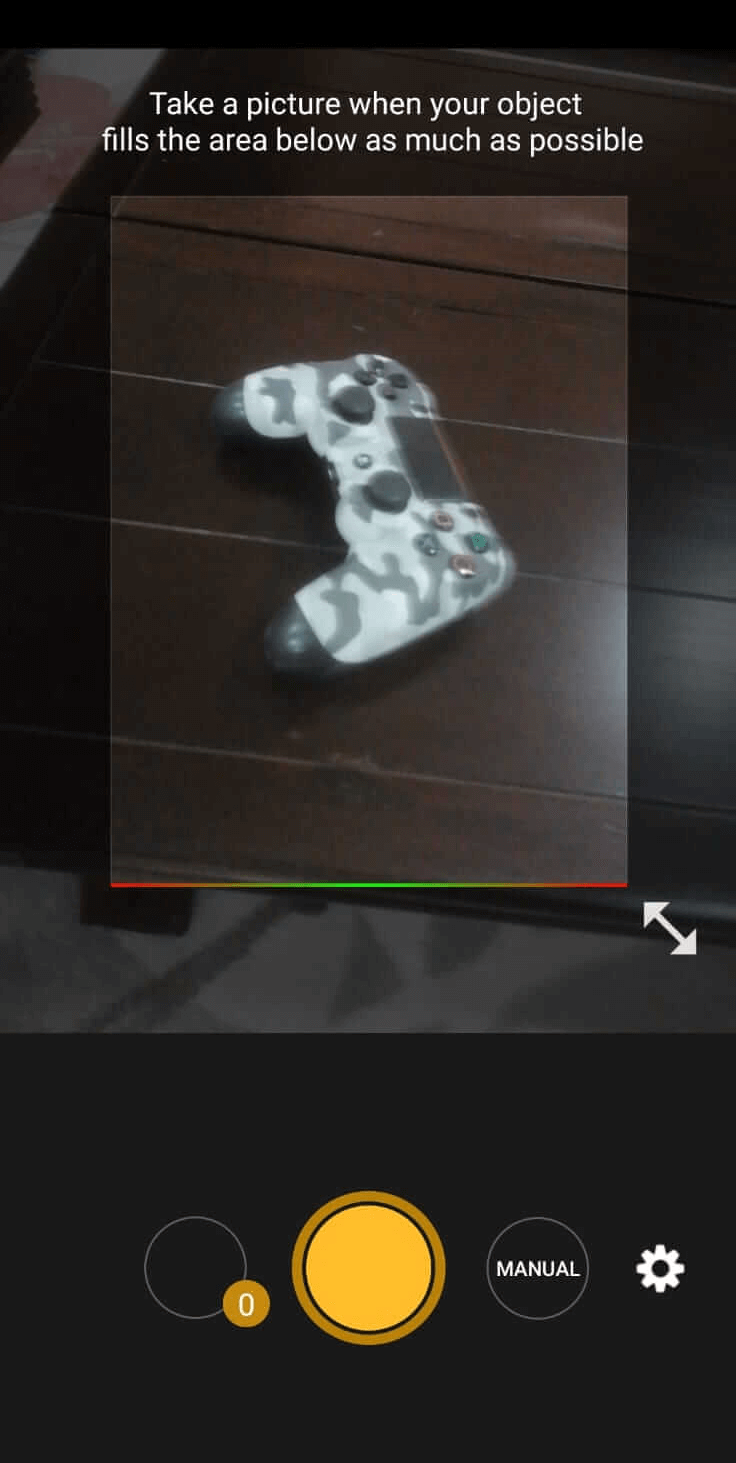 |
I took a picture of a Ps4 controller to begin the 3d scanning proccess |
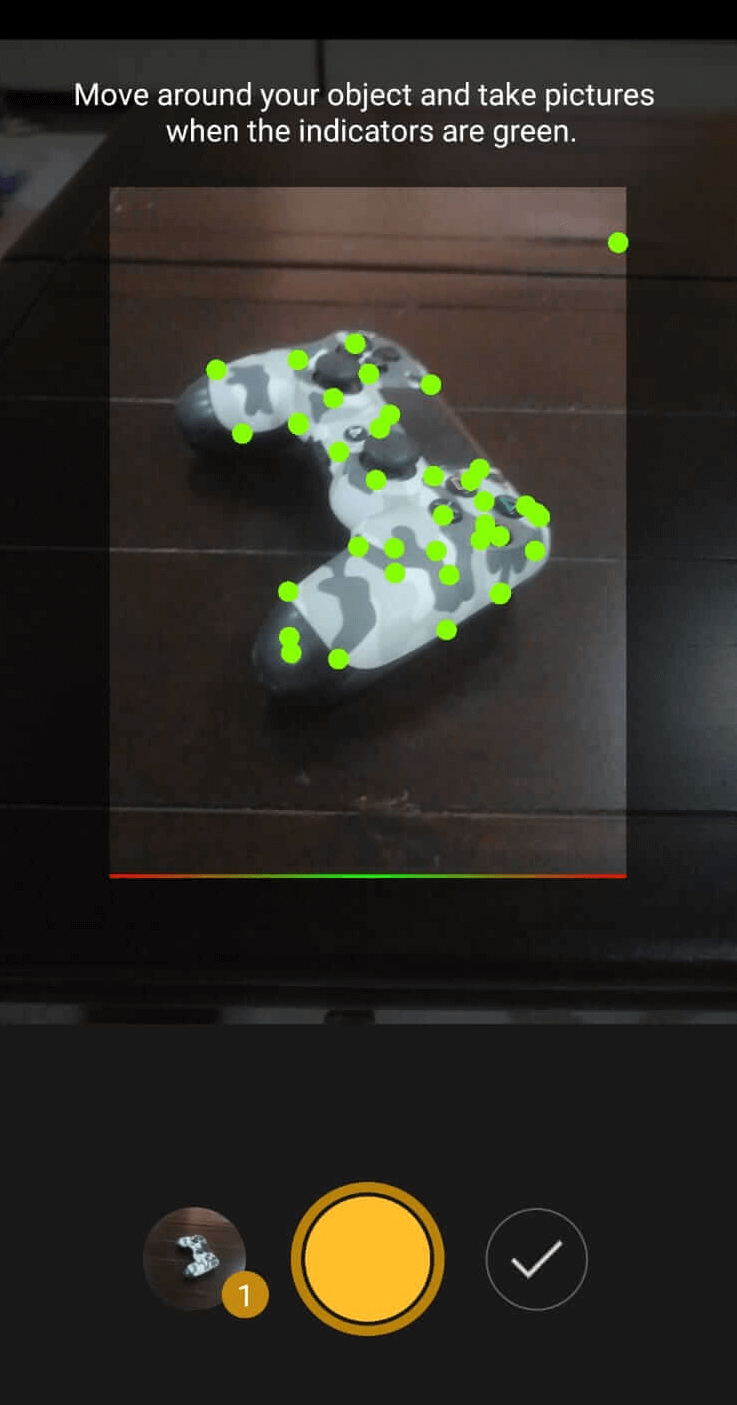 |
I moved around the controller until the dots became green then I took another picture |
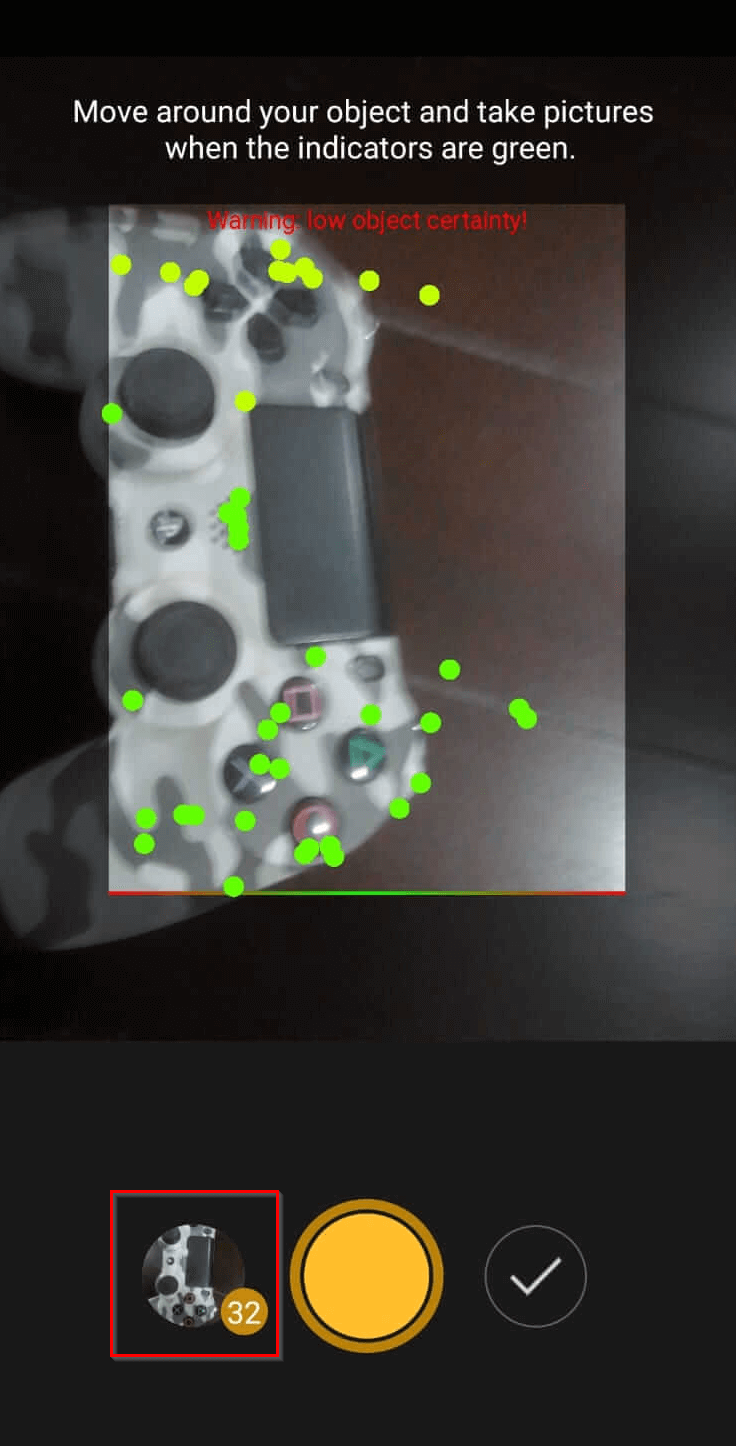 |
I contintued to take pictures around the object until the object was fully scanned. In the end I had 32 pictures. |
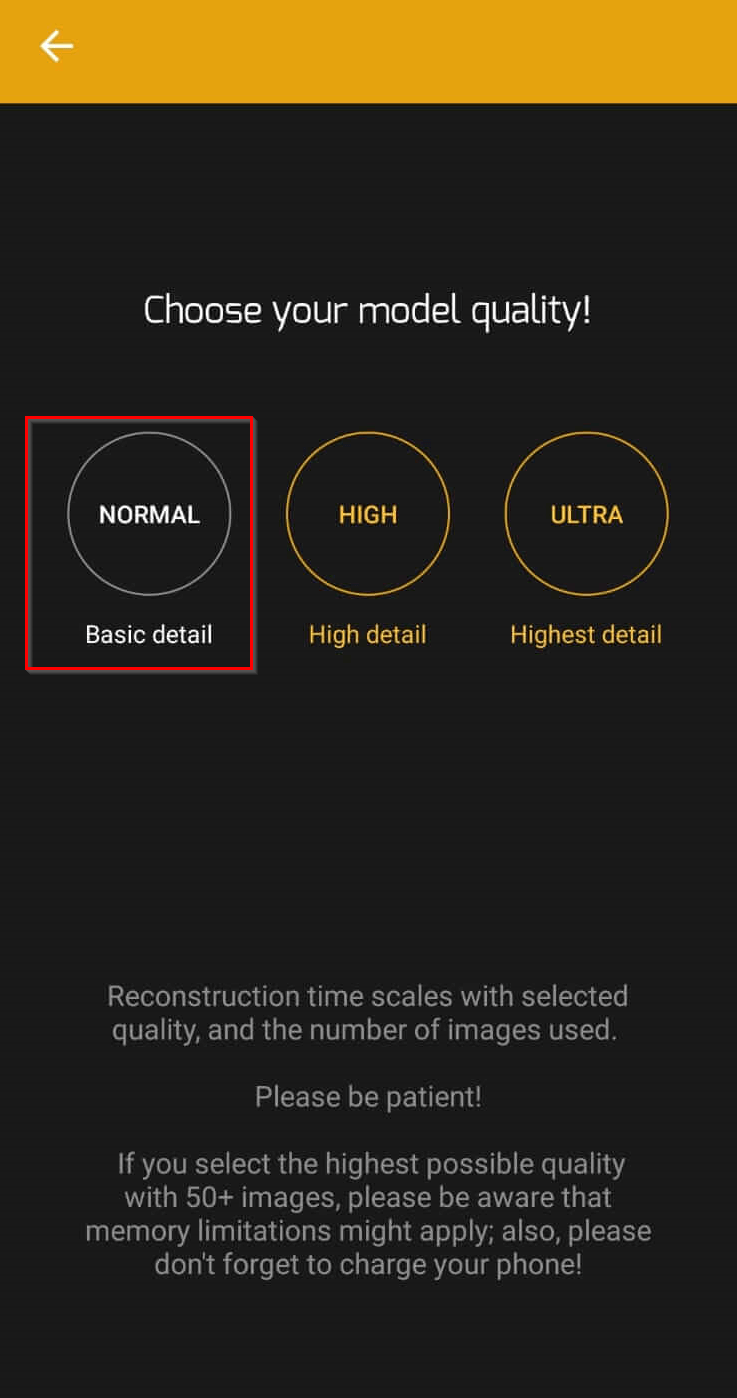 |
The app asked me to choose the quality of the scan I chose normal because it was the only option that was free |
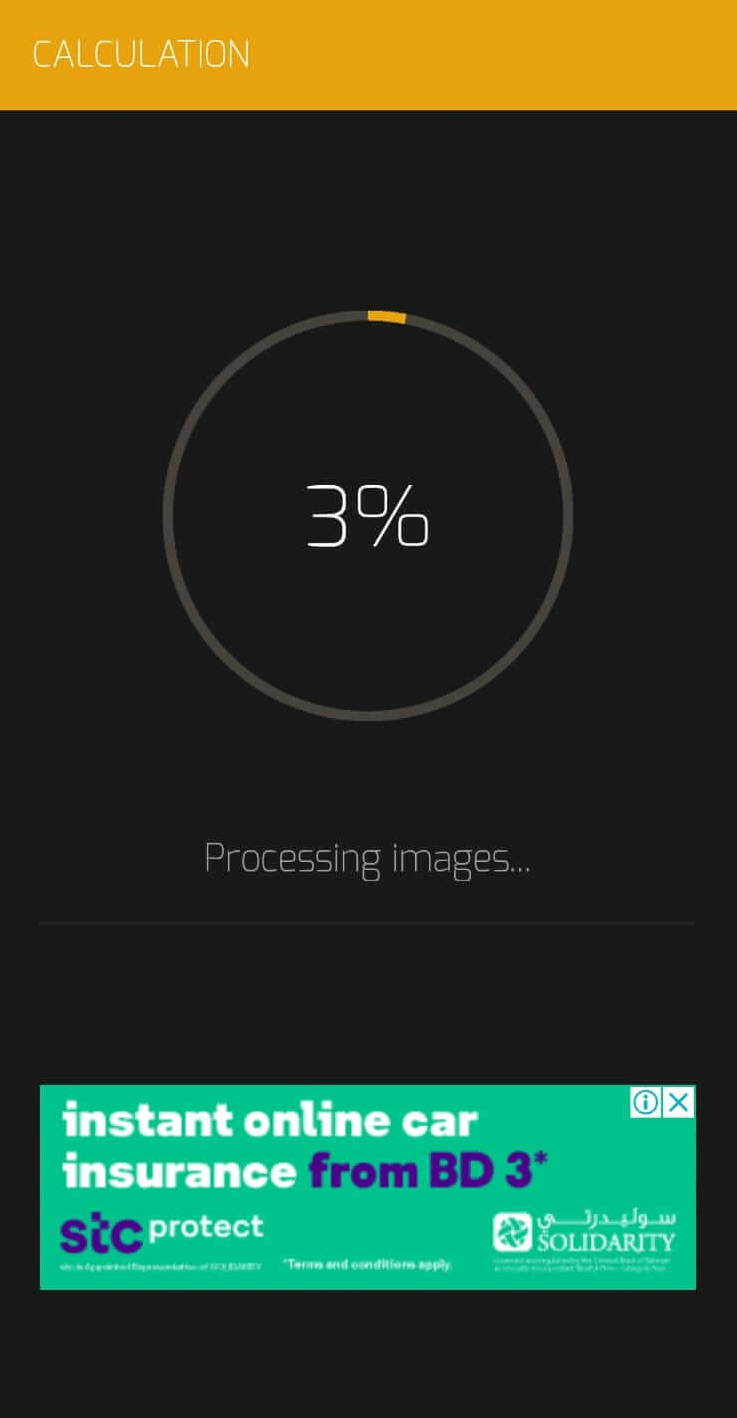 |
Then the app started to process the images and generate a model |
 |
For some reason i always recieved this error message (I’ve attempted this 3 times) |
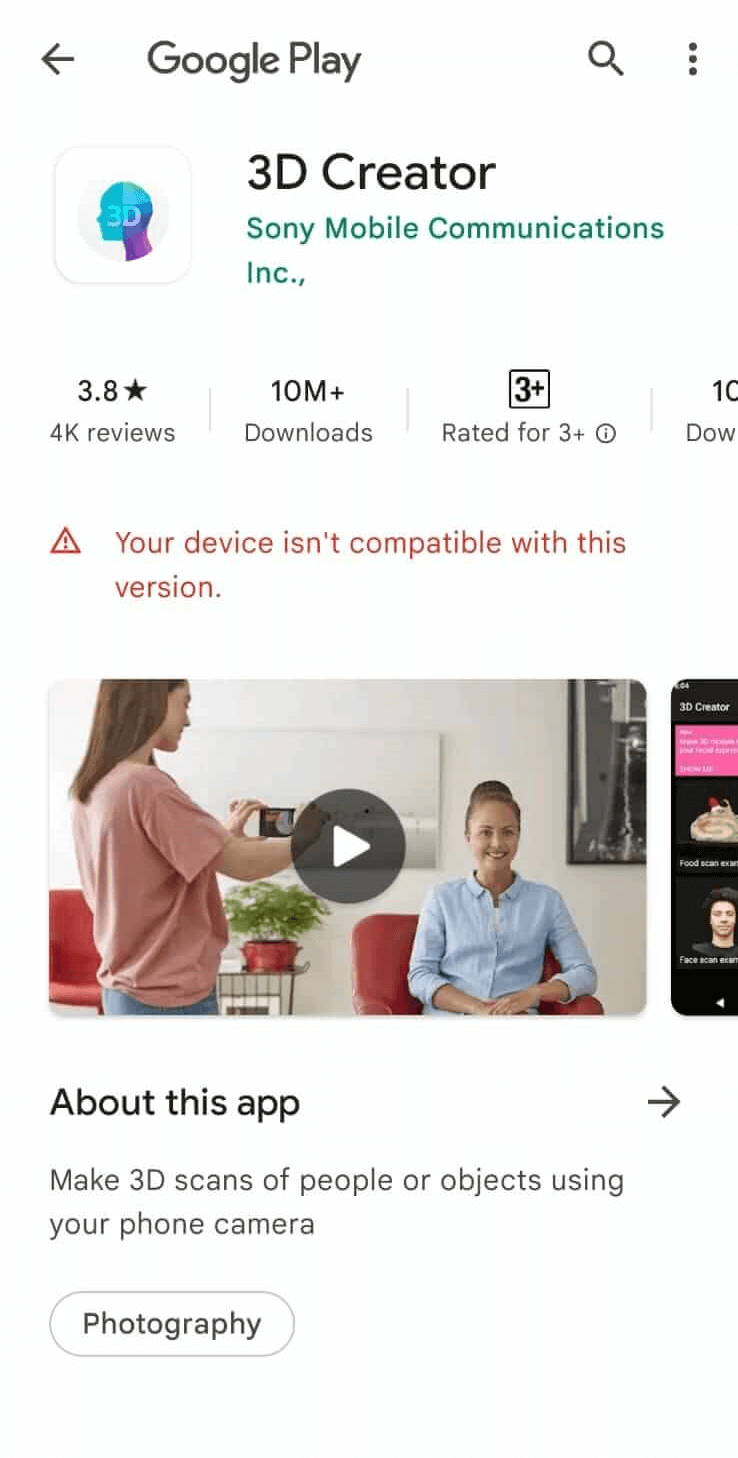 |
I tried to use another app on the store that was recommended but it was not compatible with my phone |
Qlone
I tried to use qlone on my phone but i could not find a free version of the app on the Google play store (for some reason it was removed).
For this processs i used someone elses phone that had it installed.
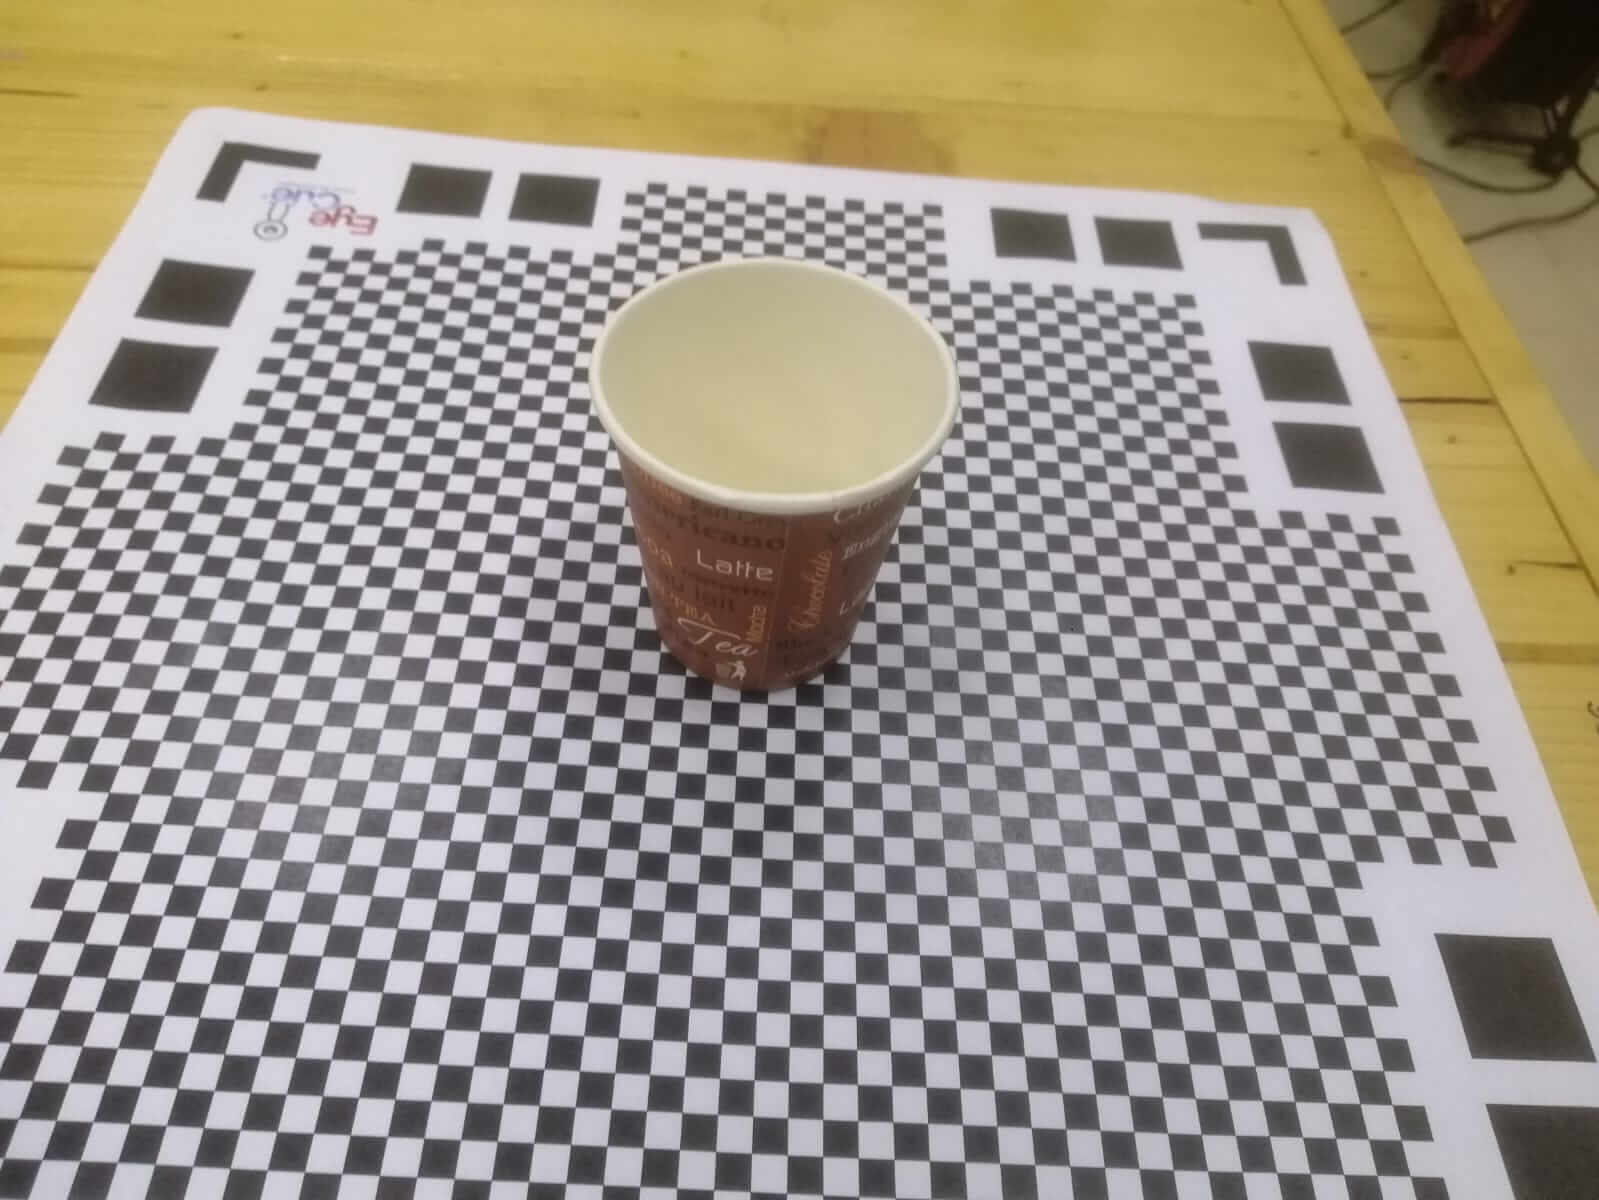
First I put a coffee cup on special scanning paper. This paper is used by the app to help guide the user in scanning the object.
When I got close to the object a dome appeared around the object.
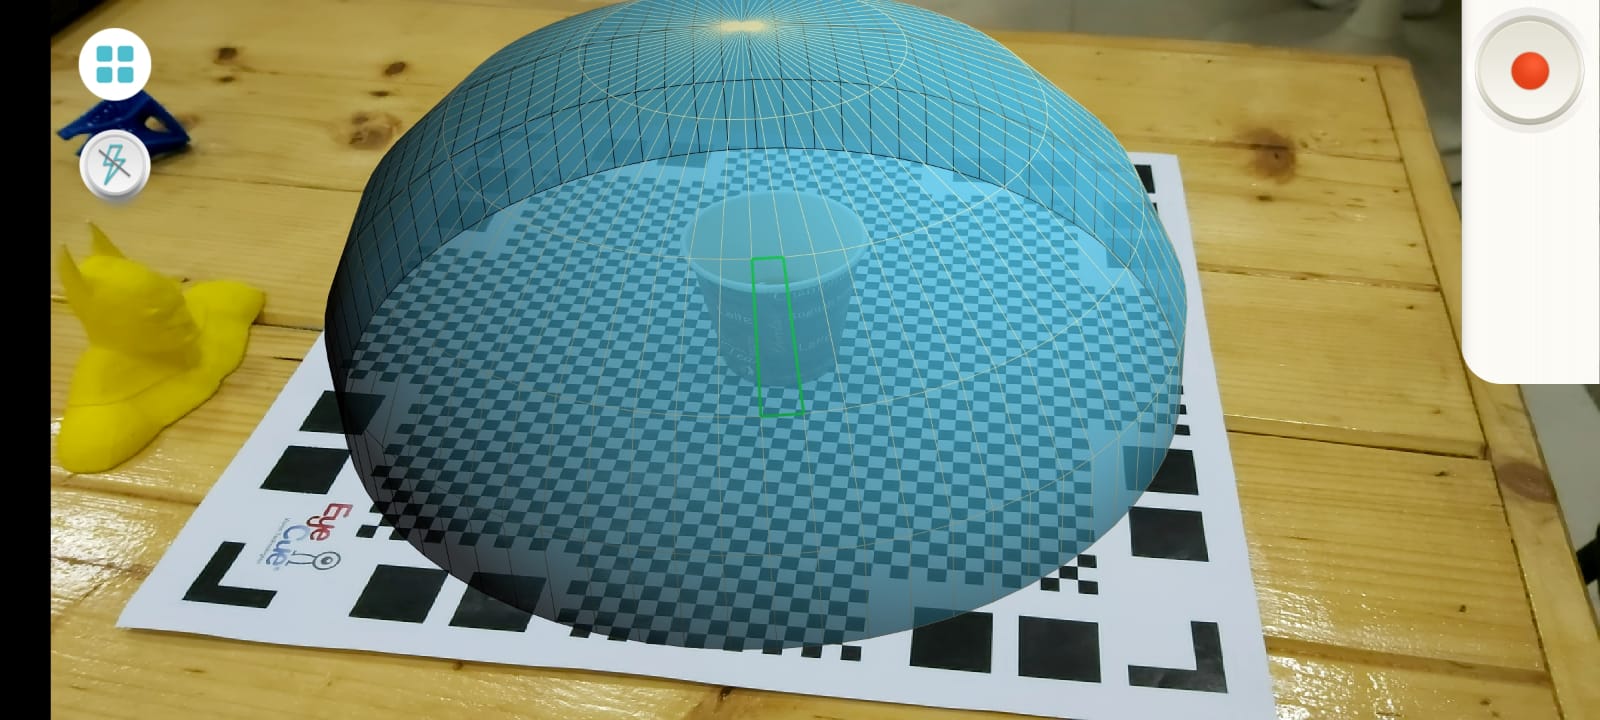
I roatated around the object until the dome was empty, I forgot to take a screenshot of this step but you a can refer to weaams website to see how that looks like.
By the end the scan looked something like this.
Xbox Kinect
Description
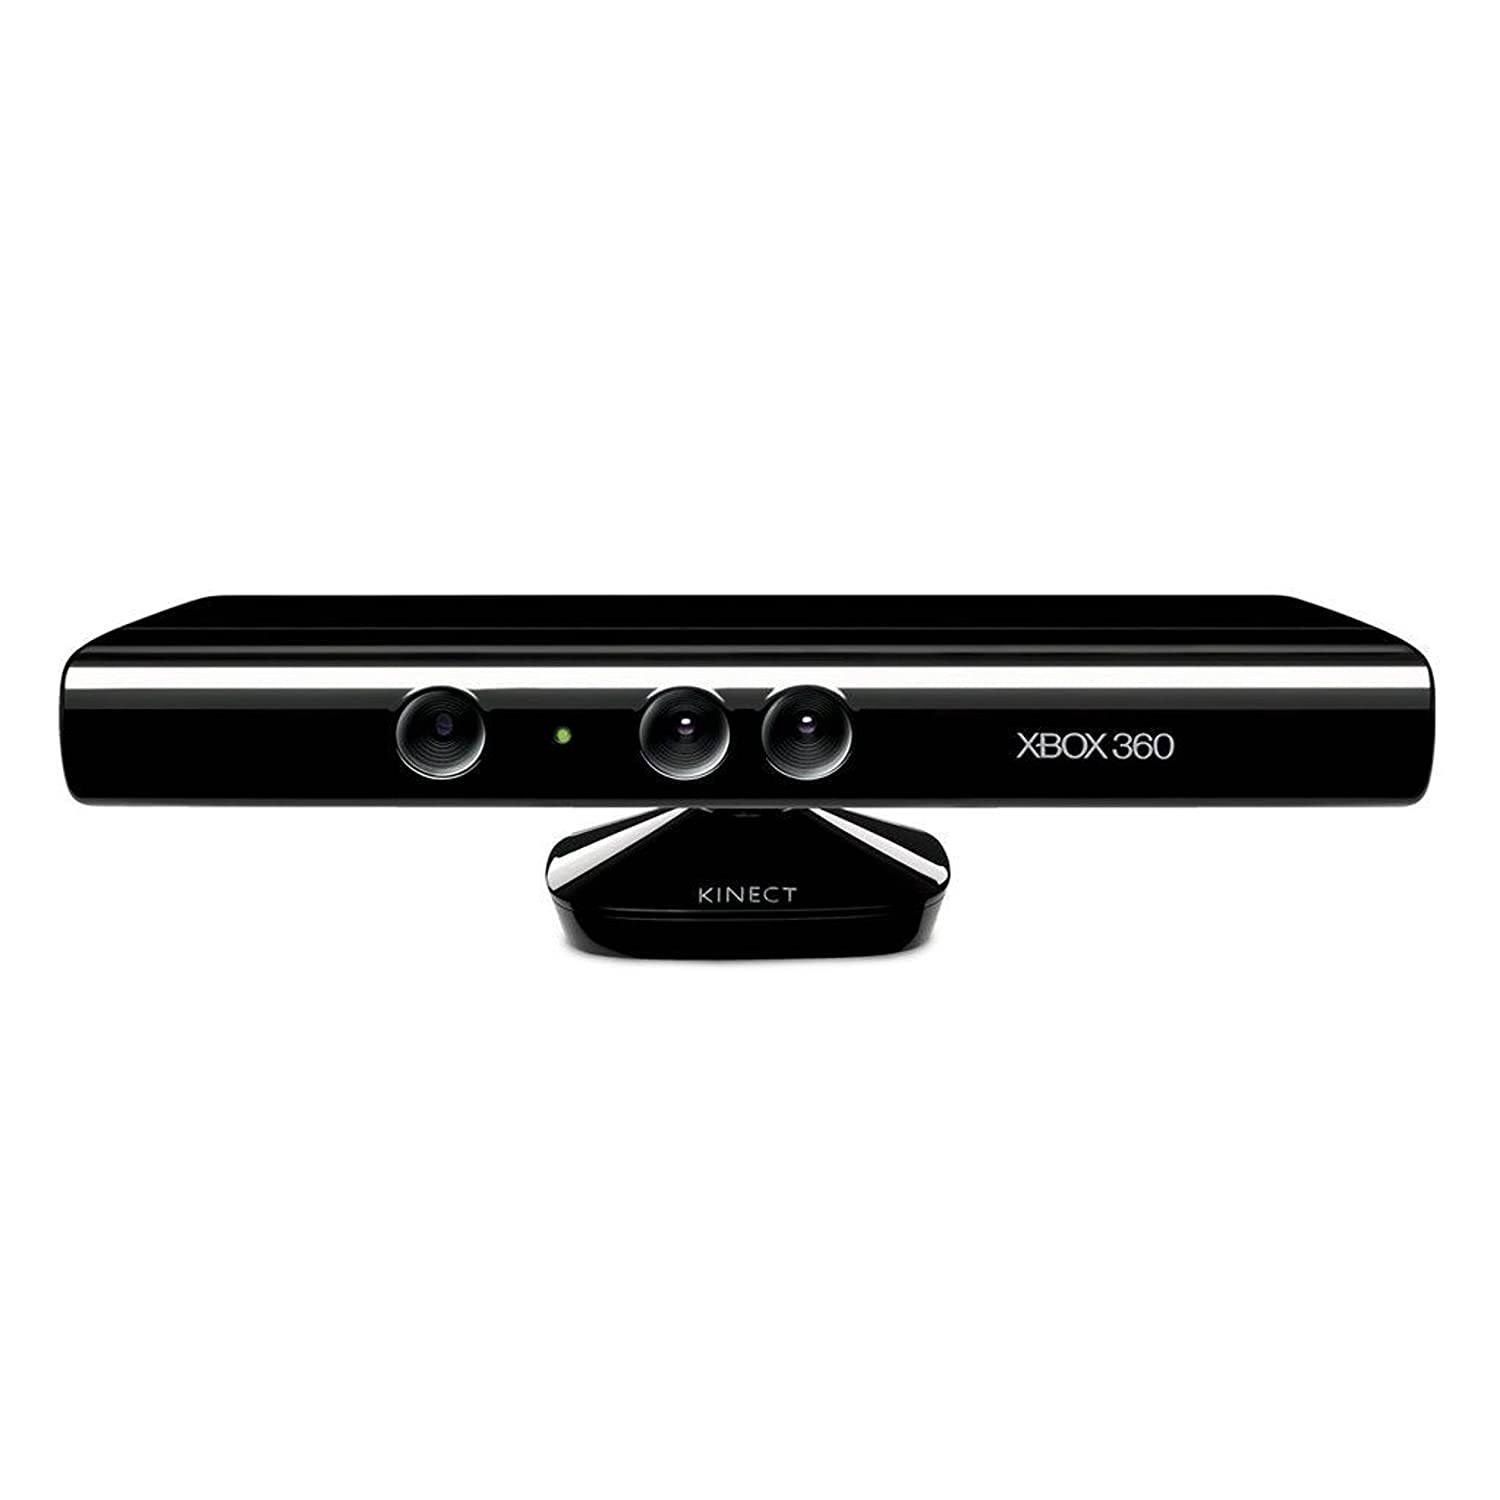
The xbox kinect is a device developed by Microsoft that contains cameras and sensors that capture motion. It is mainly used for gaming but it can also be used to scan 3d objects using the SKANECT software.
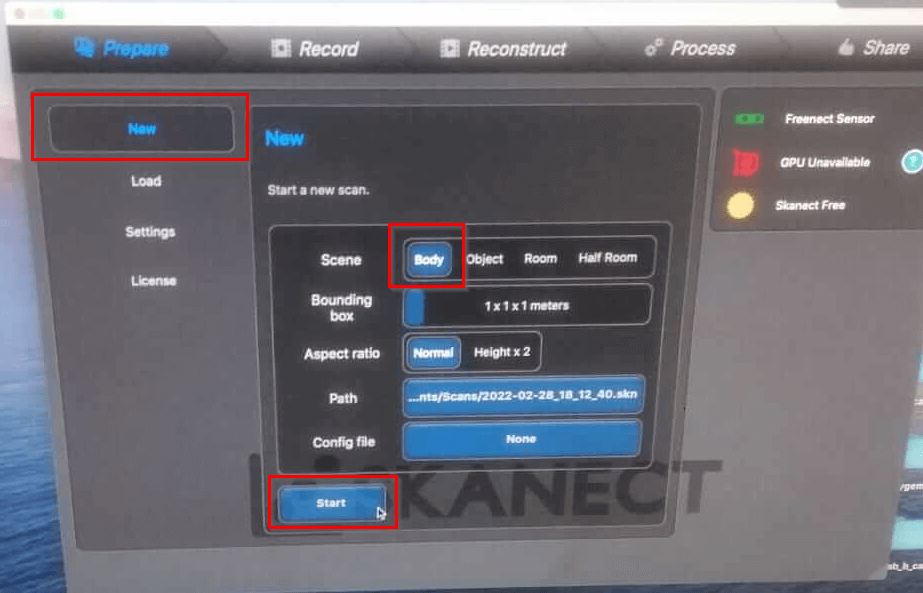
I opened SKANECT and started a new project, i selected Body in the scene section then I clicked start.
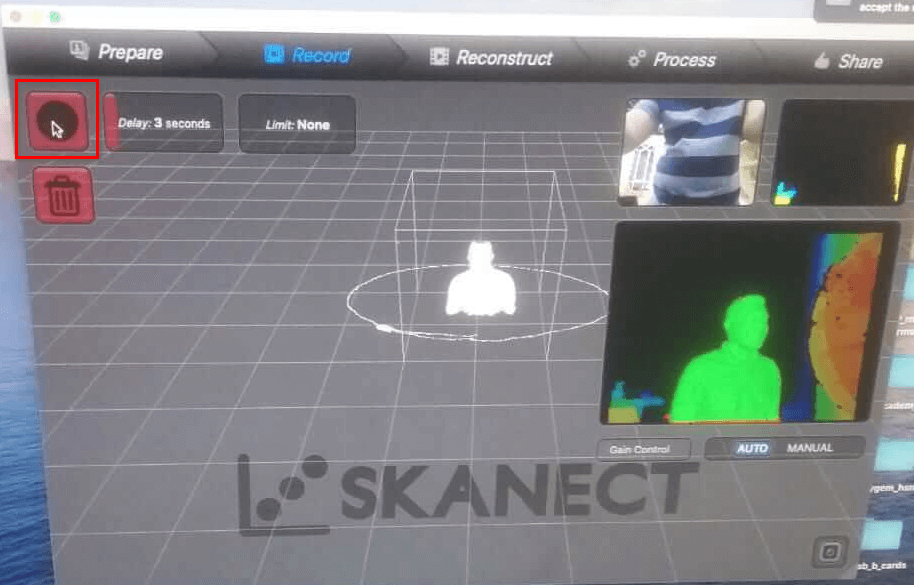
Scanning
I pressed the record button to start the 3D scanning process.
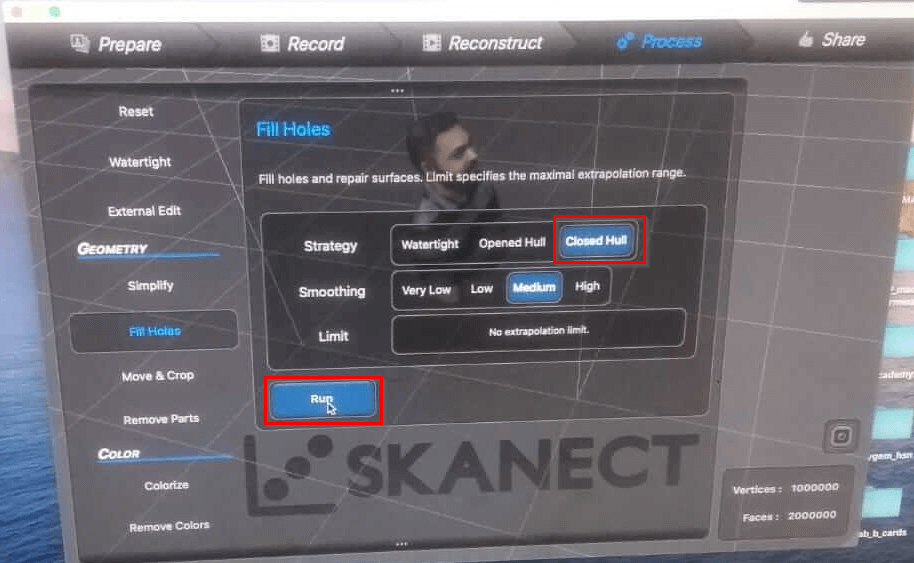
Processing
After scanning myself I noticed that there was a hole on my head, to fix that I went to the fill holes section and clicked run.
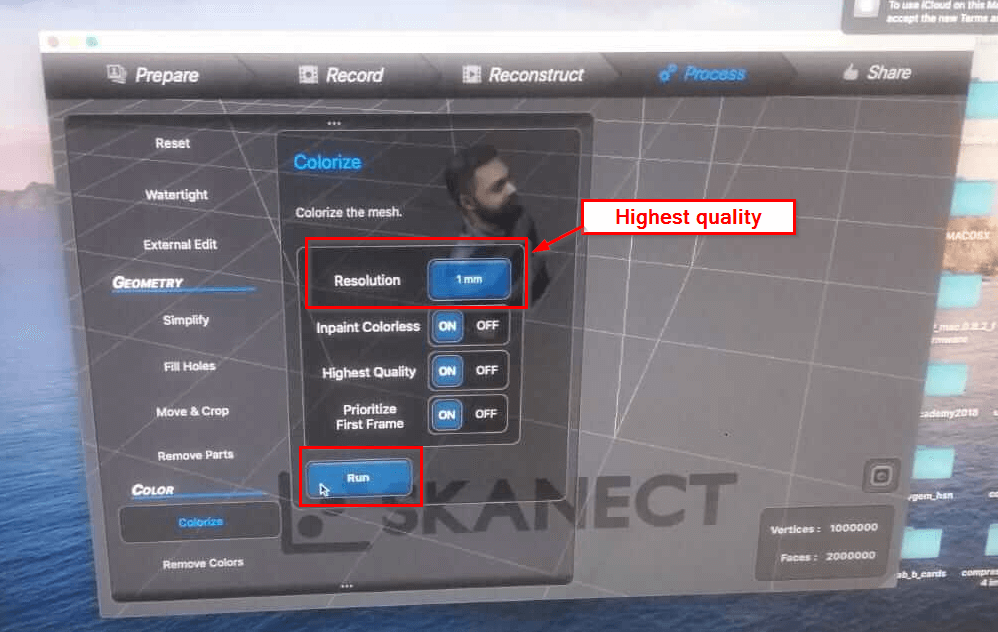
The next step is to color the scan, I set the resolution to 1mm to get the highest quality for the scan.
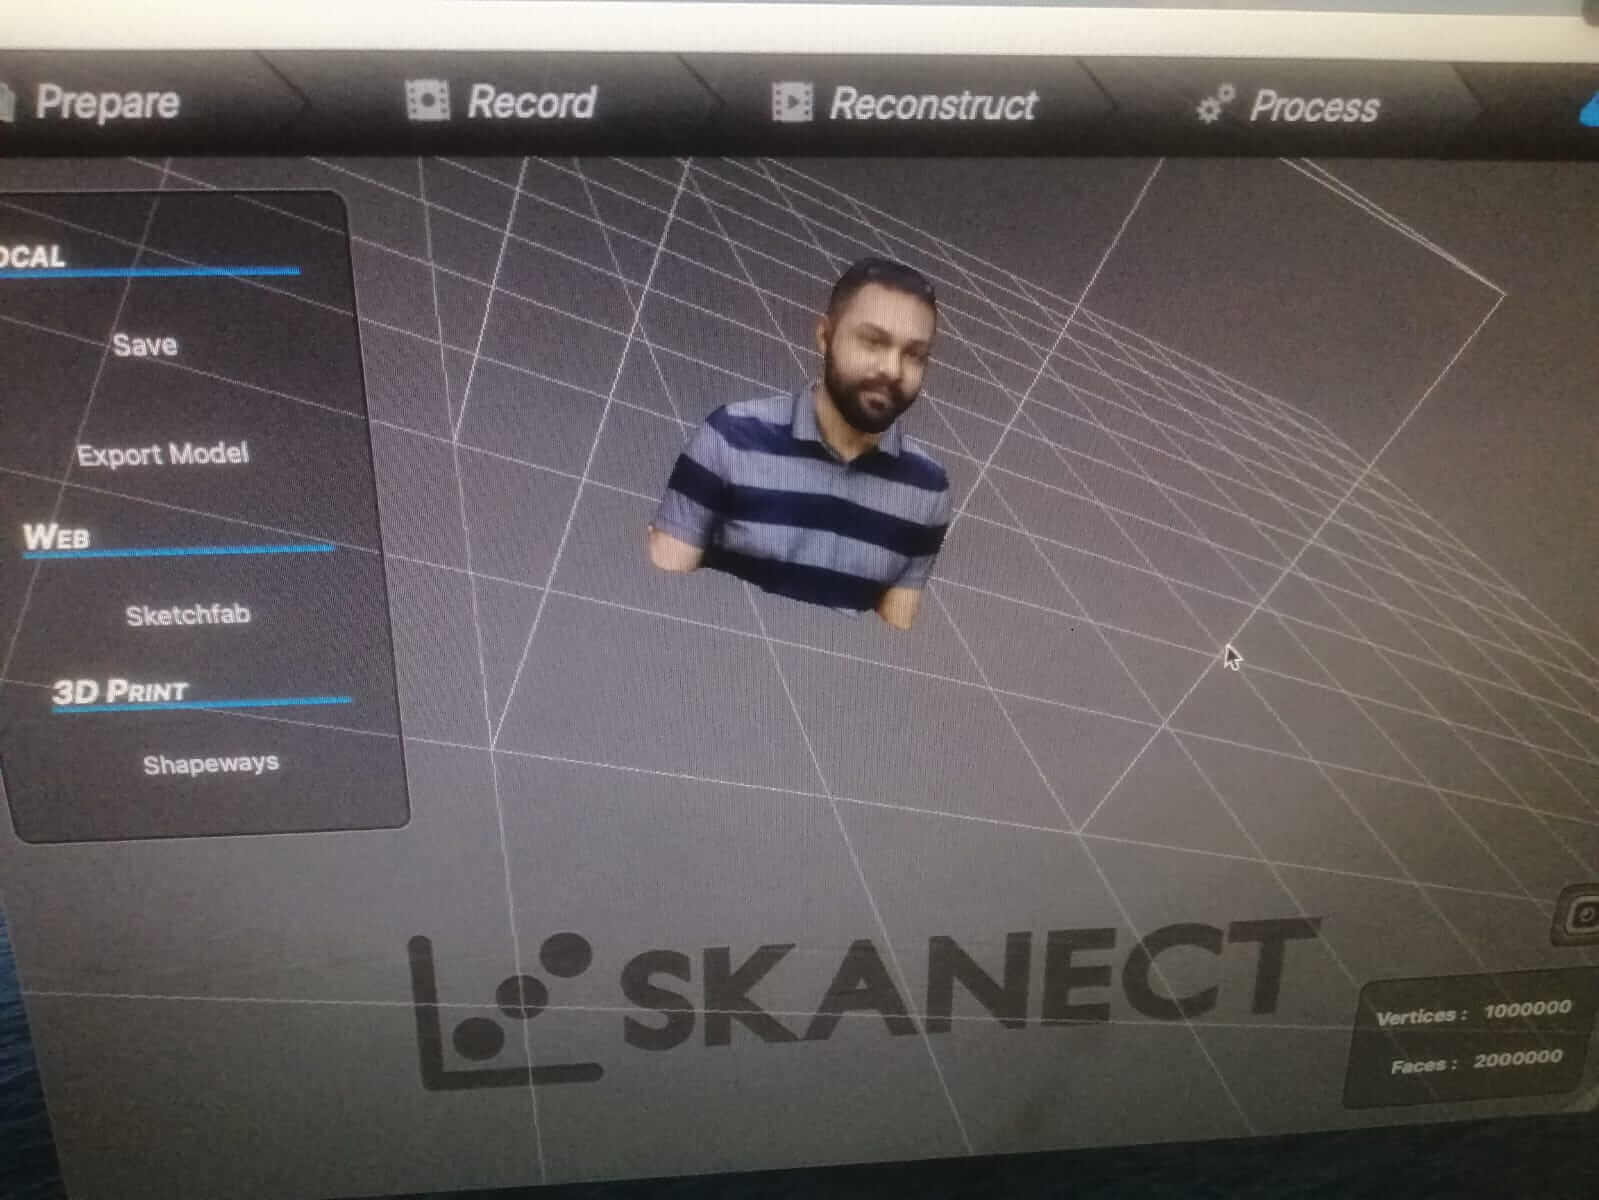
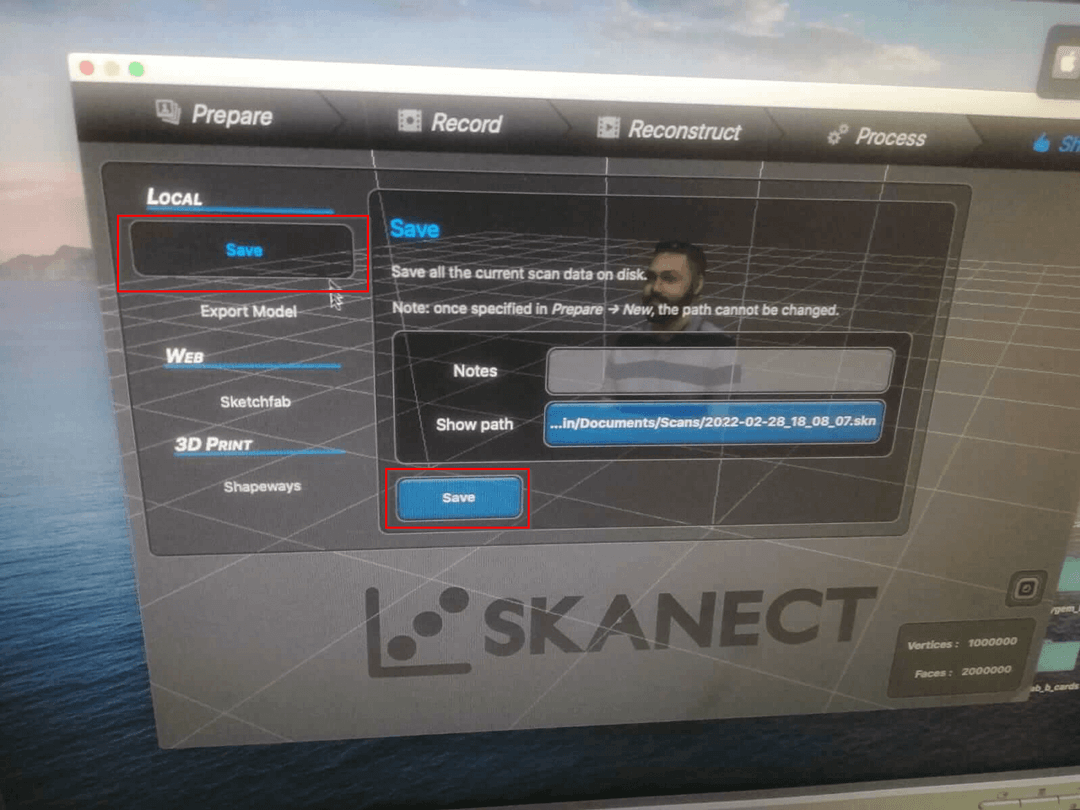
Save and Final Result
To save the scan, click the save section and then the save button.
This is my final result