8. Moulding and casting
This week I worked on moulding and casting.
Group Assignment
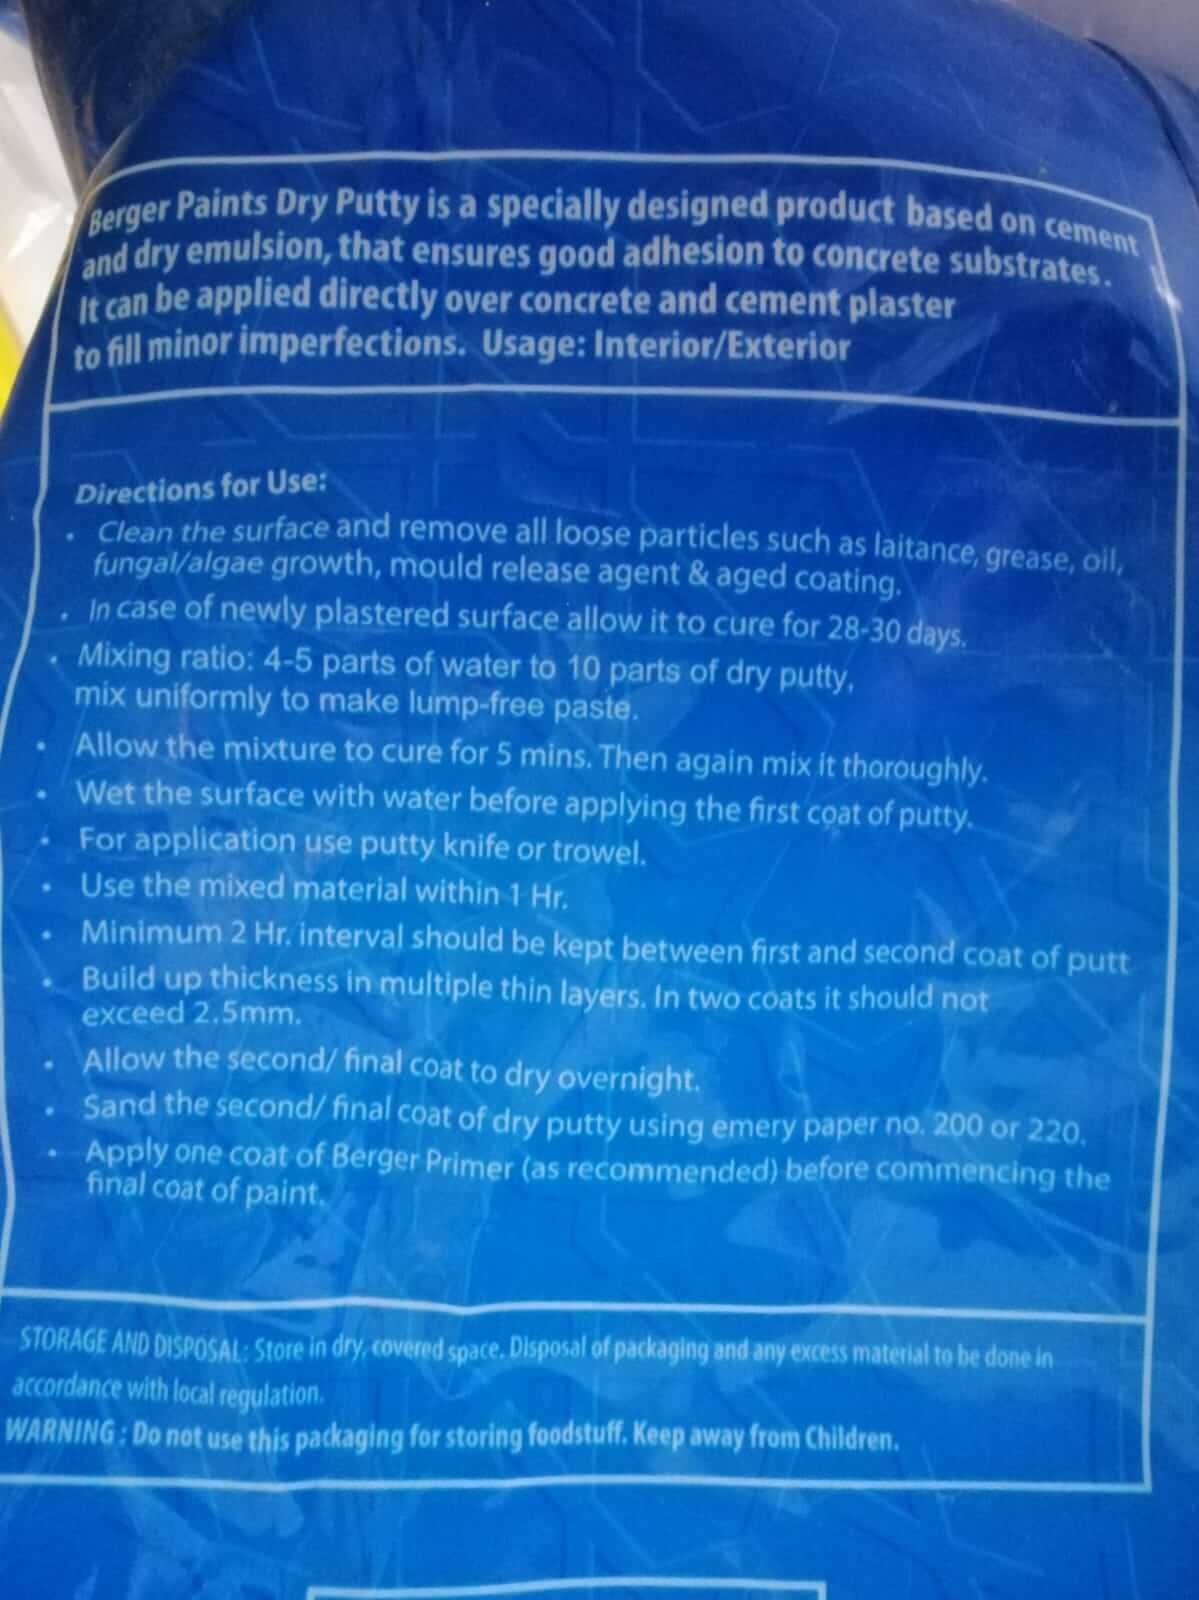
Material : Dry Putty/ Stucco
Value Dry Stucco/Putty is a specially designed product based on cement and emulsion, that fills and levels surface imperfections on cement and plaster. It also improves the water resistance of the surface and prepares it for the adhesion of subsequent coatings. It can also be directly applied over plaster and overcoated directly with interior or exterior emulsions, even without a primer.
Safety
• Clean the surface thoroughly. • Make sure it is dry and free of all dust, contaminants, and fungal growth. • Remove laitance (accumulation of particles on fresh concrete) with a wire brush or sweep blast.
Tools
• Trowel • Putty knife
Process
- Wet the surface with water.
- Mix dry stucco with water in the ratio of 40% to 50% by weight.
- Allow this paste to mature for five minutes, then mix thoroughly and apply with a putty knife or trowel.
- After it is dry, in two or three hours, wet the surface again with water, and apply the second coat.
- Make sure the entire mixed stucco paste is used up within 2-3 hours of mixing. Sand the surface, wet it and then apply the desired top coat.
| Cure time | Work time | Mix ratio | Cured material state |
|---|---|---|---|
| 5 minutes | 5 minutes | 10 parts stucco to 4-5 parts Water | Solid |
Sources
Test
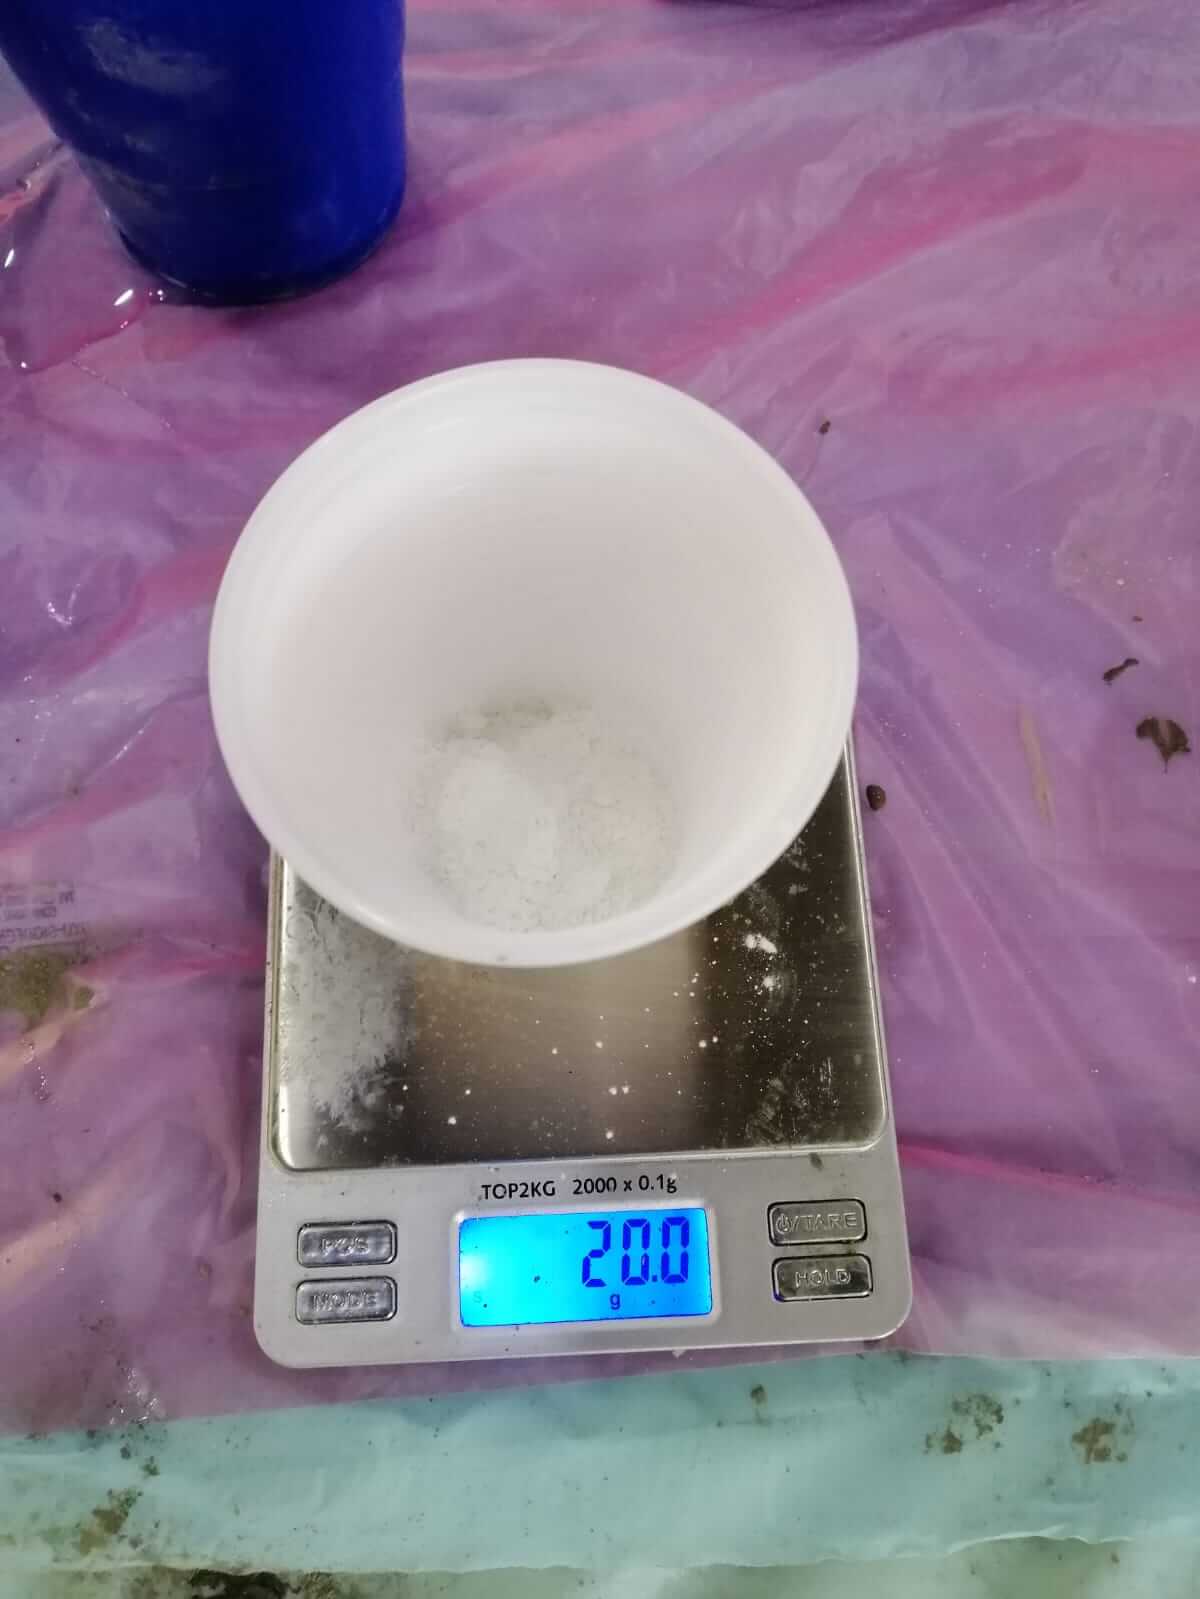
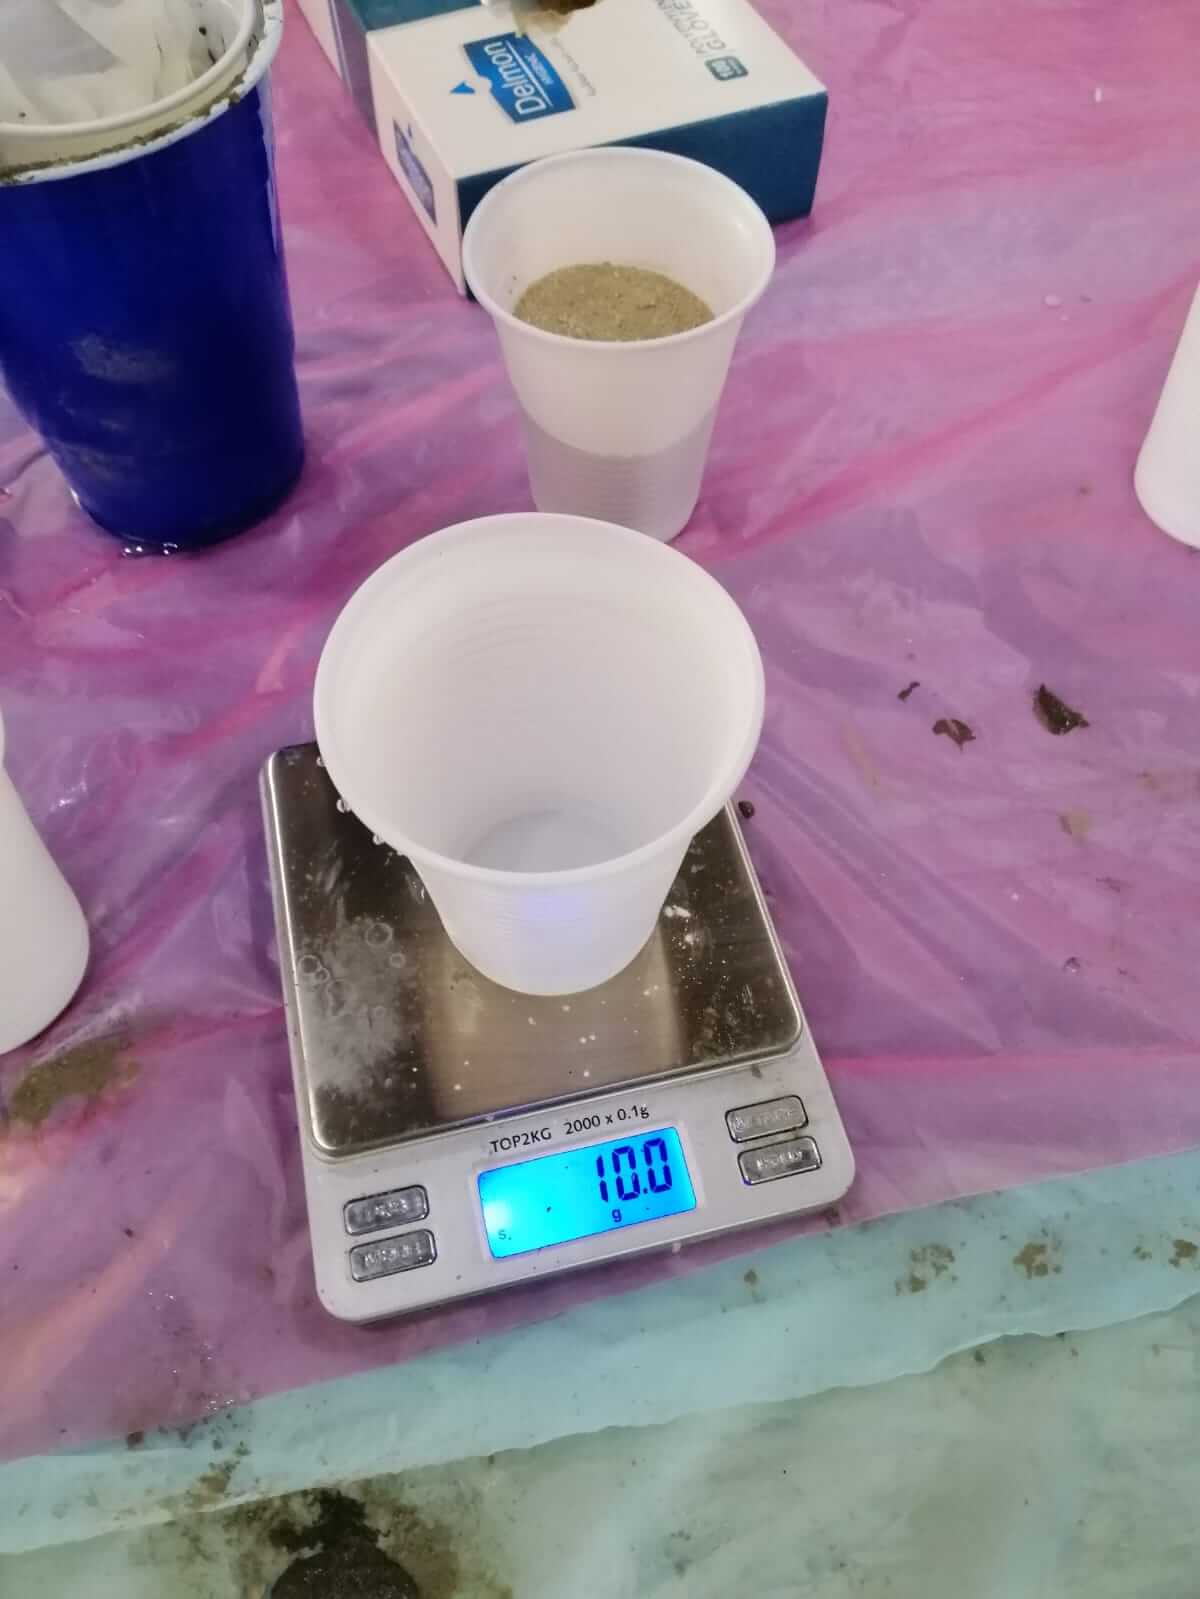
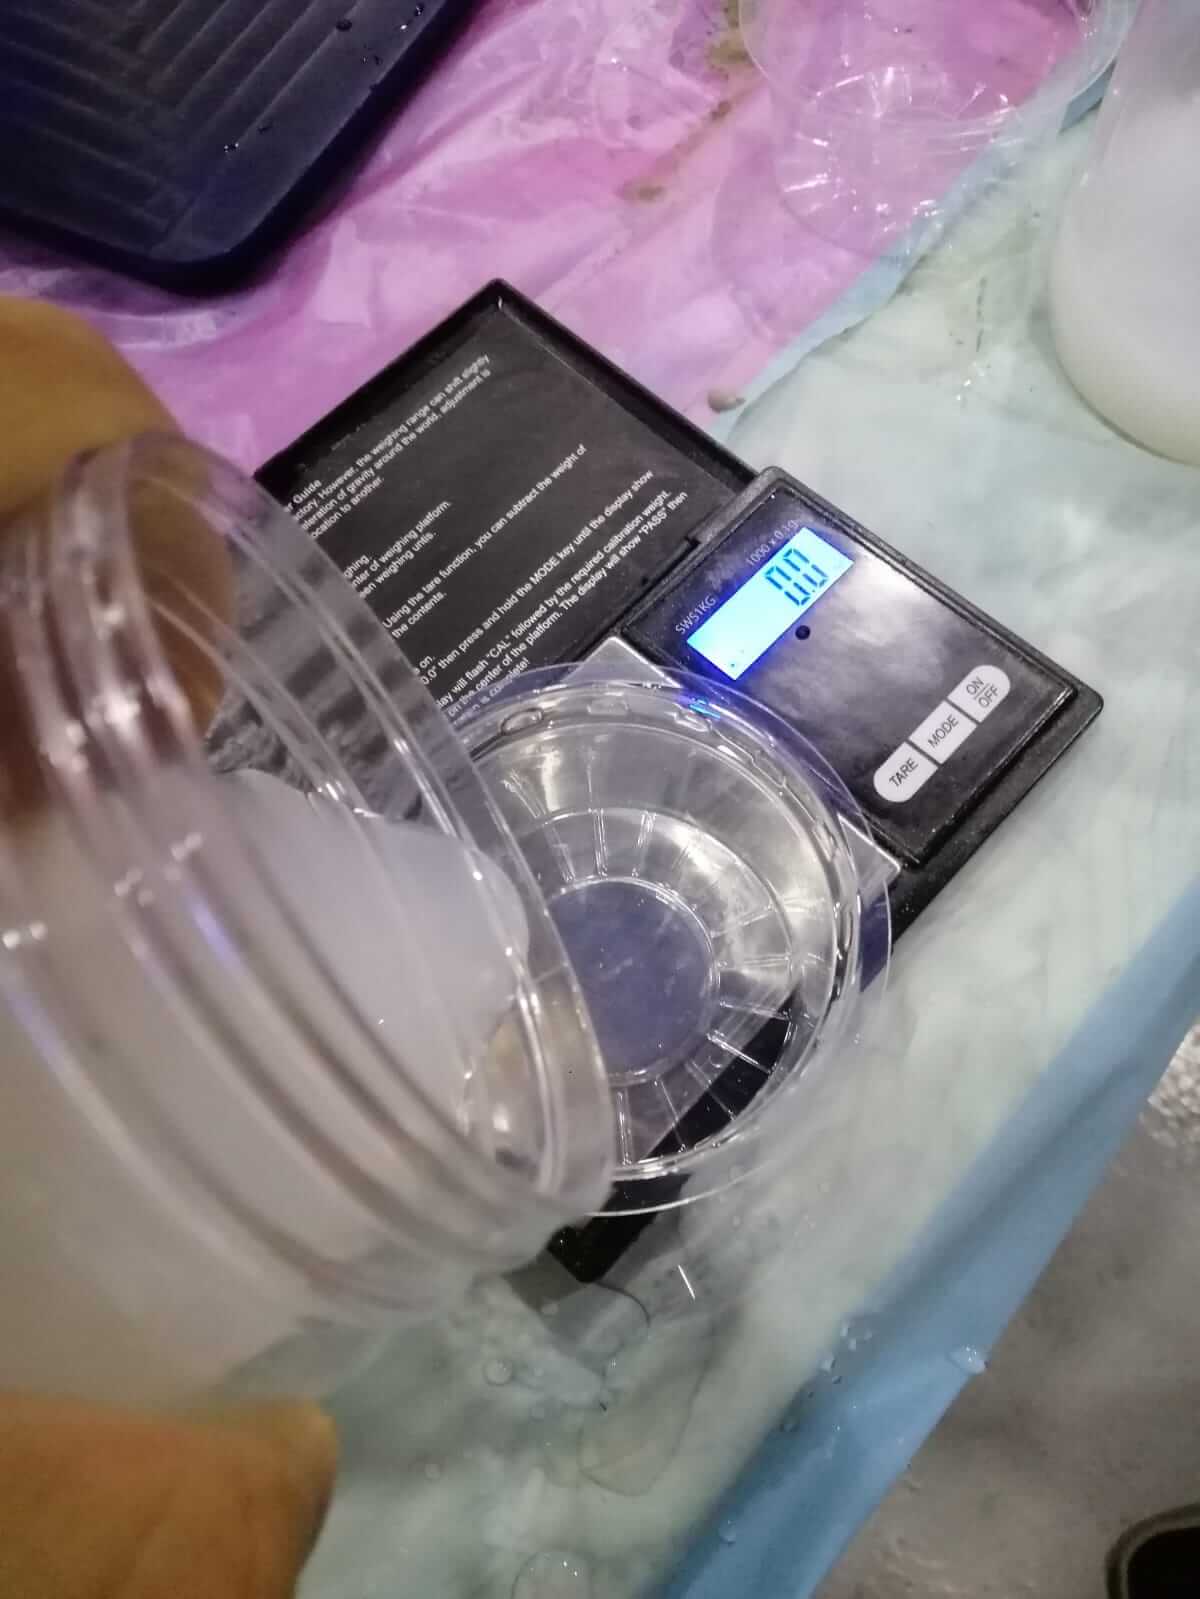
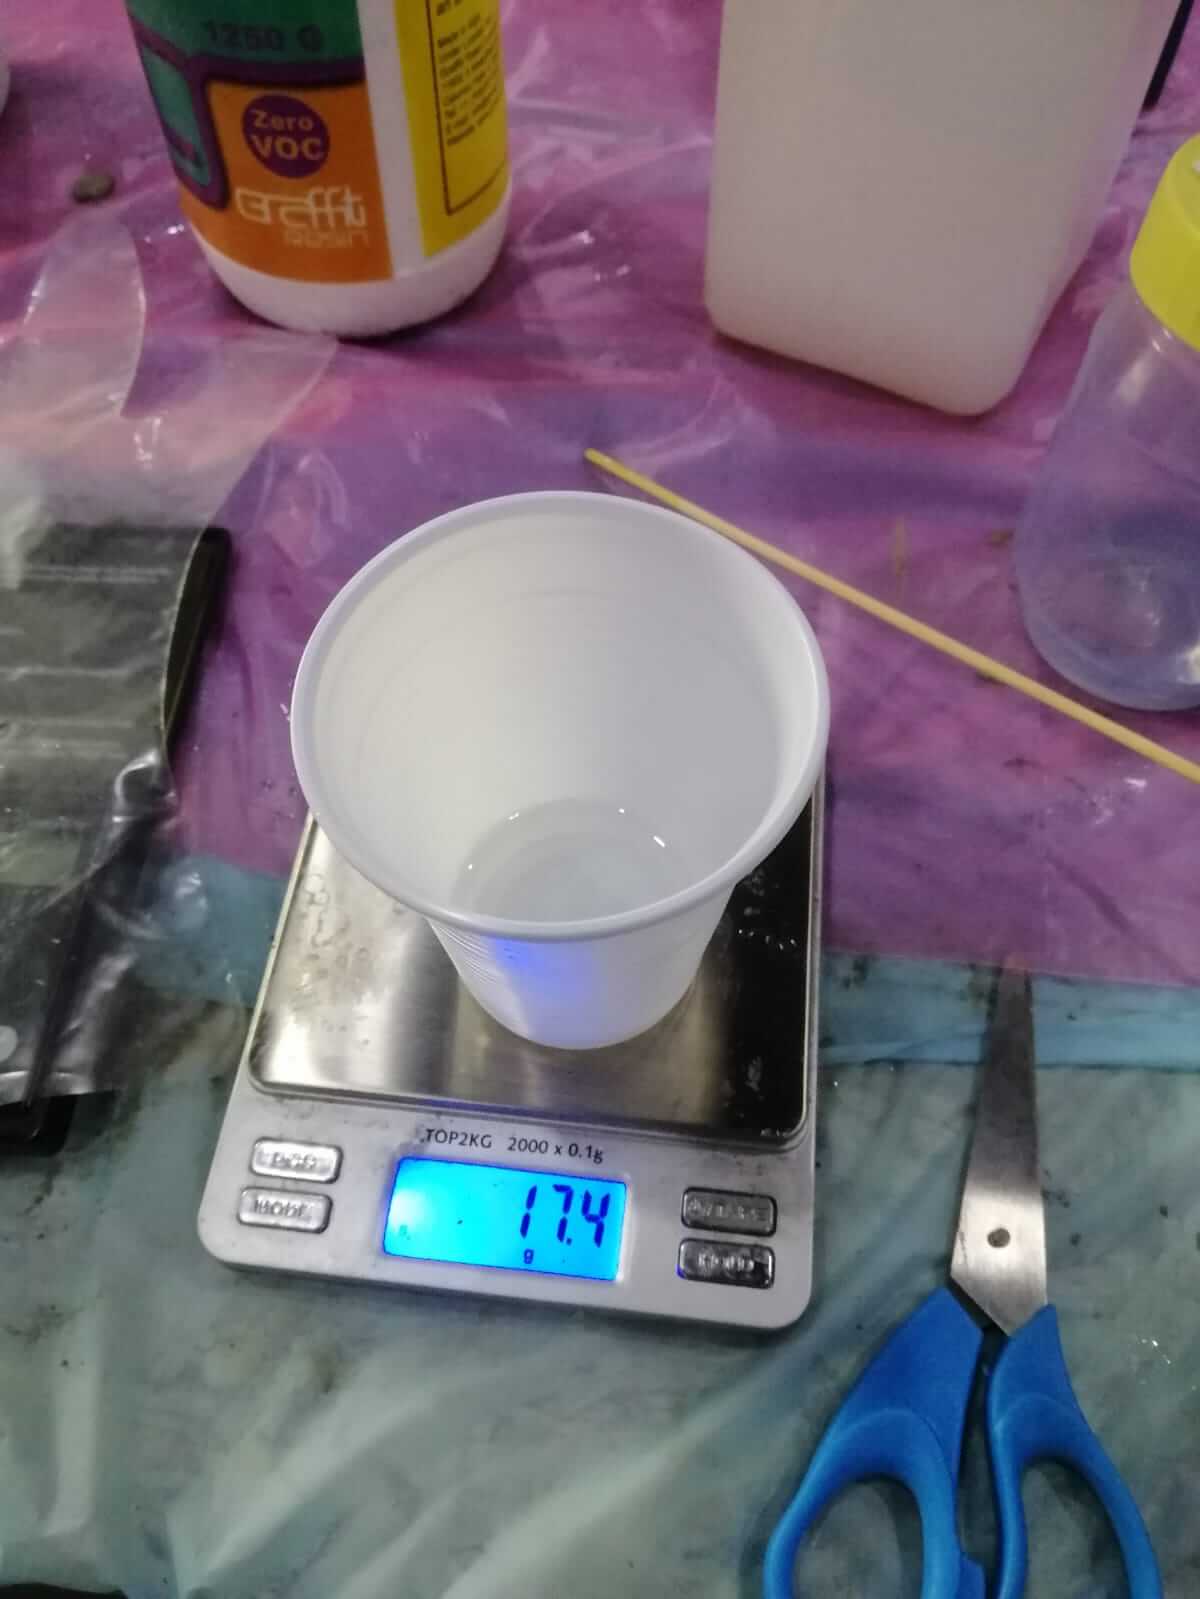
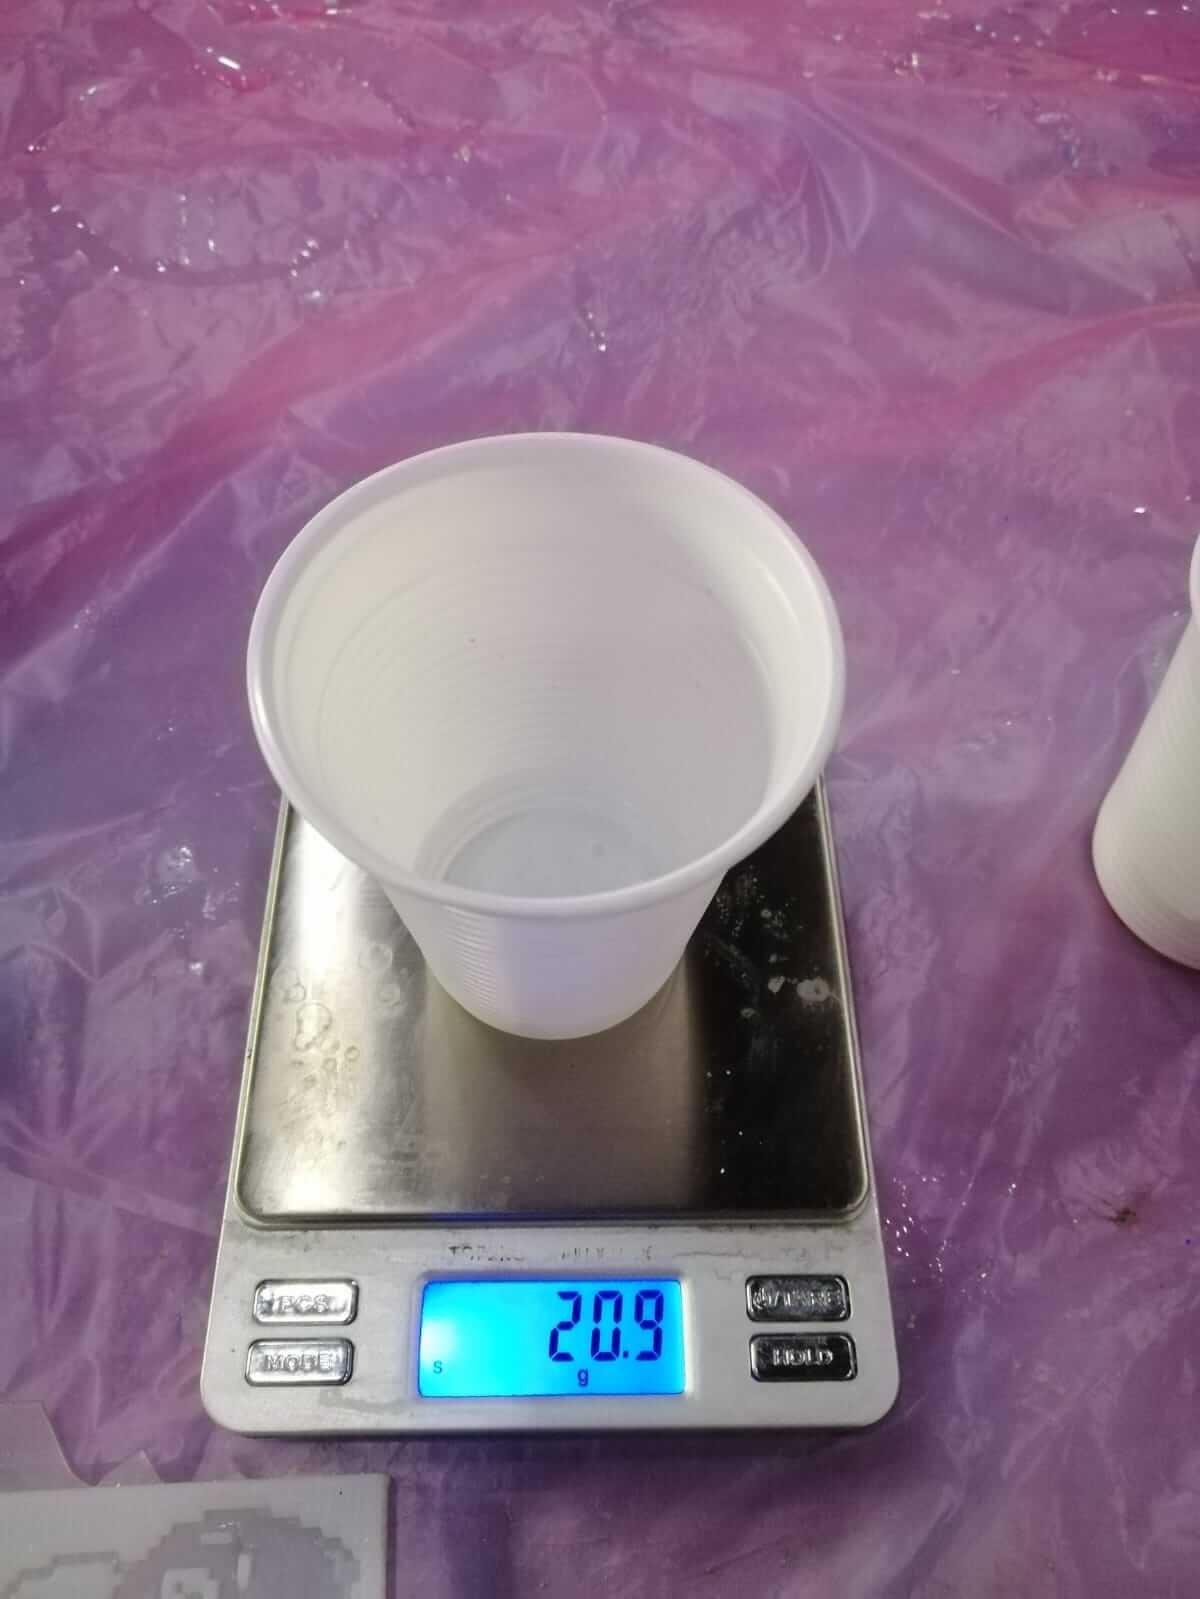
First i calibrated the scale to ignore the weight of the cup.
![]()
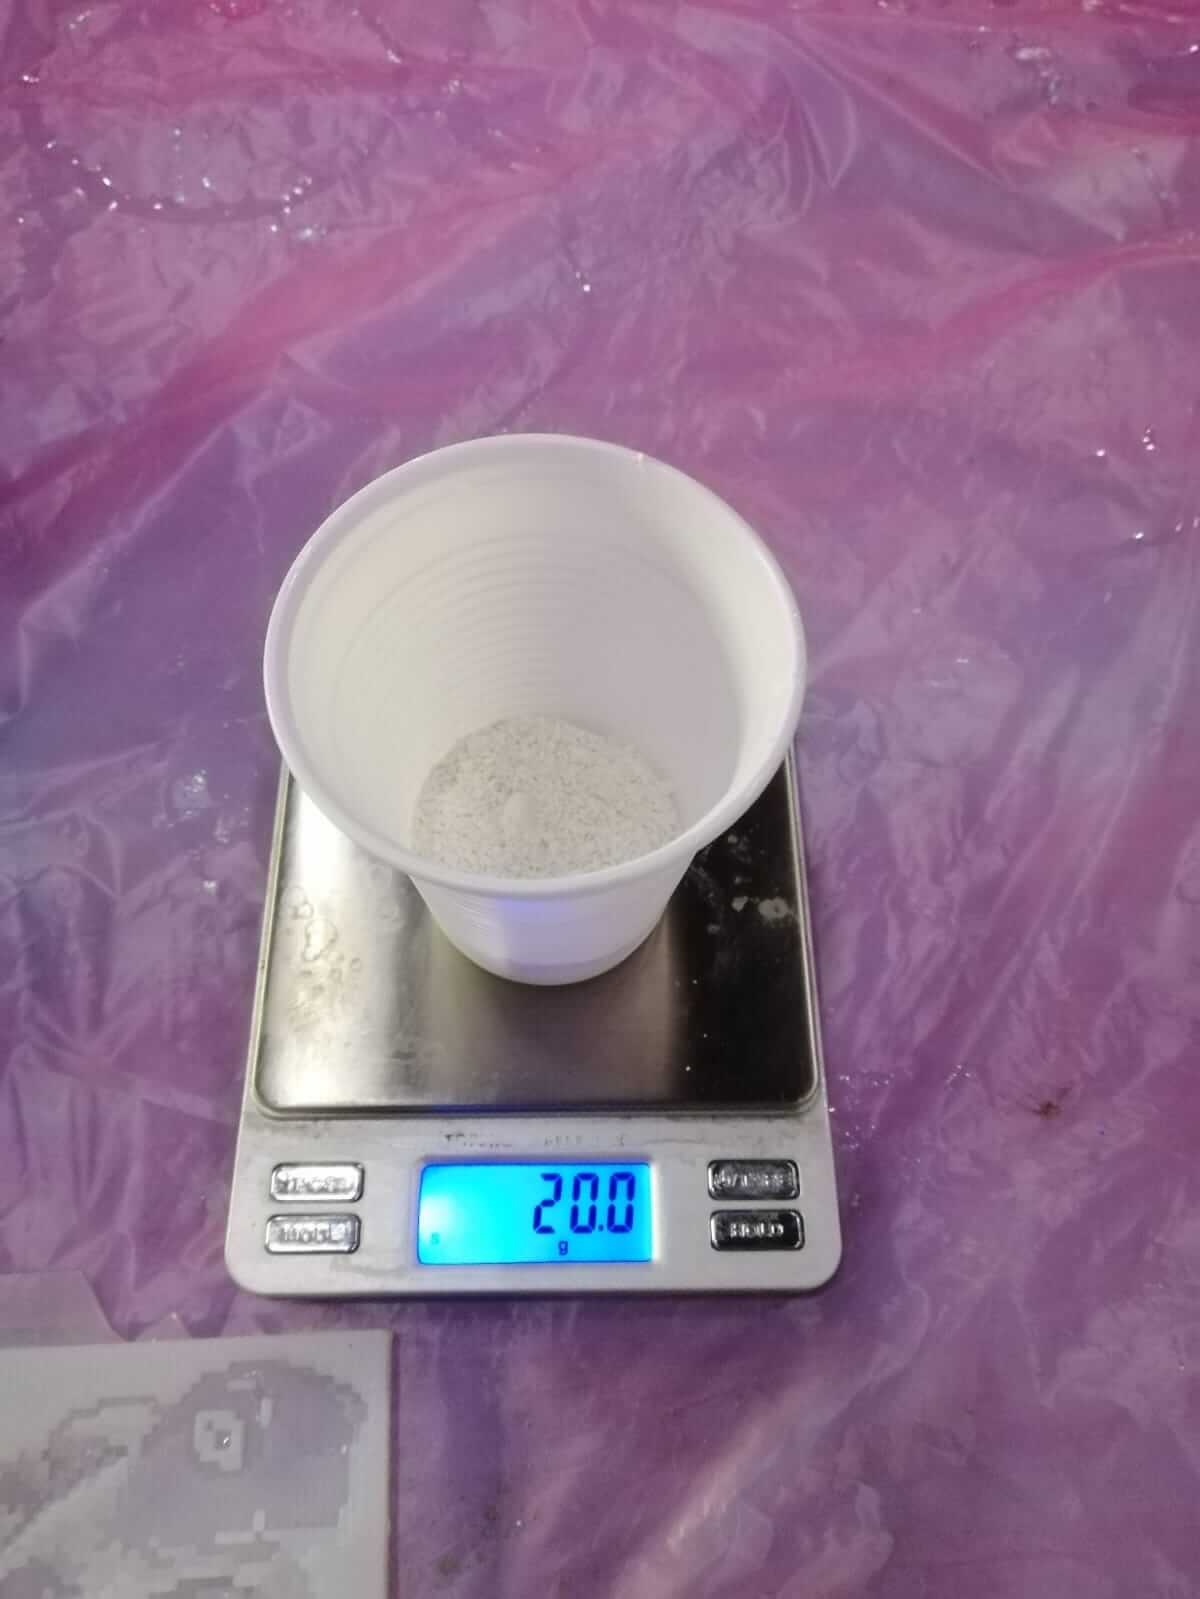
I took a spoonful of Stucco powder and i meatured it to to be 20g.
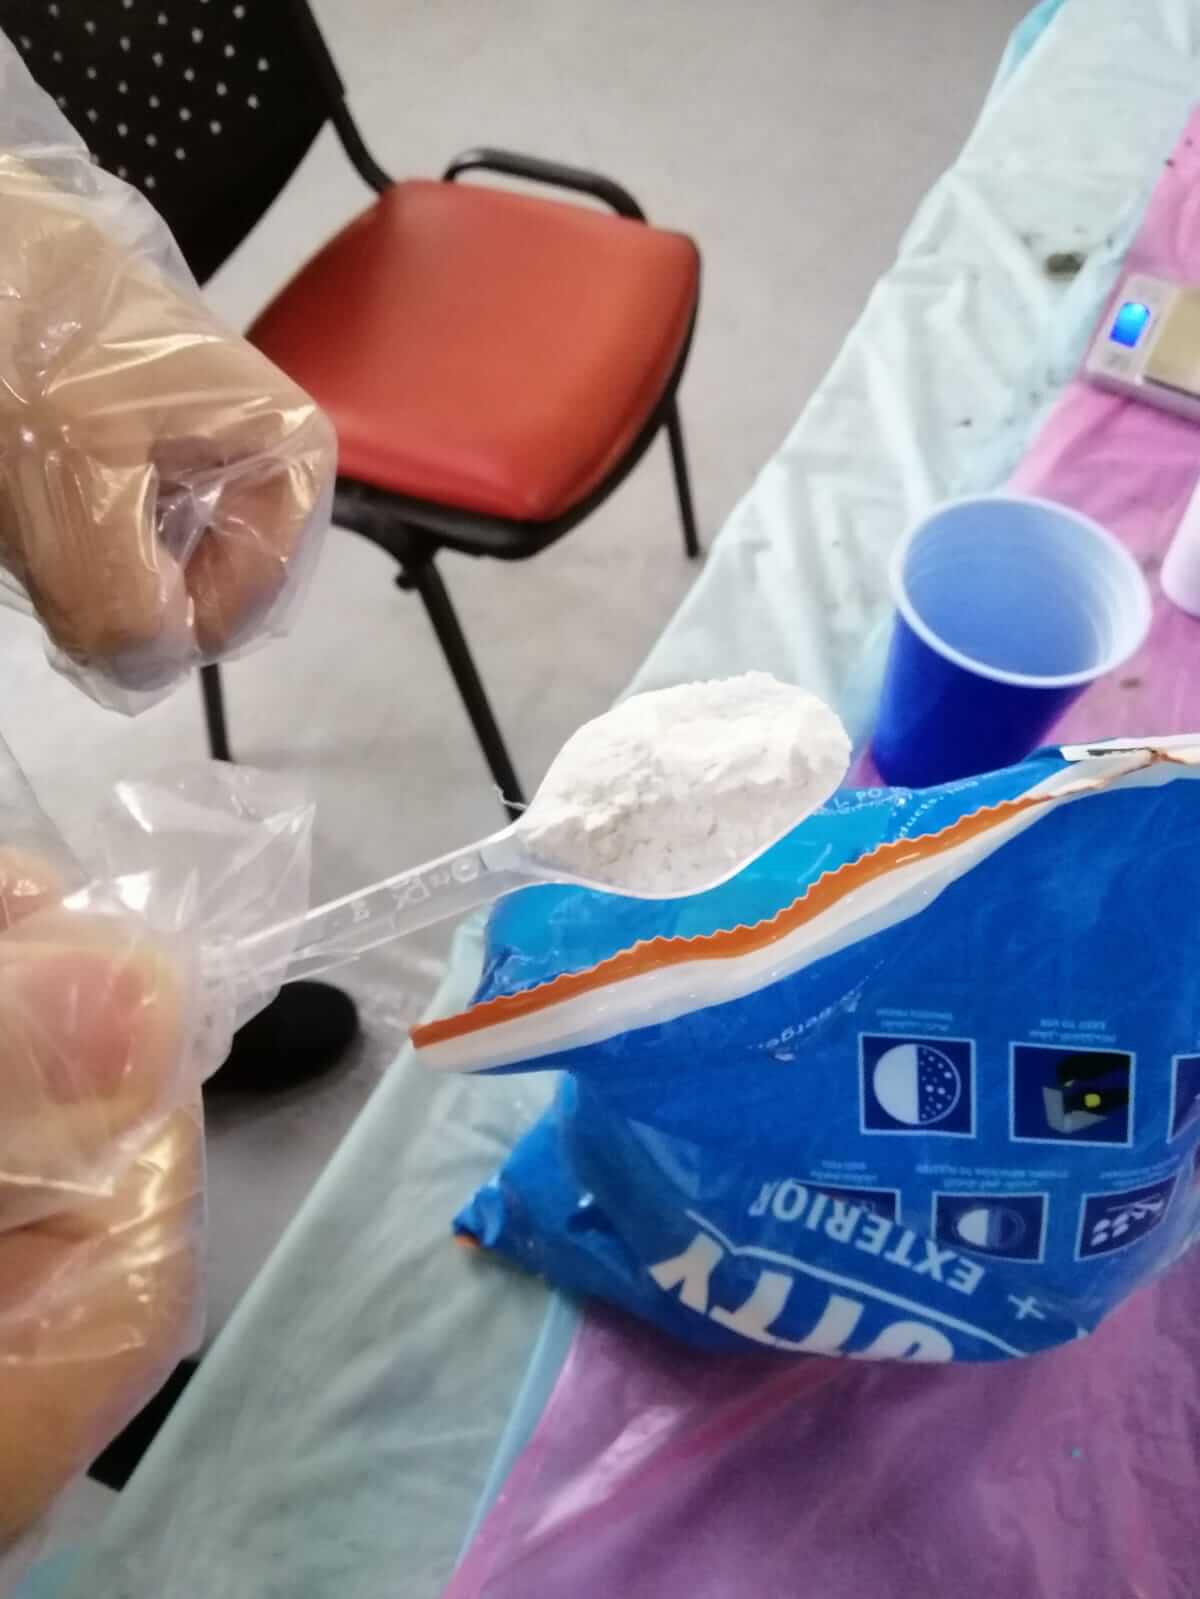
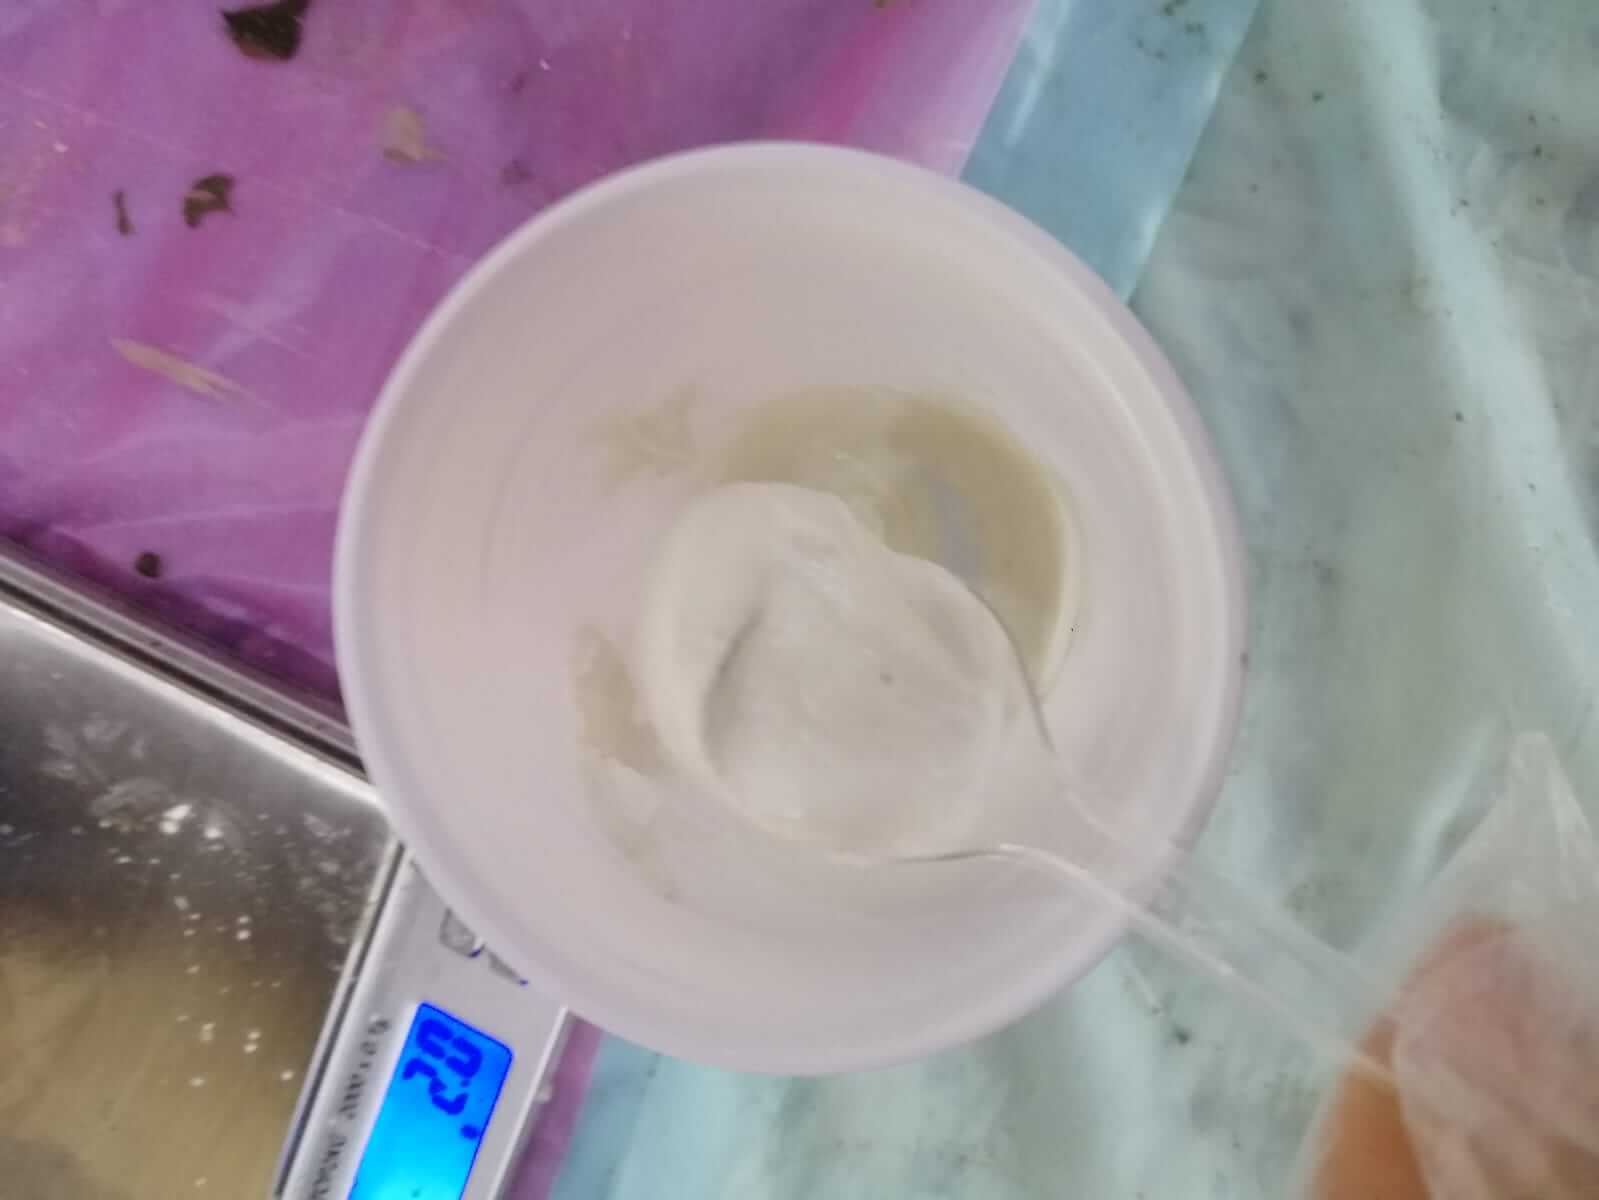
According to the instructions i need to add water that is half of the powders weight. In this case 10g.
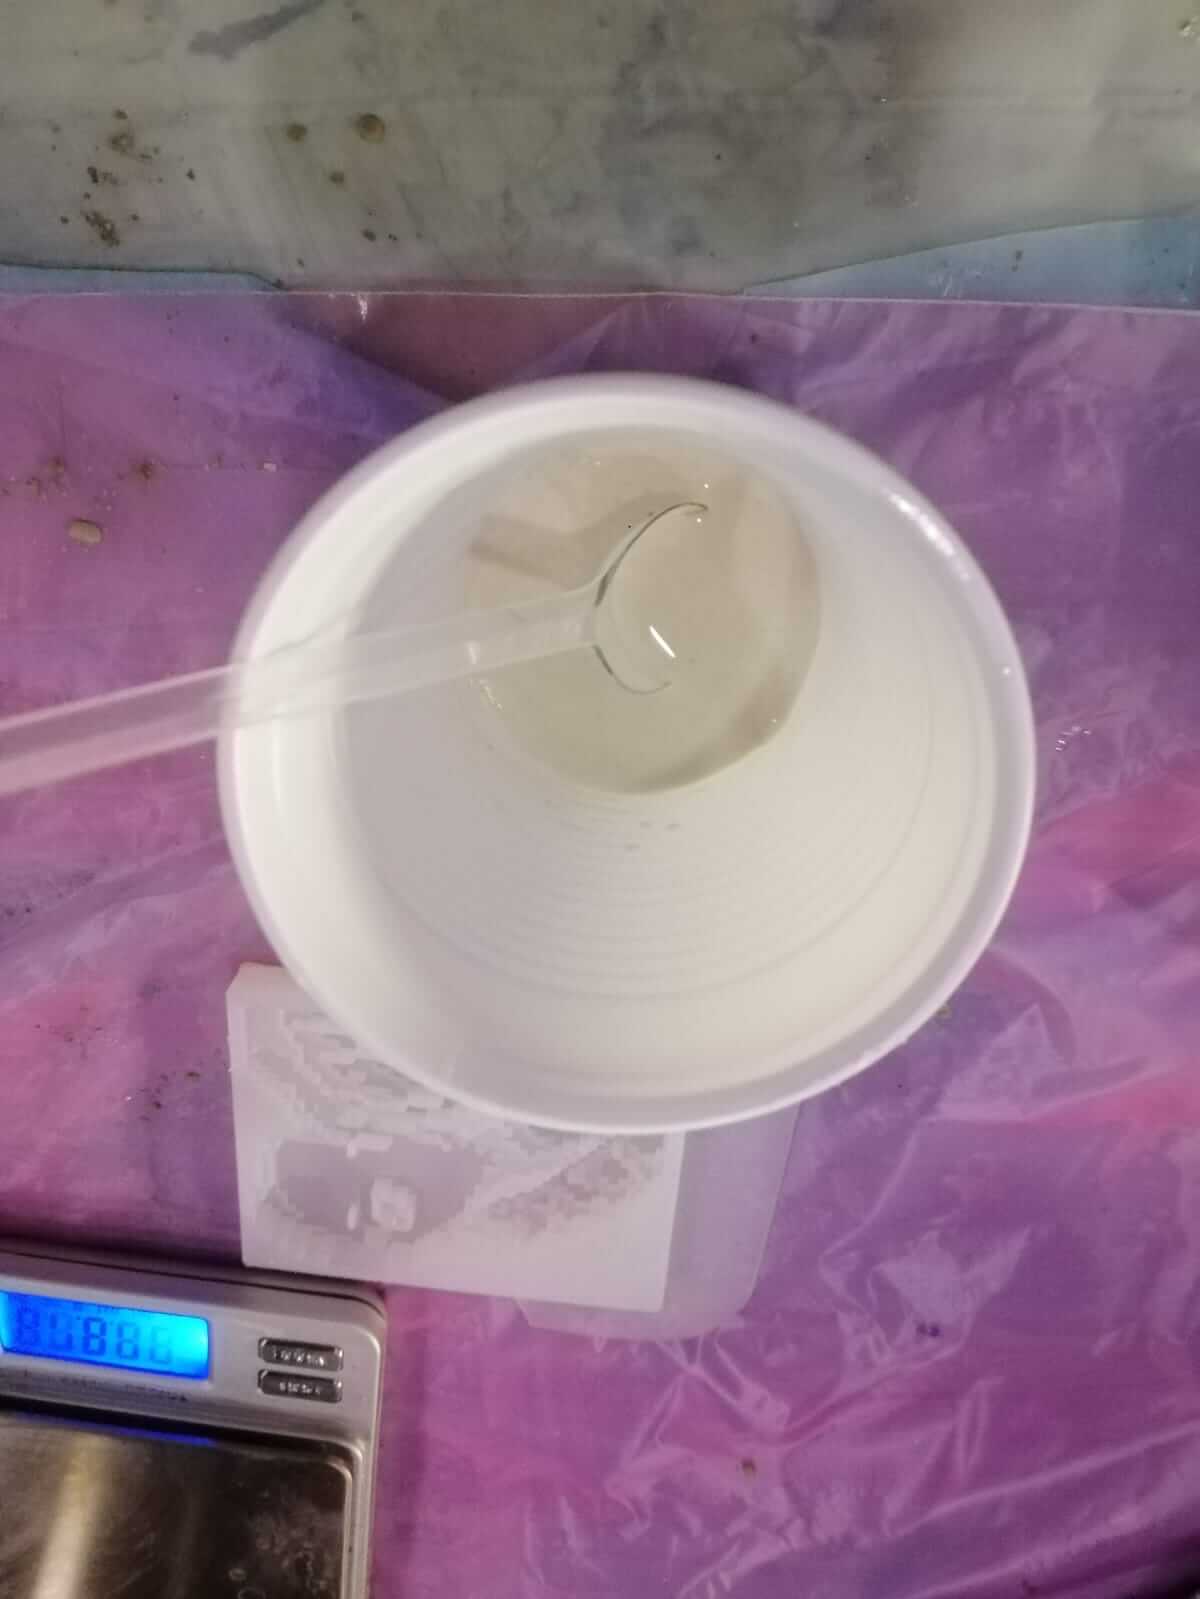
I mixed the materials into a paste like texture.
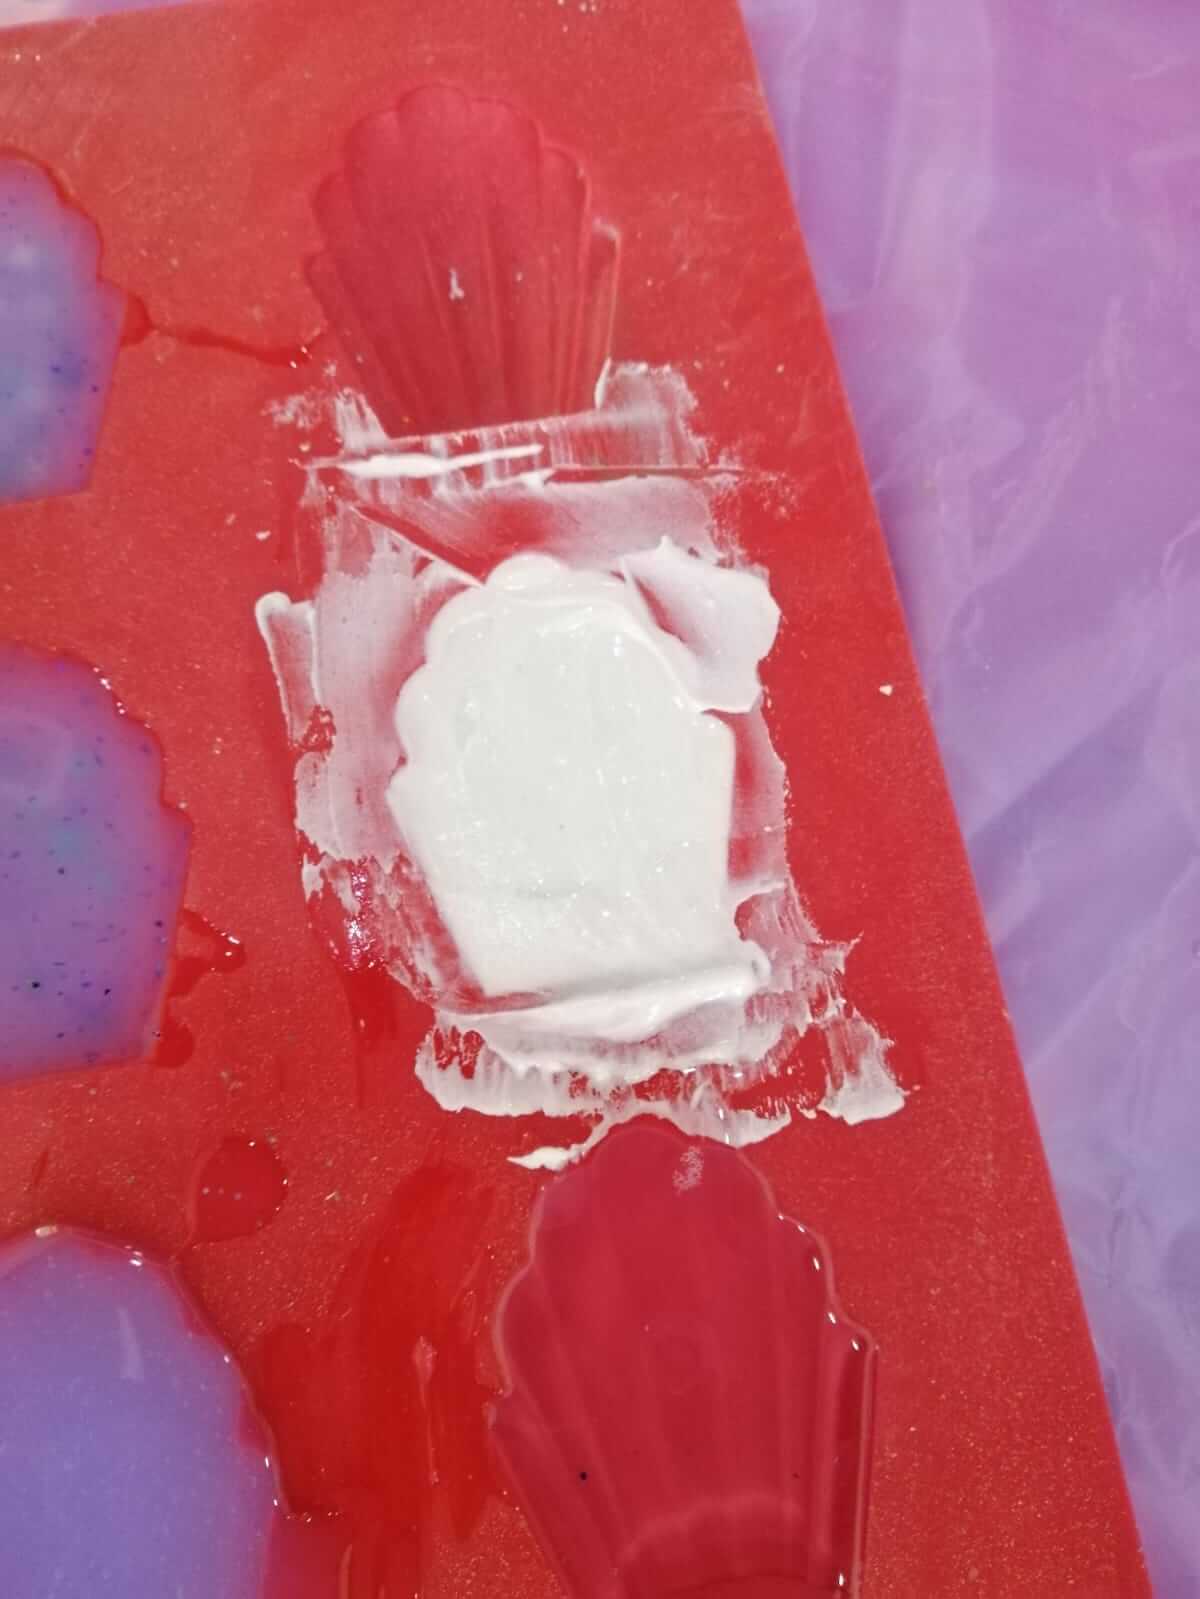
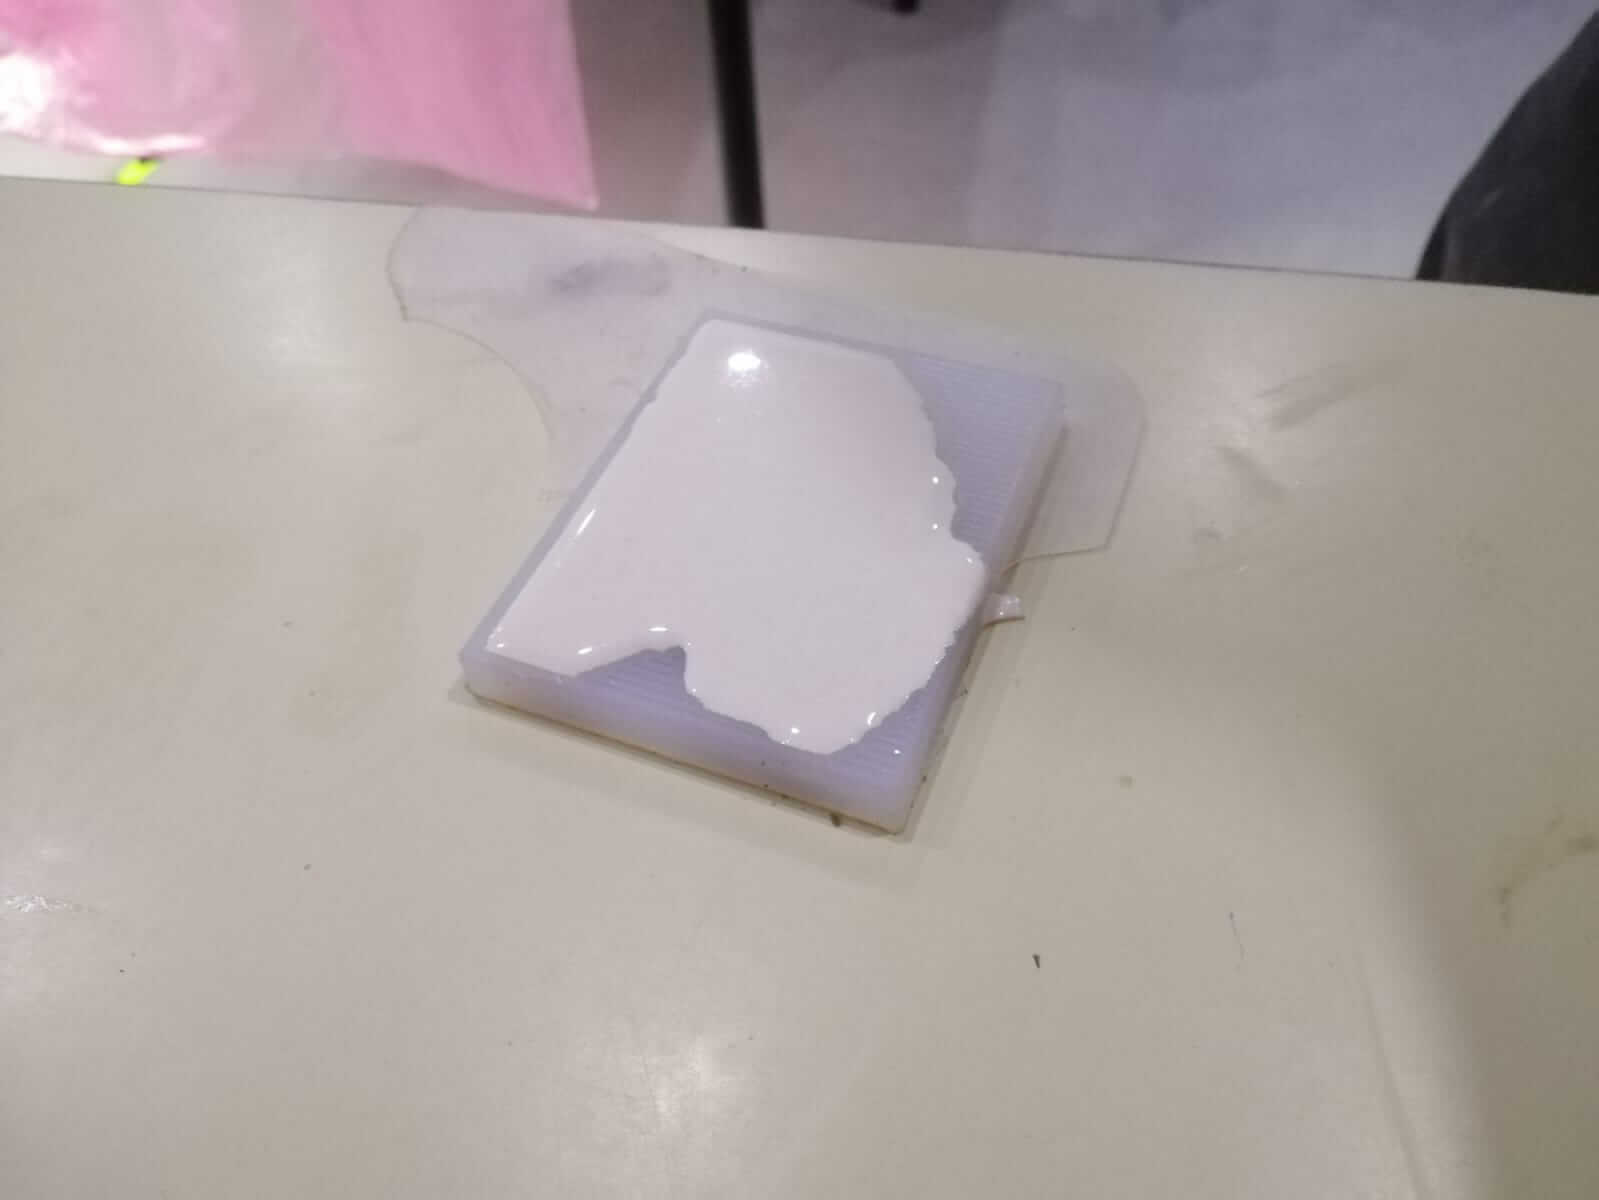
I filled the mould with the paste.
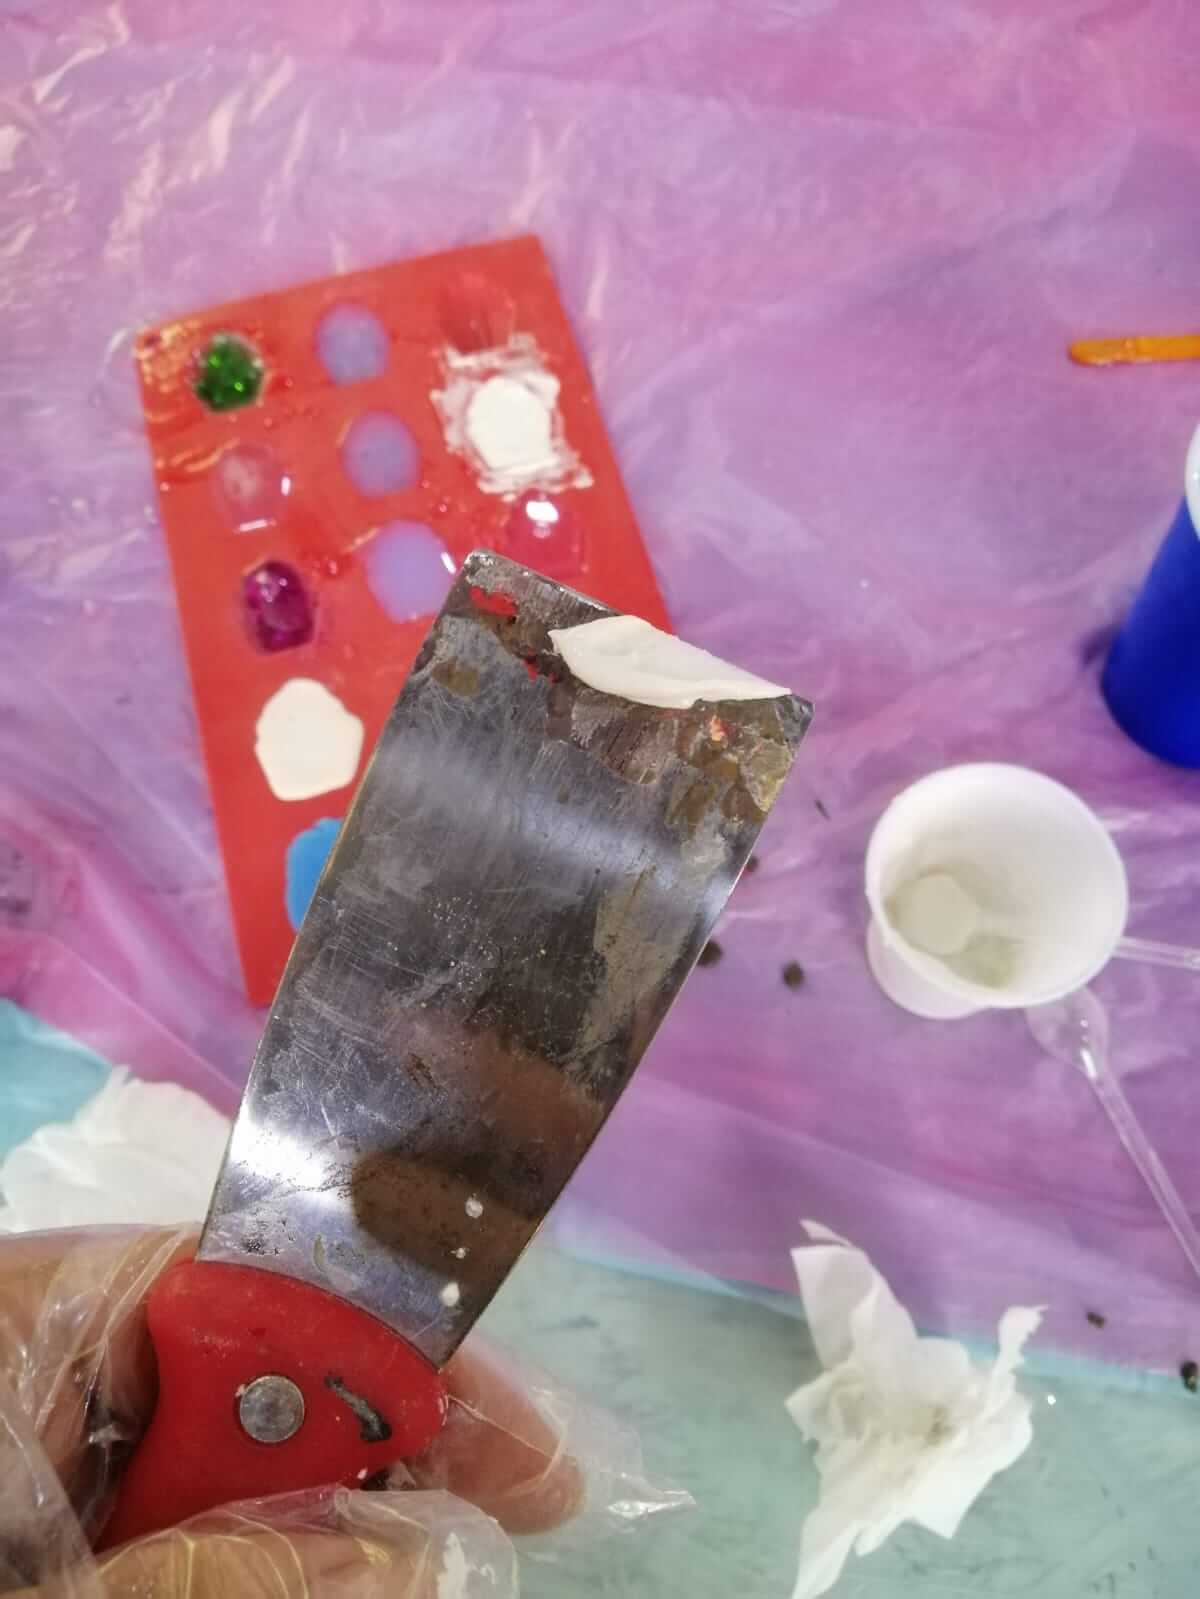
I used a putty knife to even out and remove excess paste.
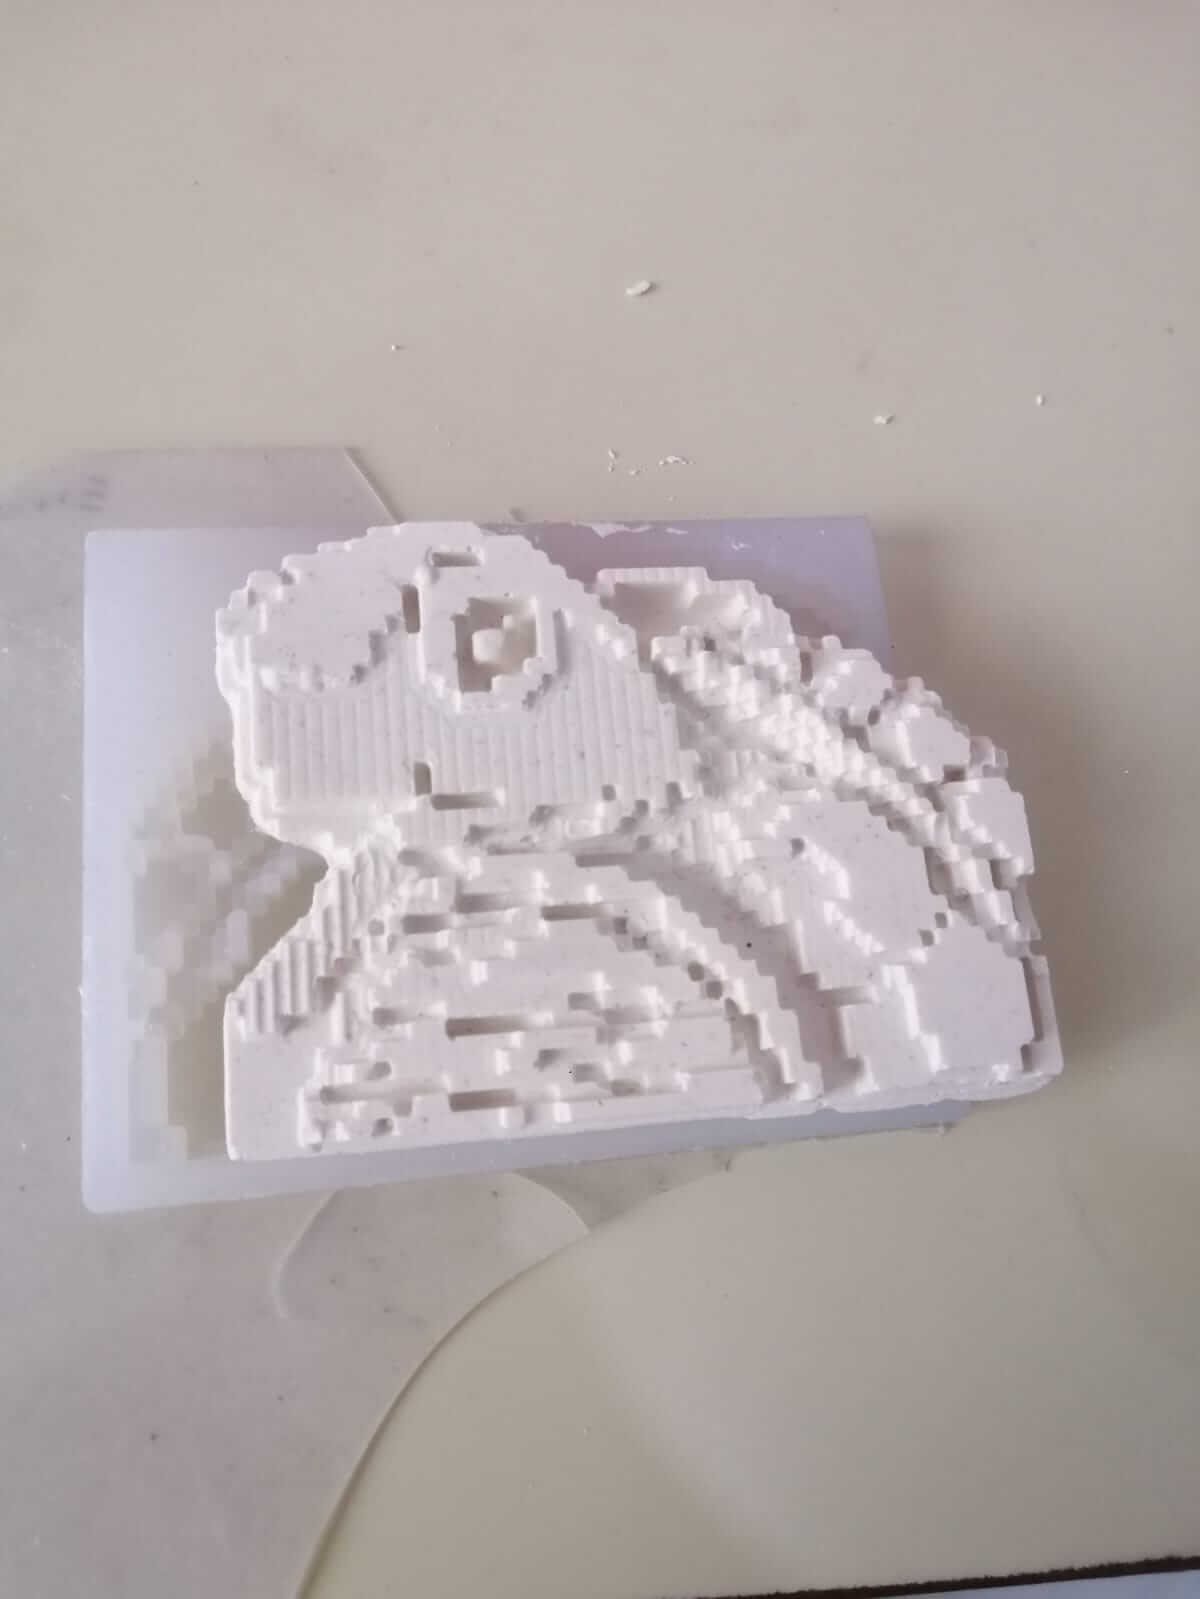
I left it for a day to dry and this is what i got in the end.
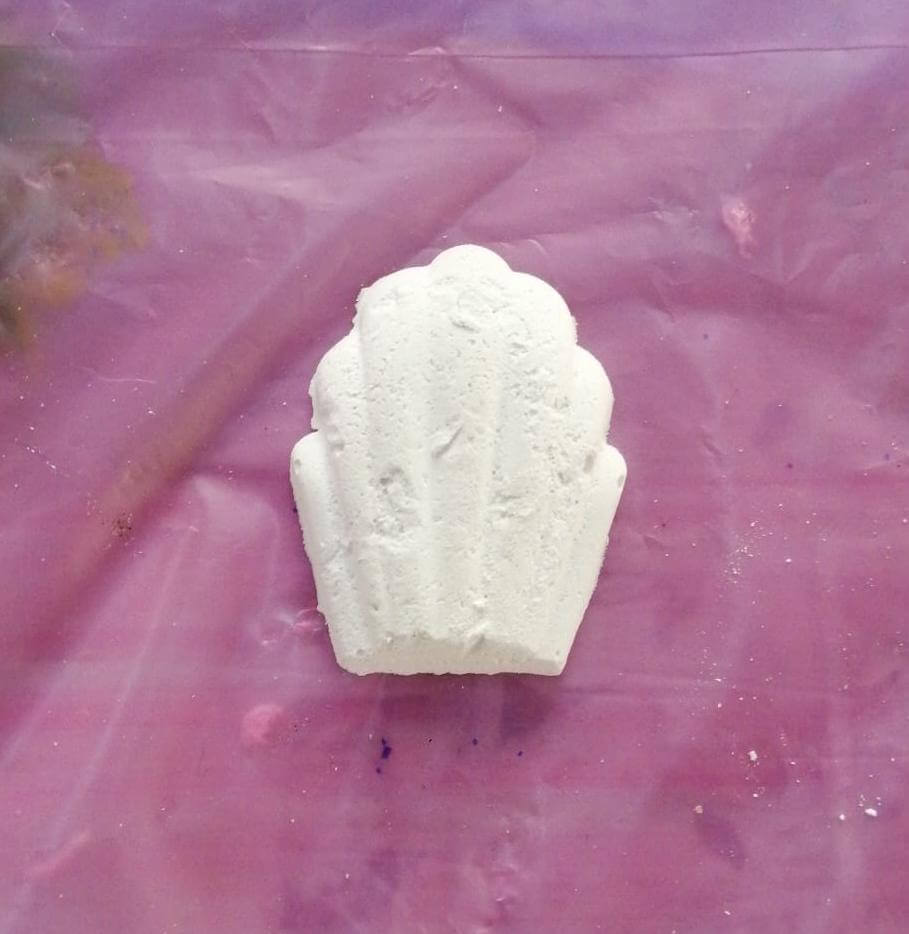
You can find the rest of the materials on Qassims website.
Individual Assignment
Idea
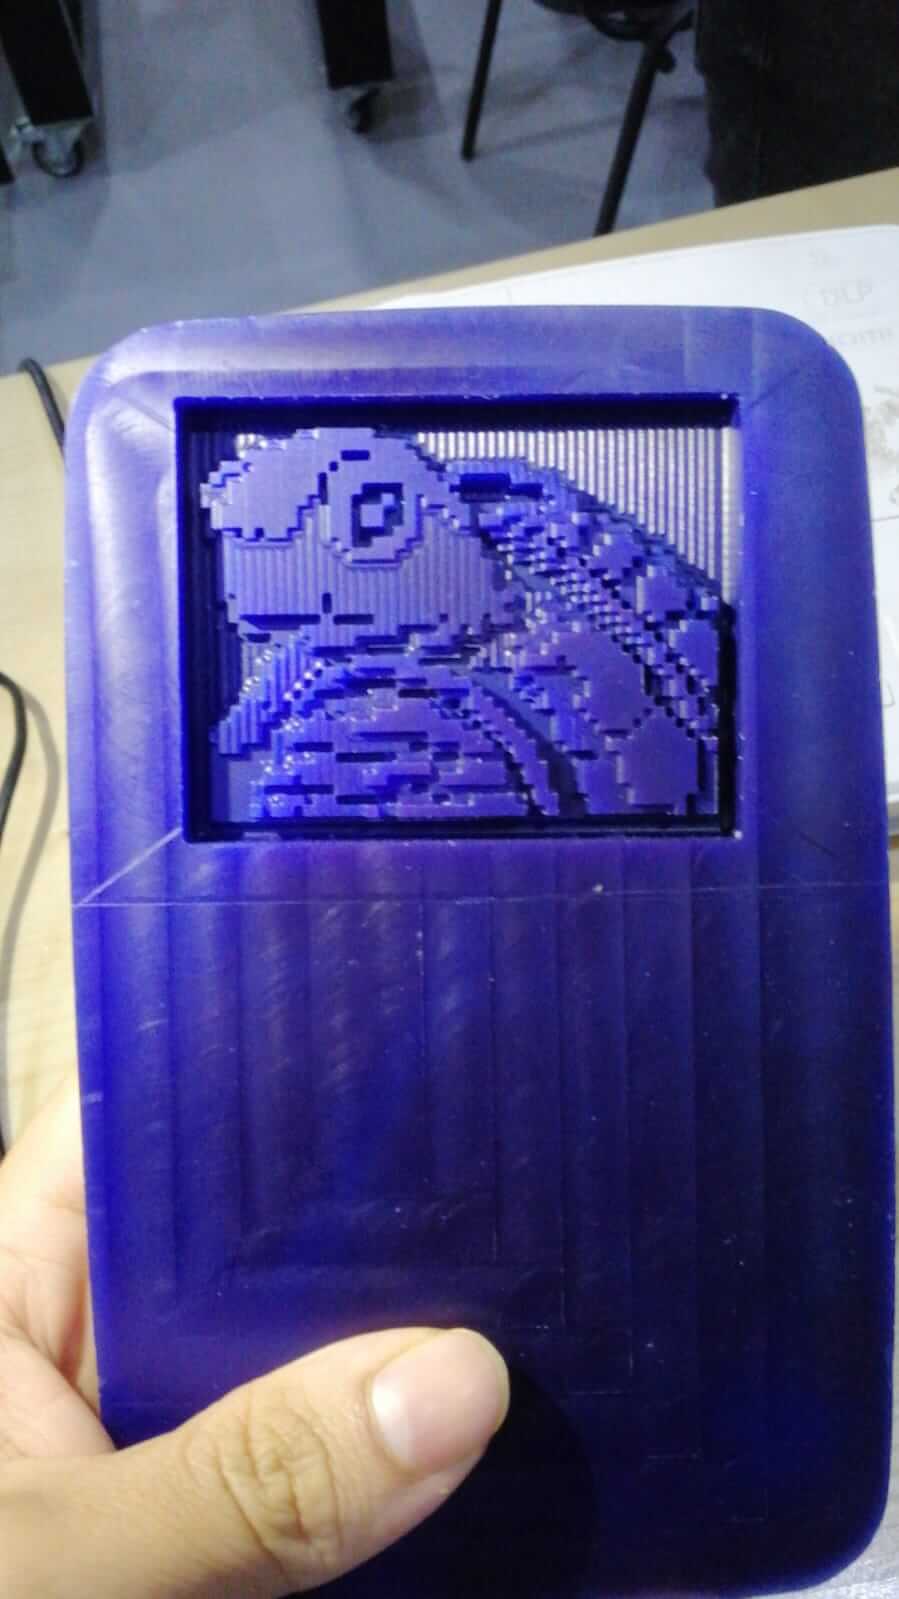
I wanted to make a pixelart keychain from the following artwork i made.
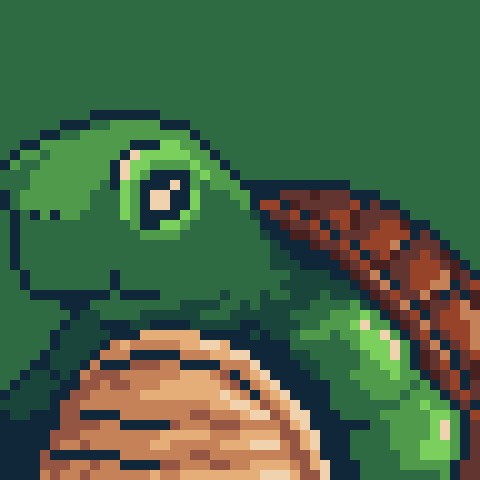
I started by making a 3D model from the artwork.
I used tinkerCAD as it allows me to easliy import the design to a 3D environment.
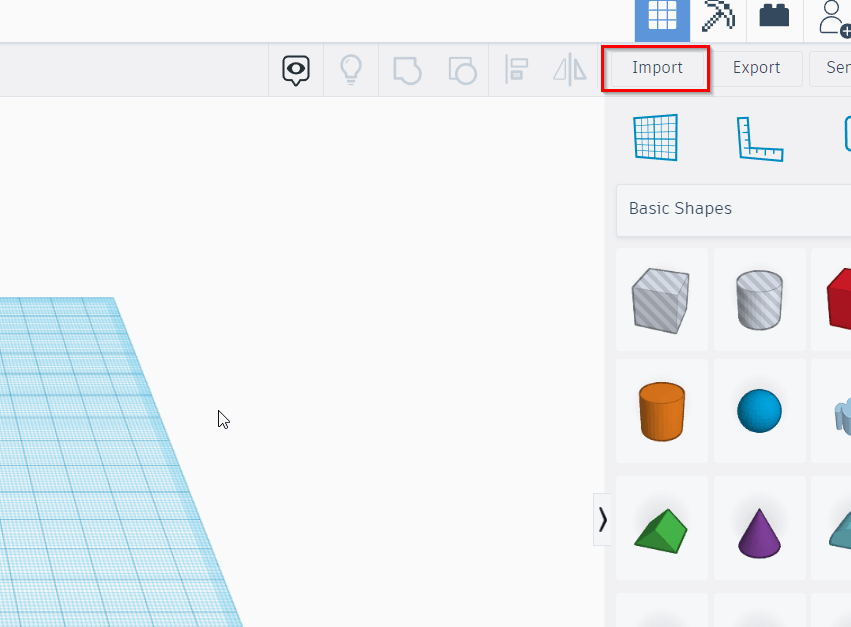
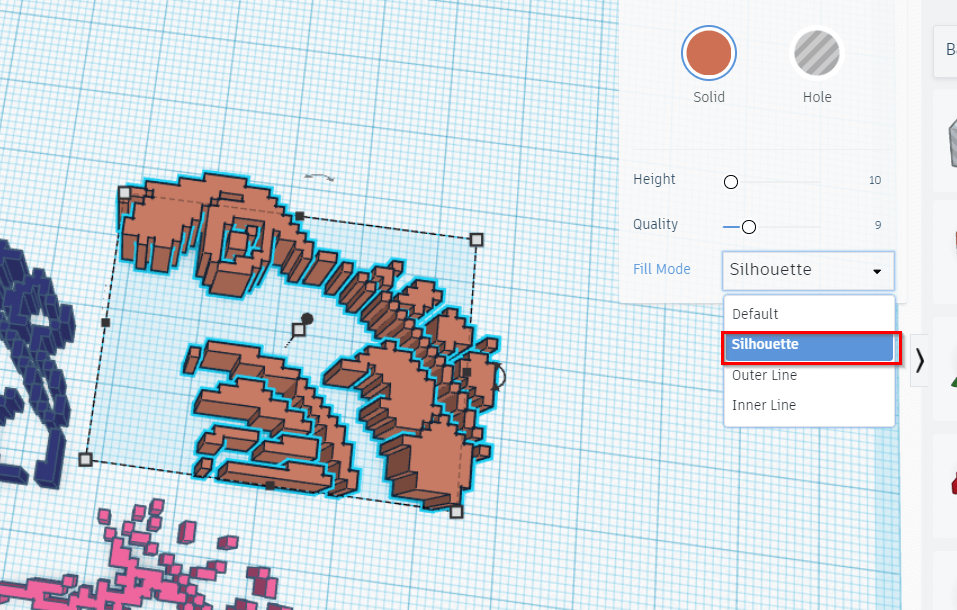
I split the design into 3 seperate parts so that I can adjust their heights individually. I then imported them into tinkerCAD. (TinkerCAD only accepts svgs)
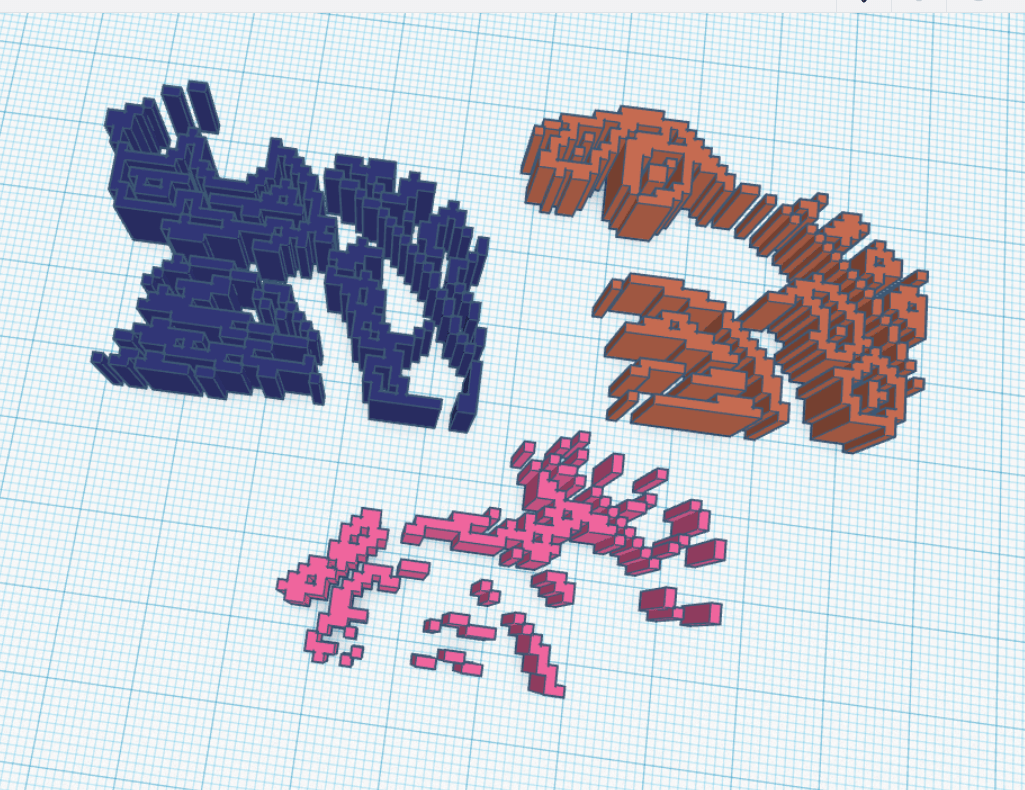
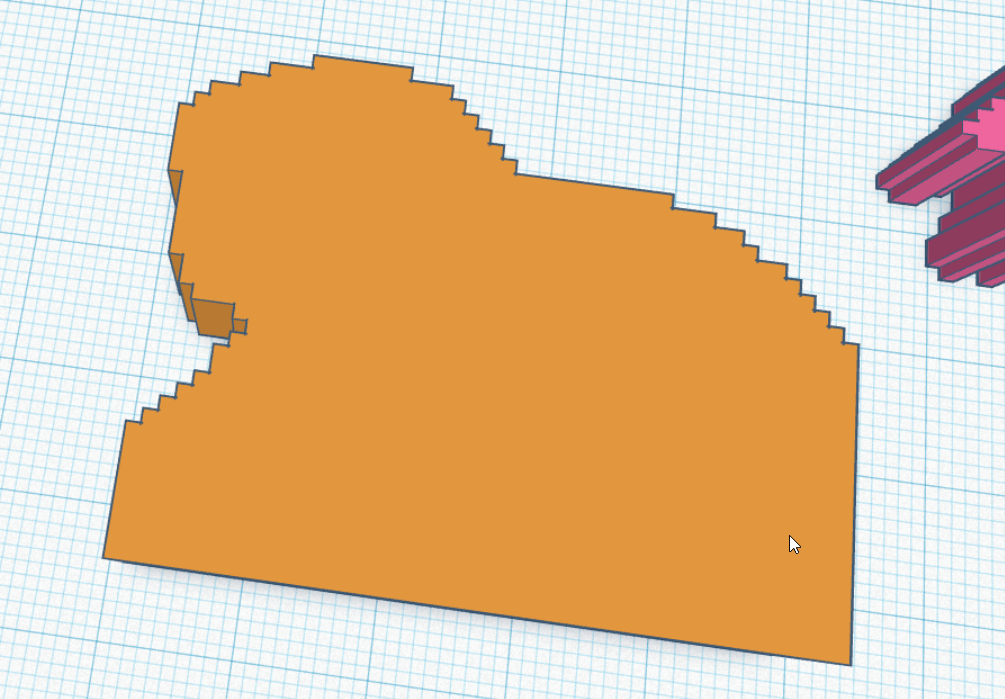
I changed the fillmode to silhouette to fill in the holes.
I imported the design again with all the parts combined to form the base of the 3D model.
I aligned all the parts together.
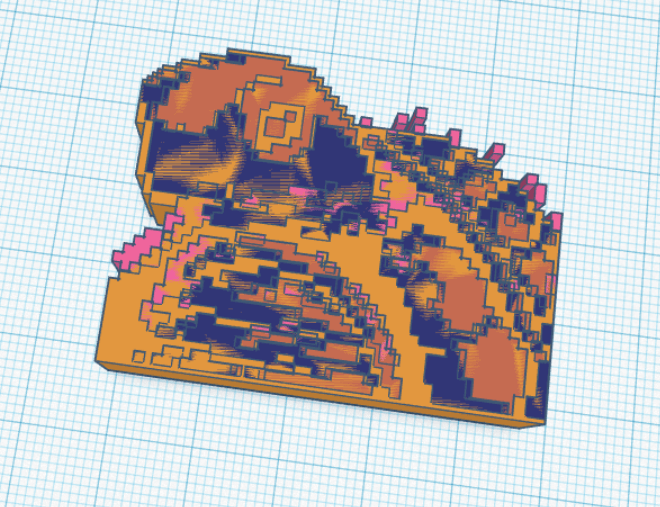
I set different heights for each part in intervals of 3

I used 2 rectangles to create a hole for the key chain.

I selected all the objects then grouped them to create one model
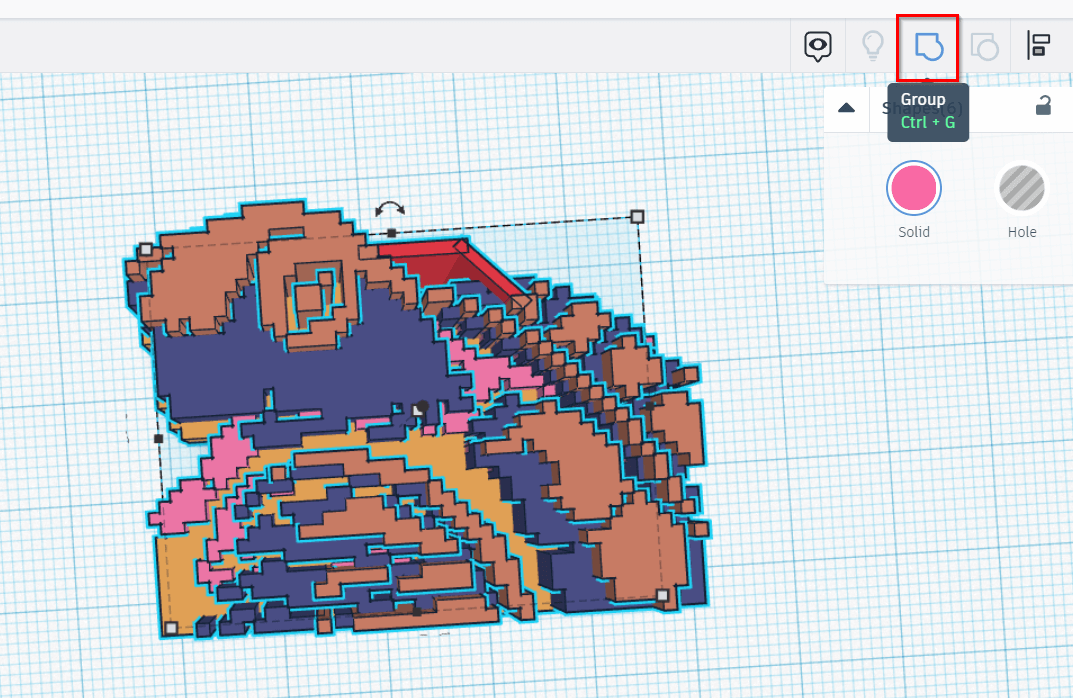
This how it looked at the end.
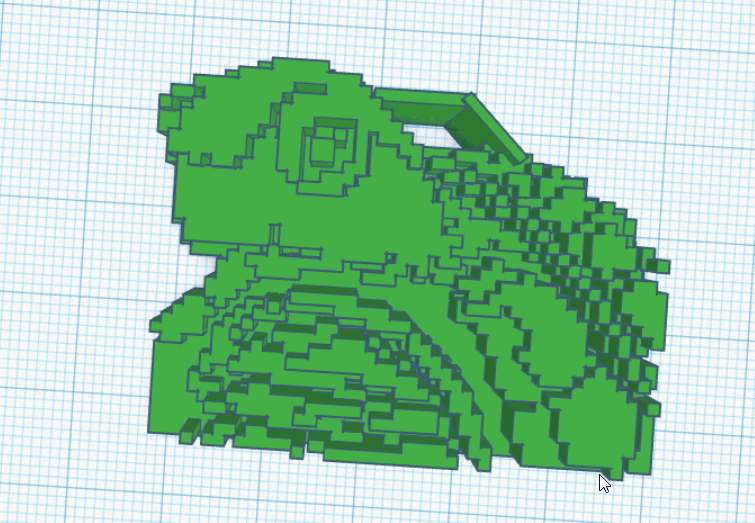
Below is a 3D model of the result after some minor changes.
You can download the the stl file from here
Milling & Molding
First I used double sided tape to stick the wax on the board.
I measured 8 cm by 6cm and created an “X” to determine the origin point of the cutter.
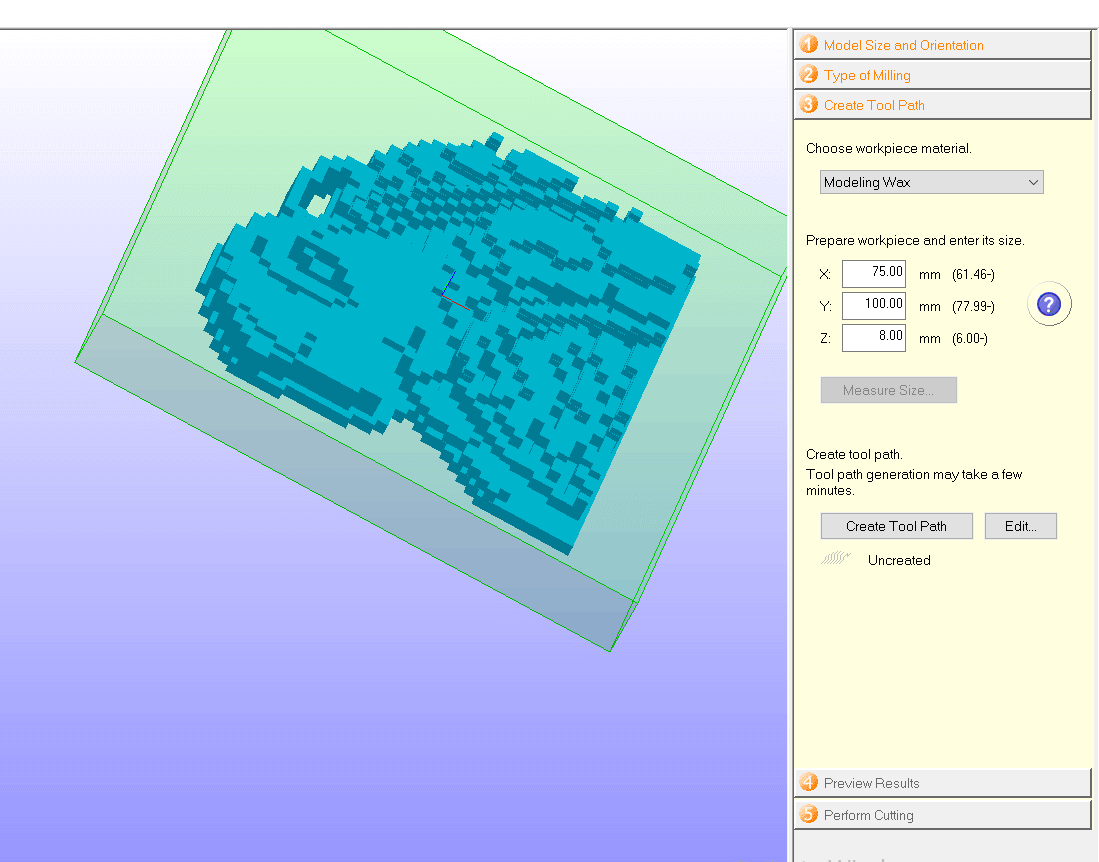
To create the toolpath I entered the size of the model within the space I measured earlier.
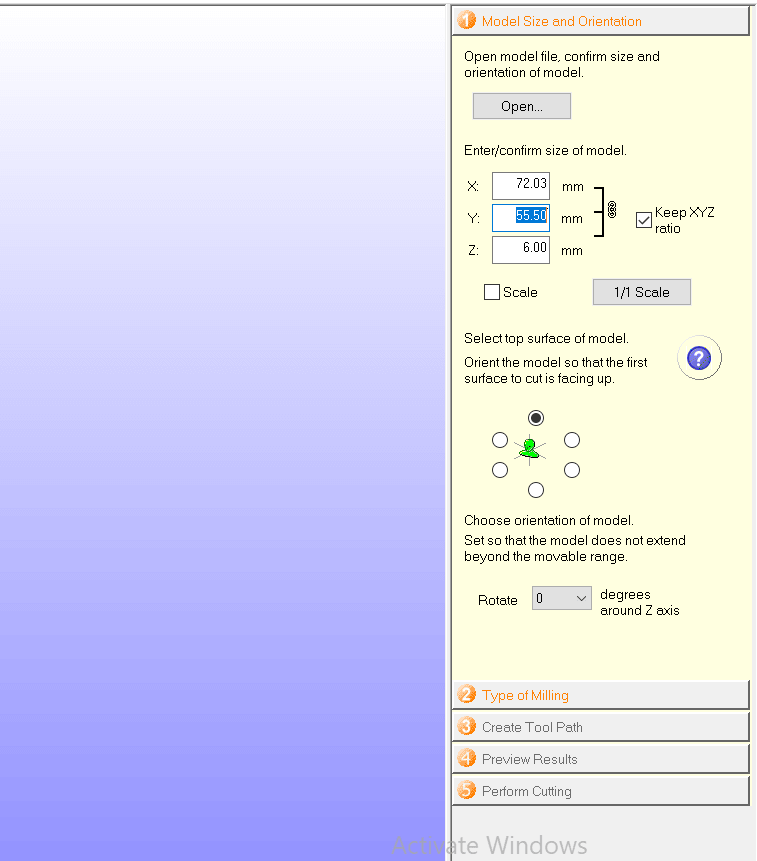
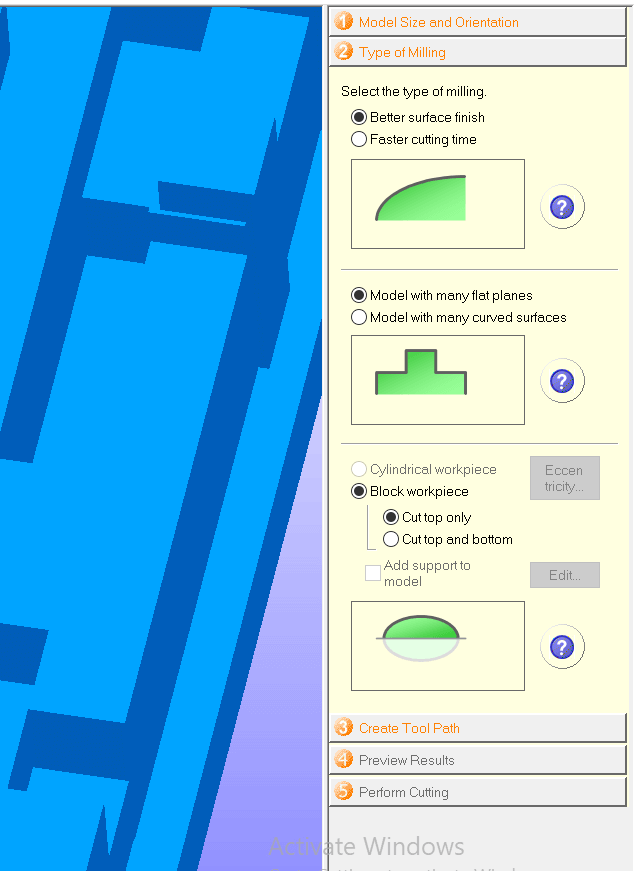
I set the type of milling to better surface finsh so that I dont lose any details from my model. Since my model has a lot of cubes I choose the flat plane option and I set cut top only because my model is one sided.
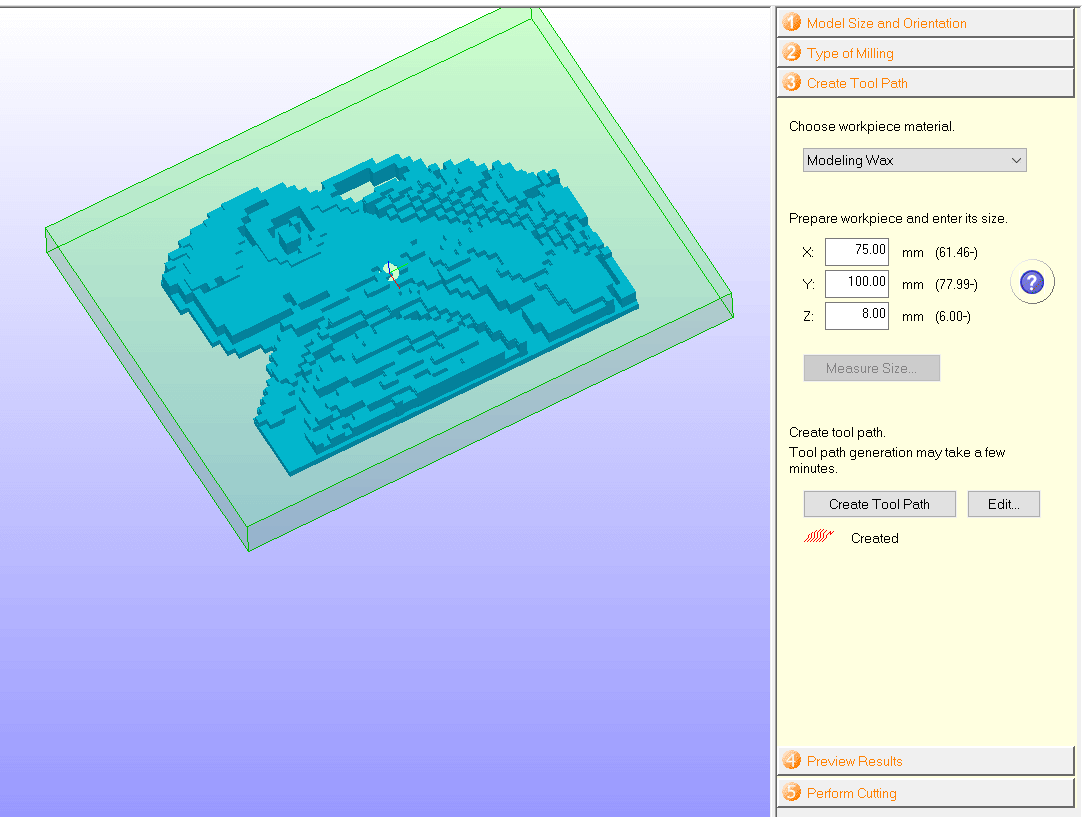
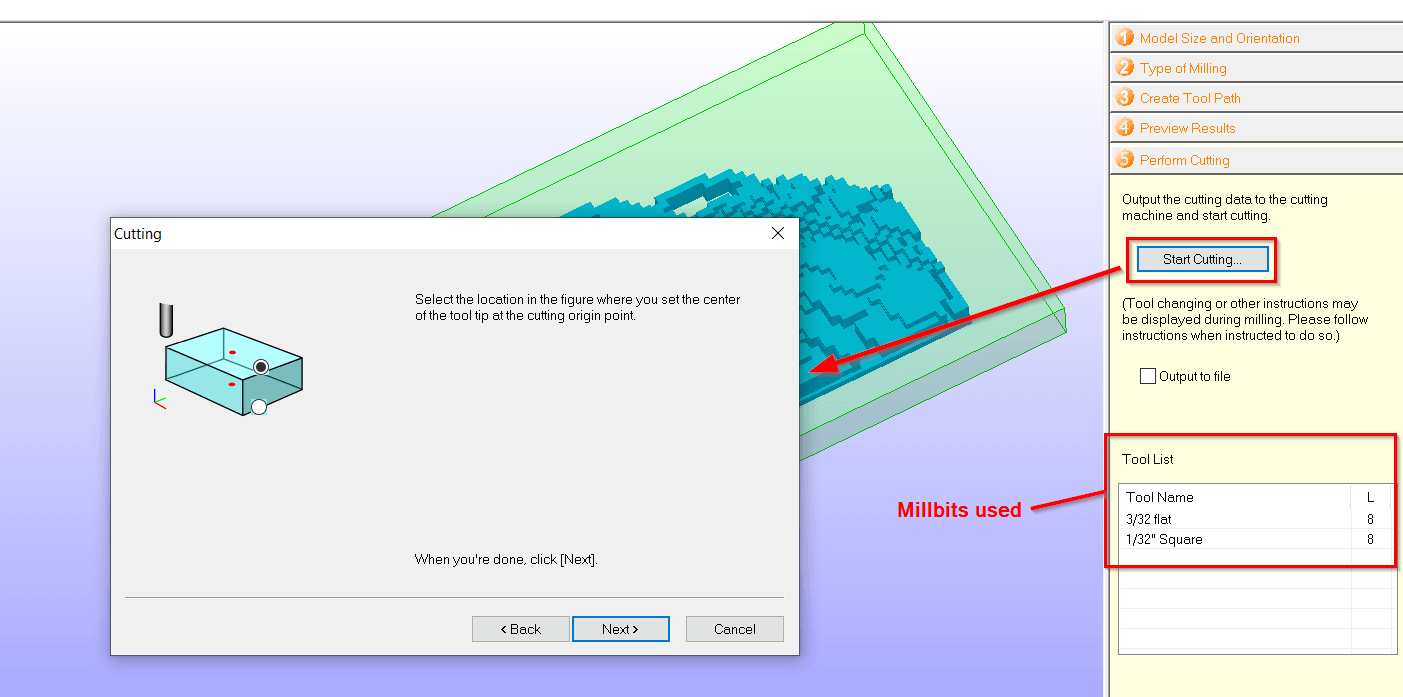
I created toolpath that would do a rough cut 2/32 millbit
A created another toolpath that would do a finer cut with a 1/32 millbit.
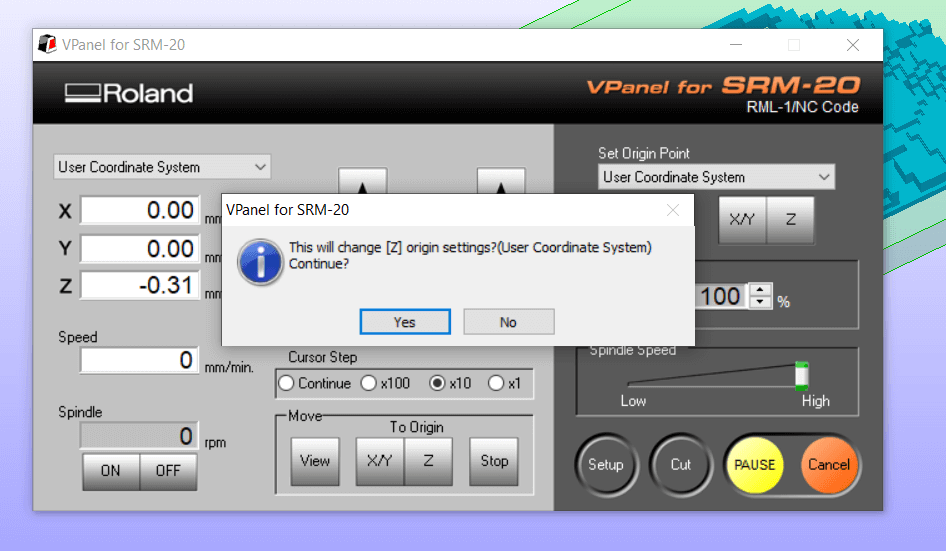
When creating the toolpath I used the arrow keys to move the machine and XY to set the origin point.
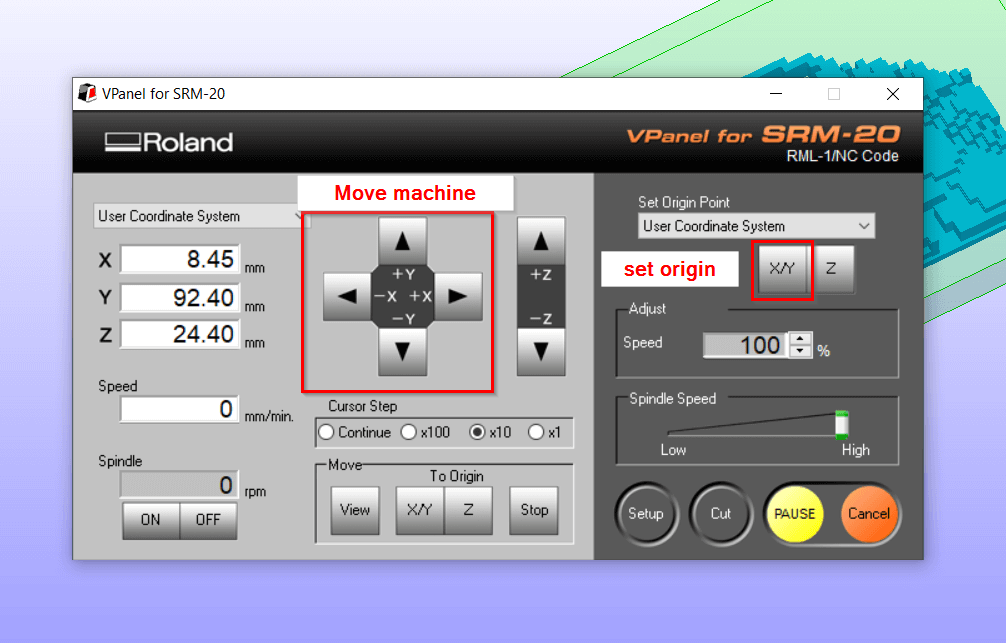
The Z axis must be set manually.
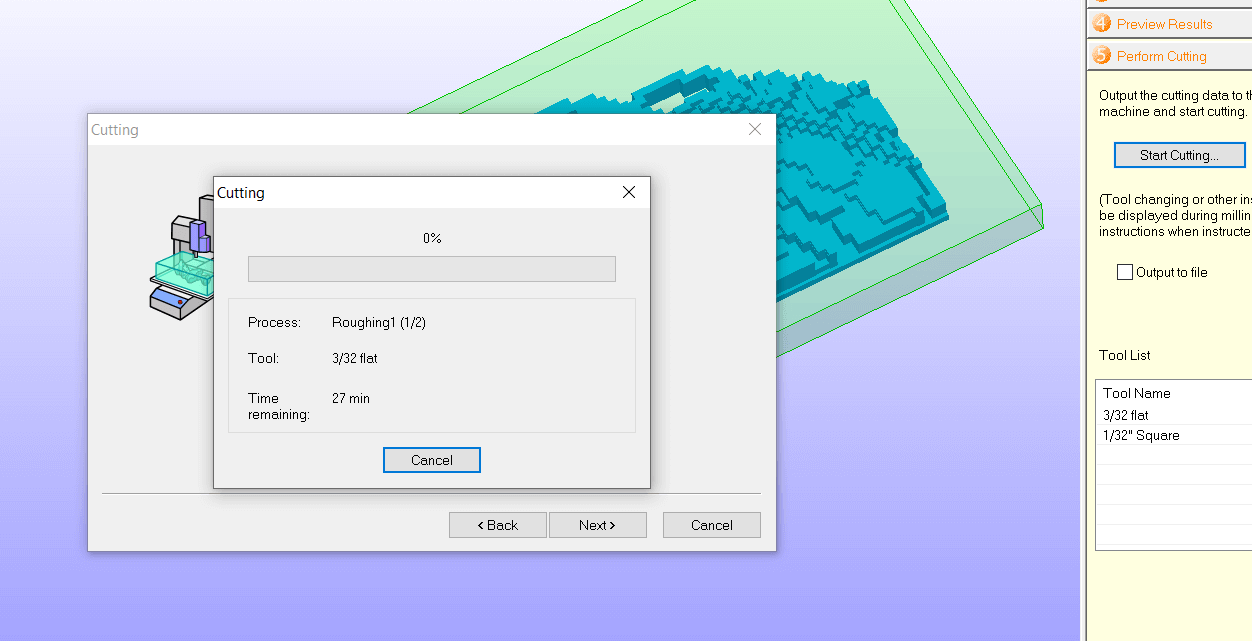
I press Start cutting to start the milling process.
The software will estimate the time needed to complete the milling process, it needed 27 min for roughing and 113 min for rifining. The milling process took 140 min in total.
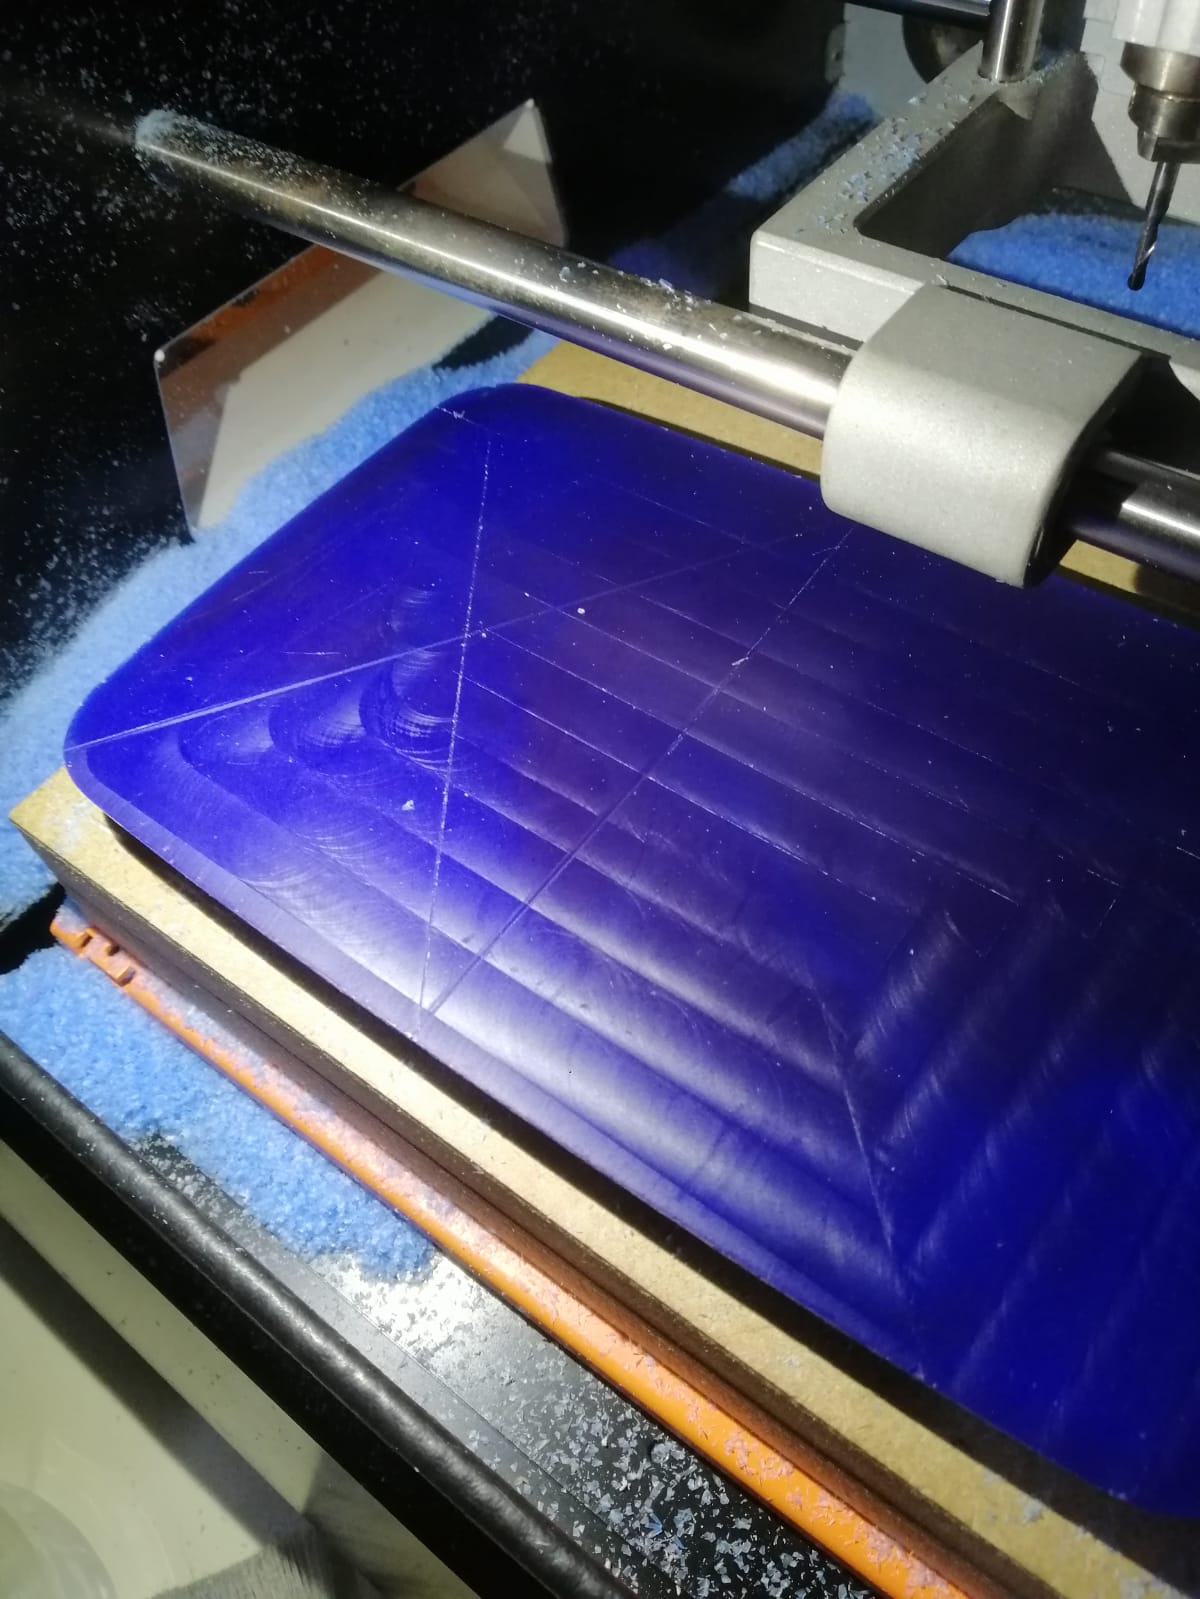
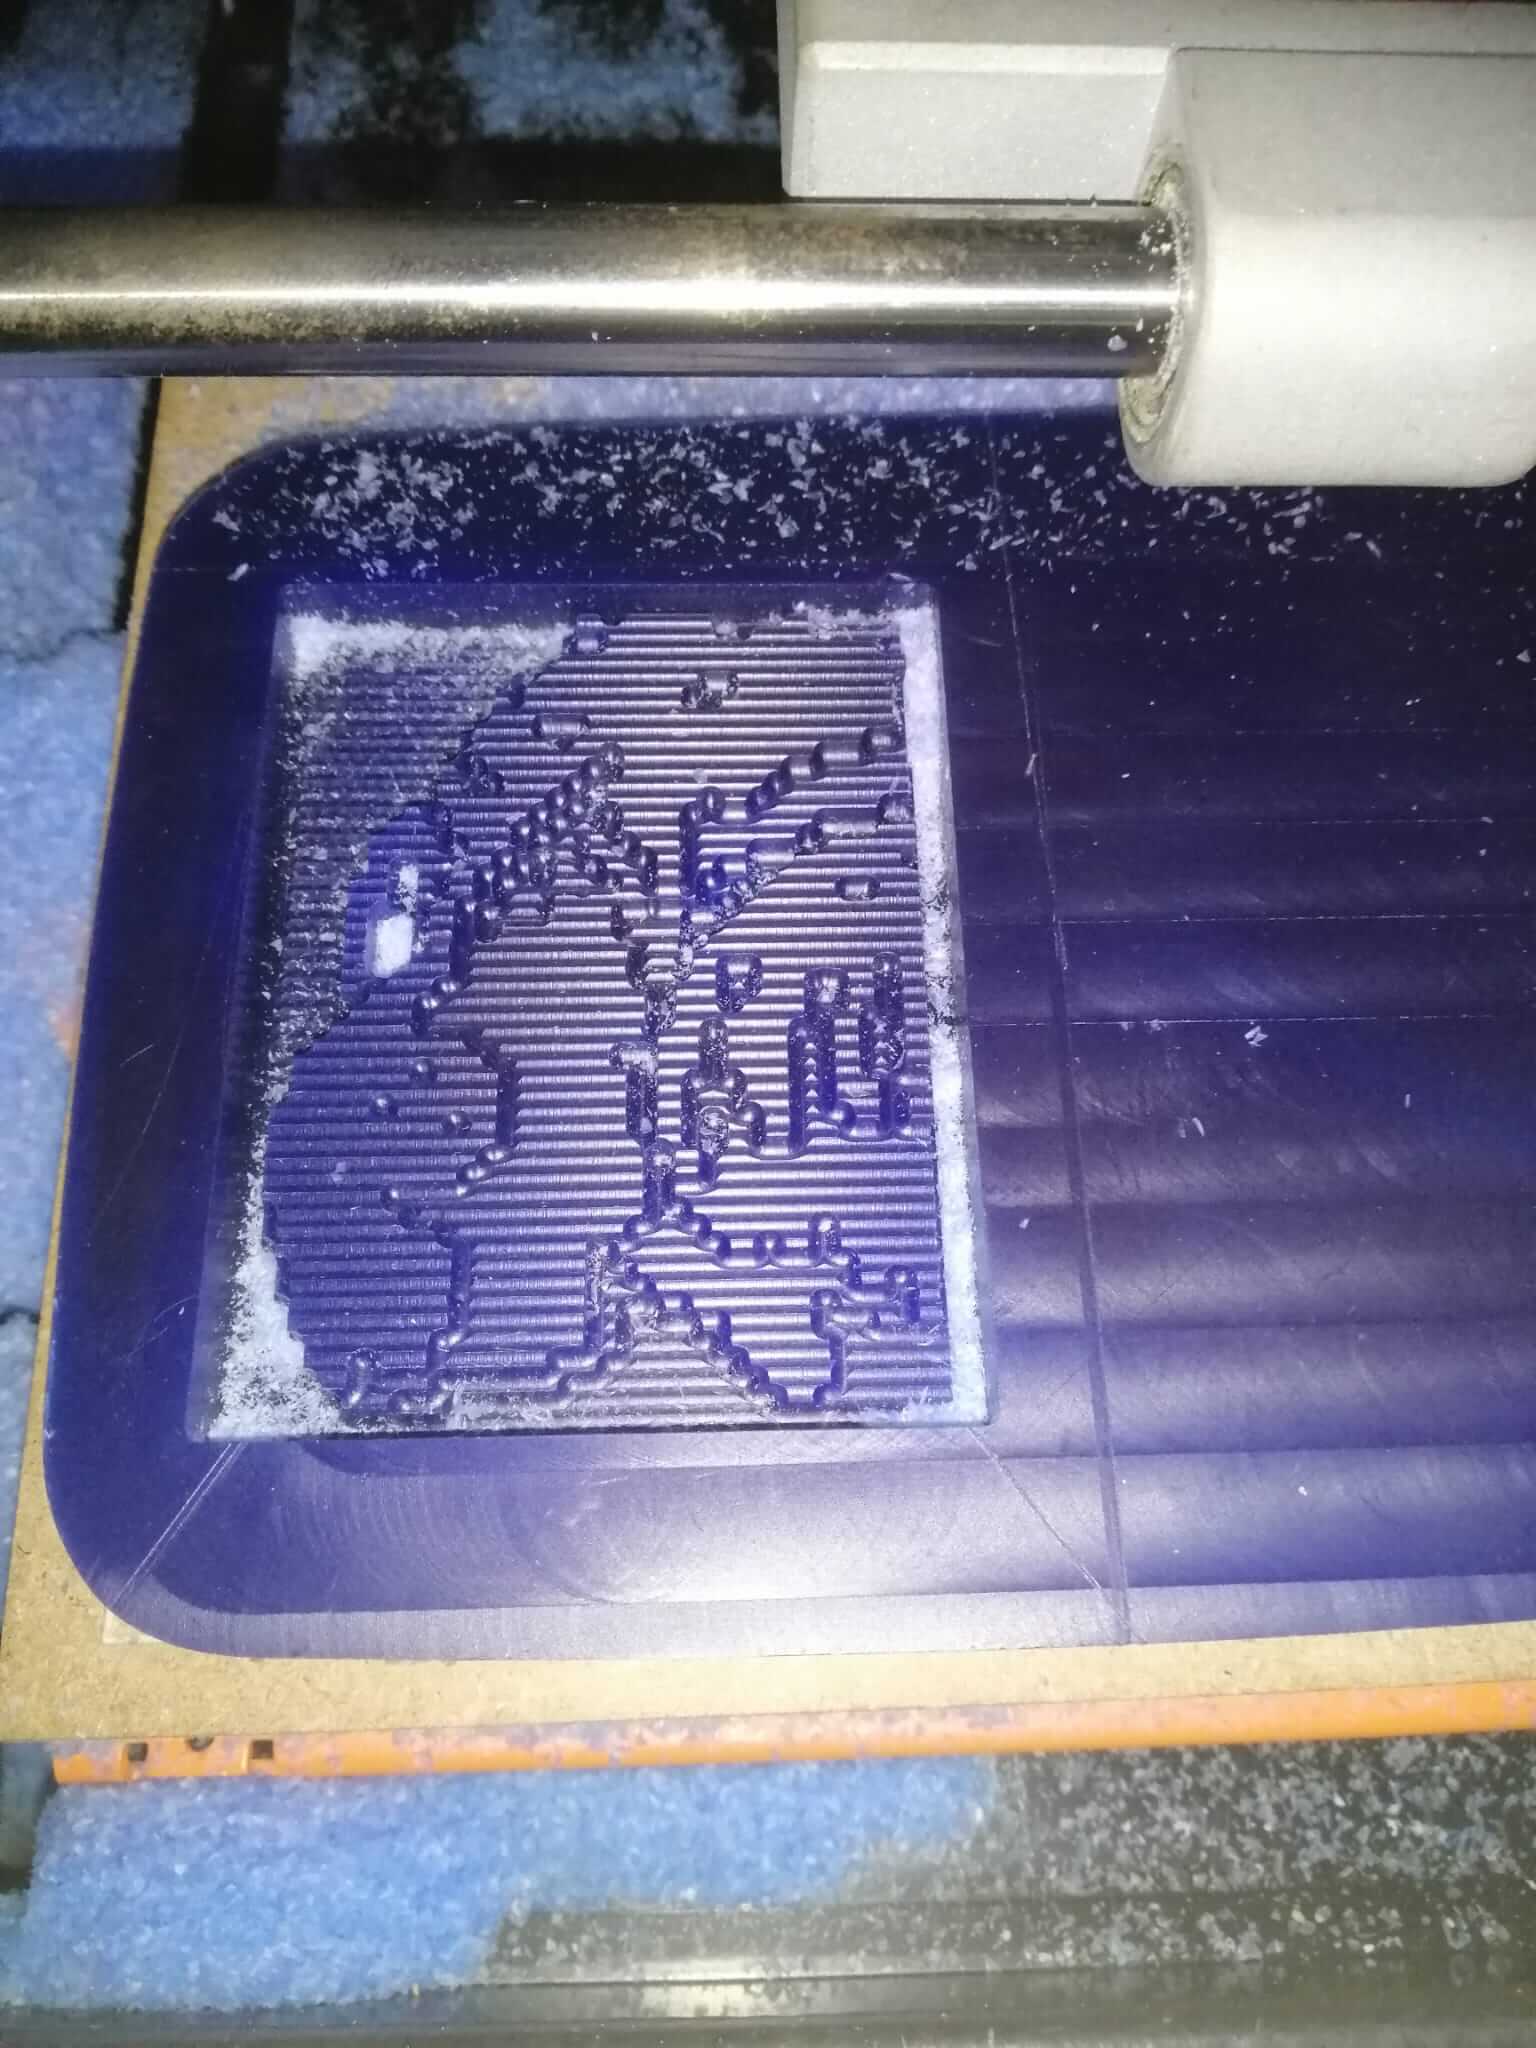
This is what the roughing process looks like with 2/32 millbit.
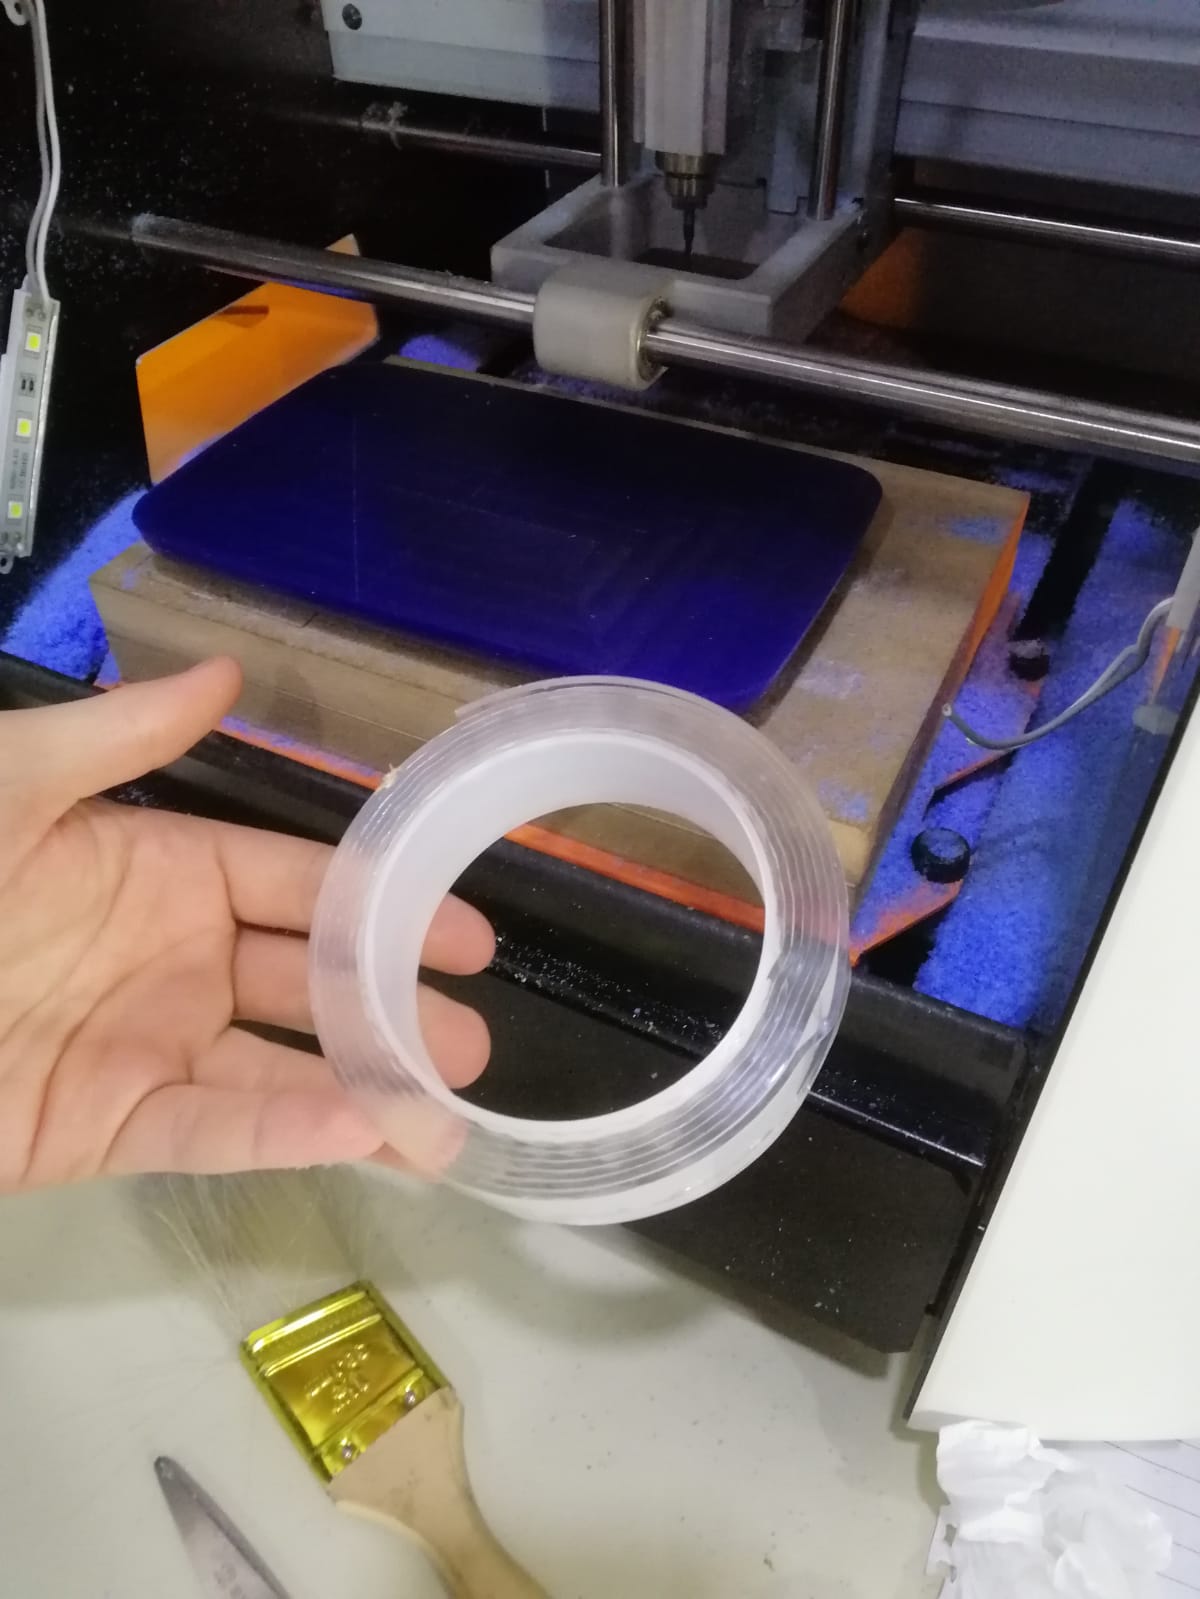
This is what it looked like in the end using a 1/32 millbit.
Casting
In this part I will use the mold i made earlier to create a cast. I will do this by pouring silacone in it and wait for it dry. Then I will use the silacone cast with other materials to create different keychains.
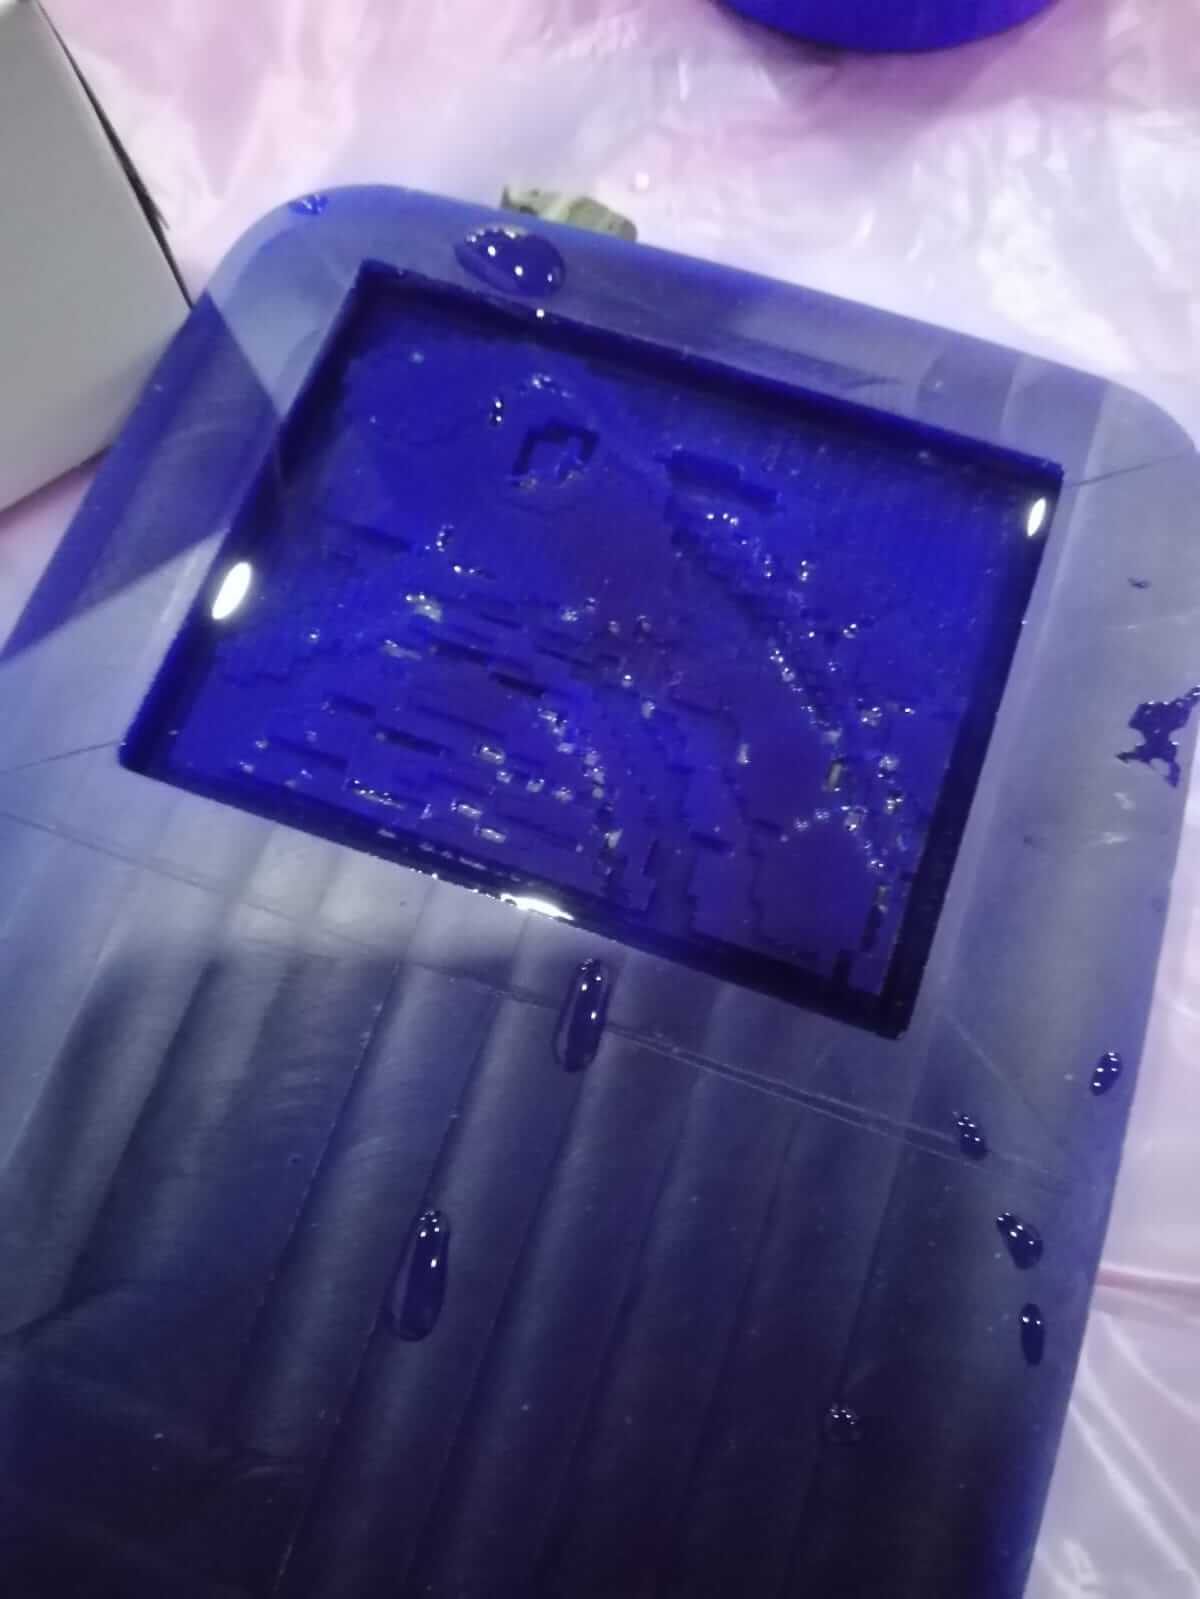
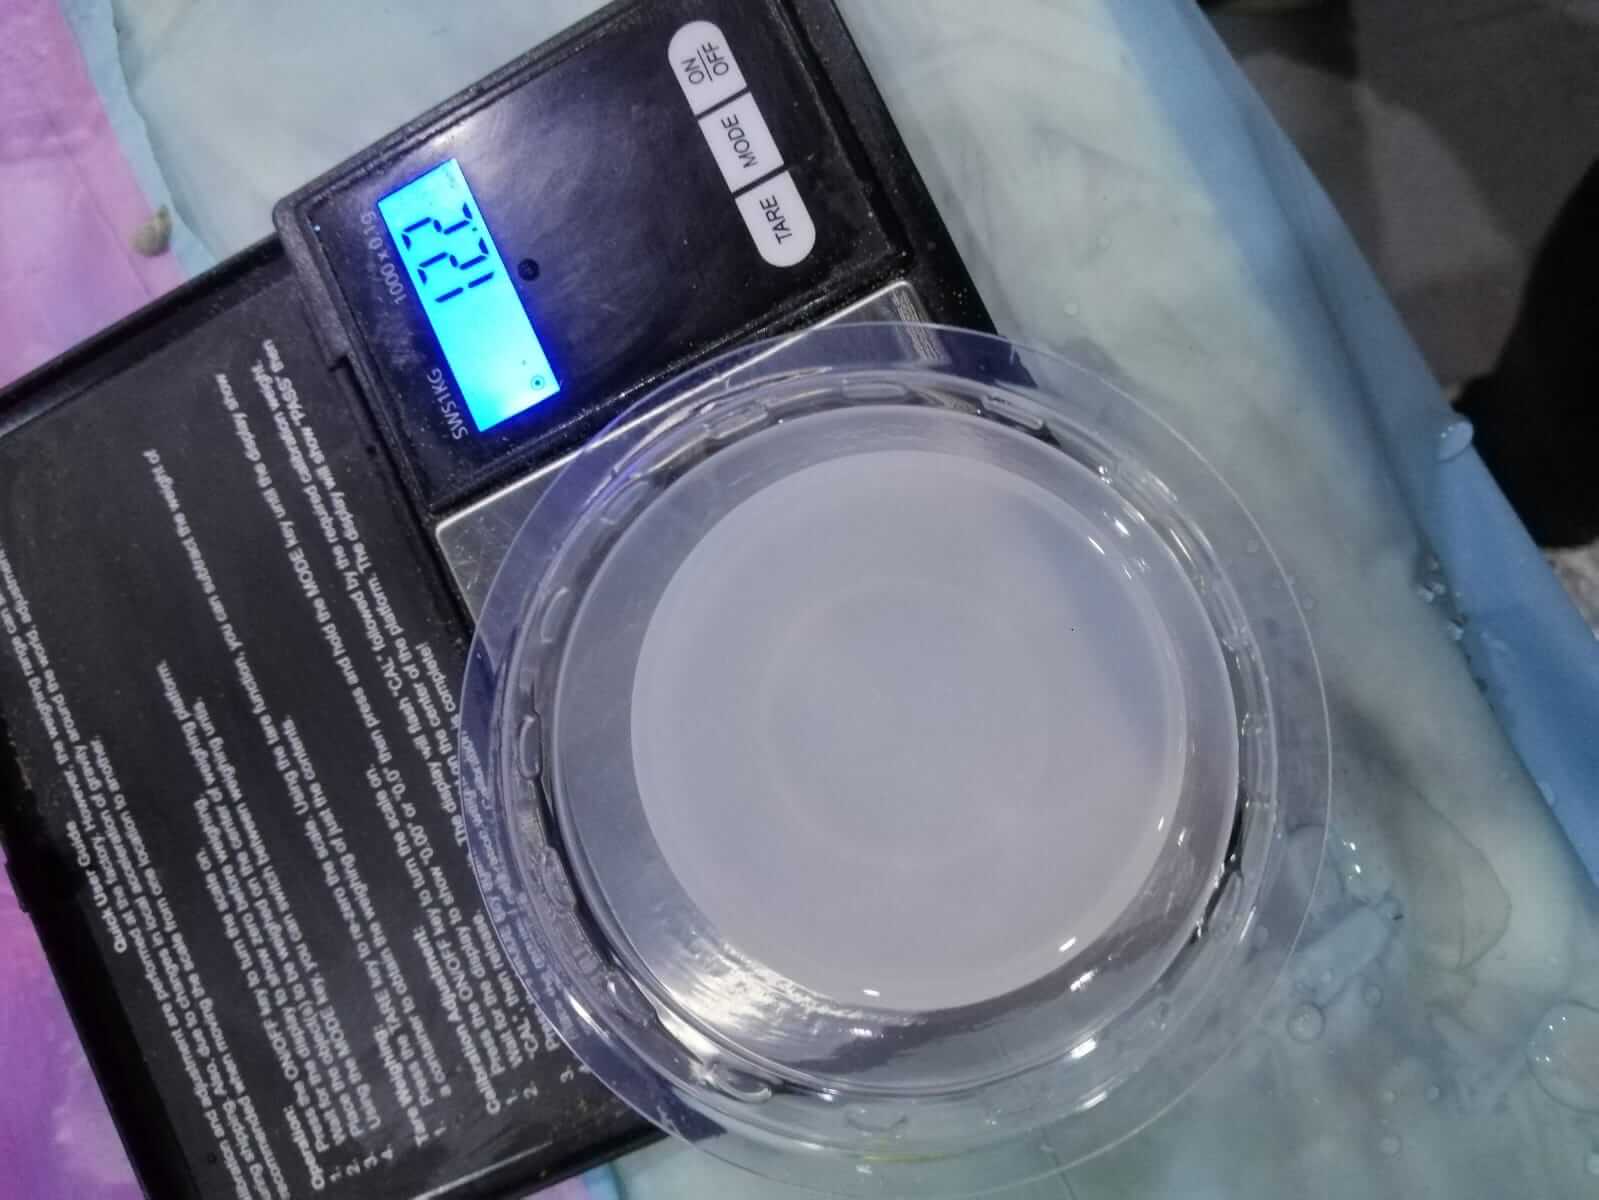
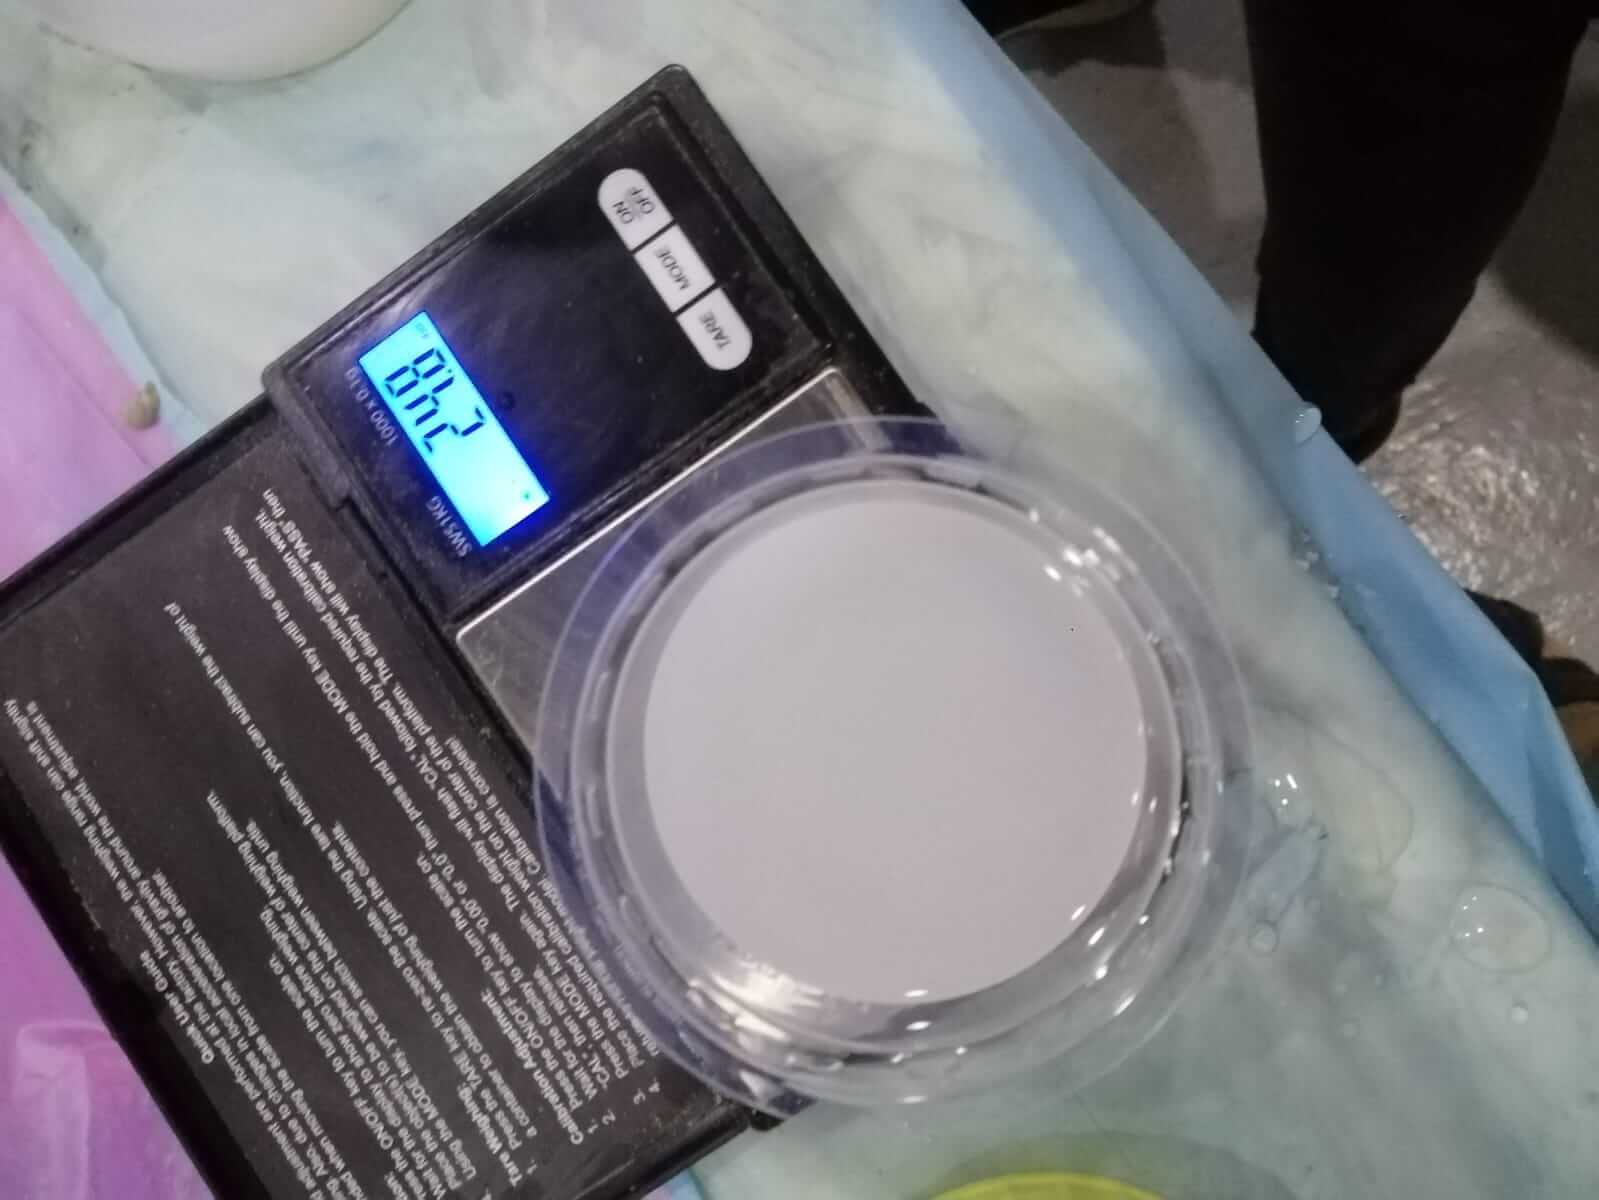
First I poured water in the mold then measured it to determine how much silacone i would need to make.
I measured 20g of water so i need to mix the same amount in silacone. For silacone i need to use these two jars in the image below.
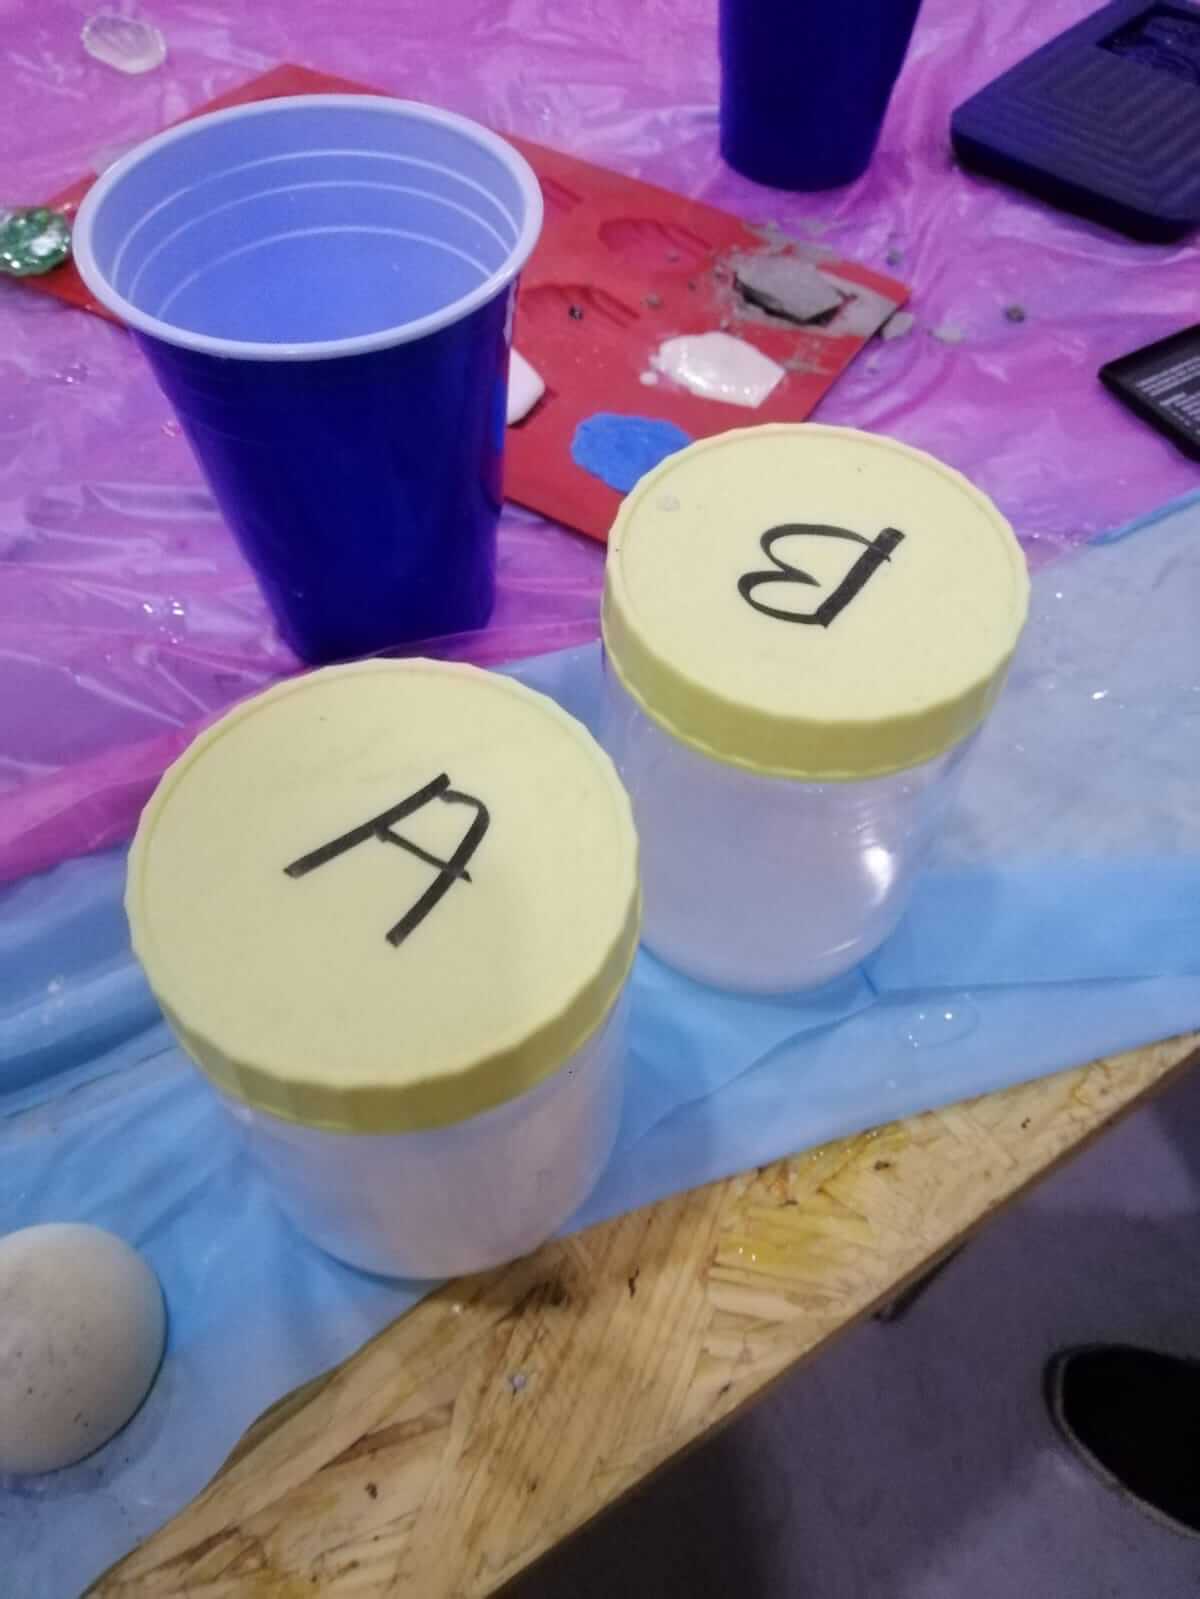
I poured material from both jars at a 1:1 ratio then mixed it all together.
In this image i accidentally poured too much of jar A (12g) so i had to pour the same amount from jar B.
I mixed it together then poured it into the mold.

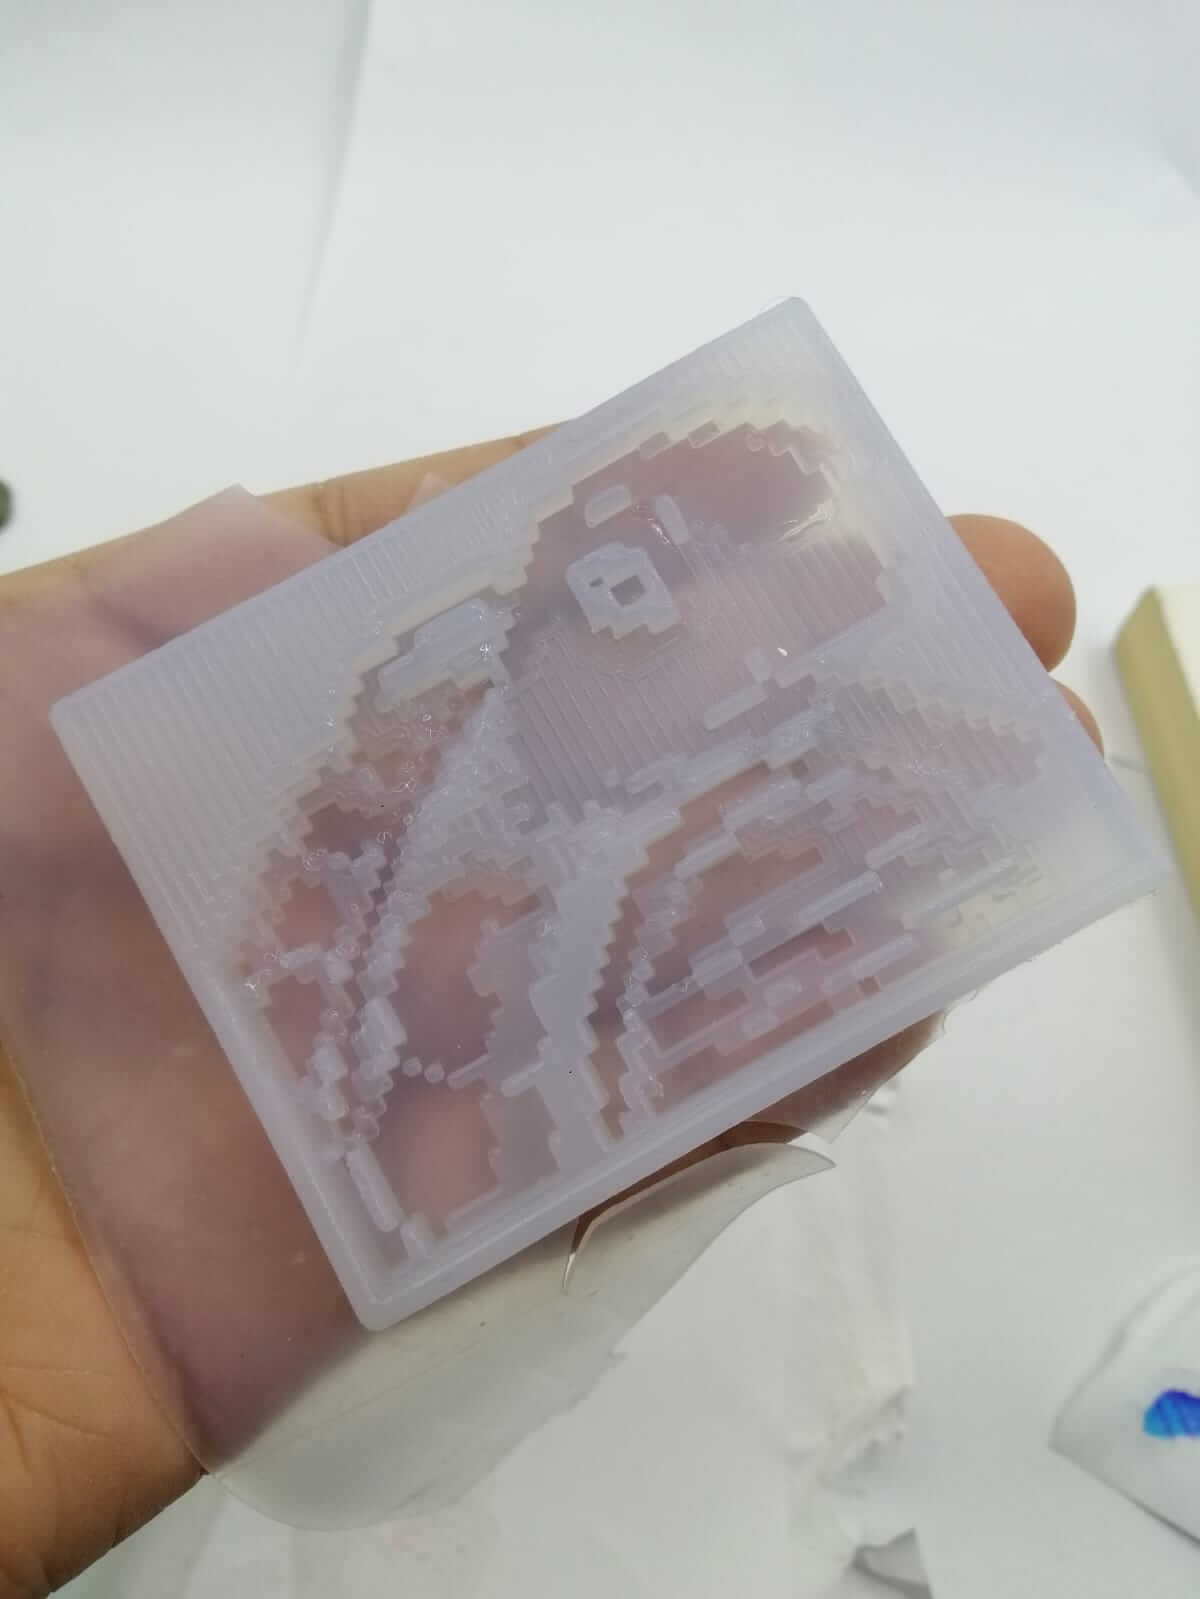
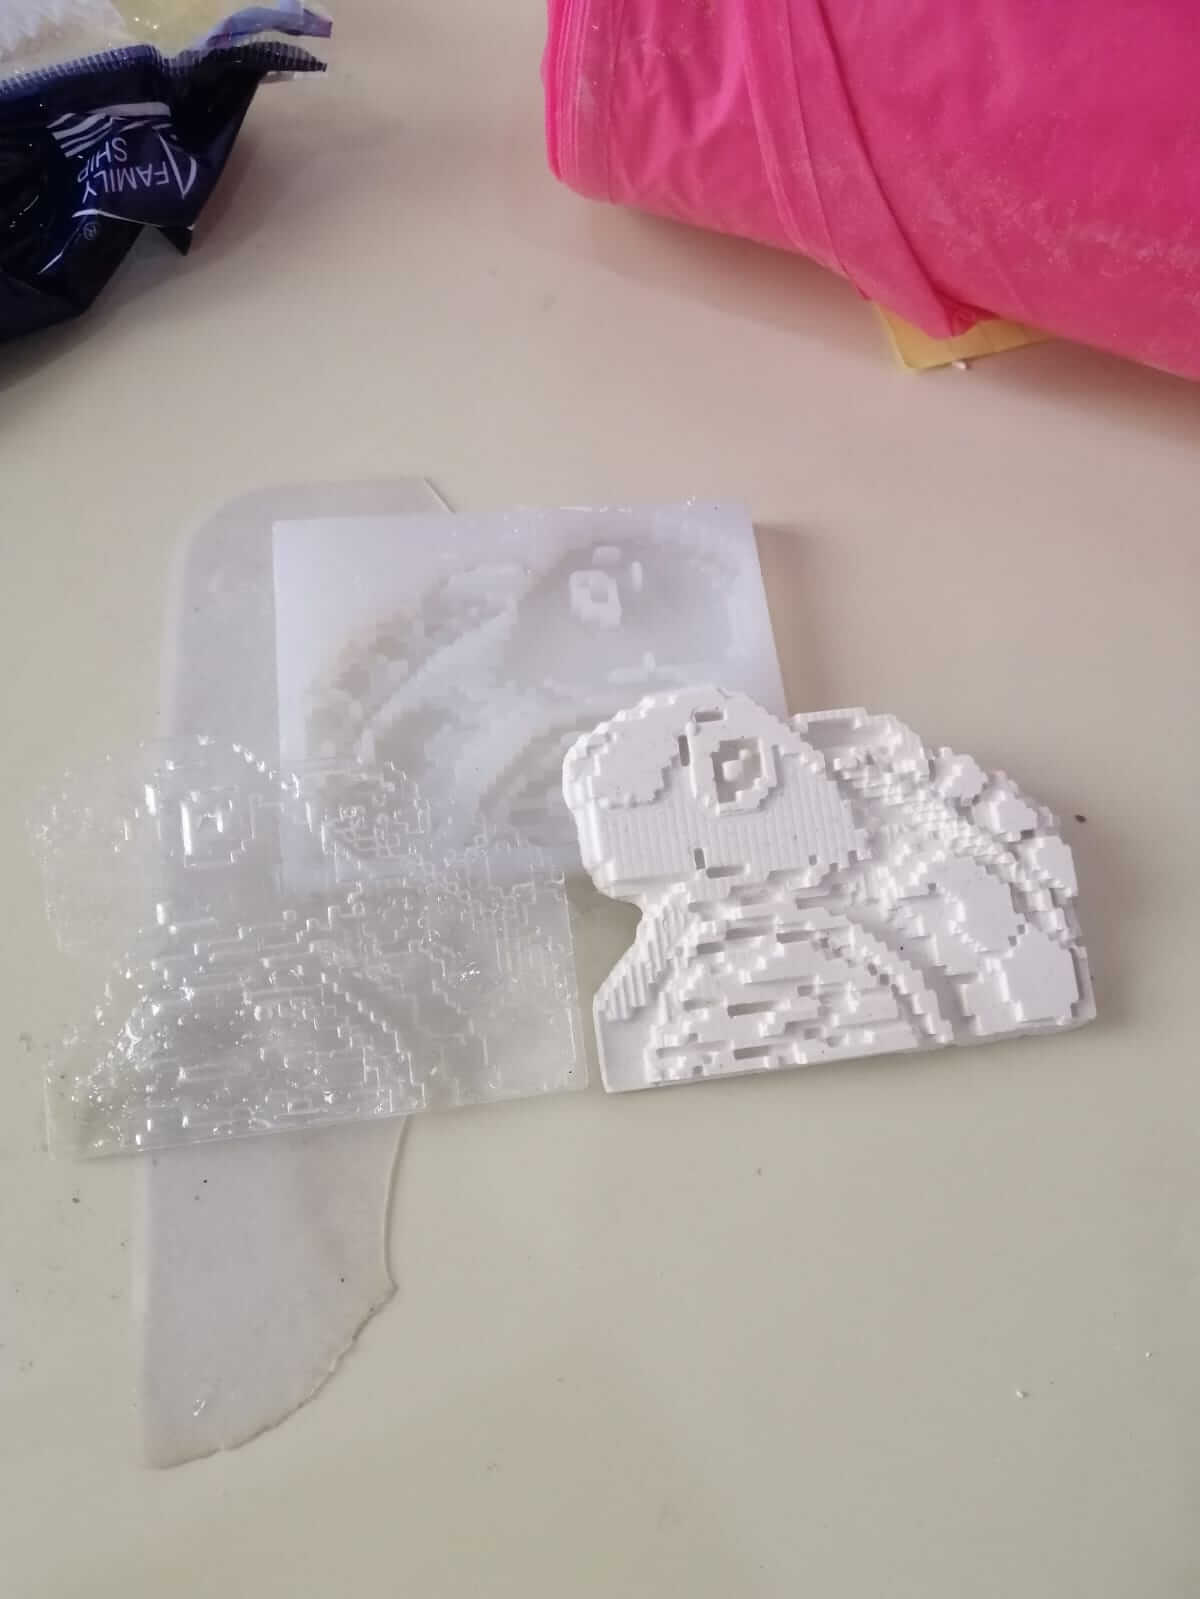
I got a perfect silacone cast in the end.
Using Cast
Grisen
I used Grisen fo create the cast, I followed these instructions.
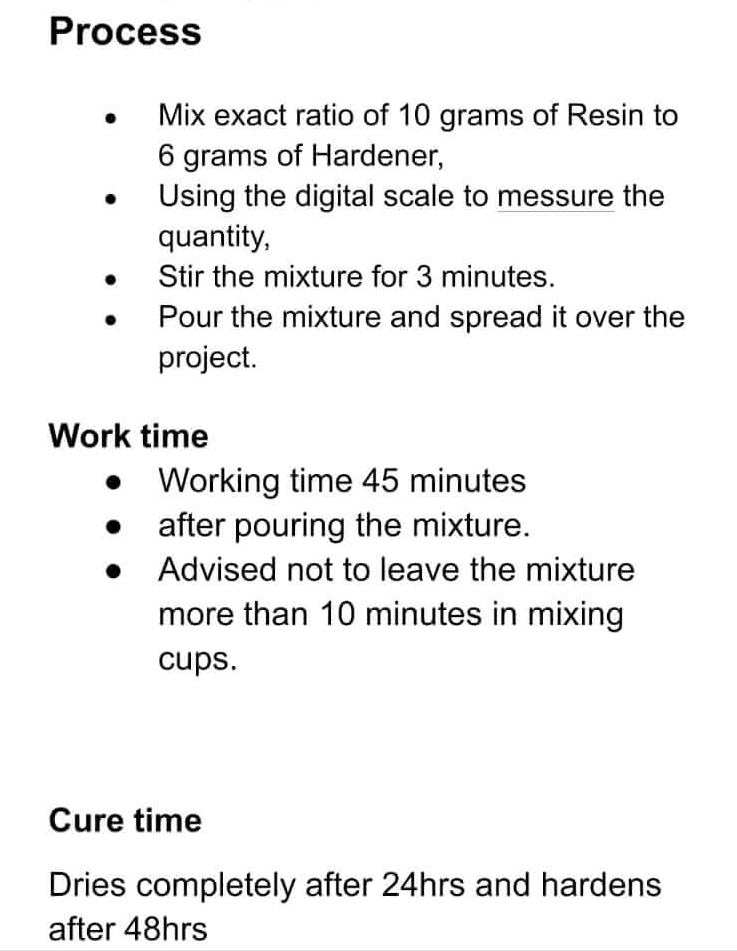
I used roughly 10g of risen and 6g of hardner then mixed it well.
I filled the grisen in the cast and left it for 24 hours.
The risen did not fully dry after 24hrs and i was not satisfied with the final result
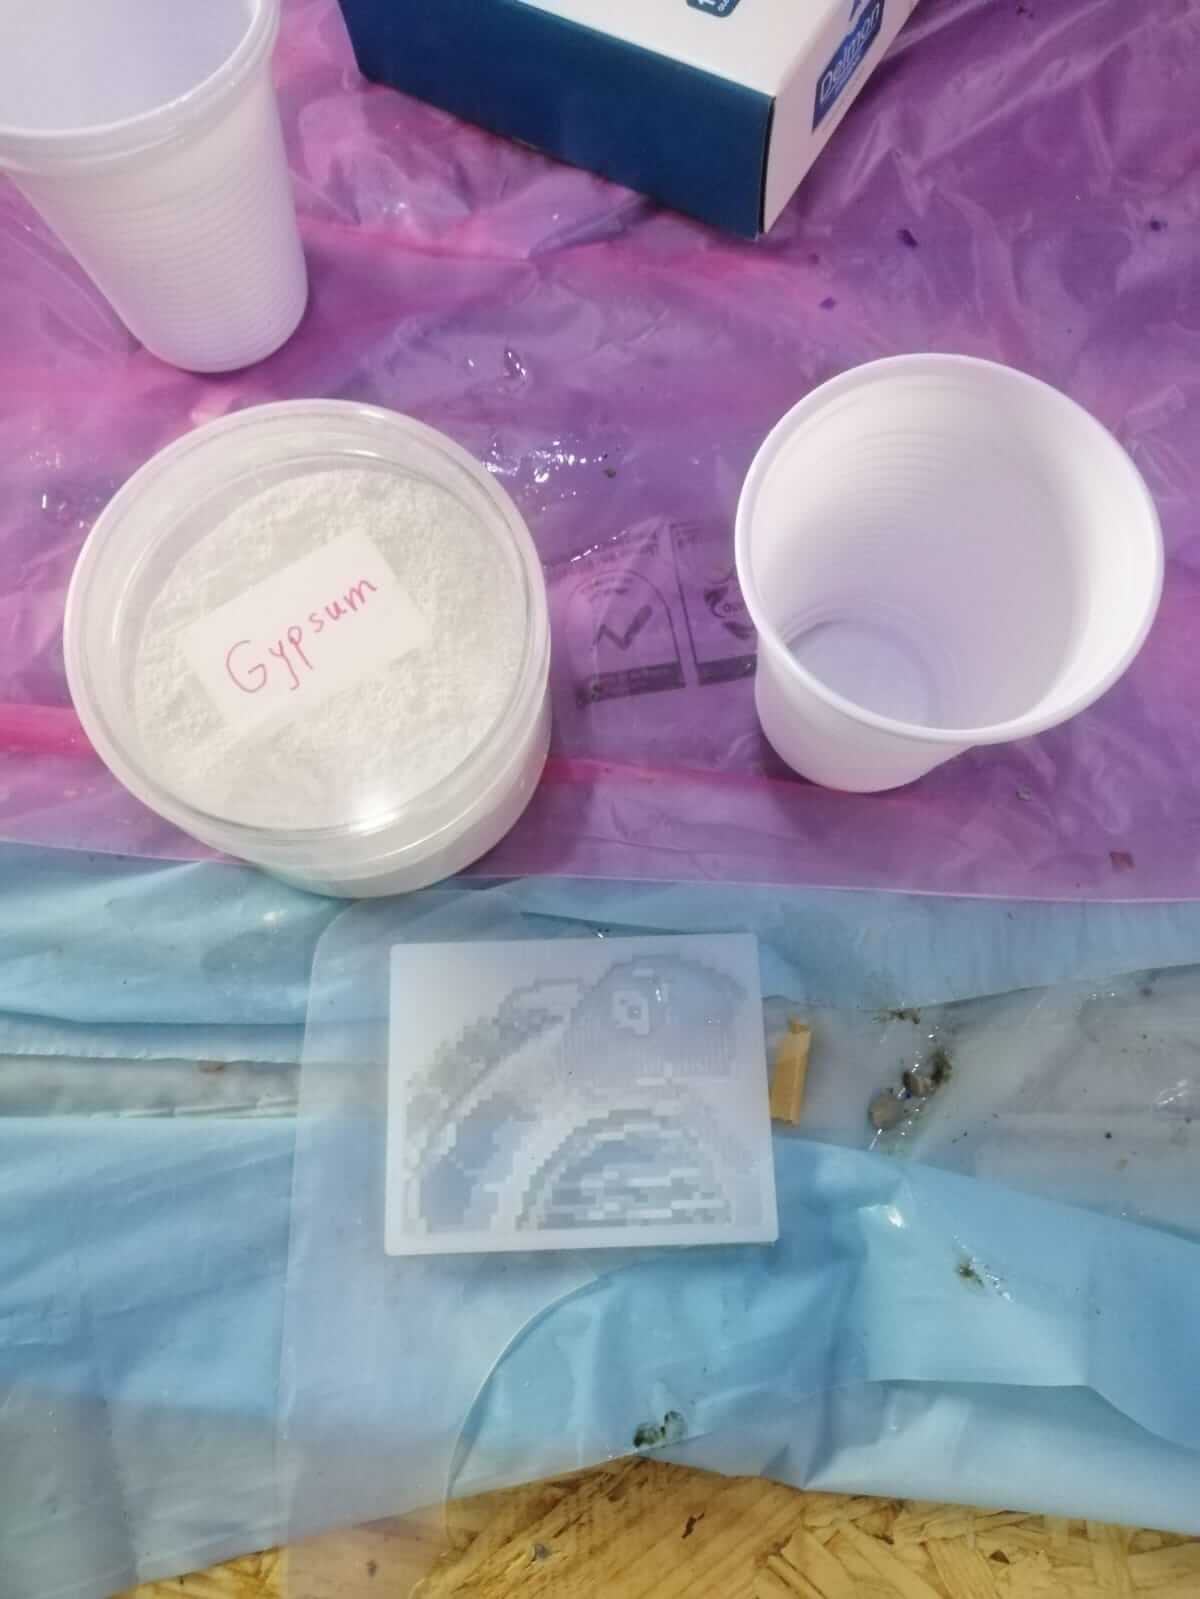
Gypsum
I tried the process again using Gypsum because it had cure time of 6-12 hours and it did not chip easily like soap.
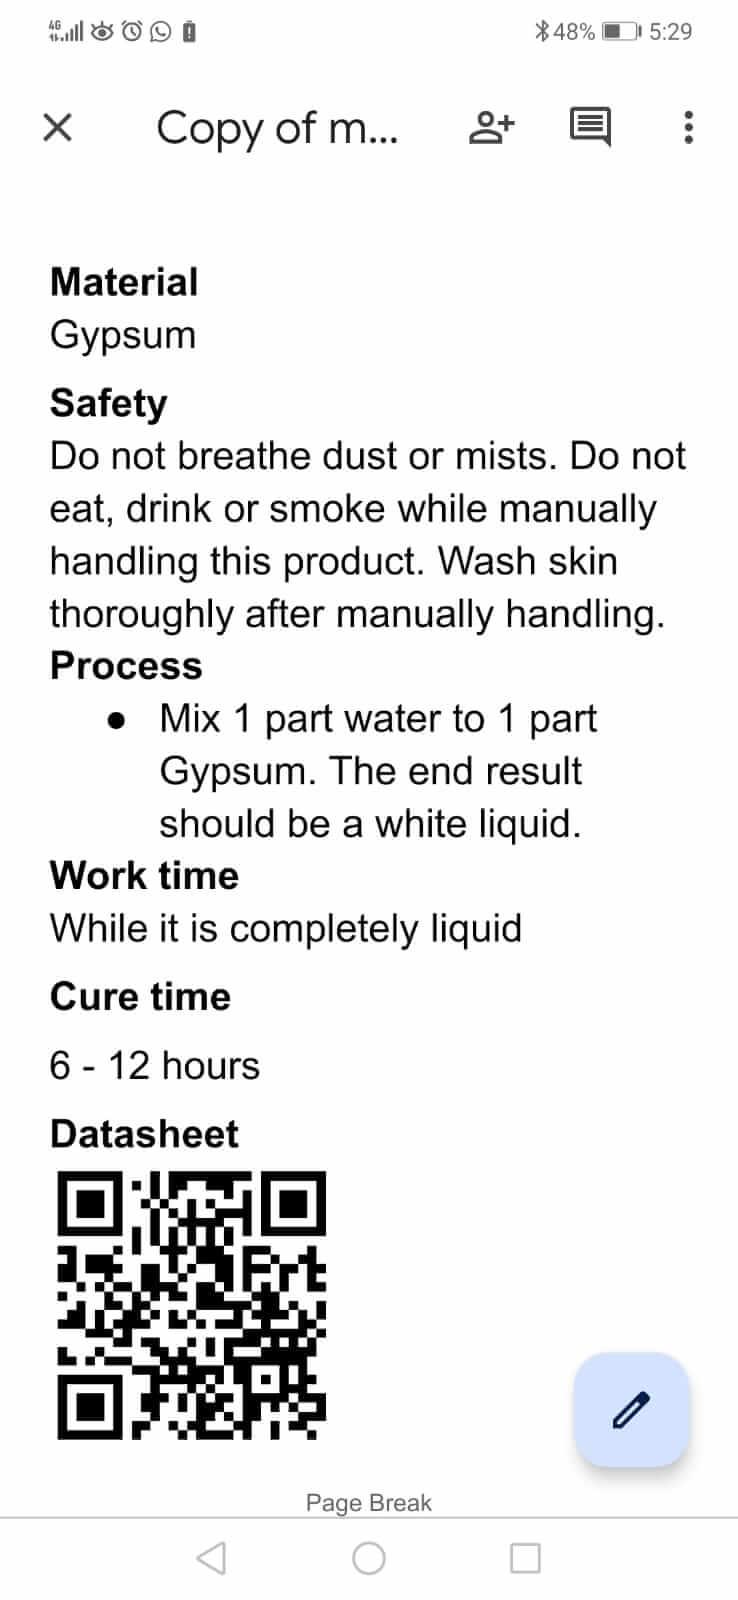
To make Gypsum all you need is the powder and water. Similar to the Silacone the ratio of water to powder is 1:1.
I measuered 20g of Gypsum powder and water.
I mixed it until the powder fully disovled into the water.
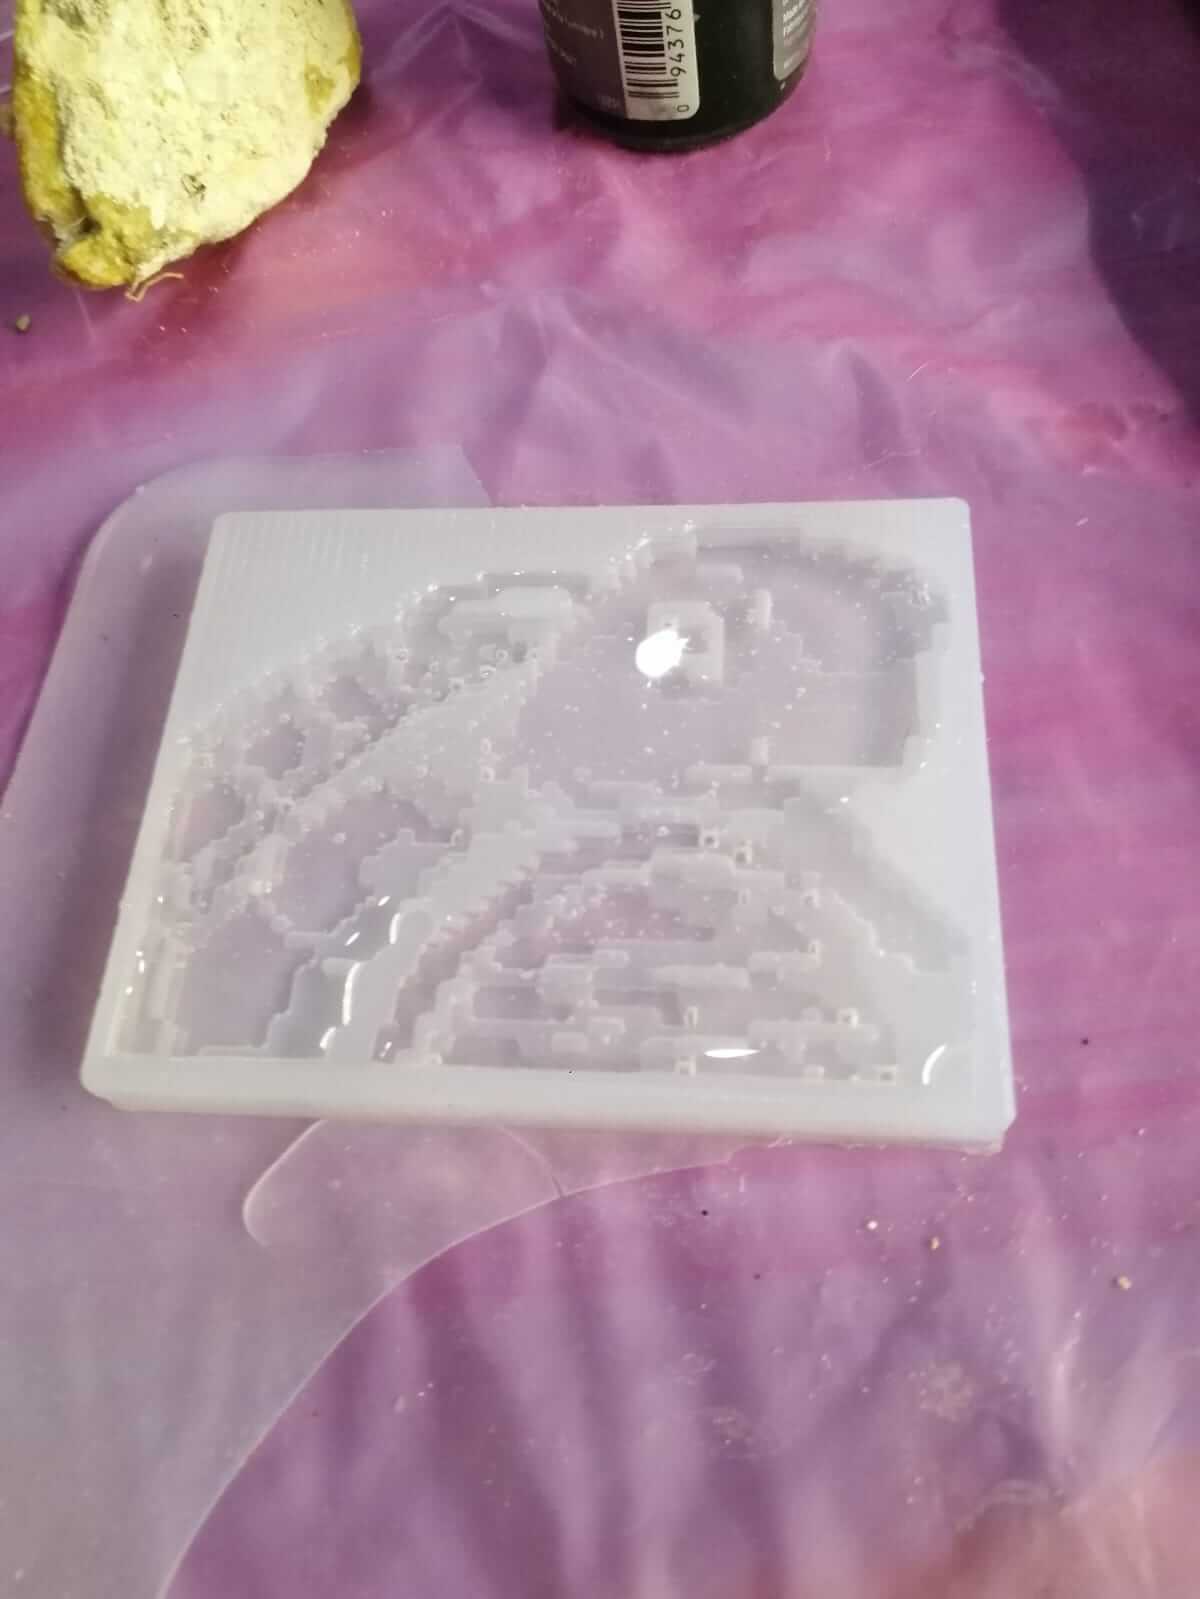
I poured it in the cast and left it to harden over night.
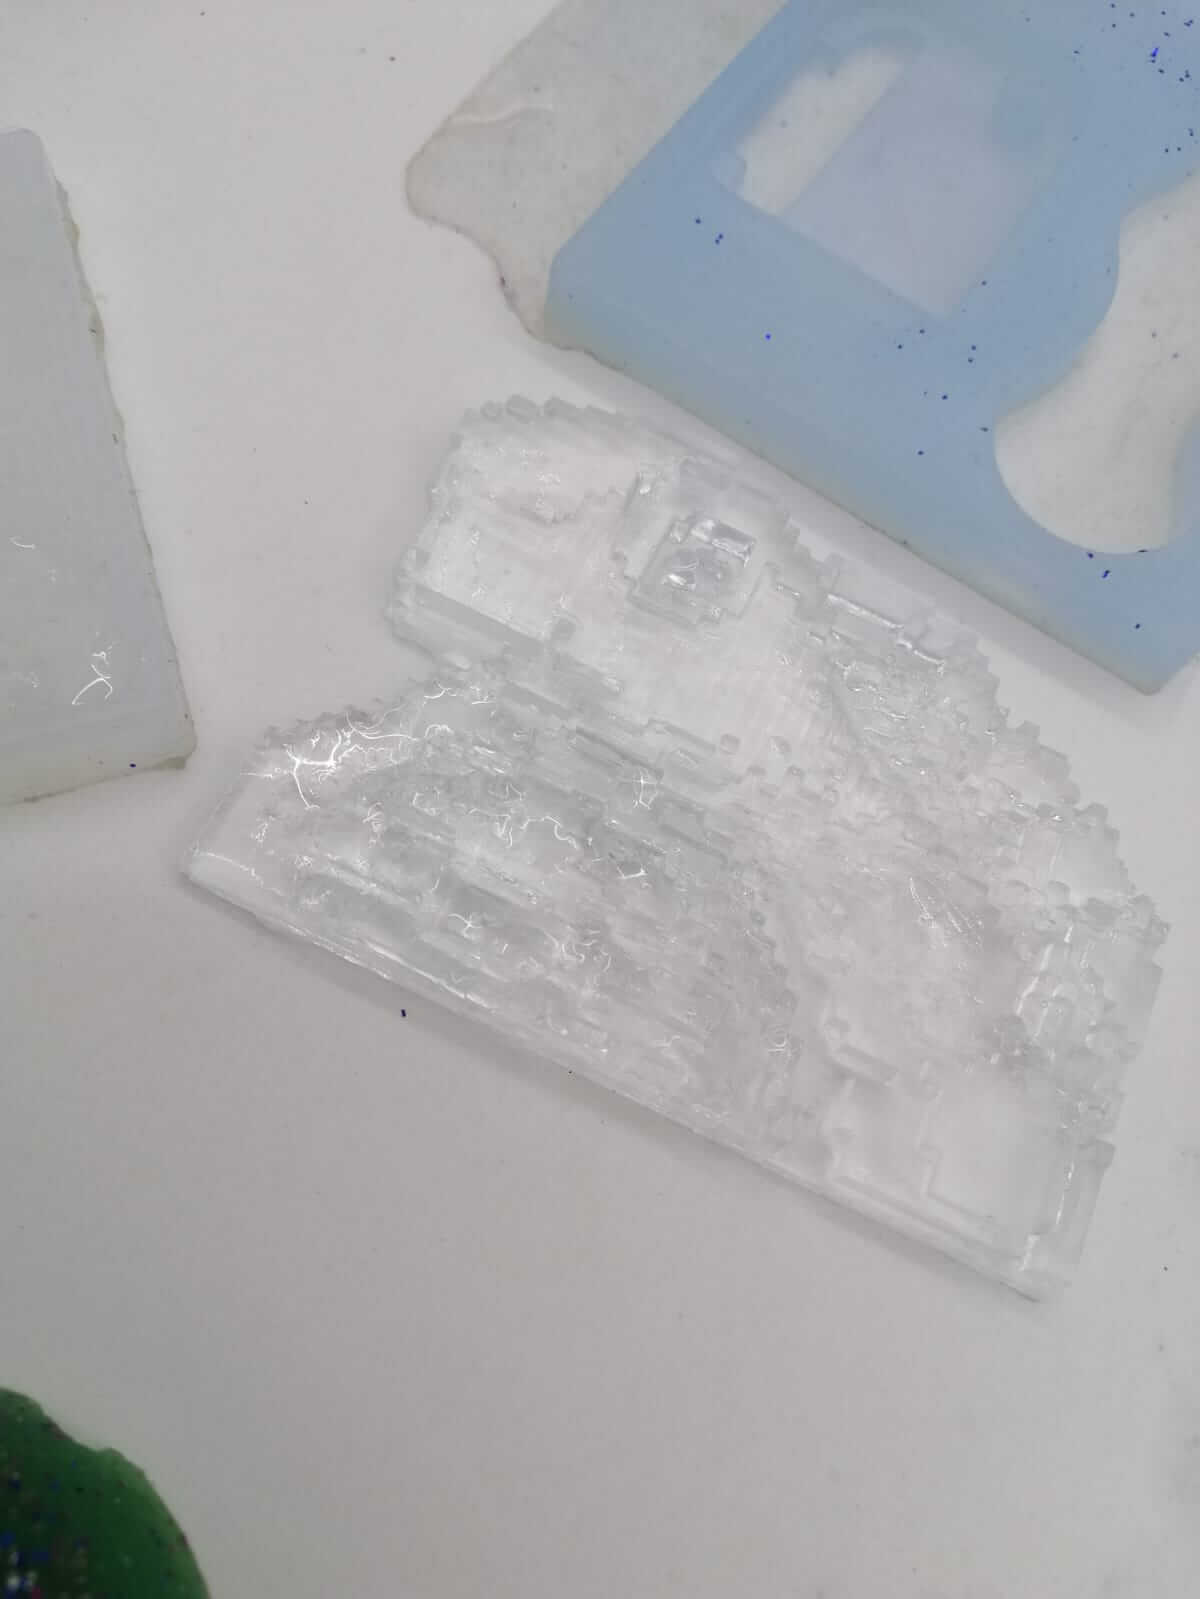
After more than 12 hours the Gypsum hardended and I end up with a better quality keychain compared to the Grisen.
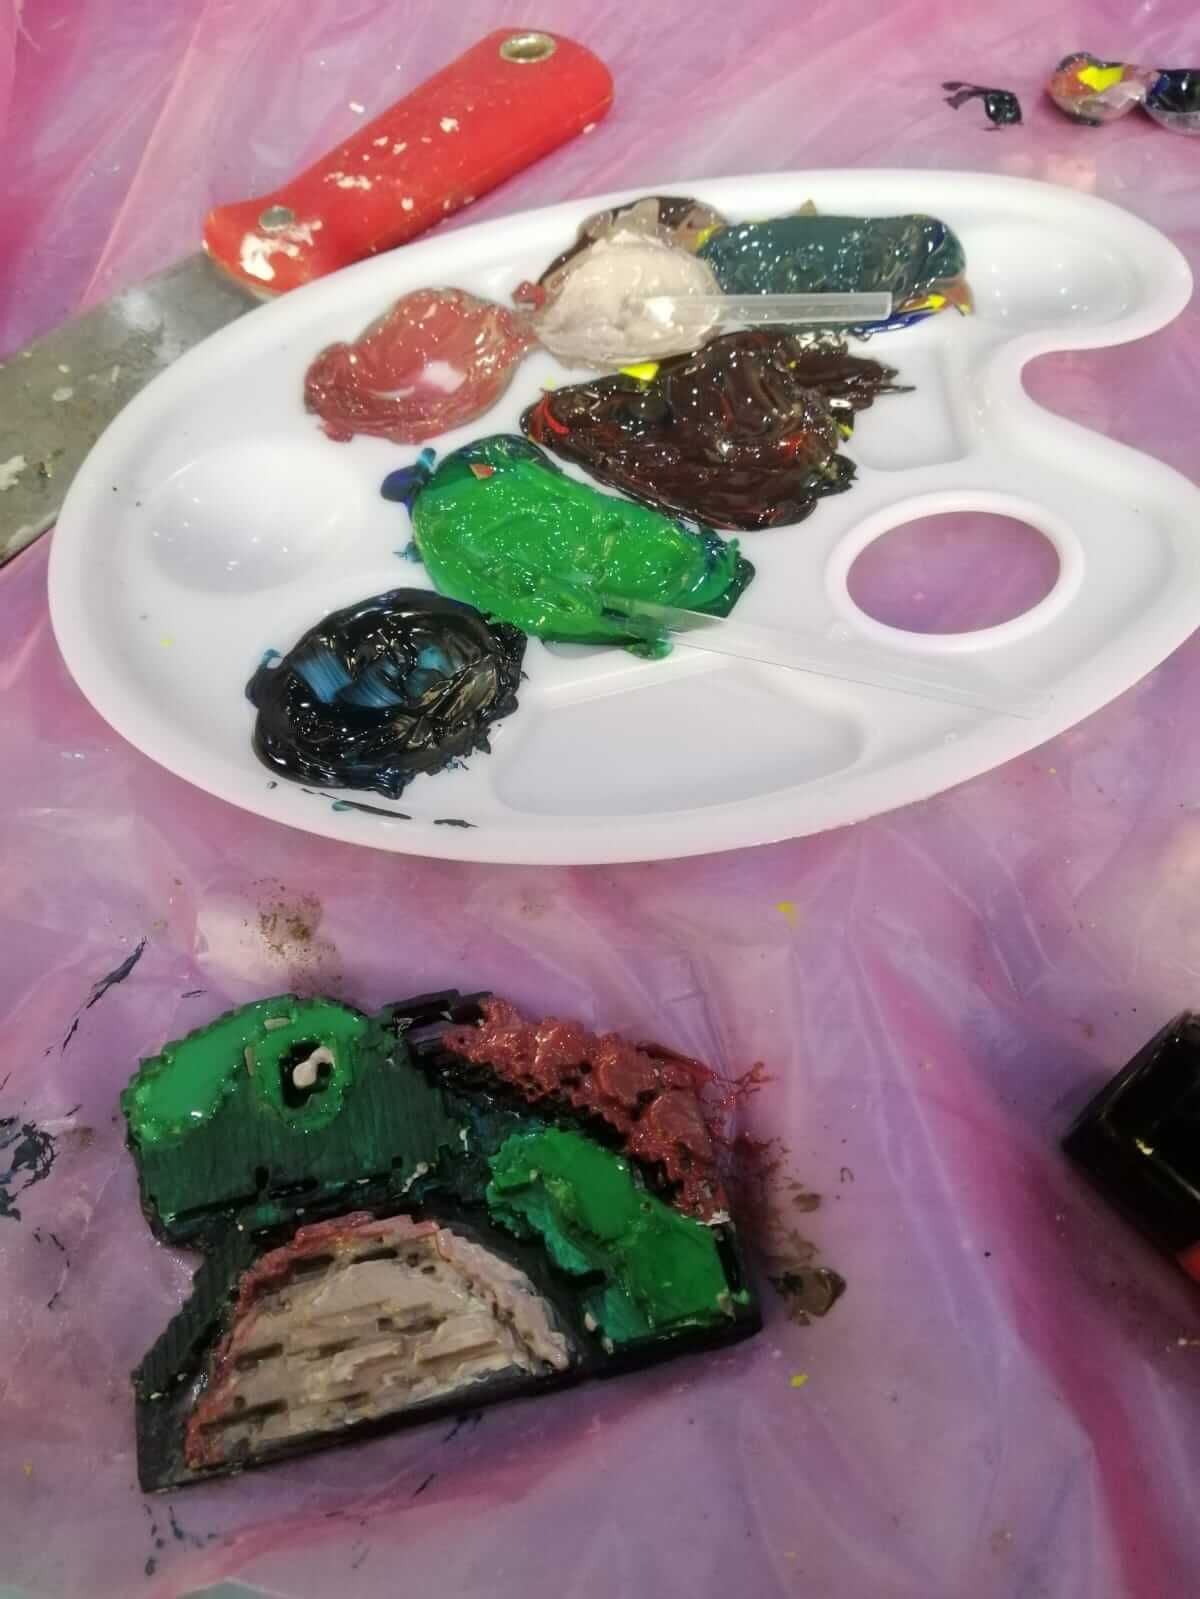
The picture below shows the final result of the Grisen and Gypsum keychains I made. The Grisen was not mixed well so it ened up not hardening some areas.
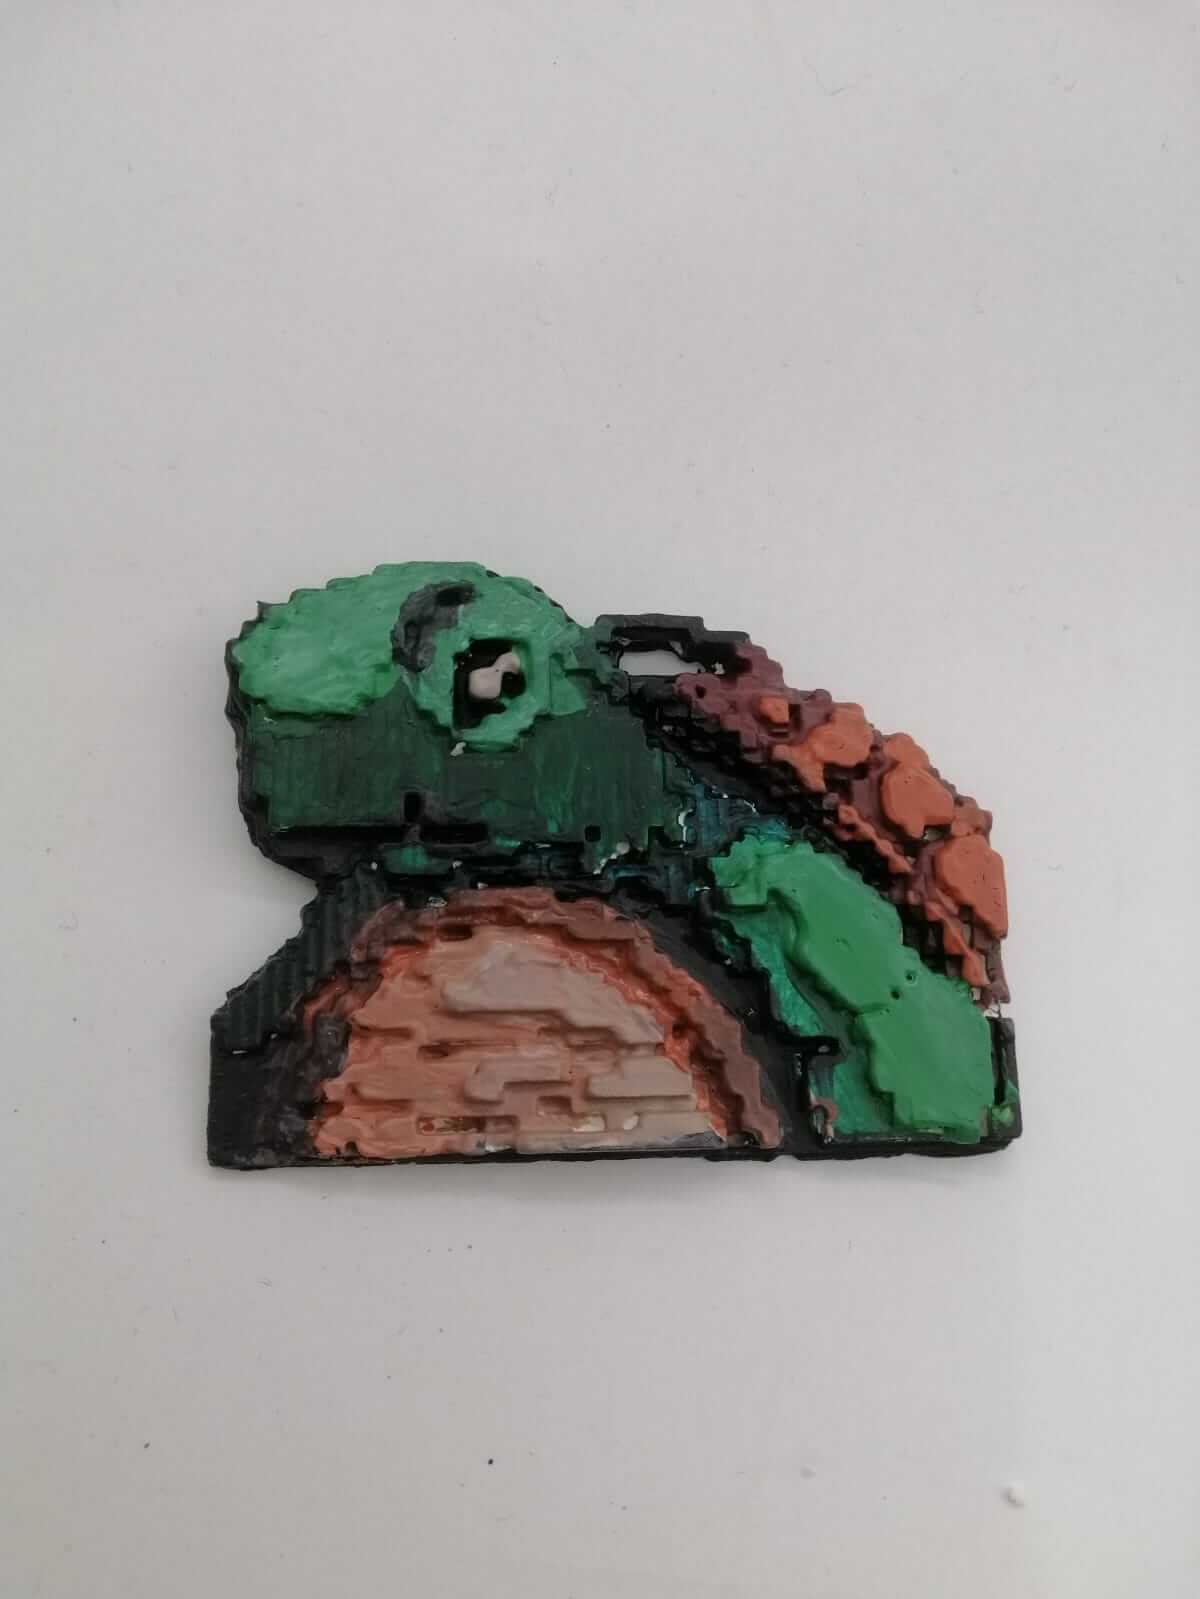
Coloring
I colored the Gypsum keychain with acrylic paint, it was my first time using acrylic paints as i usually do digital artwork.
This is what it ended up looking like after the paint dried.