3. Computer controlled cutting
Hello, this week i learned how to use the Cricut Explore Air 2 DIY cutting machine and practiced on it by doing some stickers.
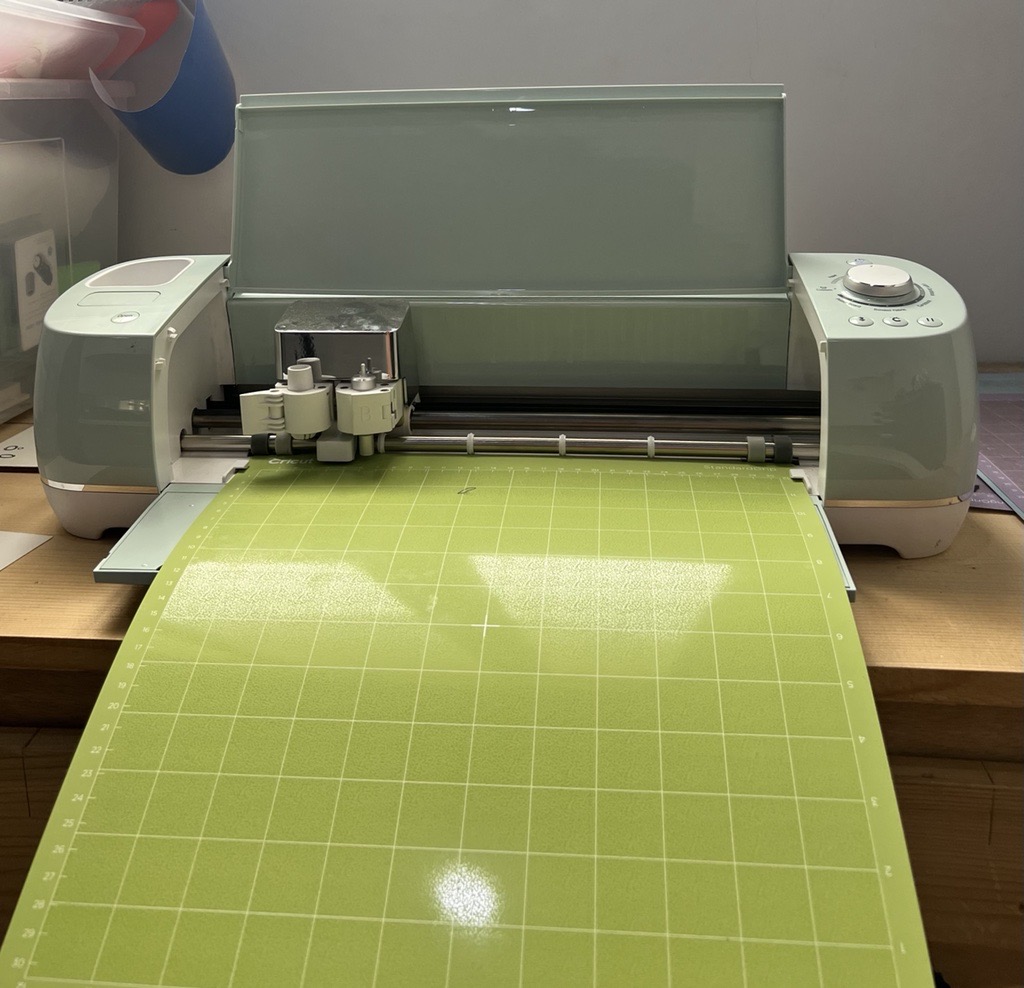
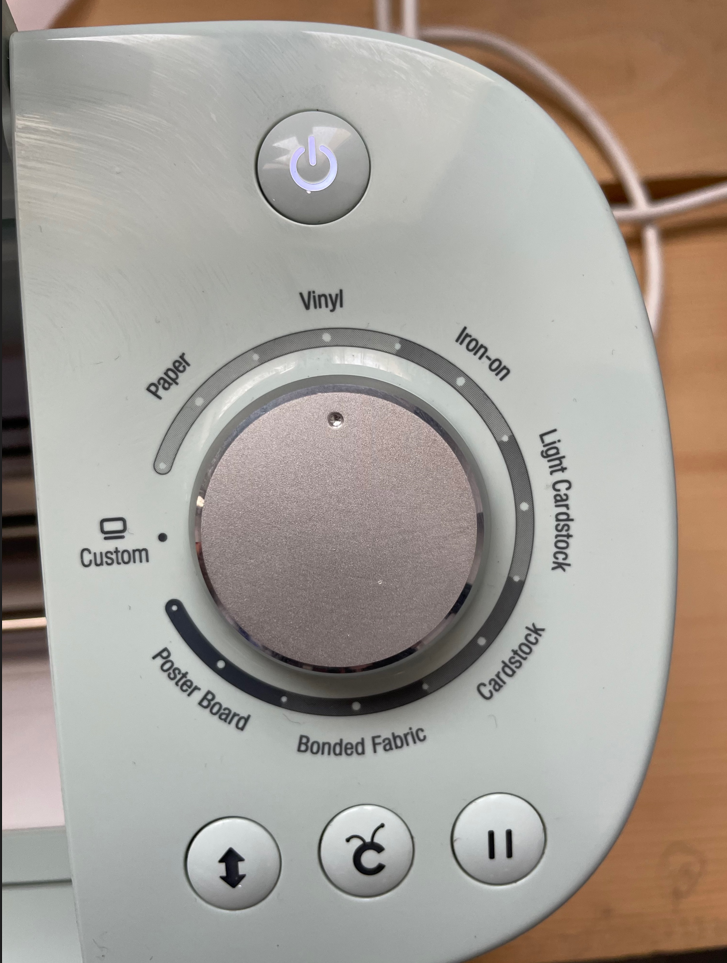
Cricut Explore Air 2 DIY cutting machine
Cricut explore air 2 cutter (vinyl cutter) was manually utilized to make 2D designs into stickers that can be used for various purposes. It uses blades with a command coming from a specific software (Cricut design space software) to cut the imported design on the sticking sheet. The vinyl cutter looks as shown below:
Visit this link for more informations Cricut Explore Air 2 DIY cutting machine.
The design
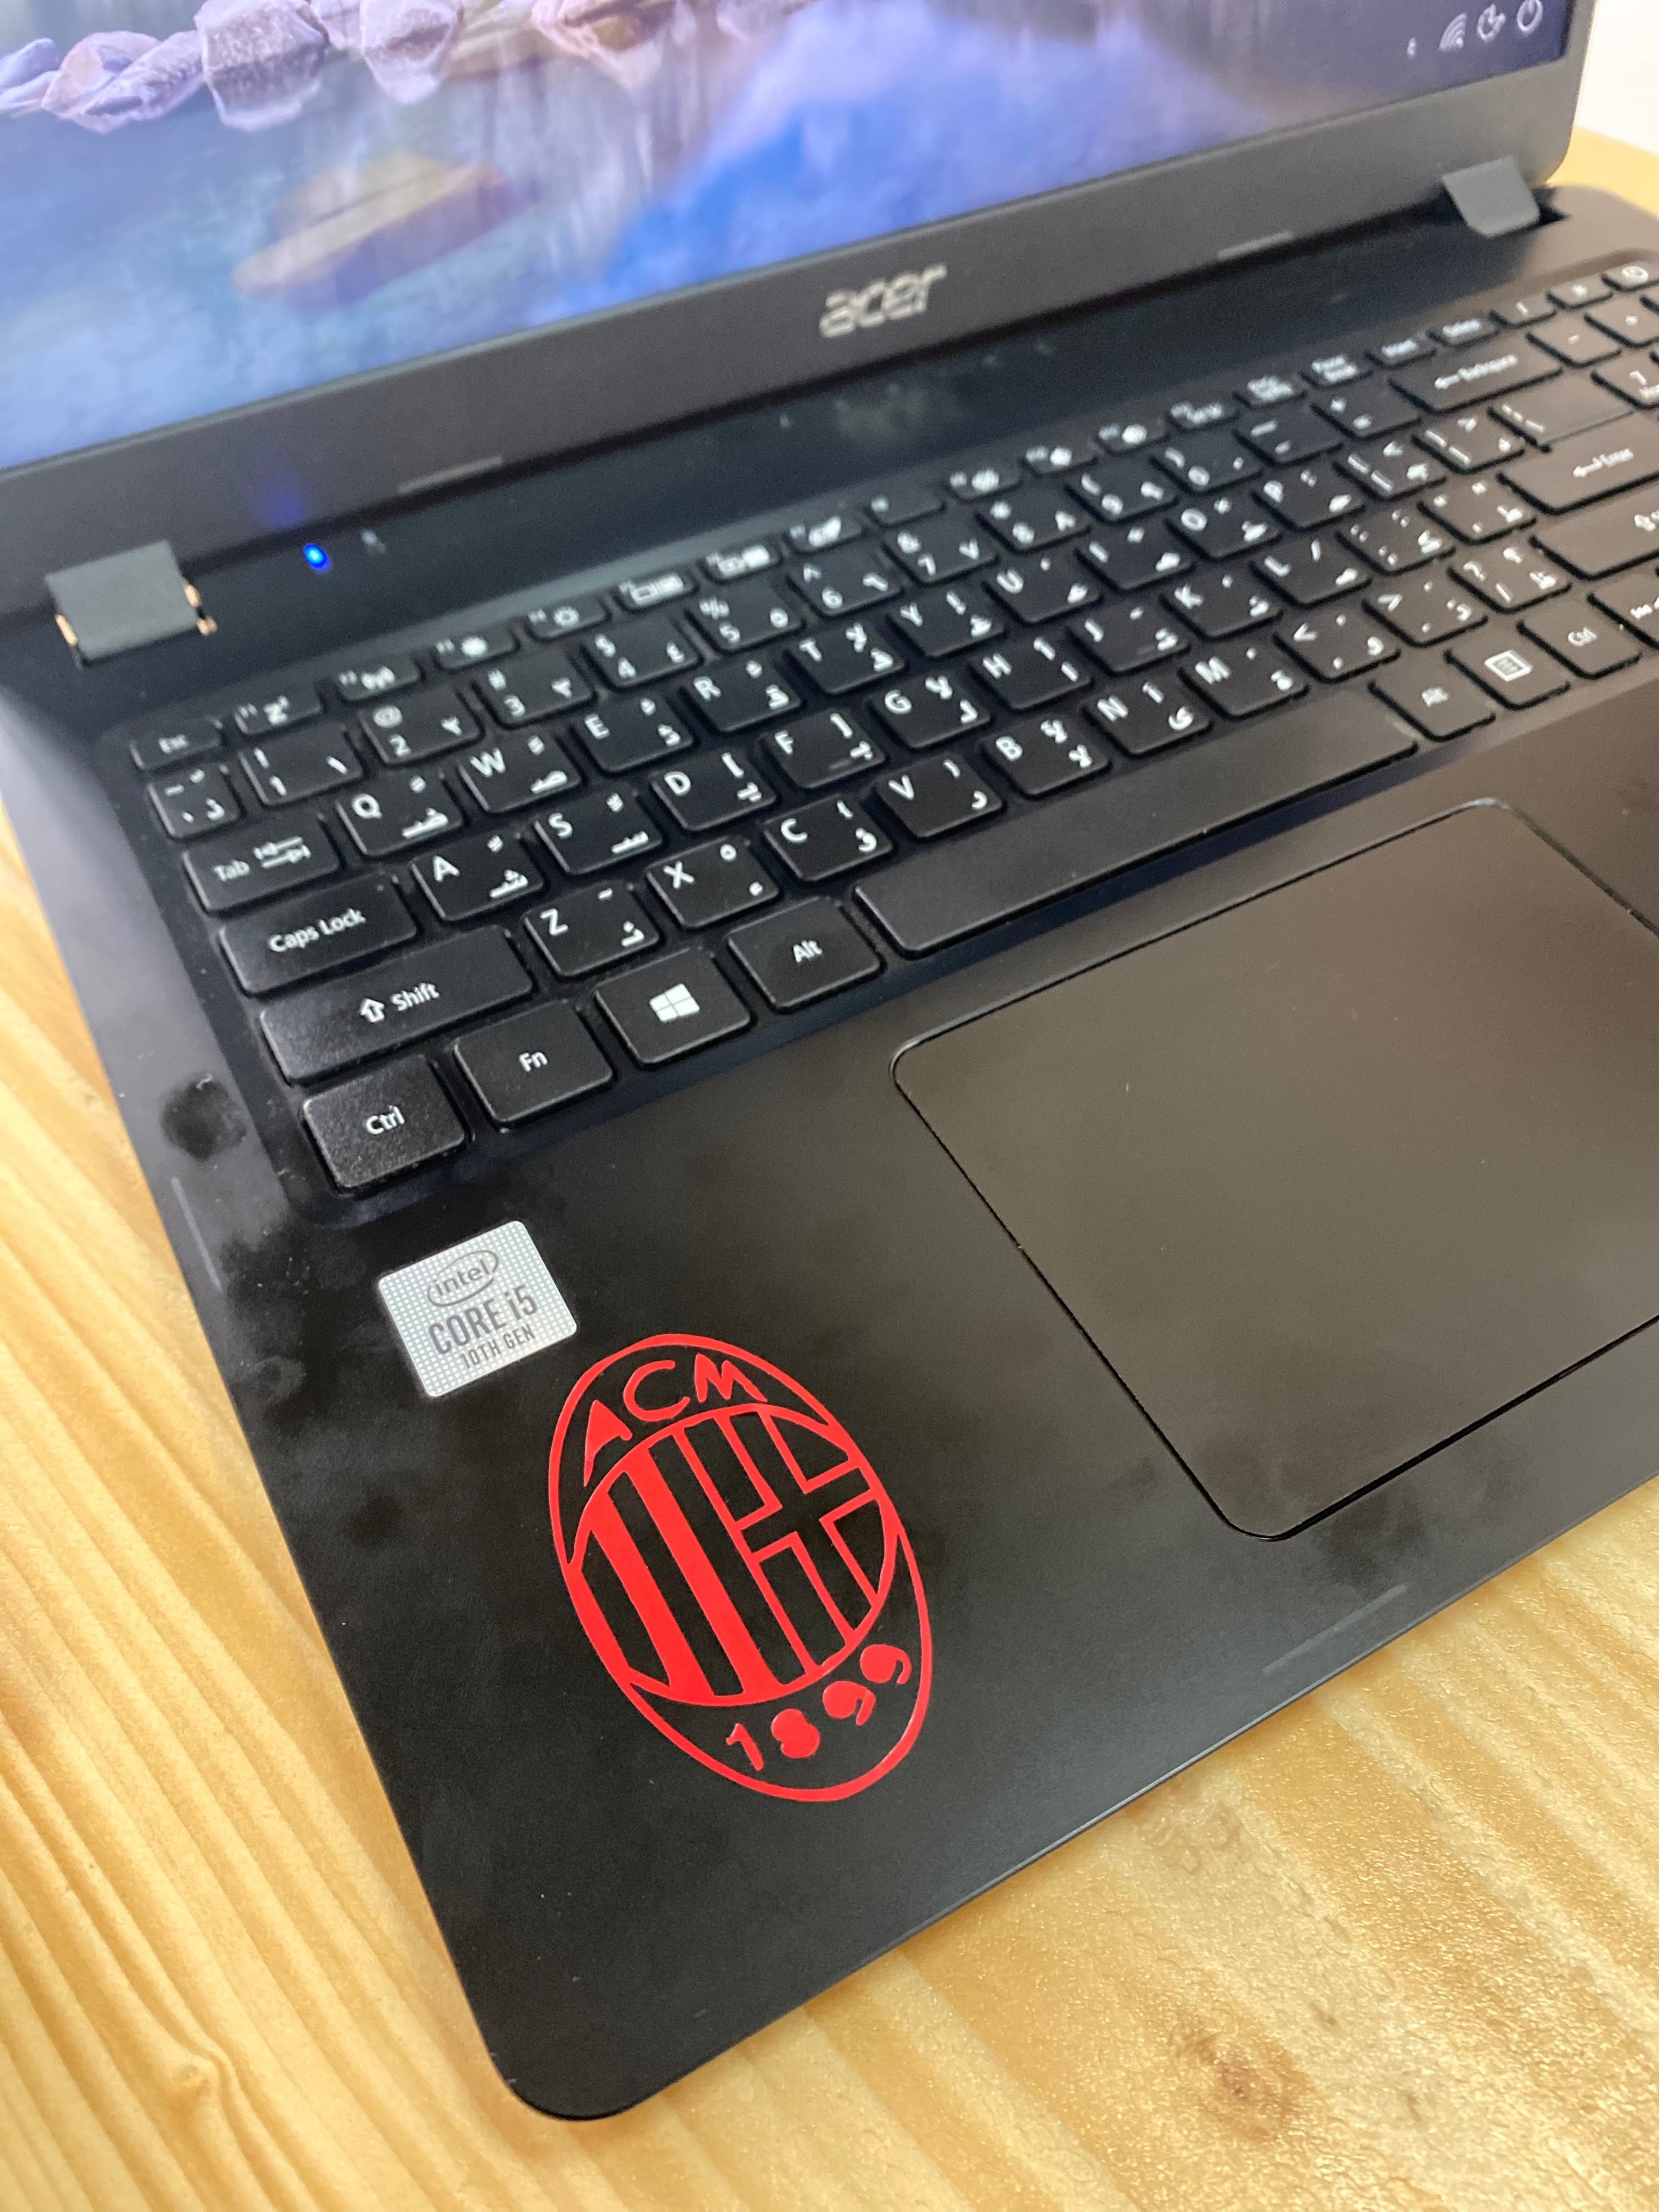
The design was taken from AC MILAN logo
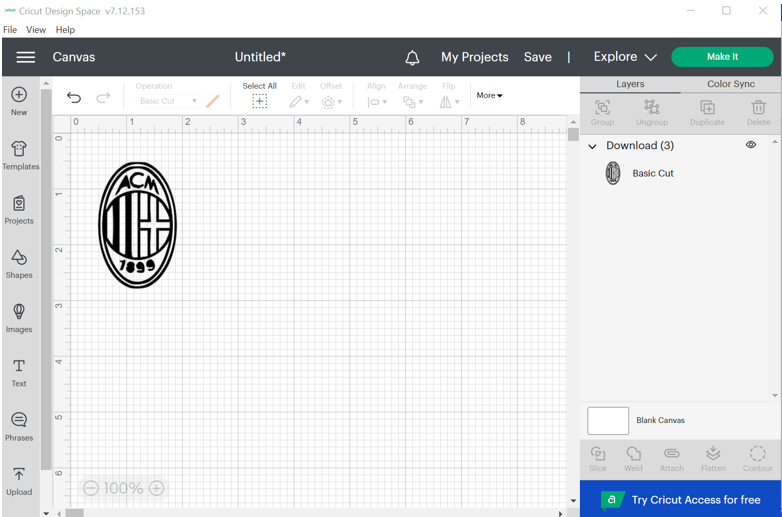
- A simple design was upload and it would be adjusted based on the location of the sticky sheet used:
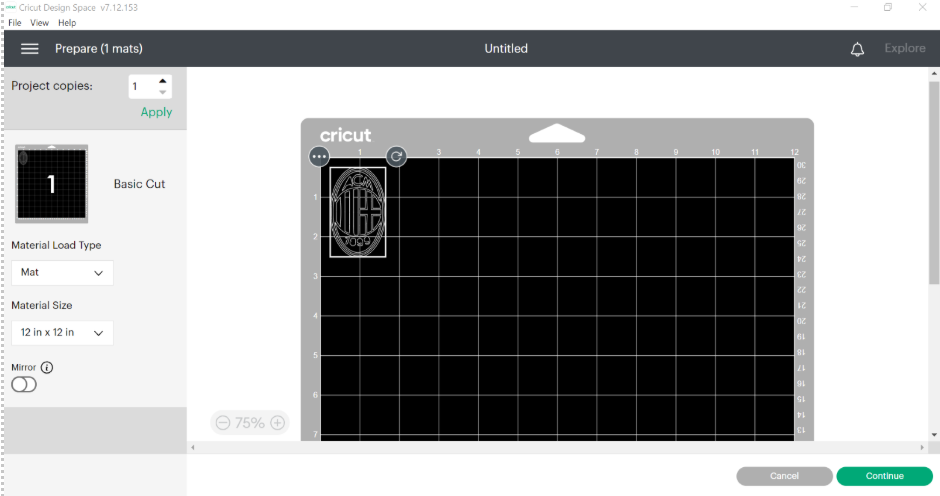
- A sticky sheet is adjusted based on the dimensions of the design with an extra offset to make sure that the cutting procedure succeeds, and it does not go off the edges. Later on this sticker is put into the sheet used in the vinyl cutter:
- After that, the sheet is put inside the vinyl cutter to fit it inside the machine to prepare it for cutting:

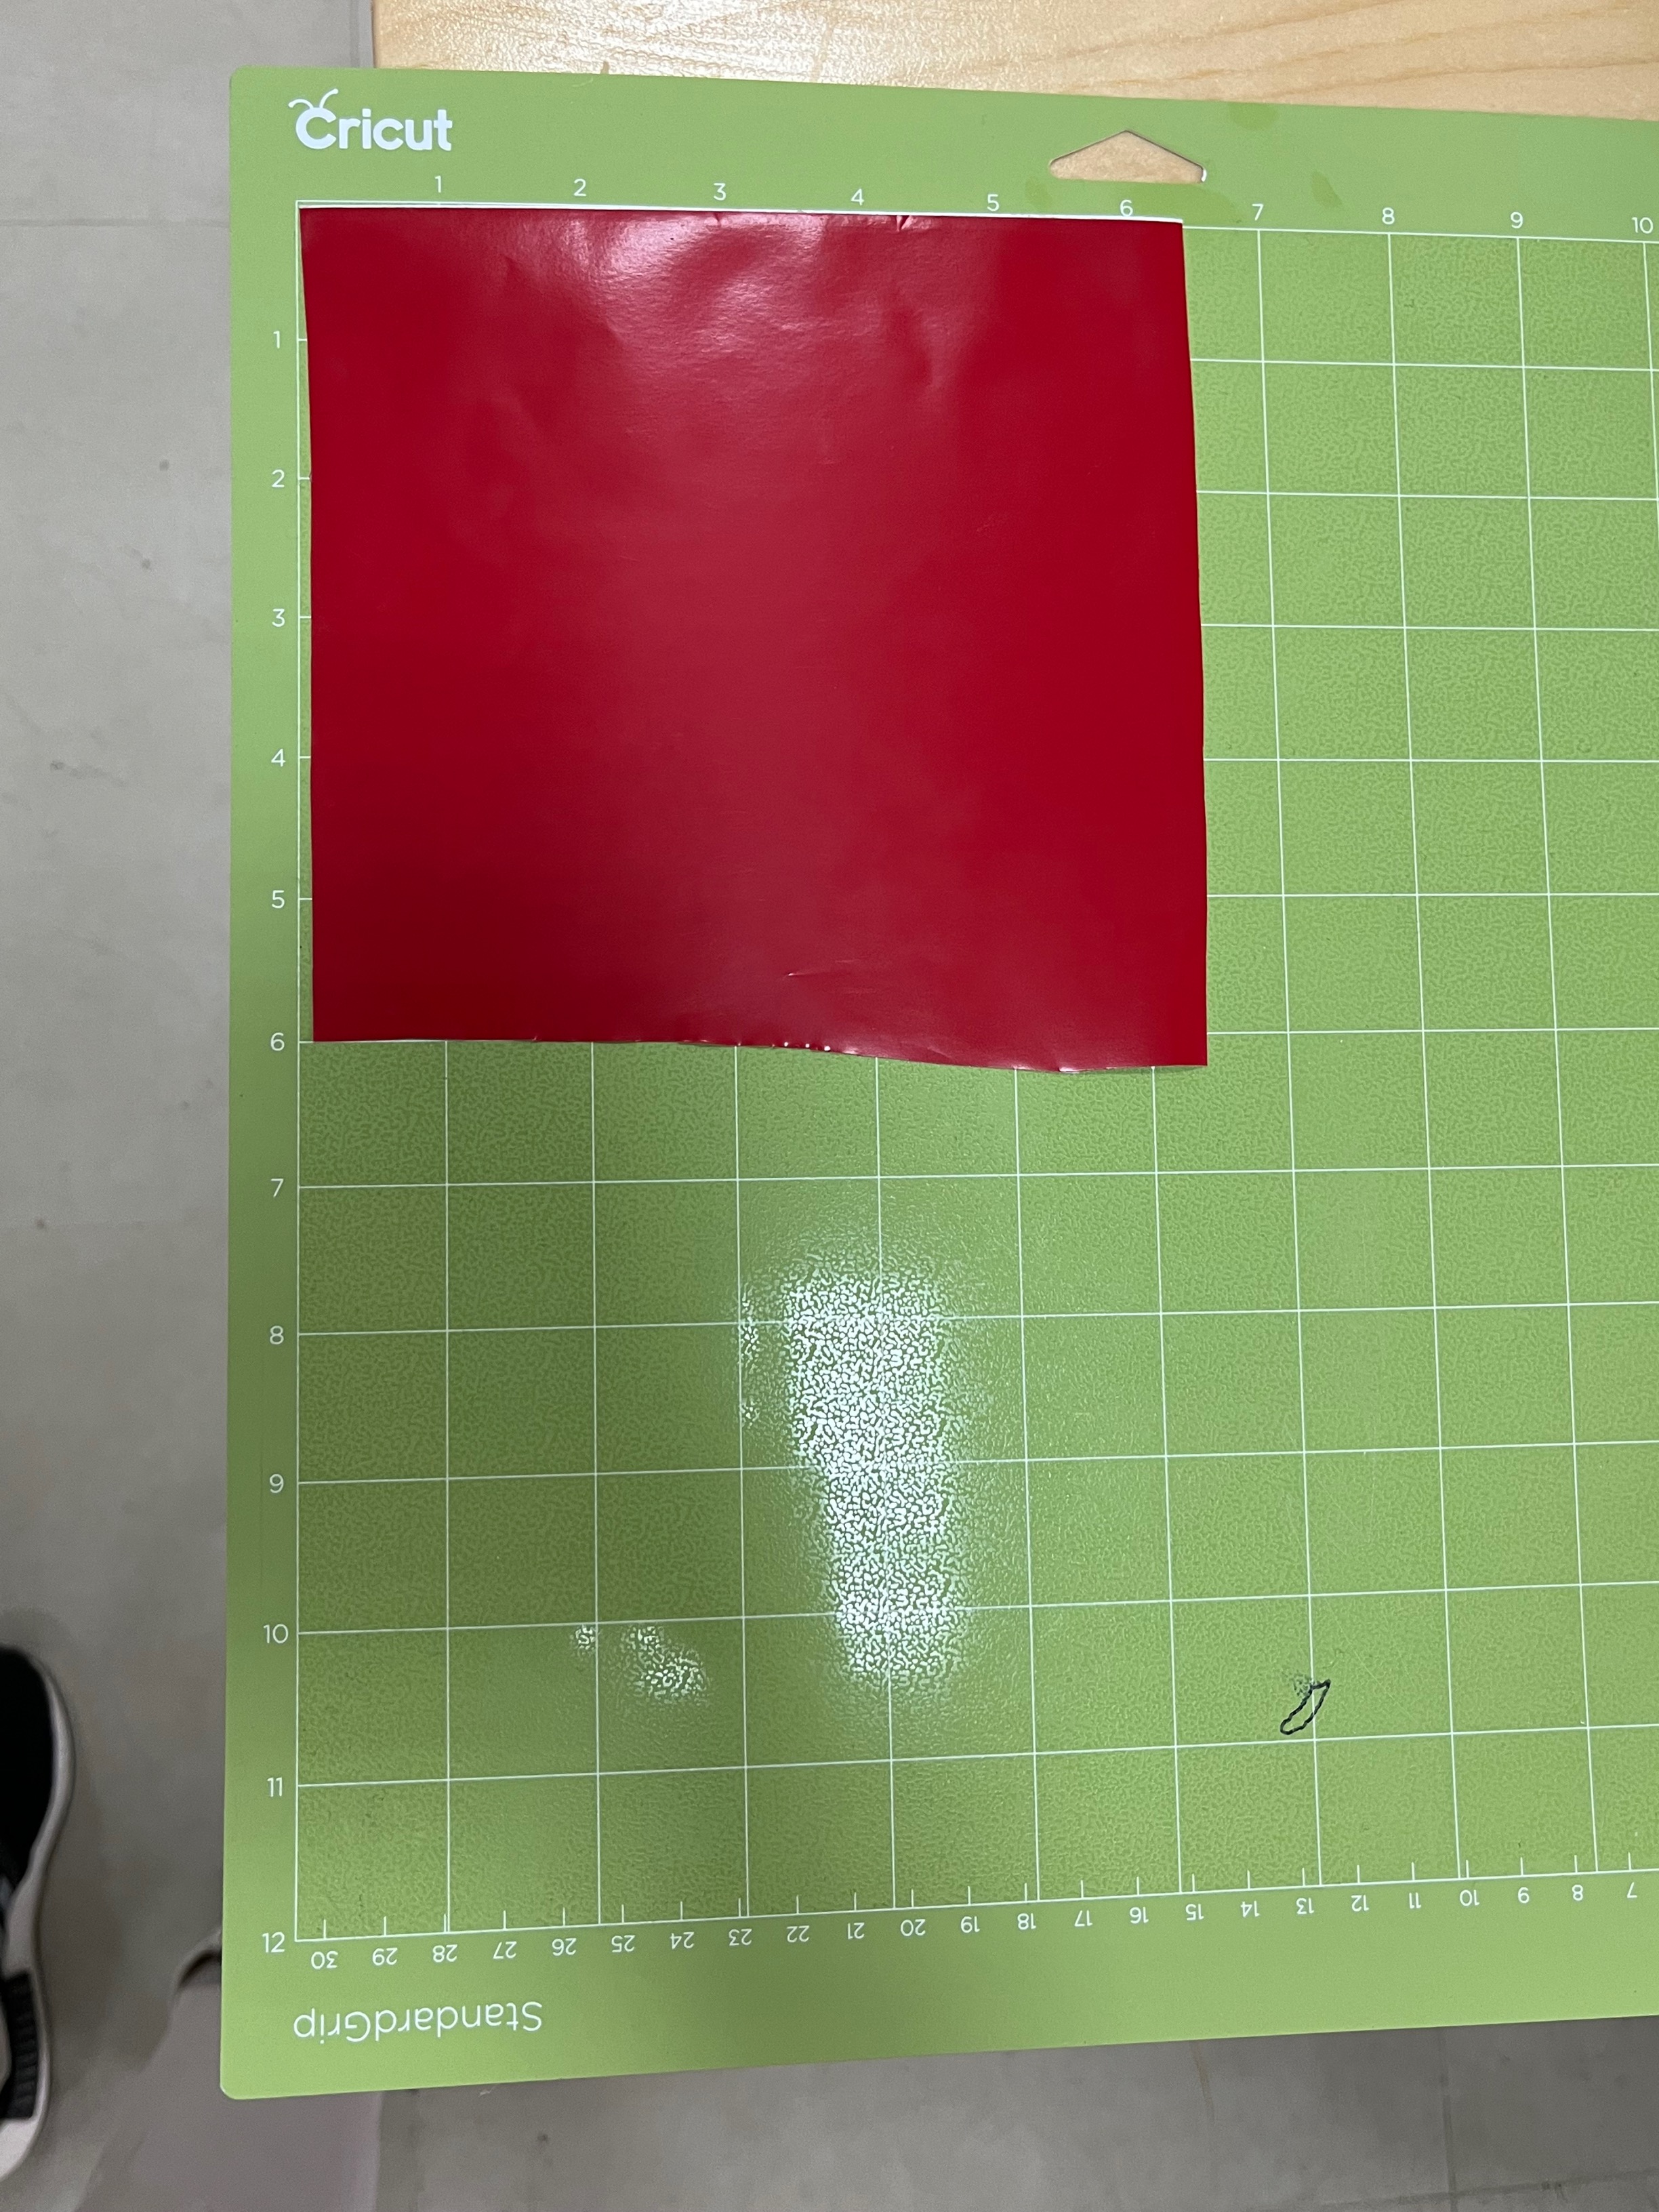
- Next, adjust the power (Vinyl) in order to suit the material which is in this case the sticker (vinyl) to prevent cutting the sticky sheet or not even cutting the sticker at all
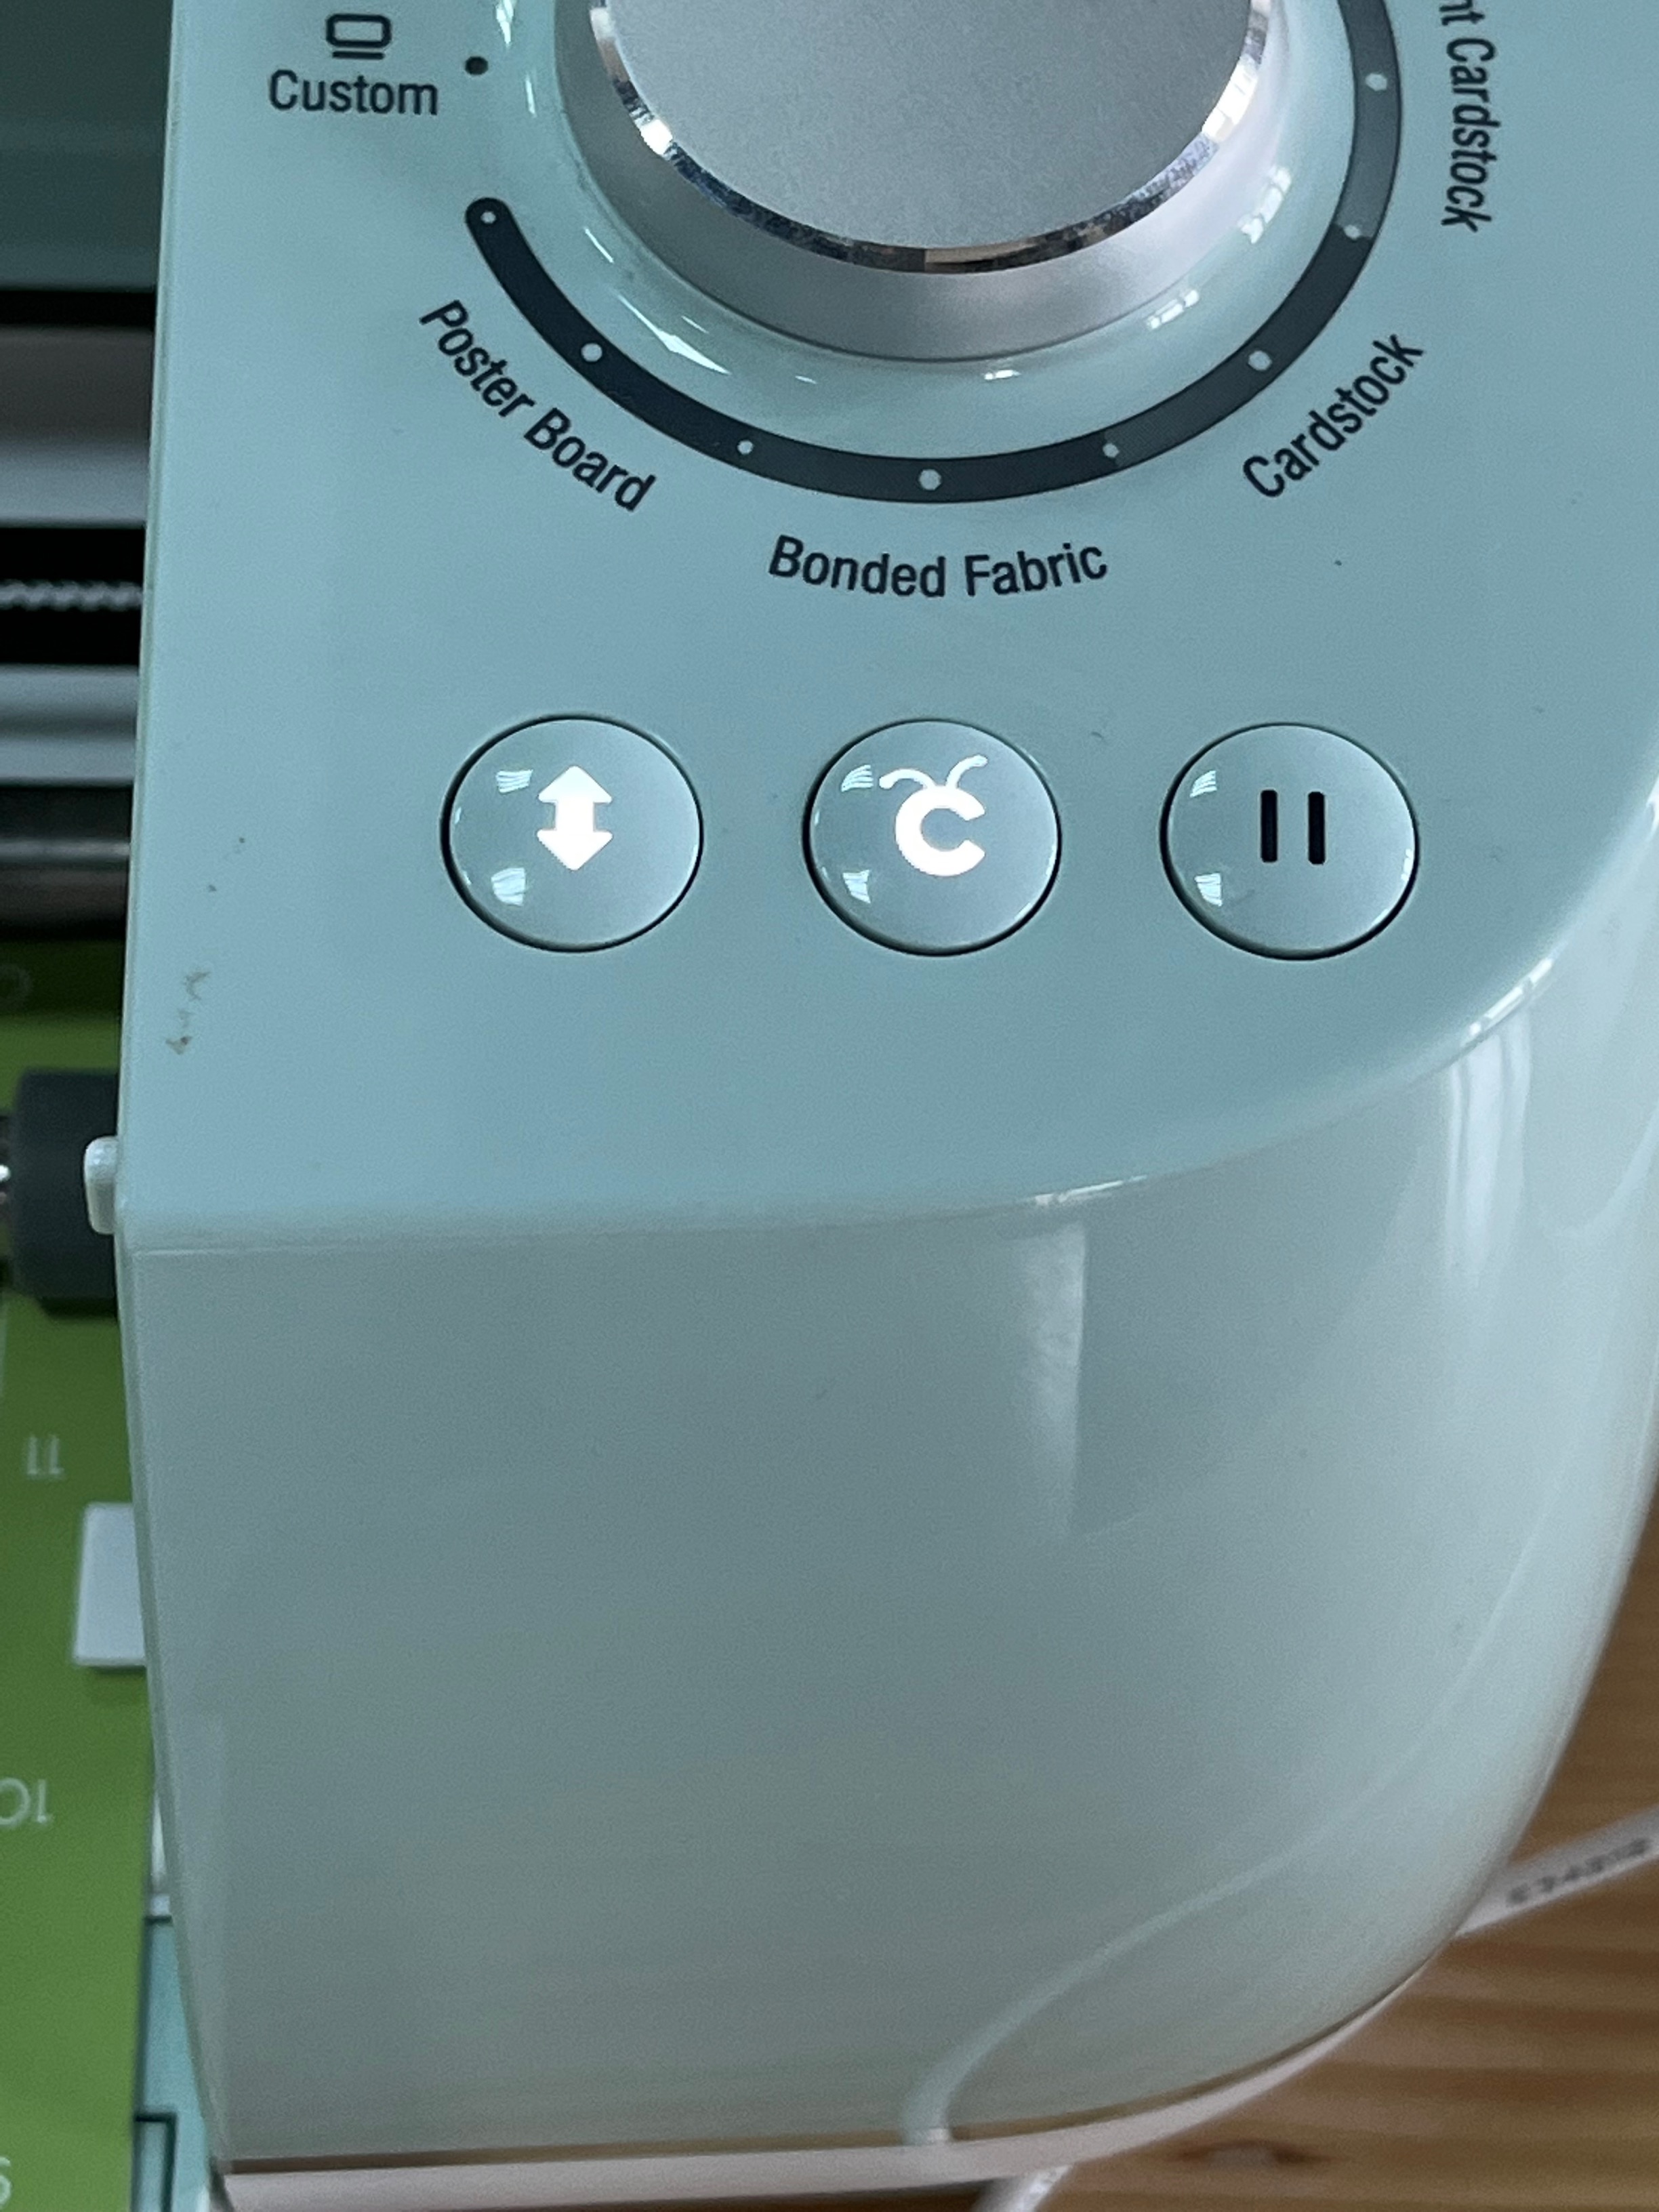
- Then, this button will flash which would be later pressed to fit the sheet inside the vinyl cutter
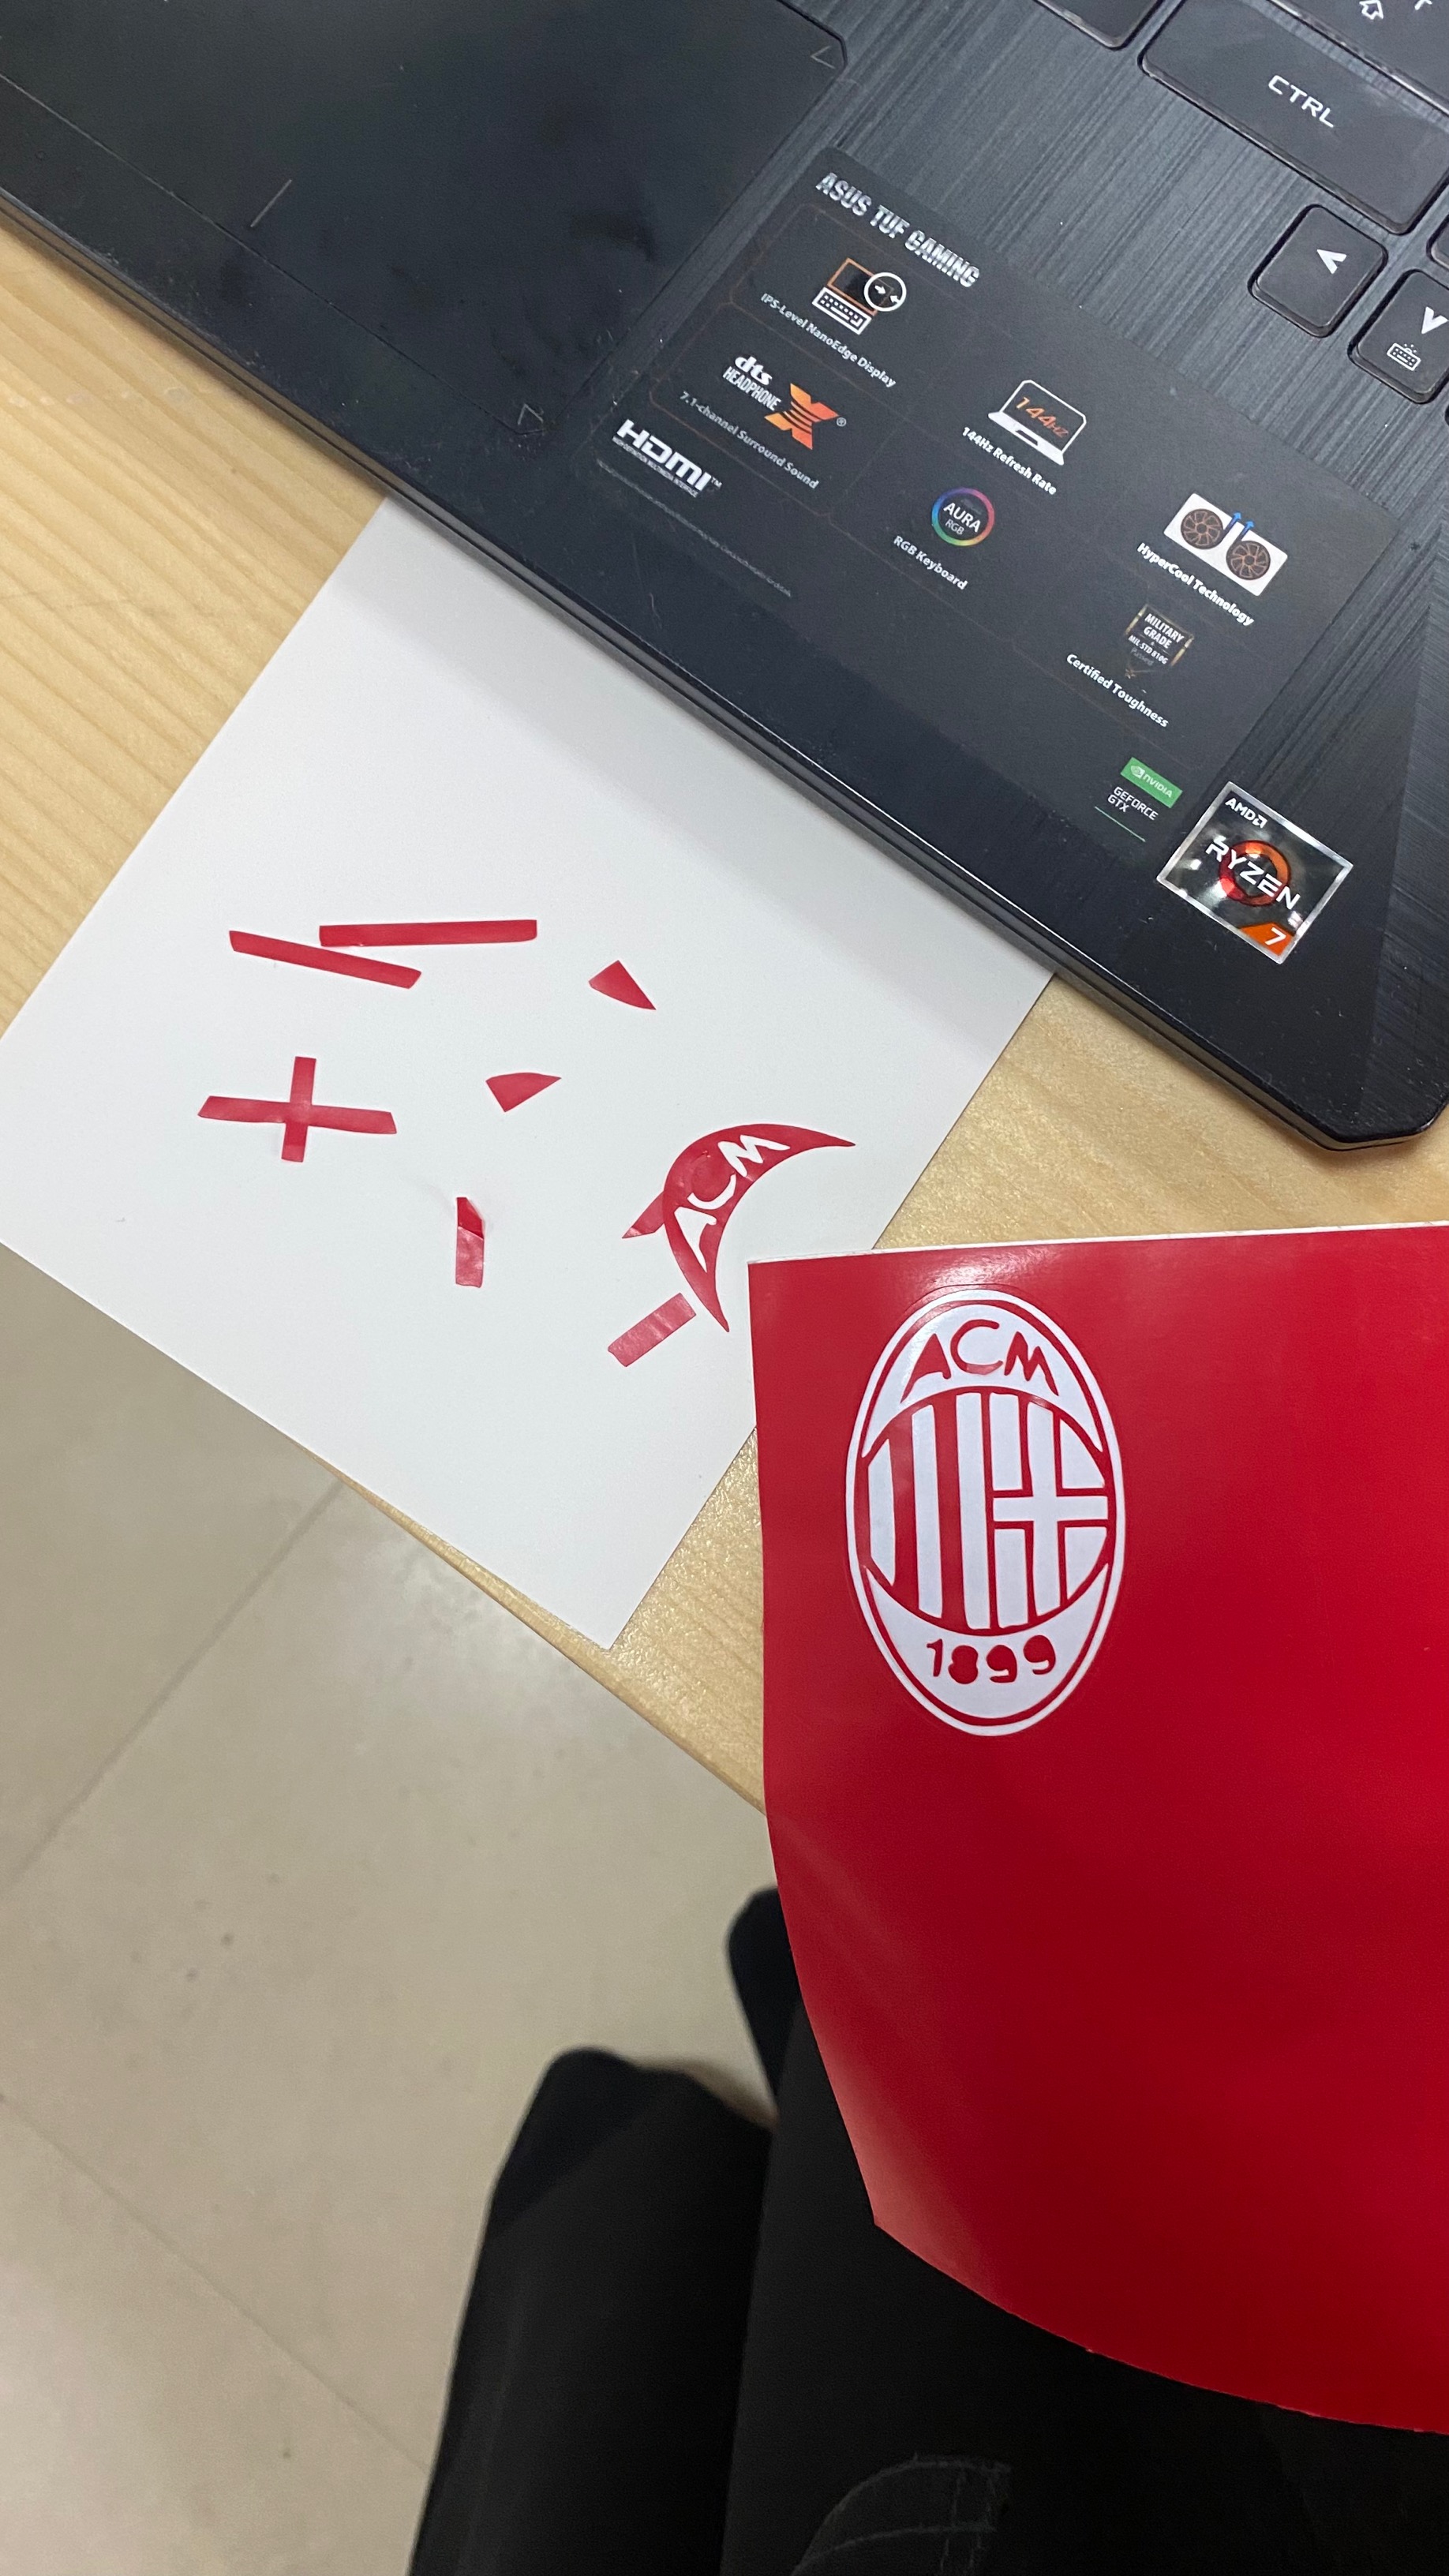
- This is how the sticker will look after removing the sticky material surrounding the design and after removing the excess material, the design will look like this:
- The final design will look as follows:
Laser Cutting Machine
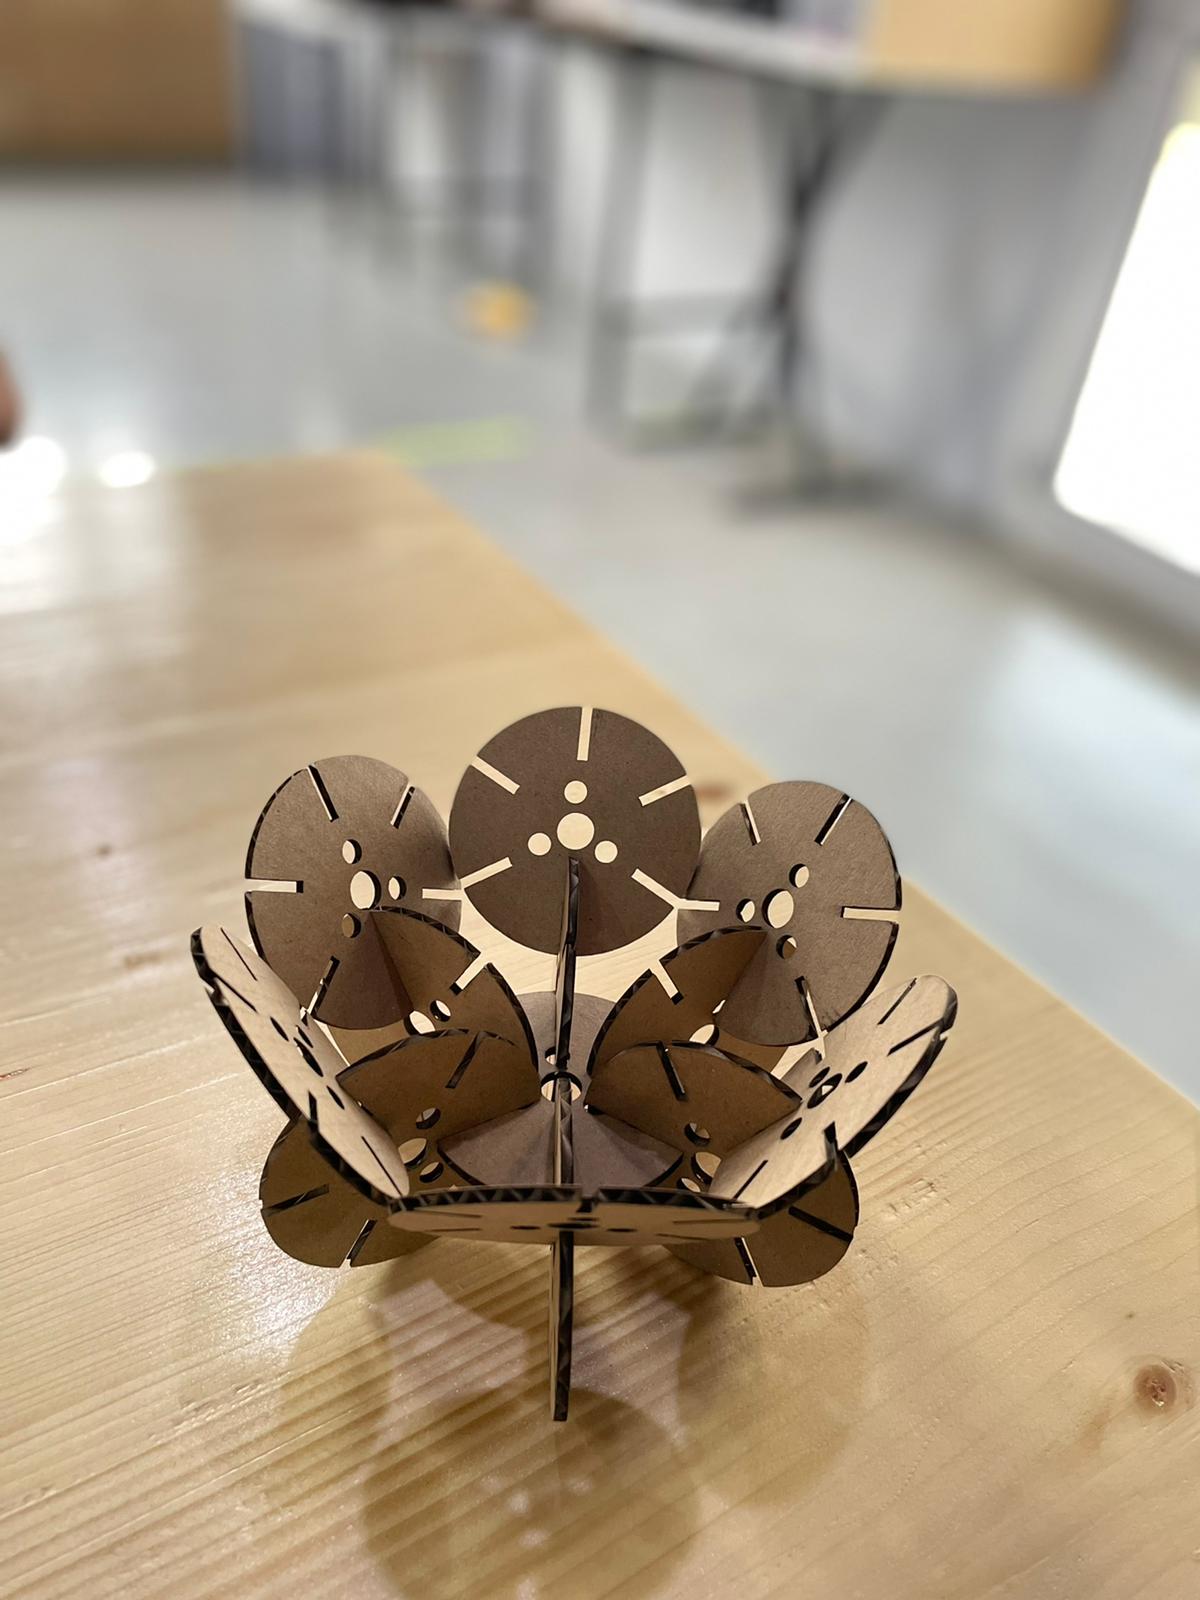
The individual assignment
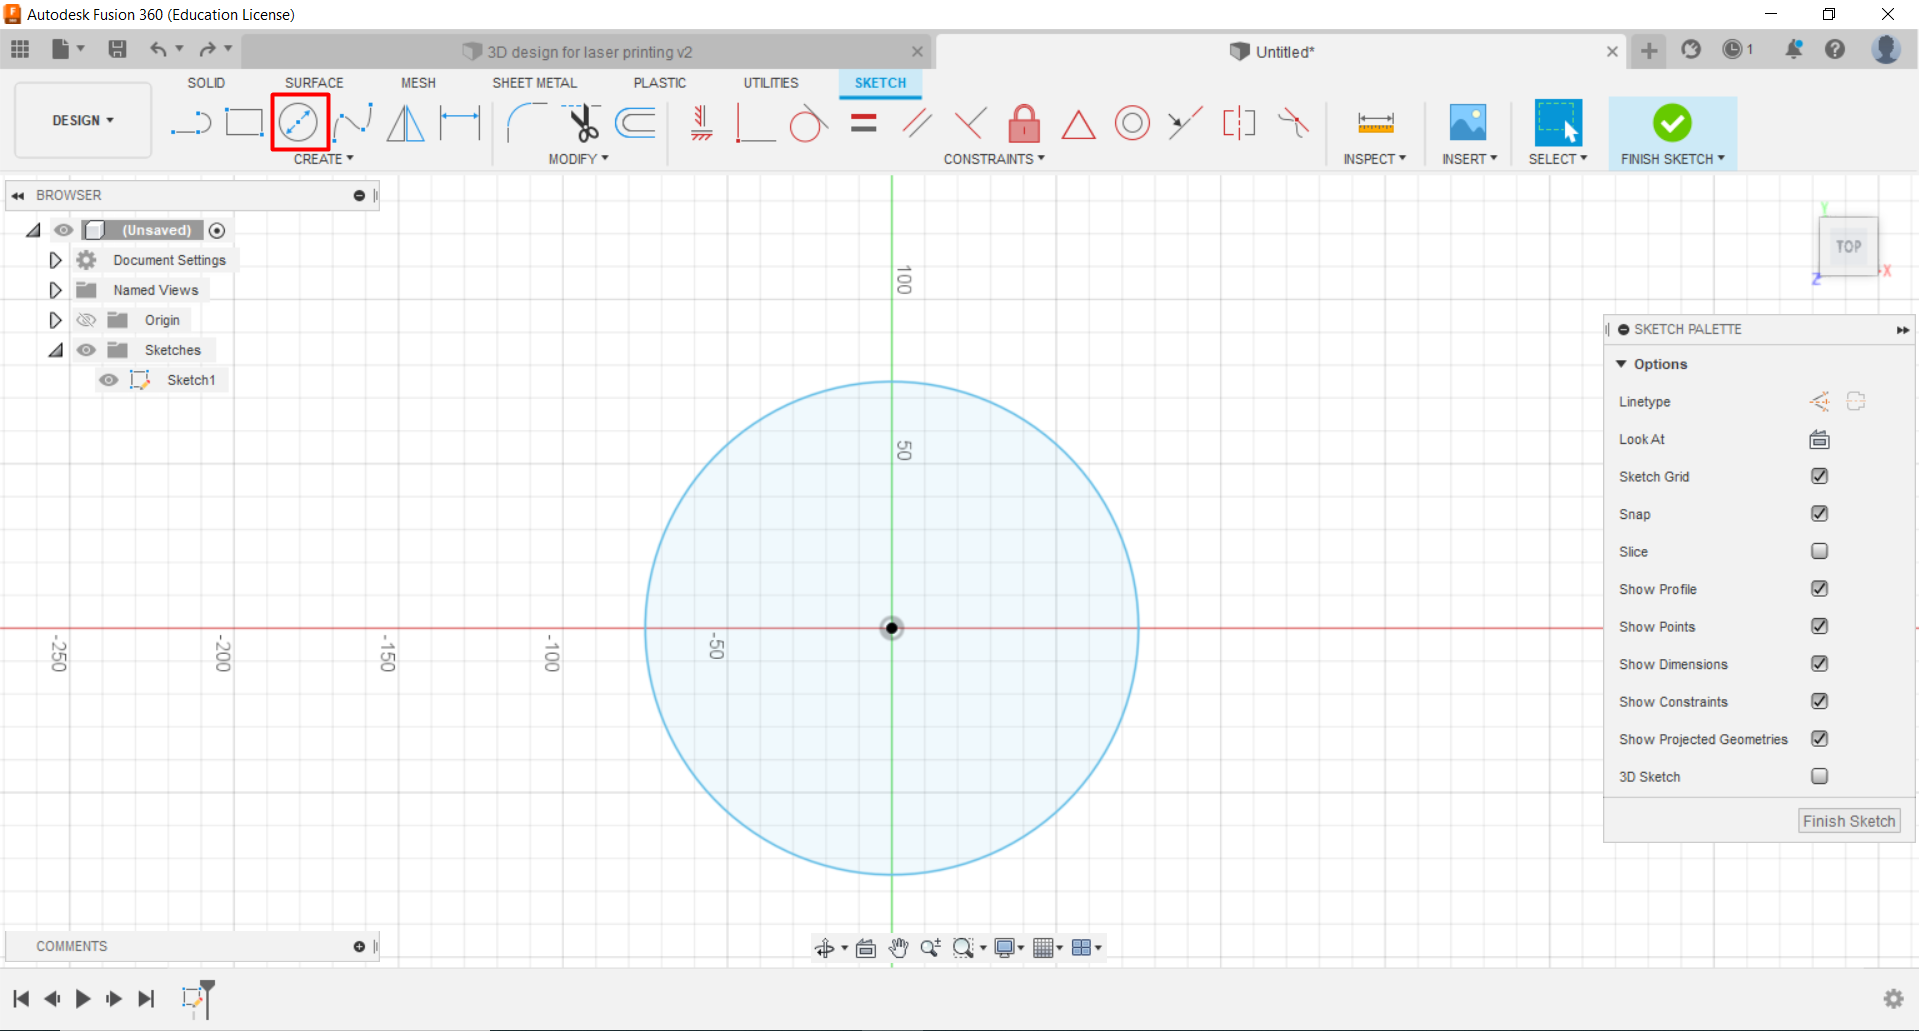
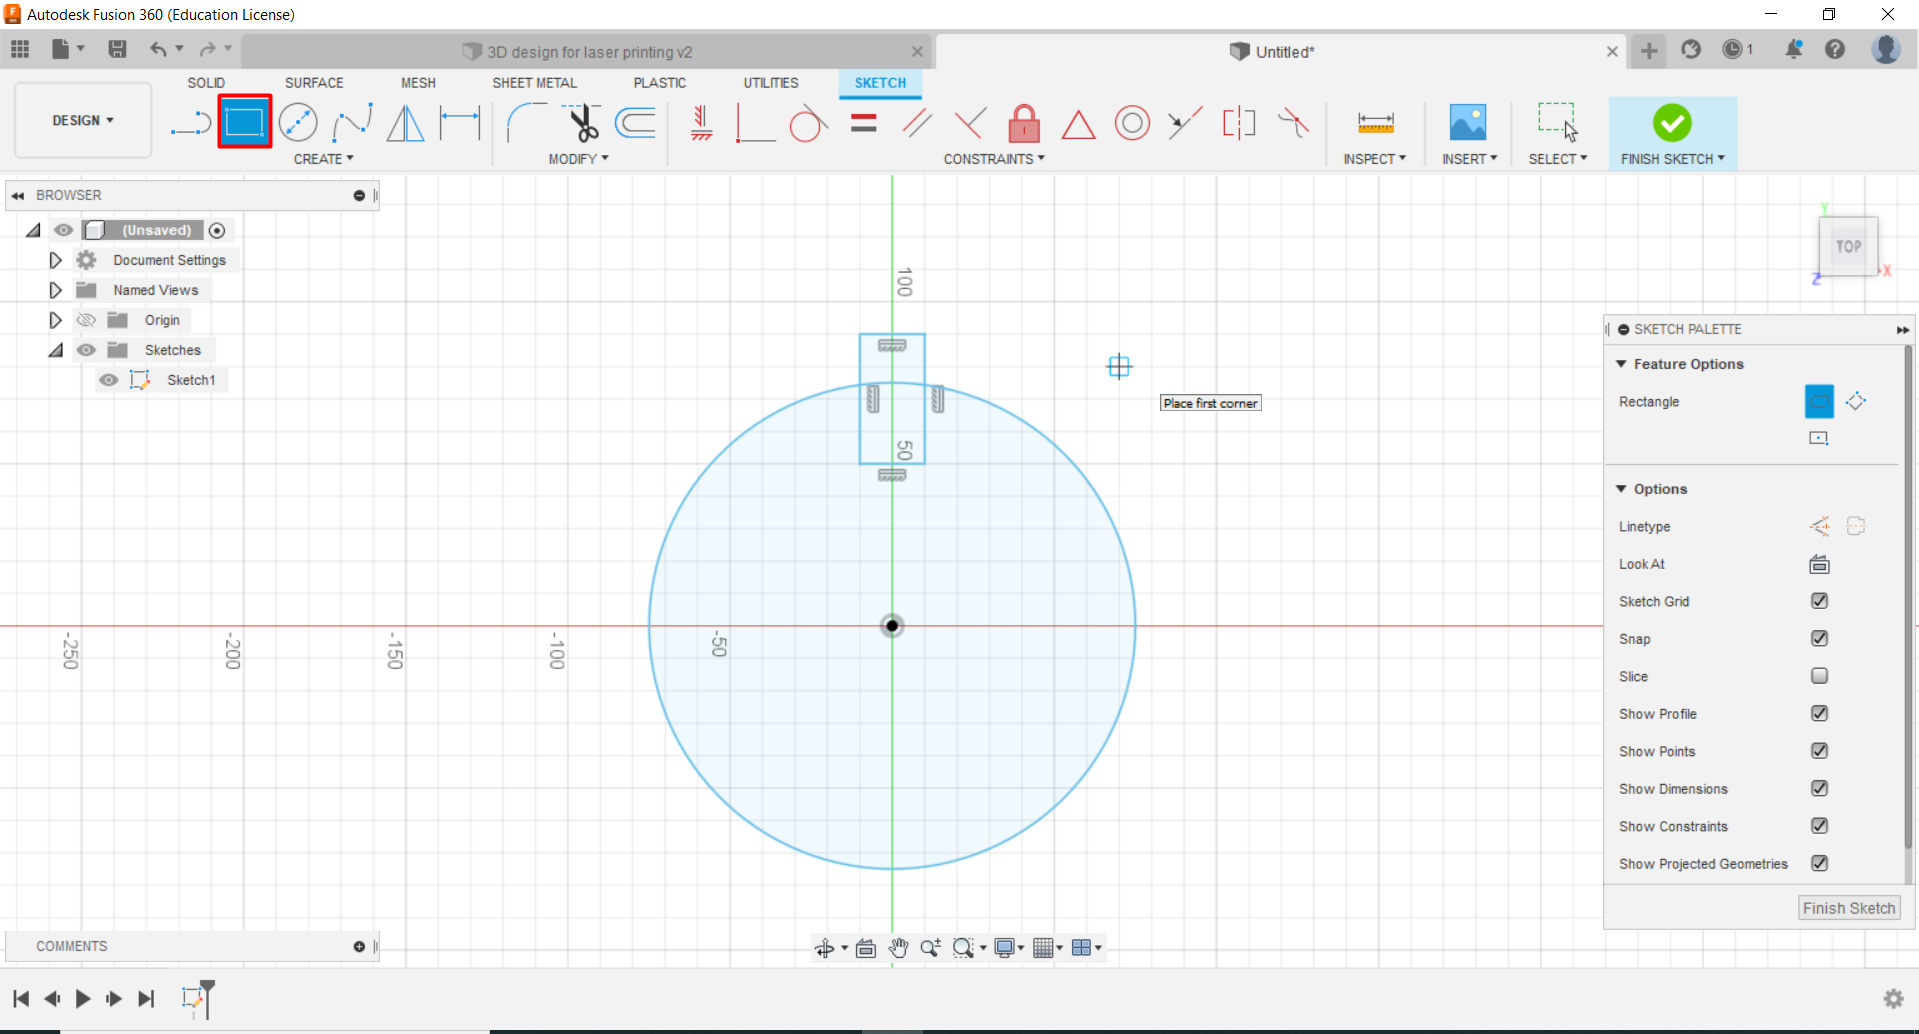
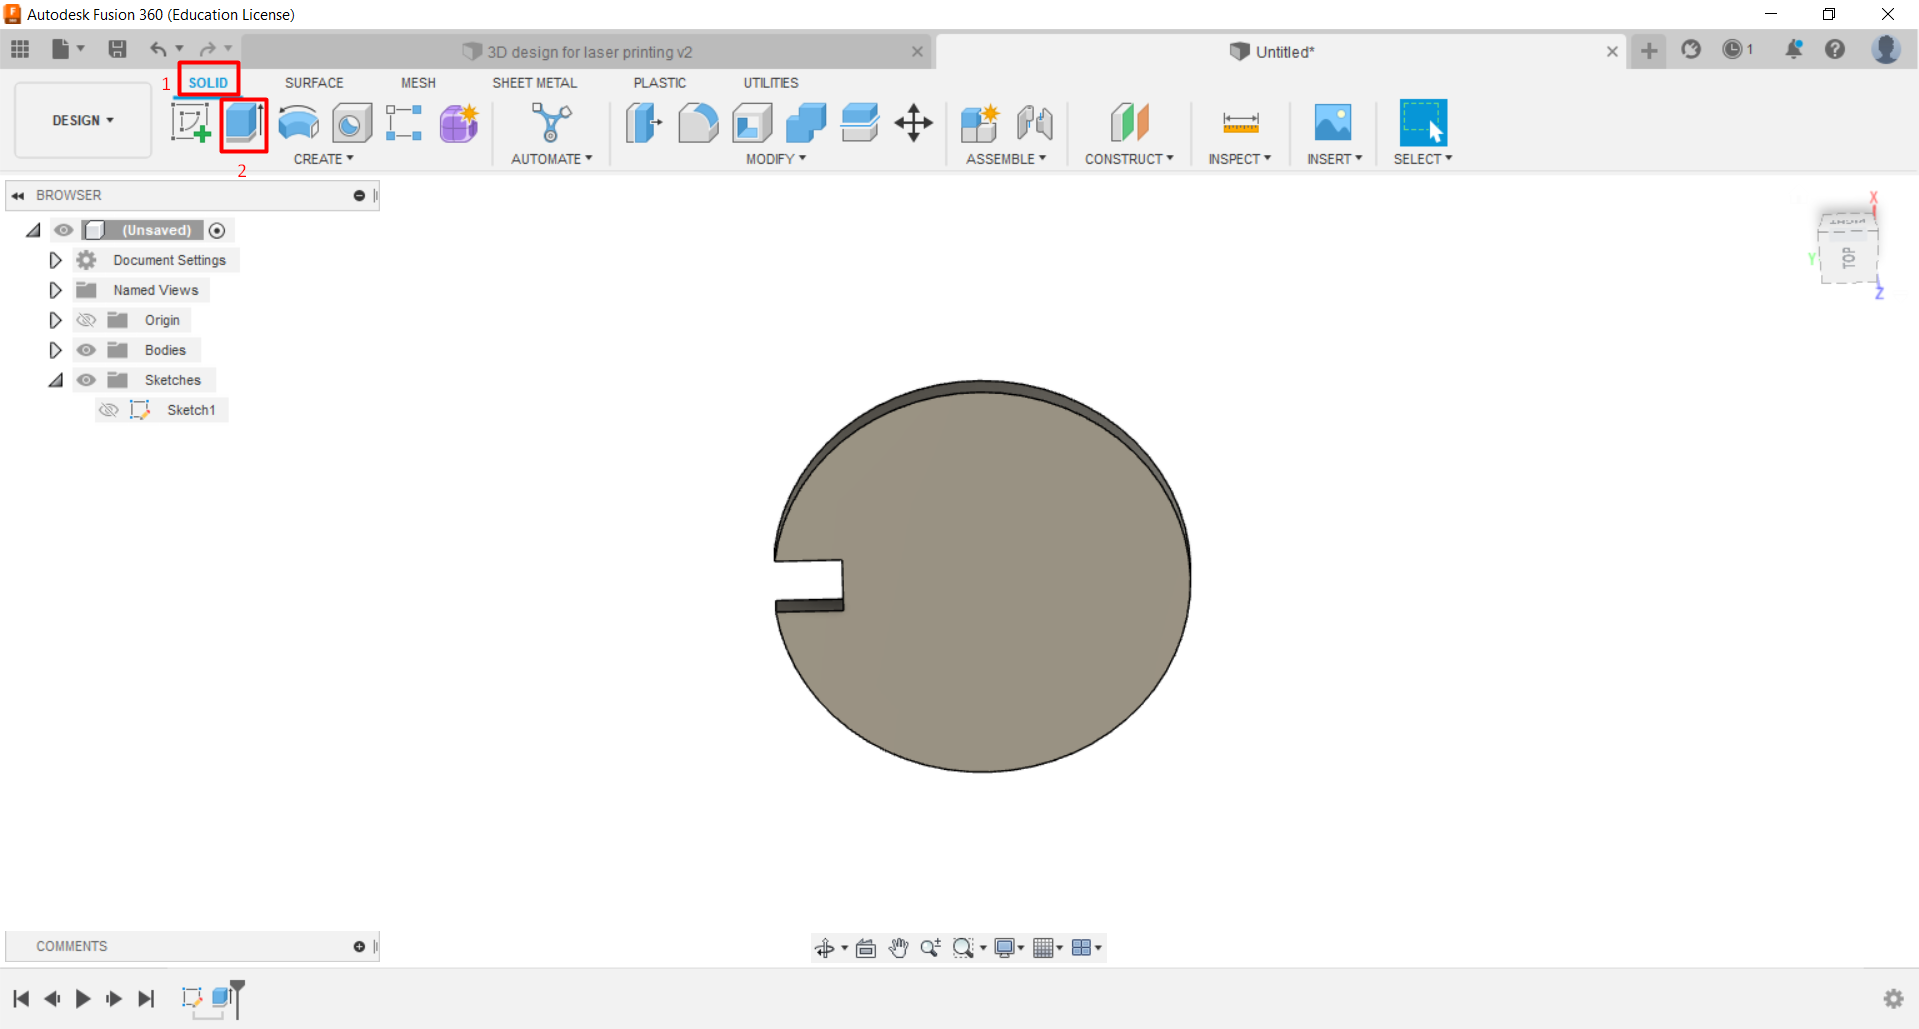
- Step 1: choose the circle shape and place it in the middle. then, put a rectangular on the top or bottom or any side of the circle and after that extrude the design
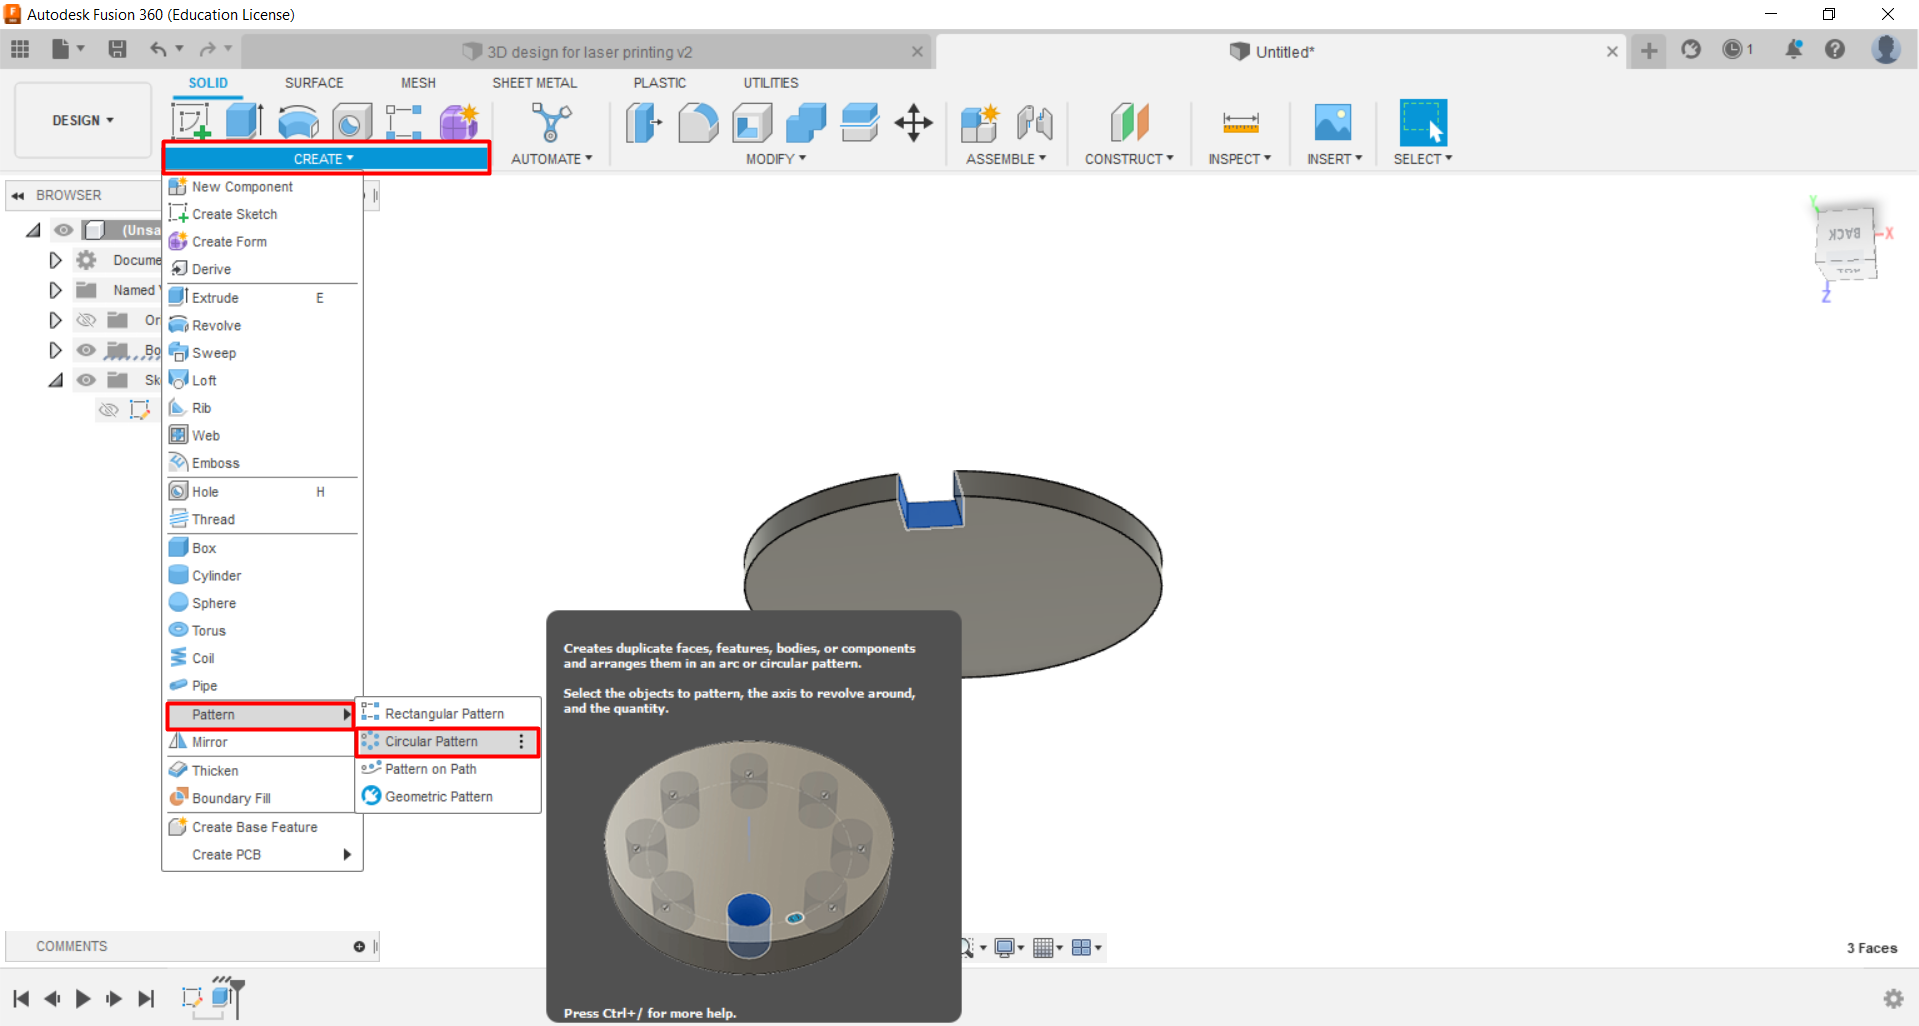
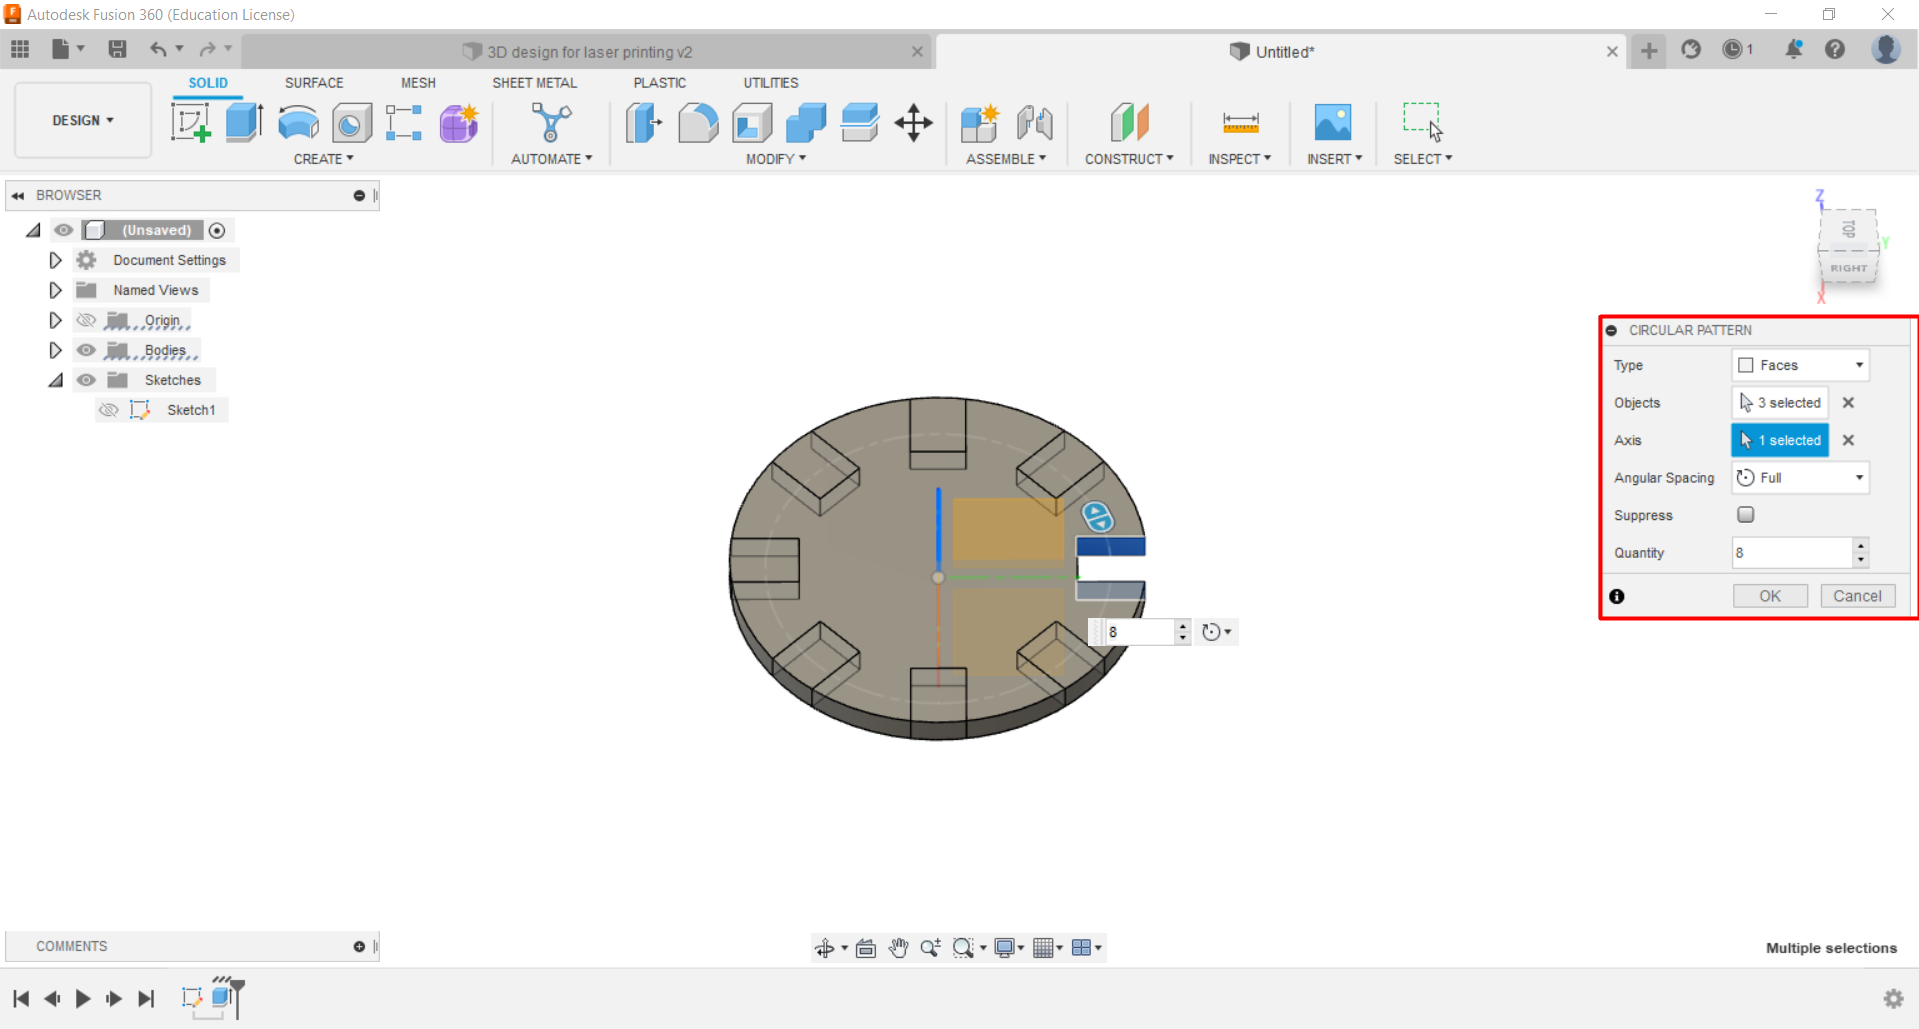
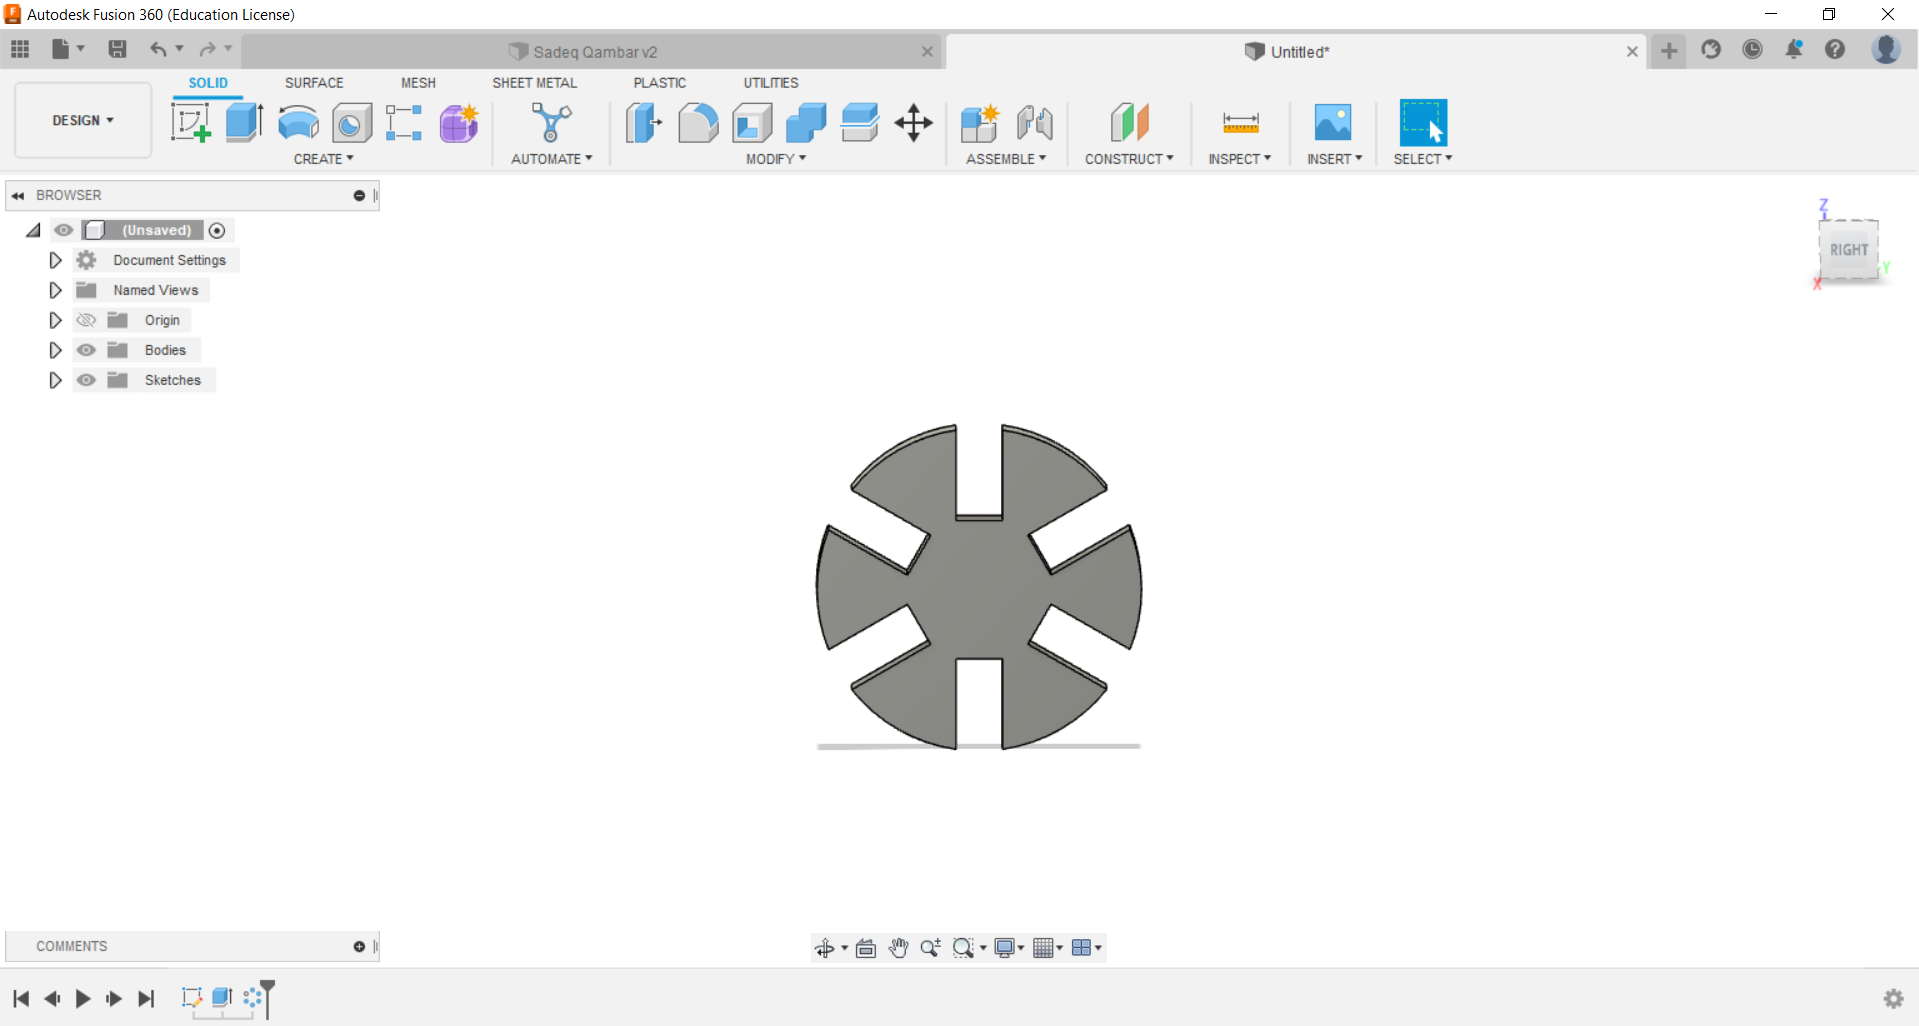
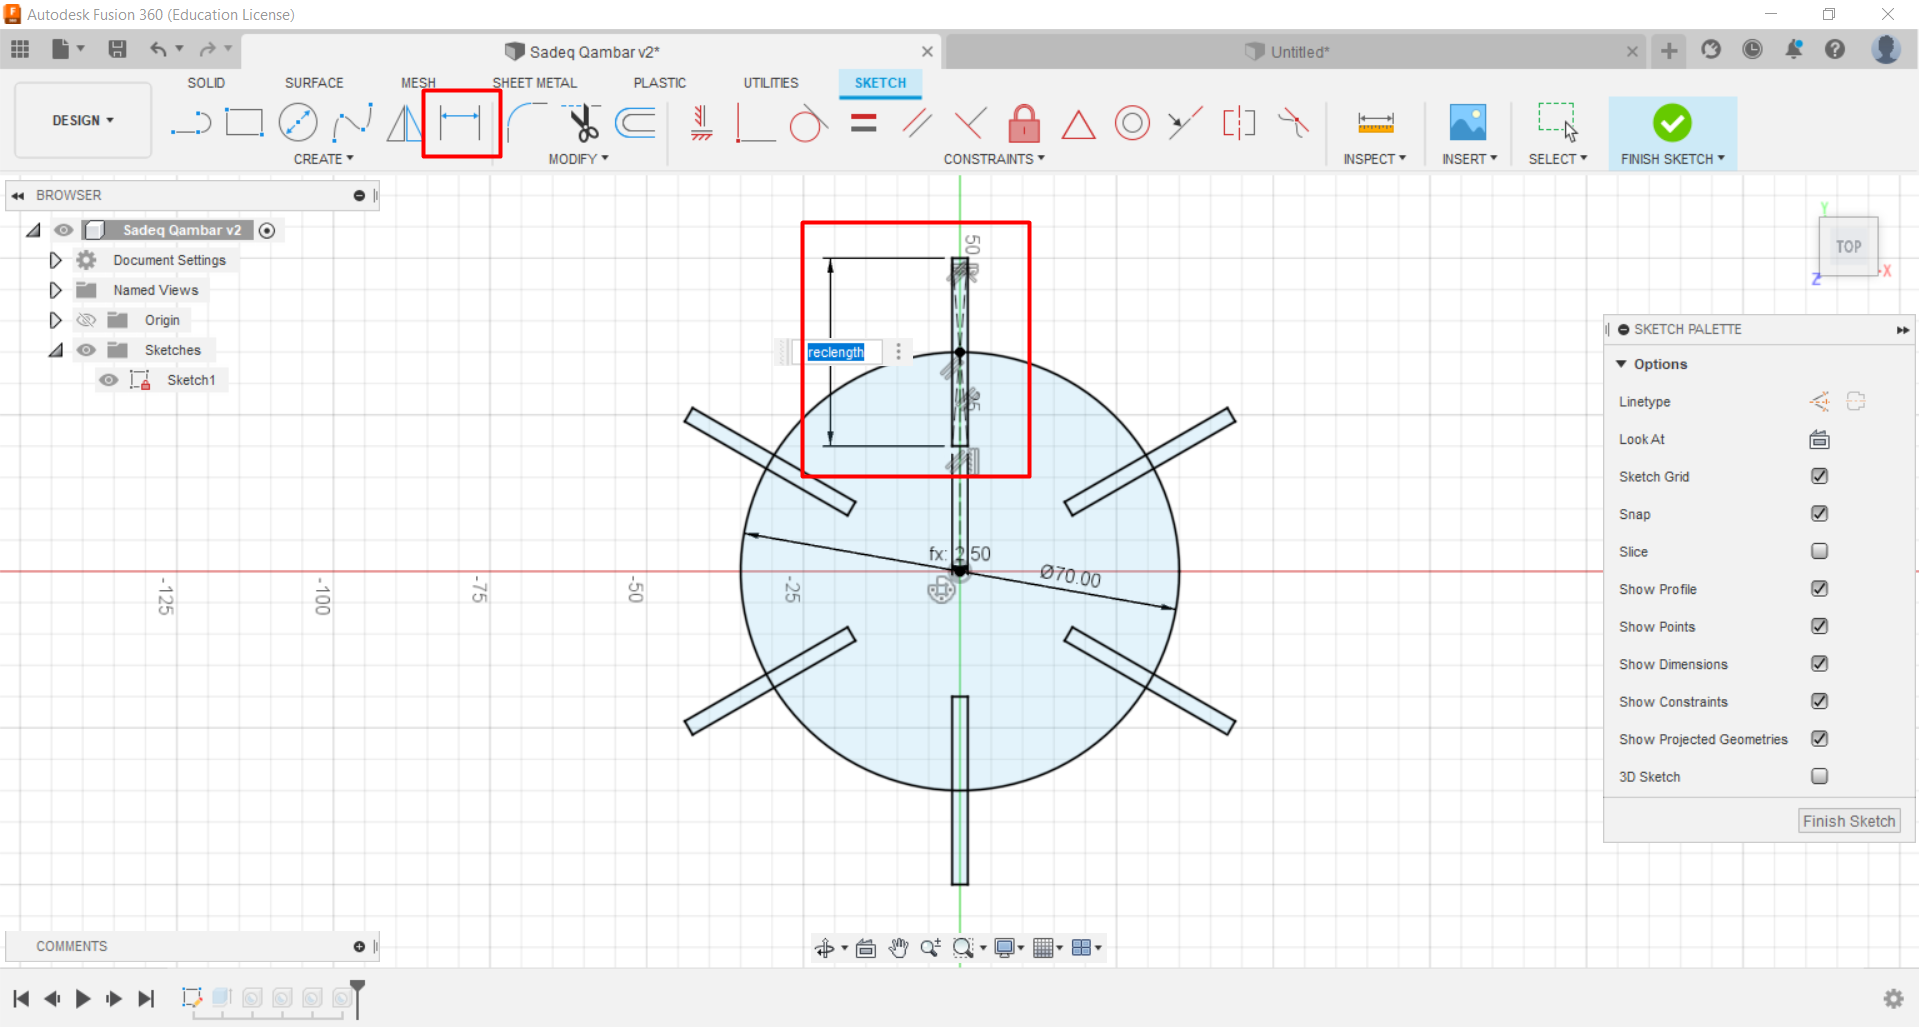
- Step 2: to make more of the rectangular, select the rectangular and press on create > pattern > circular pattern. next. select the dimention for the pattern as well as identify how many rectangulars you want. i picked 6.
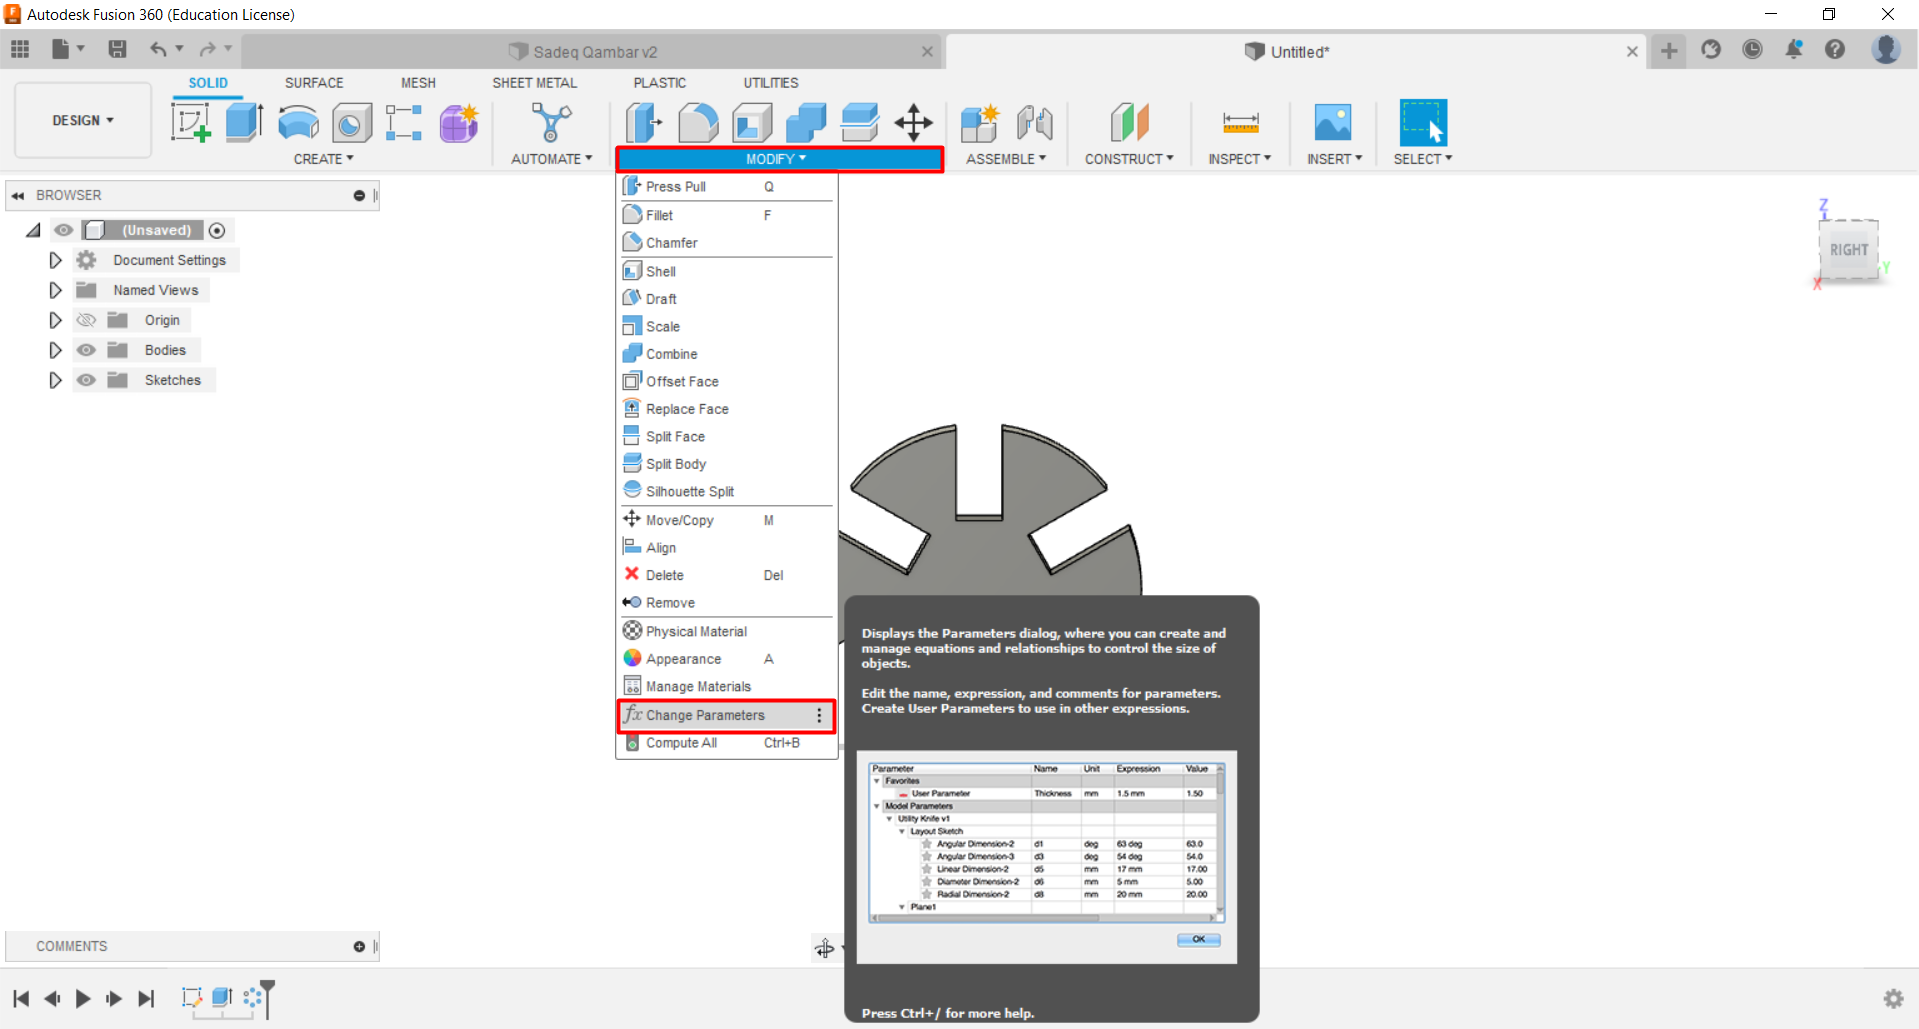
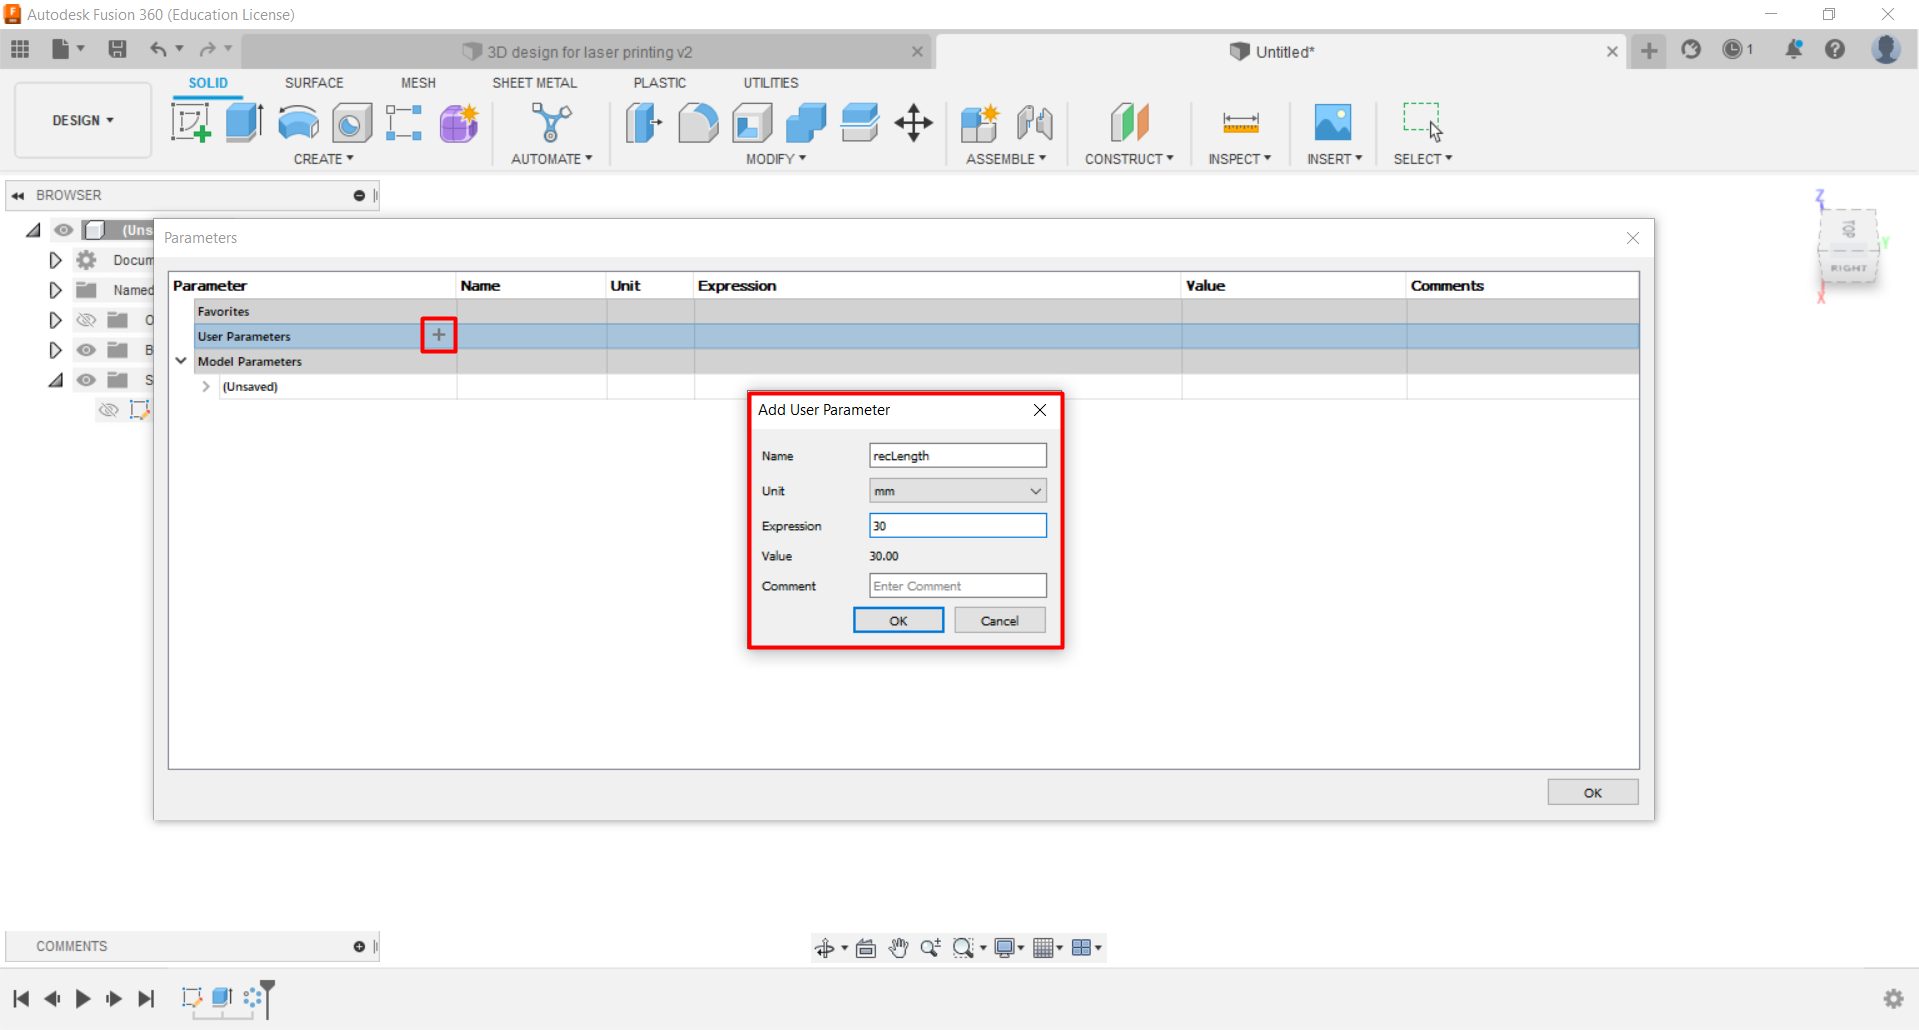
- Step 4: to add parameters, press on modify > change parameters. then, press on the plus sign to create them. After that. go back to your 2D sketch to put dimentions to your design and use the parameters that you already created
Hint: The addition of parameters to the design can make life too simple for us. Because for example, if we wanted to adjust the size of the joints, we could do so with a single click using the parameter rather than picking each one individually, saving us a lot of time.
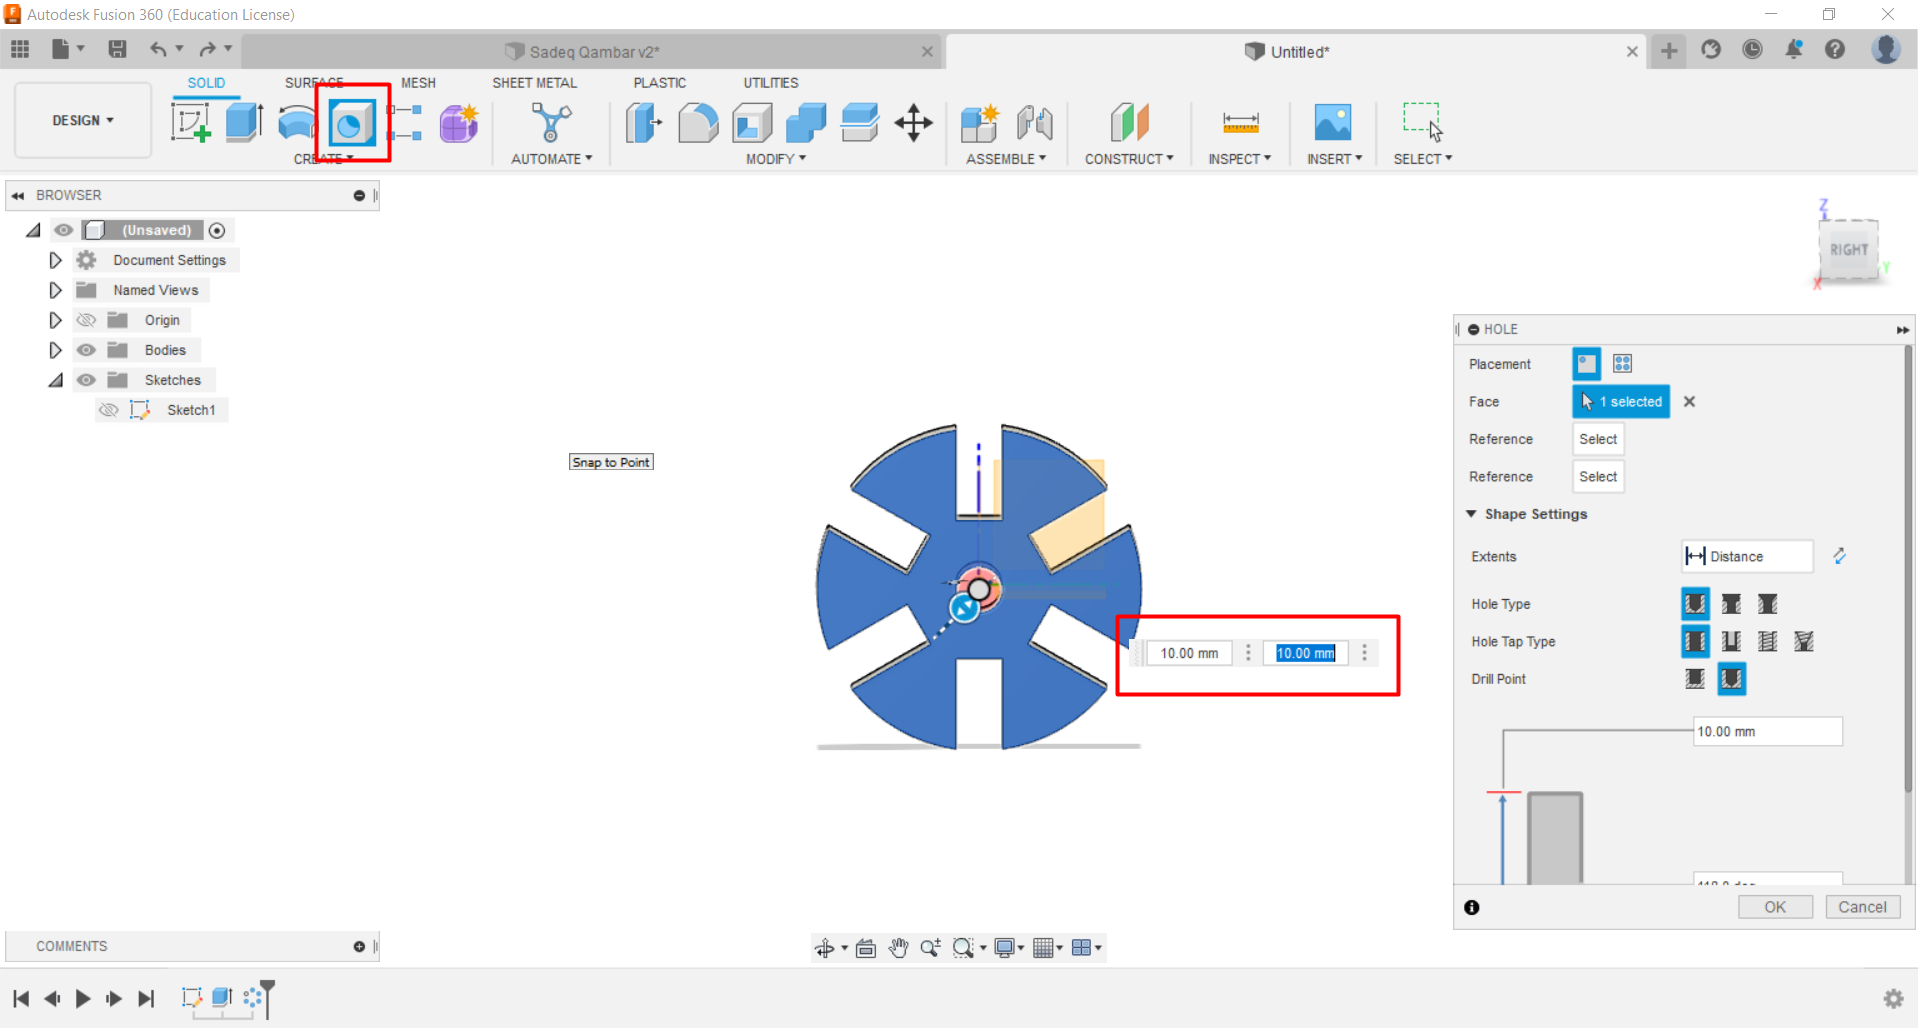
- Step 5: choose the hole option from the top bar and place it in the middle of the design, edit the design and the hole so you can add more holes

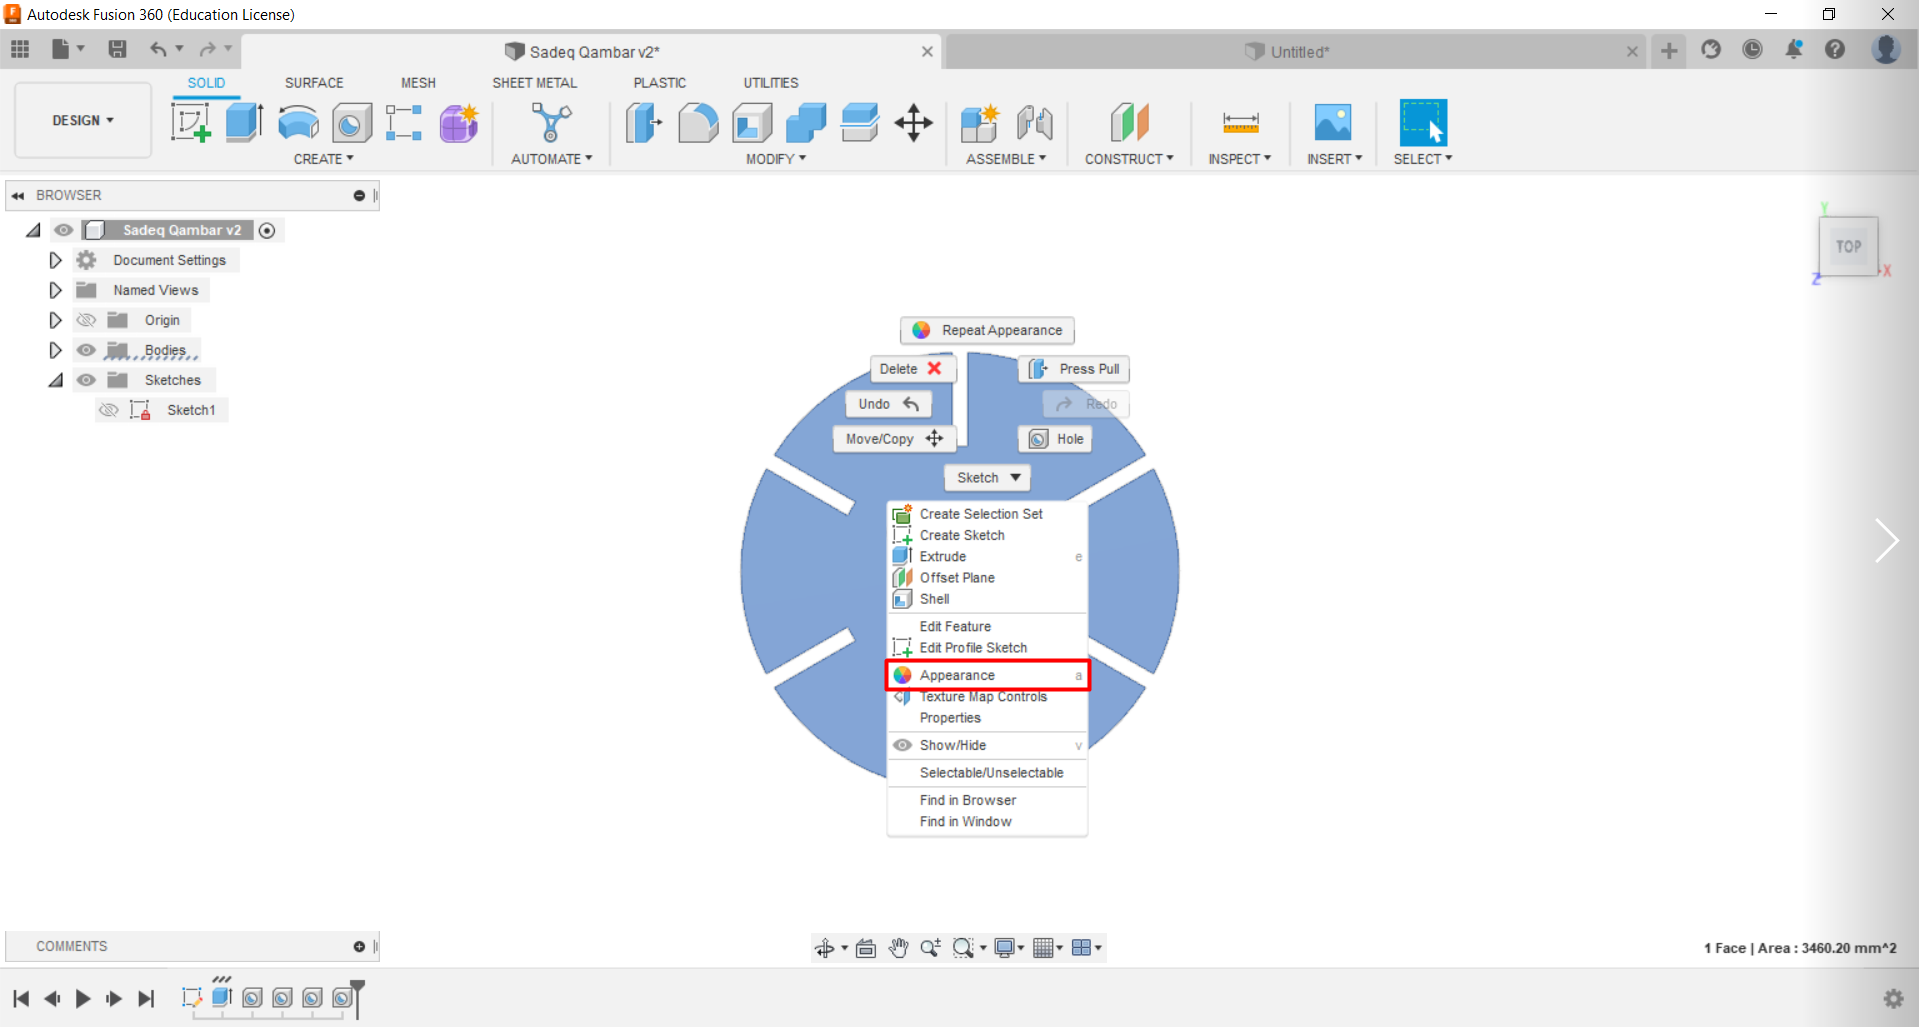
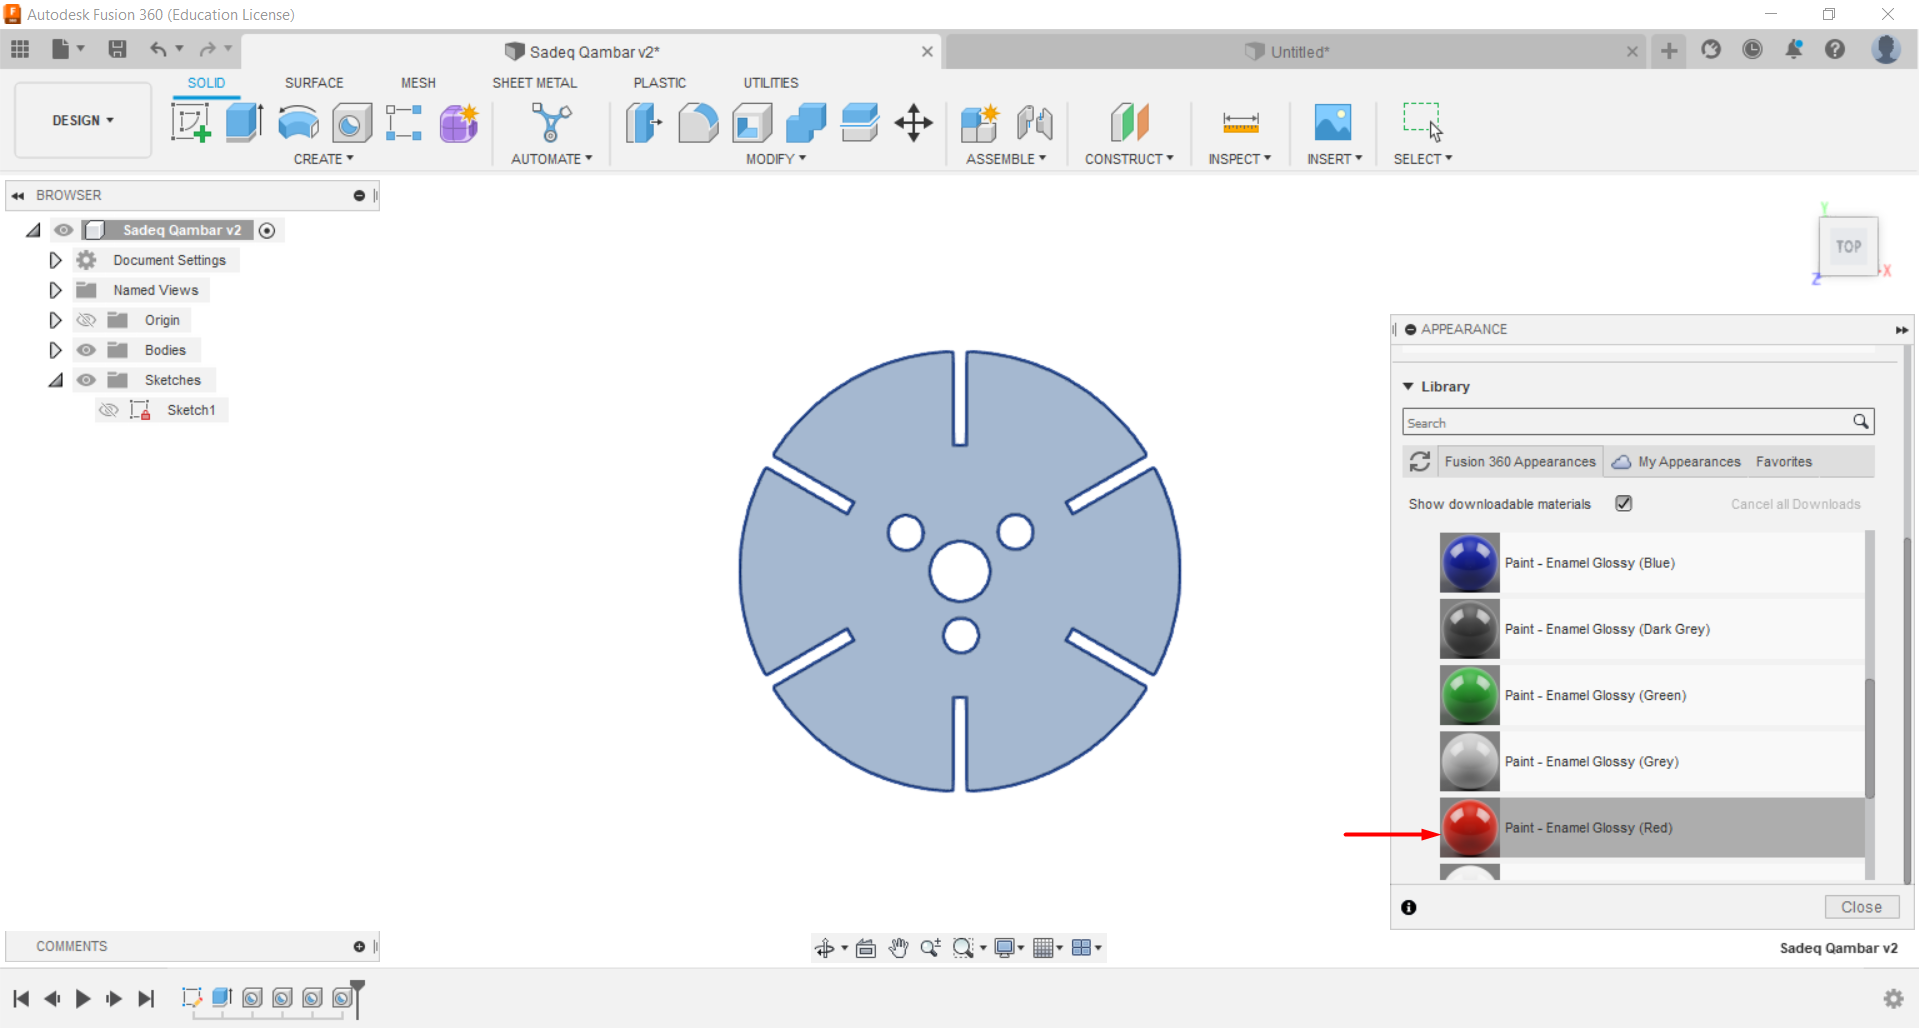
- Step 6: To change the color of the design, press right click on the design and choose appearance. then, go to library > paint > glossy and pick the color you want to drag it to the design. i picked red

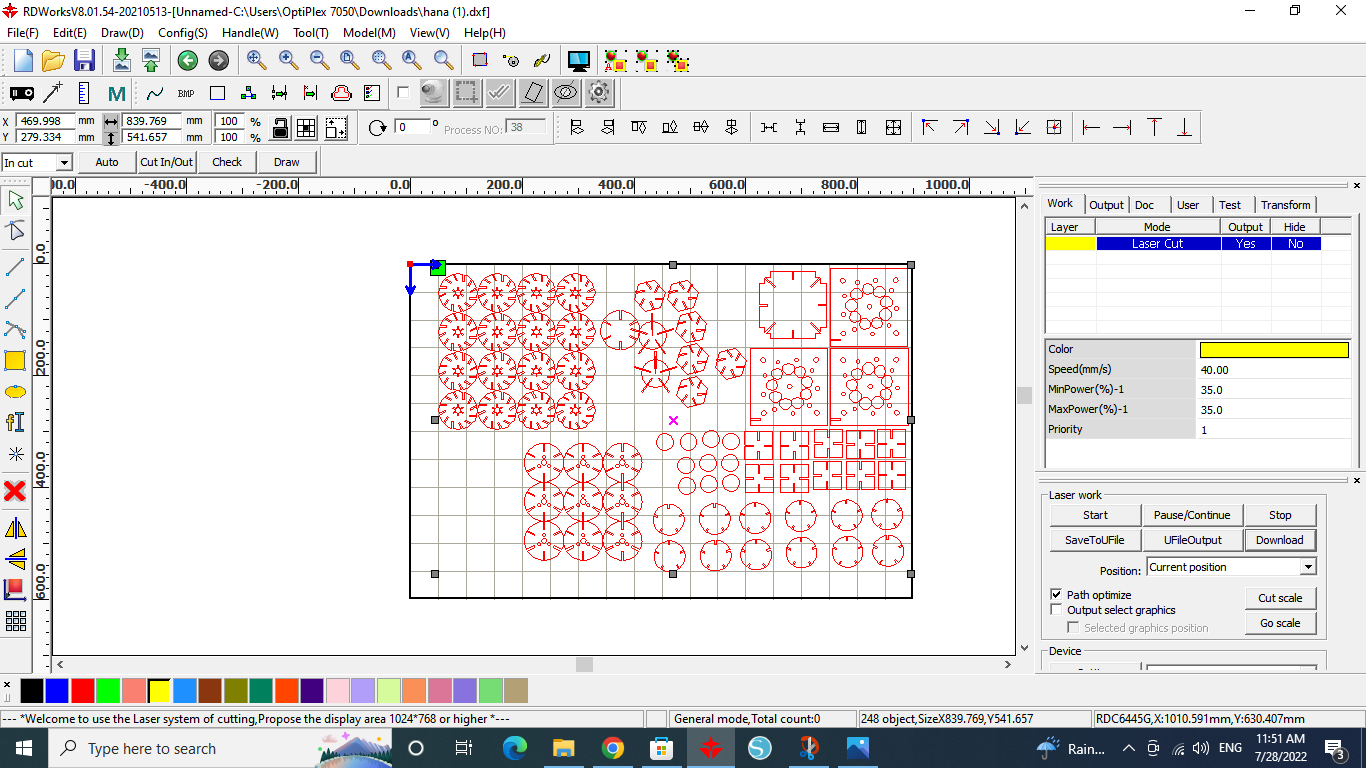
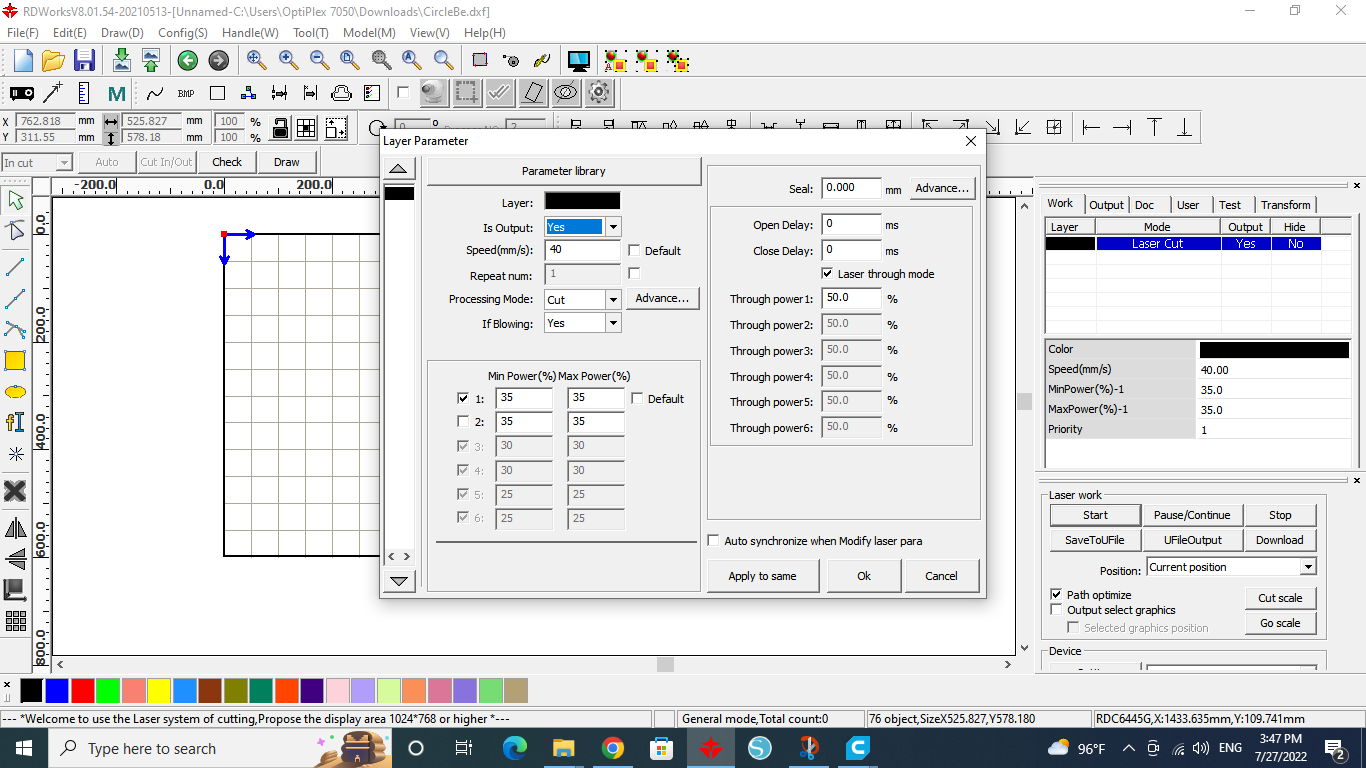
- Step 7: save the design as dxf file to send it the main PC, Then, from the main PC adjust the speed and the power of the laser machine. Finally, download the design to the laser machine and let it start cutting
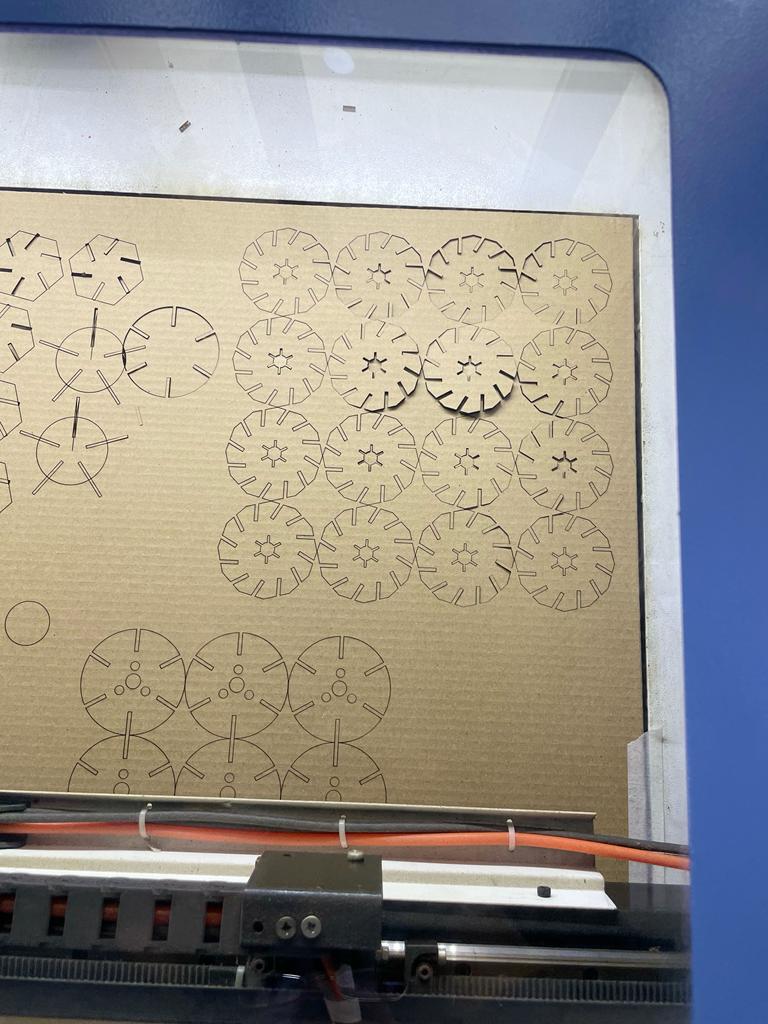
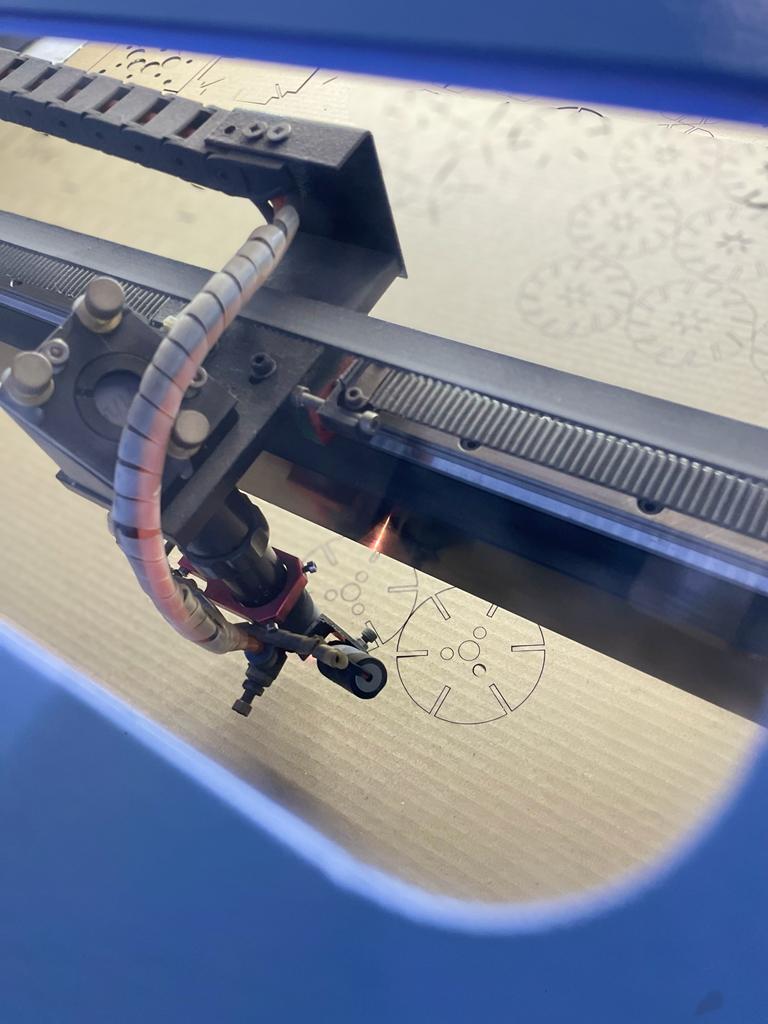
The final result
To download the original file - Download
The group assignment
As part of this group assignment, we looked at the focus, power, speed, rate, kerf, and joint clearance of the CO2 laser cutter. More information is provided in Jenan Website