8. Moulding and casting
This week has been devoted to developing, making, and casting a mold.
Moulding and Casting:
Molding is the process of manufacturing by shaping liquid or pliable raw material using a rigid frame called a mold or matrix. While, casting is a manufacturing process in which a liquid material is usually poured into amold, which contains a hollow cavity of the desired shape, and then allowed to solidify. The solidified part is also known as a casting, which is ejected or broken out of the mold to complete the process.
Milling machine:
A milling machine is a machine that rotates a circular tool with several cutting blades placed symmetrically around its axis; the workpiece is typically held in a vise or other similar device fastened to a table that may move in three perpendicular directions.
Group Assignment
In the group assignment, we were requested to test different materials for moulding and casting, the material I tested with my colleague Hanaa was the Dry Putty. Click here for our group assignment.
Individual Assignment
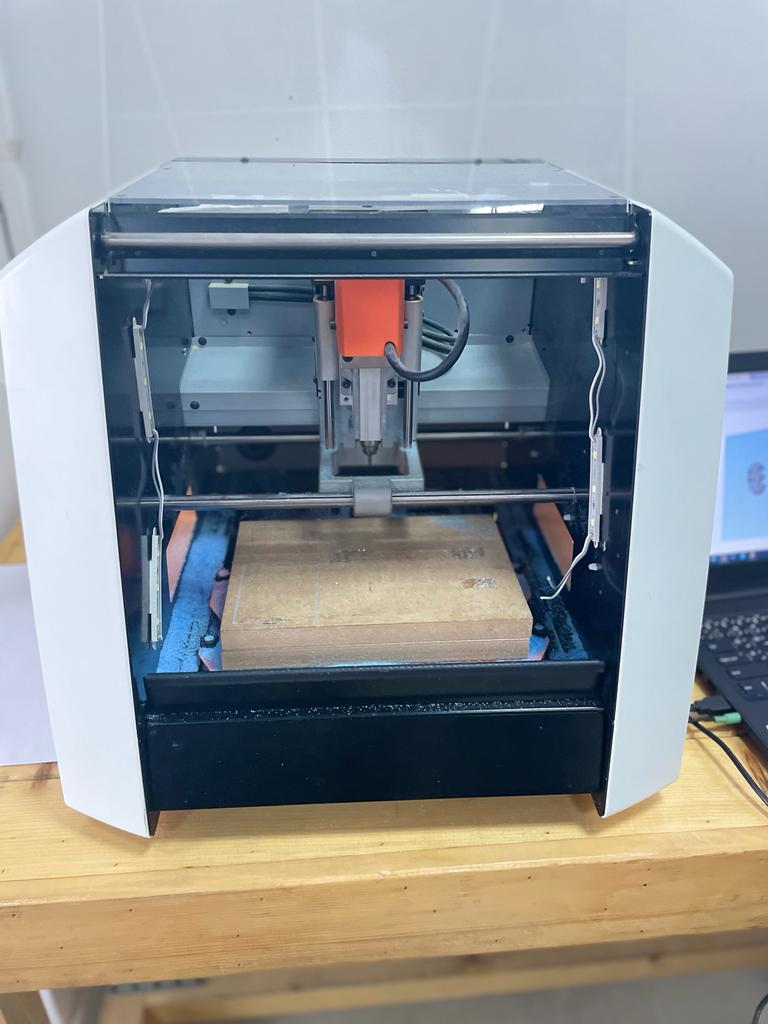
- The Roland SRM-20 was the milling machine in use. It is linked to a program made especially for the device called SRP player.
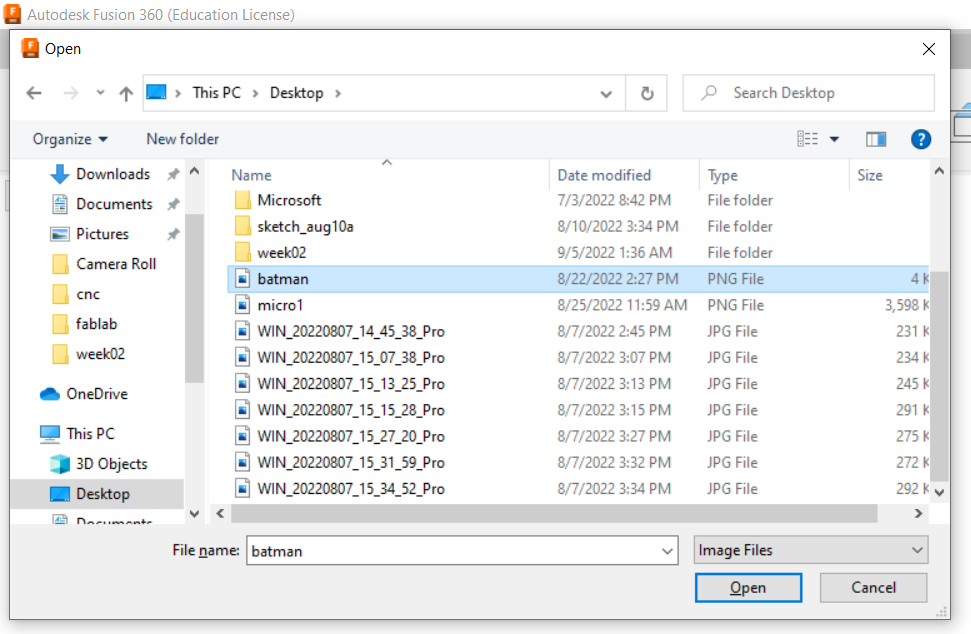
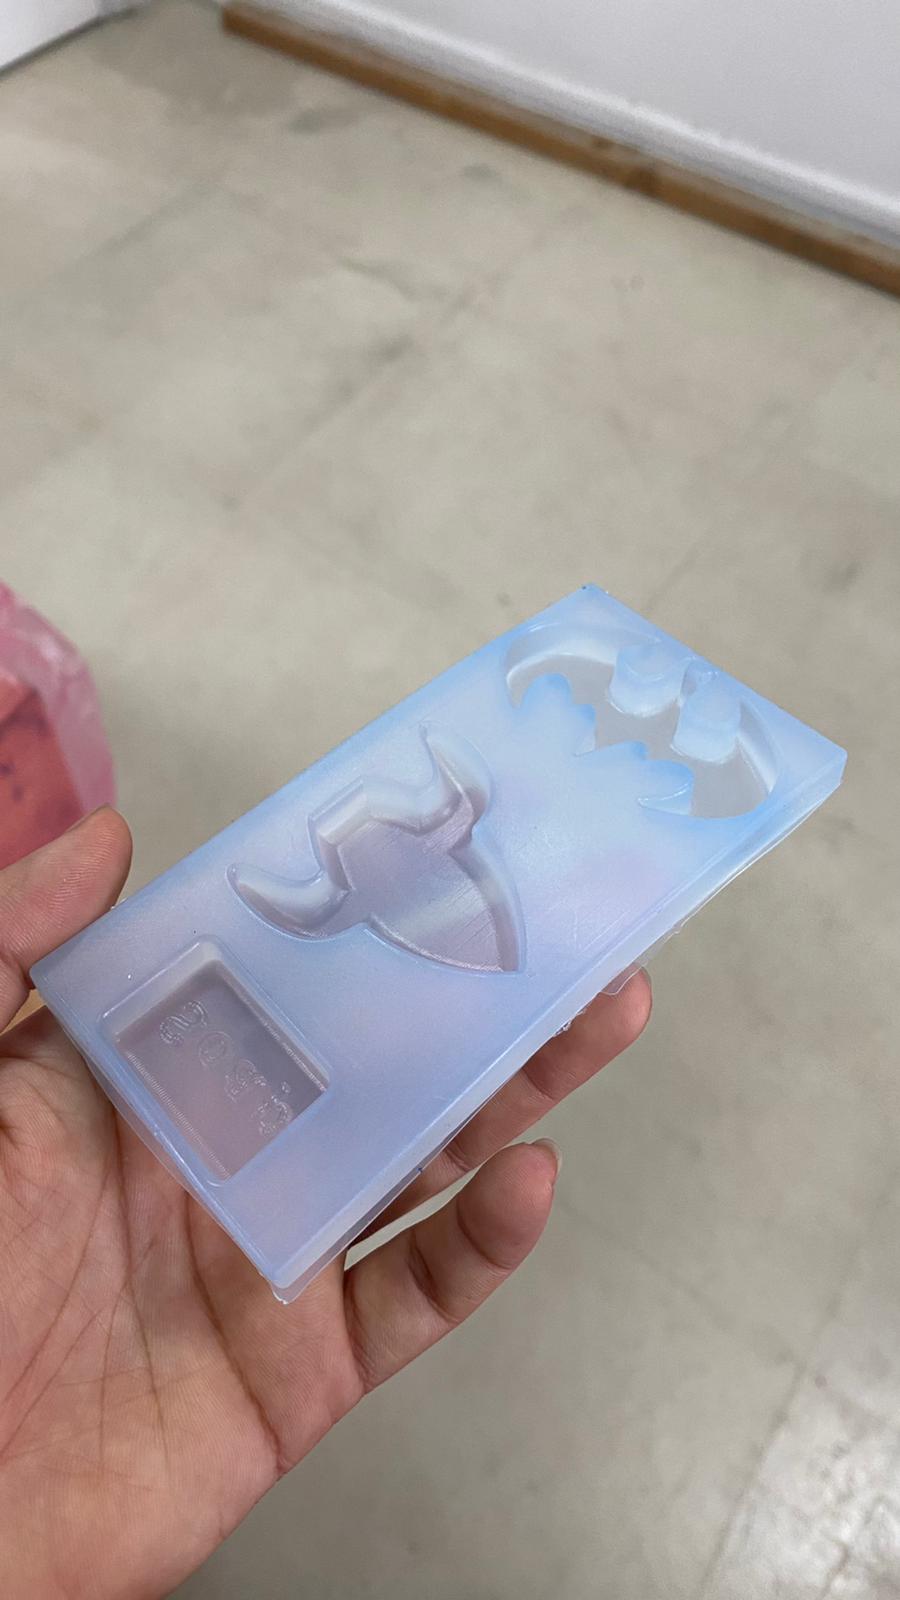
- I started by using Fusion 360 to create the design which was a Batman Symbol. So, First I downloaded an image for a batman symbol from the internet. Then, I uploaded the image in fusion 360 and changed it’s size.


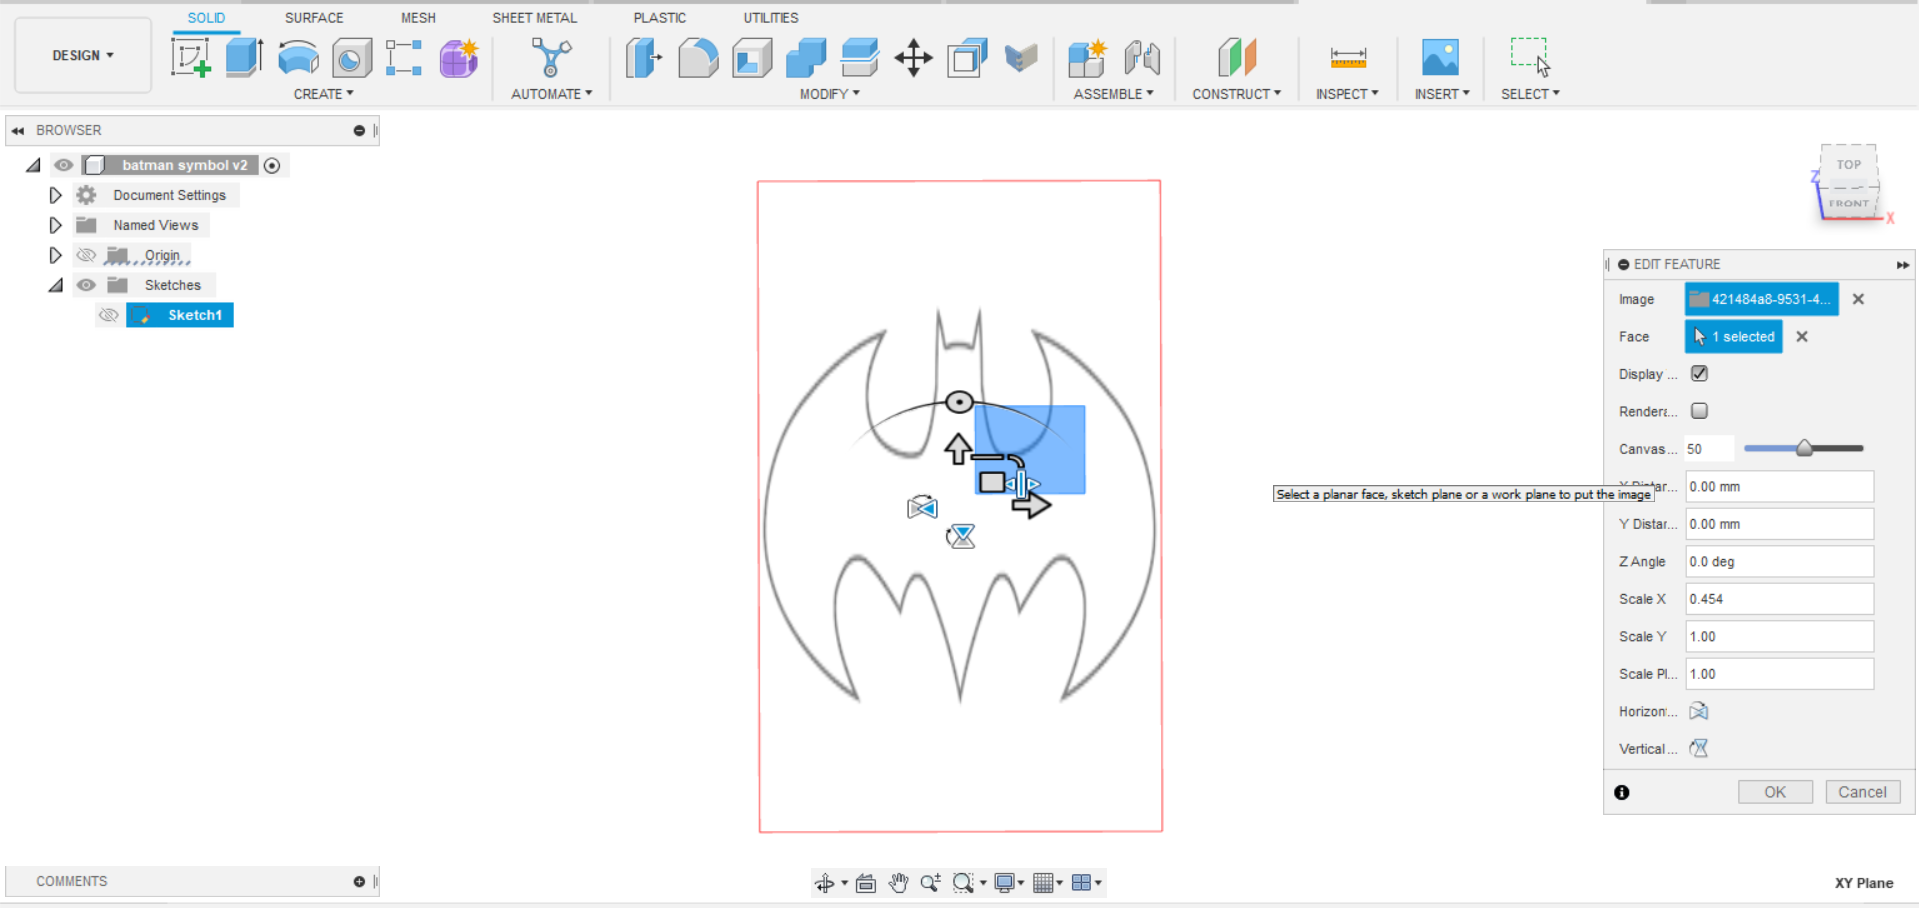

- Next, I began using the fit point spline to cover the right half of the image.

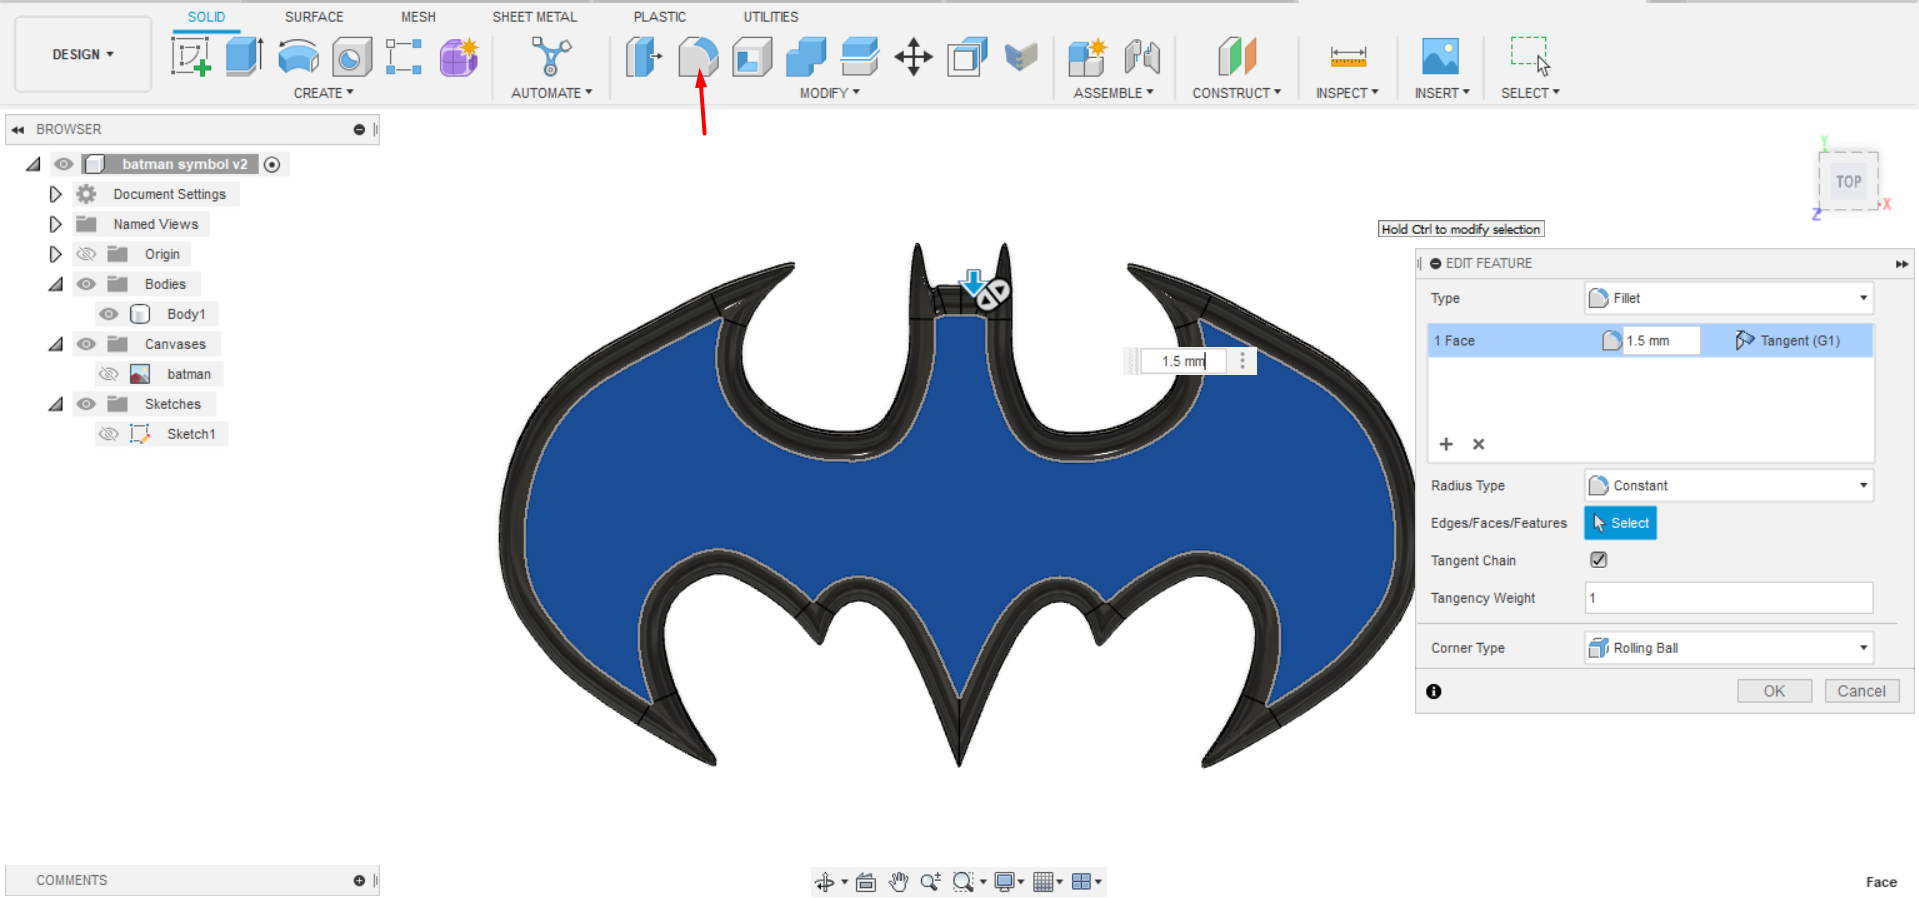
- After that, I used the mirror to duplicate the right half and then extruded it with 8 mm.


- Finally, In order to make use of the milling machine’s capabilities instead of the laser cutting machine, I added curves to it.

To download the original file - Download
Milling machine process
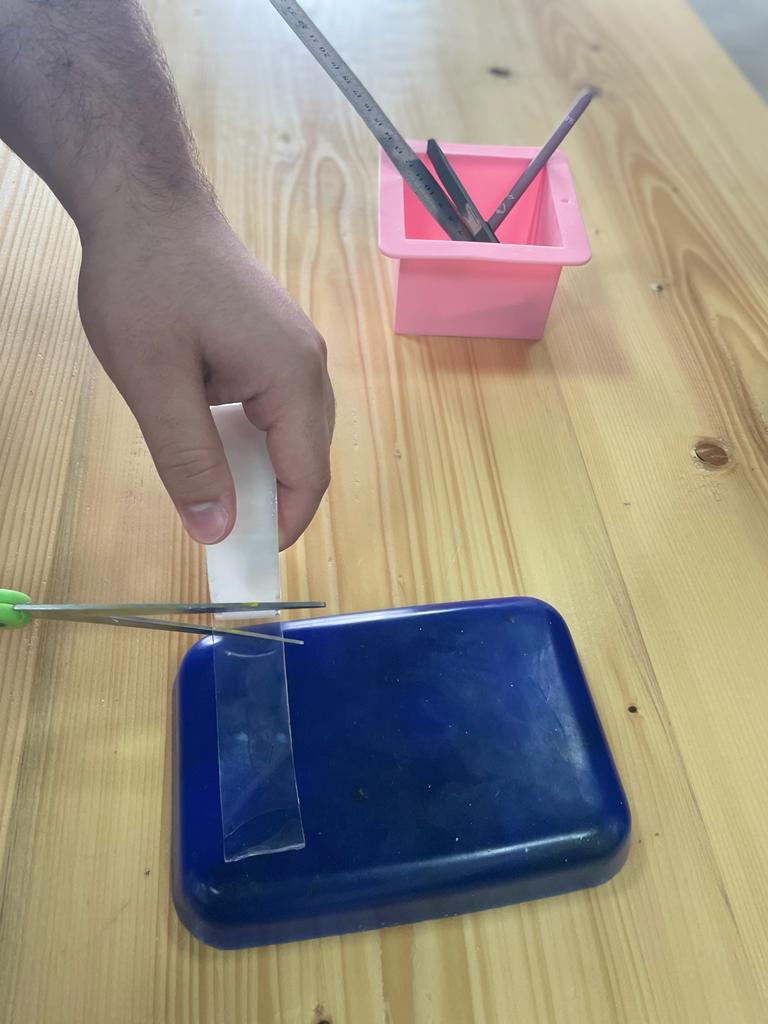
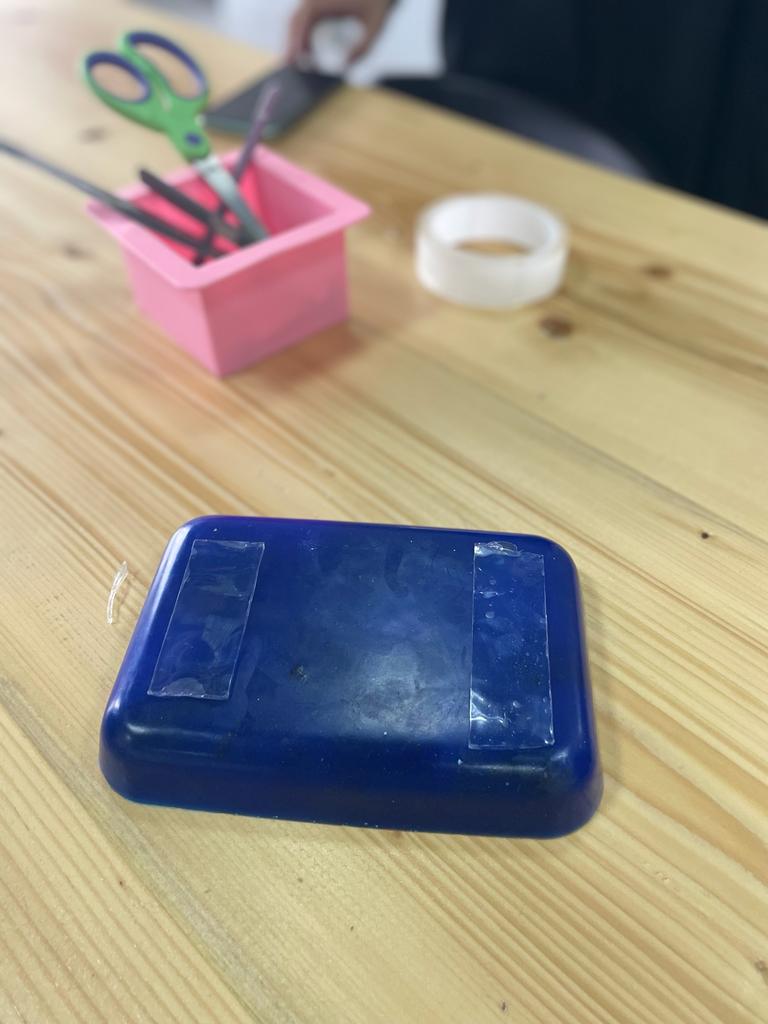
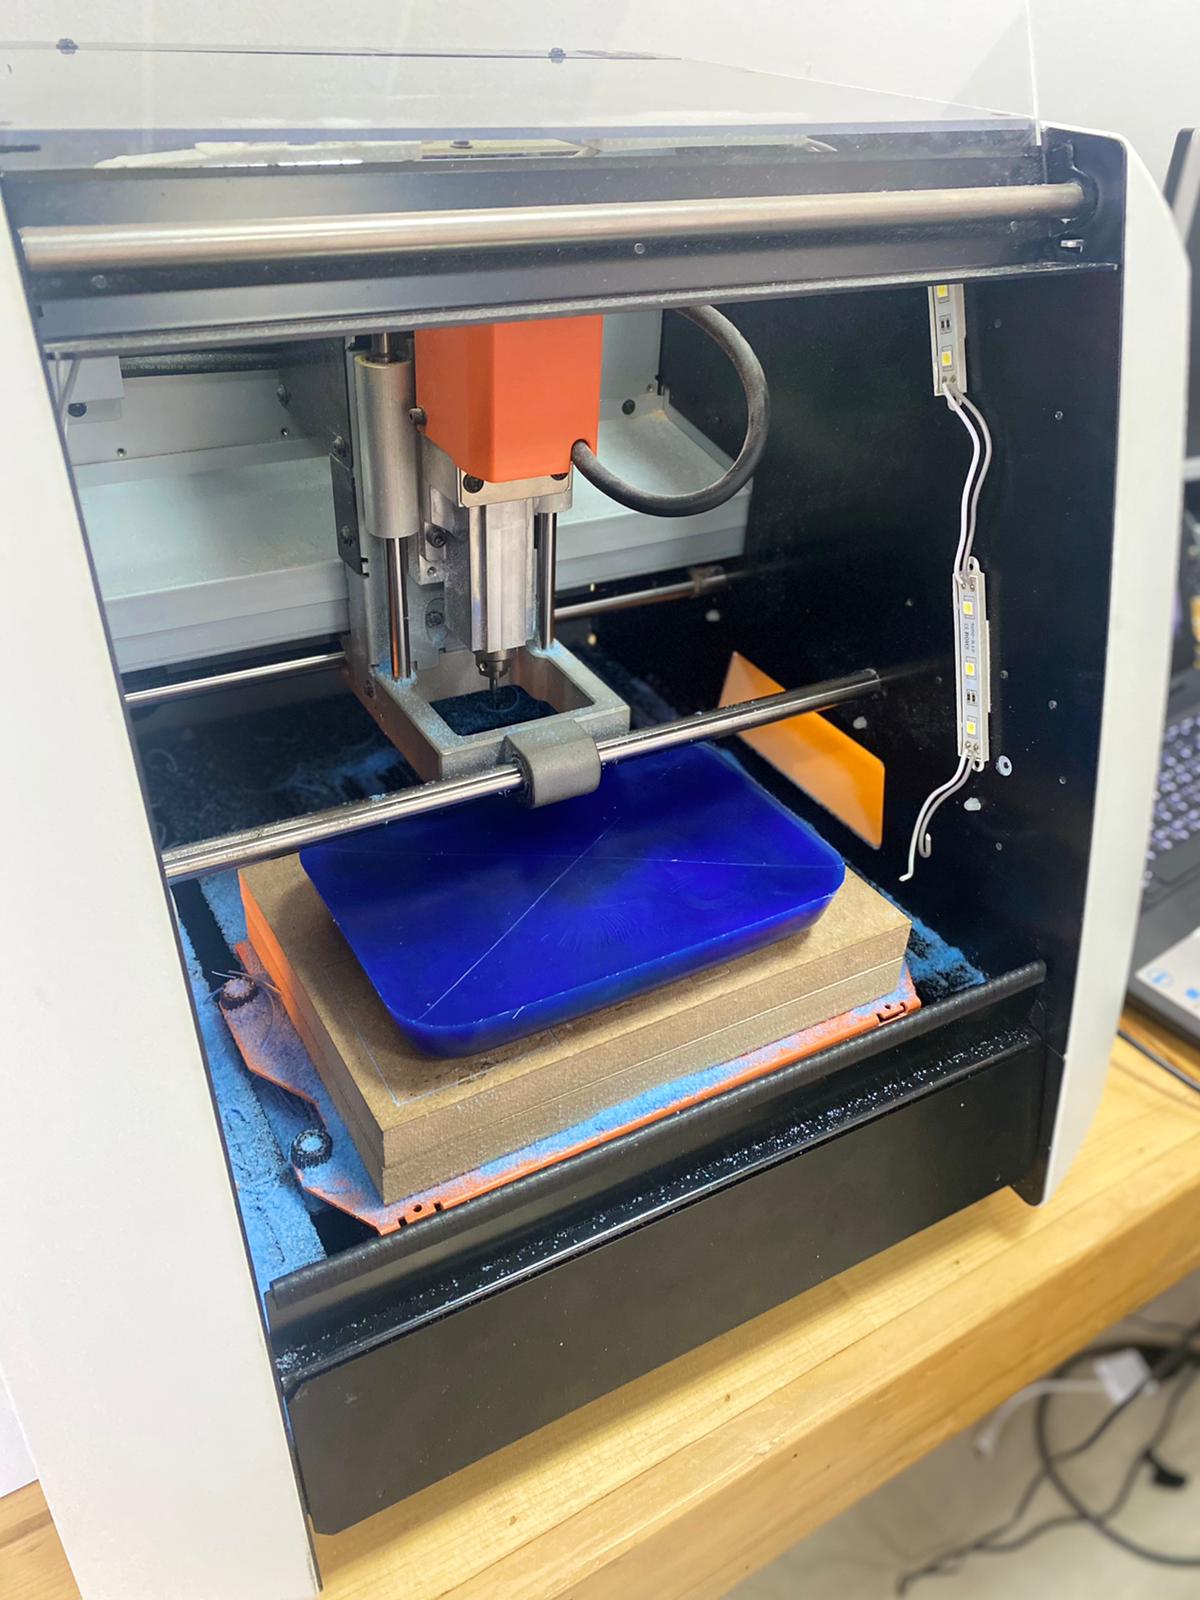
- we started with taping the mold (wax plastic) with double-sided tape so that we could stick it with the milling machine.
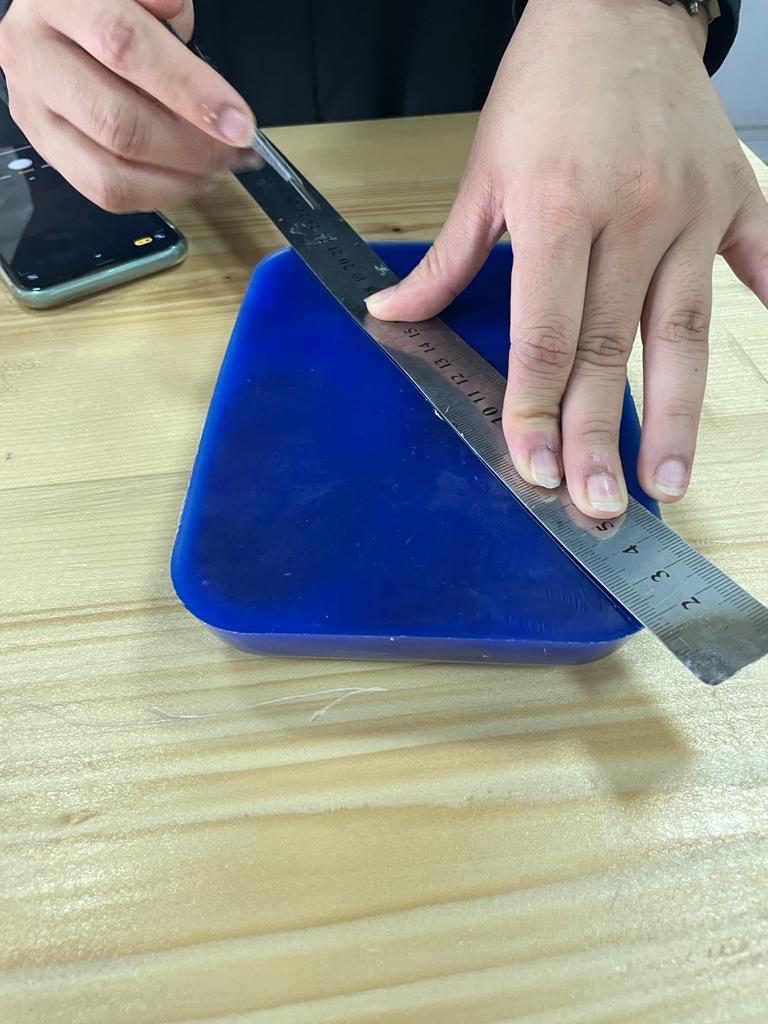
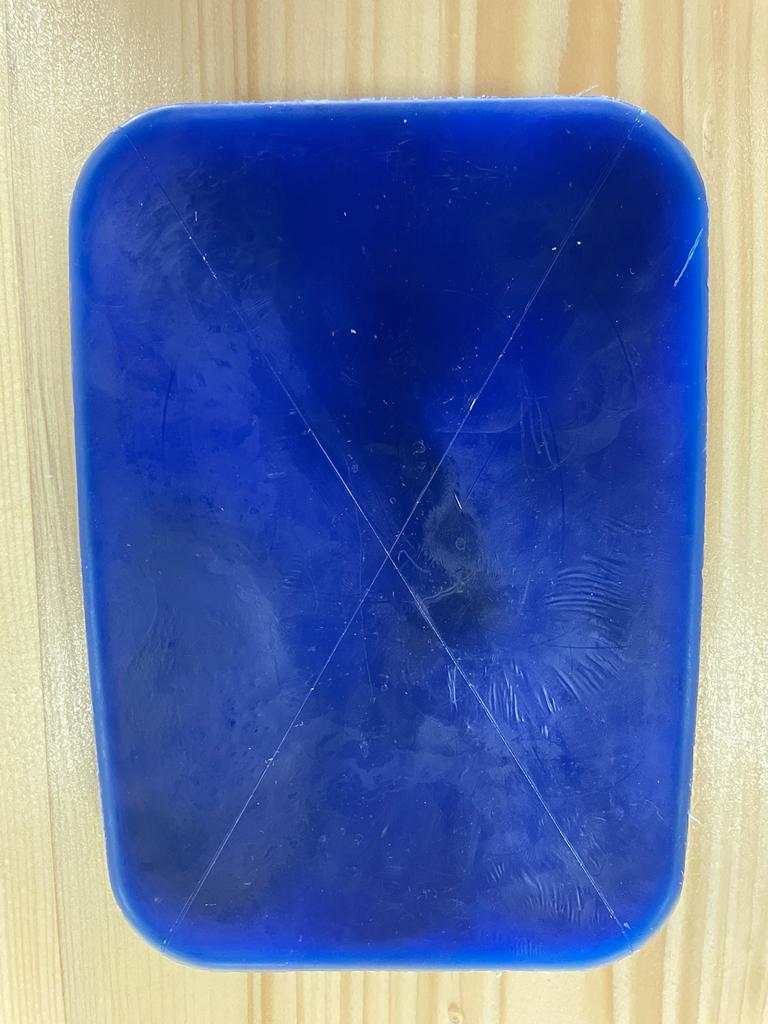
- After that, we crossed two lines to get the origin point and placed the mold in the machine.

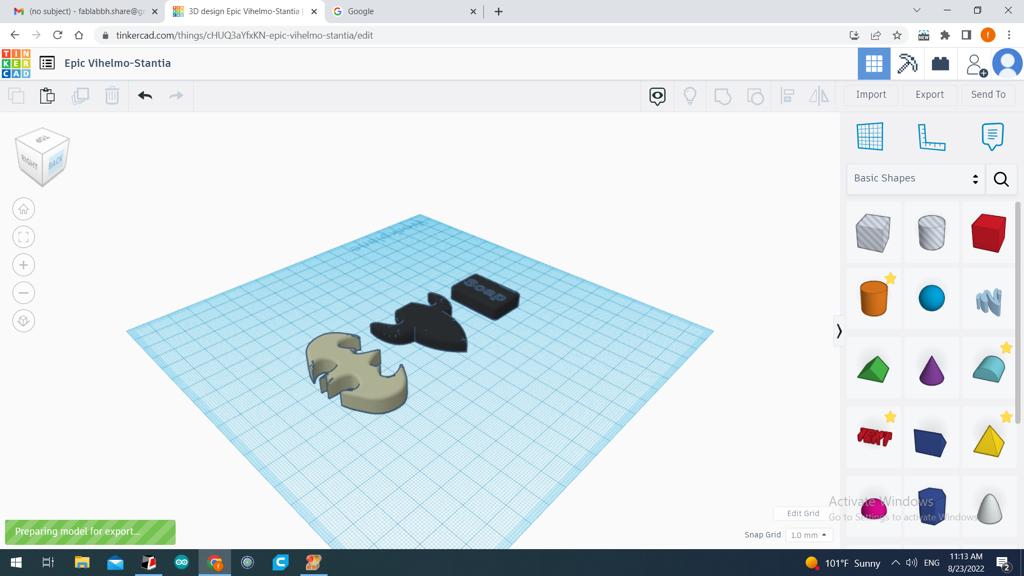
- Then, in order to align our designs on the same plane, my colleagues and I saved our designs as STL files and exported them to Tinkercad. When we were ready to upload the plane to the SPR player, we saved it as an STL file.

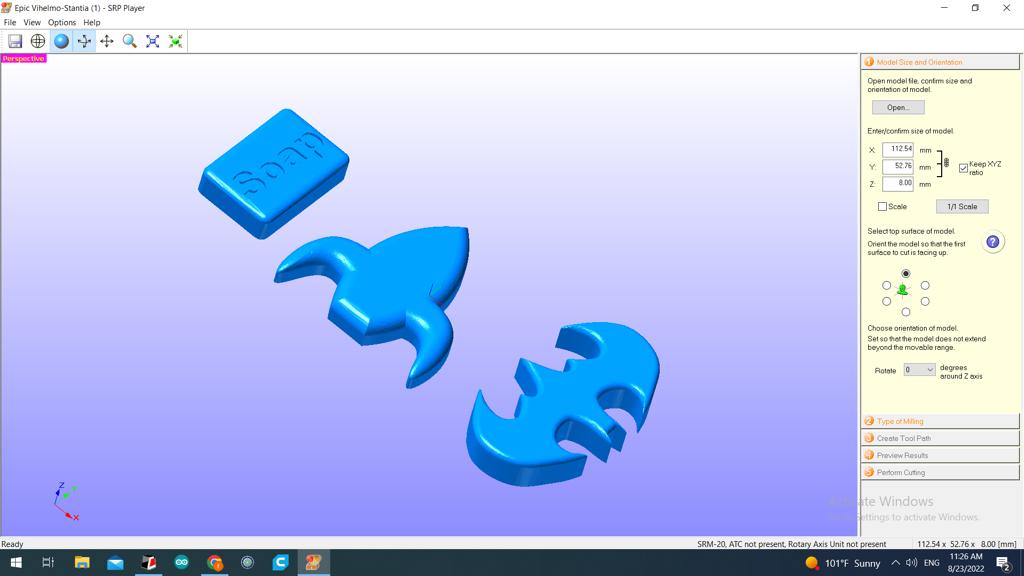
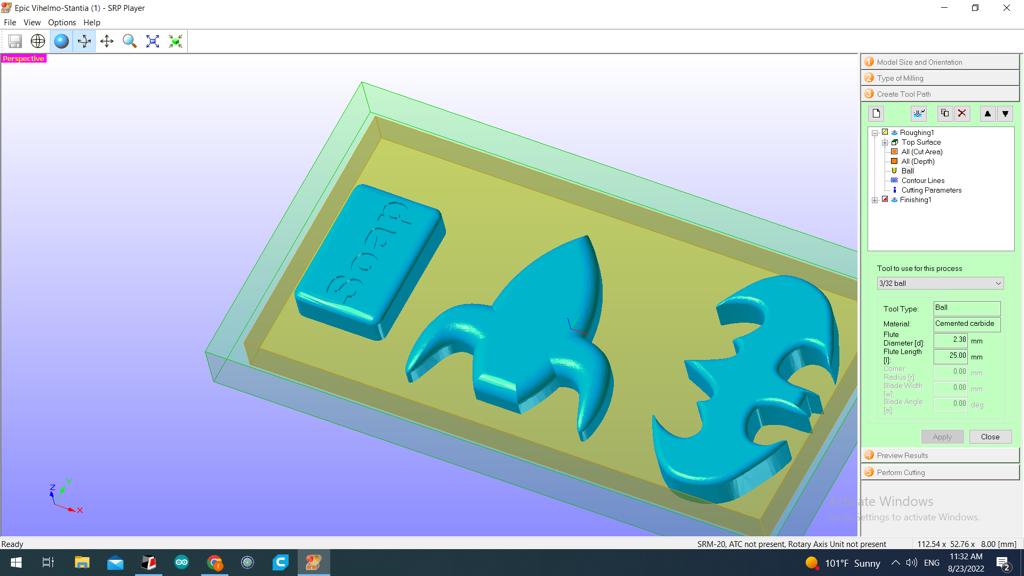
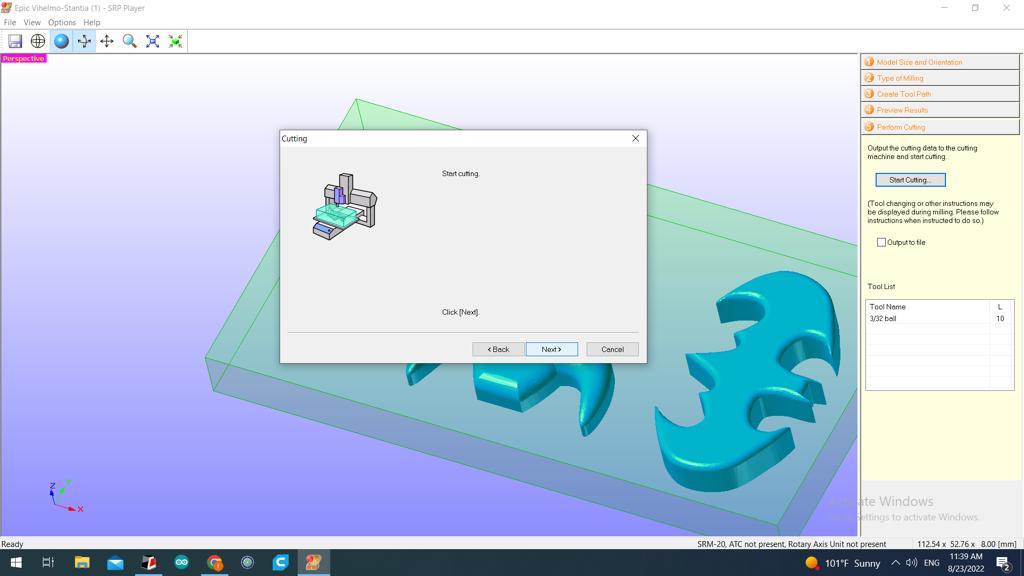
- Next, begin completing the prerequisites after exporting the STL file in the SPR player program. Set the model’s size and orientation as shown in the image for the best results.
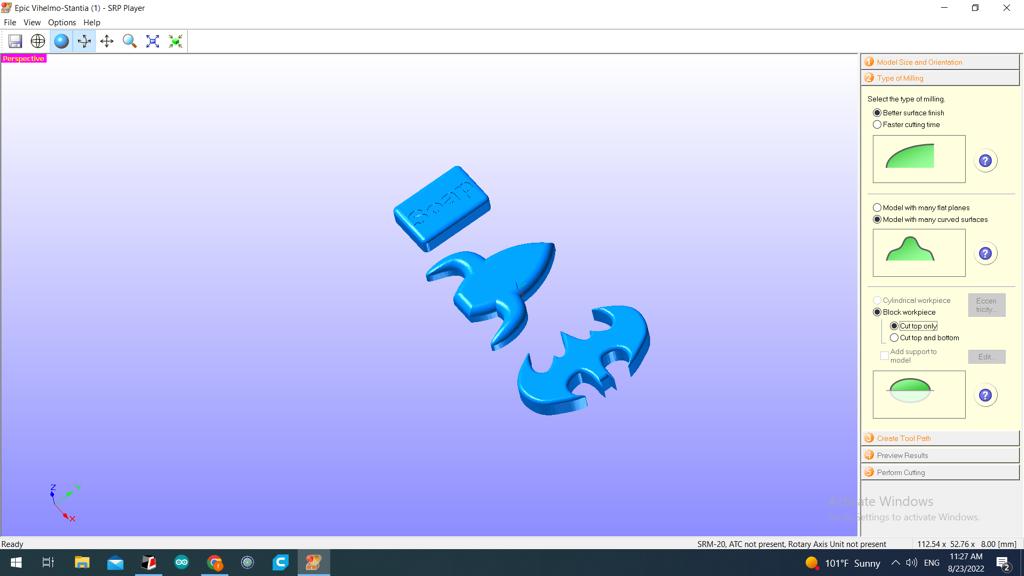
- To be more accurate, we first chose the milling type with a better surface finish. Second, we chose the model with many curved surfaces because our designs obviously have numerous curves. Because we were just interested in the top area, we decided on cut top only.
- The software will determine for us which sort of ball to use for the size of drill that we must use for the tool path. As seen in the image, it selected a 3/32 ball as its size.

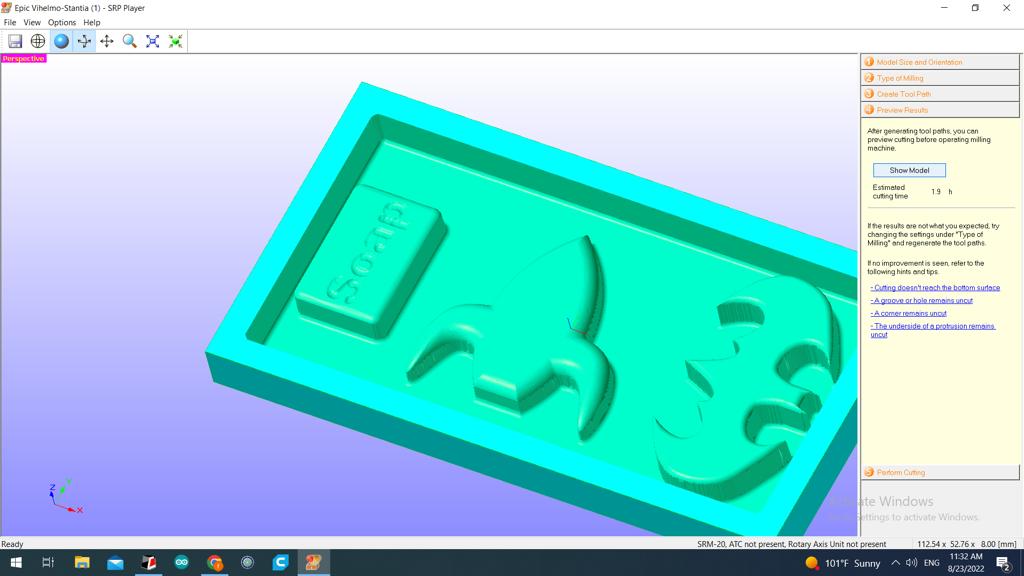
- Now, it showing us the reslut and the estimated cutting time.
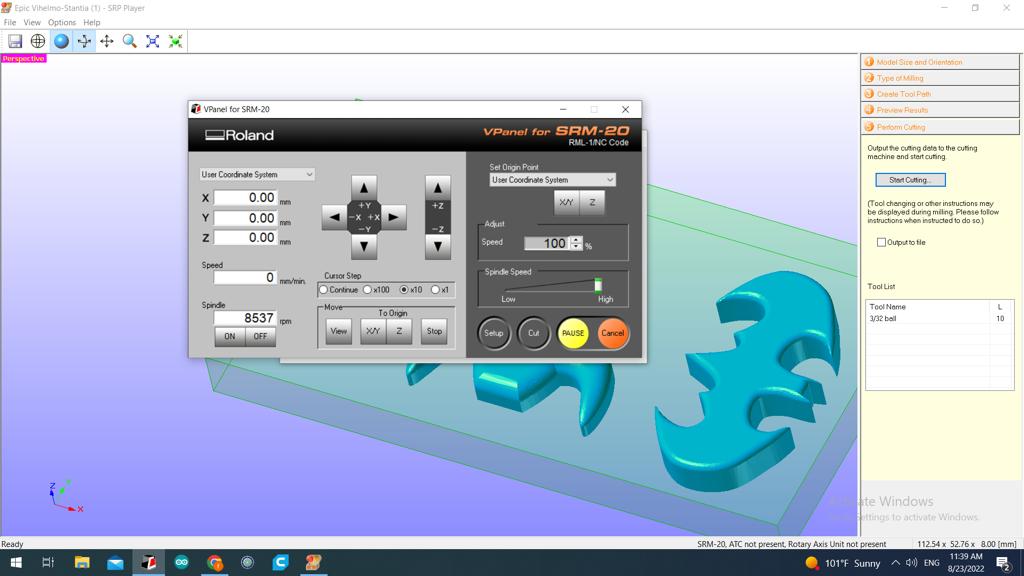
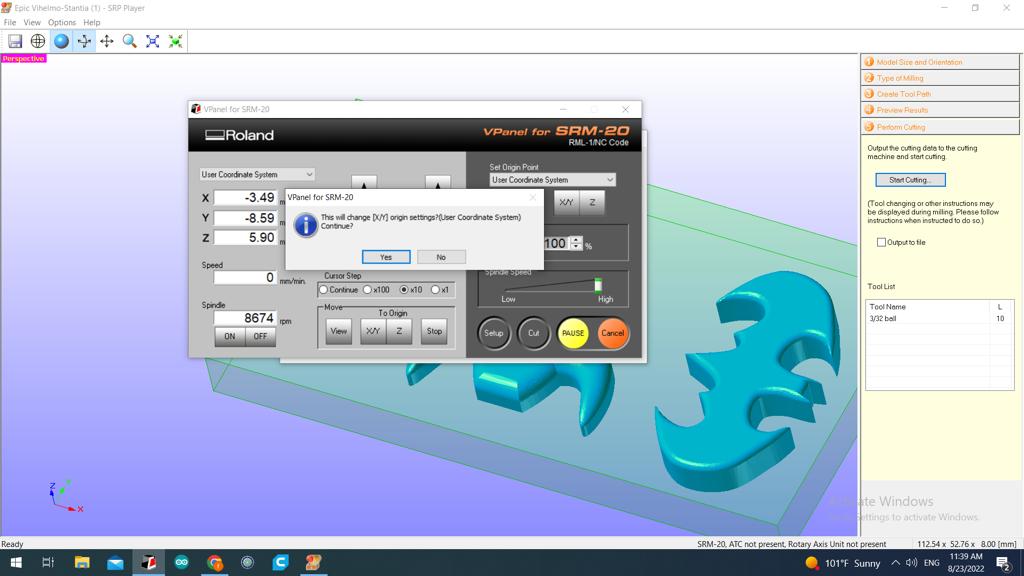
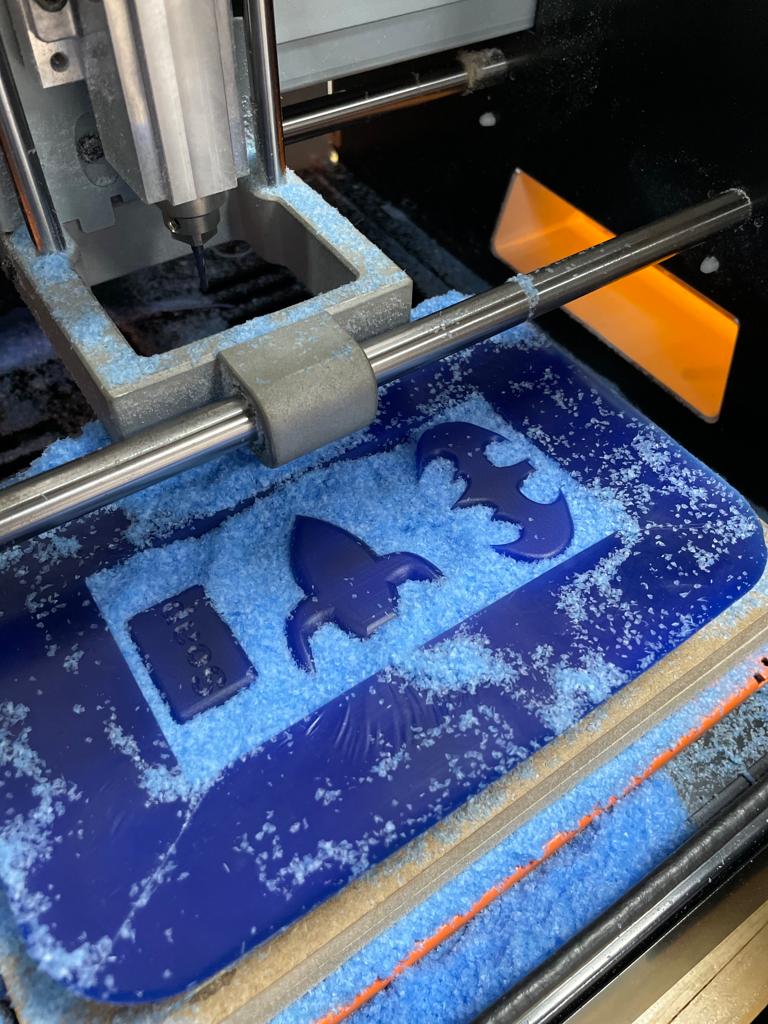
- Finally, before beginning to cut, adjust the blade’s dimensions to position it on the mold’s original point. then begin cutting, waiting two hours to complete.

- the outcome of cutting. Prior to and following cleaning.

Moulding process
-
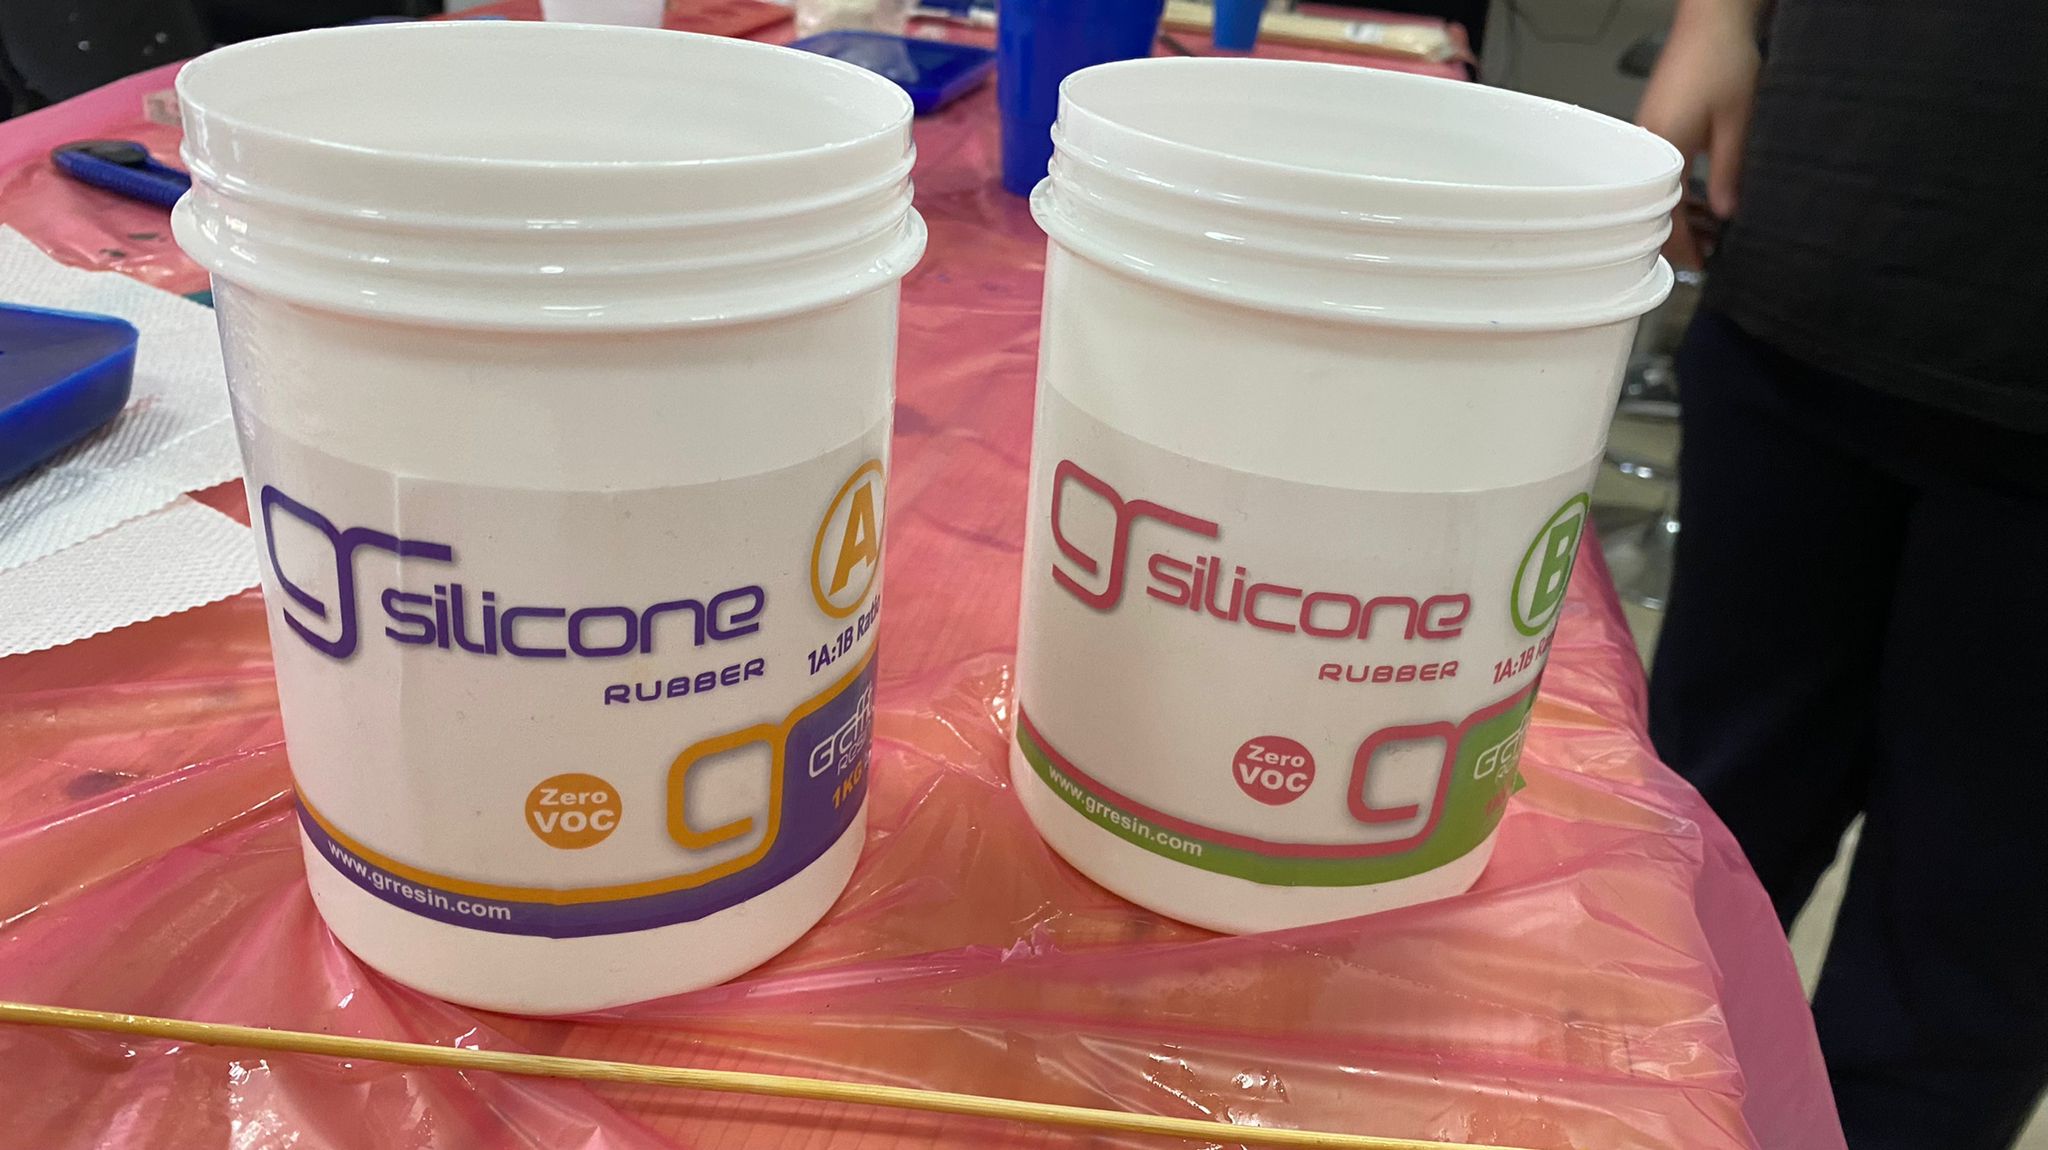
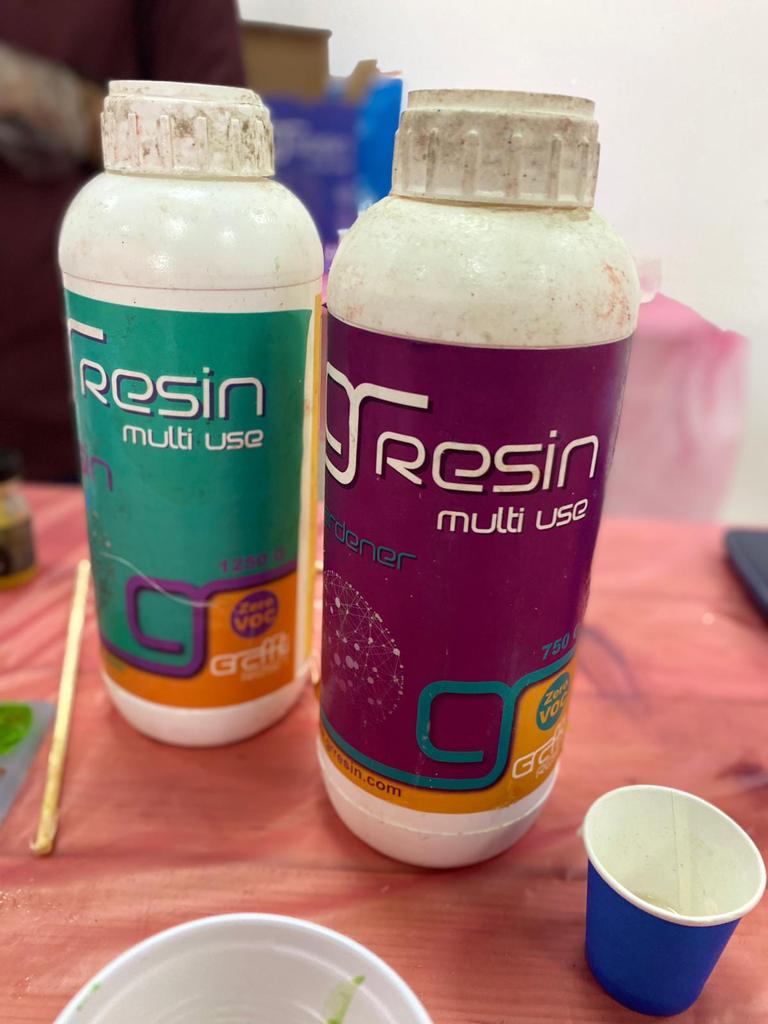
The material that was used is Silicone
-
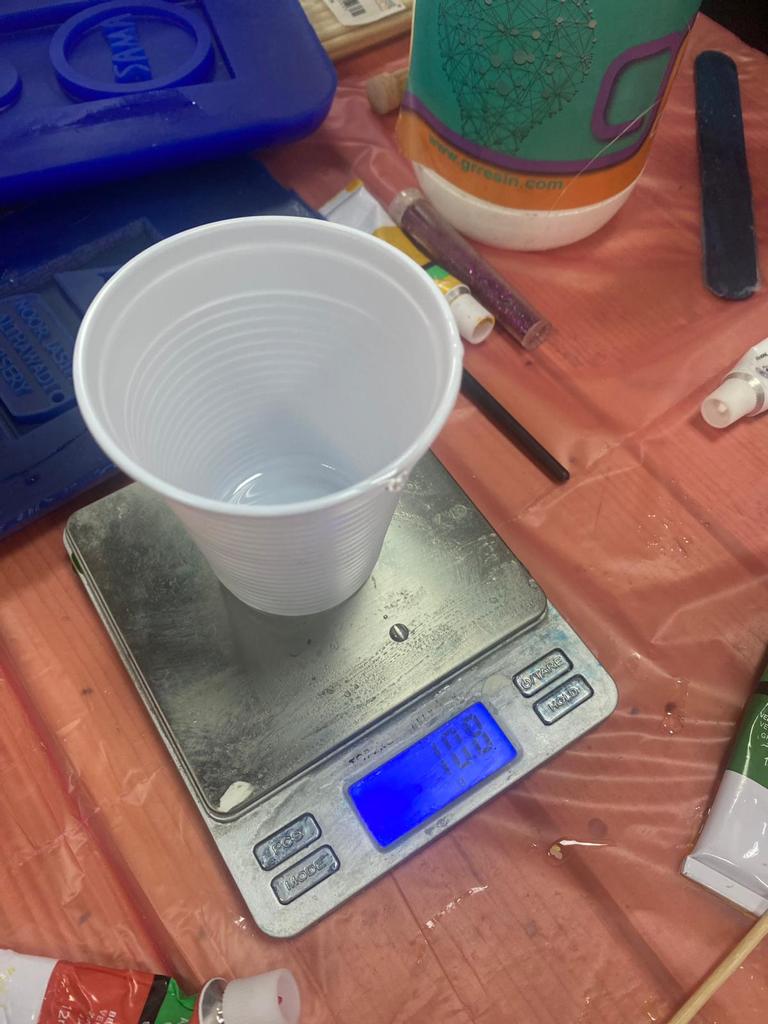
Mixing ratio: A:B = 1:1
Safety: Liquid silicone may block blood vessels in parts of the body like the brain, heart, lymph nodes, or lungs, leading to an extremely dangerous situation. So, it is not safe to use it with hands. Gloves and saftey glasses are required.
Process steps
-
The working time for the Silicone is about 30-40 minutes.
-
The cure time is about 30-40 minutes (Based on the curing temperature, the curing time is calculated).
-
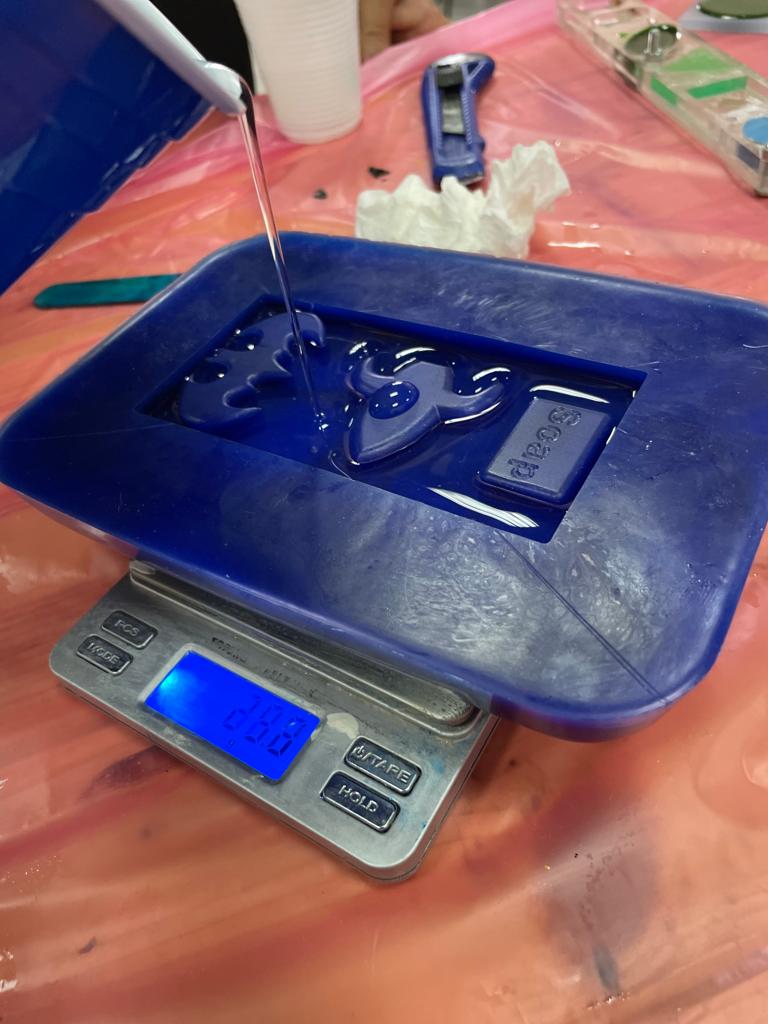
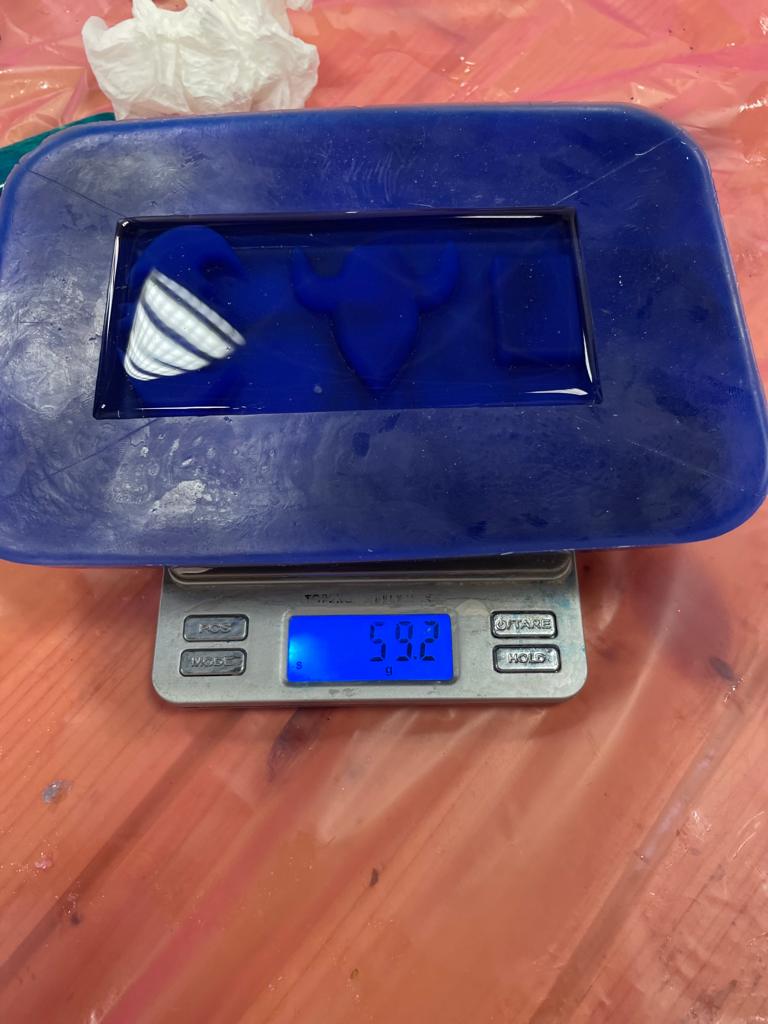
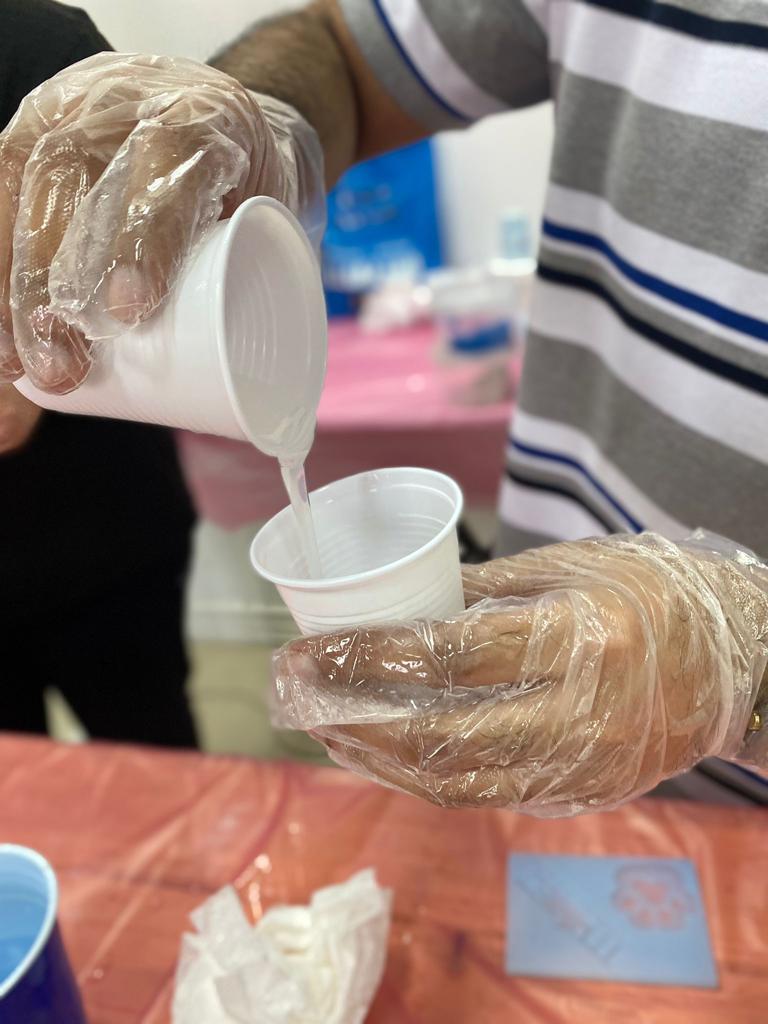
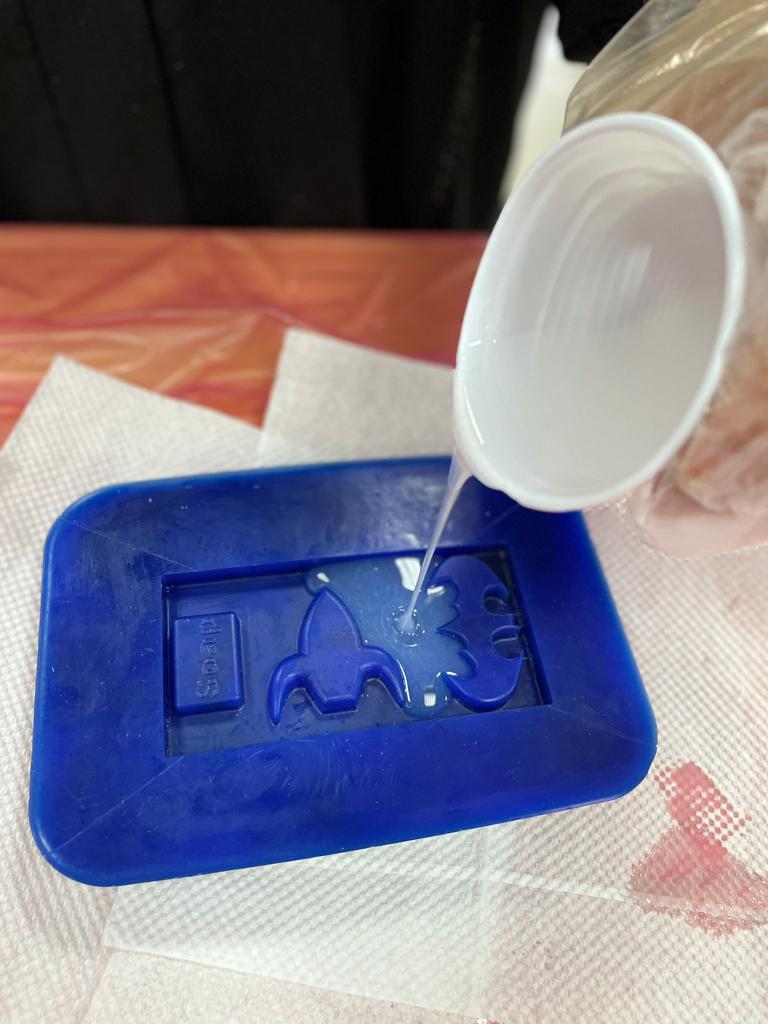
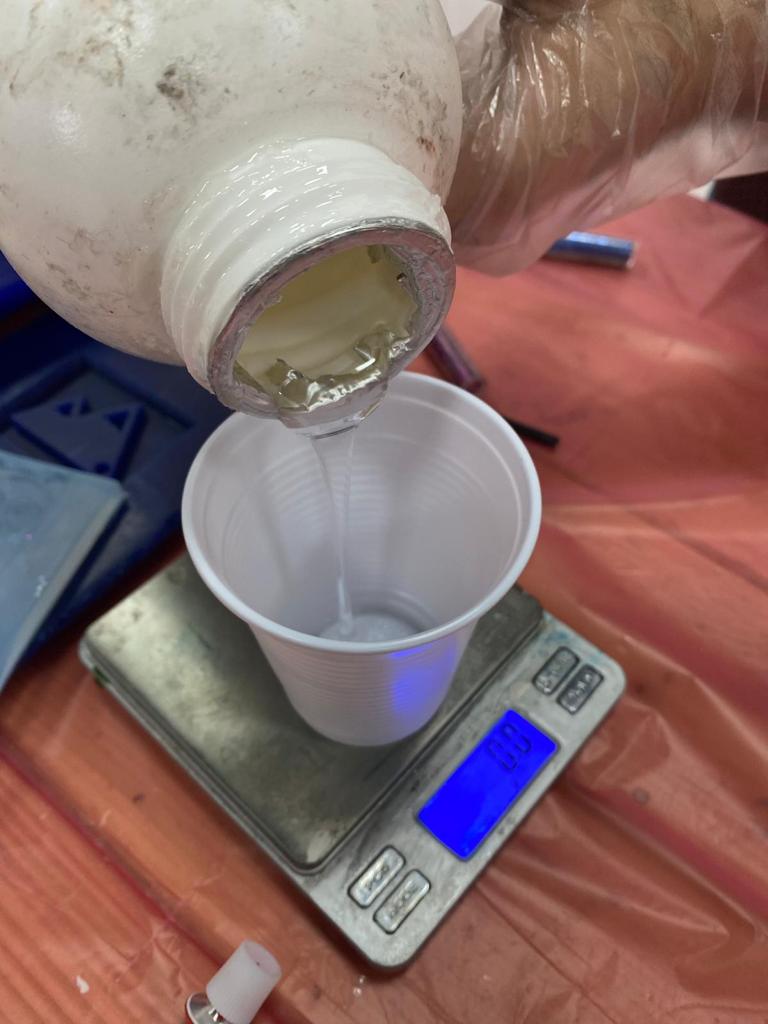
First, we started with weighing the mold after filling it with water and found that it weighed 59.2 g. Due to certain losses (a small bit of it would stick to the glass) after mixing in the glass, we chose to fill it with 70 g of silicone. Silicone comes in two varieties: Silicone A and Silicone B. We took each ingredient equally before mixing them for a short period of time. The silicone was then finally poured into the mold, and we waited 24 hours for the result.

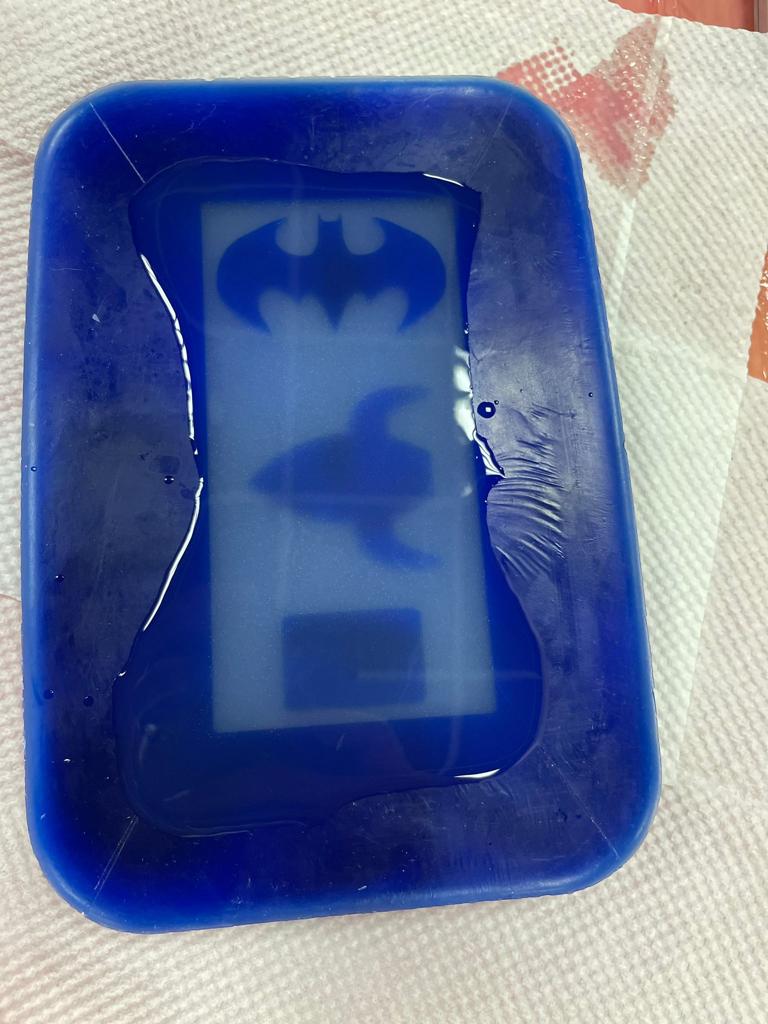
- the result after 24 hours
Casting process
-
The material that was used is Resin.
-
Mixing ratio: 10A:6B
Safety: When working with resin, use caution, wear gloves, and avoid breathing in the vapors. It’s also advised to wear safety glasses. Avoid letting it touch your skin, and if it does, immediately wash it with water.
Process steps
-
The working time for the Resin is about 40 minutes.
-
The cure time is about 24 Hours to cure and 48 hours to fully harden.
-
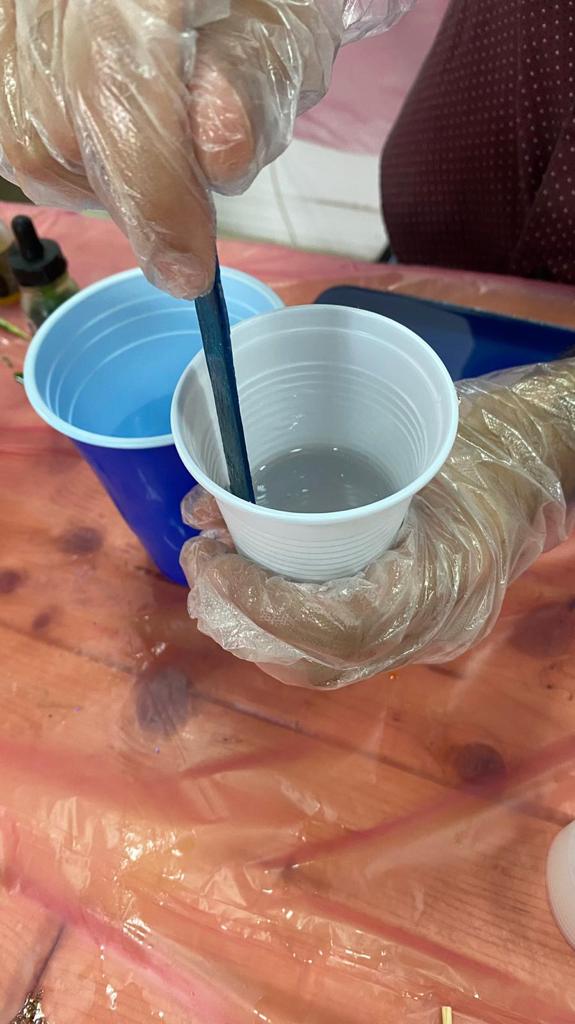
Resin, which comes in two varieties, was the material we decided to use for the casting. Therefore, we mixed in the proportion 10A:6B for 3 minutes. For color change, we added blue glitter after five minutes of mixing. Finally, Fill the mold and then let it sit for 24 hours to see how it turns out.
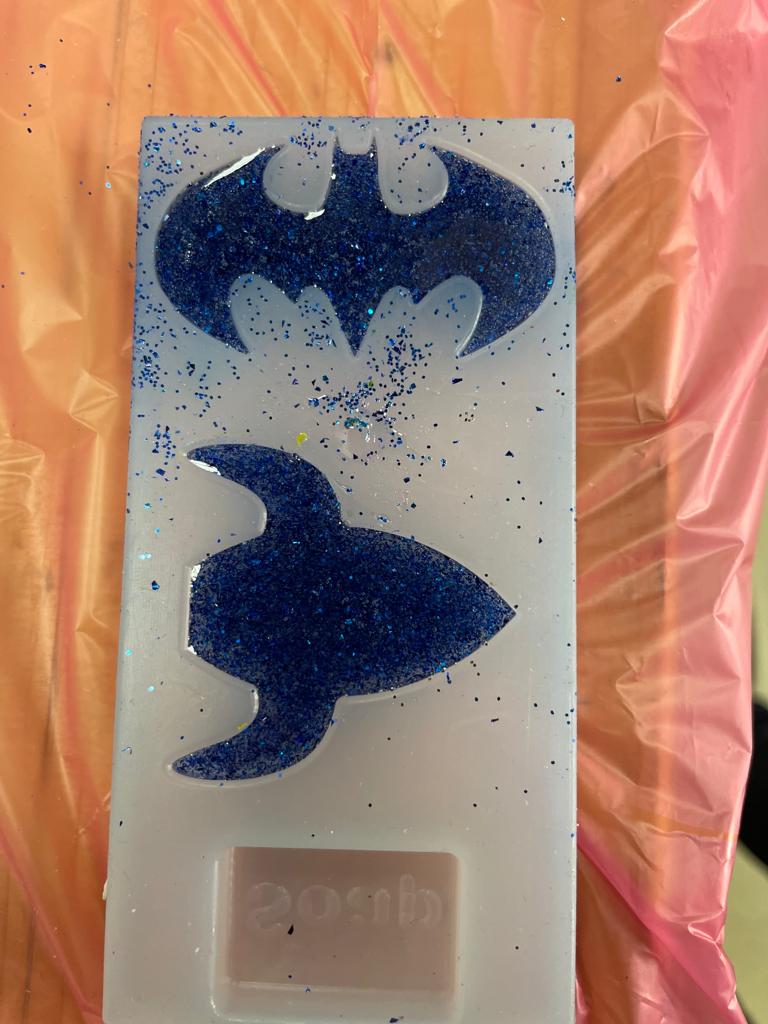
- The final result

Problems and how they got fixed
Sincerly, Hanna and I were exercising the utmost caution while working. Consequently, the result was superb and error-free. But we only encountered one problem with the casting, When we failed to properly combine the glitter and resin on the first try. We thought that if we placed the glitter to the mold first, we would be able to spread it around and it would mix after adding the resin to it, but this didn’t happen. Therefore, the answer was to combine the glitter with the resin before filling the mold.