5. 3D printing and scanning
This week we learnt about printing and scanning 3D things, as well as how to use the tools and software to do it.
3D Printing: 3D printing or additive manufacturing is a process of making three dimensional solid objects from a digital file. The creation of a 3D printed object is achieved using additive processes. In an additive process an object is created by laying down successive layers of material until the object is created. Each of these layers can be seen as a thinly sliced cross-section of the object. 3D printing is the opposite of subtractive manufacturing which is cutting out / hollowing out a piece of metal or plastic with for instance a milling machine and it enables you to produce complex shapes using less material than traditional manufacturing methods.
3D Scanning: 3D scanning is a process of analyzing an object from the real world, to collect all the data in order to recreate its shape and appearance, digitally. Thanks to this process, the object can become a 3D model, which could help you as a base for the 3D project you are about to develop, but it can also be useful to reconstruct, analyze, or simulate ideas.
Group Assignment
The group task was split into two parts, the first of which was an introduction to 3D printing and some samples of its prints. Then, in order to learn how to do it on our own, we must print out an object. To see how we did it, visit Behnaz website
Individual Assignment
3D Printing
Stereolithography (SLA), selective laser sintering(SLS), and fused deposition modeling (FDM) are the three most used 3D printer technologies for plastic parts.
The FDM printers at the Fab Lab Bahrain are as follows:
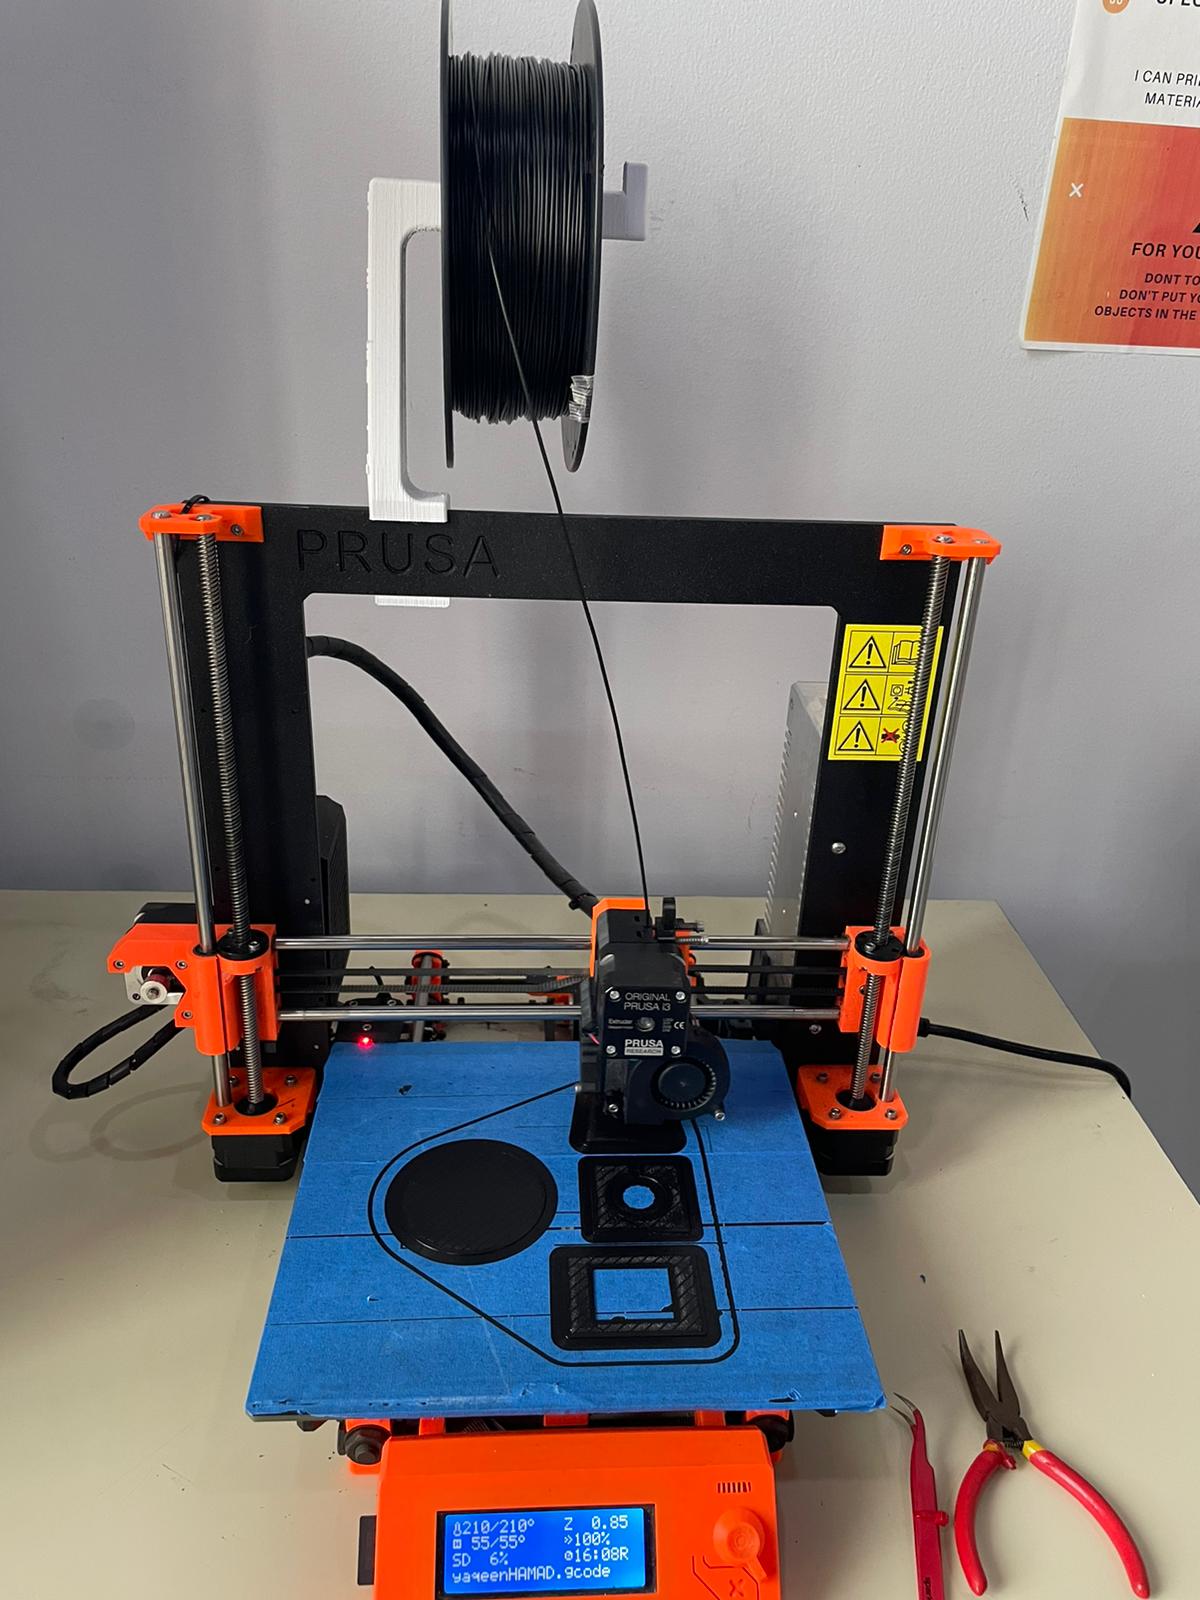
Prusa i3: A fused deposition modeling printer called the Prusa i3 was created by Josef Prusa in the Czech Republic. which is entirely open sourced. In 2015, a kit version of the first Prusa i3 was made available for purchase. Josef Prusa was able to start Prusa Research thanks to the success of his Prusa i3 Mendel printer. The Prusa i3 is well-liked by professionals, enthusiasts, and students due to its comparably inexpensive price and simplicity of building and modification. Since the i3 series is open source, numerous variations have been created by businesses and individuals all around the world.
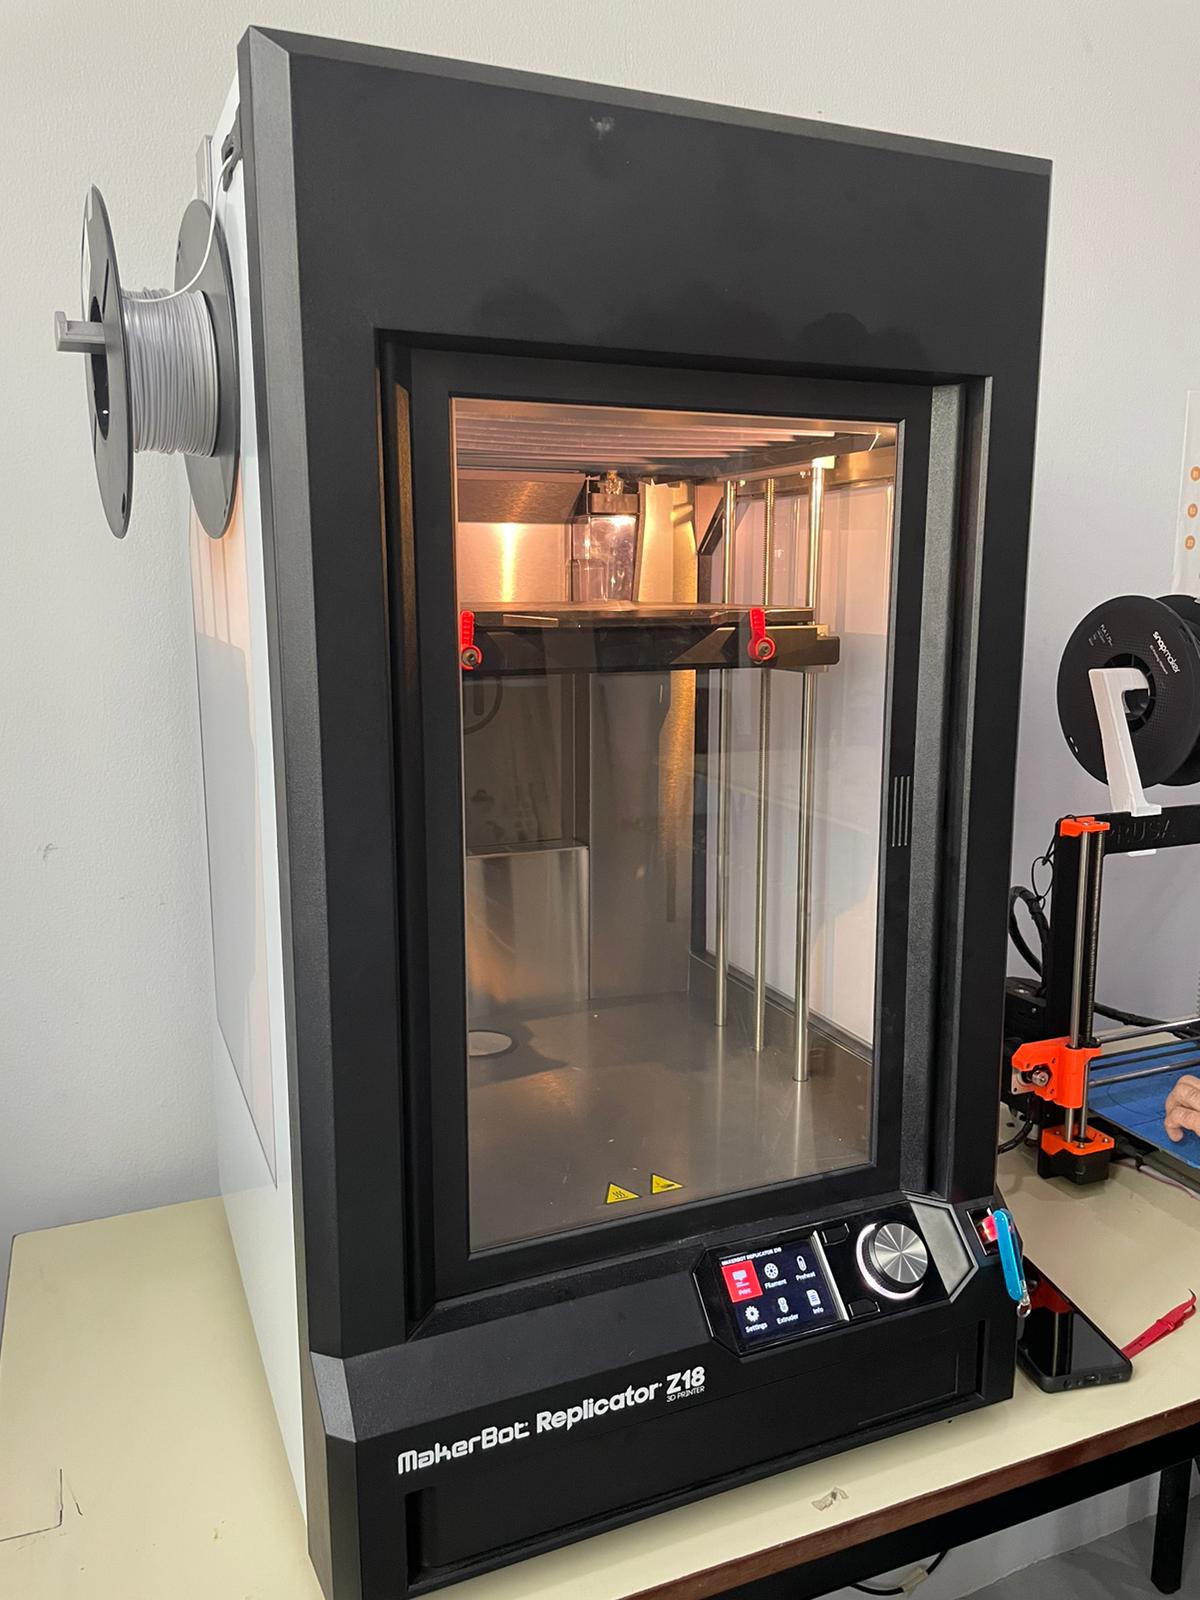
Makerbot: MakerBot Industries, LLC is an American desktop 3D printer that creates physical objects from digital plans manufacturer company headquartered in New York City. It was founded in January 2009 by Bre Pettis, Adam Mayer, and Zach “Hoeken” Smith to build on the early progress of the RepRap Project.
The Replicator Z18 3D Printer from MakerBot allows you to print large, detailed objects up to 12” in width and depth, and up to 18” in height. To ensure accurate printing and to minimize warping even throughout lengthy print jobs, the Z18 features a heated build chamber to maintain a consistent temperature, and a polycarbonate ABS build plate that is factory and resistant to temperature extremes. Also, has a 0.4 mm nozzle, an extruder and comes with a fan for printing with PLA-type materials. The fan reduces warping and stringing, which allows you to make higher quality prints. Additionallyt, The printer is controlled via a PC or the built-in LCD interface. 3D models can be transferred via USB, Ethernet, or WiFi.
Key Features:
-
12 x 12 x 18” Build Volume.
-
100-Micron Layer Resolution.
-
MakerBot Replicator Smart Extruder+.
-
Uses PLA & MakerBot Tough PLA Filament.
-
Onboard Camera with 320 x 240 Resolution.
-
Flexible Polycarbonate ABS Build Plate.
-
Print via USB, Ethernet, and Wi-Fi.
-
3.5” Full-Color LCD Display.
-
MakerBot Print Software.
-
Windows & Mac Compatible.
PLA filament:
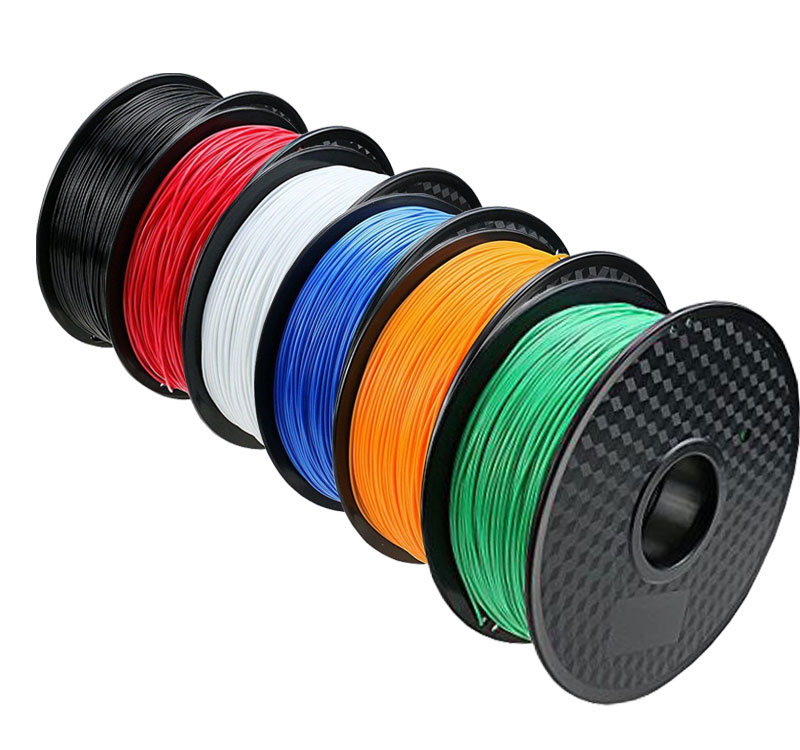
The natural thermoplastic polyester known as PLA (Polylactic Acid) filament is recyclable and made from renewable resources like sugar cane or maize starch. Under specific circumstances, the filament’s high heat capacity and great mechanical strength make it biodegradable. It is the most often utilized substance in FDM 3D printing. In relation to how simple it is to use, it is safe, inexpensive, and has exceptional material qualities. PLA filament is available in a wide variety of composites and colors and can be used for a wide variety of purposes.
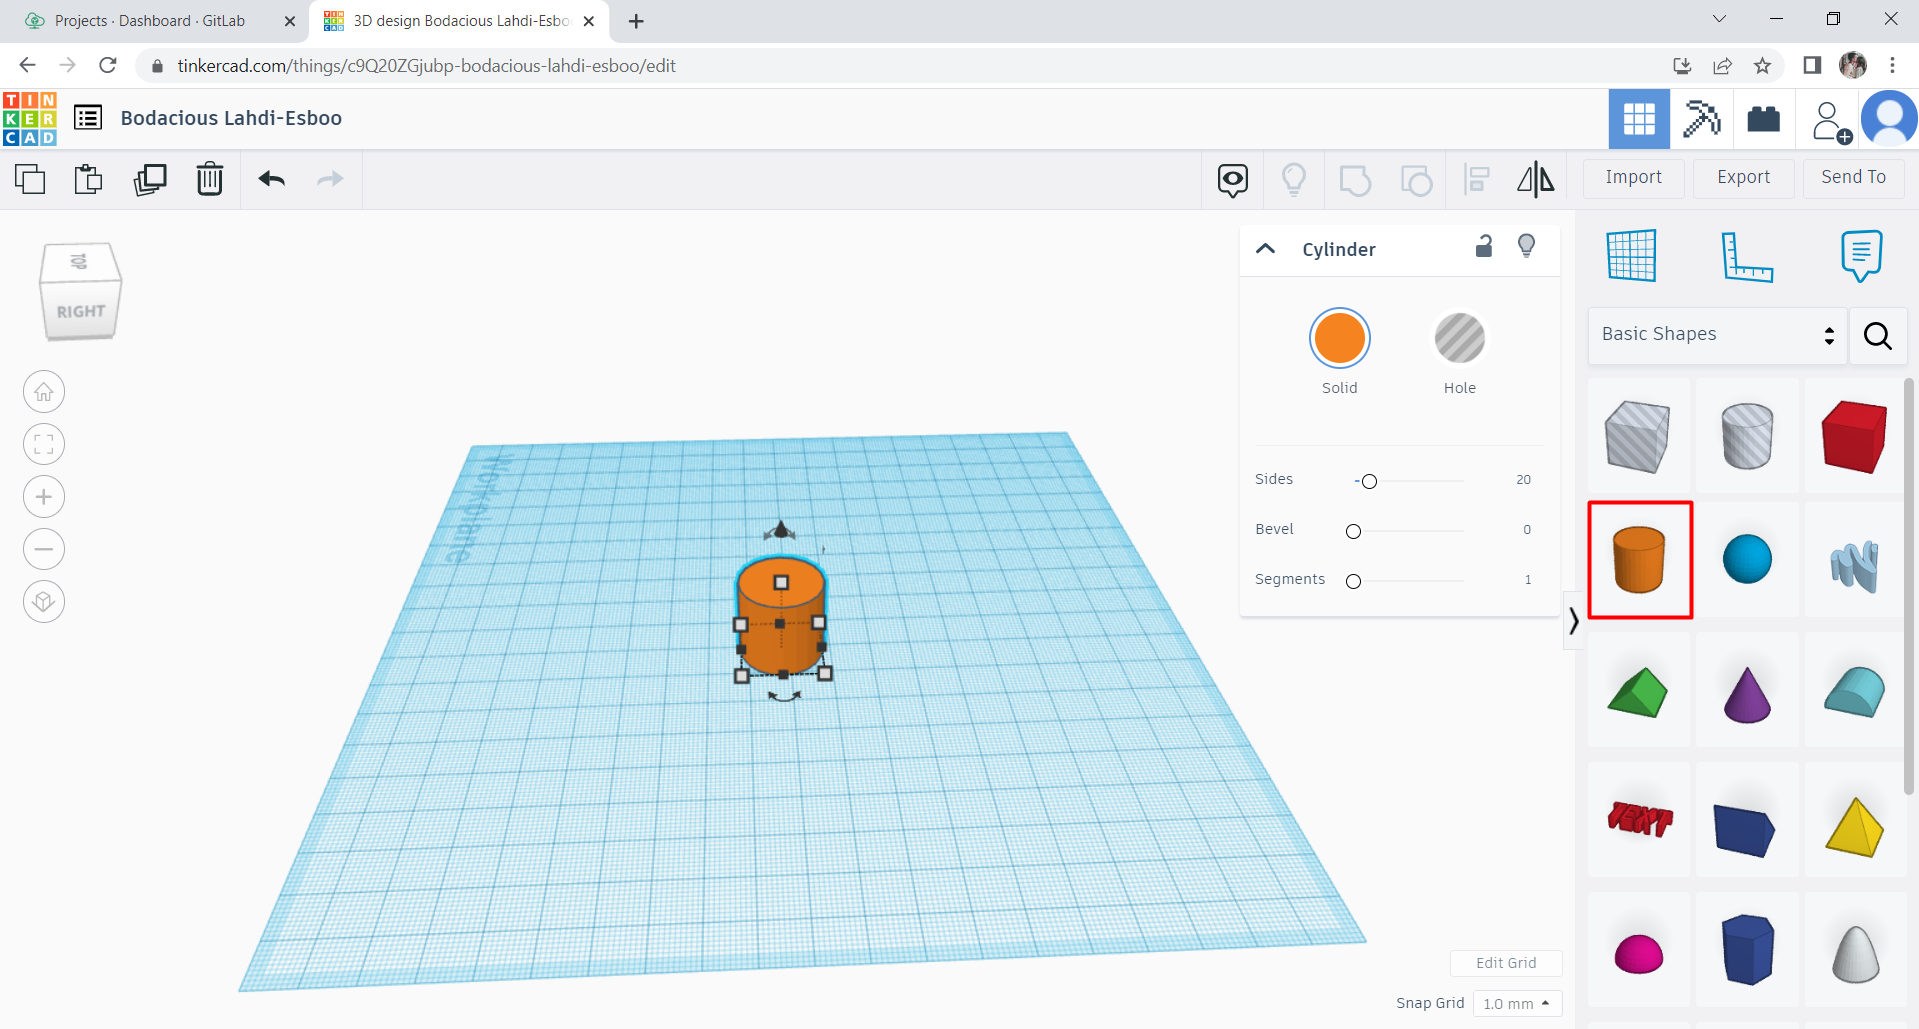
I created my 3D design which is a coffee cup by using Tinkeracd and the steps are shown as follow:
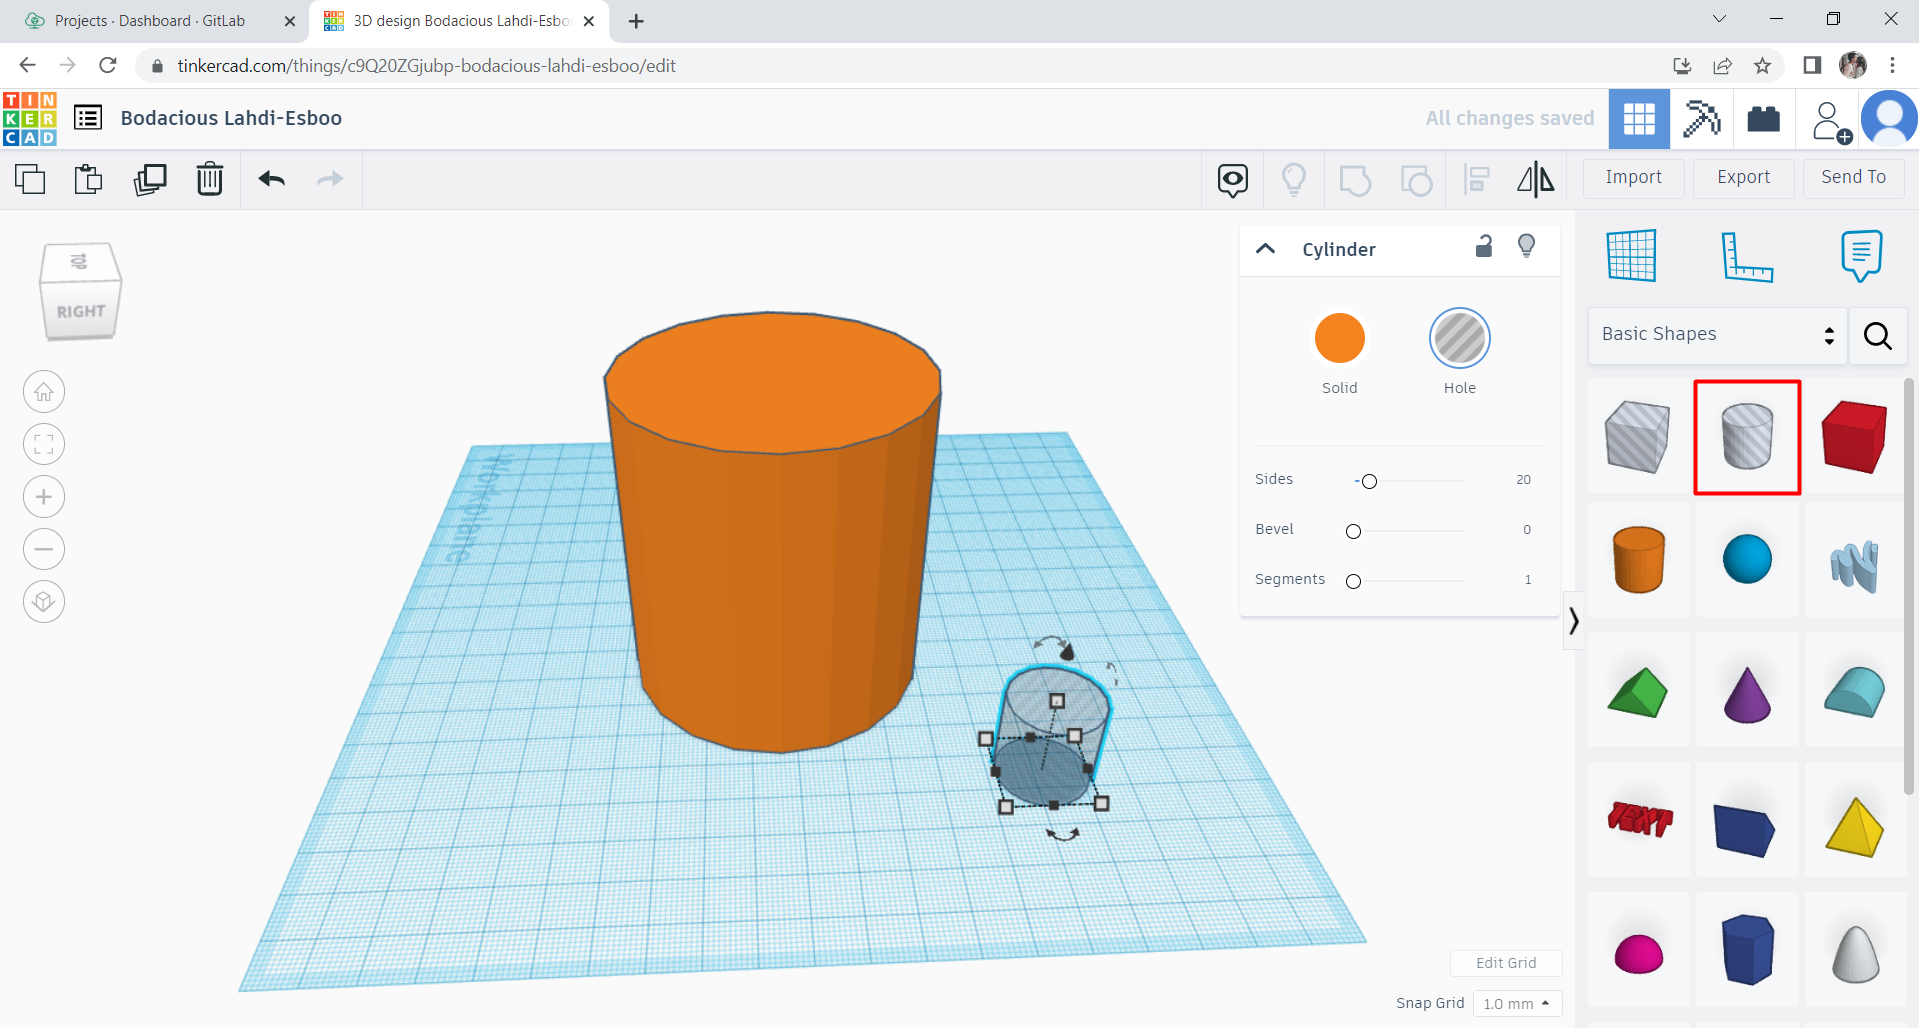
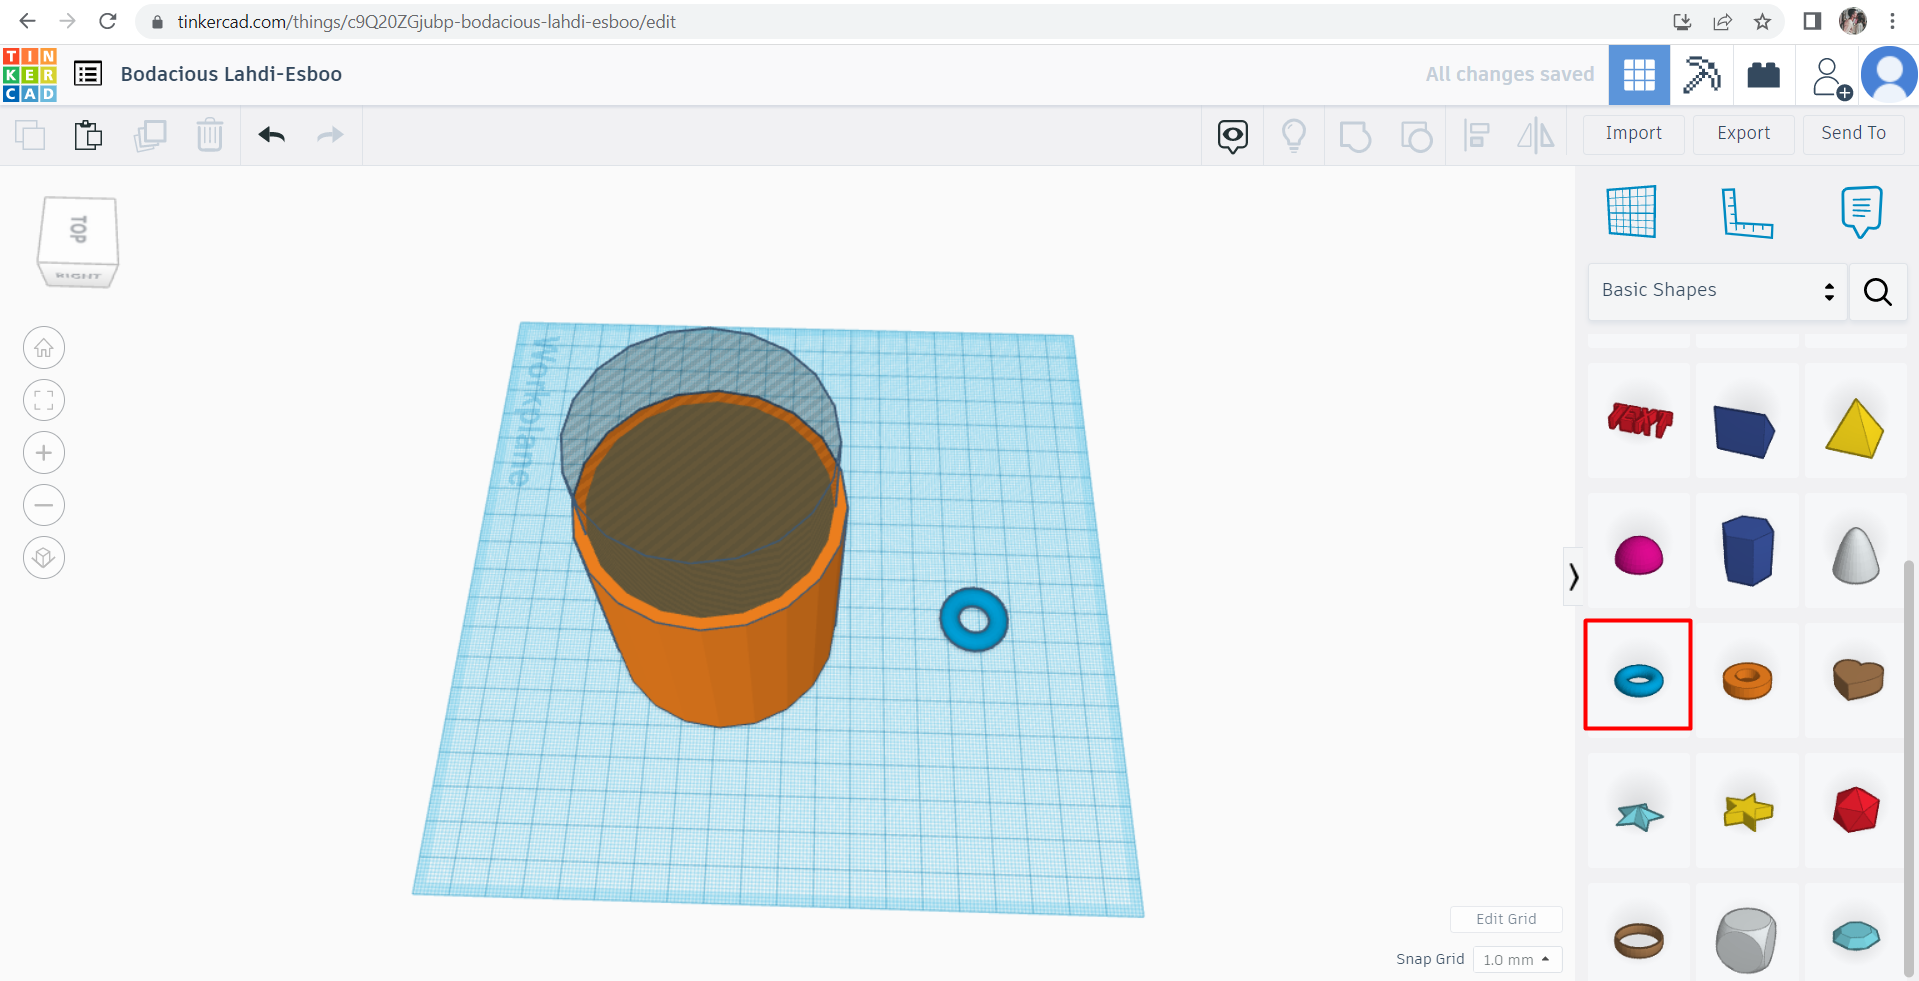
- Step 1: Use two cylinders, one of them as the main object and the other one will work as a hole
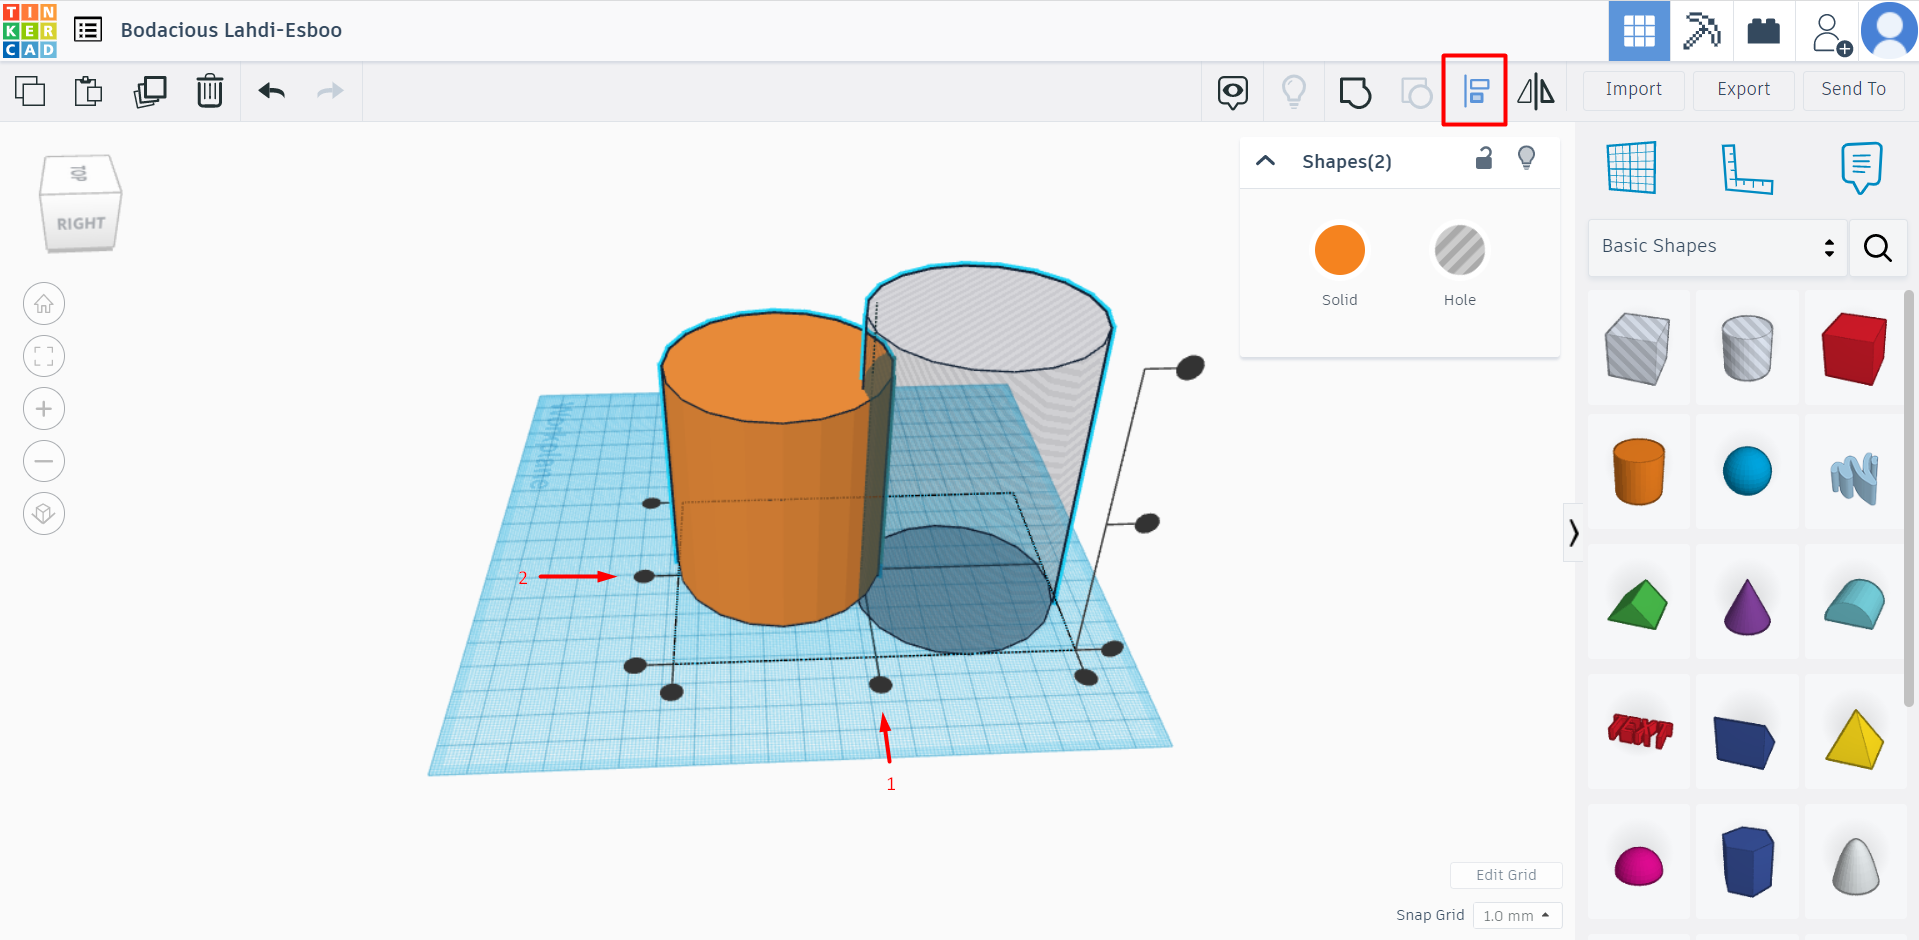
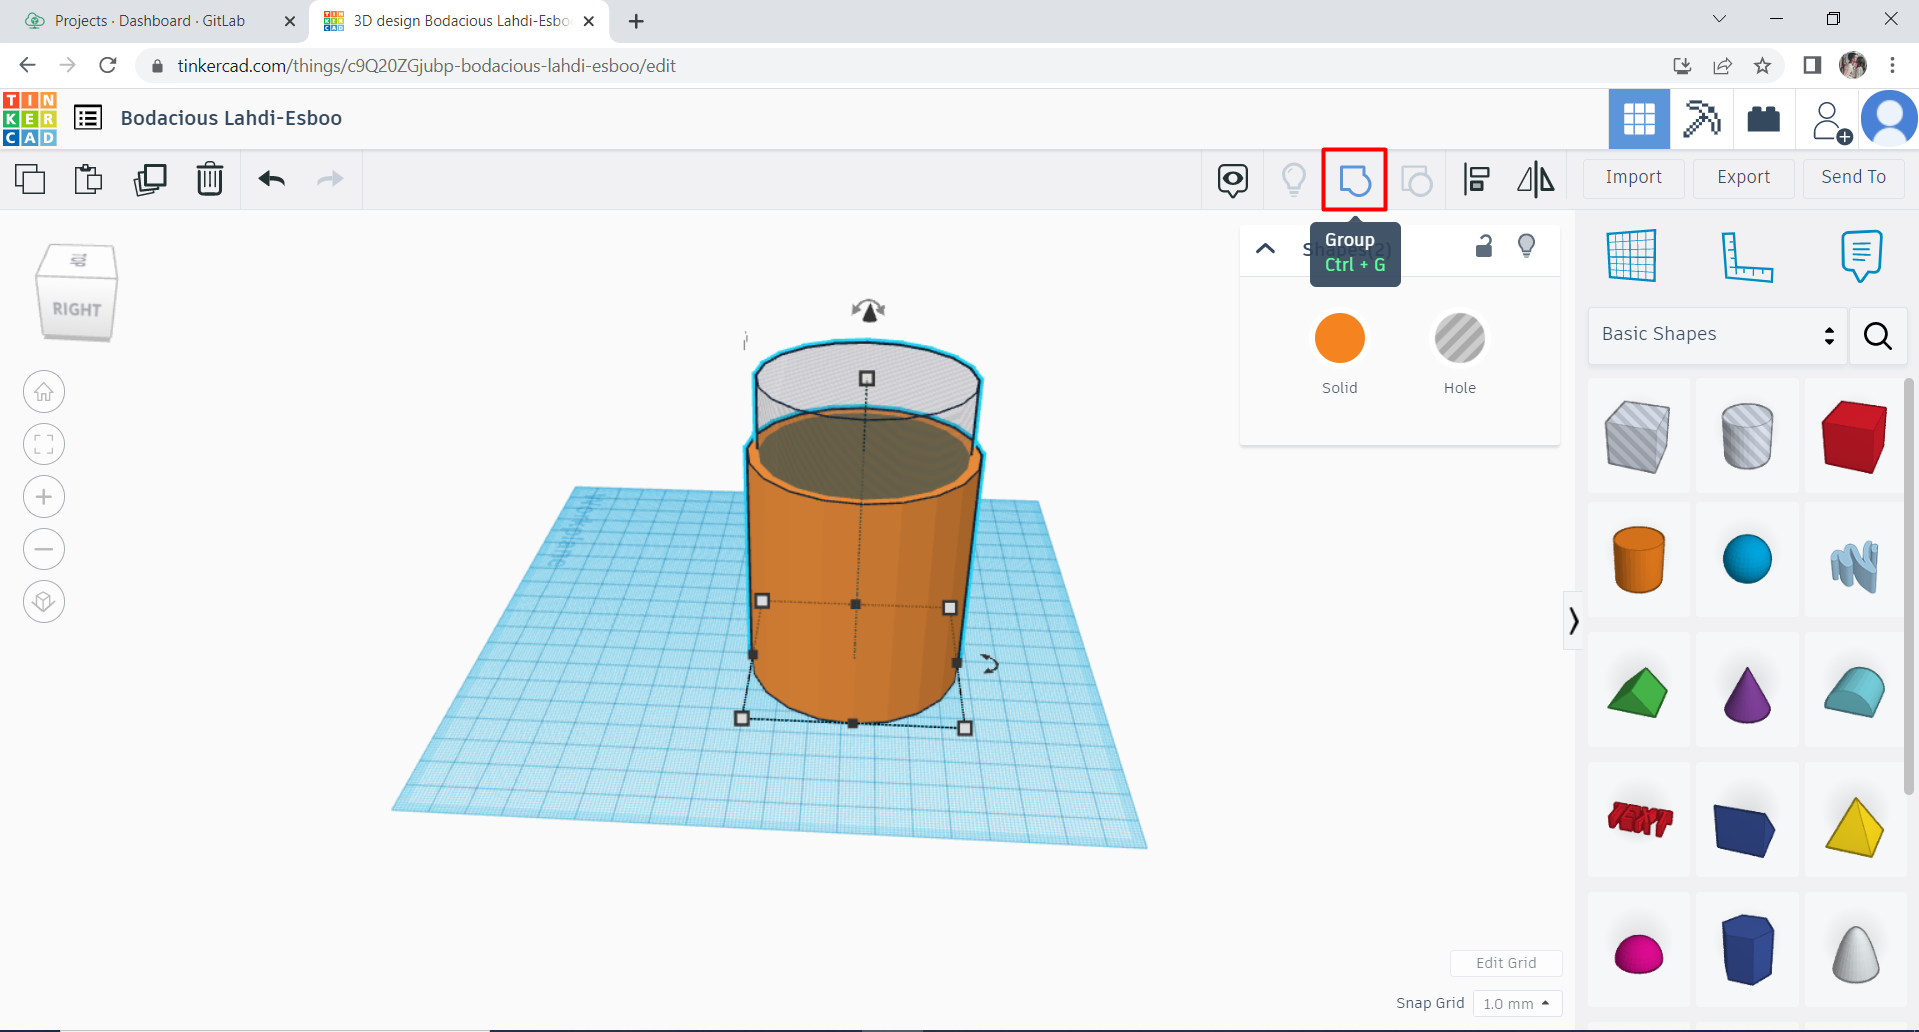
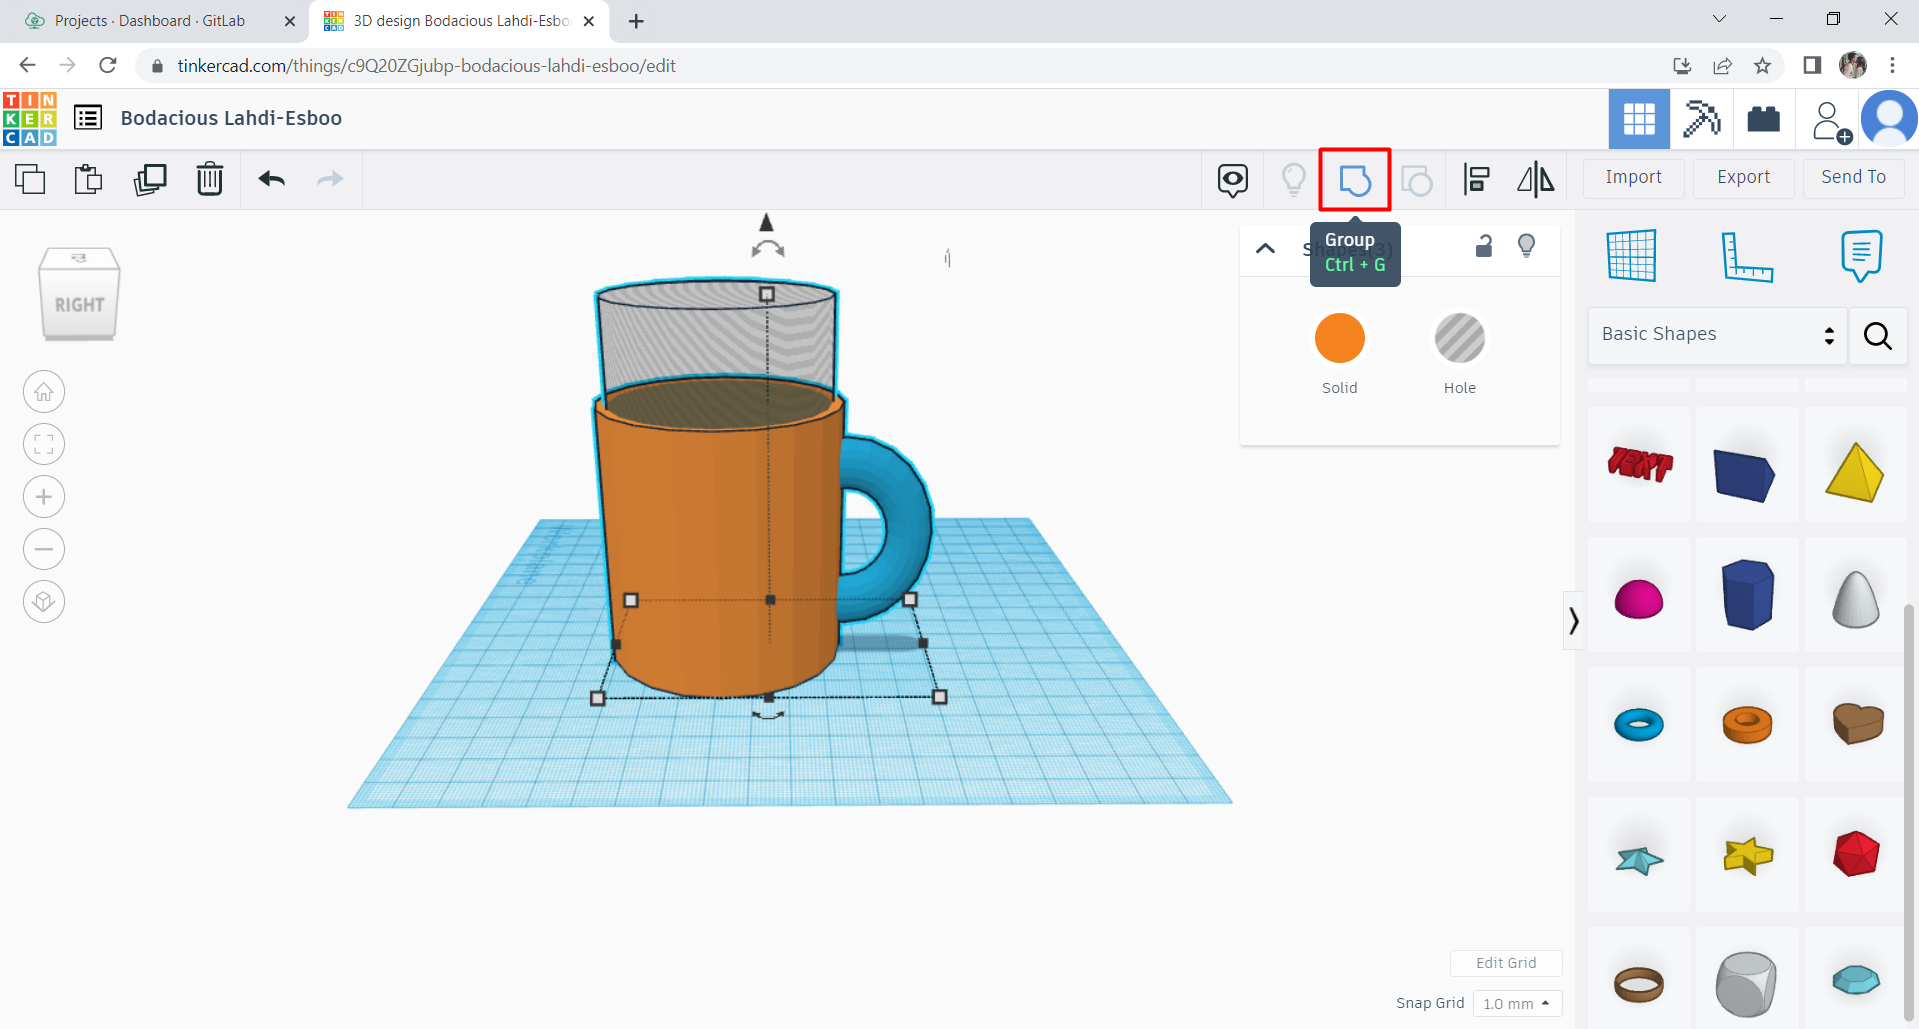
- Step 2: Start editing both of the cylinders and group them up

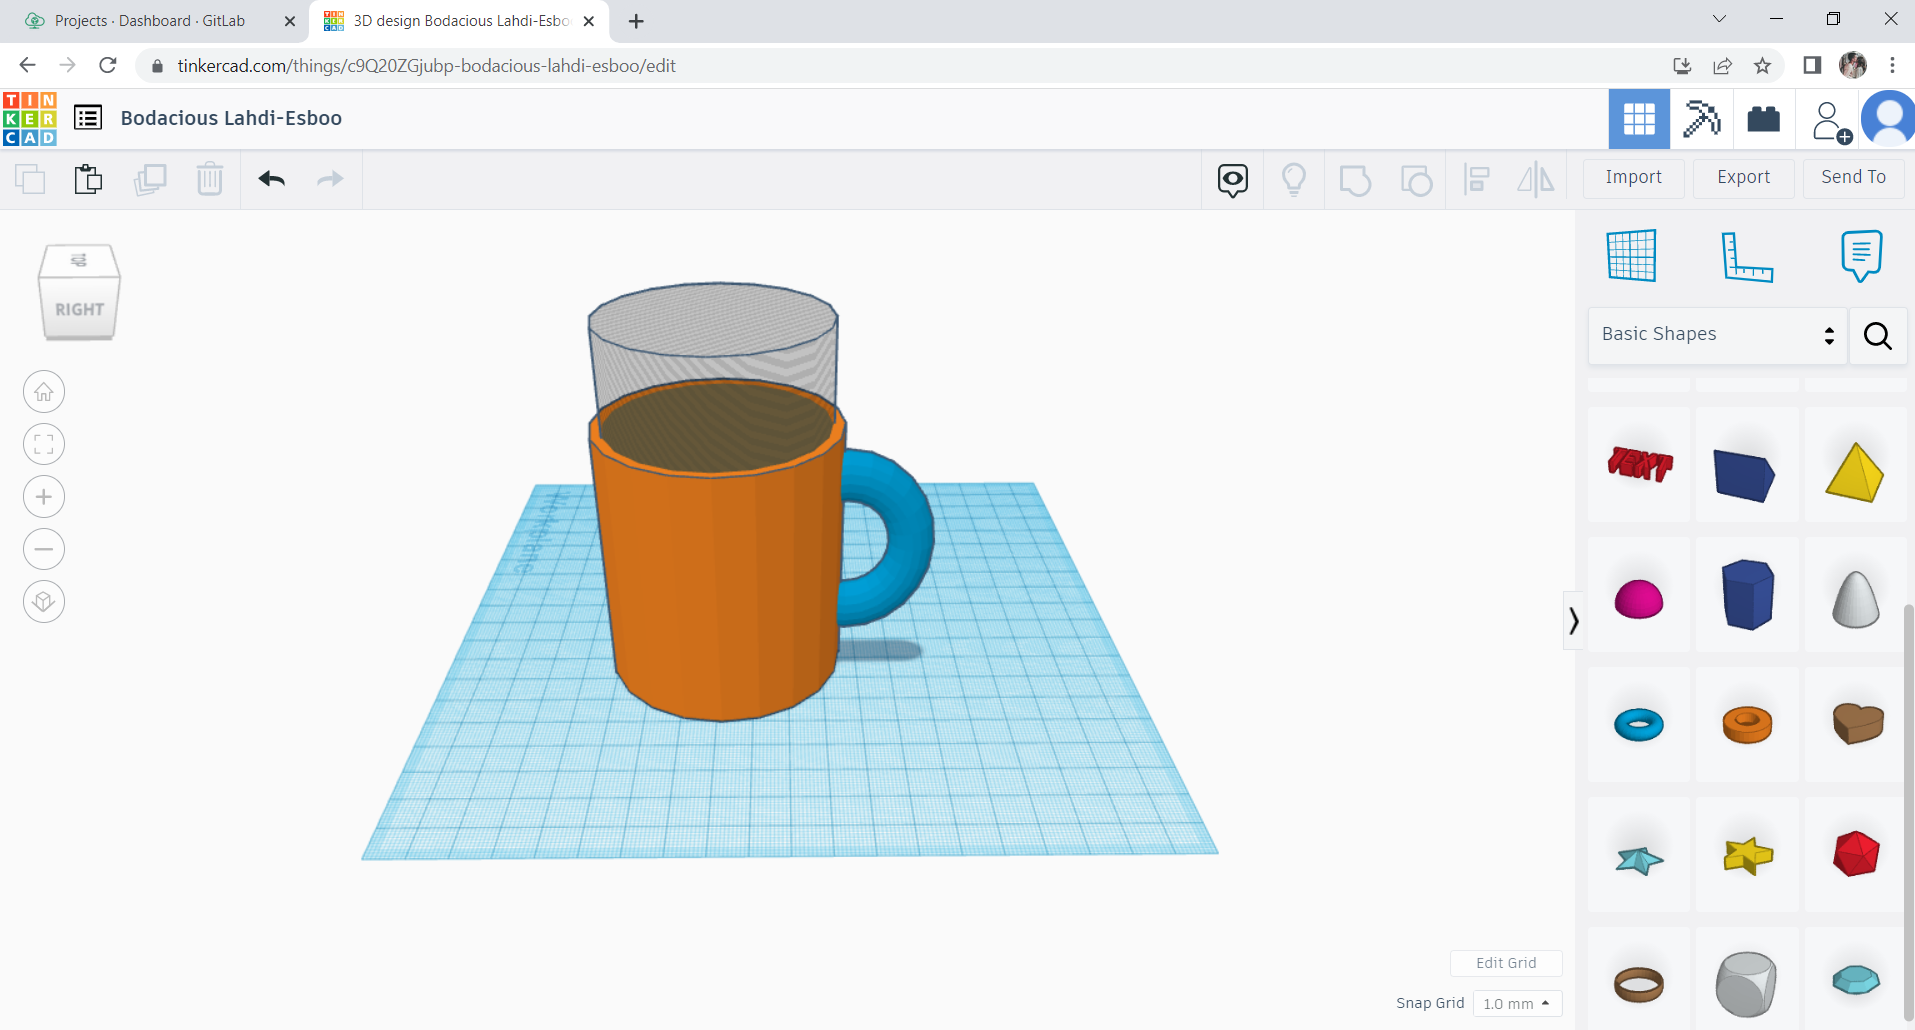
- Step 3: Use torus and edit it so it can work as a handle for the cup
- Step 4: To change the color of the coffee cup, press on the coffee cup > solid and it will apear for you all the options that you can choose for the color
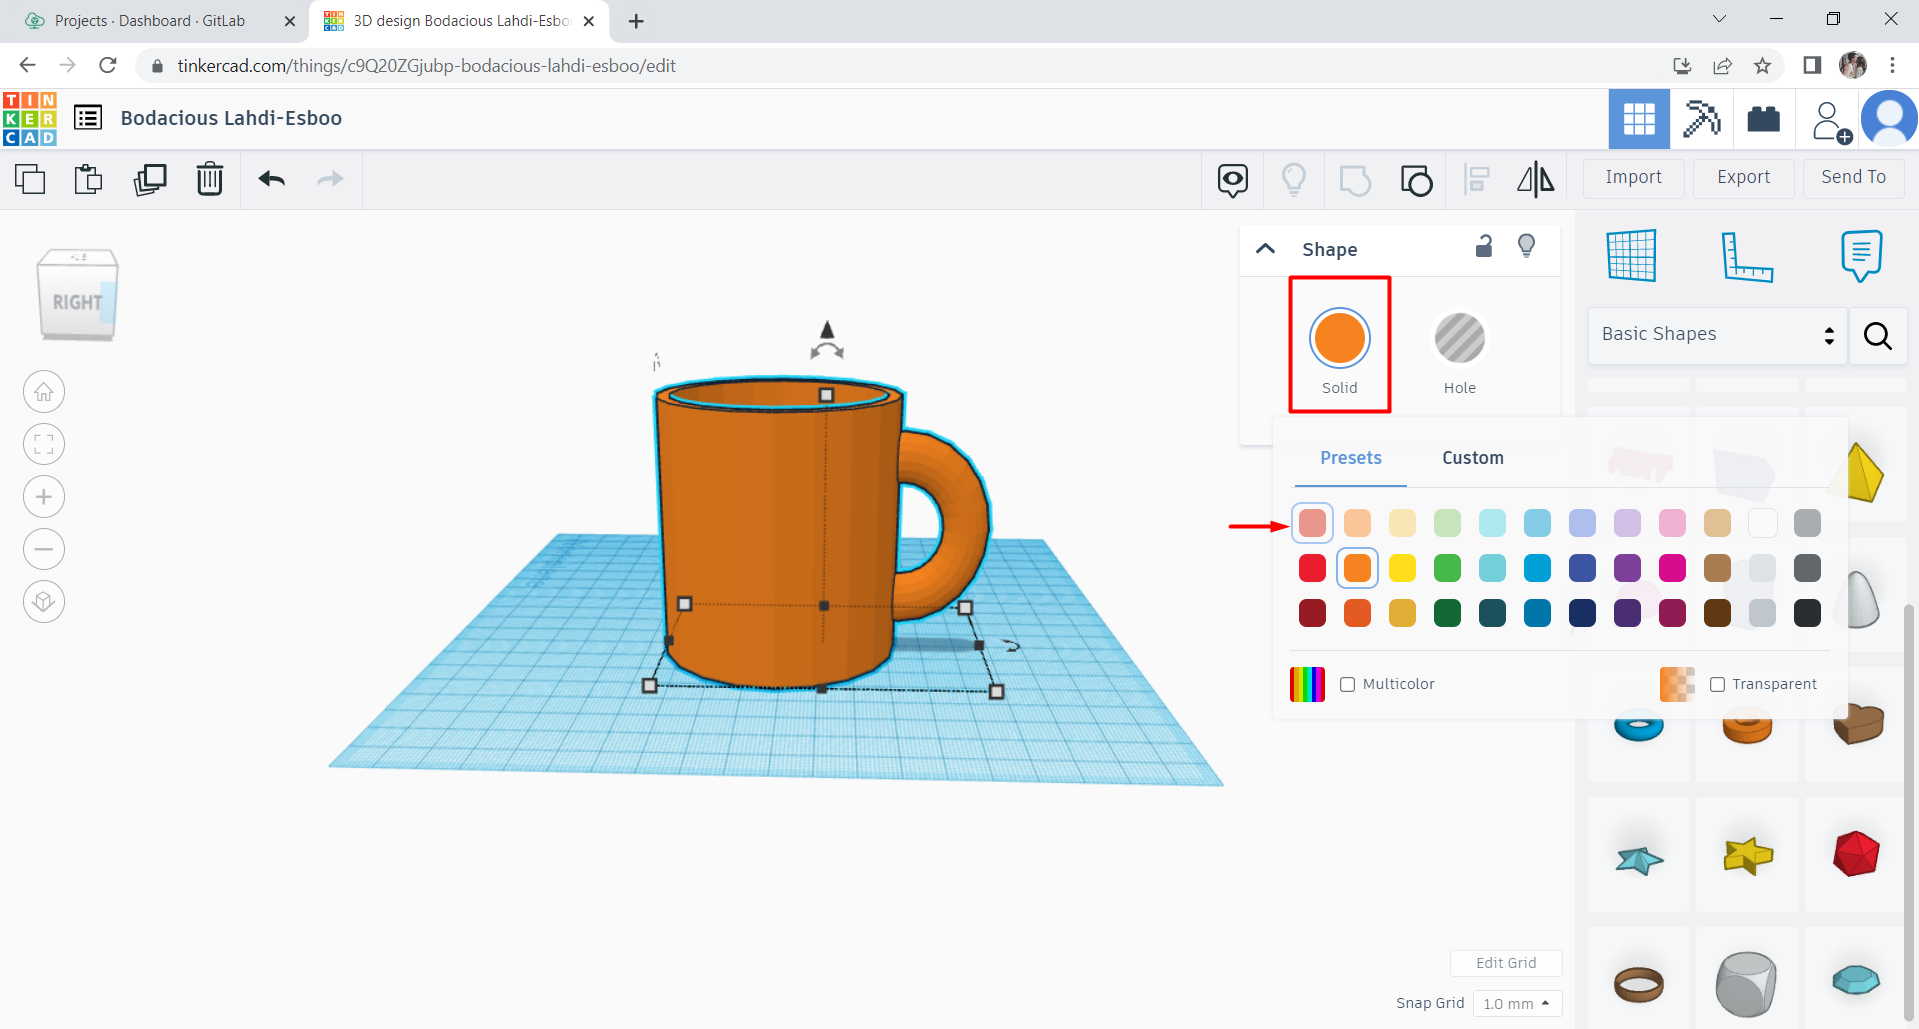
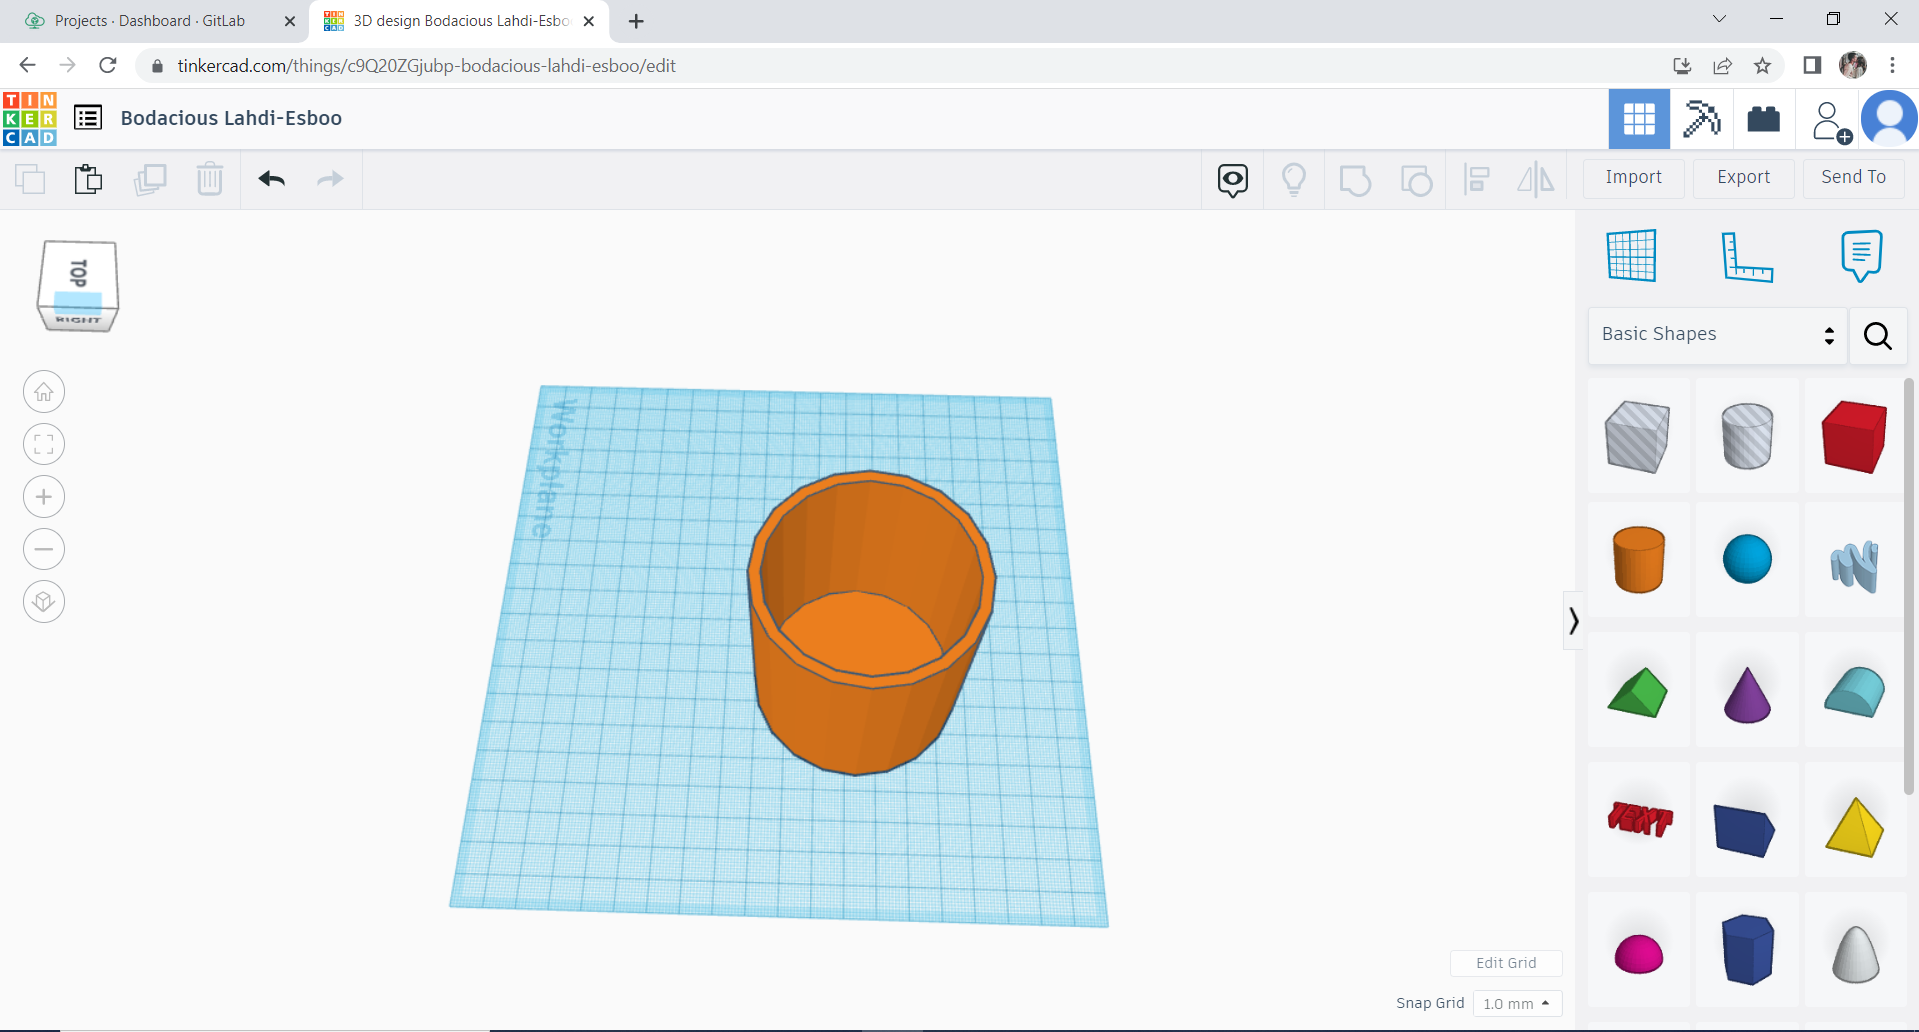
- Step 5: The final result
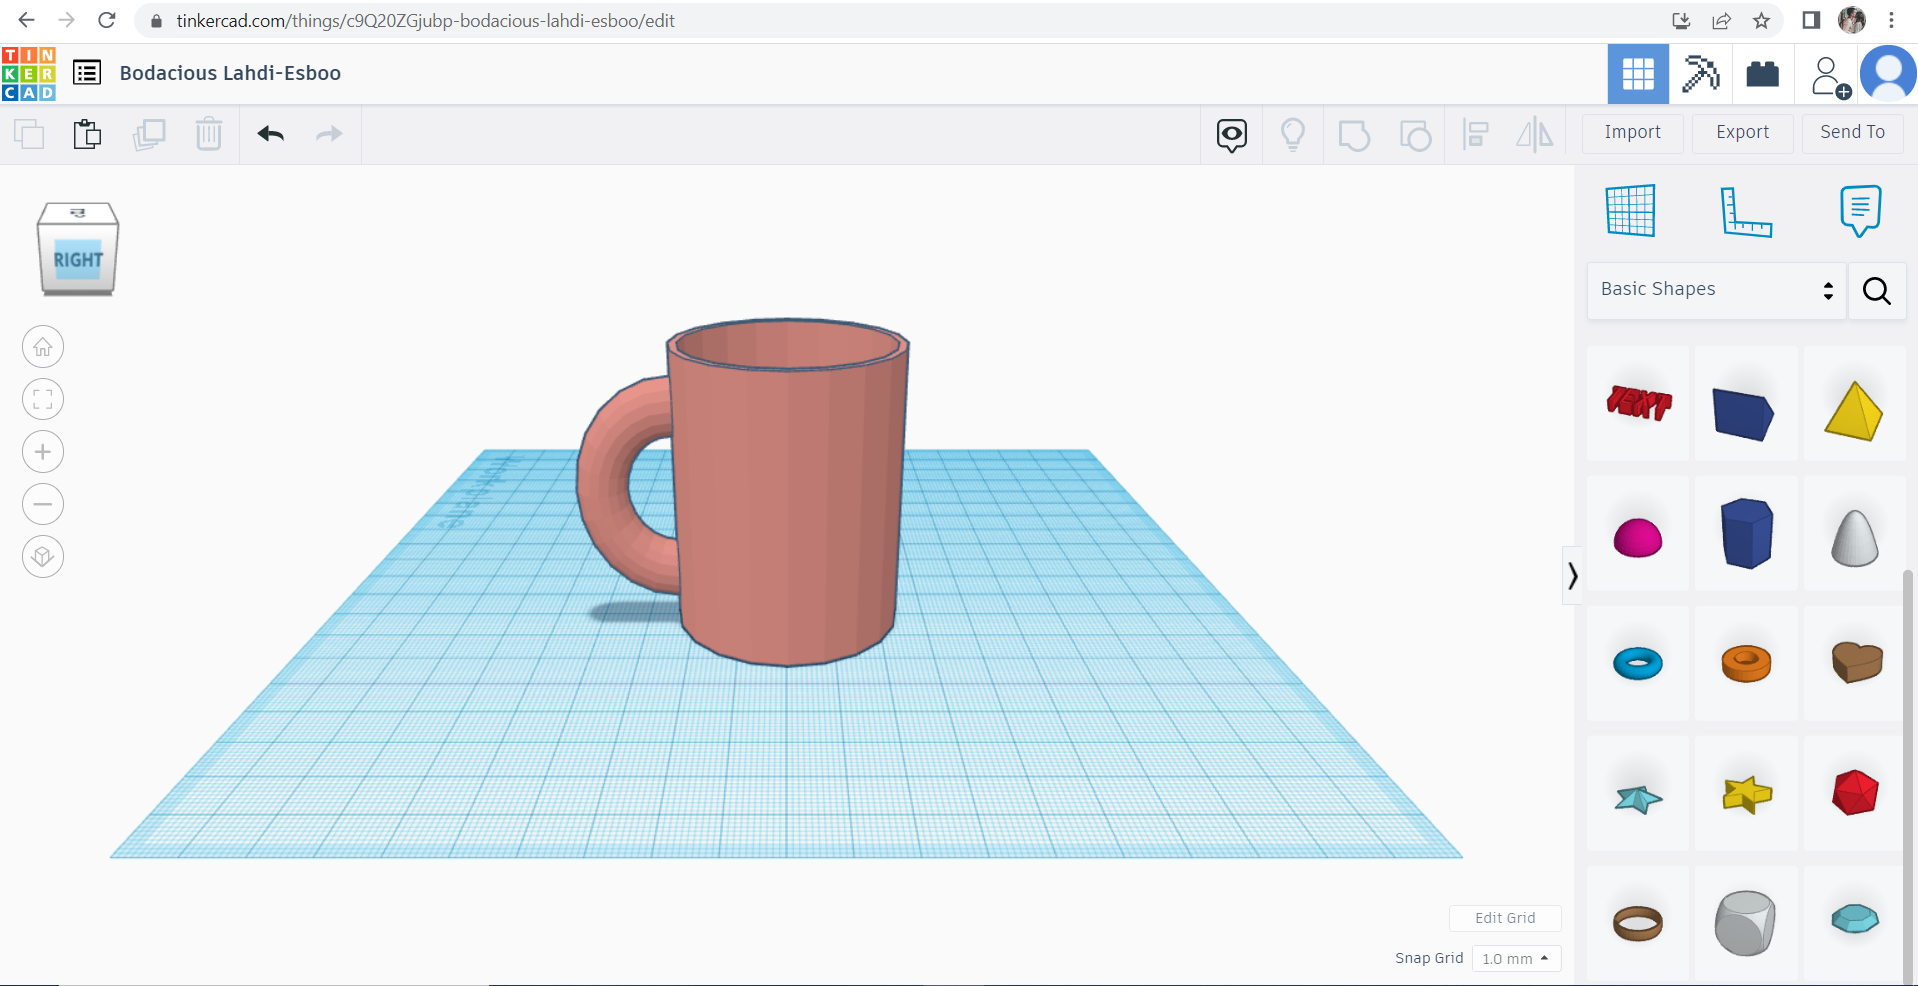
And preview the model below in 3D
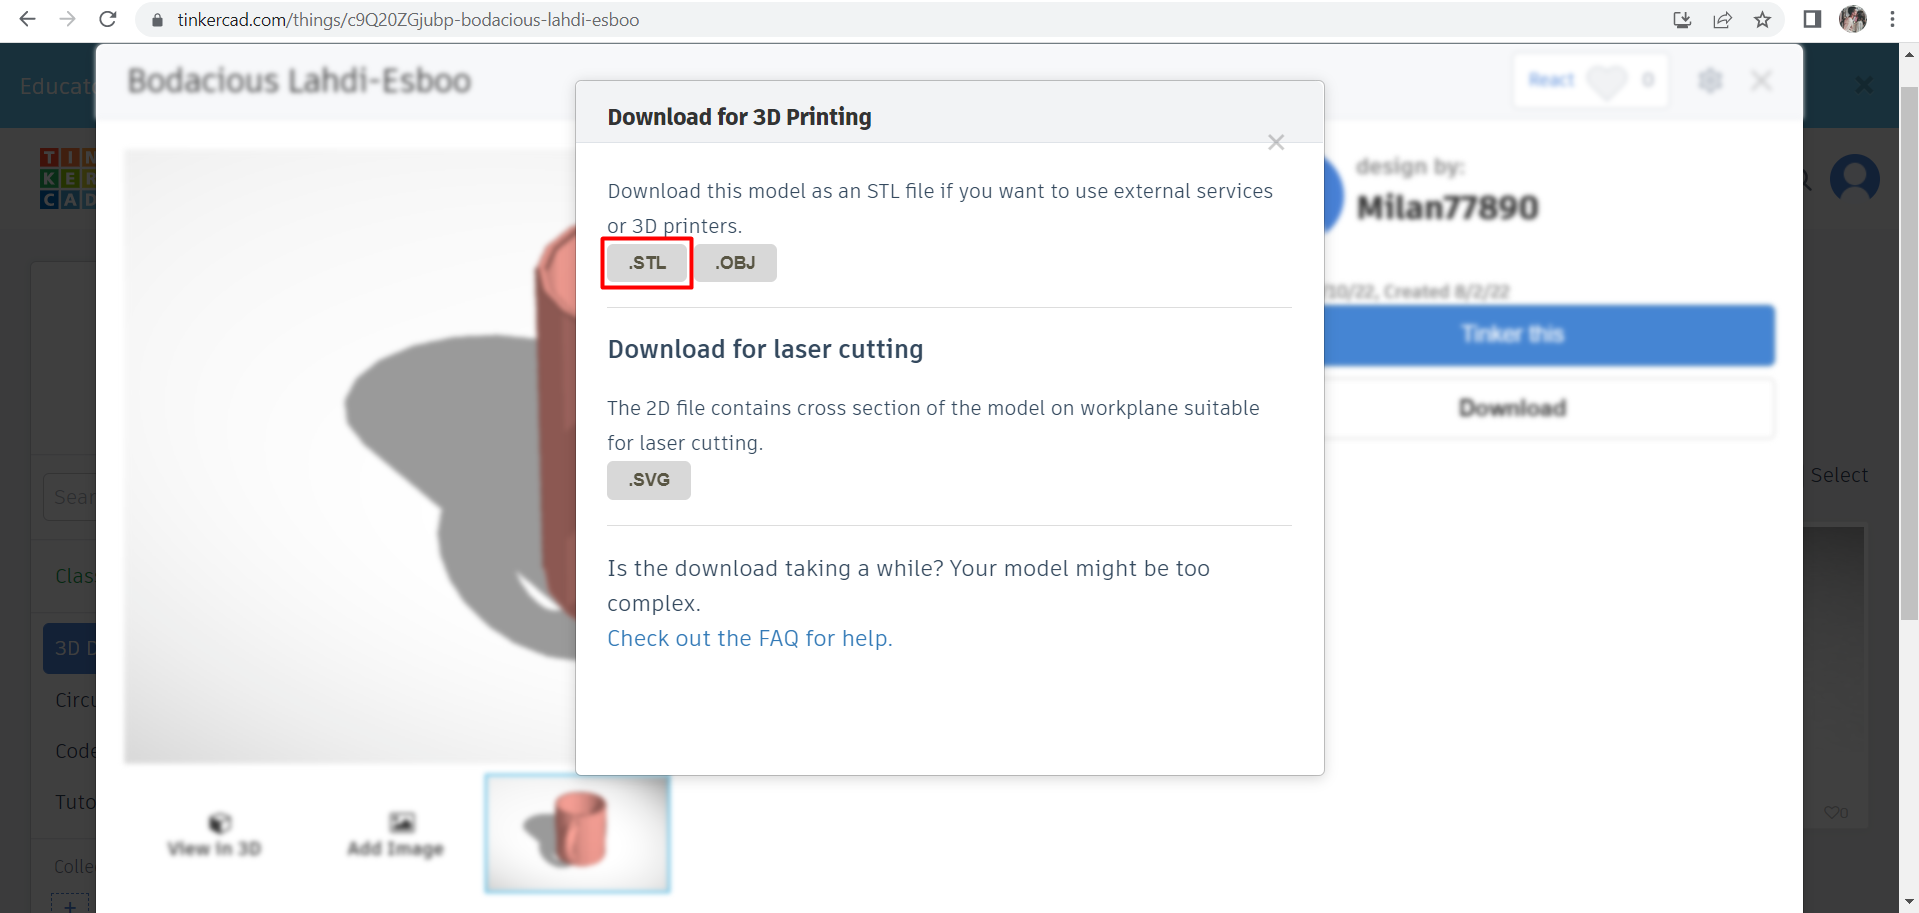
To download the original file - Download
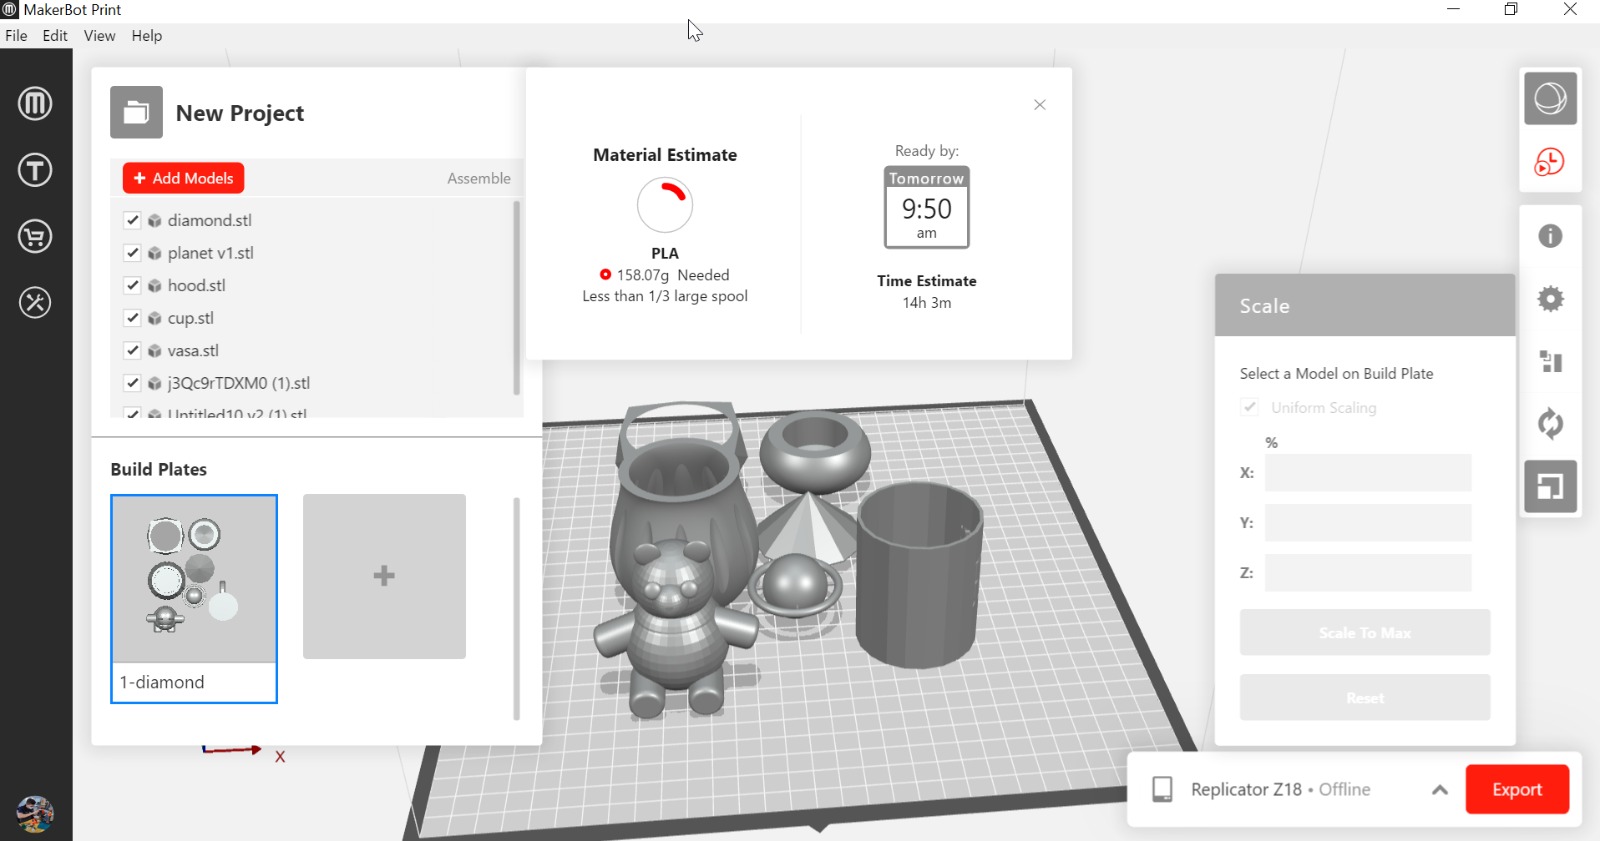
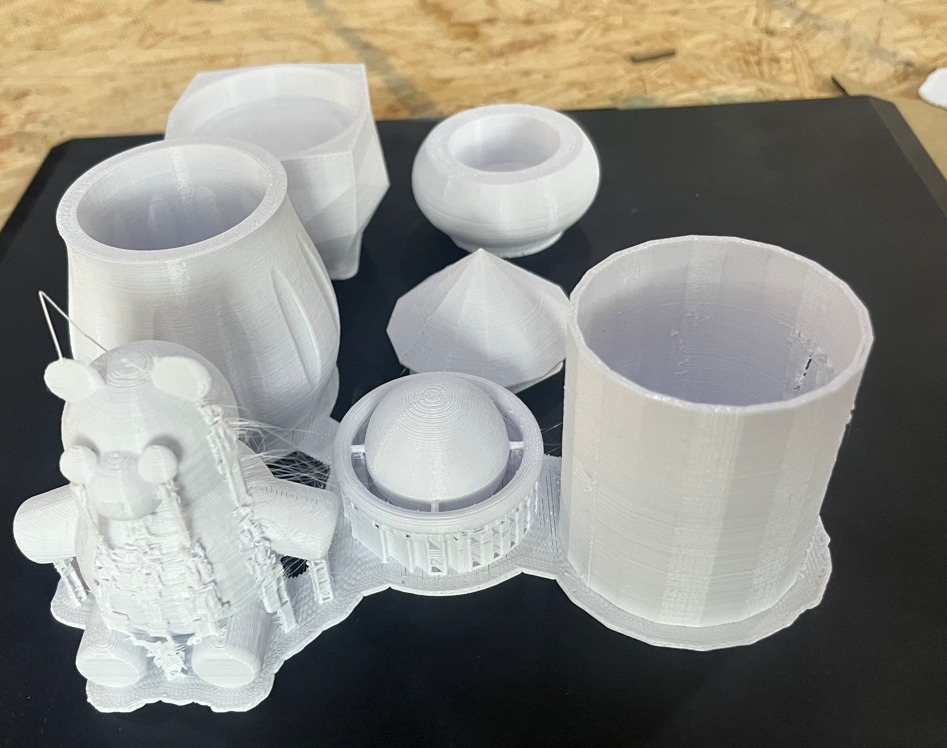
- Step 6: Save the file as STL and upload it to makerbot software to do the slicing. Then, let the machine Makerbot Z18 start printing and that’s the result as you can see in the image

Can this design be done subtractively and why not ?
No, this design can not be made subtractively due to the rounded body and the holes that are one of them in the middle of the coffe cup while the other one in the handle. So, it’s better to be additive manufacturing processes which is to build the object by adding material layer by layer and that is how the makerbot actualyy works. Therefore, we can not use a laser cutter, CNC, or fine milling equipment to produce it which they work subtractively by cutting or removing material.
Scaning
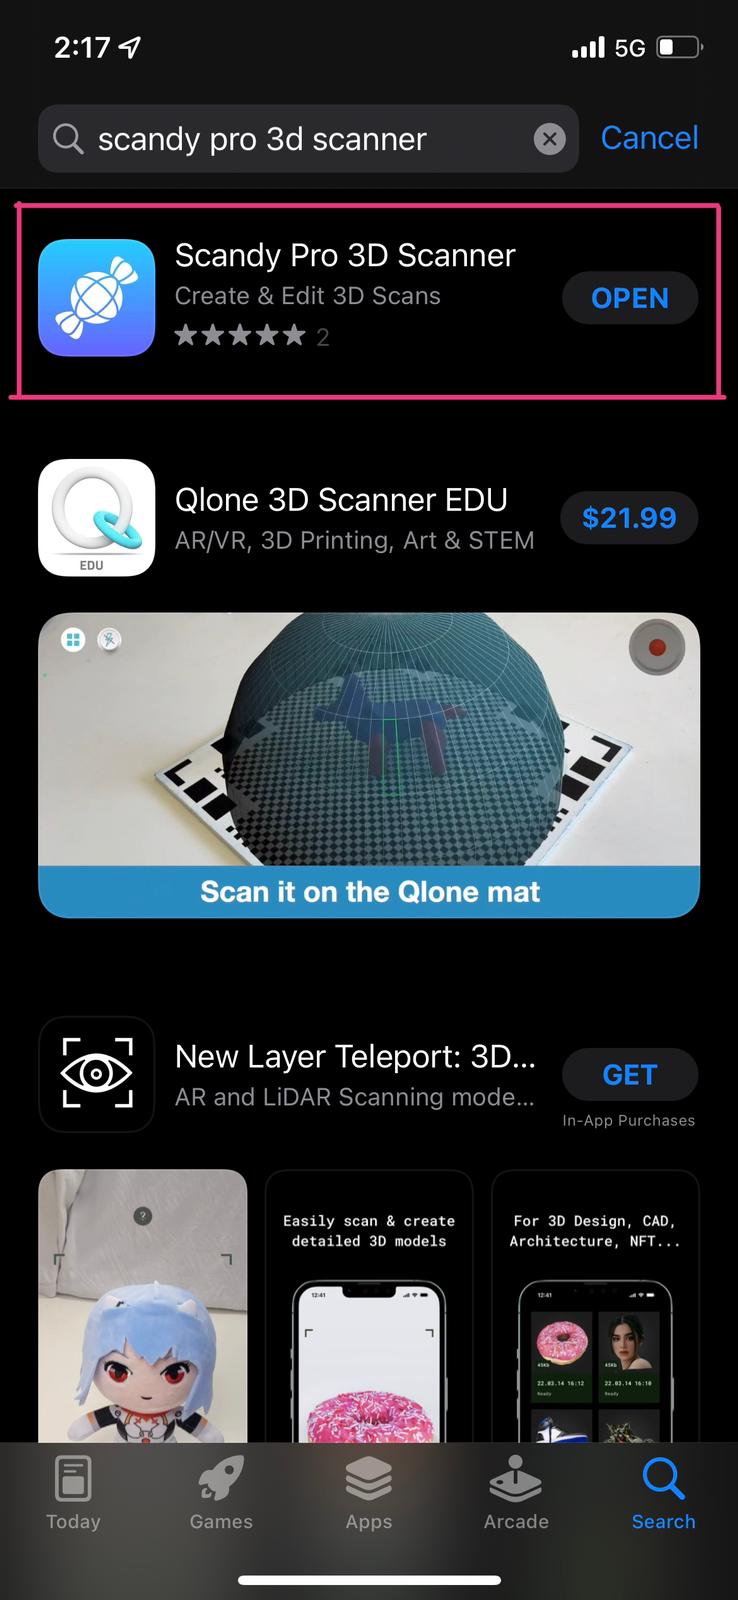
There are multiple softwares for scaning such as Qlone, ScandyPro, Trnio plus and Heges. So, pick any of them and start downloading. For me i downloaded Qlone & ScandyPro
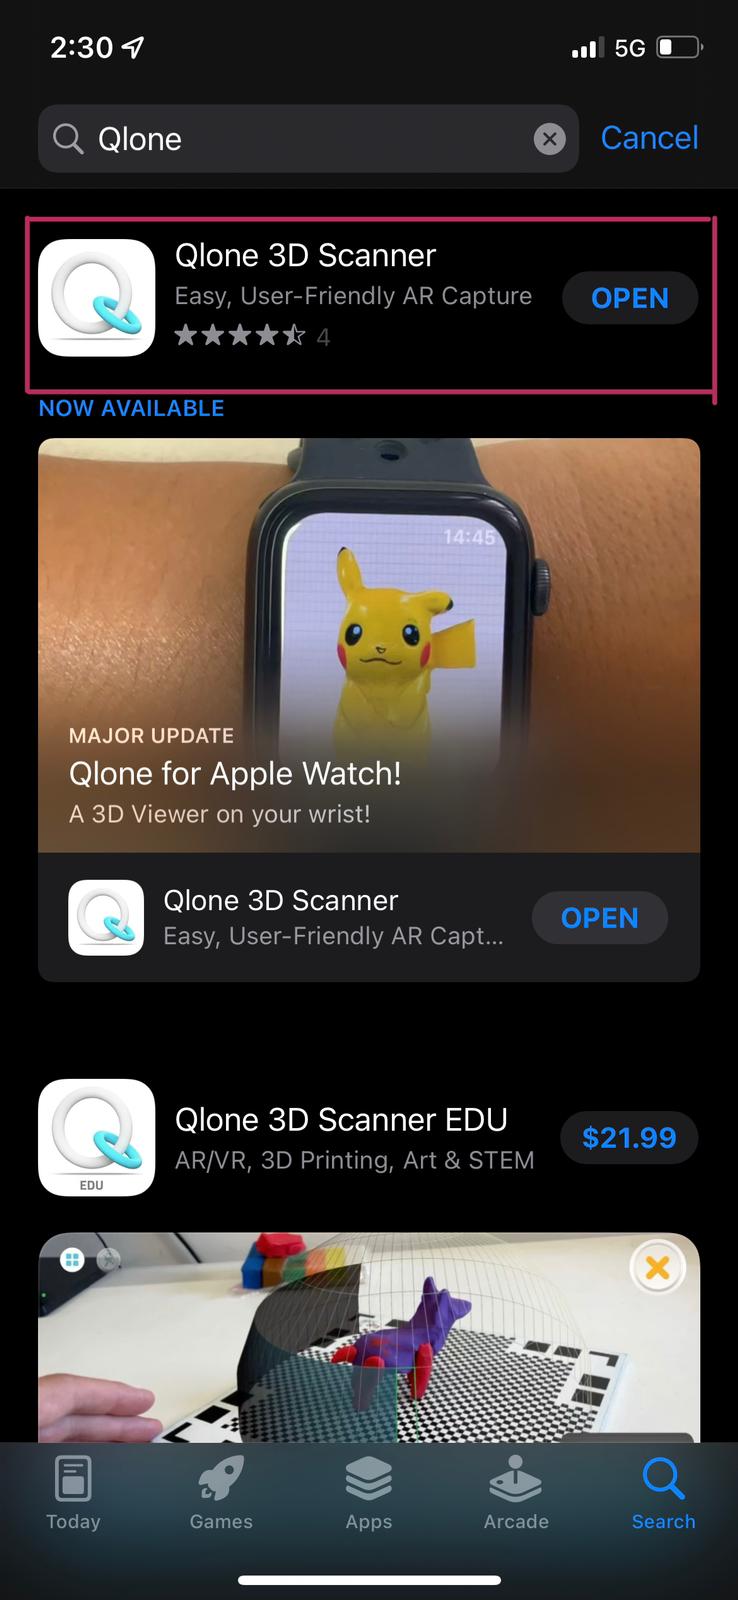
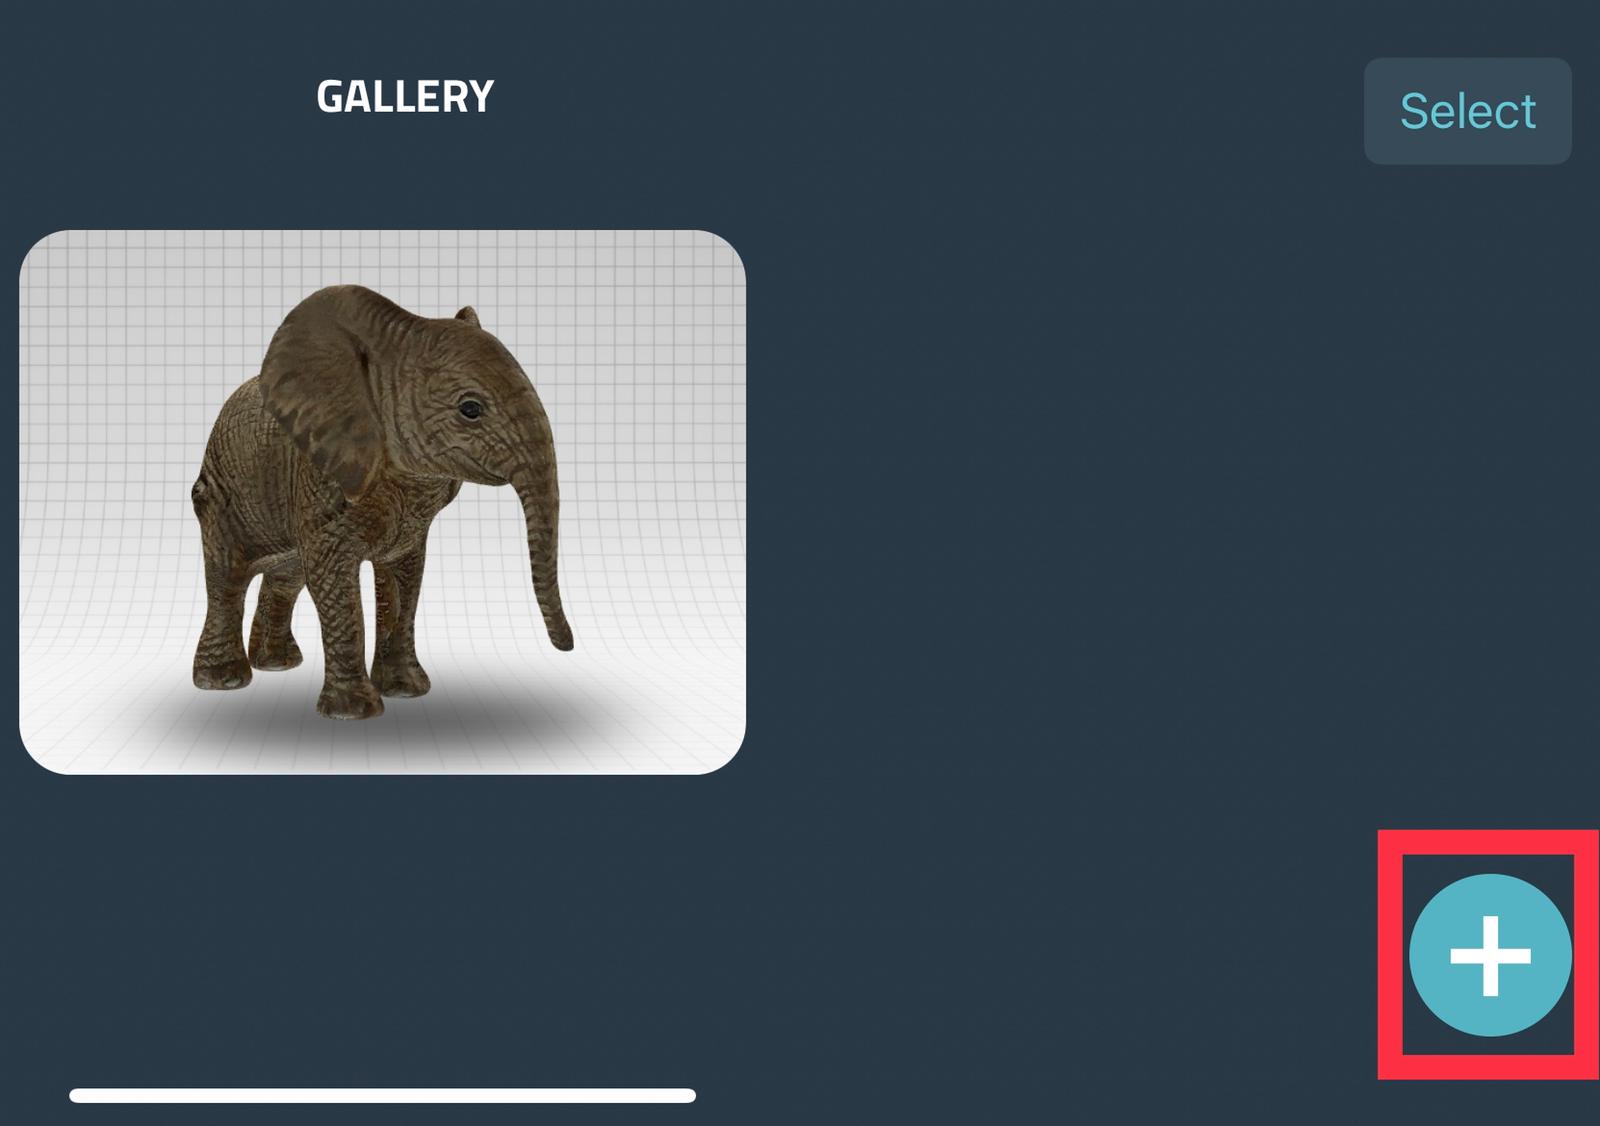
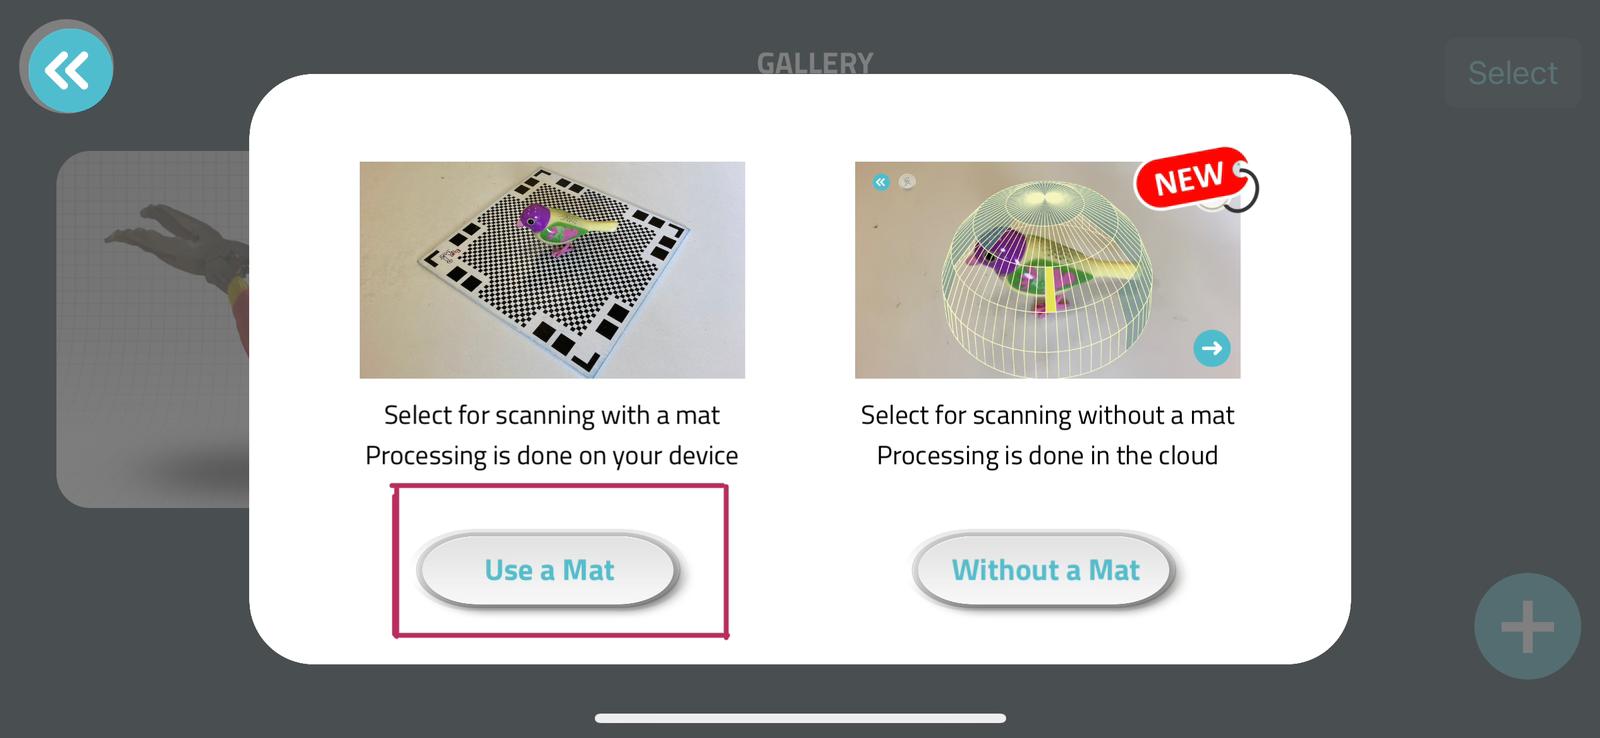
- First, I started by using Qlone. So, open the app after u download it. Then, prss on the plus sign on the bottom right to start scaning and choose the option Use a Mat
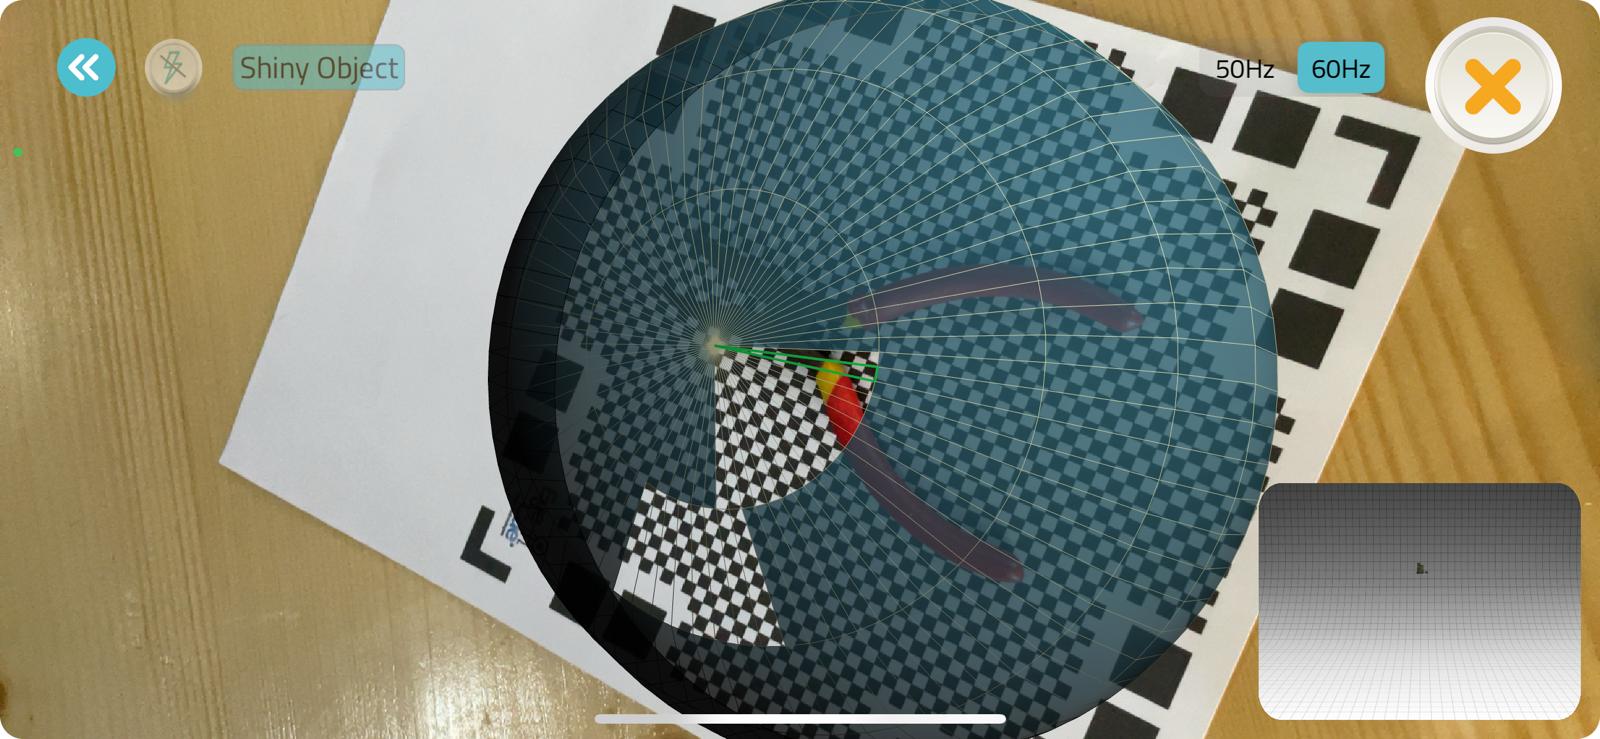
- Before start scaning the object, you need to place the object on a mat and make sure that the object does not exeeds the dimentions of the mat. When you start scaning it will apear for you a dome. The dome has two colors which are red and blue. when it’s red, that means you need to adjust your distance from the object that you are trying to scan. On the other hand, the blue dome means you don’t have issues with the distance neither the angle so start scaning by moving 360 degrees around the object.
- The final result
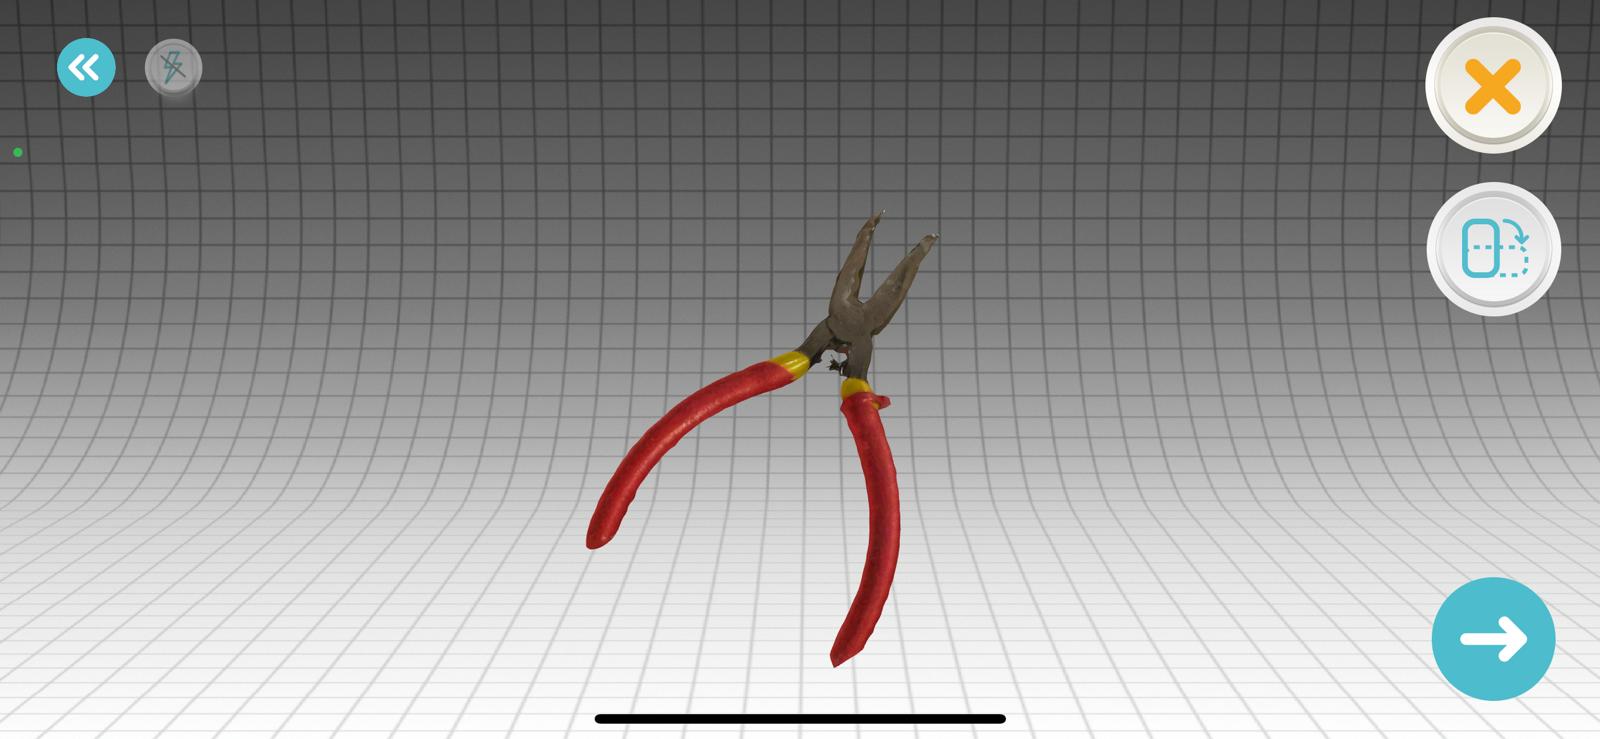
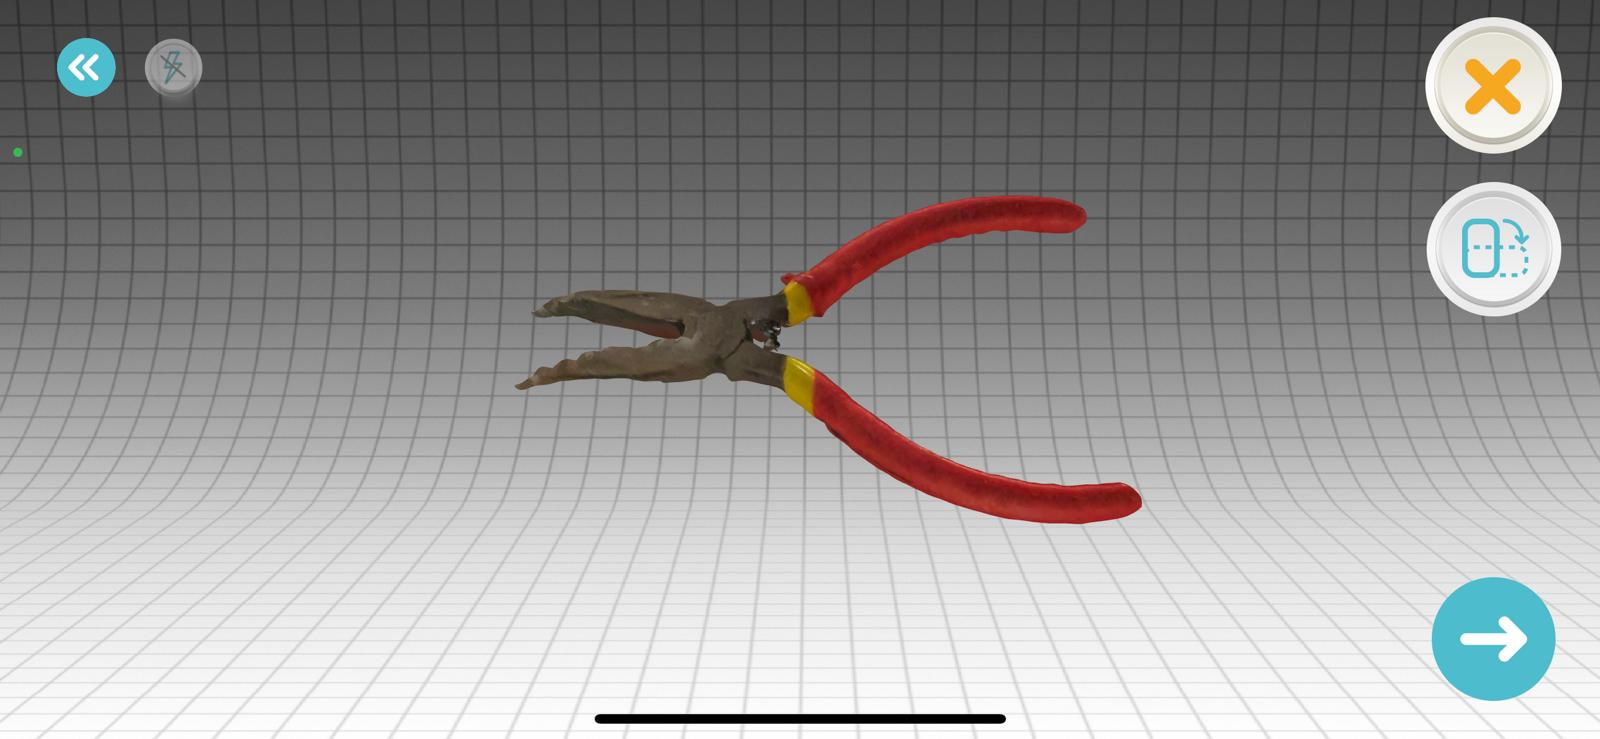
My feedback about the Qlone software and if it can be printed or no:
Due to the Qlone app’s accuracy and the good details it provided, I believe it is a smart choice to print the object after it has been scanned. Additionally, the image was free of contaminants, undesired surfaces, and holes. Furthermore, the scanning procedure was quite simple and efficient, so I didn’t have any difficulties with it.
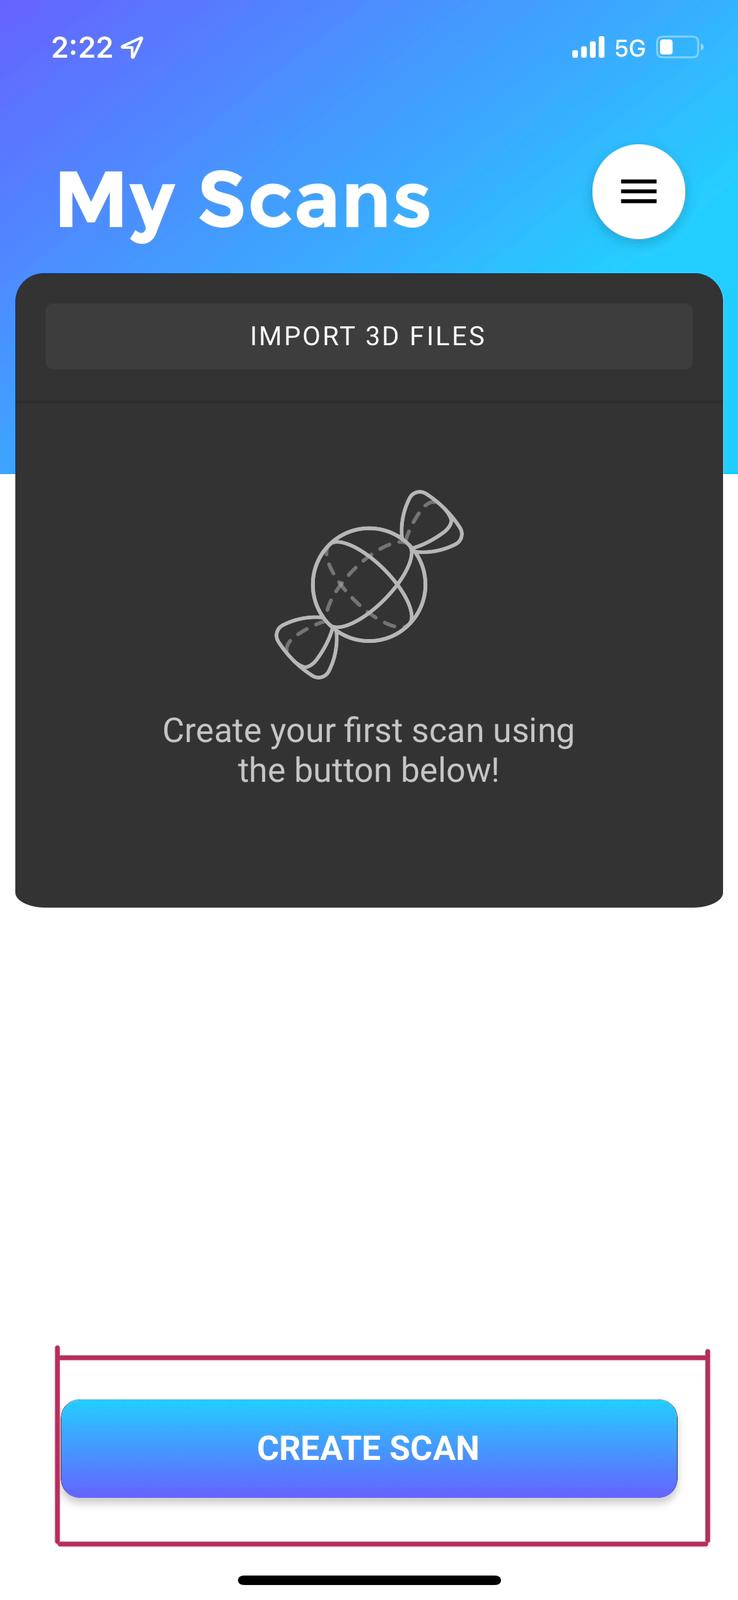
- Now the second software which is ScandyPro, open the app and press on CREATE SCAN. It will open for you the front camera and now you can start scaning your object by moving 360 degrees around the object.
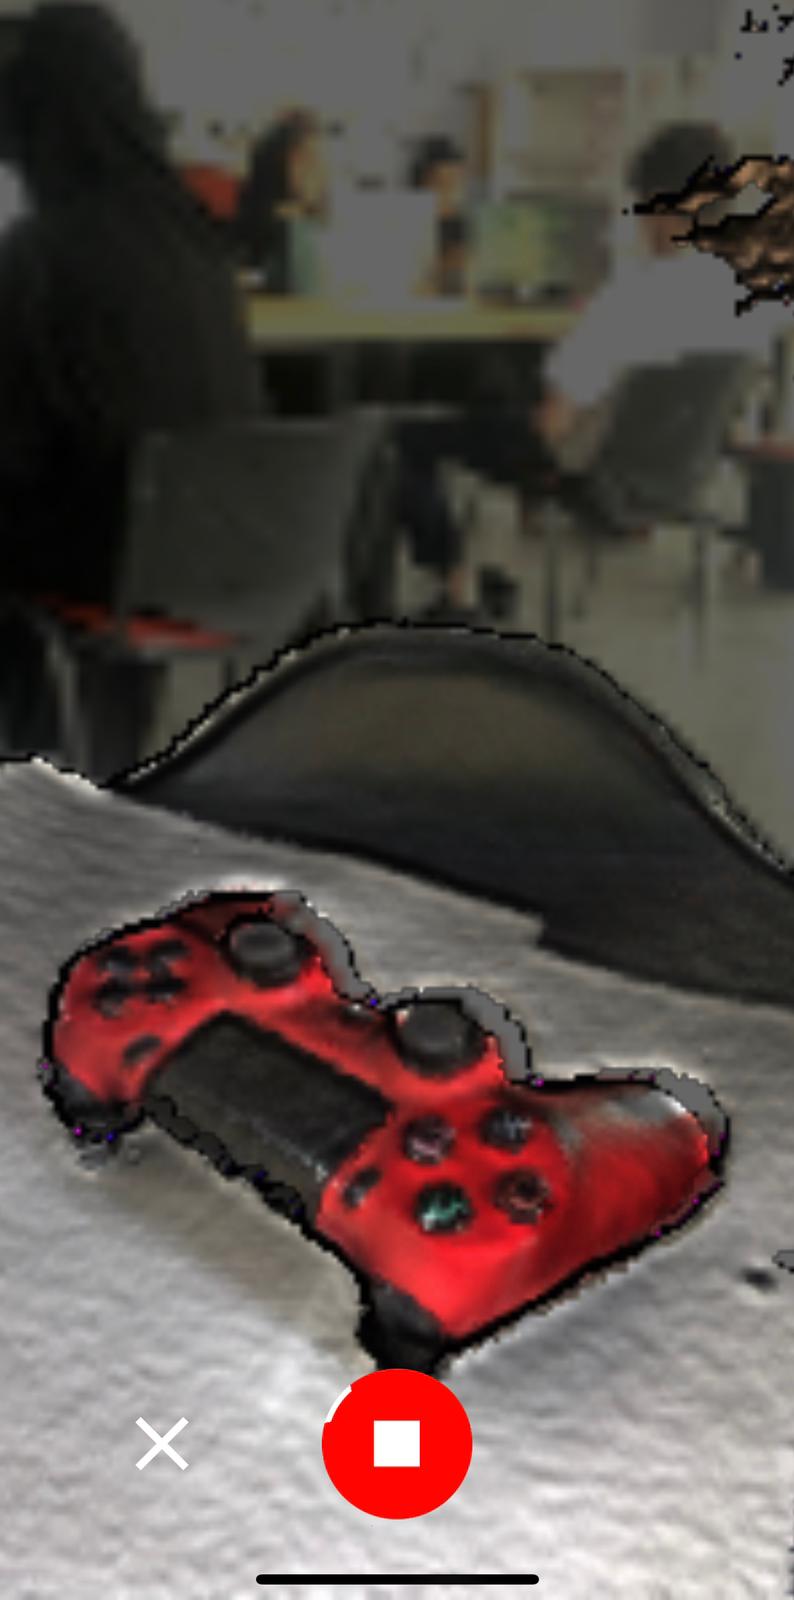
- The final result

My feedback about the ScandyPro software and if it can be printed or no:
It is not recommended to create files for a 3D printer using the Scandypro software. The object was unclear, had numerous noises, and holes, therefore the end result was highly unpleasant. It is a very difficult job to eliminate contaminants and undesired surfaces if we want to print it. The object’s details are also blurry and seriously wrong. Furthermore, the scanning process was difficult for me because I had to move 360 degrees around the object and scan it with the front camera,. it would be easier if it was by the back camera.