1. Project management
Gitlab is a web-based repository and it is generated by MKdocs.
Session 1
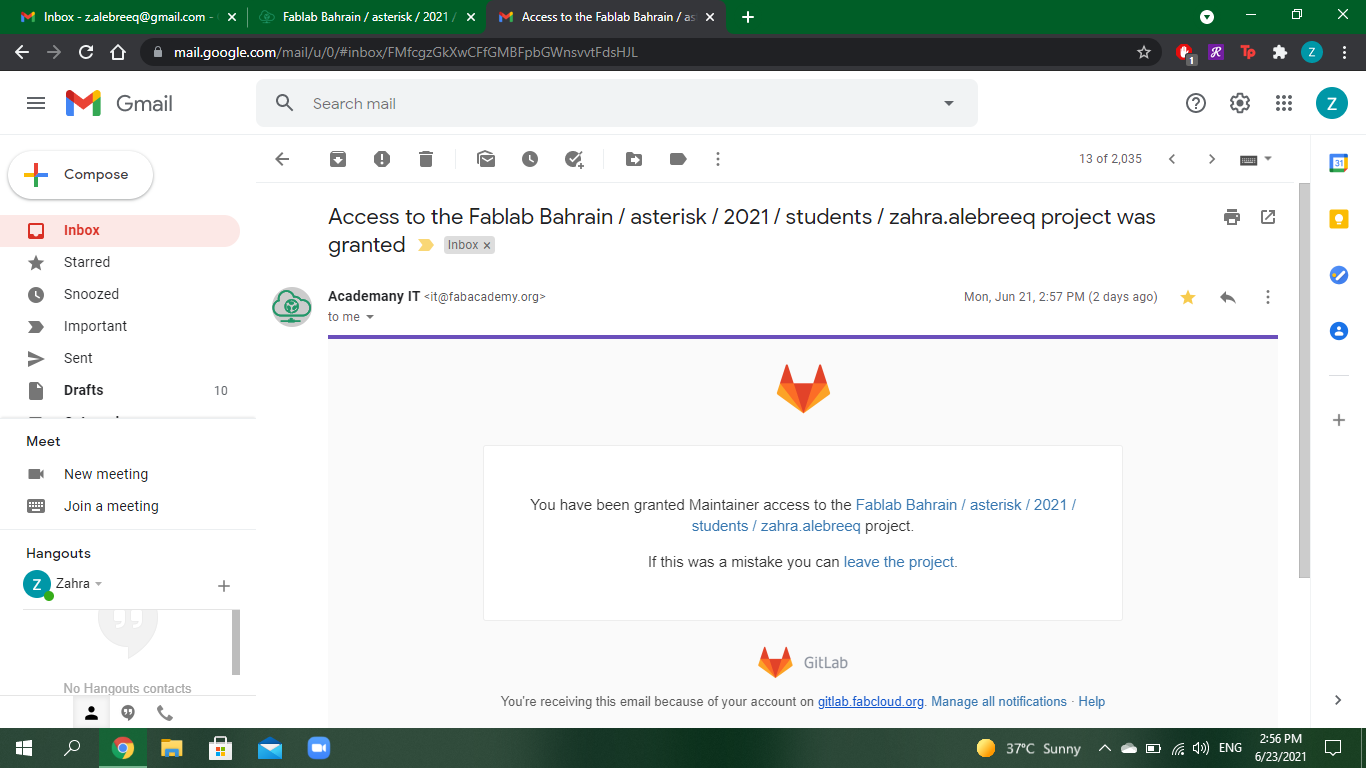
Hello, I have made this post to document what I have learned in the first session of the online training program which took place on June 21, 2021. I was able to create a folder on my laptop containing all my information and work uploaded on GitLab. First step, I downloaded Git program and Atoms program.
After that, I accessed my page on GitLab through the link in this email and I logged into my account
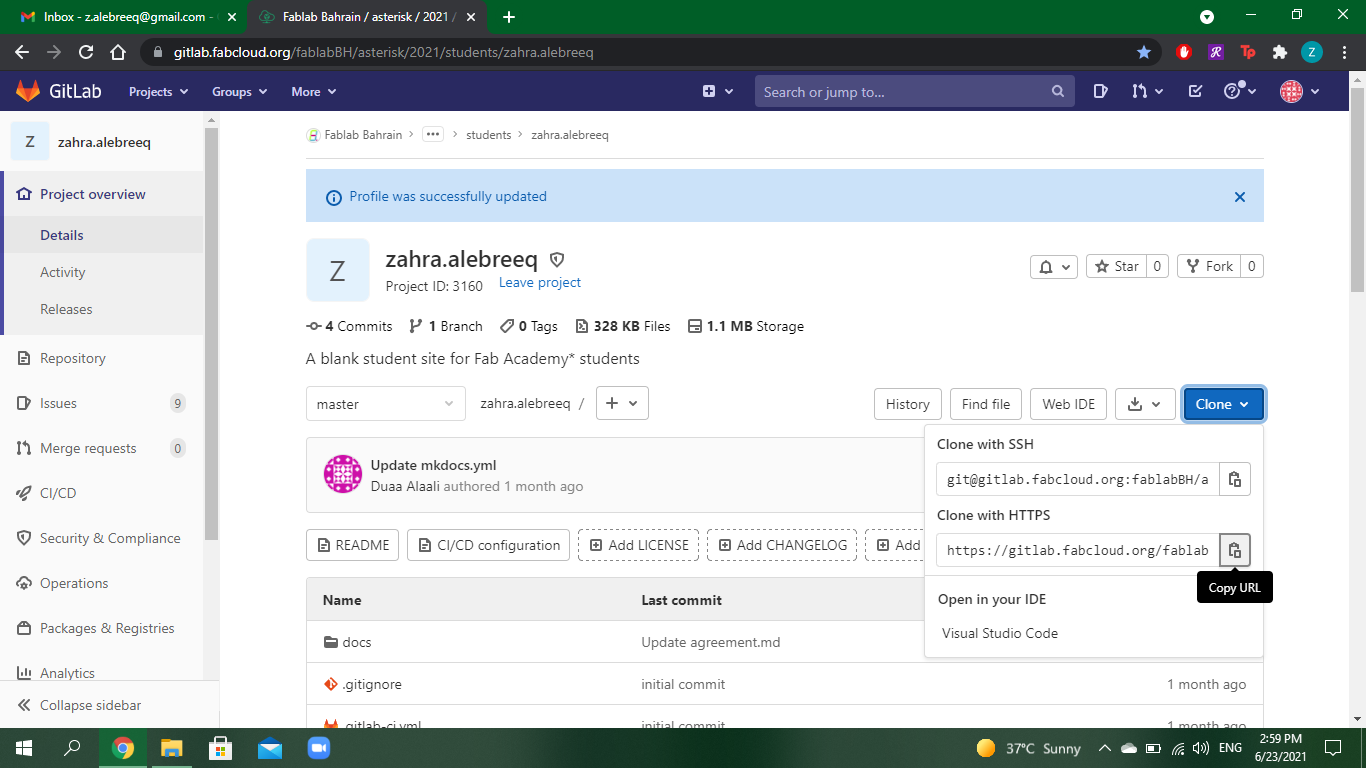
Then I clicked on clone and copied the link below “Clone with HTTPS”
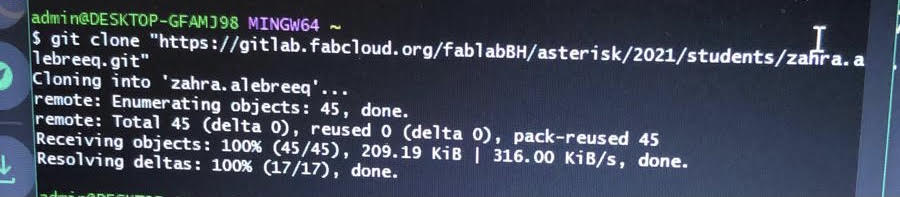
After doing those steps, I run the program Git Bash and typed the command git clone “https://gitlab.fabcloud.org/fablabBH/asterisk/2021/students/zahra.alebreeq.git”
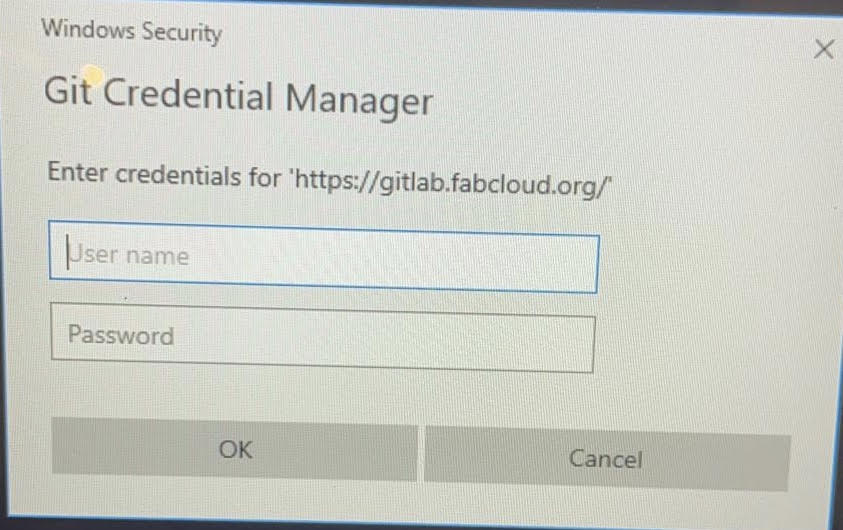
A window popped up asking to enter my GitLab credentials
After that the file was created on my laptop
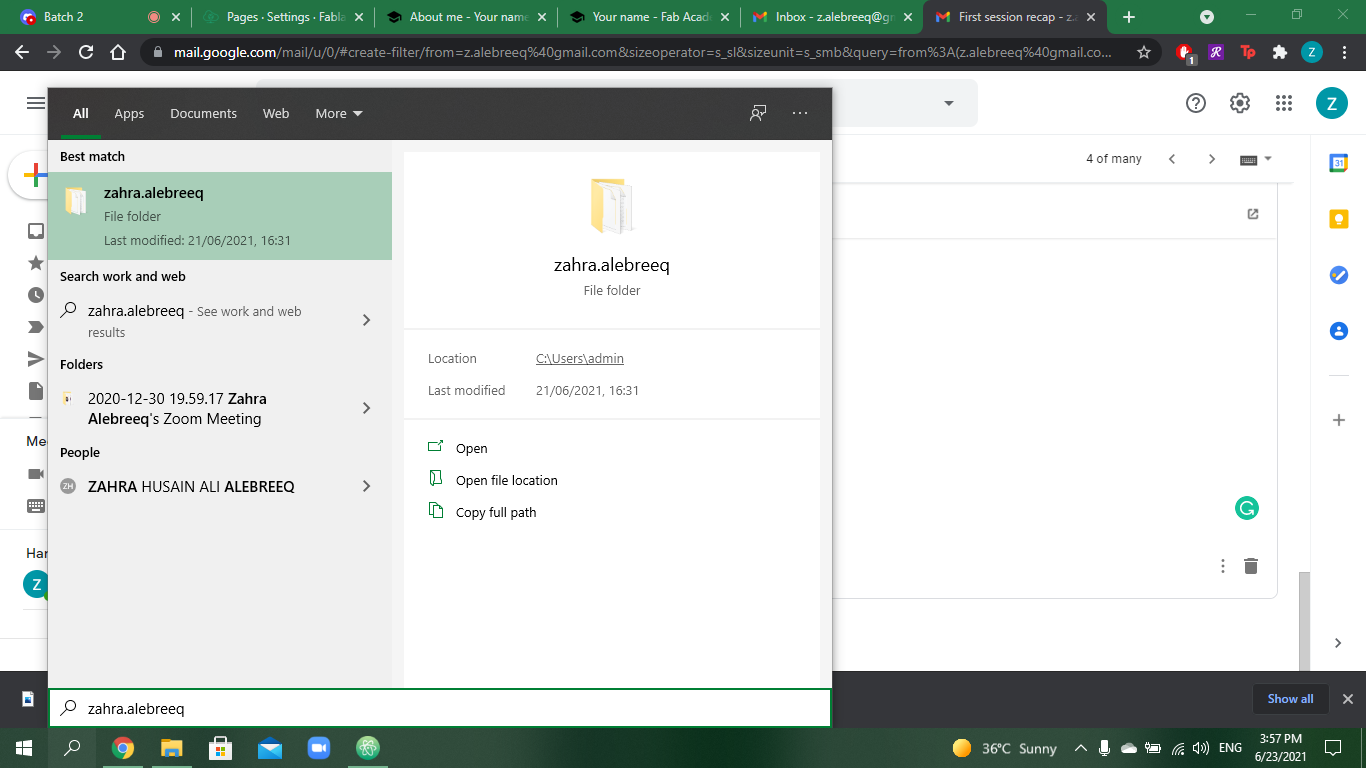
I located it by searching zahra.alebreeq in the search tool bar
Session 2
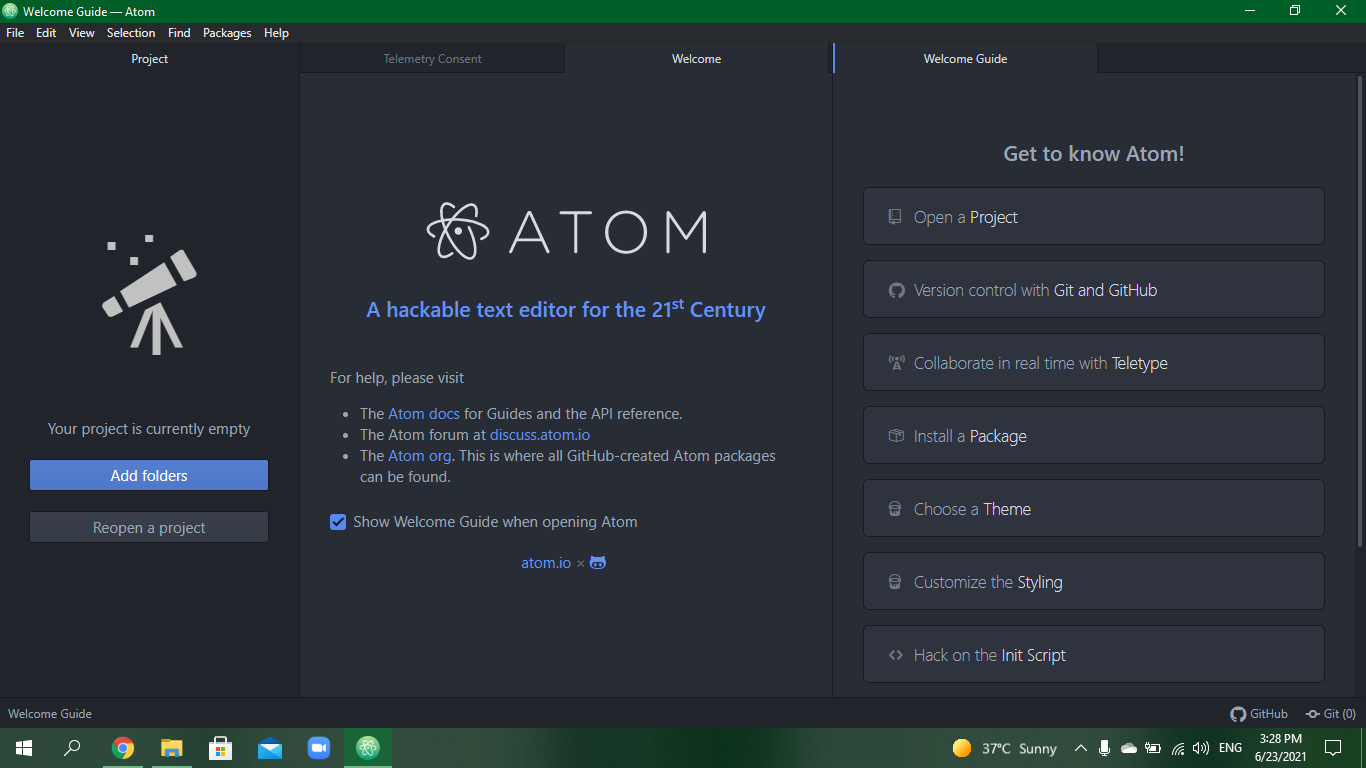
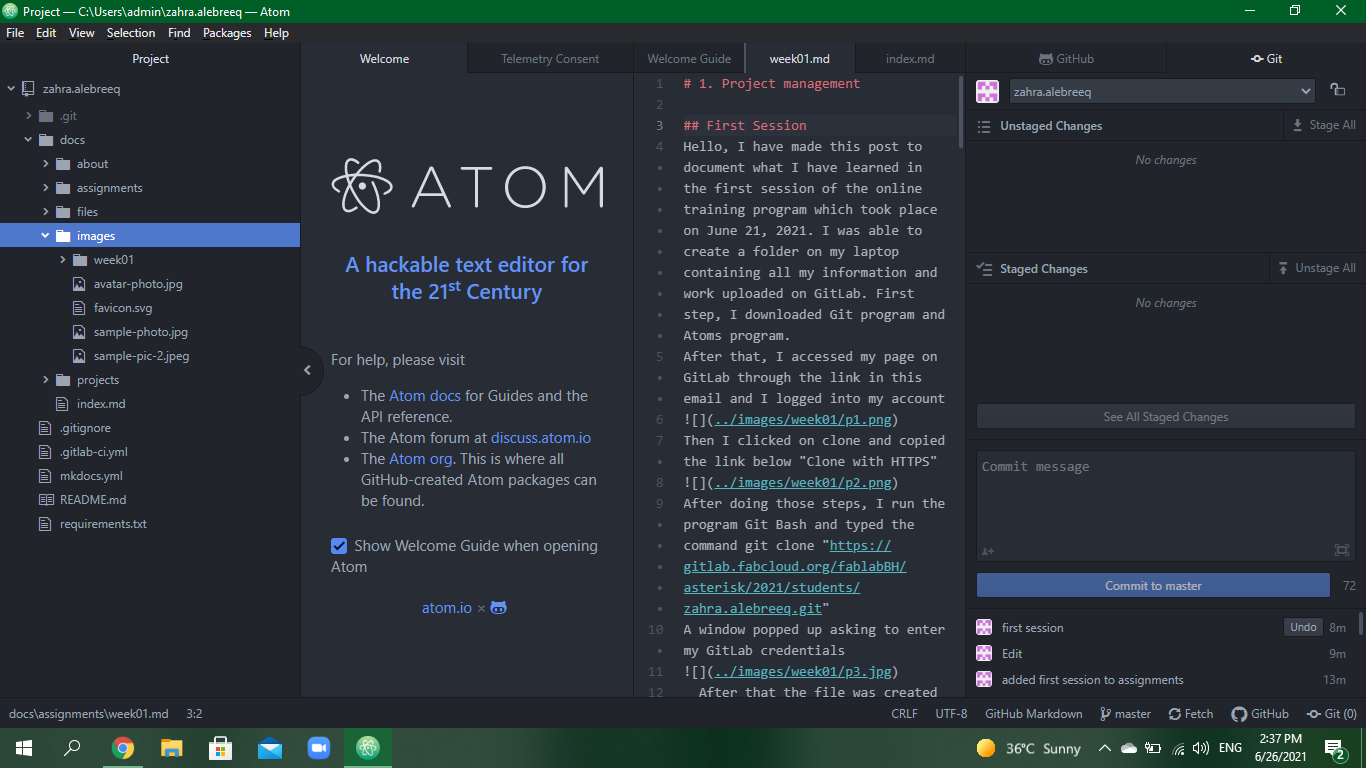
Hello, this post documents what I learned in the second session of the program which took place on June 23, 2021. First, I run the Atom program which I downloaded in the first session. It looked like this.
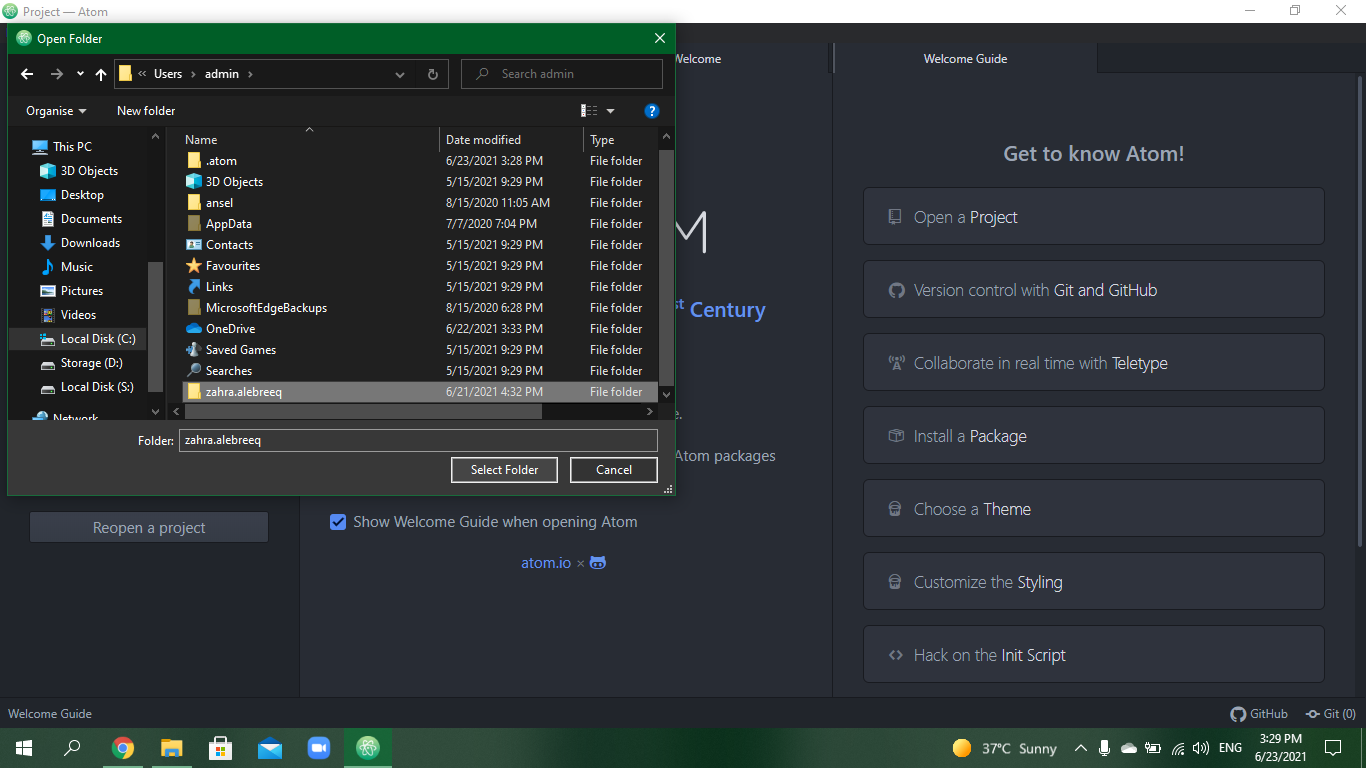
I added the folder that contains the data from my website.
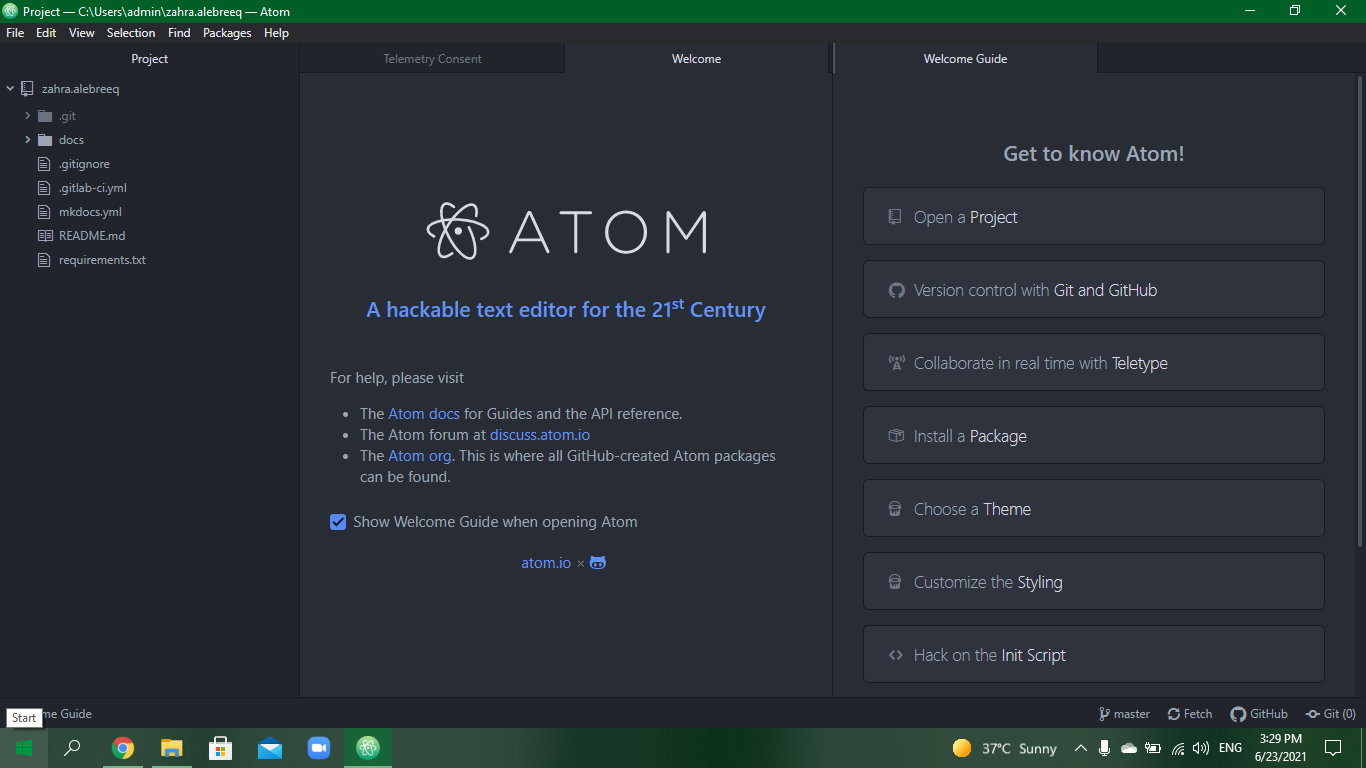
Then I opened the git panel and entered my credentials.

I went to “docs” then opened the index file of the tab that I wanted to edit. After every edit I made, I clicked on file>save then “stage all” from the git panel, I left a message then clicked commit to master, followed by the push button to push the changes to my website.
This message shows the edits made on Atom and that were pushed to the website.
I learned about markdown preview which enables me to visualize the edits made on the website on the Atom program screen. I also learned how to add headings and pictures. You put # to make a heading, ## to make a subheading, and so on. Additionally, I learned to add pictures.
In order to add pictures, the images folder must contain the pictures.
Then simply just add the picture by typing
