5. 3D Printing
3D printing is the process of making three dimensional objects from a digital file. It is an additive process. It works by melting plastic filaments and laying down layers of the material on top of each other to form a solid object.
My design was inspired by this image that I saw online
I used Fusion360 to make my design.
I had to make sure the dimensions are small and around 5x5x5 cm, because we wanted to print as many designs as possible in one printing process, since it is a time intensive process.
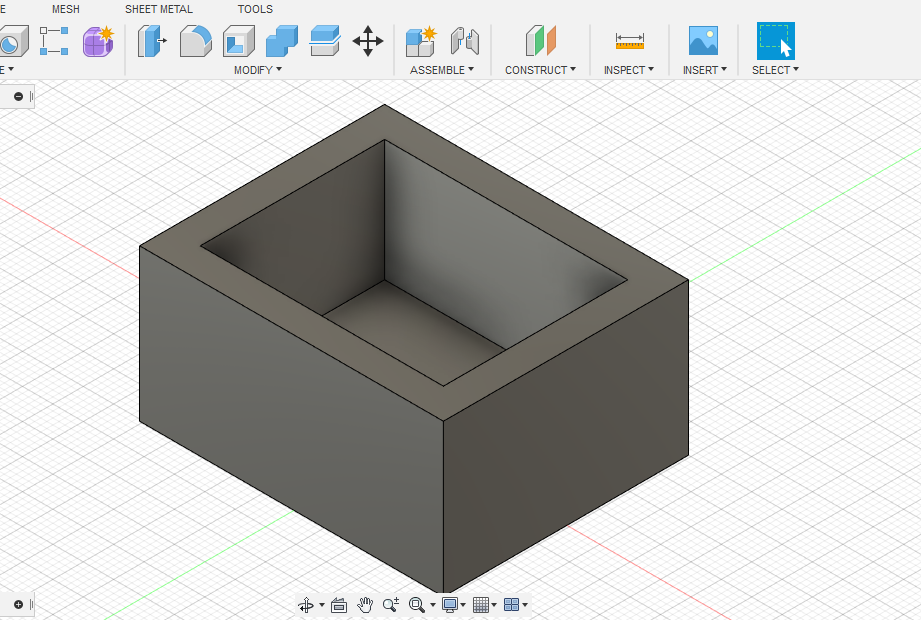
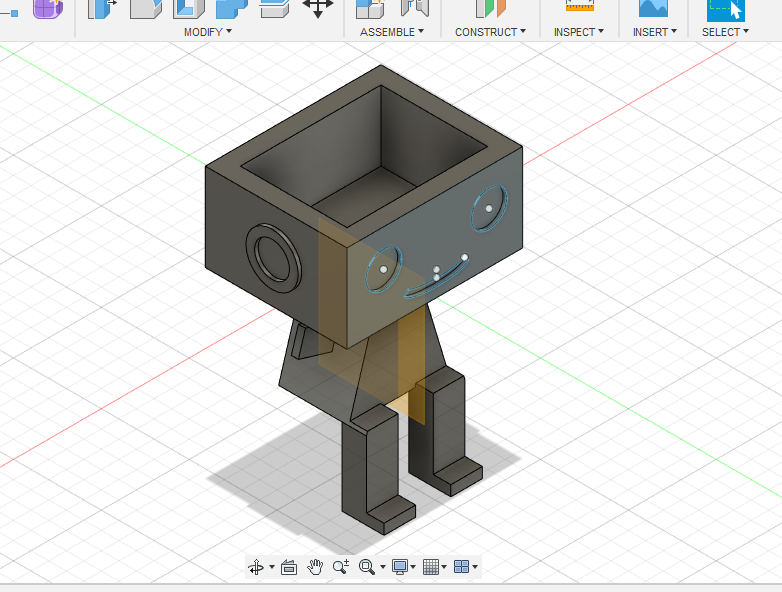
I started off by making the head part, I drew a rectangle and extruded it.
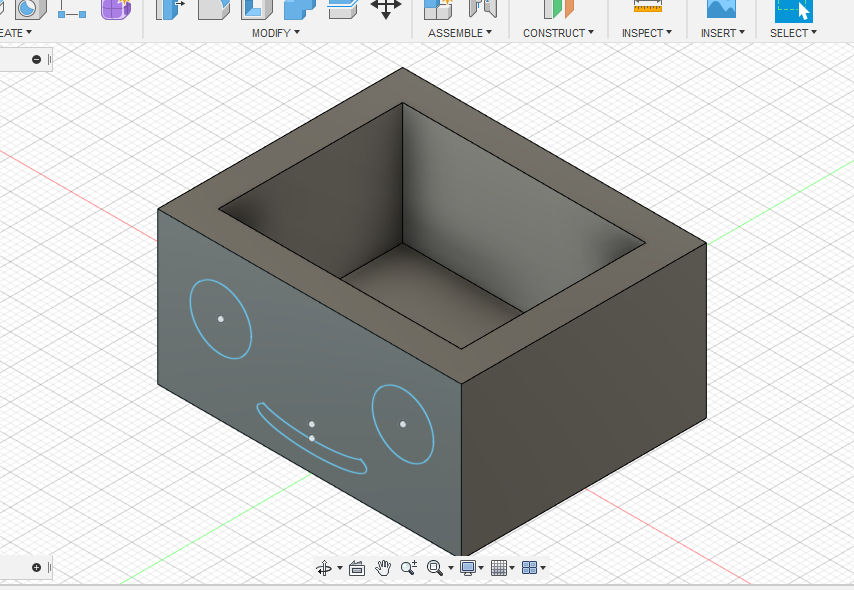
Then I drew the eyes and lips and ears and extruded them as well
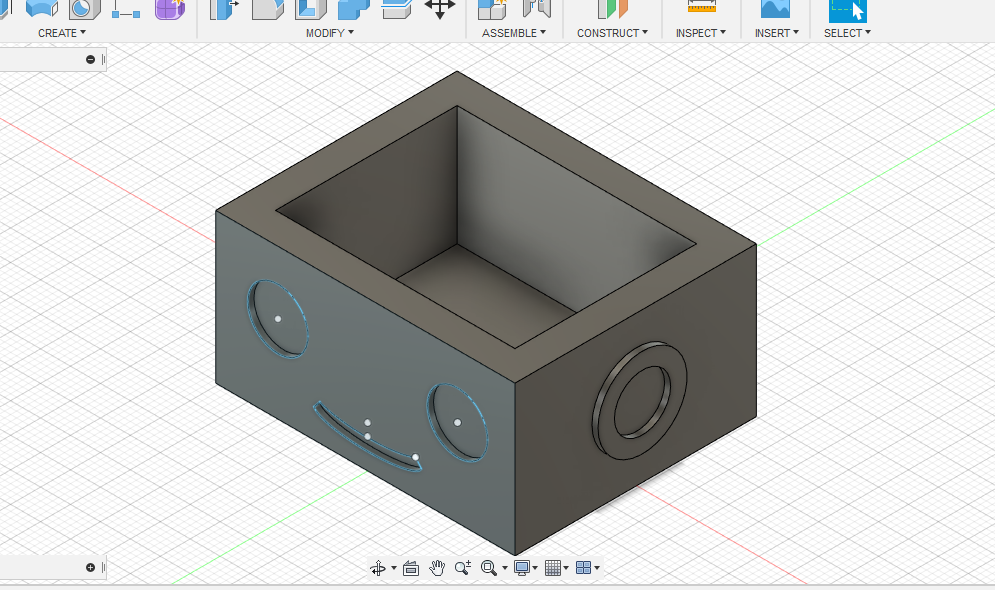
After that I drew the body
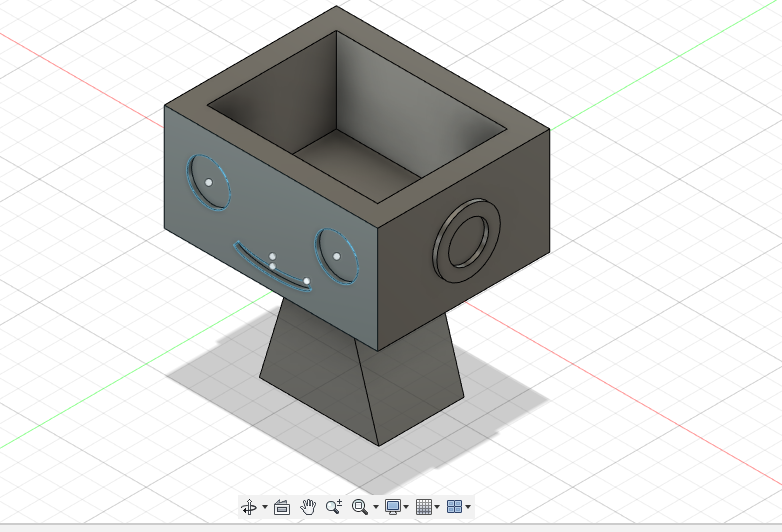
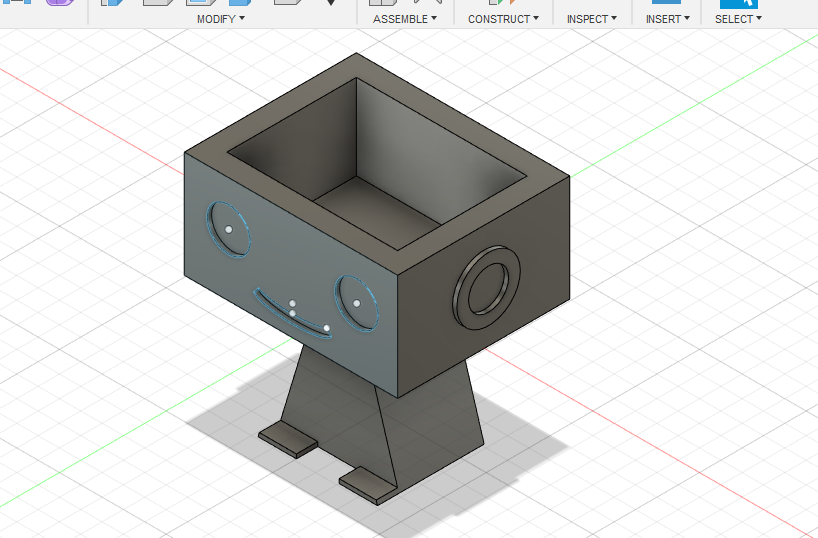

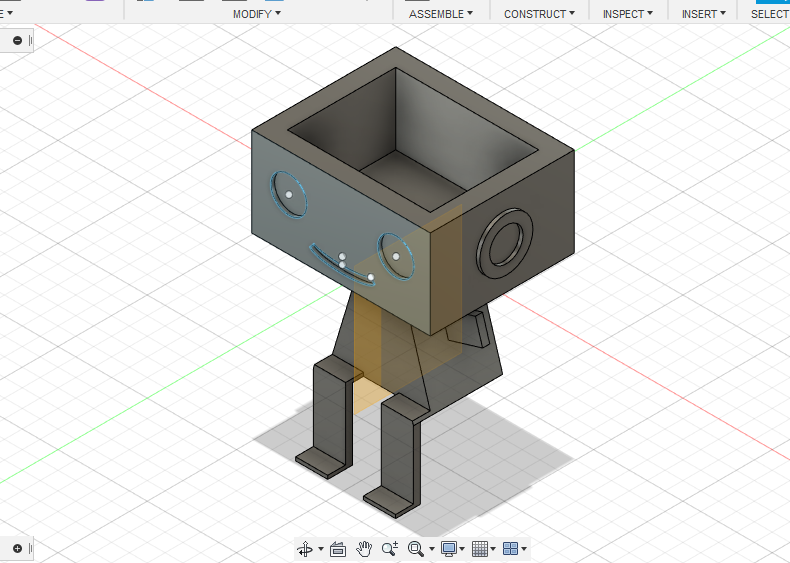
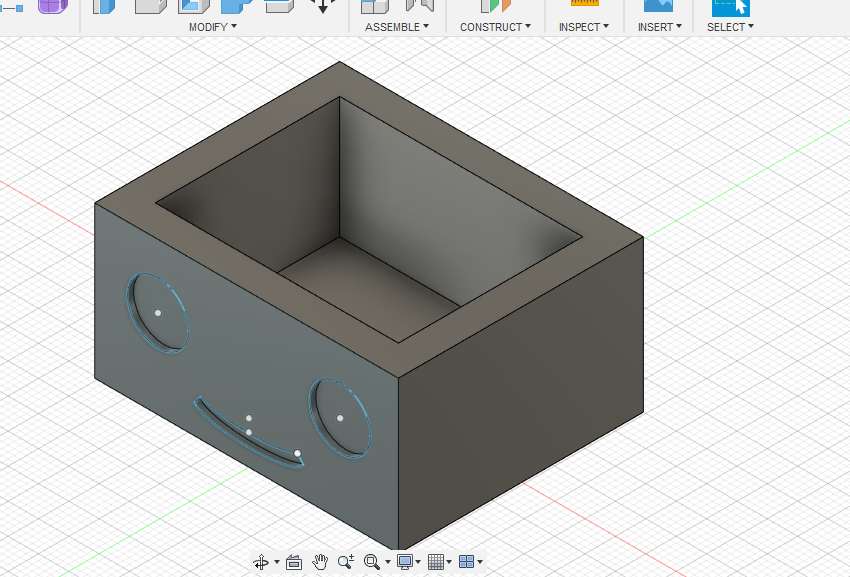
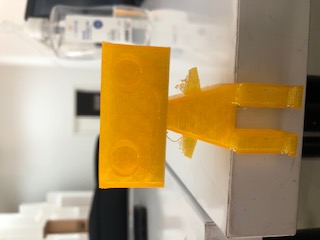
This is the final design
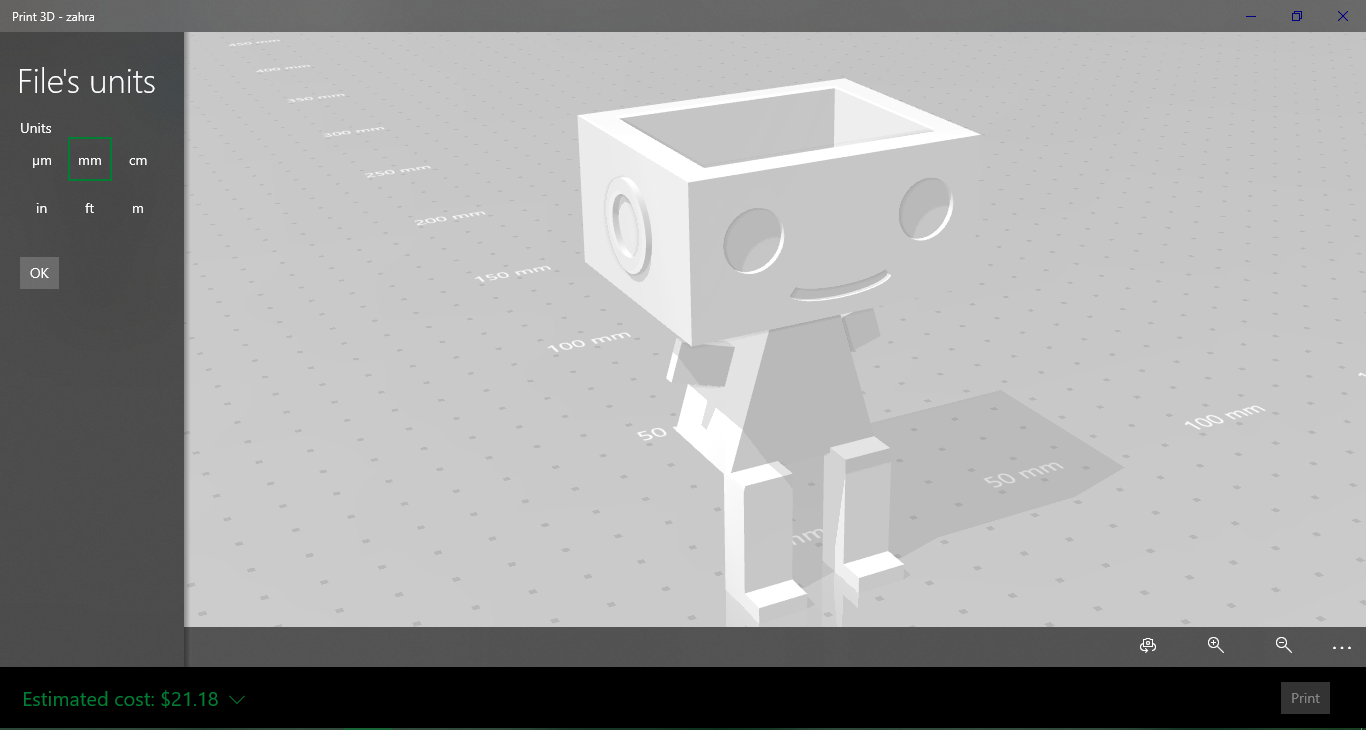
I exported it to STL file, which is the format that Ultimaker Cura can understand (the program connected to the 3D printer)
This is what the 3D printing machine (called Ender) in Fab Lab looks like
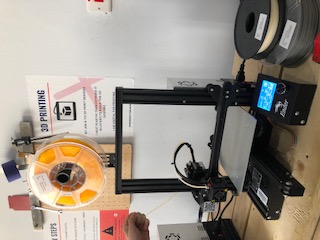
There is a flexible bed fixed in the machine, the temperature of the bed is maintained constant all over, because any sudden temperature change causes shrinkage and distorts the printed object.
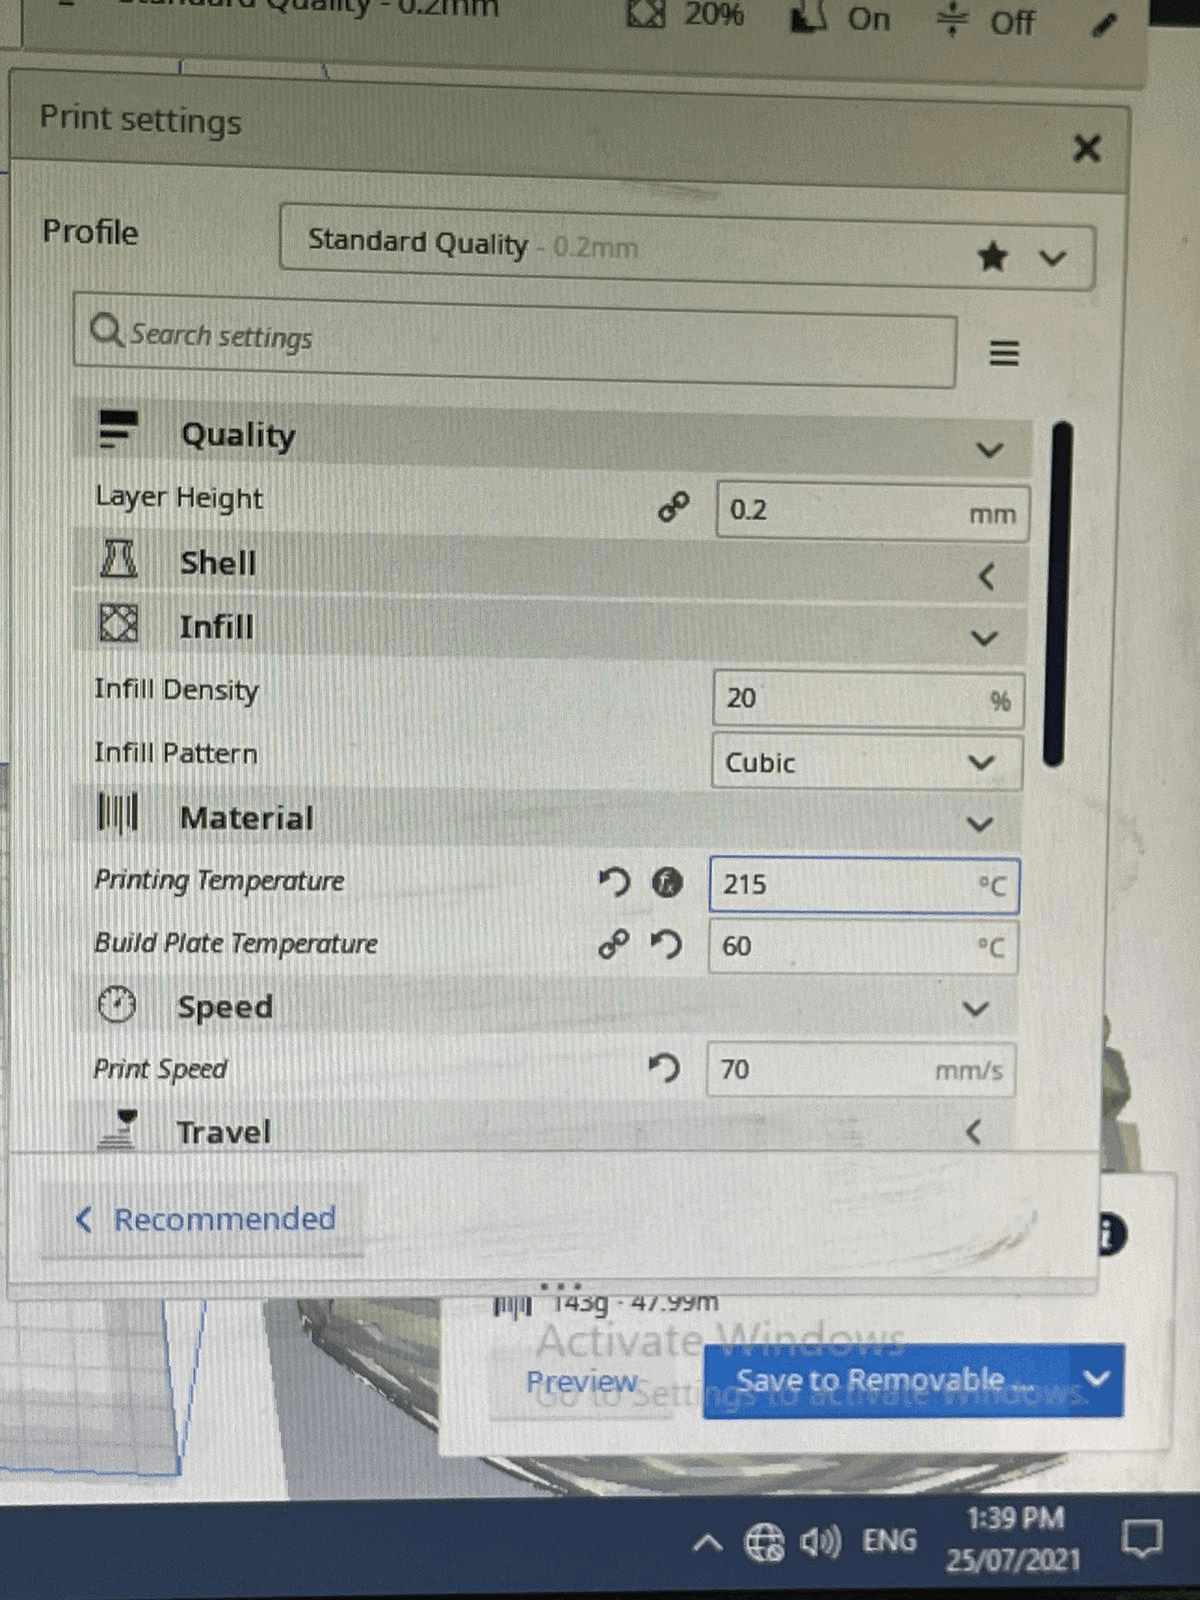
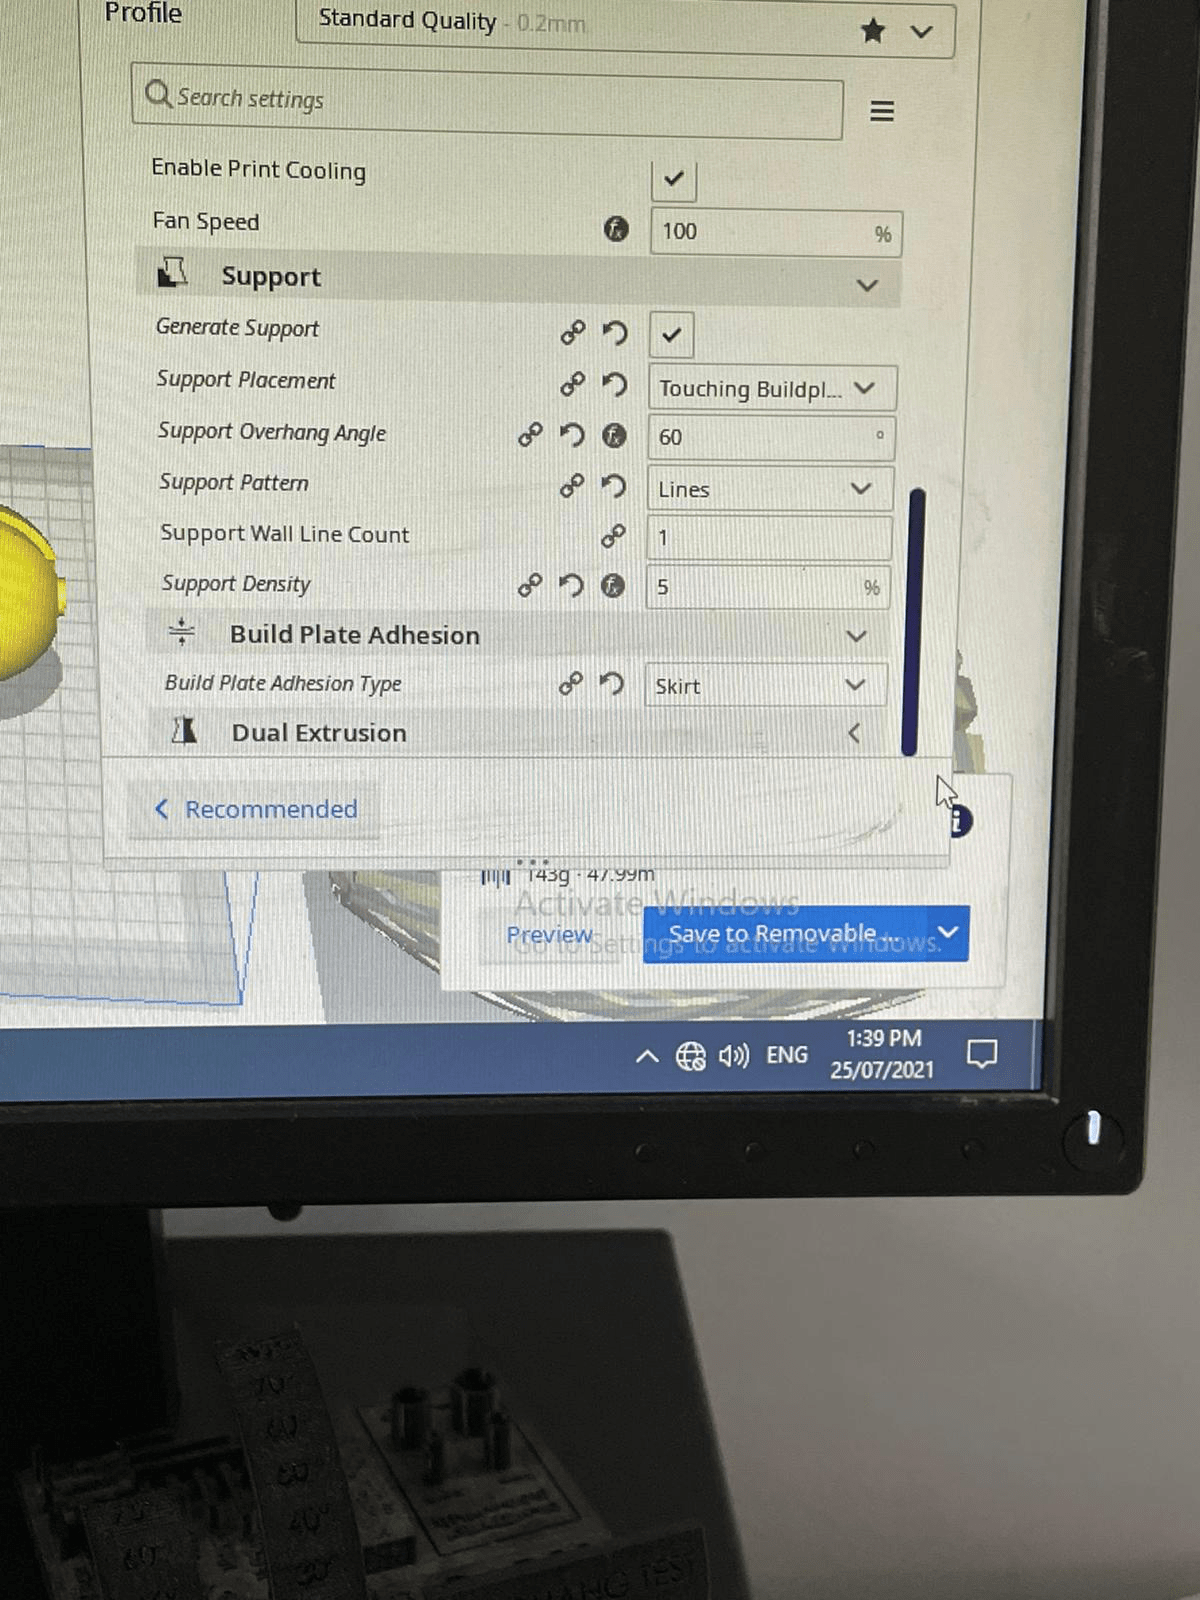
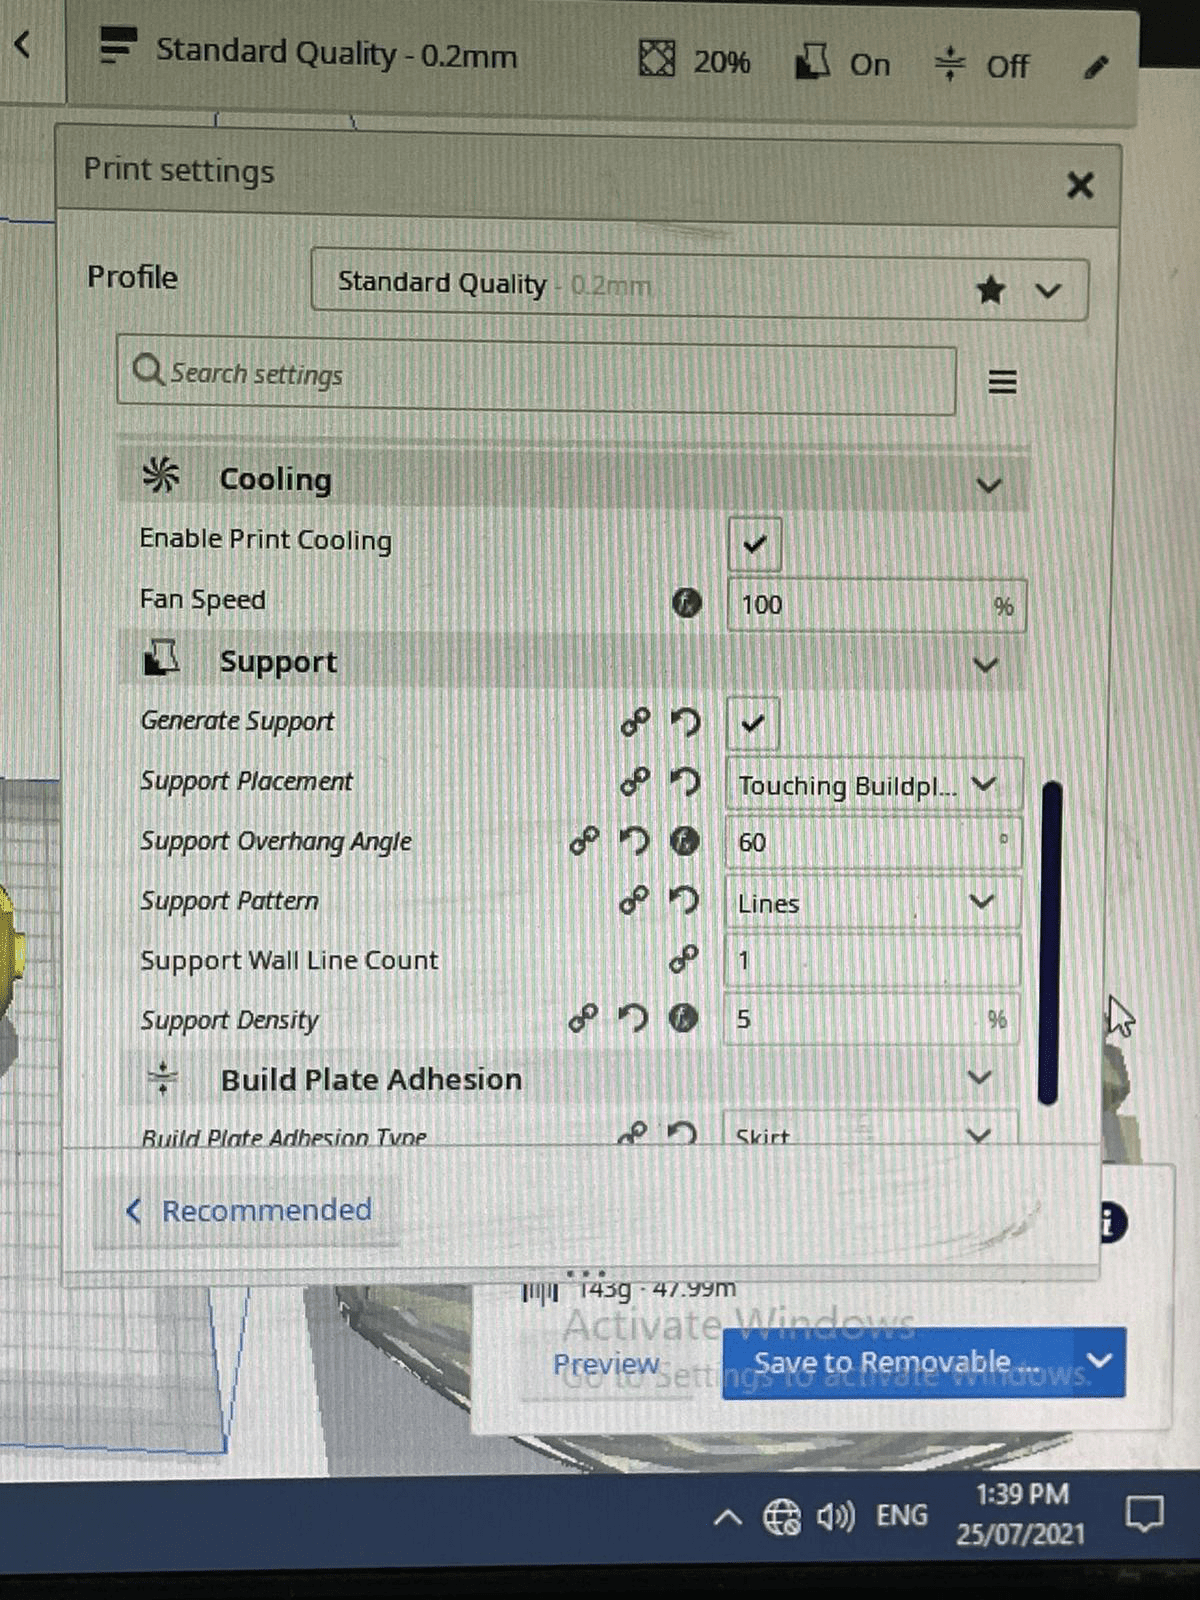
Several tests were made prior to the printing process, to optimize the settings, which are discussed in the group assignment
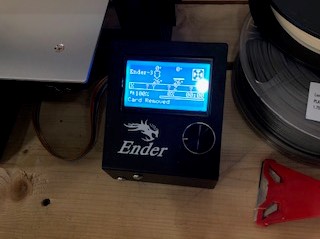
The files along with the settings are transferred to the printing machine with an SD card.
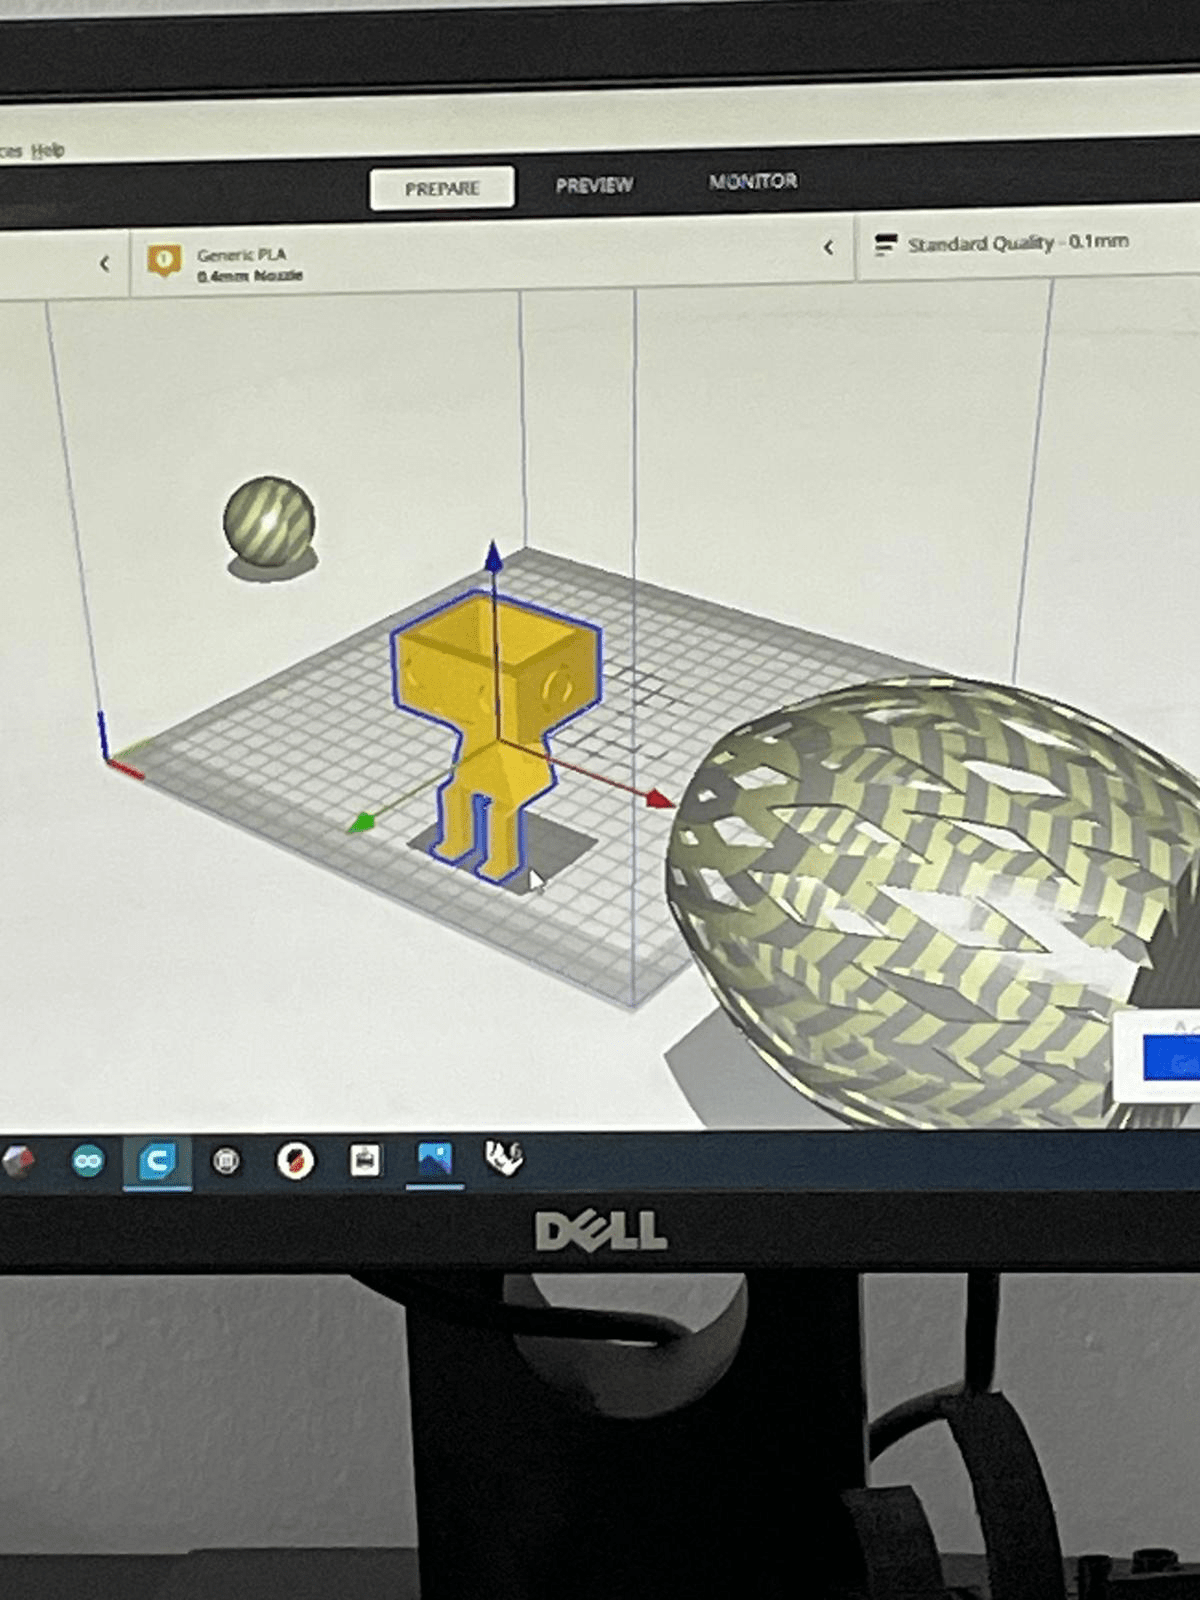
This is what the screen looks like upon opening the program, and importing the STL file, we have to make sure the object is within the boarders of the box.
The printing process took approximately 14 hours at the optimized parameters, shown below. The printing speed is 70 mm/s, the support overhang angle was adjusted to 60 degree, and the support density was set to 5%.
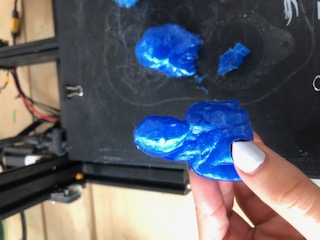
I will insert images of my design during the printing process and after removing it from the board


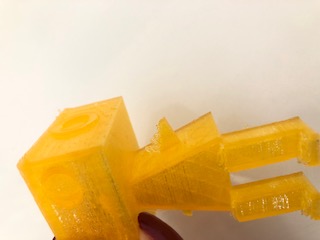

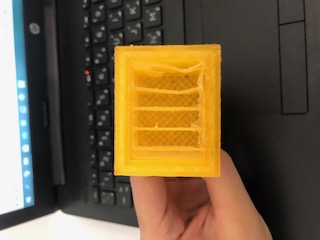
The quality was set quite low, and supports were added to properly print the design. You can see excess plastic films which are the supports. I had to manually trim them. This is the final result.

3D Scanning
Qlone
The second part of this week focused on 3D scanning, which is the process of transforming a 3D object into a digital file. Its concept is the opposite of 3D printing. To do that, we downloaded a mobile app called “Qlone”

This is what the app looks like when launched

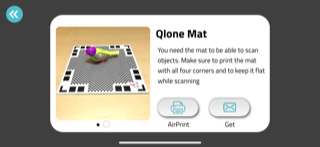
In order to scan, you need a scanning mat
You place the 3D object on the flat mat then click + on the bottom right corner (shown in the previous image) This is what the screen looks like,
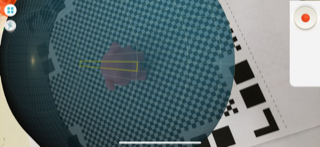
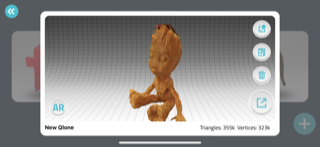
there is a dome around the object, you have to move your phone in a 360 degrees motion to cover it completely, or turn the sheet and the object all around while keeping the camera in a single position, which is what I did This is what the end result looks like
You can export the scanned file in different formats, but you need to have the premium version.
Motion capture
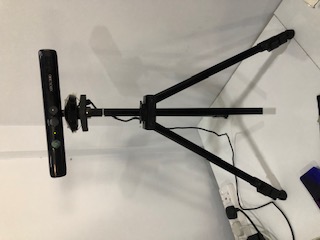
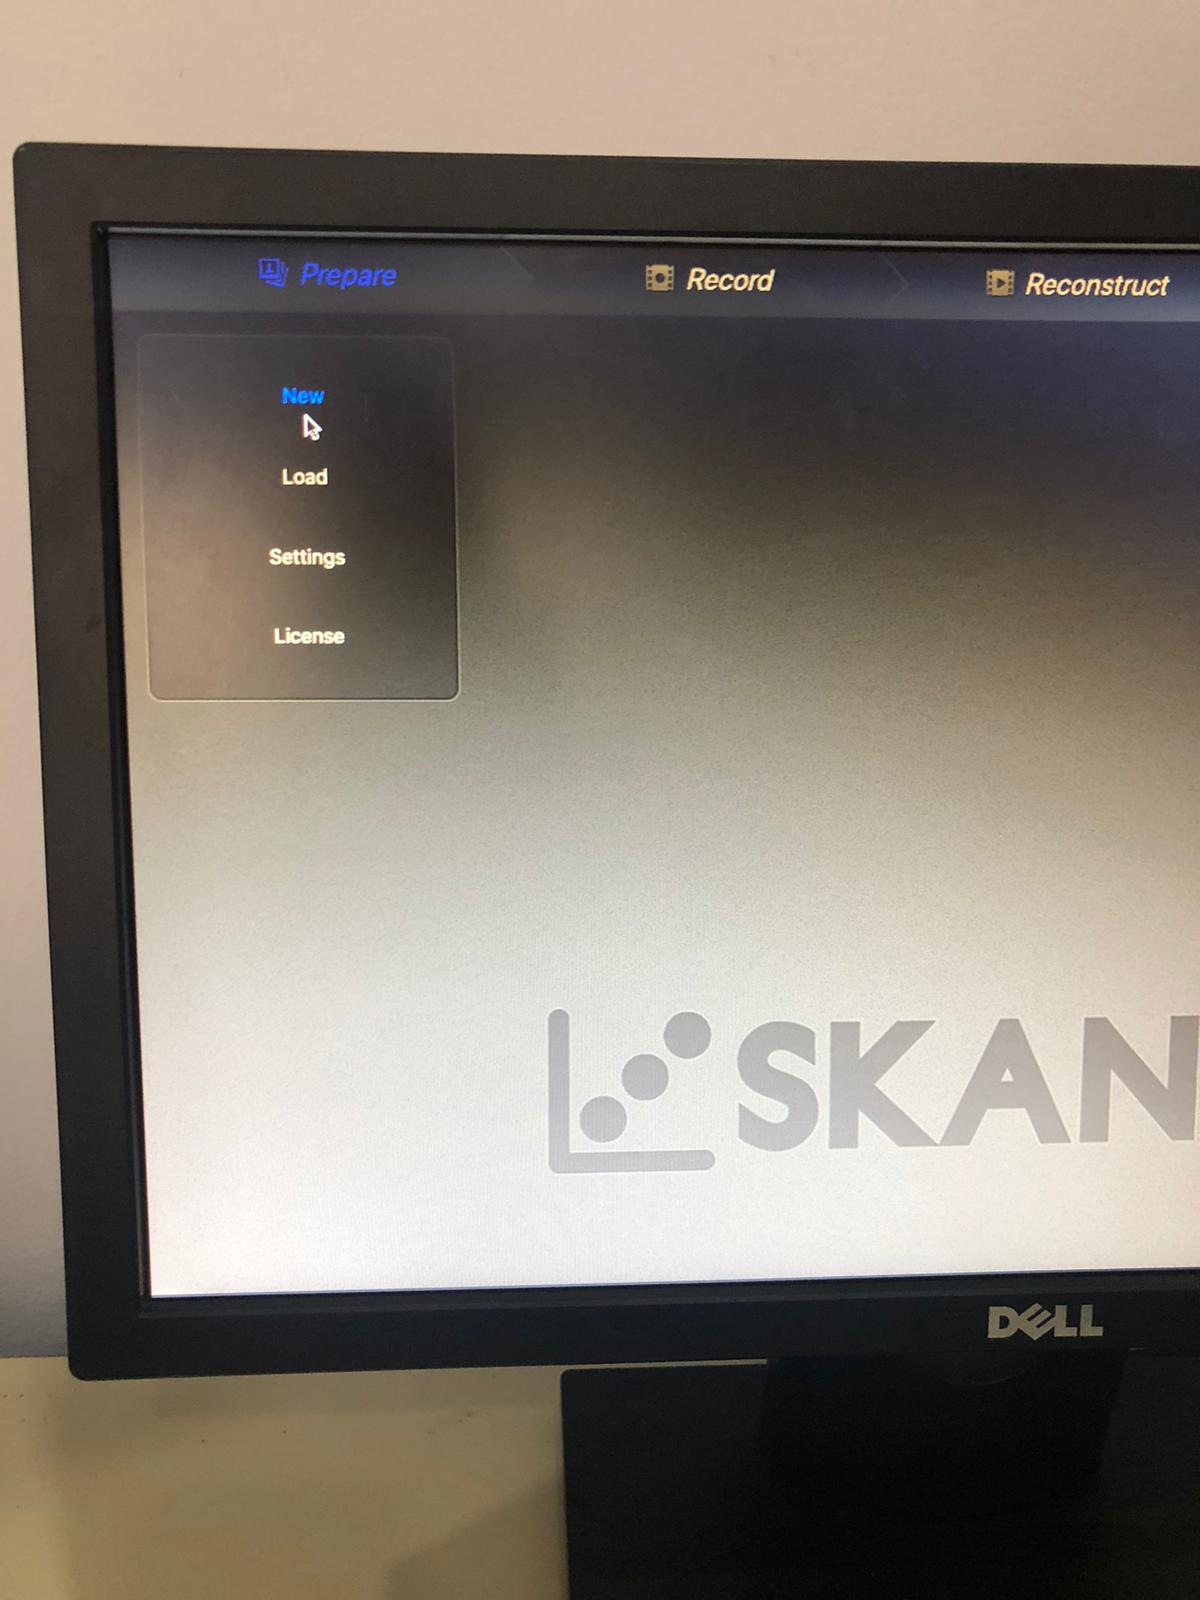
Motion capture is the process of digitally recording the movement of people. This camera is attached to the computer containing the program “Skanet” that is used for motion capture.
The pictures I will be posting of the program are from my colleague Batool’s webpage
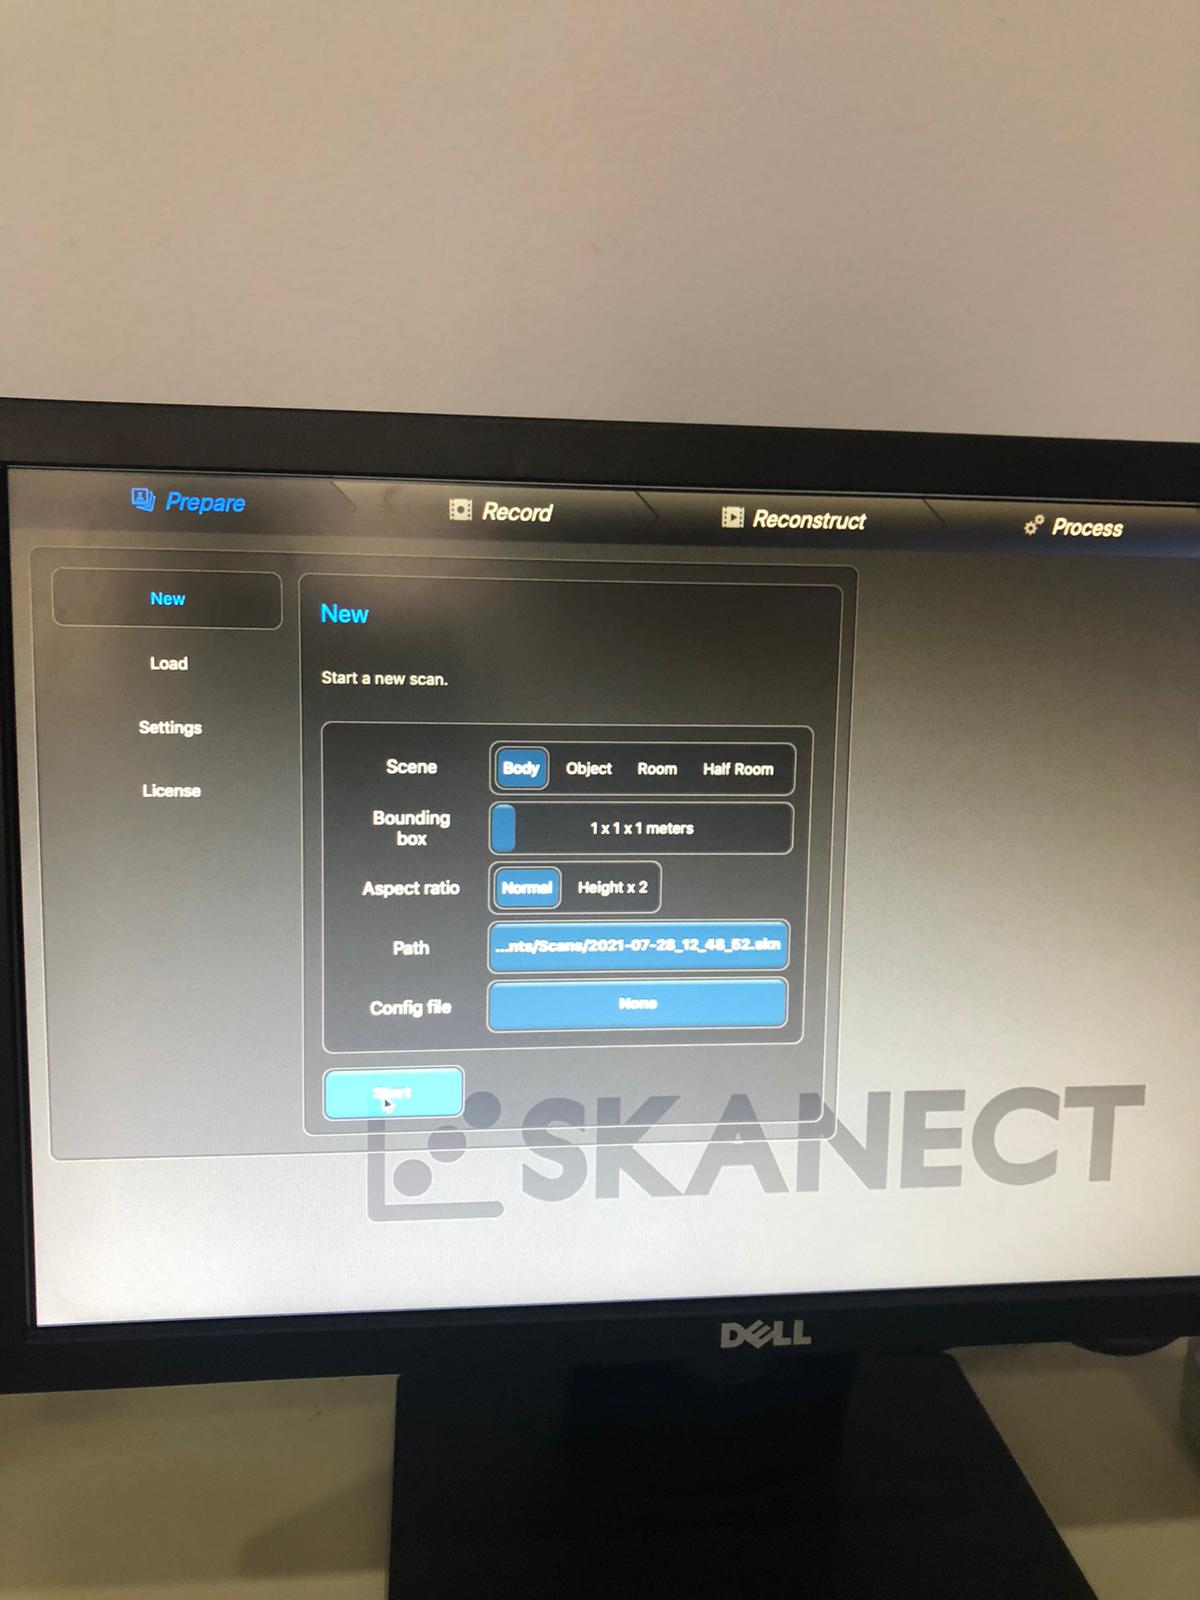
The first step is “Prepare”
The second step is “Record”
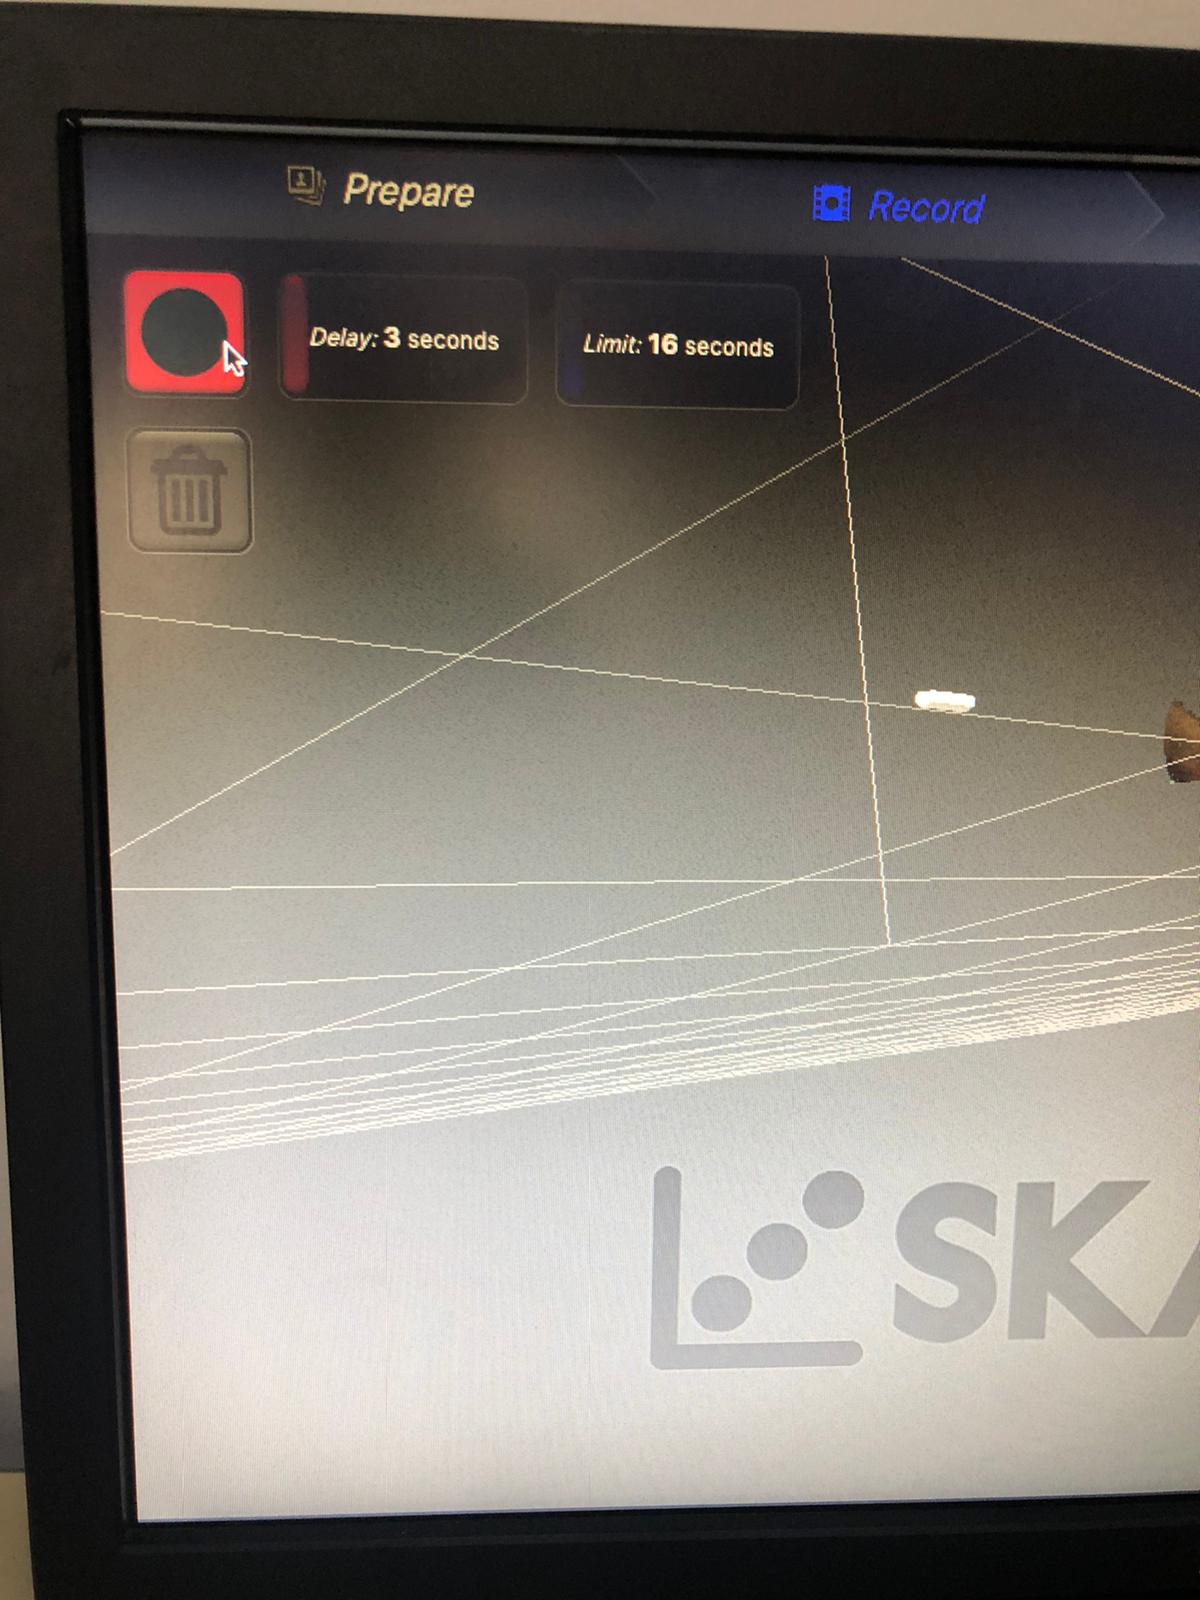
The delay time indicates the time it takes before the motion capture begins, and the limit is the duration of the capturing process.
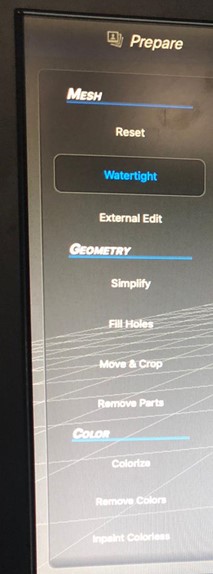
After that, I clicked on fill holes, to fill the empty spots in the captured 3D object.
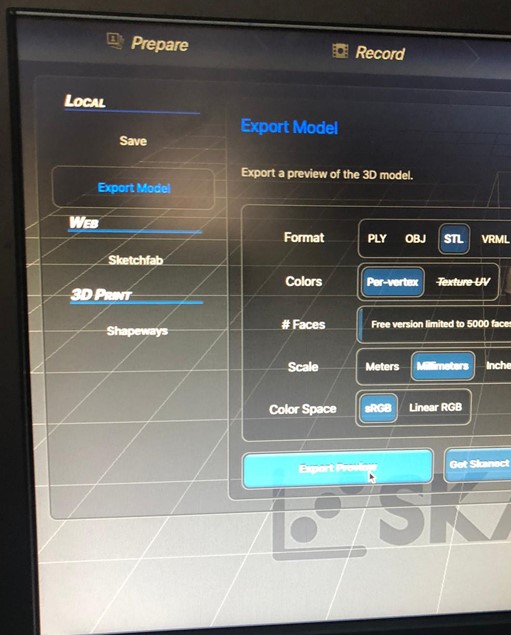
The last step is export. The file was exported in this manner, as an STL file.
The 3D printing is done the same way described above.
This is the end result after printing.