6. Embedded programming
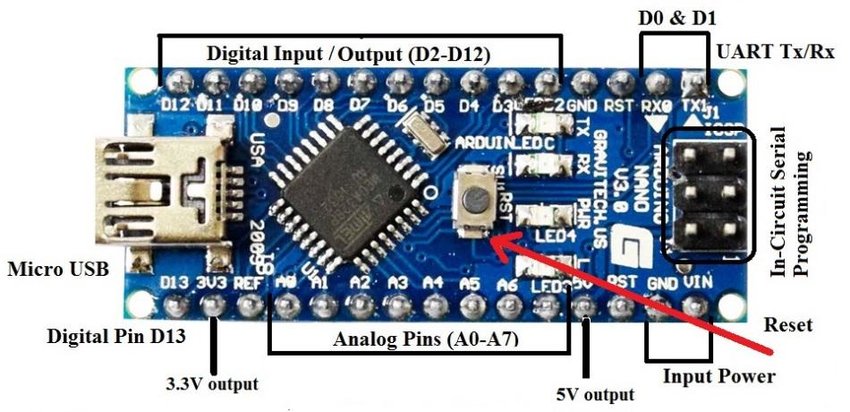
This week was about programming microcontrollers. We were given an Arduino NANO with a USB cable, shown below.
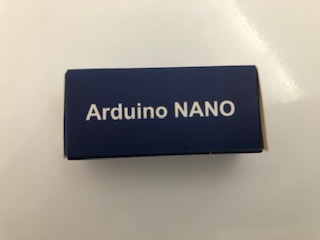
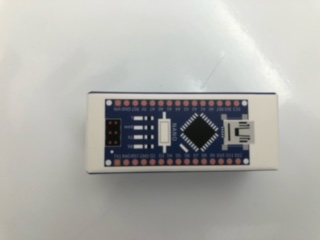
Arduino NANO
The Arduino Nano is a small board that can be connected to a bread board. It works with a Mini-B USB cable.
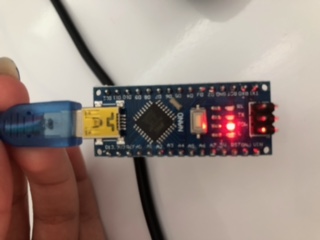
This is a close up of the board
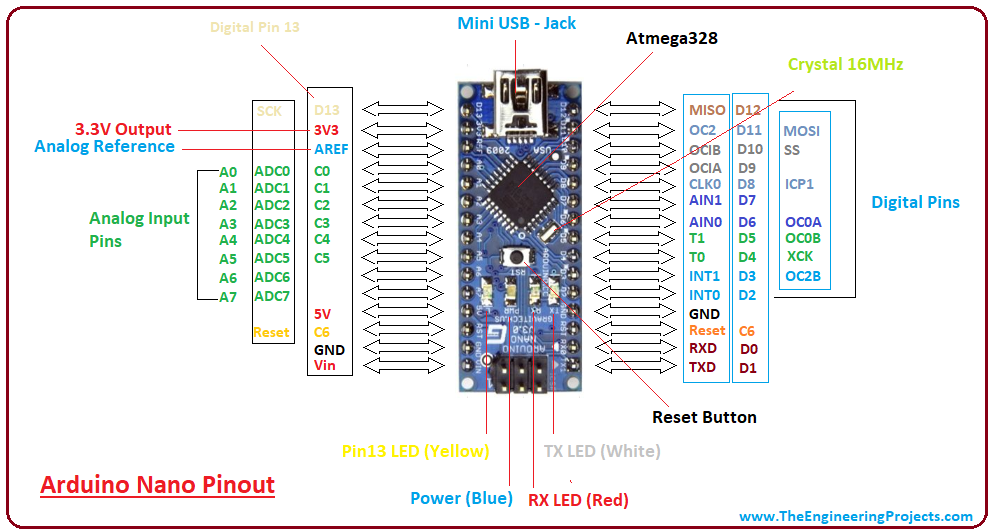
The pinout of the board is illustrated below
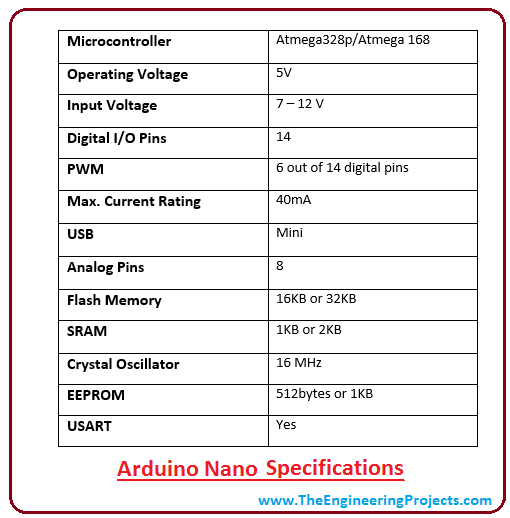
The specifications of the Arduino Nano board are indicated in the following picture
Arduino program
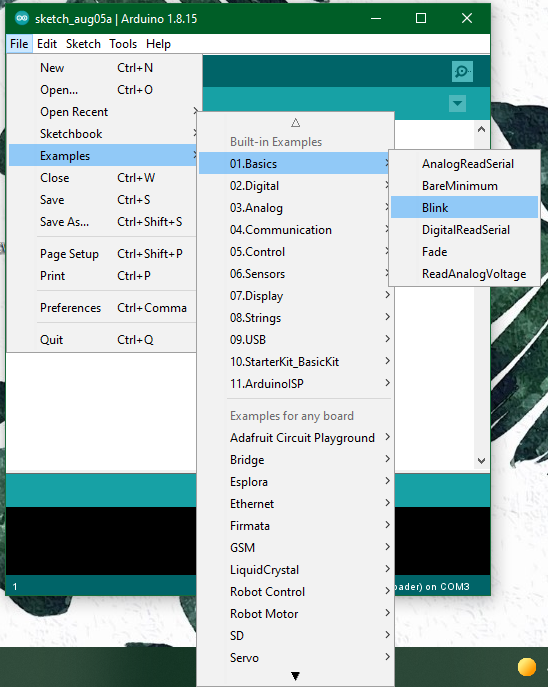
We downloaded two programs, Arduino and Driver, from this link
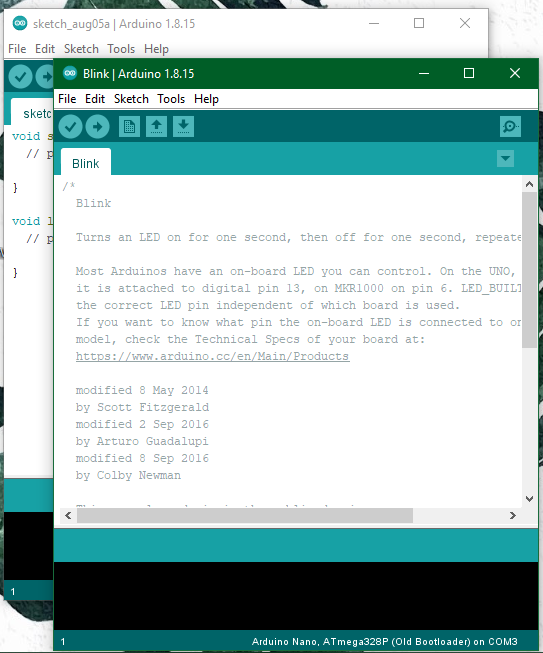
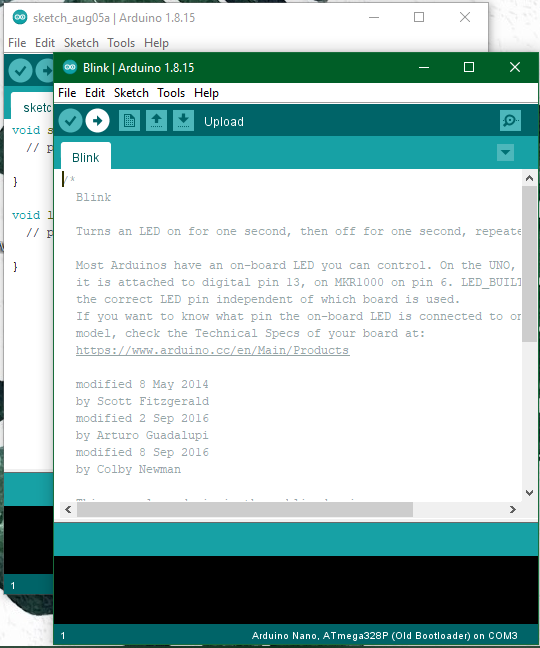
This is what Arduino program looks like

Easy mode
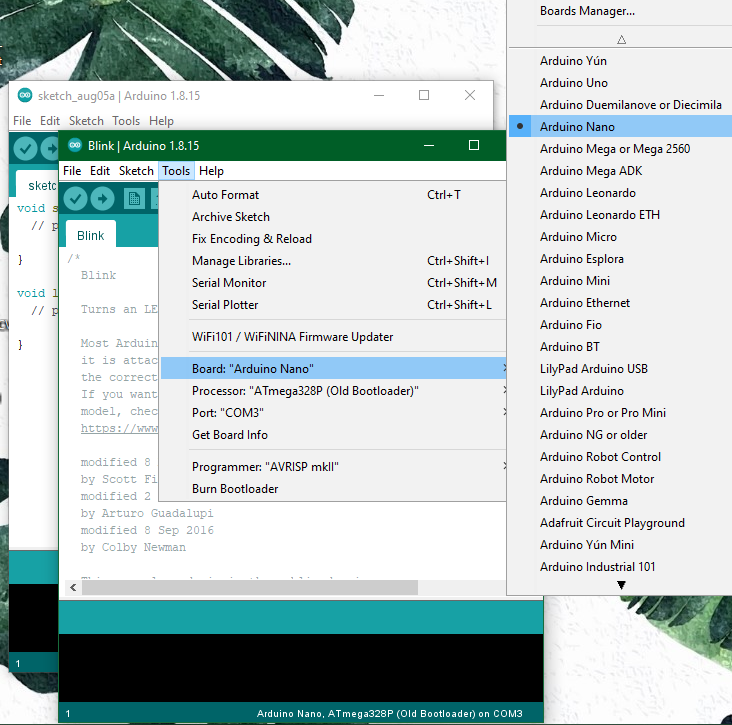
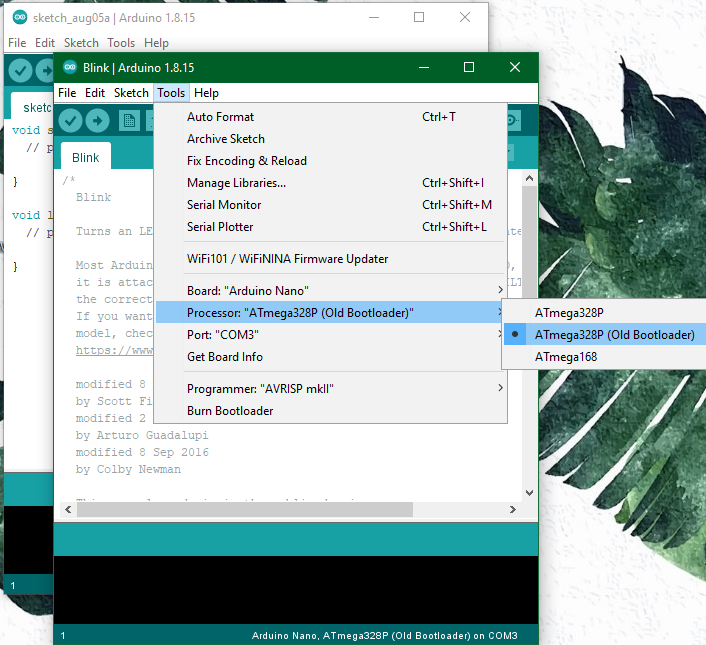
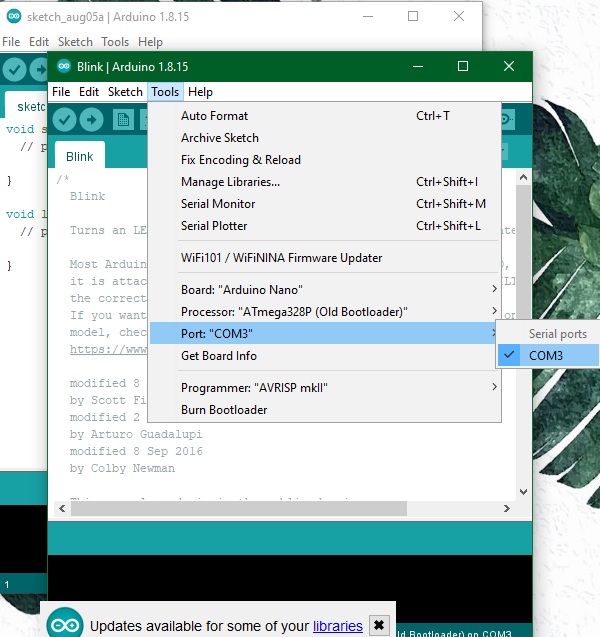
First, we did the blink example, following those steps
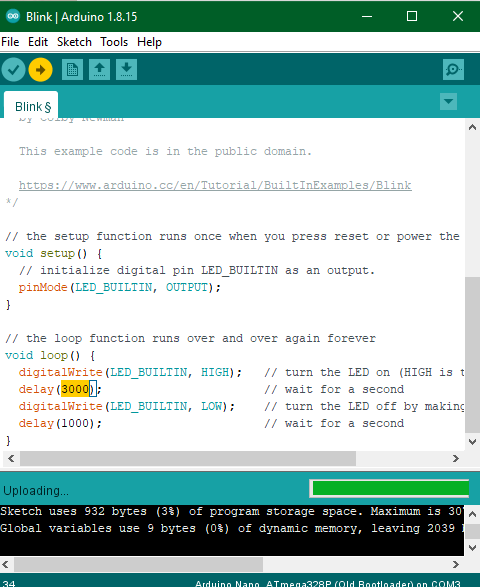
The delay time of the blink can be adjusted, 1000 is 1 second, 2000 is 2 second, etc
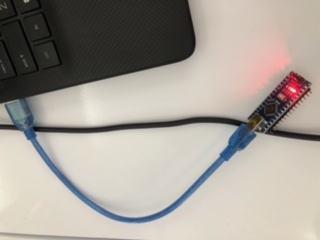
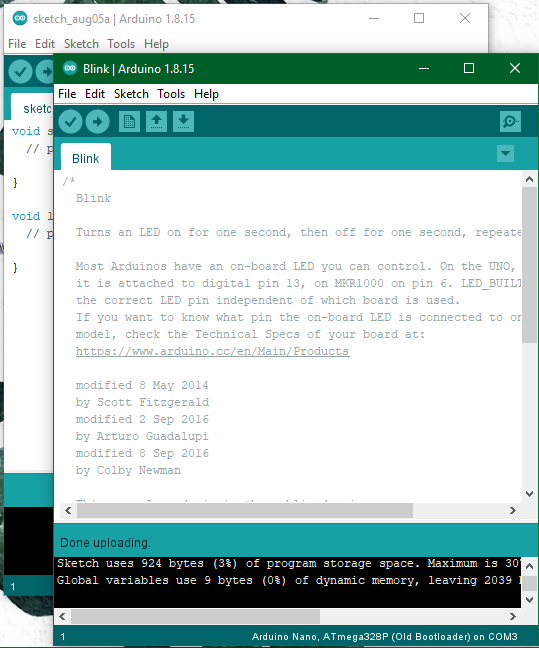
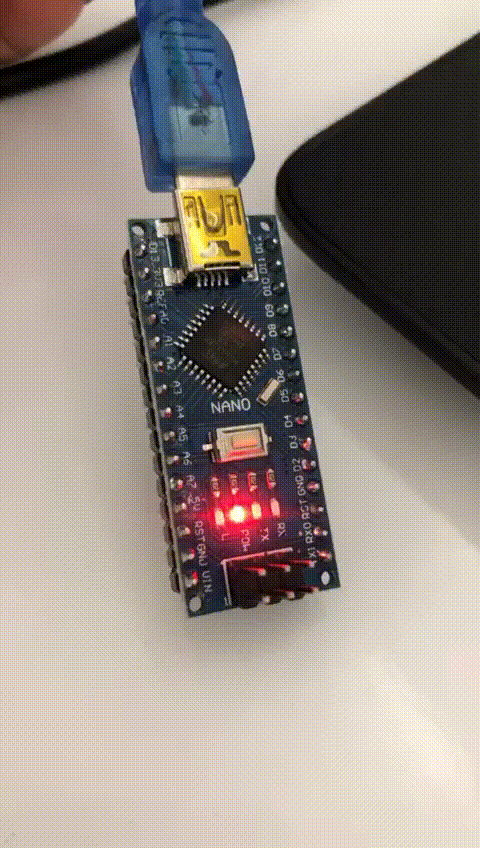
After clicking on upload, this is the result of the blink tool on the microcontroller
Medium mode
Then I attempted to do the medium mode, I made a morse code that says the word “HELP”
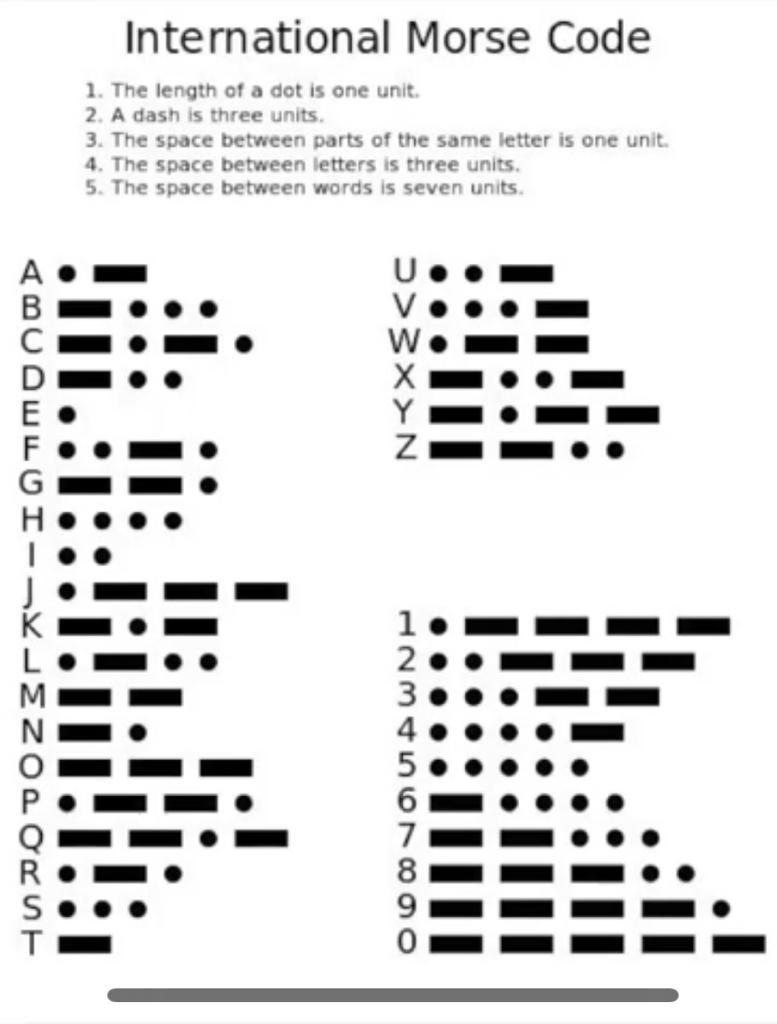
First, I identified the letters according to the picture below
This is the code I used
Visual studio code program
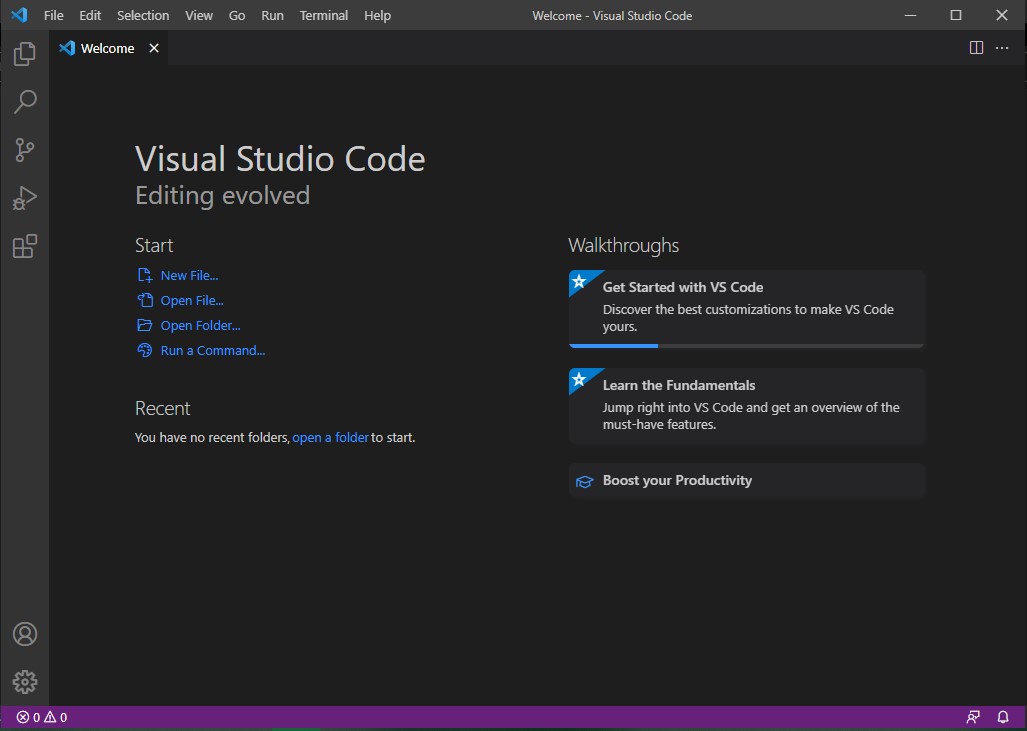
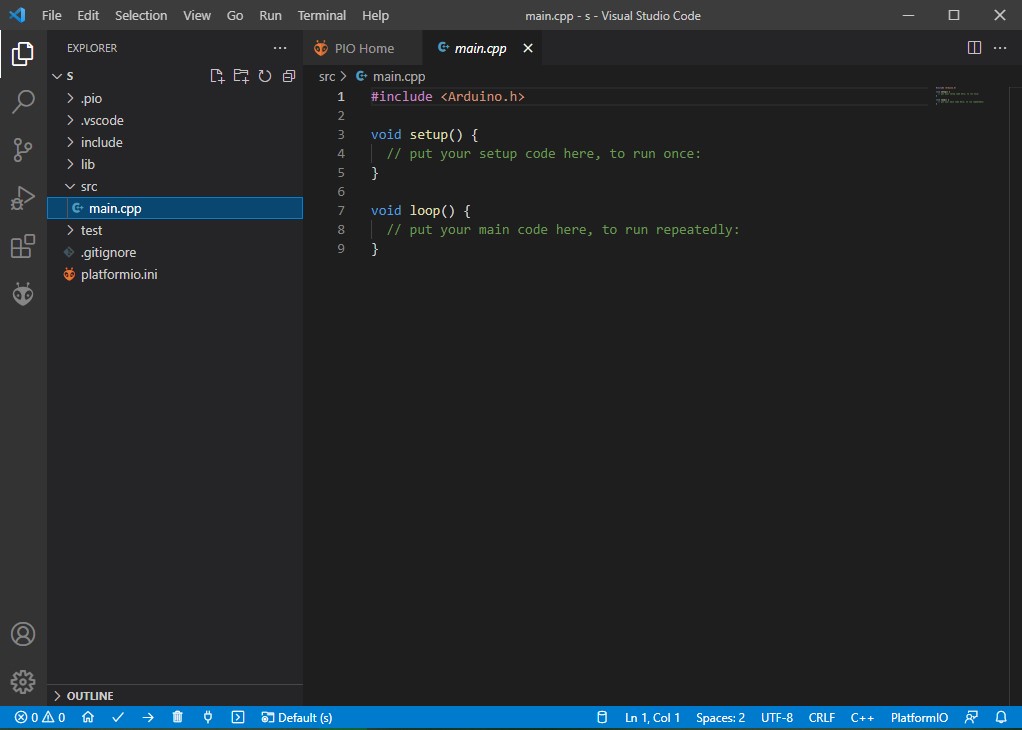
I installed the program, this is what it looks after running it
After that, I clicked on the extensions tab on the left side, I downloaded “PlatformIO”
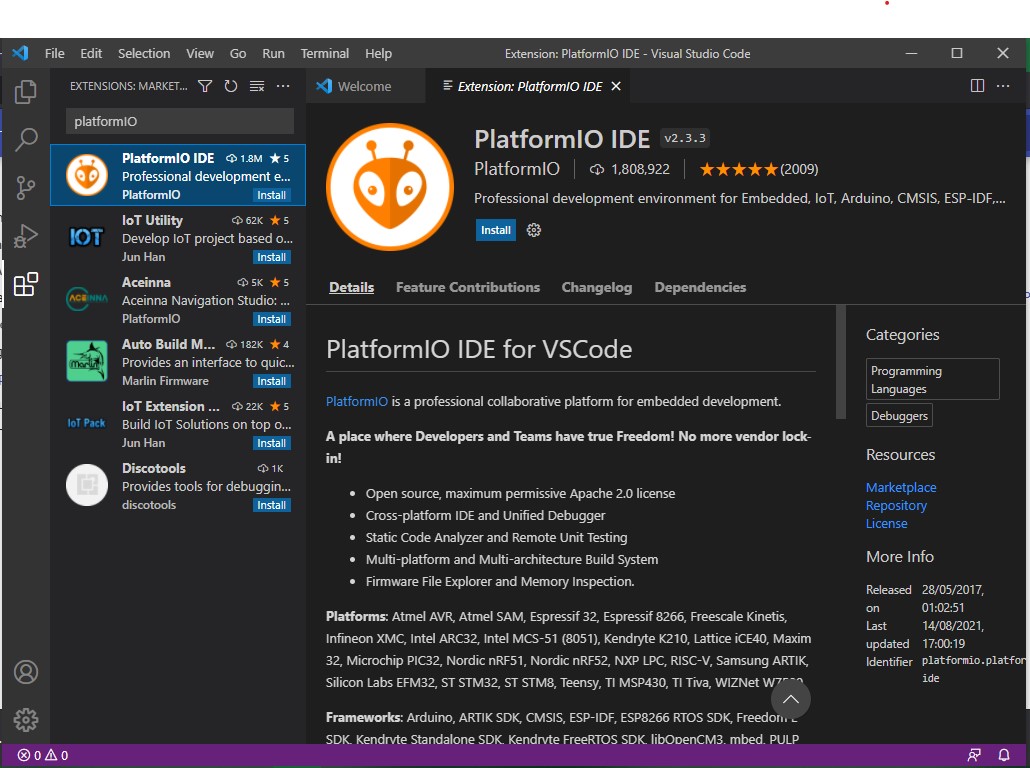
PlatoformIO enables us to program the Arduino board on Visual studio code
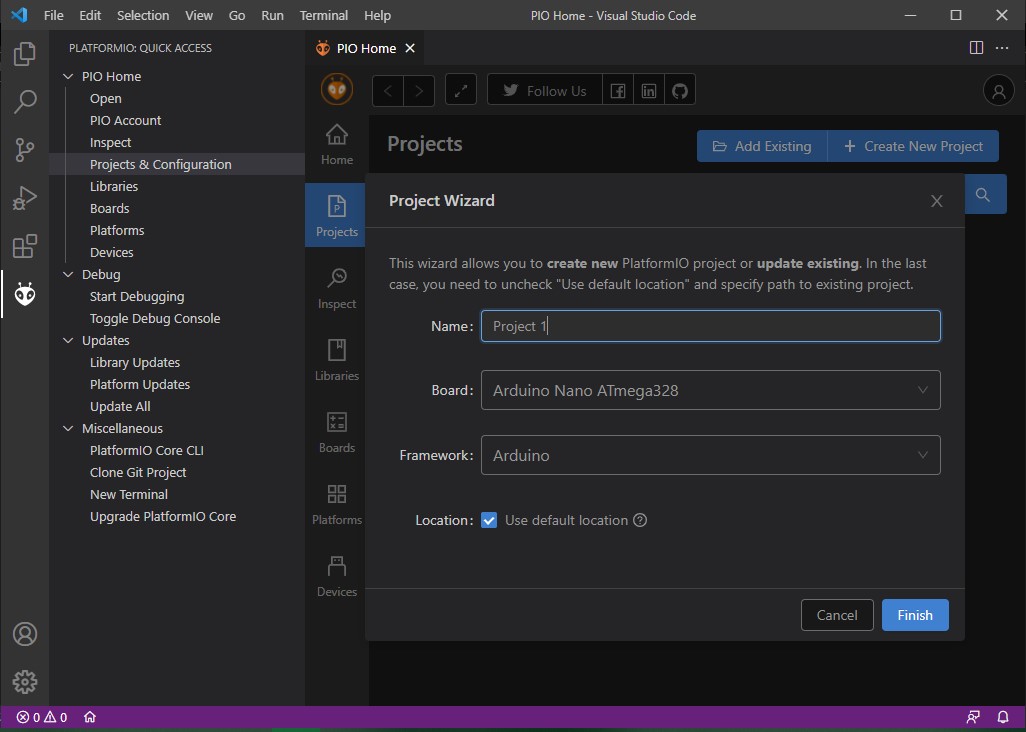
The next step is to start a new project on PlatformIO
Then I opened the command window
Medium mode
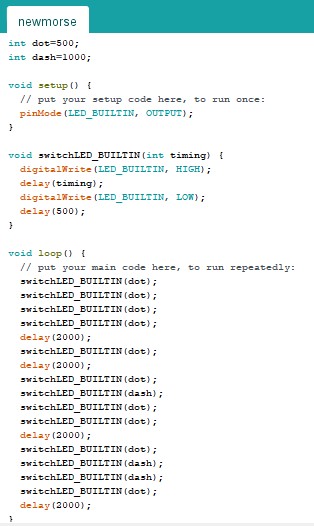
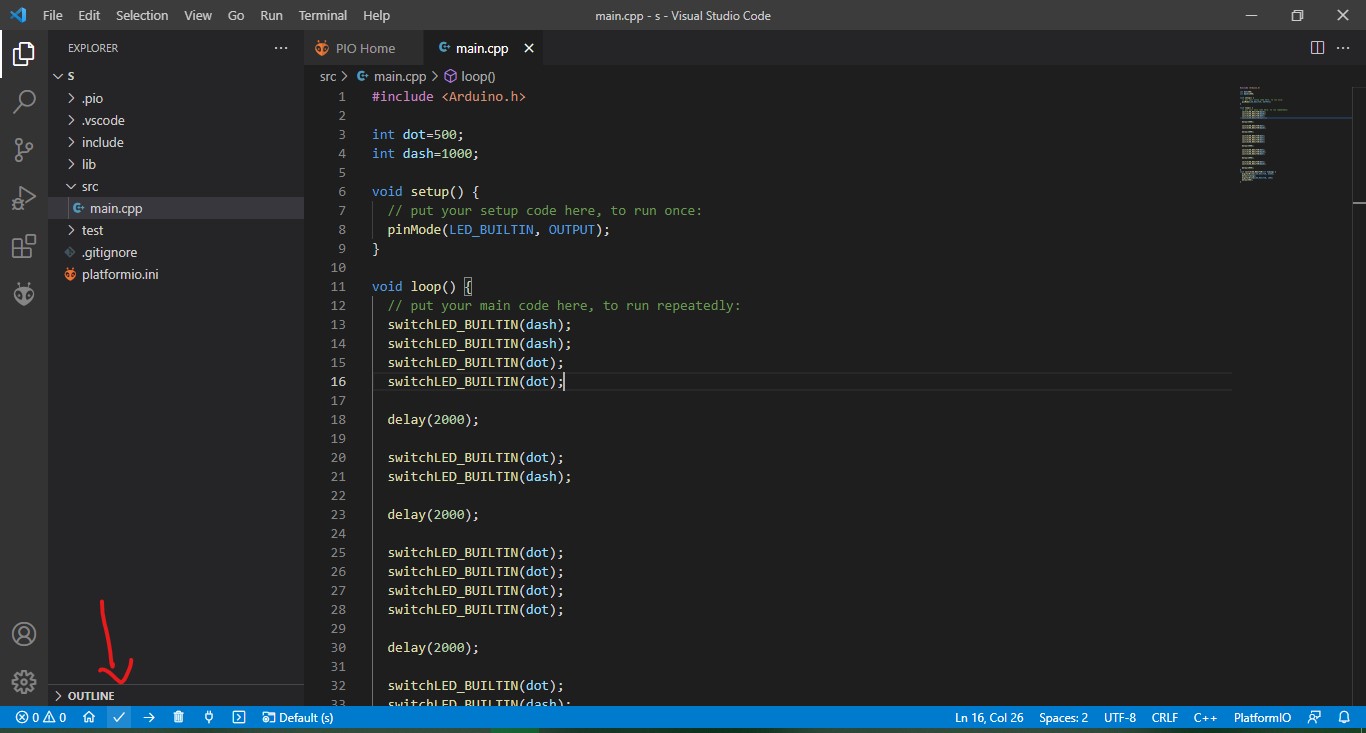
I will do the morse code again, this time I want the board to say my name, “Zahra”
First I identified the letters according to the picture above, the dot will make the board blink for 0.5 second, and the dash will make it blink for 1 second
then I made a loop and I wrote the code for each letter, I separated each letter with a delay of 2 seconds
Below is the code I used
#include <Arduino.h>

int dot=500;
int dash=1000;

void setup() {
  // put your setup code here, to run once:
  pinMode(LED_BUILTIN, OUTPUT);
}

void switchLED_BUILTIN(int timing) {
  digitalWrite(LED_BUILTIN, HIGH);
  delay(timing);
  digitalWrite(LED_BUILTIN, LOW);
  delay(500);
}

void loop() {
  // put your main code here, to run repeatedly:
  switchLED_BUILTIN(dash);
  switchLED_BUILTIN(dash);
  switchLED_BUILTIN(dot);
  switchLED_BUILTIN(dot);

  delay(2000);

  switchLED_BUILTIN(dot);
  switchLED_BUILTIN(dash);

  delay(2000);

  switchLED_BUILTIN(dot);
  switchLED_BUILTIN(dot);
  switchLED_BUILTIN(dot);
  switchLED_BUILTIN(dot);

  delay(2000);

  switchLED_BUILTIN(dot);
  switchLED_BUILTIN(dash);
  switchLED_BUILTIN(dot);

  delay(2000);

  switchLED_BUILTIN(dot);
  switchLED_BUILTIN(dash);

  delay(2000);
}
After writing the code, I clicked on build
Then “upload” which is right next to build
It executed the command.
Useful links:
Visual studio code install link