1. Project management
This week progress was all about an introduction on how to create our own website where all our progress across this program will be stored in it as a guide line for myself and all the upcoming successor.
The first thing we did was installing git program.

GitLab is a web-based Git repository that provides free open and private repositories, issue-following capabilities, and wikis. It is a complete DevOps platform that enables professionals to perform all the tasks in a project—from project planning and source code management to monitoring and security. Furthermore, it allows teams to collaborate and build better software.
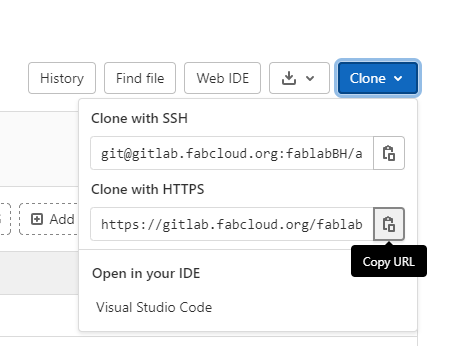
The next step is to copy the URL from Fablab account website to clone using git program.
Then open git bash command center and write the command (git clone ‘URL’) this basically creates a repository inside git.

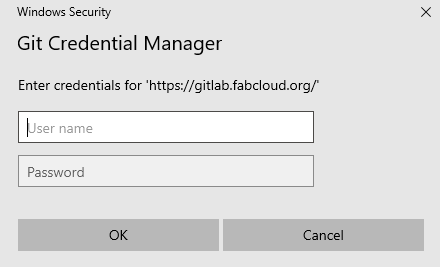
Before cloning starts a message will pop out that requires your fablab account username + password.
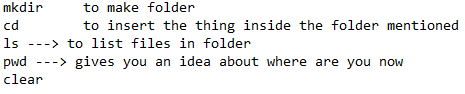
These commands that were used in the git command center.
After cloning is complete the next step is to download Atom program where the website editing magic happens there.

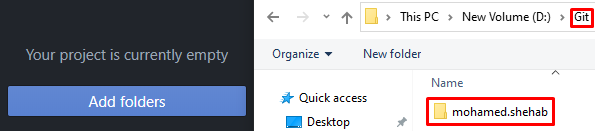
First add project folder AKA the repository that been cloned.
It should be noted that the website uses html-format in order to be readed by google for examble. However, html could be comblicated therefor, Markdown language is used to edit the website using Atom. But by doing so we need an alternative solution to convert the Markdown language to html-format, that can be done using mkDocs.
Open version control using git.

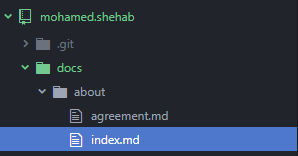
Doing so will open your repository then all you have to do is choose whatever folder to edit in this case the about me section is chosen as an example.
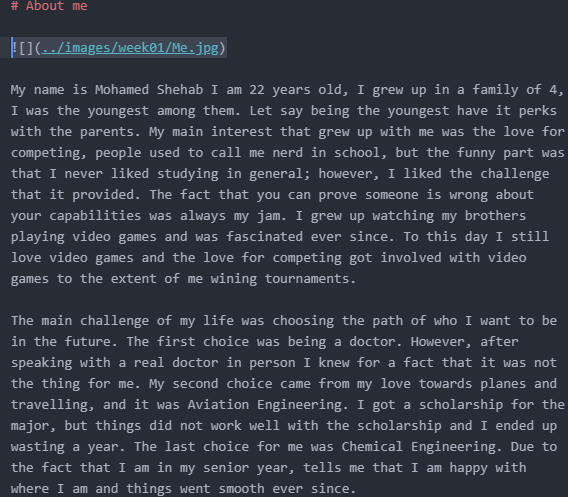
To add an image all you have to do is adding the image in the repository and locate it via the following.

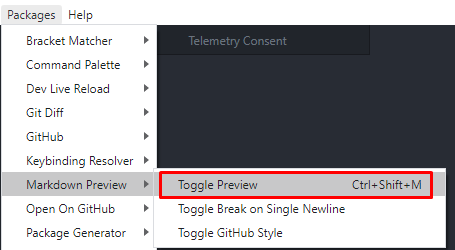
To see how your editing will look in the website before implementing the changes.

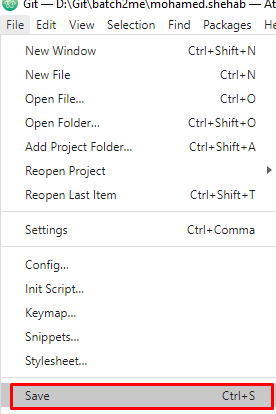
Lets say your done with the editing now you want to push the edits to the website the first step is to save the work.
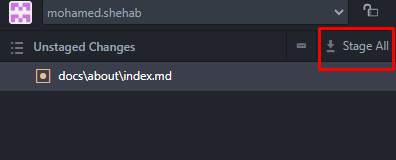
The next step is staging = in git command (git add)
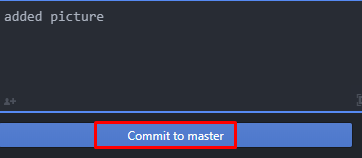
After that is adding a comment to changes that will implemented for future references.= in git command (git commit -m “Message that describes what this change does”)
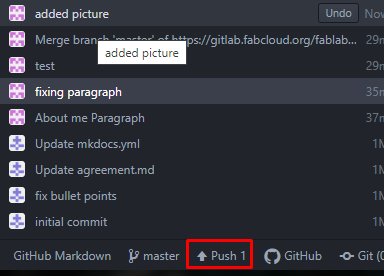
The last step is to push the changes into the website (this process might take a minute). = in git command (git push ‘remote_name’ ‘branch_name’)
This is a preview of the website after the changes.

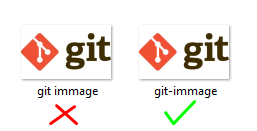
A problem was encountered where I tried adding an image and no preview from the image was seen even though the location and everything was correct it was noticed that the image name was containing spaces and the program does not understand the spaces therefor after removing the spaces the preview of the image appeared.
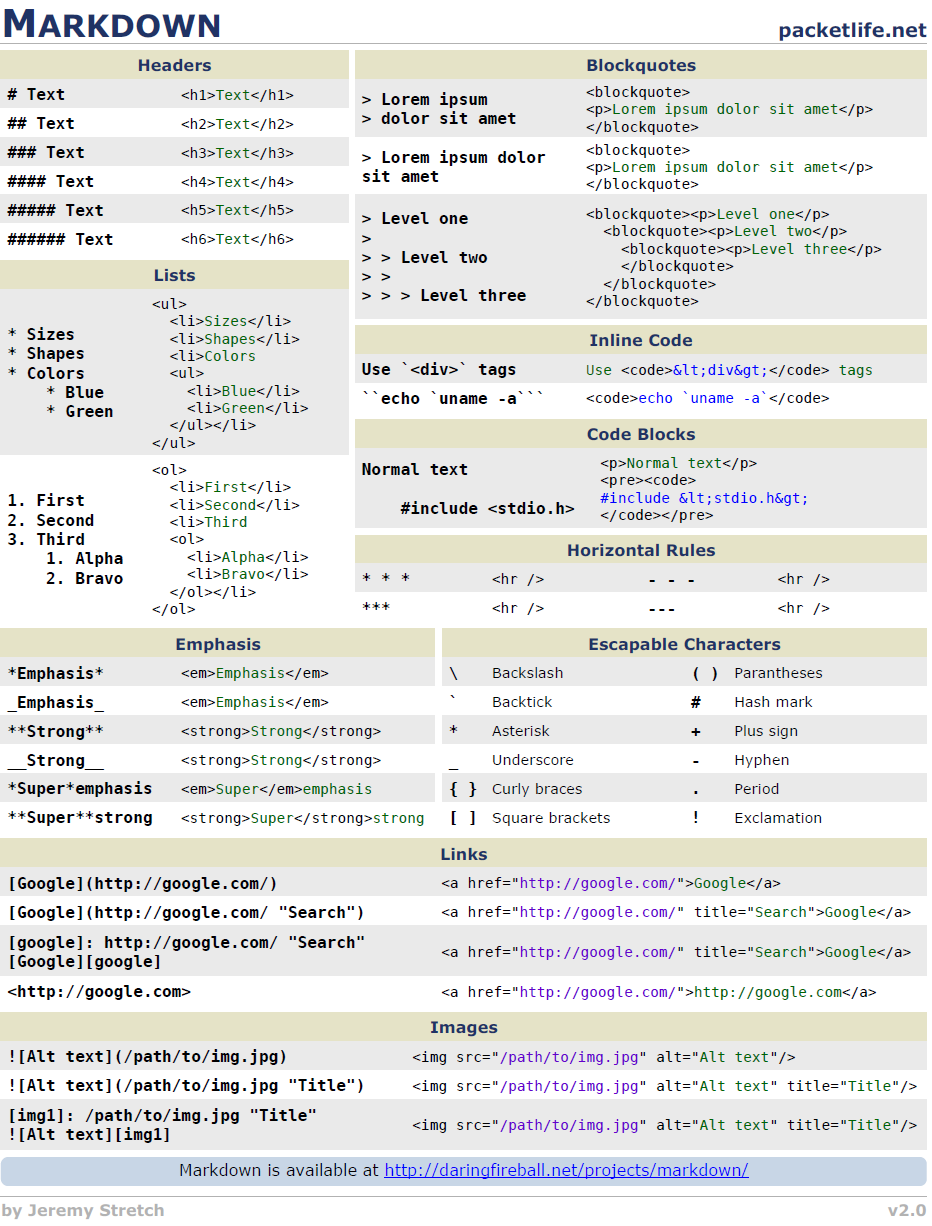
This sheet is useful to learn the markdown language easily (cheatsheet).