8. Moulding and casting
This week I learned the technique of molding and casting and applying it to a 3d design that is created via fusion 360.
Group Assignment
Creating the 3d design
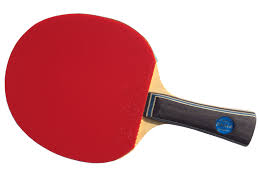
The idea of my design is to create a table tennis bat keychain.
The first step is to sketch the design.
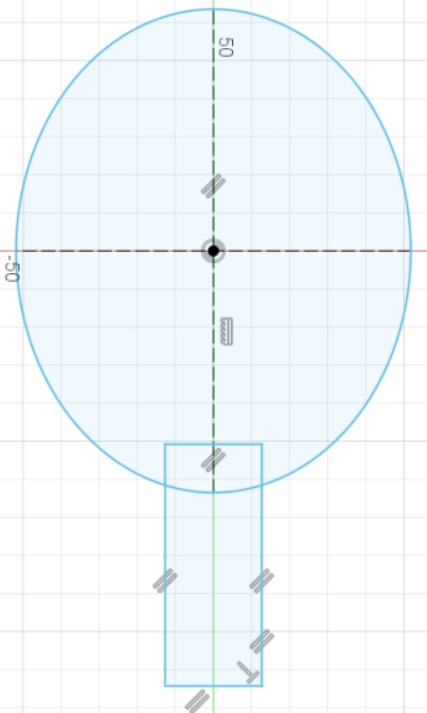
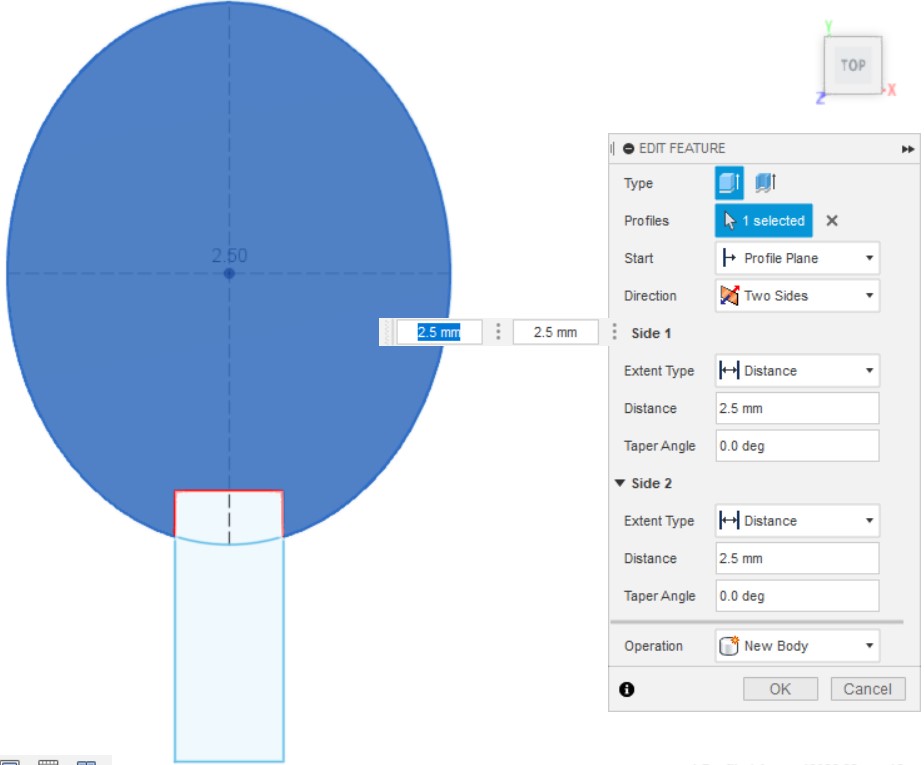
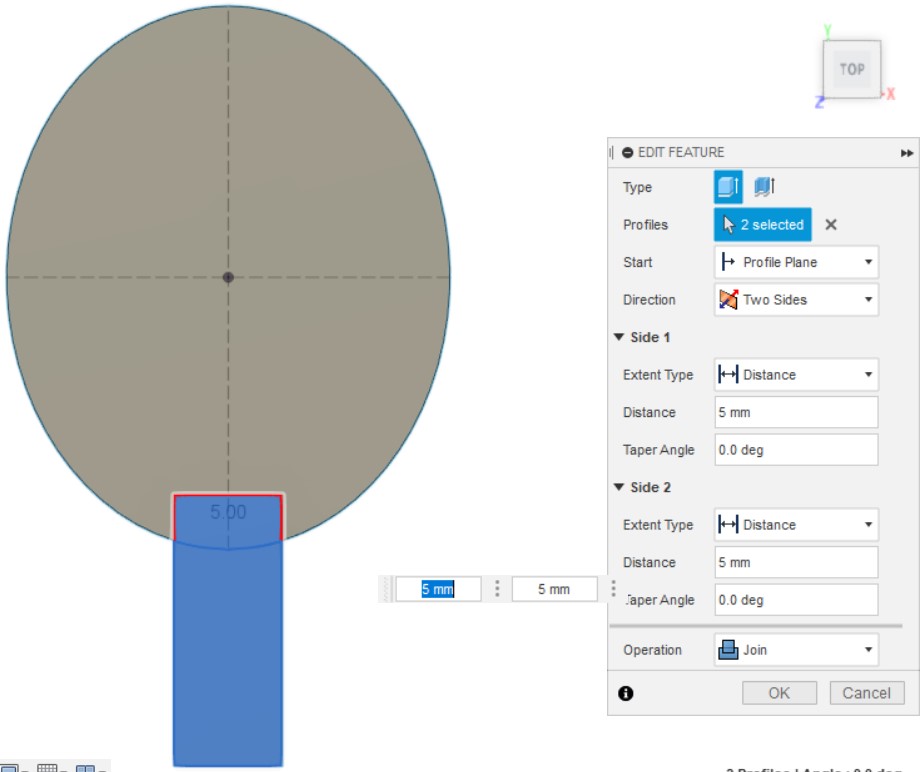
Then we extrude both the face and the handle on both sides.
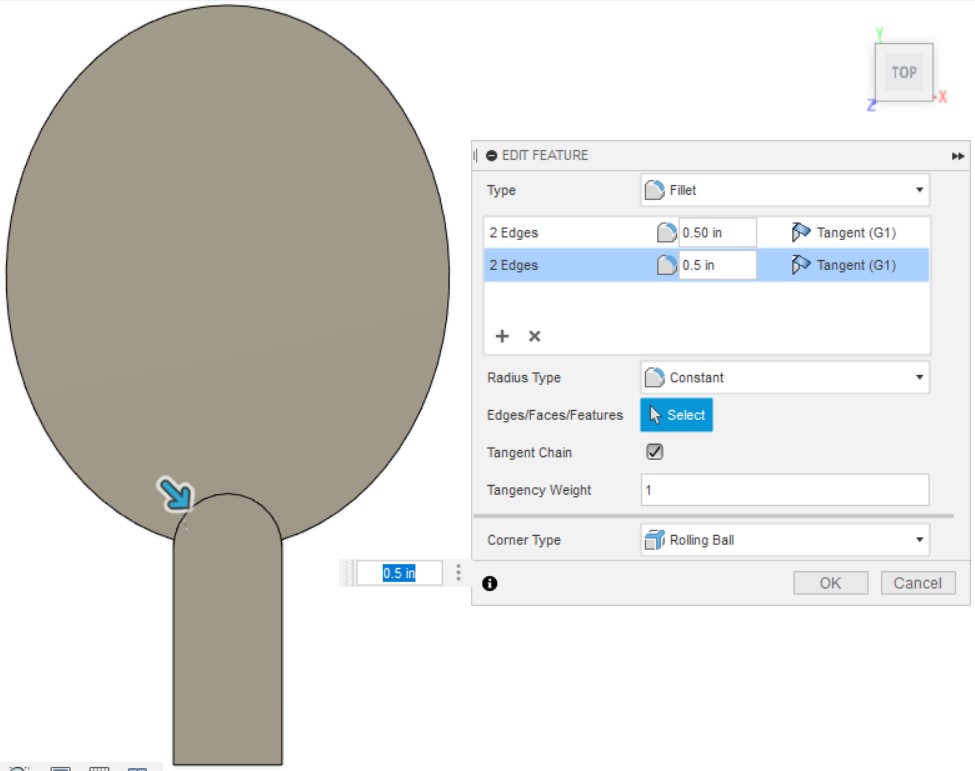
Applying the fillets on the edges
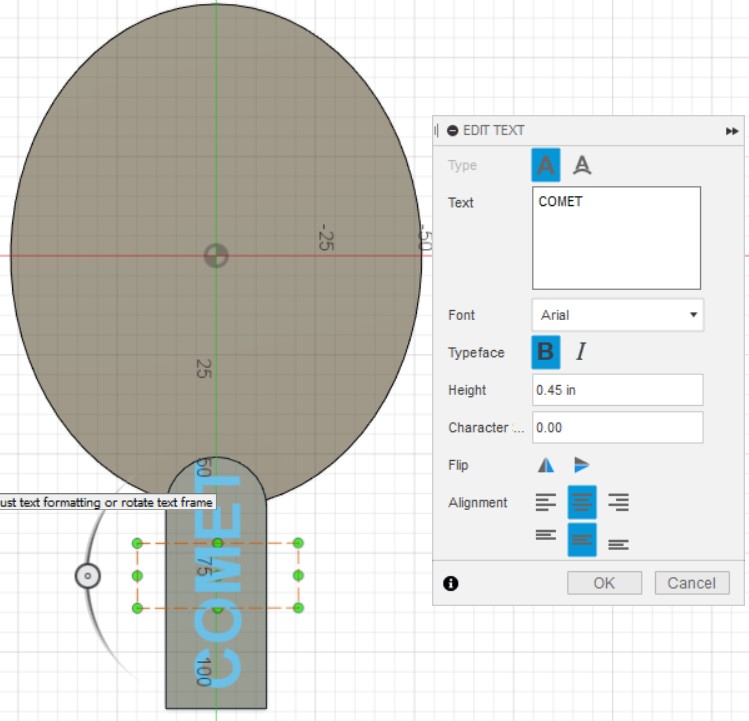
Adding the nickname on the handle using the text feature.
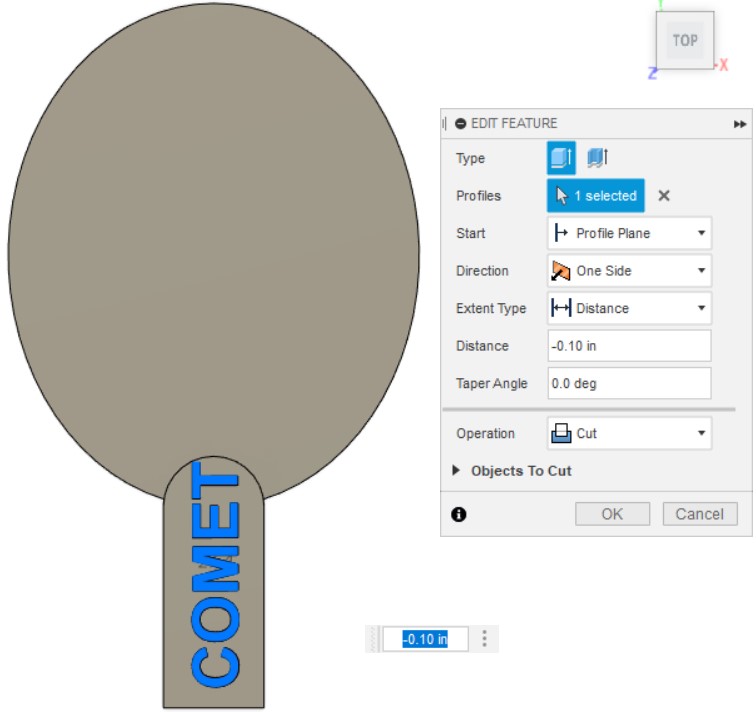
engrave the text using the extrude with cut feature.
Sketching the keychain hole.
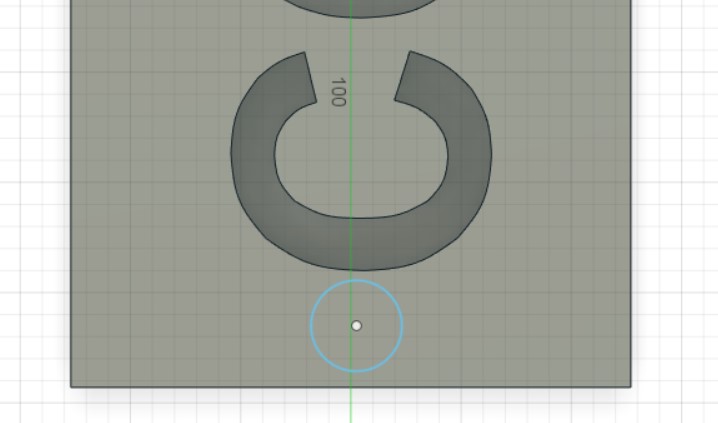
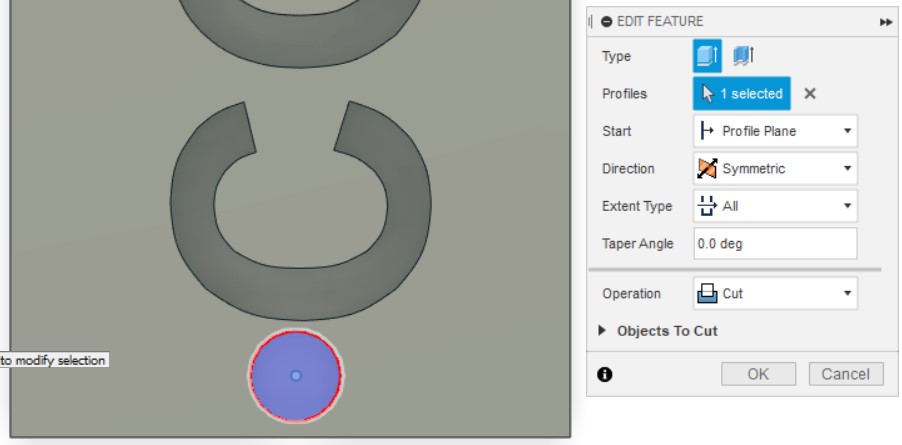
Extruding with a cut to make the hole.
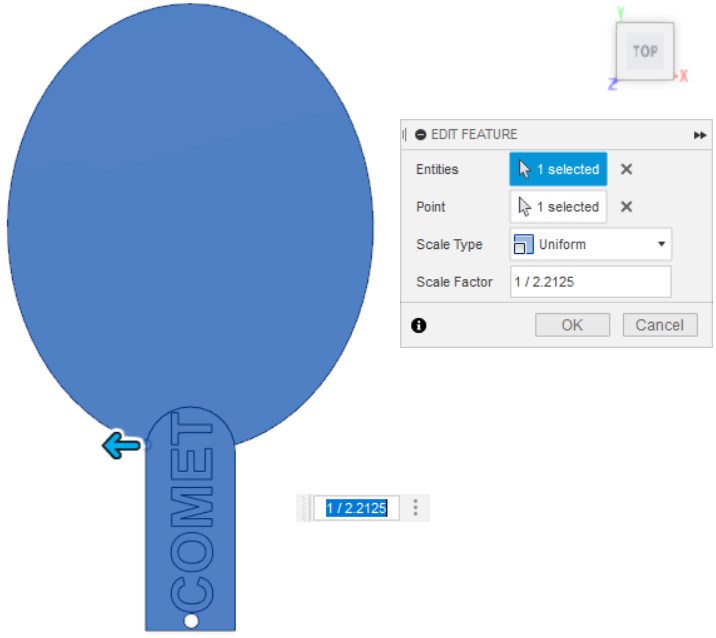
Scale the design down to the given parameters.
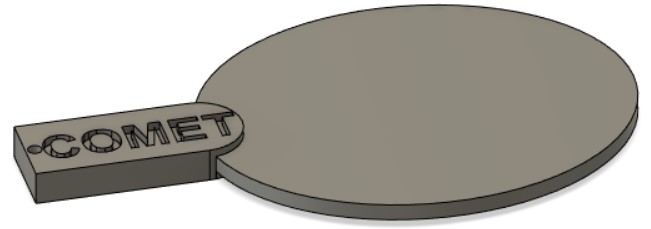
The final look of the design.
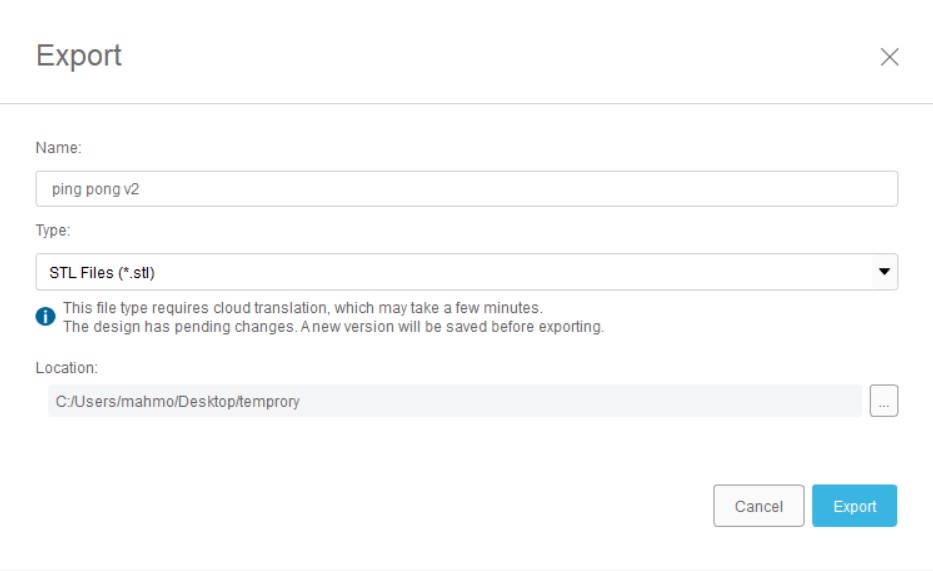
Exporting the design in STL format for the program to read it.
Creating the mold
The machine used to create the mold is connected to the interface called SRP PlayerPro.
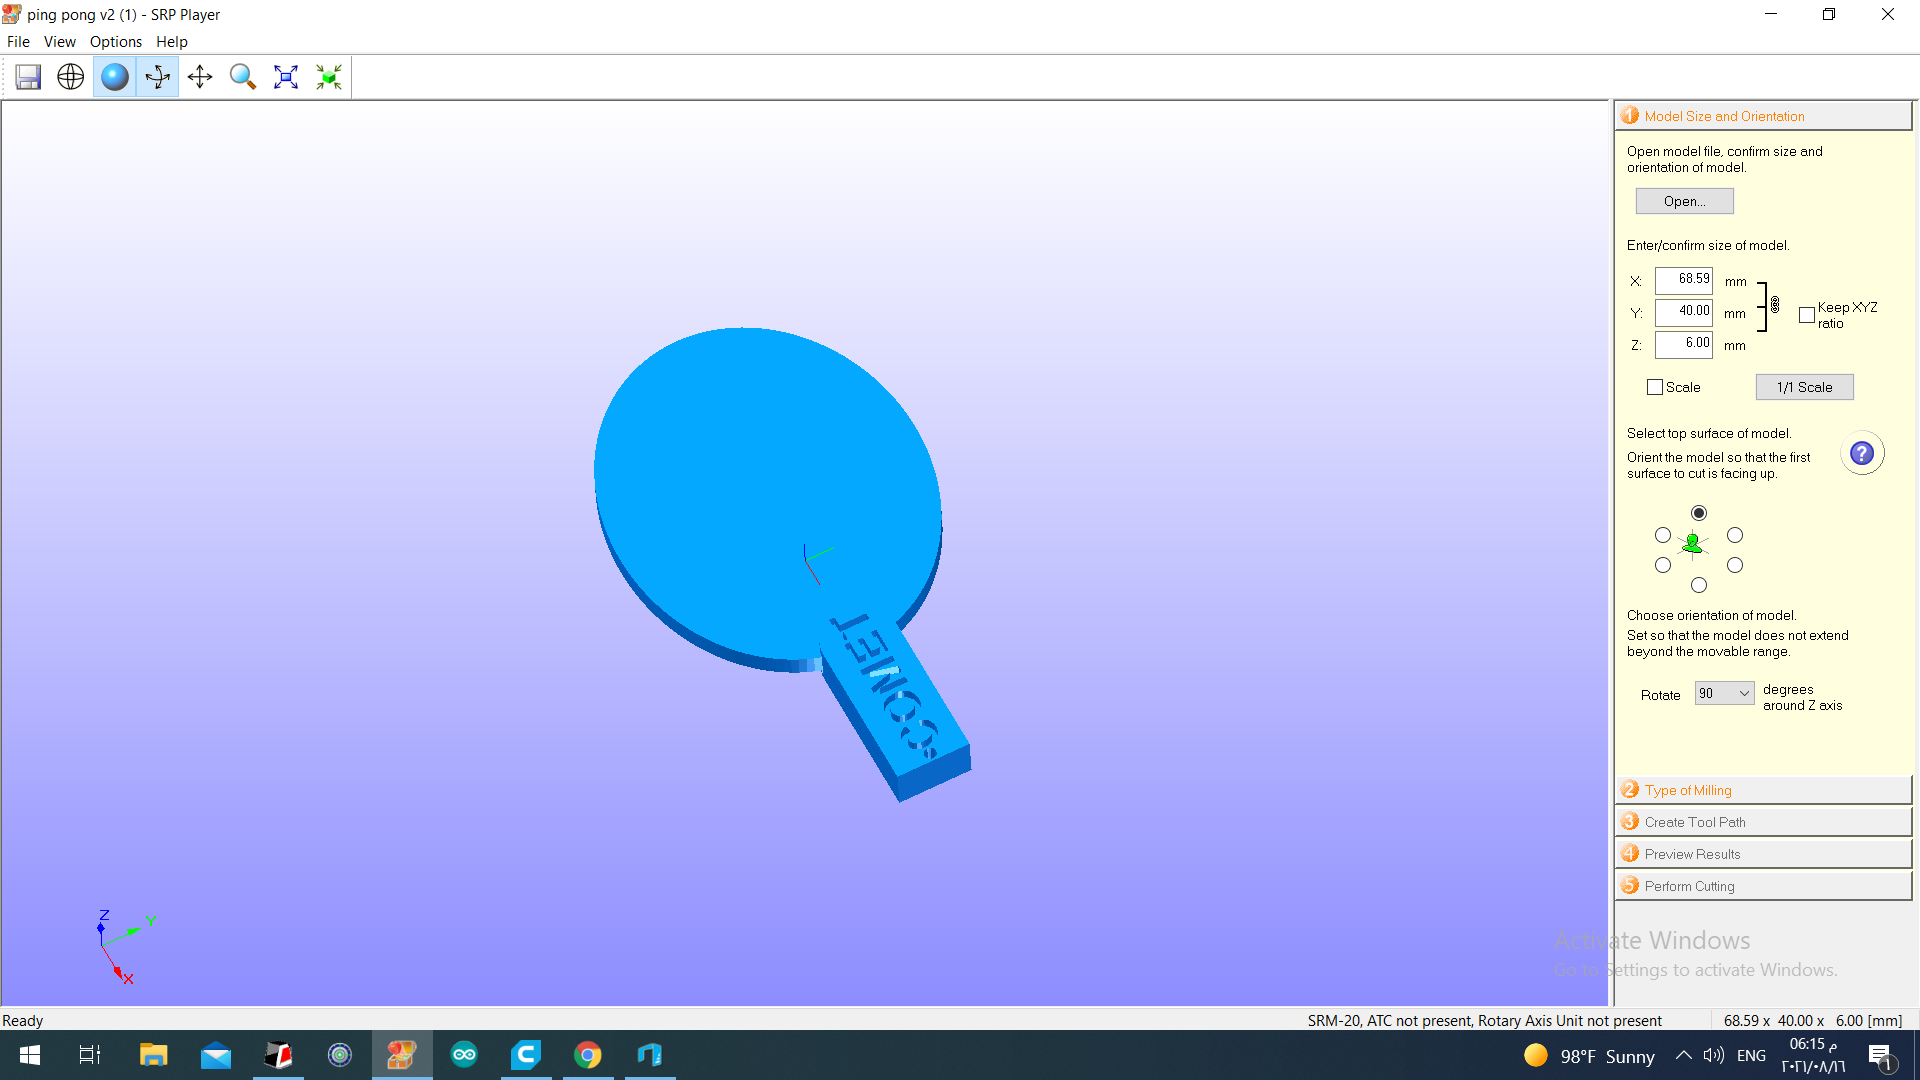
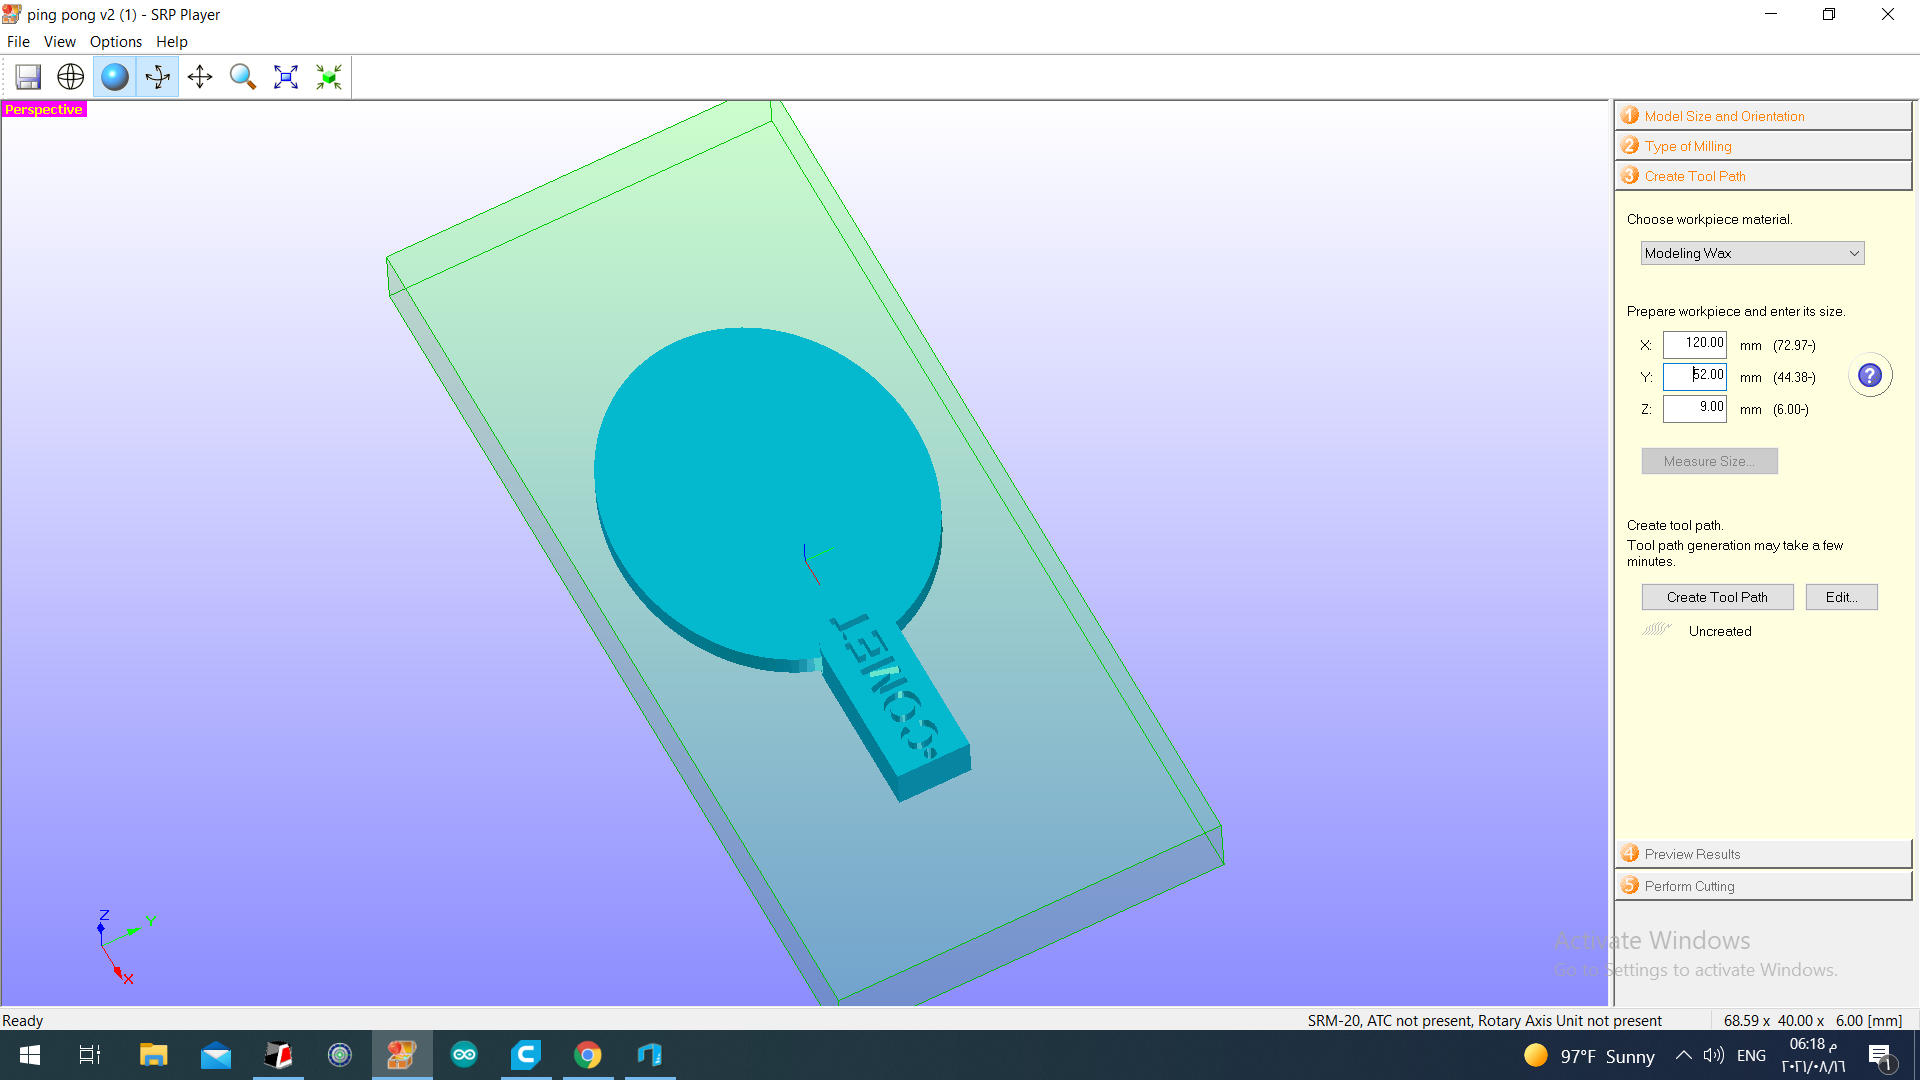
After adding the STL design the first step is to make sure that the design parameters are matching the requirement if not; it is possible to scale it down to the appropriate scale.
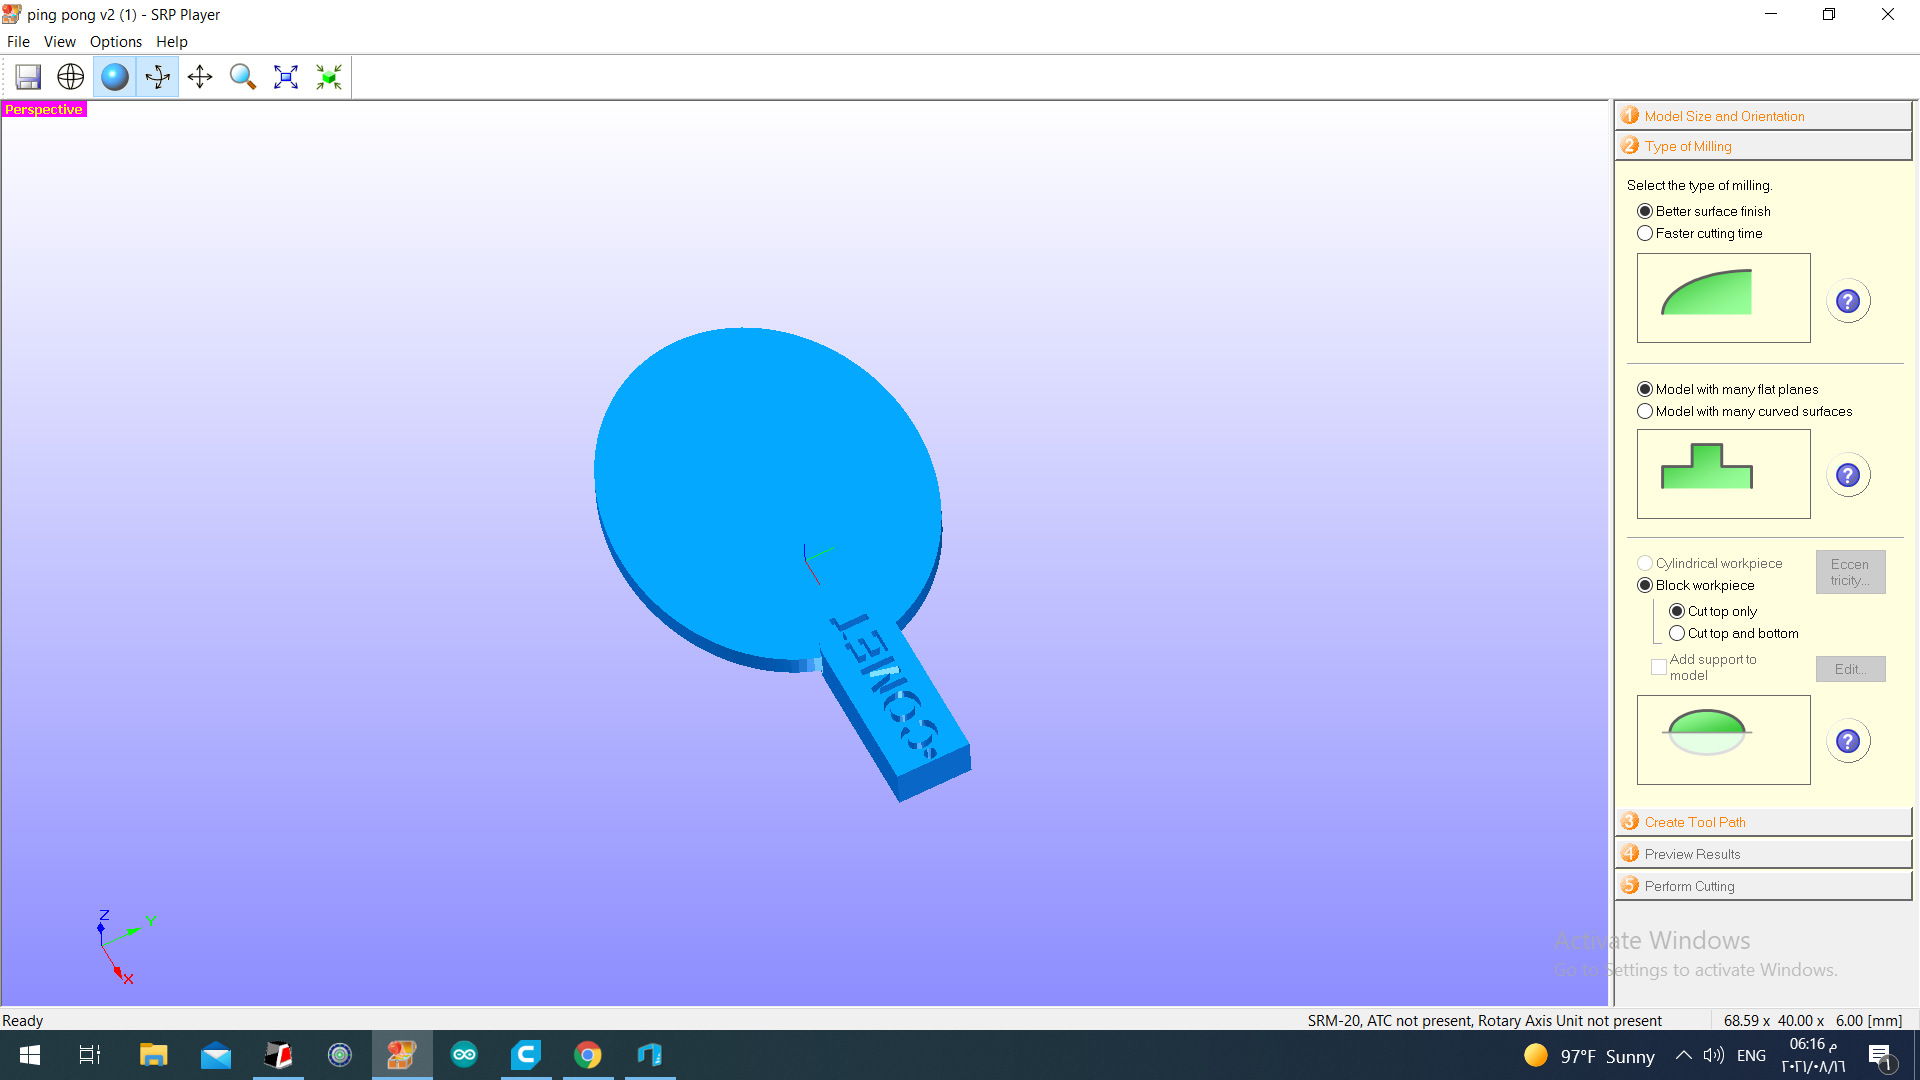
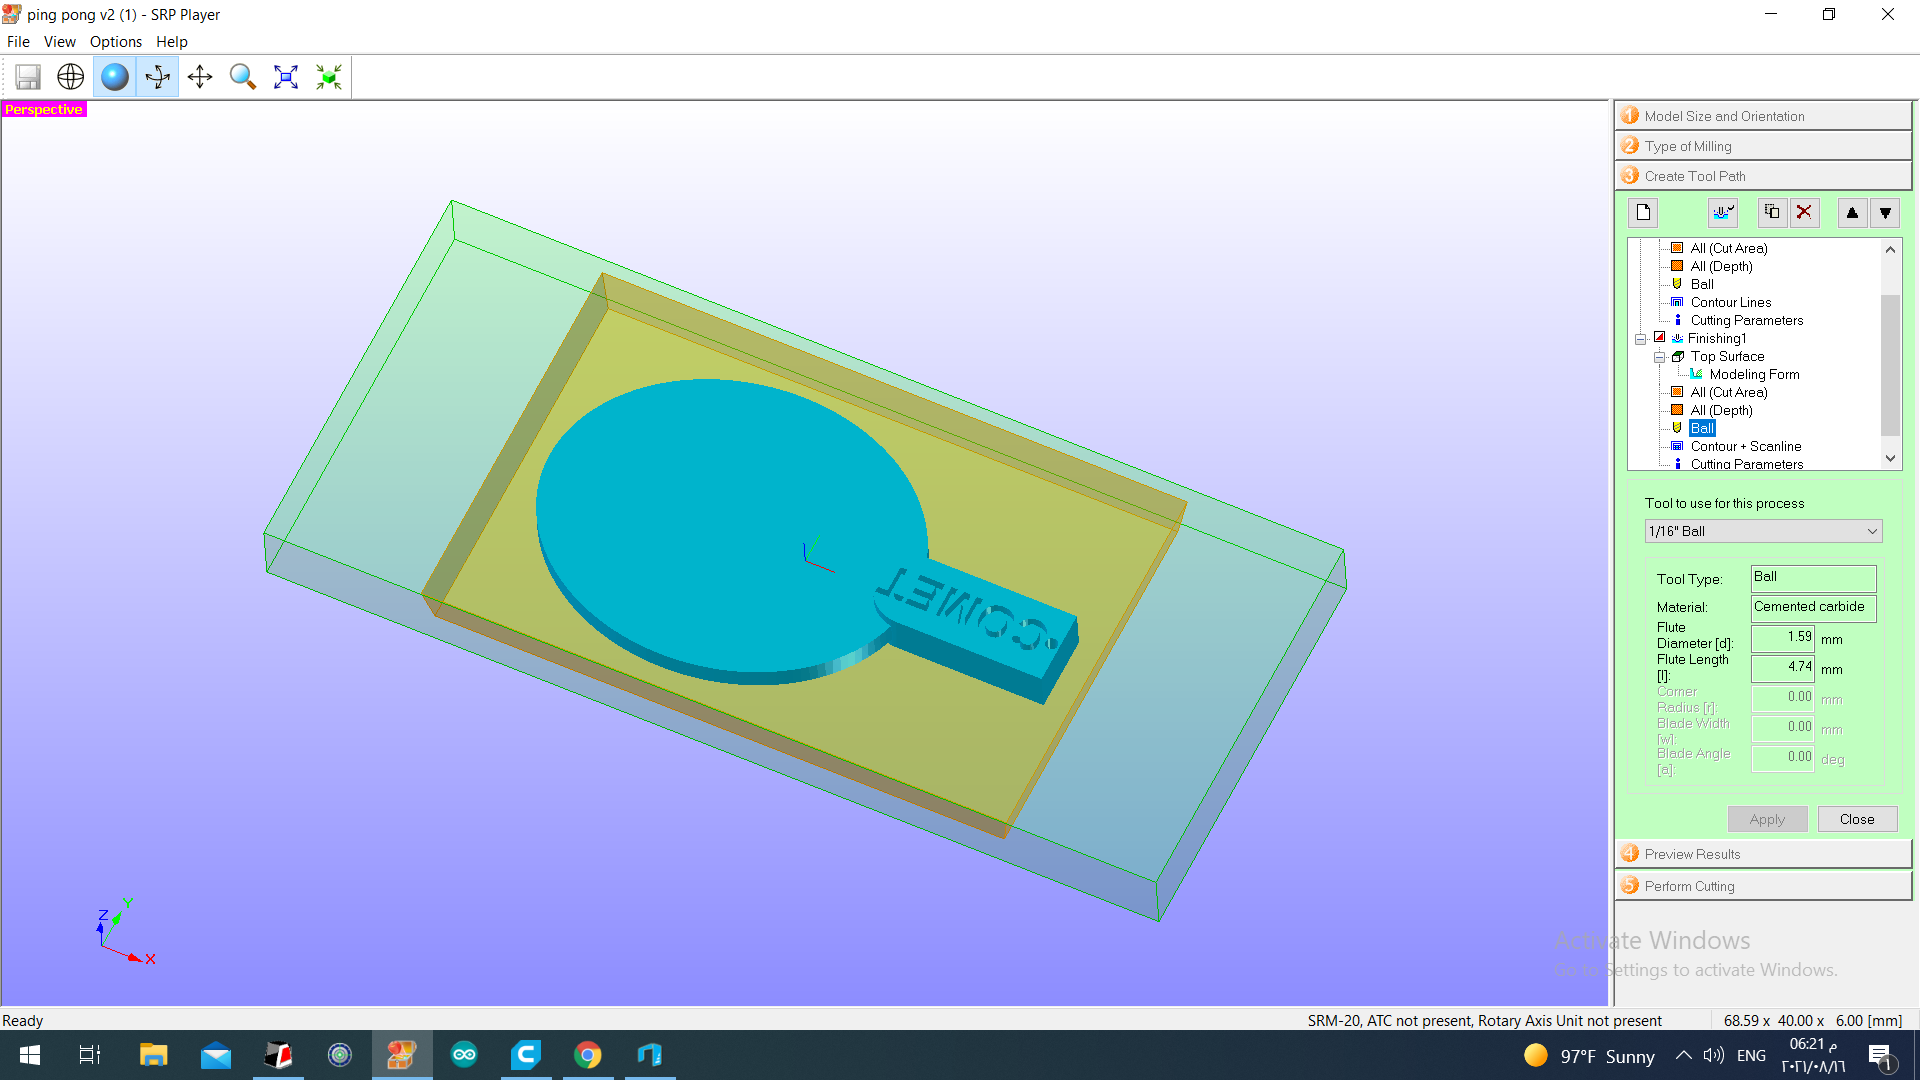
The next step is to add the type of milling. For my design since I was the last one to make the mold I choose the better finish type of milling which takes care of tiny details therefor take more time. Also my design have many flat planes + the device can only cut the top part.
Creating the toolpath by adding the milling pit that will be used with the appropriate parameters.
Adding the parameters of the workplace material which in this case is the molding wax.
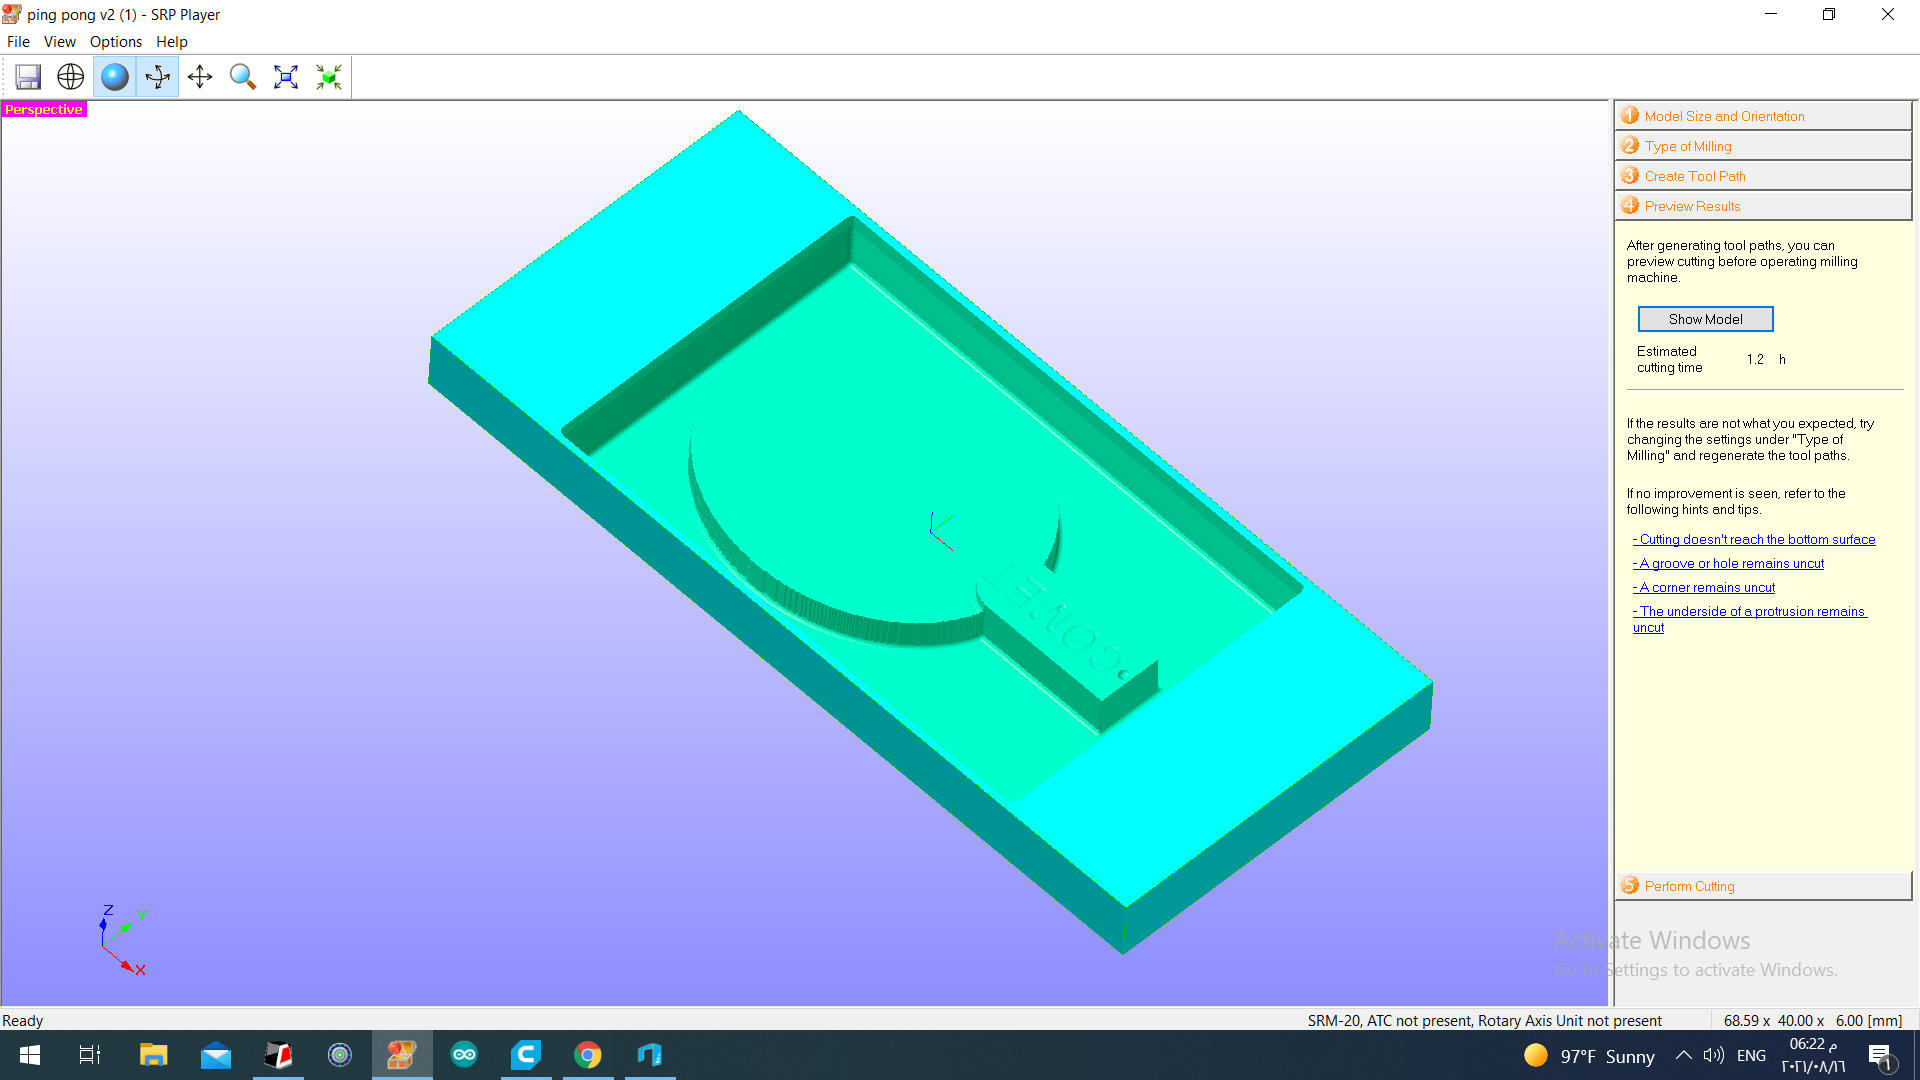
A preview of the final cut.
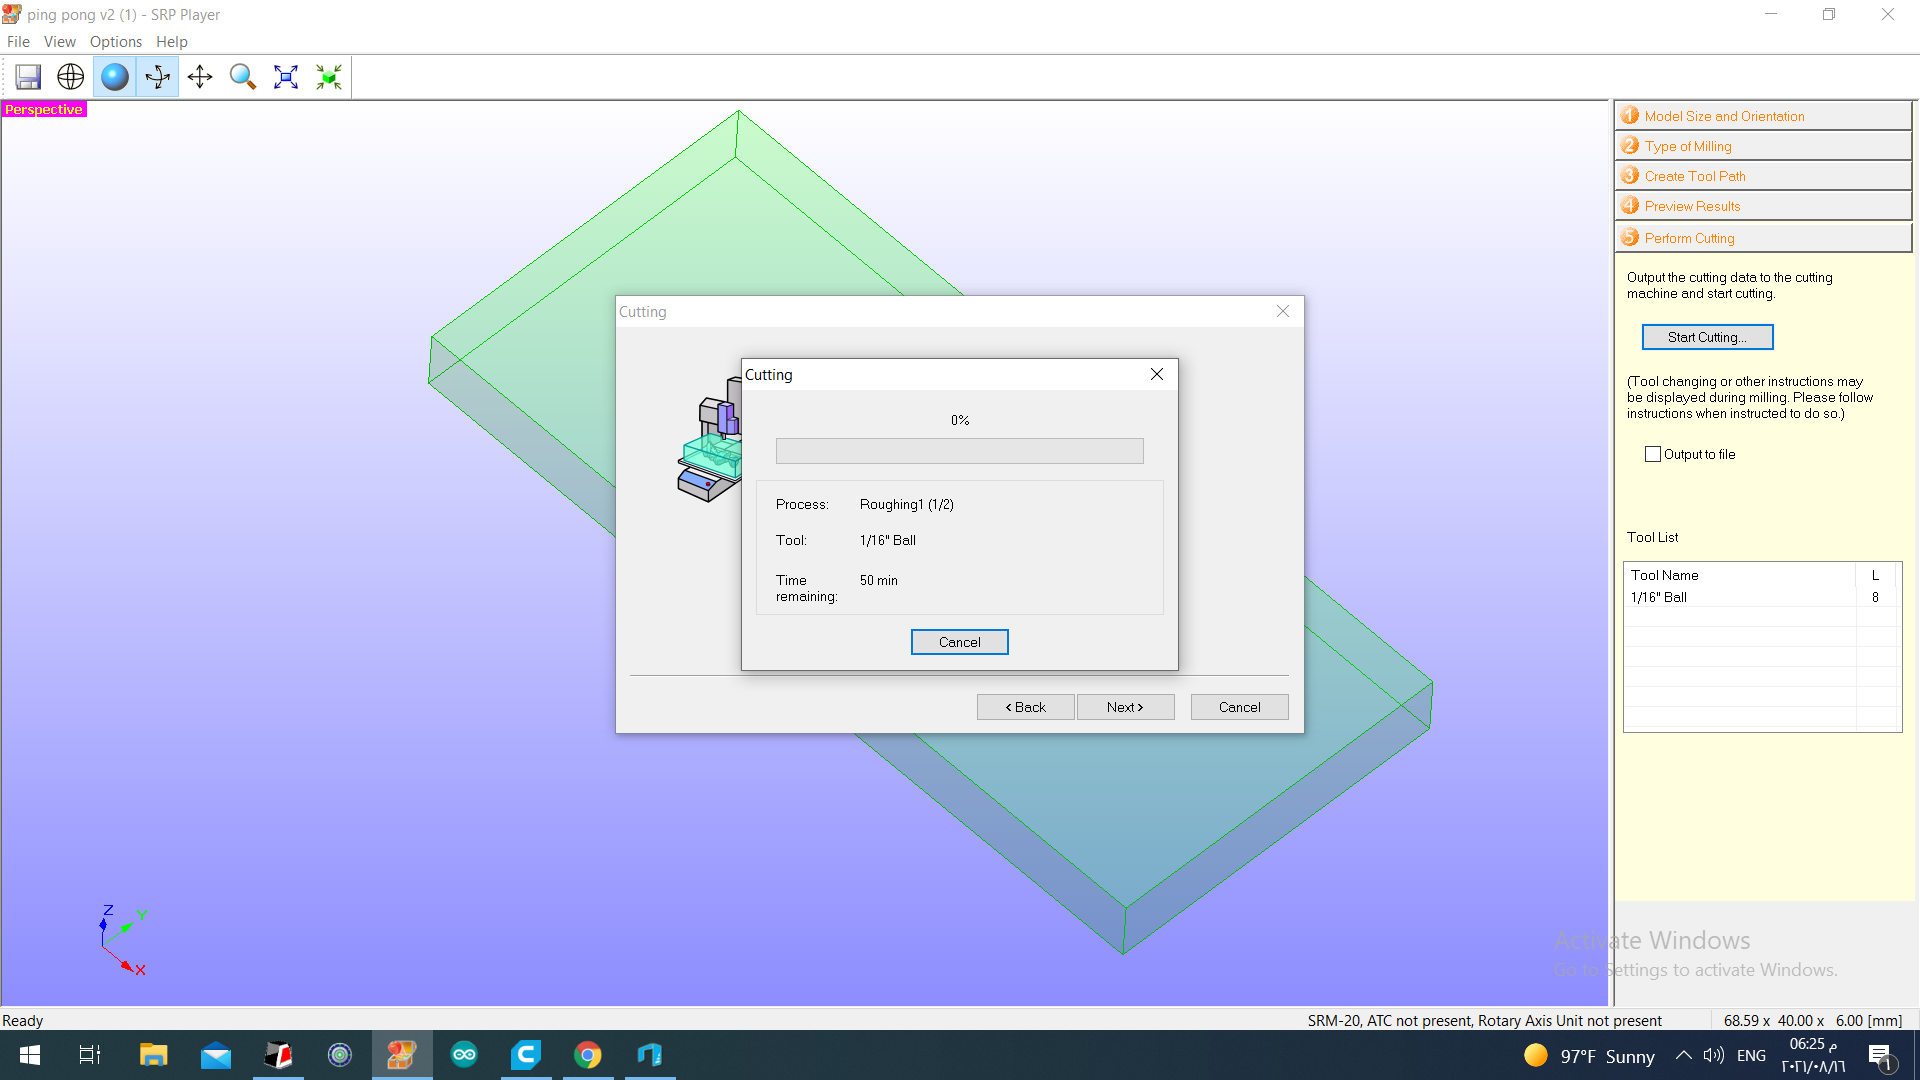
The start of milling process with time estimation.
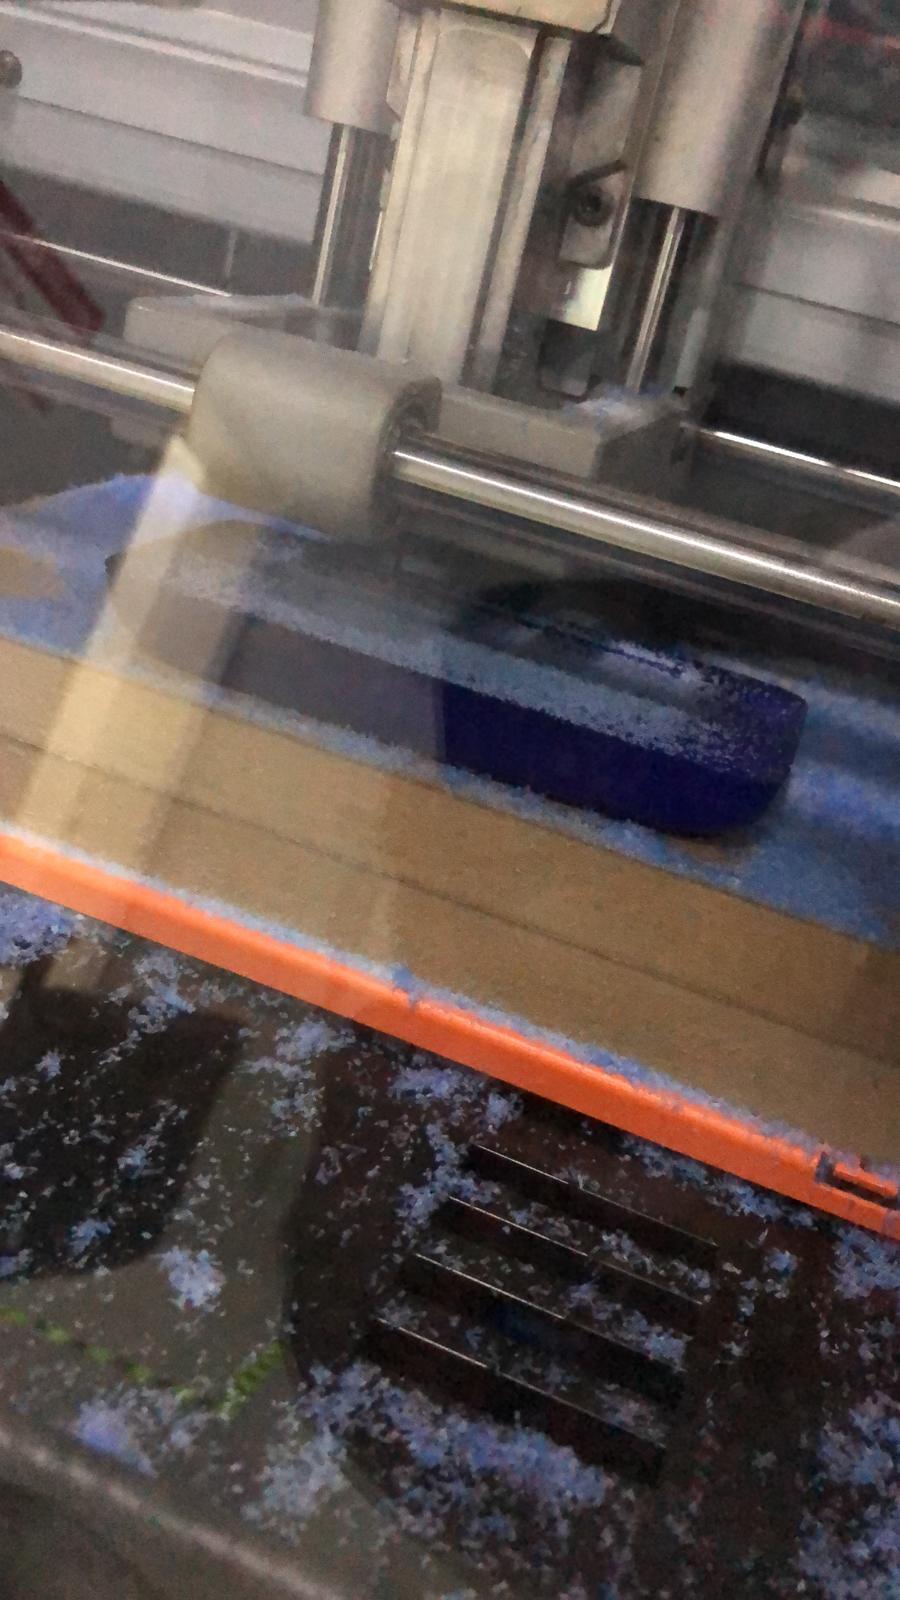
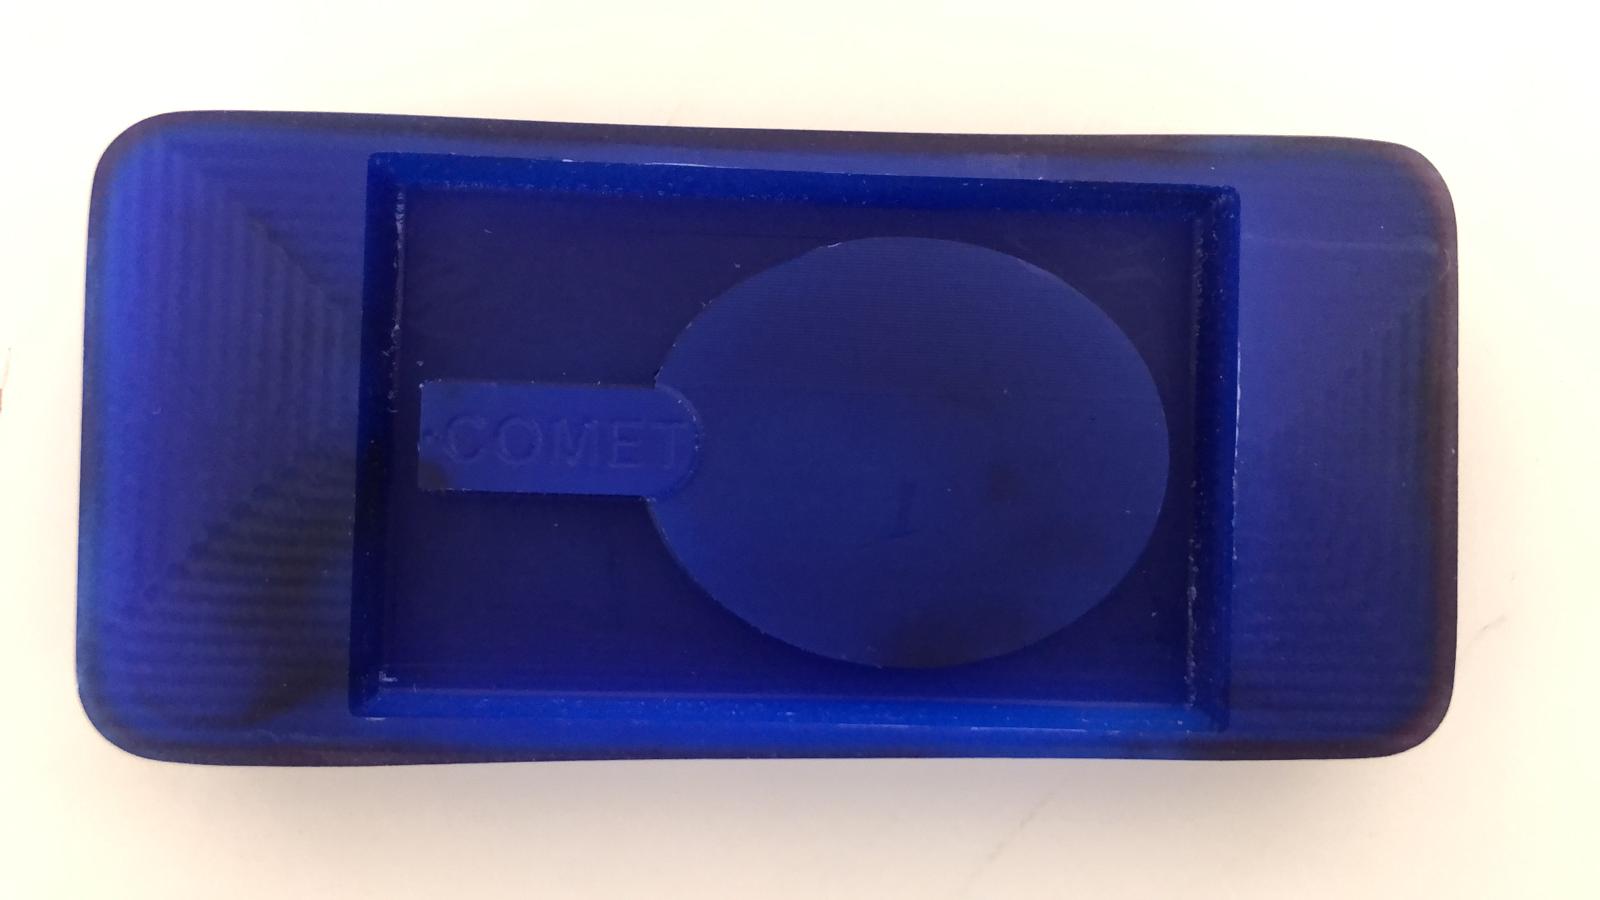
The final look of the was mold
The silicon pouring process
Both the blue and white substances should be added in equal quantities to create the Silicon.
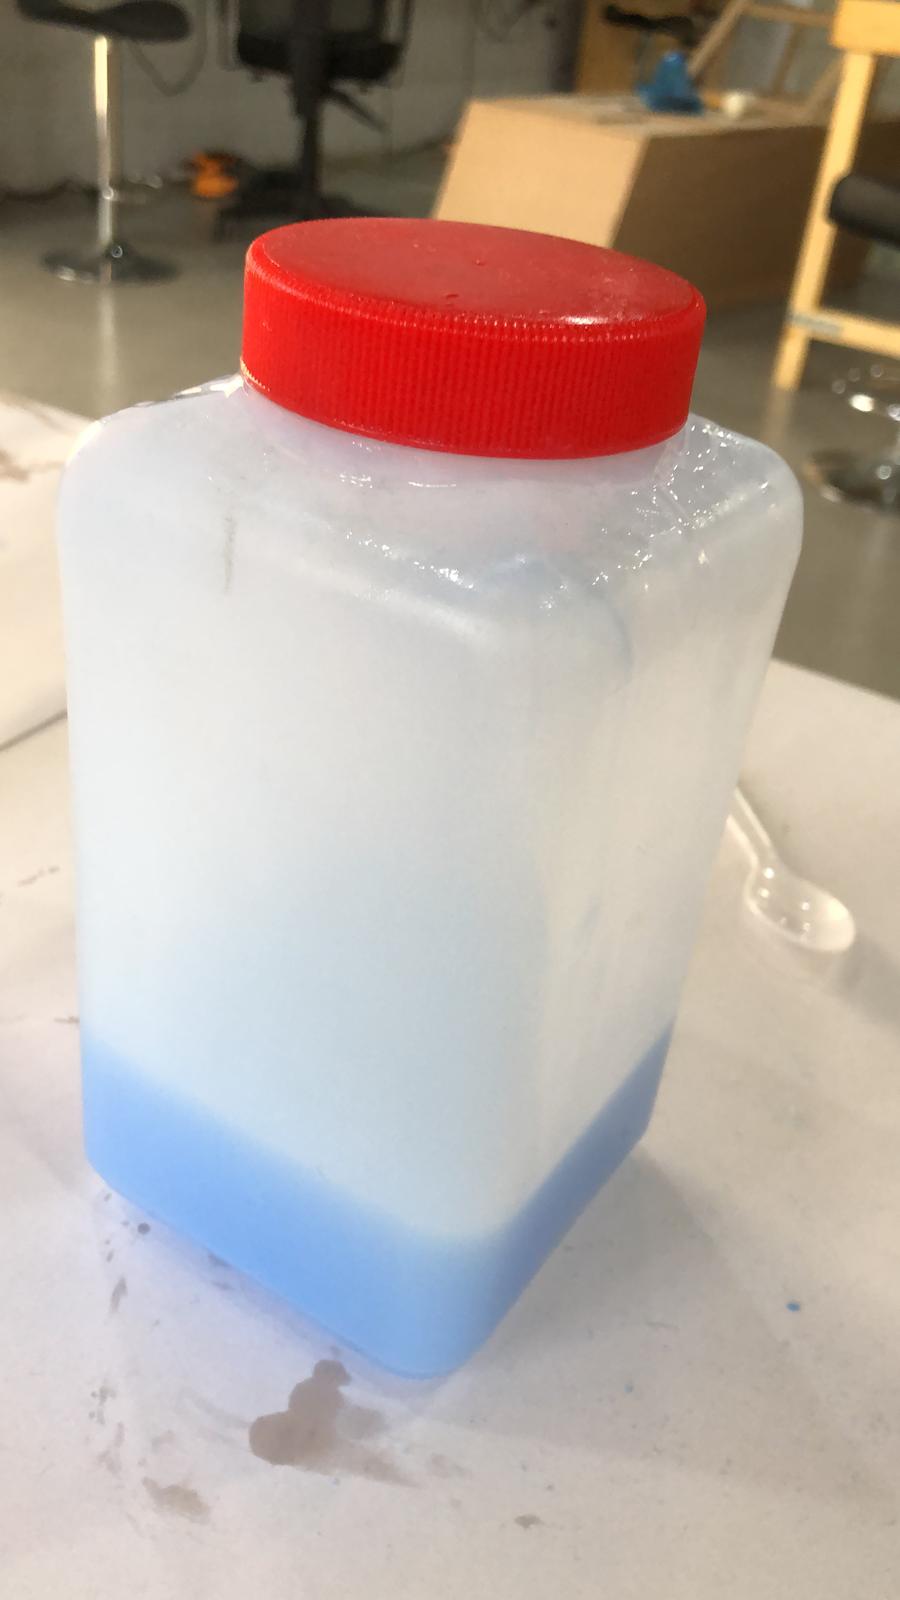
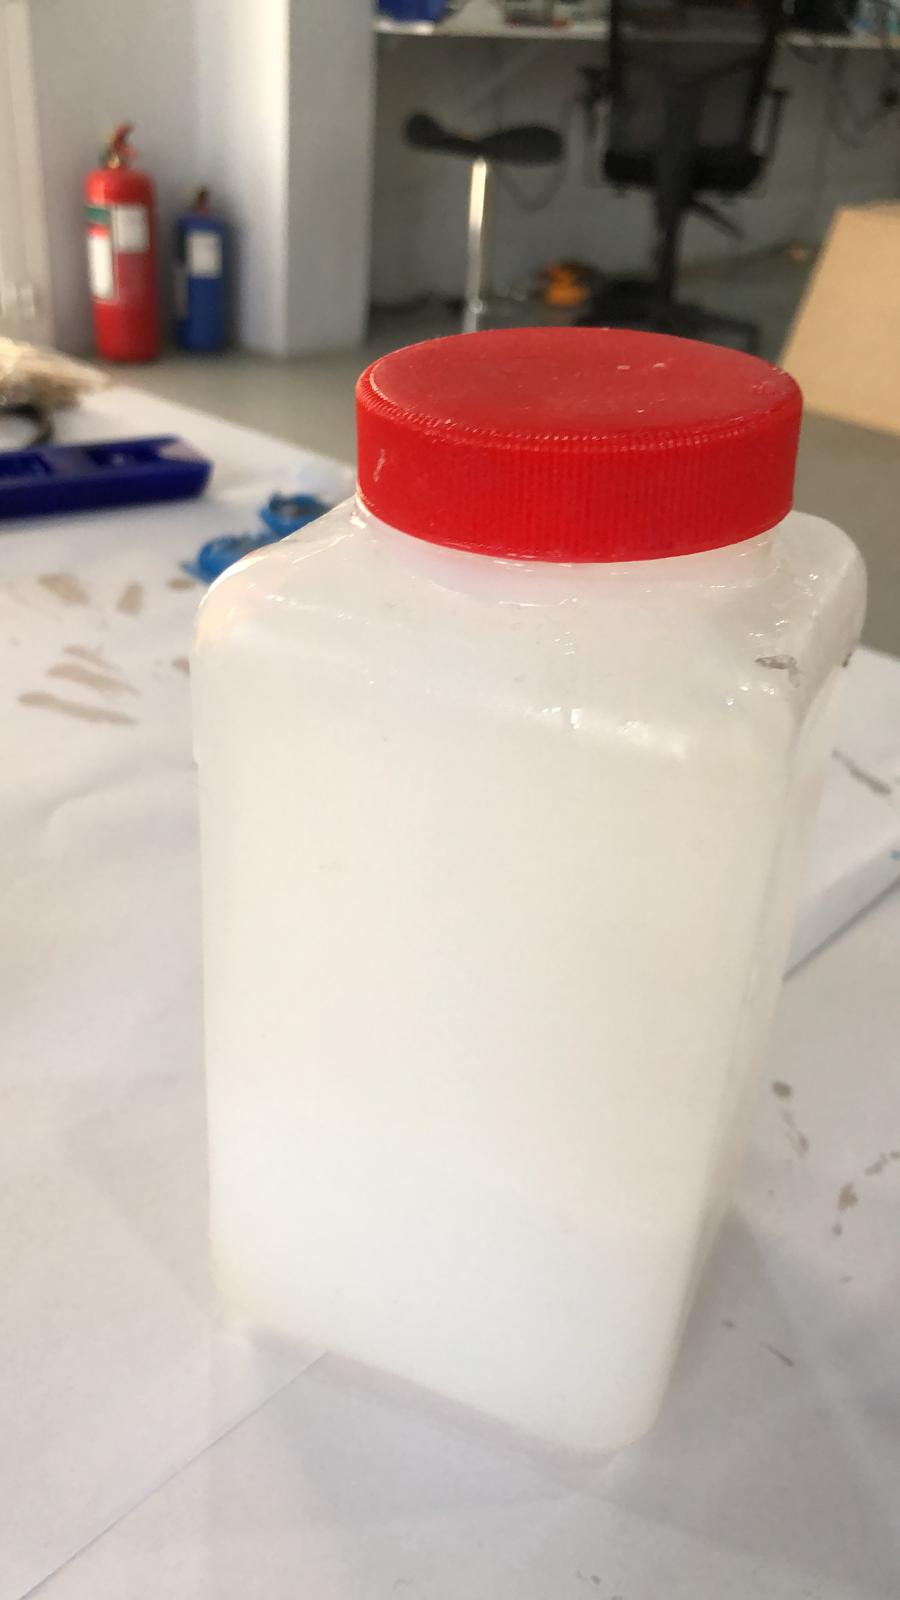
Mixing both substances for 1 min before poring them into the wax.
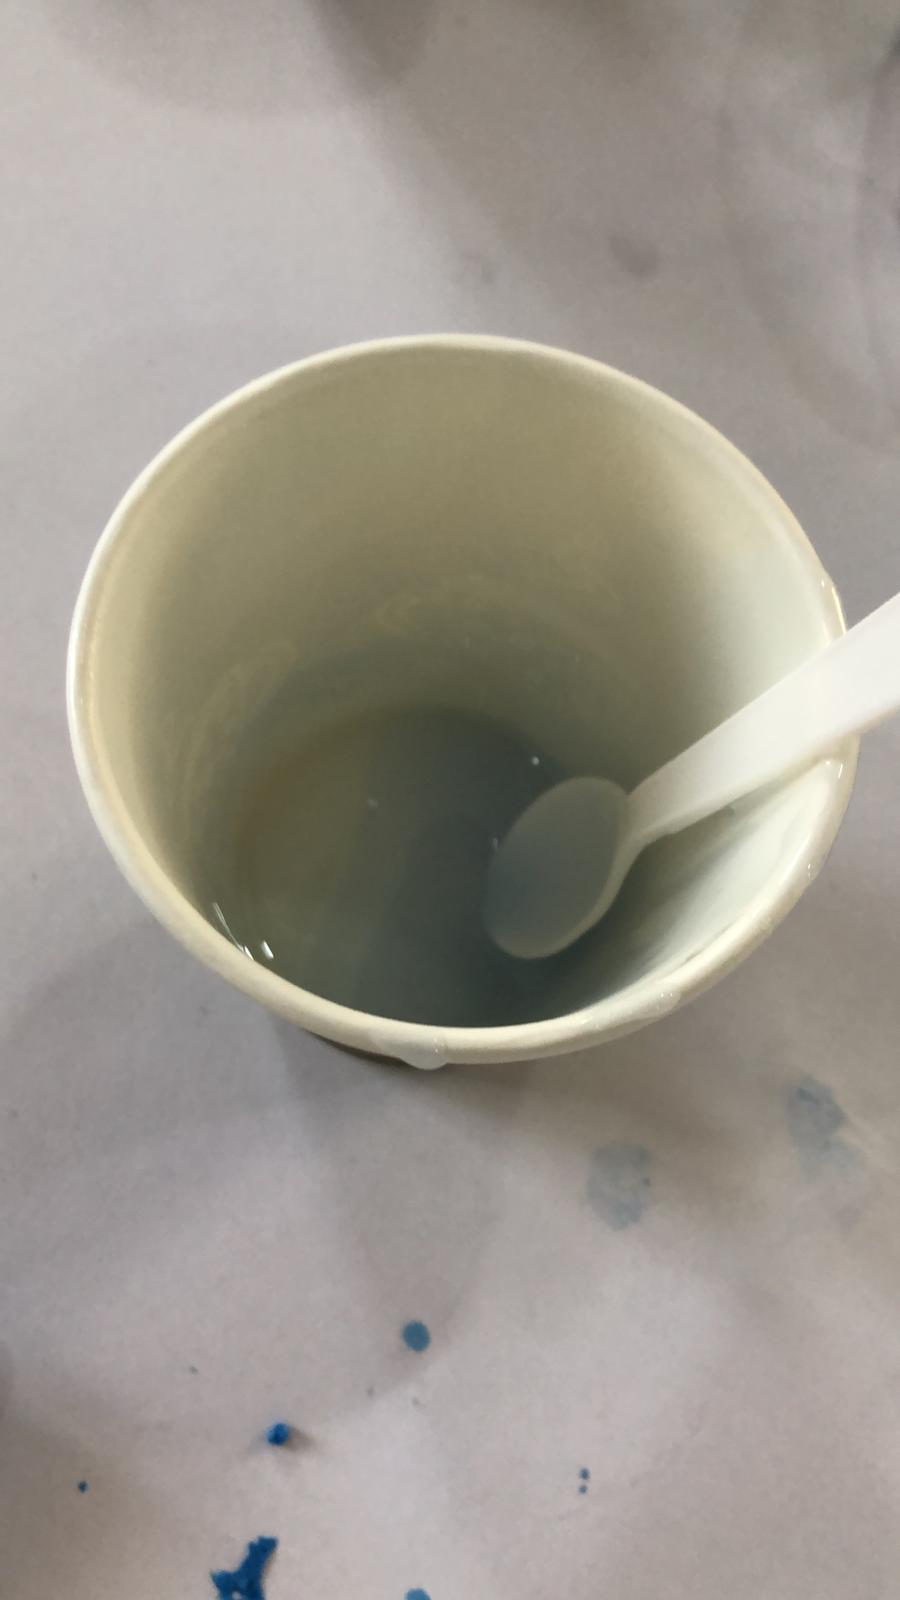
Poring the mixture into the wax.
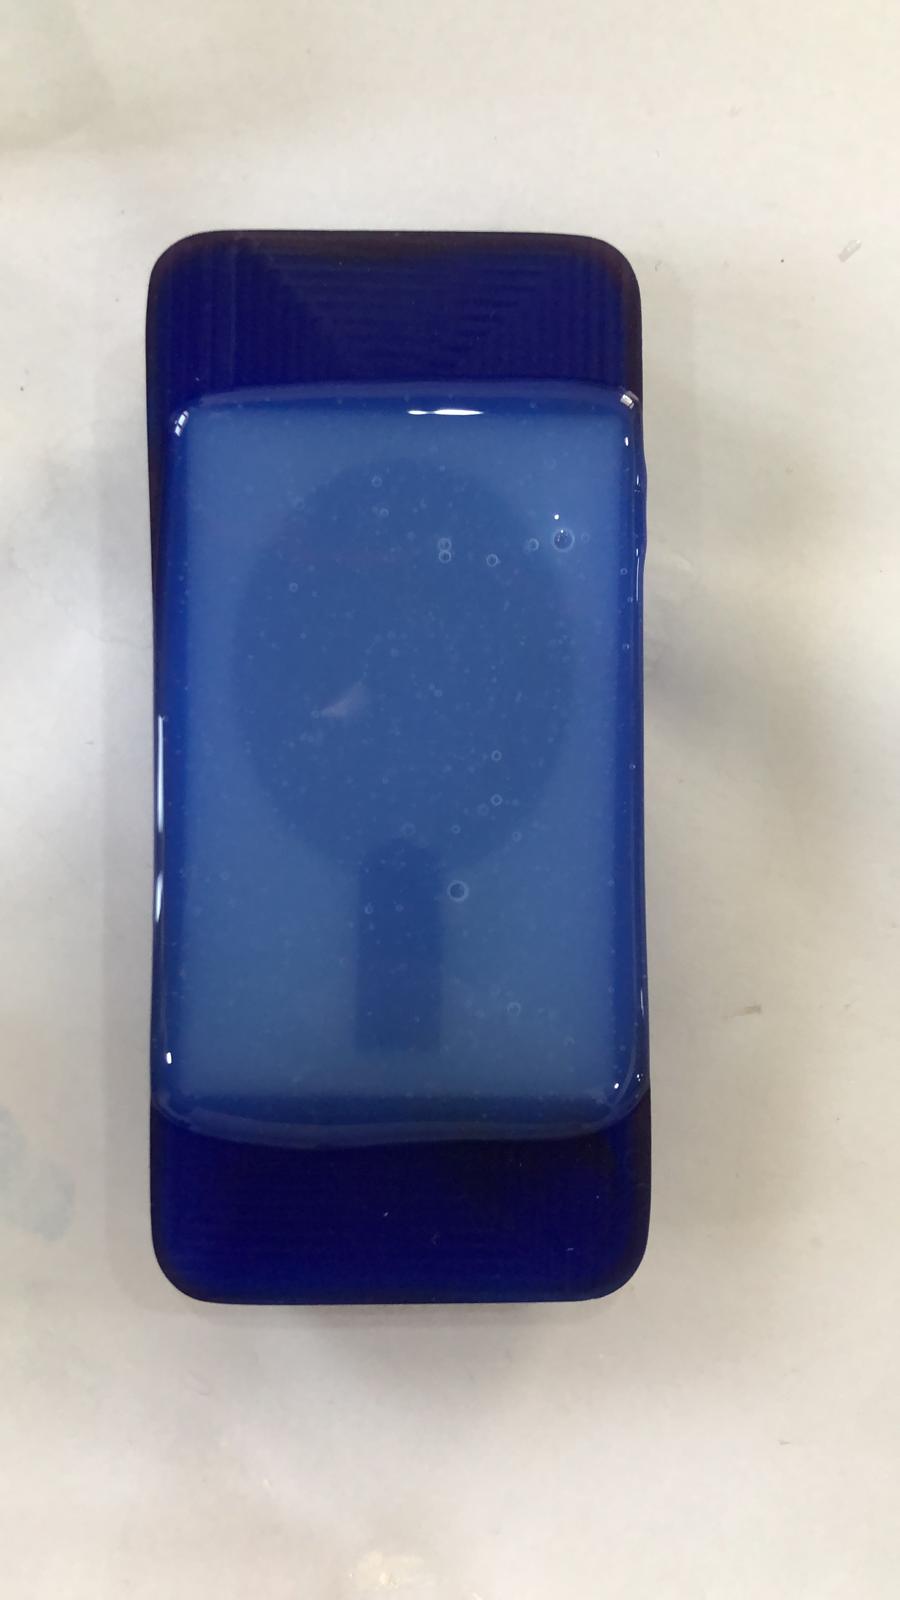
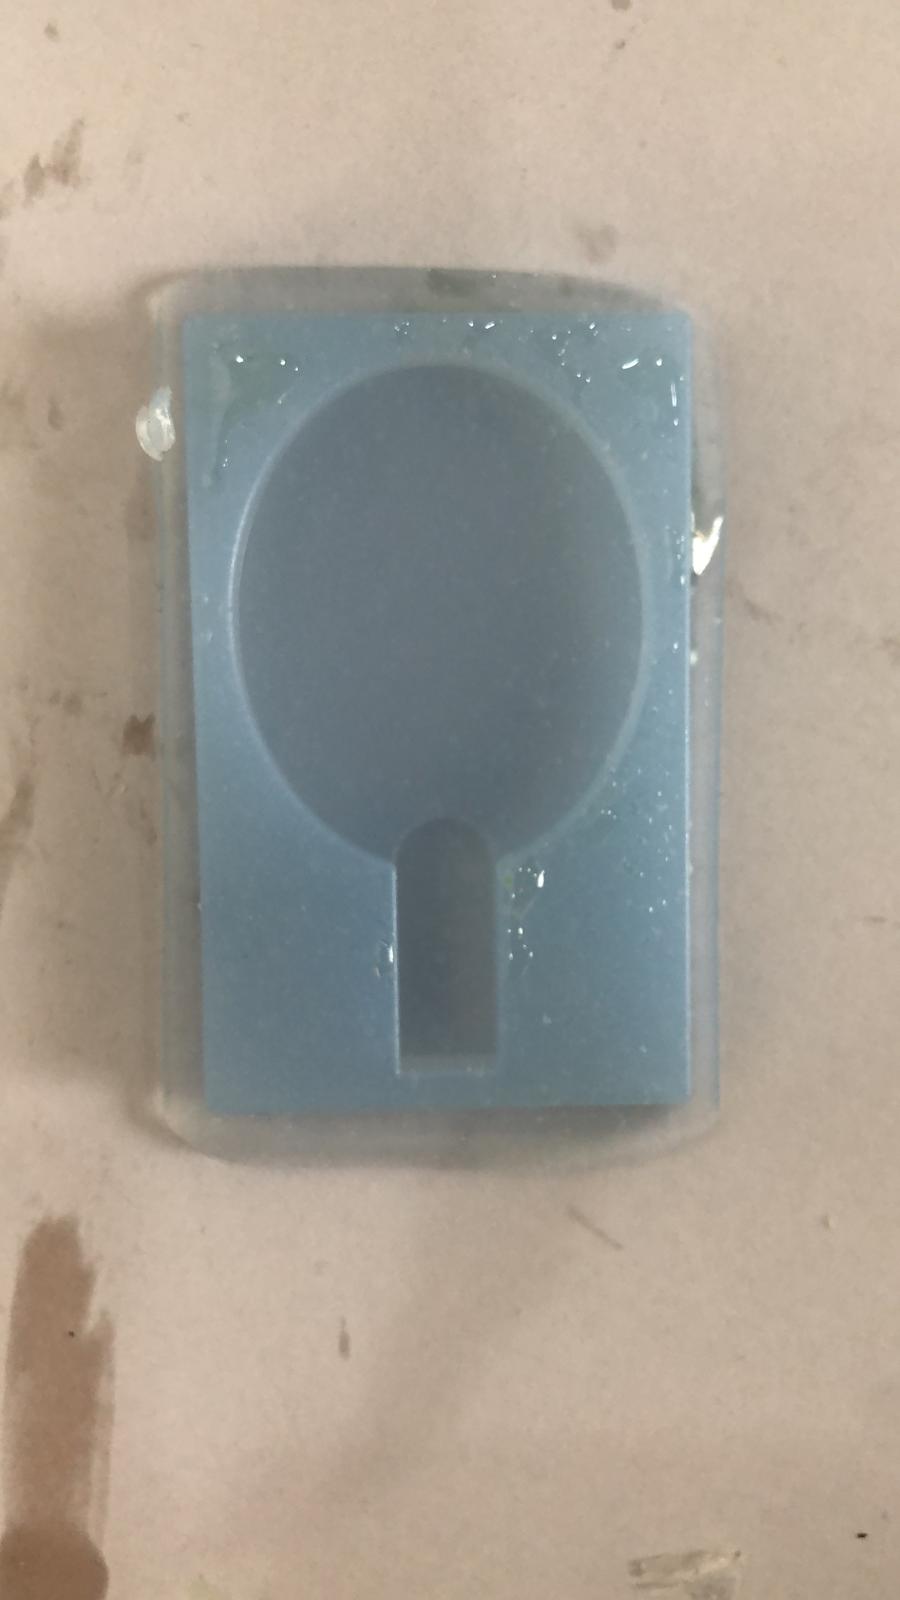
After leaving it to dry for 5 hours.
Casting
The first material used for casting was soup. The first step is to cut the right amount of soup. followed by melting it. In our case, a microwave was used to melt it.
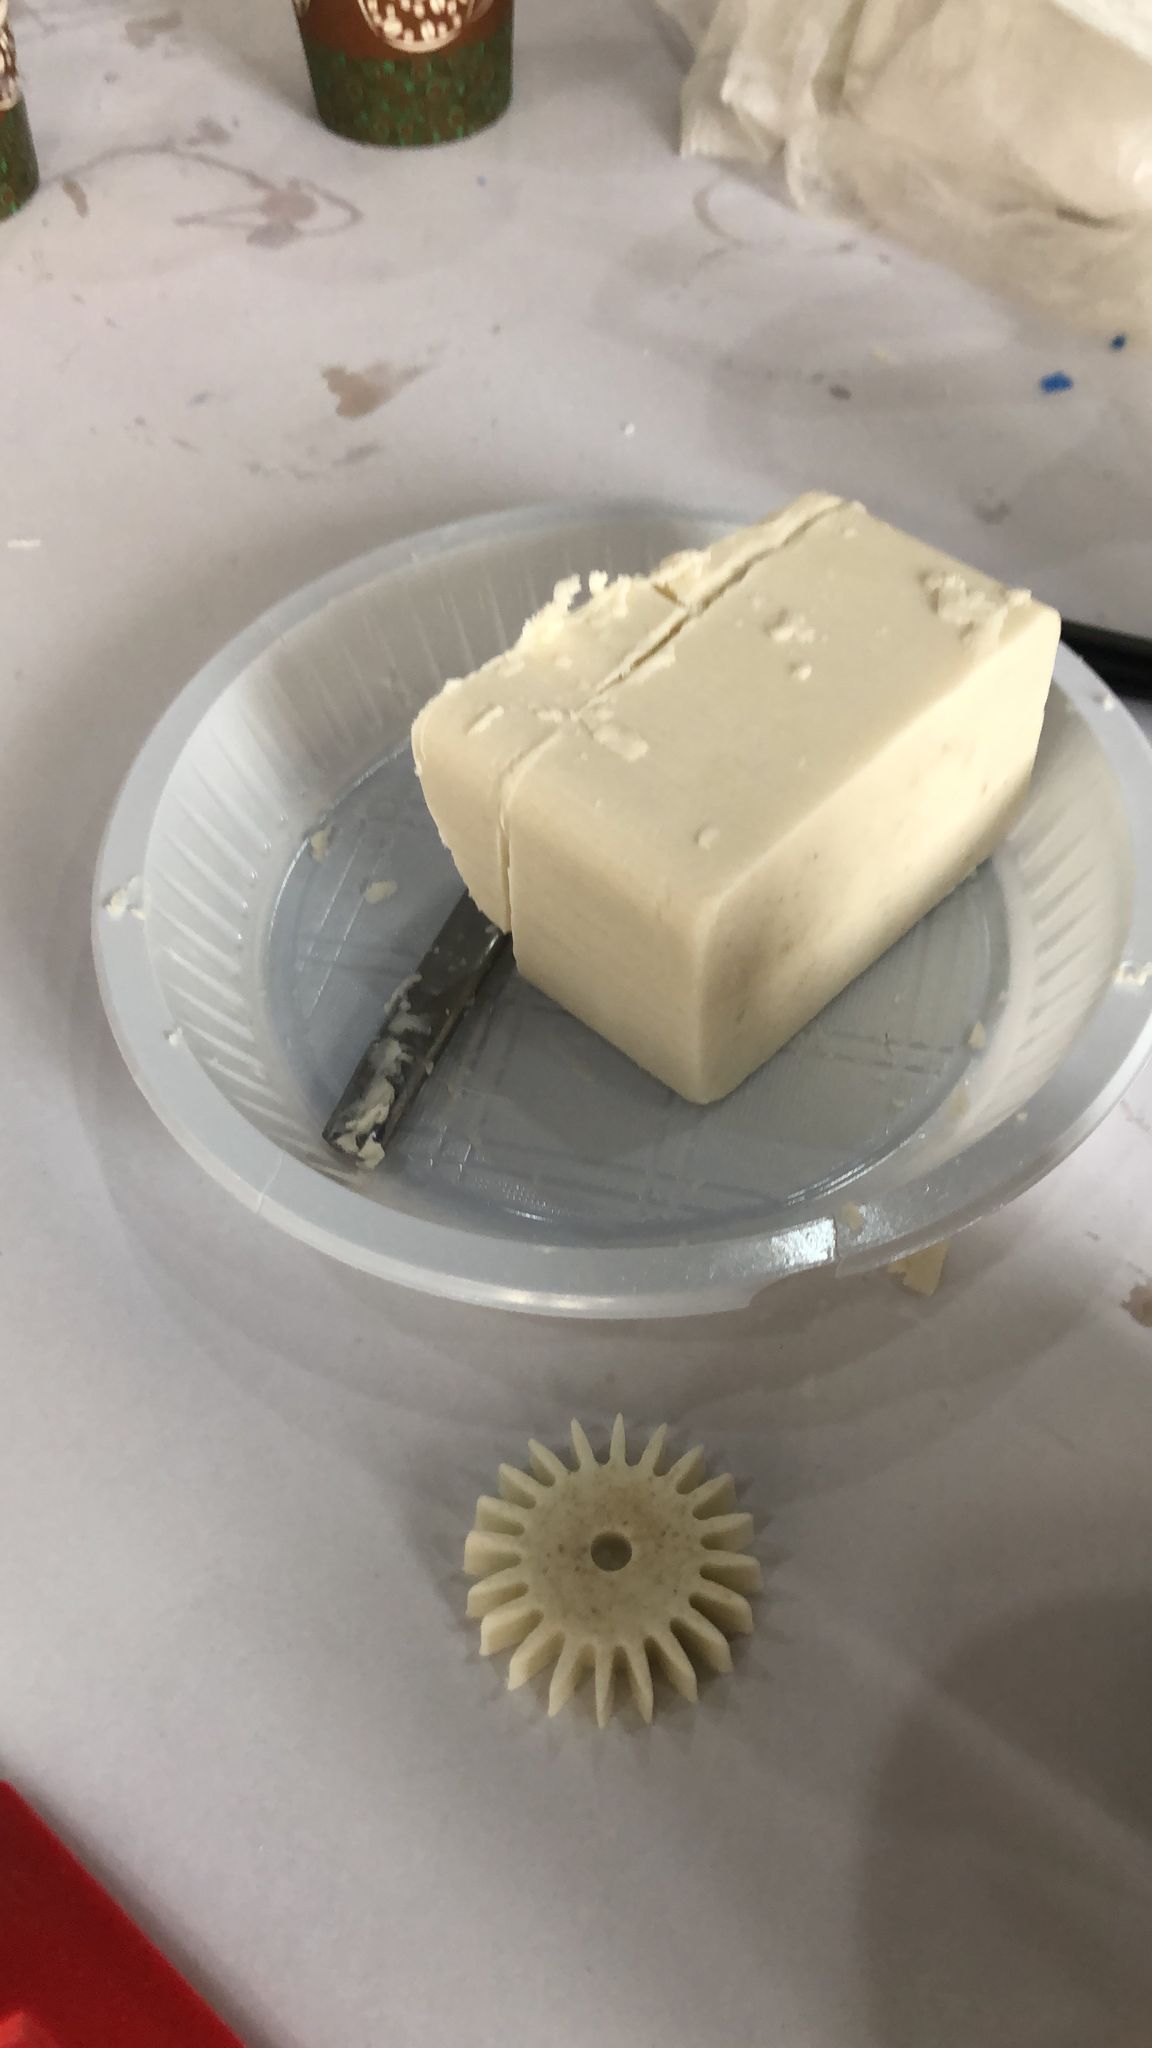
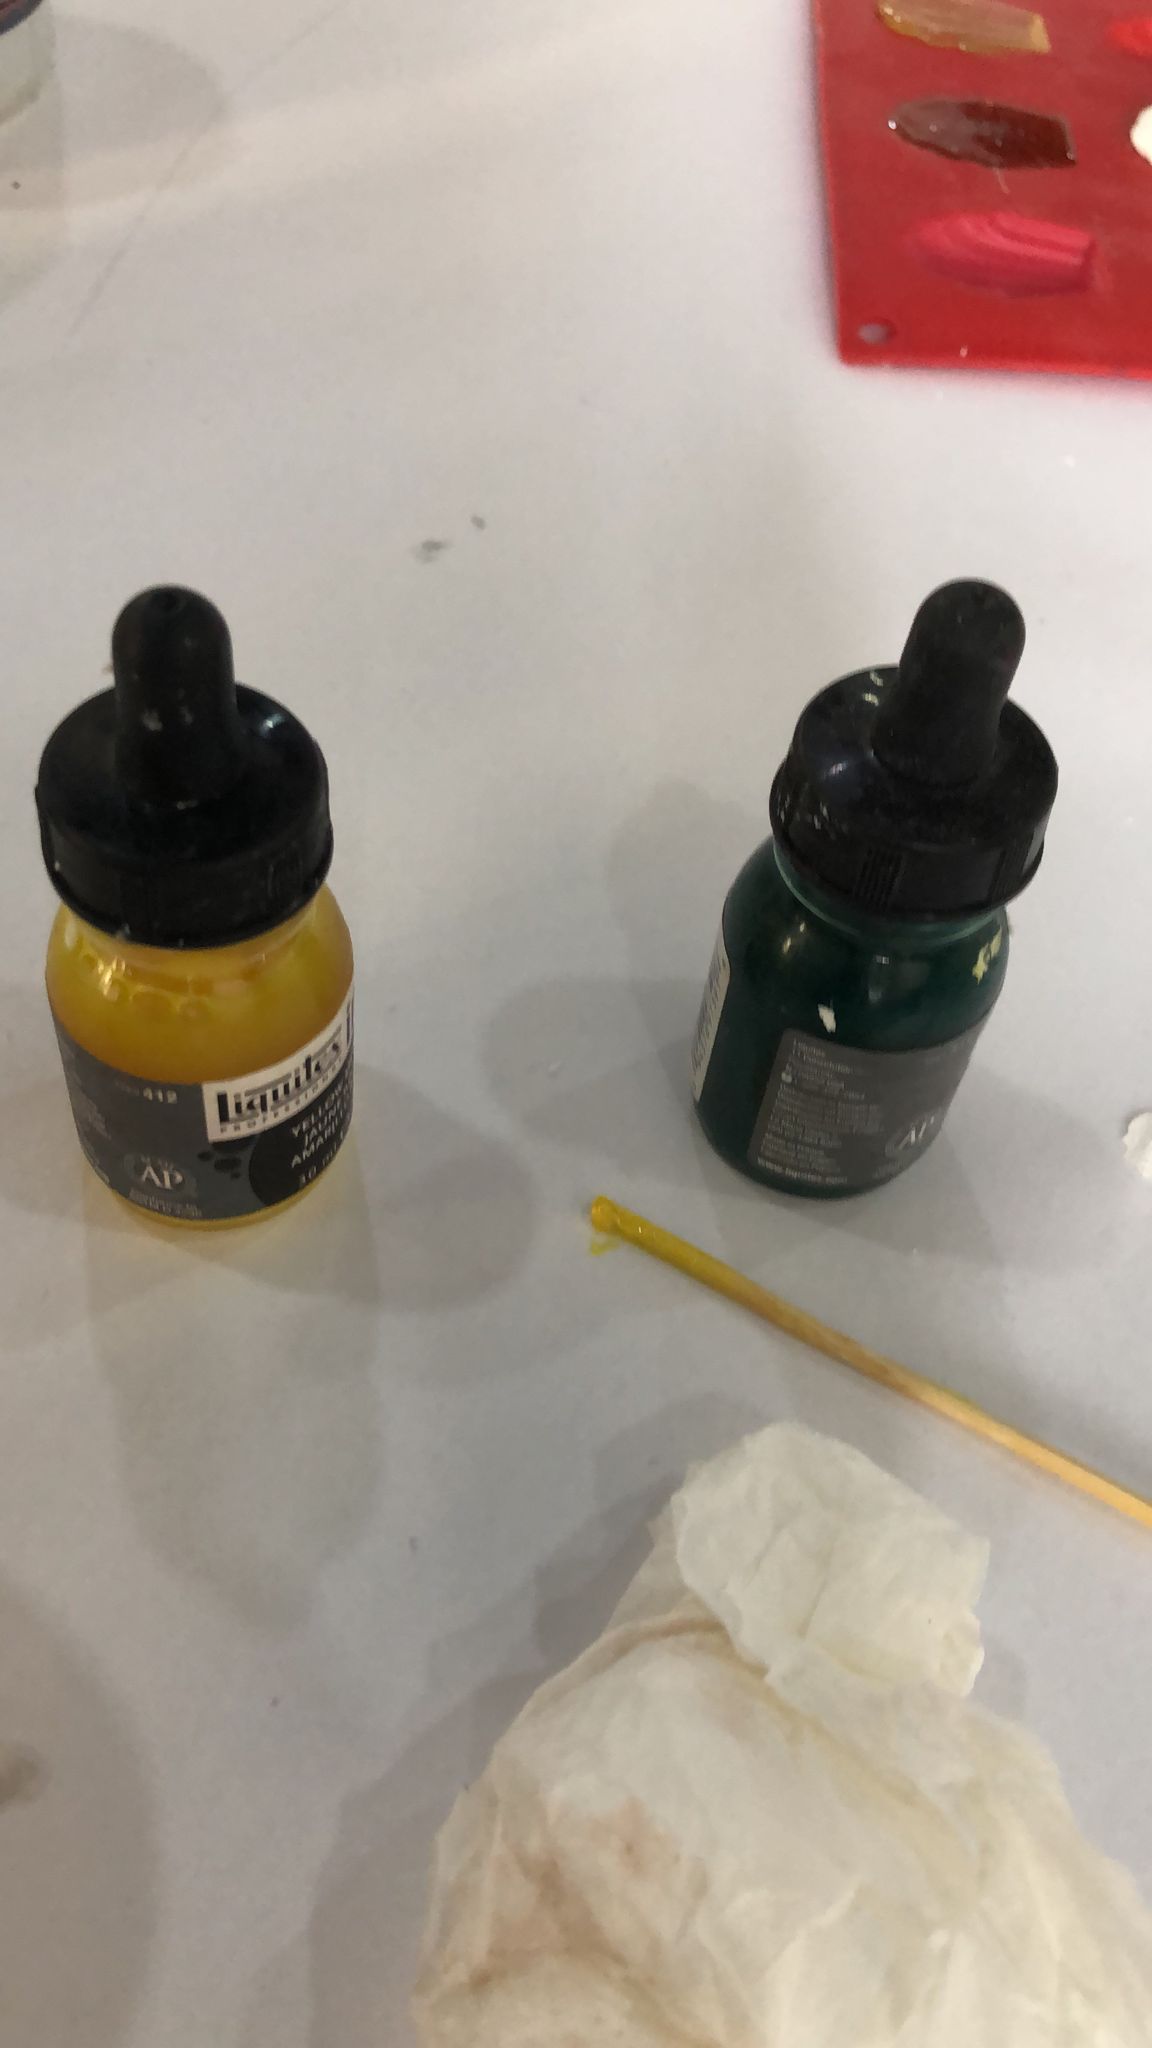
Choosing both yellow and green as the dyes that will be used to color the soup.
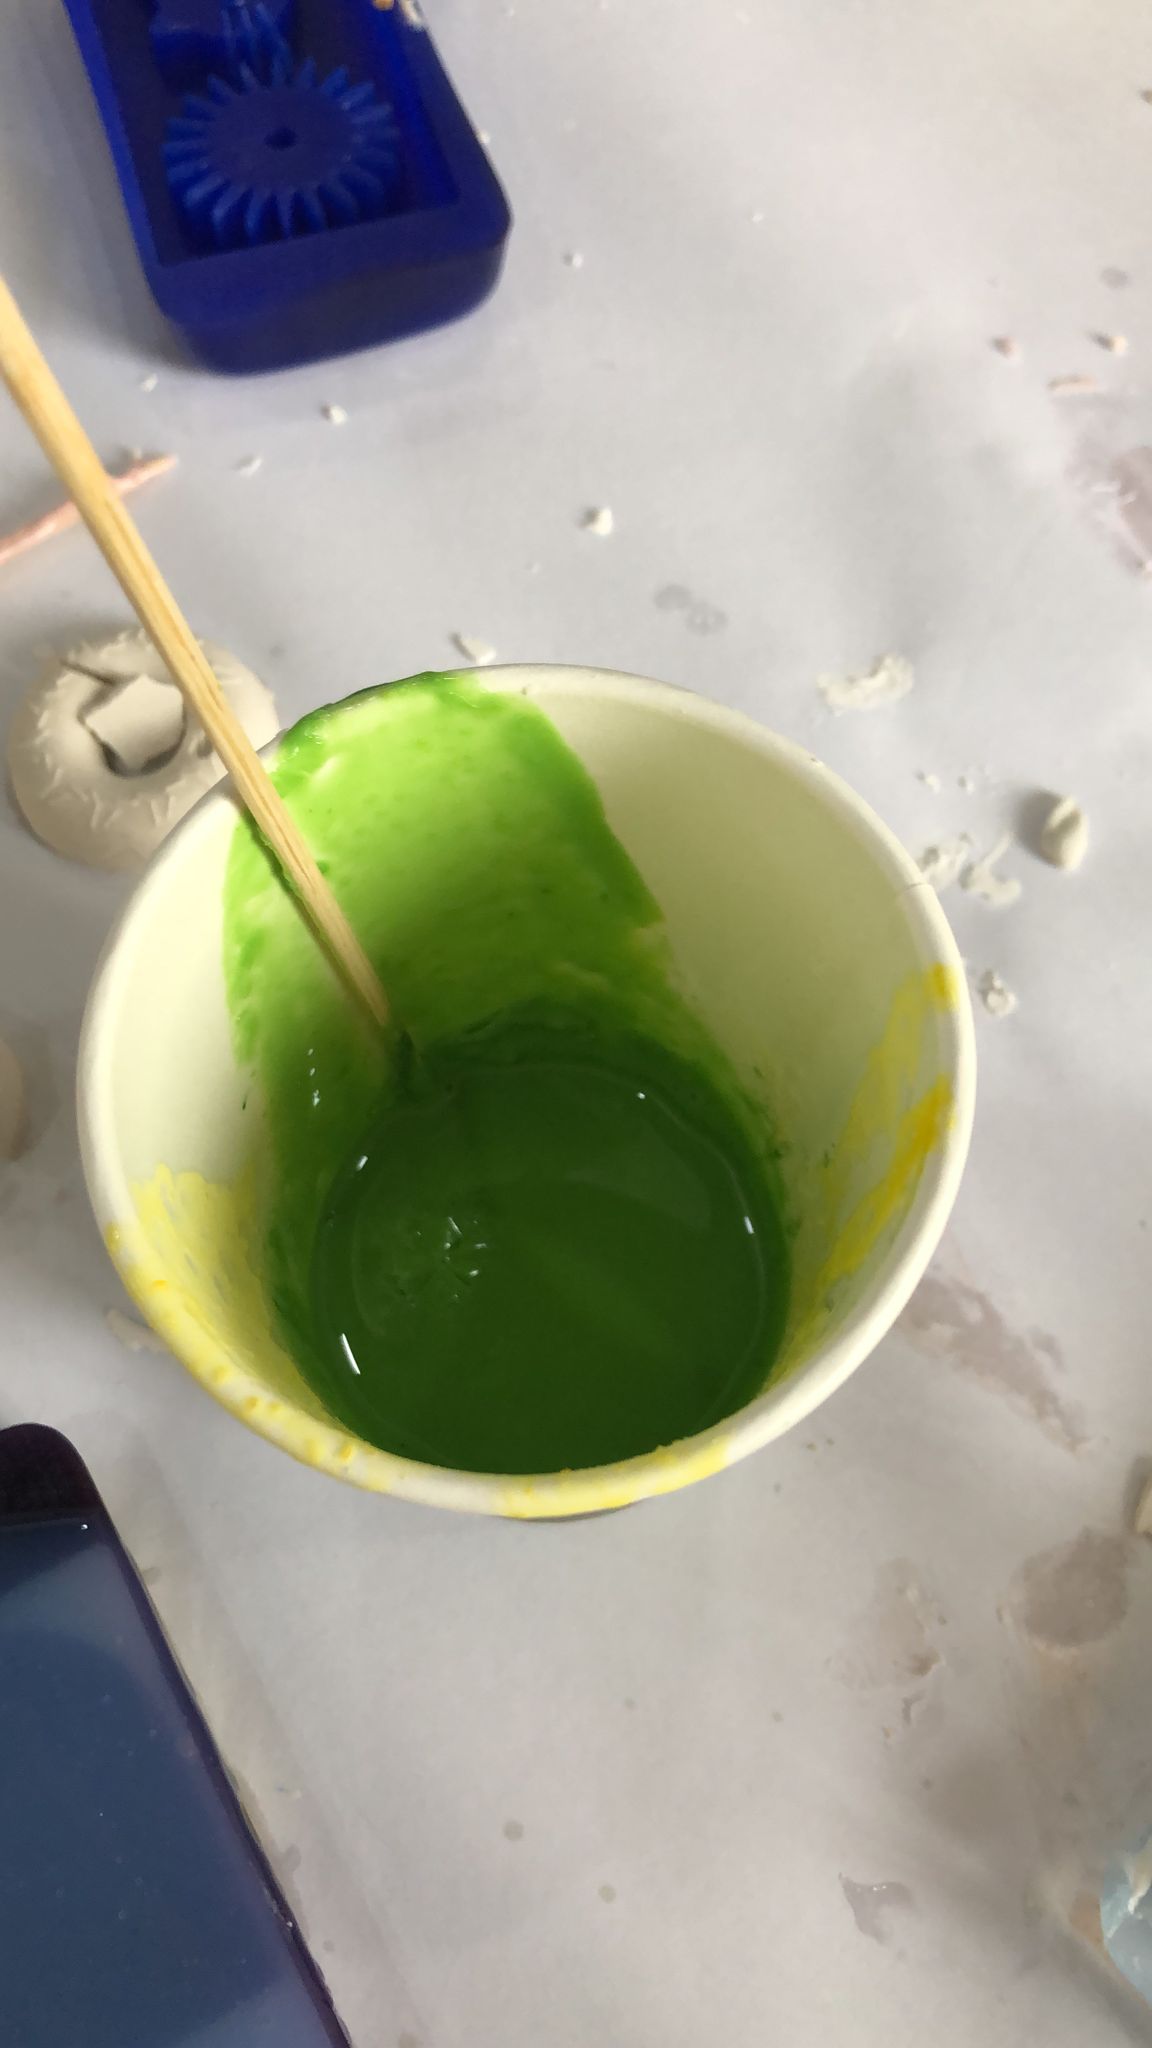
Mixing everything inside the cup
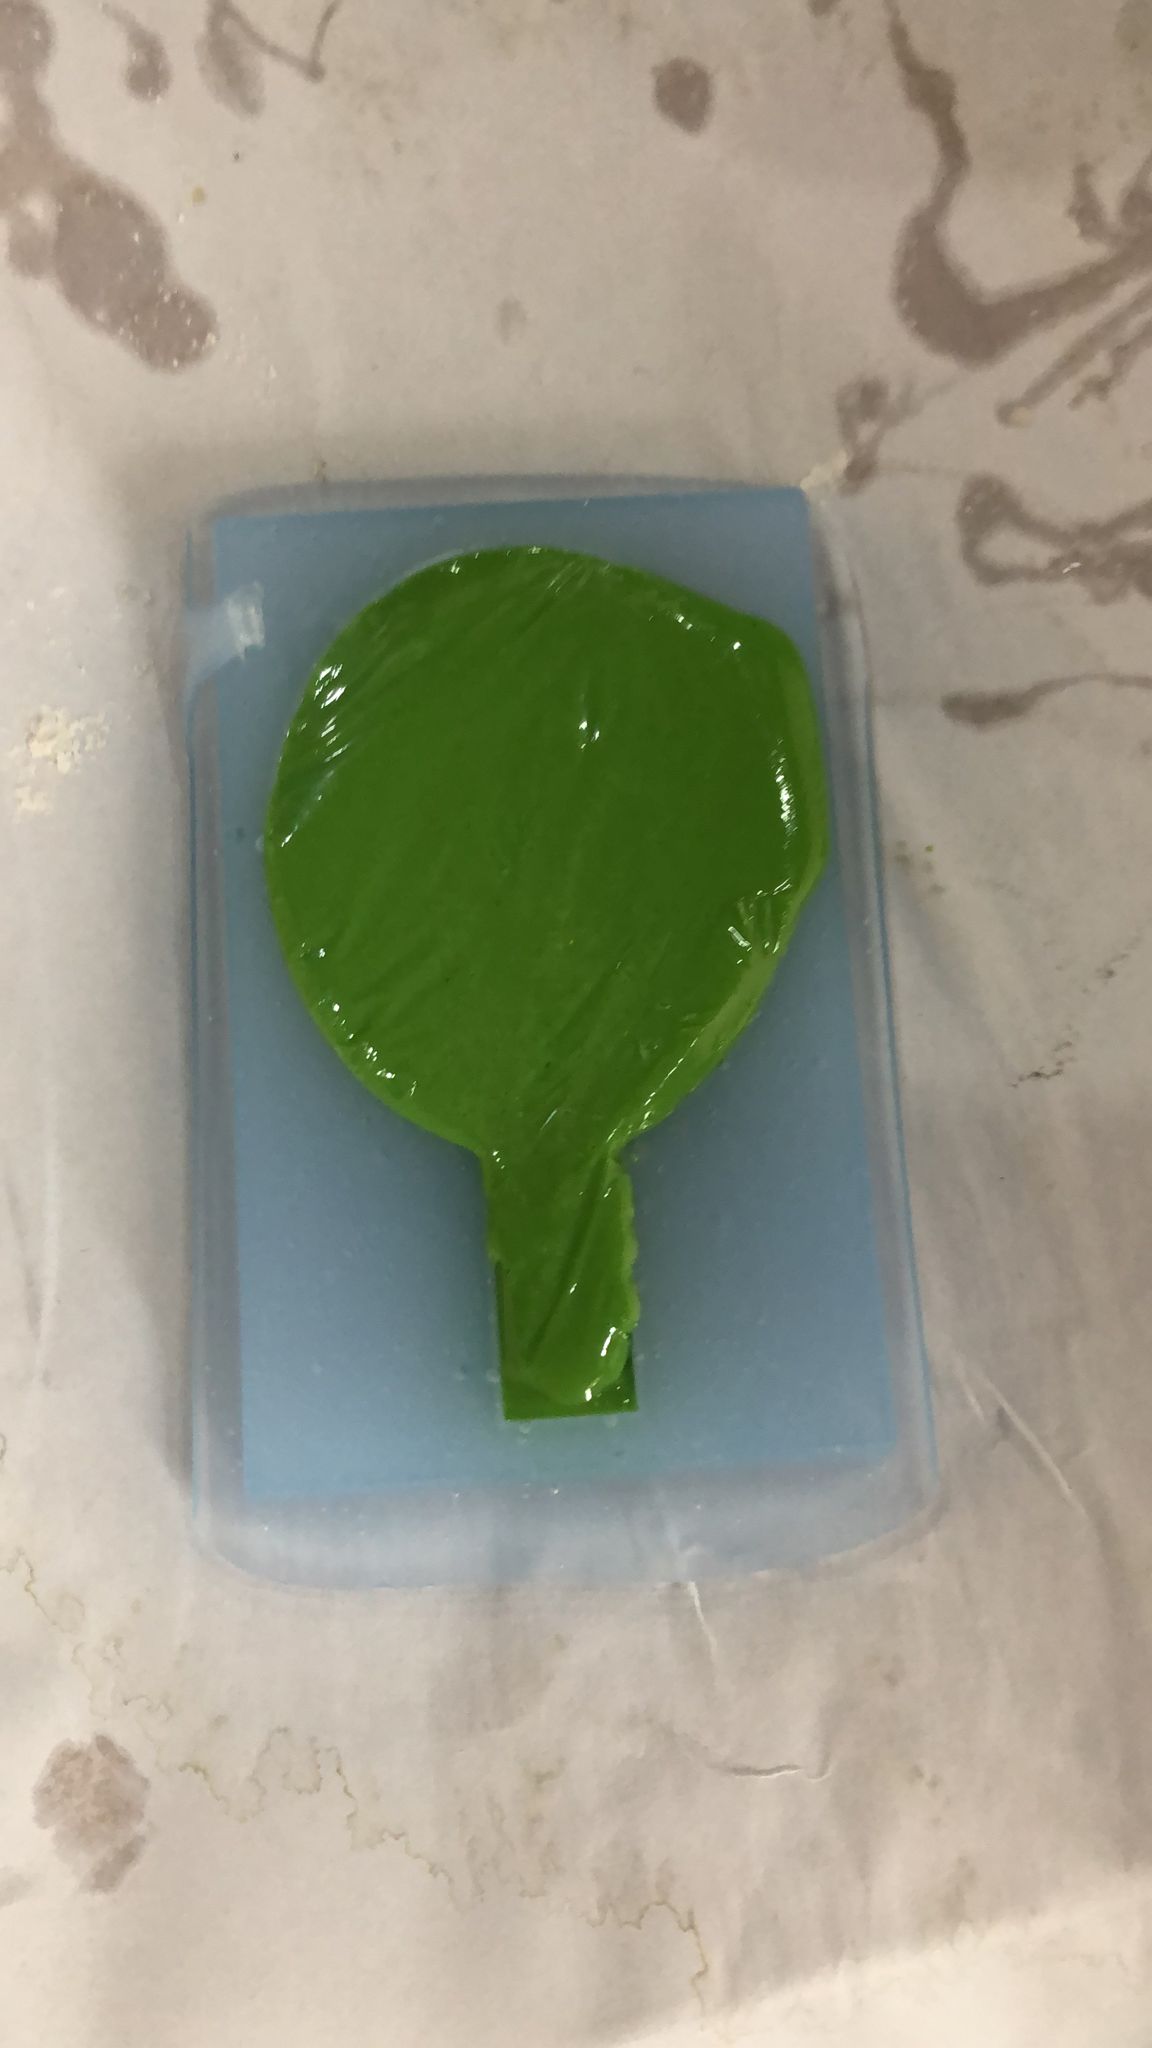
poring the soup mixture.
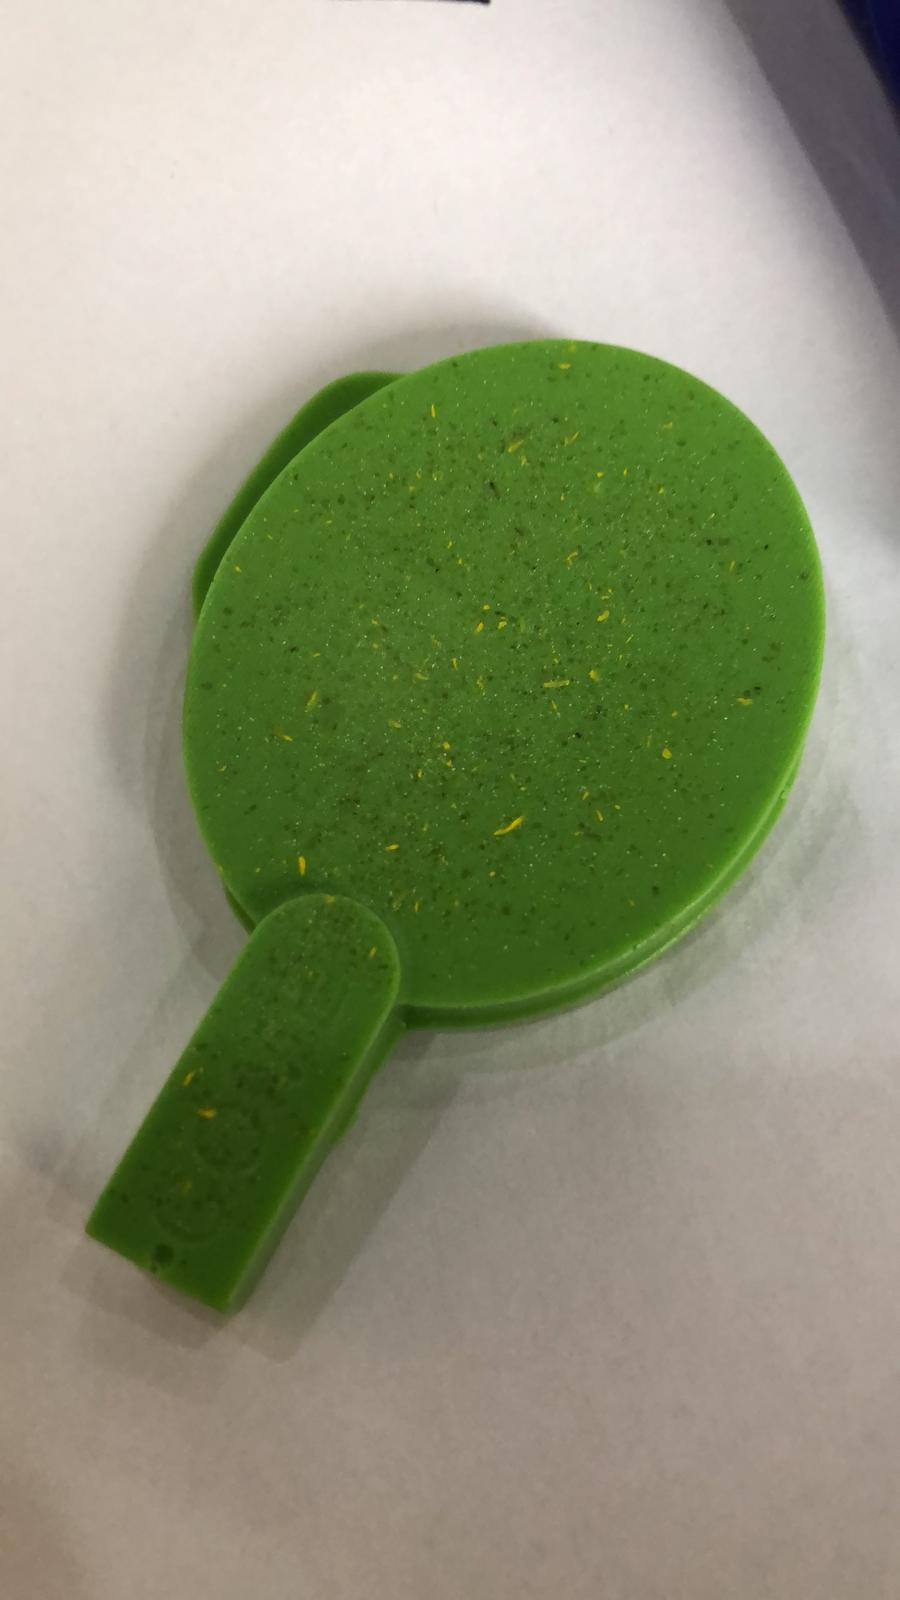
After 30 min.
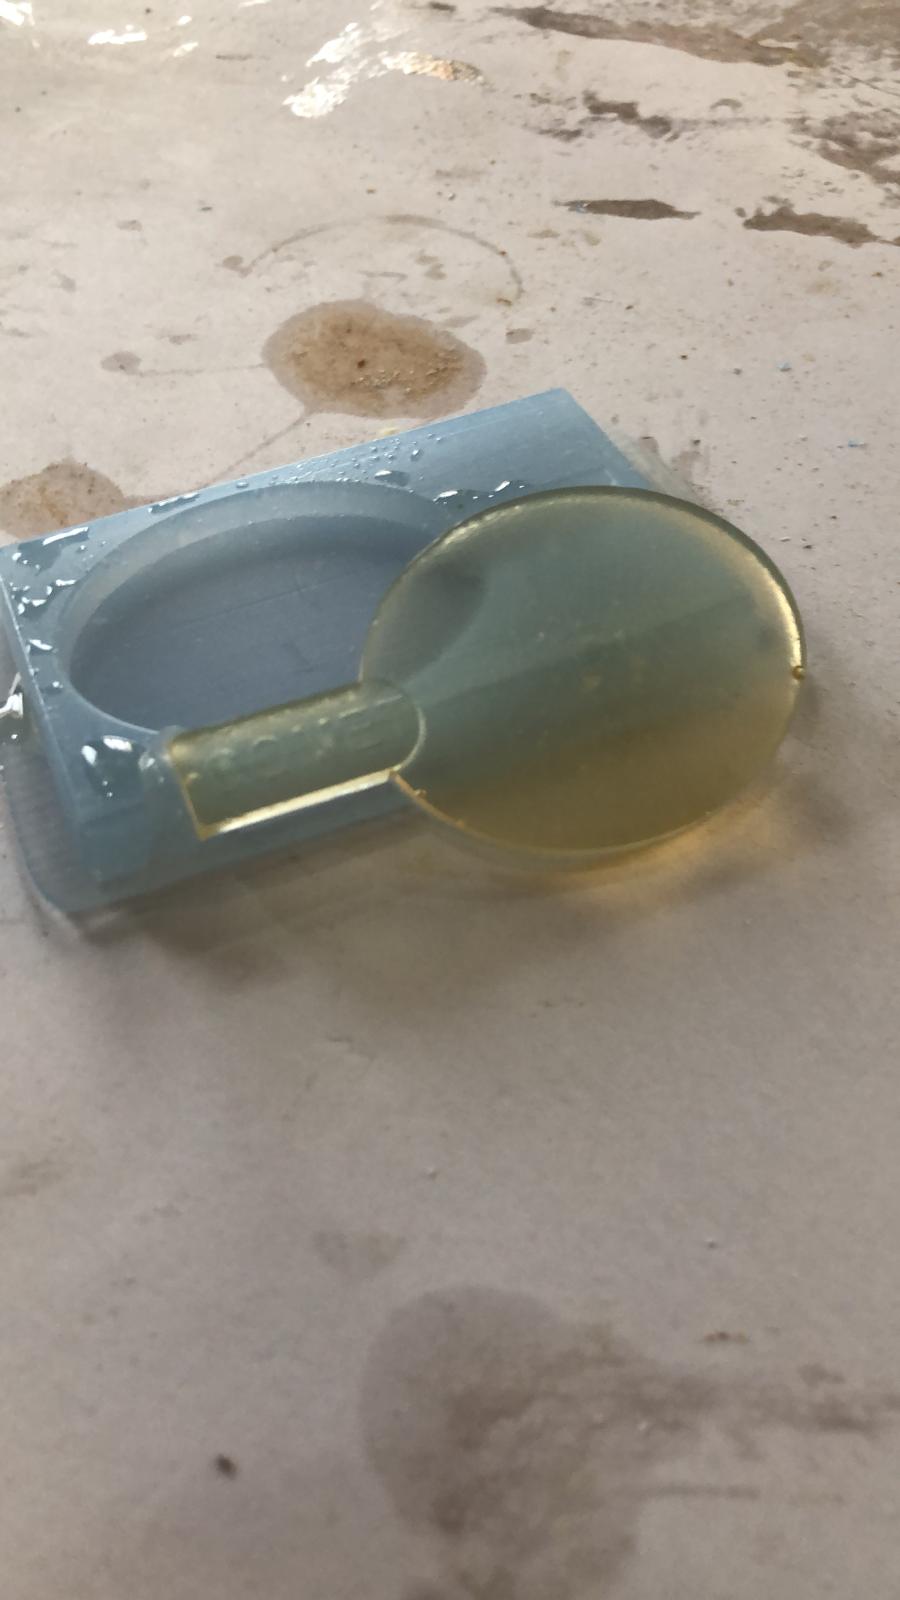
The next material in line is the epoxy resin, the steps of preparing it is similar to the silicon preparing.
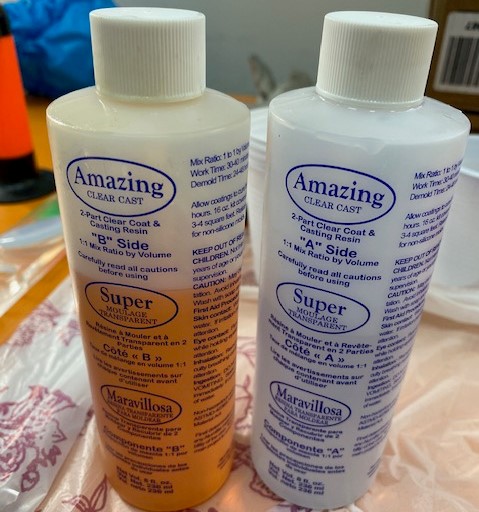
Poring the mixture
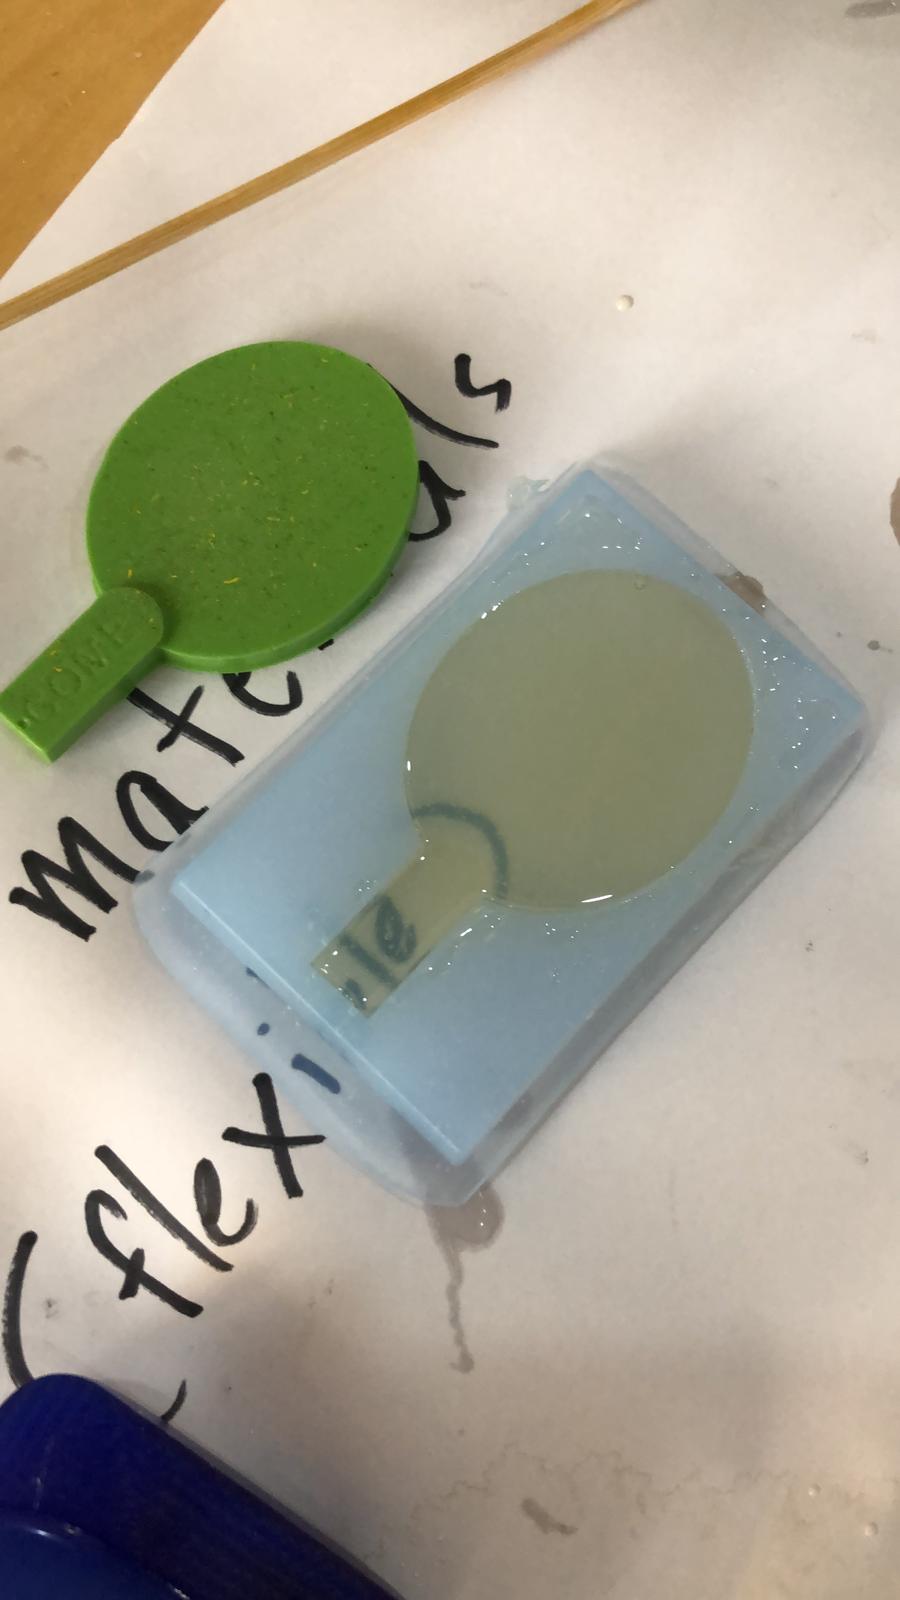
The final result.