5. 3D scanning and printing
This week goal was to create a 3D design that can only be printed using the 3D design machine. Then, implementing the design in the machine and print it. It should be noted that 3D printing is a constructive procedure meaning it is not limited to a certain shape where the destructive machine is limited to shape of the material used to create the design. Therefor, 3D machine is more capable to make complex designs. For example, the pacman design cannot be made using CNC or laser machine on 1 time as it has the spherical shape that is complex for these machines.
Group Assignment 3
Creating the Design
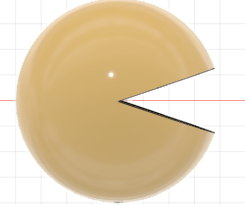
The design idea was to make a Pacman keychain.
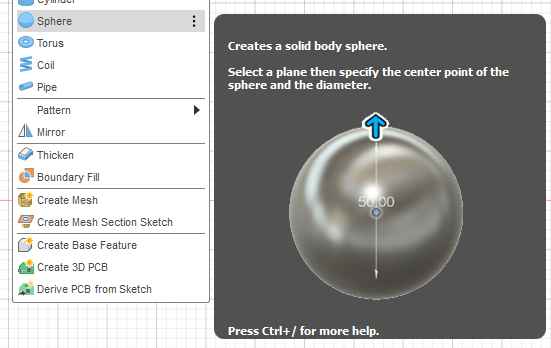
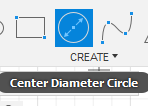
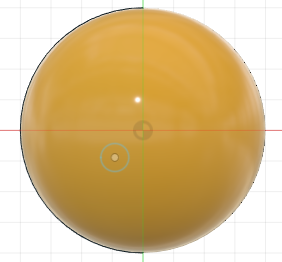
The first step is to make a sphere
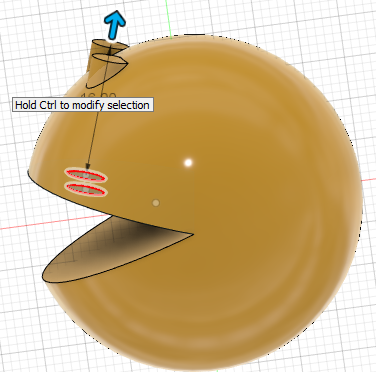
Then we start sketching a tringle in order to create the mouth
After that we extrude the triangle
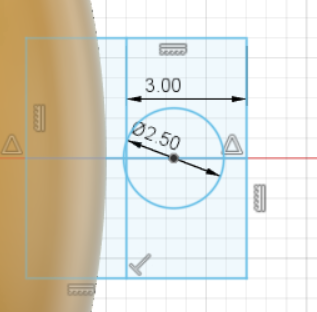
Then we go back to the sketch to add circles to make the eyes
Copy and paste
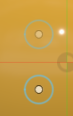
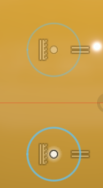
Add constraints to both circles to fully mirror them
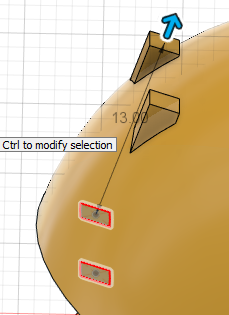
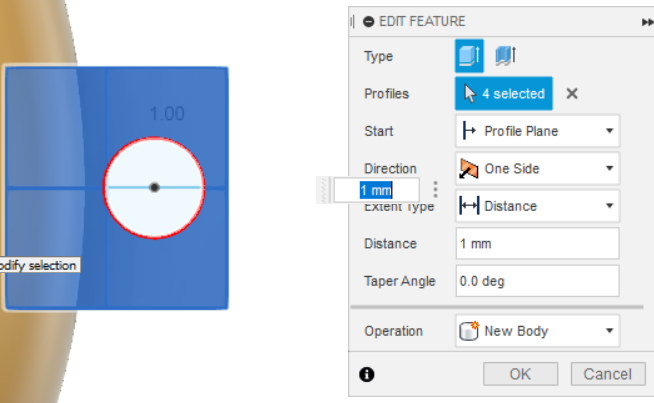
start extruding the eyes
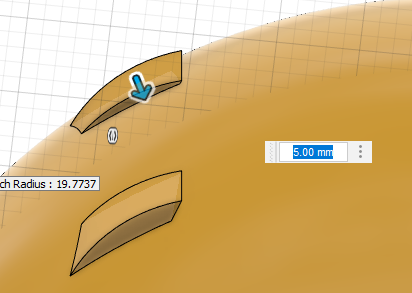
After applying the fillet the eyes did not feel right therefor a switch happened to the shape of the eye from circle to square
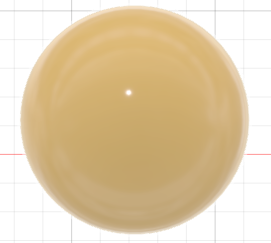
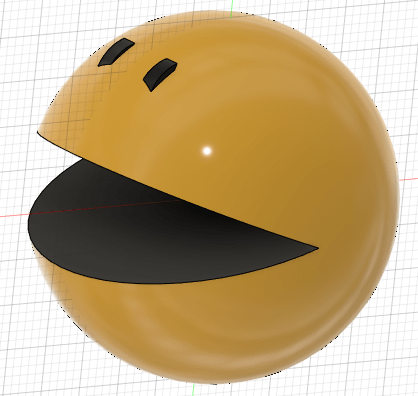
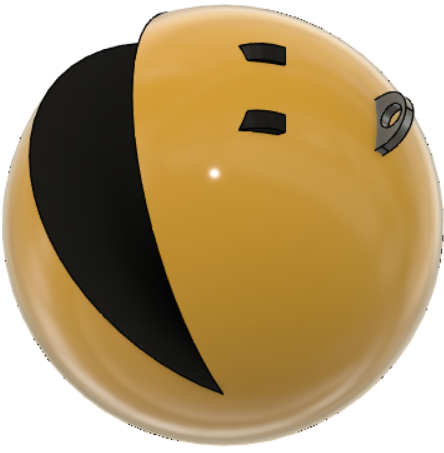
The last step is to polish the design by adding colors


The preview of the design
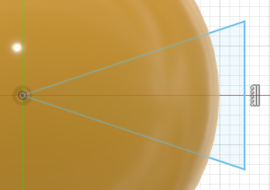
The next step is making the key chain hole.
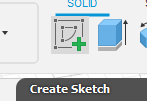
First we make sketch
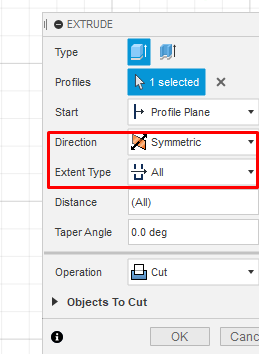
Next, we extrude the sketch.
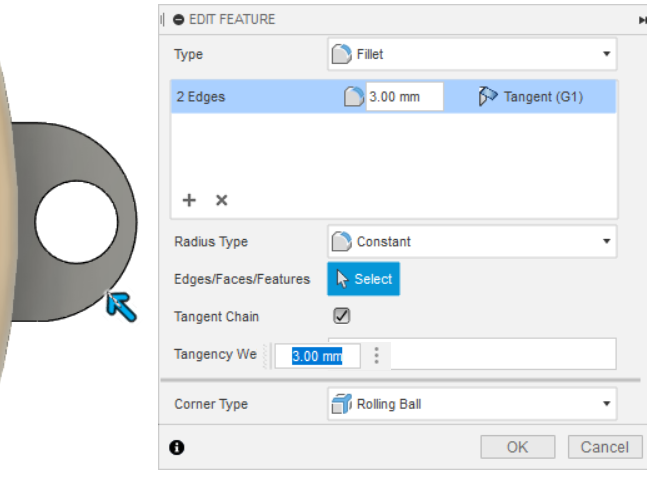
making fillets.
The final look of the design.
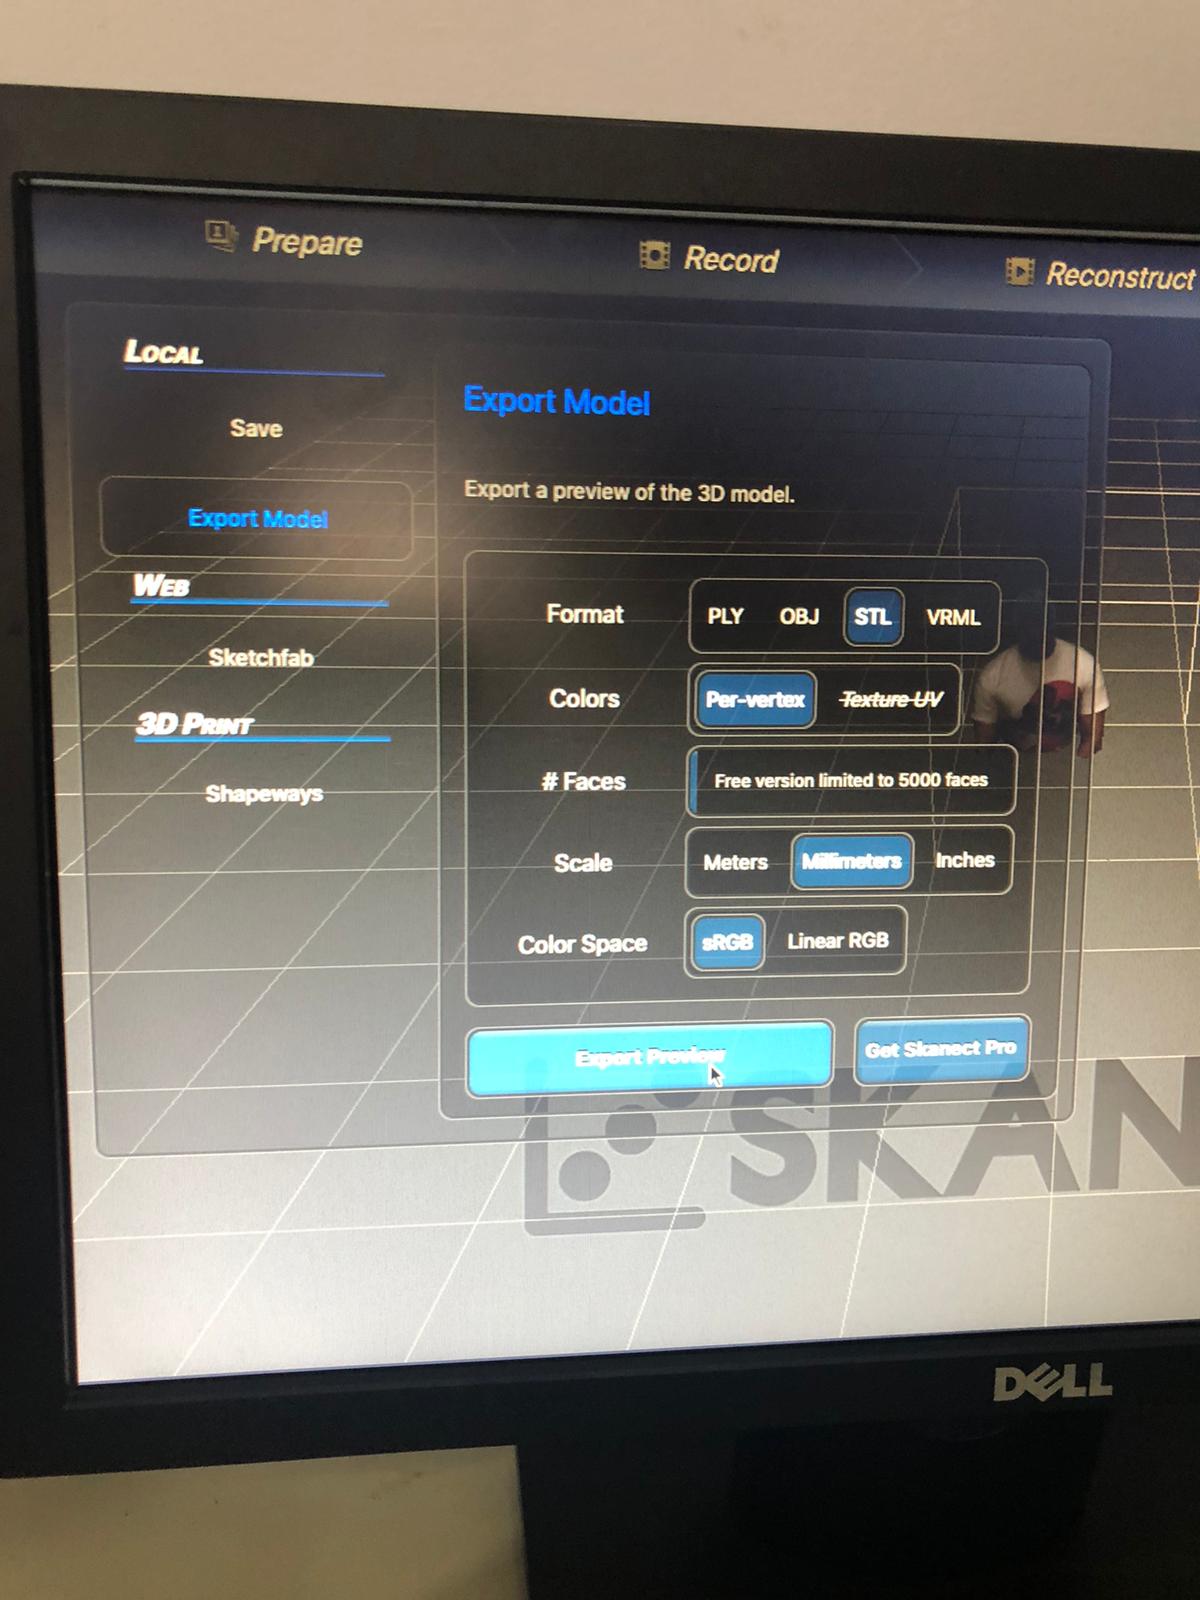
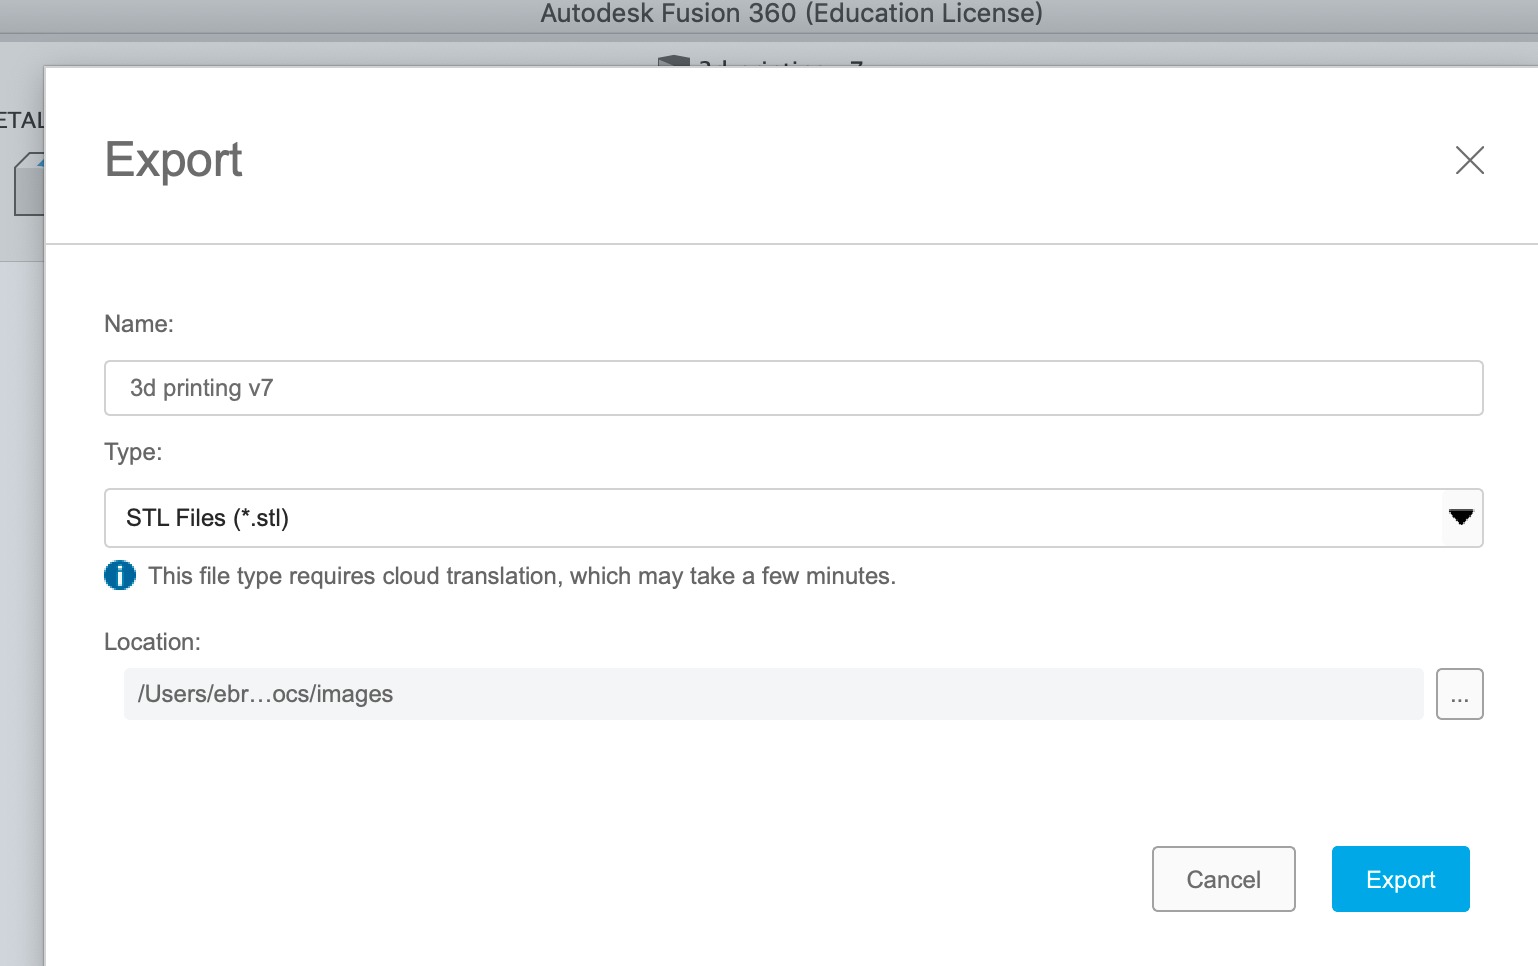
Export format as STL
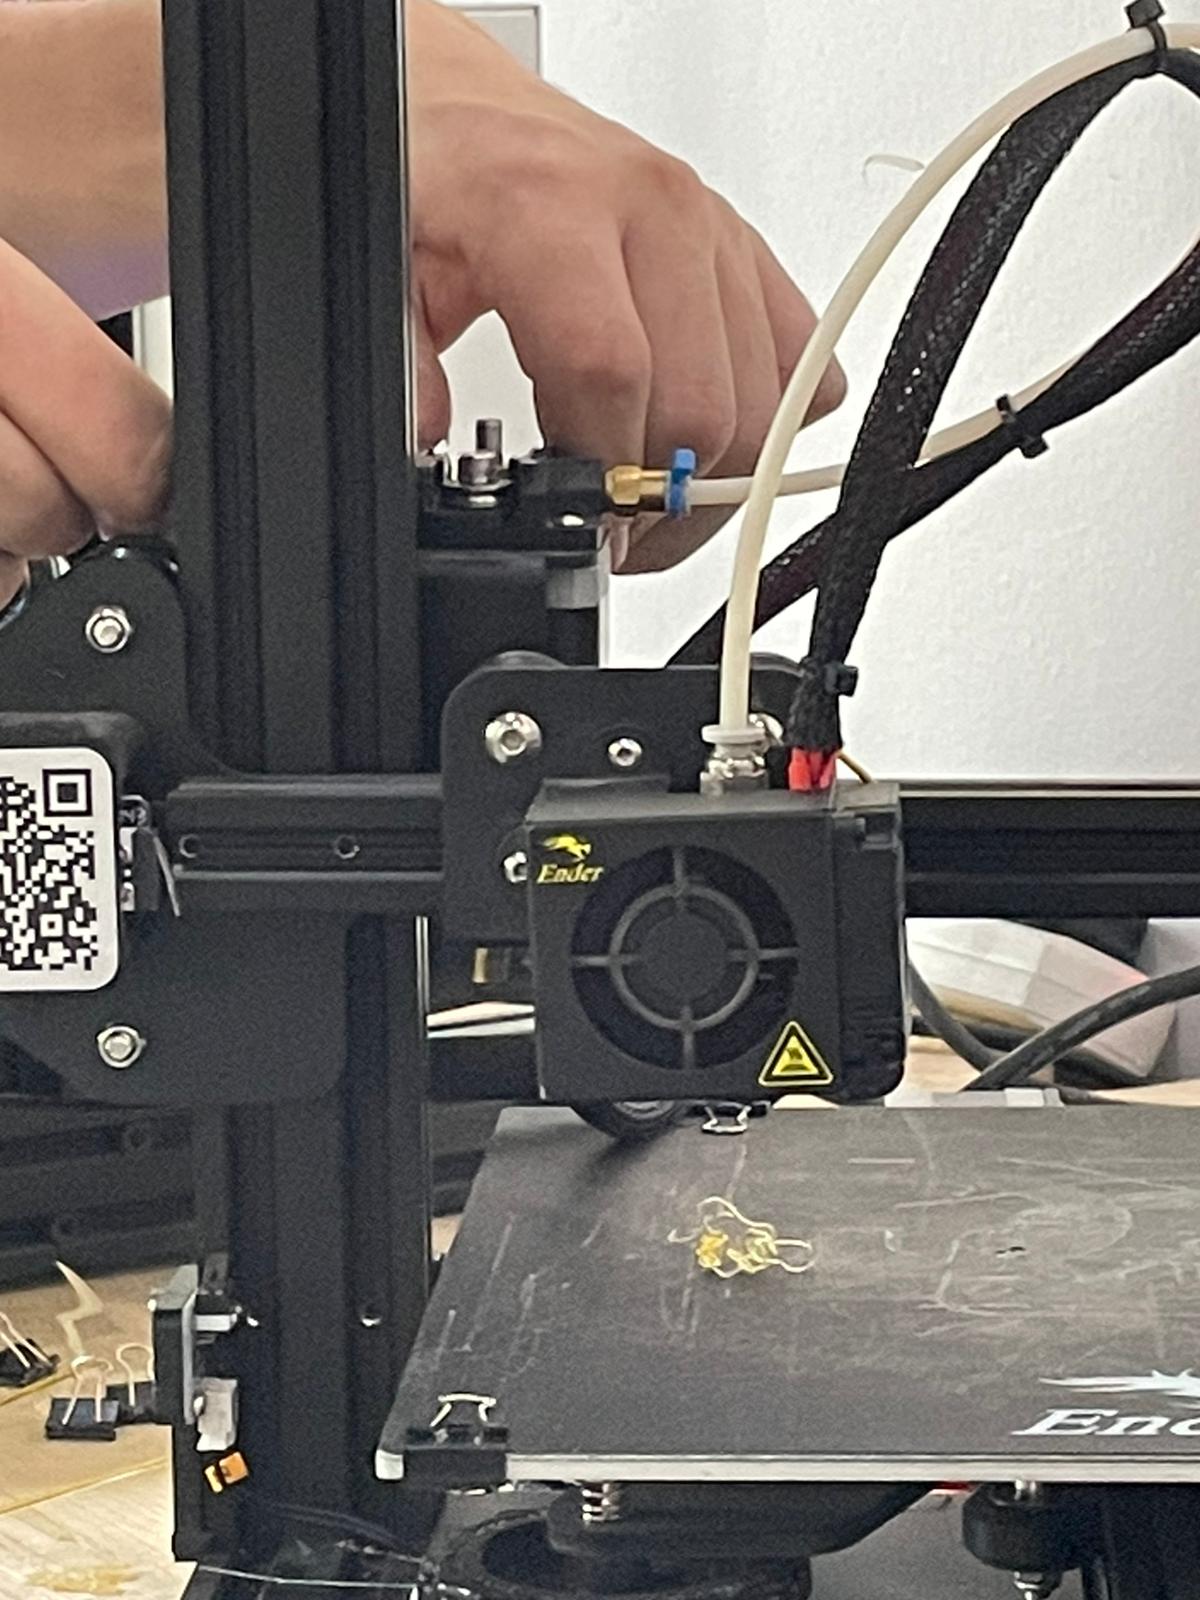
This is a preview of the 3D printer stand before adding the flexible bed.
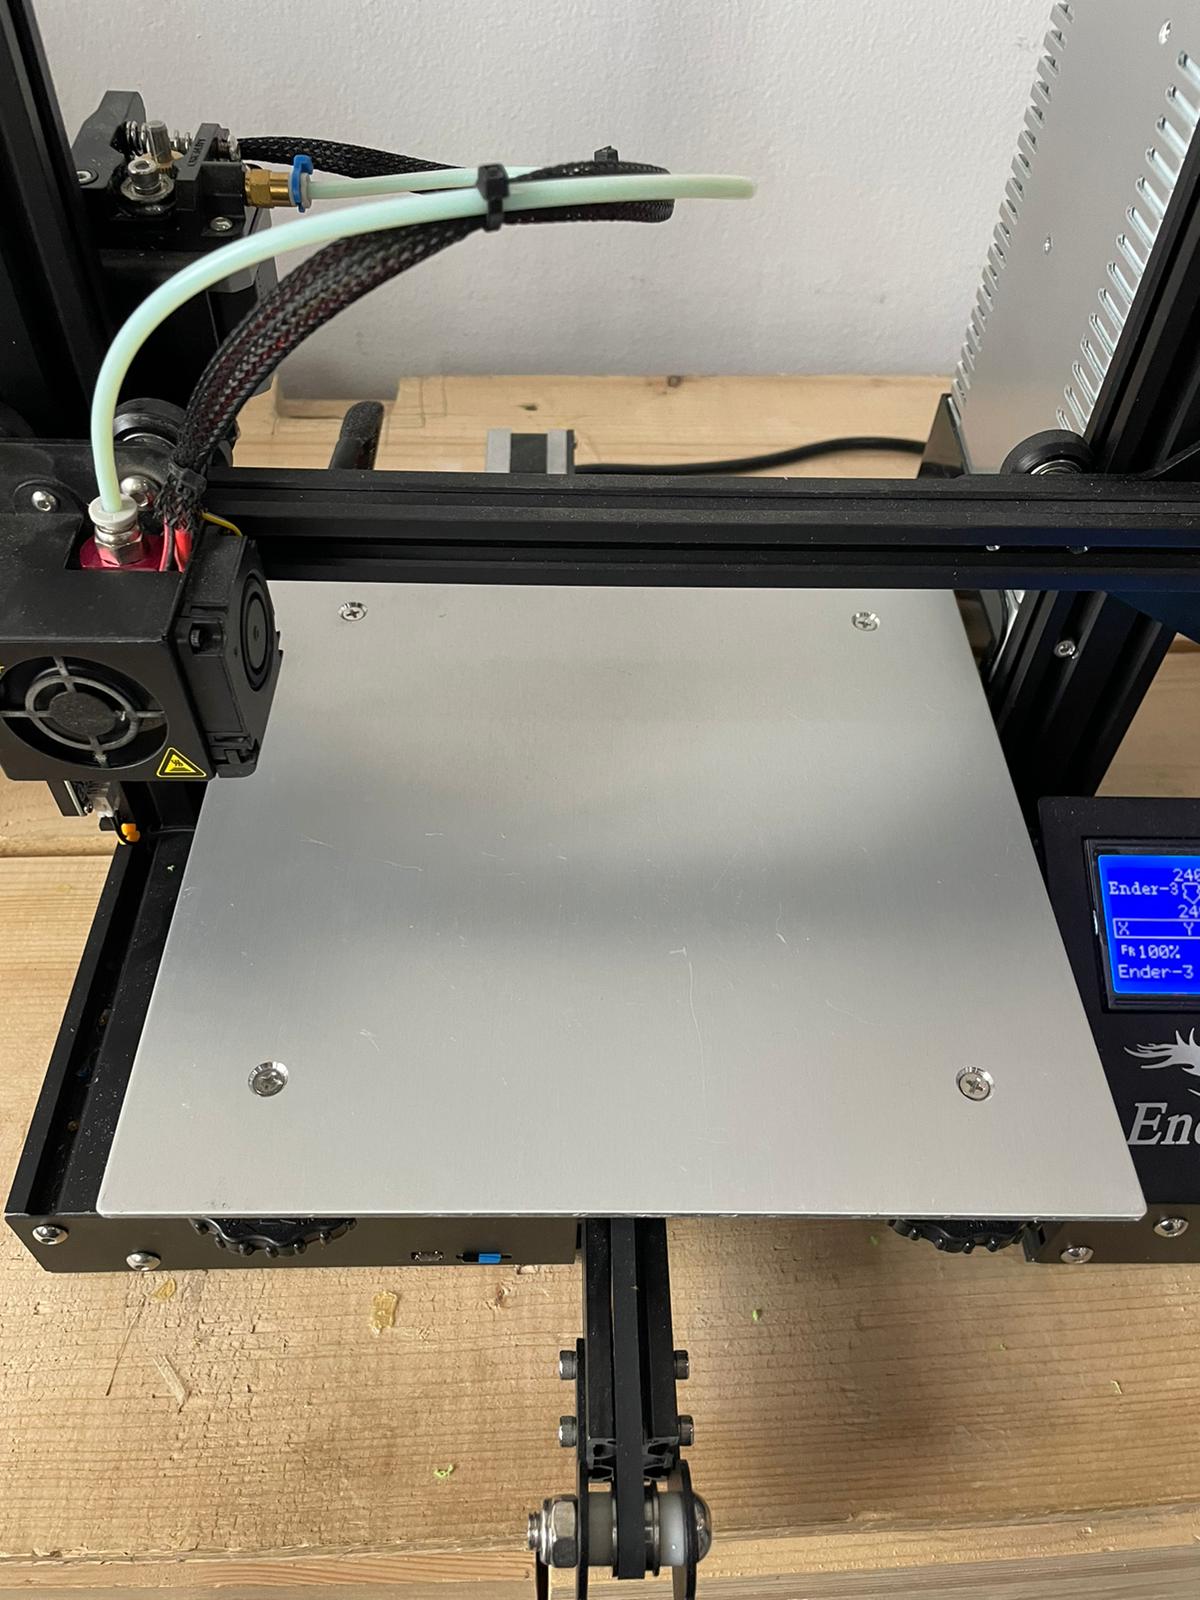
Adding flexible bed.
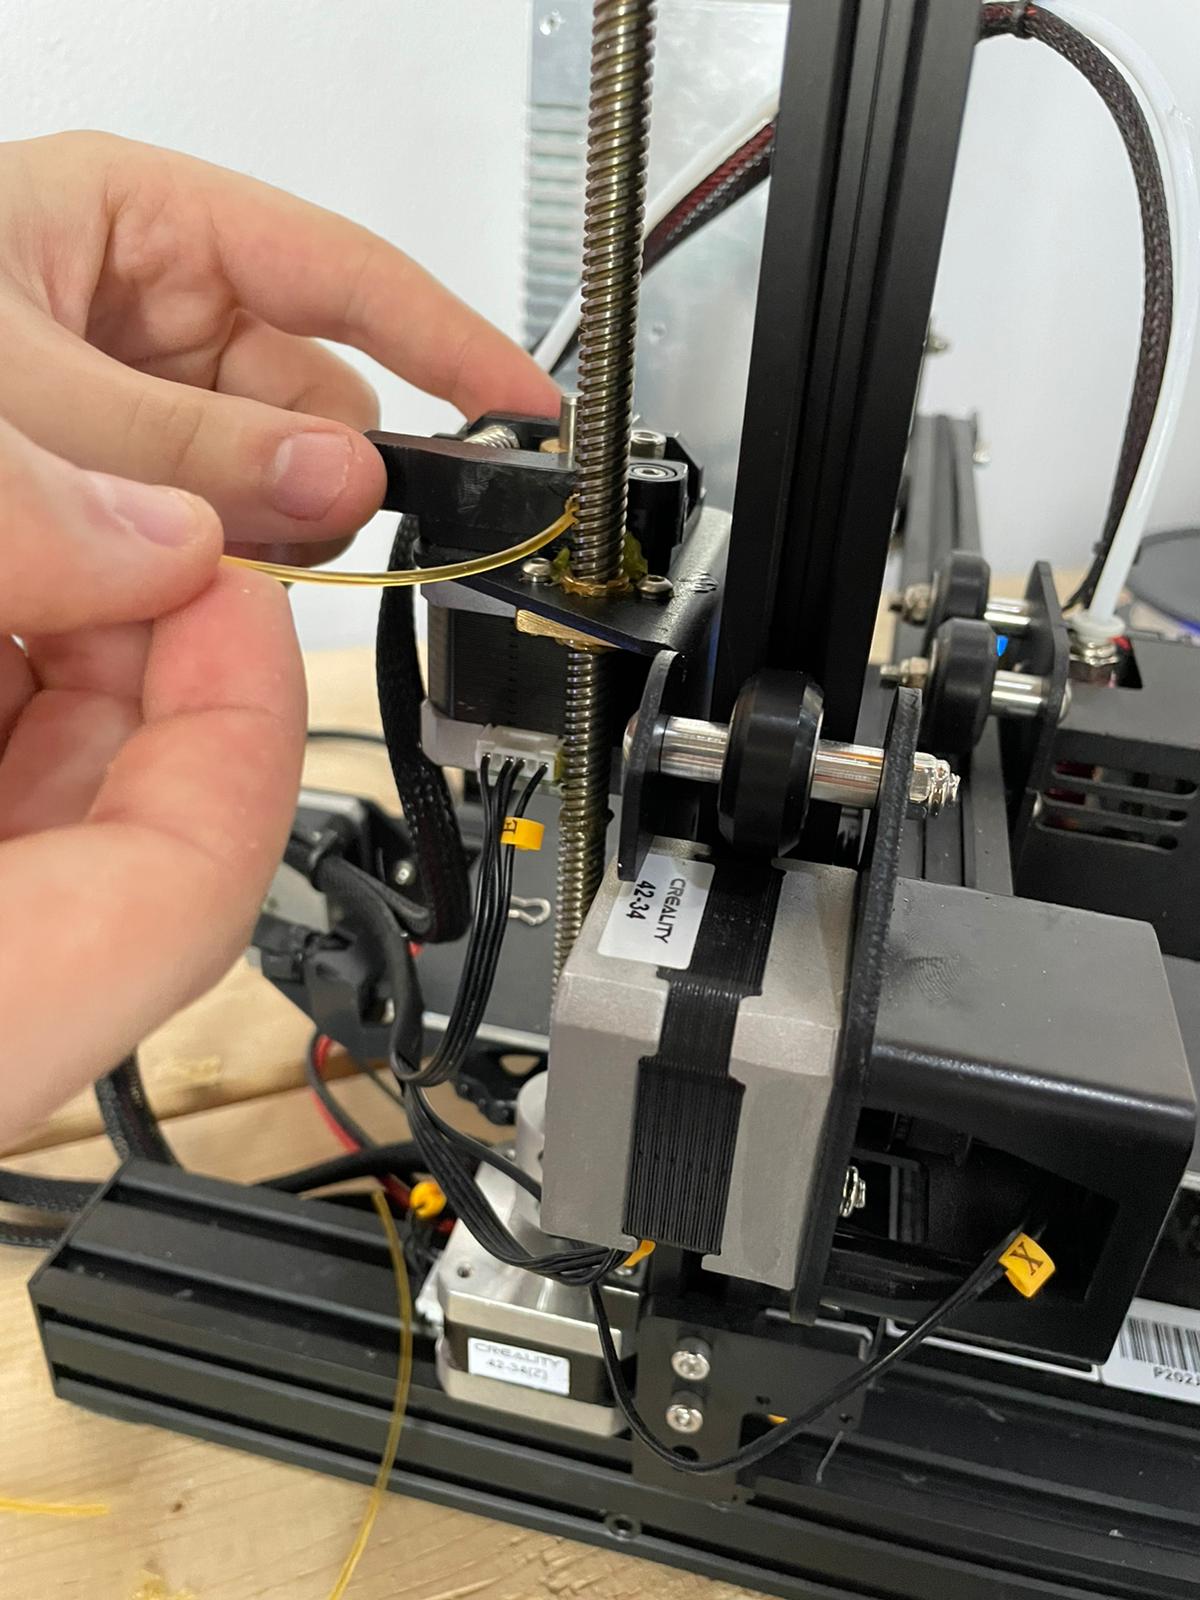
Adding plastic filament into the extruder.

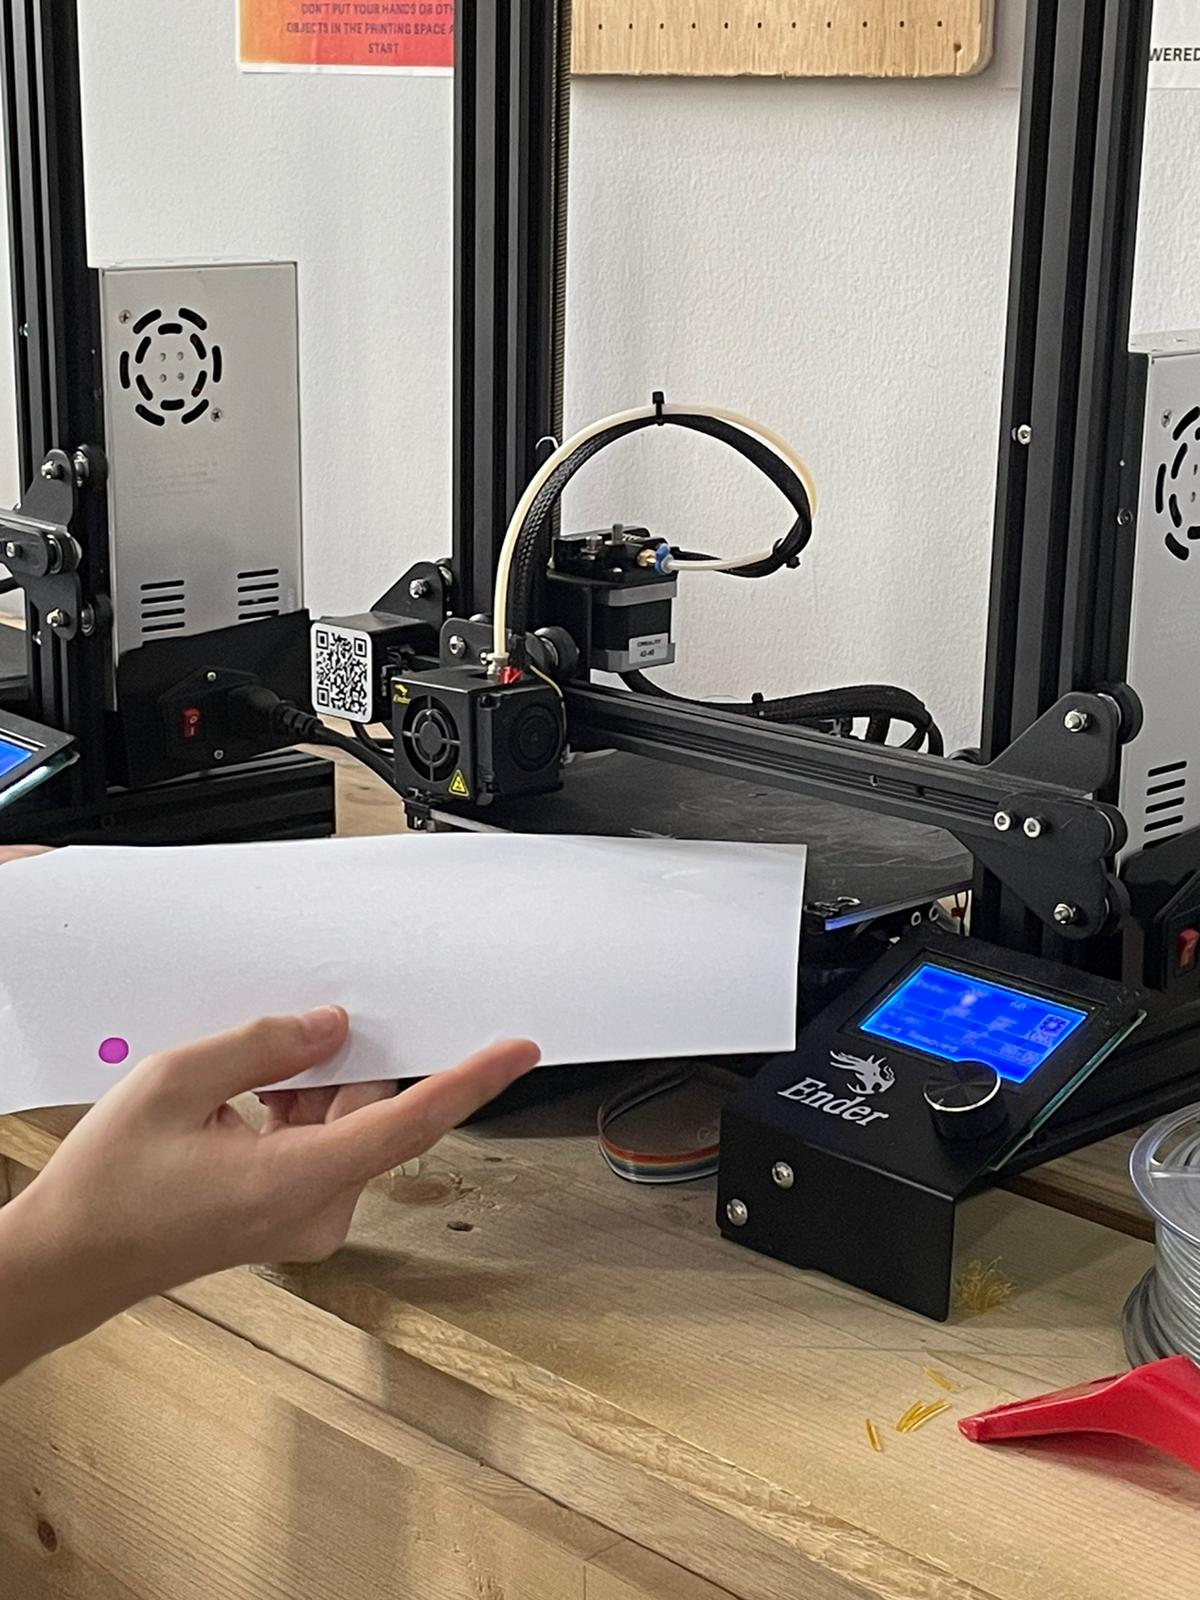
Using an A4 sheet to adjust the height between the extruder and the flexible bed.
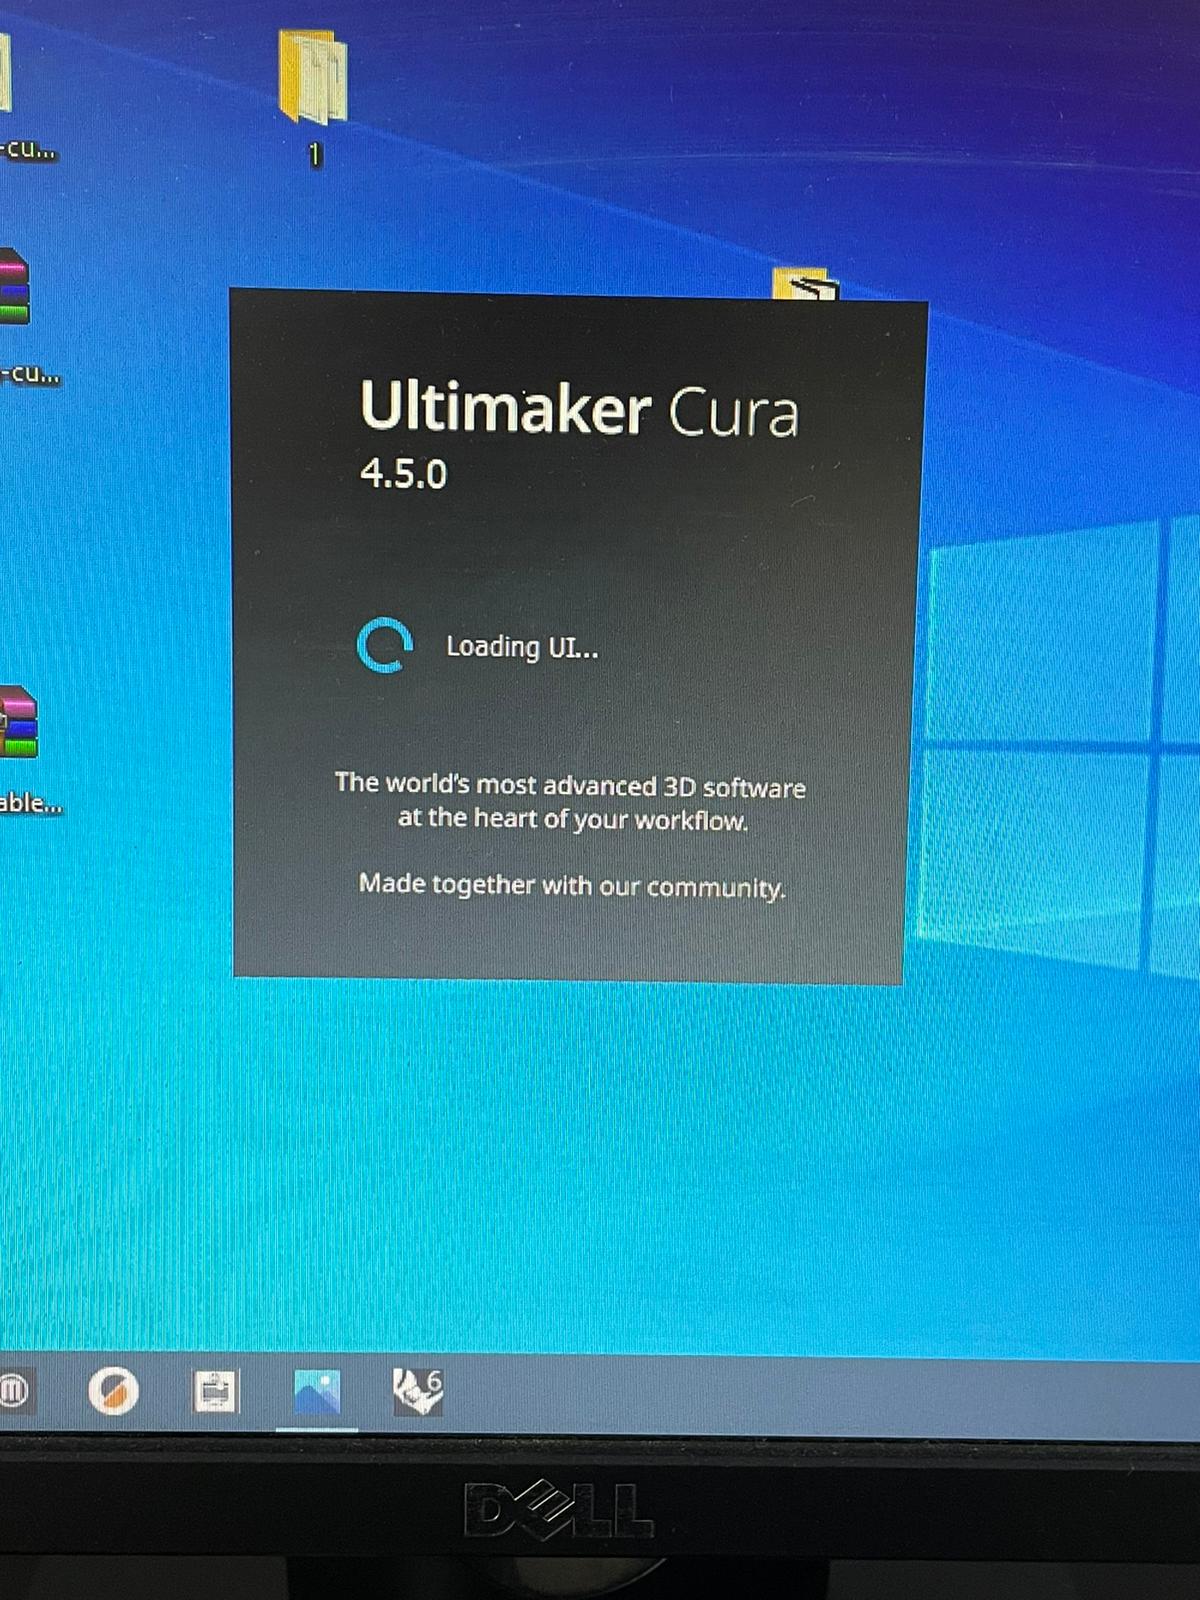
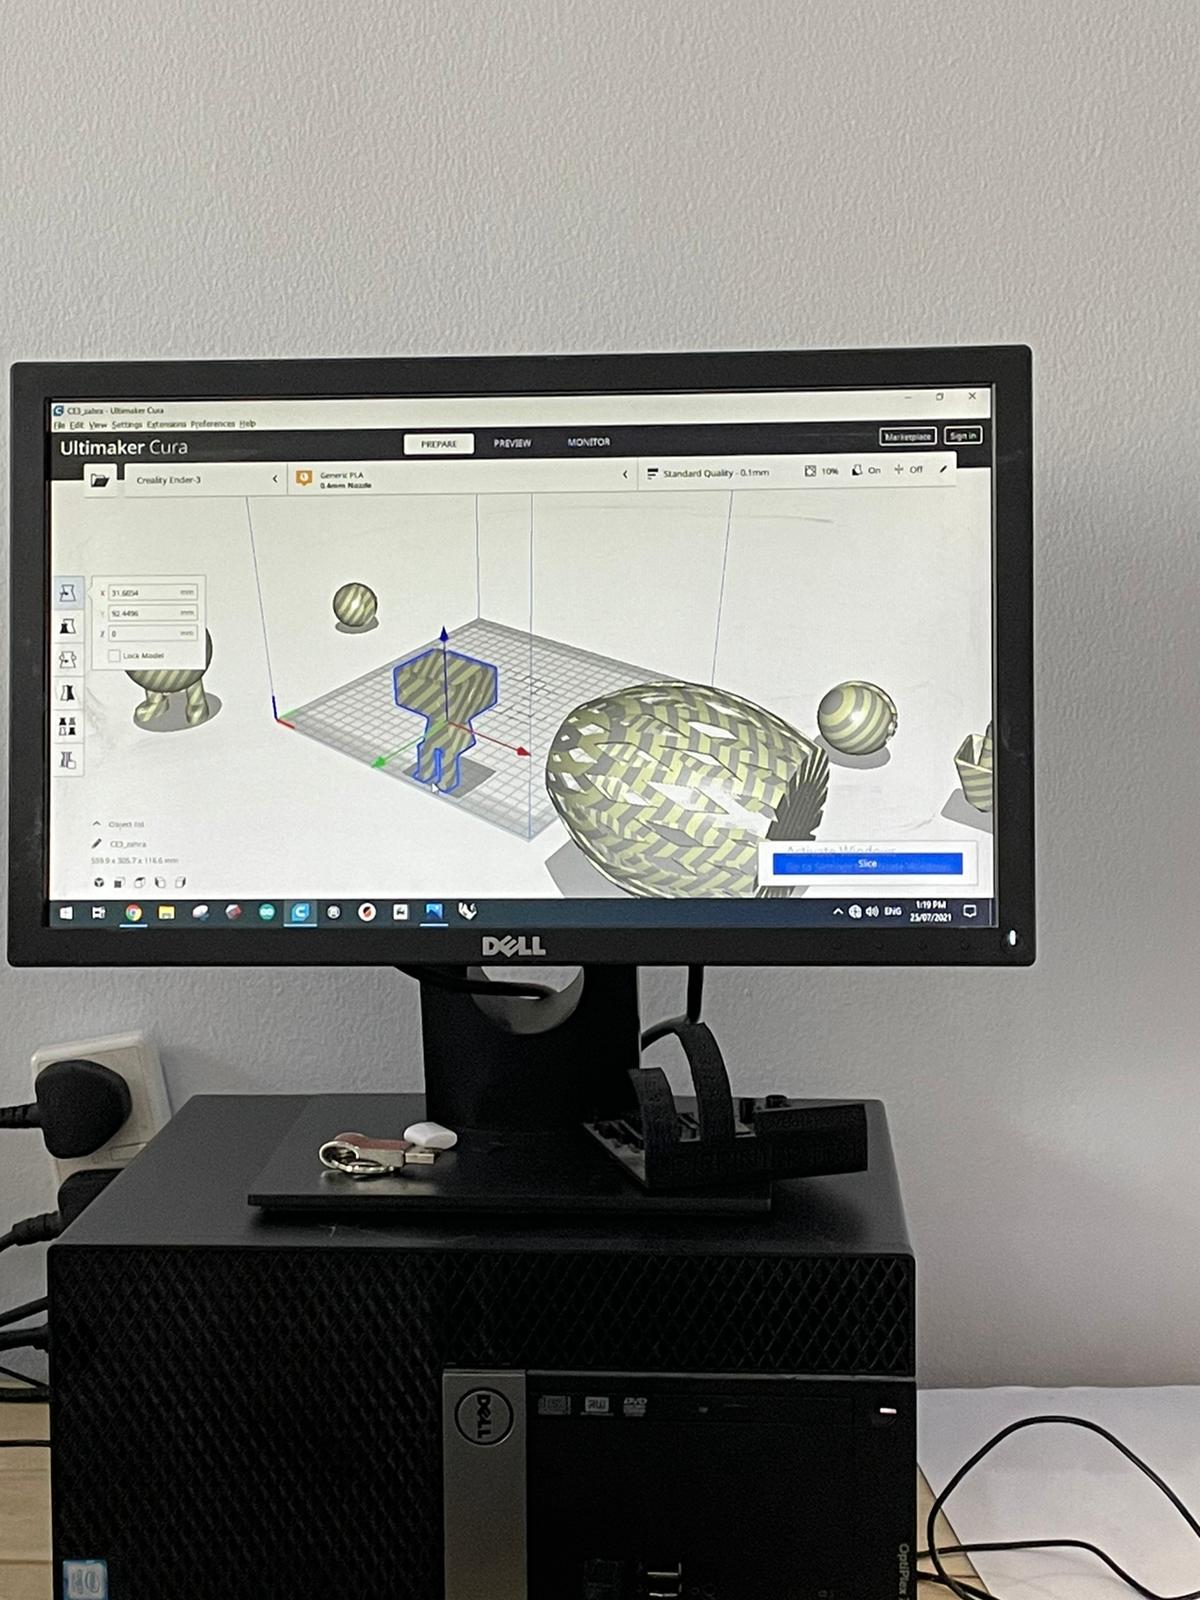
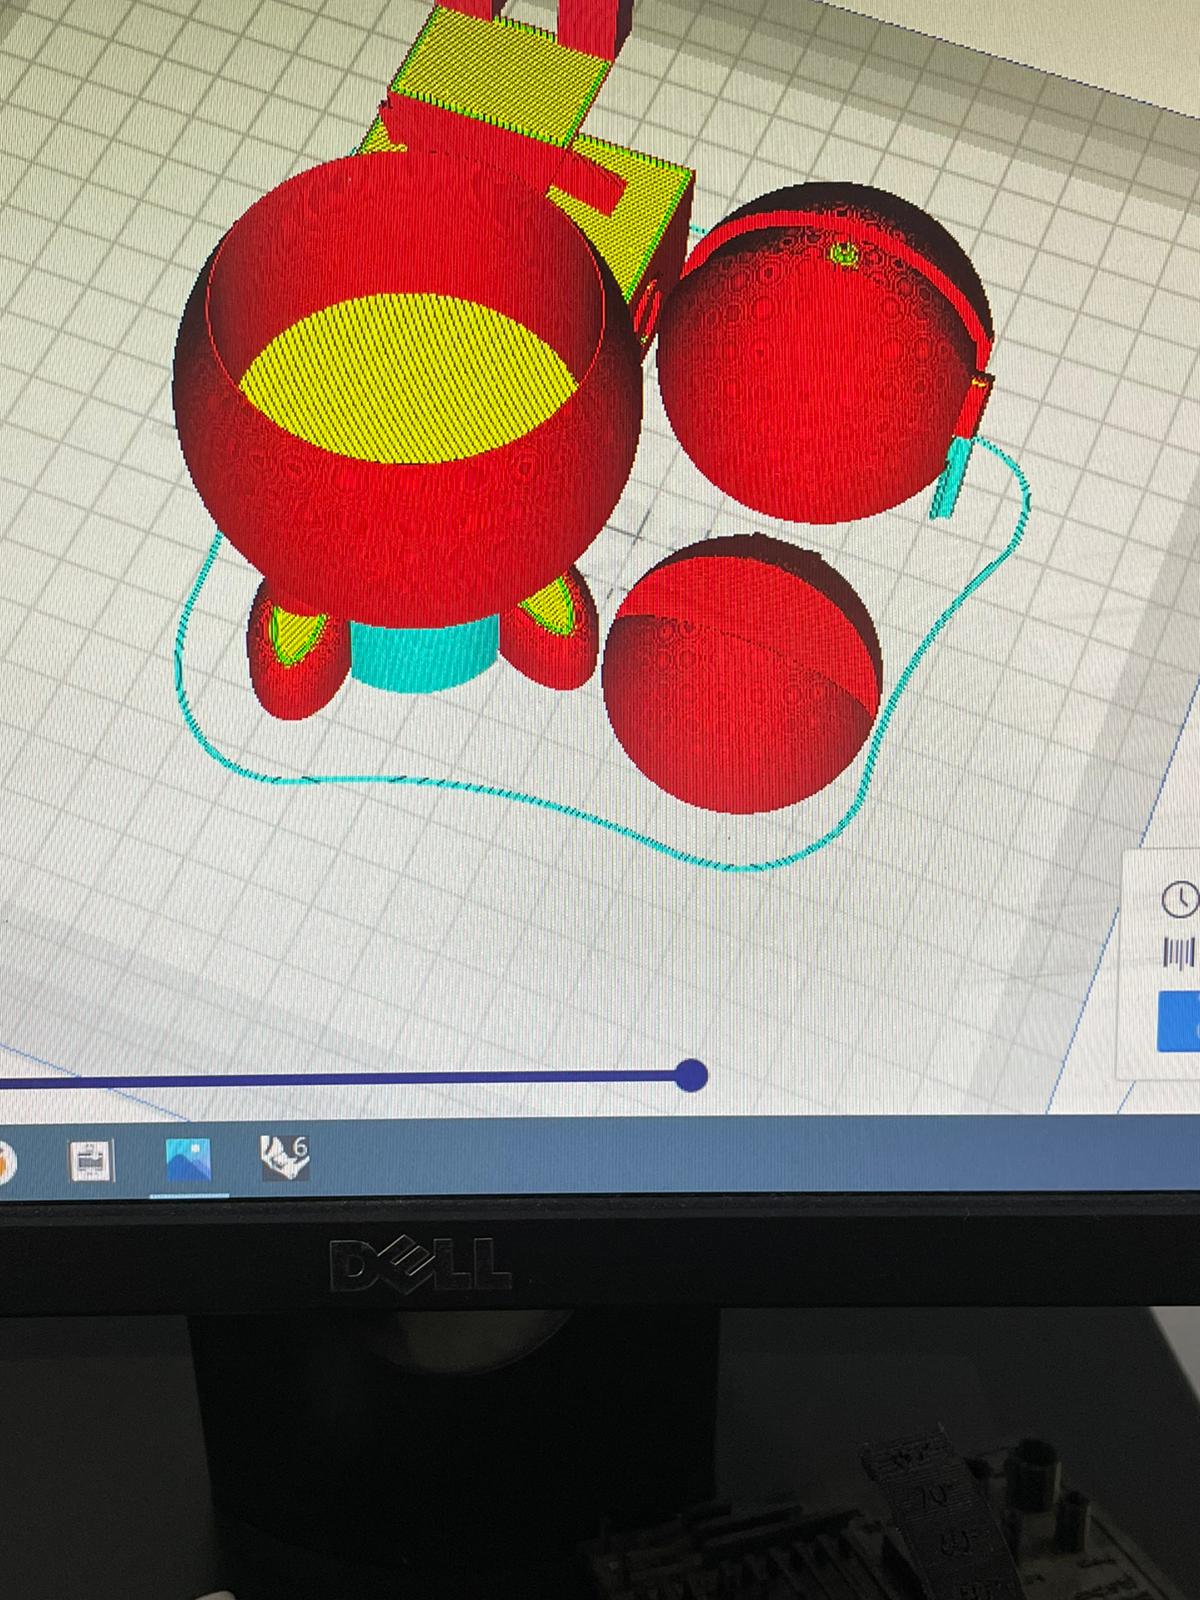
To add the design we open ‘Ultimaker’ which is the 3D program related to the machine.
this is a preview of the program after opening it.
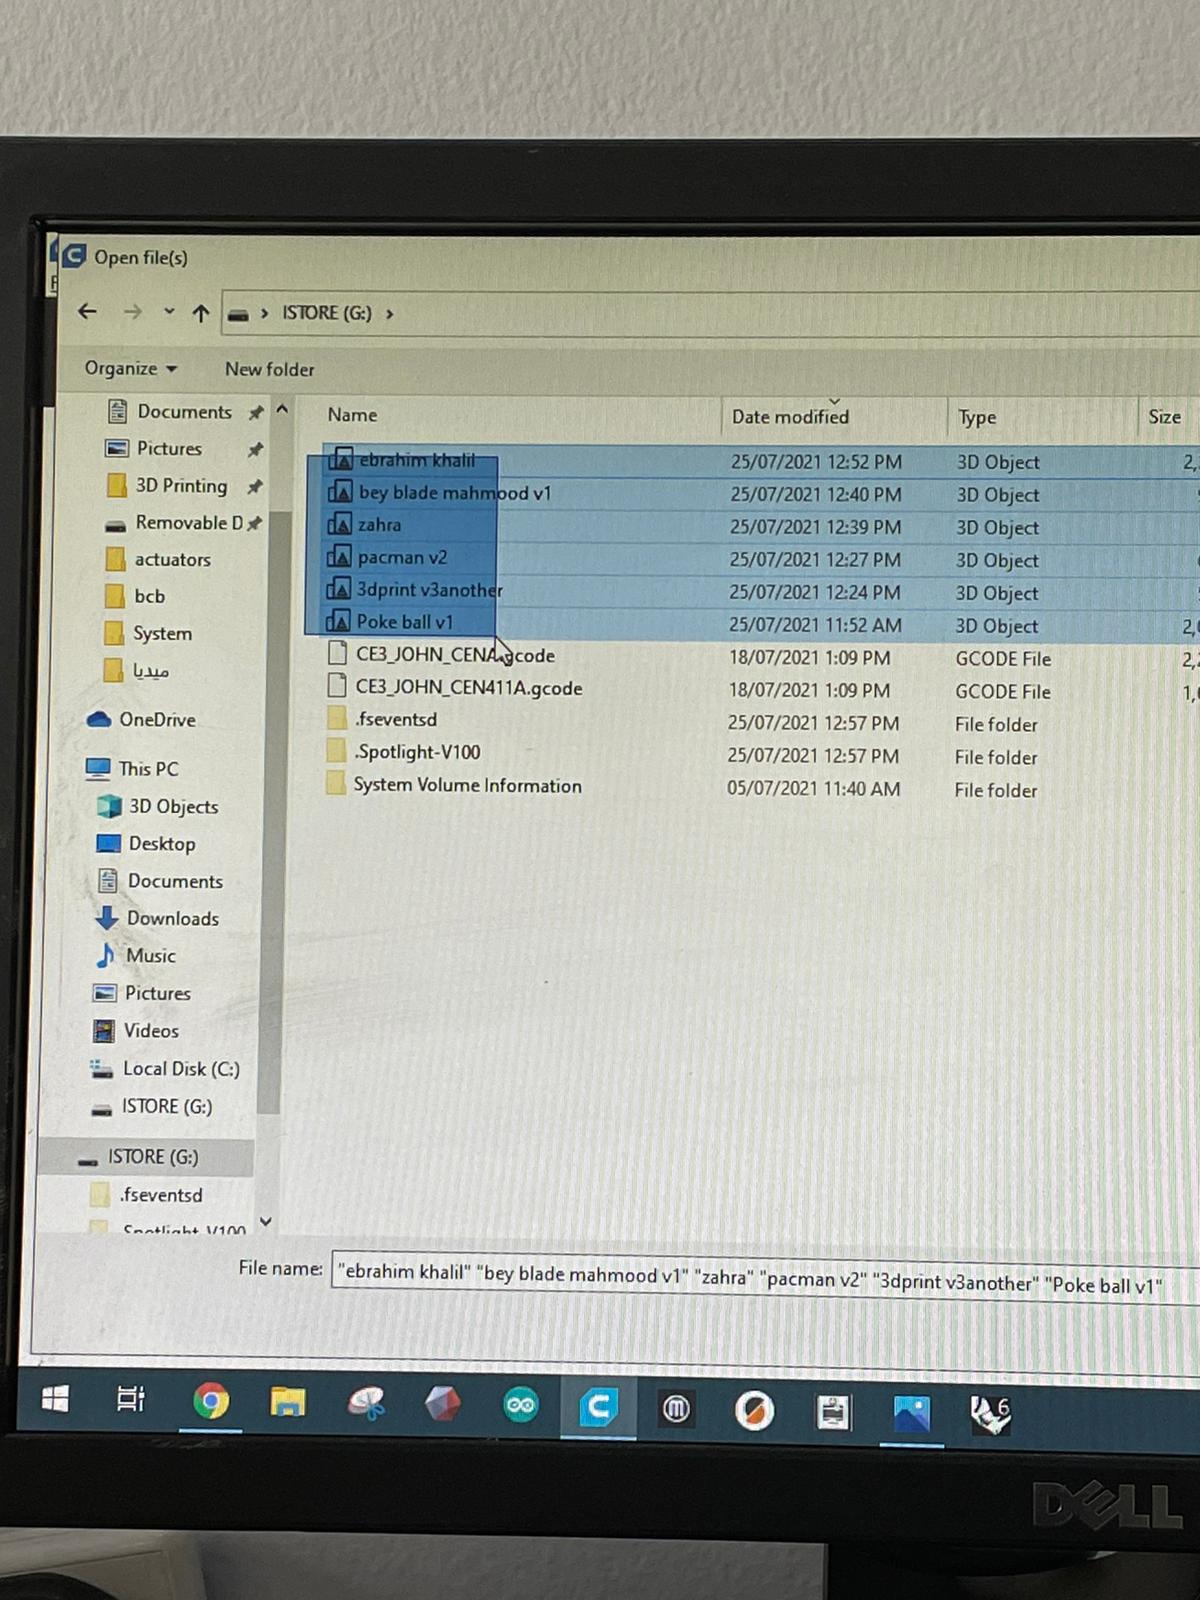
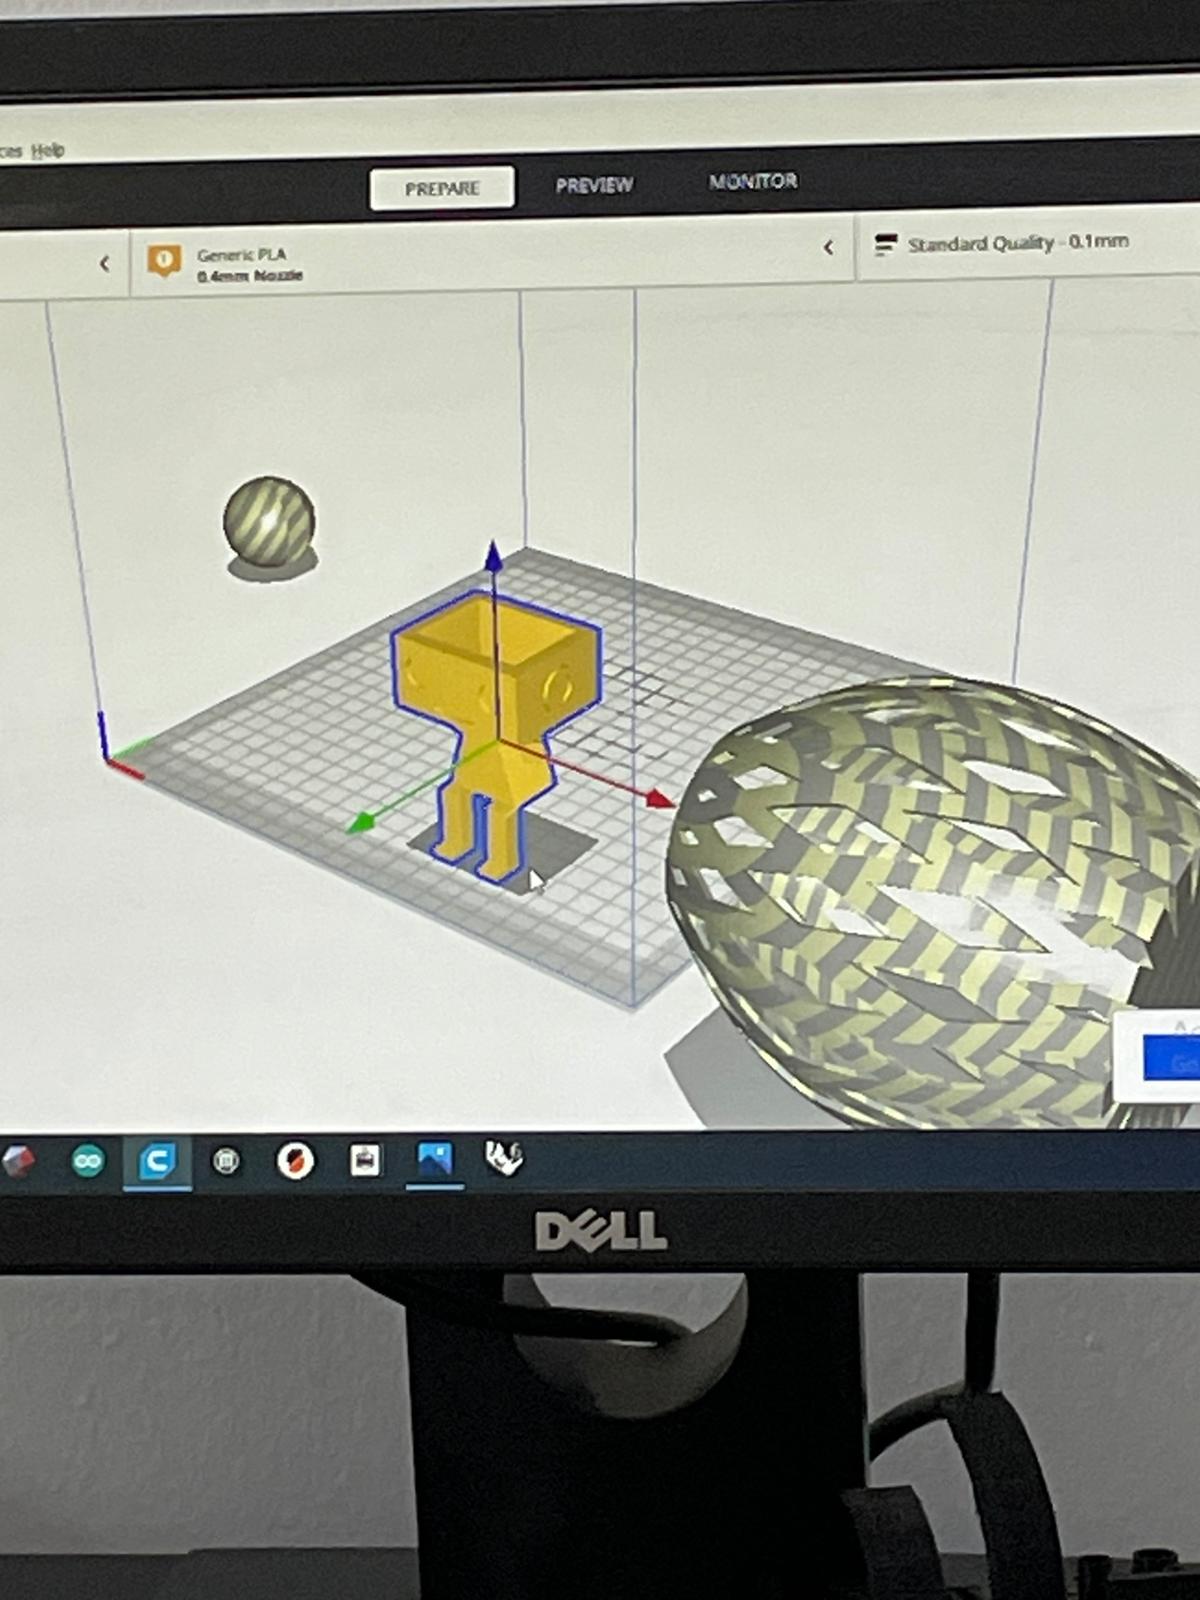
We add the STL designs.
this is a preview of the designs after adding them
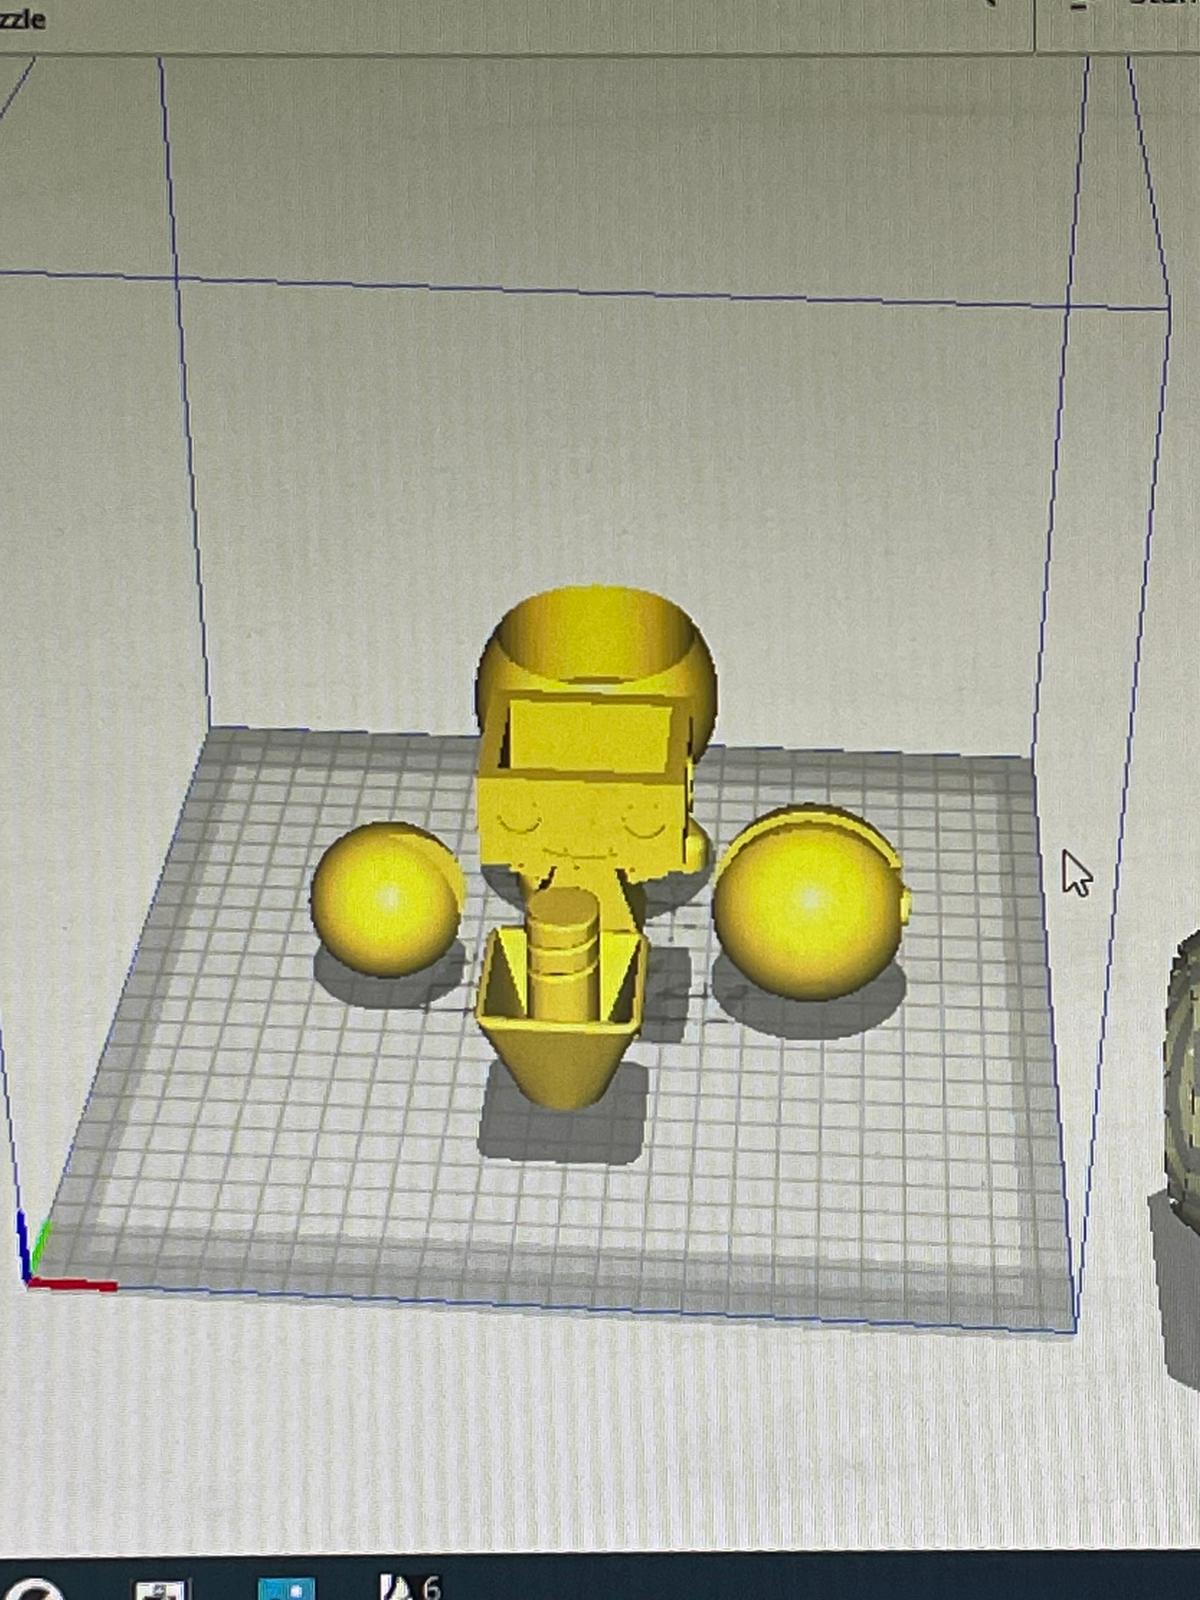
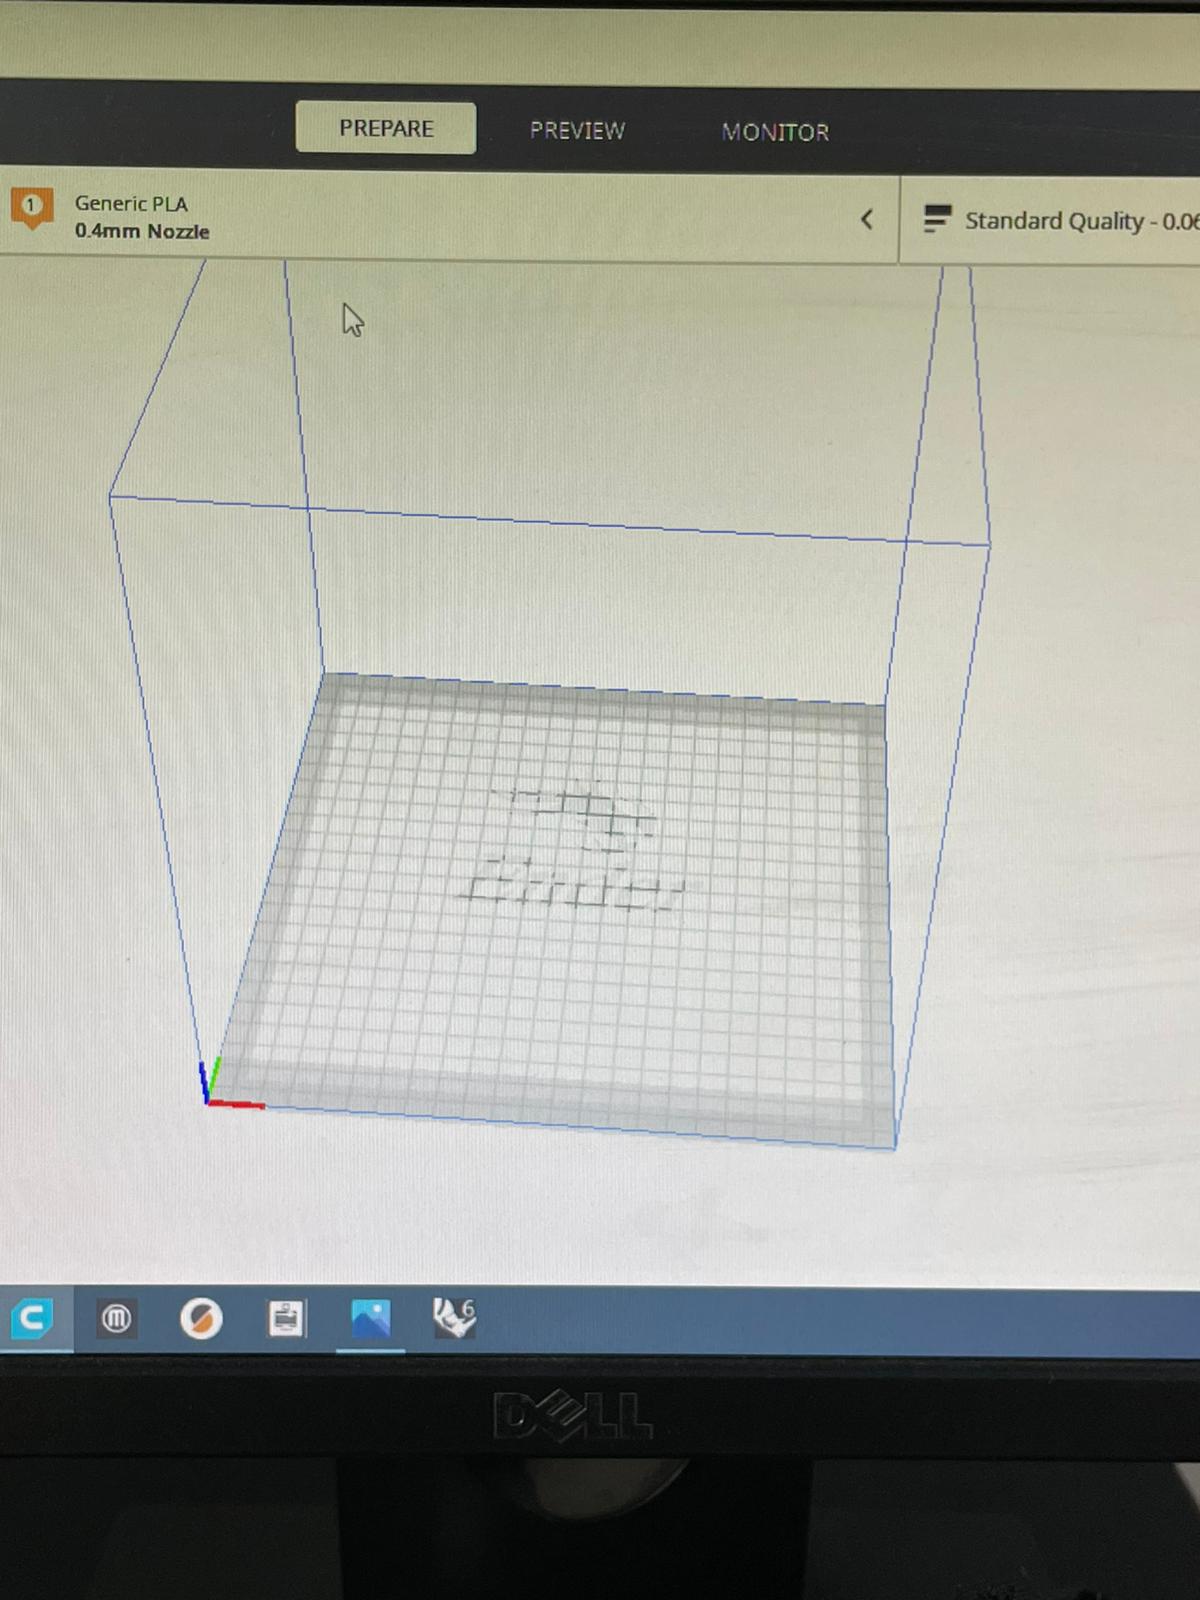
if the design is outside the range of the printing area it will be marked in the grey color
However, if the design is inside the range of the printing area it will be marked in the yellow color
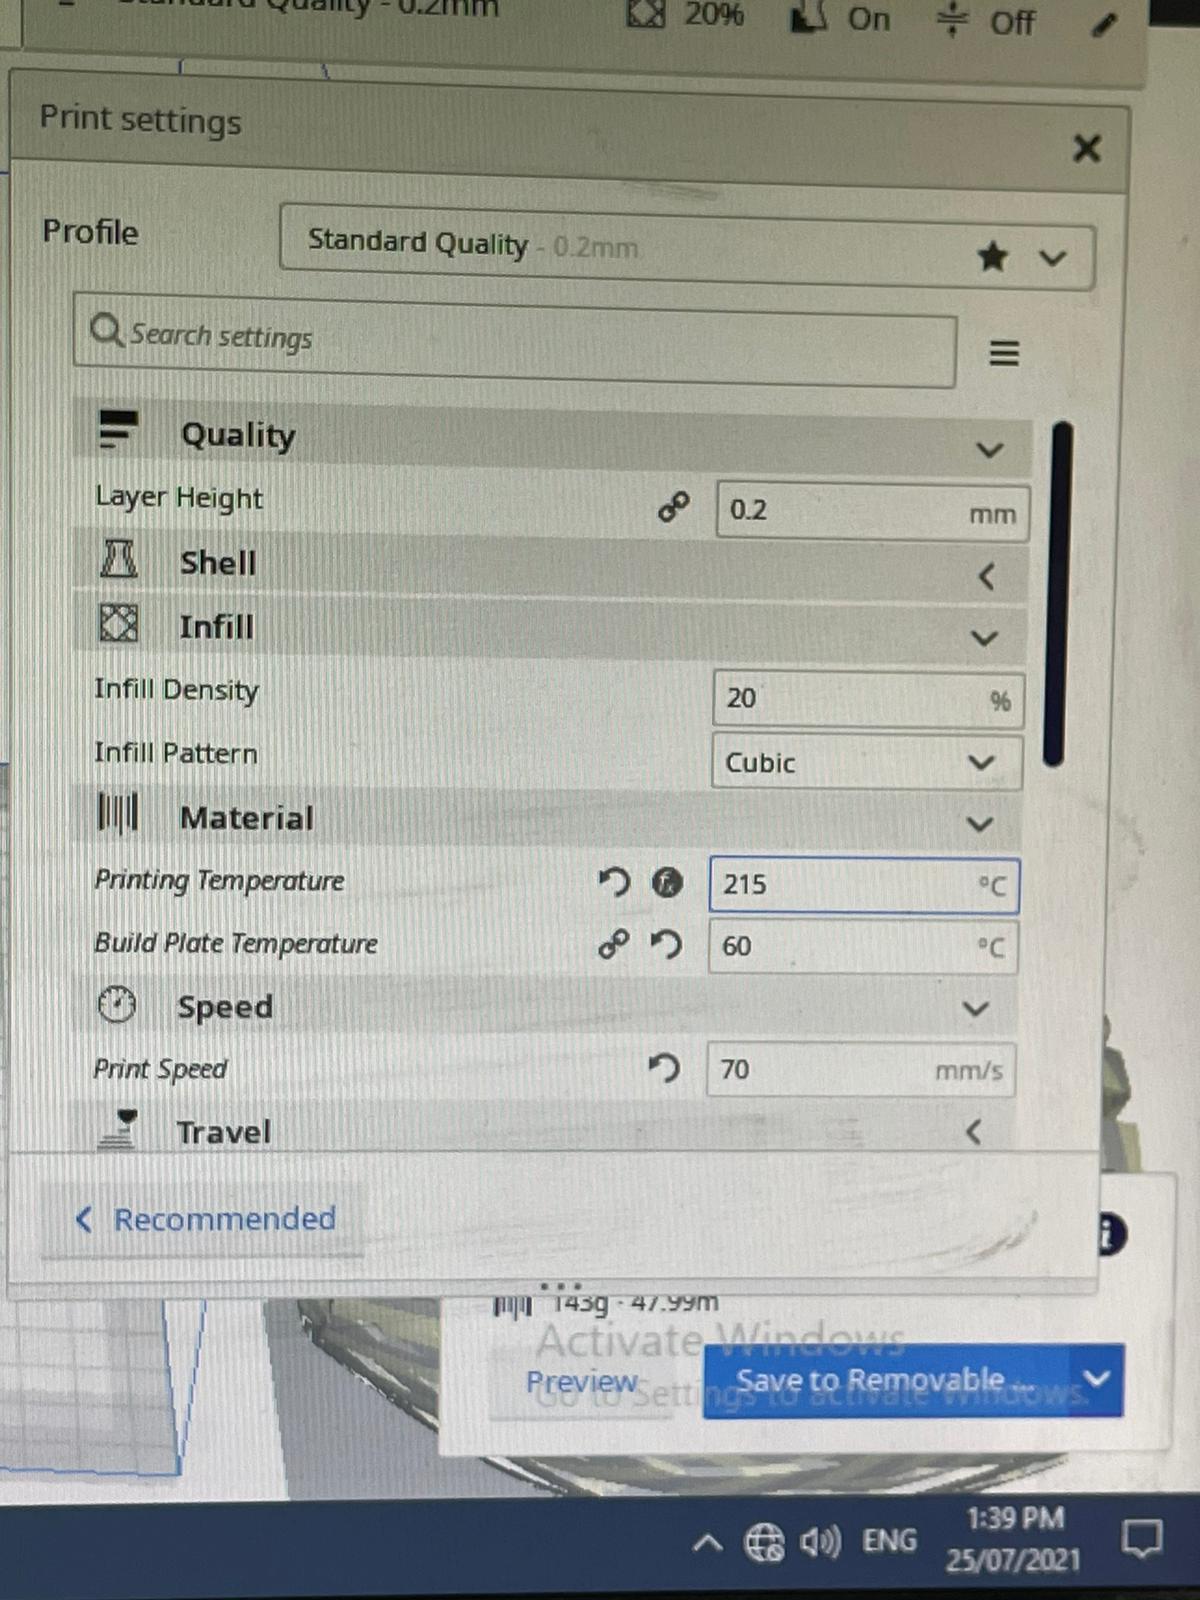
Adjusting the quality of the print, infill amount, and the speed of the print.
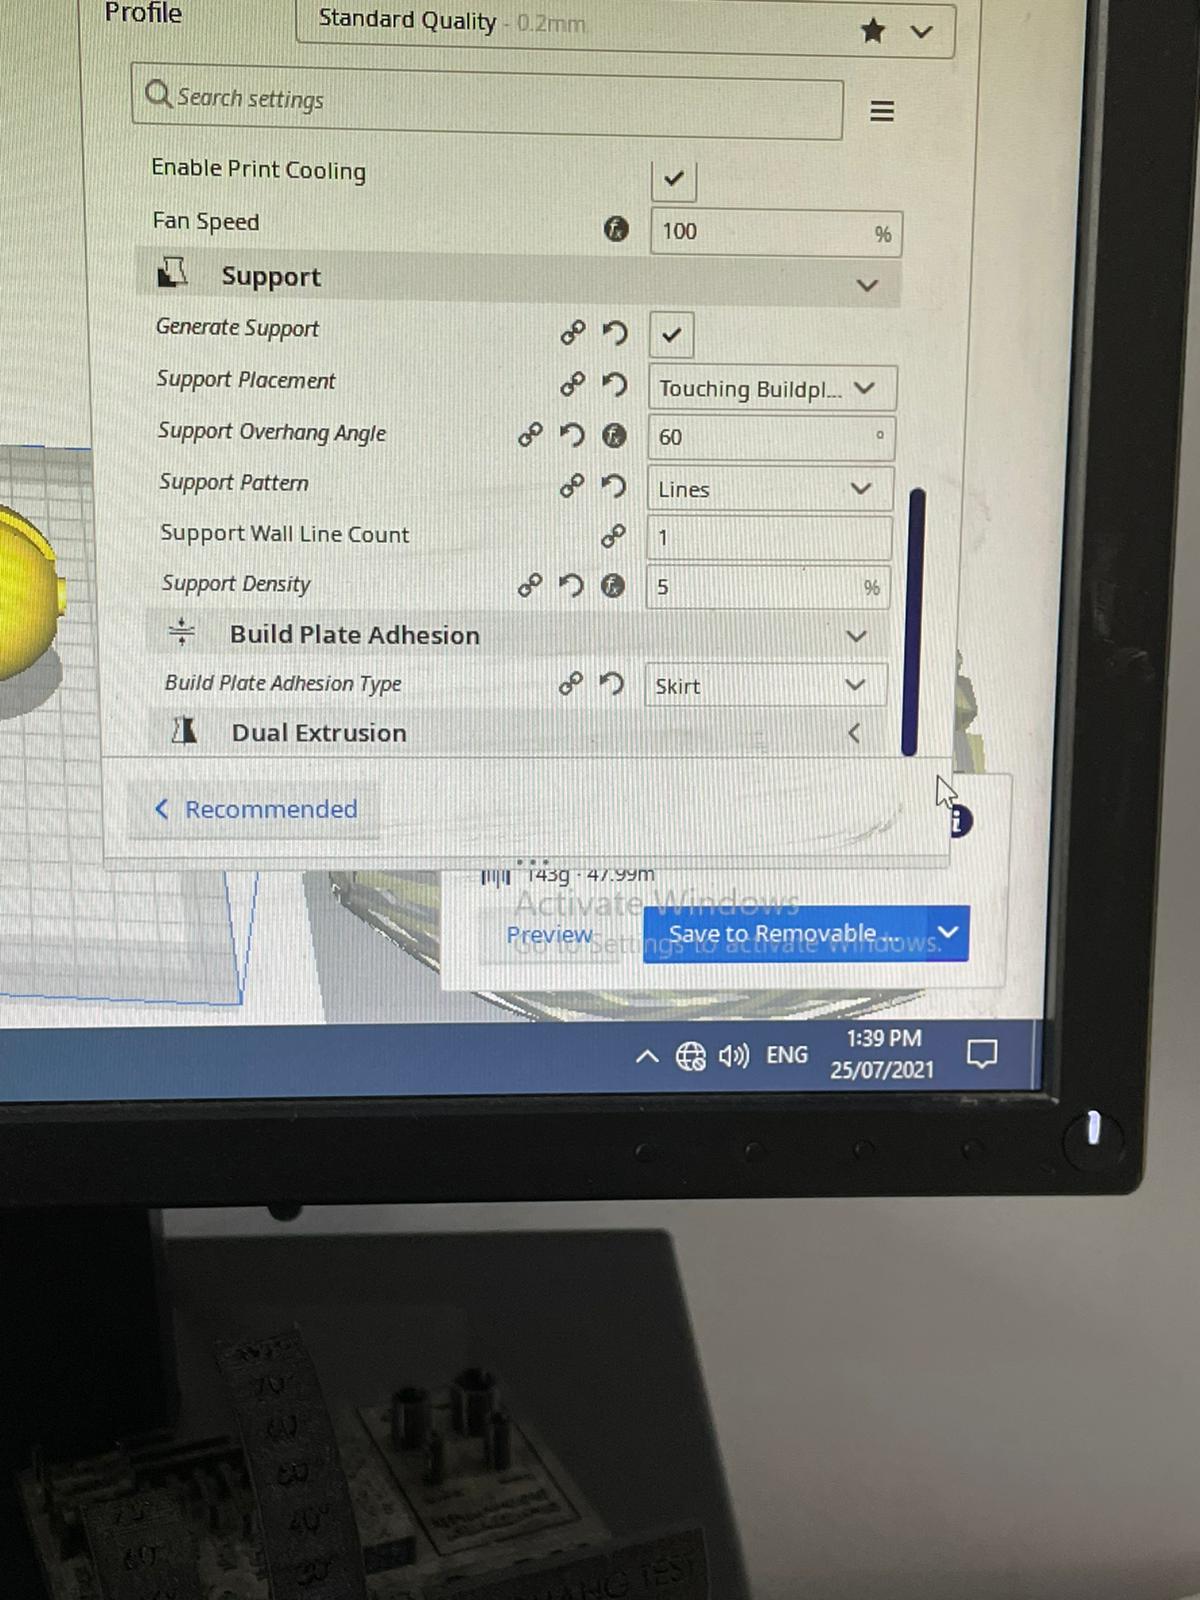
Adding supports which is important to keep the designs in the shape they intended specially the designs that have sharp angles.
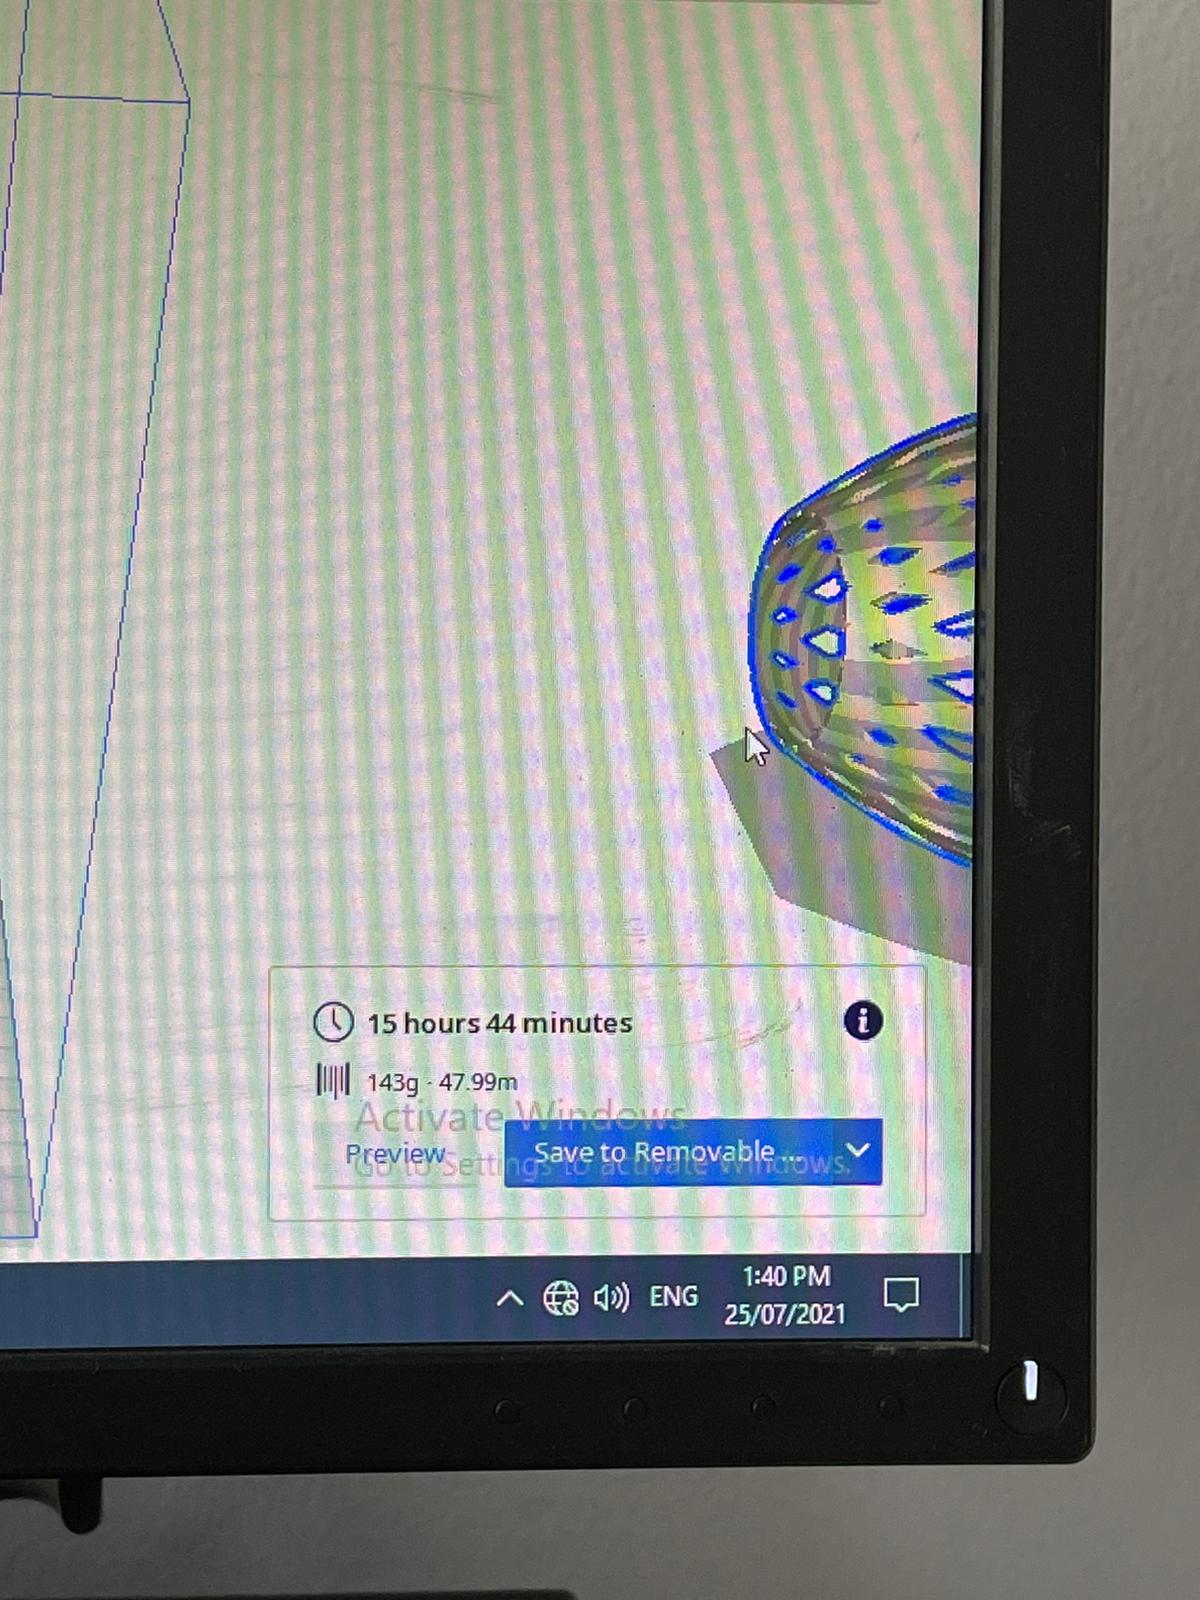
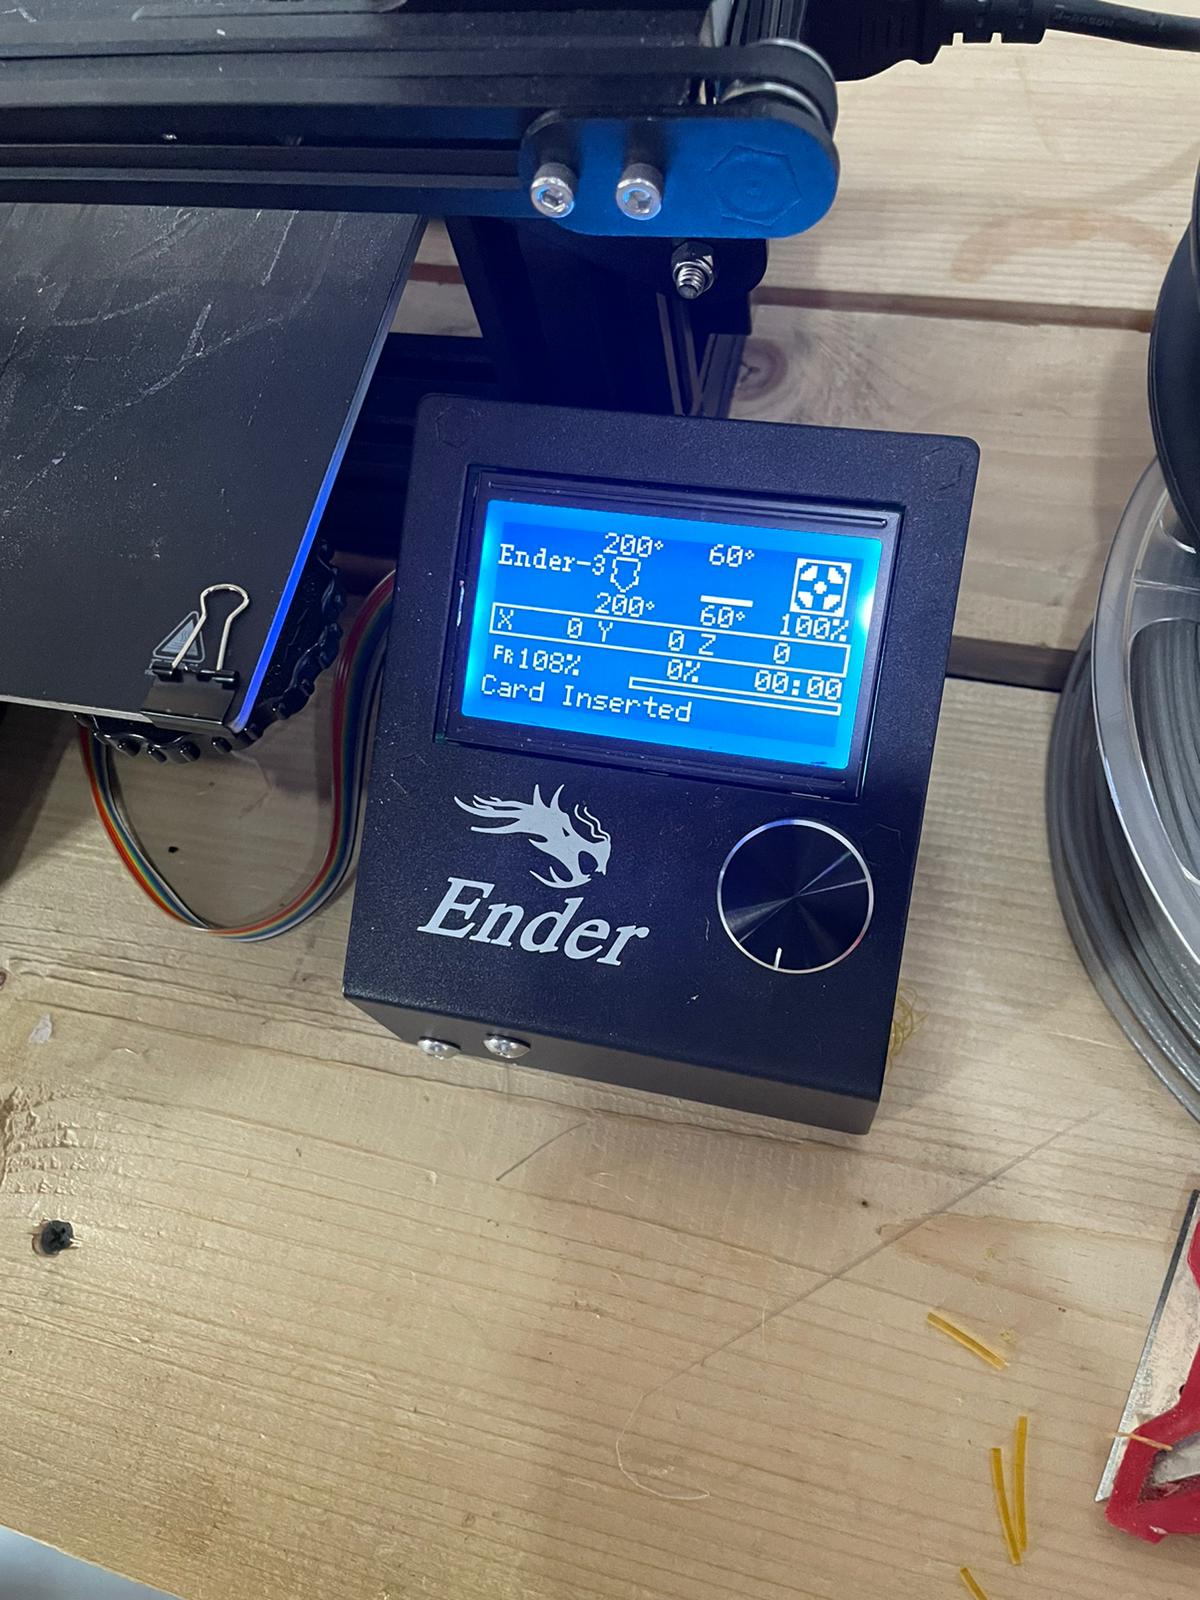
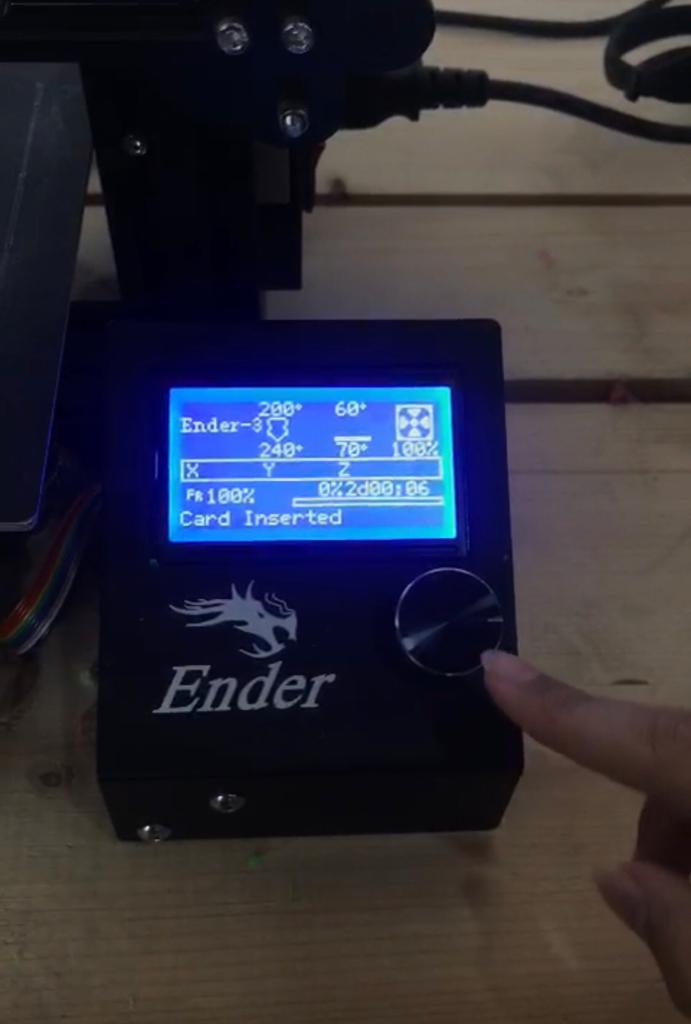
This is a time estimation of the printing procedure + saving the work in the card that will be installed into the 3D machine.
preview of the screen after installing the card.
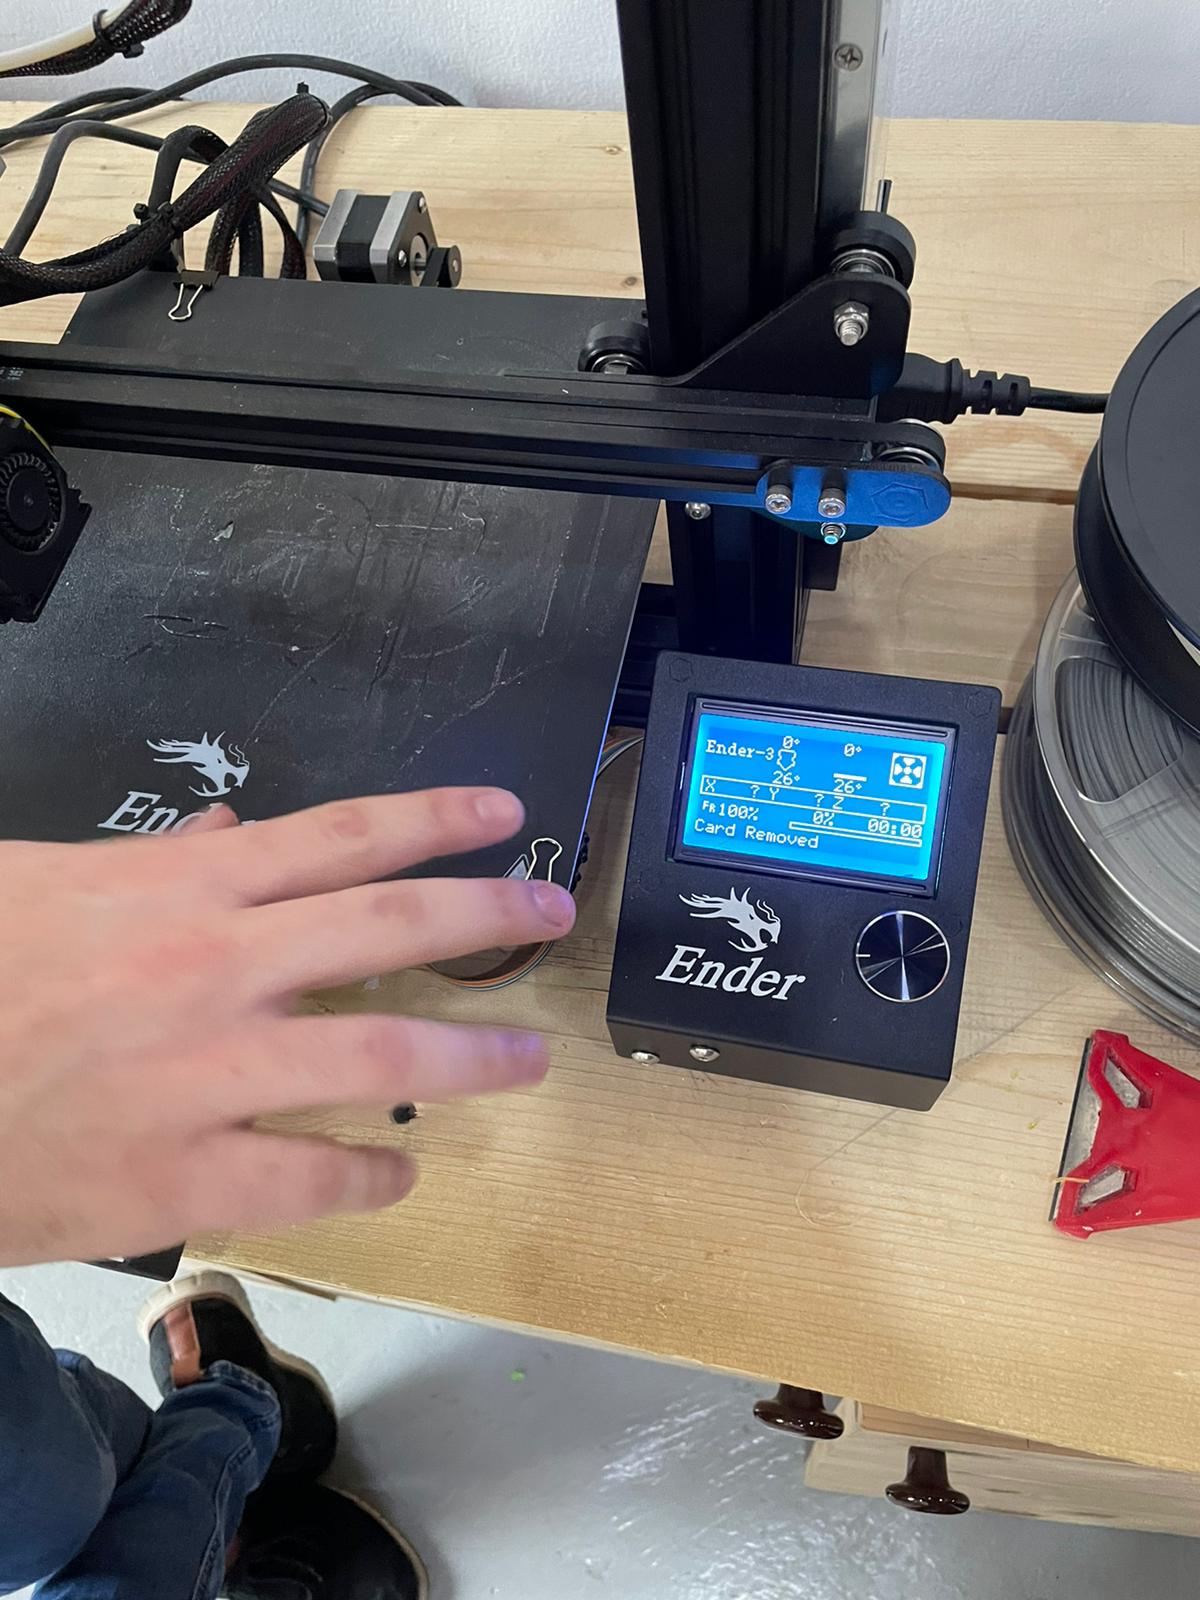
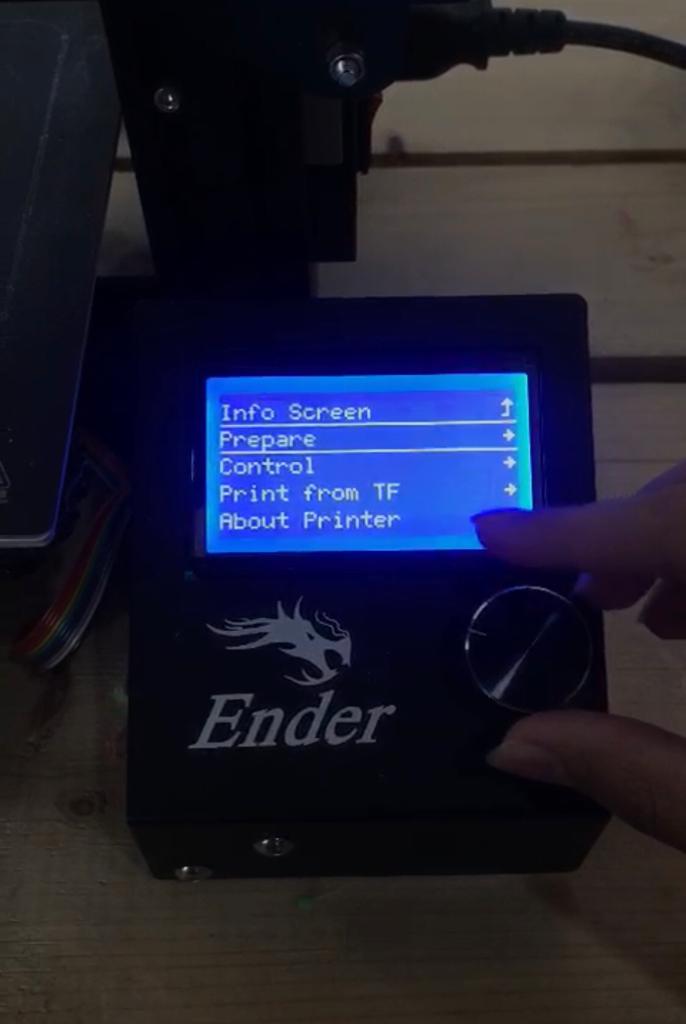
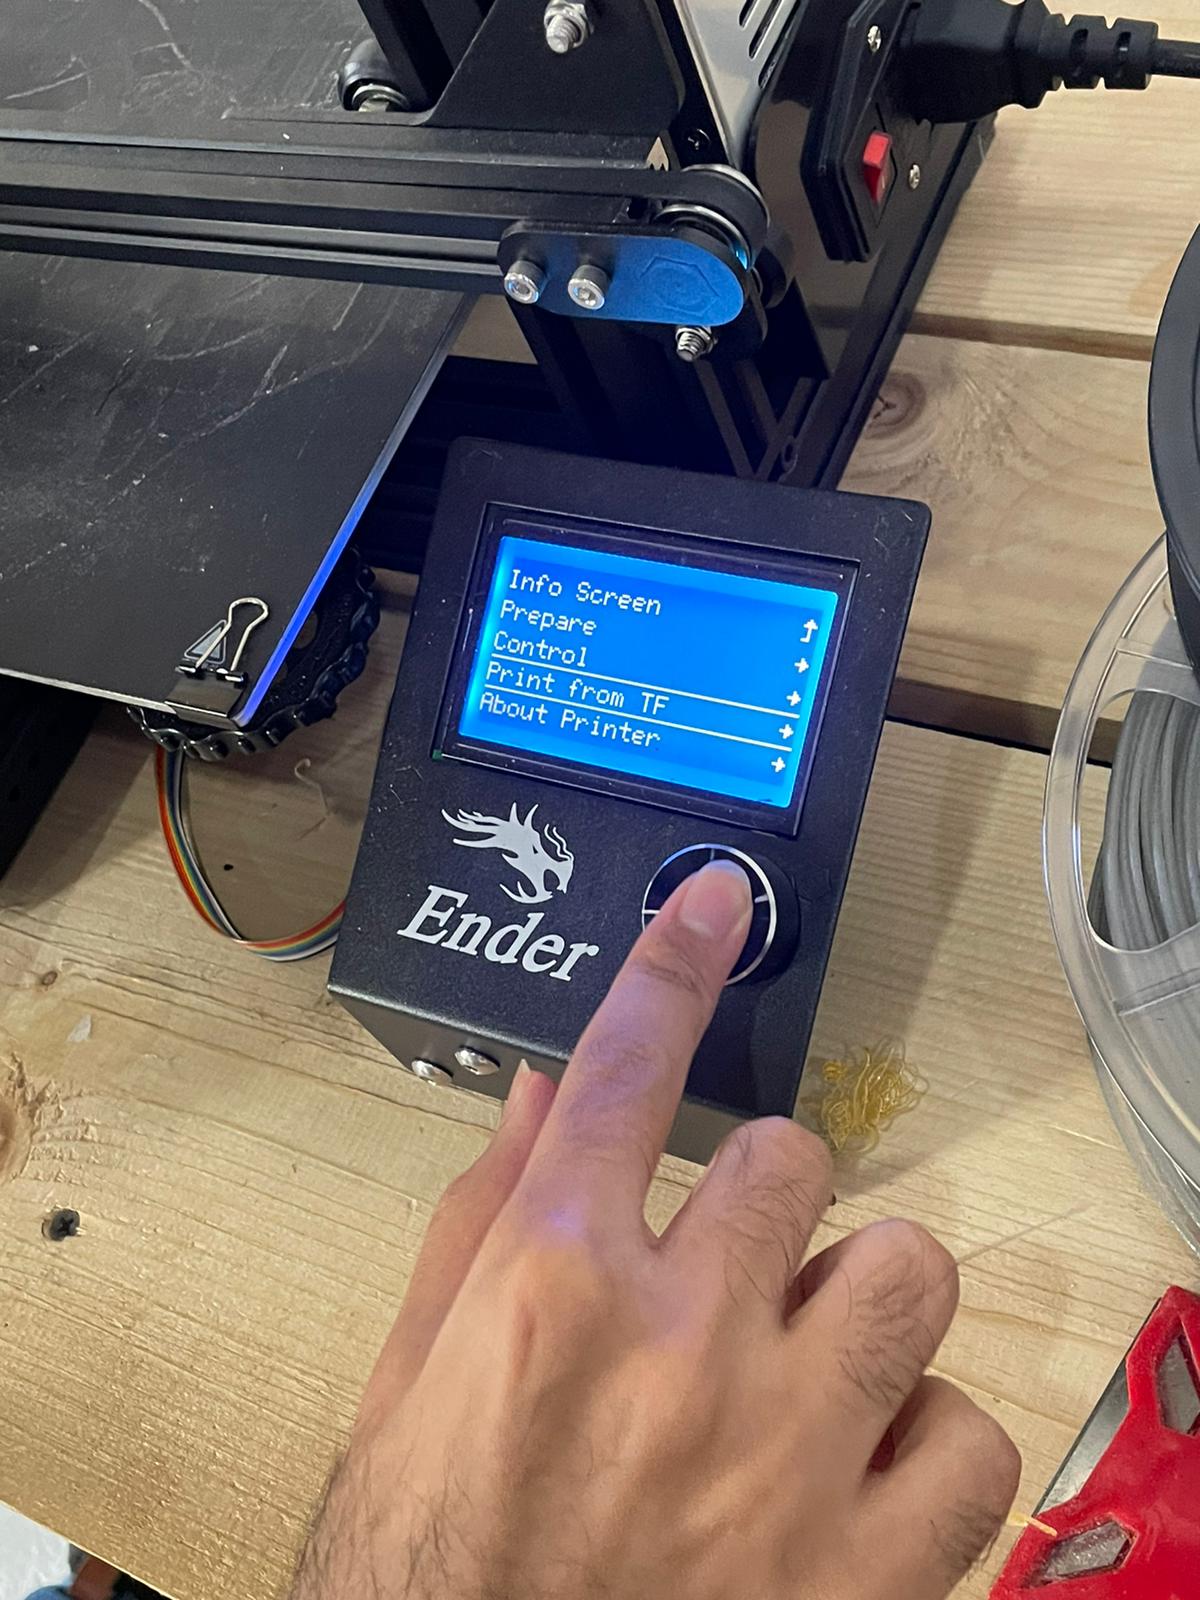
Before the printing procedure starts the bed and the extruder must be heated. The first step is to press the scroll button.
Followed by prepare
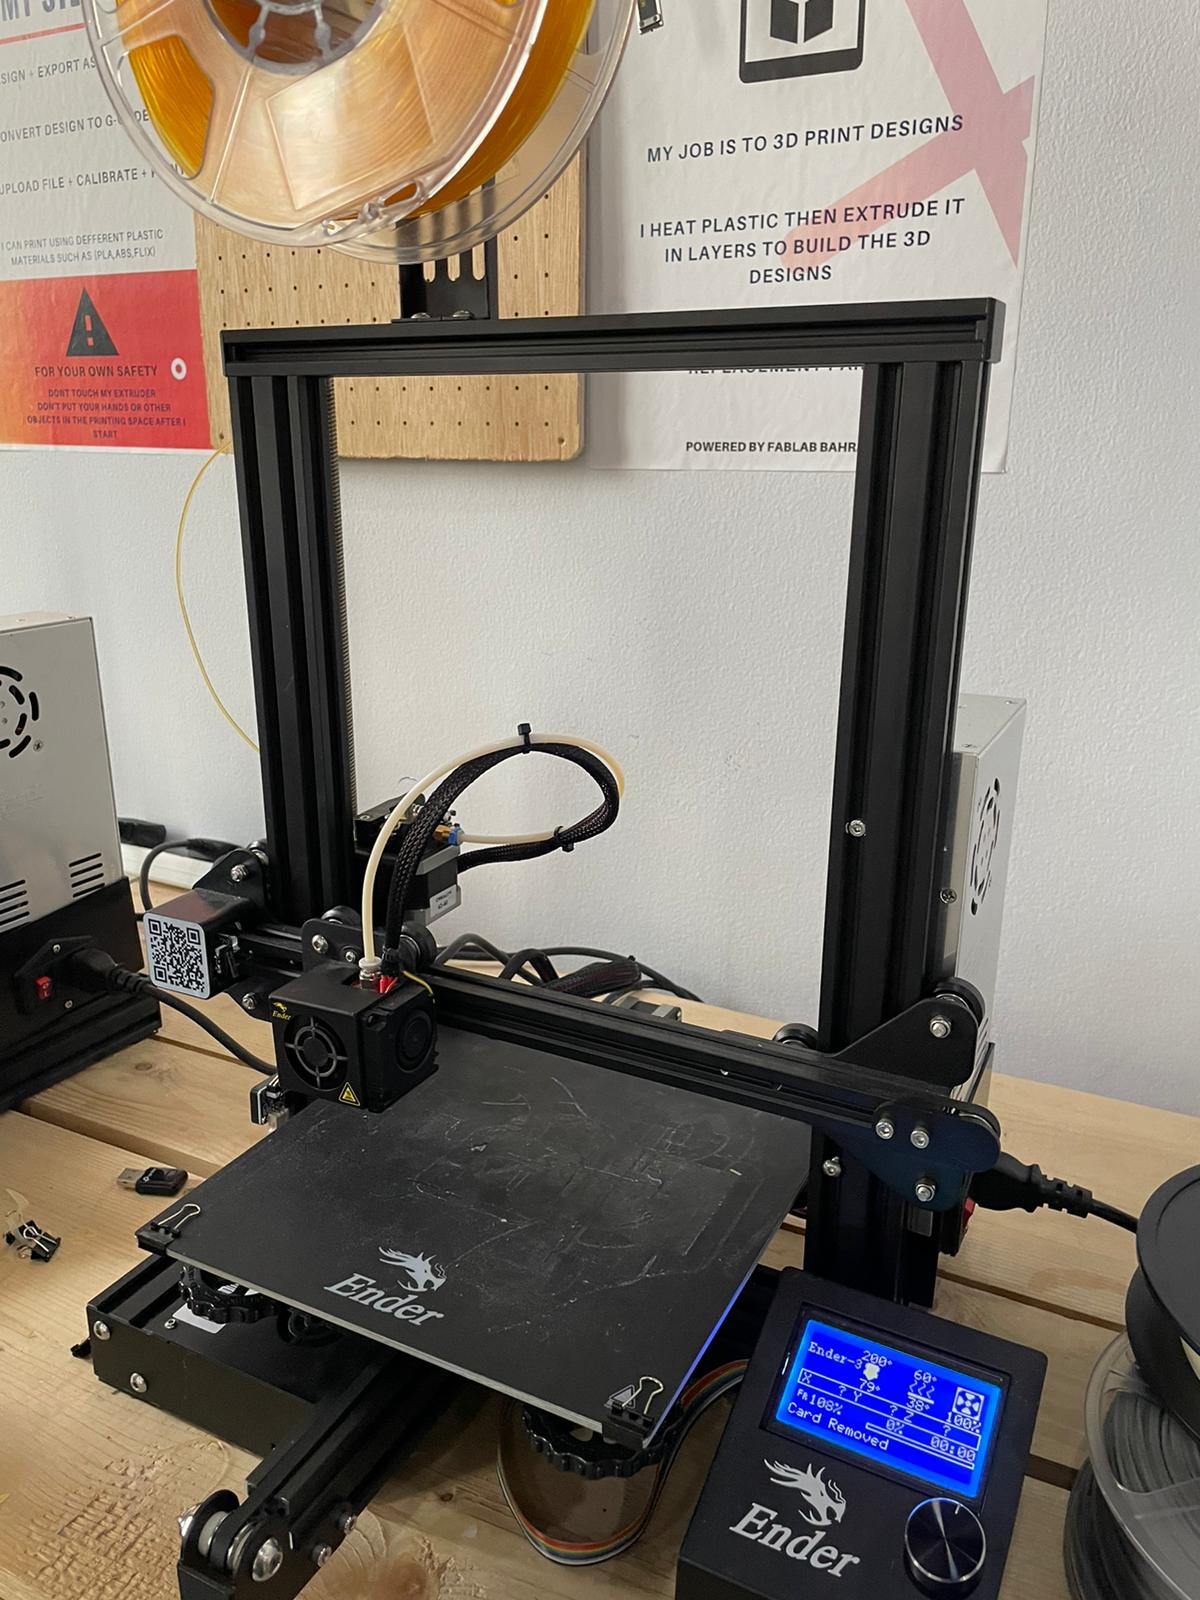
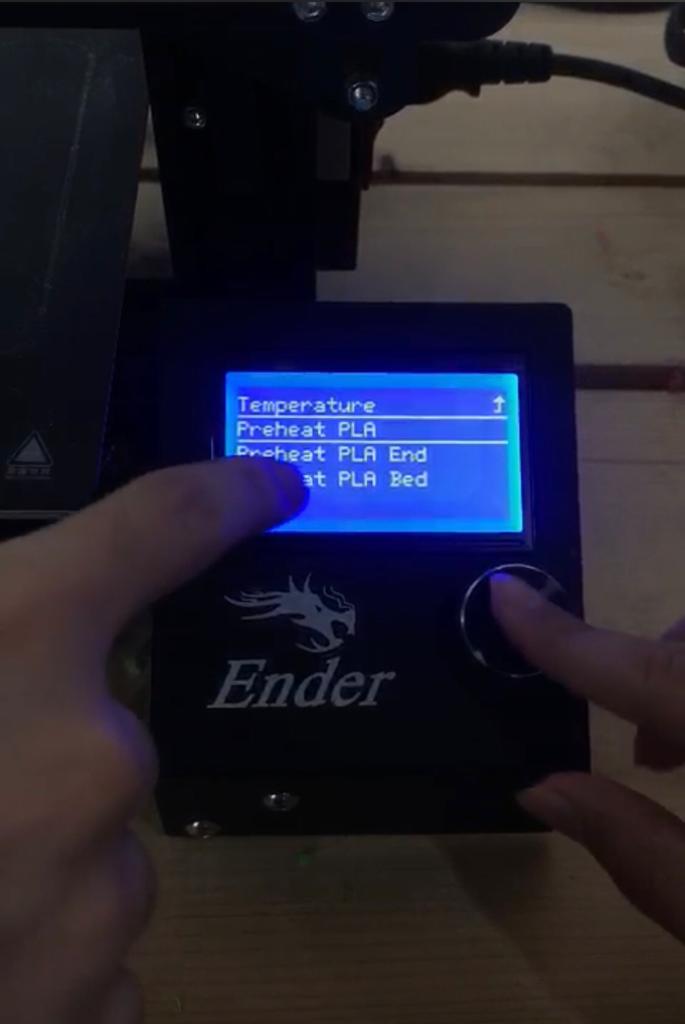
Then preheat PLA

Press preheat PLA to heat both the bed and the extruder.
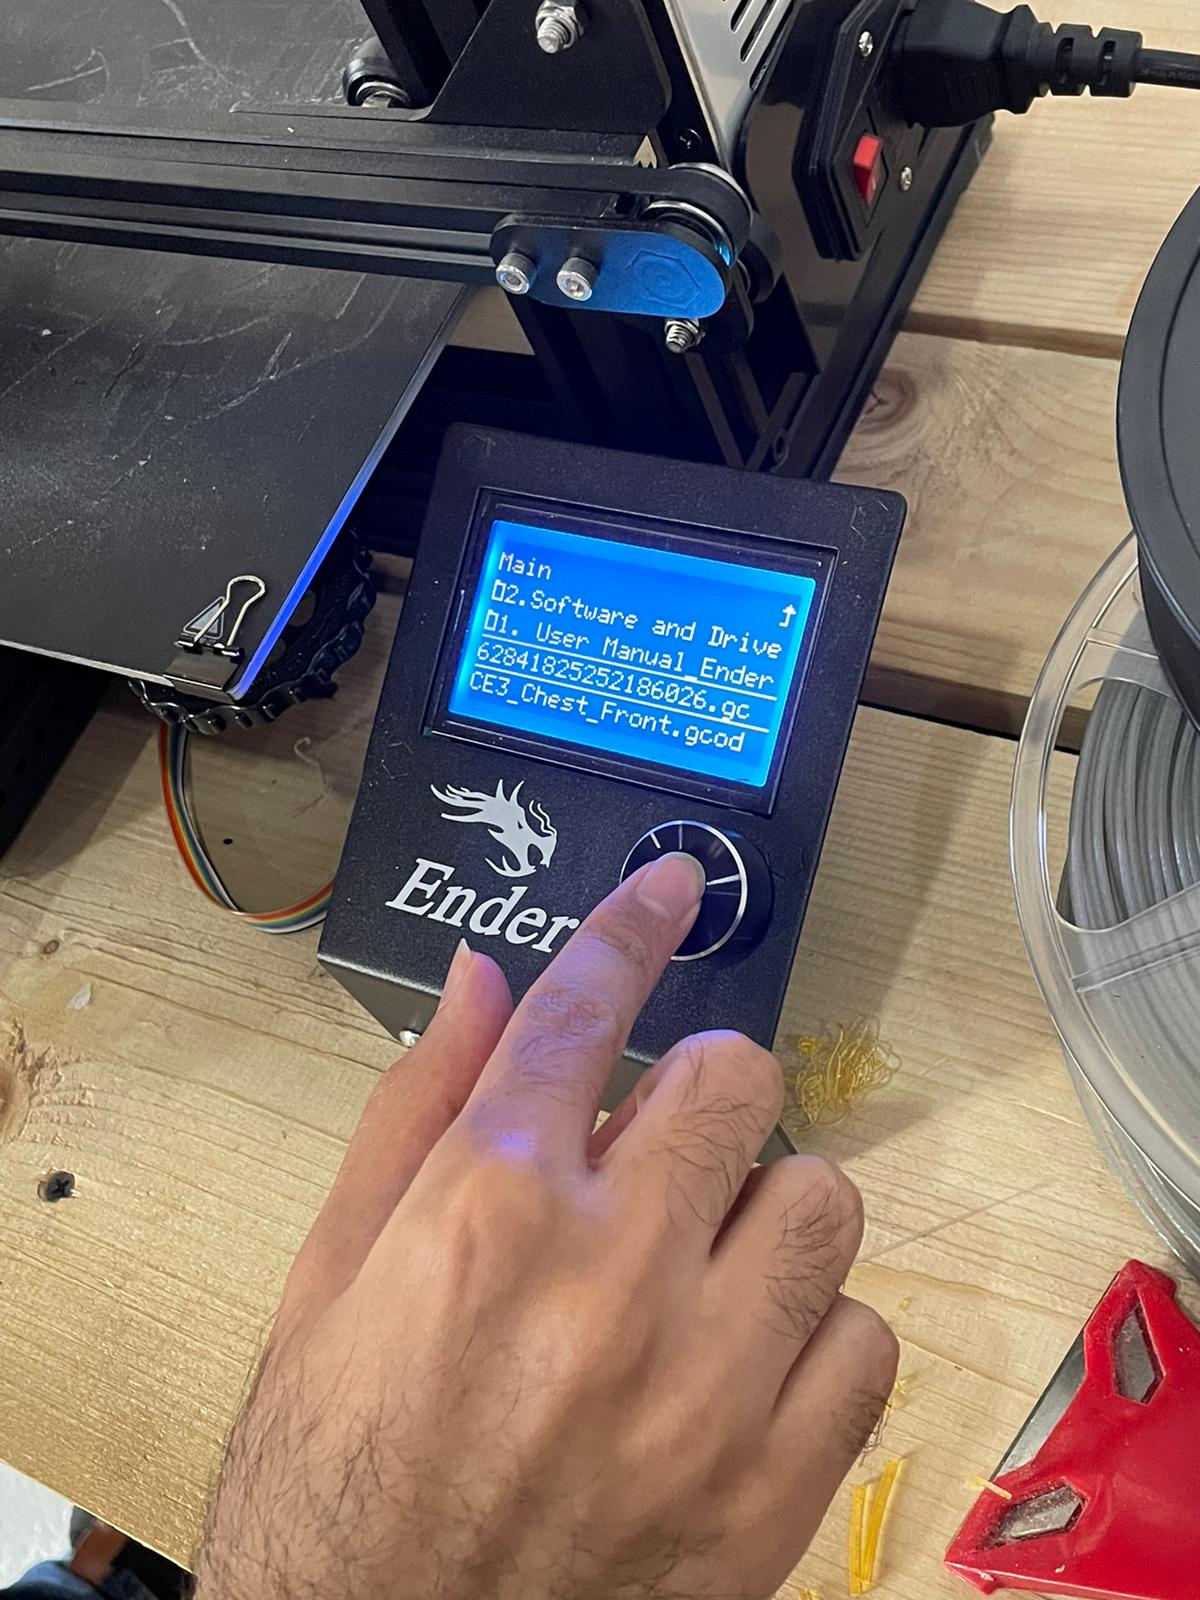
To print the design we press the scroll button again.
Then print from TF
Finally choosing the file name to start printing.
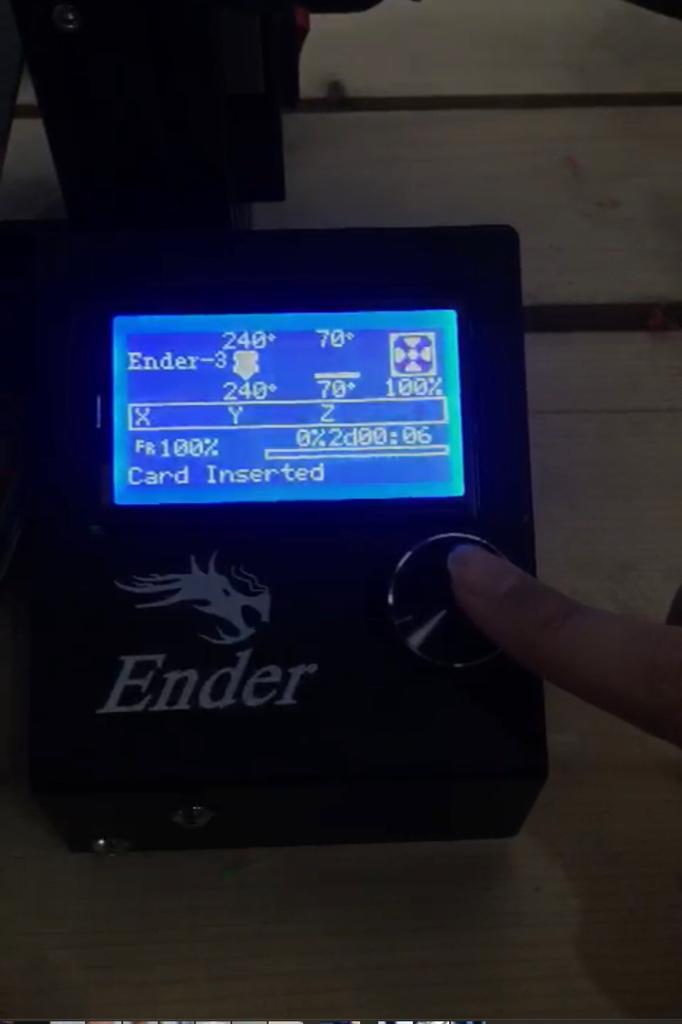
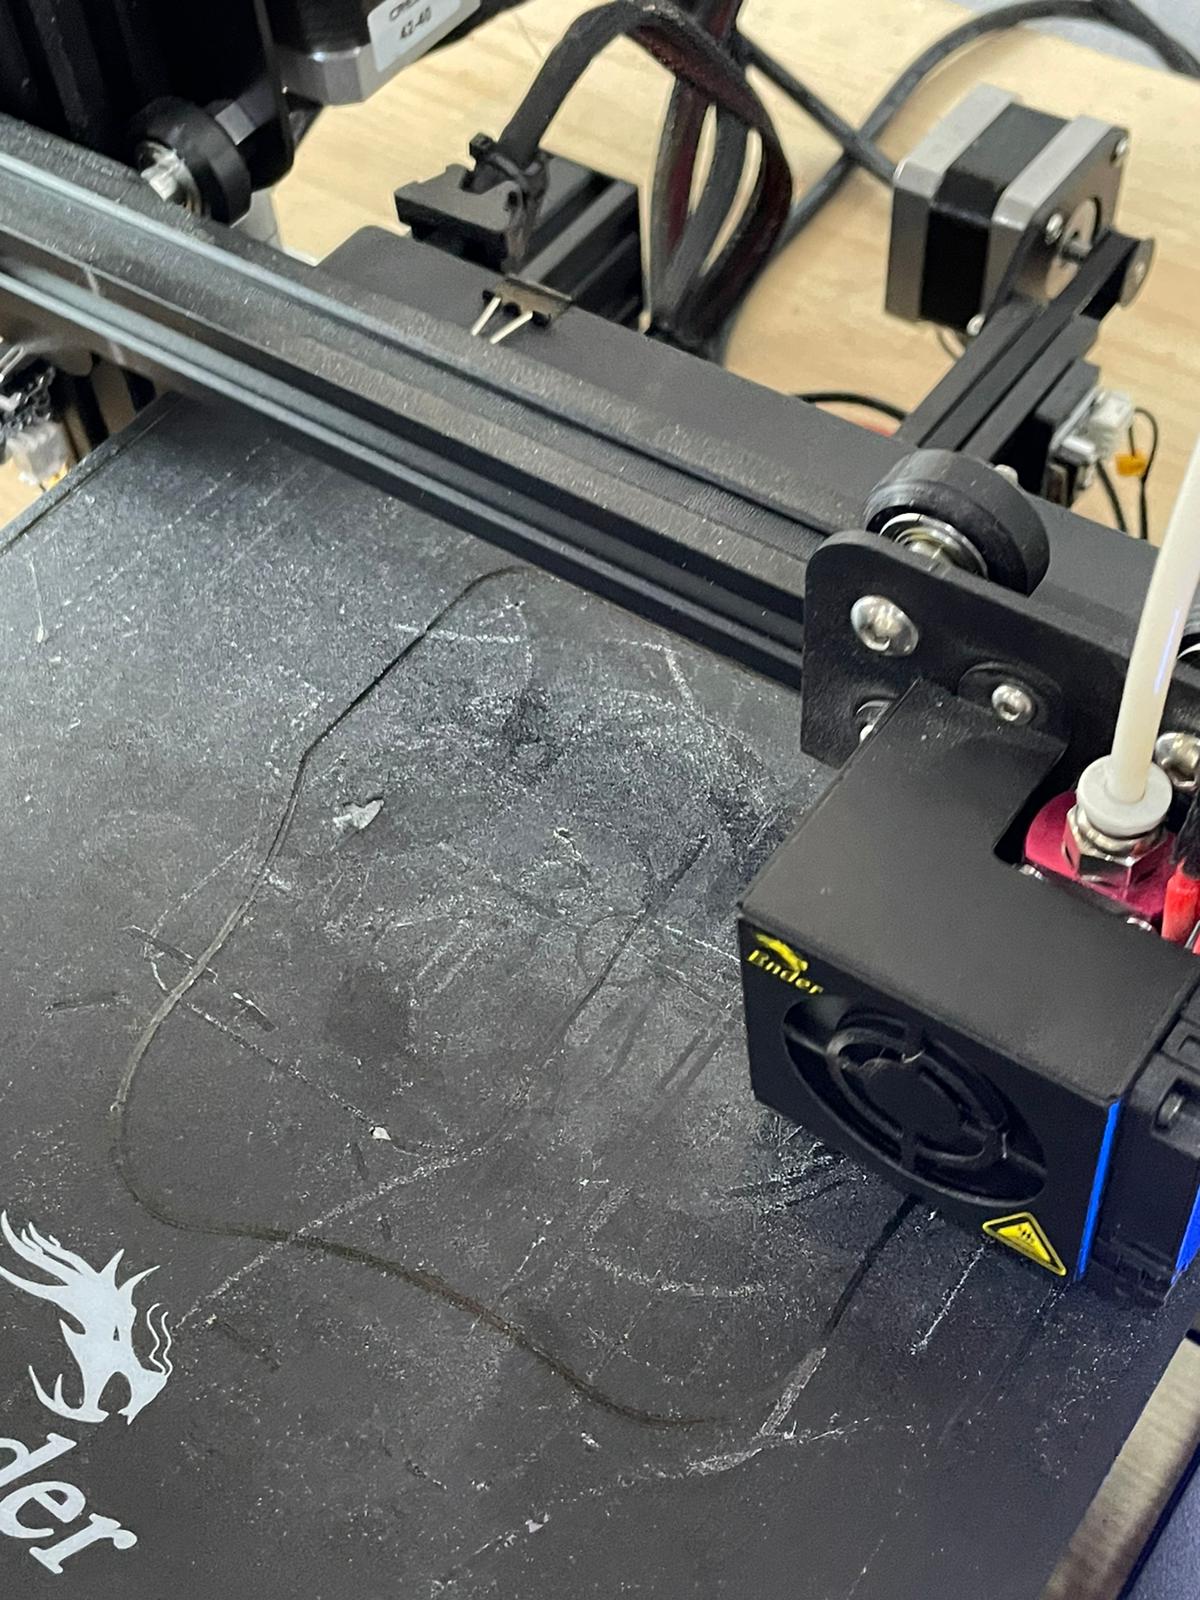
The start of printing procedure.
After almost 12 hour the design is finally ready.
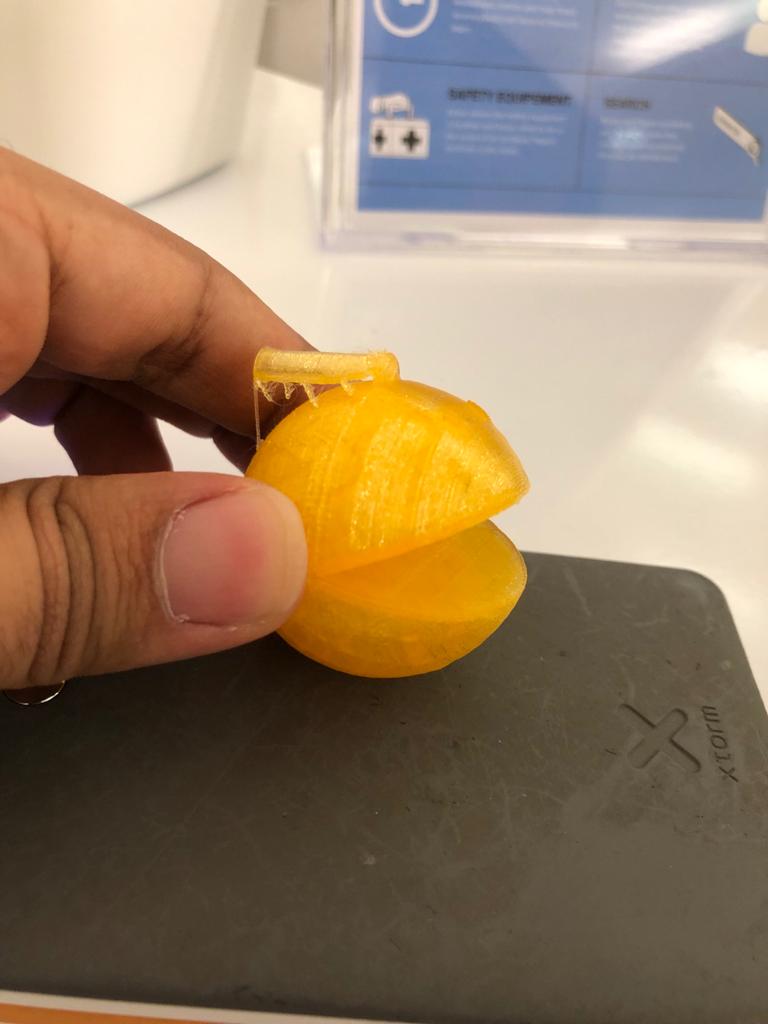
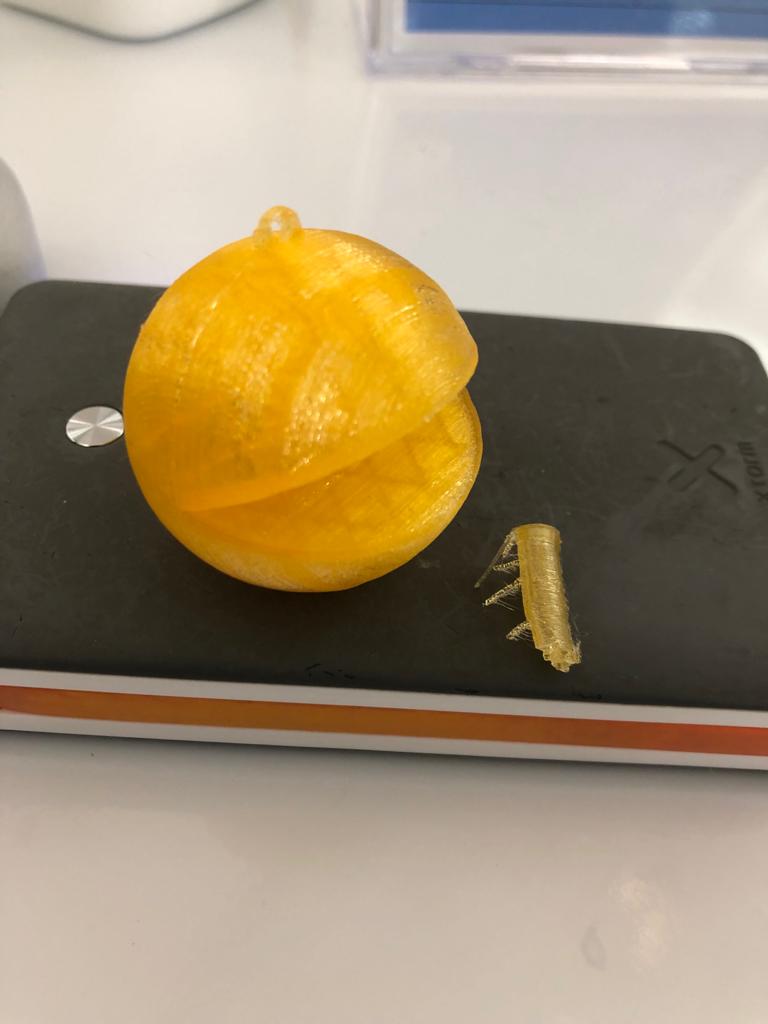
After removing the support.
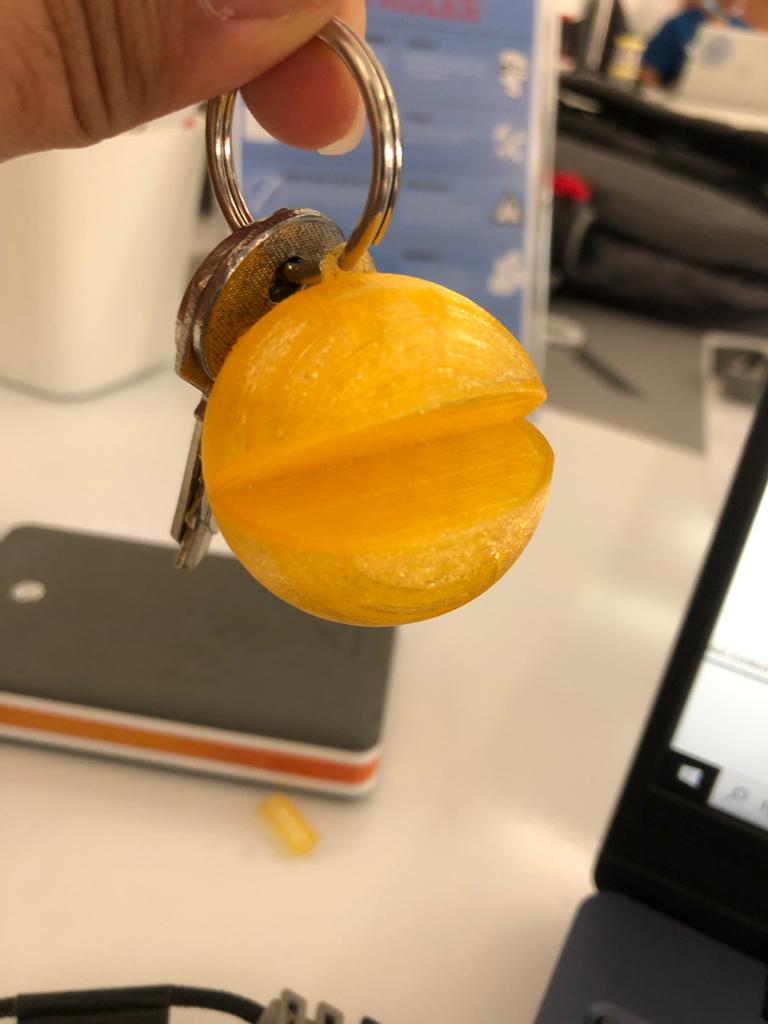
Inserting the keychain And the final look of it.
3D scanning
3D scanning is the process of analyzing a real-world object or environment to collect data on its shape and possibly its appearance.
In this week we applied 3D scanning using two programs being qlone and skanect.
qlone
qlone is phone program that utilizes the phone camera to capture any 3d object.
In order for the program to detect the 3d object it is necessary to put the object on top of qlone mat which is provided by the program.
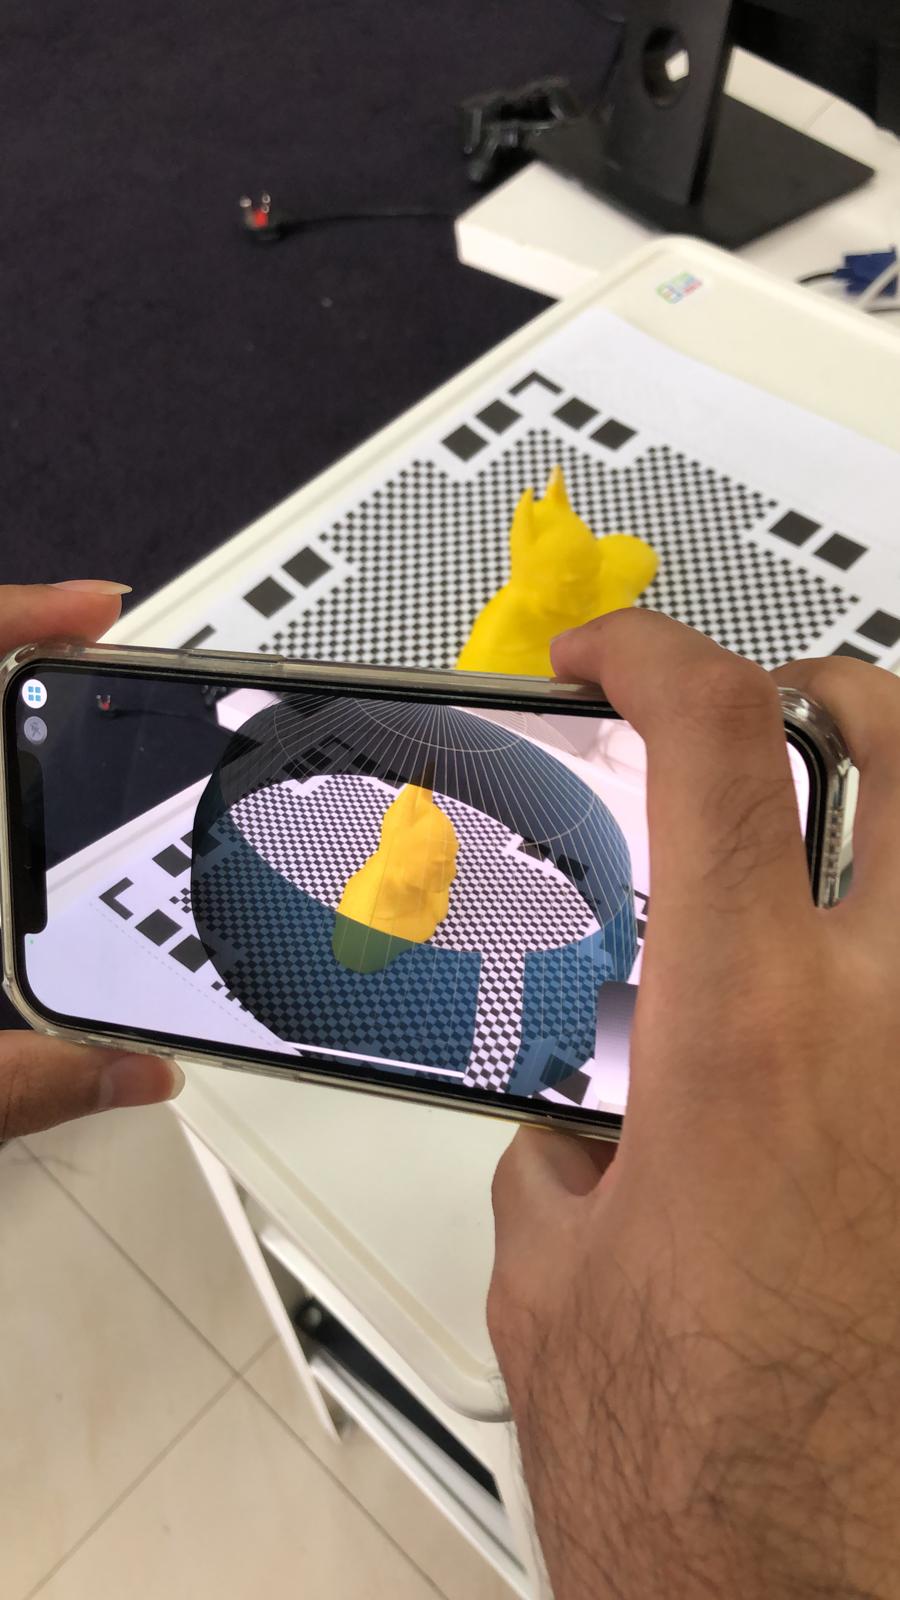
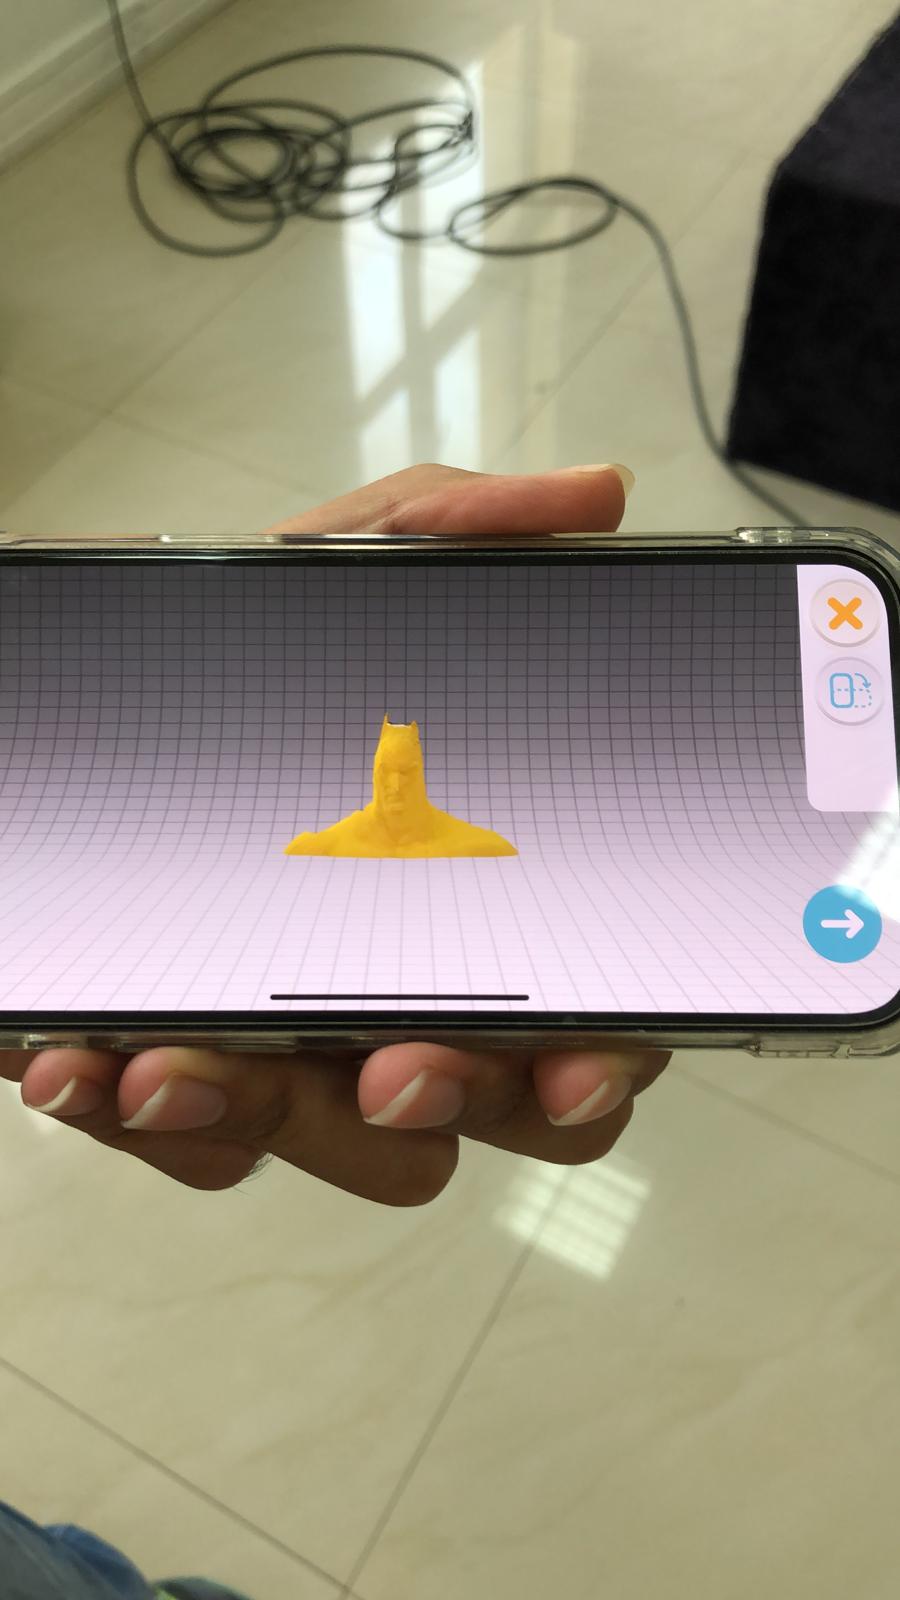
The rendering process

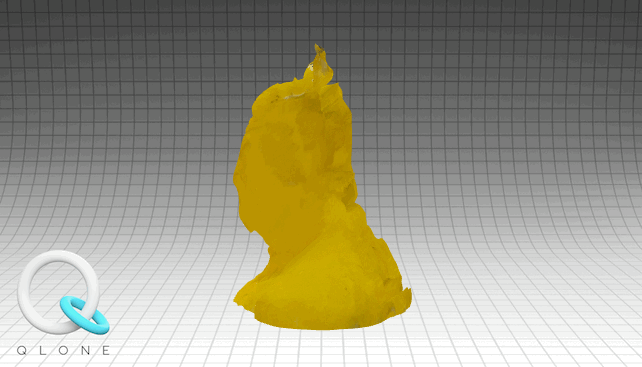
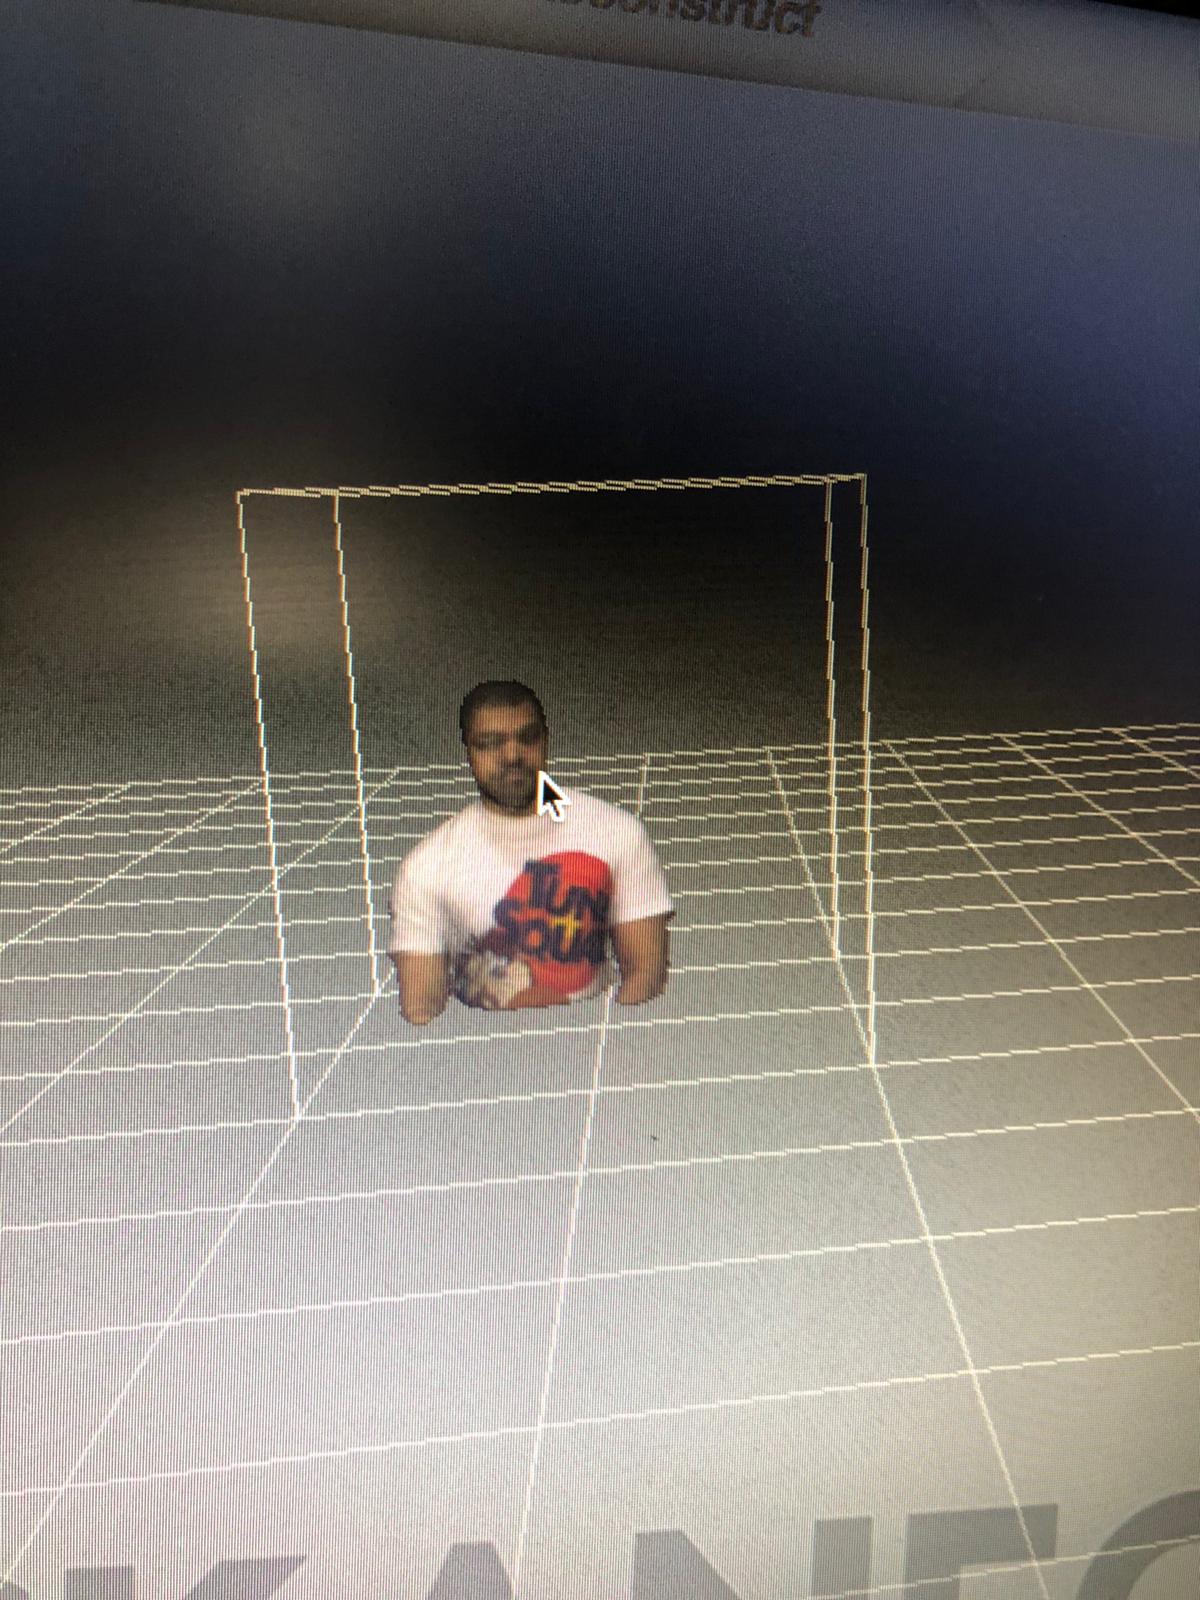
The final result, it can be noticed that the final look is not accurate this is because the capturing method was done in a hurry and usually 3d scanning requires accurate and precise capturing.
skanect
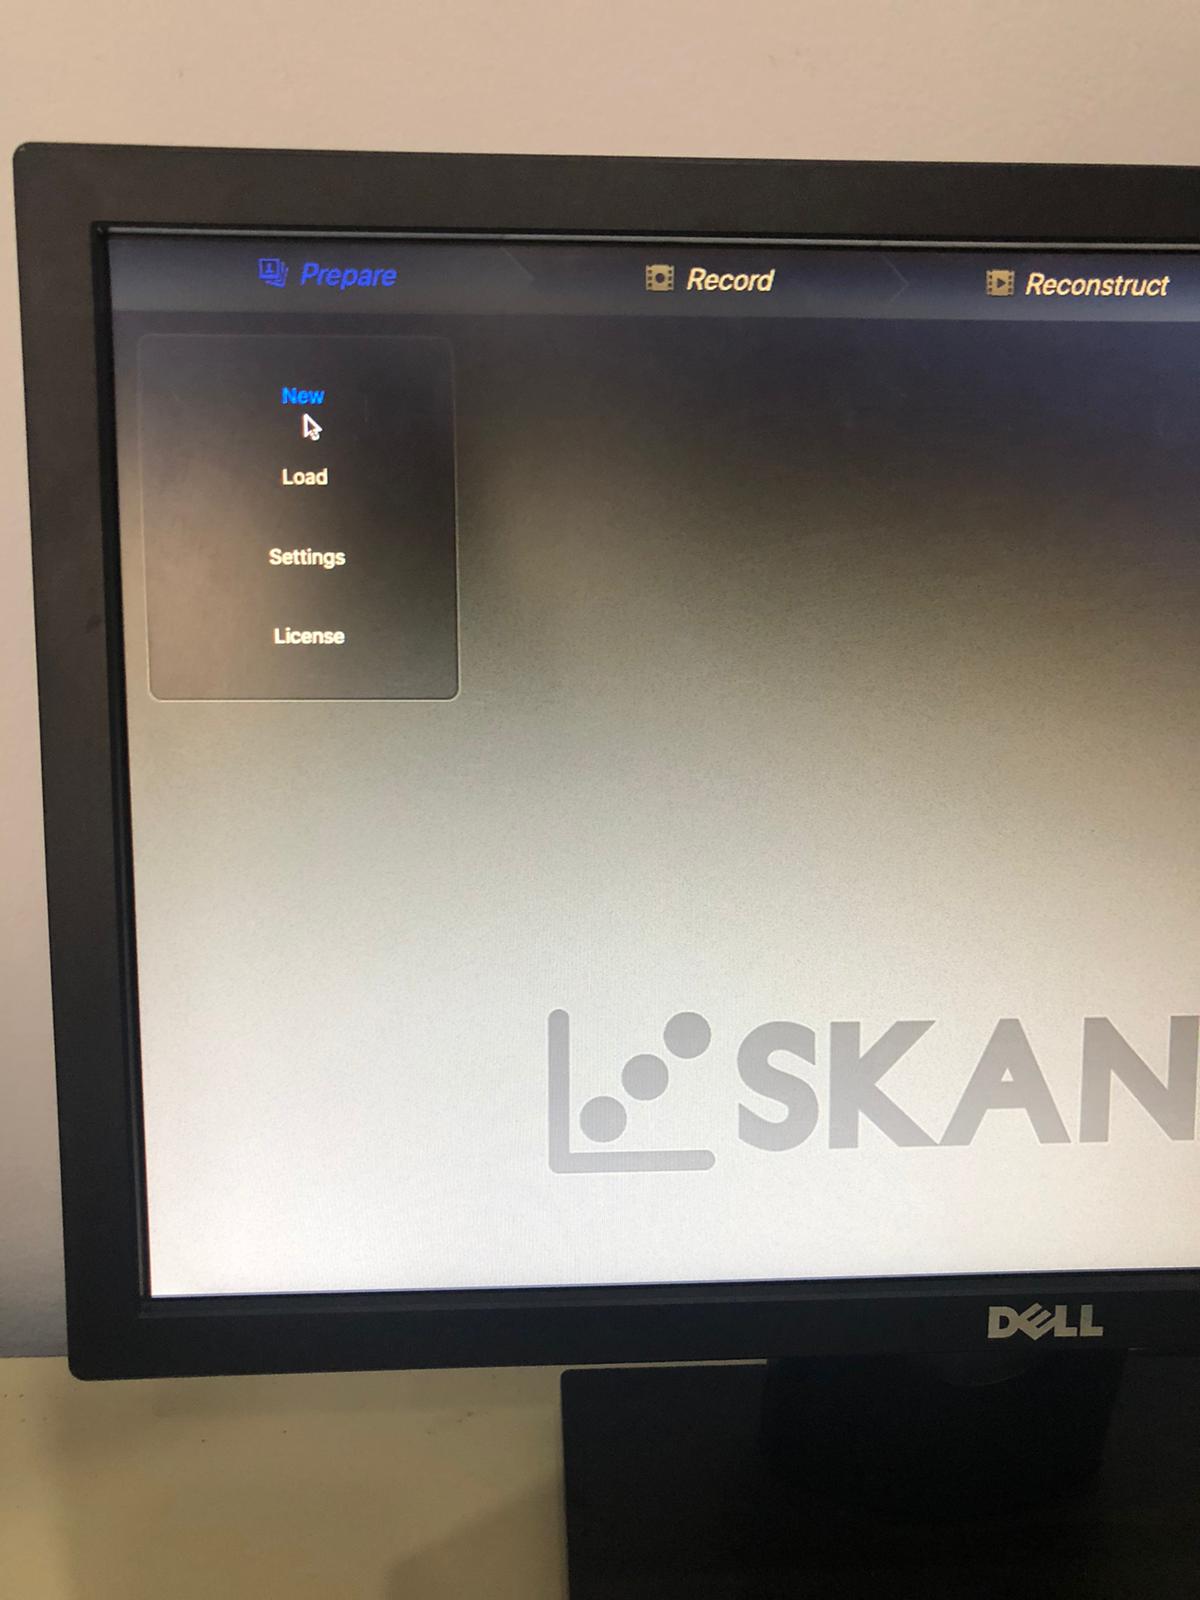
The next 3D program in line is skanect which is a program the was used for gaming purposes to capture the motion of the player into games. But however it is used now to capture 3d modules due to its capabilities.
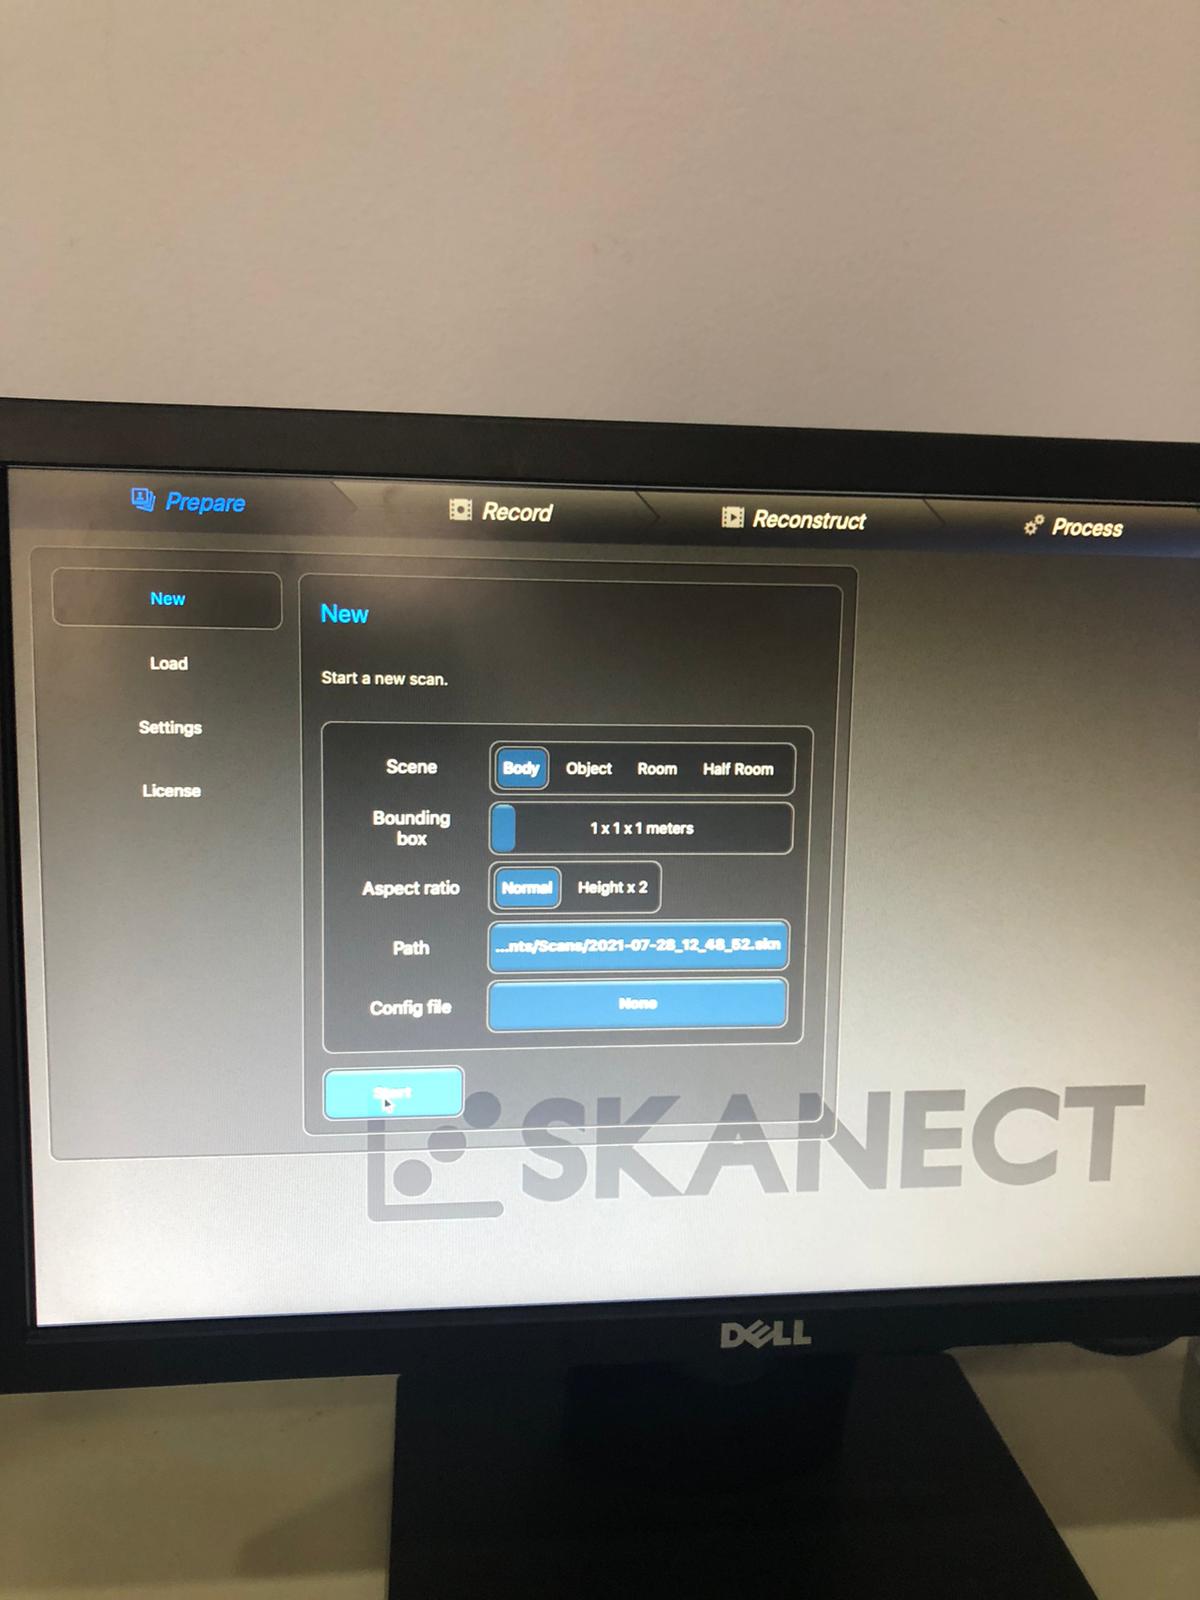
The first step is to create a new file
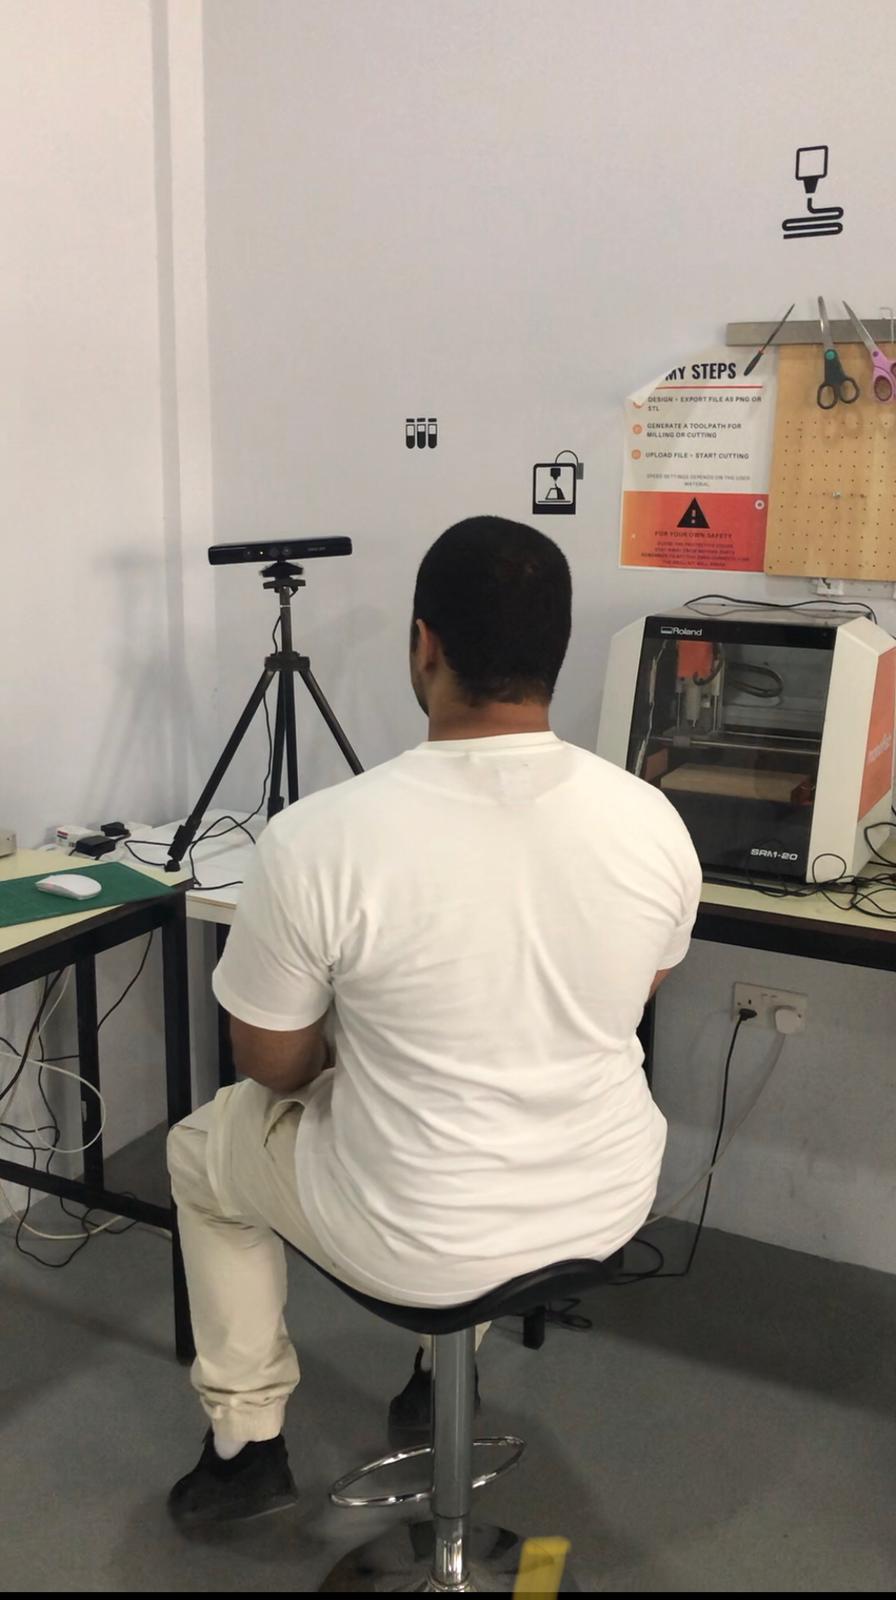
In this test we are going to capture a body which in this case is myself.
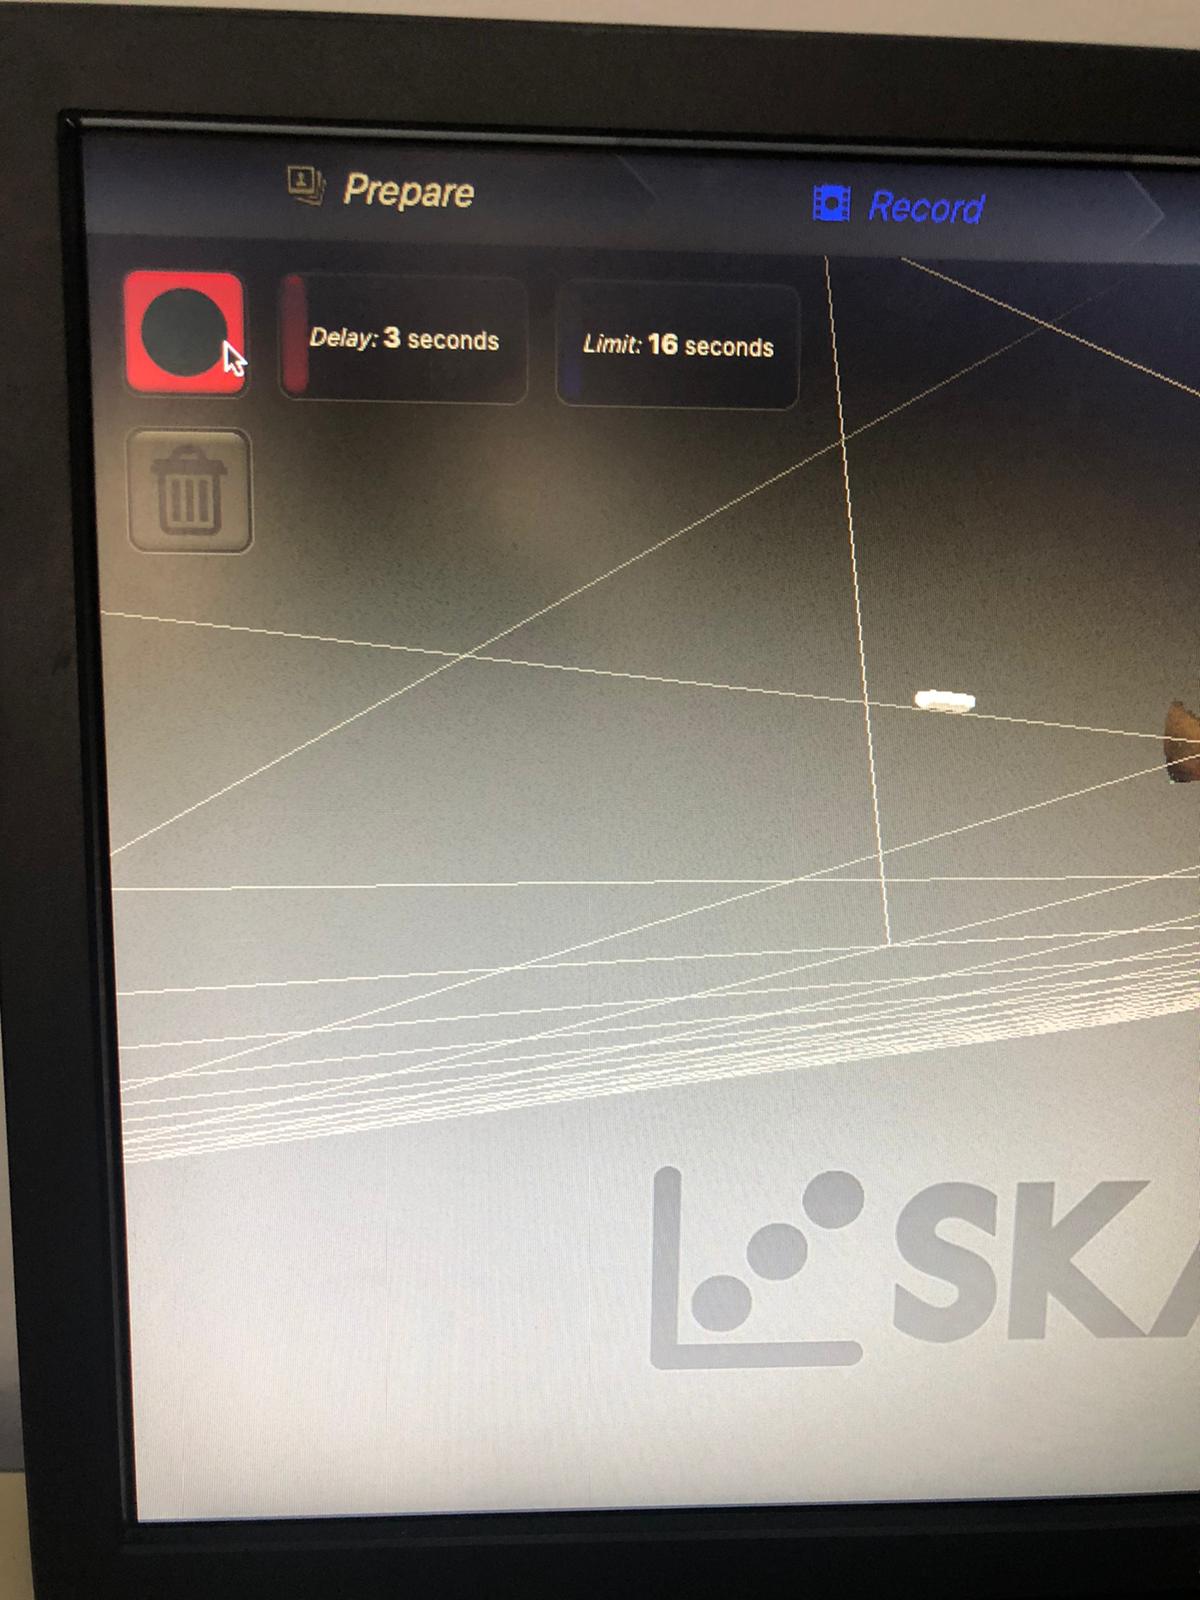
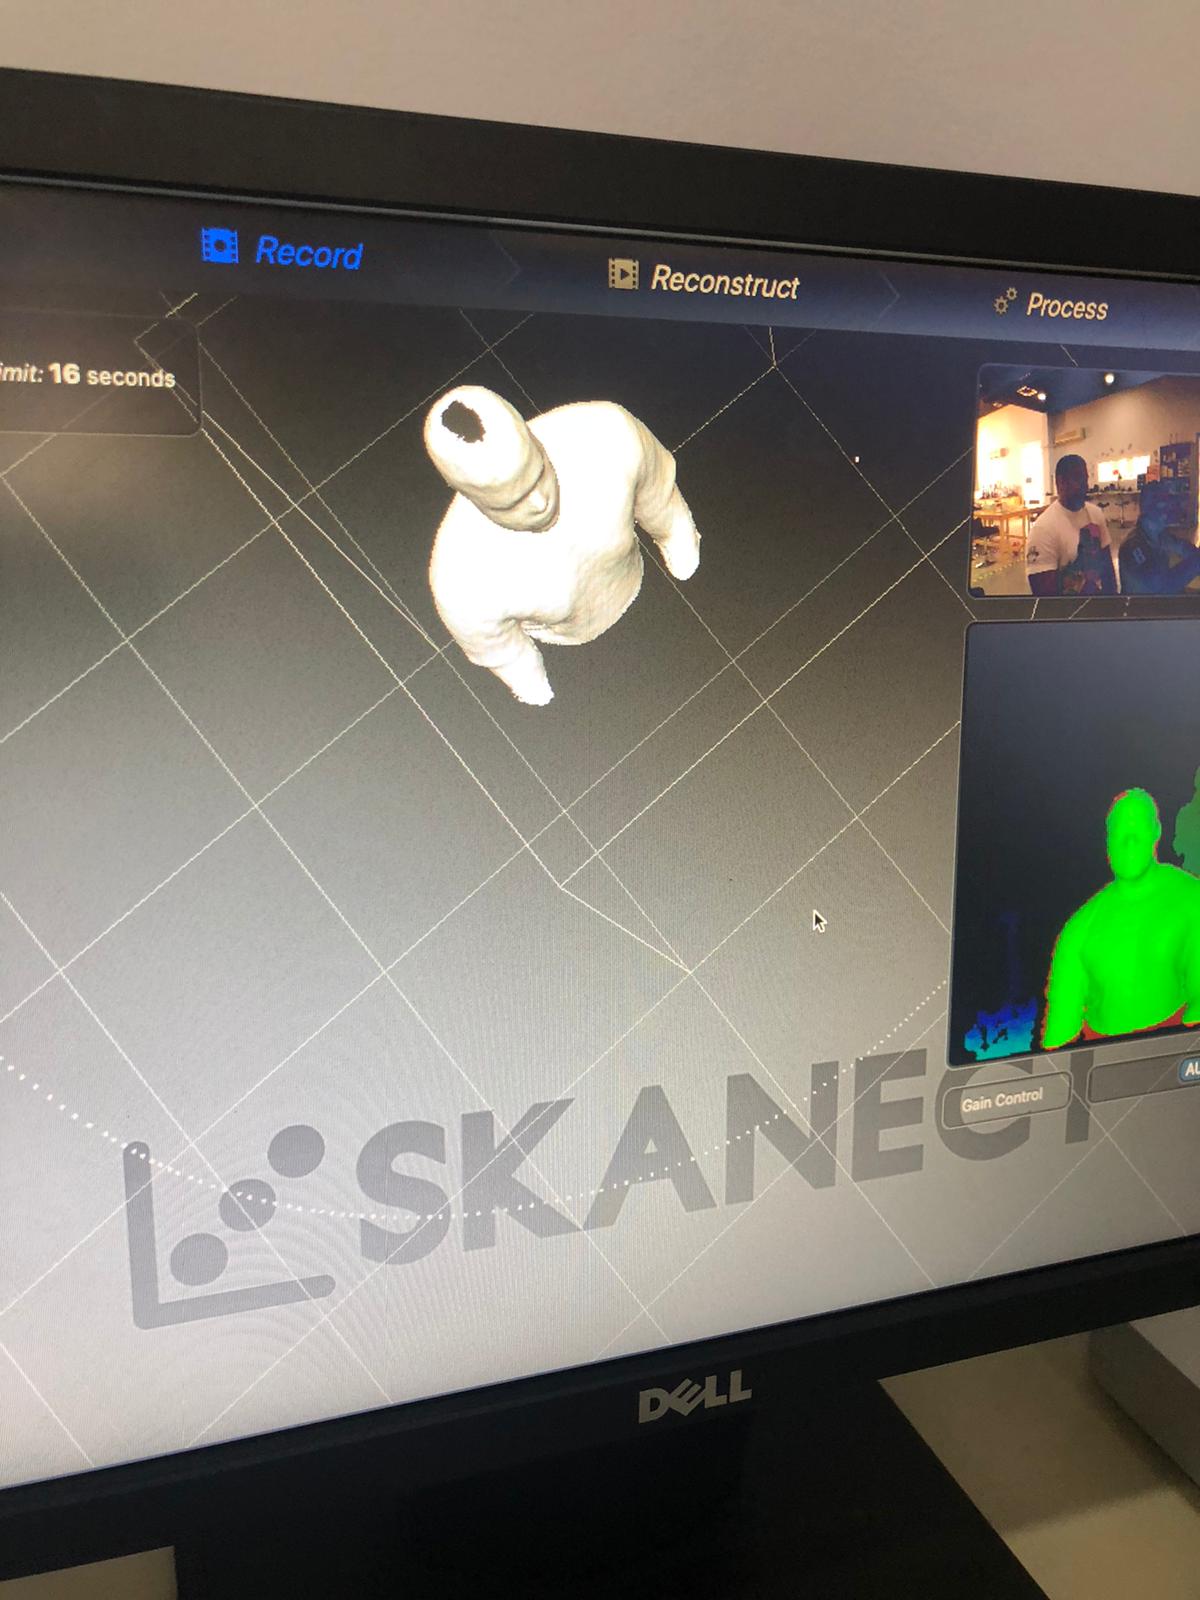
pressing the record button
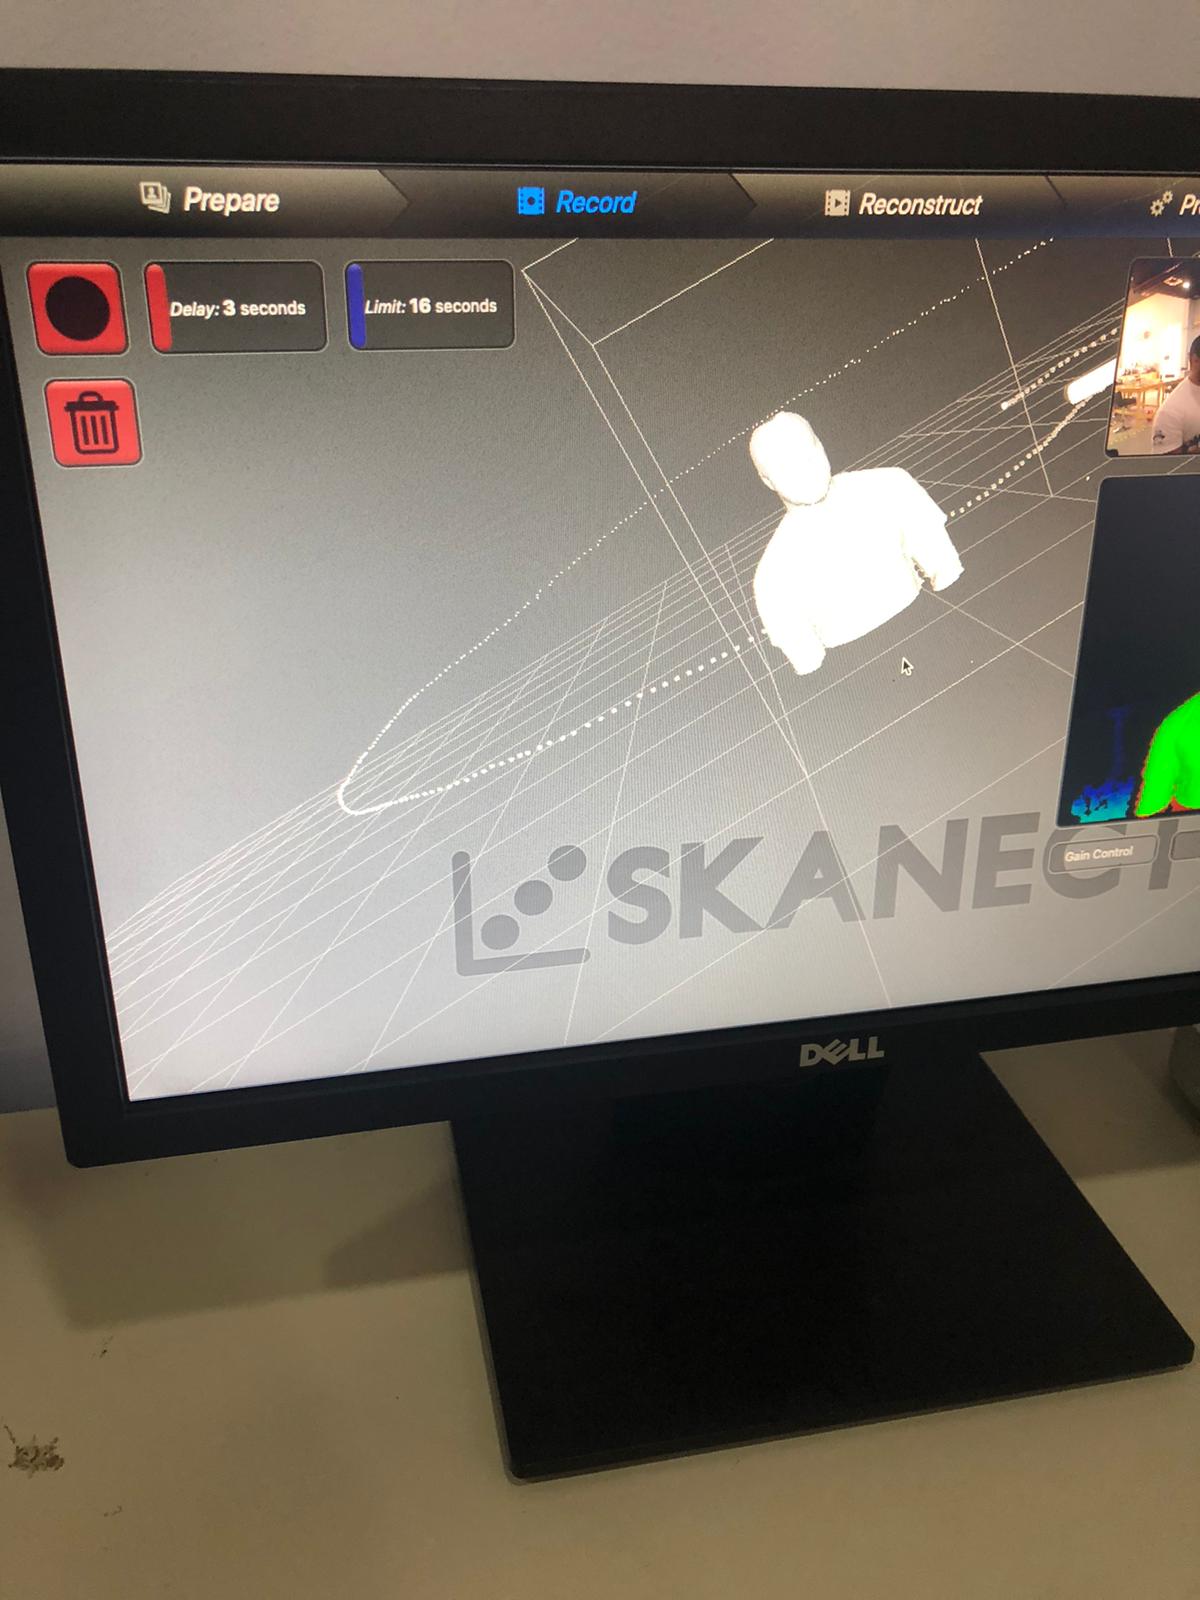
The process of recording
The 3d body that is created
It can be noticed that the camera was capturing my body in a 360 format however it could not capture the above image which the top of my head in this case.
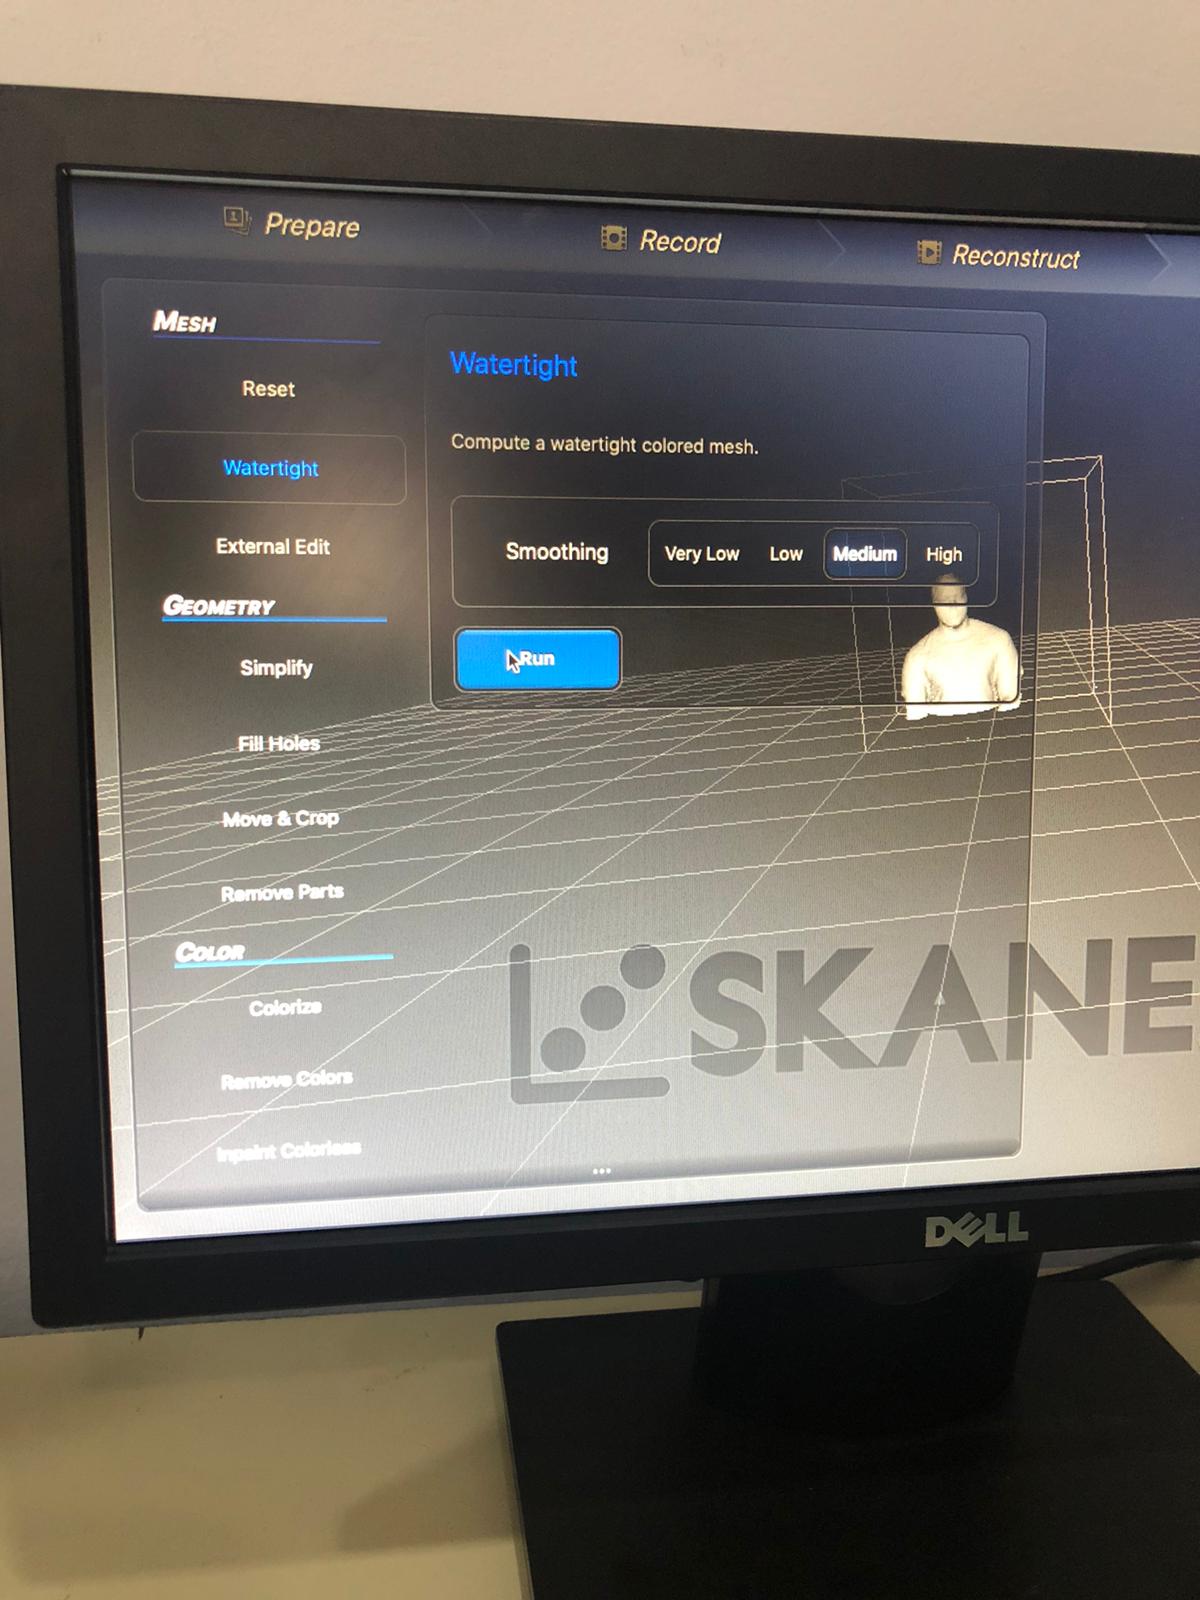
To cover the hole we use the watertight feature which covers all the holes
The final look
The 3D object can be exported in an STL format to be printed in a 3D printer