6. Embedded programming
This week I worked on learning how to program an Arduino board to do different things through its LED feature.
Arduino Nano
This week we will learn programing using Arduino Nano microcontroller which is a simpler version of the Arduino UNO it uses ATmega328P as it processor. It has a memory of 32 KB with a capability of reading an writing of 1024 Bytes.
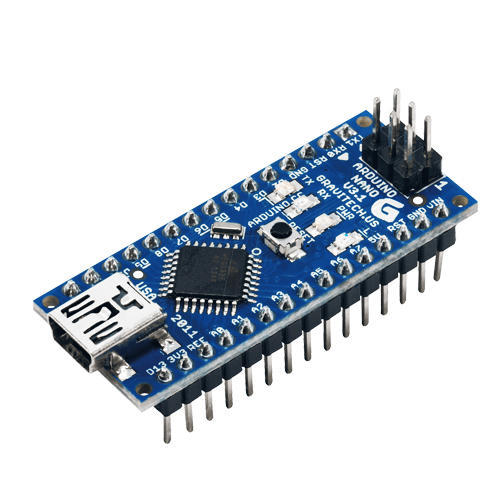
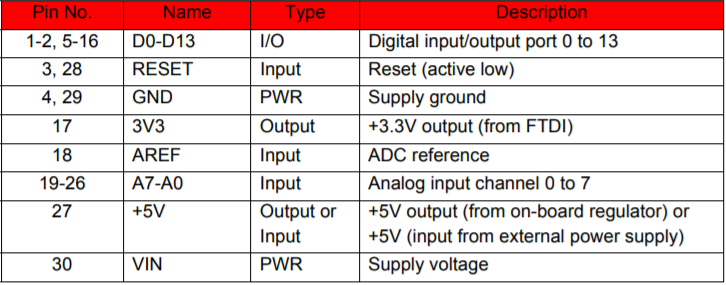
The following images shows all the important component and features of the Arduino Nano.

Arduino program
Arduino will be the first program to try and complete the easy mode challenge which is basically blinking using the LED light
First, we need to download the Arduino program + the drivers.
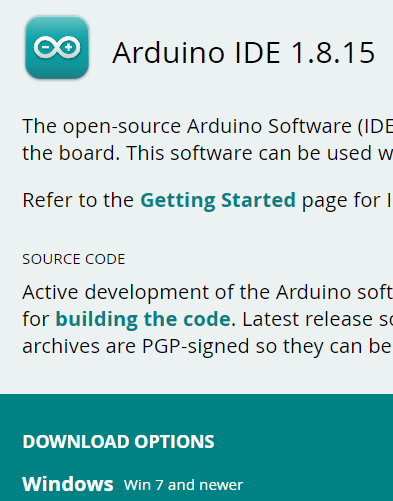

This is the user interface of the program

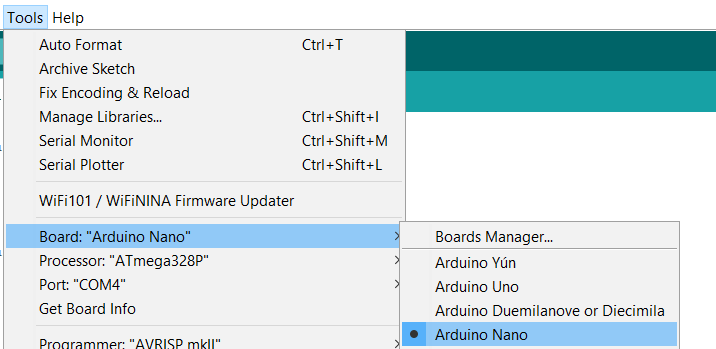
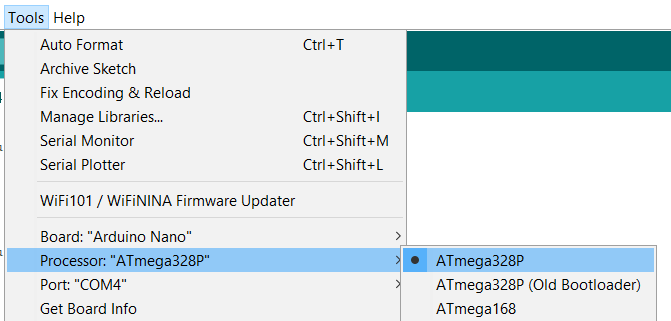
Before we start we need to setup the program to identify the board we are using.
Choosing the board type
Choosing the processor
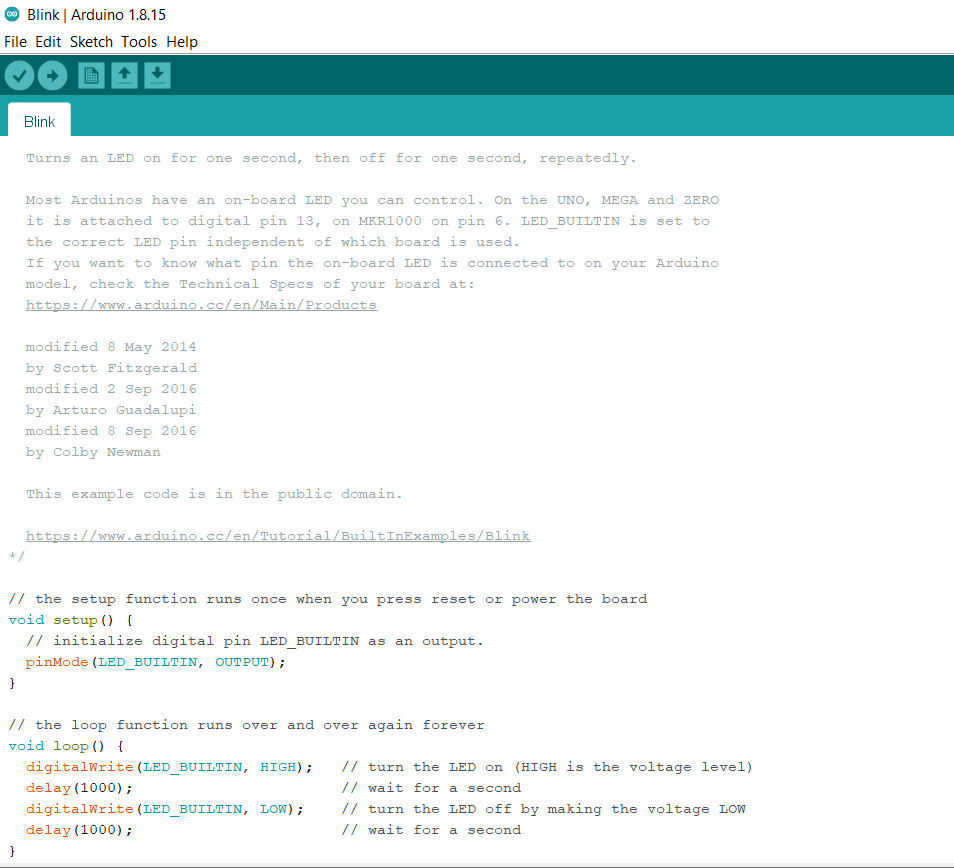
The setup is process that happens once which in this case we want the LED lighting, so we choose the pinmode to the right pin where the LED light is located. Then we choose output; meaning it should output the light.

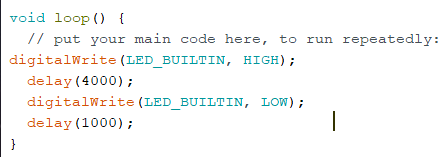
The next step is to choose the process that will happen continuously, in our case it is the blinking process. We add the command digitalwrite with the LED name + HIGH; the HIGH translates to the light being ON and LOW to OFF mode, the delay is basically the time they will spent ON or OFF in millisecond.
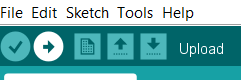
The final step is to upload the commands to the board by hitting the Arrow.
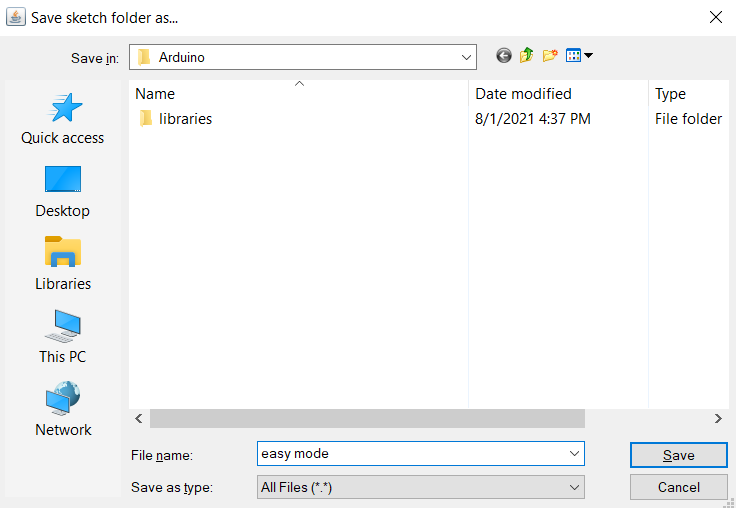
Saving the file for future revisions.
The process is completed.

Final result
It should be noted that the blinking process is considered one of the basic examples of coding therefor it can be accessed via the examples provided by Arduino software.
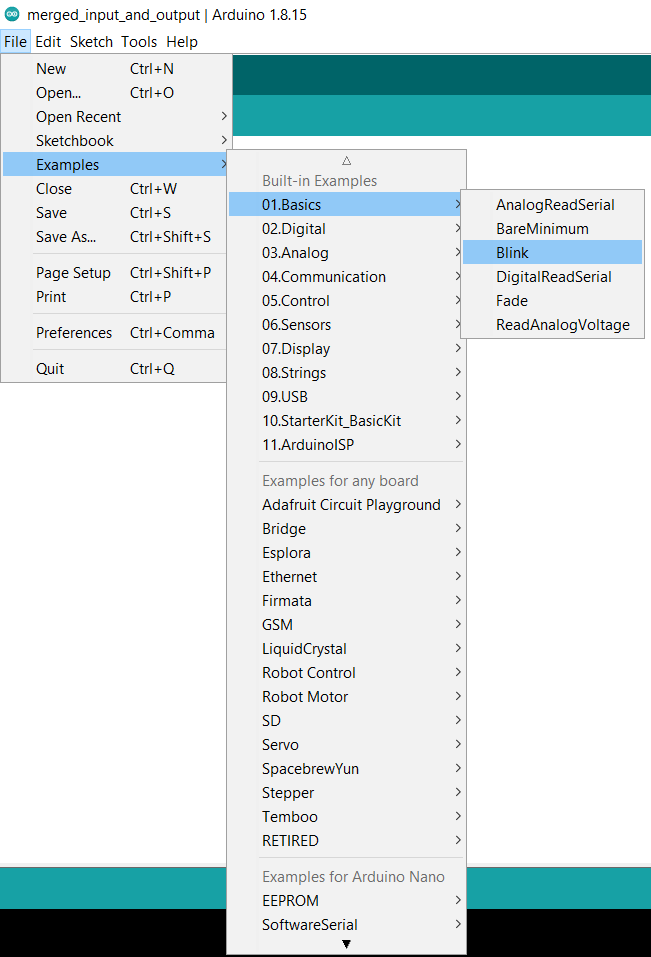
The only changes applied to the code was playing with the delays.
Code
void setup() {
  // put your setup code here, to run once:
  pinMode(LED_BUILTIN, OUTPUT);
}

void loop() {
  // put your main code here, to run repeatedly:
 digitalWrite(LED_BUILTIN, HIGH);
  delay(4000);
  digitalWrite(LED_BUILTIN, LOW);
  delay(1000);
}
Visual Studio Code + PlatformIO IDE Extension
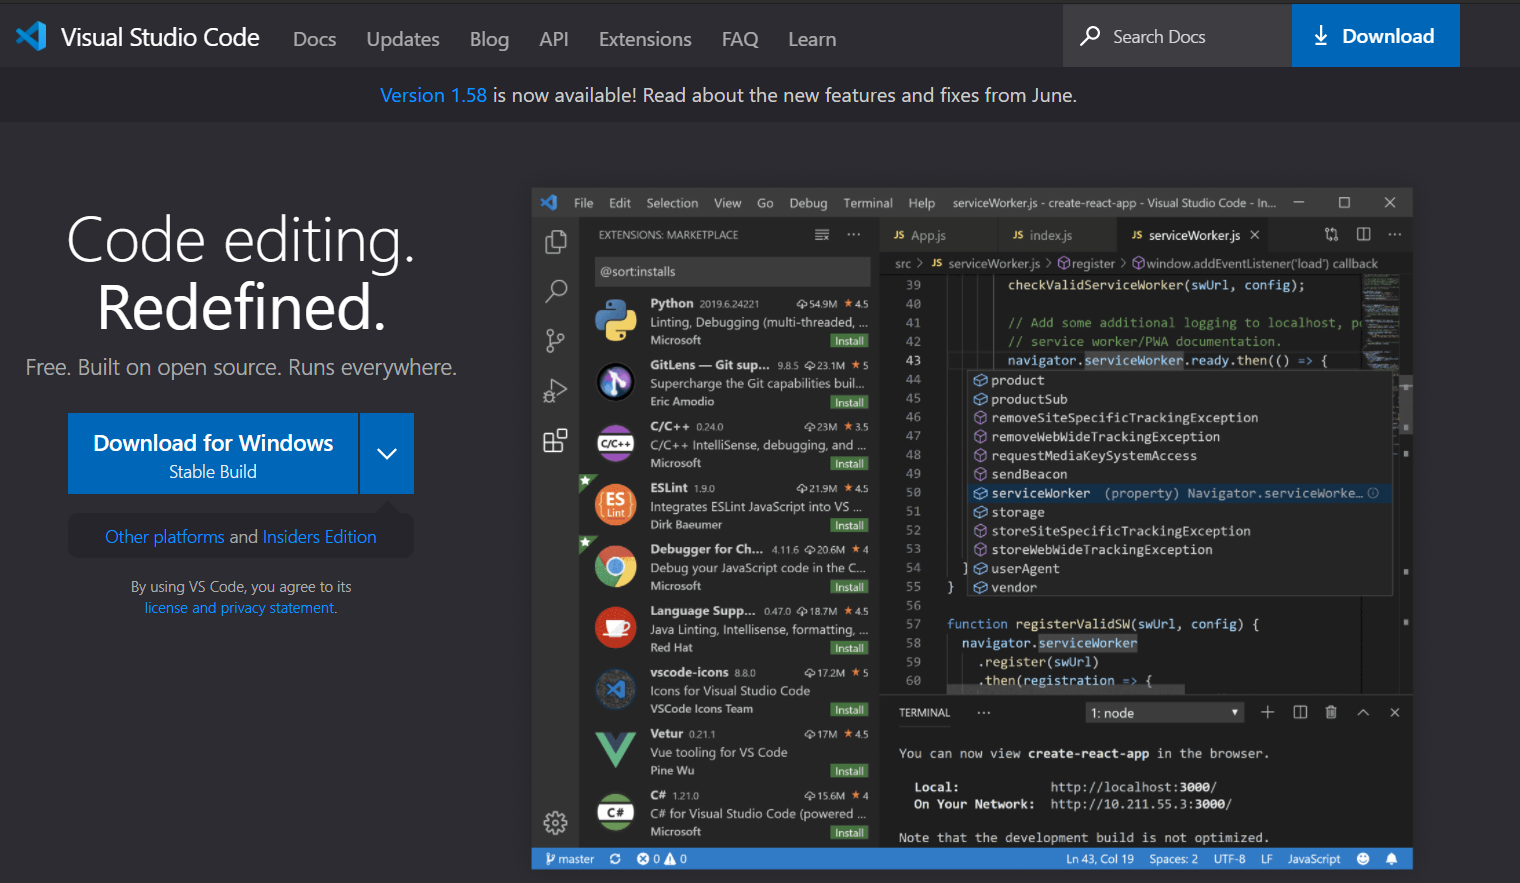
The next program is Visual Studio Code. The first step is basically downloading it.
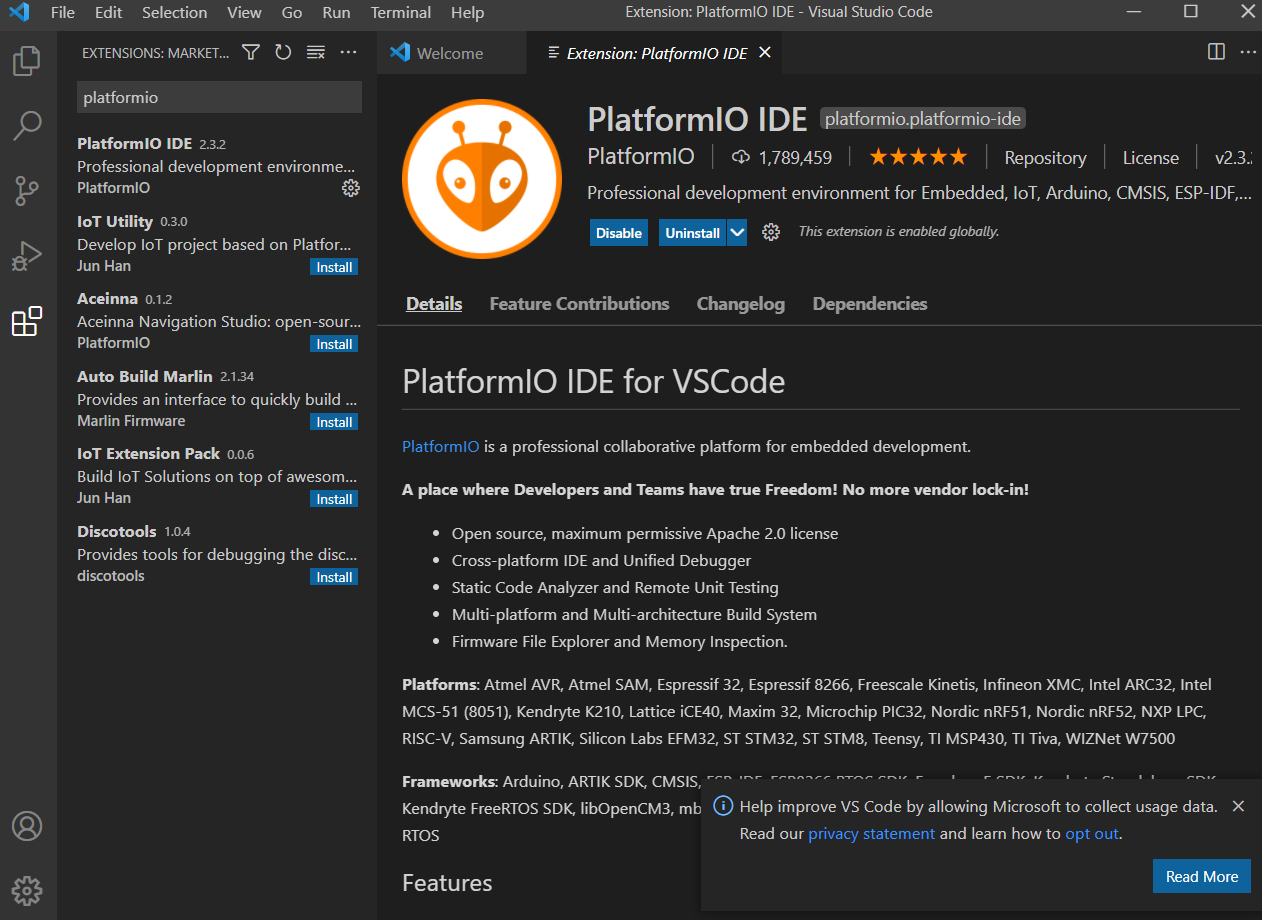
After opening the program we head to the extensions part, and we write platformIO which a programming extension that can read Arduino boards and many other boards and languages.
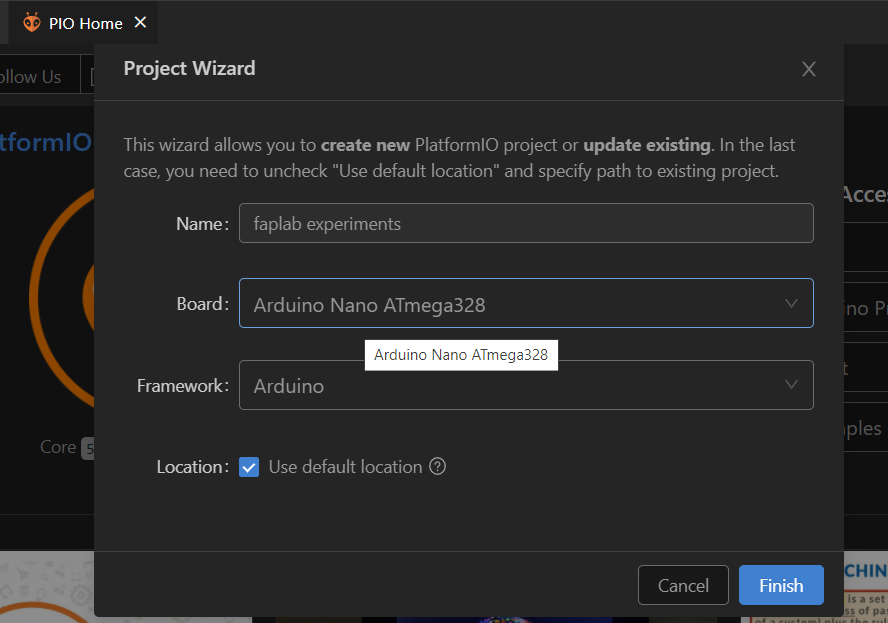
The next step is to start a new project and choose the board type.
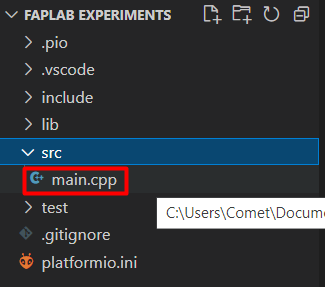
To access the command window we head to under src to find it.
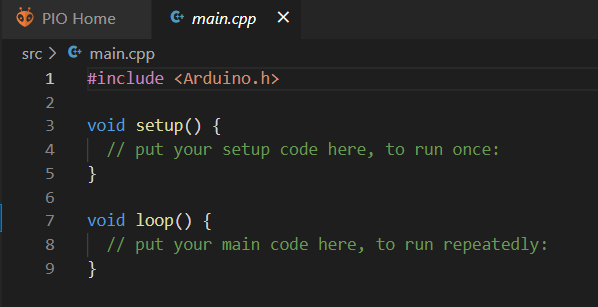
This is how the interface should look like.
This is the Morse code sheet. In my challenge I will let the board spell the word HELP in Morse language.
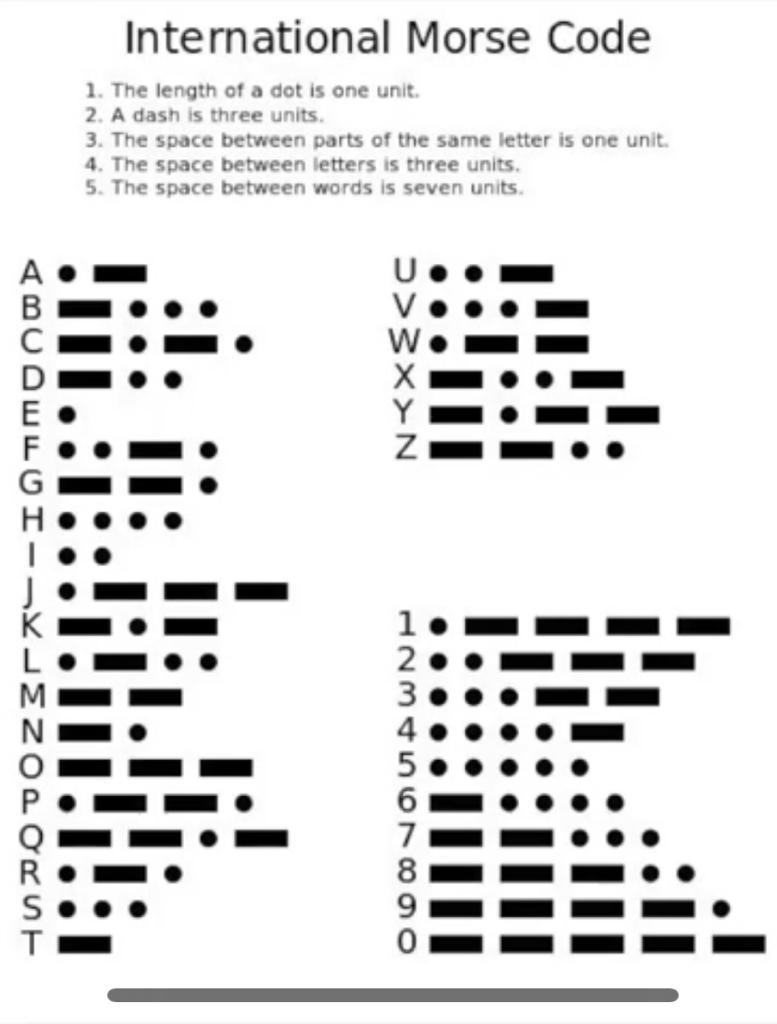
The first part is to identify the dots and dashes with certain timing to be able to read them.
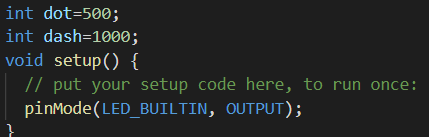
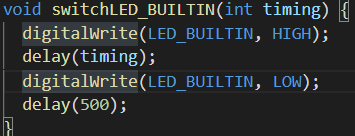
for the loop to happen we add the command switch to the intended pin which basically tell the LED to switch ON or OFF depending on the timing, which in this case will be the dots and dashes.
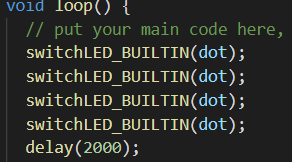
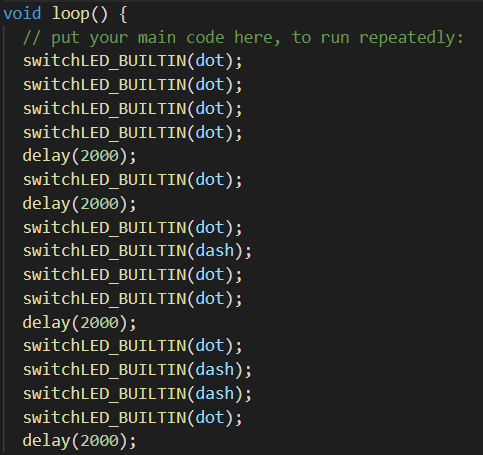
This the timing loop this the first letter H. It should be noted that after every letter their should be a 2 second delay to understand that a letter was spelled.
The complete HELP Morse code.
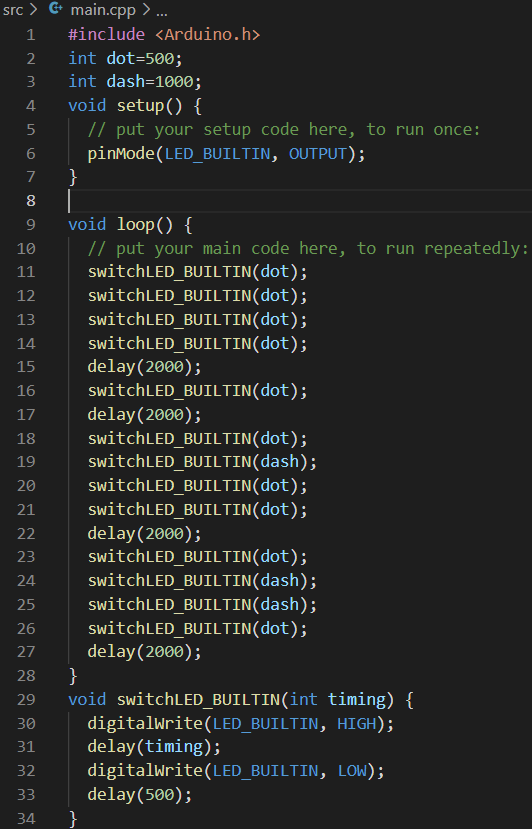
The final code.
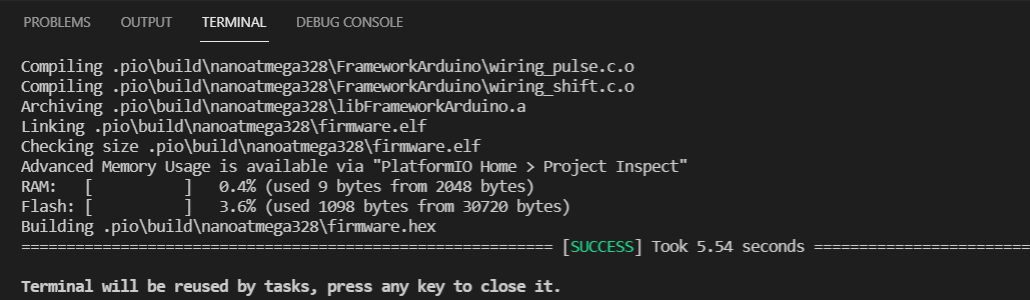
After the code is completed we first compile it.

Successfully compiled.
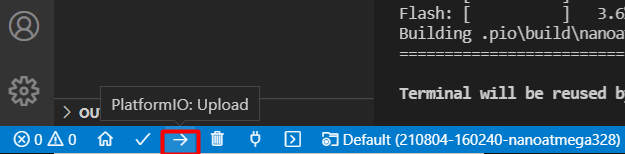
Finally we upload the code to the board.
Final result
code
int dot=500;
int dash=1000;

void setup() {
  // put your setup code here, to run once:
  pinMode(LED_BUILTIN, OUTPUT);
}

void loop() {
  // put your main code here, to run repeatedly:
  switchLED_BUILTIN(dot);
  switchLED_BUILTIN(dot);
  switchLED_BUILTIN(dot);
  switchLED_BUILTIN(dot);
  delay(2000);
  switchLED_BUILTIN(dot);
  delay(2000);
  switchLED_BUILTIN(dot);
  switchLED_BUILTIN(dash);
  switchLED_BUILTIN(dot);
  switchLED_BUILTIN(dot);
  delay(2000);
  switchLED_BUILTIN(dot);
  switchLED_BUILTIN(dash);
  switchLED_BUILTIN(dash);
  switchLED_BUILTIN(dot);
  delay(2000);
}
void switchLED_BUILTIN(int timing) {
  digitalWrite(LED_BUILTIN, HIGH);
  delay(timing);
  digitalWrite(LED_BUILTIN, LOW);
  delay(500);
}