4. Computer controlled cutting
This week we worked on learning both about laser and vanyl cutter.
Group Assignment 2
Laser Cutter
Laser cutting is a fabrication process that uses a thin, focused, laser beam to cut and etch materials into custom designs, patterns, and shapes.
The objective was to use the laser cutter machine to cut a parametric press-fit construction kit that we will design.
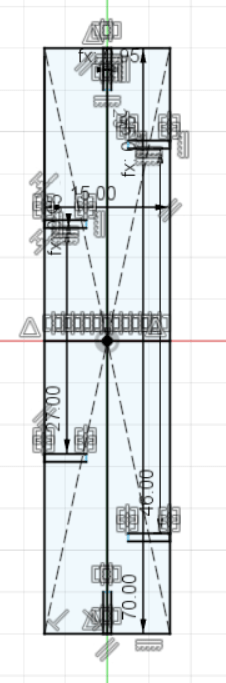
The first part is to sketch parametric press-fit construction kit using fusion 360. However it is important to make the skitch parametric meaning there has to be specified parameters.

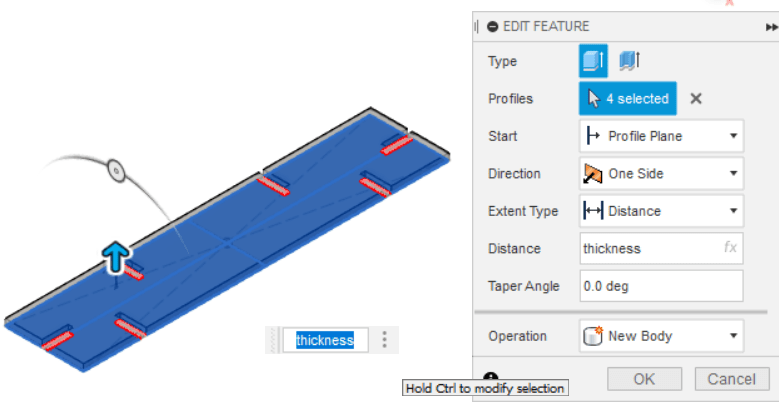
After that we extrude the sketch.
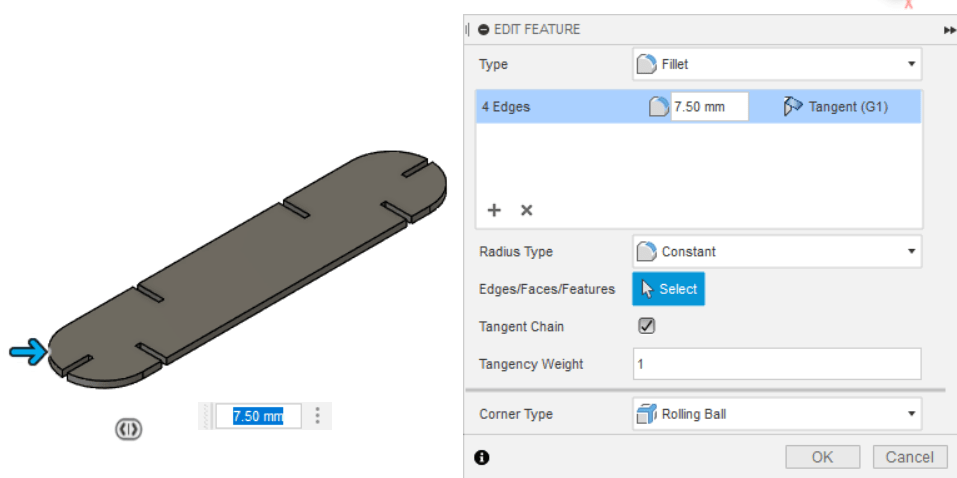
We fillet the edges to make it look better.
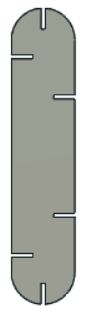
The final product looked like the following:
Downloadable Files
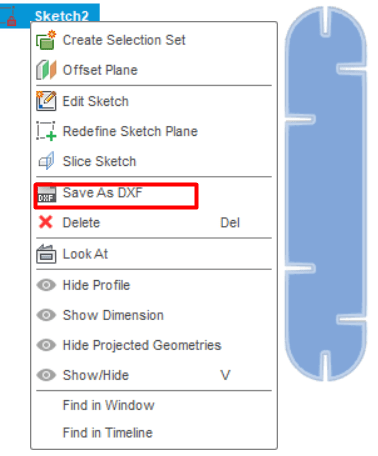
To export the design to the lasercutter (RDWorks program) we have to save in DXF format.
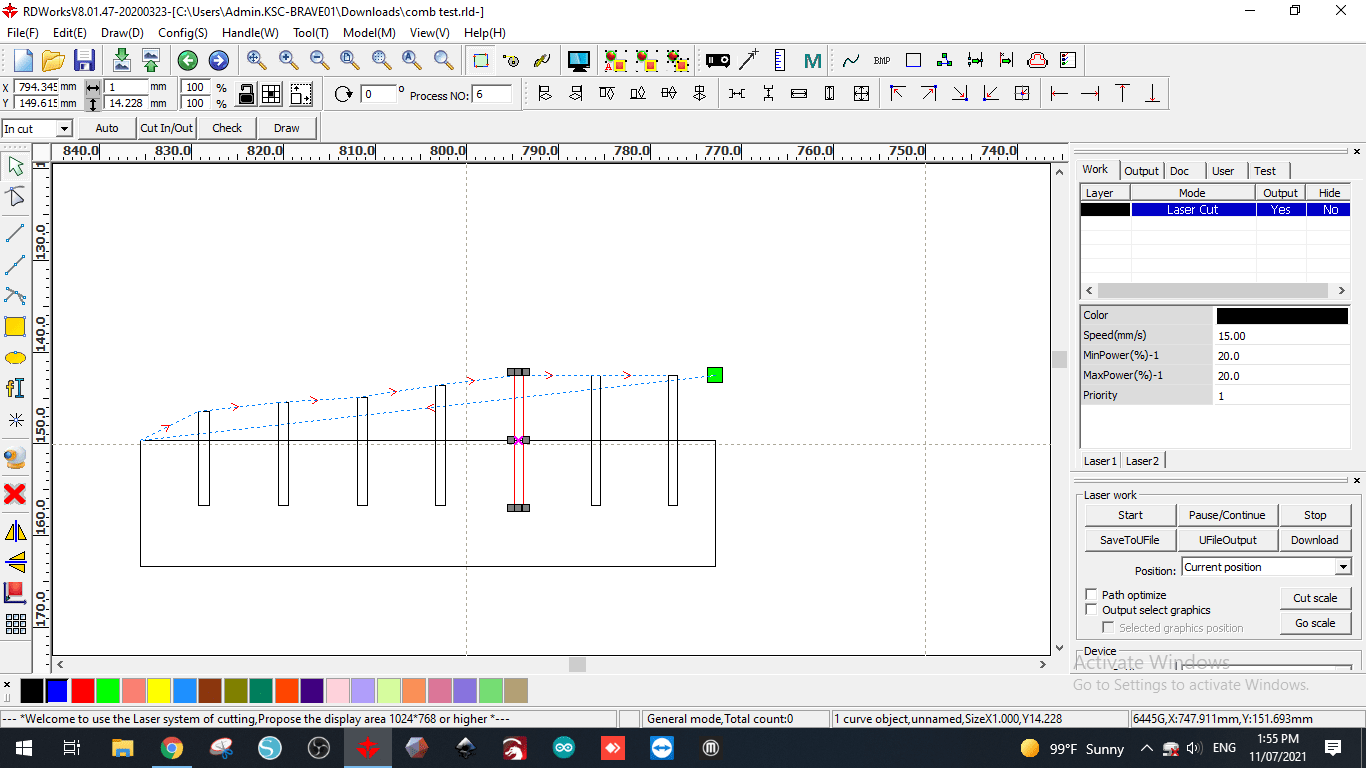
To identify the best tolerance we need to test different sizes, therefor we make a test subject.
Before we send the design to the machine We need to specify specific parameters regarding the power of the laser,speed of the cut,number of passes,..etc.
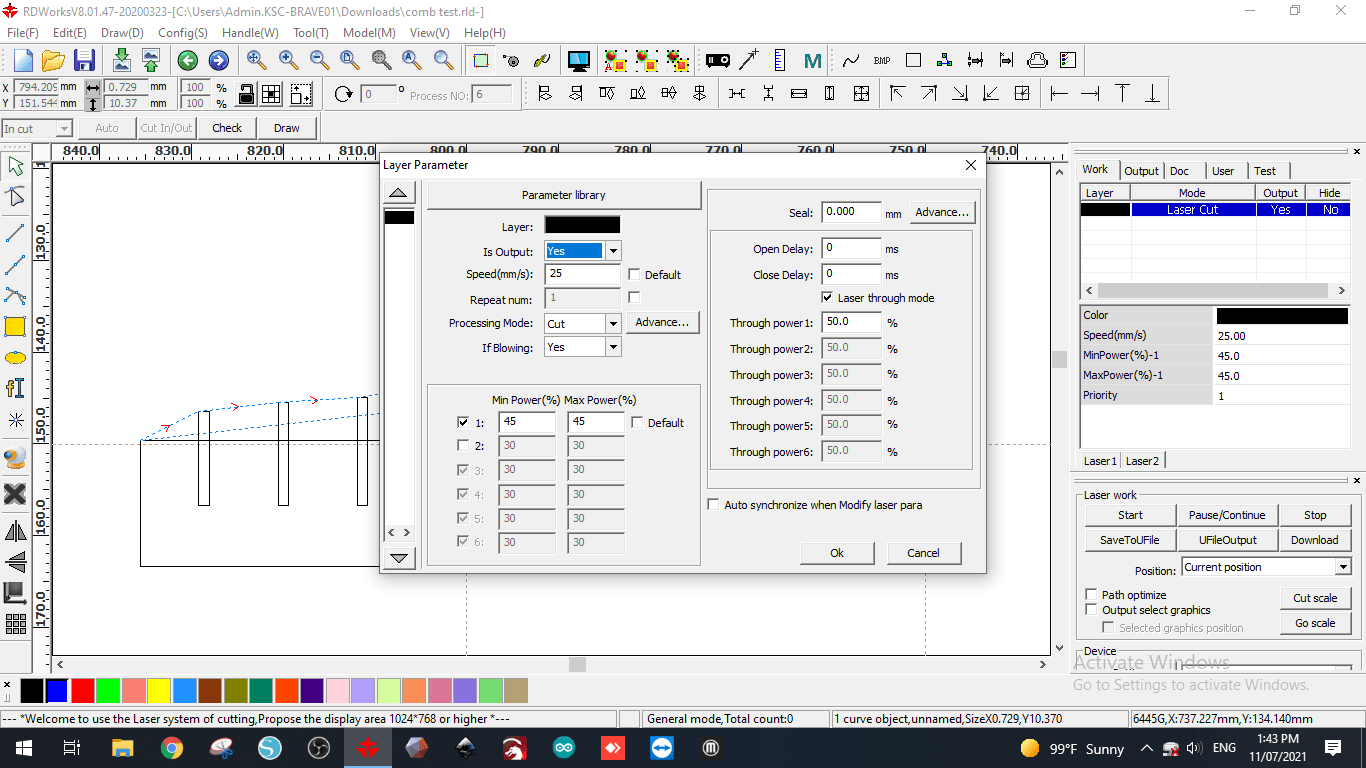
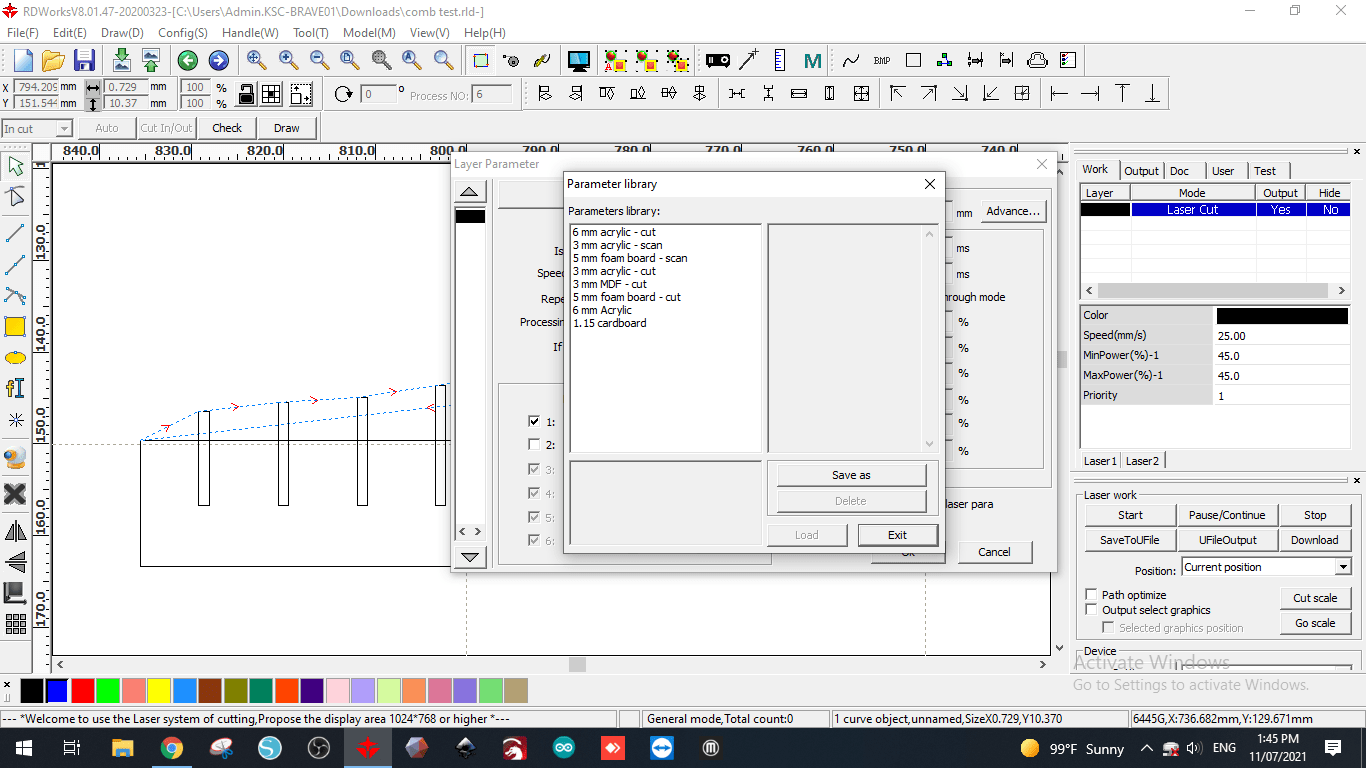
Due to the multiple testing that have been conducted using different materials therefor all the needed parameters are saved in a library. The material we are using is carboard.
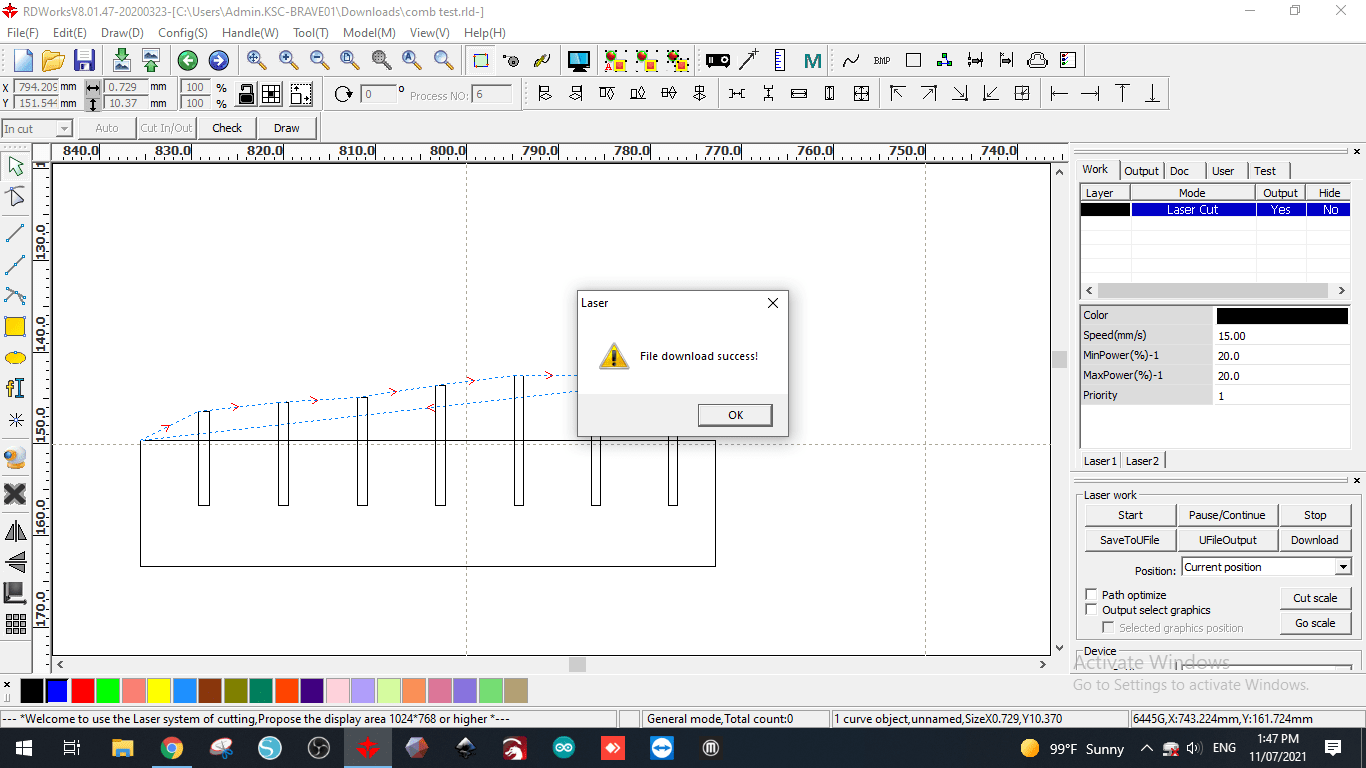
Naming the file before sending it to the machine.

This notifies that the file is successfully downloaded to the machine
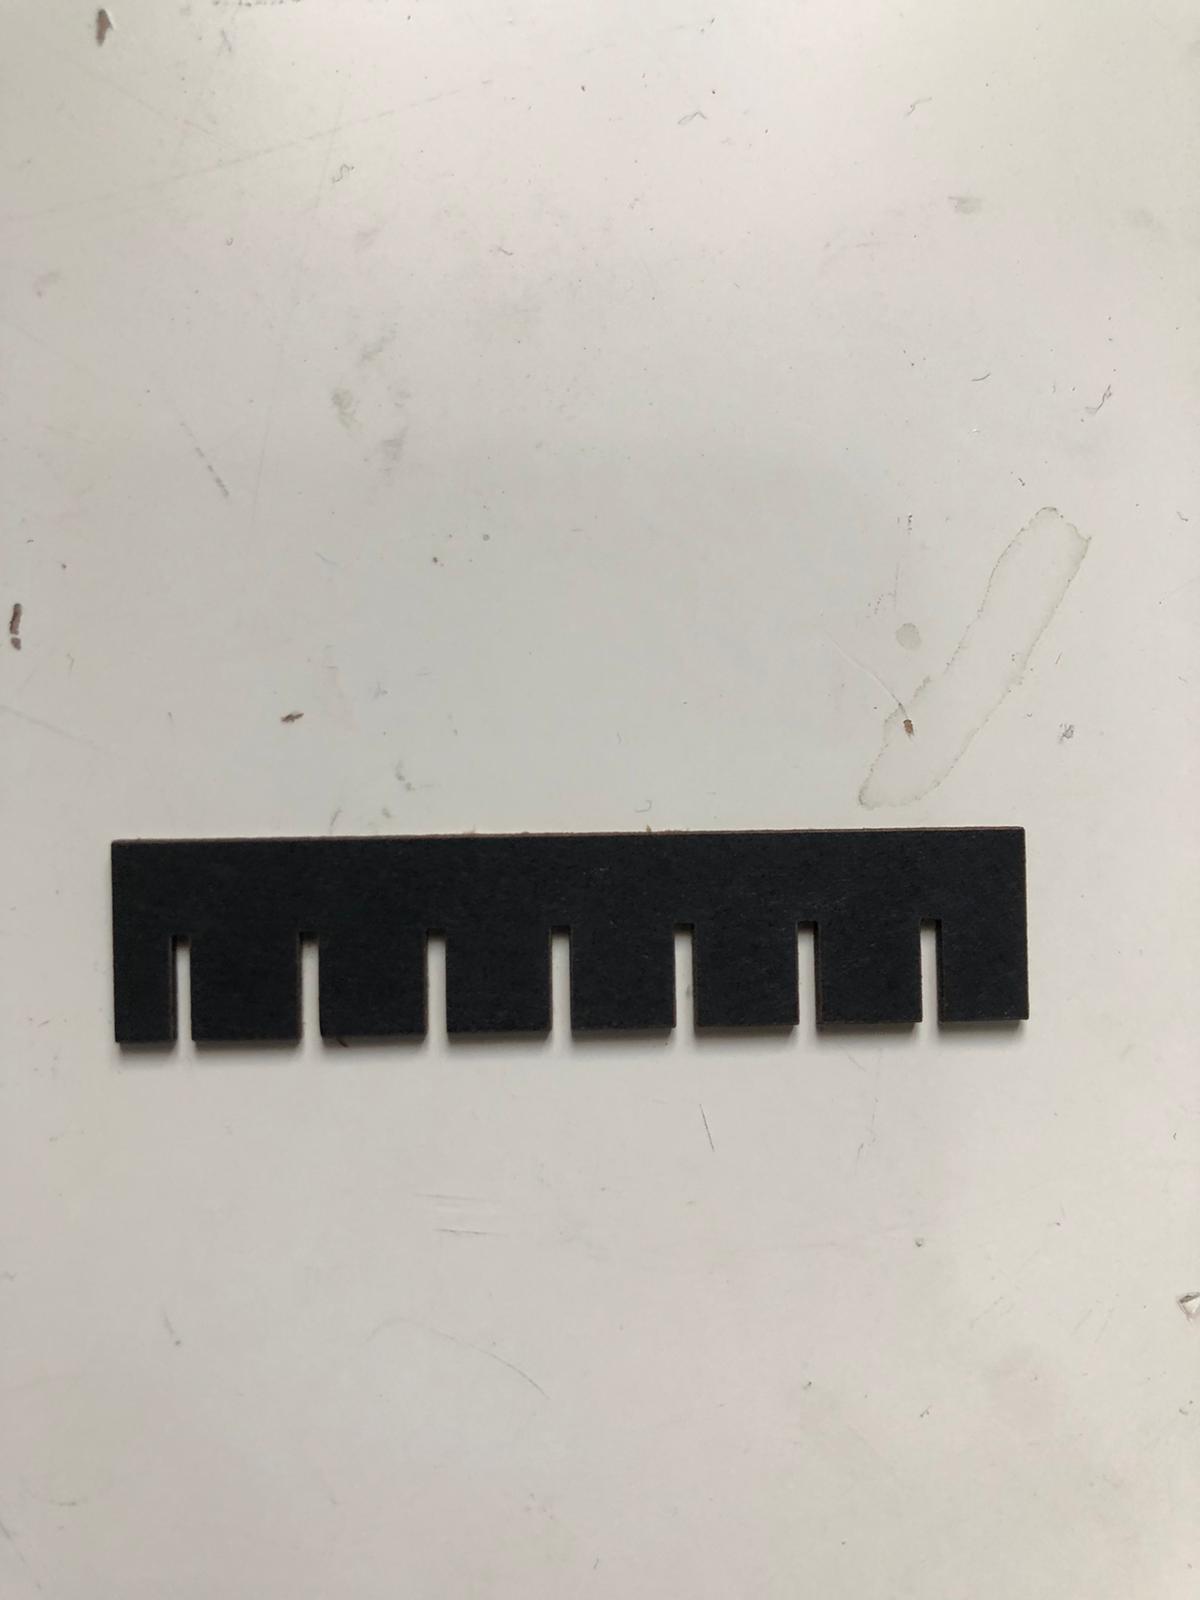
After the cut.
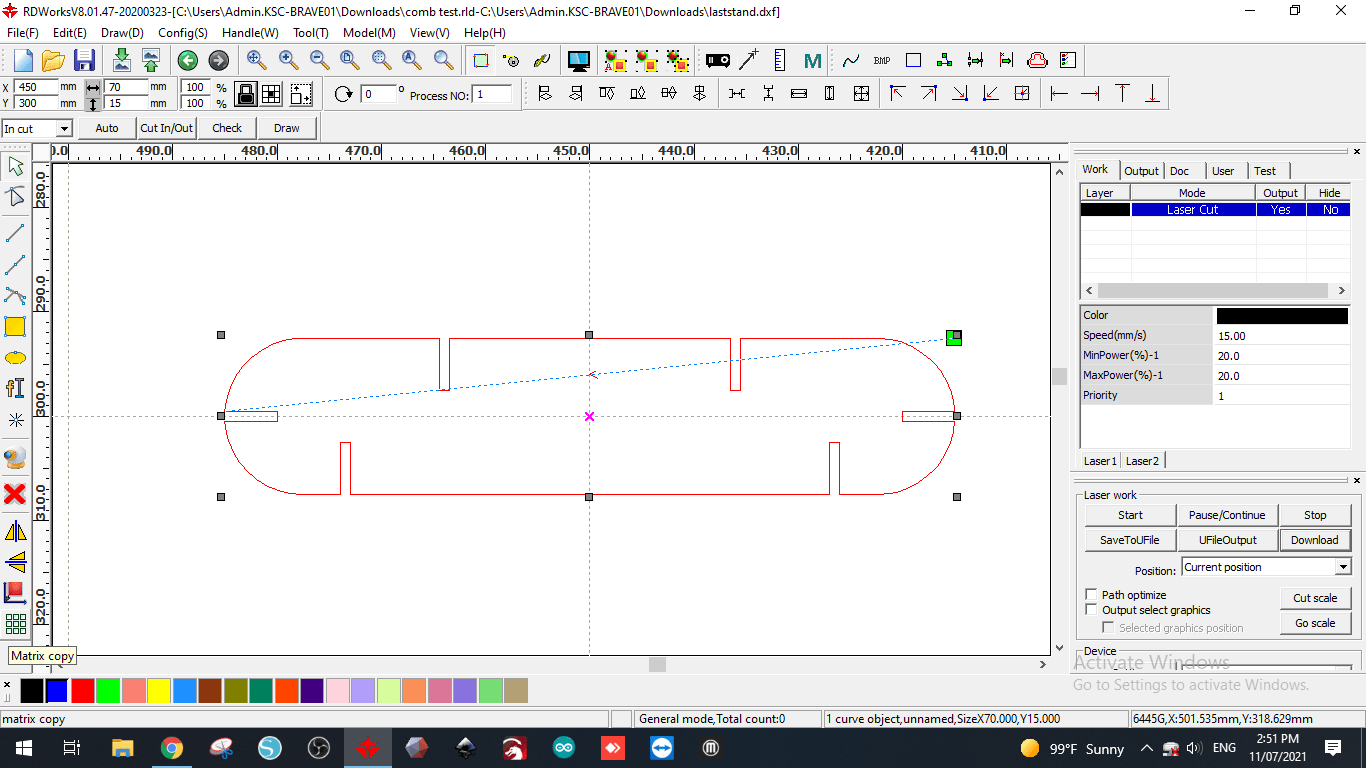
Now that we defined the best tolerance using the test subject and fixing it using fusion360. We proceed to cut the design. First we add the design.
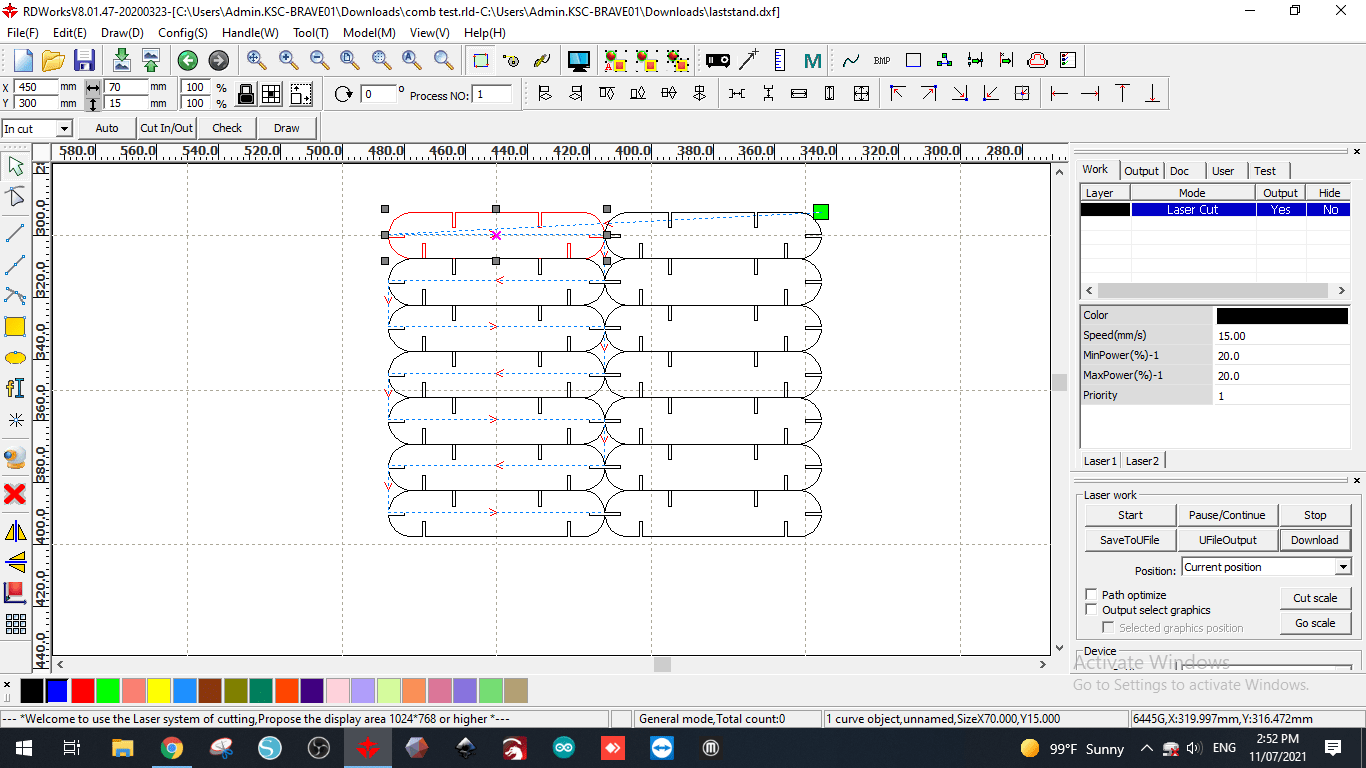
In order to create multiple copies we use the matrix feature.

This is the final look before proceeding to cut step.
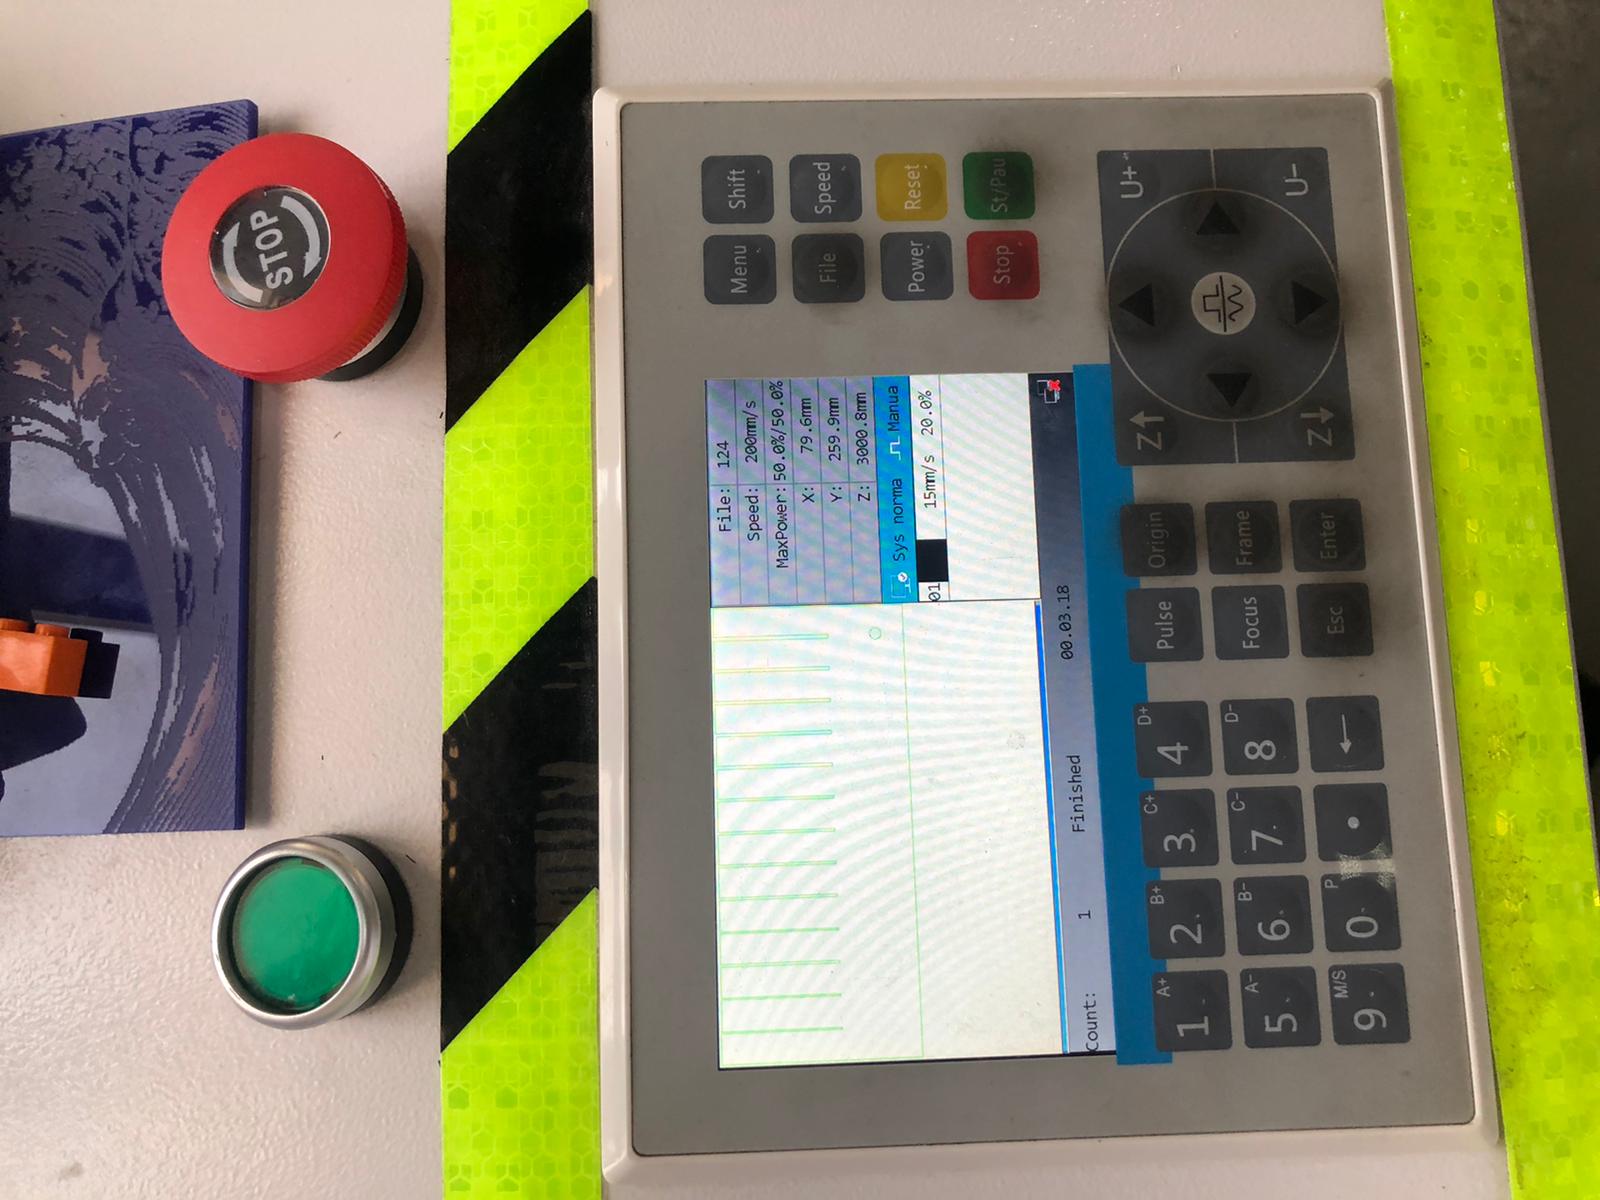
This is the control panel for the laser cutter to call the file, specify the origin of the cut and frame it to make sure that the cut will be in the frame. If anything goes wrong just press the red button to stop it.
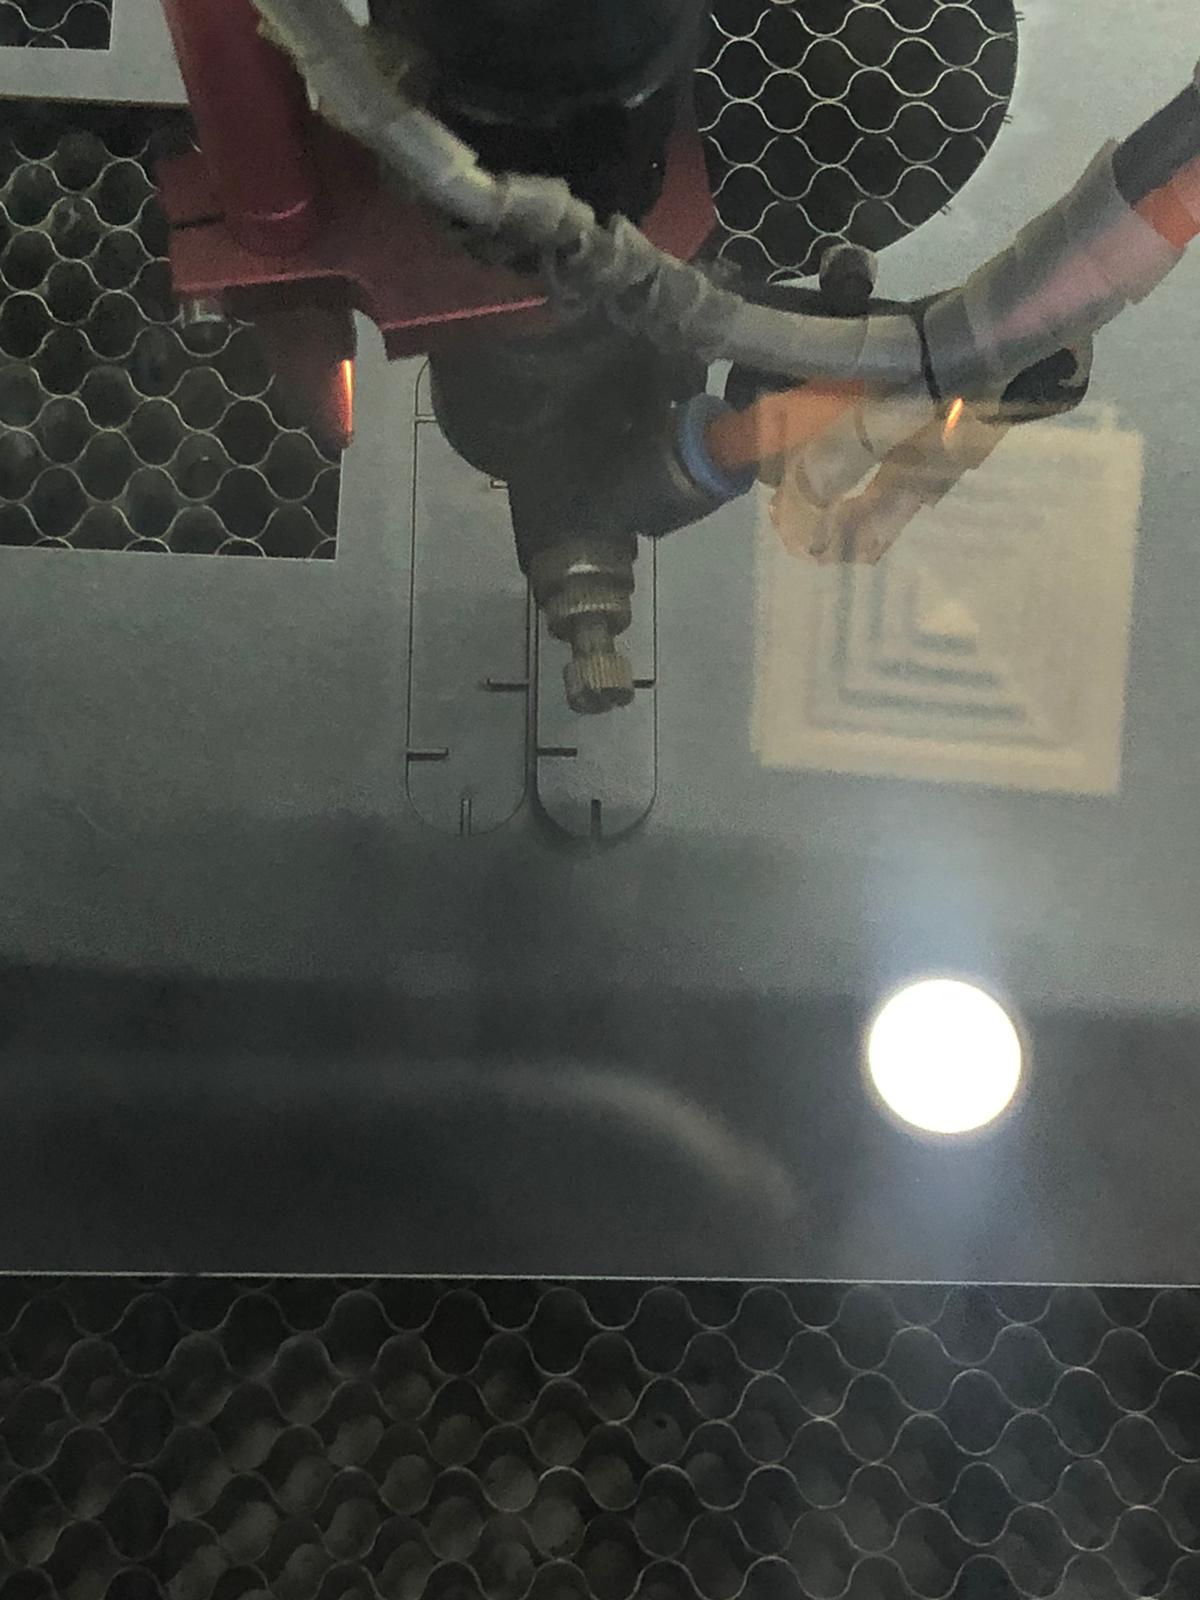
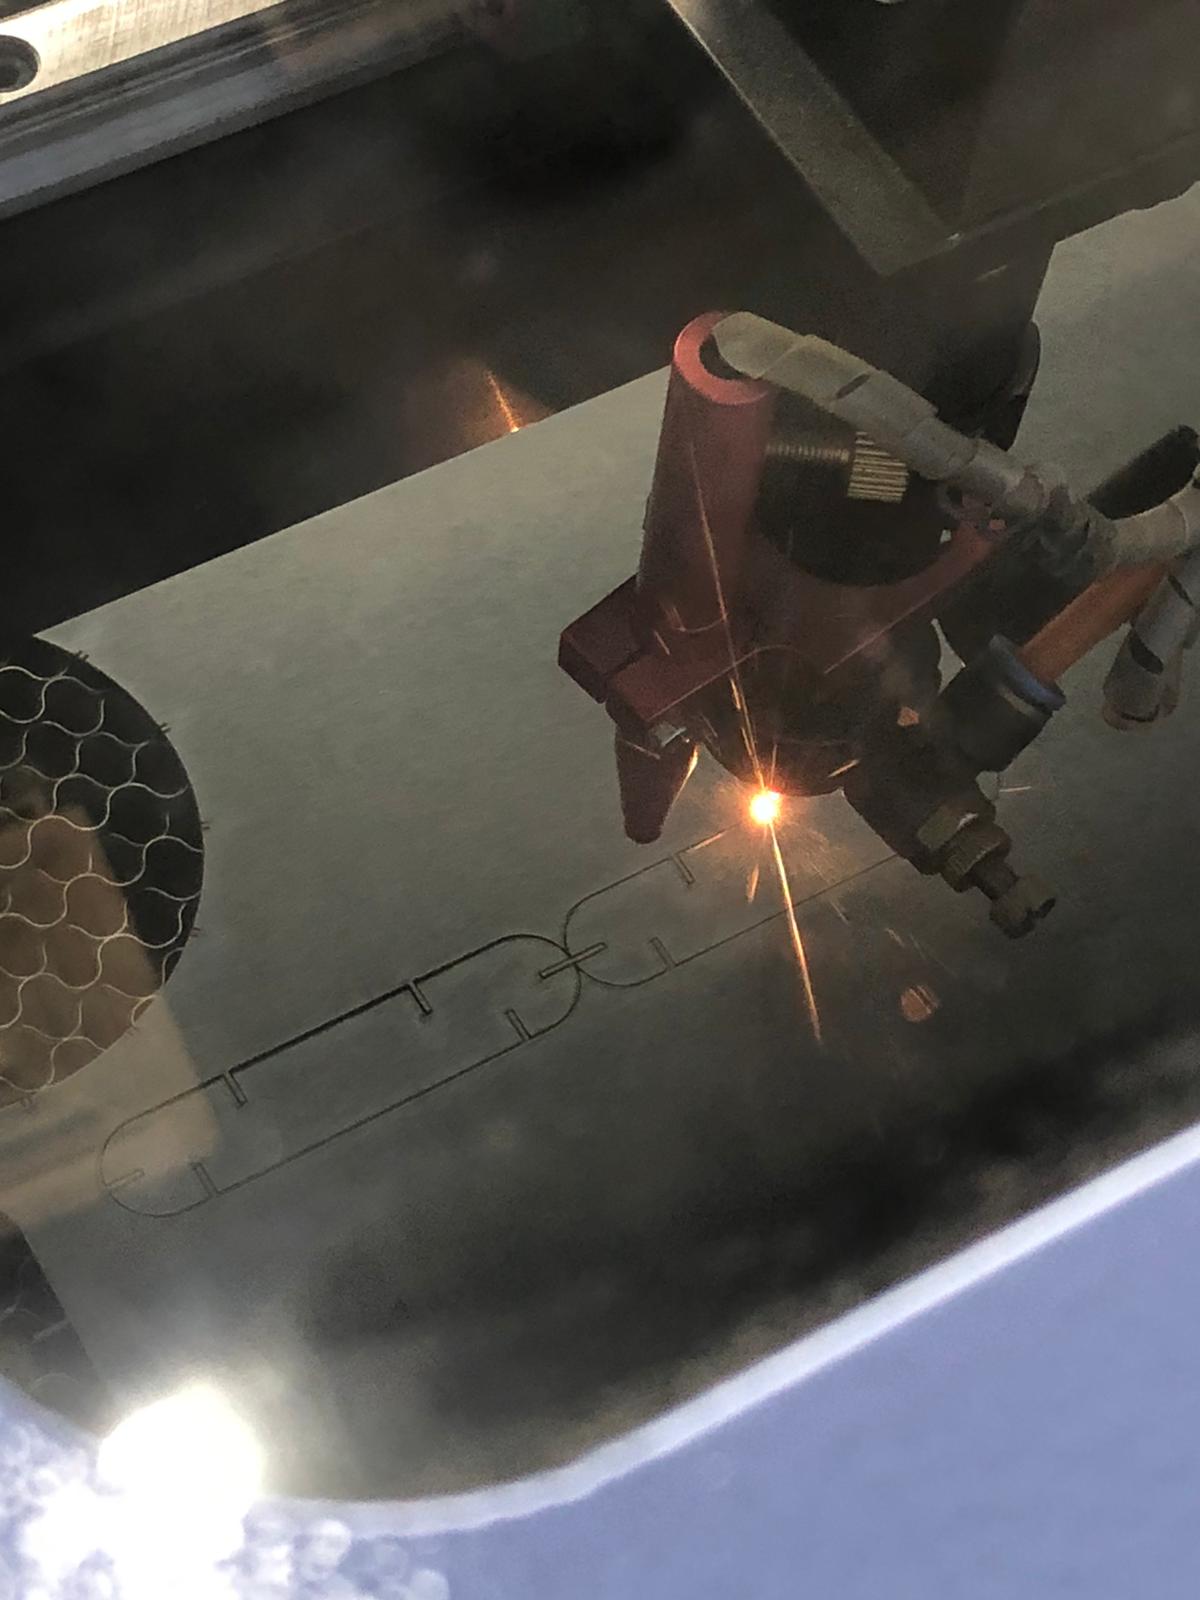
Cutting procedure.
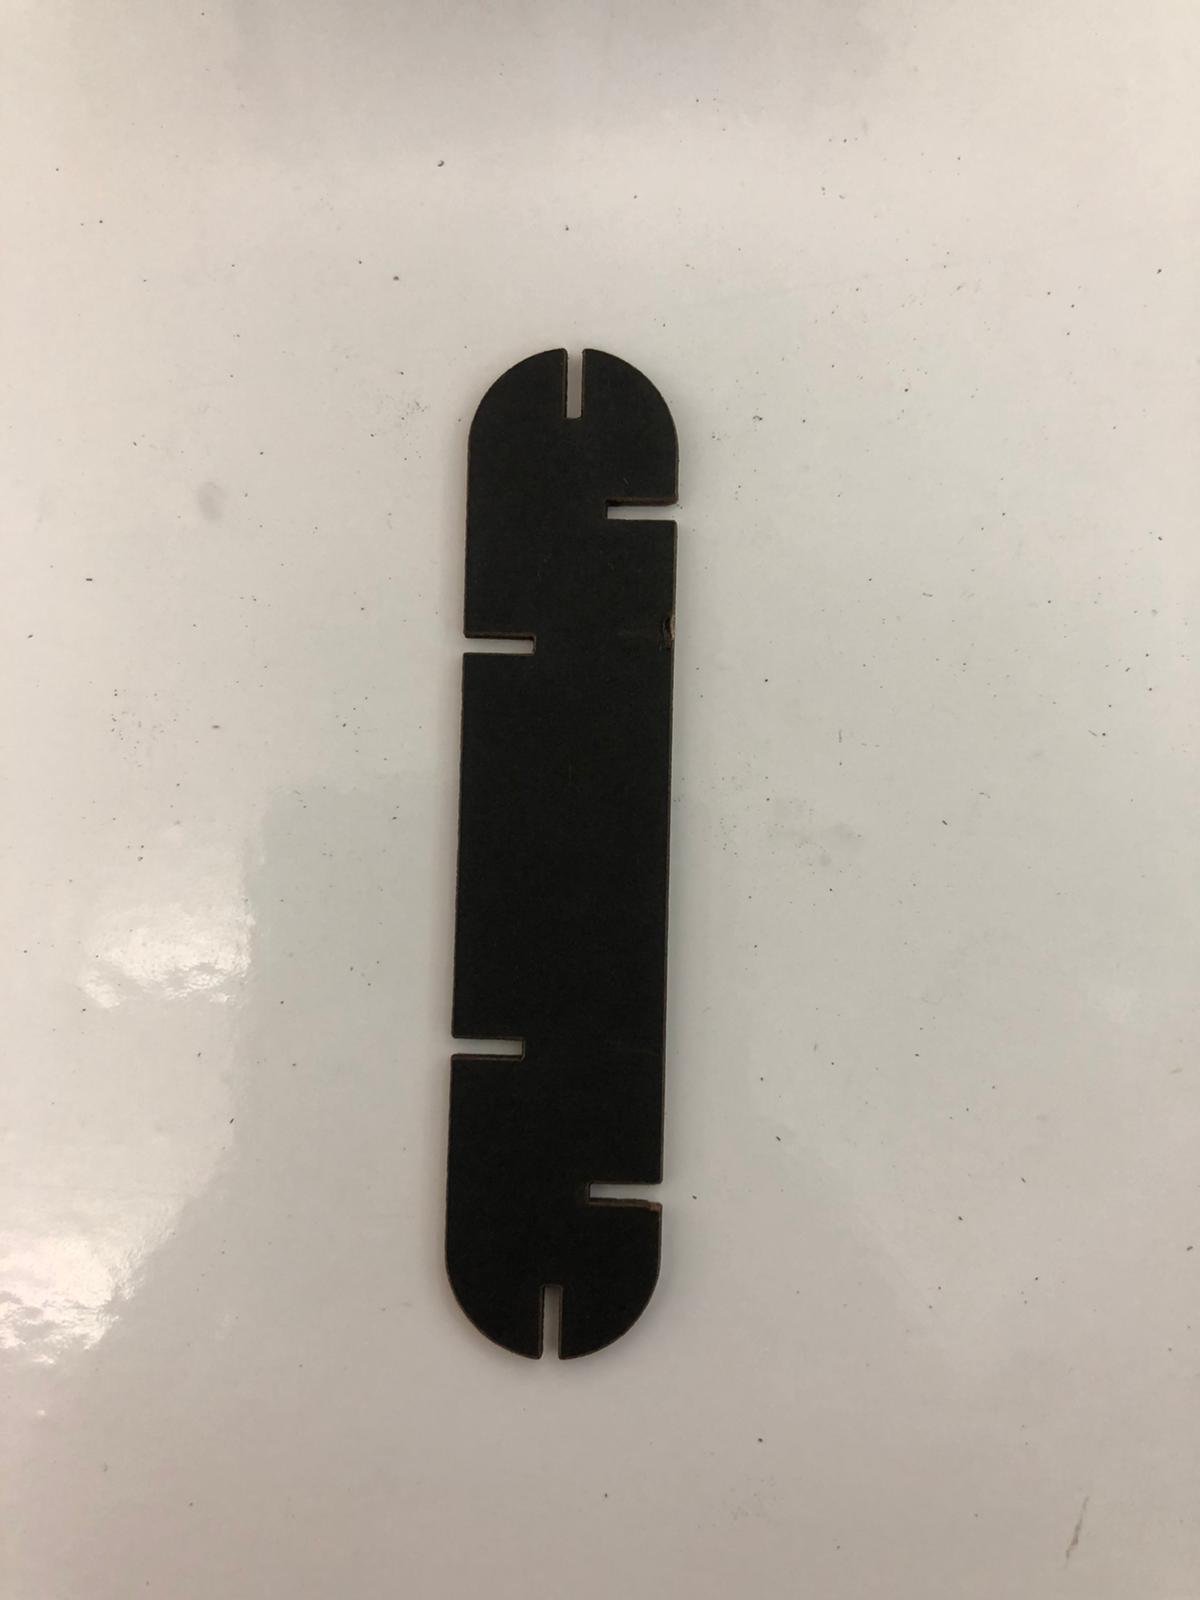
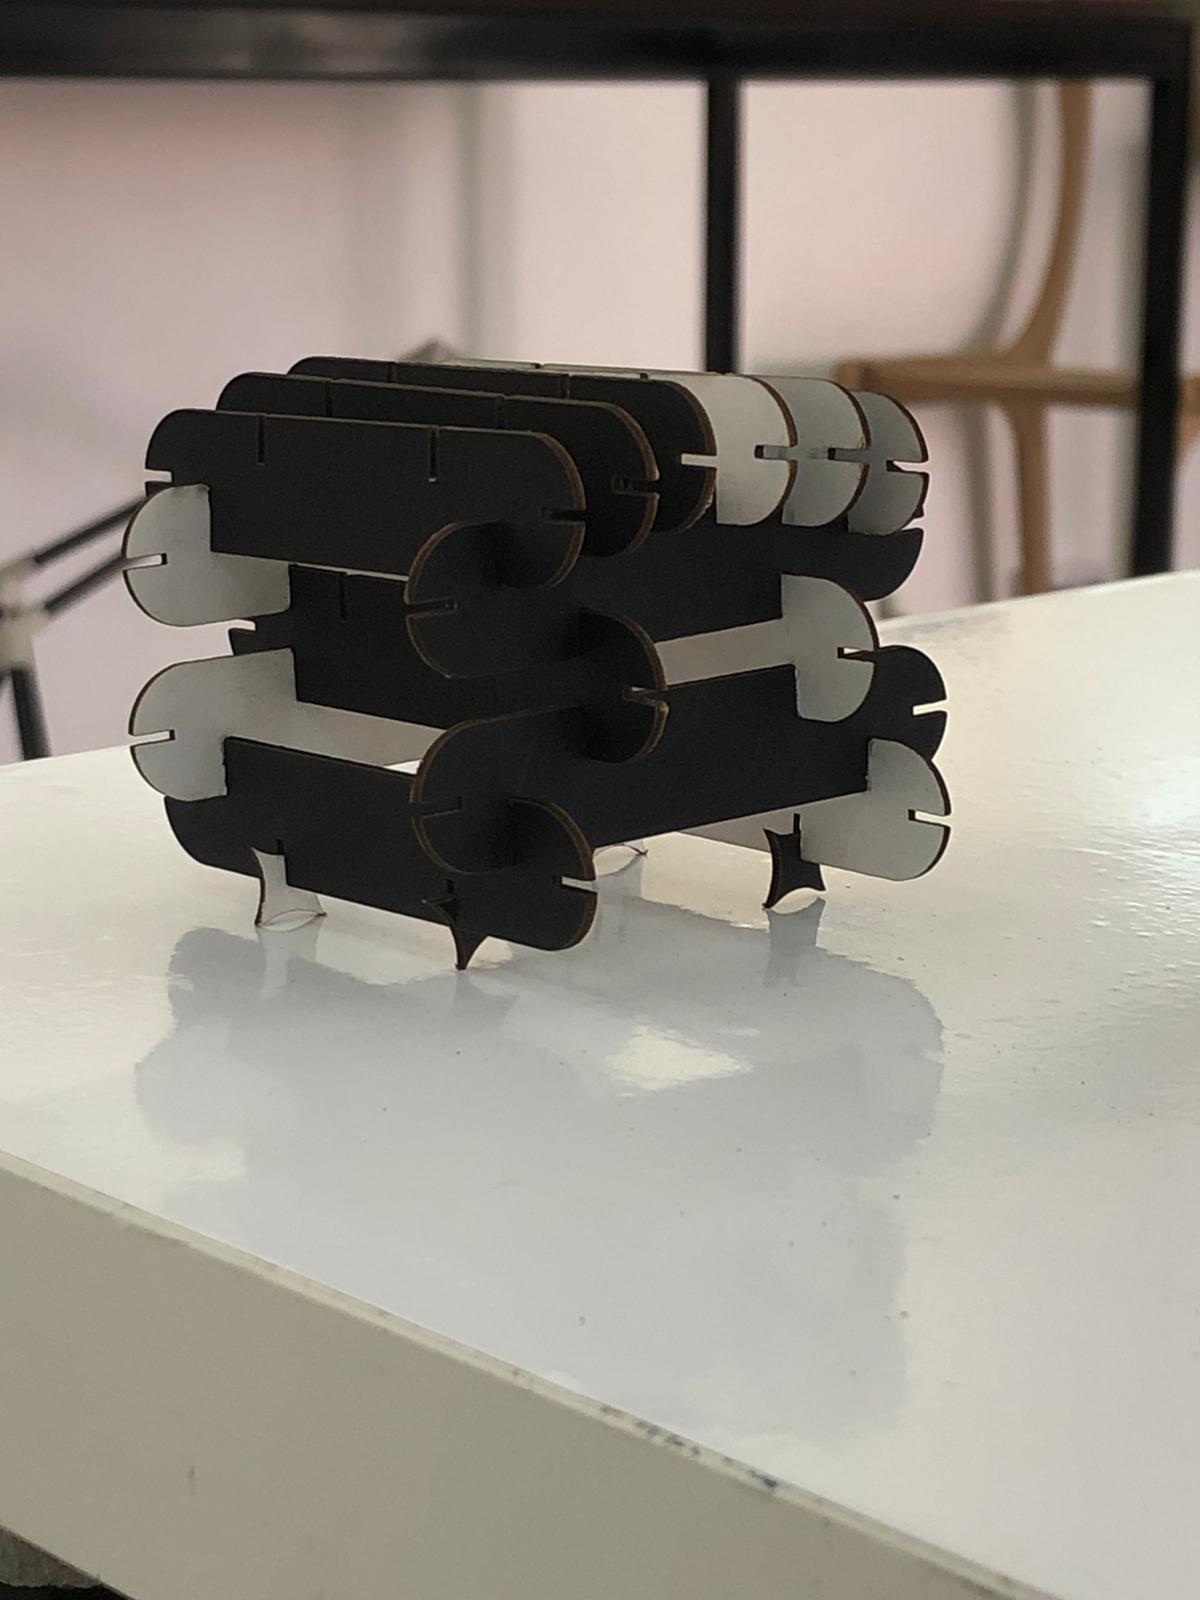
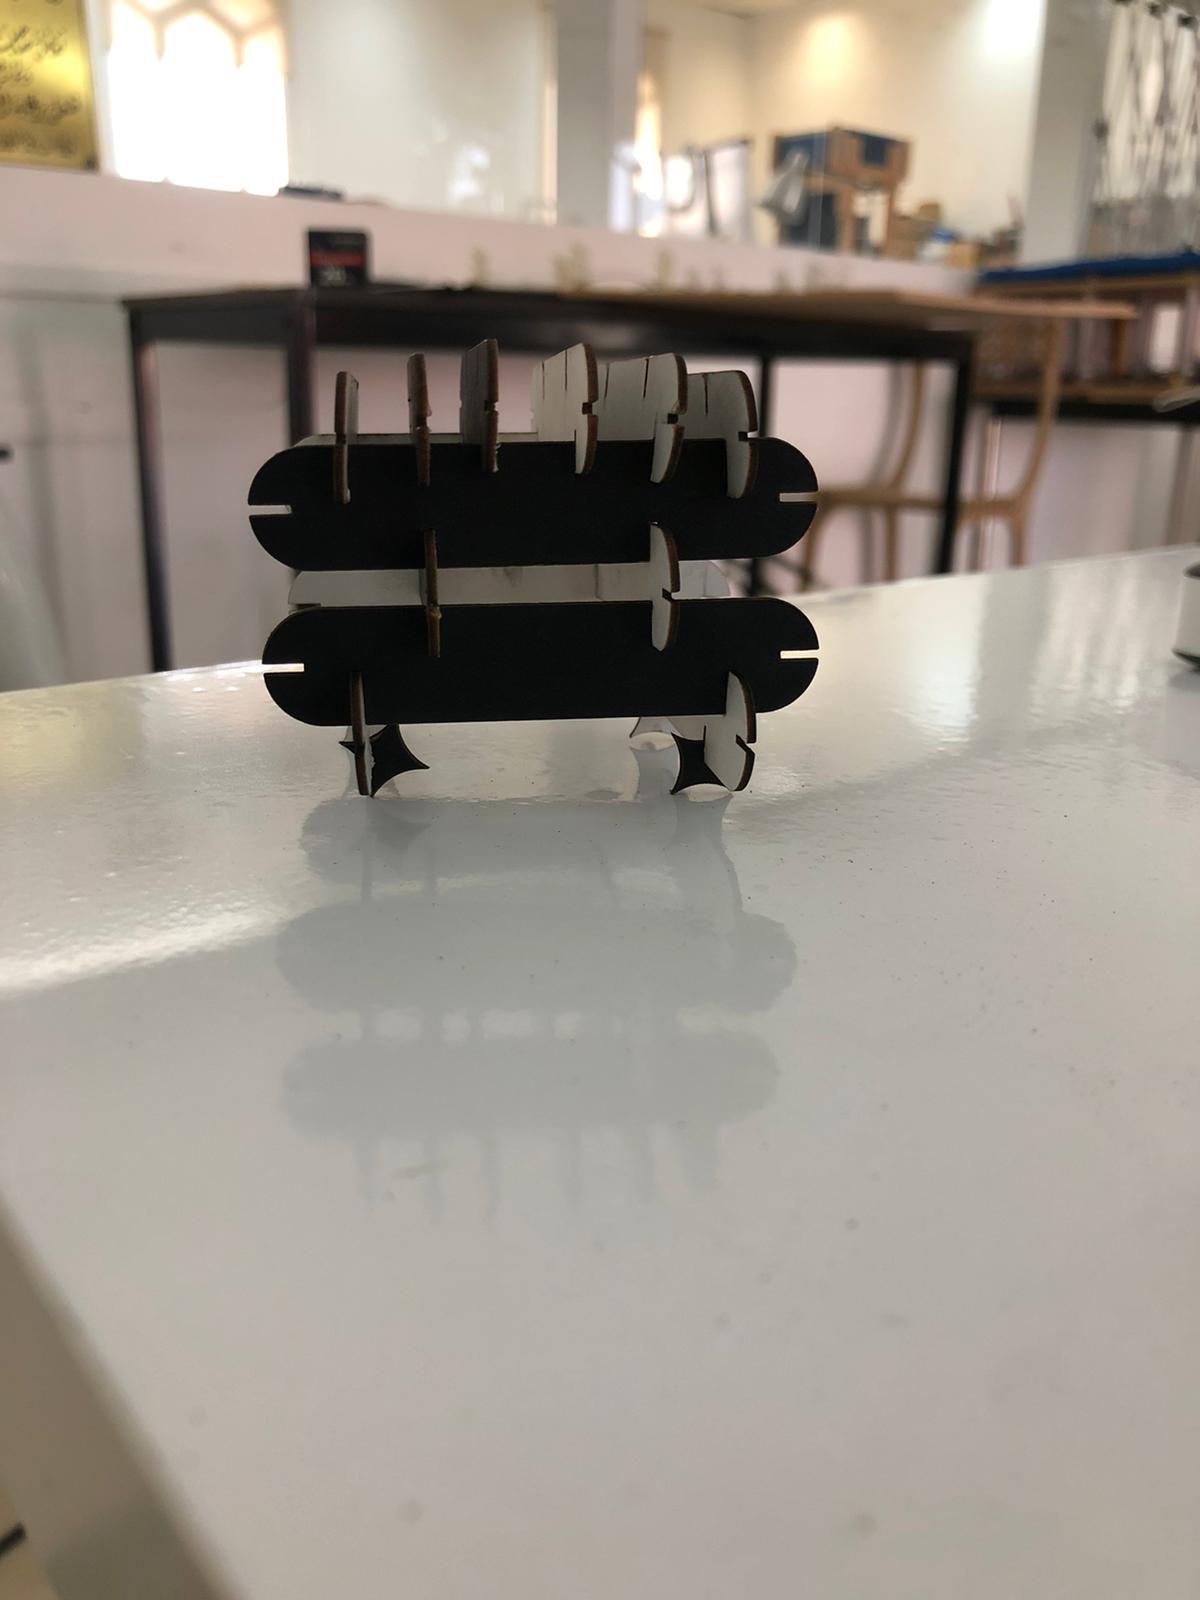
The final product look like this.
Using the design to construct a complex shape.
Vanyl Cutter
The vanyl cutter gives the opportunity to create stickers,printing logos into shirts, accurate cuts to make shapes…etc.
My goal was to create a sticker using my own logo.

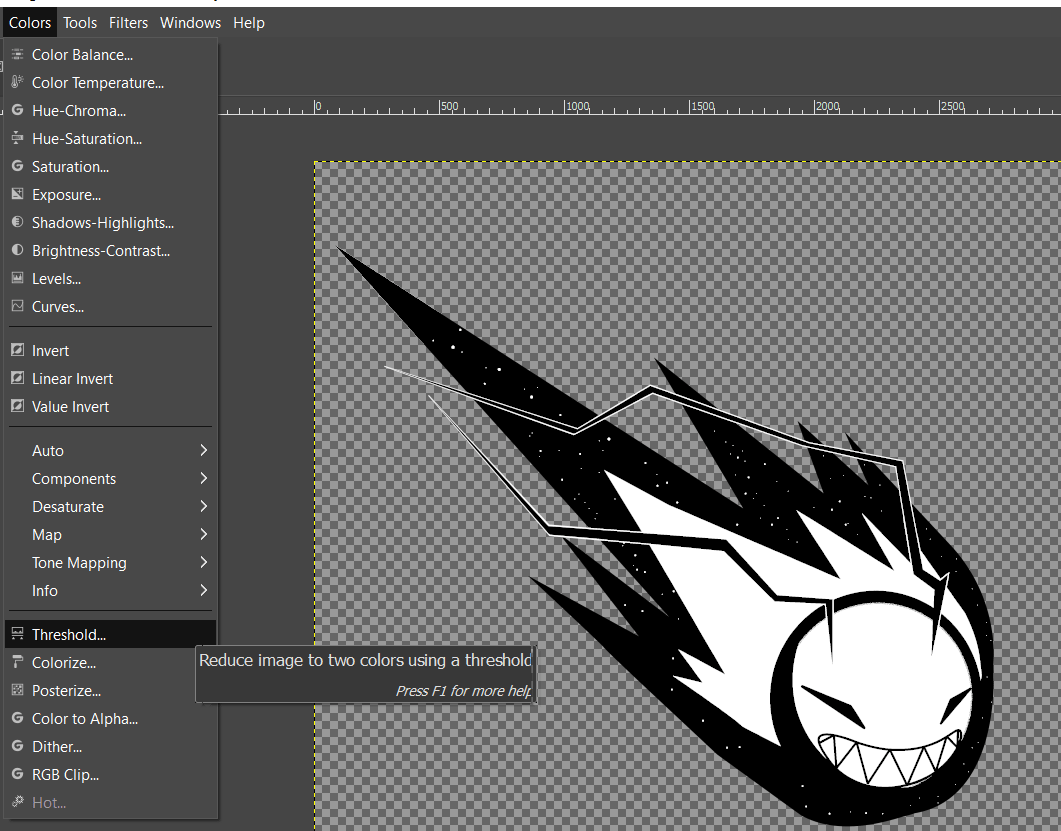
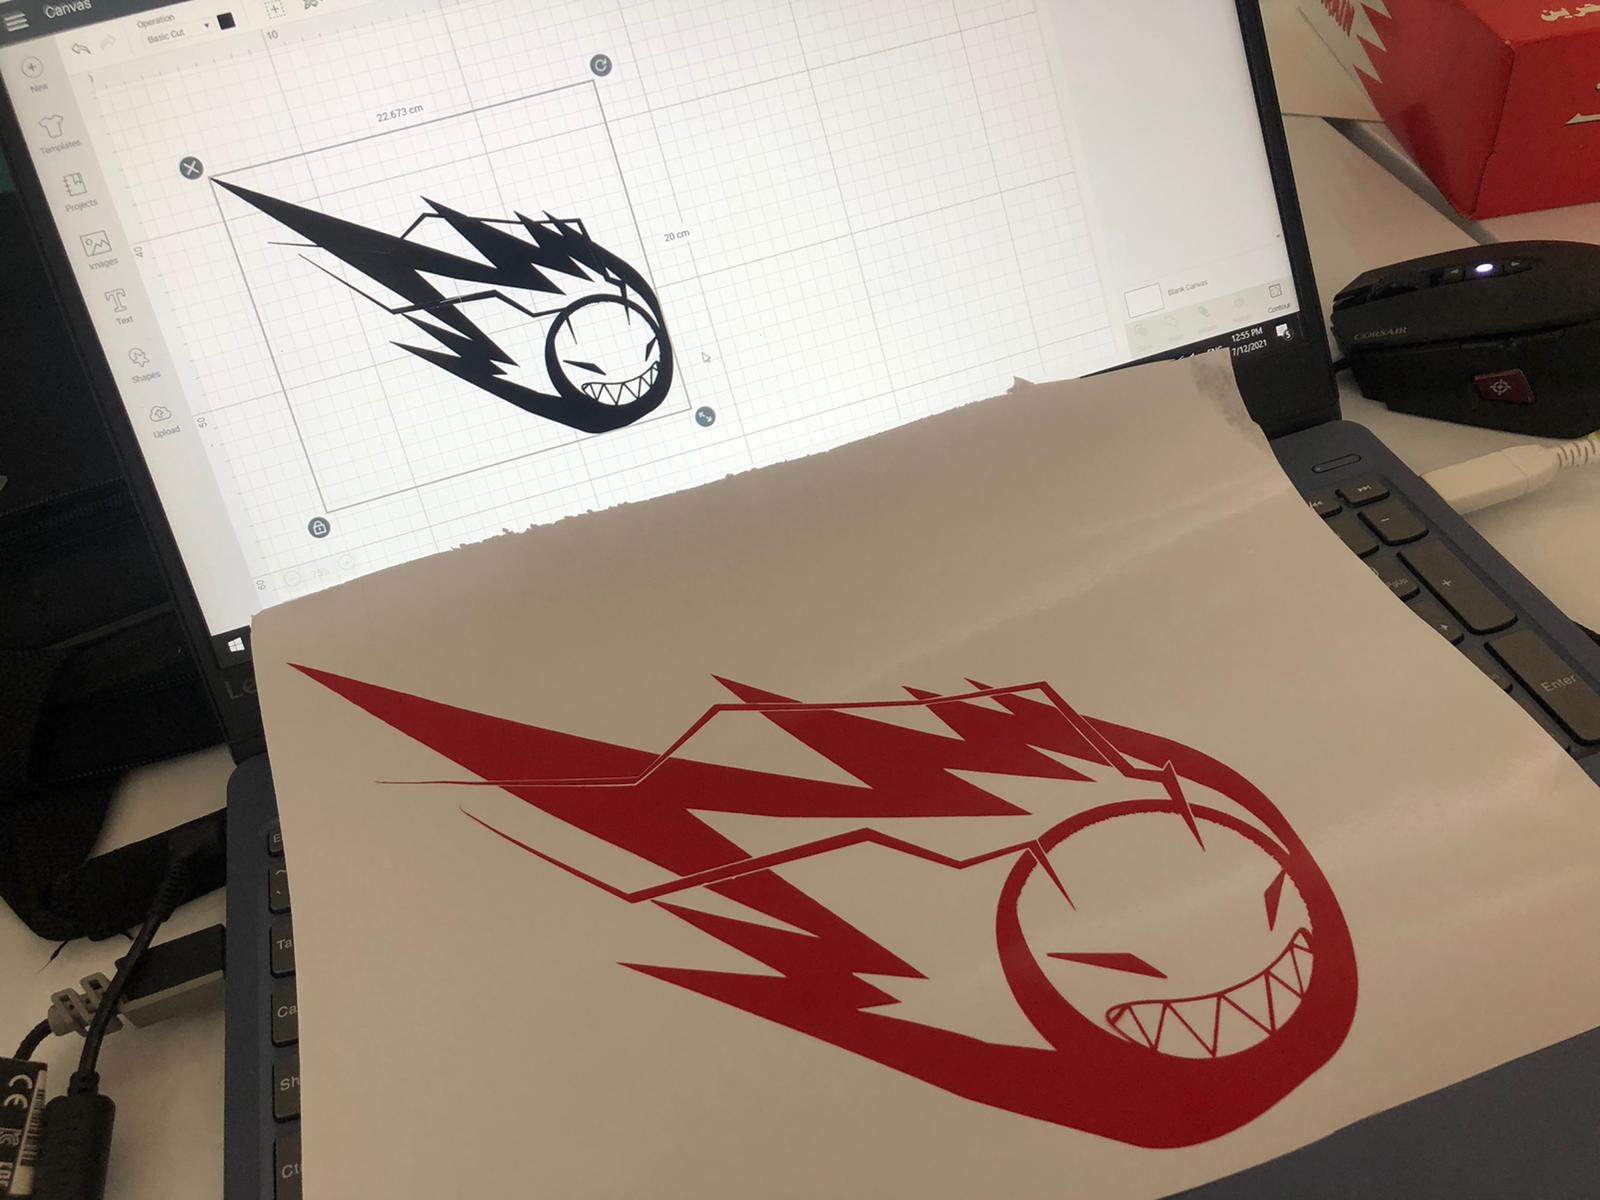
In order to make the program understand it its necessarly to make it black and white. Therefor, we use Gimp to convert it to black and white.
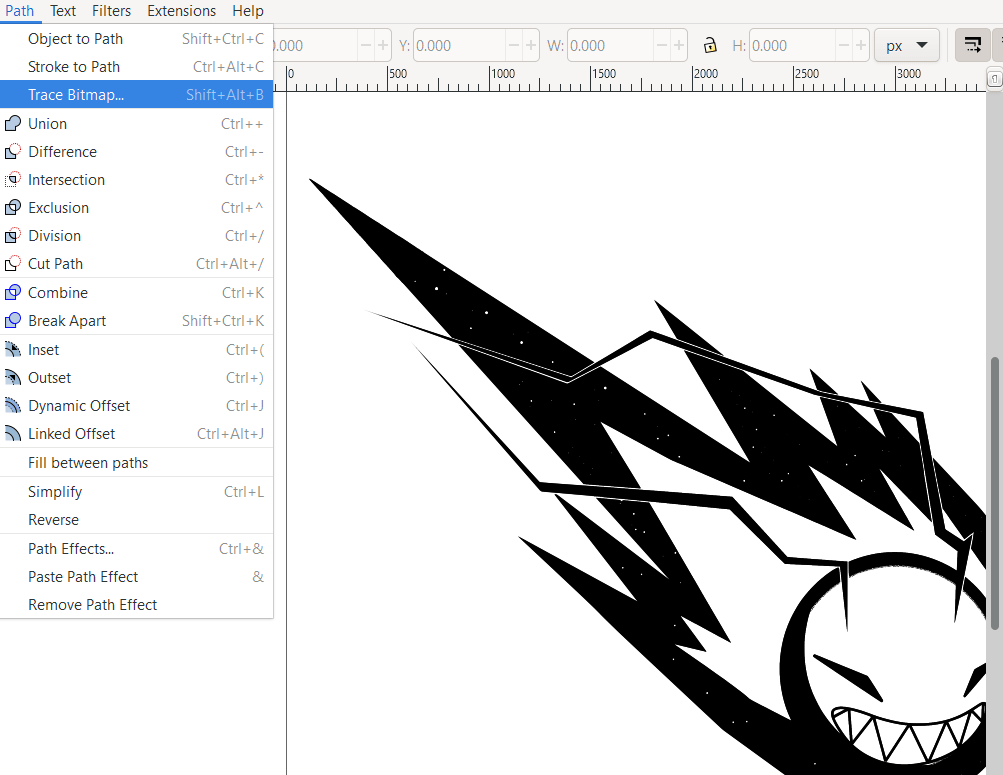
Then we use inkspace to trace the pixels and convert the picture to vector image.
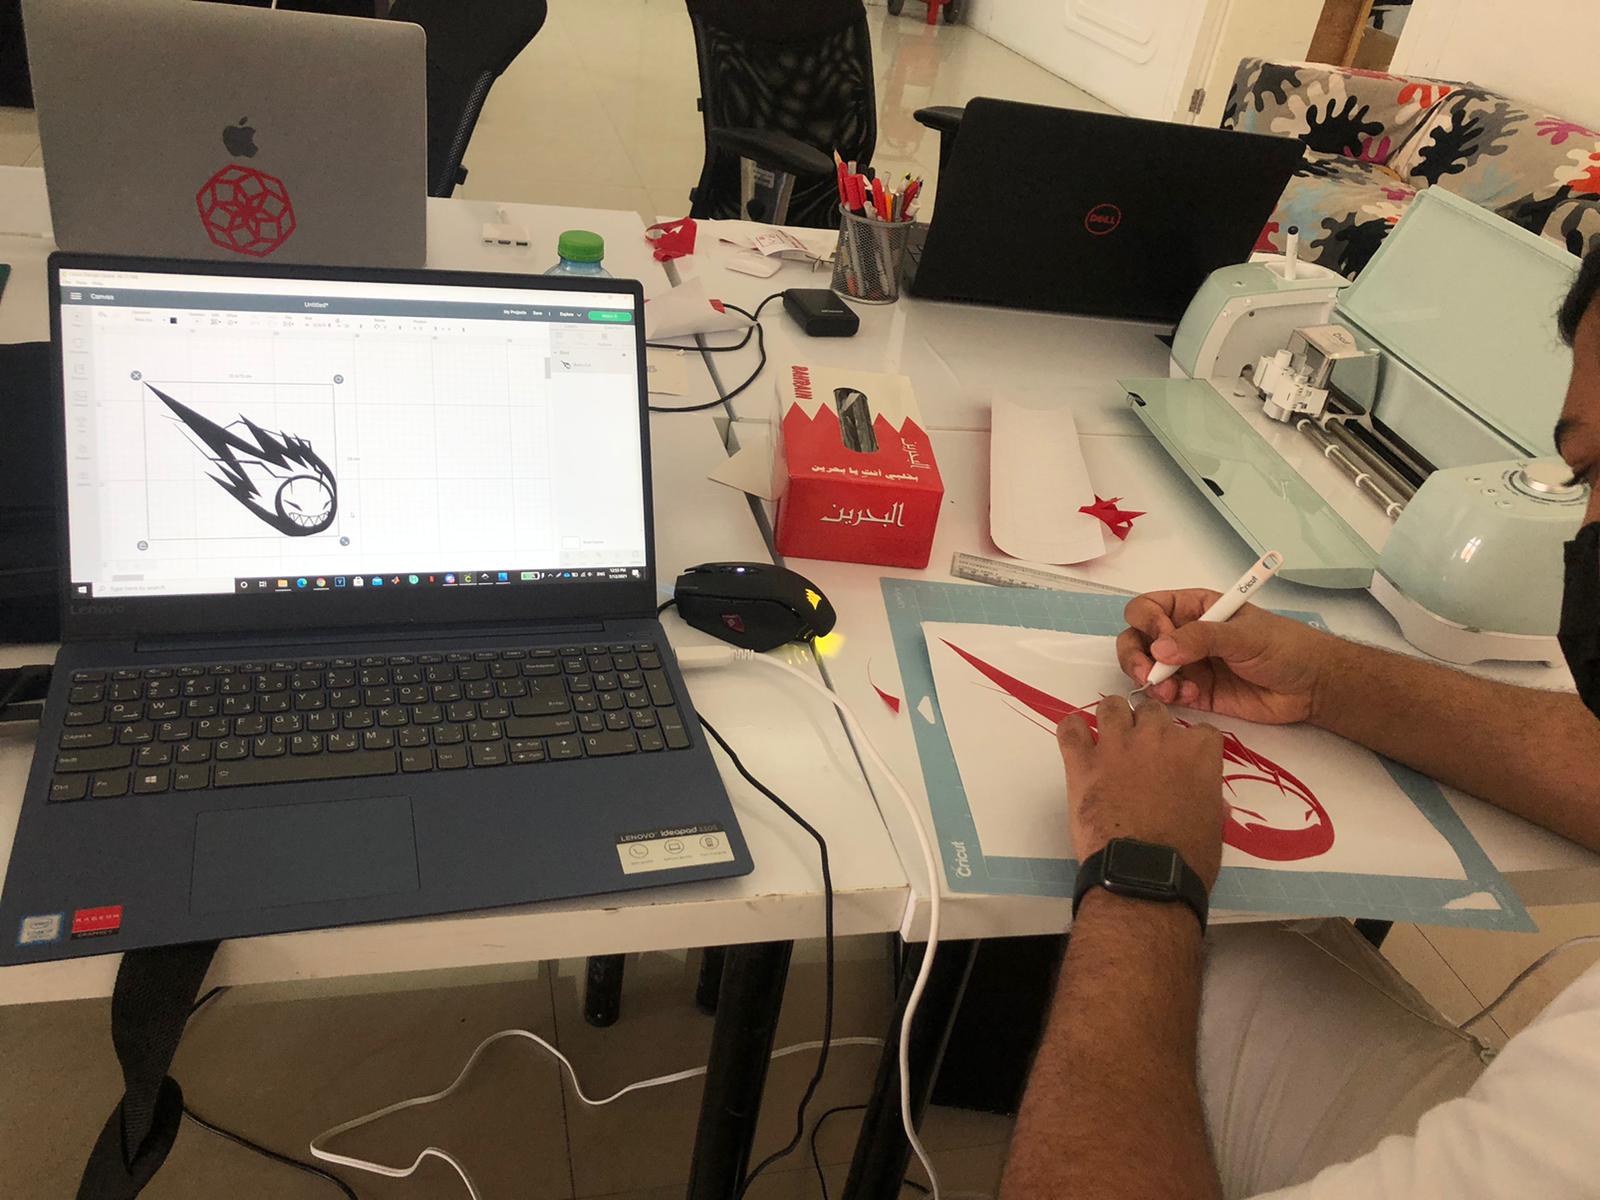
Now that the logo is ready we install Circuit program which is the machine program and send the logo to it.
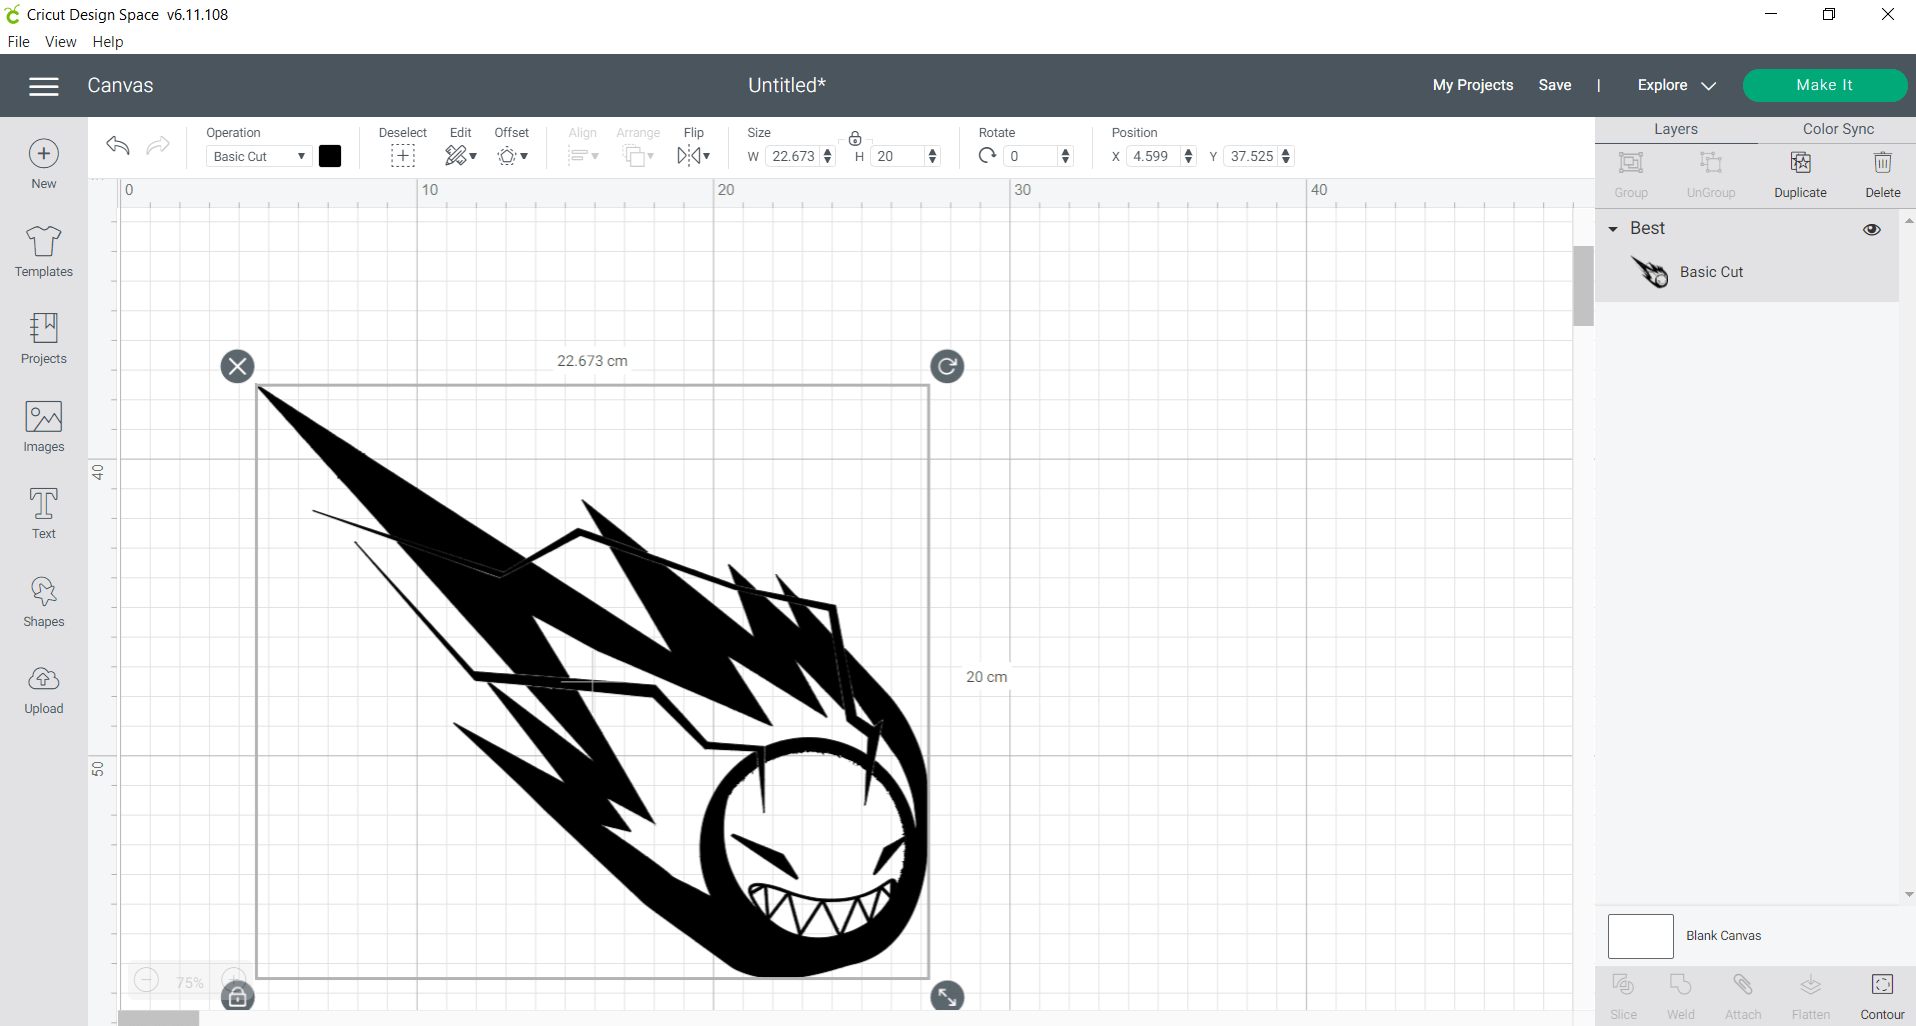
It is necessary to fit the logo to the desired canvas size.
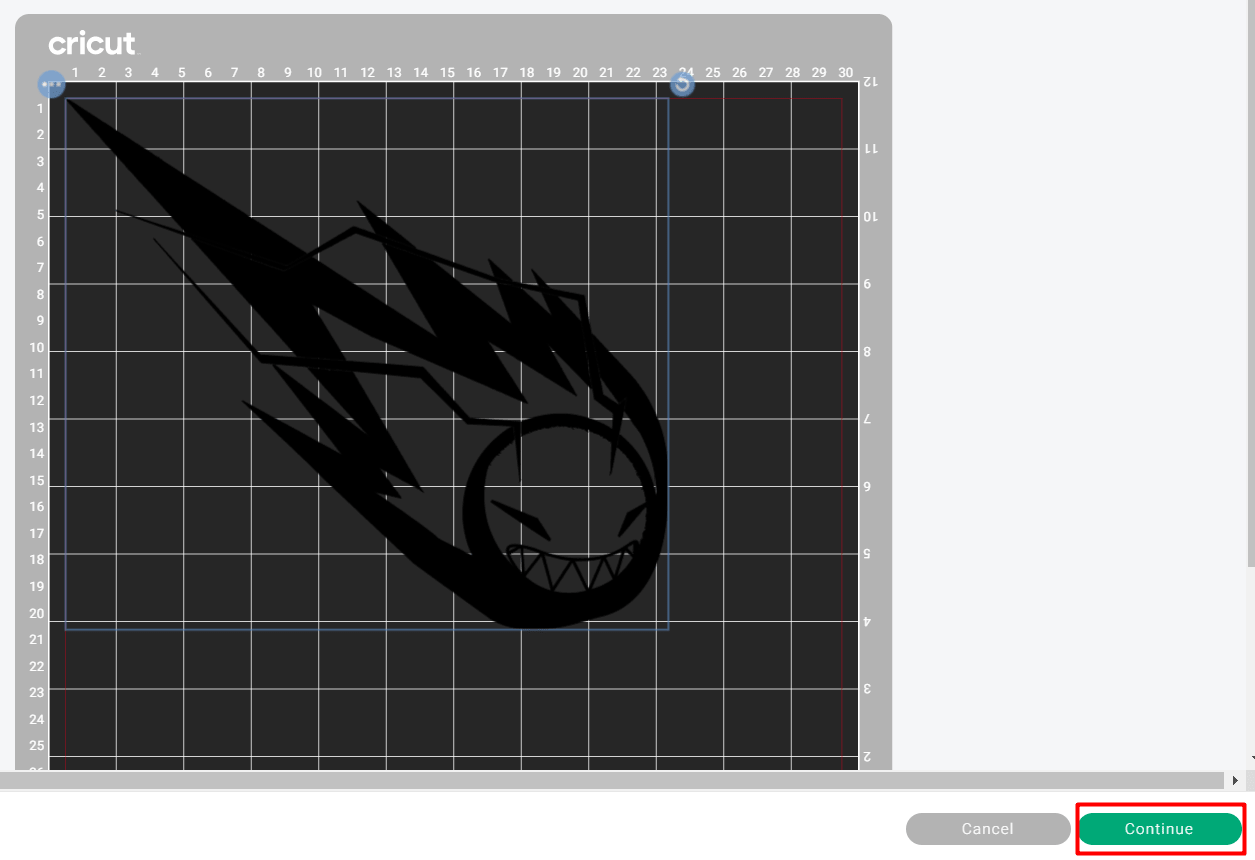
After we are done with the sizing we click make it.
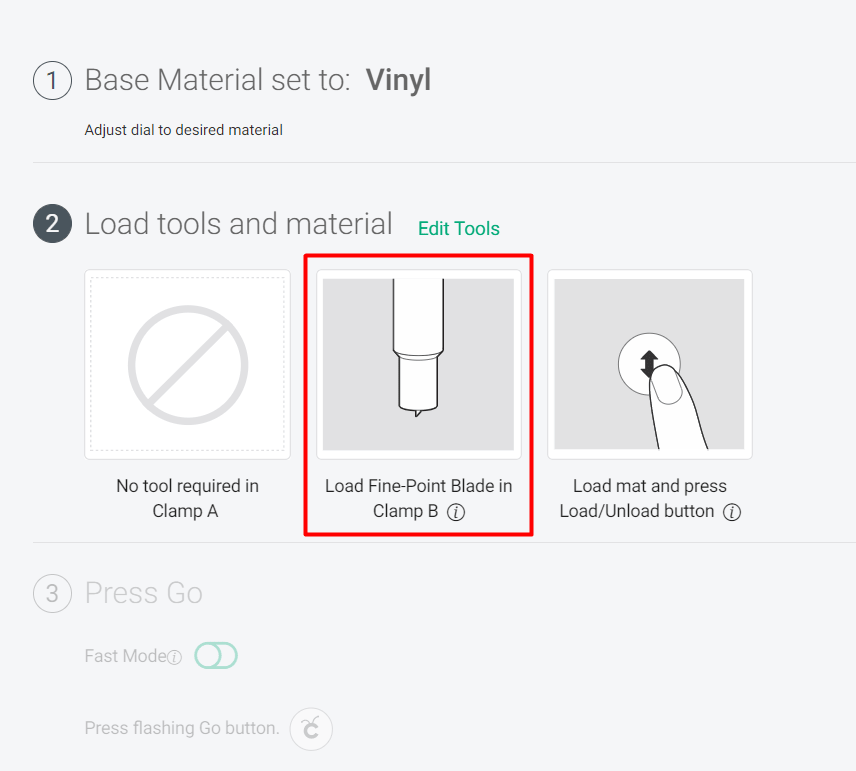
It is necessary to choose the perfect pin to be used for cutting. In our case since we don’t need a deep cut we use the fine point blade. The press Go.
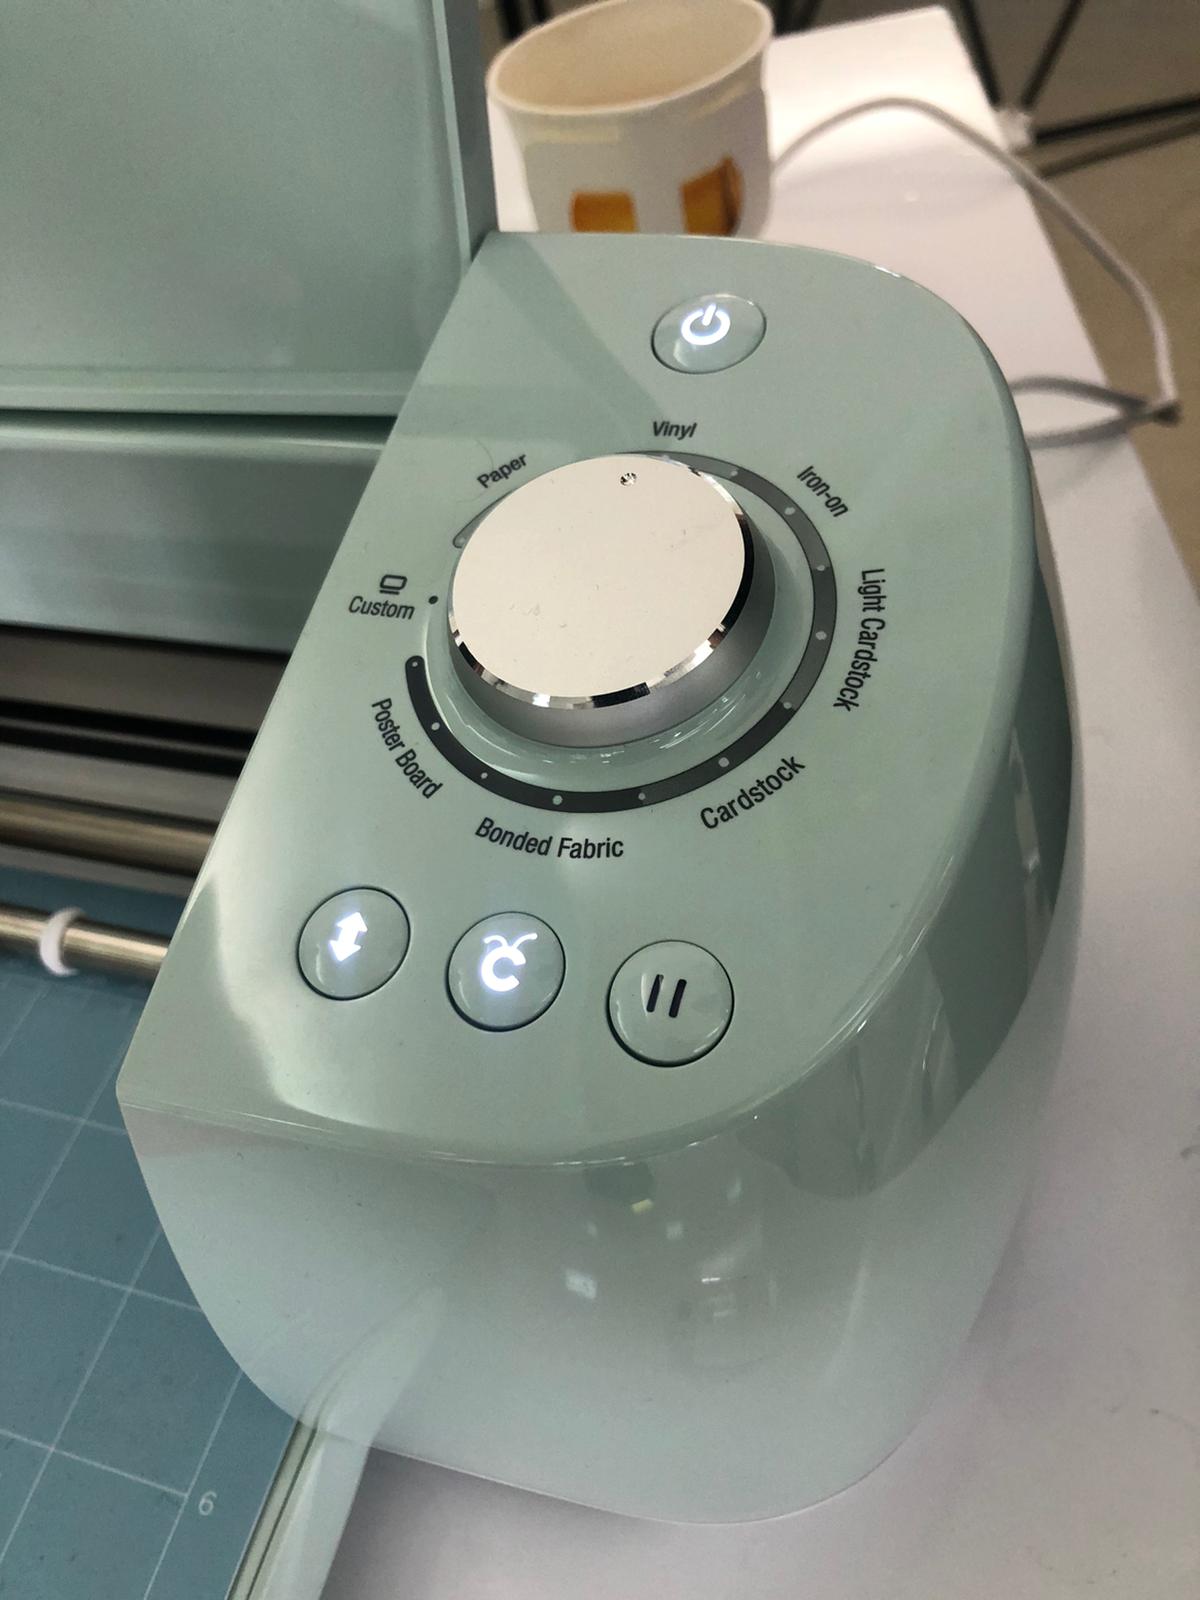
After sending the design before pushing the start button on the machine Which is the C button. Few things need to be adjusted the first thing is choosing the type of material to be used using the scroll. Followed by pressing the arrows button which loads the sheet into the device after all this is done press Start.
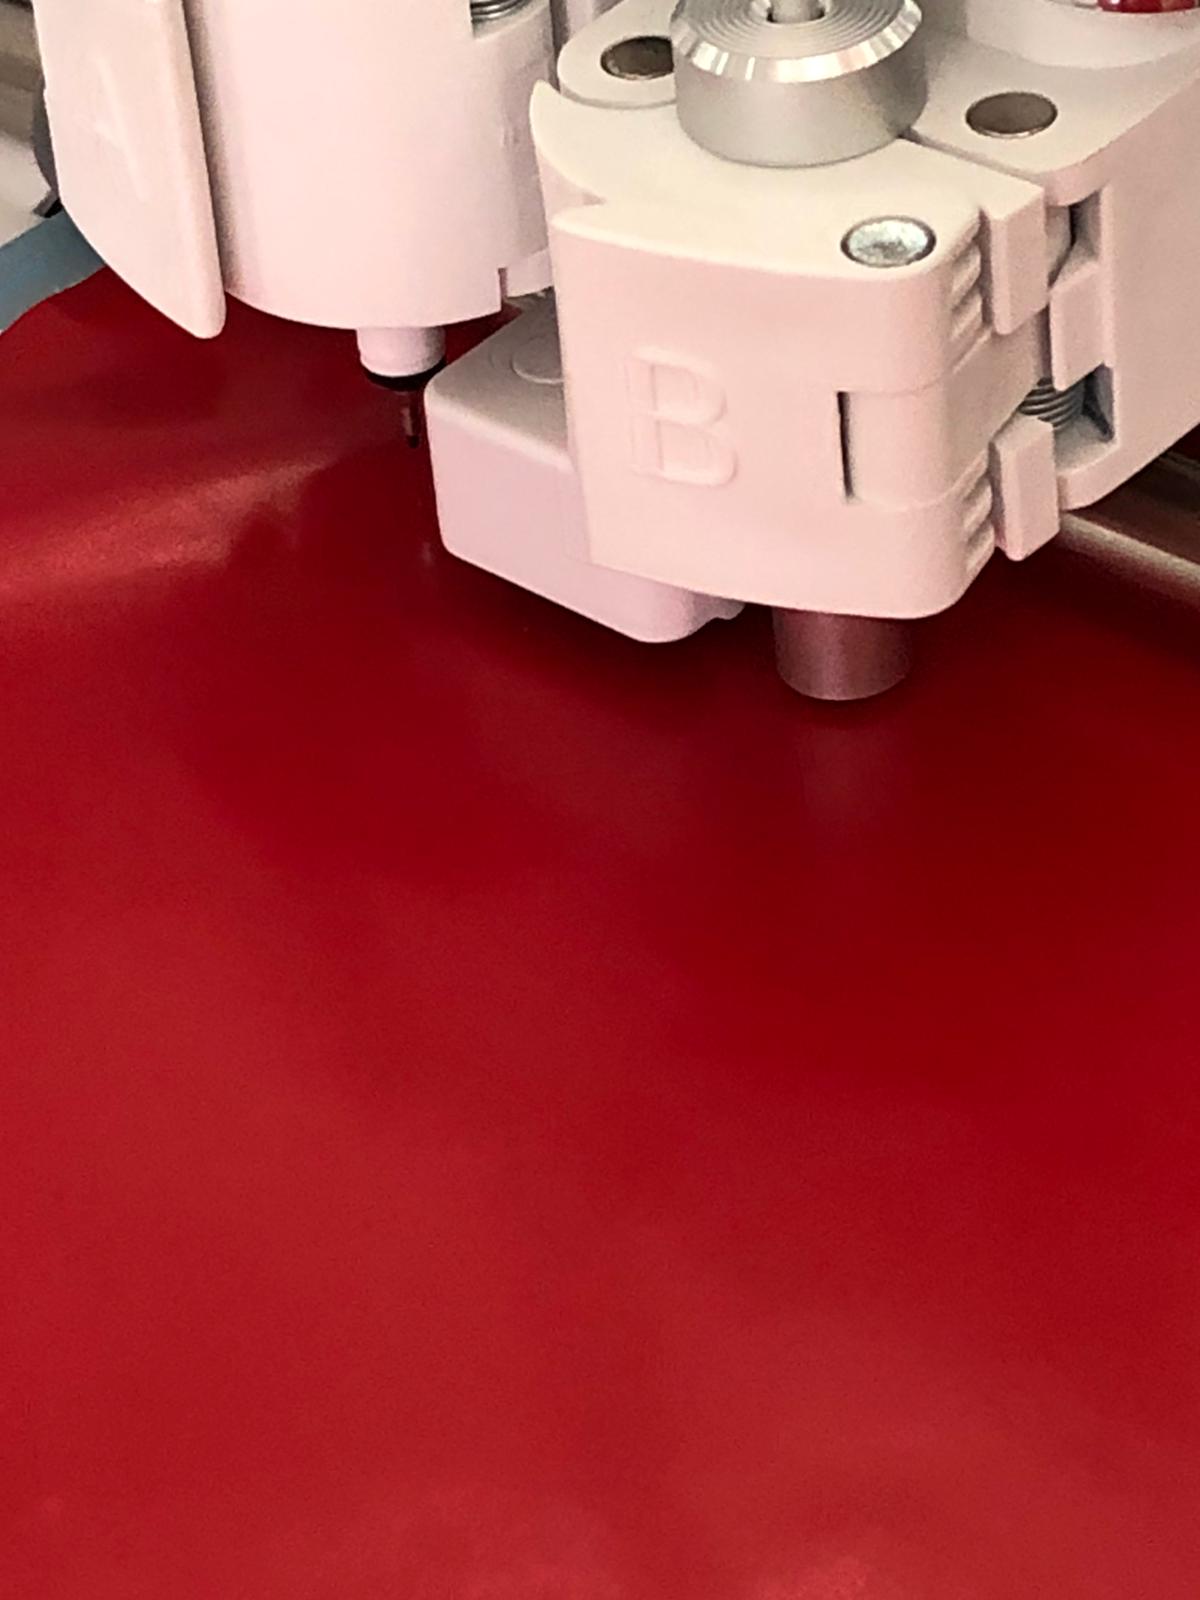
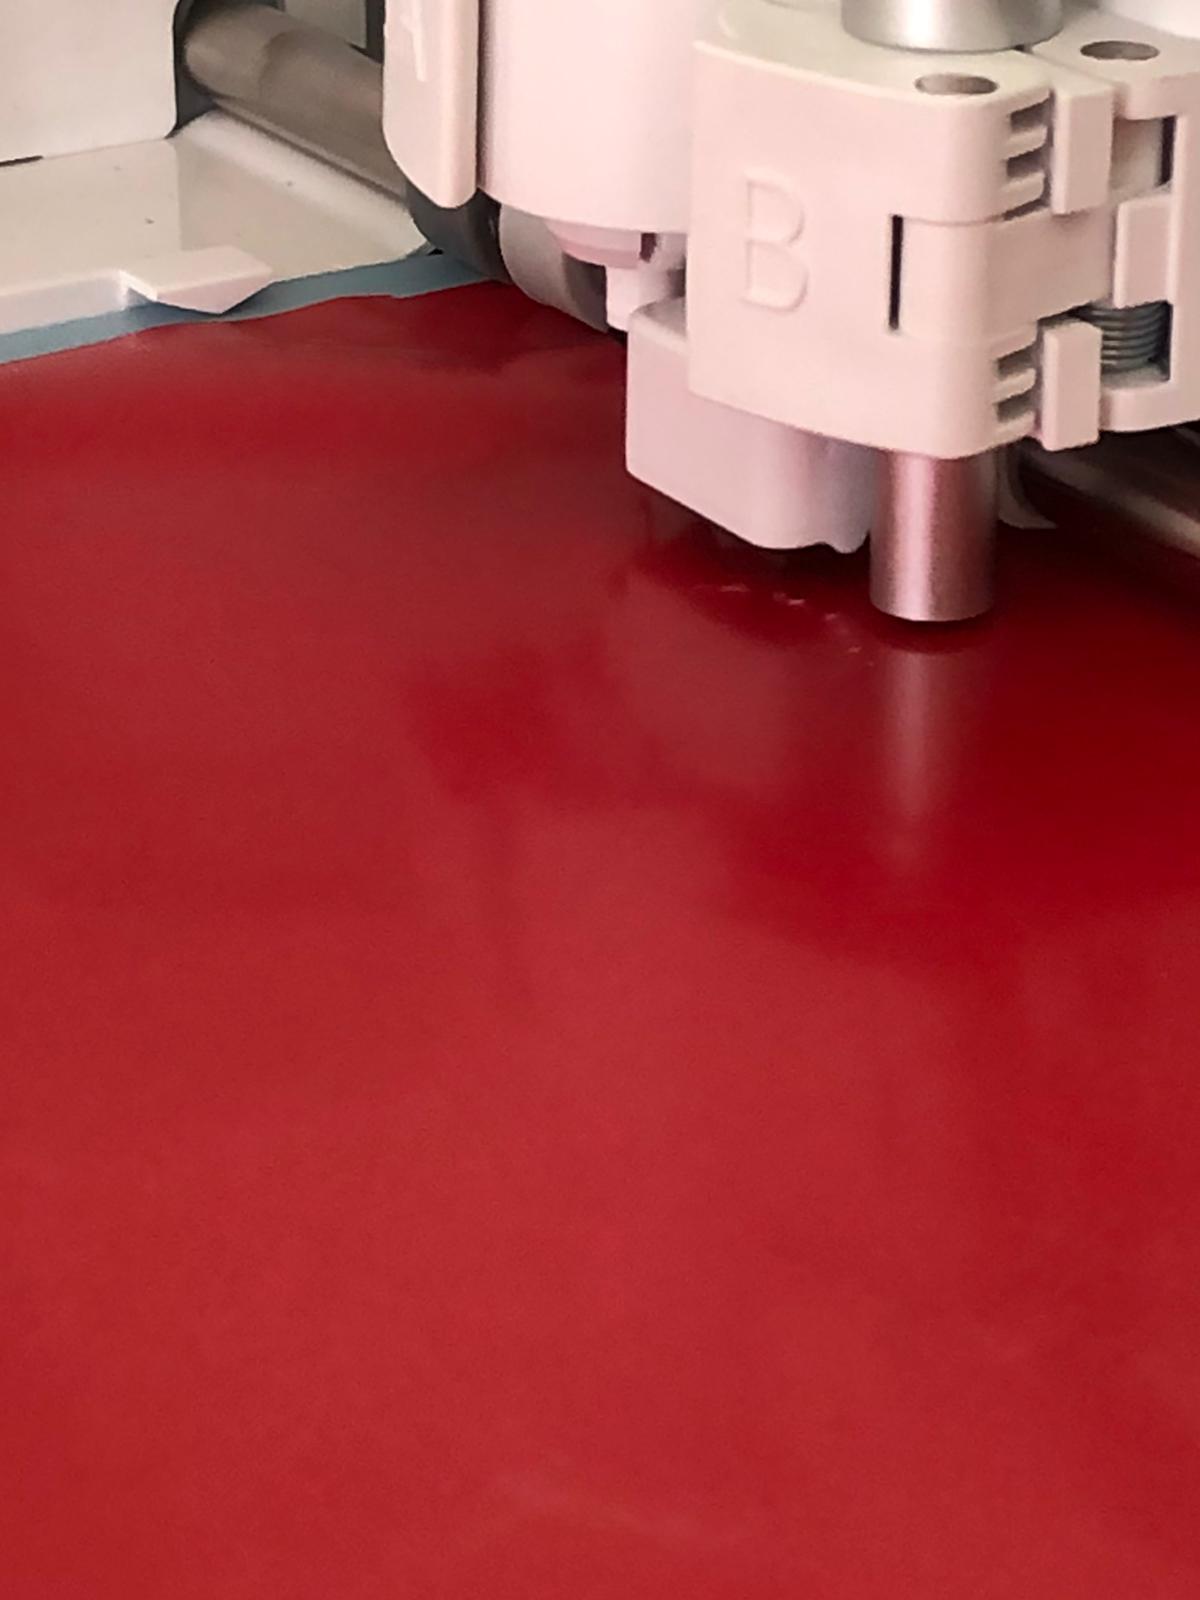
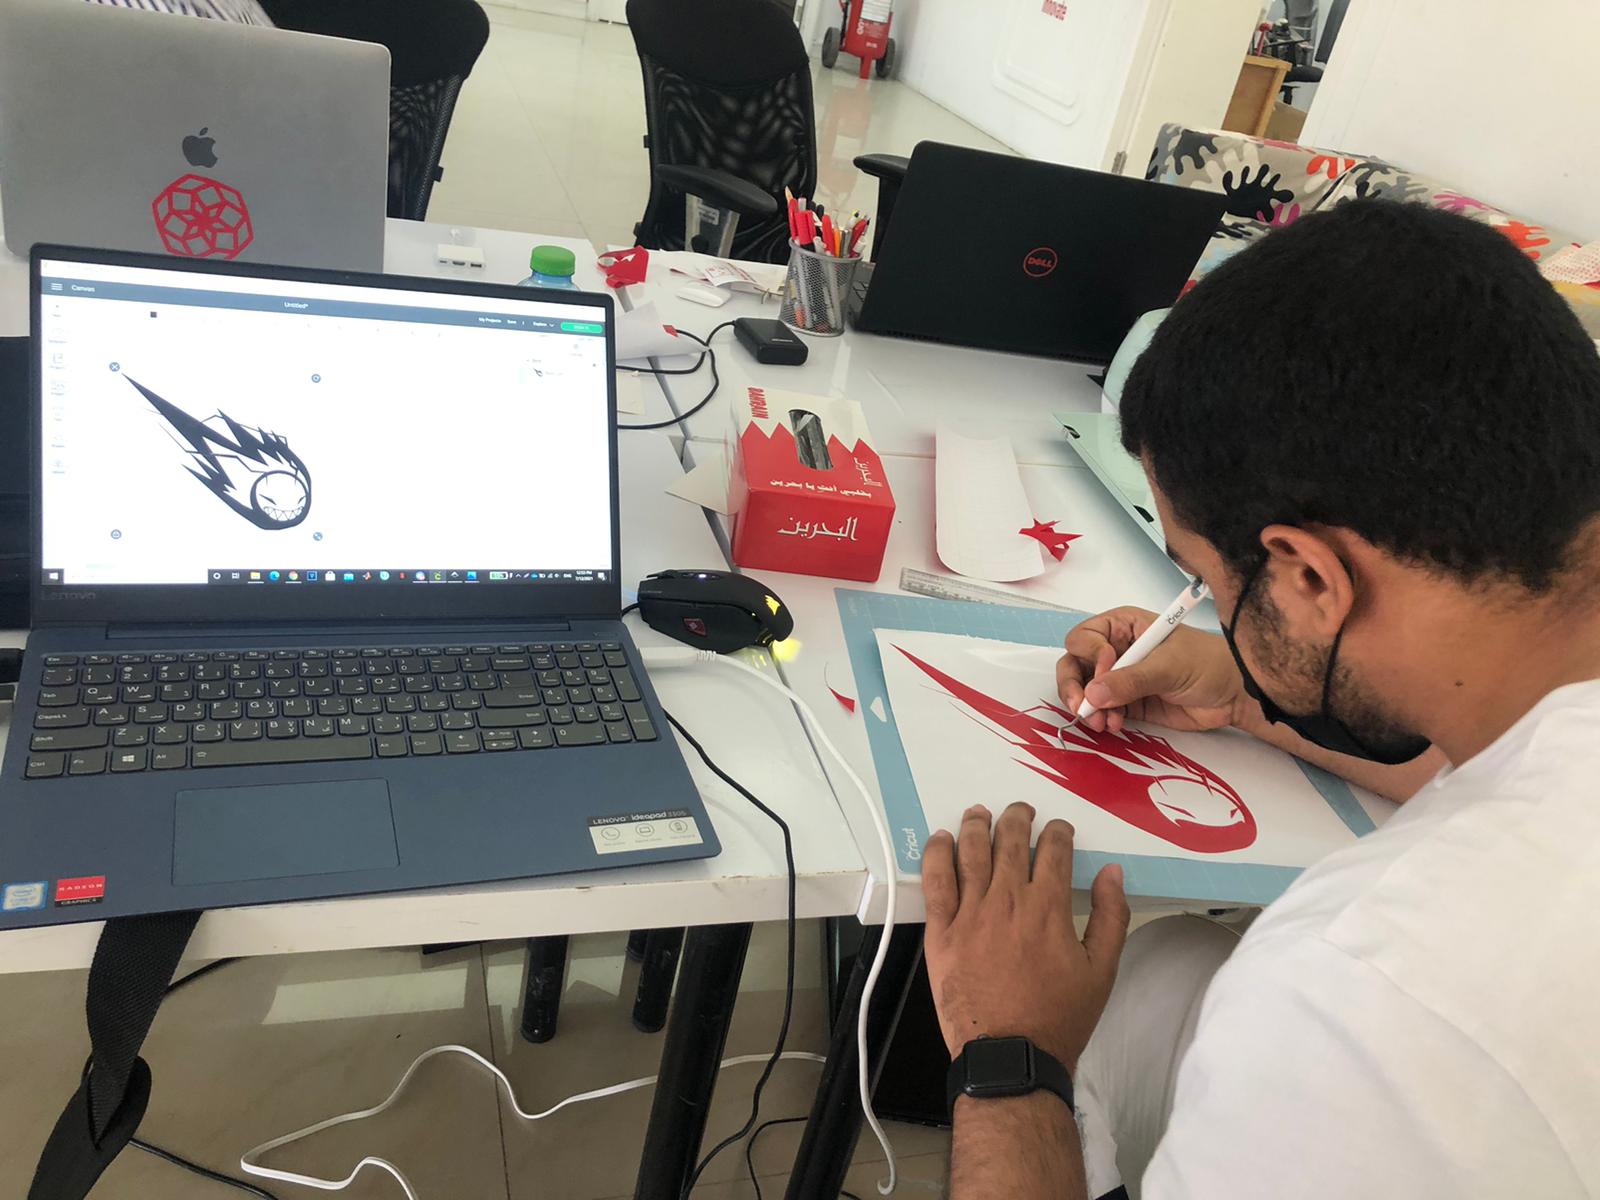
The process of cutting the design.
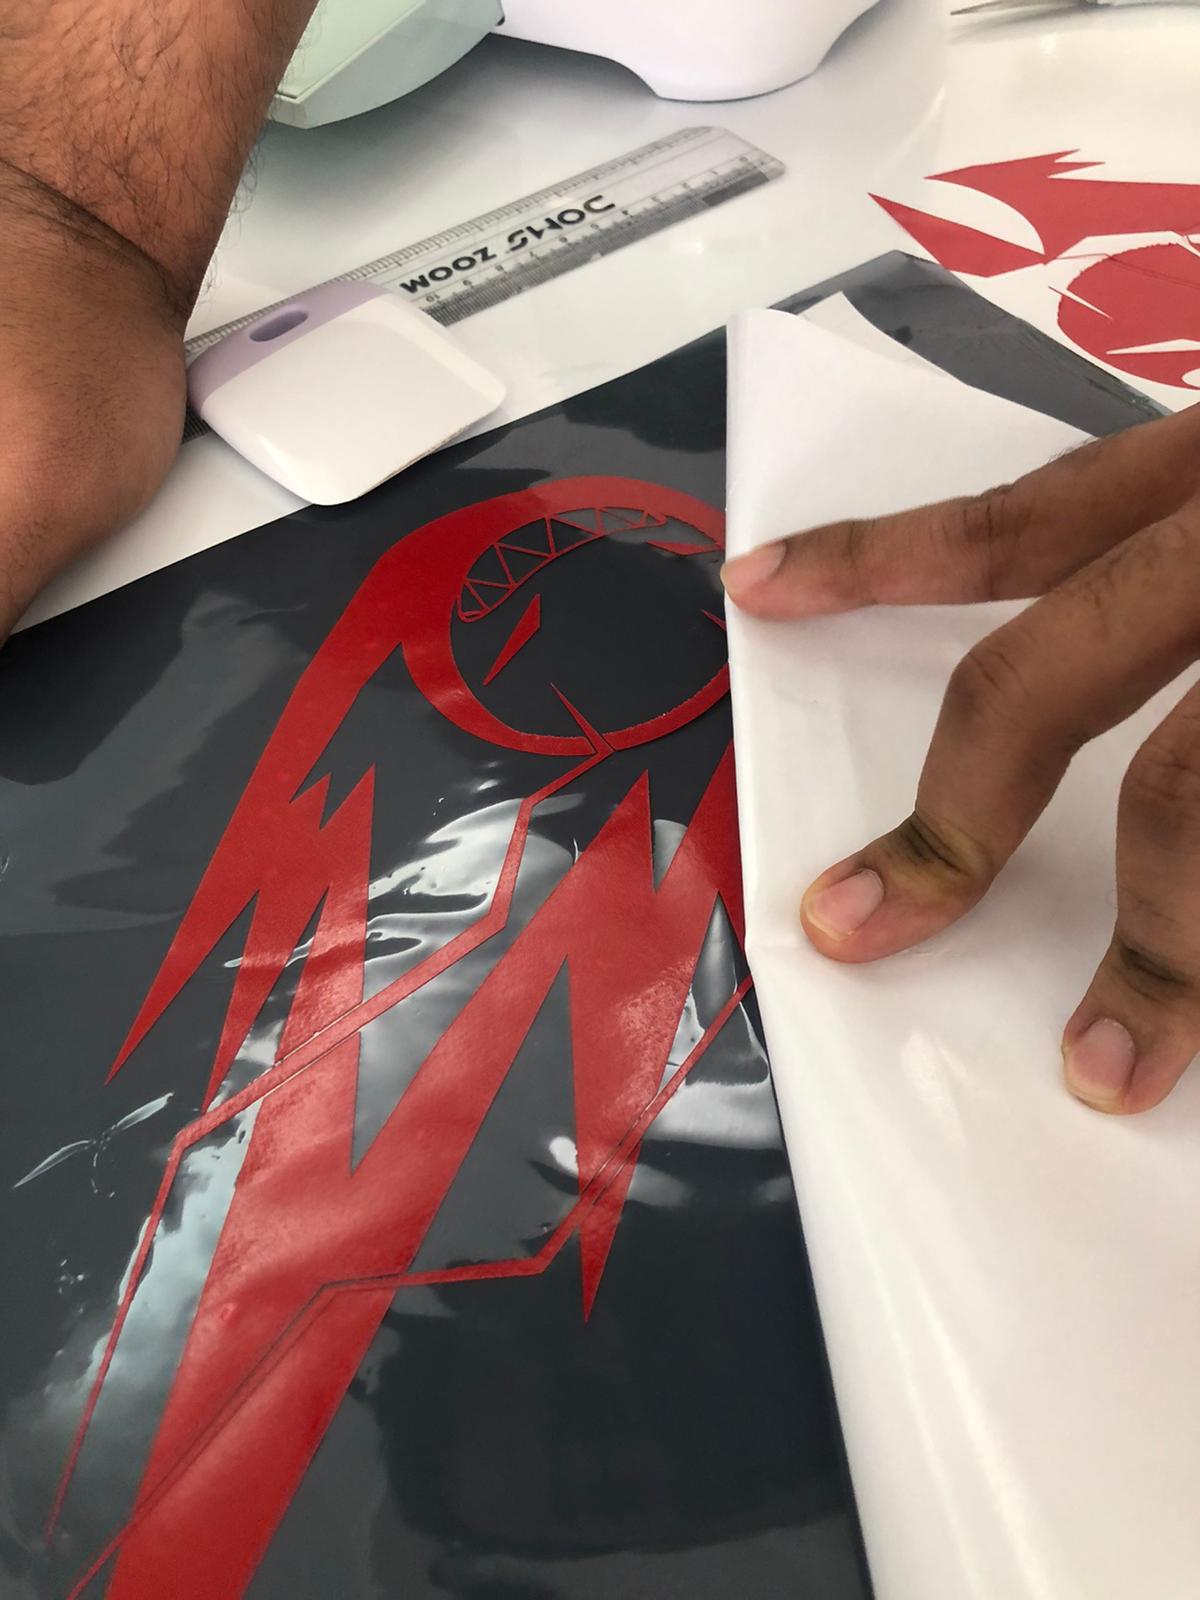
Weeding process.
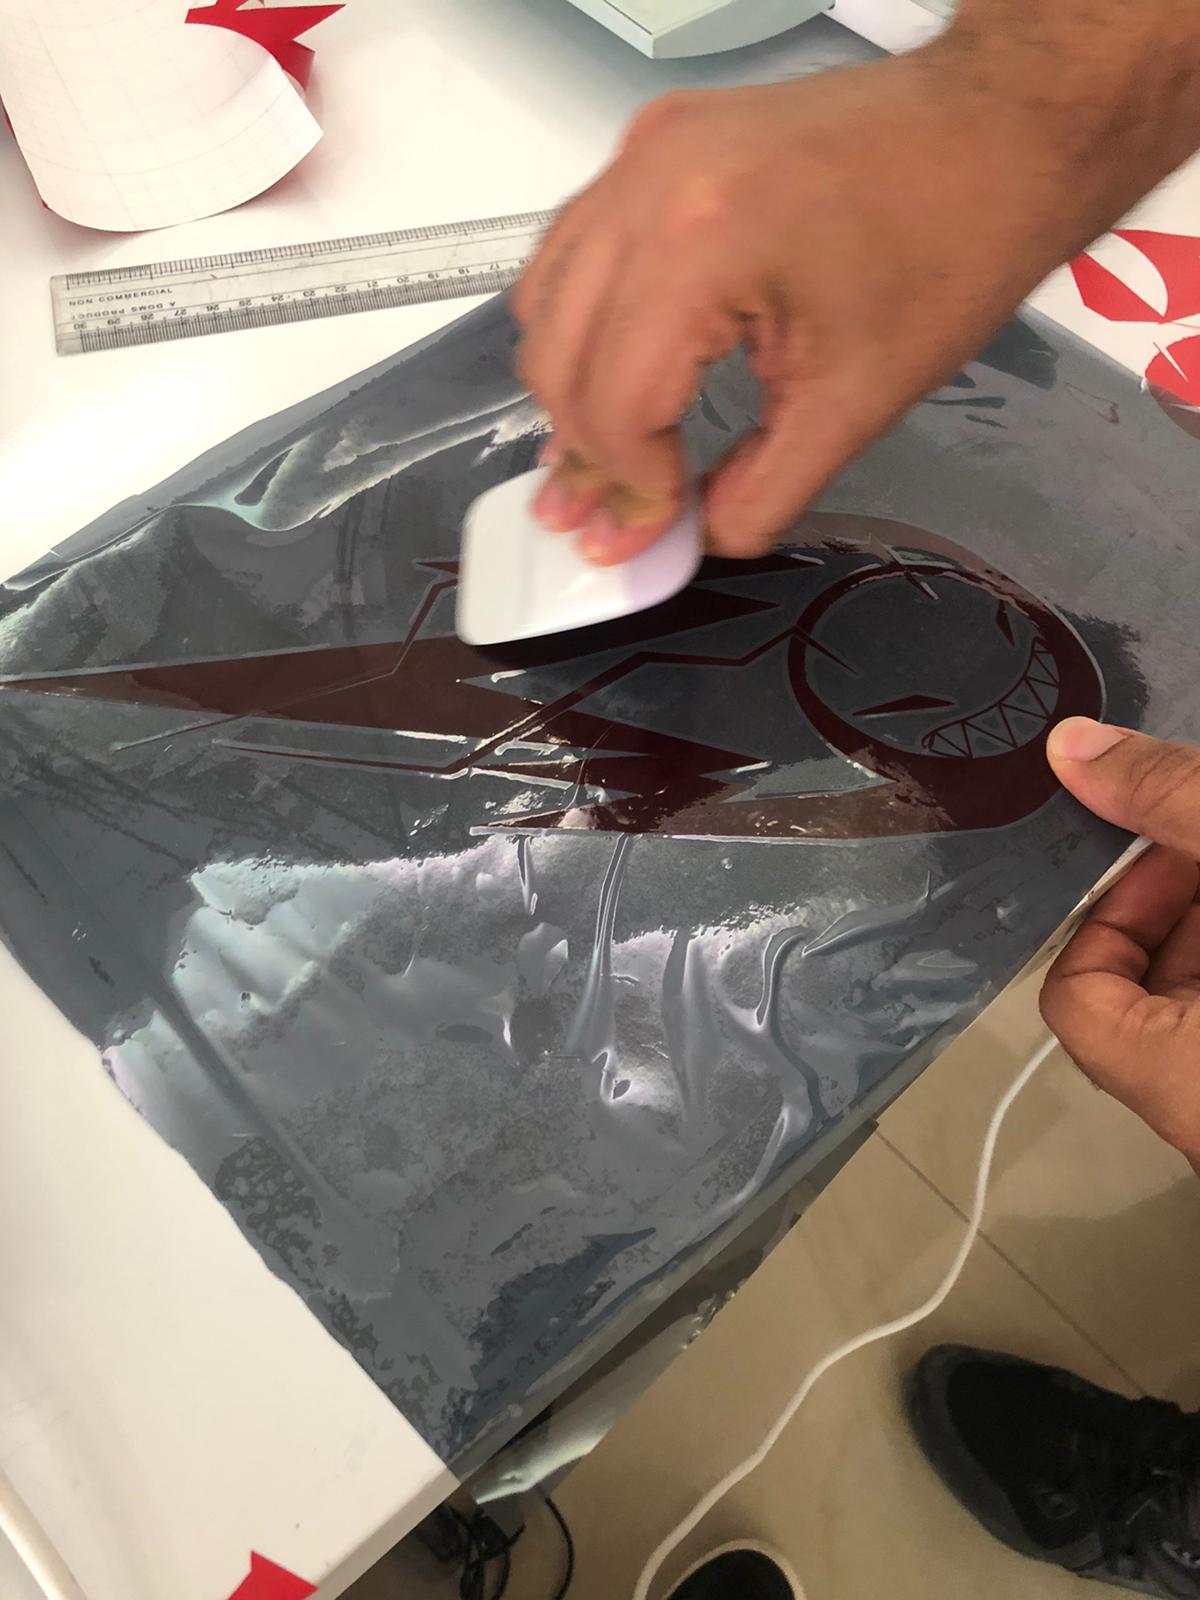
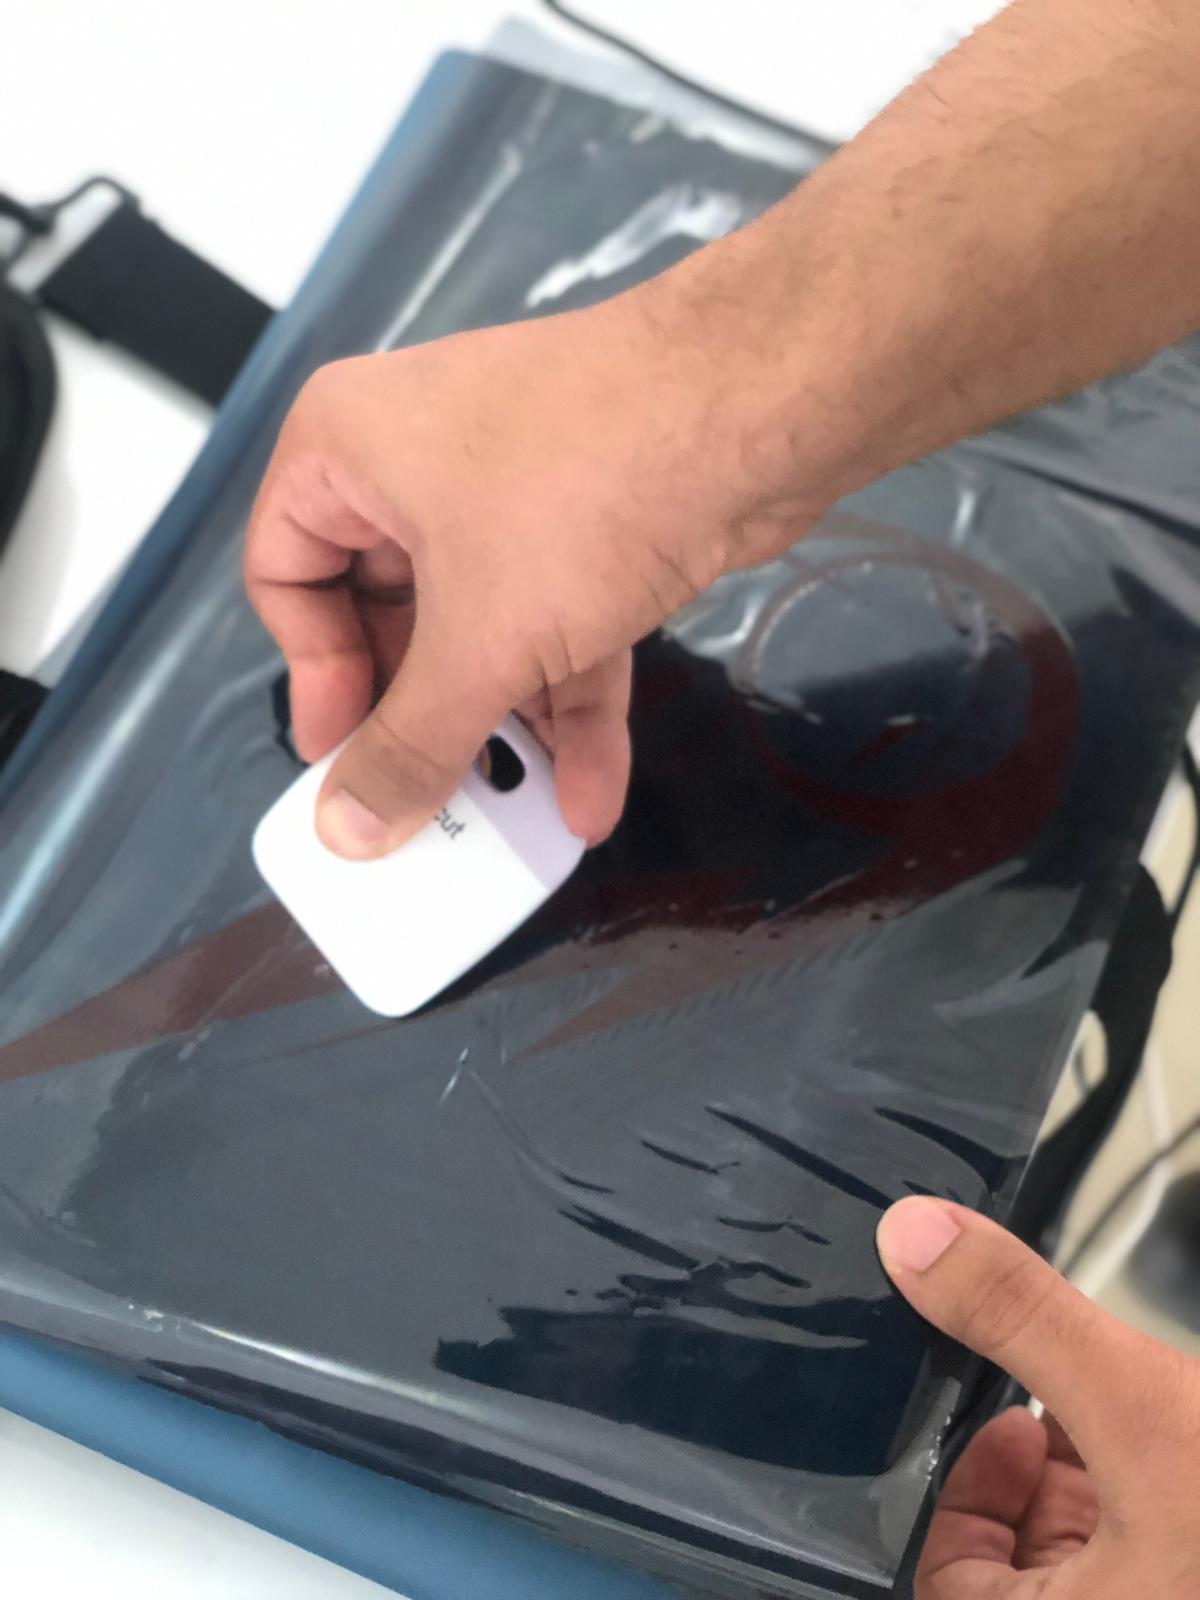
Now sticking the sticker on ribbon to be sticked into the preferred surface.
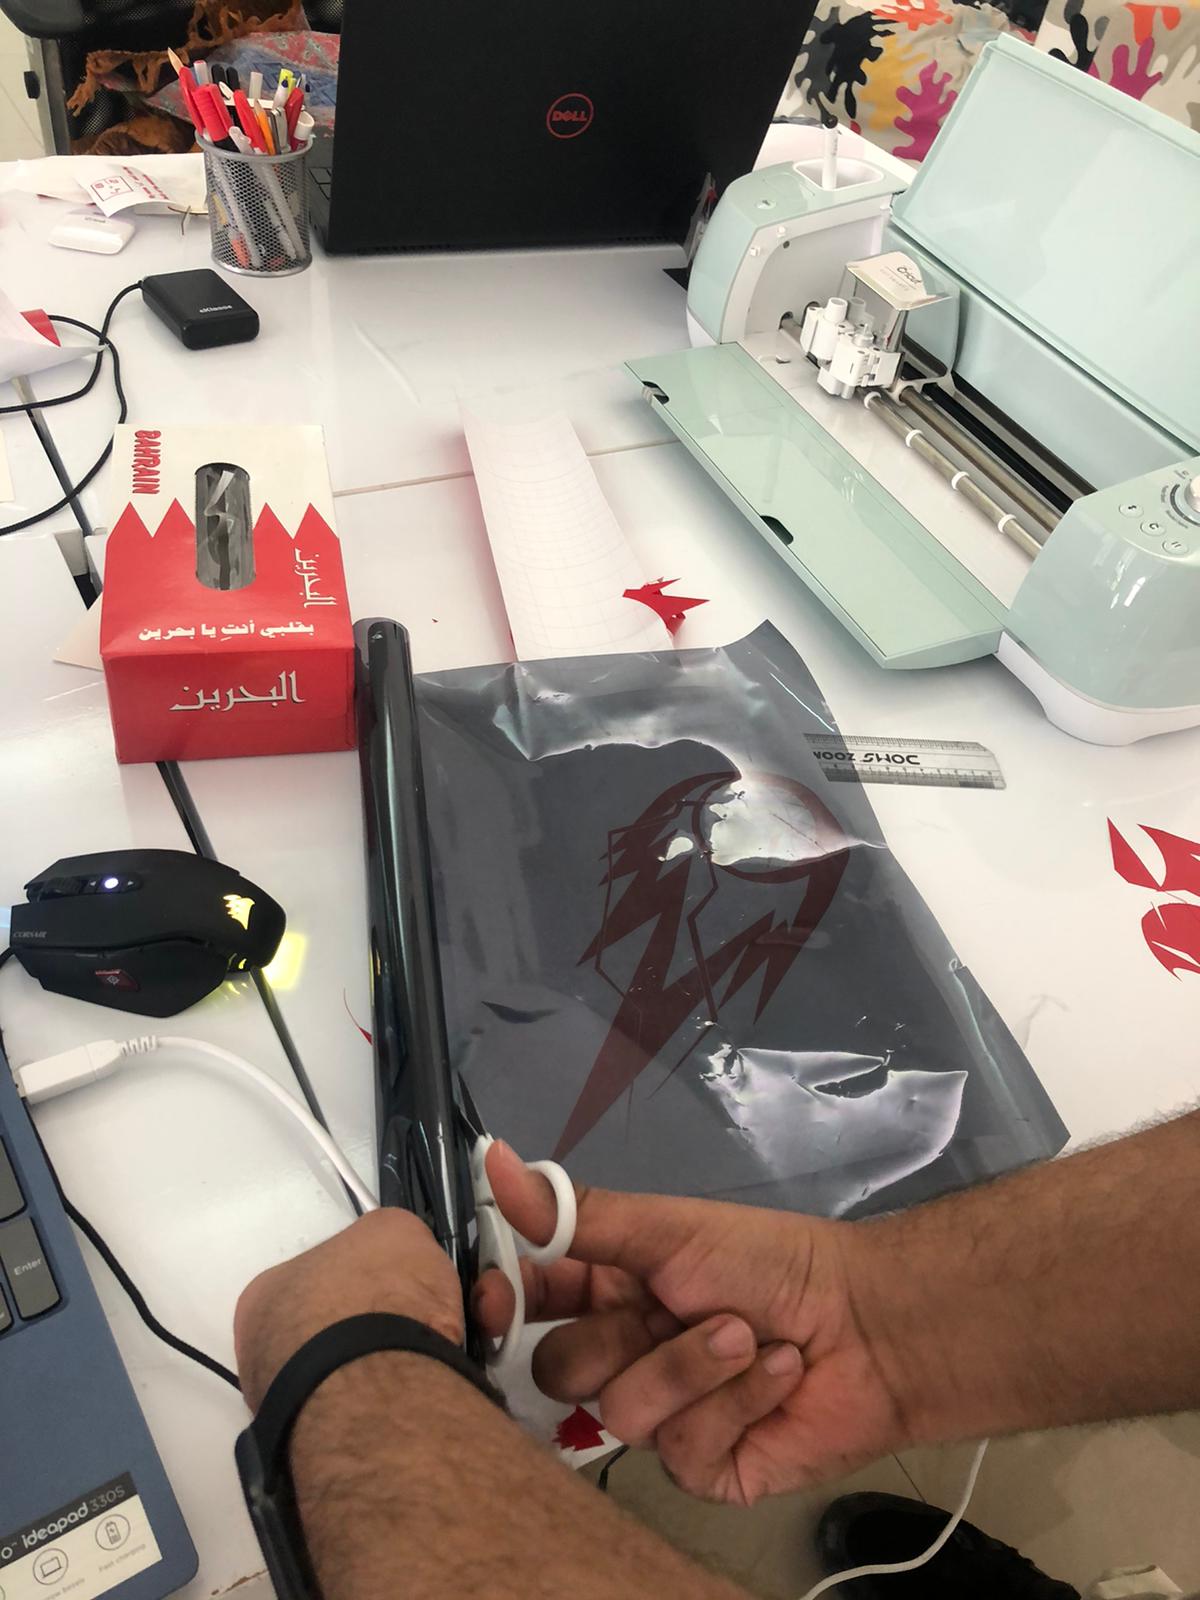
The process of removing air bubbles + making sure everything is sticking in place.
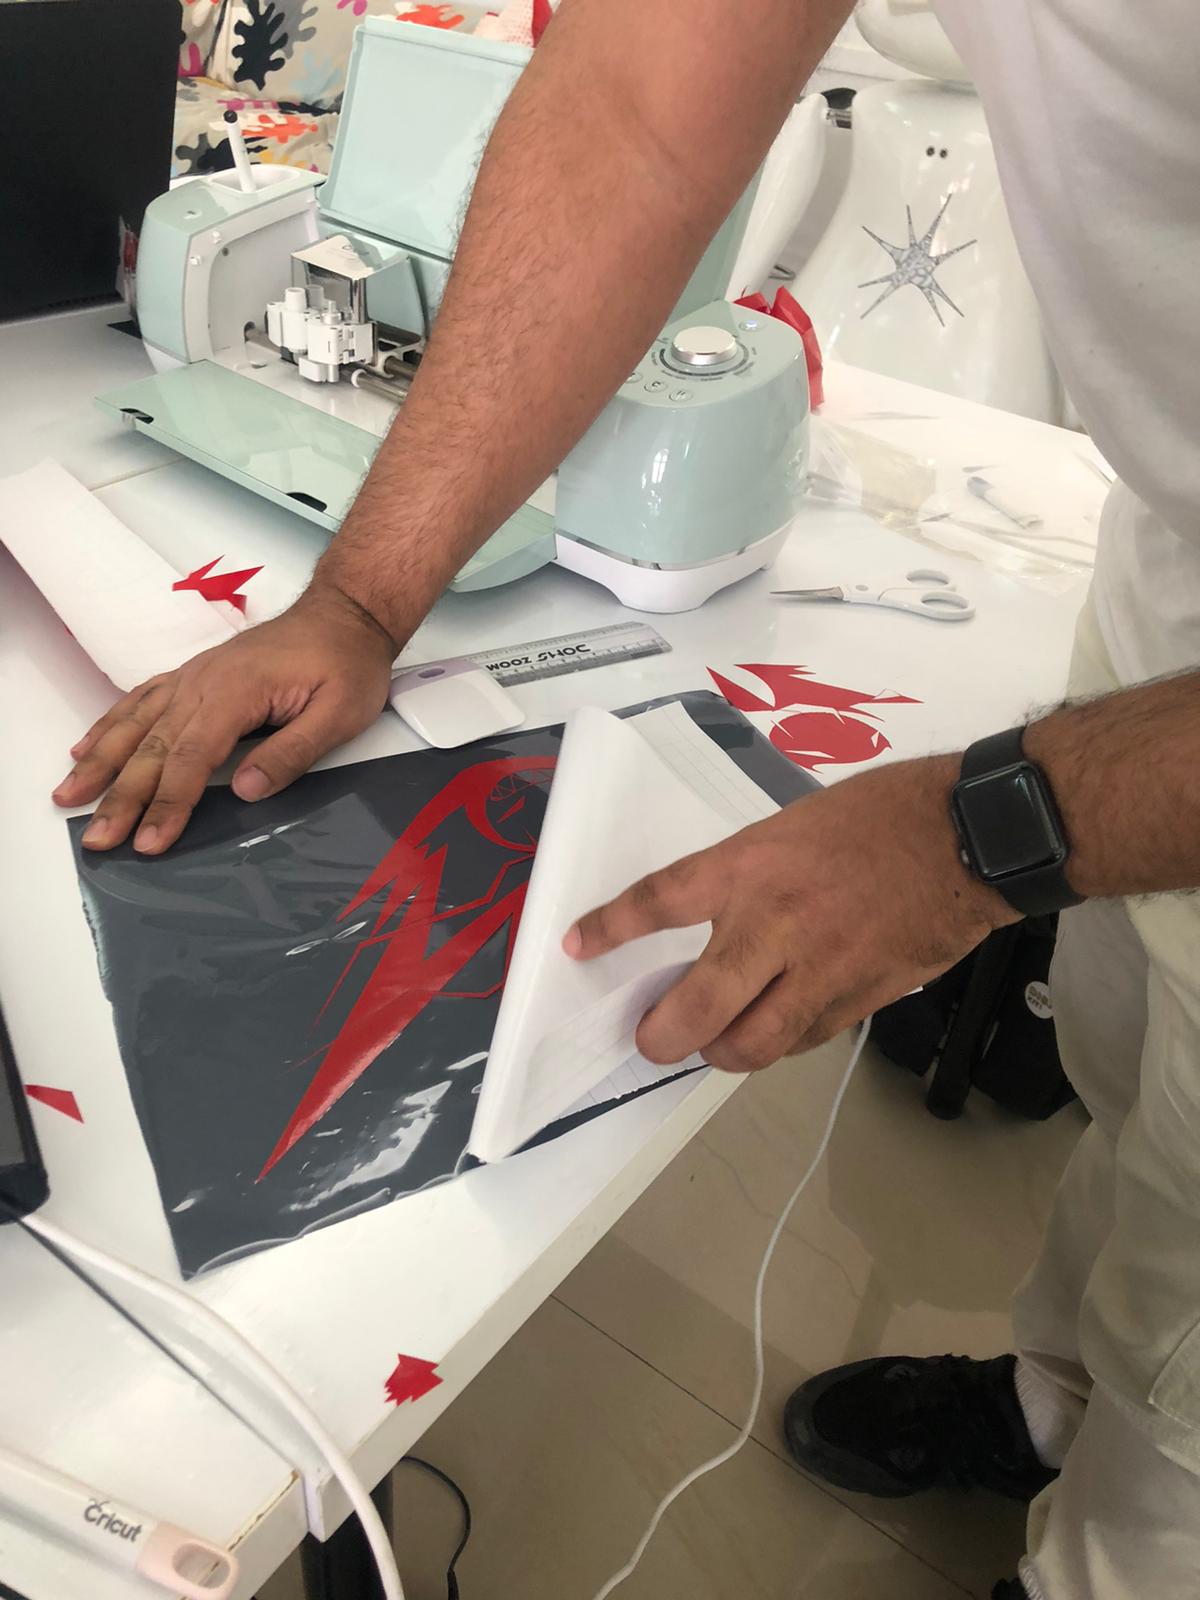
The final part is to stick the ribbon precisely on the preferred surface.
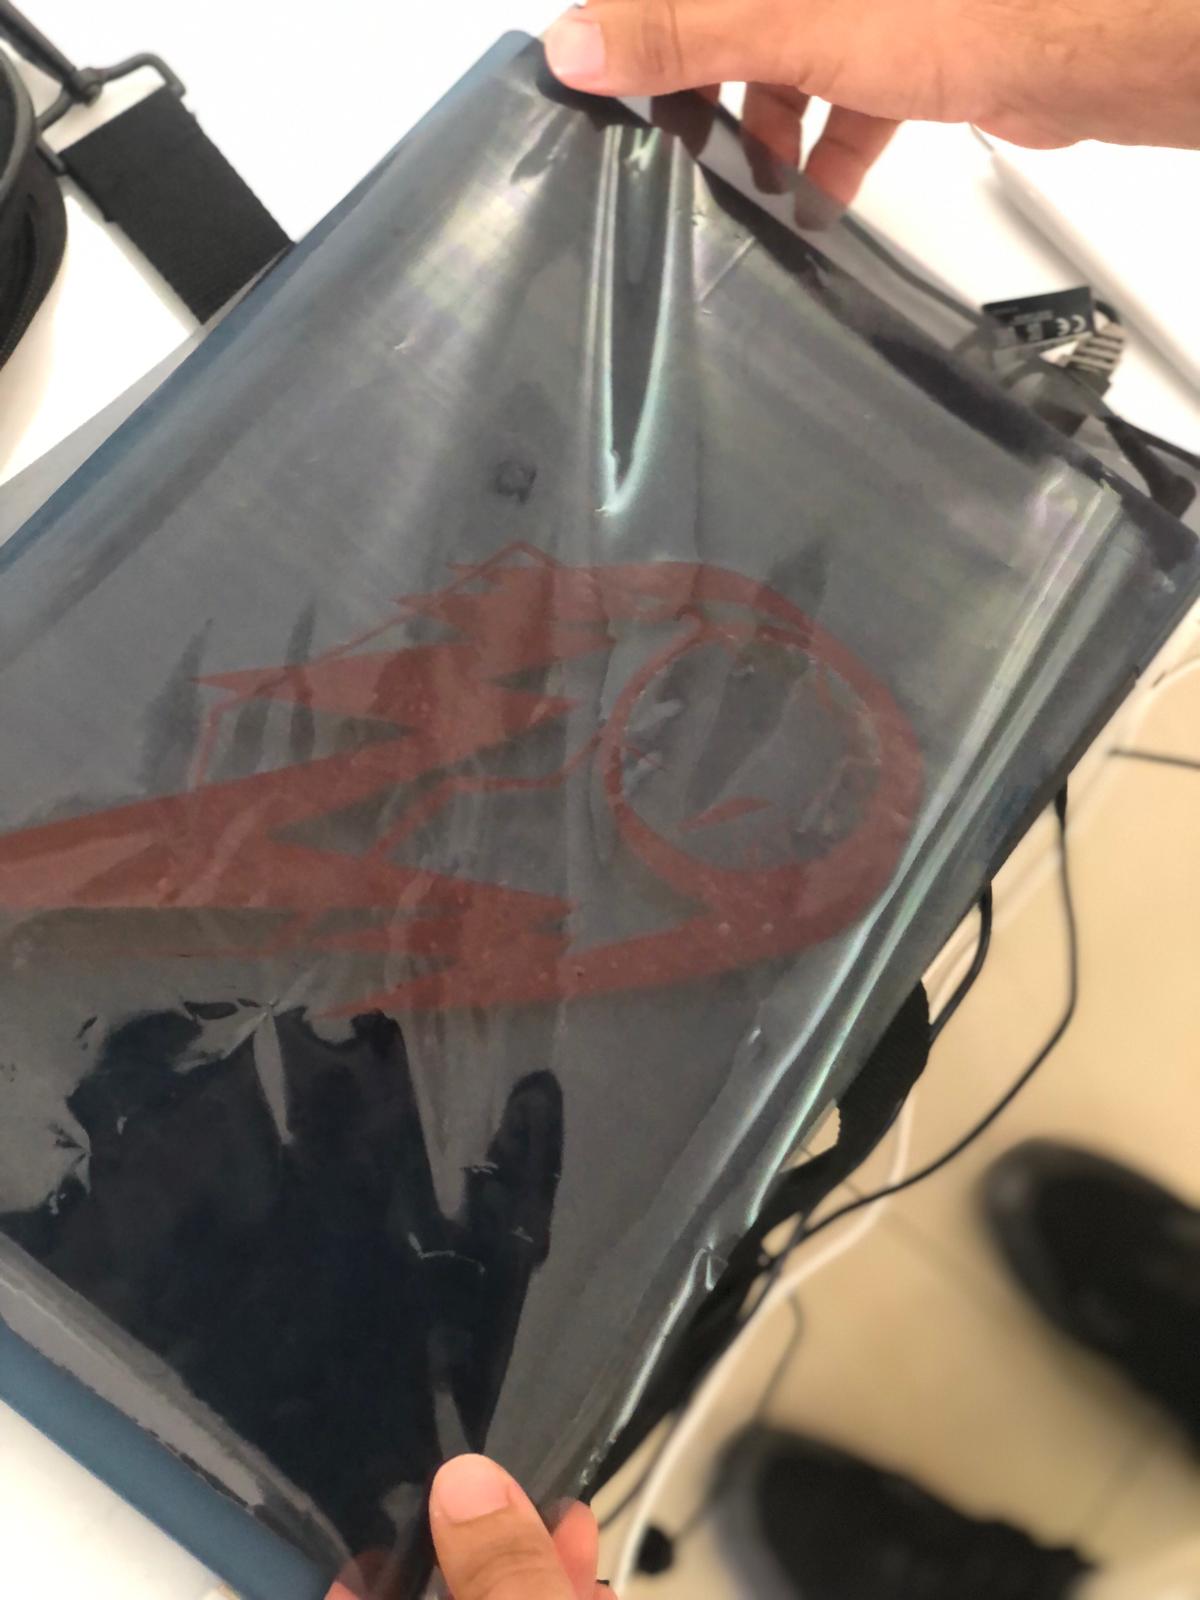
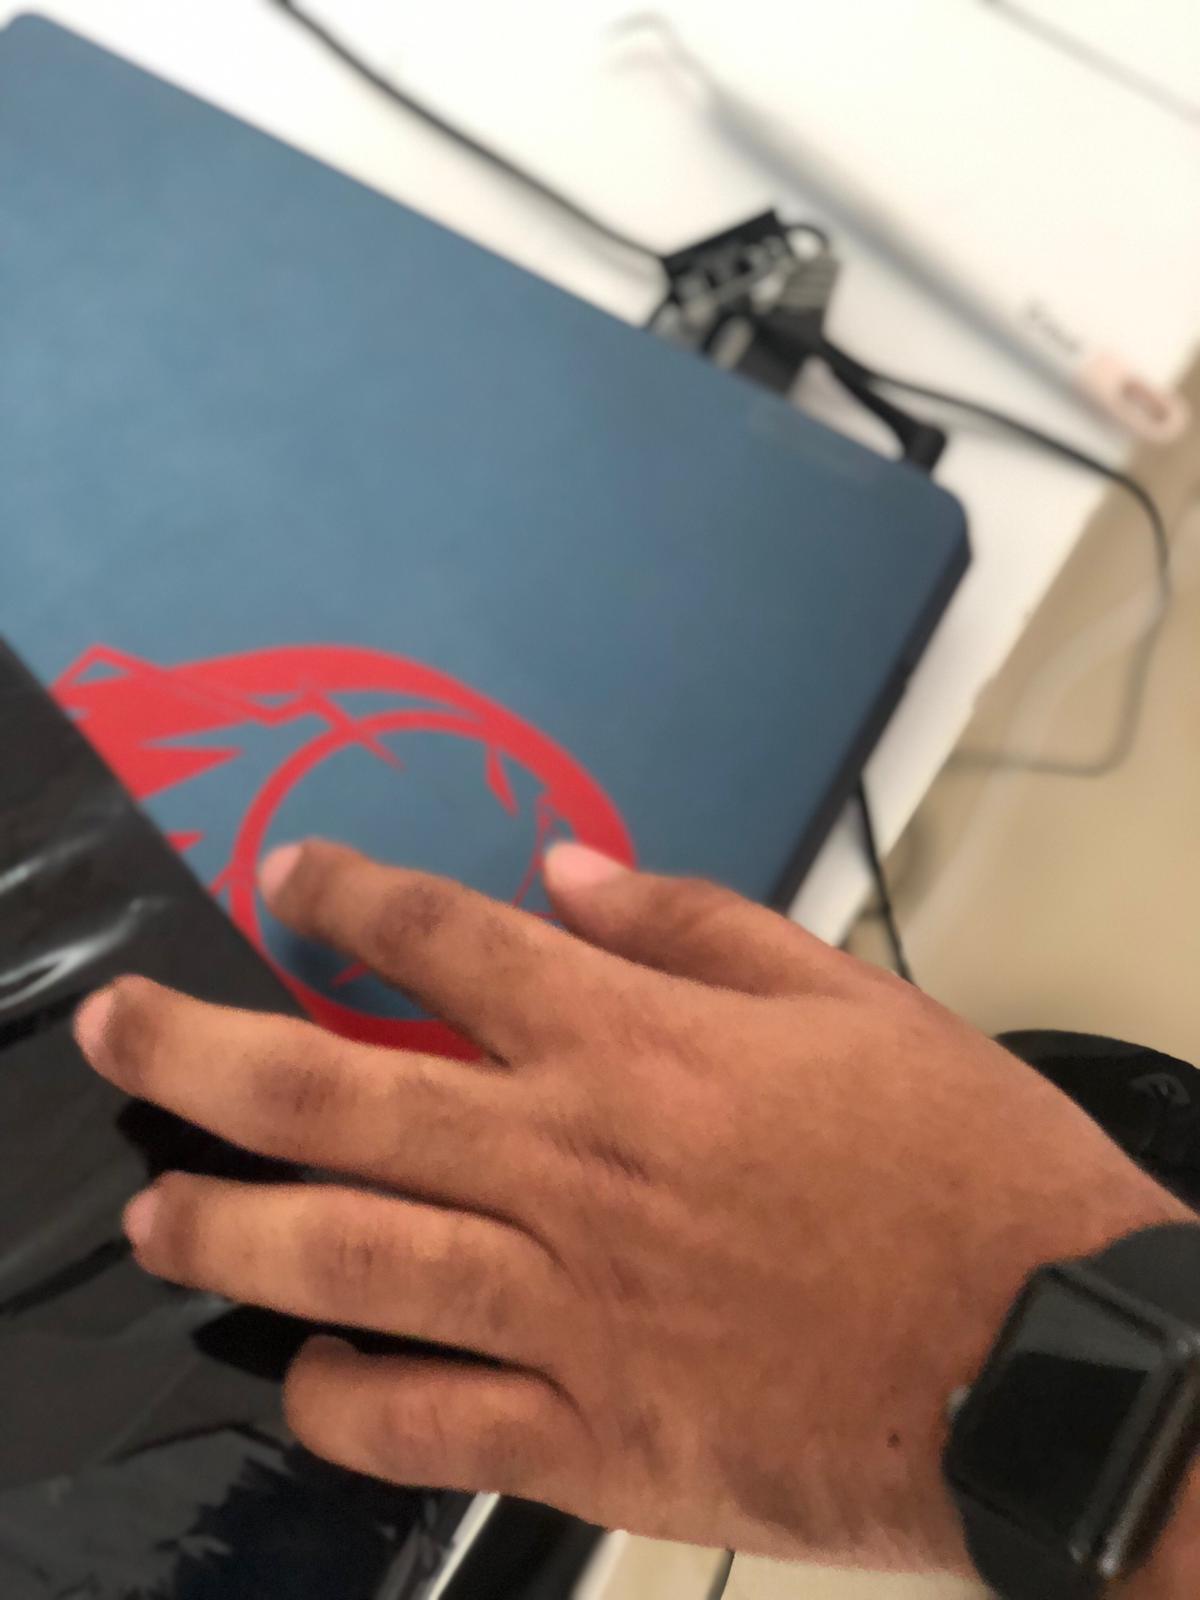
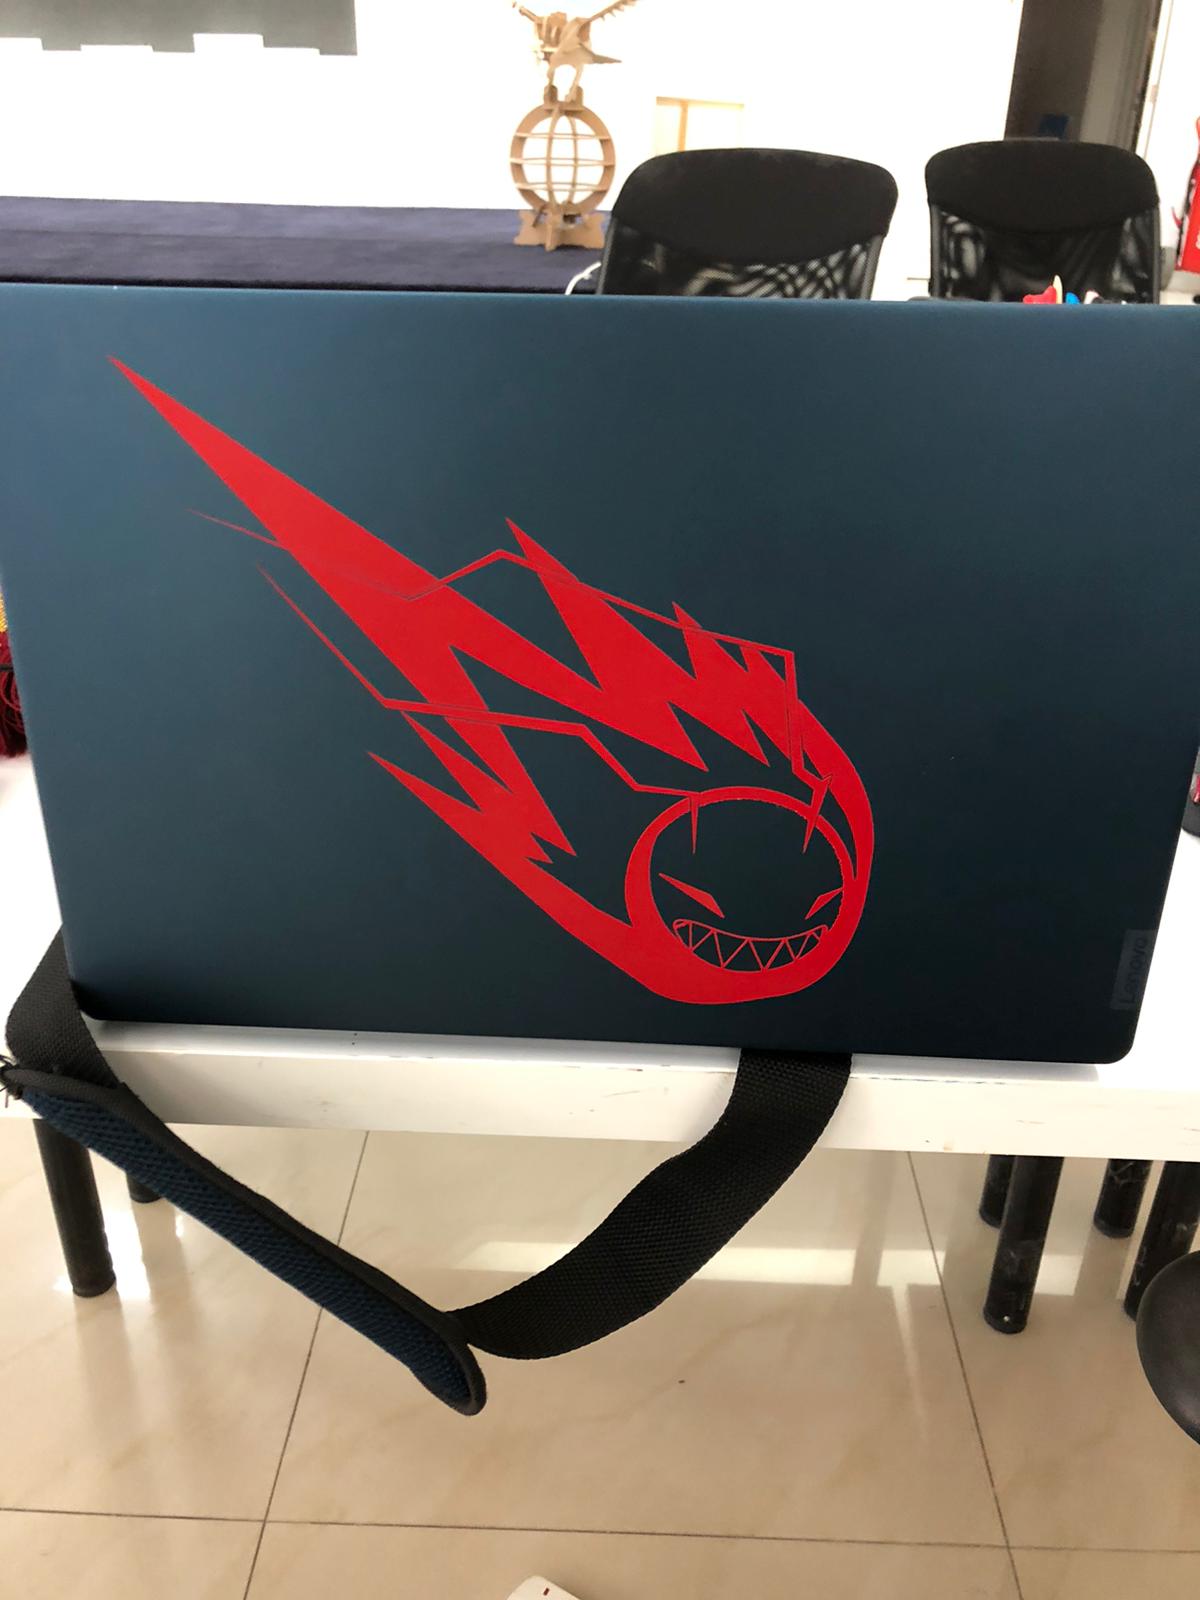
The final look.
Vanyl image used